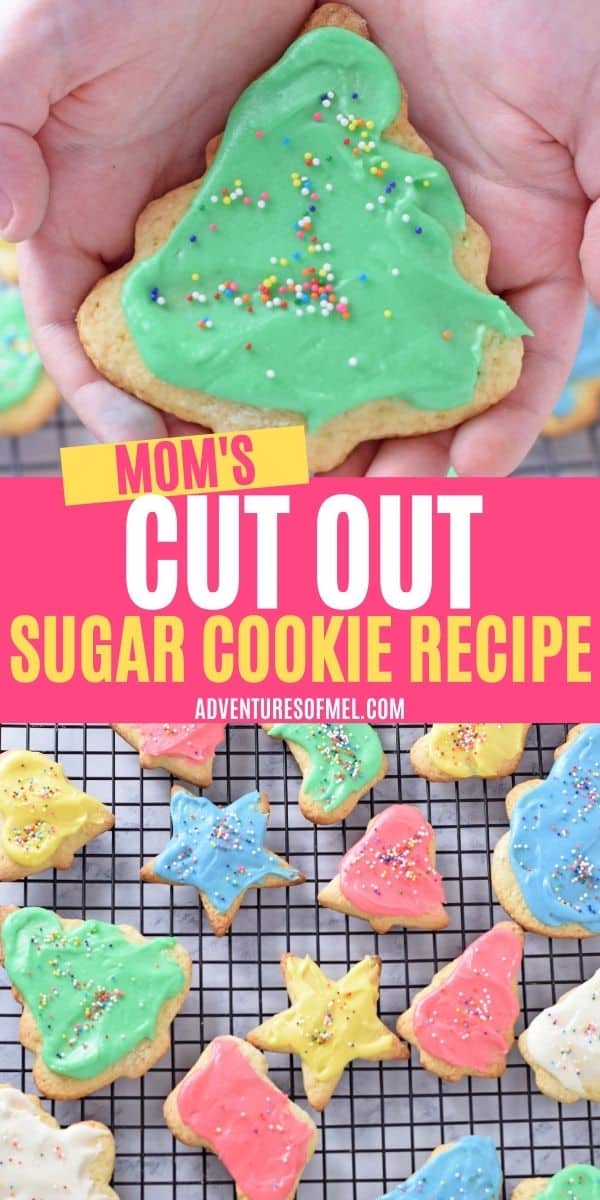
How to make the best cut out sugar cookie recipe. My mom’s recipe for crisp, soft sugar cookies you can decorate with icing and sprinkles.
Cutout sugar cookies are definitely one of my favorite Christmas treats. I’ve made these soft cut out sugar cookies every Christmas for as long as I can remember.
What makes this recipe special is that my mom taught me how to make it, just like a lot of recipes I love to make. She’s the best at making these yummy Christmas sugar cookies, and she taught me everything I know about baking them.
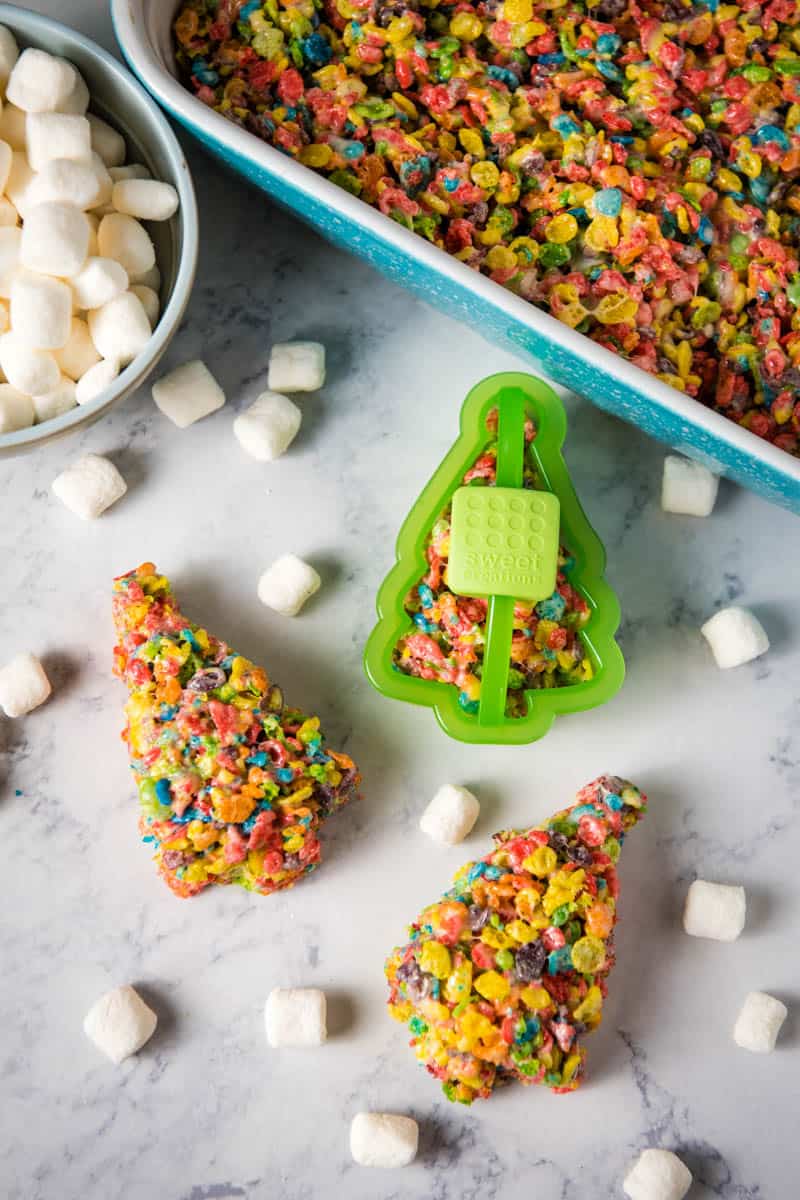
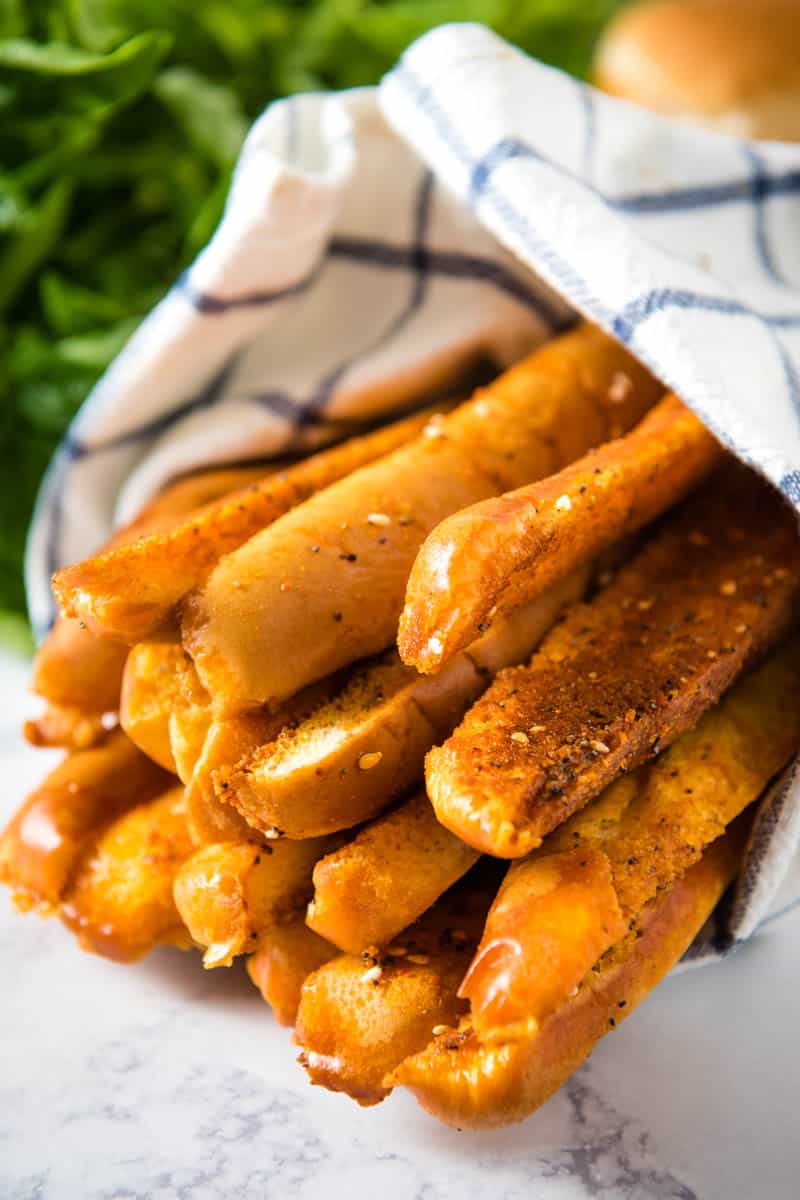
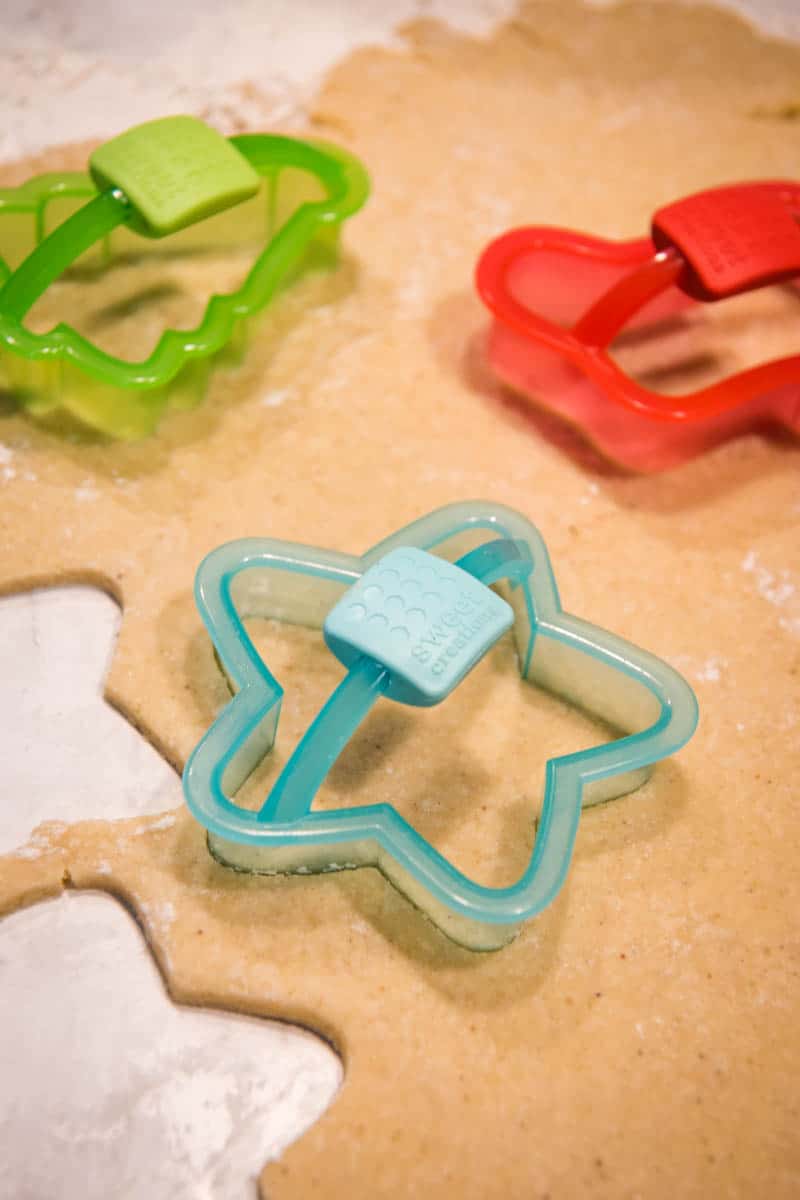
To make these cut out cookies special, all the Christmas cookie cutters come out, along with my old friend, the rolling pin. We roll and re-roll the dough, cutting out snowmen, Christmas trees, bells, and stars.
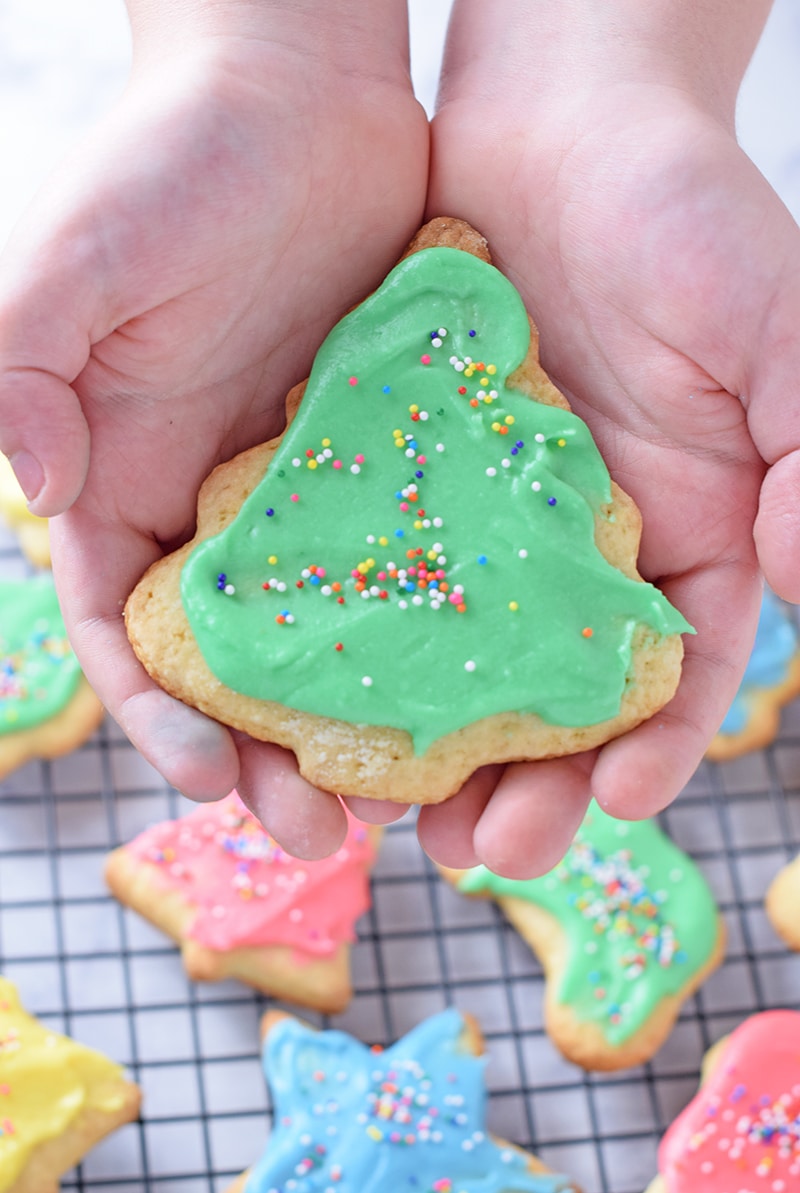
After the cookies have baked and cooled, it’s time to decorate, and the kids have so much fun with this. Jaden’s cookies are usually decorated to the hilt; they make my teeth hurt just looking at them.
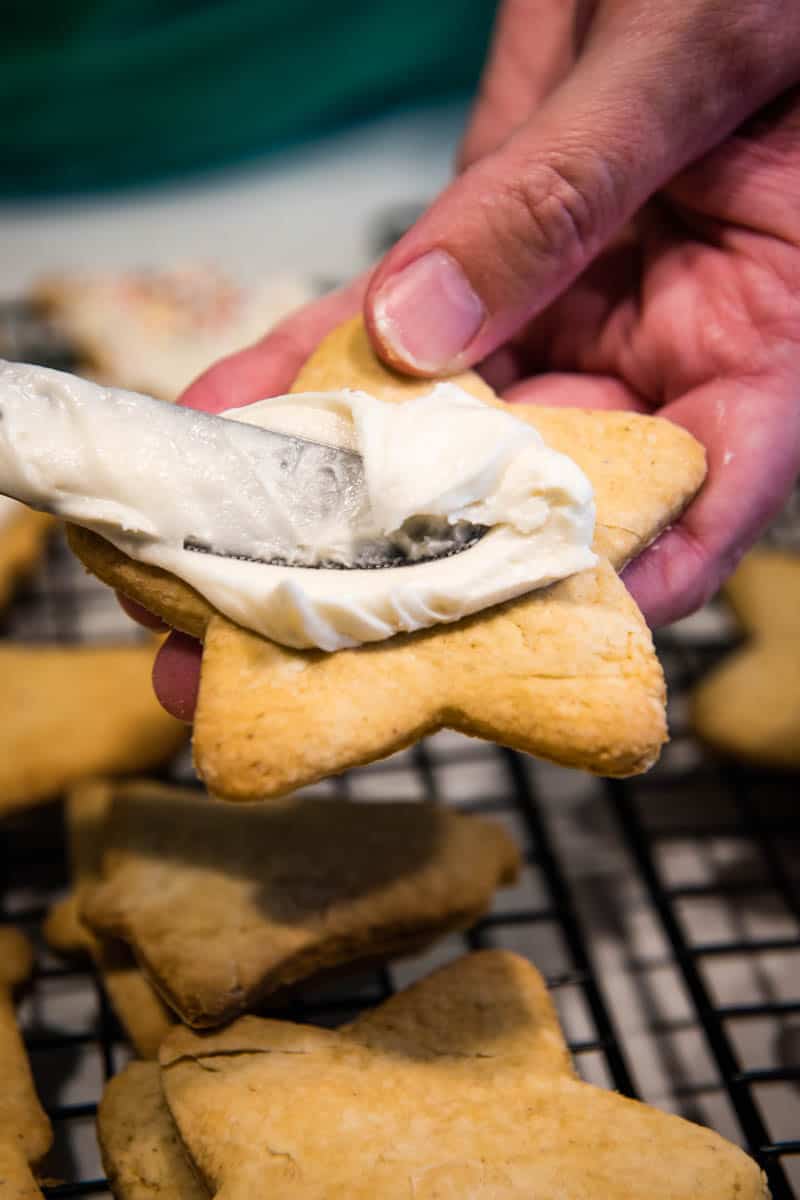
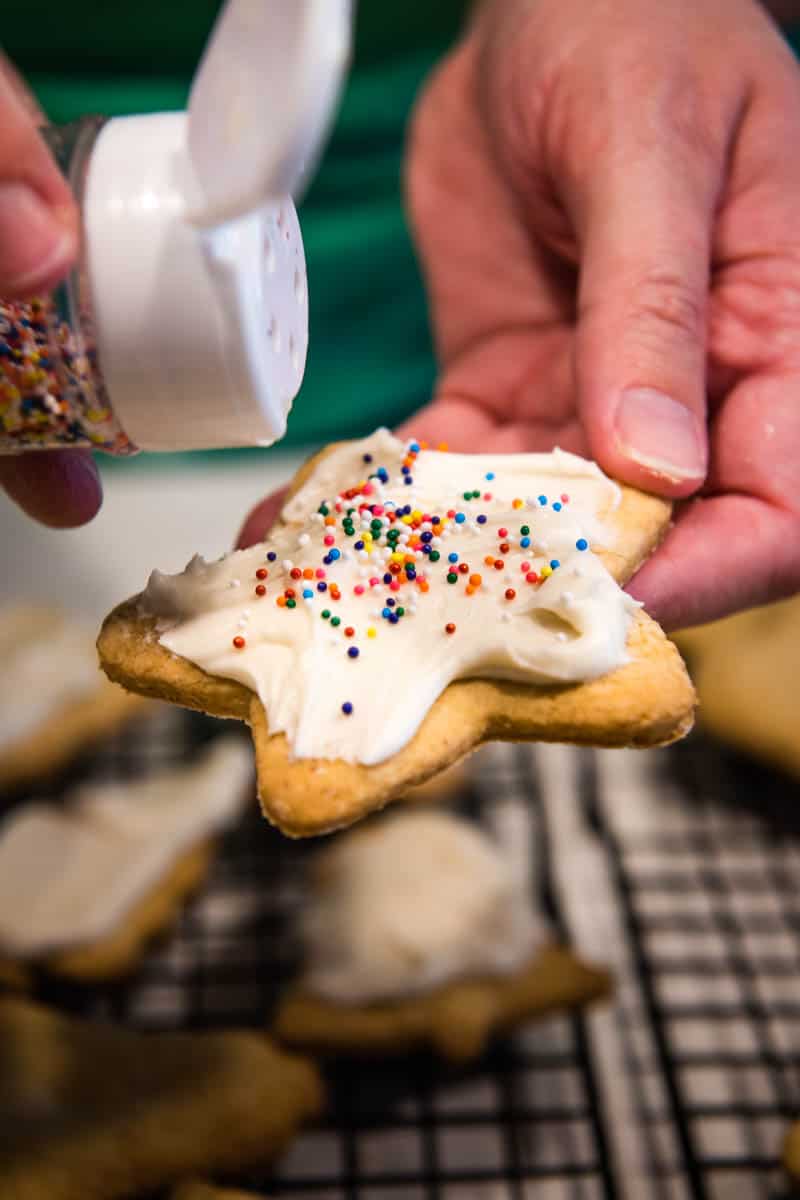
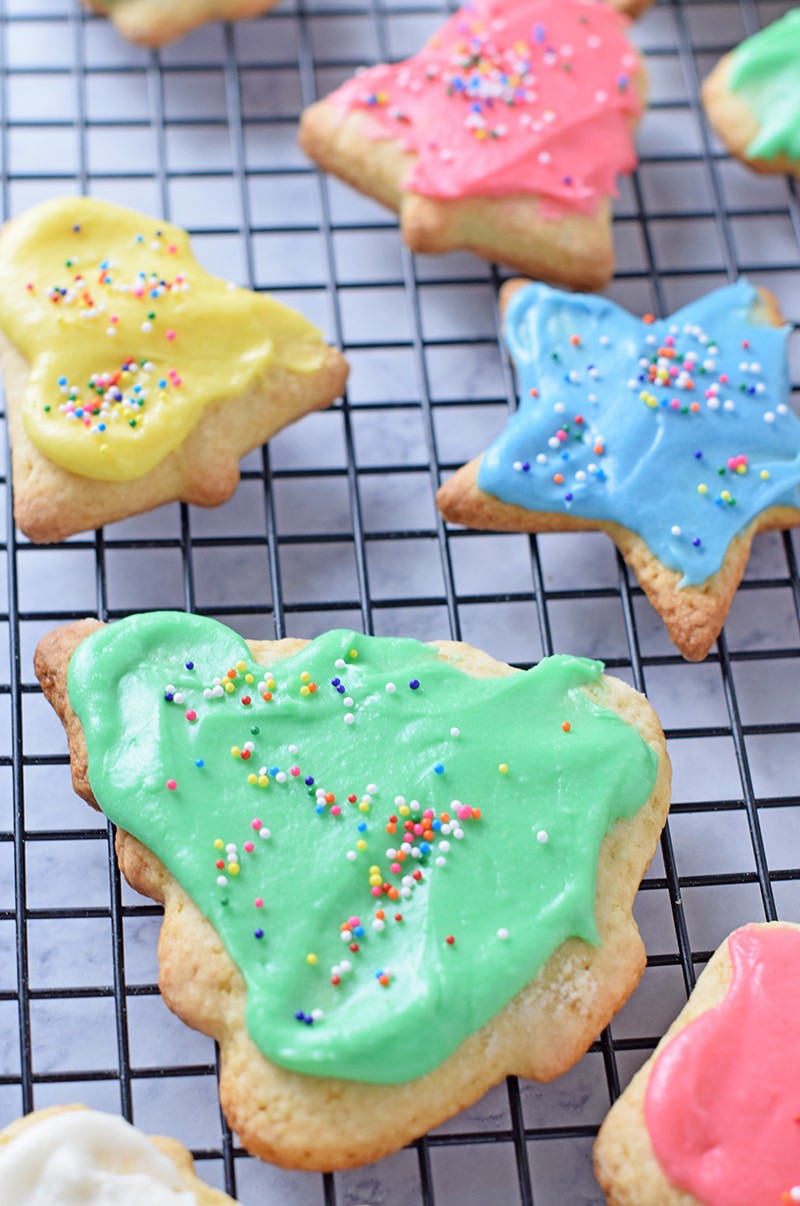
We keep the decorating simple, using butter knives to spread the icing on… Then sprinkle a few of our favorite sprinkles to add a little crunch.
Rolled sugar cookies, along with our favorite mint chocolate crinkle cookies and reindeer thumbprint cookies, usually end up on a plate with a glass of milk come Christmas Eve. And they always disappear, so apparently, Santa likes them too.
Of course, like my pumpkin sugar cookie recipe in the fall, you can also make these cookies for other holidays (like Valentine’s Day) and even in between as an everyday cookie recipe. My boys love using their race car, dinosaur, and Bigfoot cookie cutter too. And sometimes I even use this recipe to make sugar cookies for mini fruit pizzas!
WHERE CAN I FIND THE ACTUAL RECIPE CARD?
If you’d rather skip all of my cookie baking tips, important info for this recipe, and similar recipe ideas – and get straight to the soft cut out sugar cookie recipe – just scroll down to the bottom, where you’ll find a printable recipe card.

INGREDIENTS YOU’LL NEED:
- All-purpose flour – I use my favorite gluten-free flour, along with xanthan gum, to make them gluten-free cut out cookies. Works like a charm.
- Baking soda
- Salt
- Pure cane sugar – or granulated sugar.
- Ground nutmeg – I added this ingredient on my own because I love the flavor kick it gives to the cookies.
- Unsalted butter
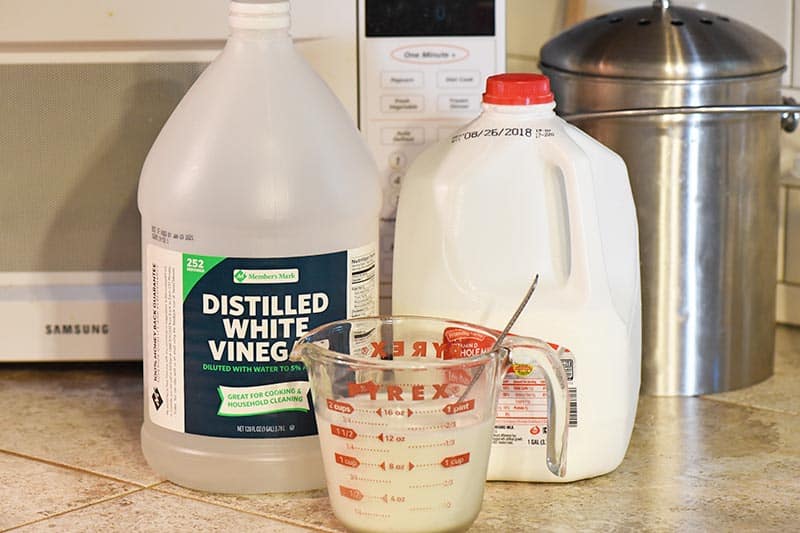
- Buttermilk – I make my own by adding about a tablespoon of vinegar to a glass measuring cup, then adding milk to the 1/2 cup line. The vinegar sours the milk, so it becomes an excellent substitute for buttermilk.
- Vanilla extract
- Large eggs
- Sugar cookie icing, optional – Again, my mom’s recipe, and I’ve gotcha covered with how to make it.
Keep in mind, all of the ingredient amounts you’ll need are in the printable recipe card below.
KITCHEN TOOLS AND EQUIPMENT YOU’LL NEED:
Sifter – to sift the flour and other dry ingredients together.
Pastry Blender – to cut the butter into the dry ingredients.
Mixer – My stand mixer makes mixing up cookie dough so much easier.
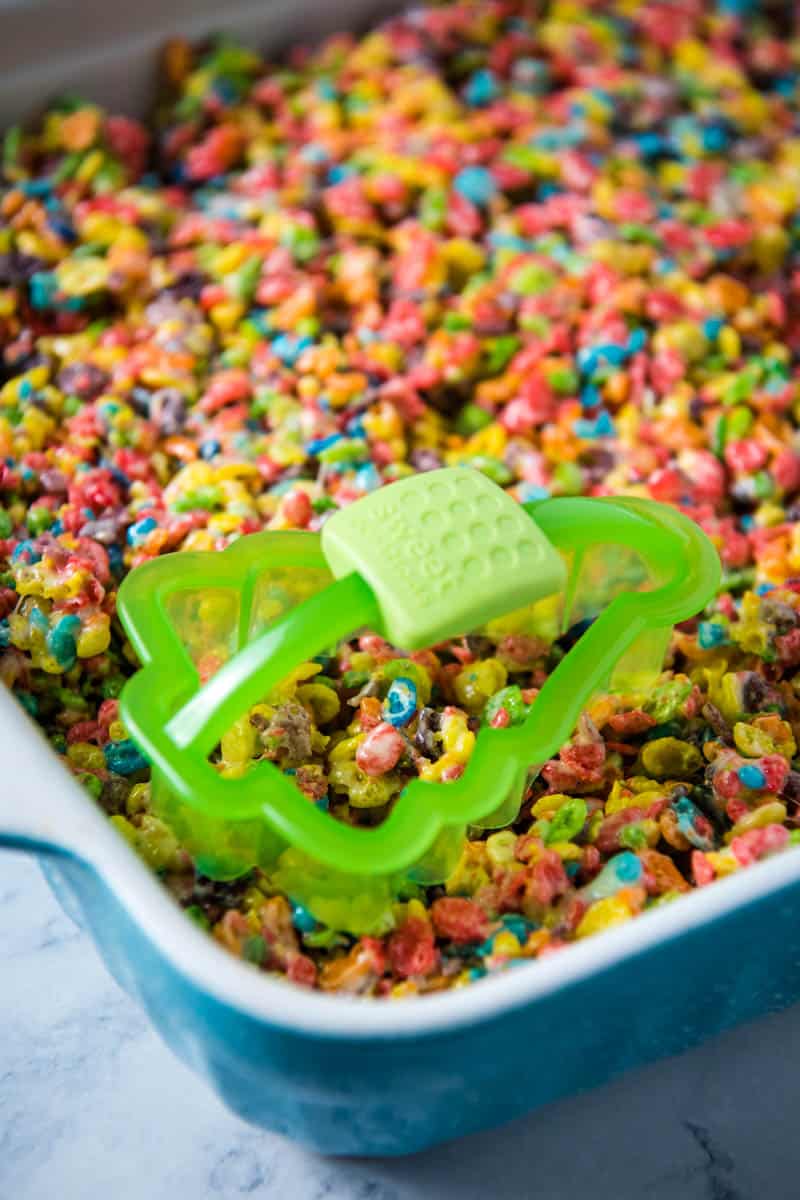
Rolling Pin and Christmas Cookie Cutters – for cutting out all sorts of festive shapes.
Cookie Sheet – for baking the cookies.
Wire Rack – This will give your cookies a place to cool.
HOW TO MAKE THIS CUT OUT SUGAR COOKIE RECIPE
Before you get started, be sure to gather all of your ingredients. This recipe has multiple stages, from mixing up the dough to rolling it out and cutting out the cookies.
HOW TO MAKE THE SUGAR COOKIE DOUGH
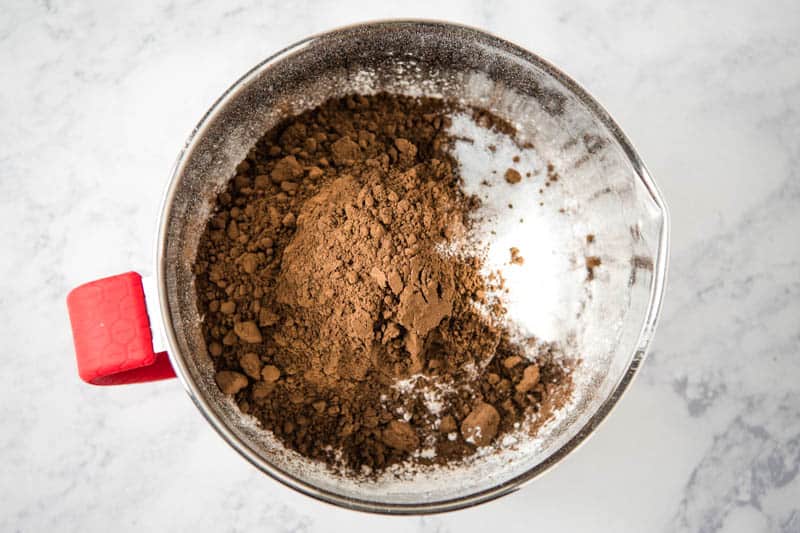
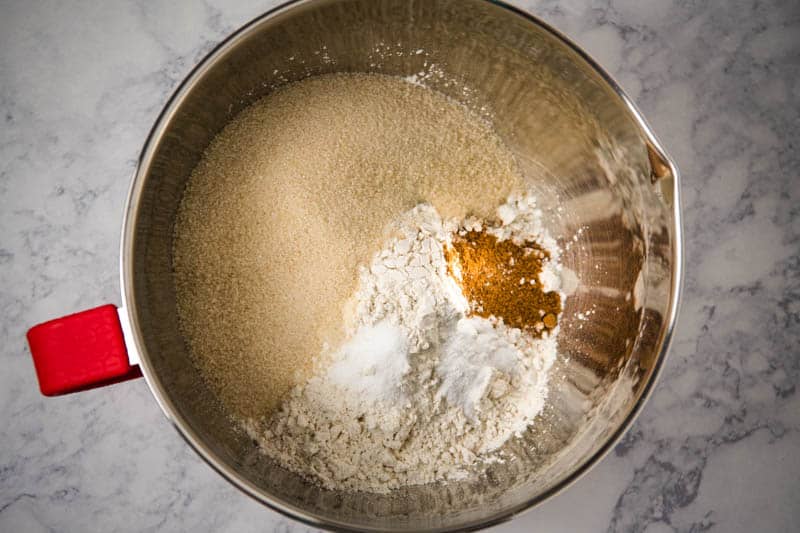
- Sift, then measure the flour.
- Sift or mix the flour with the baking soda, salt, sugar, and nutmeg.
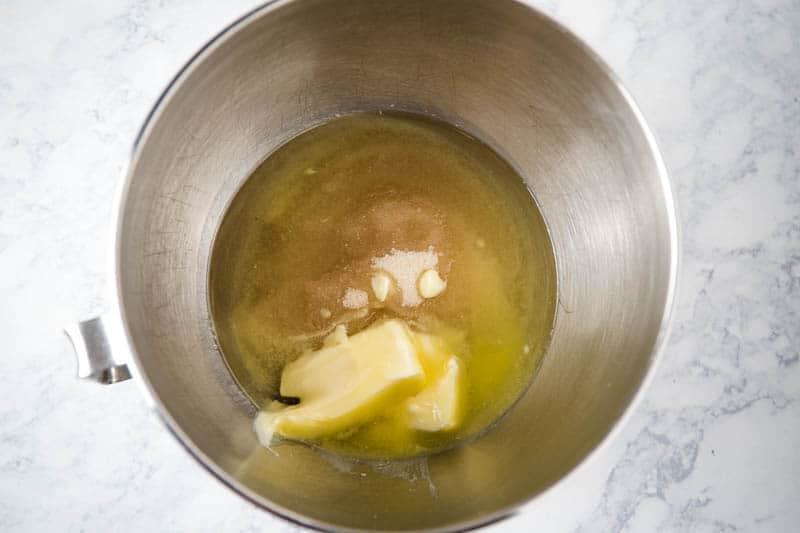
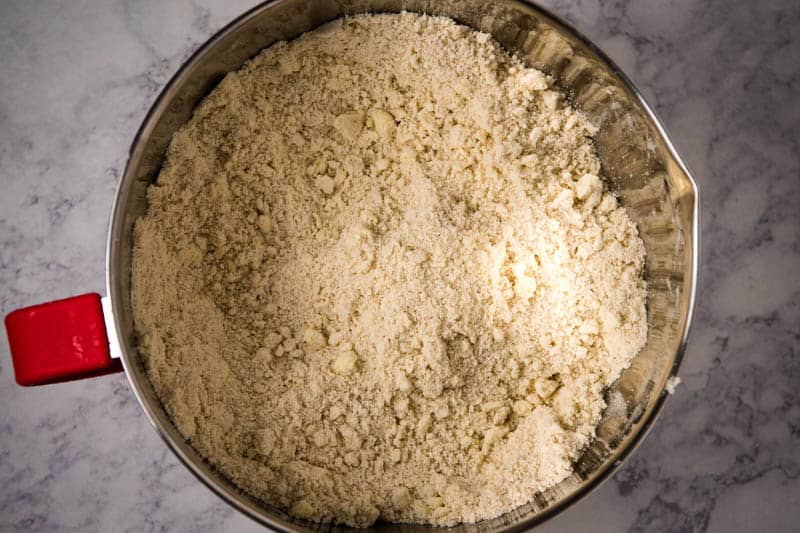
- Using a pastry blender, cut the butter into the dry ingredients.
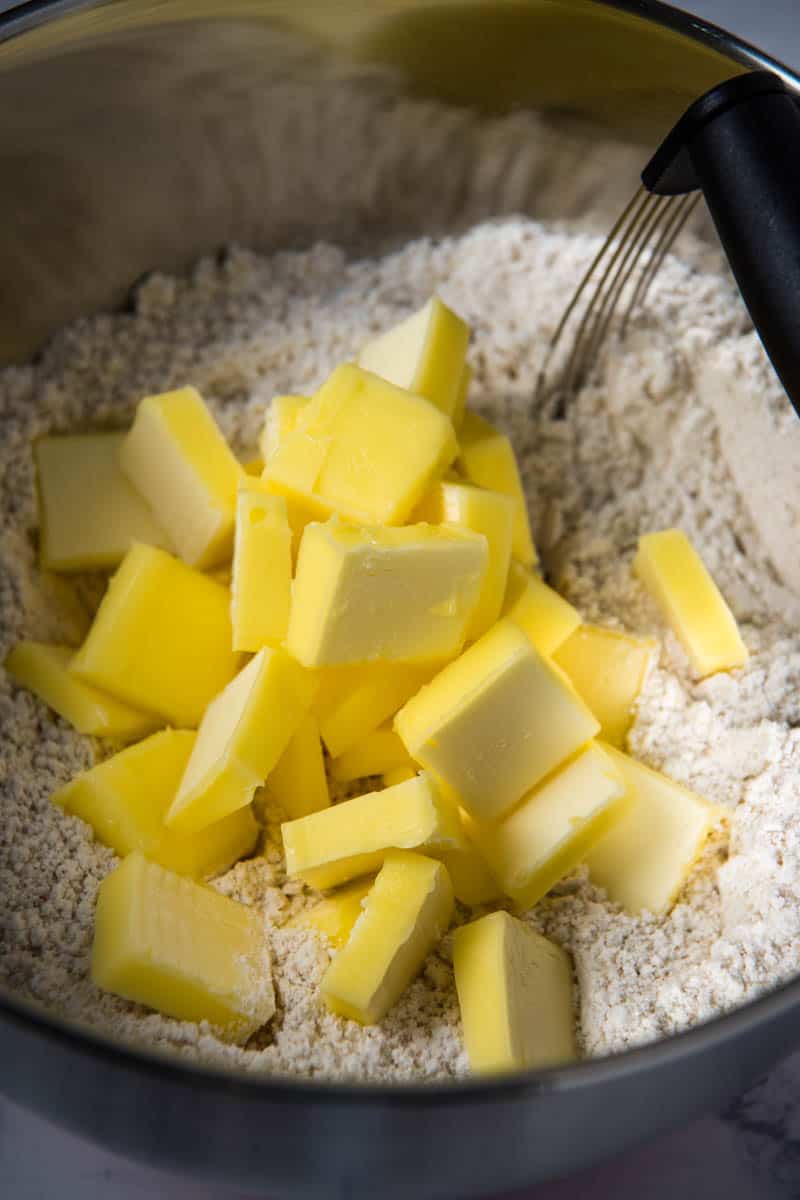
- Work the butter in until the mixture is as fine as corn meal.
- Give the eggs a slight beating with a whisk.
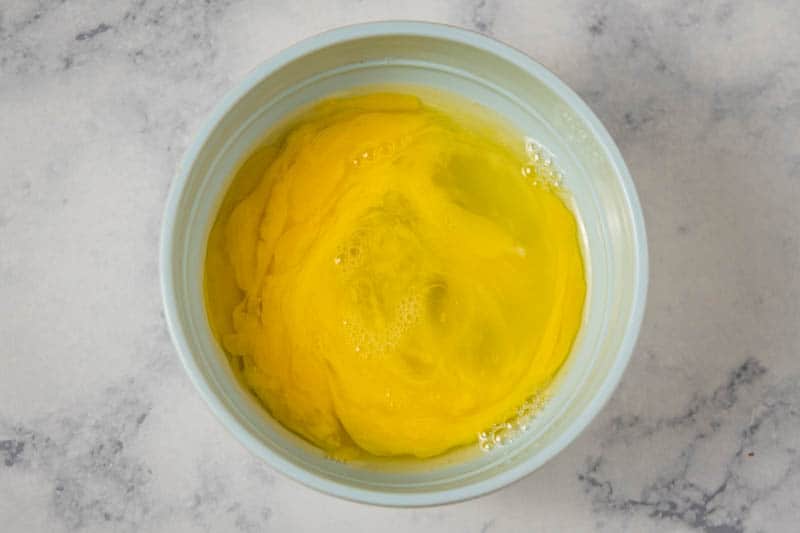
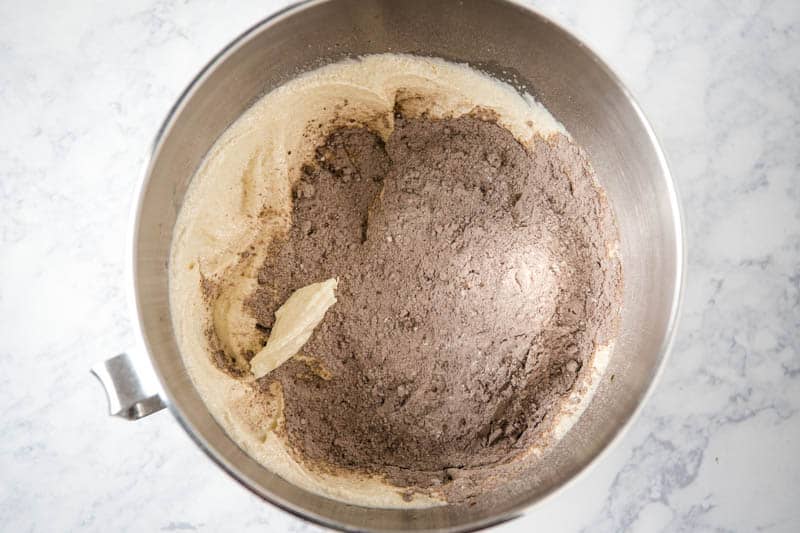
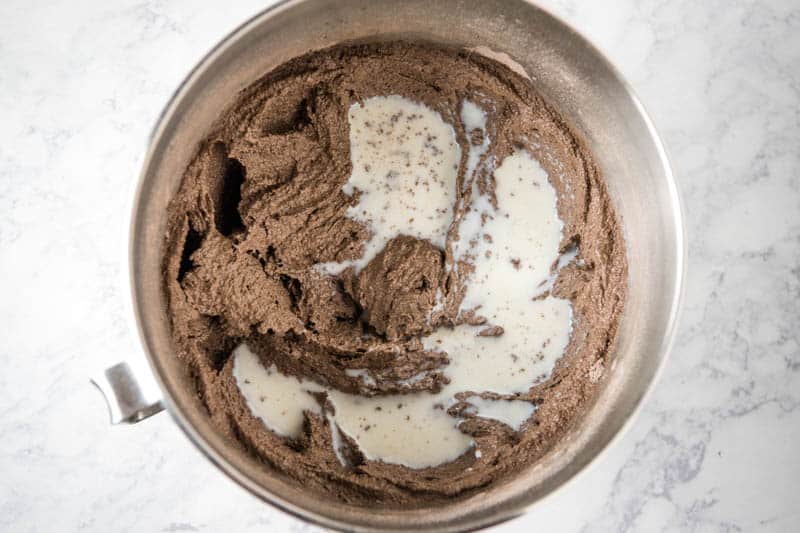
- Then in a separate mixing bowl, combine the buttermilk and vanilla extract with the slightly beaten eggs.
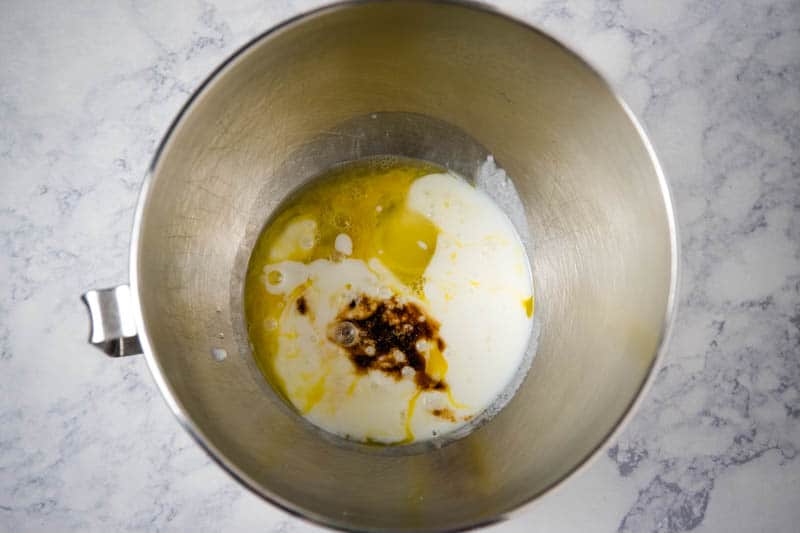
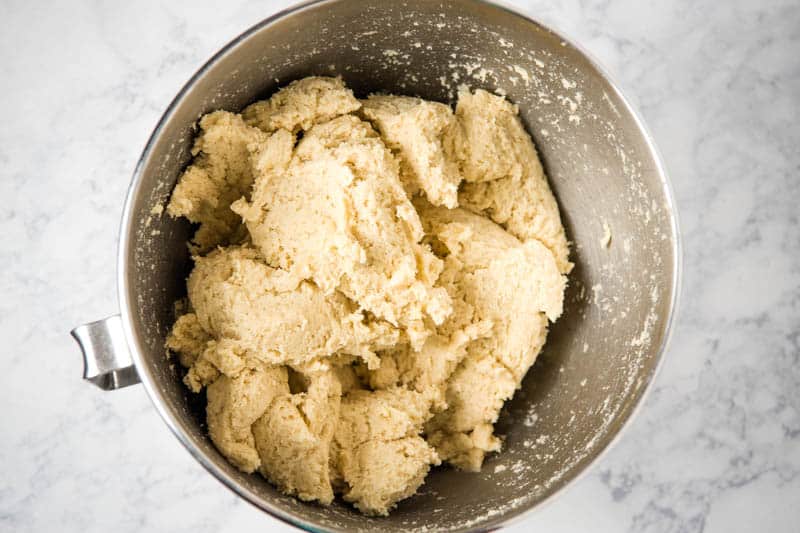
- Add the dry ingredients to the liquid ingredients.

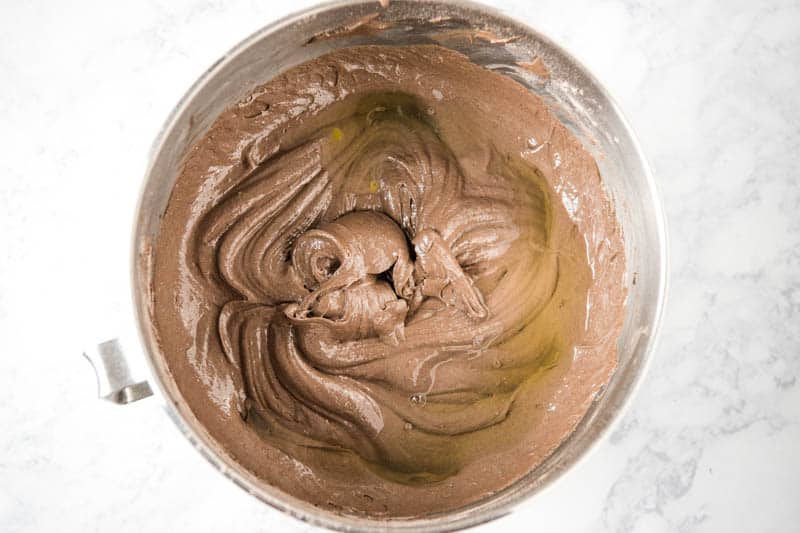
- Mix ’til you have a smooth cookie dough.
HOW LONG TO CHILL THE DOUGH
At this point, you’ll need to cover the dough closely with wax paper or plastic wrap, and chill it in the refrigerator overnight or at least 3-4 hours.
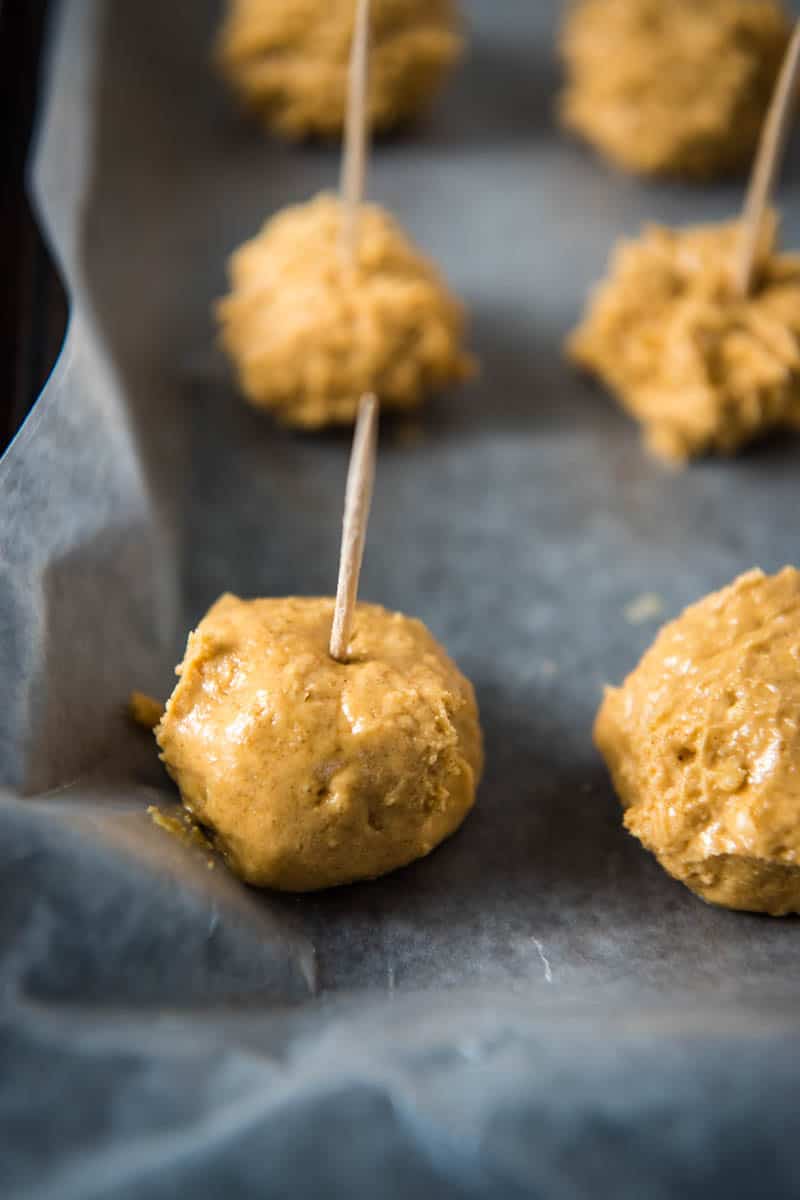
HOW TO ROLL SUGAR COOKIE DOUGH AND CUT OUT SHAPES
Be sure to pre-heat your oven to 425°F.
- When you’re ready to roll out the dough, turn it out onto a lightly floured surface, coating the dough with flour and kneading it until it’s less sticky and more pliable.
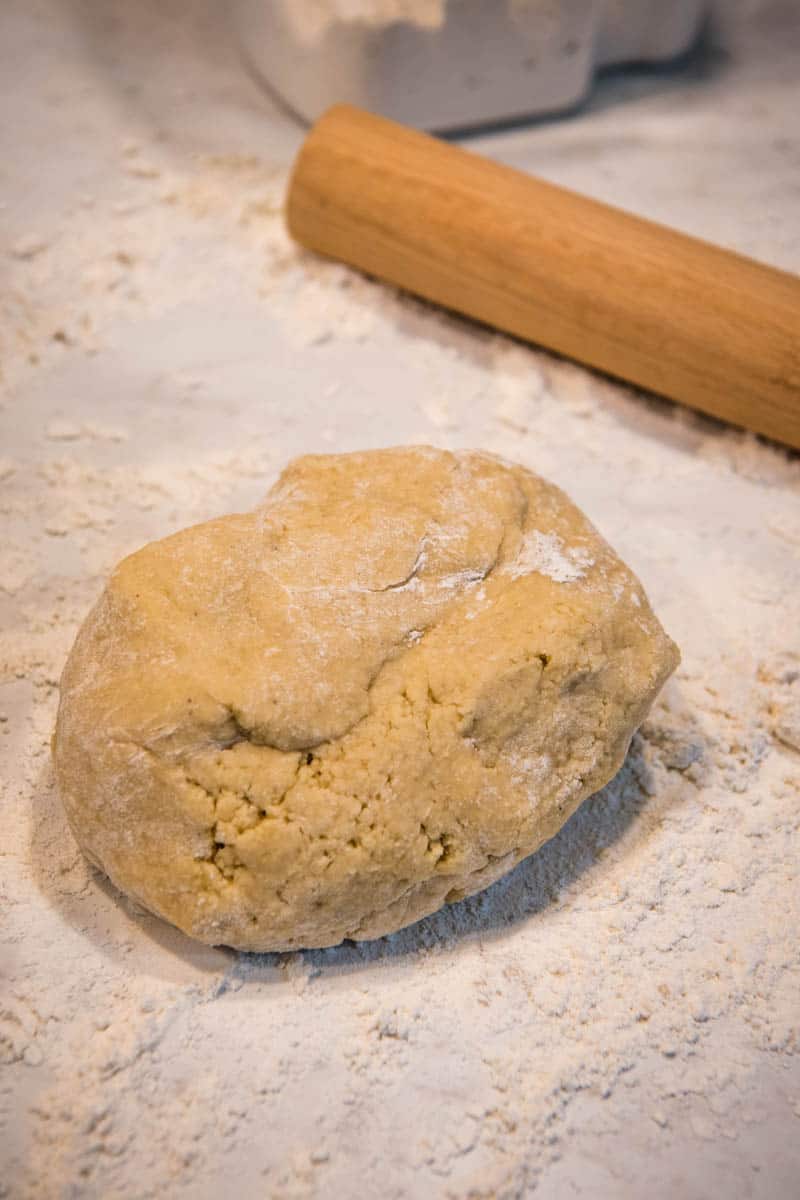
- Then roll the dough out to about a 1/4 to 1/2-inch thickness.

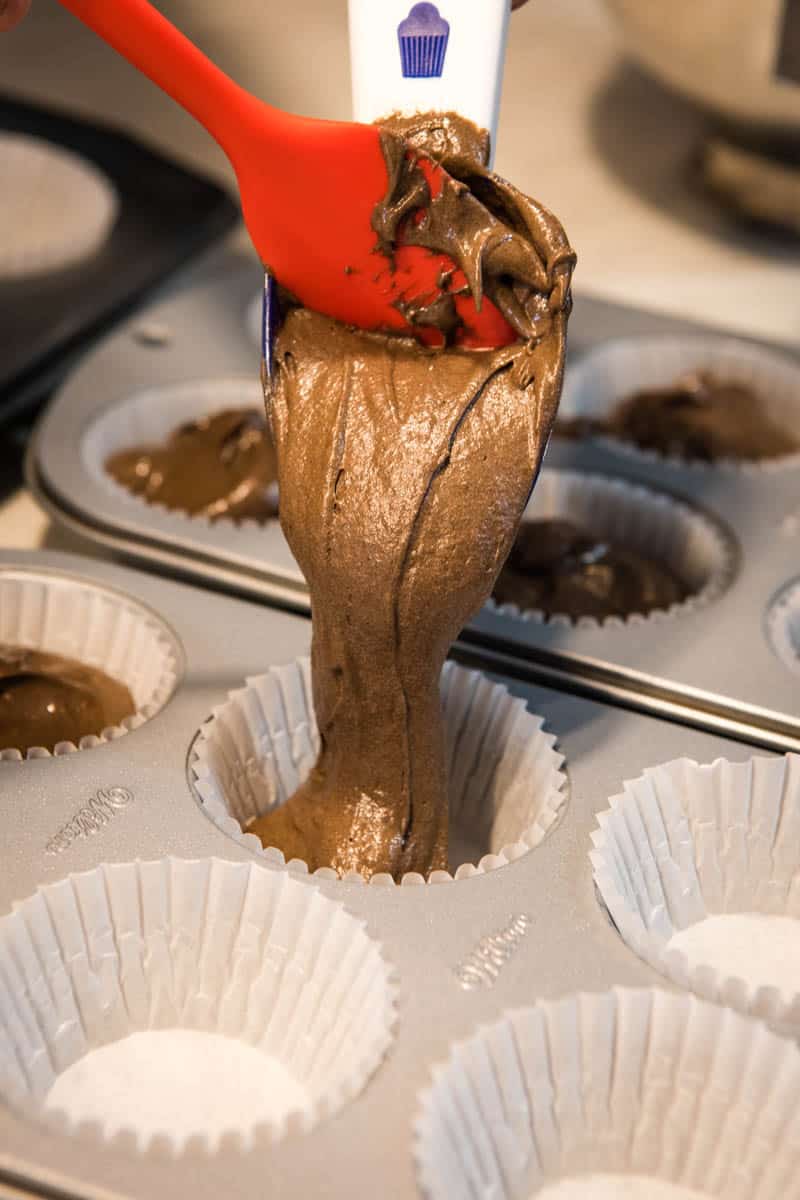
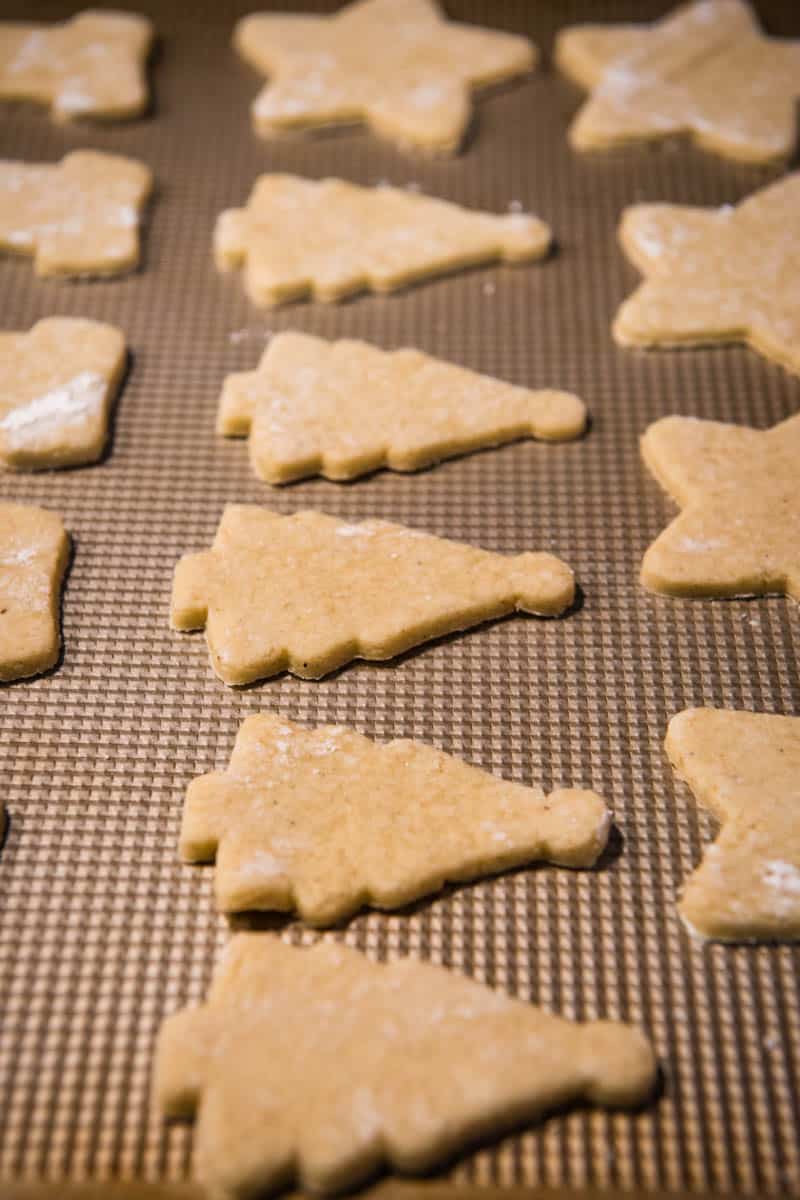
- Cut out the cookies with floured cookie cutters.
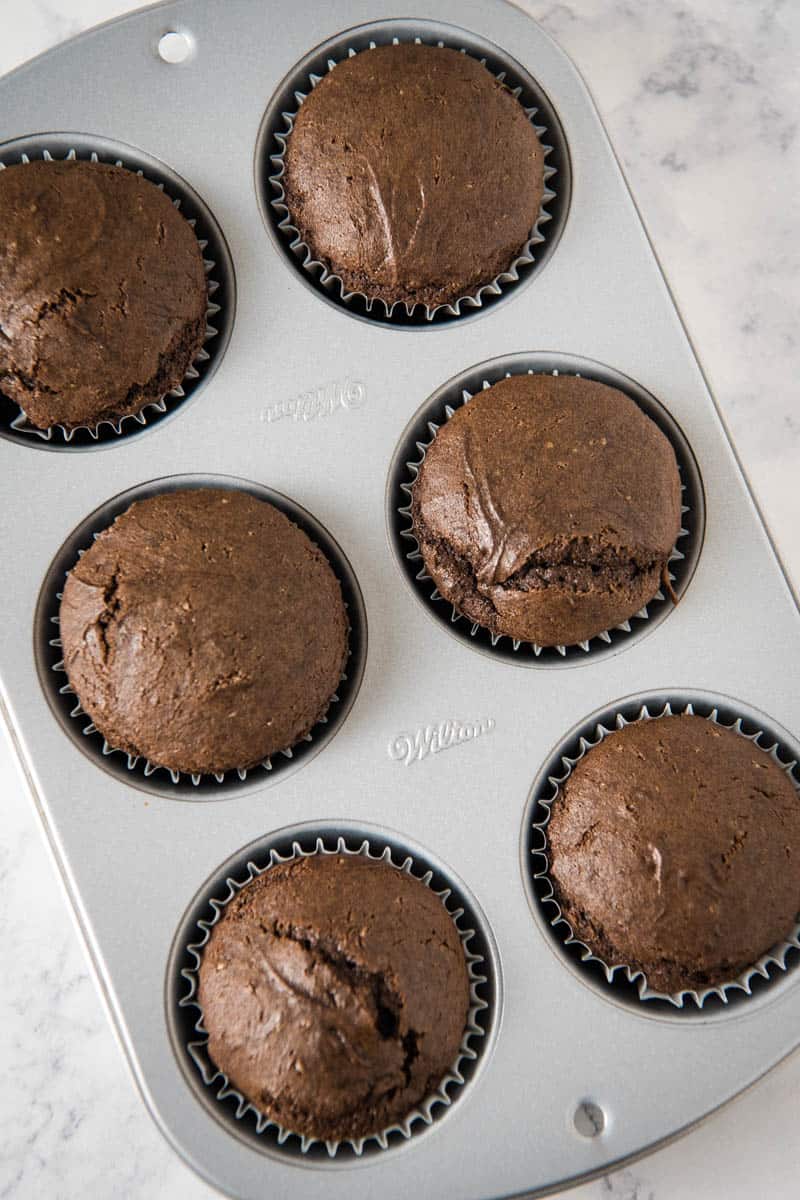
- Place the cutout cookies on an un-greased baking sheet, and bake at 425°F for about 8-10 minutes, or until the cookies begin to turn slightly golden. Allow them to cool on a wire rack.
Icing Alternative: If you don’t want to decorate your cookies with icing, you can sprinkle each cookie shape with sugar before baking. Colored sugar is especially festive.
WAYS TO DECORATE CUTOUT SUGAR COOKIES
As I’ve said before, around here, baking cutout sugar cookies is a family tradition. Every Christmas I always looked forward to decorating these cookies with my mom, and now it’s no different with my own kids.
Decorating sugar cookies is a great way to spend some much-needed time with the family, and there is no limit to creativity with this recipe. Here are some of the ways that we like to decorate our own cookies.
- Sugar cookie icing – I make my own powdered sugar icing, but you can even use a can from the store if desired. You can use cream cheese frosting, buttercream frosting, whipped cream frosting, or even a simple powdered sugar glaze.
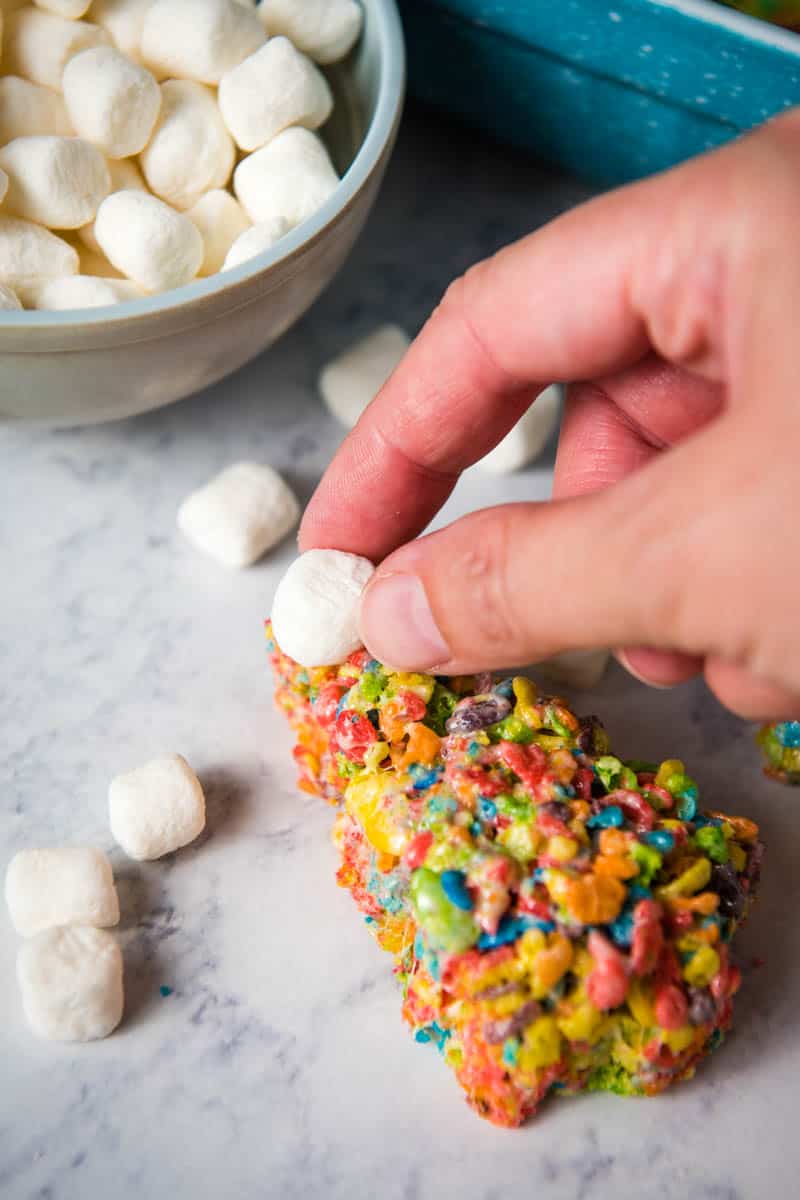
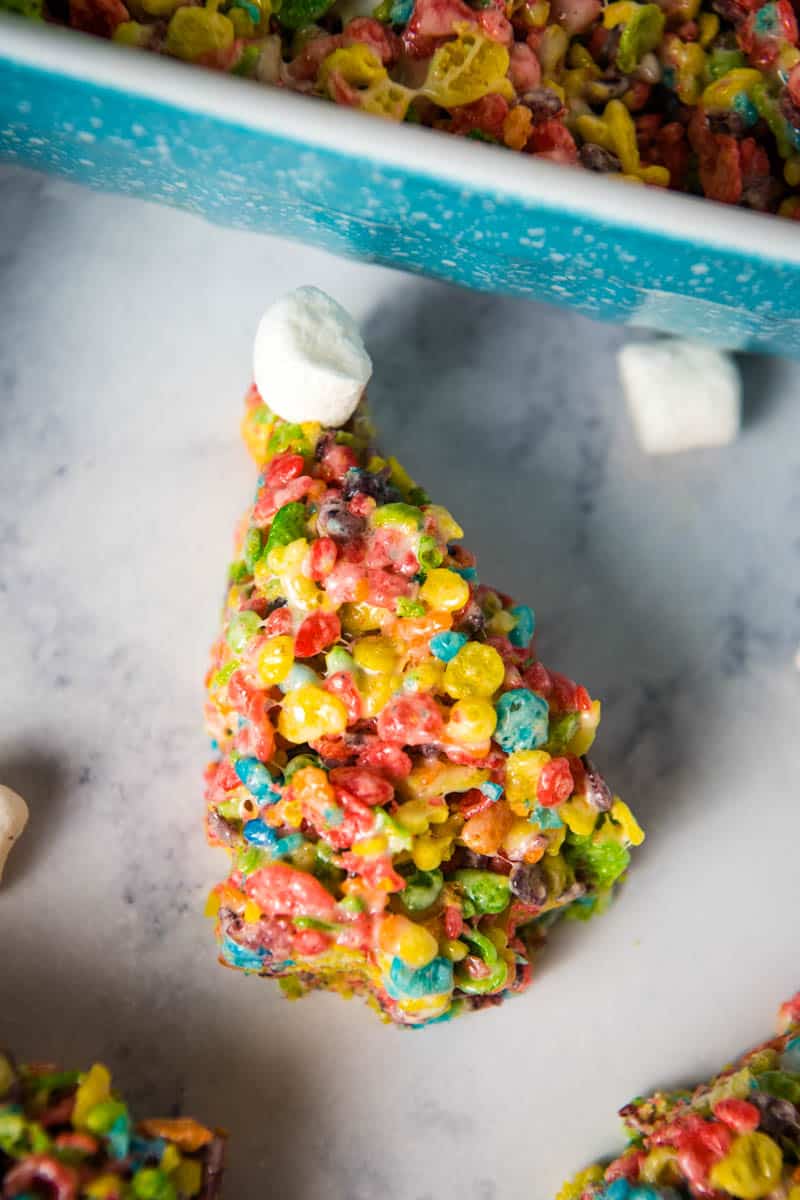
- Sprinkles – This is another no-brainer, and it’s easily my kids’ favorite decoration, probably due to the wide variety of different shapes and colors available in the supermarket. With kids, they also make a big mess!
- Rainbow Nonpareils – This is my personal favorite way to decorate after icing the cookies. These tiny sprinkles give a little crunch to each sugar cookie.
- Colored sugar – This is a great option if you’d like to keep it easy; you can even use regular sugar. Just sprinkle it on before the cookies are loaded into the oven.
HOW TO STORE DECORATED SUGAR COOKIES
Decorated sugar cookies must be stored in layers in between sheets of wax paper in an airtight container. The wax paper is essential in keeping the icing in-tact, preventing the cookies from sitting on top of each other and bleeding into each other.
Rolled sugar cookies are best enjoyed the first few days after baking.
WHY ARE MY SUGAR COOKIES HARD?
There are many possibilities as to why your cut out cookies are hard, but the most common and overlooked reason is that they’re overcooked.
Sugar cookies are fully cooked when the edges have just reached a light golden brown and the middle has begun to form miniature cracks, around 8-10 minutes at 425°F for this recipe. Any more than this will result in sugar rocks, not cookies.
It’s also possible that you’re overworking the dough; this can work the gluten in the flour to the point of elasticity, which makes for a hard, chewy cookie. When it comes to working the dough, keep it to the bare minimum!

HOW TO PREVENT CUT OUT COOKIES FROM SPREADING
Although this is a very common problem, it can be easily avoided. Here are some tips to keep your sugar cookies from spreading.
- Chill the dough – Chilling the dough helps tremendously to prevent spreading. The colder the temperature, the less greasy your dough will be; this is essential.
- Don’t over-mix – Over-mixing will destroy the natural structure of your cookies, and they simply won’t hold together; in fact, the excessive amount of air introduced into the dough during this process can actually cause your cookies to collapse in the oven! Don’t mix any more than you have to.
- Use colder butter – Using room temperature butter is best. If the butter is too warm, it will melt into the dough and create a greasy mess with no structure whatsoever.
- Work the dough properly – Don’t overwork the dough, and don’t roll it out more than you have to. As you work the dough, the heat of your hands will melt the butter, creating an excessive amount of grease that will most certainly cause your cookies to spread in the oven.
- Use plenty of flour – Having enough flour is crucial in baking a spread-resistant sugar cookie. These cookies are naturally fatty, and they need just the right amount of flour to soak up any grease that forms; be precise.
CAN YOU FREEZE SUGAR COOKIE DOUGH?
Yes, there are a couple of ways to freeze raw sugar cookie dough, depending on whether you plan to freeze the entire dough ball or freeze individual cutout cookies. Raw dough will last up to 3 months in the freezer.
- To freeze the dough before cutting out the cookies, simply roll it into a ball, wrap it in plastic wrap, and place it in an airtight container in the freezer.
- Otherwise, you can go ahead and cut out the cookies beforehand, placing them in between alternating layers of wax paper in an airtight container.
Bake the frozen cutout cookies as normal, adding a few minutes to make up for the frozen state. On the other hand, a glob of uncooked dough will need to be thawed until you are able to cut through the dough with a sharp knife, around 30 minutes at room temperature, or several hours in the refrigerator.
CAN YOU FREEZE BAKED OR DECORATED COOKIES?
Yes, you can absolutely freeze baked and decorated sugar cookies.
Once they are decorated, place the completely cooled cookies in sealed freezer bags, ensuring that they each have plenty of space. Next, stack these freezer bags into airtight containers in the freezer.
When you pull the cookies out of the freezer, let them thaw for several hours at room temperature. Never let your decorated cookies thaw in the refrigerator, as the resulting condensation will ruin your icing.
MORE CLASSIC CHRISTMAS COOKIES
- Chewy Gingerbread Cookies
- Hot Chocolate Cookies
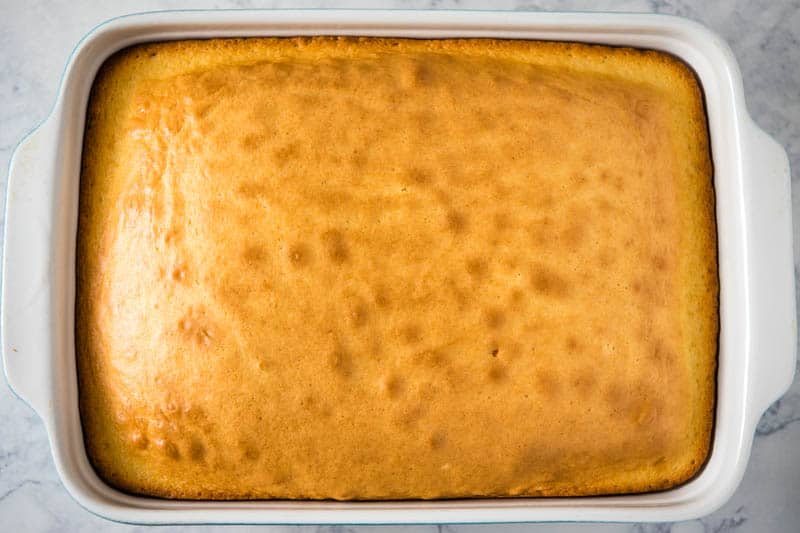
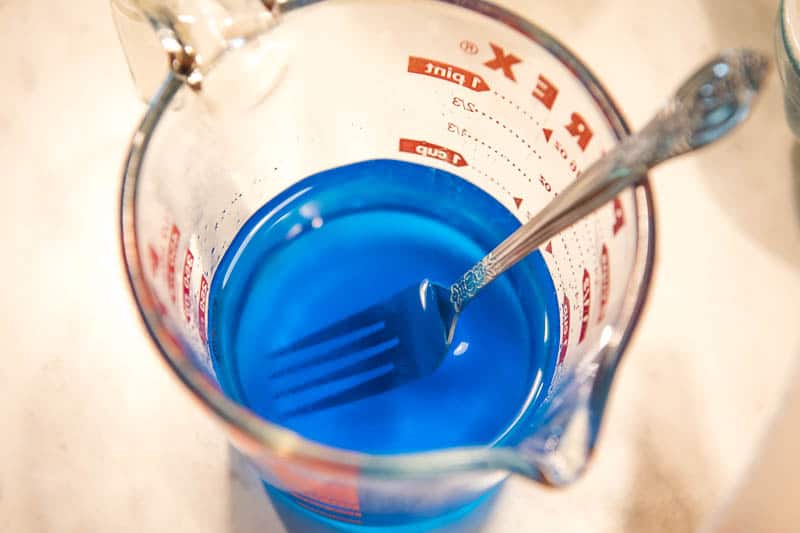
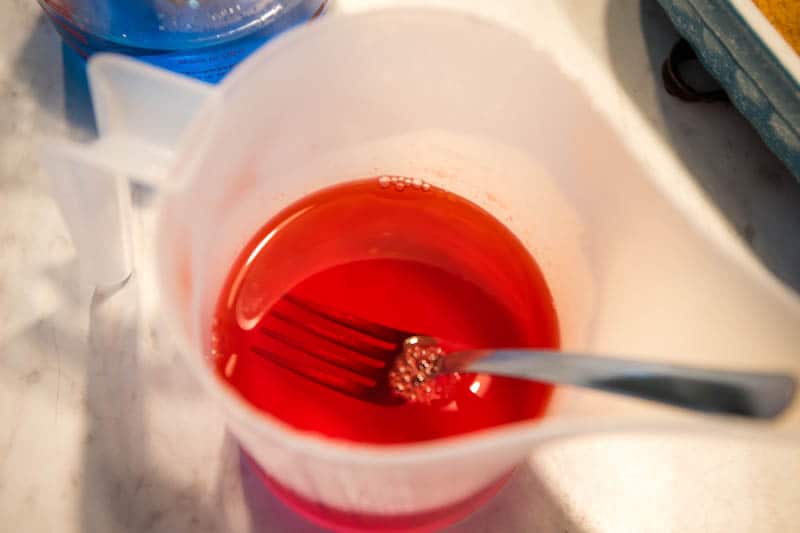
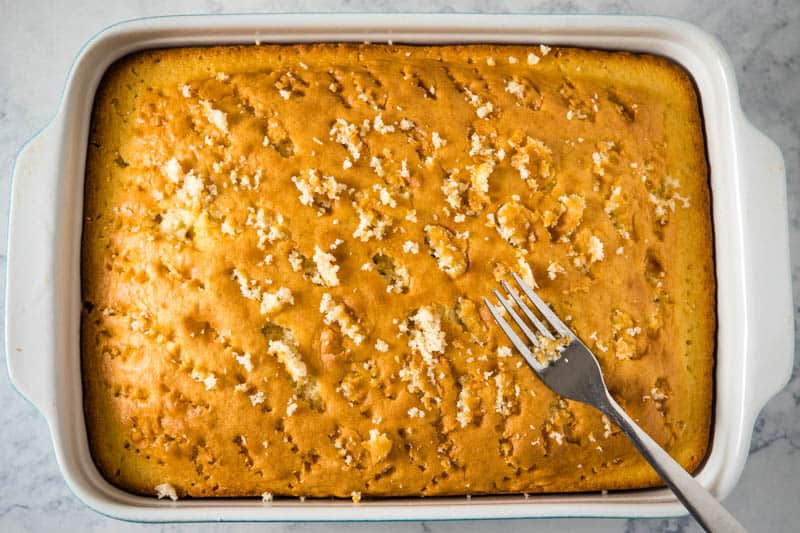
- Jello sugar cookies – Make them in festive colors!
- Chocolate Lover’s Christmas Light Cookies
- Butter Almond Snowball Christmas Cookies
- 30 Classic Christmas Cookies
You can find even more holiday recipes on my list of favorite Christmas recipes!
GET THE PRINTABLE RECIPE
If you love these Christmas cut out cookies as much as I do, please write a 5 star review, and help me share the recipe on Facebook and Pinterest!
CRAVING MORE DELICIOUS RECIPES? Subscribe to my newsletter, and follow along on Pinterest, Facebook, YouTube, and Instagram for all the latest updates!
Cut Out Sugar Cookie Recipe
How to make the best cut out sugar cookie recipe. My mom's recipe for crisp, soft sugar cookies you can decorate with icing and sprinkles.
- Stand Mixer
- Pastry Blender
- Rolling Pin
- Cookie Sheet
- Cookie Cutters
- Wire Rack
Cookie Dough:
- 4 cups all-purpose flour
- 1 teaspoon baking soda
- 1 teaspoon ground nutmeg
- 1/2 teaspoon salt
- 1 1/2 cups cane sugar
- 1 1/2 cups unsalted butter
- 1/2 cup buttermilk
- 1 teaspoon vanilla extract
- 2 large eggs (slightly beaten)
Cookie Icing:
- 4 tablespoons salted butter (softened)
- 1 teaspoon vanilla extract
- 1 teaspoon almond extract
- 1 cup whole milk
- 6 cups powdered sugar
- Food coloring ((optional))
Sugar Cookies:
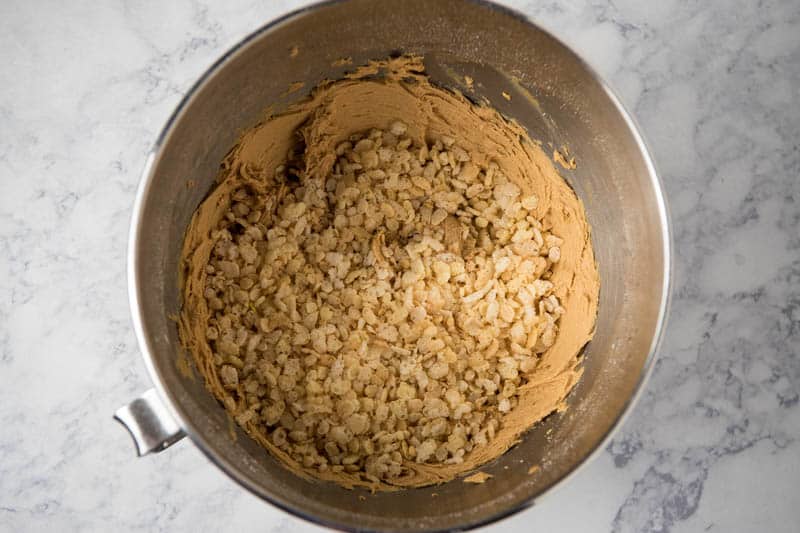
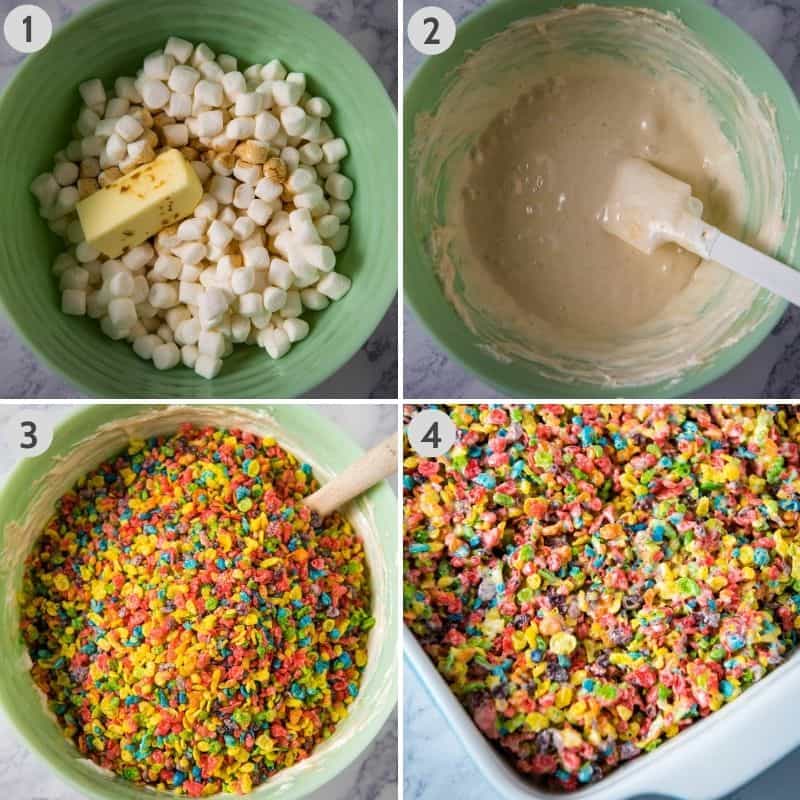
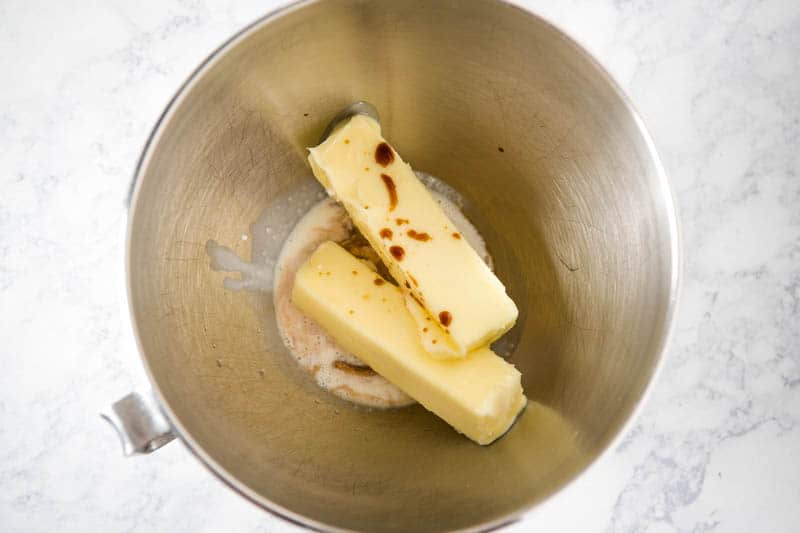
In a large mixing bowl, sift together the flour, baking soda, ground nutmeg, salt, and sugar.
Using a pastry blender, cut the butter into the dry ingredients until it is as fine as corn meal.
In a separate large mixing bowl, combine the buttermilk, vanilla extract, and slightly beaten eggs.
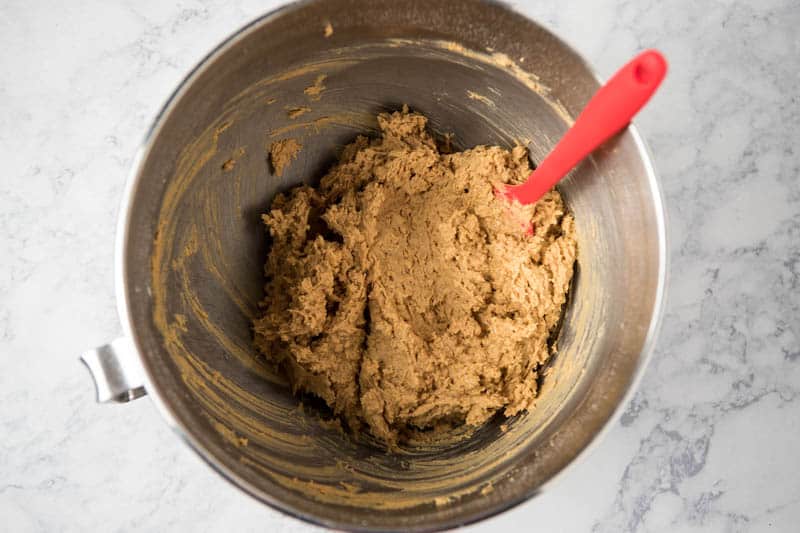
- Add the dry ingredients to the liquid ingredients, mixing ’til you have a smooth cookie dough.
Cover the dough and chill in the refrigerator overnight, or at least 4 hours.
Pre-heat the oven to 425° F.
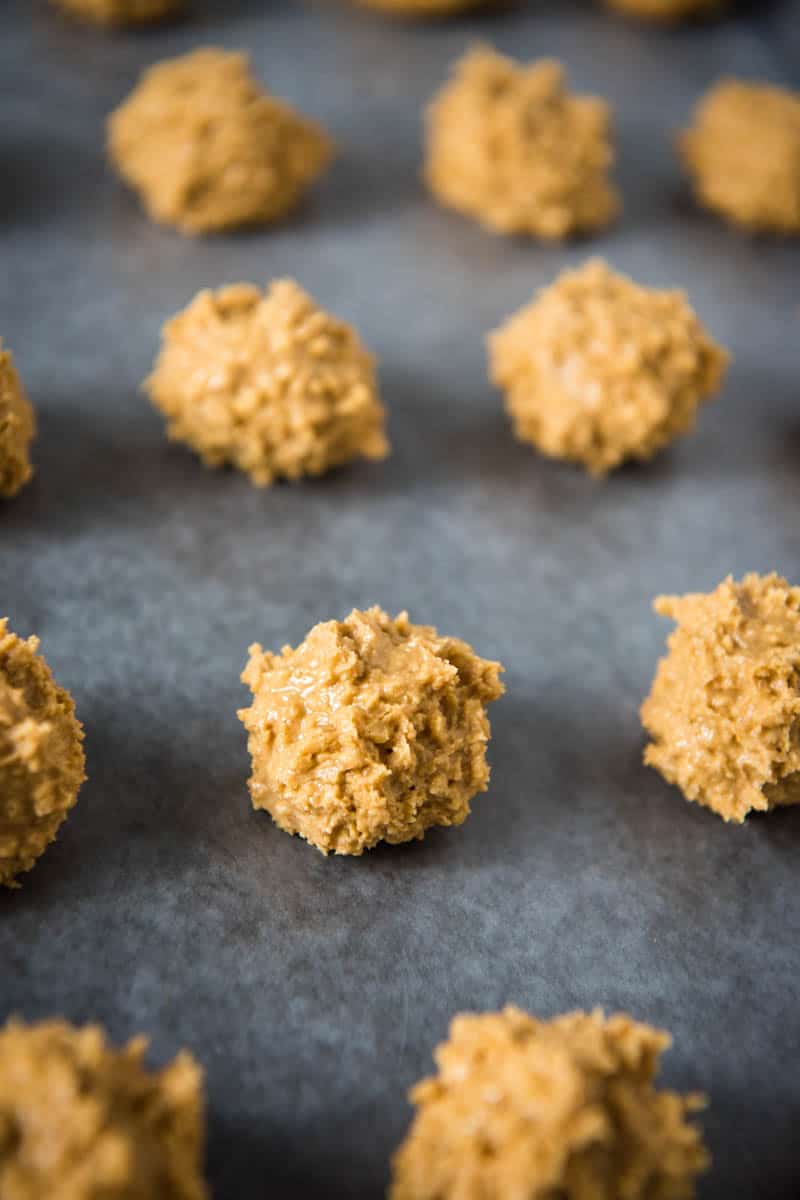
Turn the dough out onto a lightly floured surface, coating the dough with flour and kneading it until it's less sticky and more pliable.
- Then roll the dough out to about a 1/4 to 1/2-inch thickness.
Cut out cookies with floured cookie cutters.
Place the cutout cookies on an un-greased cookie sheet, and bake at 425° F for about 8-10 minutes, or until the cookies begin to turn slightly golden.
Place the cookies on a wire rack to cool completely before decorating.
Cookie Icing:
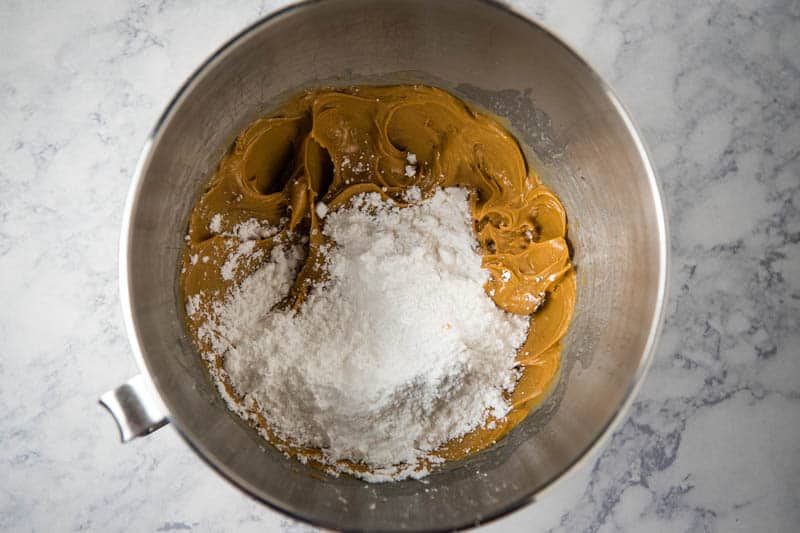
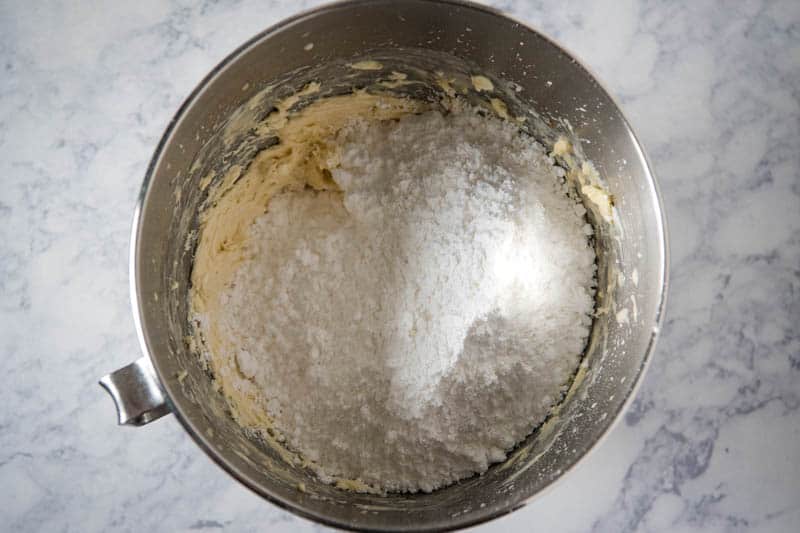
In a large mixing bowl, mix together the softened butter, vanilla extract, and almond extract.
Add the milk to the mixture.
Slowly add the powdered sugar to the mixture, mixing it in as you go; the finished icing should be smooth, creamy, and spreadable.
Optional Step: At this point, you can add food coloring, if desired.
Decorate the sugar cookies with icing, sprinkles, and nonpareils.
*I make my own buttermilk or sour milk by adding about a tablespoon of vinegar to a glass measuring cup, then adding milk to the 1/2 cup line. The vinegar sours the milk, so it becomes an excellent substitute for buttermilk.
*Icing Alternative: If you don’t want to decorate your cookies with icing, you can sprinkle each cookie shape with sugar before baking. Colored sugar is especially festive.
WAYS TO DECORATE CUTOUT SUGAR COOKIES
As I’ve said before, around here, baking cutout sugar cookies is a family tradition. Every Christmas I always looked forward to decorating these cookies with my mom, and now it’s no different with my own kids.
Decorating sugar cookies is a great way to way to spend some much-needed time with the family, and there is no limit to creativity with this recipe. Here are some of the ways that we like to decorate our own cookies.
- Sugar cookie icing – I make my own powdered sugar icing (linked in the ingredients list above), but you can even use a can from the store if desired. You can use cream cheese frosting, buttercream frosting, whipped cream frosting, or even a simple powdered sugar glaze.
- Sprinkles – this is another no-brainer, and it’s easily my kids’ favorite decoration, probably due to the wide variety of different shapes and colors available in the supermarket. With kids, they also make a big mess!
- Rainbow Nonpareils – This is my personal favorite way to decorate after icing the cookies.
- Colored sugar – this is a great option if you’d like to keep it easy; you can even use regular sugar. Just sprinkle it on before the cookies are loaded into the oven.
HOW TO STORE DECORATED SUGAR COOKIES
Decorated sugar cookies must be stored in layers in between sheets of wax paper in an airtight container. The wax paper is essential in keeping the icing in-tact, preventing the cookies from sitting on top of each other and bleeding into each other.
Rolled sugar cookies are best enjoyed the first few days after baking.
HOW TO PREVENT CUT OUT COOKIES FROM SPREADING
Although this is a very common problem, it can be easily avoided. Here are some tips to keep your sugar cookies from spreading.
- Chill the dough – Chilling the dough helps tremendously to prevent spreading. The colder the temperature, the less greasy your dough will be; this is essential.
- Don’t over-mix – Over-mixing will destroy the natural structure of your cookies, and they simply won’t hold together; in fact, the excessive amount of air introduced into the dough during this process can actually cause your cookies to collapse in the oven! Don’t mix any more than you have to.
- Use colder butter – Using room temperature butter is best. If the butter is too warm, it will melt into the dough and create a greasy mess with no structure whatsoever.
- Work the dough properly – Don’t overwork the dough, and don’t roll it out more than you have to. As you work the dough, the heat of your hands will melt the butter, creating an excessive amount of grease that will most certainly cause your cookies to spread in the oven.
- Use plenty of flour – Having enough flour is crucial in baking a spread-resistant sugar cookie. These cookies are naturally fatty, and they need just the right amount of flour to soak up any grease that forms; be precise.
CAN YOU FREEZE SUGAR COOKIE DOUGH?
Yes, raw dough will last up to 3 months in the freezer.
- To freeze the dough before cutting out the cookies, simply roll it into a ball, wrap it in plastic wrap, and place it in an airtight container in the freezer.
- Otherwise, you can go ahead and cut out the cookies beforehand, placing them in between alternating layers of wax paper in an airtight container.
Bake the frozen cutout cookies as normal, adding a few minutes to to make up for the frozen state. On the other hand, a glob of uncooked dough will need to be thawed until you are able to cut through the dough with a sharp knife, around 30 minutes at room temperature, or several hours in the refrigerator.
CAN YOU FREEZE BAKED OR DECORATED COOKIES?
Yes. Once they are decorated, place the completely cooled cookies in sealed freezer bags, ensuring that they each have plenty of space. Next, stack these freezer bags into airtight containers in the freezer.
When you pull the cookies out of the freezer, let them thaw for several hours at room temperature. Never let your decorated cookies thaw in the refrigerator, as the resulting condensation will ruin your icing.