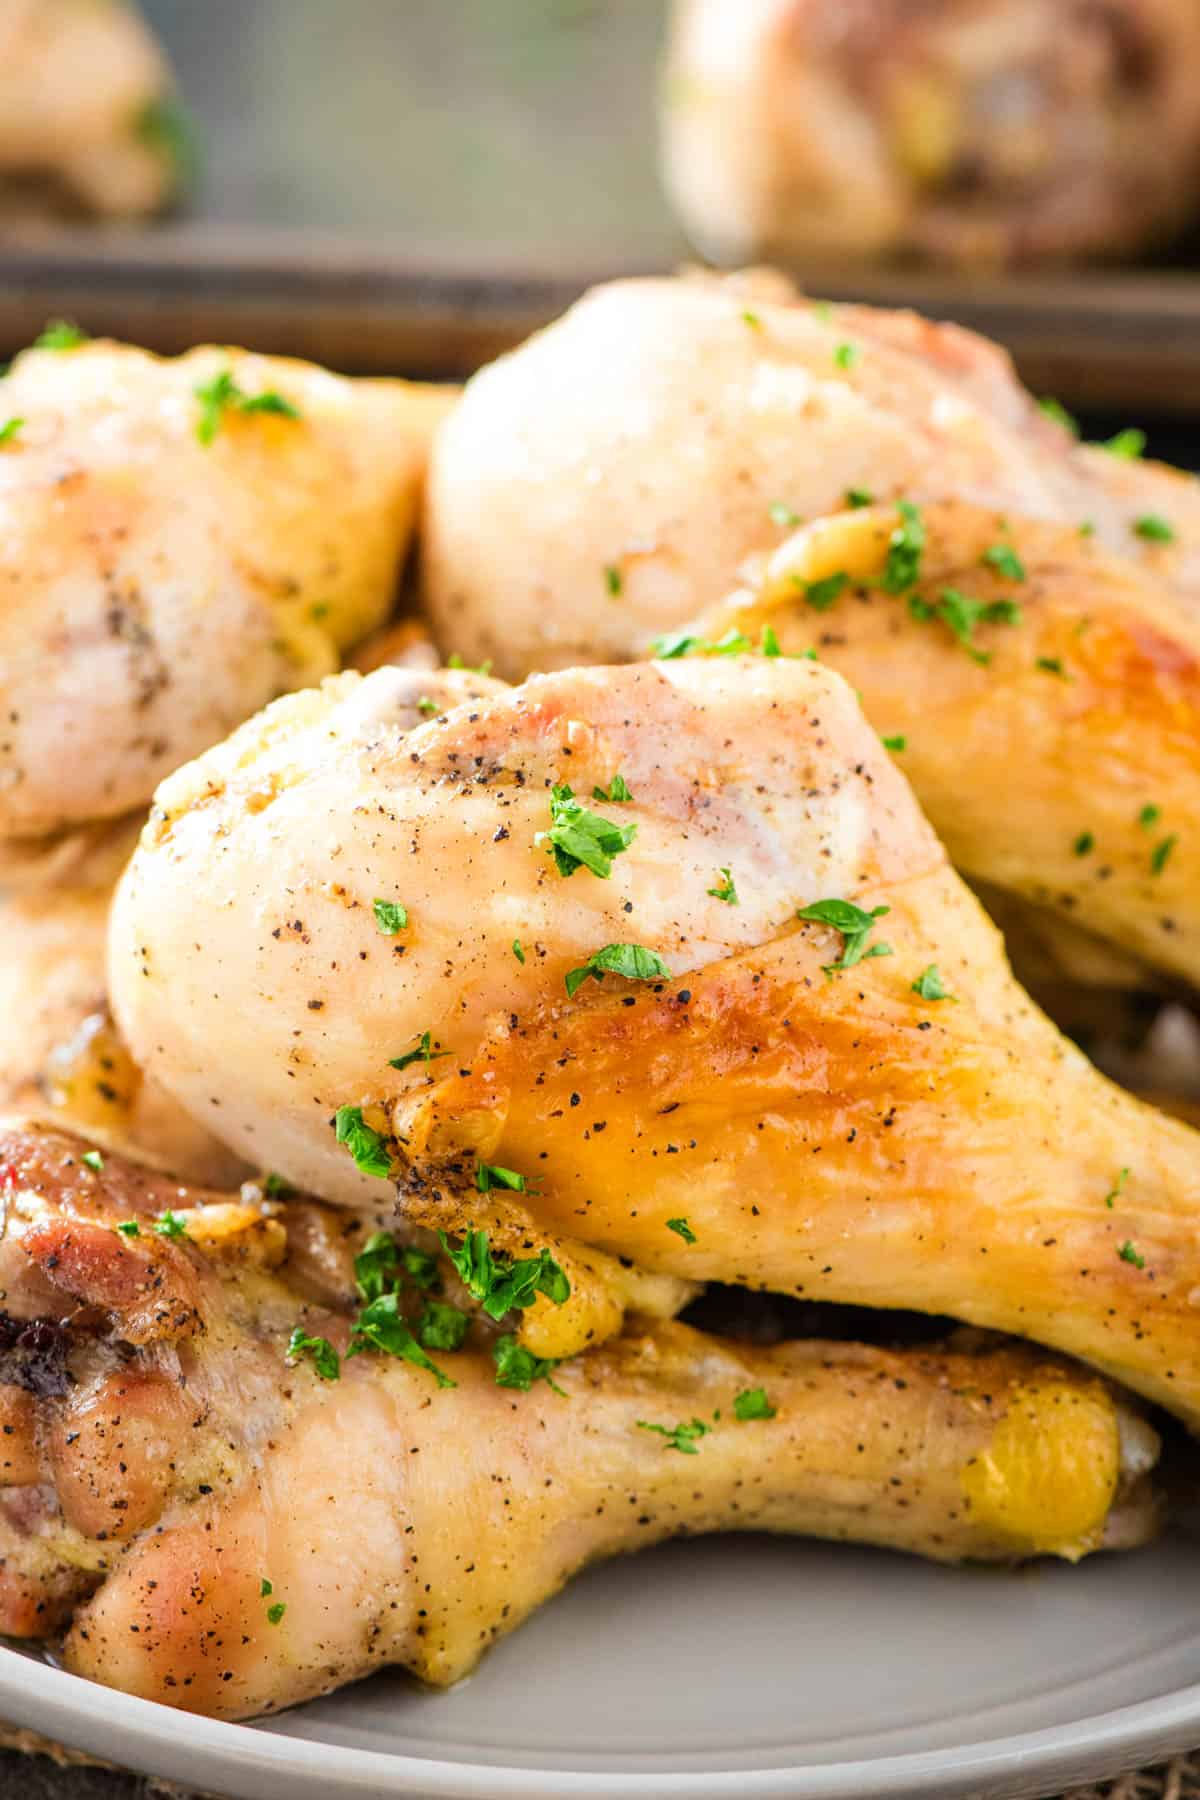

How to make crispy baked chicken drumsticks in the oven. Simple and easy dinner staple recipe for the tastiest, most tender and juicy baked chicken legs in 45 minutes or less!
Lately I’ve been making a lot of chicken dinners, both because it’s healthy, but also because chicken is so cheap. We love garlic parmesan chicken skewers and crispy Pringles chicken, but sometimes you just need an easy weeknight dinner. I can’t think of a better chicken recipe than these oven-baked chicken drumstick, except for maybe my family’s favorite slow cooker whole chicken, or Instant Pot whole chicken if you don’t have time for the slow cooker.

If you like chicken, you’ll love maple bourbon brined roasted turkey. I also enjoy a good oven roasted pork roast, this roasted pork tenderloin and these family favorite maple pork chops with apples and onions.
Why My Family Loves Baked Chicken Drumsticks
- It’s a simple and easy dinner recipe that you can make in 45 minutes or less. It uses budget-friendly ingredients, so baked chicken drums are pretty cheap to make.
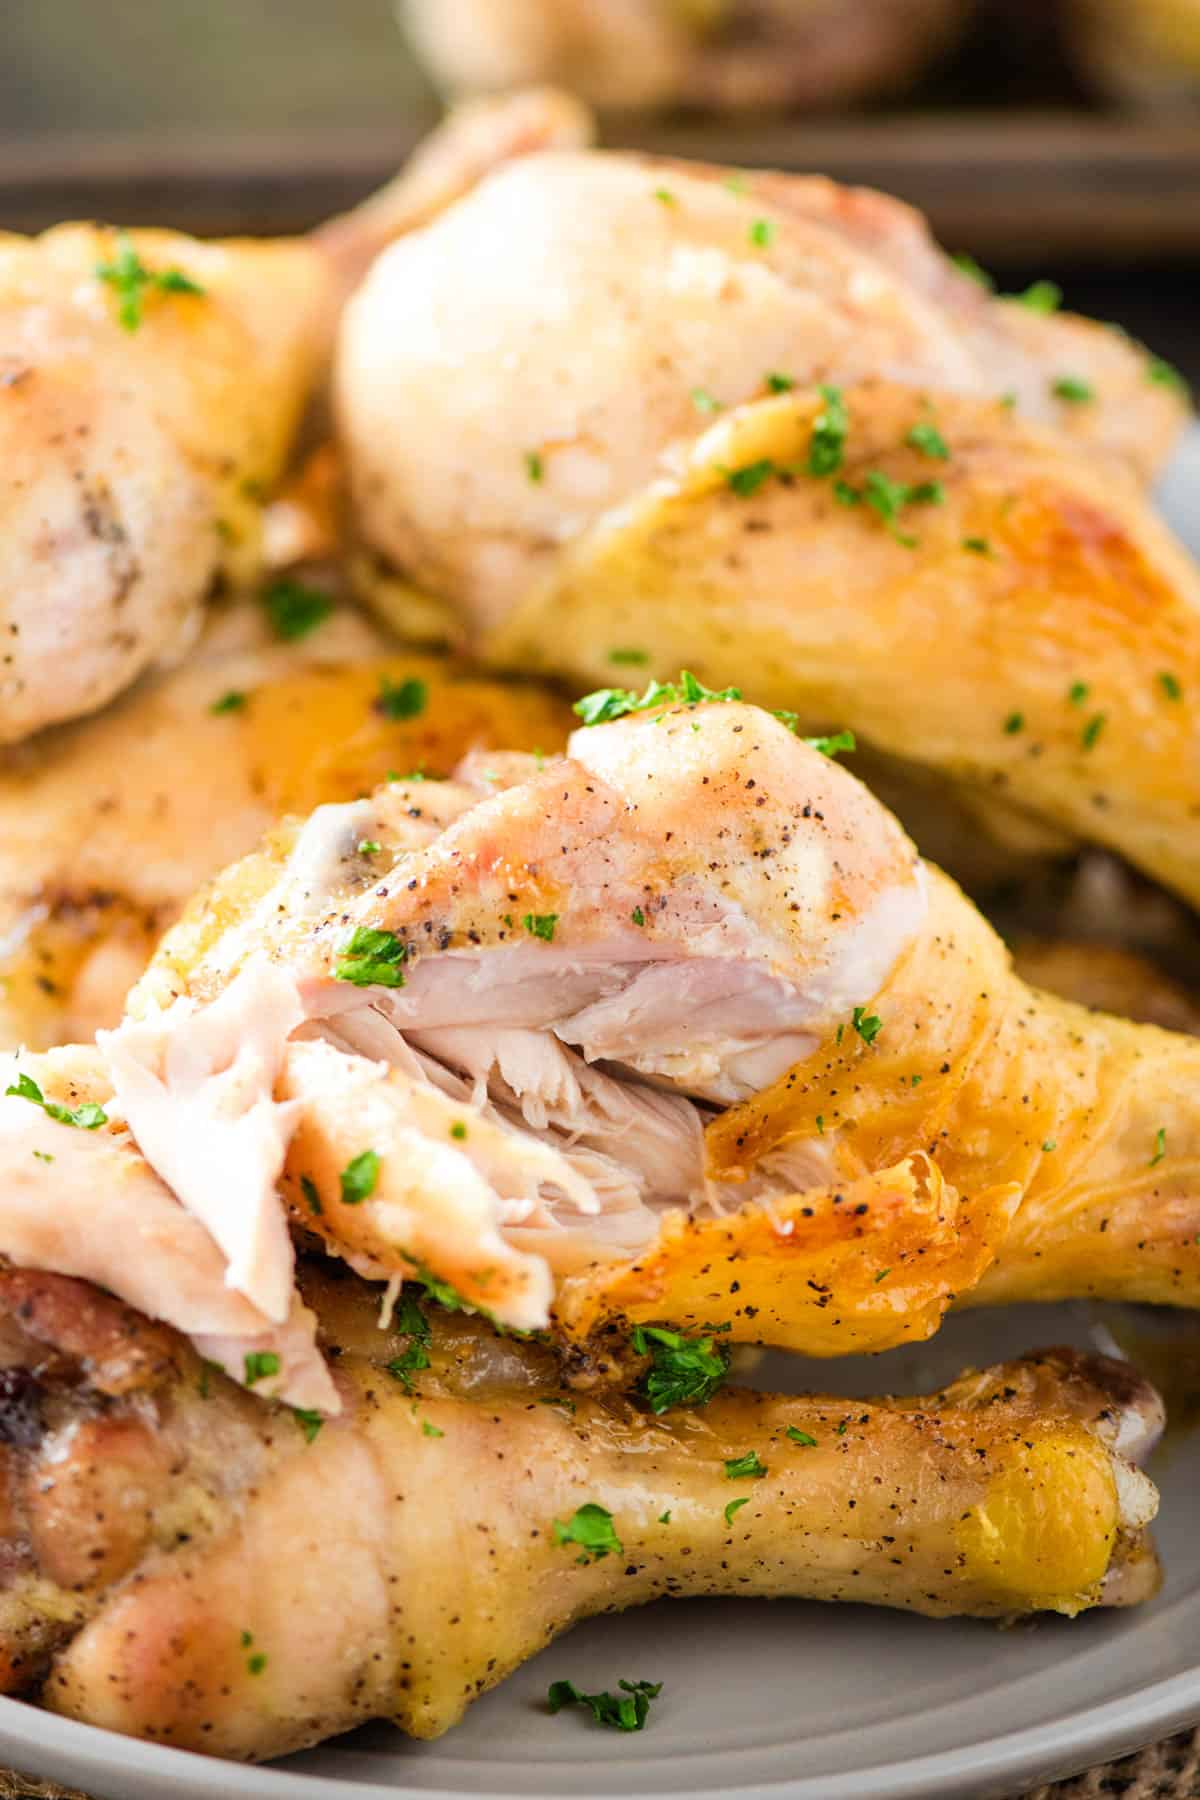
- These baked chicken legs have a melt-in-your-mouth moist & tender interior and a perfectly crispy skin. They are truly finger-lickin’ good!
- Chicken legs are healthy and nutritious, with lean, dark meat that’s chock full of essential vitamins and minerals, including vitamin B6, phosphorous, iron, zinc, selenium and niacin.
- Baked chicken legs are a versatile dinner staple. You can add different seasonings based on what you prefer, or you can marinate them ahead of time for extra flavor. Even better, those of you with food allergies can be sure to use 100% allergen-free ingredients.
- Feel free to double, triple or even quadruple this recipe to feed a crowd. Great for potlucks, parties or any other large gathering!
Ingredients & Substitutions Notes
This recipe uses simple ingredients, so chances are that you may already have everything on hand…
- Drumsticks – I just use bone-in, skin-on whole chicken legs for this chicken drumsticks recipe, but you can use just about any cut you want, including chicken thighs and chicken breasts.
- Olive Oil – I like to use a little bit of olive oil to help the spices to stick to the chicken, and it also helps to keep your baked chicken drums from sticking to the baking sheet in the oven!
- Spices – Most of the time I just keep things simple with a dash of salt, black pepper and a little bit of poultry seasoning. You can also use barbecue seasoning or even Italian seasoning, or other spices, like parsley, oregano, basil, thyme, garlic powder, onion powder, chili powder, paprika, chipotle pepper, cayenne pepper, cumin, mustard powder, lemon pepper, and brown sugar.
If you’re looking for an extra kick of flavor, you might try placing your chicken legs in a marinade for several hours or overnight before baking. Here’s a great guide on how to marinate chicken.
How to Make Oven Baked Chicken Drumsticks
Before getting started, preheat your oven to 375ºF and lightly coat a 13×9 baking sheet with nonstick cooking spray. Optionally, you can line your baking sheet with aluminum foil or parchment paper for easier cleanup.
How to Cook Baked Chicken Drumsticks
- Start by whisking the olive oil, salt, pepper and any other seasonings in a large mixing bowl, ’til well combined; add your chicken legs to the large bowl and toss until well coated with oil and seasonings.
- Lay each chicken drum out on the large sheet pan that you prepped in the first step. At this point, you can sprinkle on more seasonings if desired.
- Bake your chicken drumsticks at 375ºF for about 20 minutes, and then rotate the tray 180º before baking for another 25 minutes, ’til there’s no pink inside and the internal temperature reaches at least 180ºF with a meat thermometer. Higher temperatures make for better tasting and more tender chicken legs, but take care not to burn them.

Keep in mind that the cooking time may vary, so you’ll want to keep an eye on things. Thankfully, this chicken leg recipe is fairly forgiving!
What to Serve with Baked Chicken Legs
Now that your juicy chicken drumsticks are ready to serve, here are some of my favorite side dish recipes that you can serve them with…
- I love to top off my chicken legs with this mango peach salsa, and my kids love this salsa recipe with fruit.
- Here’s how to make an easy chicken gravy from bouillon to serve up with these easy chicken drumsticks.
- Another classic side dish is mashed potatoes or baked potatoes. If you’re feeding a crowd, make your own mashed potato bar, or even a baked potato bar!
- Don’t like regular potatoes? What about these easy Instant Pot sweet potatoes?
- If you like mashed potatoes with your baked chicken legs, you’ll love these CrockPot baked beans.
- These crispy steak fries make a good side for just about any meal. Take it a step further and make these loaded chili cheese fries!
- Looking for a healthier side dish? These honey glazed carrots are so good!
- My whole family loves these Instant Pot southern green beans with just about any chicken dinner.
- You can’t go wrong with chicken and fried rice with pork!
- You can also make broccoli salad, this dill veggie finger salad, a creamy layered salad or this easy pasta salad recipe.
- Finally, everybody loves corn on the cob. The guys make Mexican corn on the cob whenever we have sweet corn for dinner!
Expert Tips and Recipe FAQ’s
Yes, you can double, triple or even quadruple this recipe to feed a crowd. If you’re using multiple baking sheets on multiple racks in the oven, you may want to rotate them to different racks midway through the baking time, so as to ensure that everything cooks evenly.
You can store your baked chicken drumsticks in an airtight container in the refrigerator for up to 3-4 days. For best results, I recommend getting them into the refrigerator no longer than 2 hours after baking.
You can freeze cooked drumsticks, but for best results I recommend prepping your chicken legs ahead of time and freezing them raw to bake later on. The best way to do this is to place them in a foil pan, and then coat with any seasonings and olive oil. Simply cover the pan with aluminum foil and transfer to the freezer, where it should keep for up to 3 months; then bake as directed in the recipe.
You can bake your chicken drumsticks in the covered foil pan from frozen, or you can let them thaw out in the refrigerator overnight. If baking from frozen, keep in mind that you may have to add an extra 10-15 minutes to the baking time to make up for the cold starting temperature.
If you try this recipe, why not leave a star rating in the recipe card right below and/or a review in the comment section further down the page? I always appreciate your feedback. You can also follow me on Pinterest, Facebook, Instagram, and YouTube. And subscribe to my email list too!
Baked Chicken Drumsticks

How to make crispy oven baked chicken drumsticks for dinner. Easy recipe for perfectly tender & juicy chicken legs in 45 minutes or less!
- 13×9 Baking Sheet
- Large Mixing Bowl
- 17 Chicken Drumsticks
- 1/4 cup Olive Oil
- 3/4 teaspoon Sea Salt
- 1/2 teaspoon Black Pepper
- 2 tablespoons Fresh Parsley (optional)
Before getting started, preheat your oven to 375ºF and lightly coat a 13×9 baking sheet with cooking spray.*
Start by whisking the olive oil, salt, pepper and any other seasonings in a large mixing bowl, 'til well combined.
Add your chicken legs to the bowl and toss until well coated with oil and seasonings.
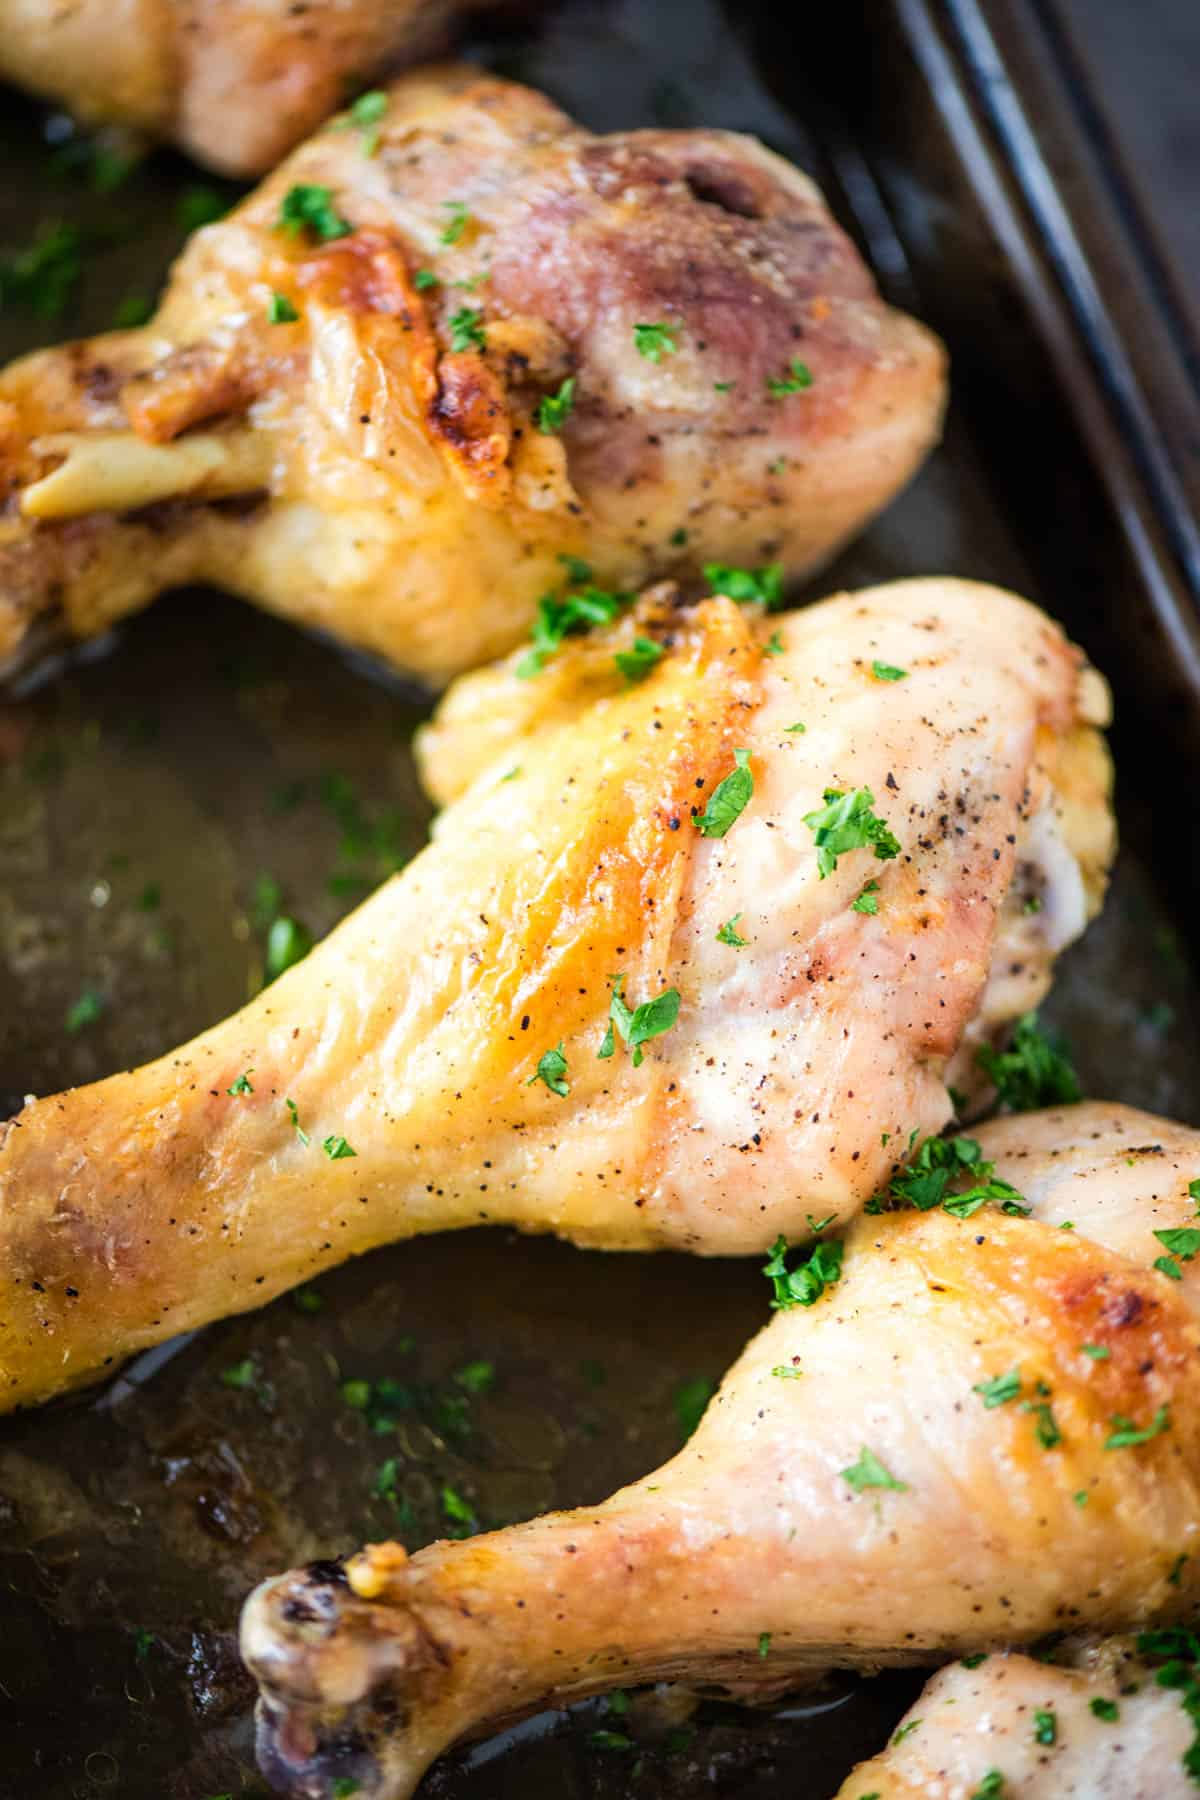
Lay each chicken drum out on the large baking sheet that you prepped in the first step. At this point, you can sprinkle on more seasonings if desired.
Bake your chicken drumsticks at 375ºF for about 20 minutes, and then rotate the tray 180º before baking for another 25 minutes, 'til there's no pink inside and the internal temperature reaches at least 180ºF with a meat thermometer.
Garnish with fresh parsley, if desired, and then serve with all of your favorite side dishes!
*Optionally, you can line your baking sheet with aluminum foil or parchment paper for easier cleanup.
How do you store leftover baked chicken legs?
You can store your baked chicken drumsticks in an airtight container in the refrigerator for up to 3-4 days. For best results, I recommend getting them into the refrigerator no longer than 2 hours after baking.
Leave a Reply