

How to make the best ever strawberry oatmeal that’s perfectly sweet and creamy with freeze-dried strawberries and old fashioned rolled oats. Healthy & nutritious breakfast or brunch that’s so easy to make in 15 minutes or less! You can double, triple or even quadruple this recipe to feed a crowd, and I’ll show you how to make it ahead of time for those busy mornings on the go.
I can’t think of a more wholesome breakfast or brunch than oatmeal. It’s fast and easy, and it provides just the right amount of whole grain calories to get the day started. My family usually requests peaches and cream oatmeal or maple brown sugar oatmeal, but this strawberry oatmeal has become our new favorite flavor!
We used to go through a lot of instant oatmeal from the store, but homemade is just so much healthier. I’ve been making it for so long now, that I’ll show you how to make perfect strawberry oatmeal with tons of juicy berry flavor every time!
Ingredients & Substitutions Notes
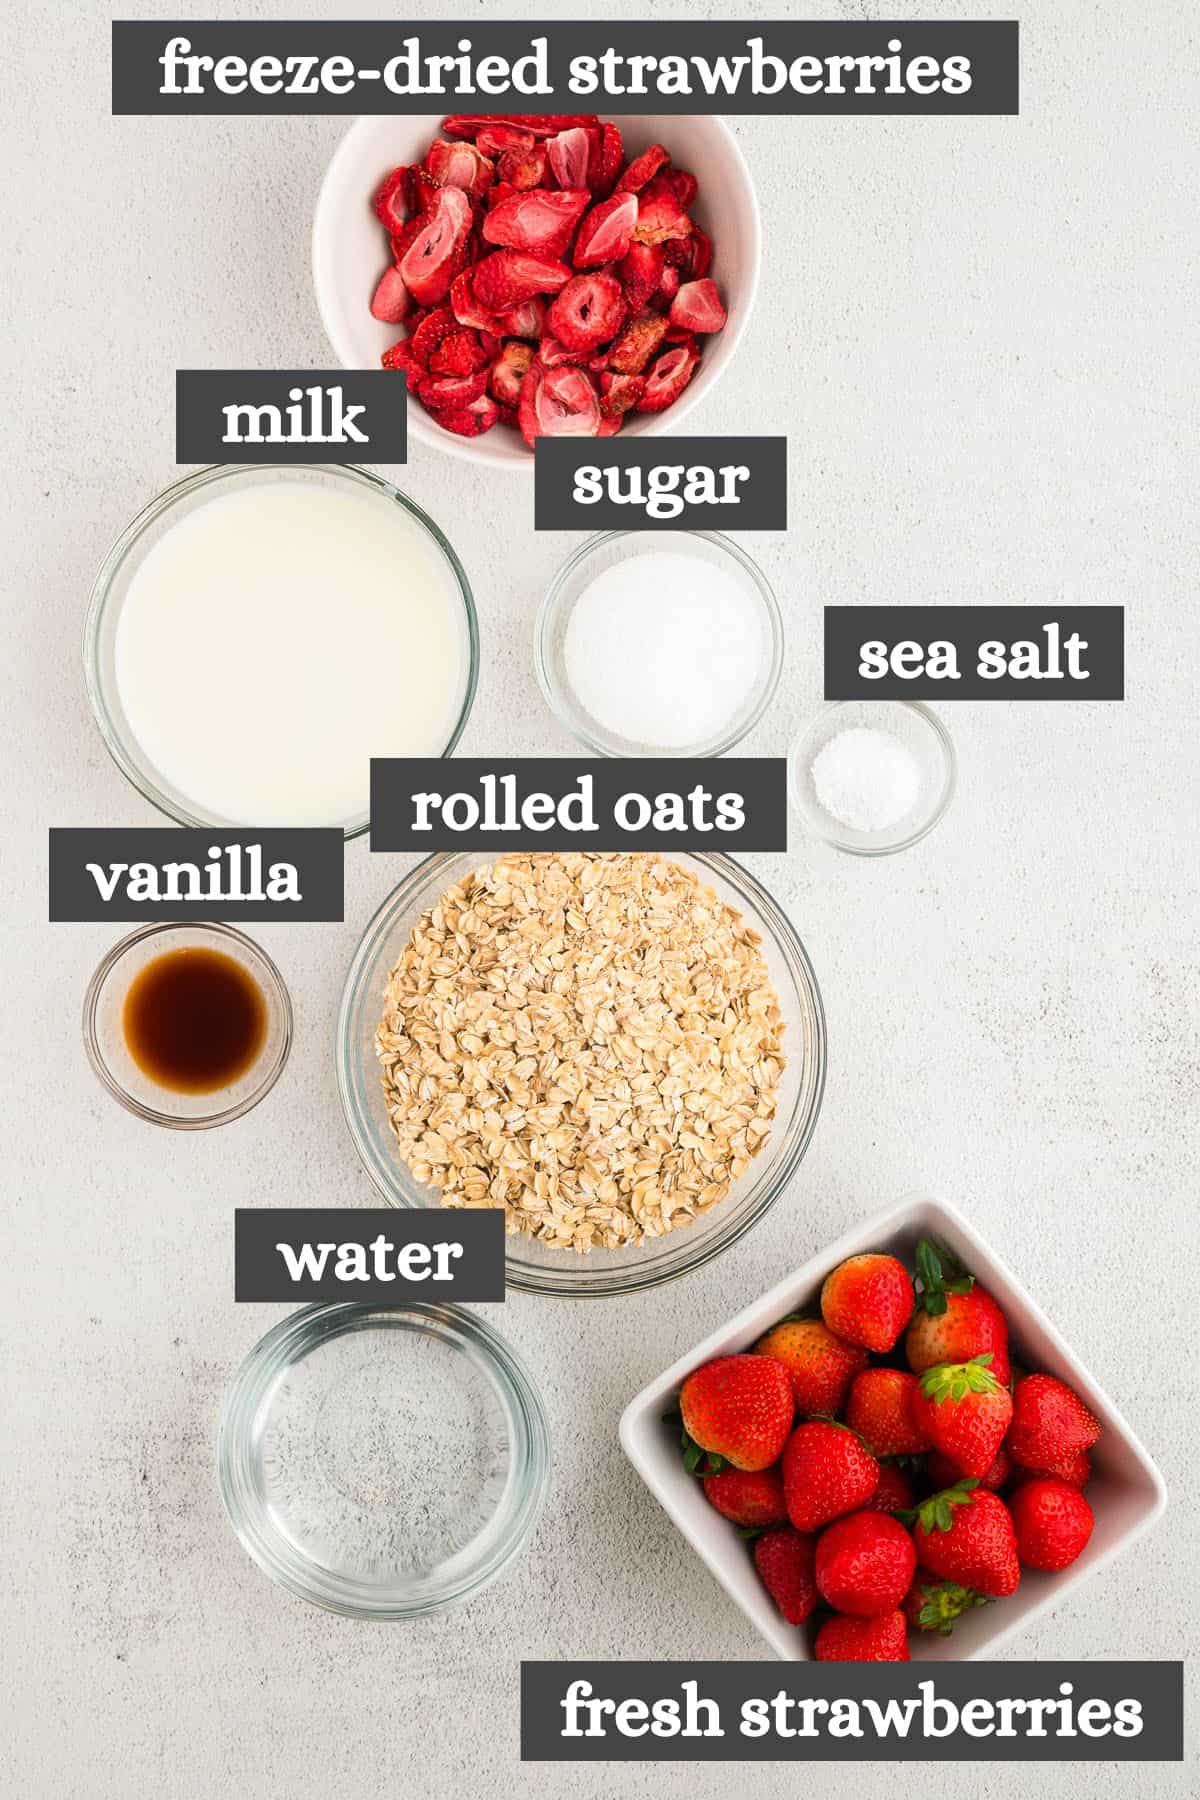
- Freeze-Dried Strawberries – I prefer freeze-dried strawberries because they have a more intense flavor and a prettier pink color than fresh strawberries. That said, I’ll also show you how to make strawberry oatmeal with both fresh and frozen strawberries.
- Whole Milk – Again, I use whole milk from our own Guernsey cows, but you can use 2% milk, skim milk, half & half, or even heavy whipping cream. You can make this a dairy free strawberry oatmeal by using a dairy free milk, like rice milk, cashew milk, almond milk or oat milk. Be sure to check all of the ingredient labels over to ensure that they are truly dairy free.
- Cane Sugar – If you’re wanting to cut the sugar out of this recipe, any granulated sugar-free sweetener will work just fine as a substitute. You can also swap it out with honey or maple syrup if you prefer a natural sweetener. Both honey and maple syrup have a higher sugar content, so I recommend using about 3/4 of the amount of sugar otherwise called for in the recipe.
- Vanilla Extract – I always use 100% real vanilla extract for best flavor. Imitation vanilla will also work in a pinch.
- Rolled Oats – We prefer sprouted rolled oats for better digestion and nutrient availability, but old fashioned oats will work just the same. If you want a smoother, creamier texture, I recommend quick oats instead. You can also use steel cut oats, but they will take much longer to cook; I would cut the amount used by 1/2, and you may have to add more liquid to account for the longer cook time.
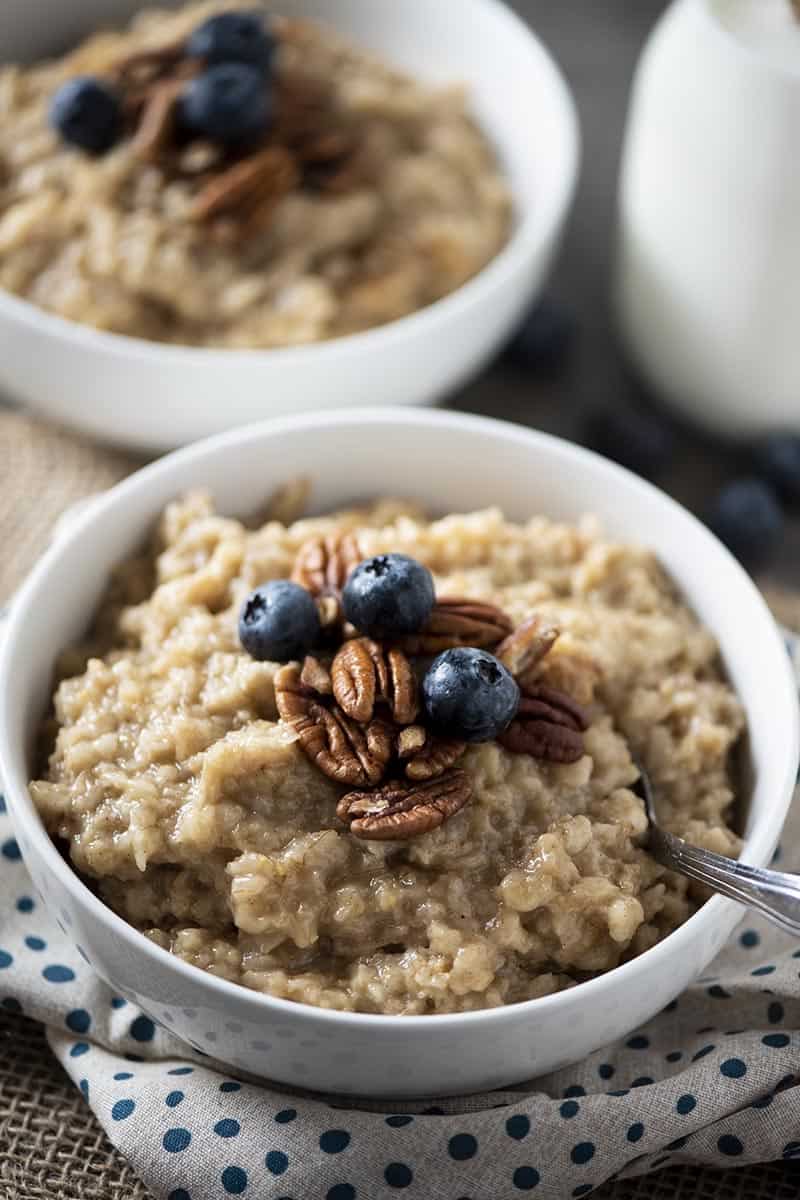
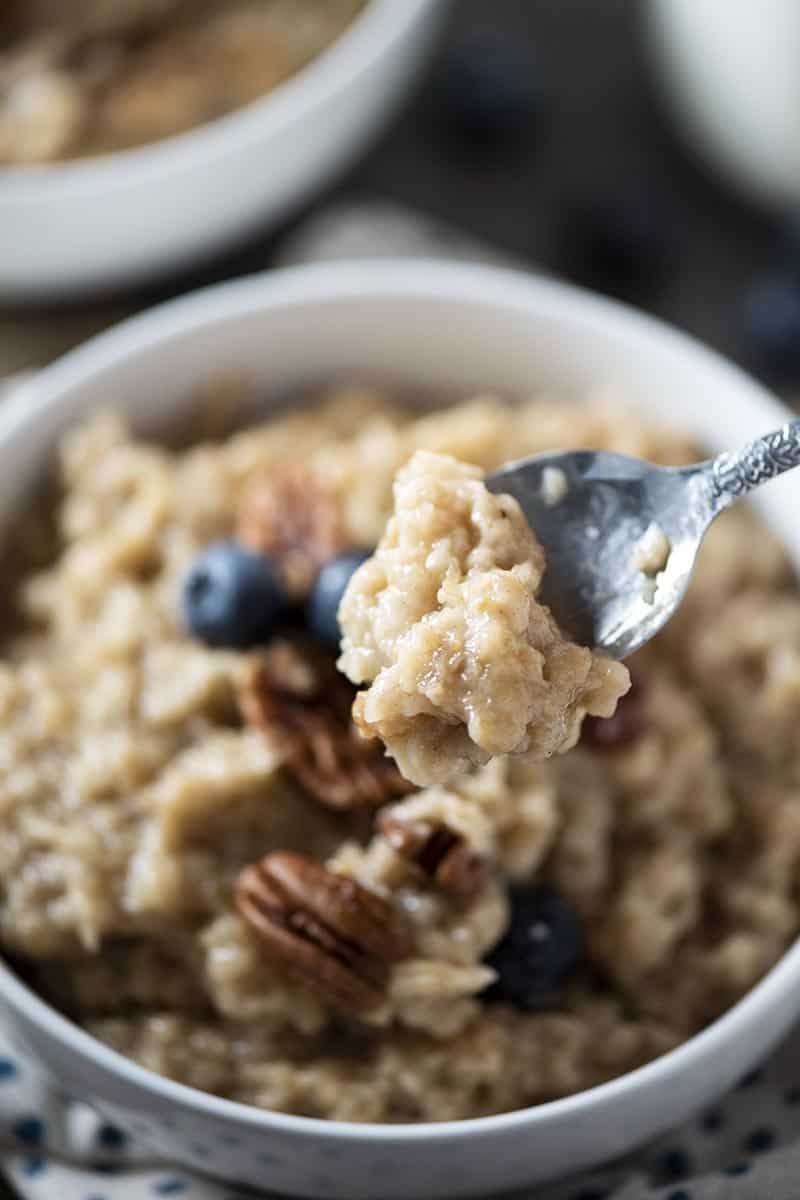
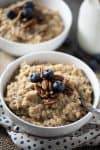
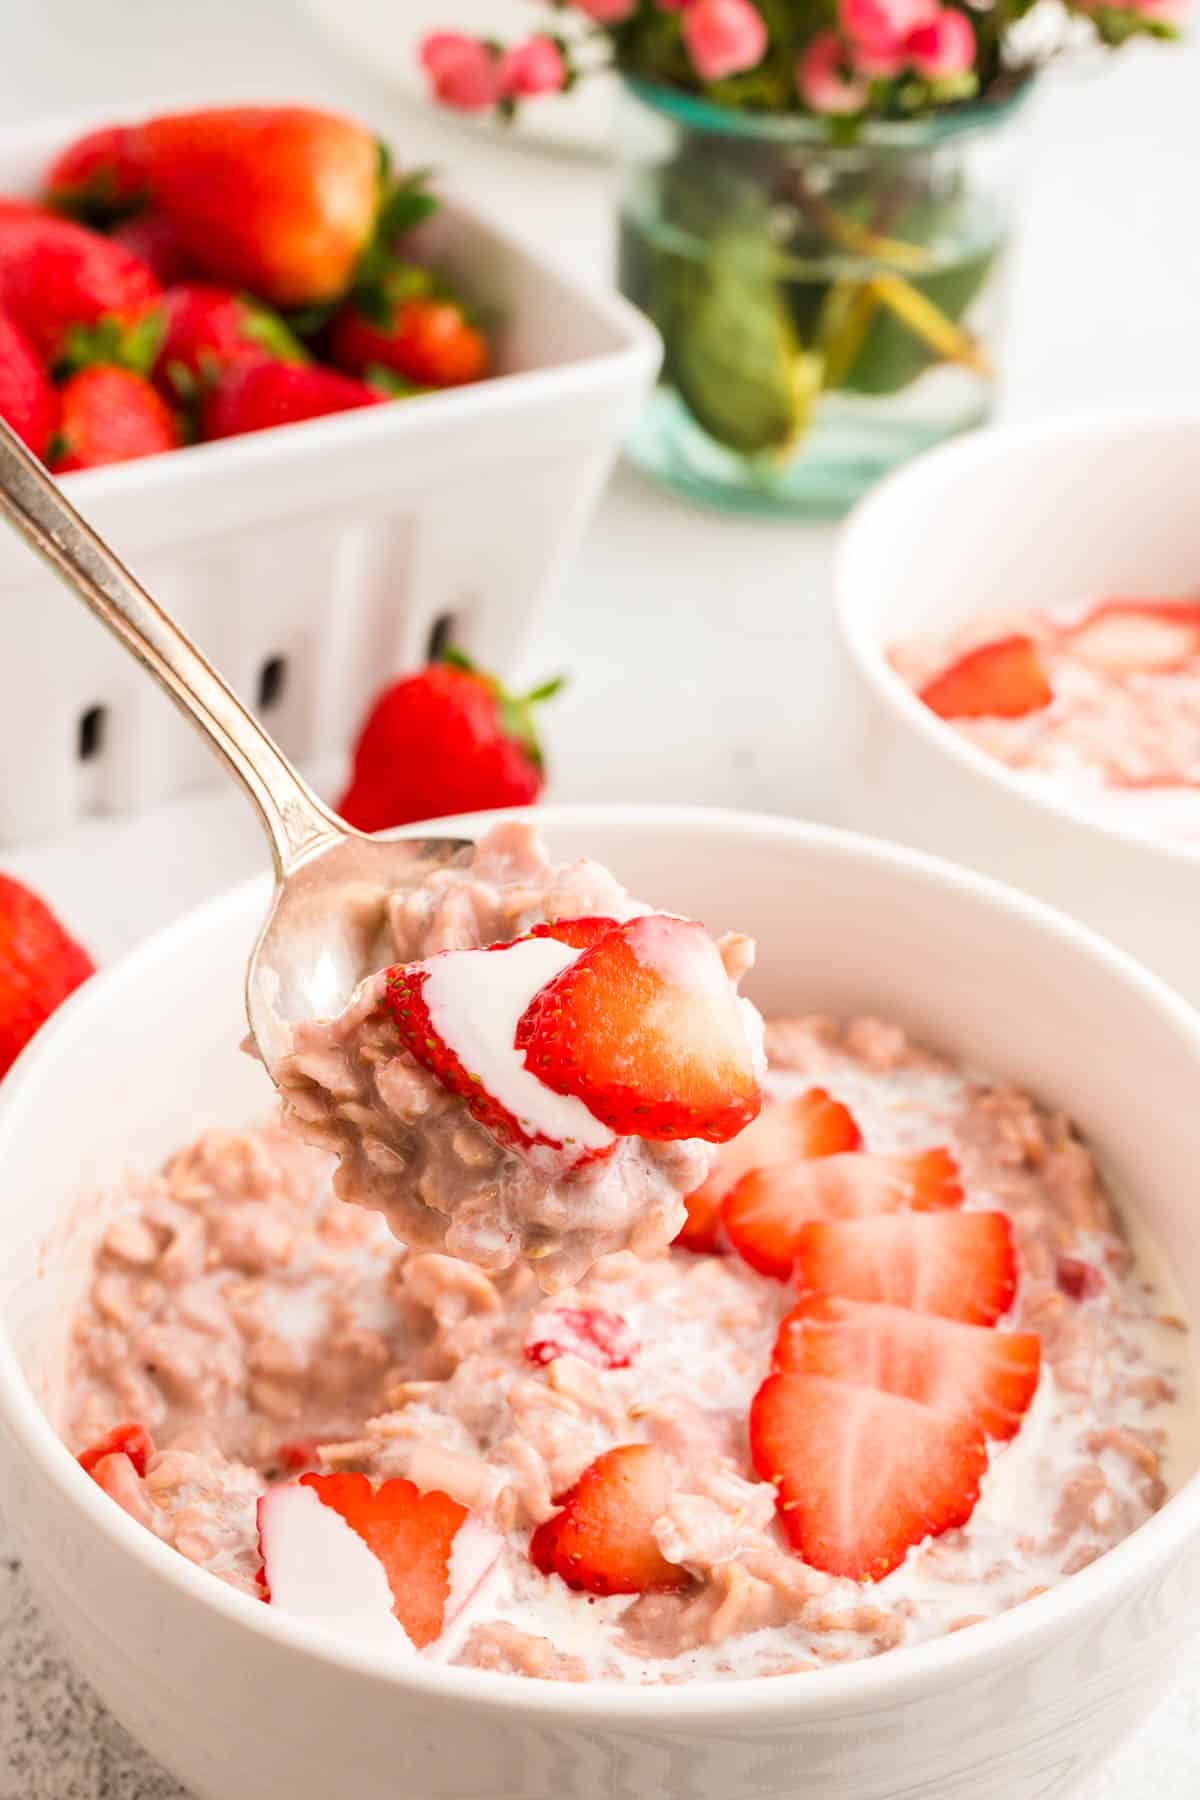
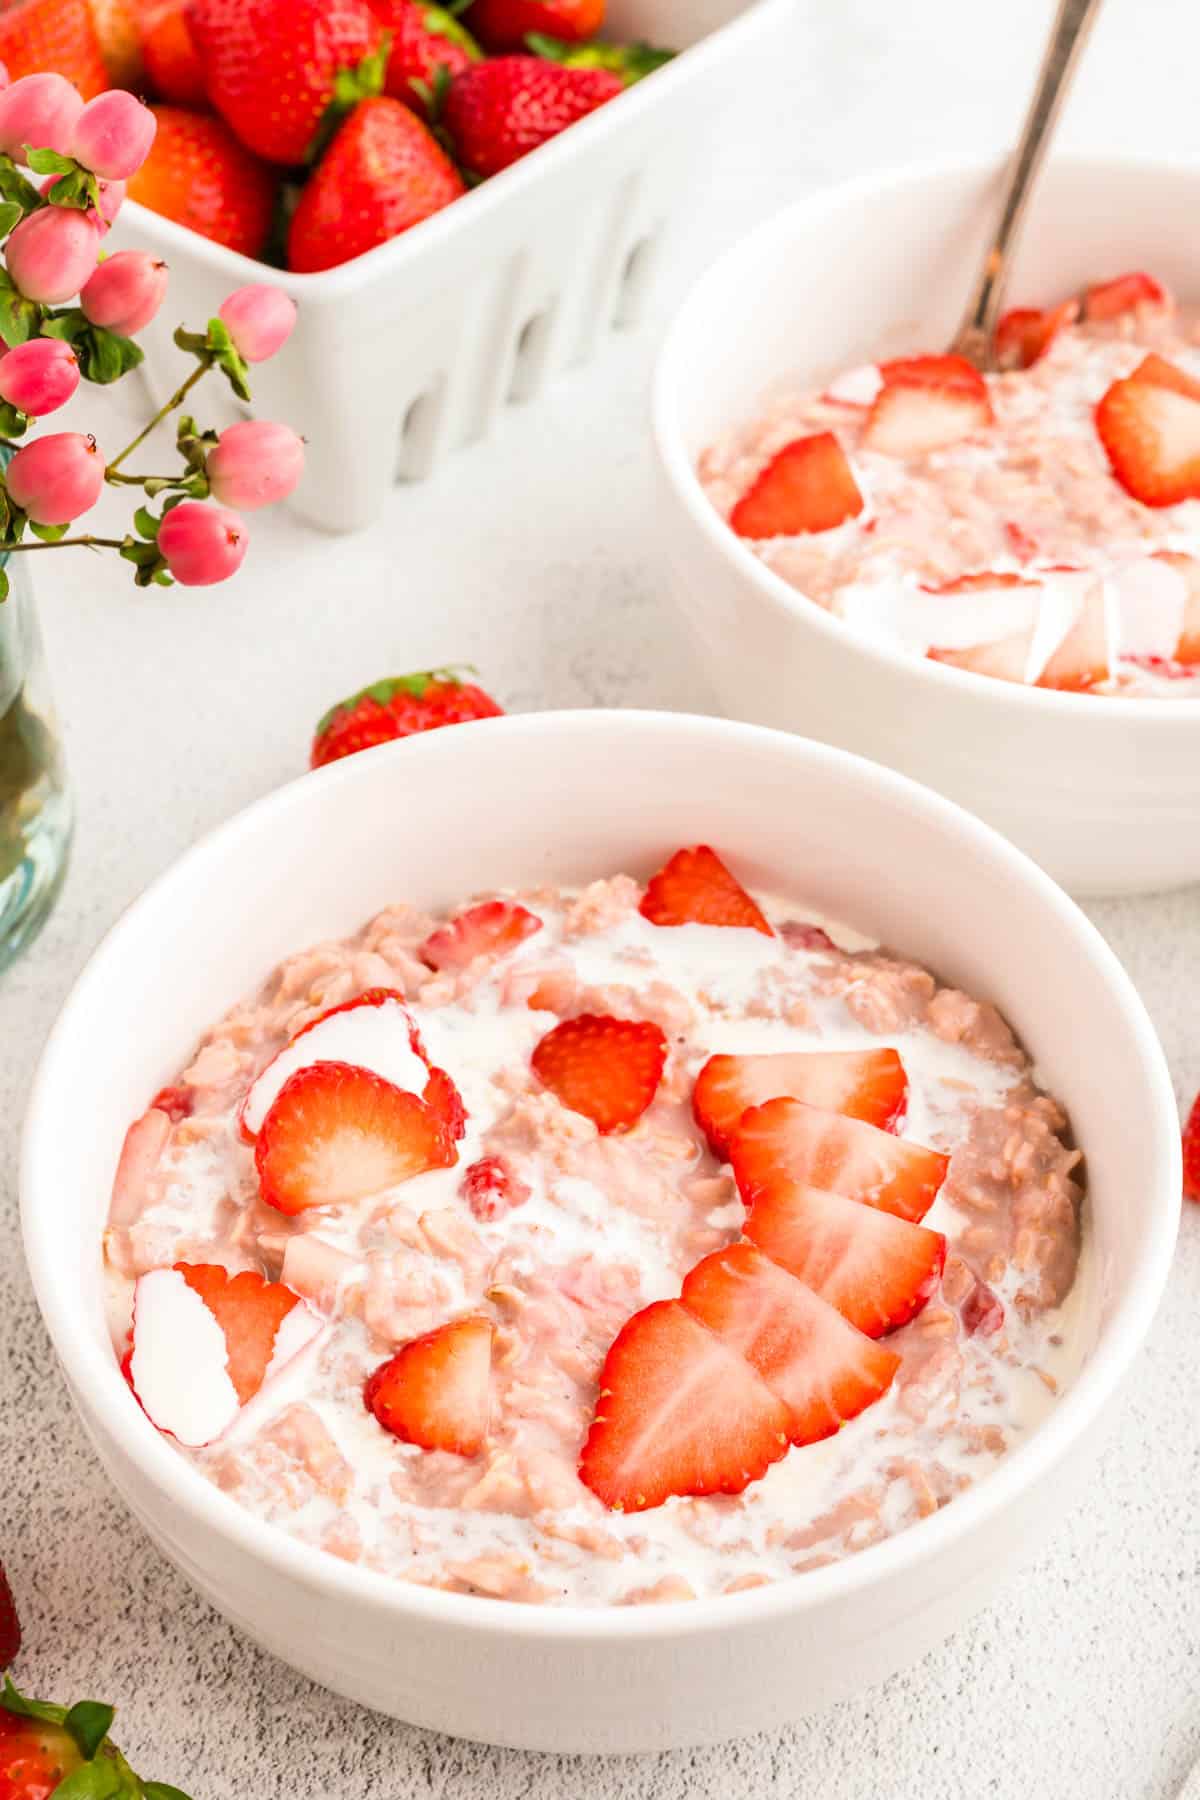
- Fresh Strawberries – I like to top my strawberry oatmeal with diced fresh strawberries for extra flavor.
How to Make Strawberry Oatmeal
Before getting started, assemble your blender or food processor so that it’s all ready to go.
Make the Strawberry Milk
- Start by pulsing the freeze-dried strawberries in a food processor or blender for about 30 seconds, ’til ground into a fine powder.
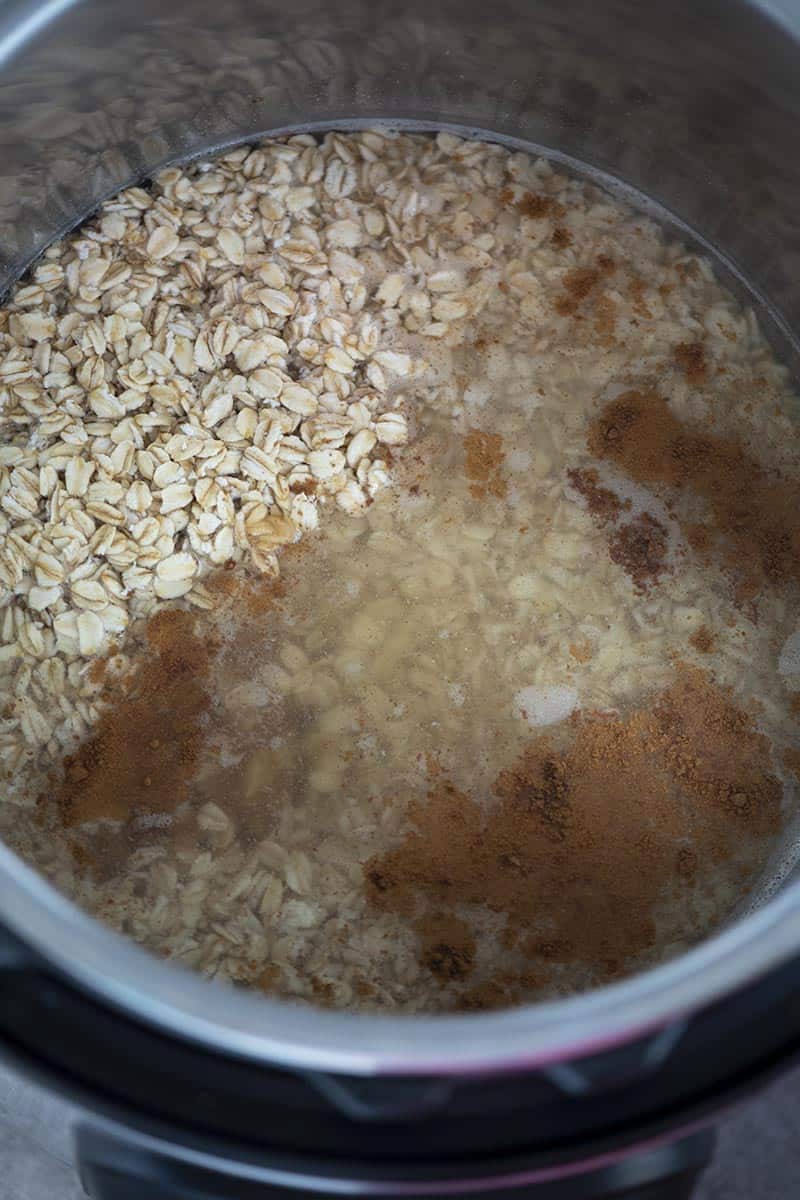
- Next add the milk and water to a large saucepan over medium heat. Then whisk in the strawberry powder, sugar, salt and vanilla, bringing the mixture to a simmer.
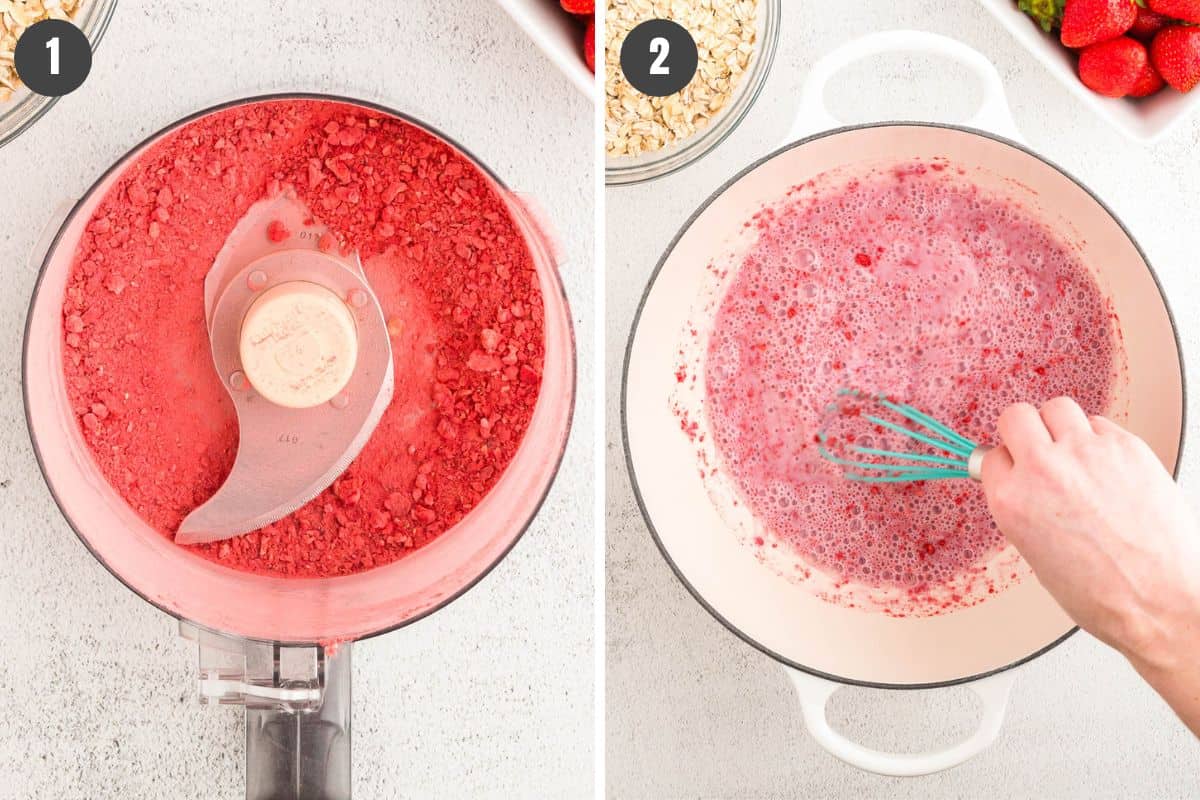
Instead of freeze-dried strawberries, you can also substitute with about 1 & 1/2 cups of fresh strawberries, leaving them in chunks or blending them up for a few seconds to mash them up. Frozen strawberries will also work, but it’s best to let them thaw in the refrigerator overnight first.
How to Cook Strawberries and Cream Oatmeal
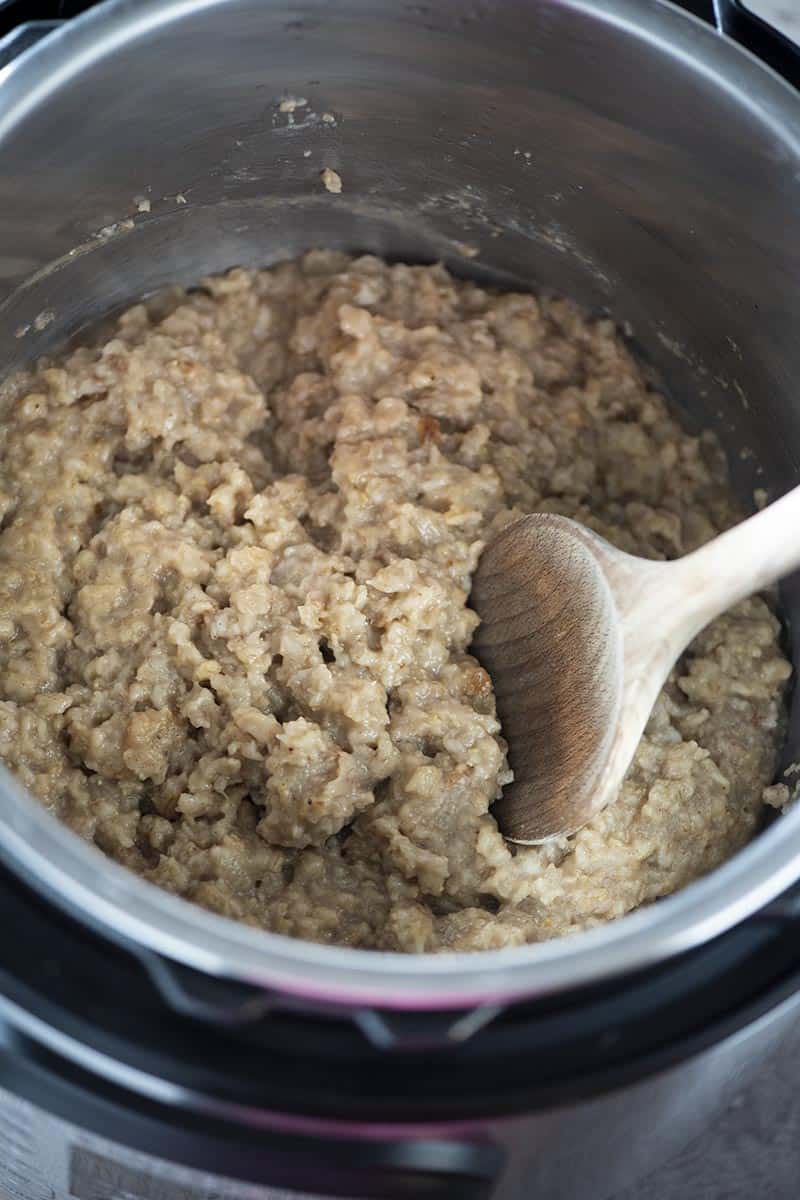
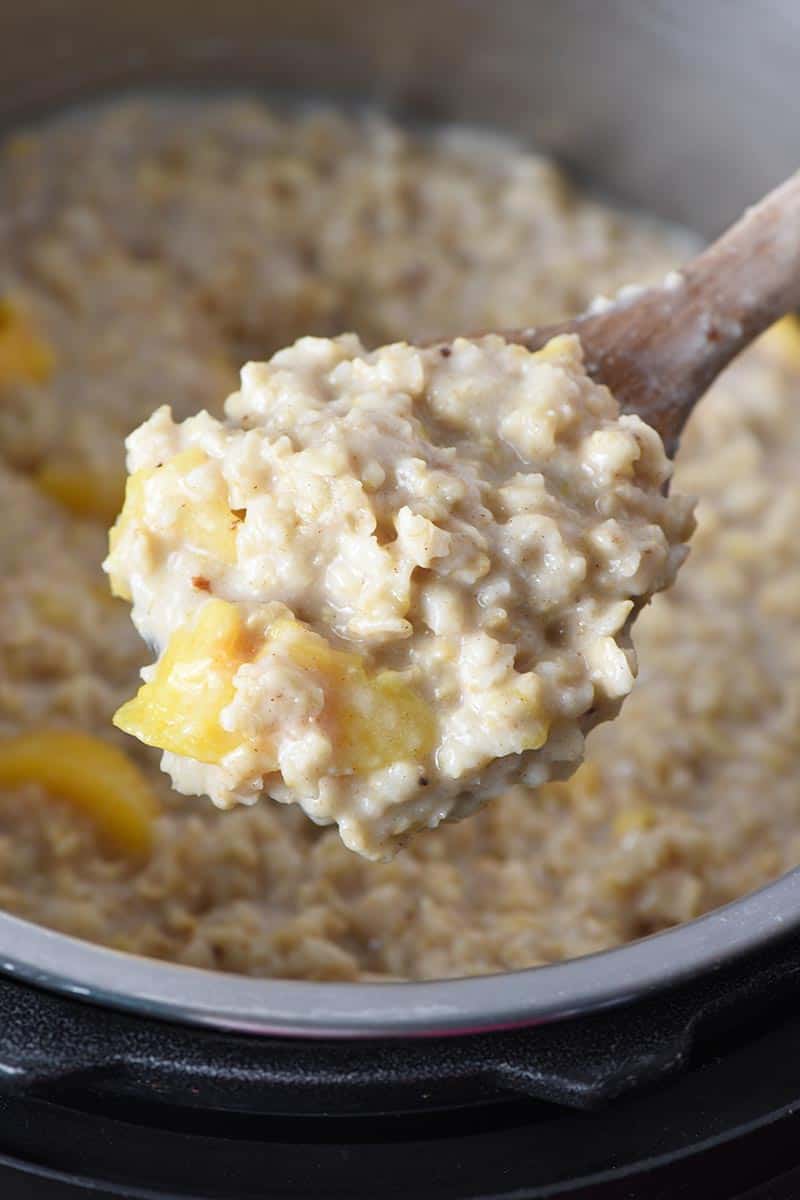
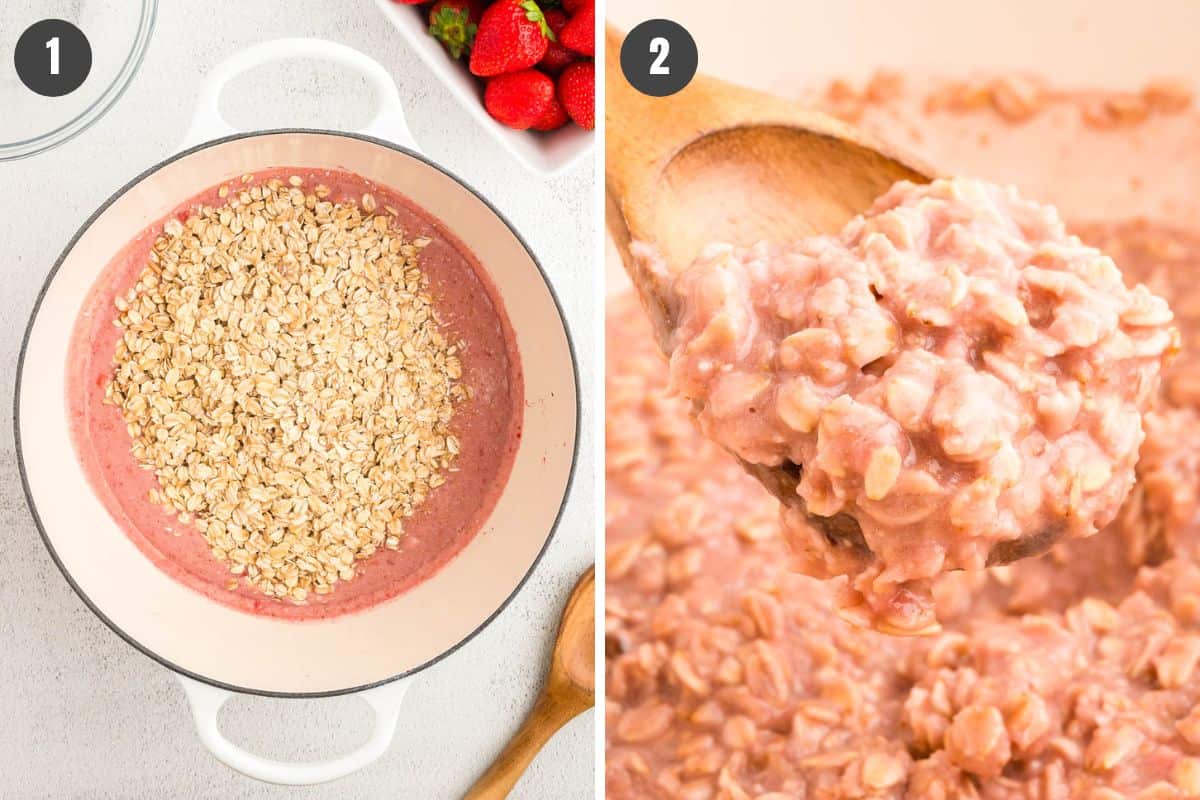
- Once your strawberry milk starts simmering, add the oatmeal and stir with a wooden spoon ’til well combined. Then reduce the heat to low and let the oats simmer for about 5-7 minutes. The key to making perfect oatmeal is to not over-stir. Stirring too much can cause your oatmeal to have a gluey texture, so stir it only occasionally to keep it from scorching on the bottom of the pan.
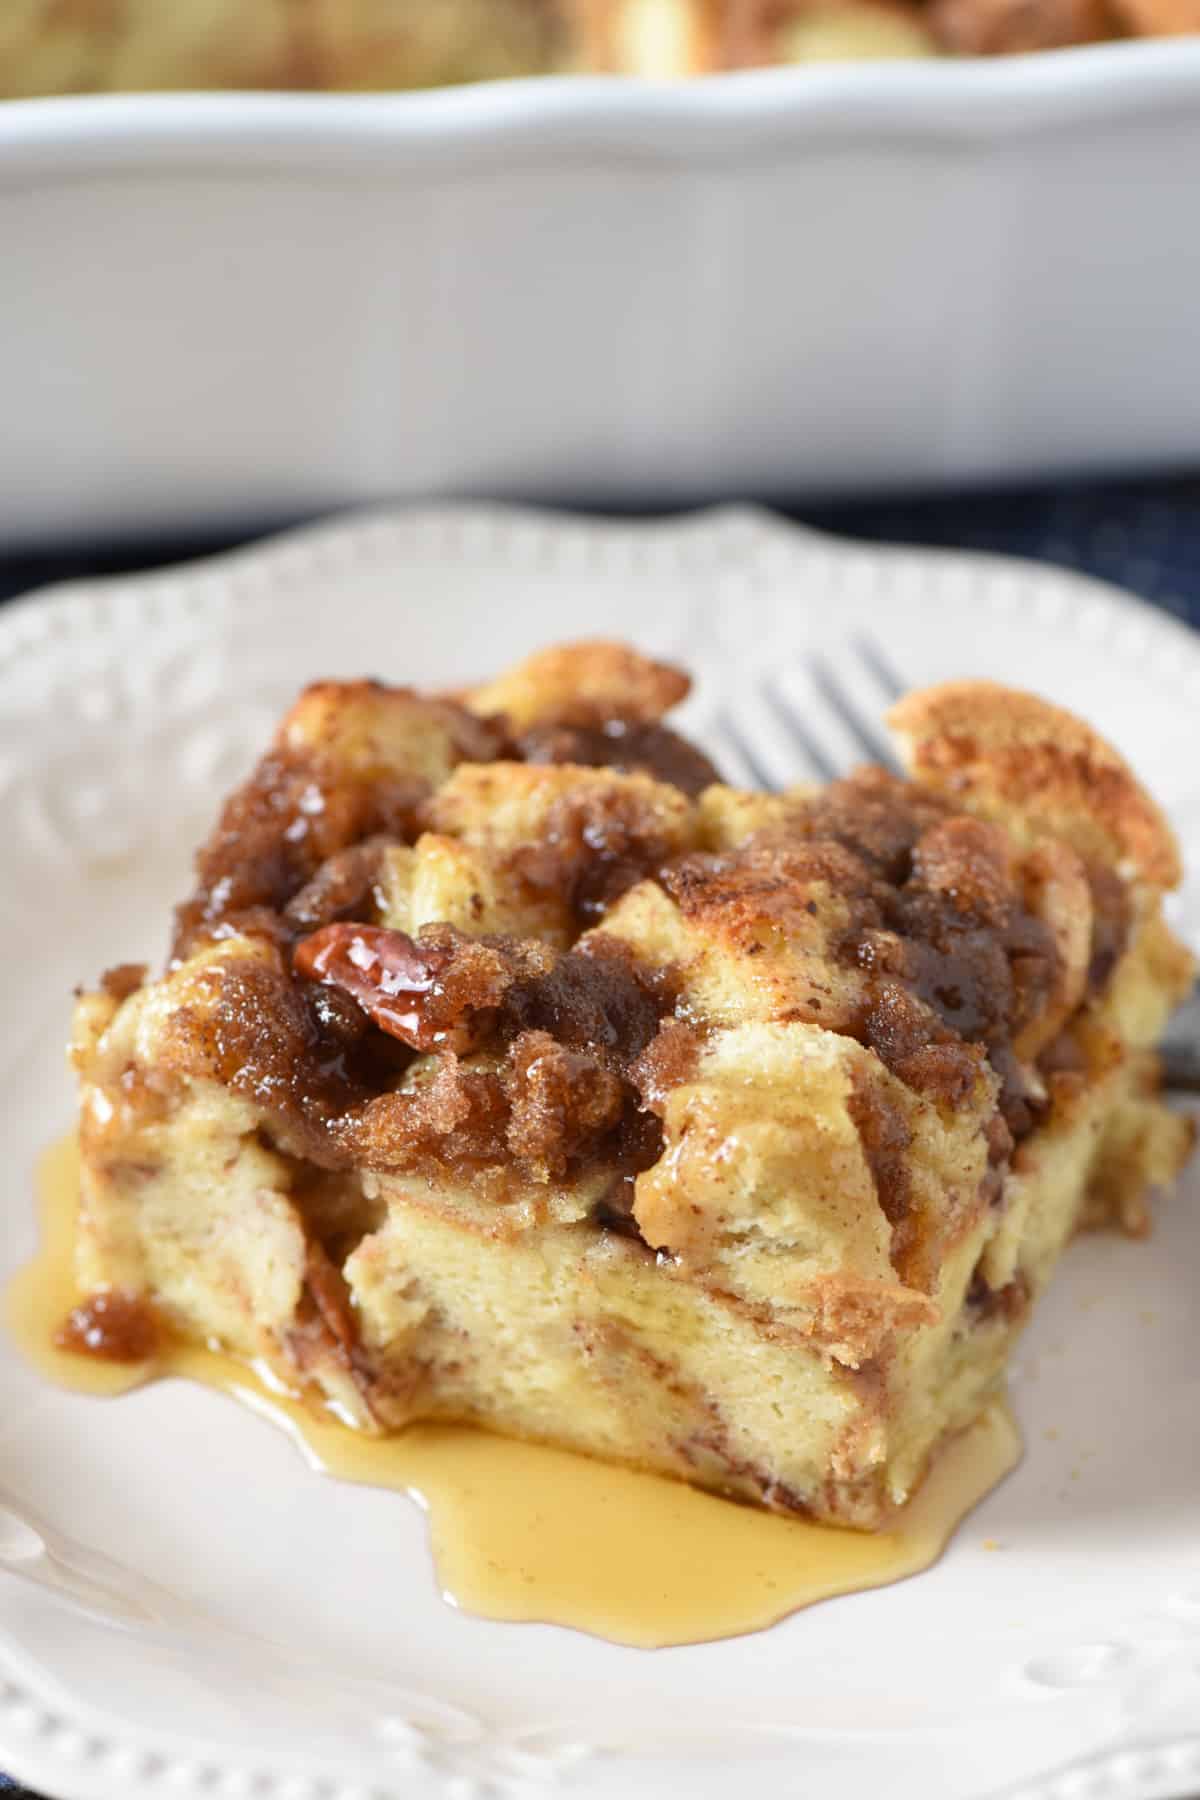
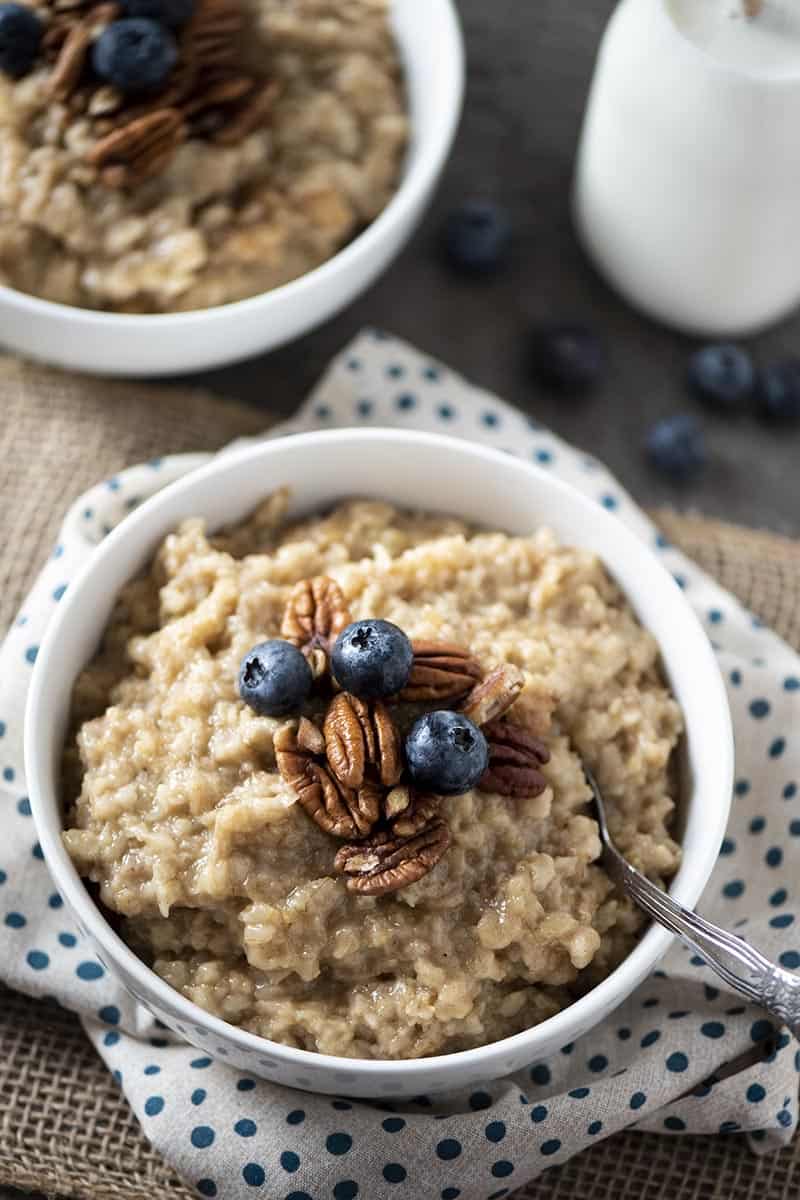
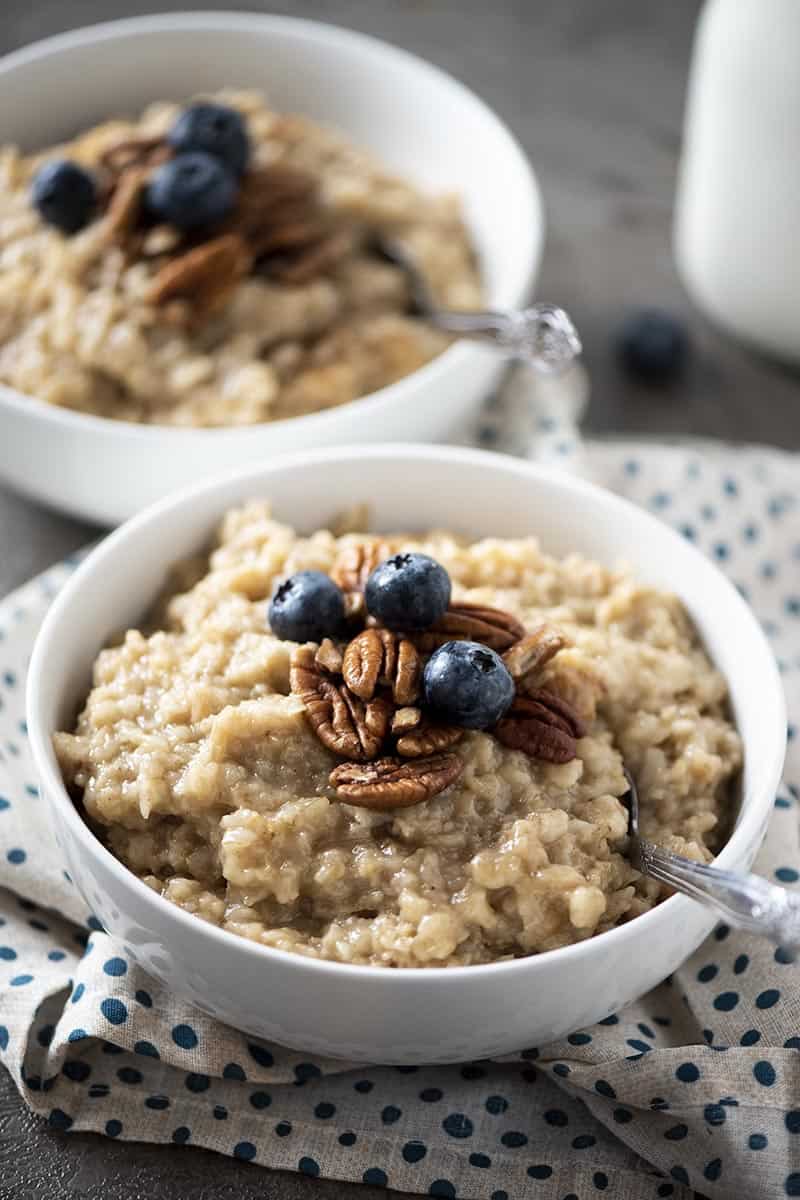
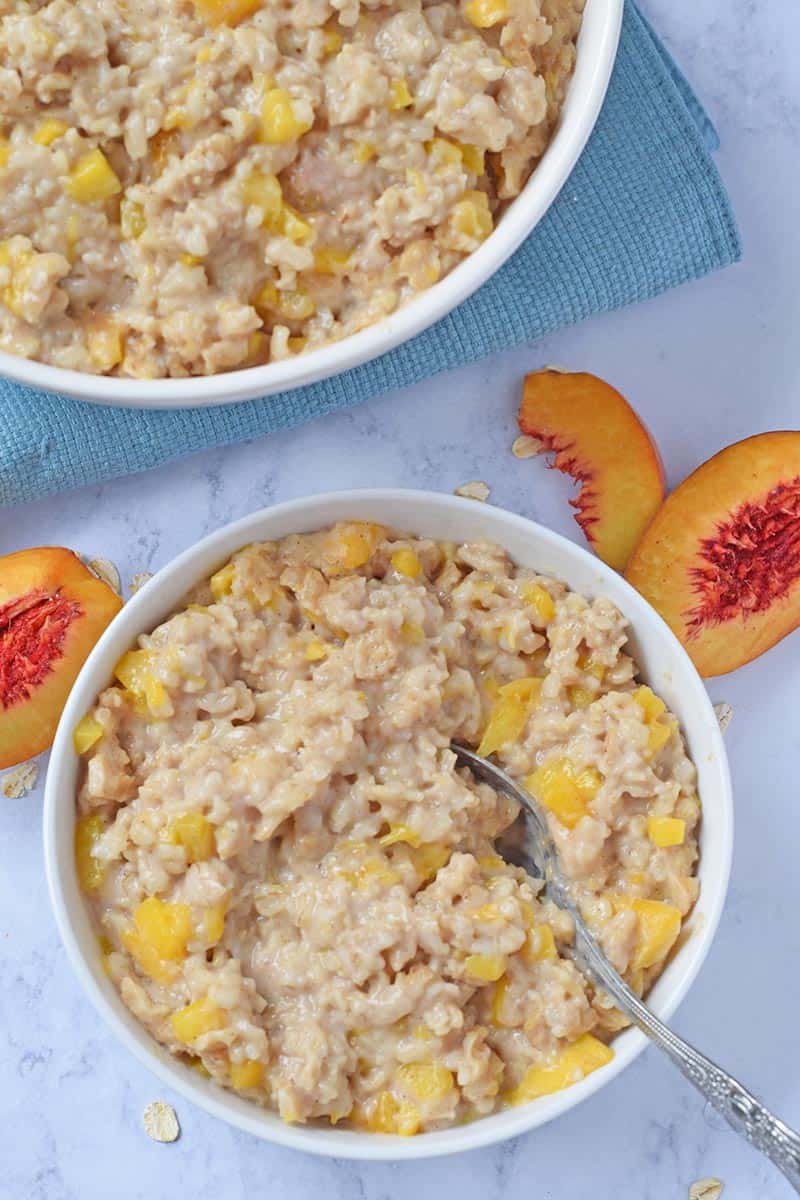
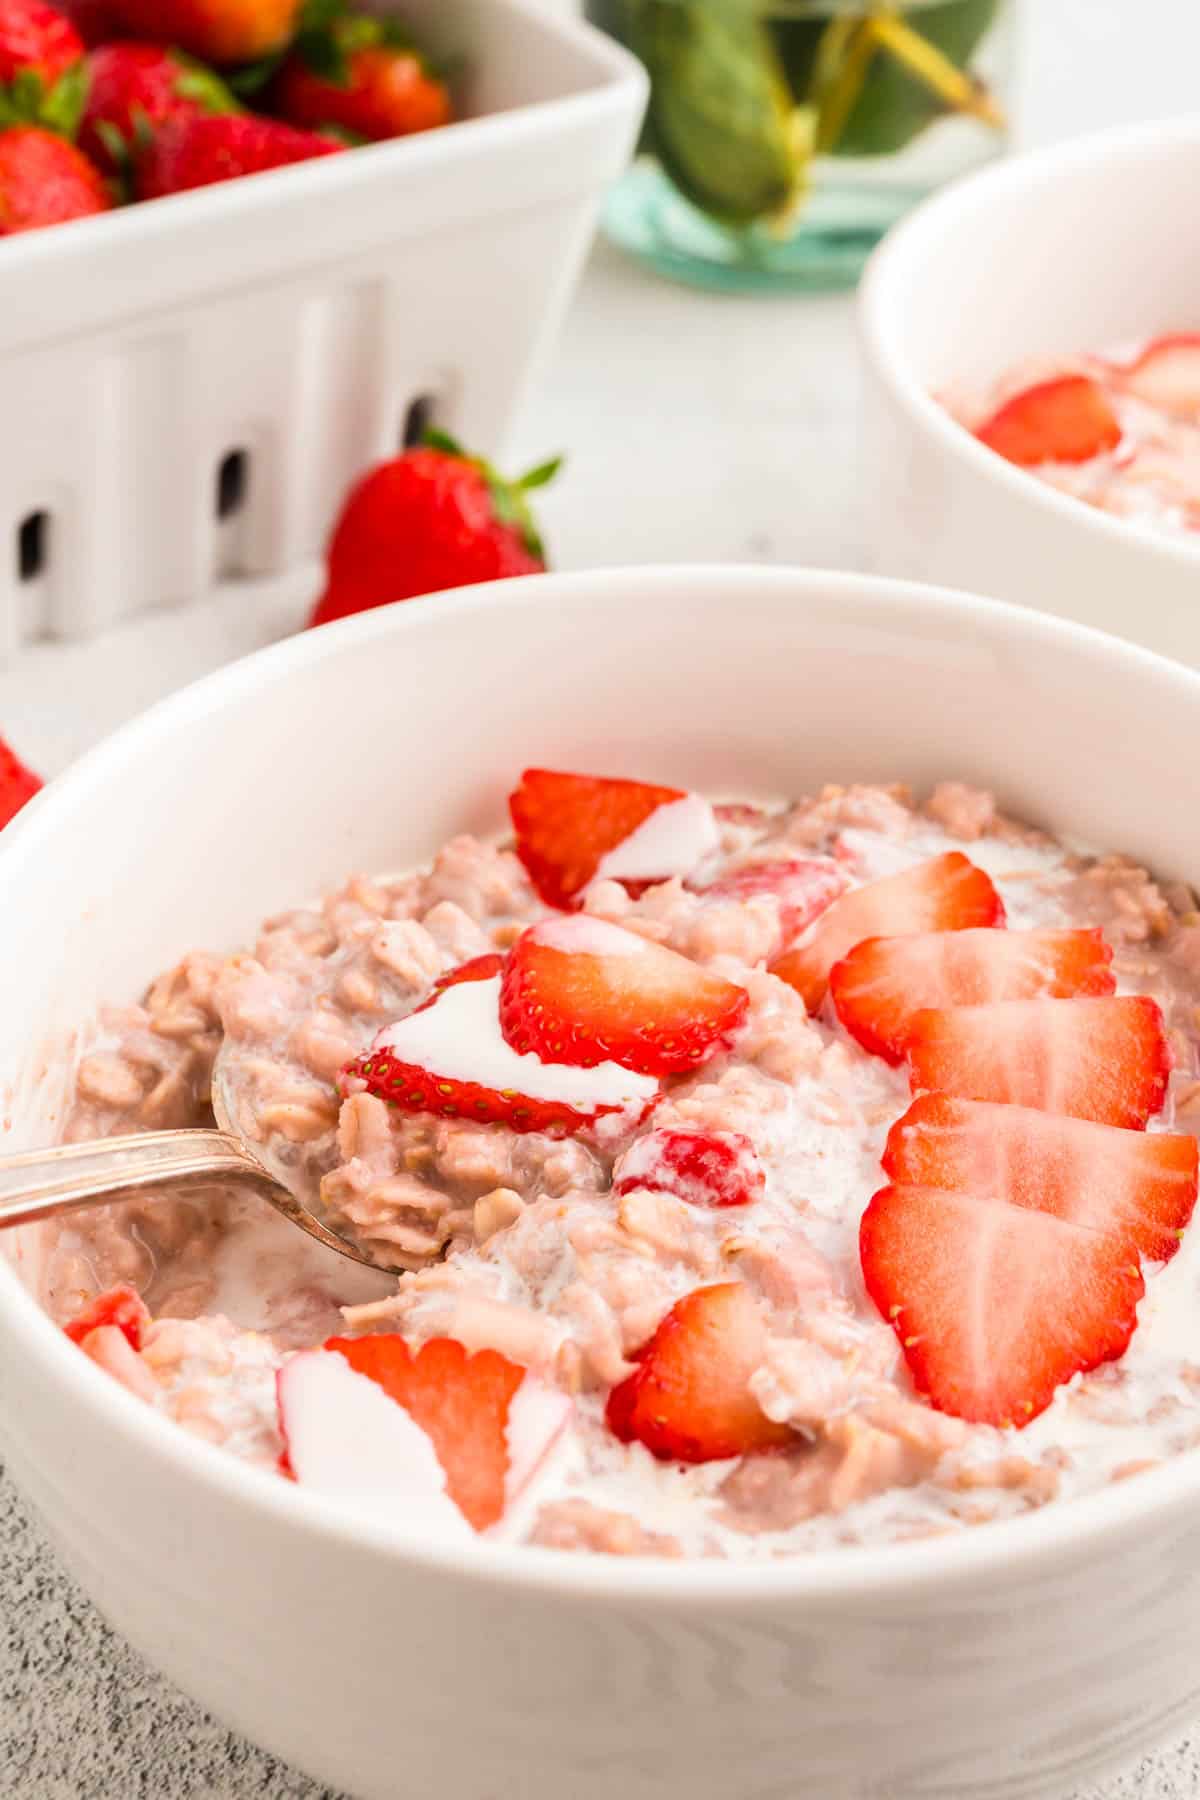
- Once the oats have softened, spoon your strawberry oatmeal into a bowl. Top with fresh, diced strawberries and a splash of cream. Serve and enjoy the ultimate strawberry breakfast!
Feel free to increase or reduce the cook time depending on how you like your oatmeal with strawberries. I like mine to be ever so slightly on the chewy side with a creamy consistency. If you like it softer, you might let it simmer down for a few extra minutes, although you may need to add a splash of milk towards the end to keep it from drying out too far.
Expert Tips and Recipe FAQ’s
All of the ingredients in this recipe are typically gluten free with rolled oats being the only exception. Although oats are naturally gluten free, they are often processed in a facility with other gluten-containing products. For this reason, I recommend buying certified gluten free oats so that you don’t risk any cross-contamination. As always, be sure to check all of the ingredient labels over to ensure that they are truly gluten free.
You can store leftover strawberry oatmeal in an airtight container for up to 3 days in the refrigerator, and then reheat it in a microwave-safe bowl in the microwave for a few minutes on high before serving. You may have to add a splash of milk for extra moisture. That said, leftover oatmeal often gains an undesirable gluey texture that I just don’t care for. If you need to make a big batch ahead of time, I recommend making these strawberry overnight oats instead.
Yes, you can freeze strawberries and cream oatmeal. I recommend portioning your oatmeal out into something like this silicone ice cube tray. Then transfer your oatmeal cubes to the freezer. Once frozen, you can pop them out of the ice cube trays and into a freezer bag or airtight container. Stored this way, your strawberry oatmeal cubes should last up to 3 months in the freezer. When you’re ready for breakfast, toss them into a microwave-safe bowl in the microwave for a few minutes on high, ’til soft and warm. Add a splash of milk for extra moisture and serve your homemade instant strawberry oatmeal!
Optional Toppings & Variations
Looking for ways to spice up your strawberry and cream oatmeal? Here are a few ideas…
- You can top your strawberries and cream oatmeal with a little brown sugar, maple syrup, chopped walnuts, flax seeds, cocoa nibs, strawberry jam, strawberry sauce, raspberry sauce or even a dollop of your favorite yogurt!
- Balance the healthy carbs out a little bit by adding some protein powder. Alternatively, many people use egg whites for an extra protein kick.
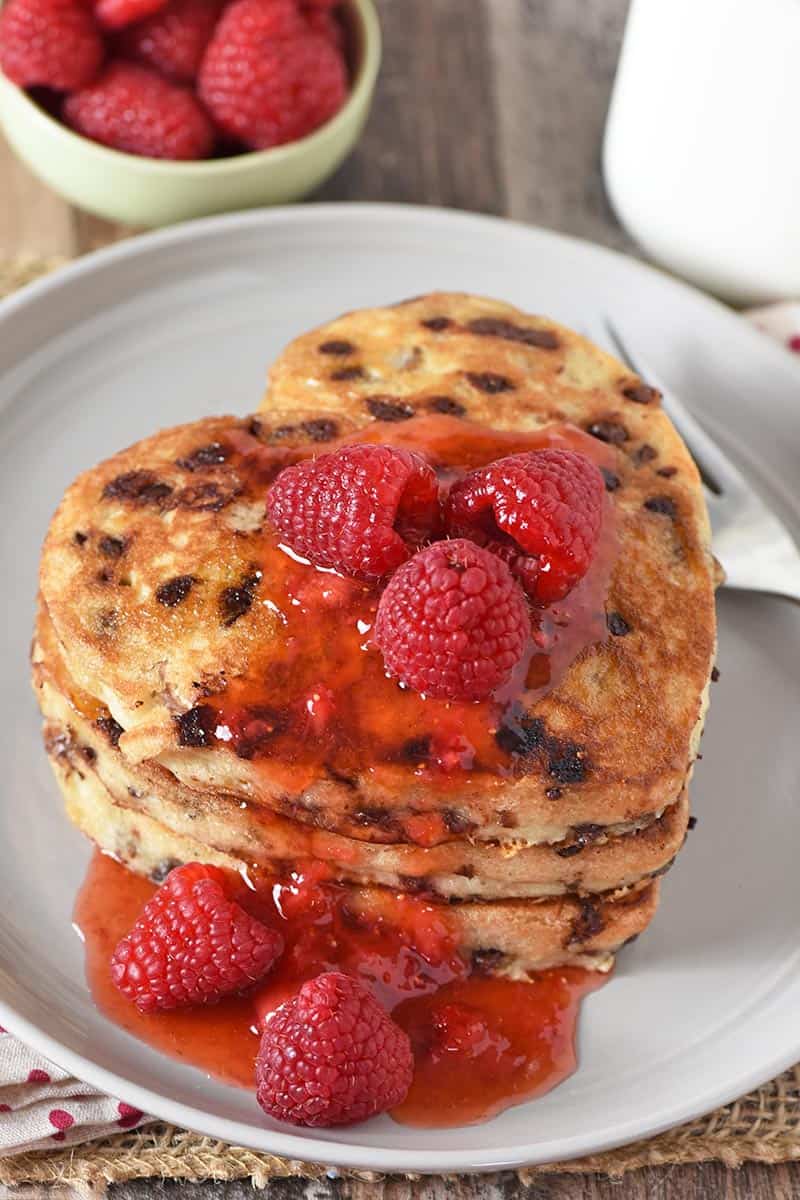
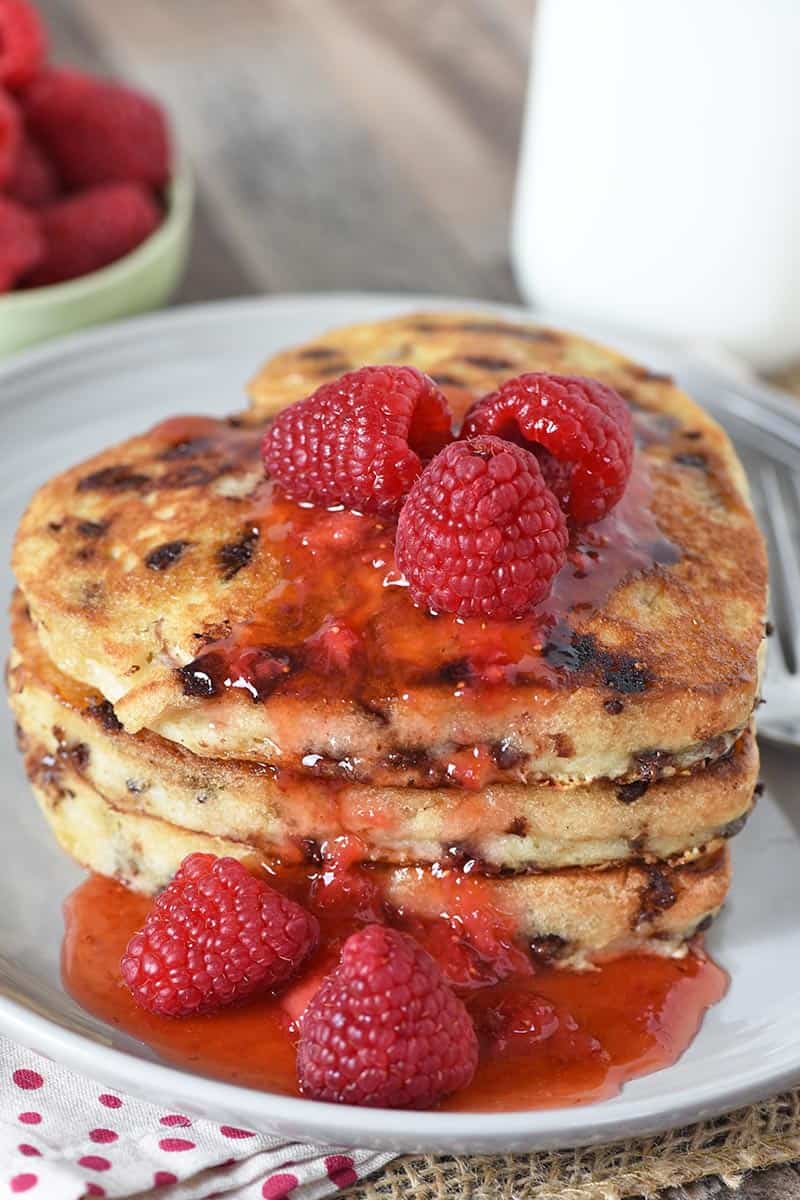
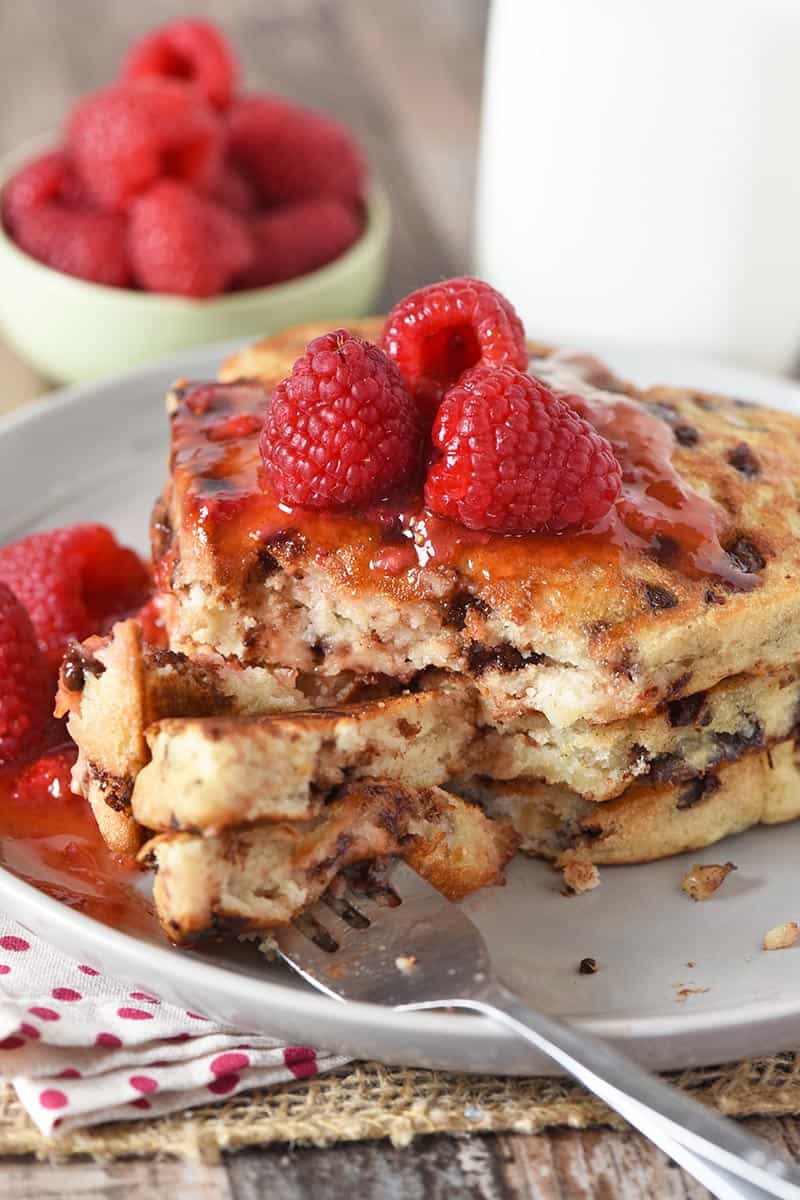
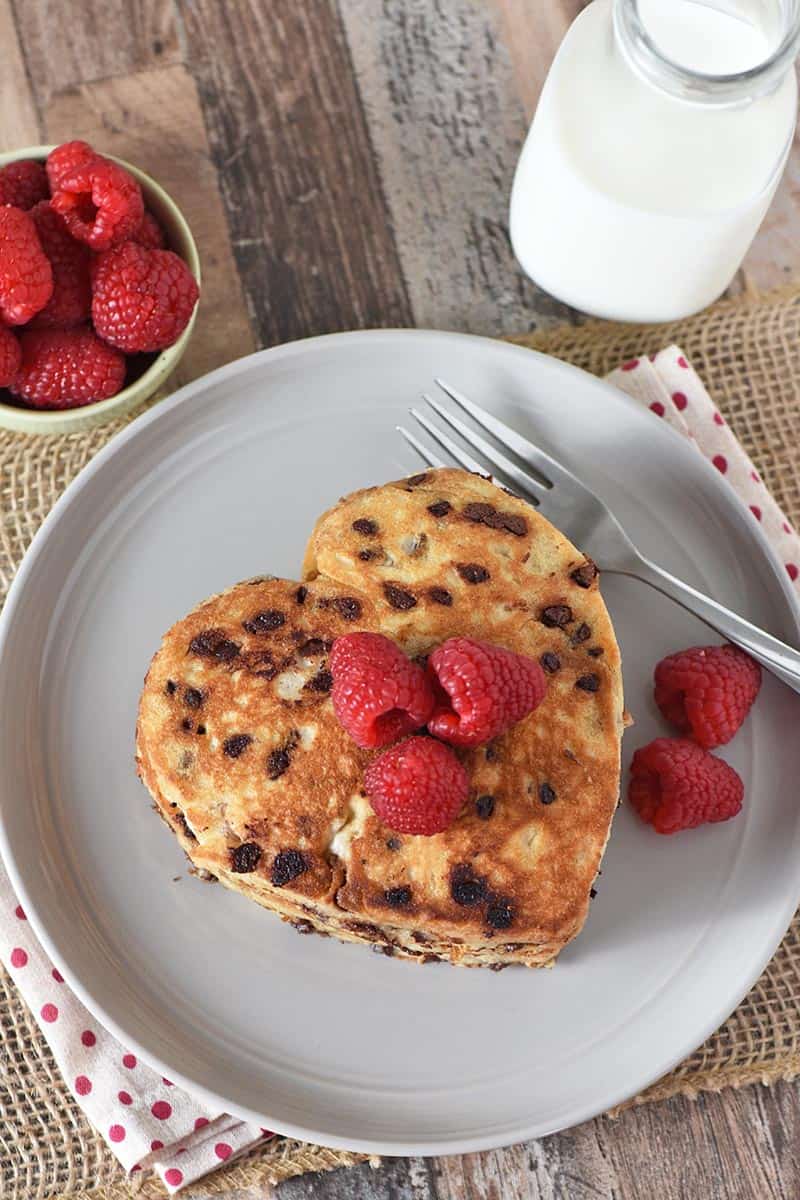
- Try adding other fresh fruits that go well with strawberries, like sliced bananas, blueberries, raspberries and blackberries.
- Last but not least, keep in mind that you can make this oatmeal any flavor you want! Instead of freeze-dried strawberries, you can use freeze-dried bananas, peaches, apples, blueberries and even raspberries. Be creative!
More Easy Breakfast Recipes
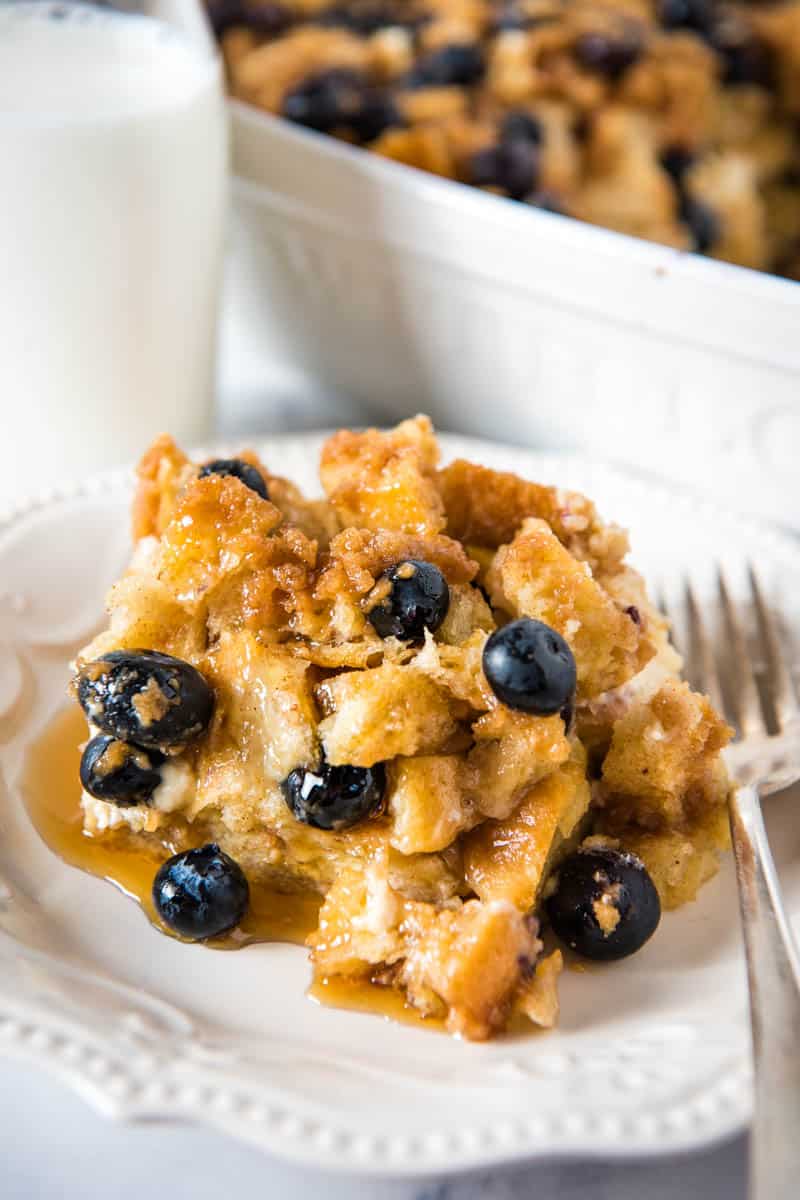
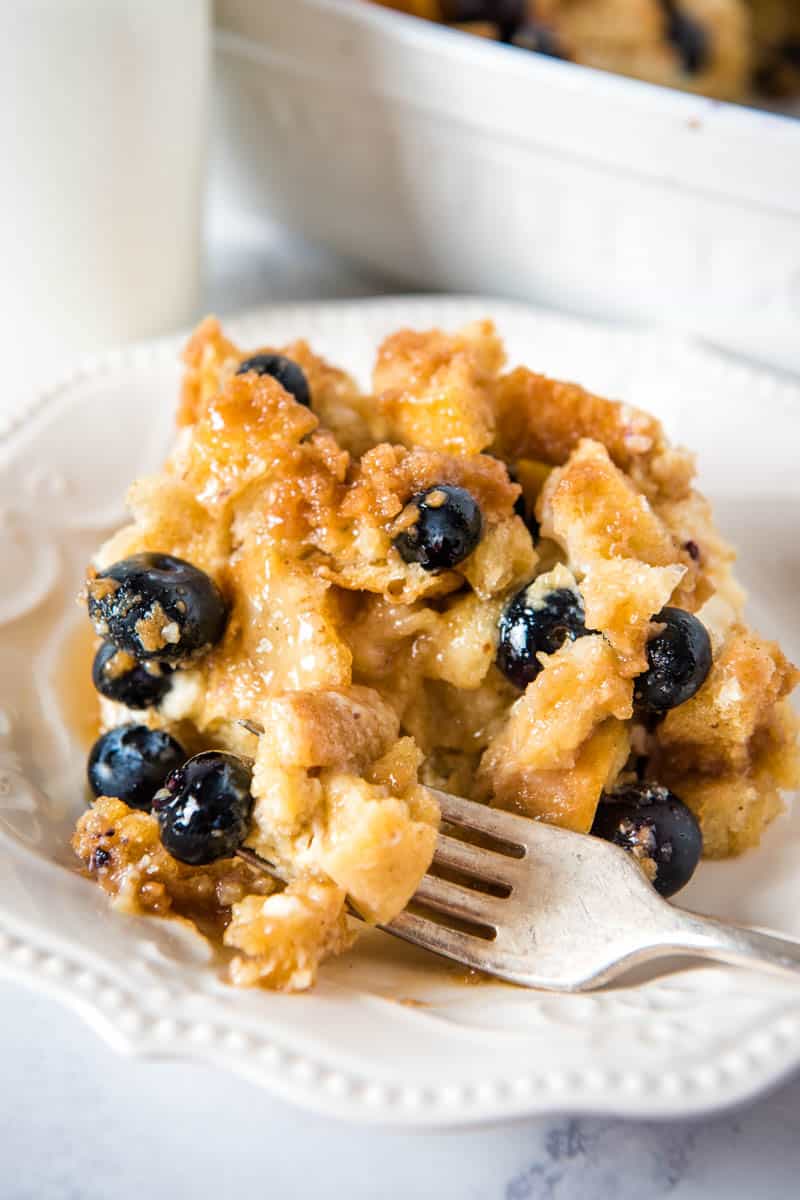
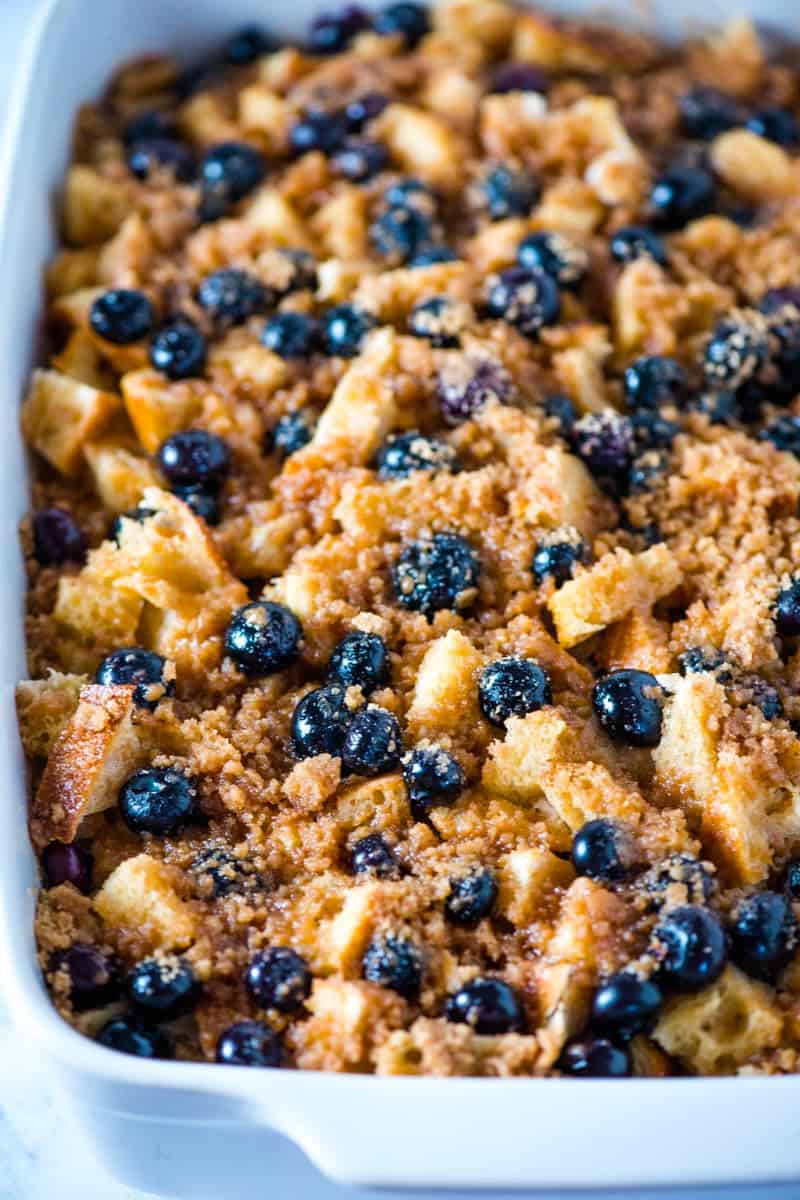
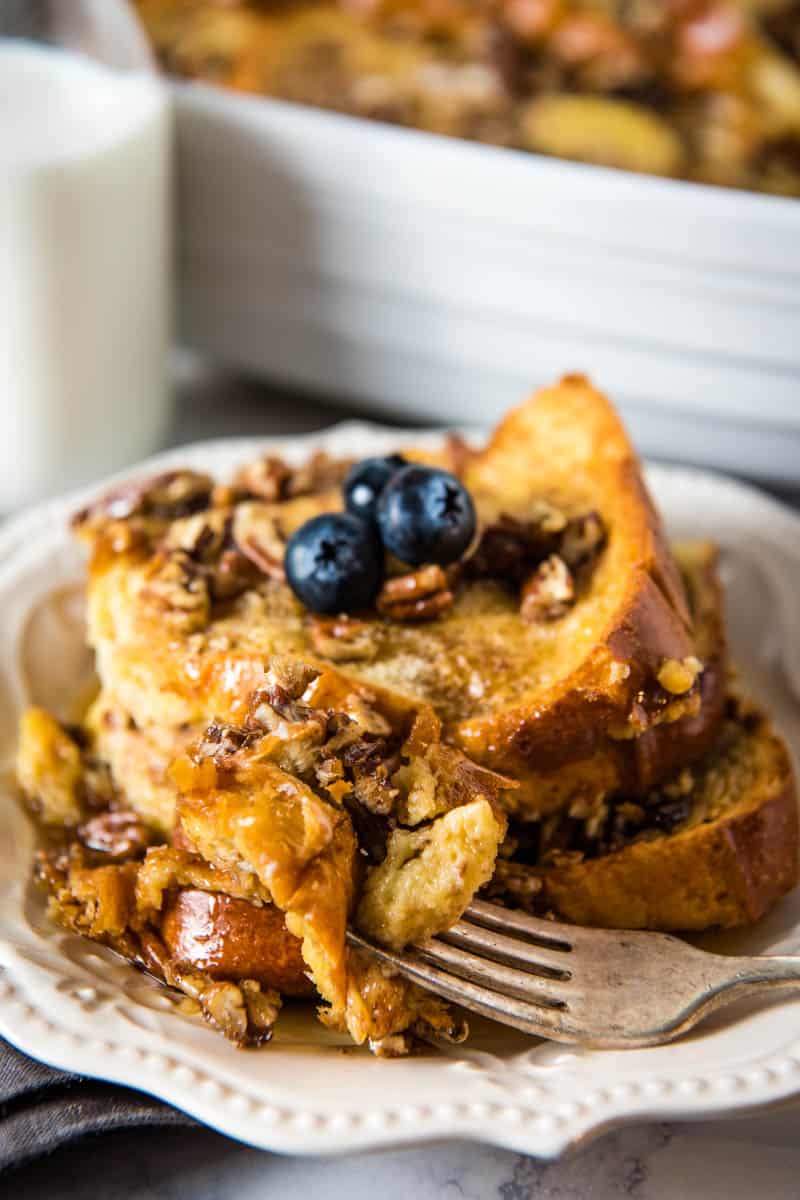
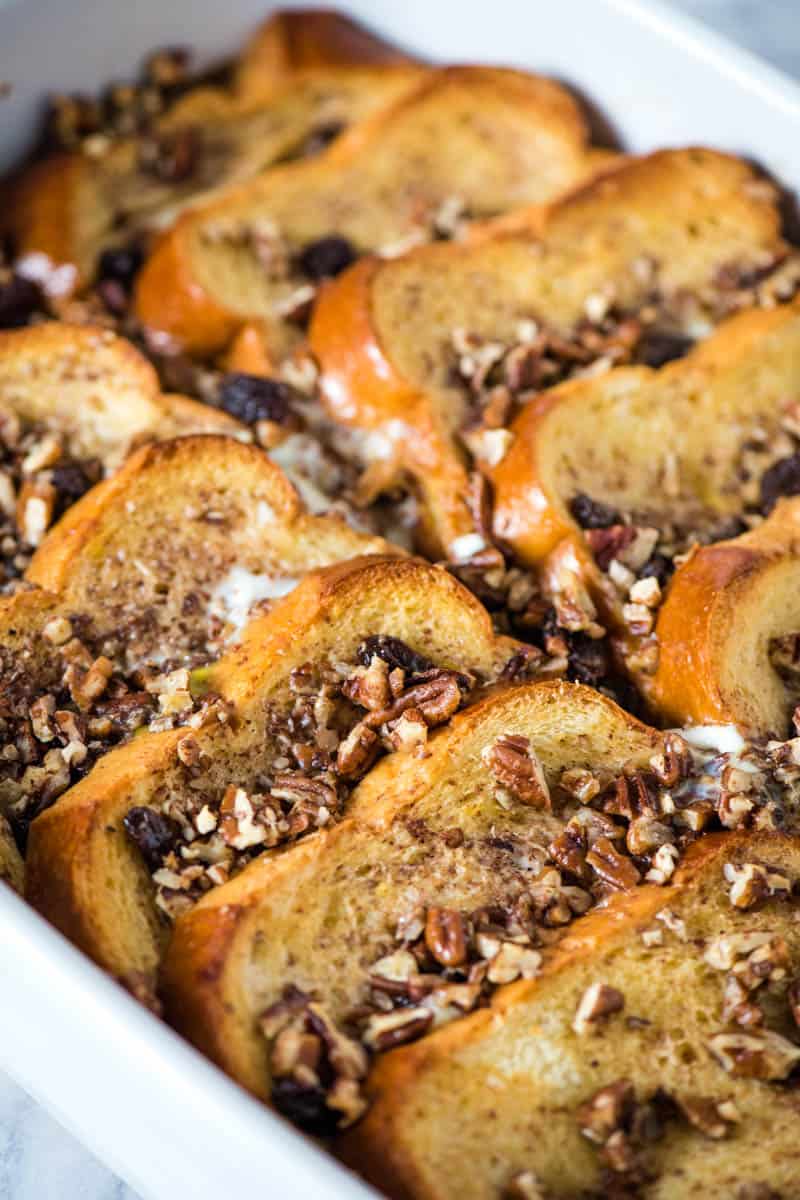
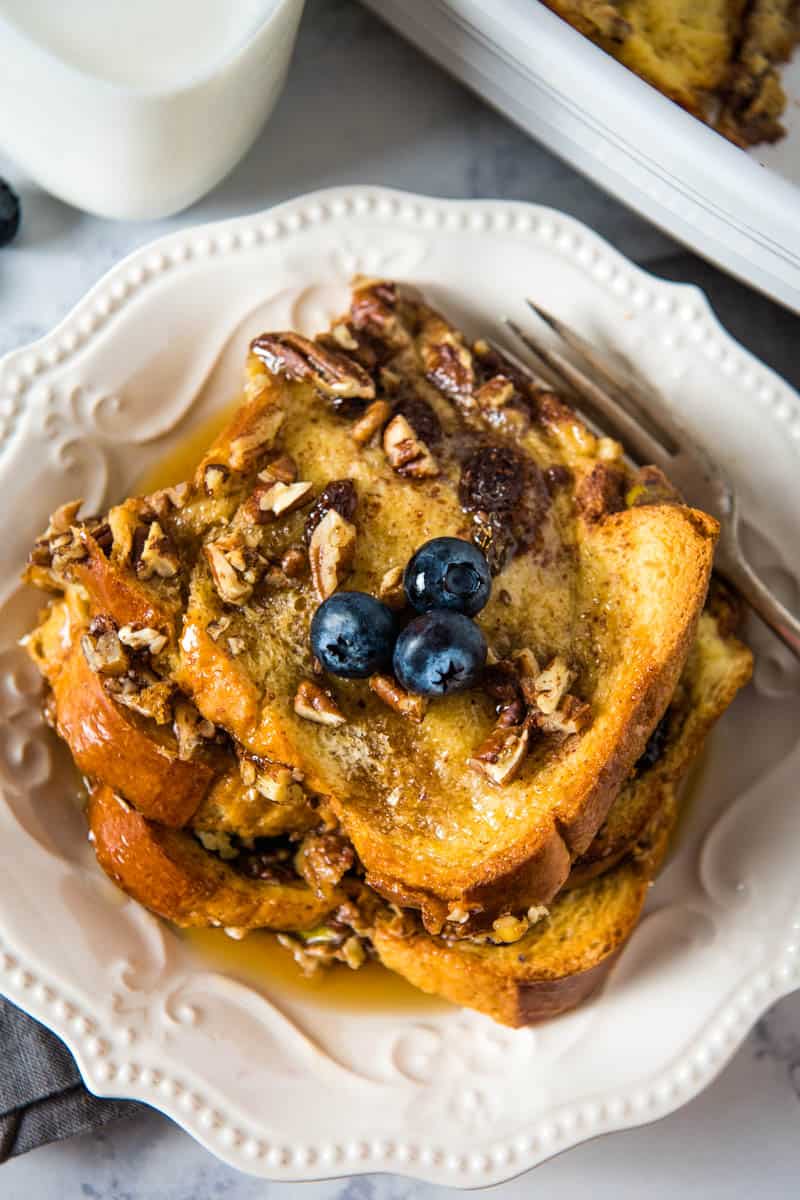
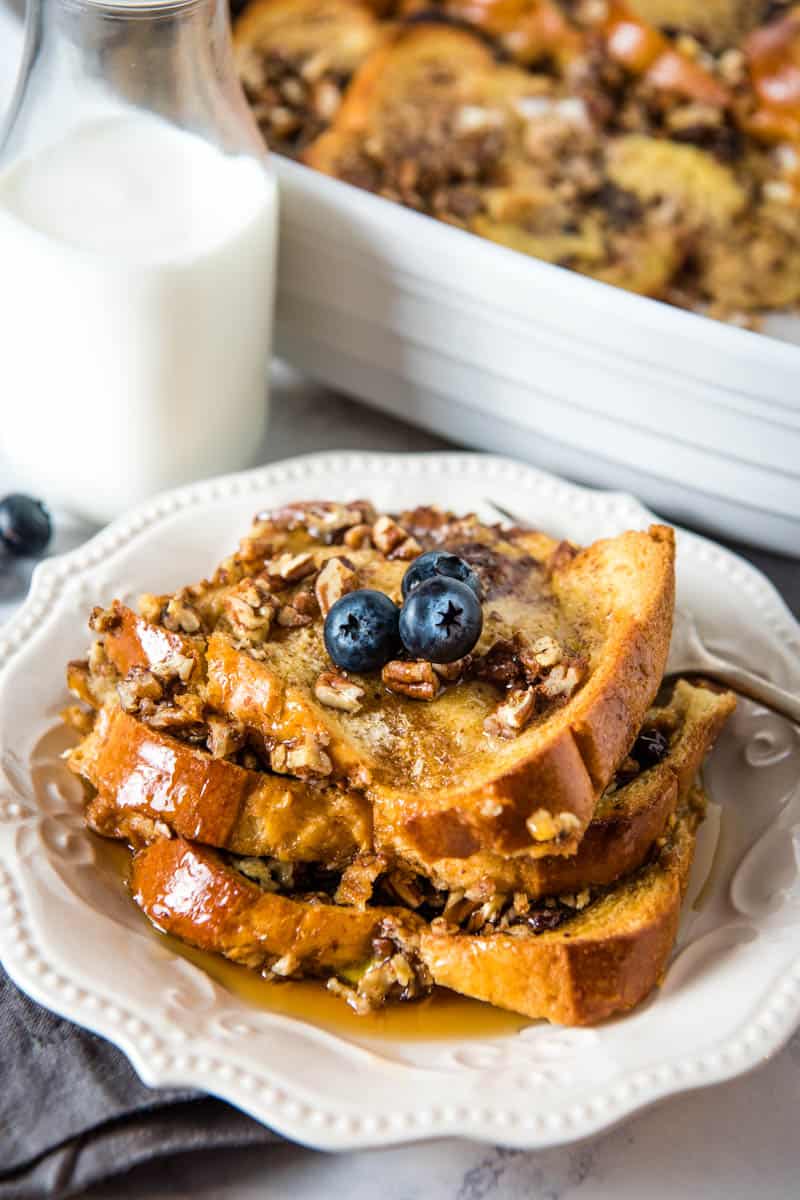
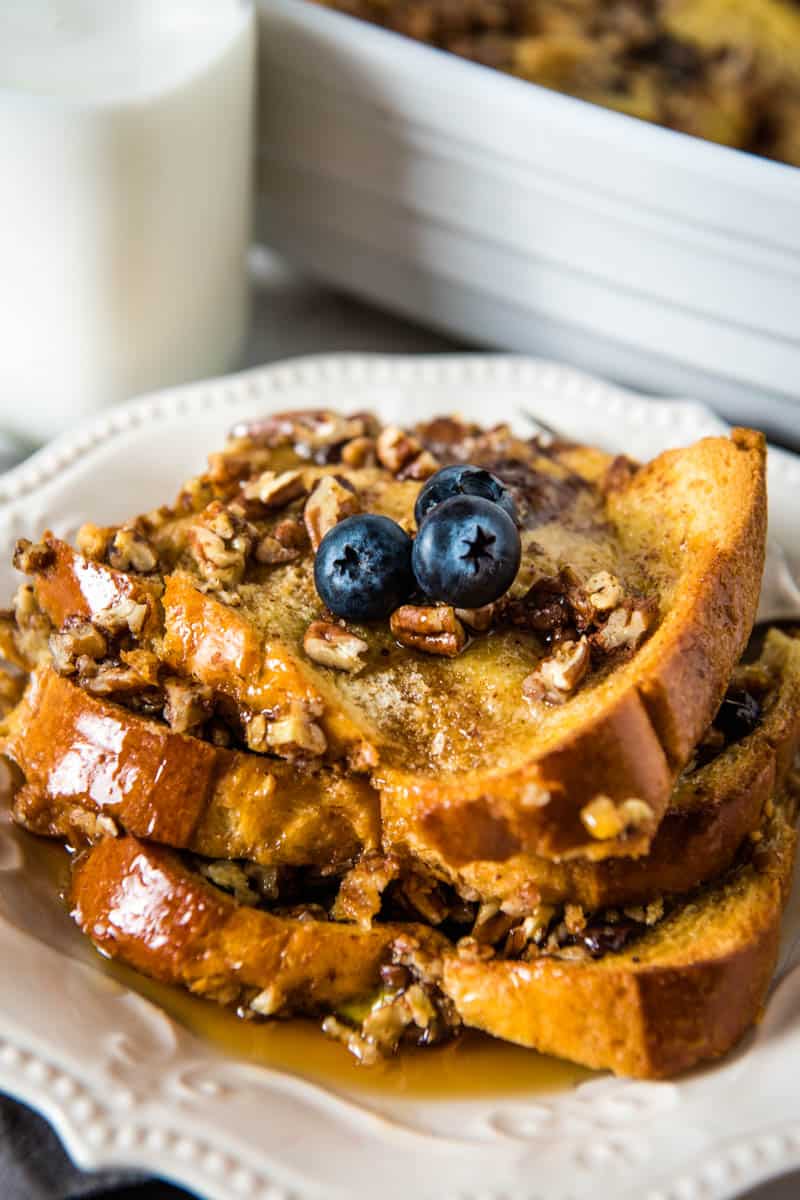
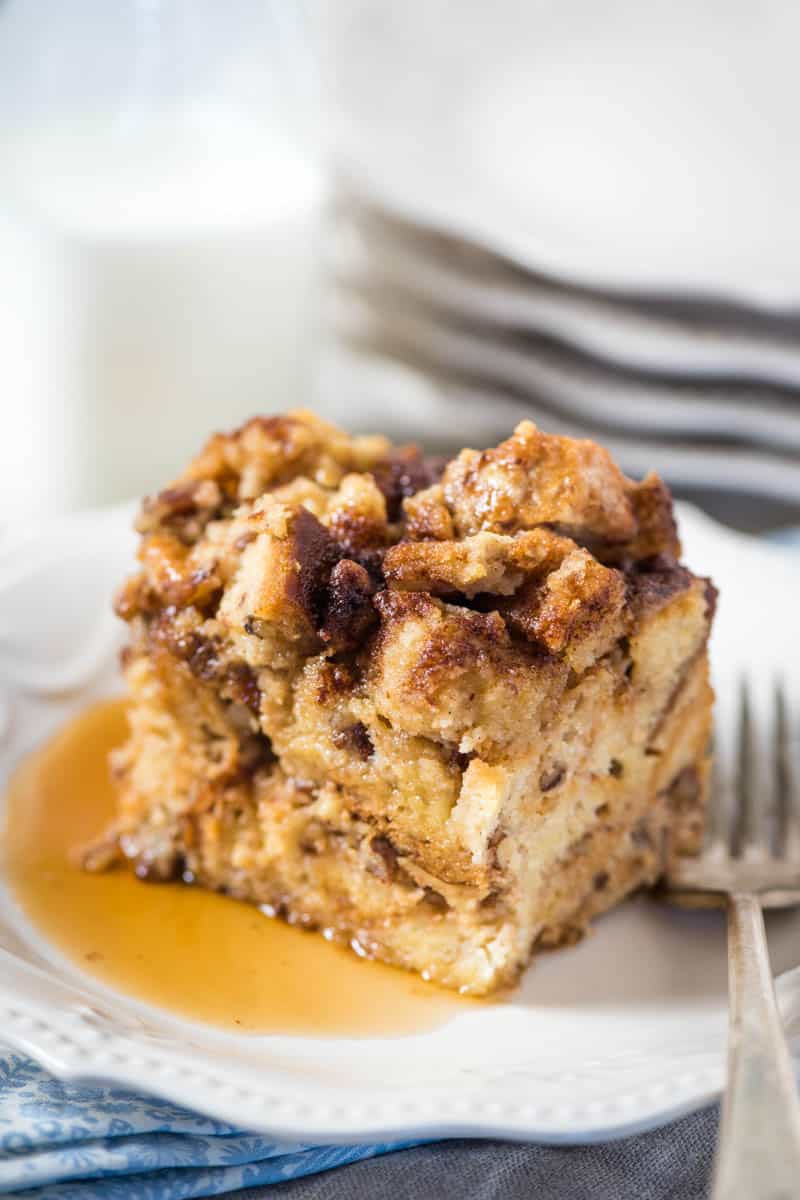
- Blueberry French Toast Casserole
- Strawberries & Cream Oatmeal Crepes
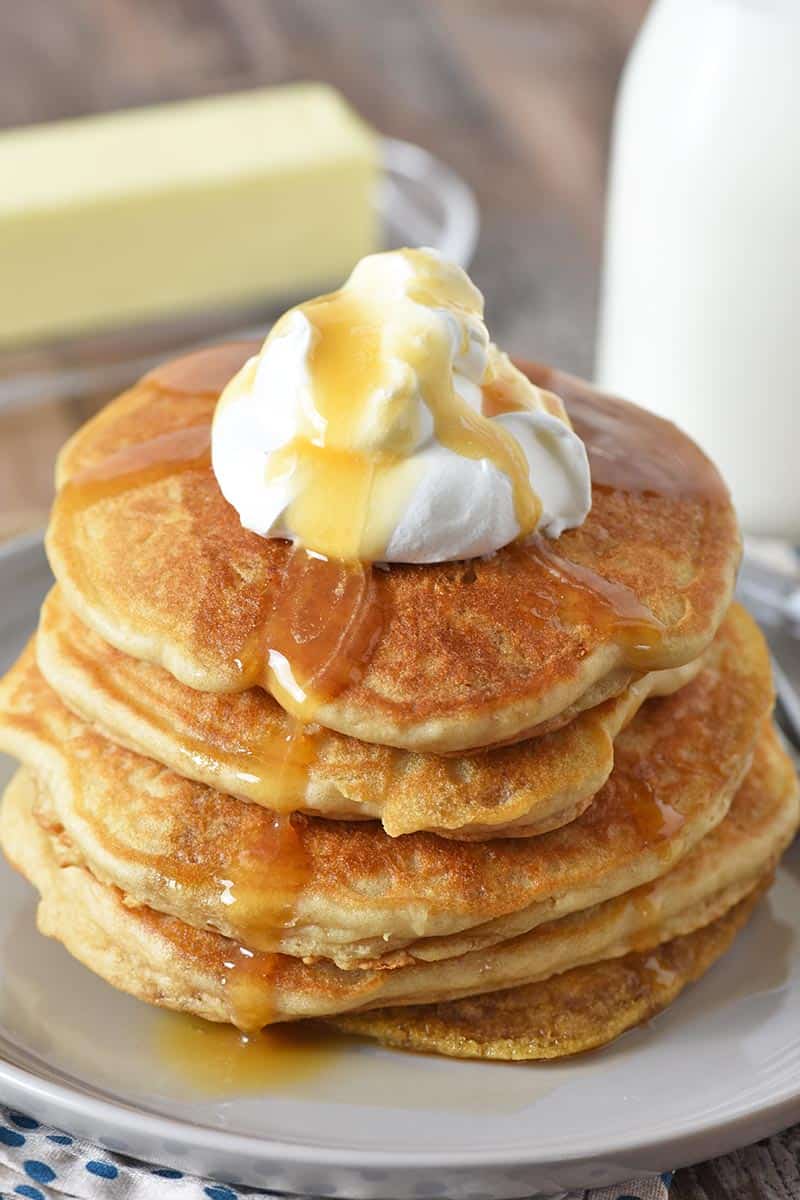
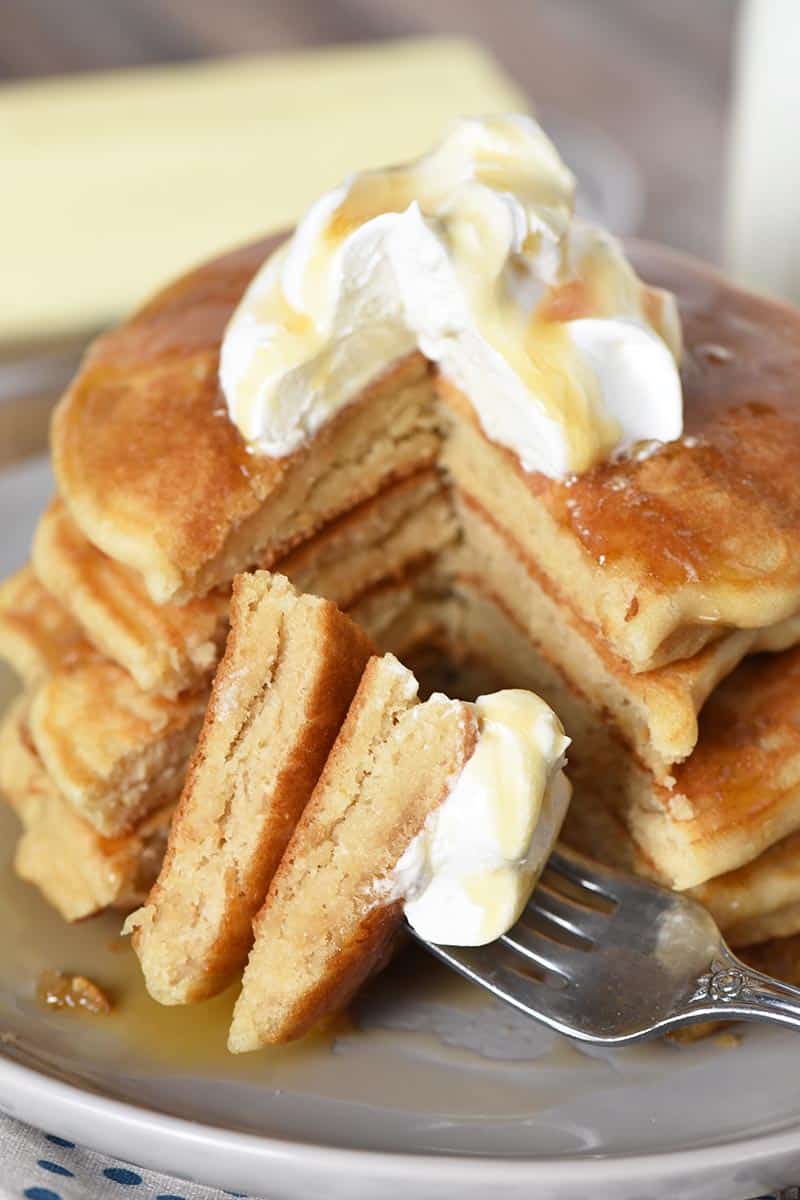
- Peaches and Cream Waffles
- Blueberry Buttermilk Pancakes
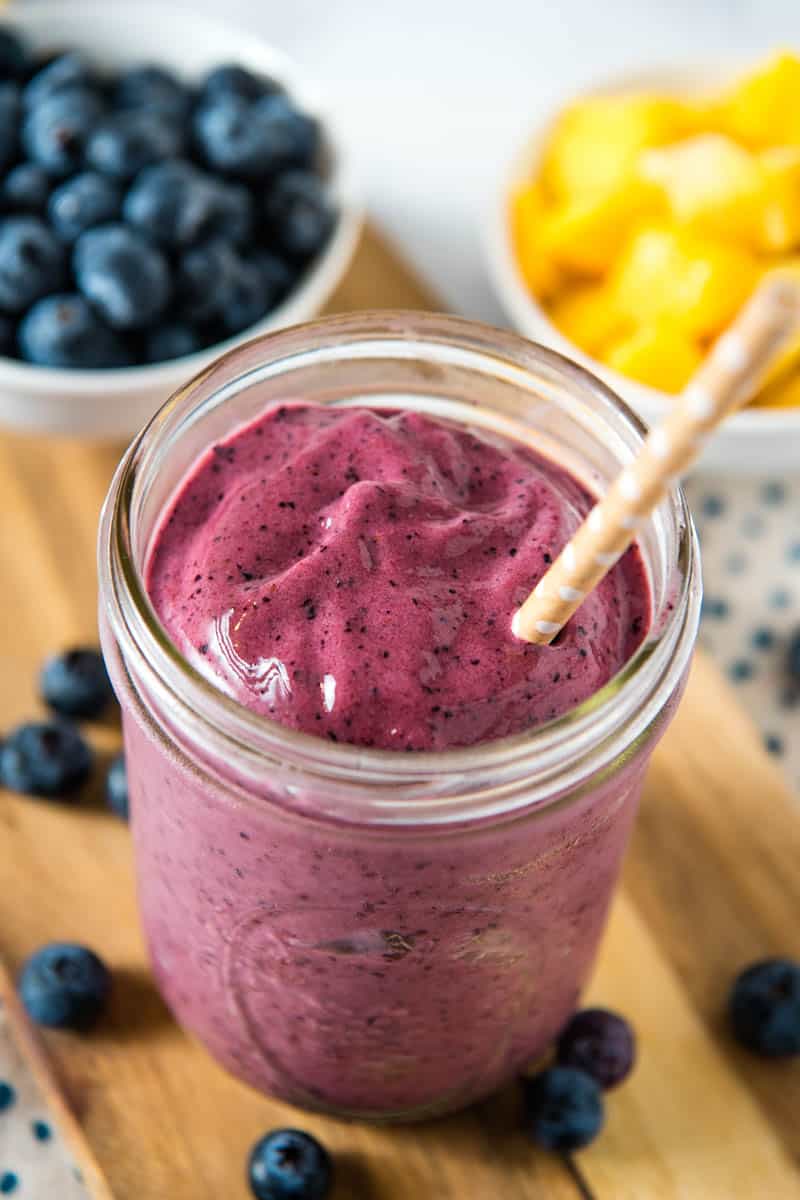
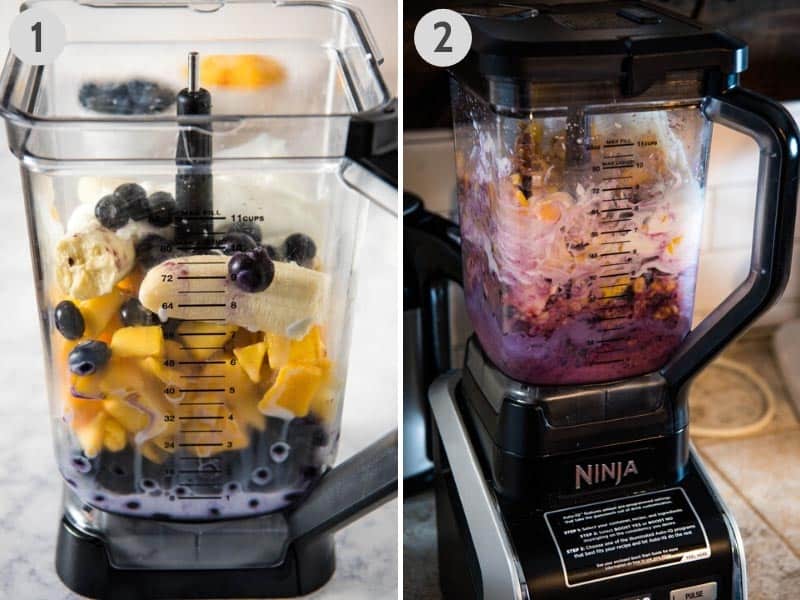
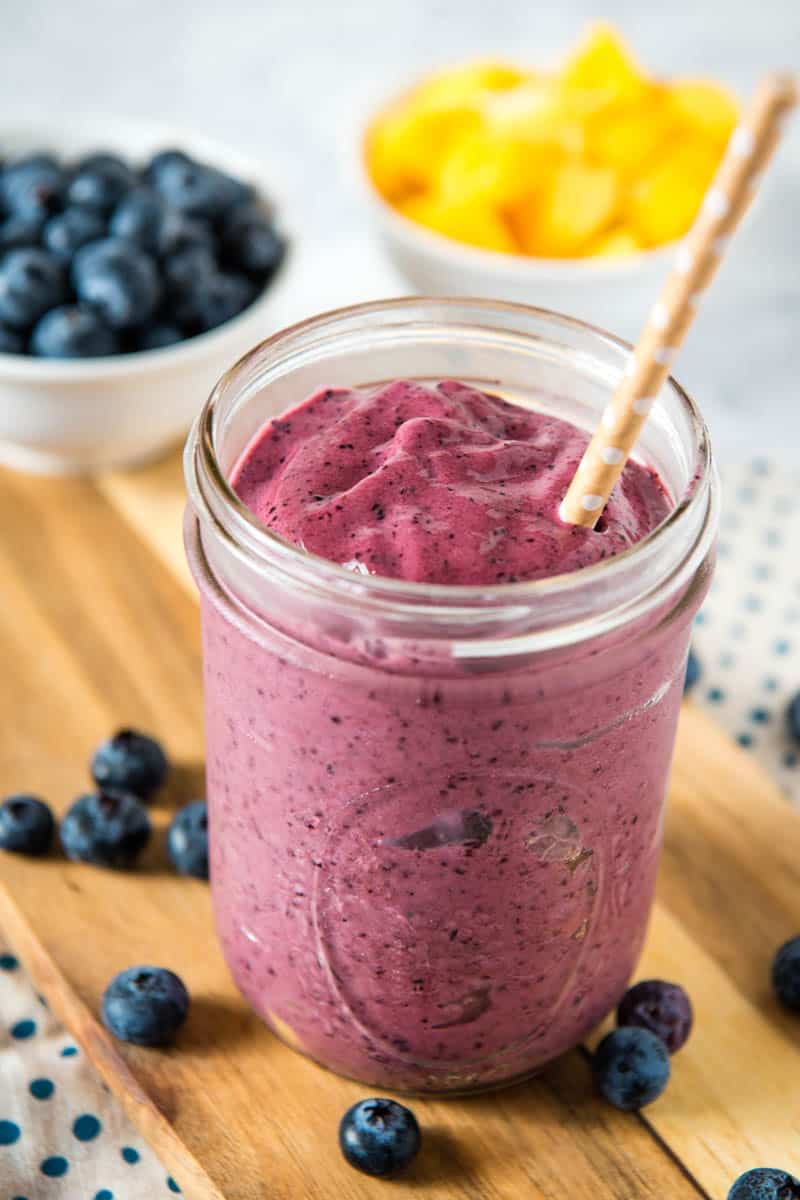
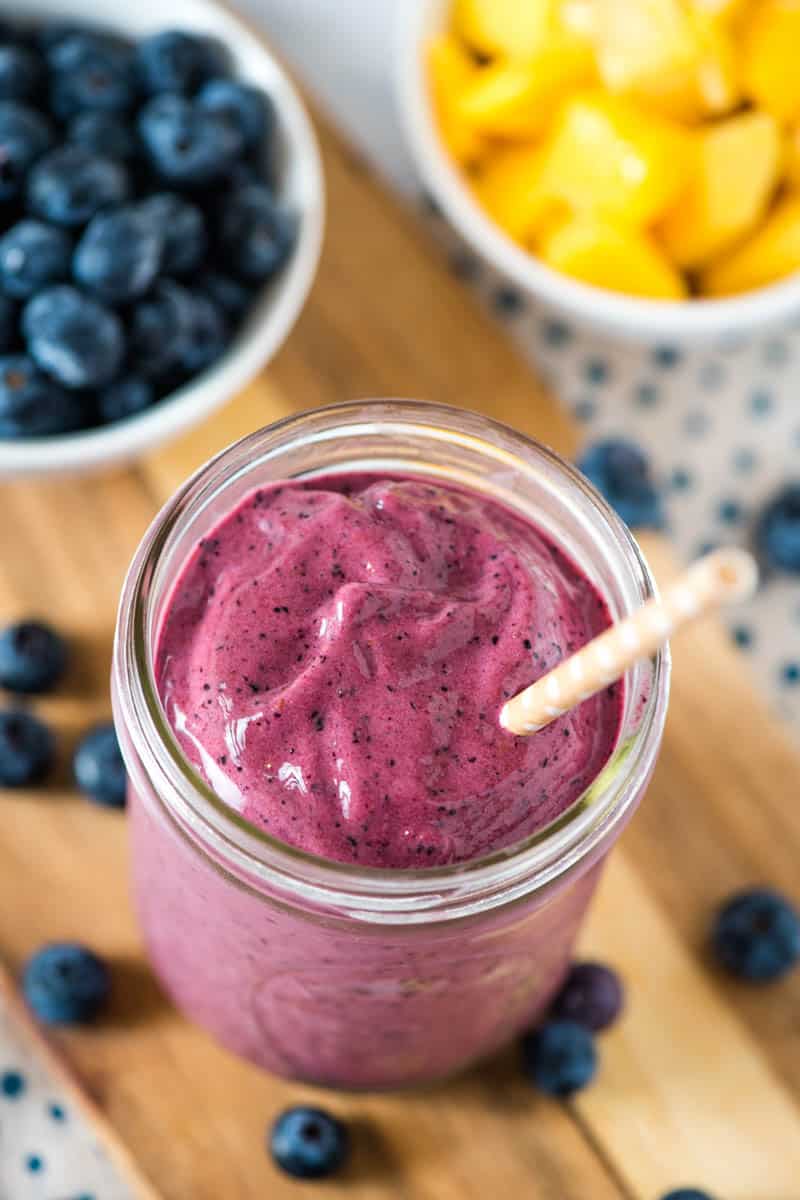
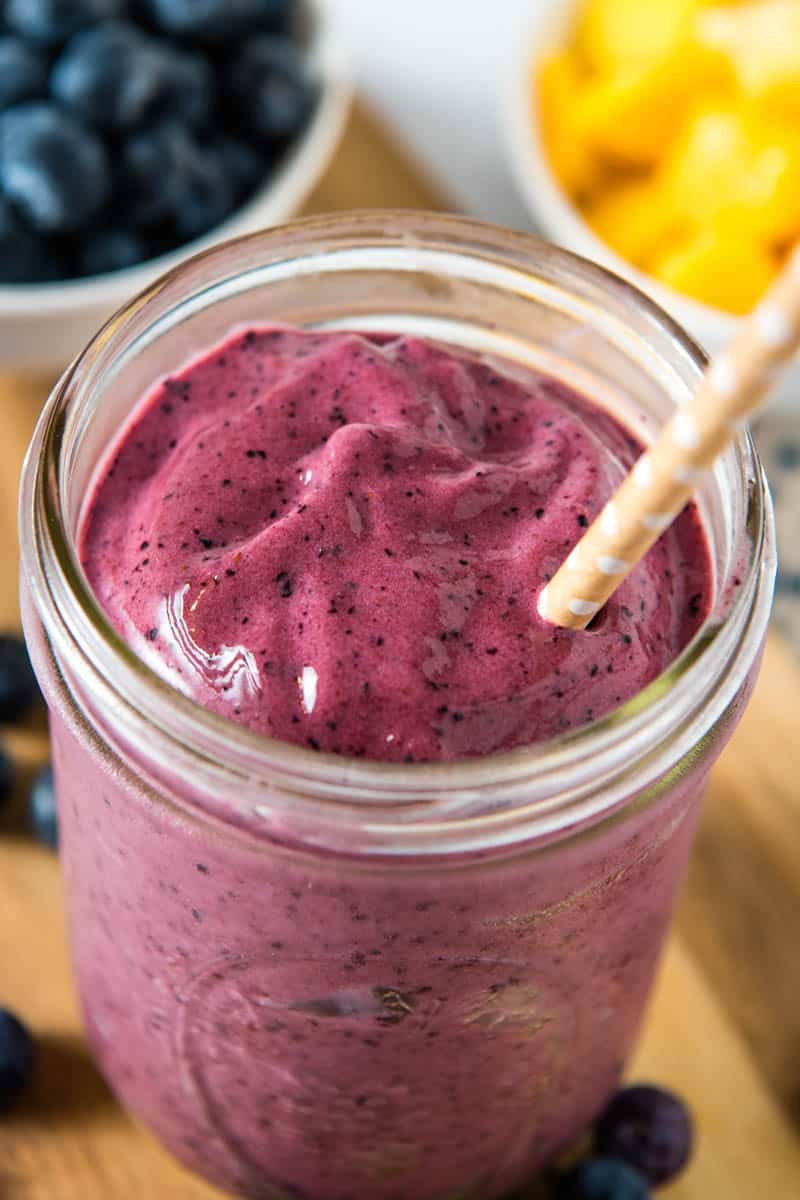
- I love a good breakfast smoothie on the go. Try making this mango blueberry smoothie, this blueberry spinach smoothie, my favorite peach mango smoothie or even a simple tropical fruit smoothie!
If you try this recipe, why not leave a star rating in the recipe card right below and/or a review in the comment section further down the page? I always appreciate your feedback. You can also follow me on Pinterest, Facebook, Instagram, and YouTube. And subscribe to my email list too!
Strawberry Oatmeal

Make the best ever strawberry oatmeal that's perfectly sweet and creamy. Easy & healthy breakfast recipe from scratch in 15 minutes or less!
- Blender
- Large Saucepan
- Whisk
- Wooden Spoon
- Small Bowl
Strawberries and Cream Oatmeal
- 1 ounce Freeze-Dried Strawberries
- 1 cup Whole Milk
- 2 cups Water
- 1/4 cup Cane Sugar
- 1/4 teaspoon Sea Salt
- 1 teaspoon Vanilla Extract
- 2 cups Rolled Oats
Oatmeal Toppings
- 1 pint Fresh Strawberries (diced)
- 4 tablespoons Heavy Whipping Cream
Start by pulsing the freeze-dried strawberries in a food processor or blender for about 30 seconds, 'til ground into a fine powder.*
Next add the milk and water to a large saucepan over medium heat. Then whisk in the strawberry powder, sugar, salt and vanilla, bringing the mixture to a simmer.
Once your strawberry milk starts simmering, add the oatmeal and stir with a wooden spoon 'til well combined. Then reduce the heat to low and let the oats simmer for about 5-7 minutes.
Once the oats have softened, spoon your strawberry oatmeal into a bowl and top with fresh, diced strawberries and a splash of cream. Serve and enjoy!
*Instead of freeze-dried strawberries, you can also substitute with about 1 & 1/2 cups of fresh strawberries, leaving them in chunks or blending them up for a few seconds to mash them up. Frozen strawberries will also work, but it’s best to let them thaw in the refrigerator overnight before making the recipe.
How do you store leftover strawberry oatmeal?
You can store leftover strawberry oatmeal in an airtight container for up to 3 days in the refrigerator, and then reheat it in a microwave-safe bowl in the microwave for a few minutes on high before serving. You may have to add a splash of milk for extra moisture.