How to make individual mini fruit pizza cookies with a sugar cookie crust and a simple cream cheese frosting. Top it off with all your favorite fruit for a quick and easy dessert that you can make in 15 minutes or less!
Once upon a time I used to make fruit pizza all the time. In fact, it used to be my oldest son’s favorite dessert, and I made it for him every year for his birthday! Anymore, he usually asks for my strawberry swirl cheesecake, but fruit pizza still remains one of my family’s all-time favorites.
Recently I decided to try making these mini fruit pizzas on sugar cookies instead of on puff pastry like I normally do. They’re so delicious, and they’re basically bite-sized so you can set out a whole platter for people to pick and choose from as they please. This recipe is so quick and easy to make, and it would be perfect for a 4th of July party!
What Is Fruit Pizza?
If you’ve never experienced the delight of a real fruit pizza, you’re missing out! This classic dessert is pretty simple, usually consisting of a pizza-shaped puff pastry crust topped with a cream cheese frosting and a pile of pretty much any fruit you can imagine. This beautiful, light and refreshing dessert is perfect for the hot summer months!
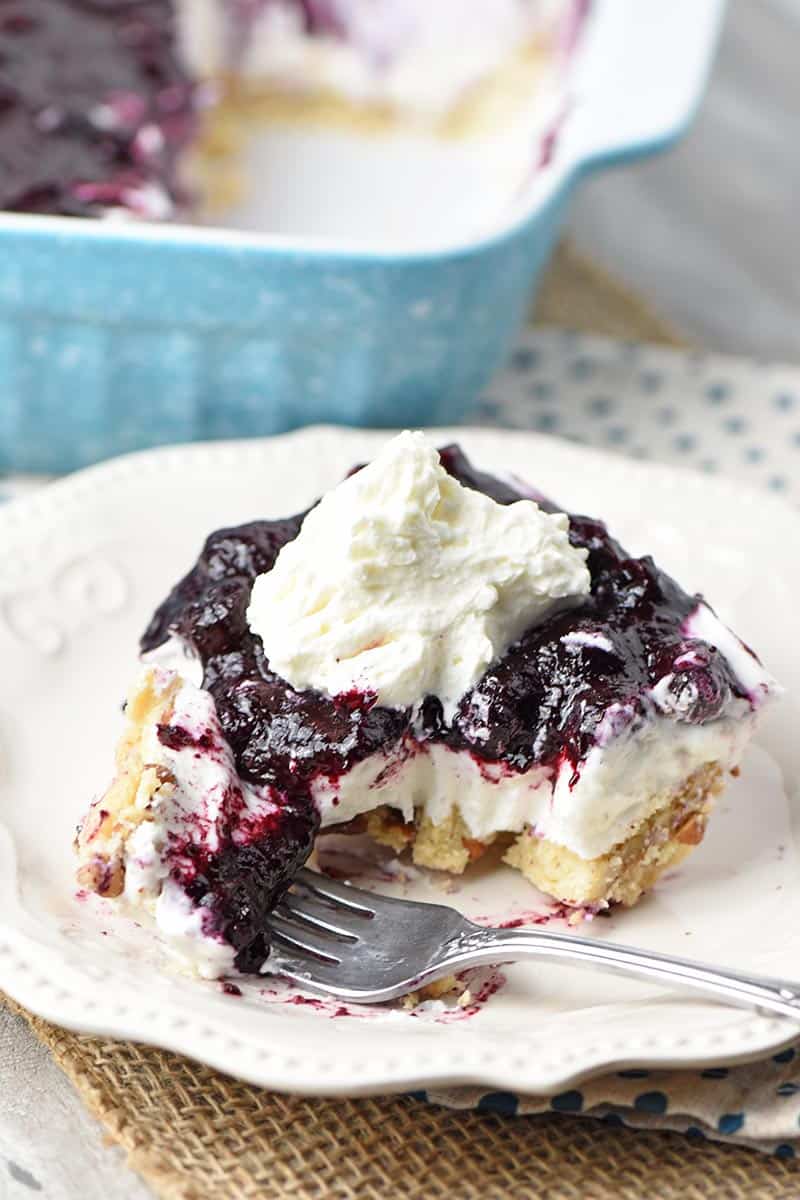
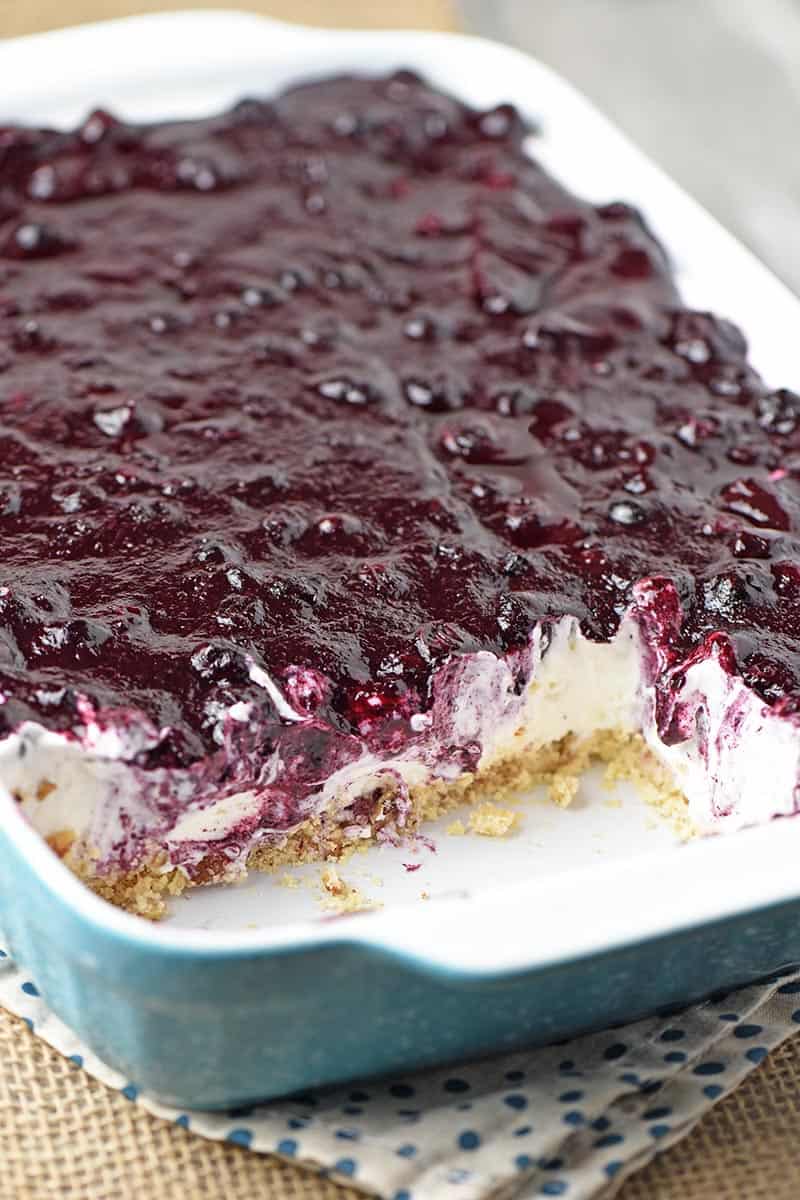
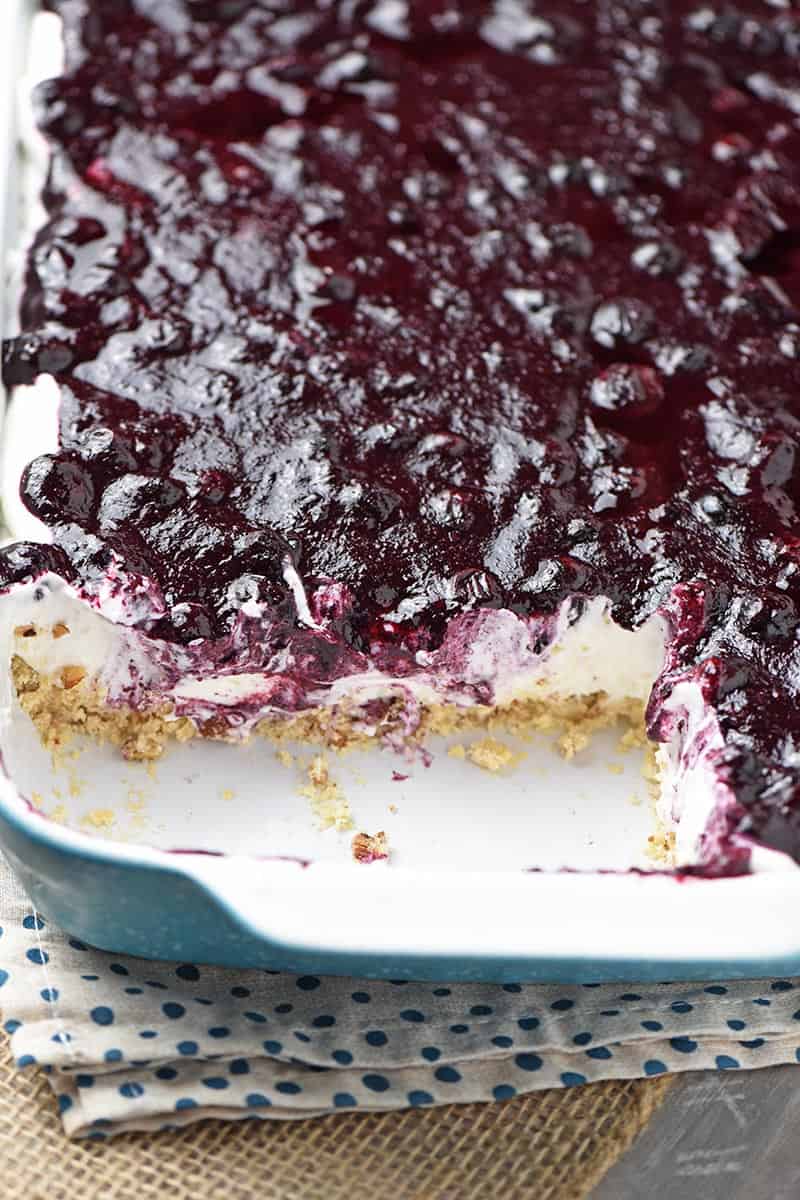
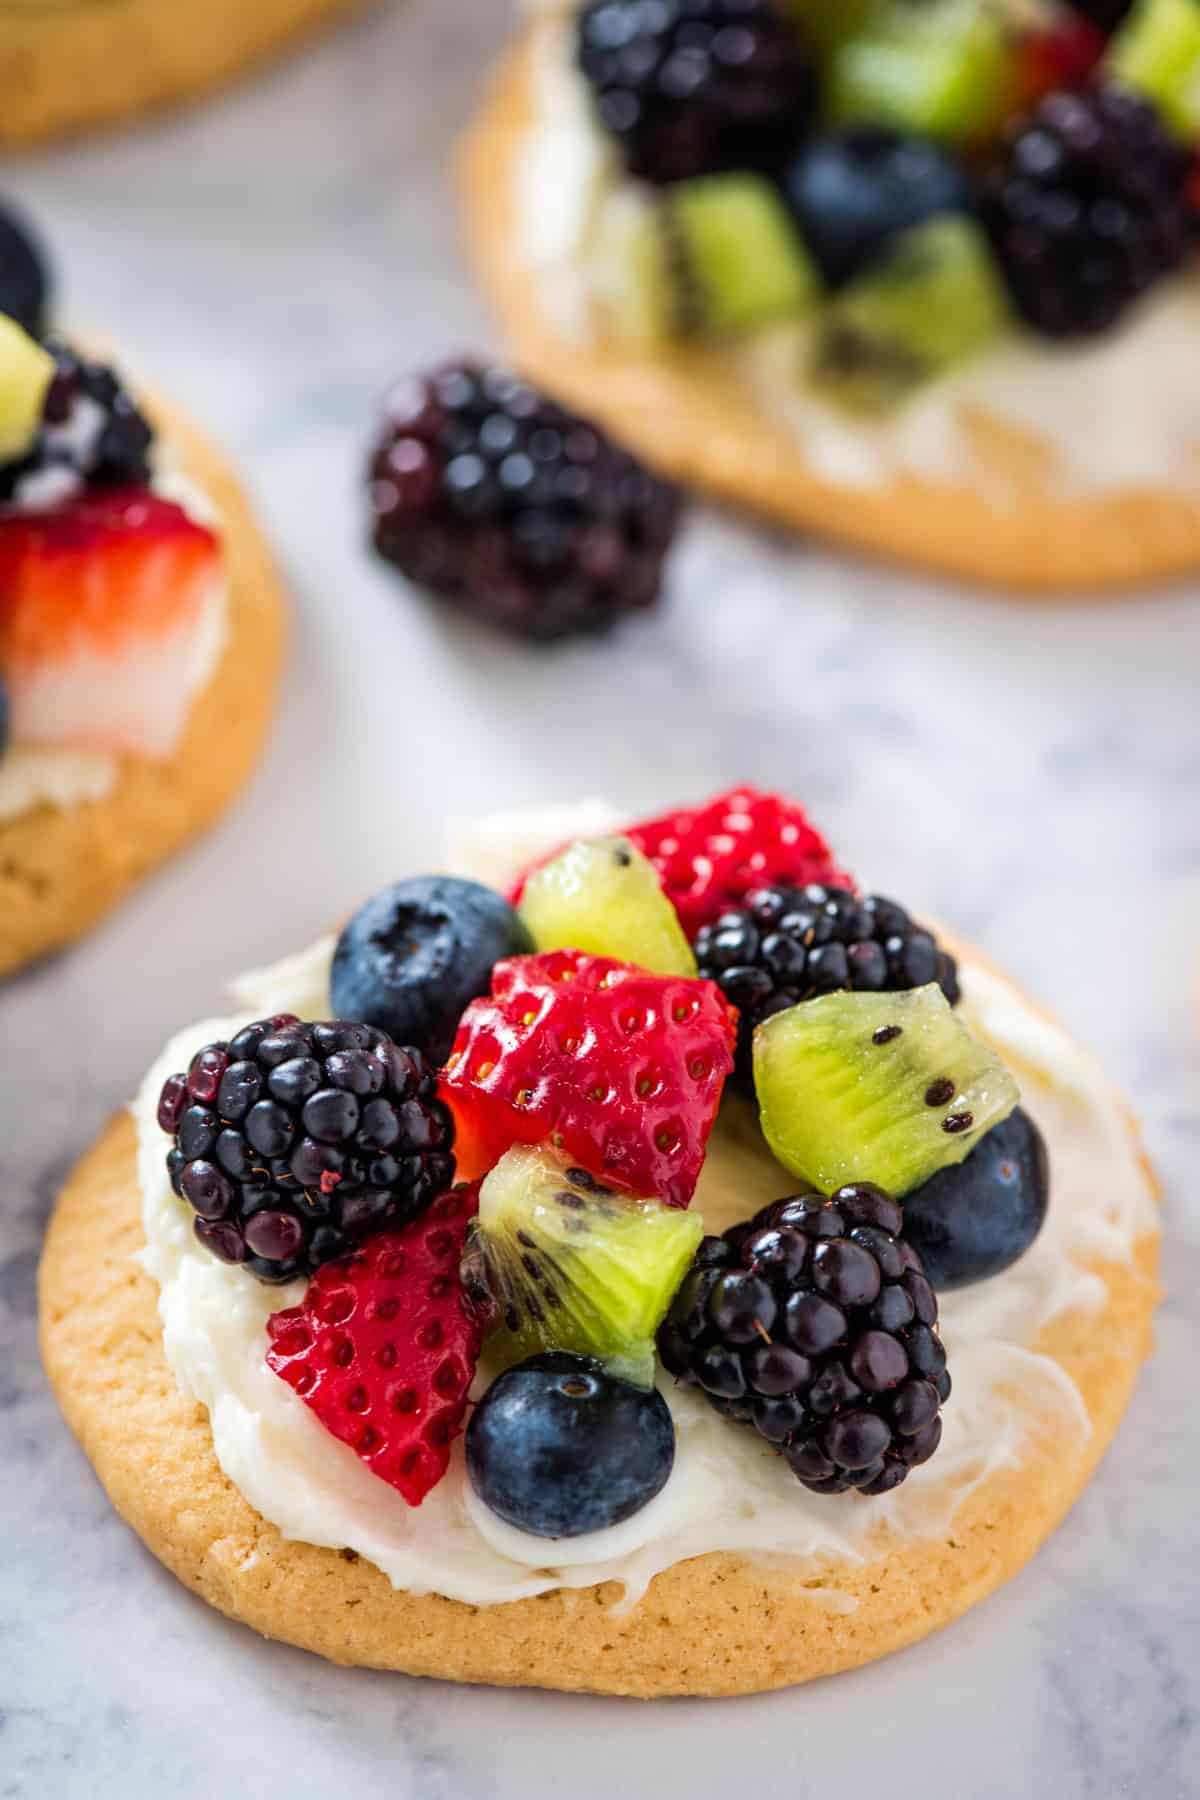
That said, this recipe is for mini fruit pizza cookies. So I’m basically baking regular sized sugar cookies and topping them off with all the fruit pizza toppings to make mini fruit pizzas. It’s like these blueberry cream cheese mini fruit tarts, but with a sugar cookie crust!

Ingredients & Substitutions Notes
- Sugar Cookie Dough – Since this is supposed to be an easy dessert, I usually just buy rolls of sugar cookie dough from the grocery store. That said, you can also make homemade sugar cookies if you’d rather! You can also make this recipe gluten free by using gluten free sugar cookie dough.
- Cream Cheese – Any full-fat cream cheese will work. If you can’t have dairy, there are plenty of dairy free cream cheese options at the store!
- Powdered Sugar – You’ll need powdered sugar to make the cream cheese frosting.
- Fruit – My go-to fruits for fruit pizza of any kind are strawberries, kiwi, blueberries and blackberries. But you can also add raspberries, sliced peaches, pineapple chunks, sliced bananas, apricots, mangoes, grapes, Mandarin oranges, pear slices or even thinly sliced apples. If you’re using canned fruit, use a colander to drain the liquid out beforehand so that it doesn’t soak into the crust and make everything soggy!
How to Make Mini Fruit Pizza Cookies
Before getting started, you’ll need to preheat your oven according to the package directions for the sugar cookie dough. If you’re making homemade sugar cookies, follow the recipe instead!
Baking the Sugar Cookies
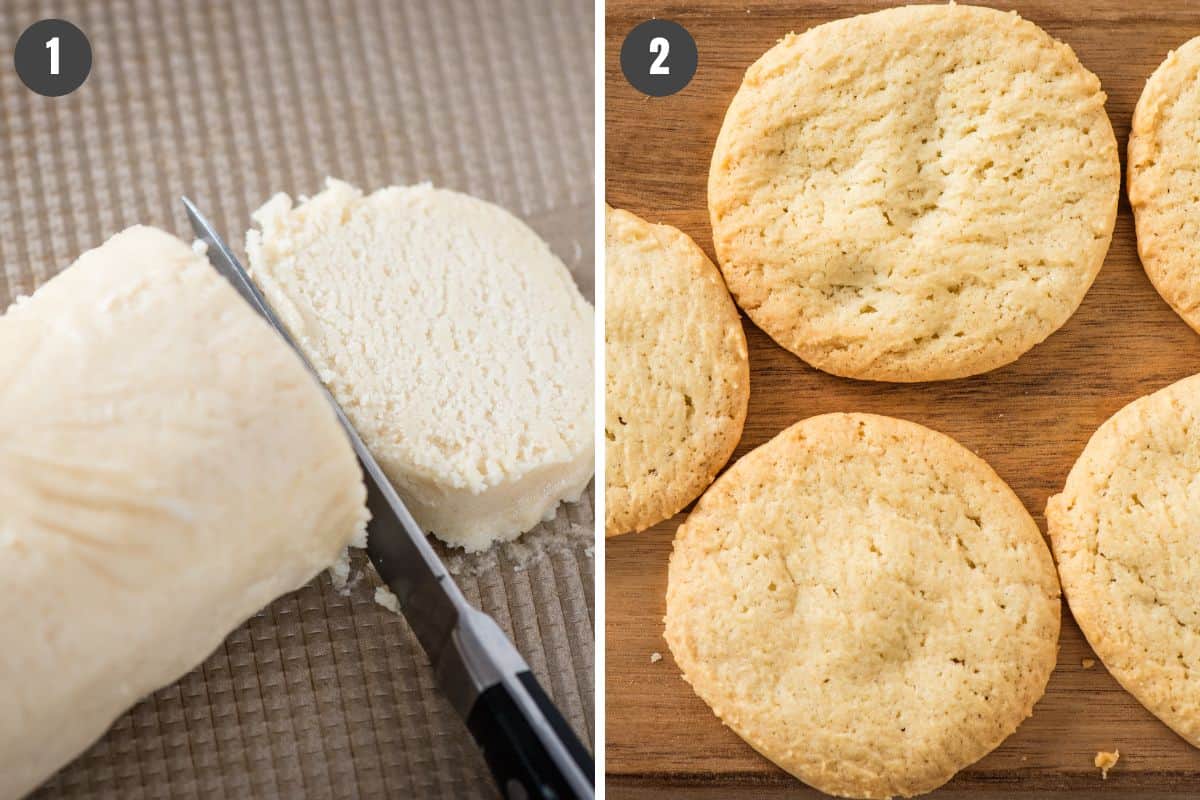
- Start by dividing your sugar cookie dough out onto the baking sheet.
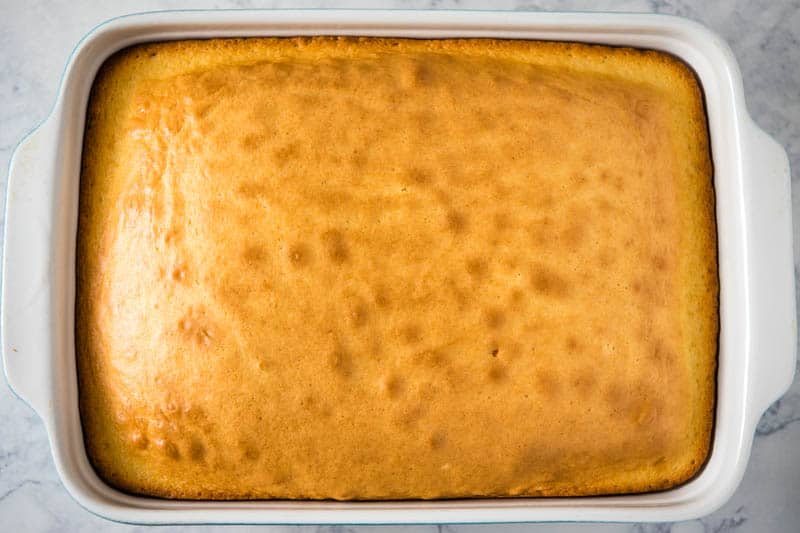
- Once your oven is preheated, bake the sugar cookies as instructed. Keep in mind you’ll want to bake them just a little bit longer than normal, ’til deep golden brown in color, so that they’re able to hold up to the fruit without getting soggy.
Wash and Prep the Fruit
- While your sugar cookies are baking, wash and prep all of the fruit so that it’s ready to go; I like to soak mine for a few minutes in a solution consisting of about one part vinegar to 3 parts water in a large bowl. Just be sure to rinse the berries before moving on, or else everything will taste like vinegar! And of course I recommend patting everything dry with a tea towel or paper towel.
- Use a small paring knife to halve the strawberries and then slice the kiwis. Set everything aside.

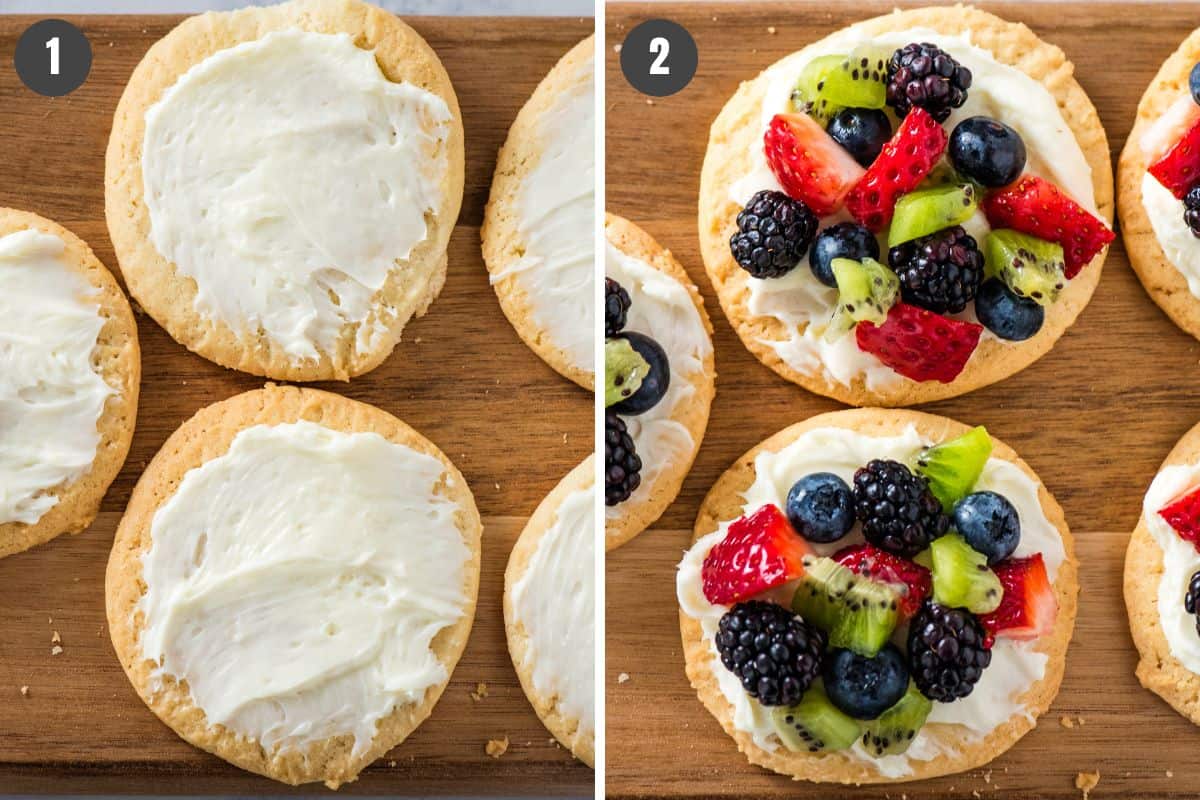
Assemble the Mini Fruit Pizzas
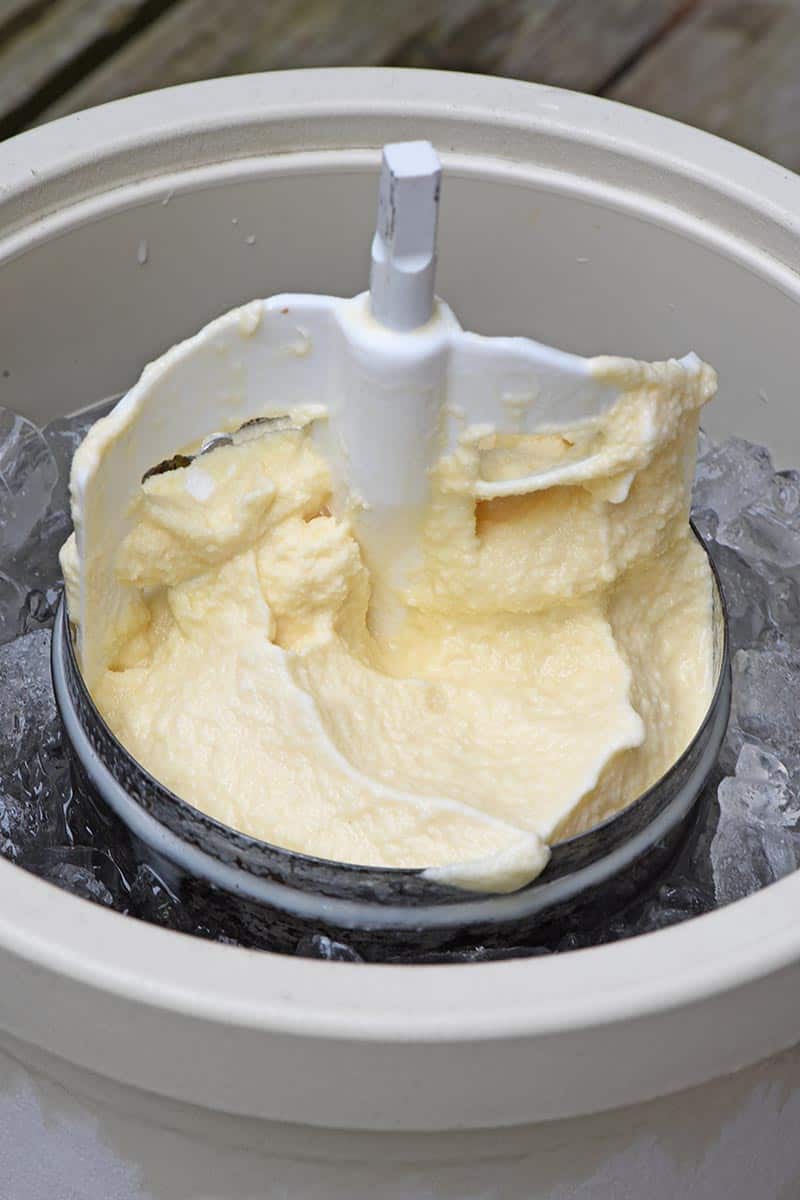
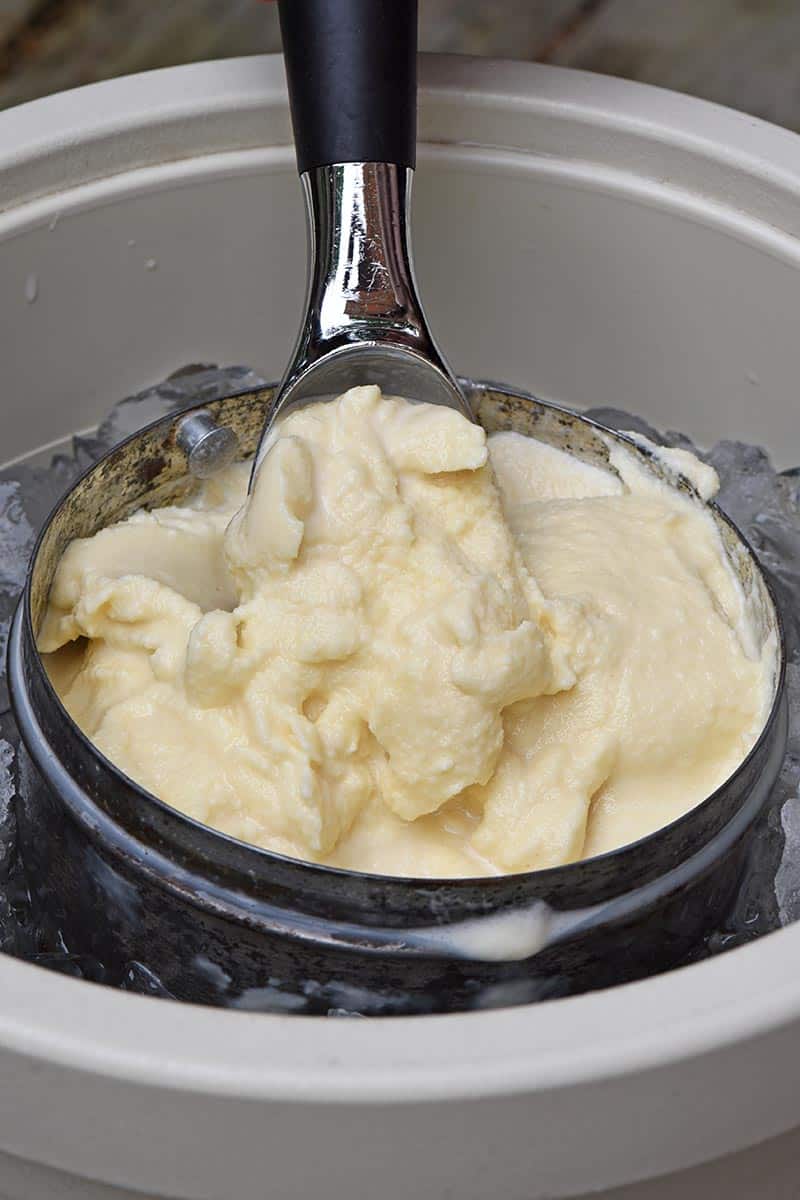
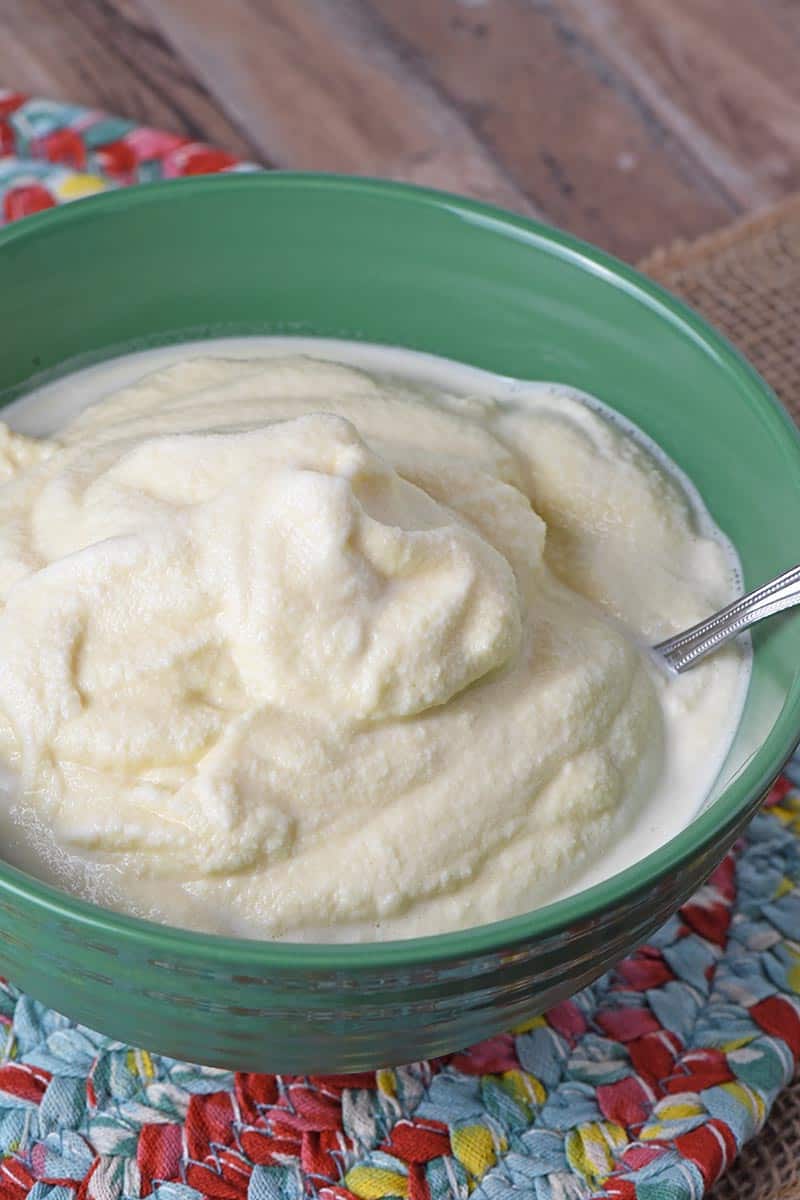
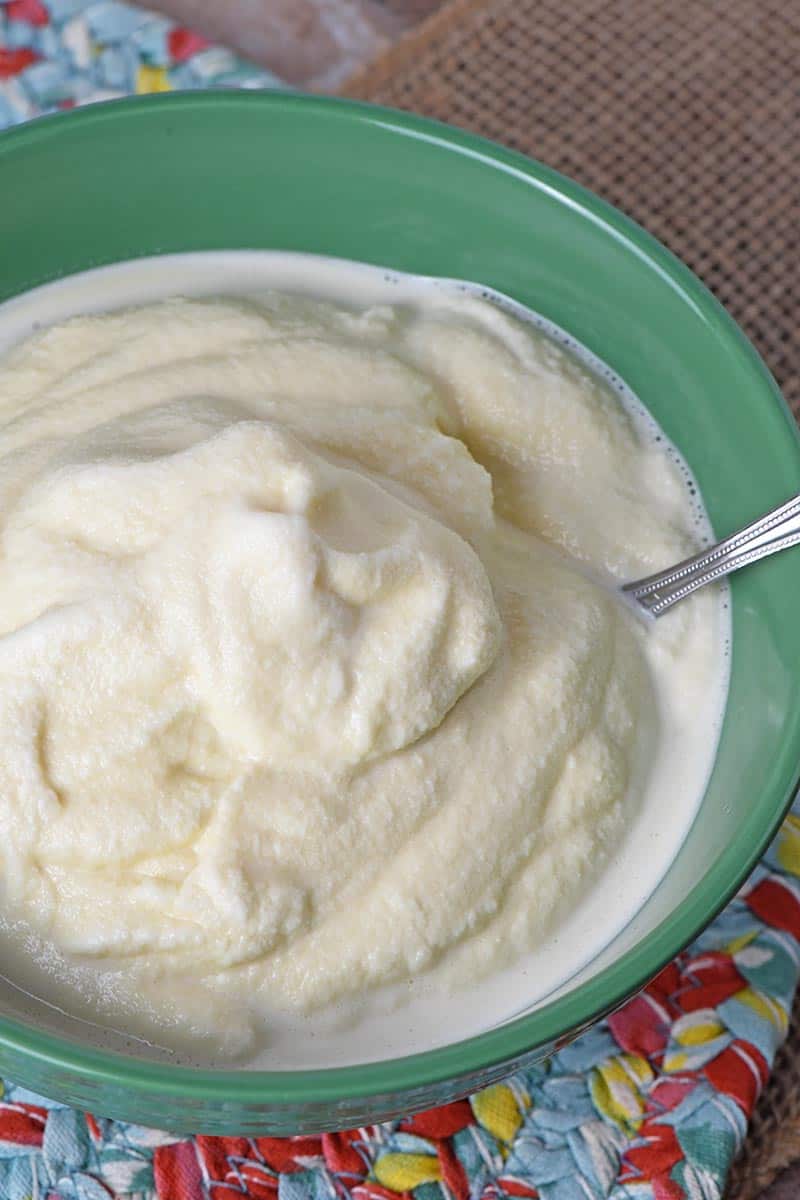
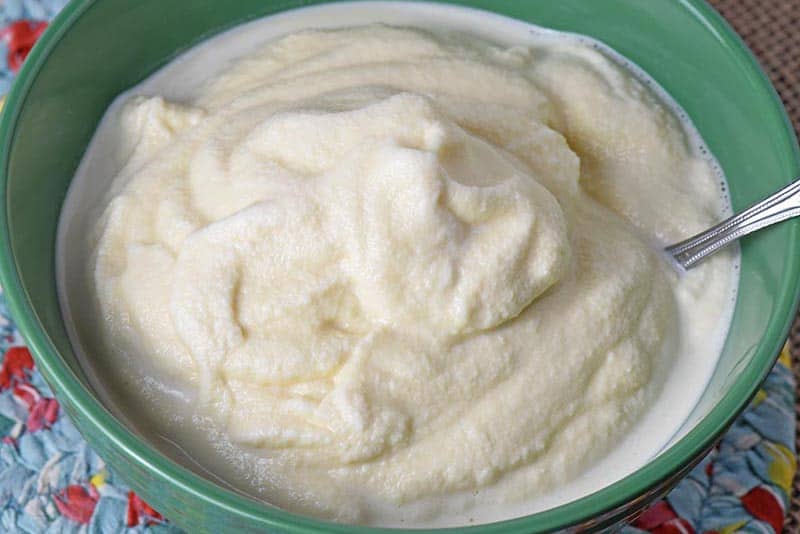
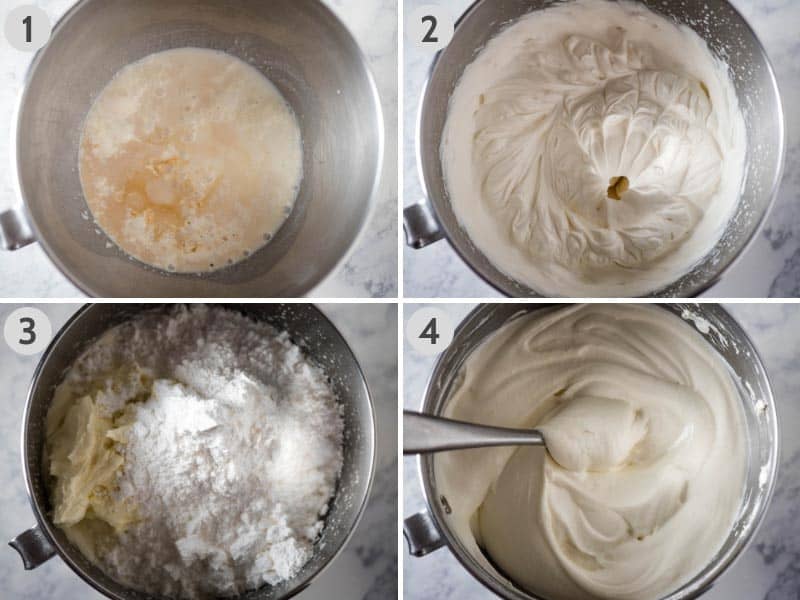
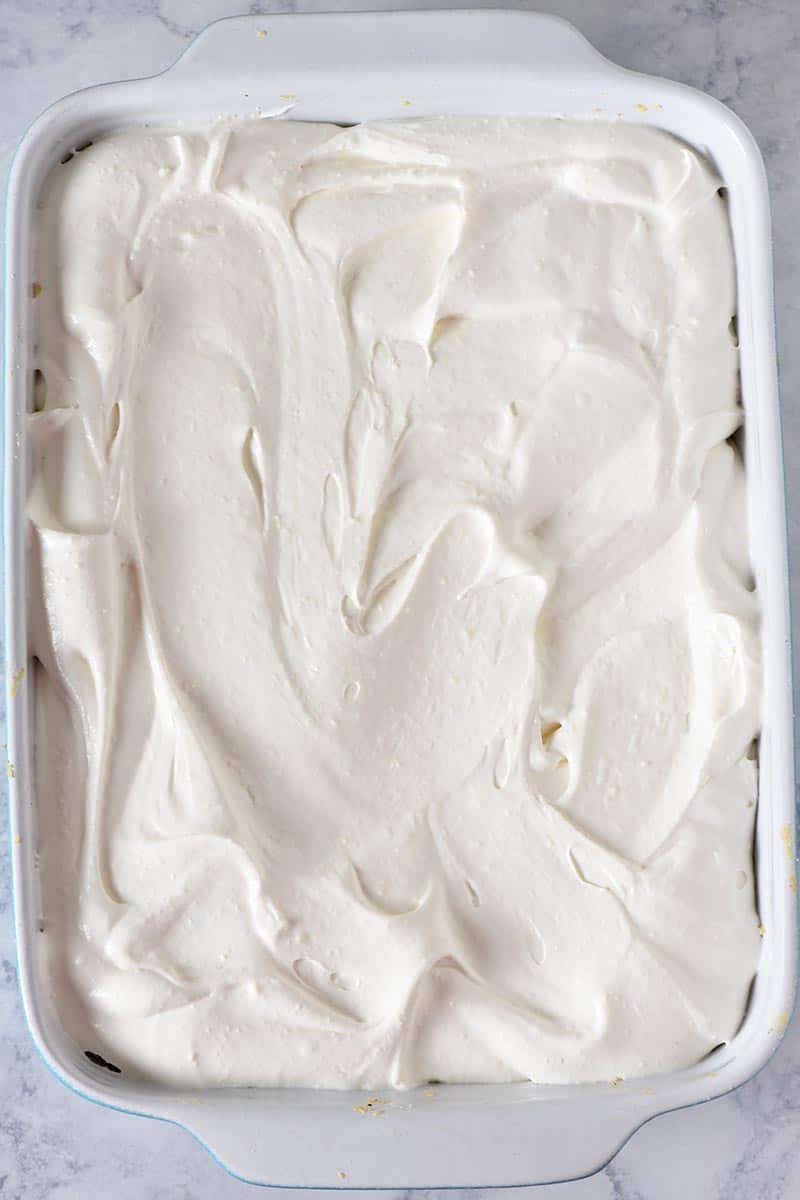
- Once your sugar cookies have fully cooled, mix up the cream cheese and powdered sugar in a medium mixing bowl. Then spread a little bit of this cream cheese mixture onto each sugar cookie.
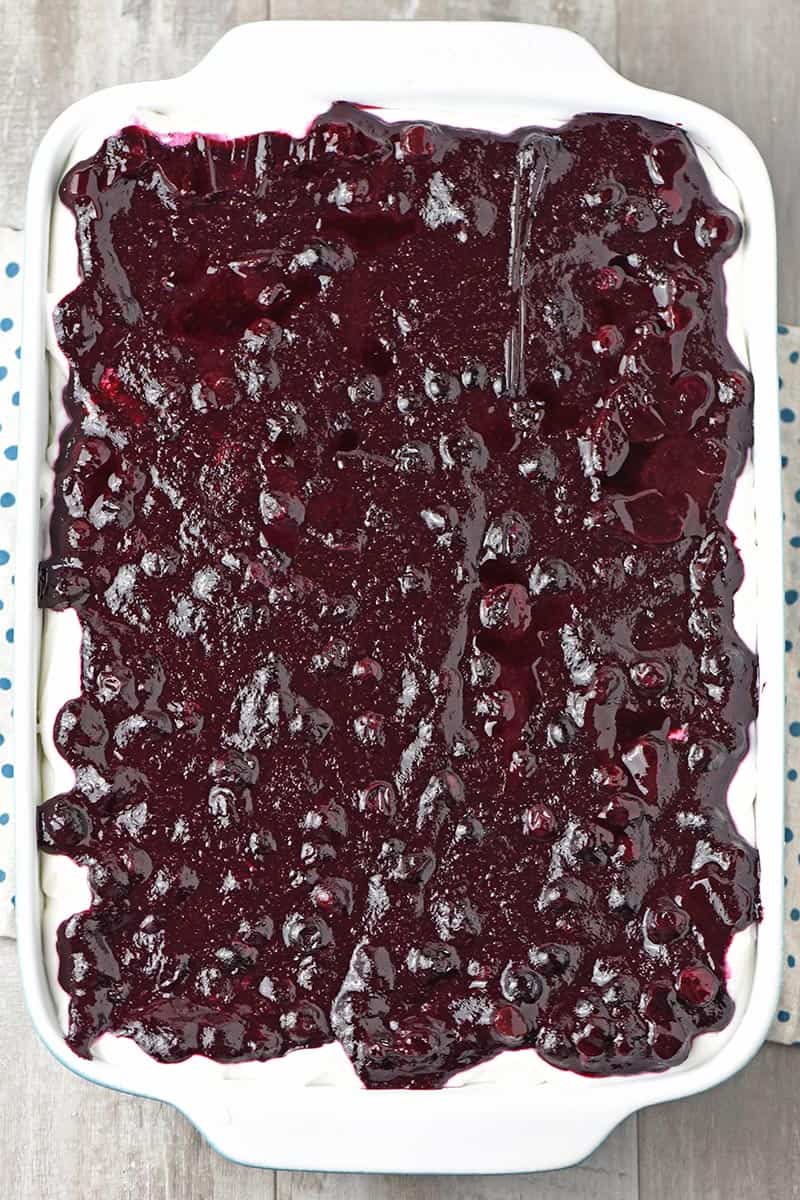
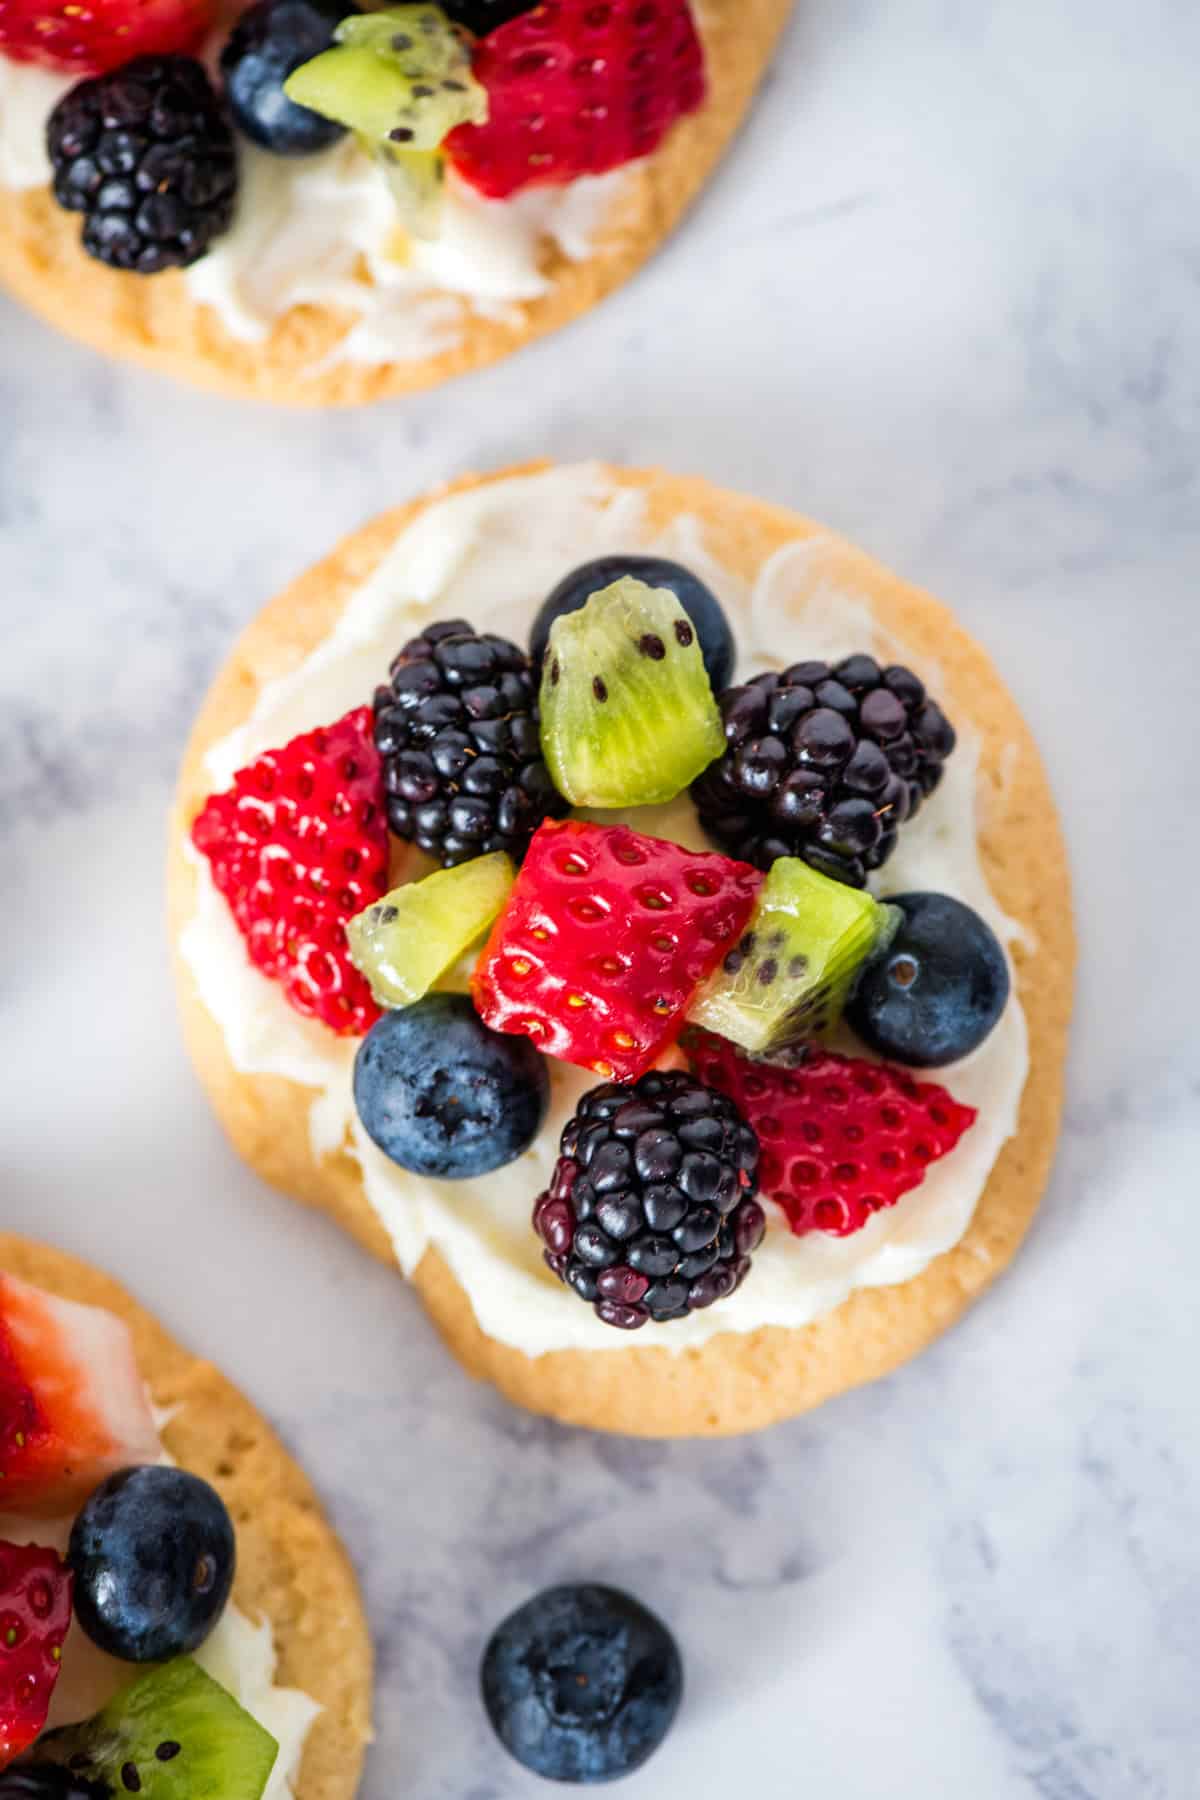
- Top each fruit pizza cookie off with a heaping spoonful of the fresh fruit mixture. That’s it!
Mini fruit pizzas make the most amazing sweet snack or dessert. Top off with a dollop of homemade whipped cream, serve with a cold glass of iced tea or iced coffee, and enjoy!

Expert Tips and Recipe FAQ’s
There are a few reasons why your fruit pizza can become soggy. You may not have patted the fruit dry after washing, or maybe you didn’t drain all of the liquid out of the can (if using canned fruit) before adding to the crust. It’s also possible that you underbaked the sugar cookies; you want to bake them until deep golden brown in color. Otherwise, if they’re undercooked, they’ll turn out soggy and doughy once the moisture from the fruit soaks in. Last but not least, be careful that you don’t add to much fruit to each cookie, as this can also make everything really soggy. A spoonful will do!
Yes, you can assemble your mini fruit pizzas up to one day ahead of time and then store in an airtight container in the refrigerator. If they set any longer than that, they will start to get soggy.
I don’t see a need to freeze fruit pizza, simply because it’s so quick and easy that I can always whip it up in a pinch. That said, you can freeze both the cookie dough ahead and the cream cheese frosting ahead of time in an airtight container or freezer bag. Just be sure to let them thaw out overnight in the refrigerator before making the recipe.
Recipe Variations
- Use puff pastry cups instead of sugar cookies to make fruit pizza bites instead!
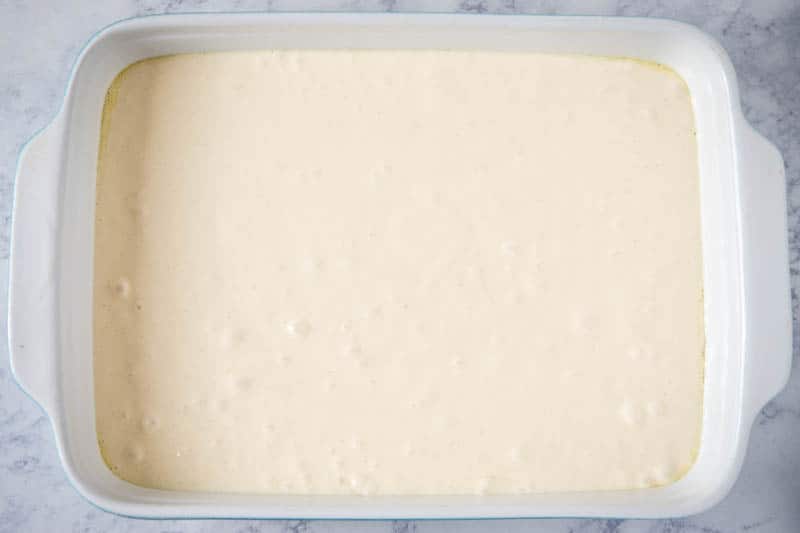
- Don’t feel like making individual cookies? Just press the sugar cookie dough out into a sheet pan instead, adding your cream cheese and fruit toppings like normal.
- You don’t have to use plain sugar cookie dough. I think this recipe would be absolutely amazing using Jello sugar cookies instead!
- As I mentioned in the ingredients notes above, add other fruit! Sometime I’d like to make this recipe using the fruit mixture from my favorite tropical fruit cups recipe.
More Easy Fruit Desserts
- Fruit Kabobs
- Strawberry Jello Flag Cake
- Strawberry Yum Yum Dessert or Blueberry Yum Yum Dessert
- Strawberry Shortcake
- Mixed Berry Salad
- Mixed Berry Fruit Cups
If you try this recipe, why not leave a star rating in the recipe card right below and/or a review in the comment section further down the page? I always appreciate your feedback. You can also follow me on Pinterest, Facebook, Instagram, and YouTube. And subscribe to my email list too!
Mini Fruit Pizza

Make mini fruit pizza cookies with a sugar cookie crust and cream cheese frosting. Top with your favorite fruit for a quick and easy dessert!
- Baking Sheet
- Large Bowl
- Tea Towels
- Paring Knife
- Medium Mixing Bowl
- 1 roll Sugar Cookie Dough
- 8 ounces Cream Cheese
- 1/2 cup Powdered Sugar
- 1 cup Strawberries (halved)
- 2 Kiwis (peeled & sliced)
- 1/2 cup Blueberries
- 1/2 cup Blackberries
Start by dividing your sugar cookie dough out onto the baking sheet, and bake according to package directions. You'll want to bake them just a little bit longer than normal, 'til deep golden brown in color.
While your sugar cookies are baking, wash, rinse and prep all of the fruit so that it's ready to go; I like to soak mine for a few minutes in a solution consisting of about one part vinegar to 3 parts water in a large bowl.
Once your sugar cookies have fully cooled, mix up the cream cheese and powdered sugar in a medium mixing bowl.
Then spread a little bit of this cream cheese mixture onto each sugar cookies.
Top each fruit pizza cookie off with a heaping spoonful of the fresh fruit mixture.
That's it! Serve and enjoy!
Can you make fruit pizza cookies ahead of time?
Yes, you can assemble your mini fruit pizzas up to one day ahead of time and then store in an airtight container in the refrigerator. If they set any longer than that, they will start to get soggy.