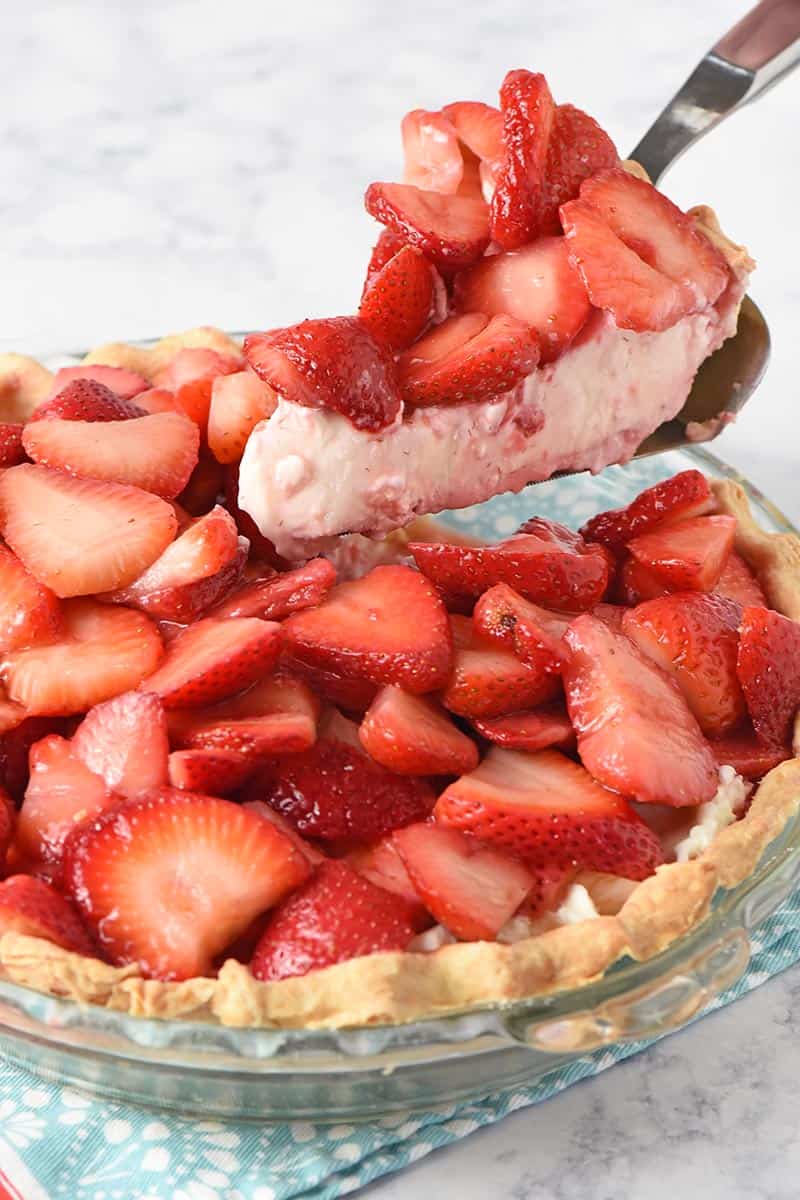
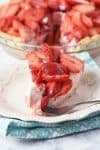
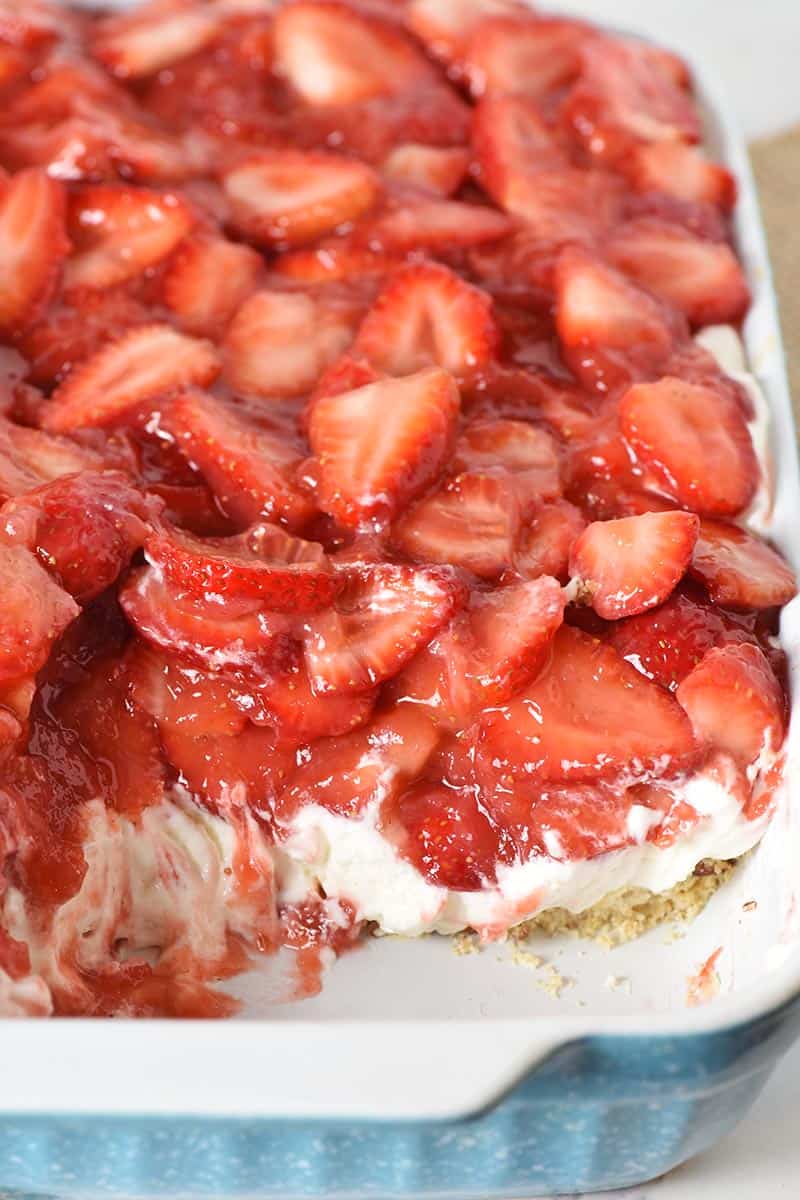
Make an easy strawberry yum yum dessert layered with fresh strawberries, a no bake cream cheese filling, and pecan crust. This dreamy strawberry delight is perfect for potlucks and gatherings!
Strawberry season is right around the corner, and I’ve got strawberries on the brain. While I love a good strawberry cream pie, my sweet tooth also loves this easy strawberry delight recipe with its strawberries and cream cheese filling.

The creamy filling requires no baking, depending what type of crust you go with. Personally, I love making this strawberry Dream Whip dessert with our favorite pecan crust; however, you can make a completely no bake strawberry delight recipe with an easy no bake graham cracker crust.
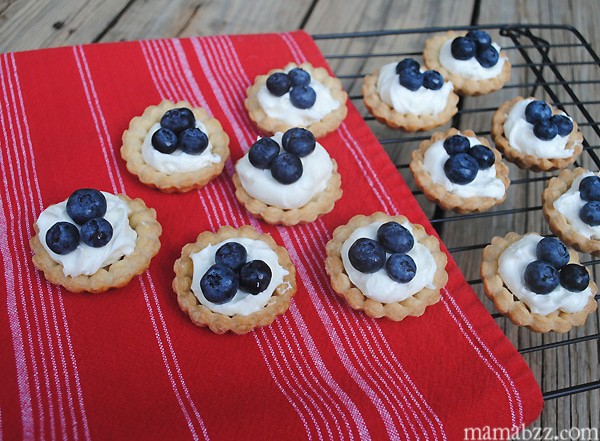
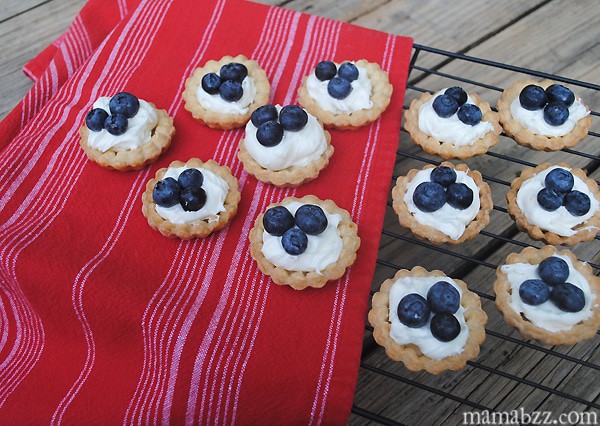
If you love Dream Whip desserts and want another flavor, you’ll love my blueberry delight and no bake pumpkin dessert, as well as cherry yum yum.
Special Occasions Perfect for Strawberry Yum Yum
Strawberry delight with pecan crust is the perfect no bake dessert recipe you can make ahead for all sorts of special occasions, including…
- Potlucks. Make it ahead and take it to church potlucks. It’ll be the talk of your church friends.
- Holidays. This yummy strawberry dessert is one of those great recipes especially suited for holidays like Easter and Valentine’s Day, even Thanksgiving and Christmas, for those who grow weary of pumpkin and gingerbread.
- Birthdays. Once you make this strawberry yum-yum, cake may be out of the picture. It’s that good.
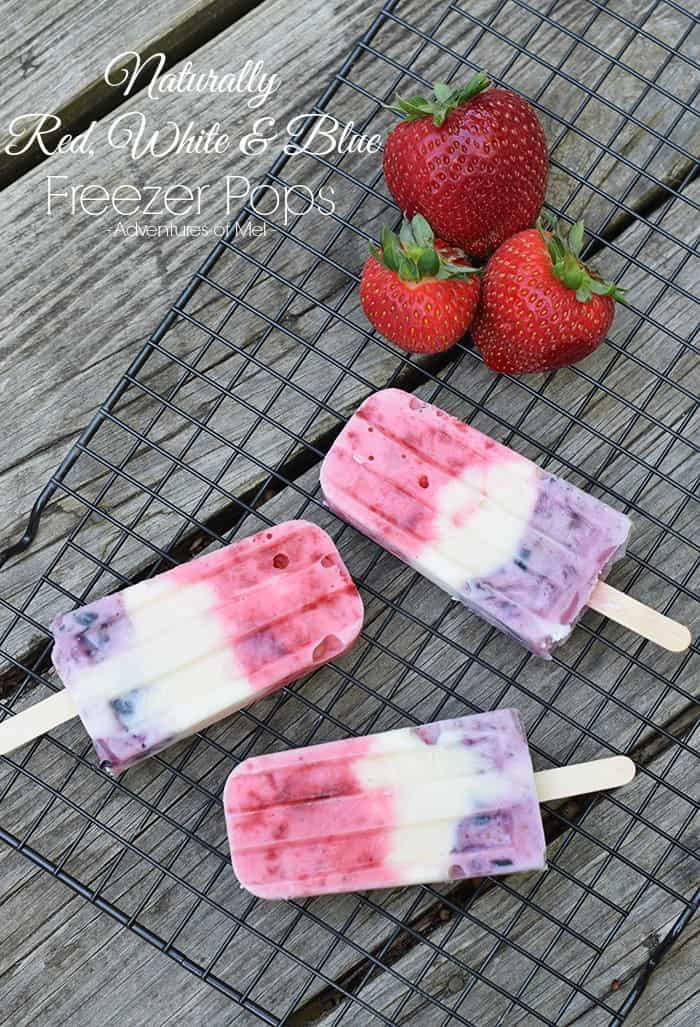
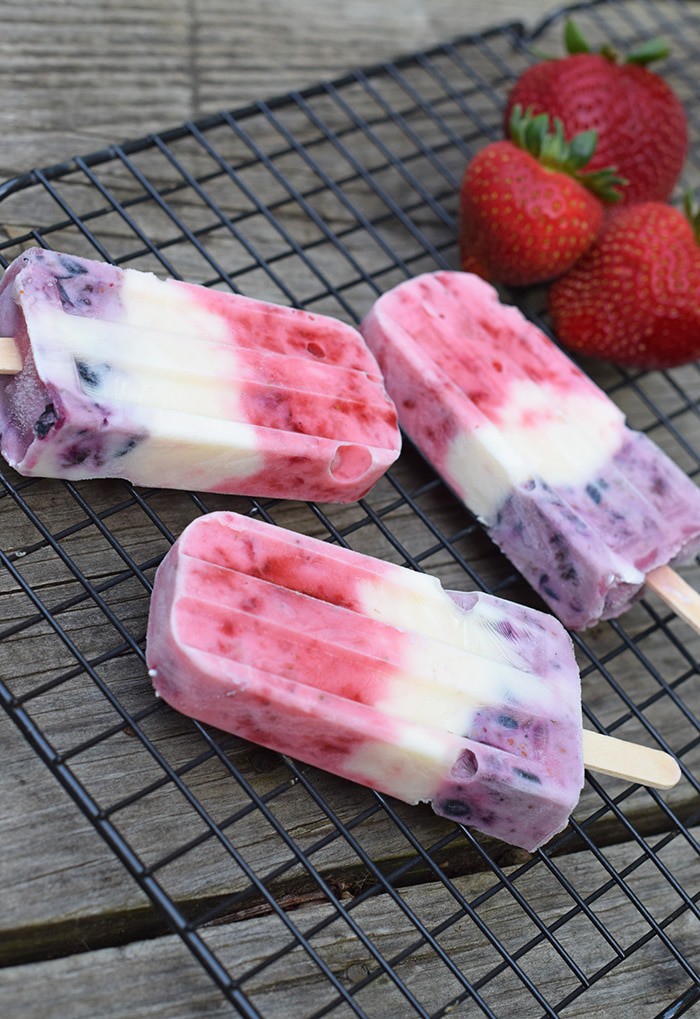
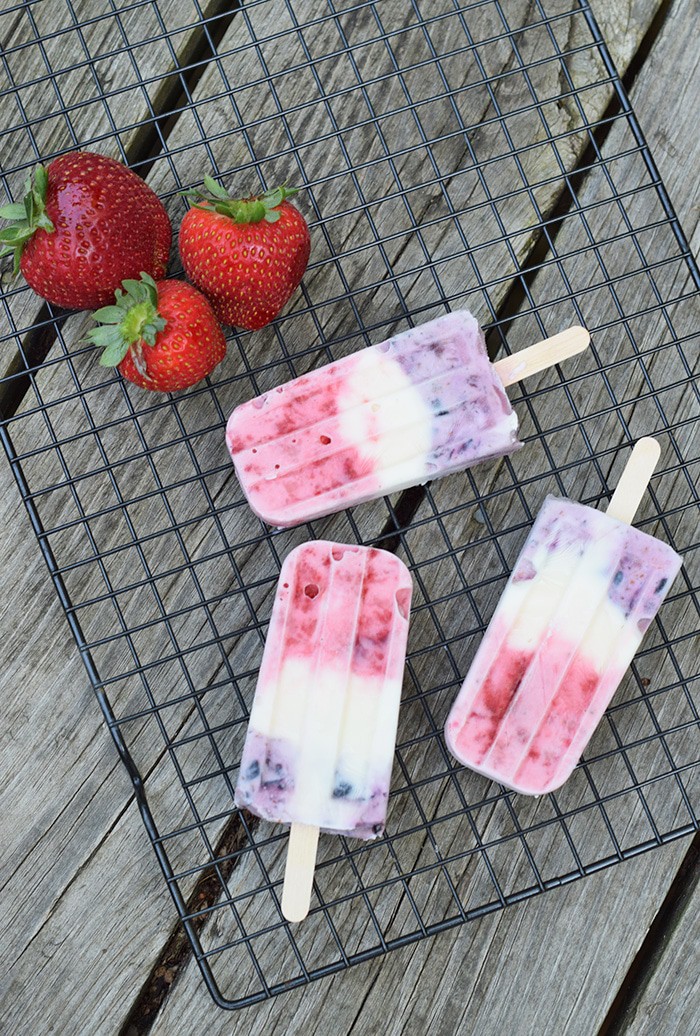
- Picnics. Yep, the summer picnic, or the 4th of July picnic. Talk about a beautifully festive dessert for the dessert table!
- Family Gatherings or Family Reunion. Favorite old recipes are always a hit with family. Whip up this amazing dessert for Sunday dinner or a larger event like a family reunion!
- Dinner Parties. Since it serves so many, it’s the perfect dessert for a dinner party, as well.
Ingredients and Substitutions Notes
You’ll need a few simple ingredients to make this strawberry yum yum recipe…
Crust –
- Salted Butter – I recommend using real butter, as margarine will affect the texture of the finished crust.
- All-Purpose Flour – You can make this crust gluten-free, as well, by using a good gluten-free flour.
- Chopped Pecans – You can make an easy shortcut no-roll crust without nuts, but the pecans really make this crust. You can also press crushed pretzels into the pie crust instead of pecans, if desired.
You can also buy store bought pie crusts and press chopped pecans into the crust, though you’ll need 2 pie crusts, since they make a smaller pie or dessert.
No Bake Crust Alternatives
- Graham cracker crust – Use graham cracker crumbs to make a graham cracker crust or base for this dessert. You can even take one reader’s suggestion and line the graham cracker crust with sliced bananas.
- Pecan Sandies crust – Make it like you would a graham cracker crust, only with Pecan Sandies.
- Vanilla Wafer crust – Make a Nilla Wafer crust just like you would a graham cracker crust, or just layer Vanilla Wafers in the pan for a crust.
Strawberry Topping –
You don’t even need strawberry gelatin to make this amazing fresh strawberry filling.
- Corn Starch
- Water
- Cane Sugar – You can also use granulated sugar.
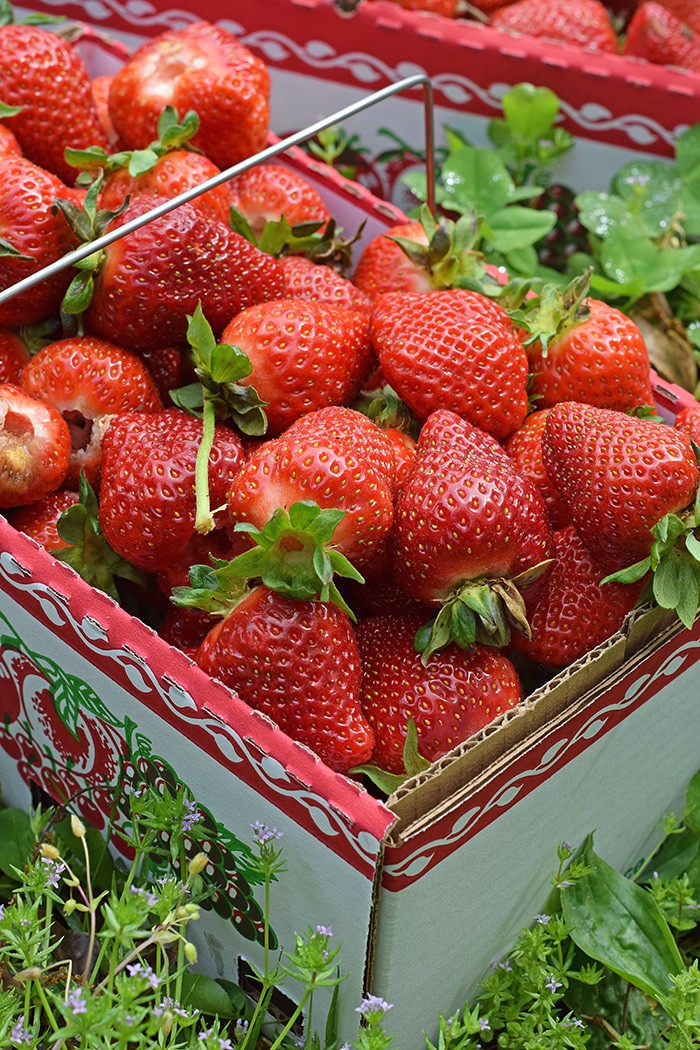
- Fresh Strawberries – You’ll need fresh sliced strawberries, and you’ll also need strawberry purée. You can use frozen strawberries to make this strawberry filling; just be sure to slice strawberries while still frozen, and then allow them to thaw and completely drain before using, so they don’t add unnecessary moisture to the topping. I do recommend fresh berries, though, if at all possible, for better flavor. Make strawberry purée by blending strawberries in a blender. It’ll likely take 6-8 big strawberries to make 1 cup of strawberry purée.
Dream Whip Filling –
- Cream Cheese – I recommend using full-fat cream cheese.
- Dream Whip – You can find this at most grocery stores in the baking aisle. If not, you can sub Cool Whip and make this a Cool Whip strawberry delight dessert.
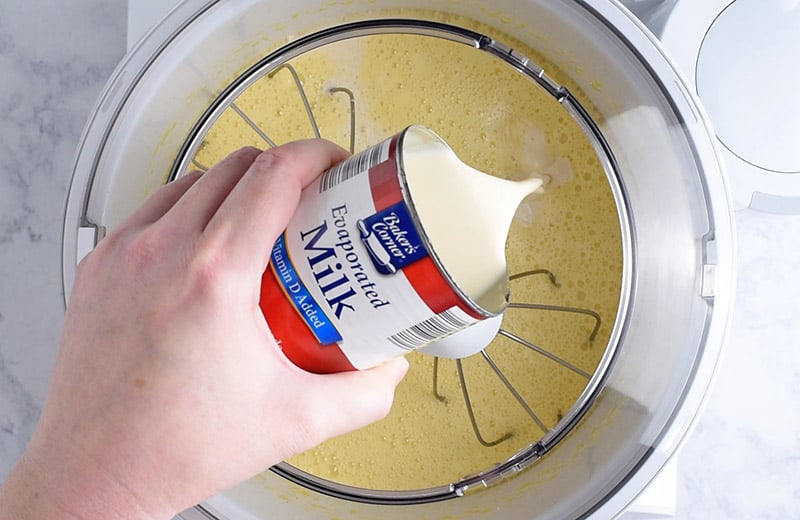
- Whole Milk – You can also sub 2% milk or skim milk; just keep in mind, whole milk will make a much more creamy dessert.
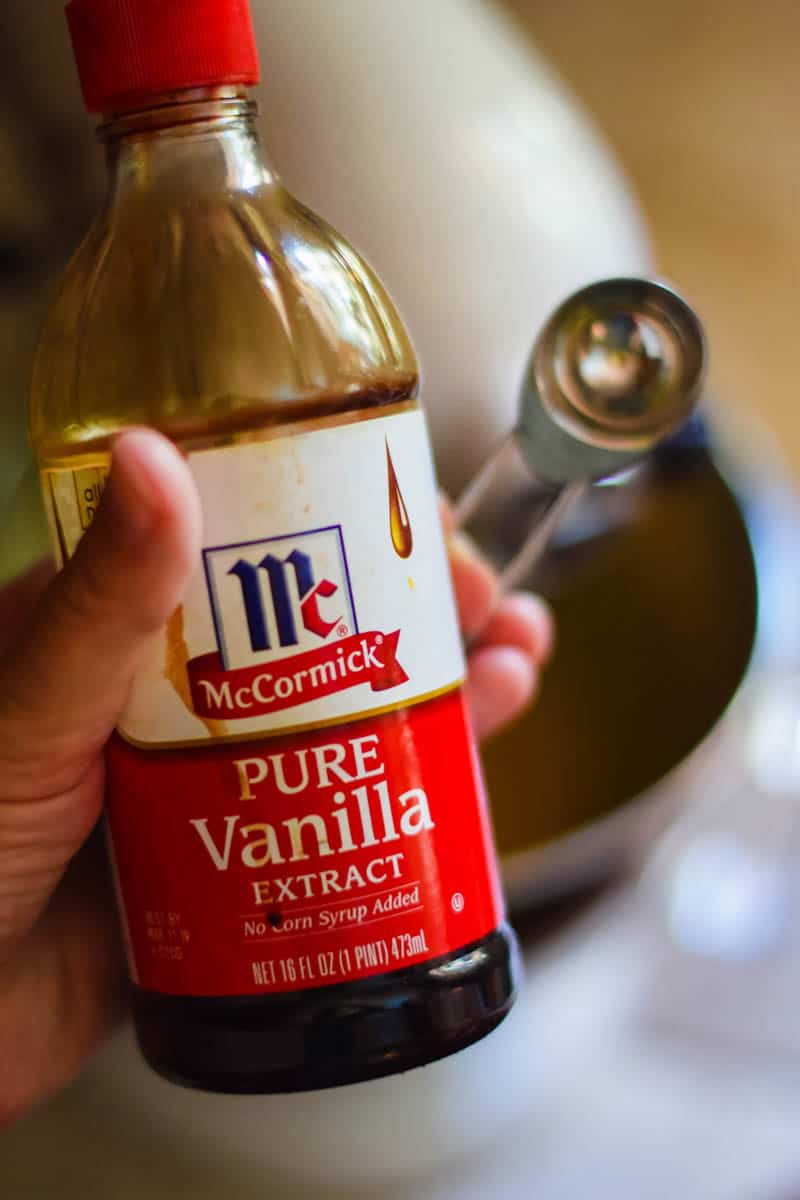
- Pure Vanilla Extract
- Powdered Sugar – or confectioners’ sugar.
How to Make Strawberry Yum Yum
We’ll start with the crust. Then we’ll make the strawberry topping, so it can cool, and then the Dream Whip cream cheese filling.
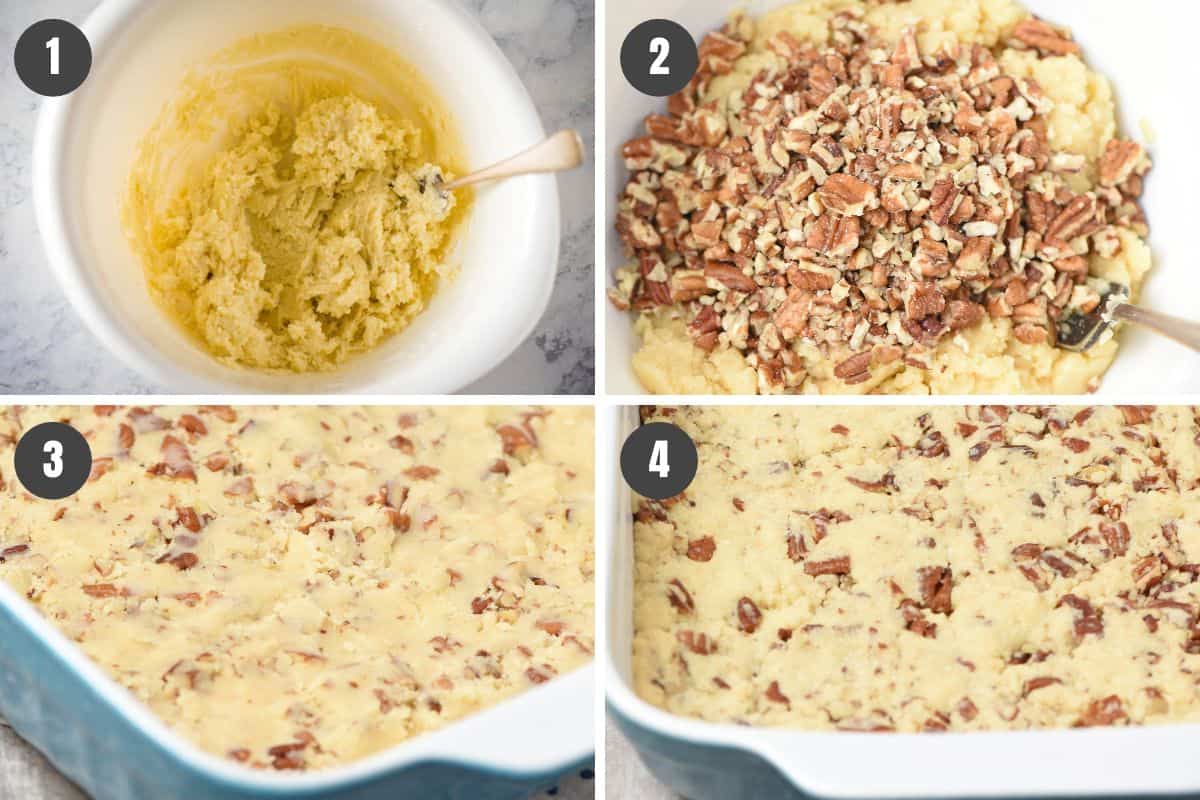
How to Make the Pecan Crust
I like to make the my favorite nutty pie crust ahead of time, and that way it’s cooled and ready to go when I need it. And yes, you can freeze it for later.
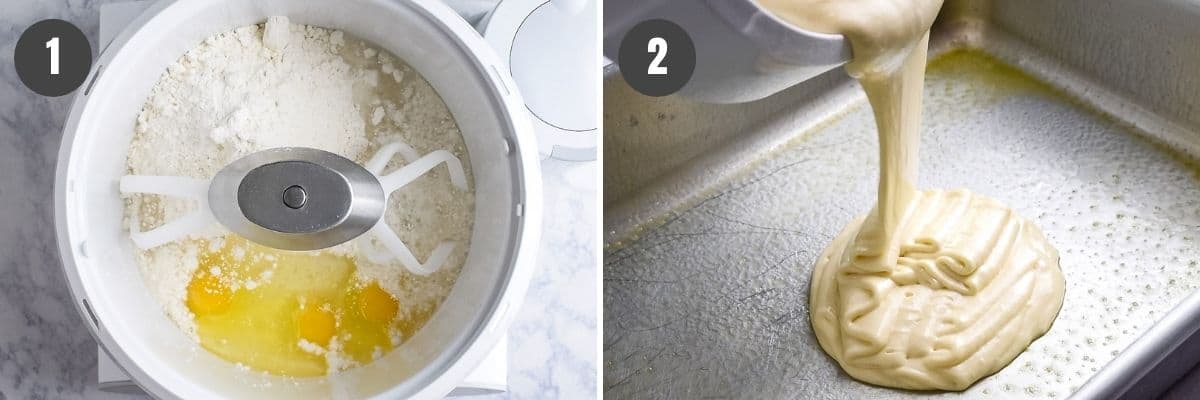
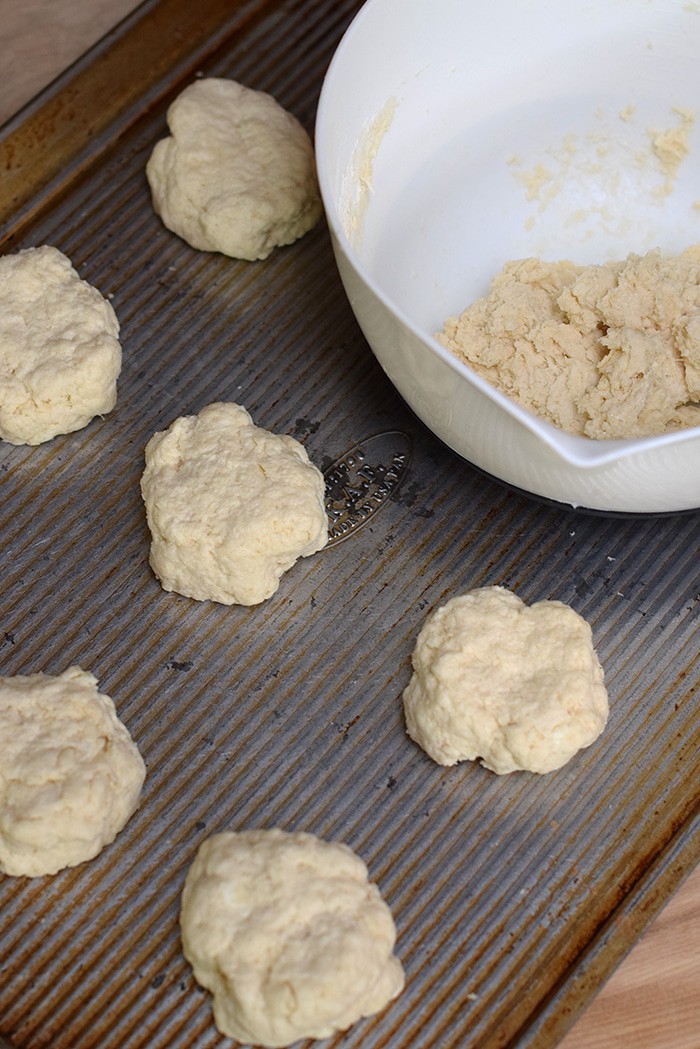
- In a large mixing bowl, mix together the melted butter and flour, forming a soft dough.
- Stir the chopped pecans into the dough until they’re all mixed in.
- Press the dough into a 9×13 baking dish.
- Bake at 350° F for about 20 minutes, or until the edges of the crust begin to turn a nice golden brown (baking times can vary). Then let the crust cool before adding any filling.
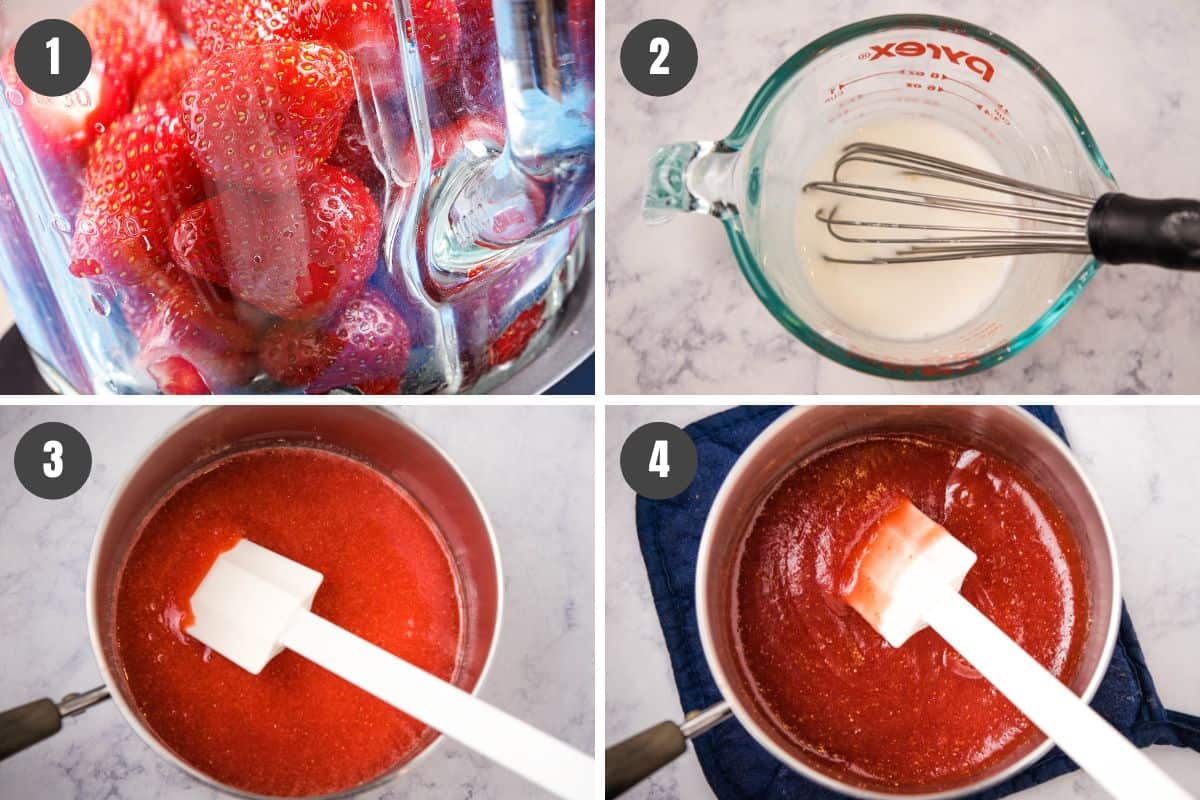
How to Make the Strawberry Topping
The strawberry pie filling is probably my favorite part of this dessert, besides the cream cheese. It’s quick and easy to make too.
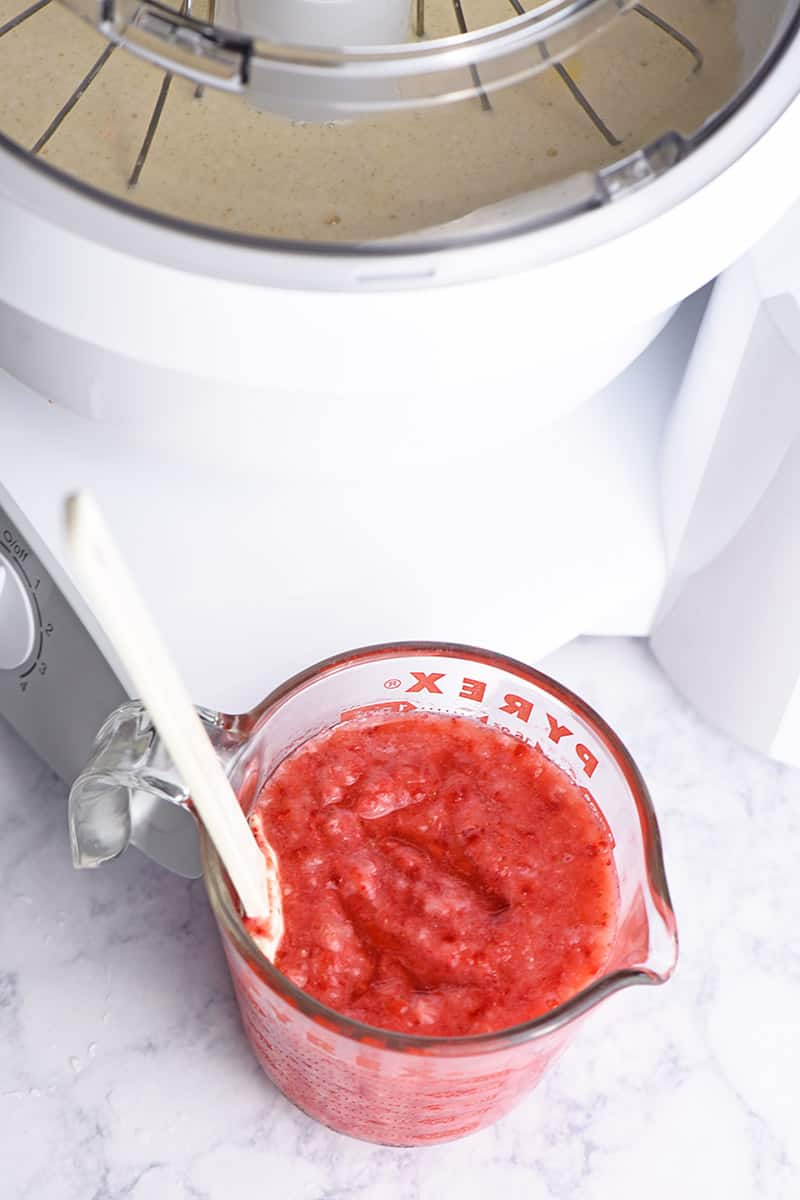
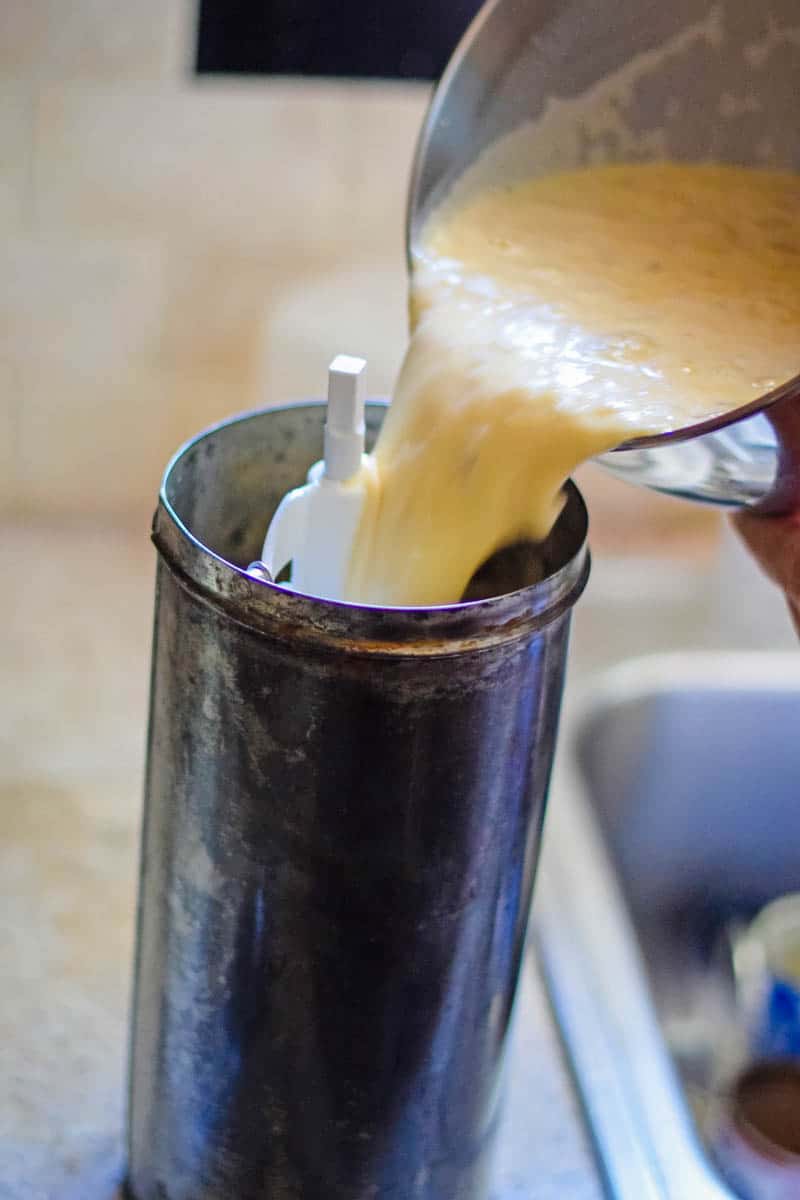
- First make strawberry purée by adding 1-2 cups fresh strawberries to a blender and blend into a liquid purée; you’ll need 1 cup strawberry purée. Set the rest of the sliced strawberries aside for now.
- Whisk the corn starch and water together in a small Pyrex measuring cup.
- Add the corn starch mixture, strawberry purée, and sugar to a large saucepan and whisk ’til combined.
- Bring the strawberry mixture to a boil over low to medium heat, and boil for a good 3 to 5 minutes, or until it really thickens up and becomes a deep red color. Then remove it from the heat and allow it to cool completely.
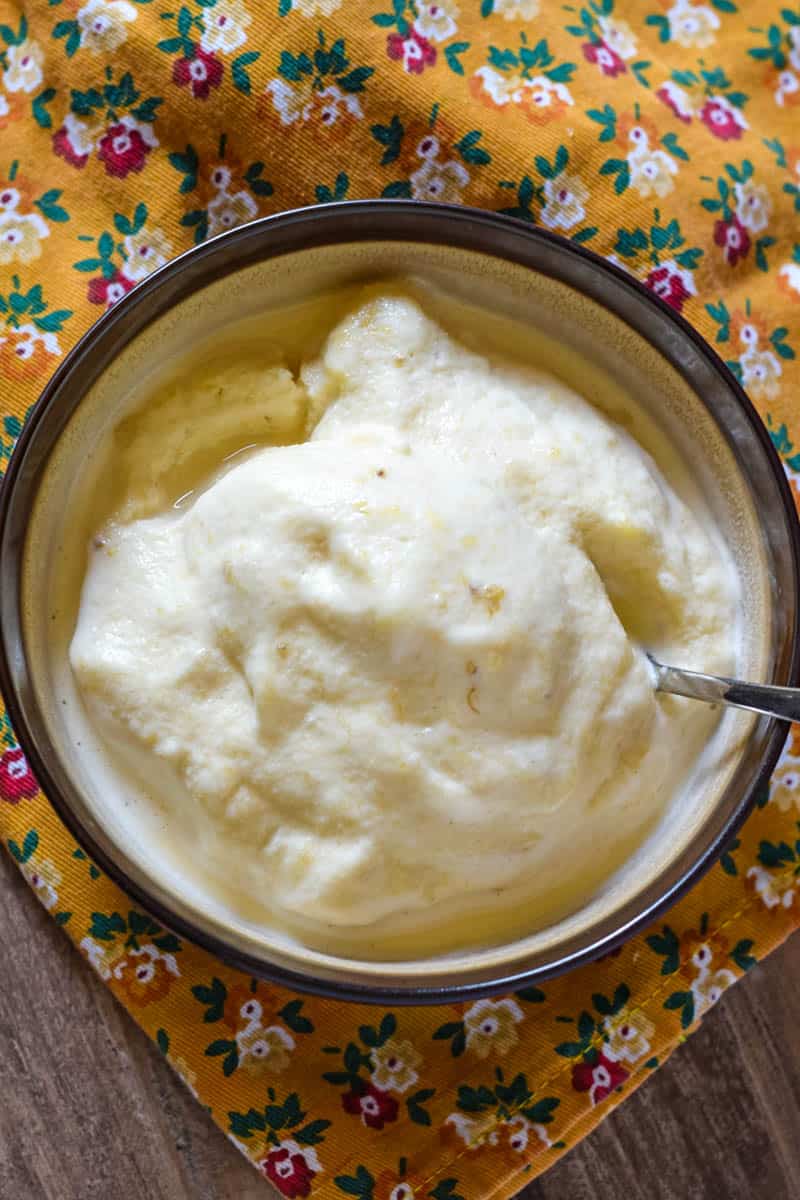
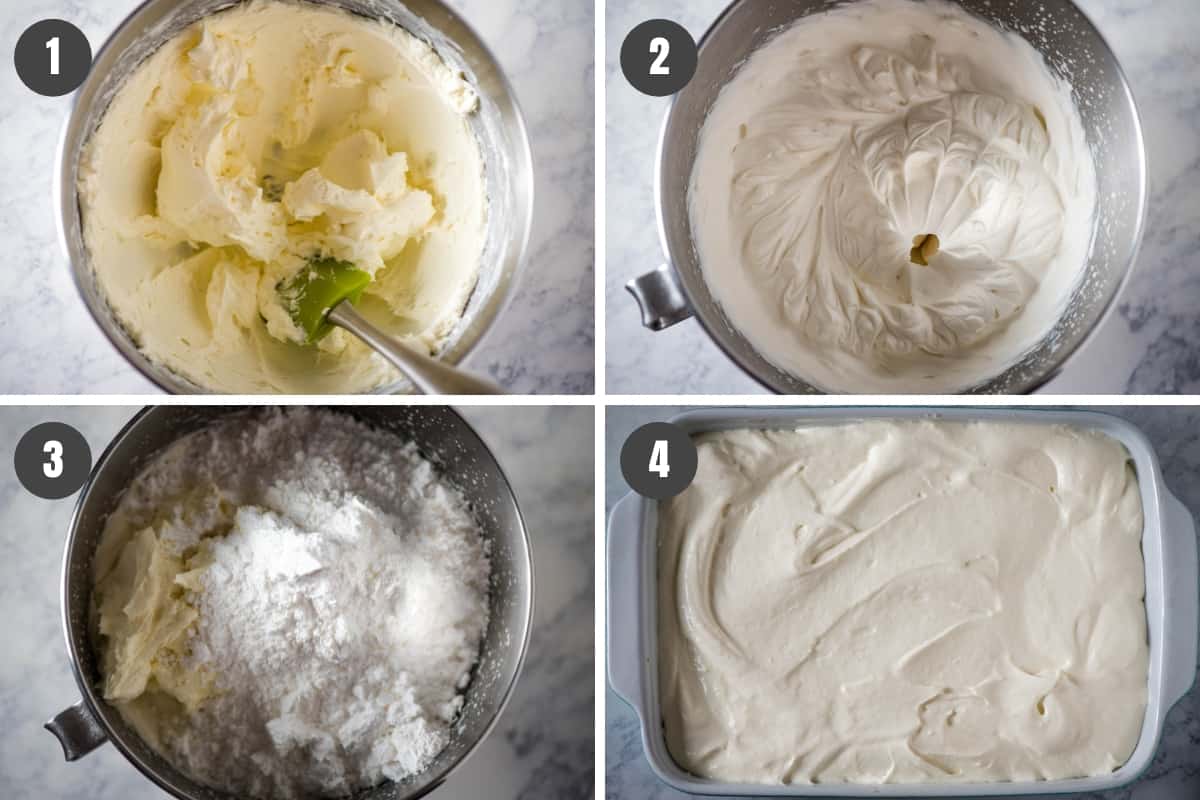
Make the Cream Cheese Dream Whip Filling
Now some people do make the cream cheese filling with Cool Whip, but I’ve carried on my mom’s tradition of a creamy Dream Whip filling. I like to call it angel fluff.
When you mix Dream Whip with cream cheese, it becomes this amazing dreamy filling with all that cream cheese goodness. It makes an excellent strawberry no bake dessert.
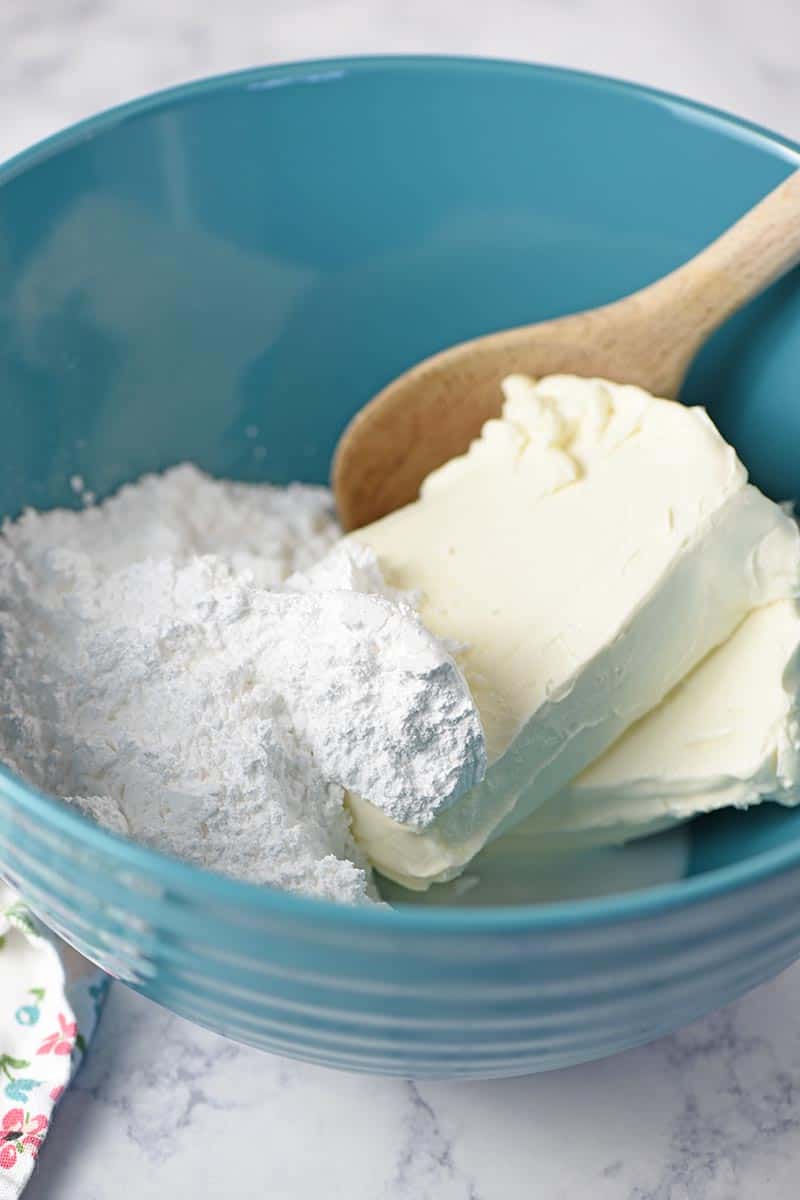
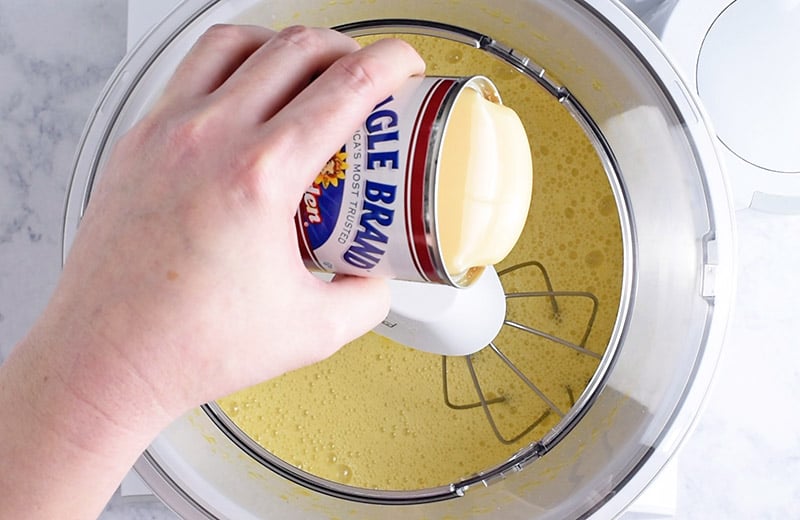
- Using an electric mixer, beat the cream cheese separately first thing. This will help it soften up more, and it will blend in better with the Dream Whip, once you’re ready for that step.
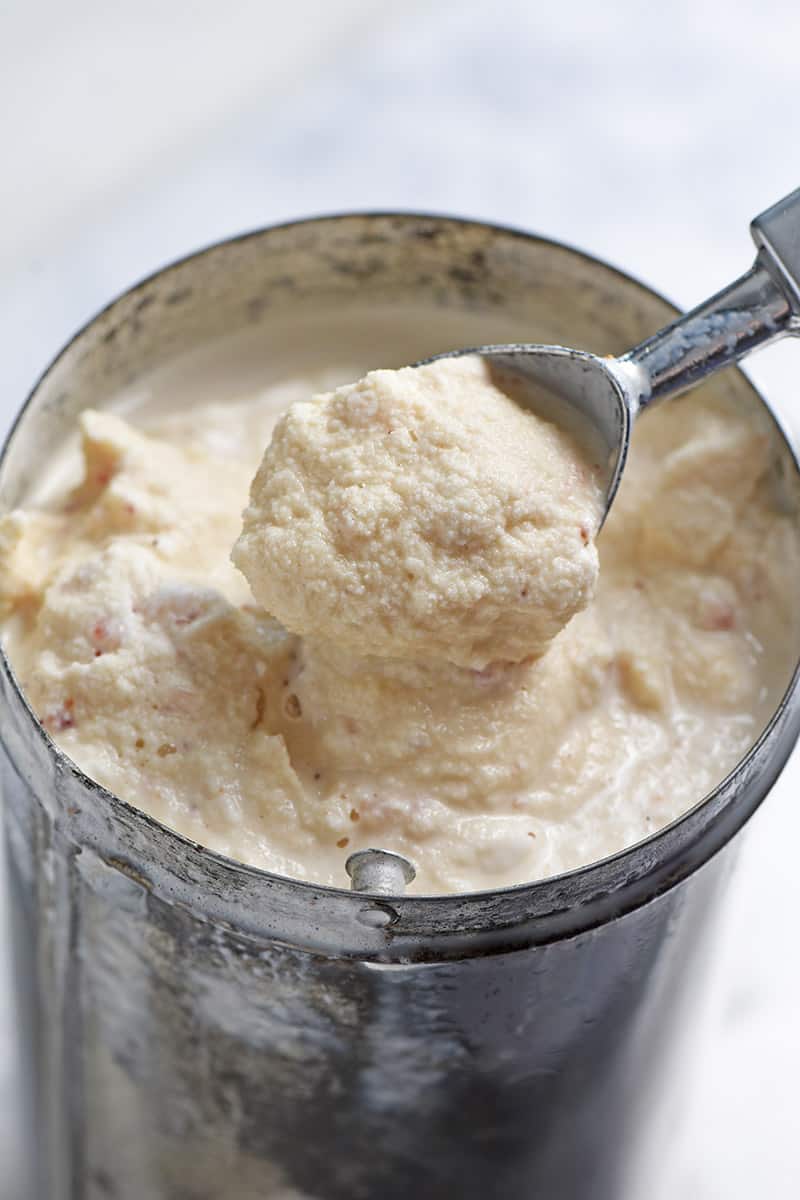
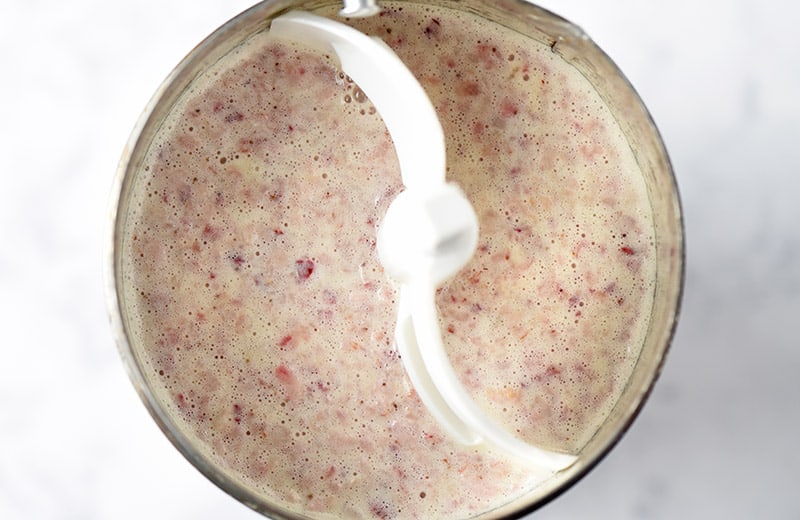
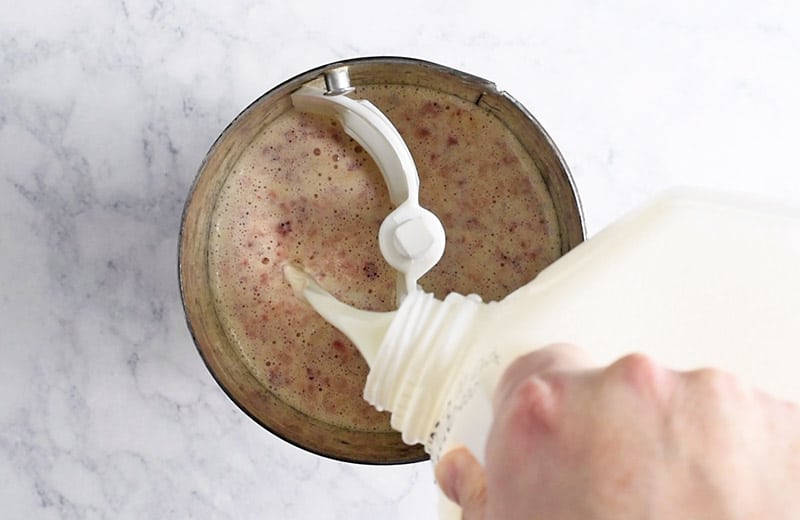
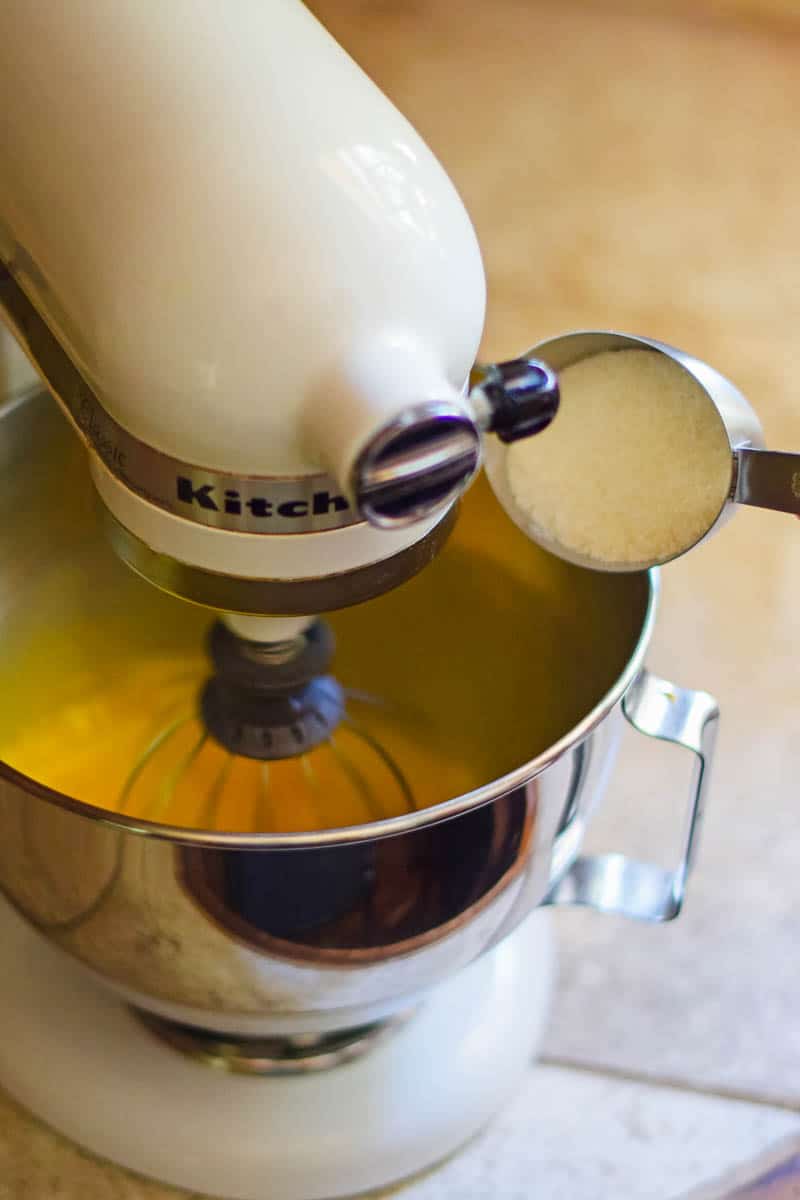
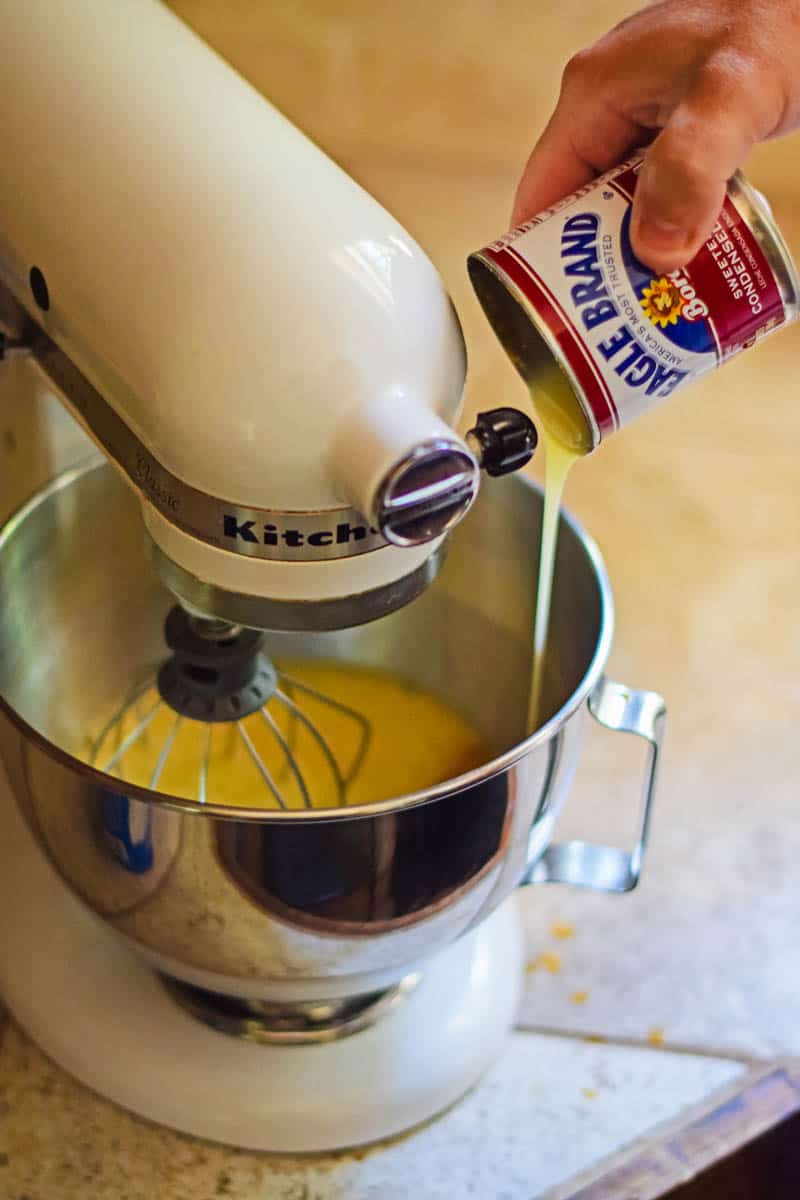
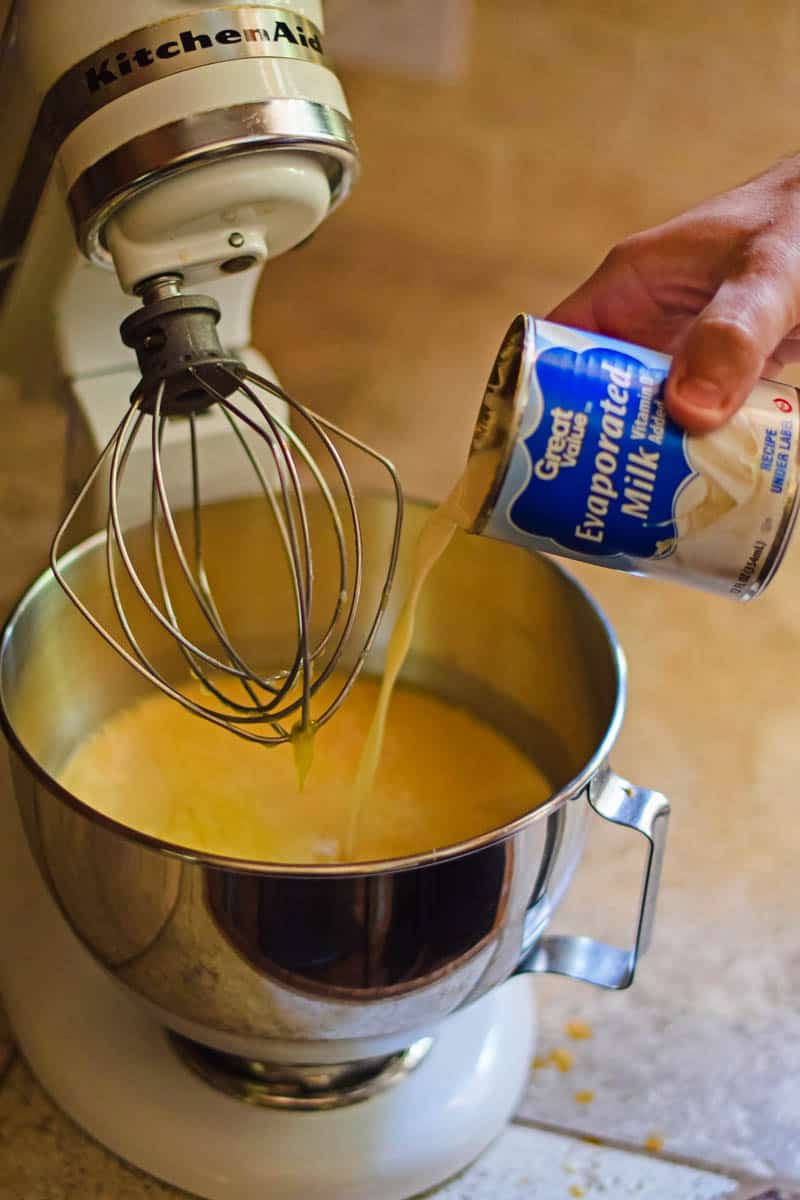
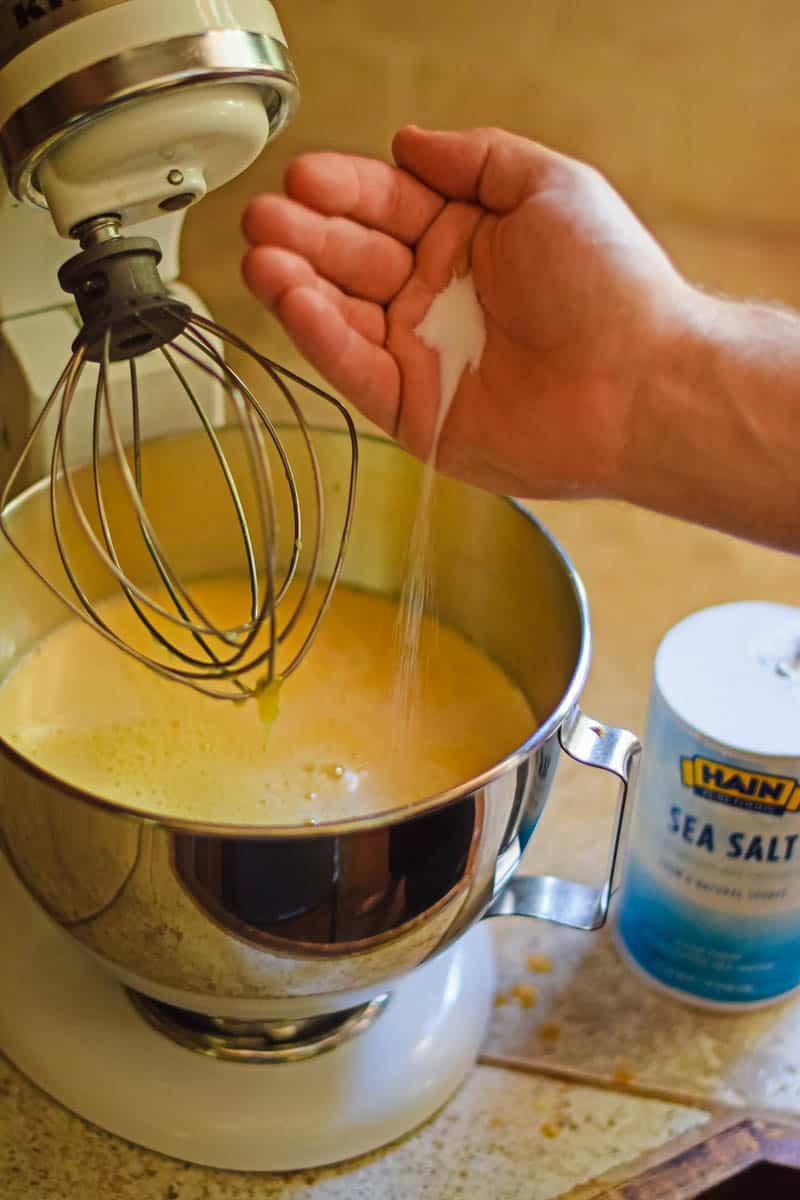
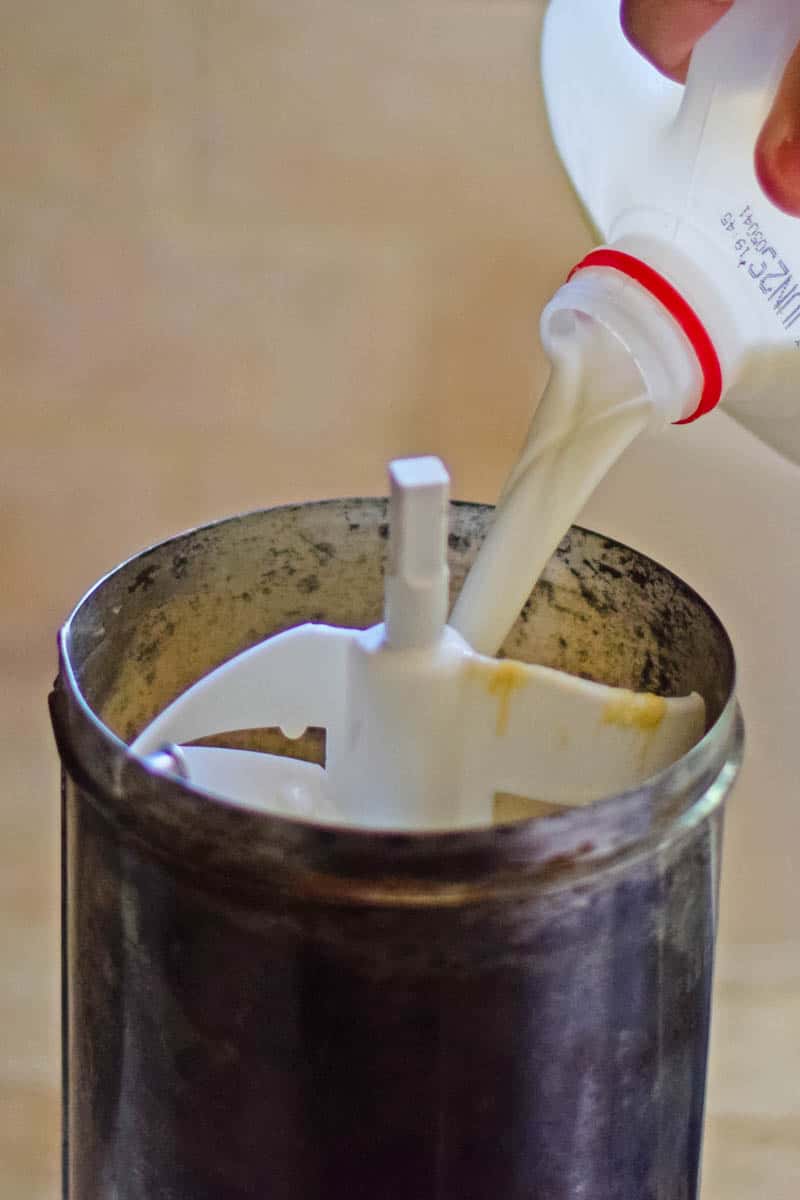
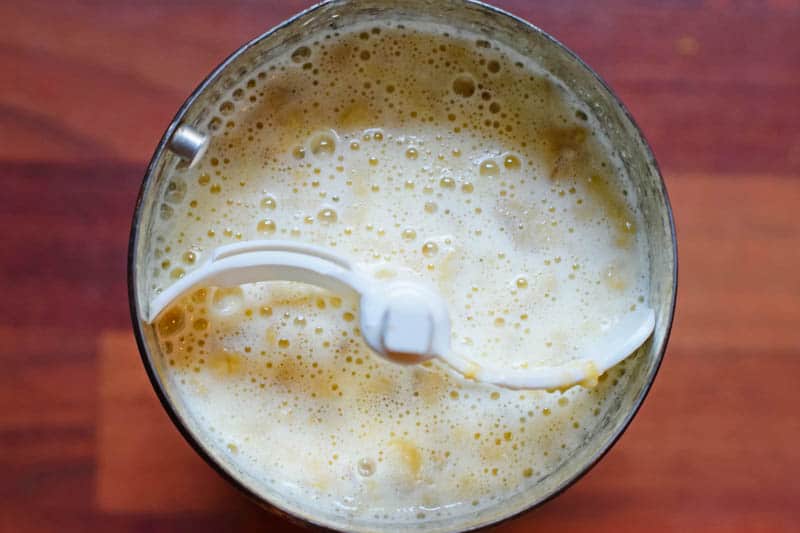
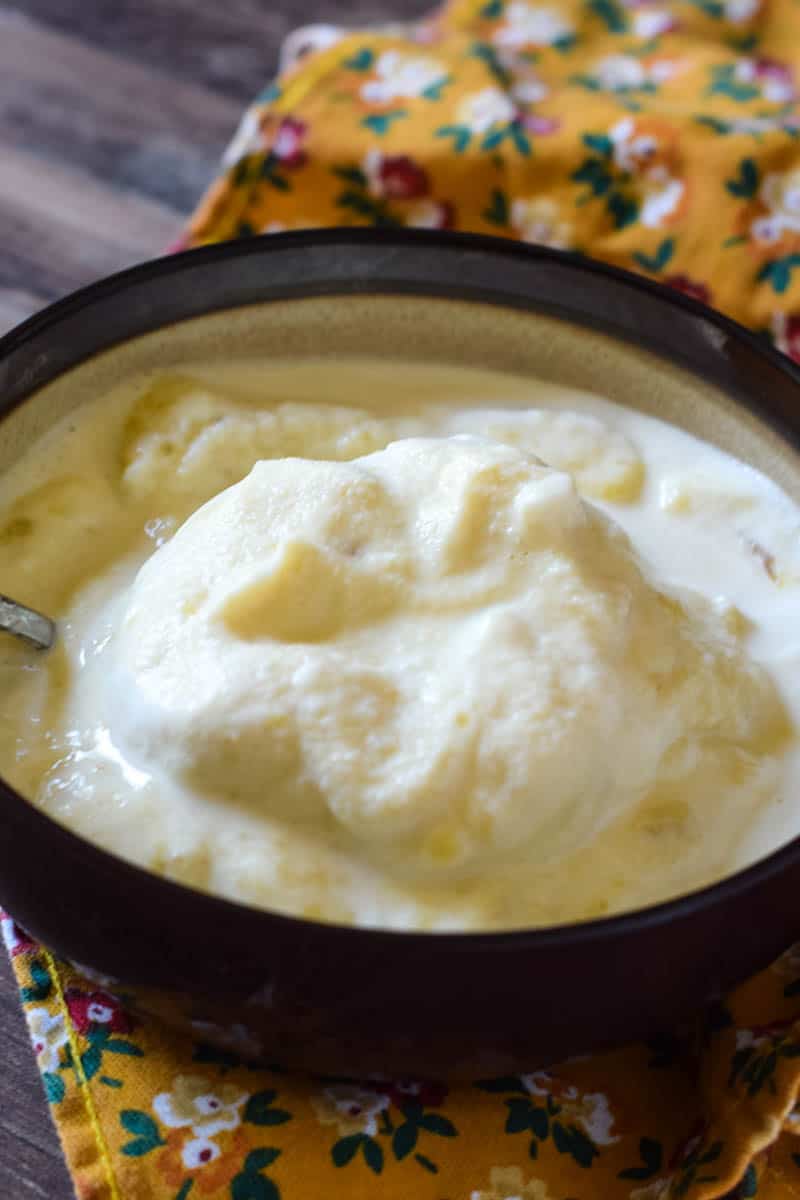
- In a separate large bowl, whisk together the Dream Whip envelopes with the milk and vanilla, according to package directions. Whisk it until it begins to form soft peaks, about 4 minutes. You can also follow this tutorial for how to make Dream Whip.
- Mix cream cheese and powdered sugar into the Dream Whip mixture, and whisk for 3 to 5 more minutes, or until the cream cheese mixture is smooth and creamy.
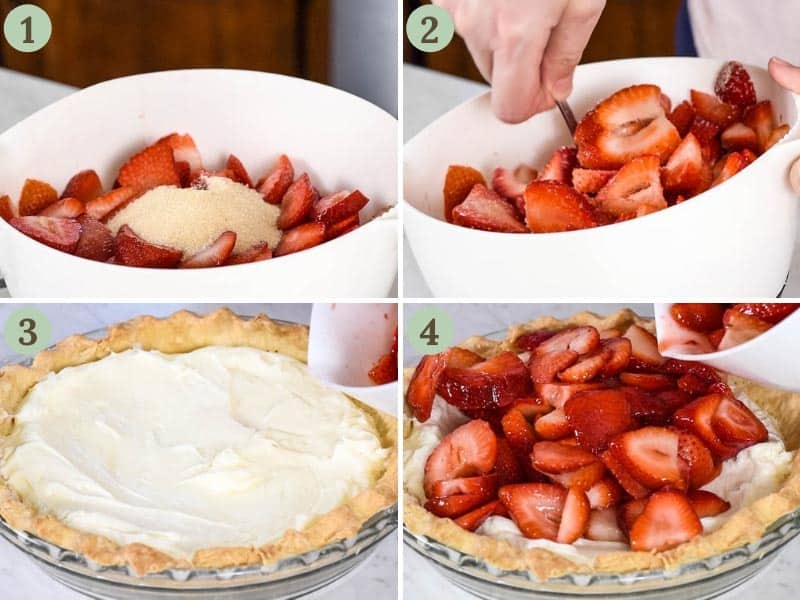
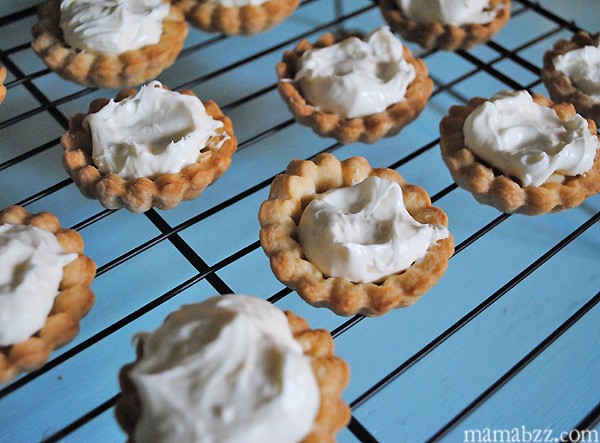
- Spread the Dream Whip cream cheese filling onto the prepared pie crust. You can save back just a little bit of whipped cream for a whipped topping on the final dessert if you want.
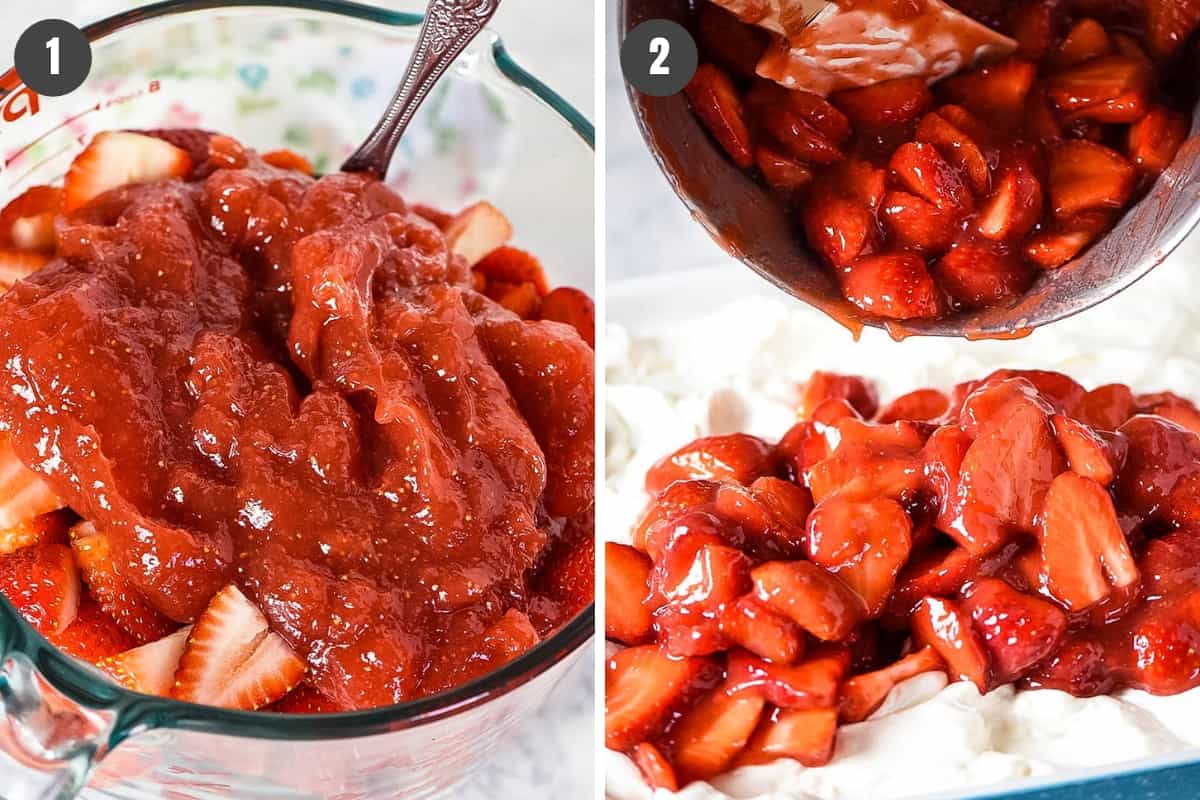
Layer the Strawberry Topping
- Once the strawberry sauce has cooled, mix it together with the rest of the sliced strawberries you set aside earlier.
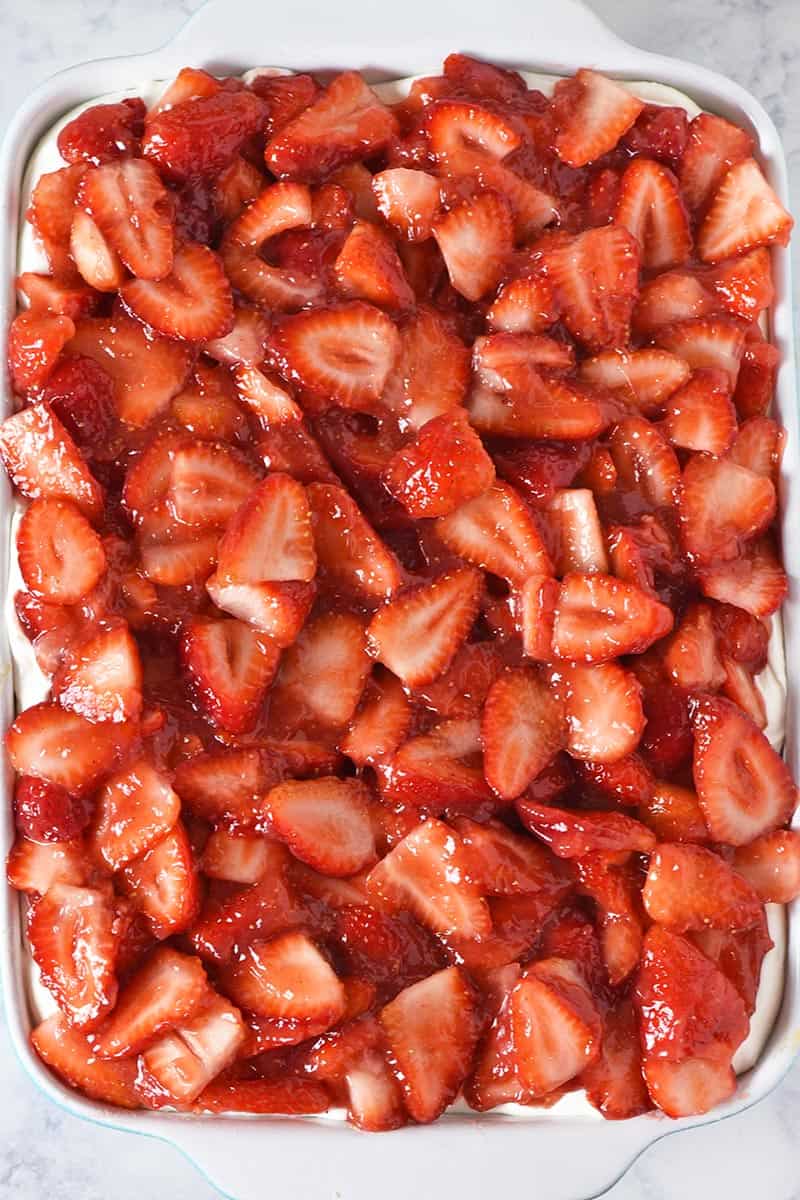
- Then spread the strawberry layer on top of the Dream Whip filling.
- Cover the assembled dessert with plastic wrap, and allow it to chill in the fridge for at least 4 hours, or overnight if possible, before serving.
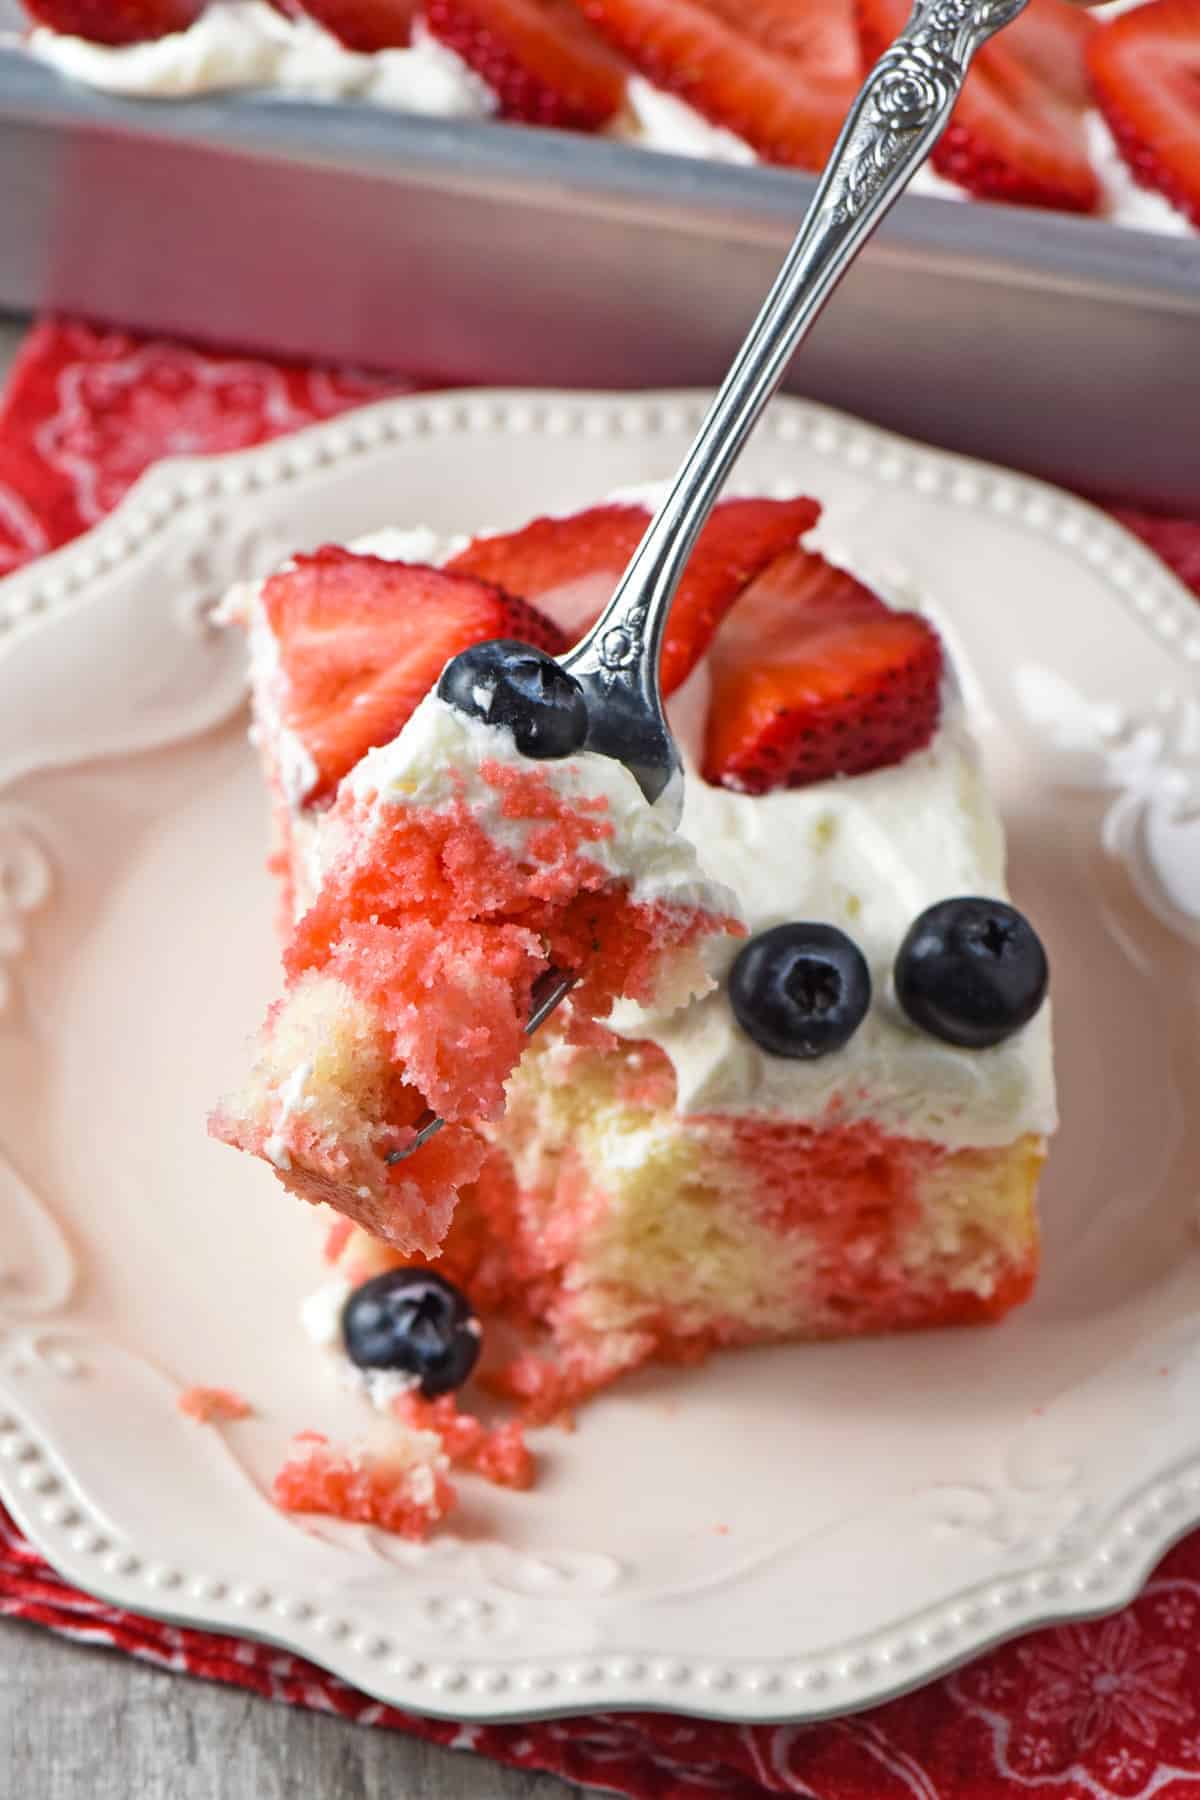
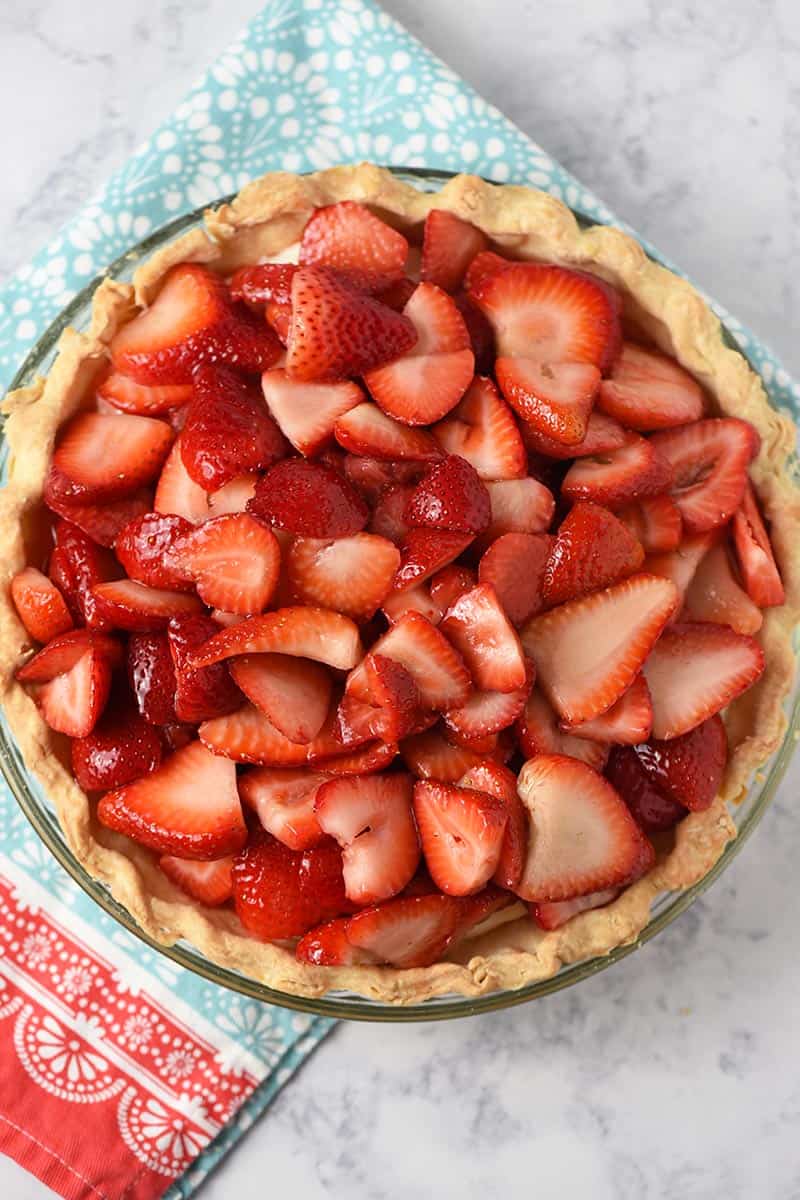
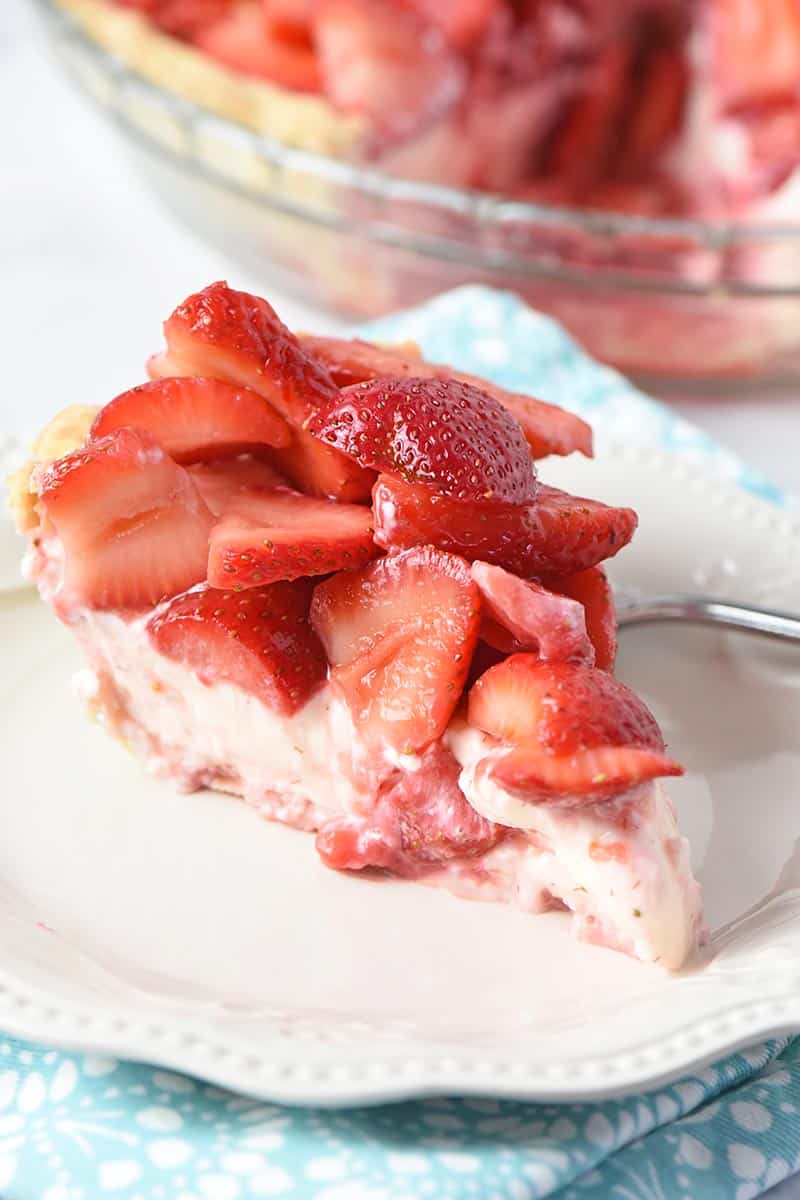
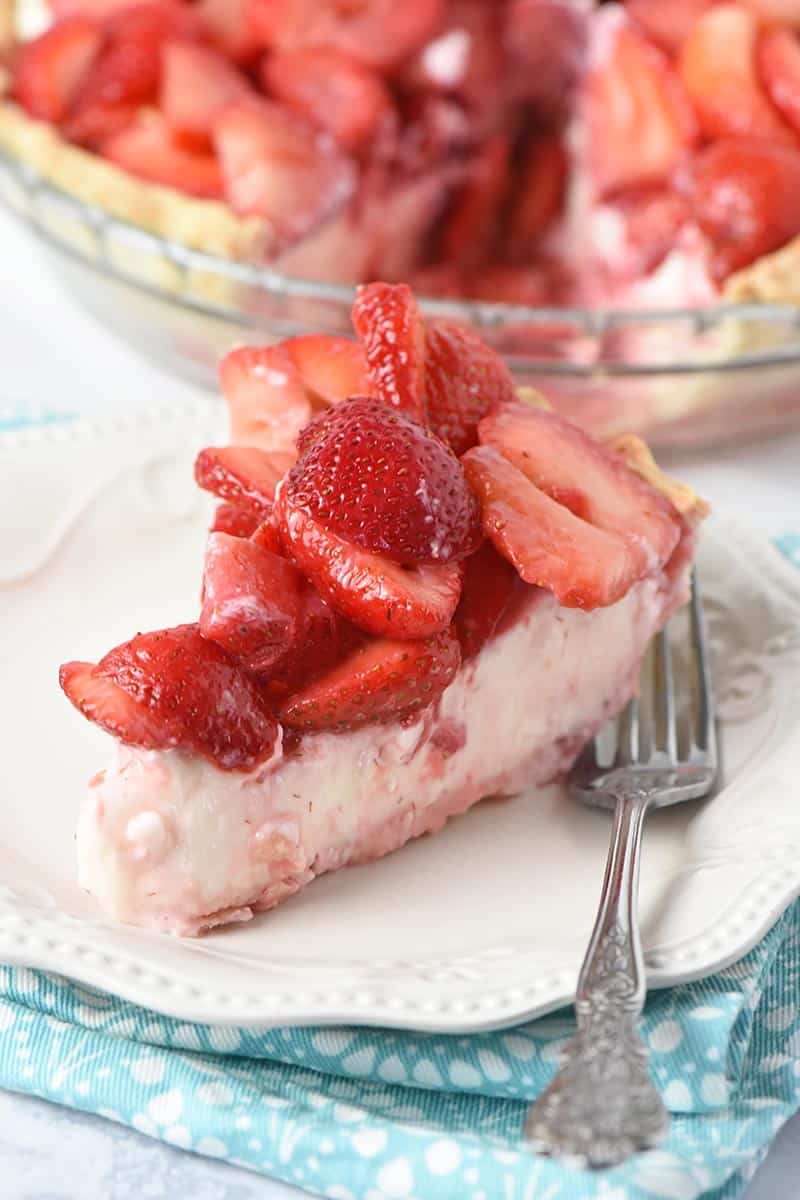
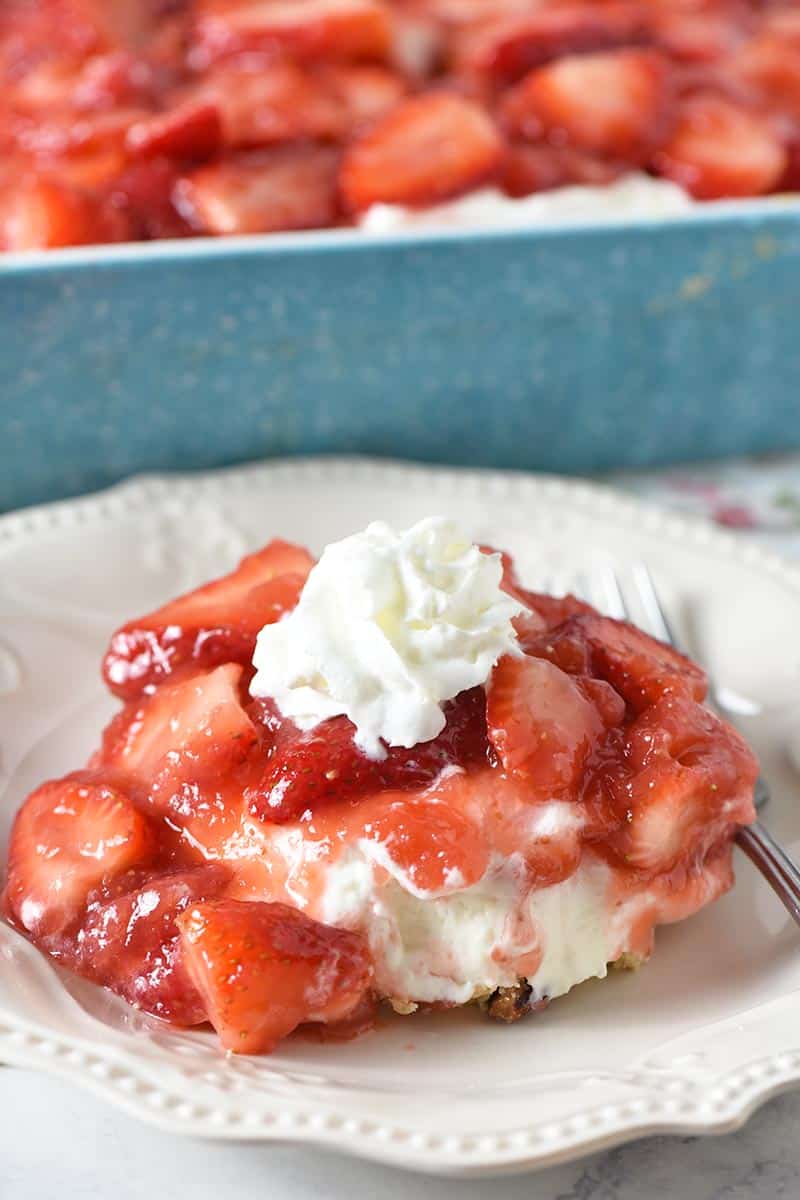
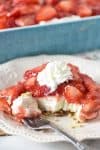
When it’s ready to serve, you can top off strawberry delight with a dollop of whipped cream and an optional garnish like a fresh sprig of mint, or serve it as is. This yummy strawberry dessert is full of thick fluffy layers of deliciousness! It’s strawberries and cream at its best, a most refreshing dessert!
Expert Tips and Recipe FAQ’s
Yes, you can, though fresh berries give better flavor. Just be sure to slice the berries up while still frozen; then allow them to thaw and completely drain before using, so they don’t add unnecessary moisture to the topping.
Be sure to store strawberry delight in an airtight container in the refrigerator, where it should keep for 2-3 days.
Yes, you can freeze strawberry delight no bake dessert. In fact, you can freeze it either before or after you add the berry topping. Just be sure it’s in an airtight container or covered really well so it doesn’t get freezer burn. It should last up to 3 months in the freezer.
What to Make with Strawberries
If you love this strawberry yum yum dessert, you’ll love these strawberry desserts too!
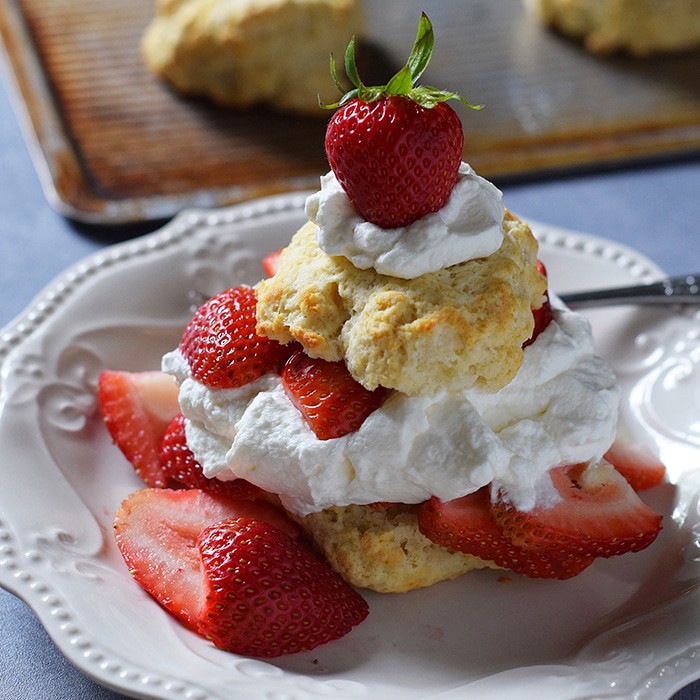
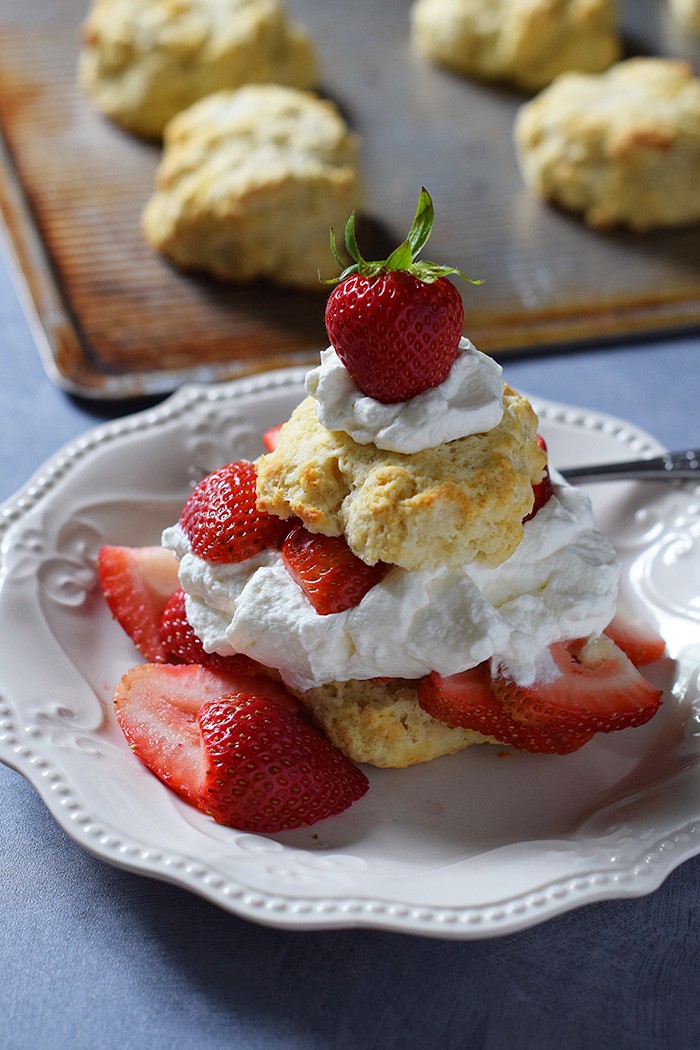
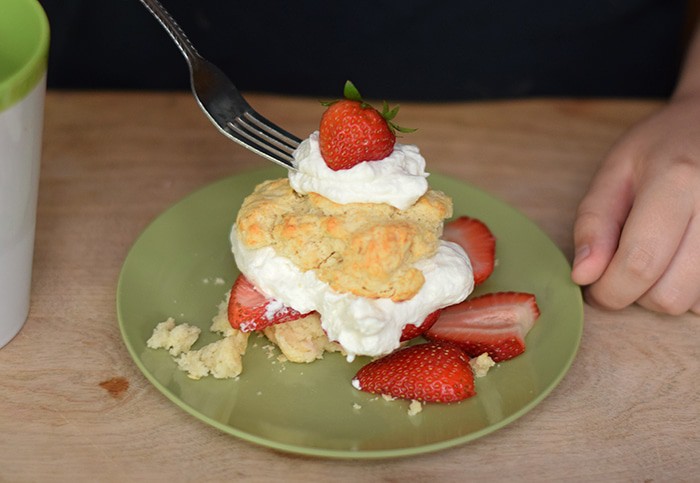
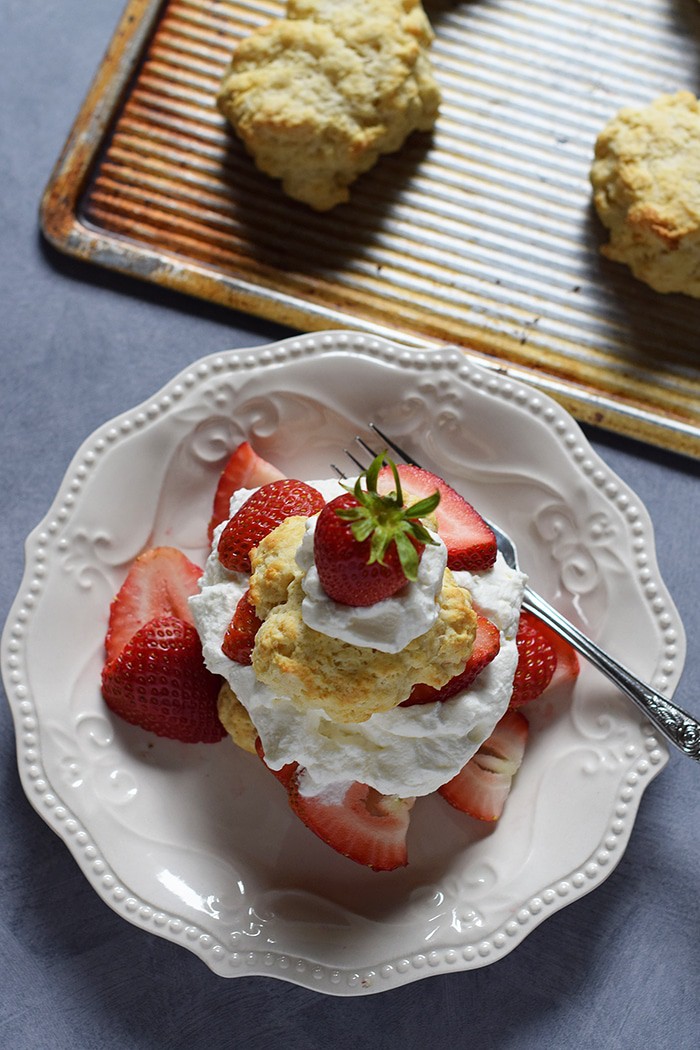
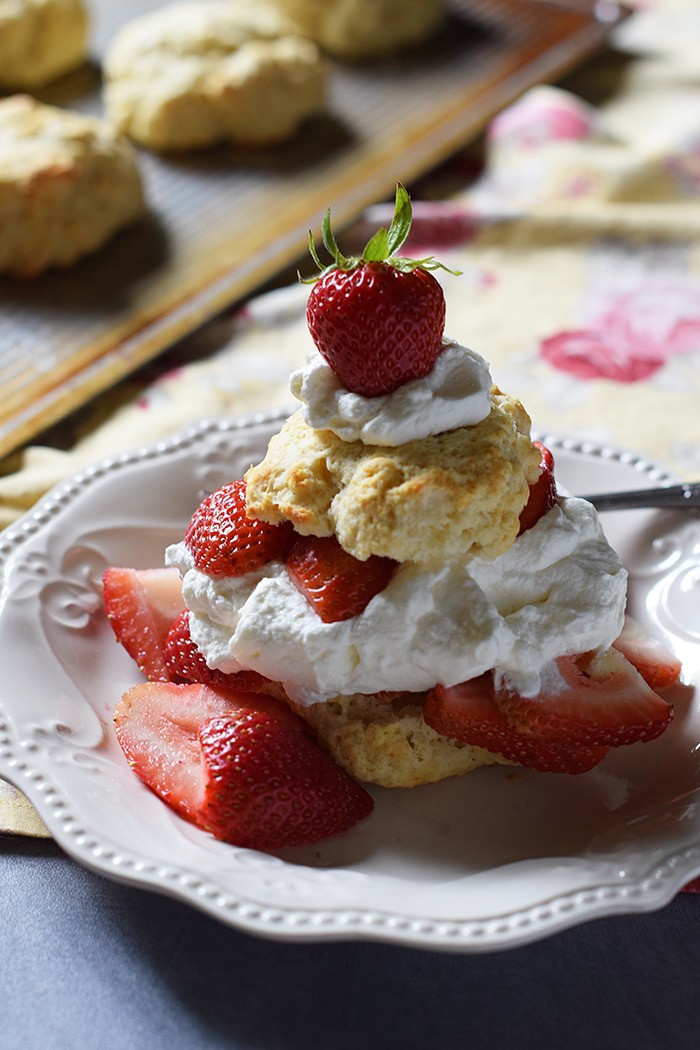
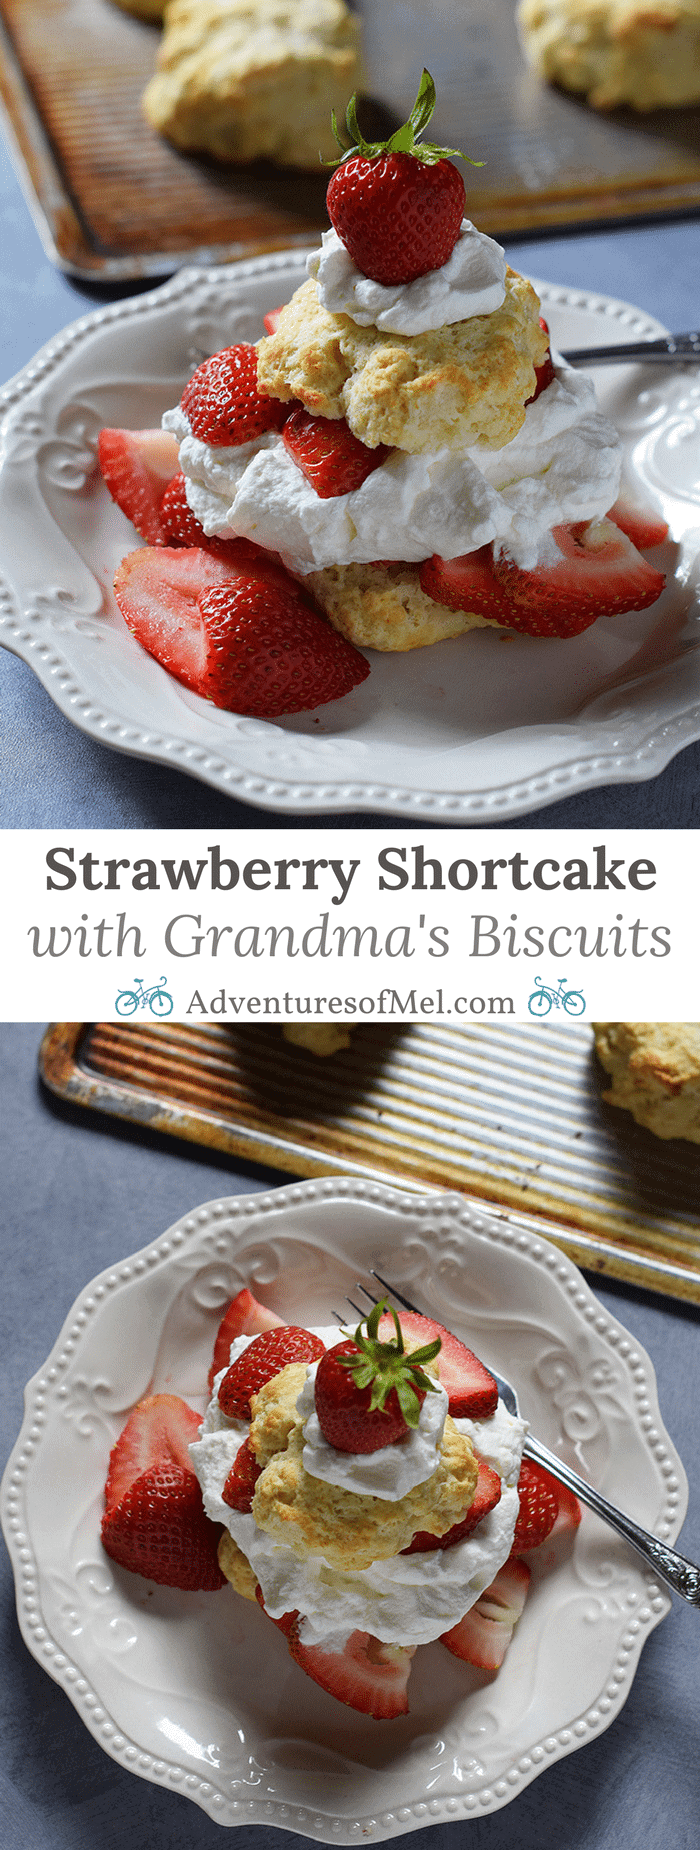
- Strawberry shortcake recipe with Grandma’s biscuits
- Easiest strawberry pie
- Strawberry cheesecake
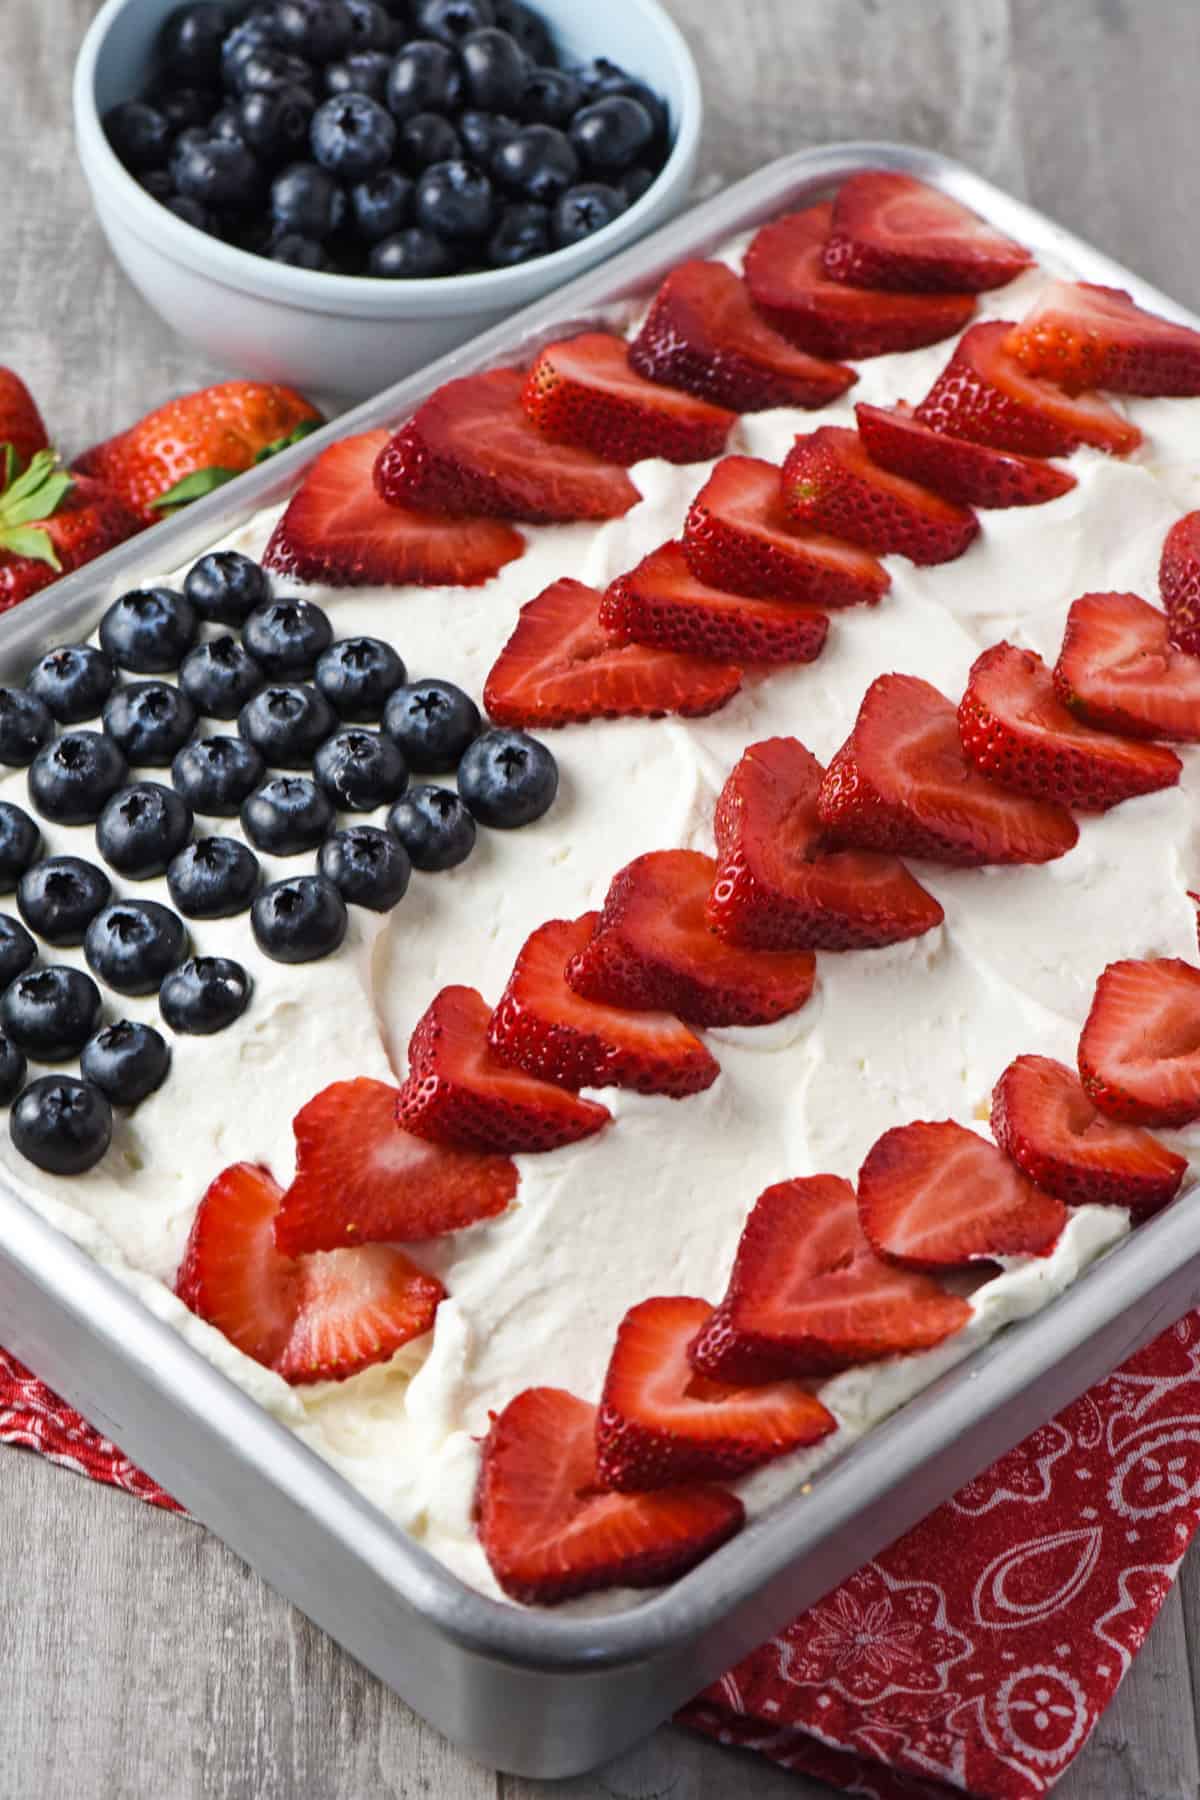
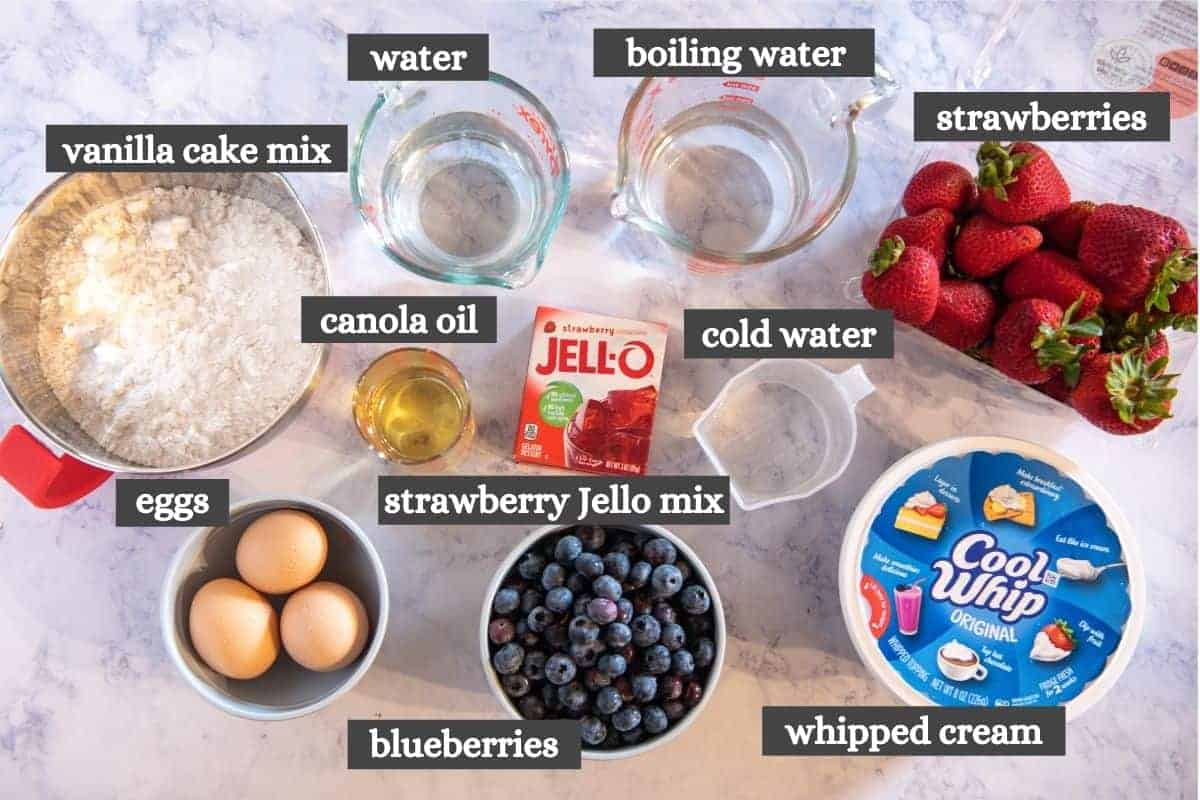
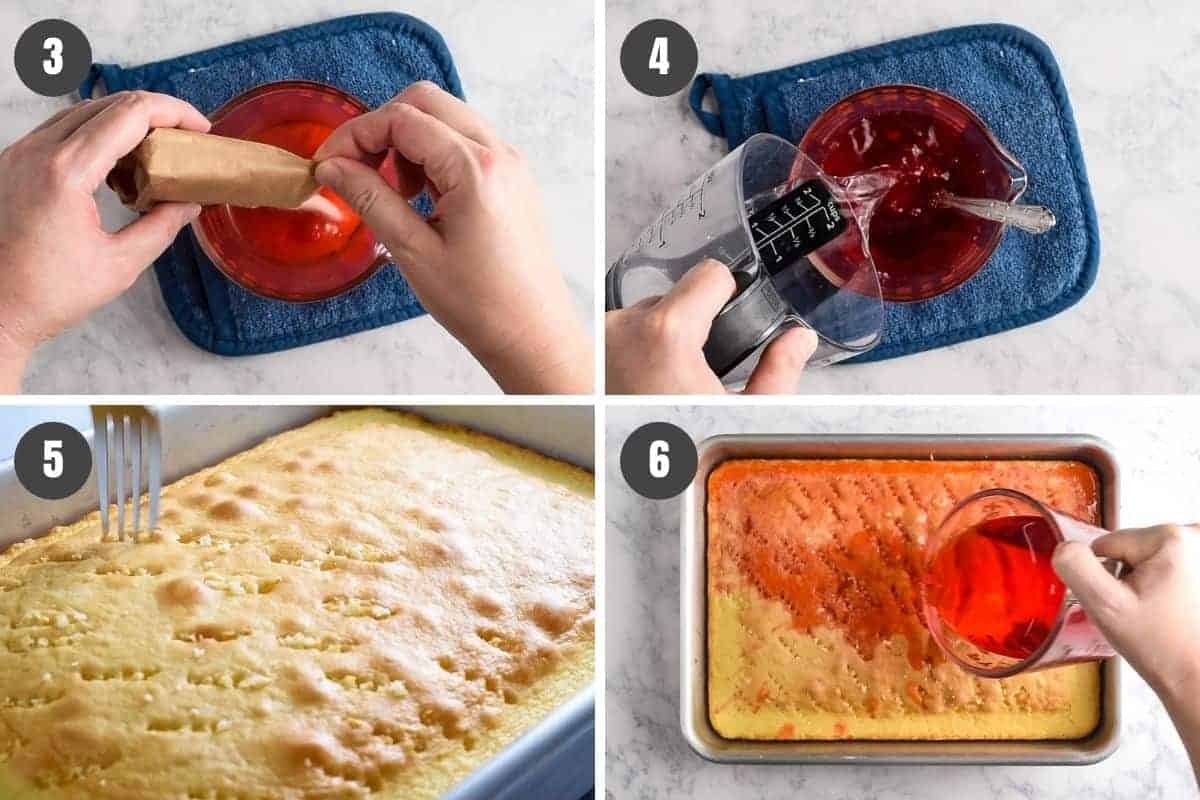
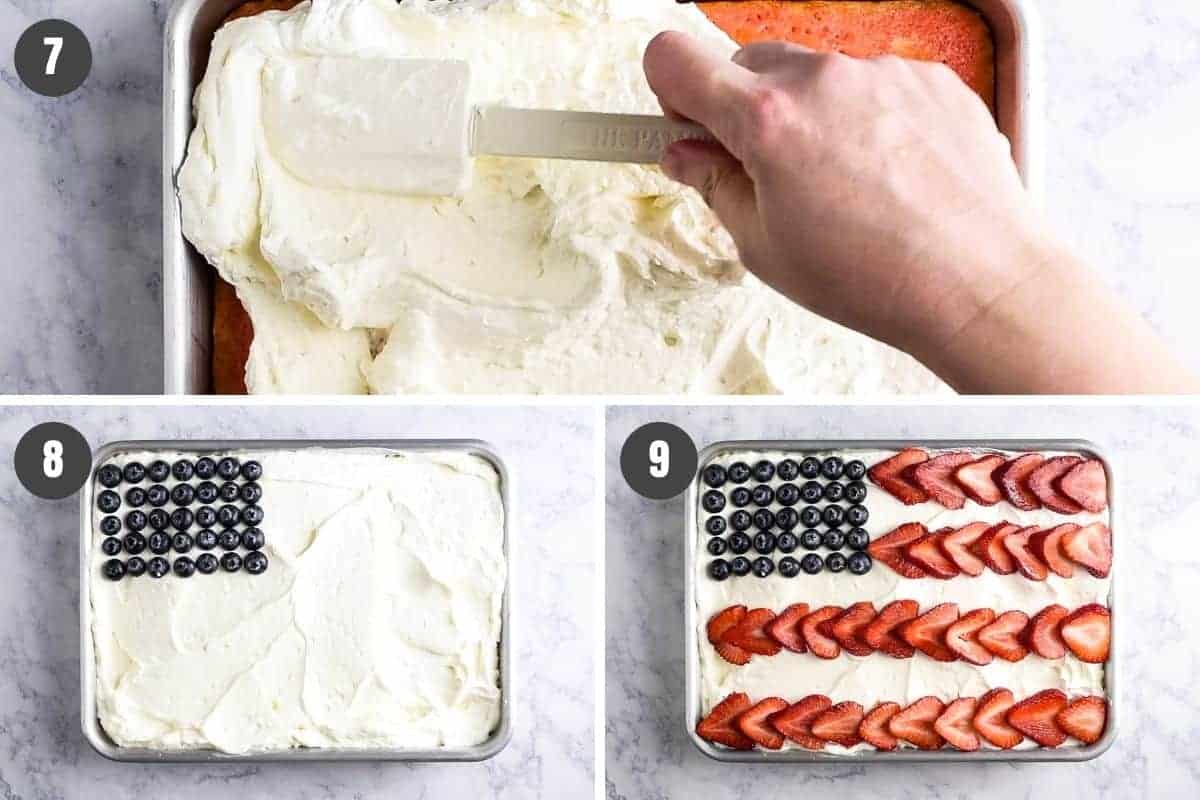
- Strawberry Jello flag cake
- Mini Fruit Pizzas
If you try this recipe, why not leave a star rating in the recipe card right below and/or a review in the comment section further down the page? I always appreciate your feedback. You can also follow me on Pinterest, Facebook, Instagram, and YouTube. And subscribe to my email list too!
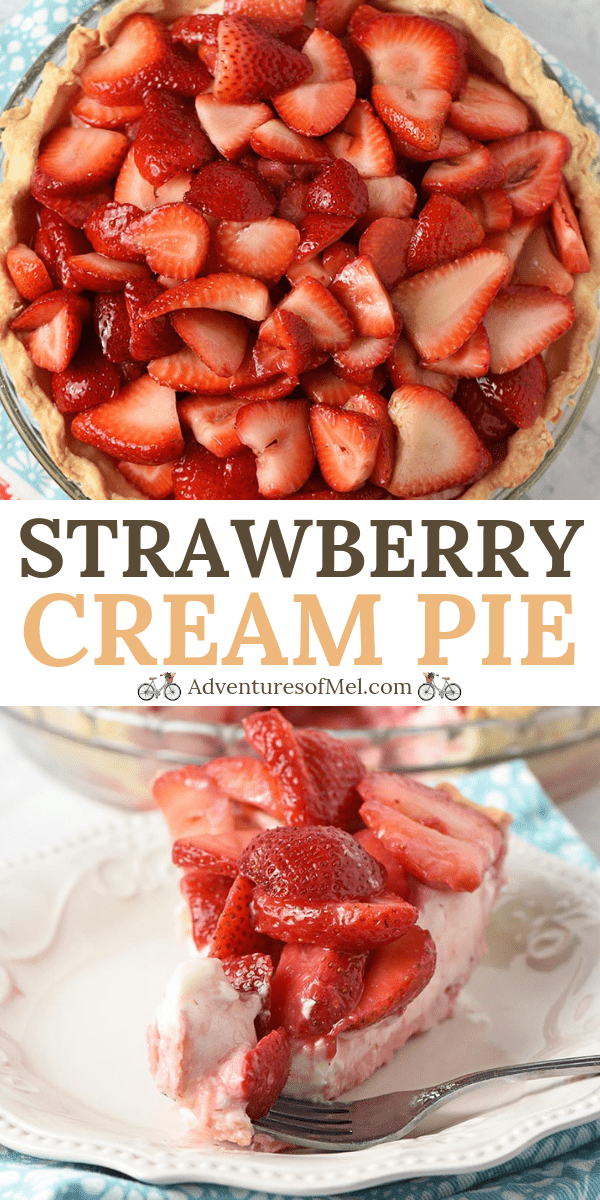
Strawberry Yum Yum
Make an easy strawberry yum yum dessert layered with fresh strawberries, a no bake cream cheese filling, and pecan crust. This dreamy strawberry delight is perfect for potlucks and gatherings!
- Large Mixing Bowl
- 9×13 Baking Dish
- Blender
- Whisk
- Large Sauce Pan
- Mixer
- Rubber Spatula
Pecan Crust:
- 12 tablespoons salted butter (melted)
- 1 1/2 cups all-purpose flour
- 1 cup pecans (chopped)
Strawberry Topping:
- 8 cups strawberries (sliced)
- 2 1/2 tablespoons corn starch
- 1/4 cup water
- 3/4 cup pure cane sugar
Dream Whip Filling:
- 16 ounces cream cheese (softened)
- 2 envelopes Dream Whip ((1 box))
- 1 cup whole milk
- 1 teaspoon pure vanilla extract
- 2 cups powdered sugar
Pecan Crust:
In a large mixing bowl, mix together the melted butter and flour, forming a soft dough.
Stir the chopped pecans into the dough until they’re all mixed in.
Press the dough into a 9×13 baking dish.
Bake at 350° F for about 20 minutes, or until the edges of the crust begin to turn a nice golden brown (baking times can vary). Then let the crust cool before adding any filling.
Strawberry Topping:
First make strawberry purée by adding 1-2 cups fresh strawberries to a blender and blend into a liquid purée; you'll need 1 cup strawberry purée. Set the rest of the sliced strawberries aside for now.
Whisk the corn starch and water together in a small glass measuring cup or small bowl.
Add the corn starch mixture, strawberry purée, and sugar to a large sauce pan and whisk 'til combined.
Bring the strawberry mixture to a boil over low to medium heat, and boil for a good 3 to 5 minutes, or until it really thickens up and becomes a deep red color. Then remove it from the heat and allow it to cool completely.*
Dream Whip Filling:
Using an electric mixer, beat the cream cheese separately first thing. This will help it soften up more, and it will blend in better with the Dream Whip, once you’re ready for that step.
In a separate large bowl, whisk together the Dream Whip envelopes with the milk and vanilla, according to package directions. Whisk it until it begins to form soft peaks, about 4 minutes.
Add the cream cheese and powdered sugar to the Dream Whip mixture, and whisk for 3 to 5 more minutes, or until the cream cheese mixture is smooth and creamy.
Spread the Dream Whip cream cheese filling onto the prepared pie crust. You can save back just a little bit of whipped cream for a whipped topping on the final dessert if you want.
Layer the Strawberry Topping:
Once the strawberry sauce has cooled, mix it together with the rest of the sliced strawberries you set aside earlier.
Then spread the strawberry layer on top of the Dream Whip filling.
Cover the assembled dessert with plastic wrap, and allow it to chill in the fridge for at least 4 hours, or overnight if possible, before serving.
When it’s ready to serve, you can top it off with a dollop of whipped cream or serve it as is.
*I like to put my strawberry sauce in the freezer while I go about mixing up the rest of the pie. About 30 minutes in the freezer (with occasional stirring) will cool it enough that you can finish making the dessert.
No Bake Crust Alternatives
- Graham cracker crust
- Pecan Sandies crust – Make it like you would a graham cracker crust.
- Vanilla Wafer crust
How should strawberry yum yum be stored?
Be sure to store strawberry delight in an airtight container in the refrigerator, where it should keep for 3-4 days.
Can you use frozen strawberries instead of fresh berries?
Yes, you can, though fresh berries give better flavor. Just be sure to slice the berries up while still frozen; then allow them to thaw and completely drain before using, so they don’t add unnecessary moisture to the topping.