How to cook a perfectly tender and juicy Instant Pot whole chicken from fresh or frozen in just 30 minutes or less. Quick and easy, healthy one pot meal recipe that will have everyone coming back for seconds!
I love garlic parm chicken skewers and baked chicken drumsticks, but my go-to easy dinner recipe has always been whole chicken in the CrockPot. I’d plan ahead and throw everything together in the morning so that it could slow cook all day long– That is, until I bought my first Instant Pot. Don’t get me wrong, I still love the slow cooked flavor of a good CrockPot chicken, but cooking whole chicken in the Instant Pot is so much faster for those busy weekdays when I’m in such a rush!

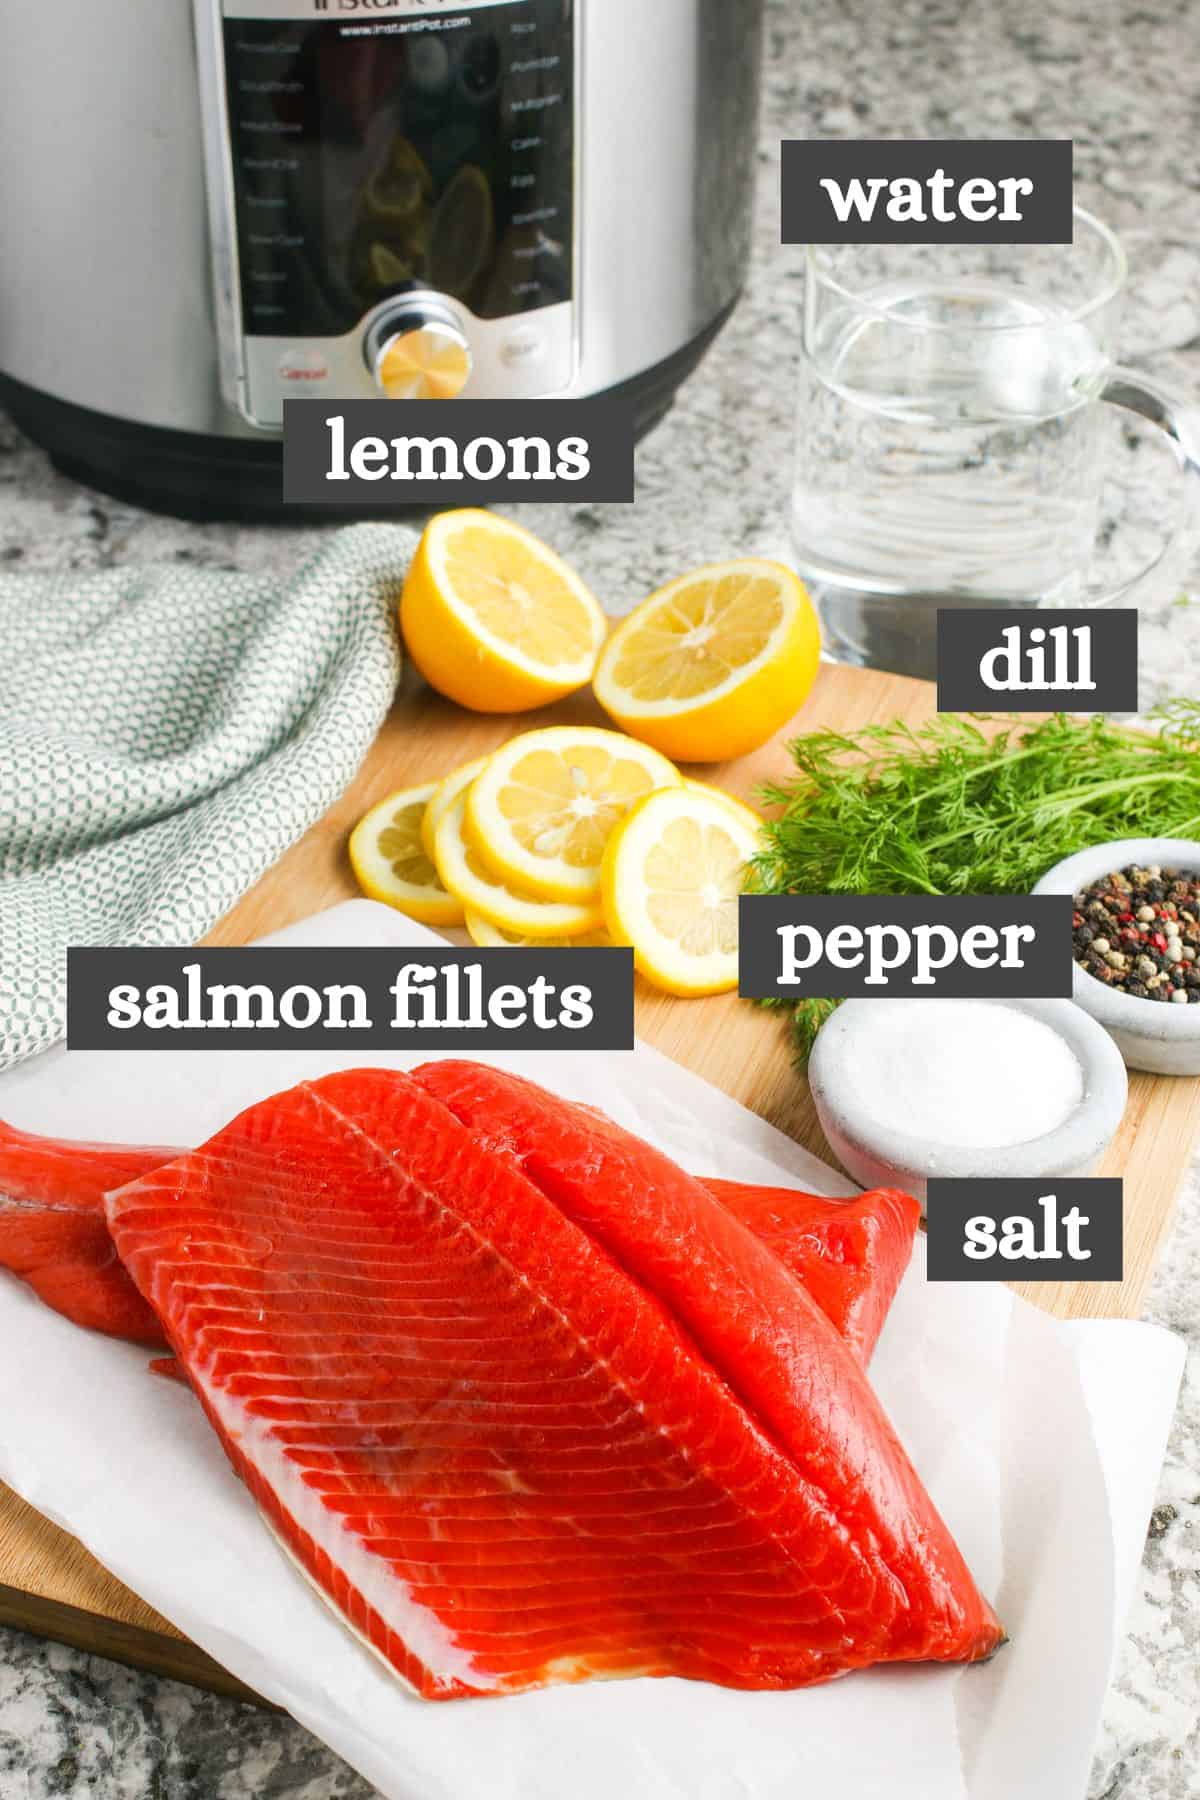
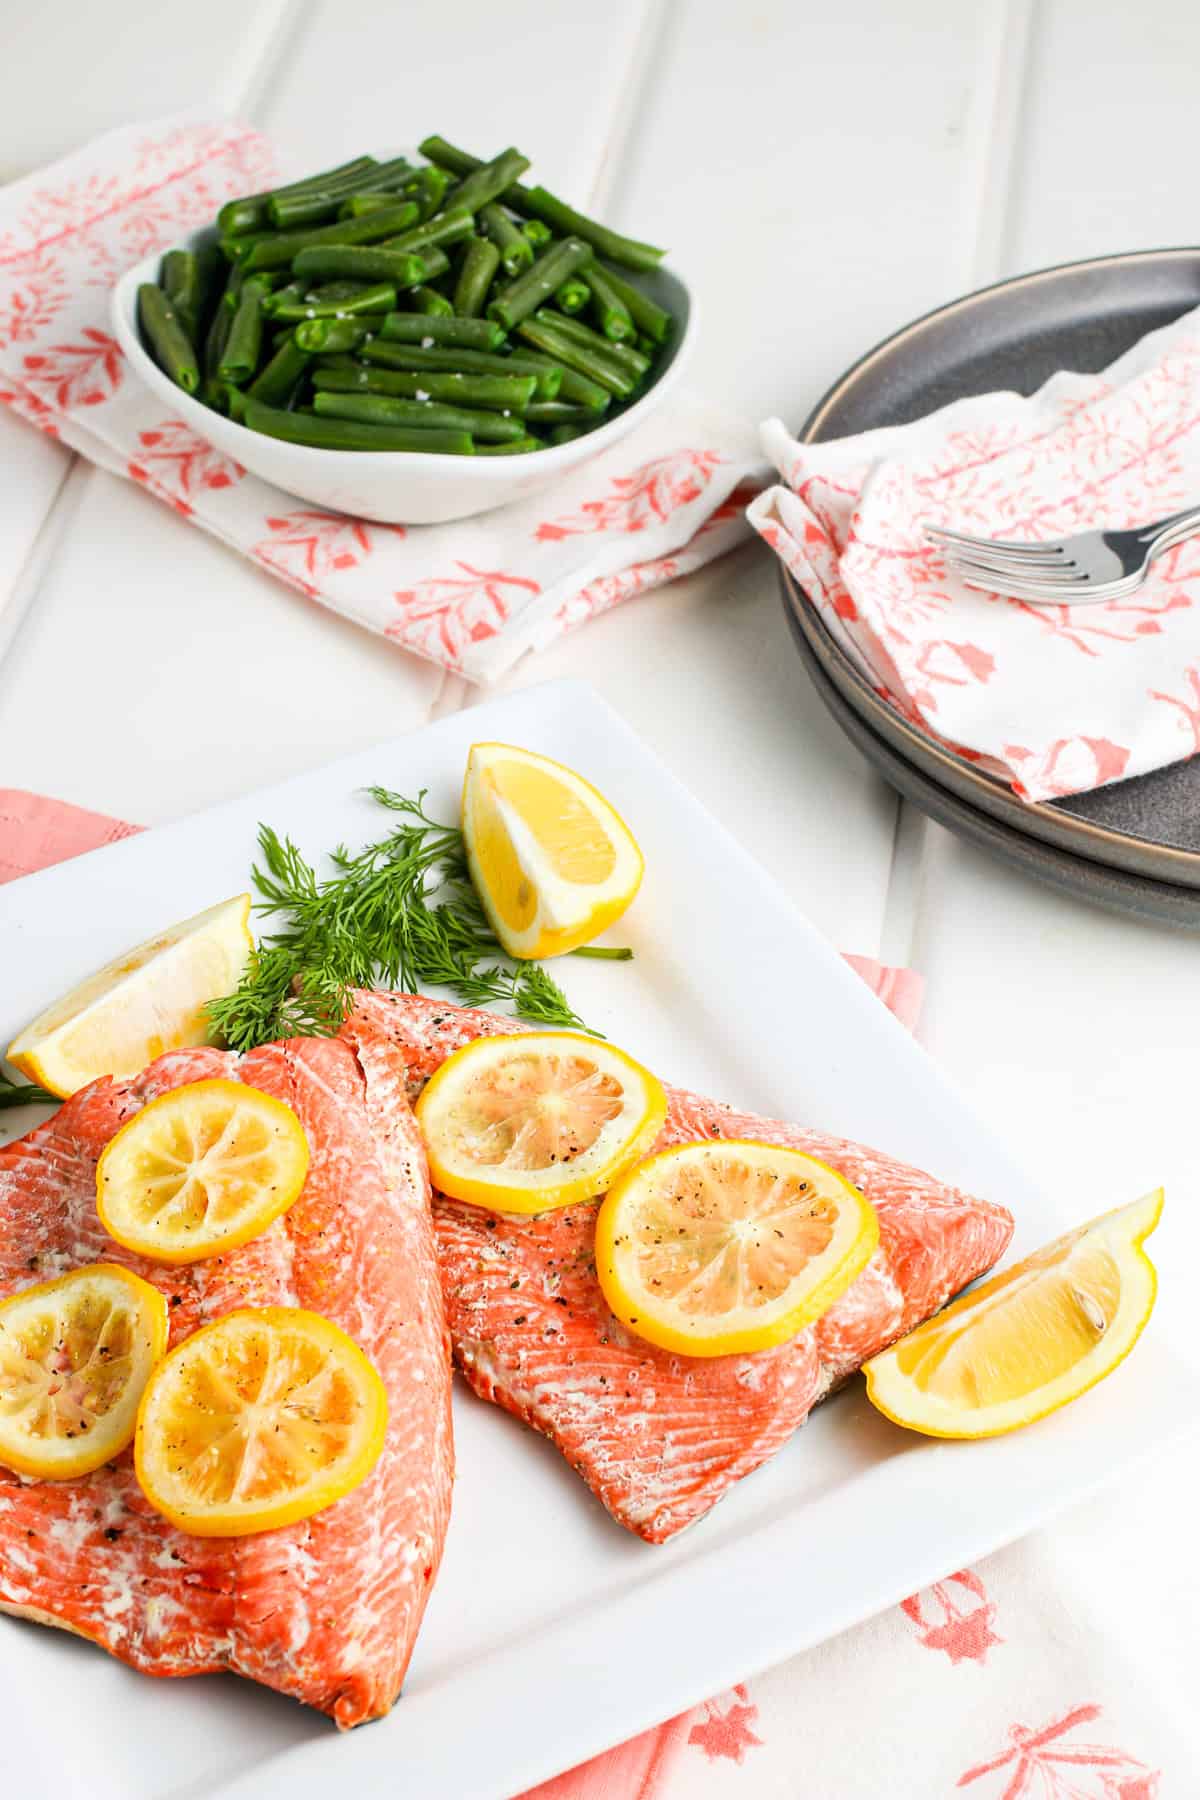
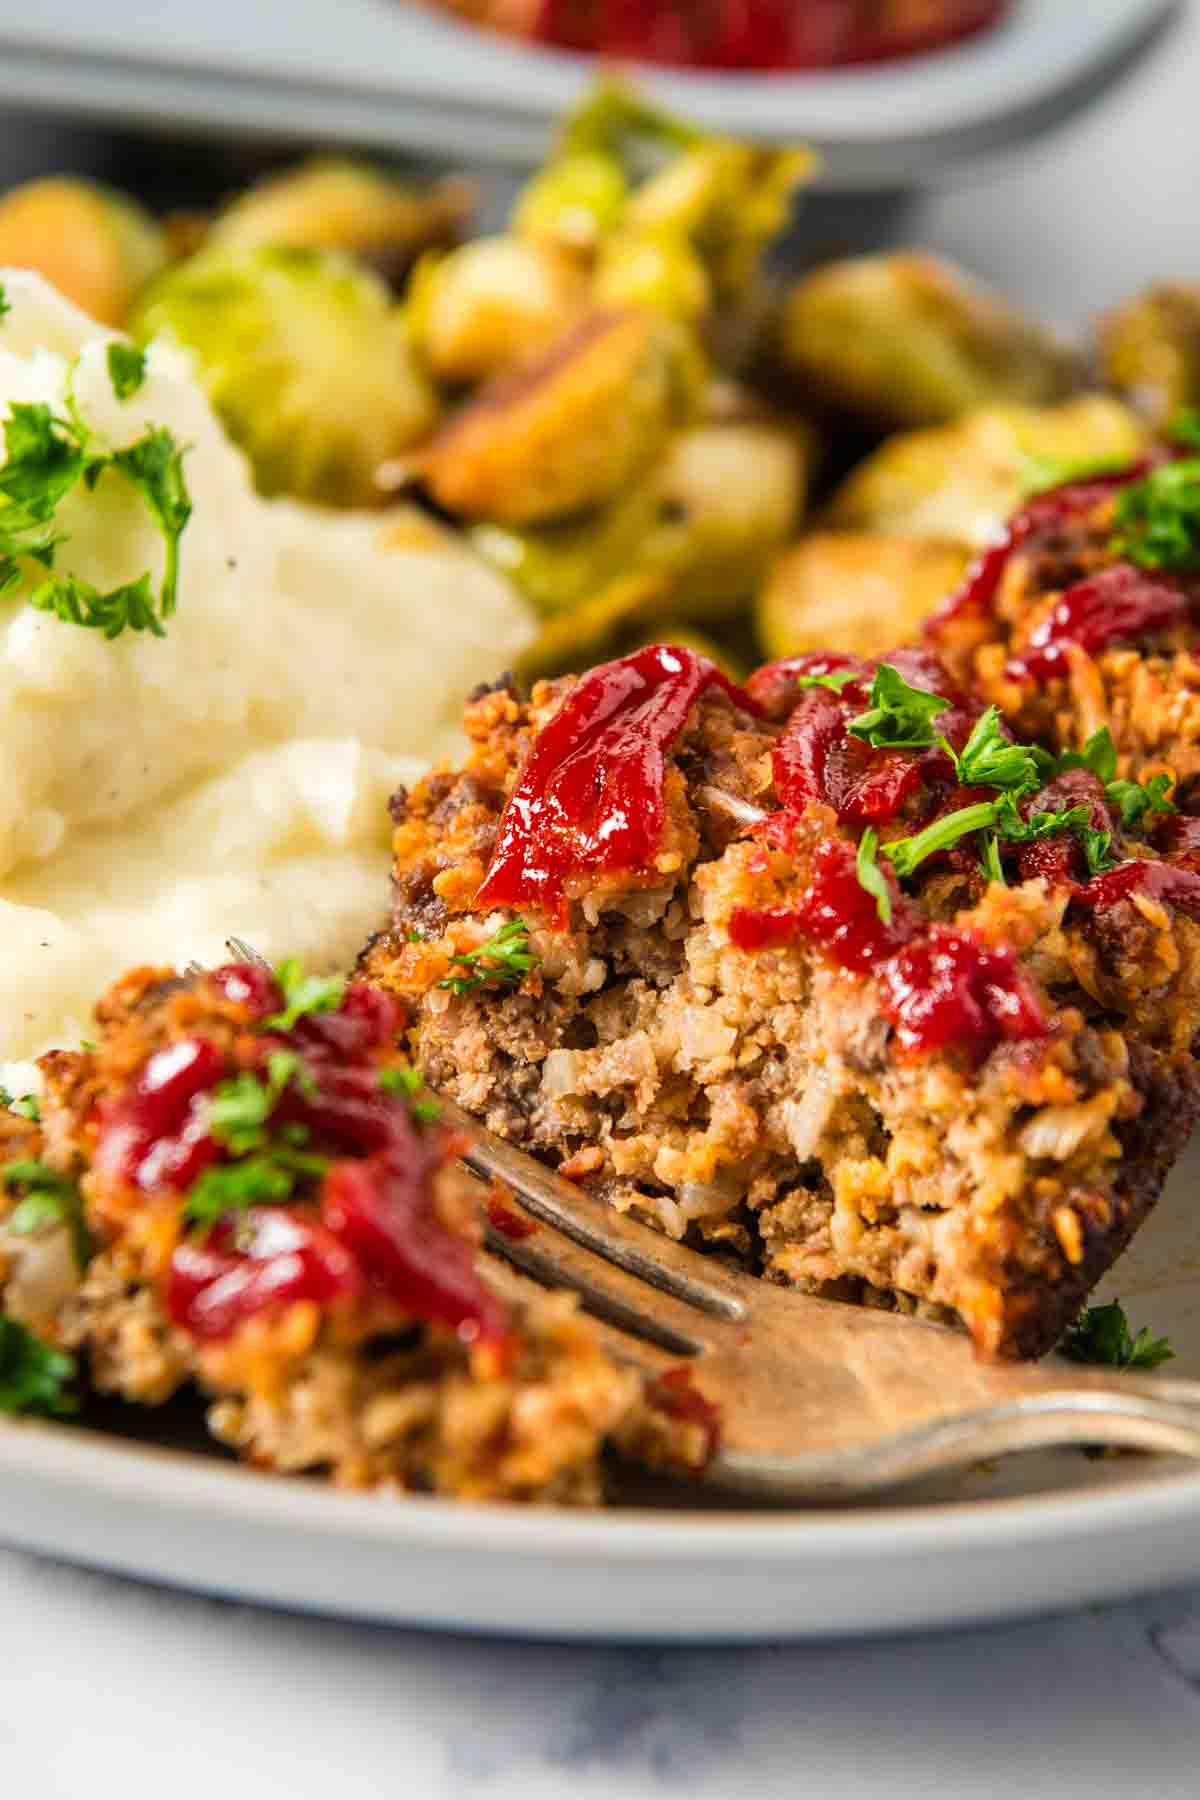
I can whip up an Instant Pot whole chicken in 30 minutes or less, and it tastes just as good as a slow cooked chicken. If you don’t already have an Instant Pot, I highly recommend getting one; this is one tool that every kitchen needs to have! You can make so many dinner recipes with an electric pressure cooker, including Instant Pot salmon, meatloaf, and baby back ribs.
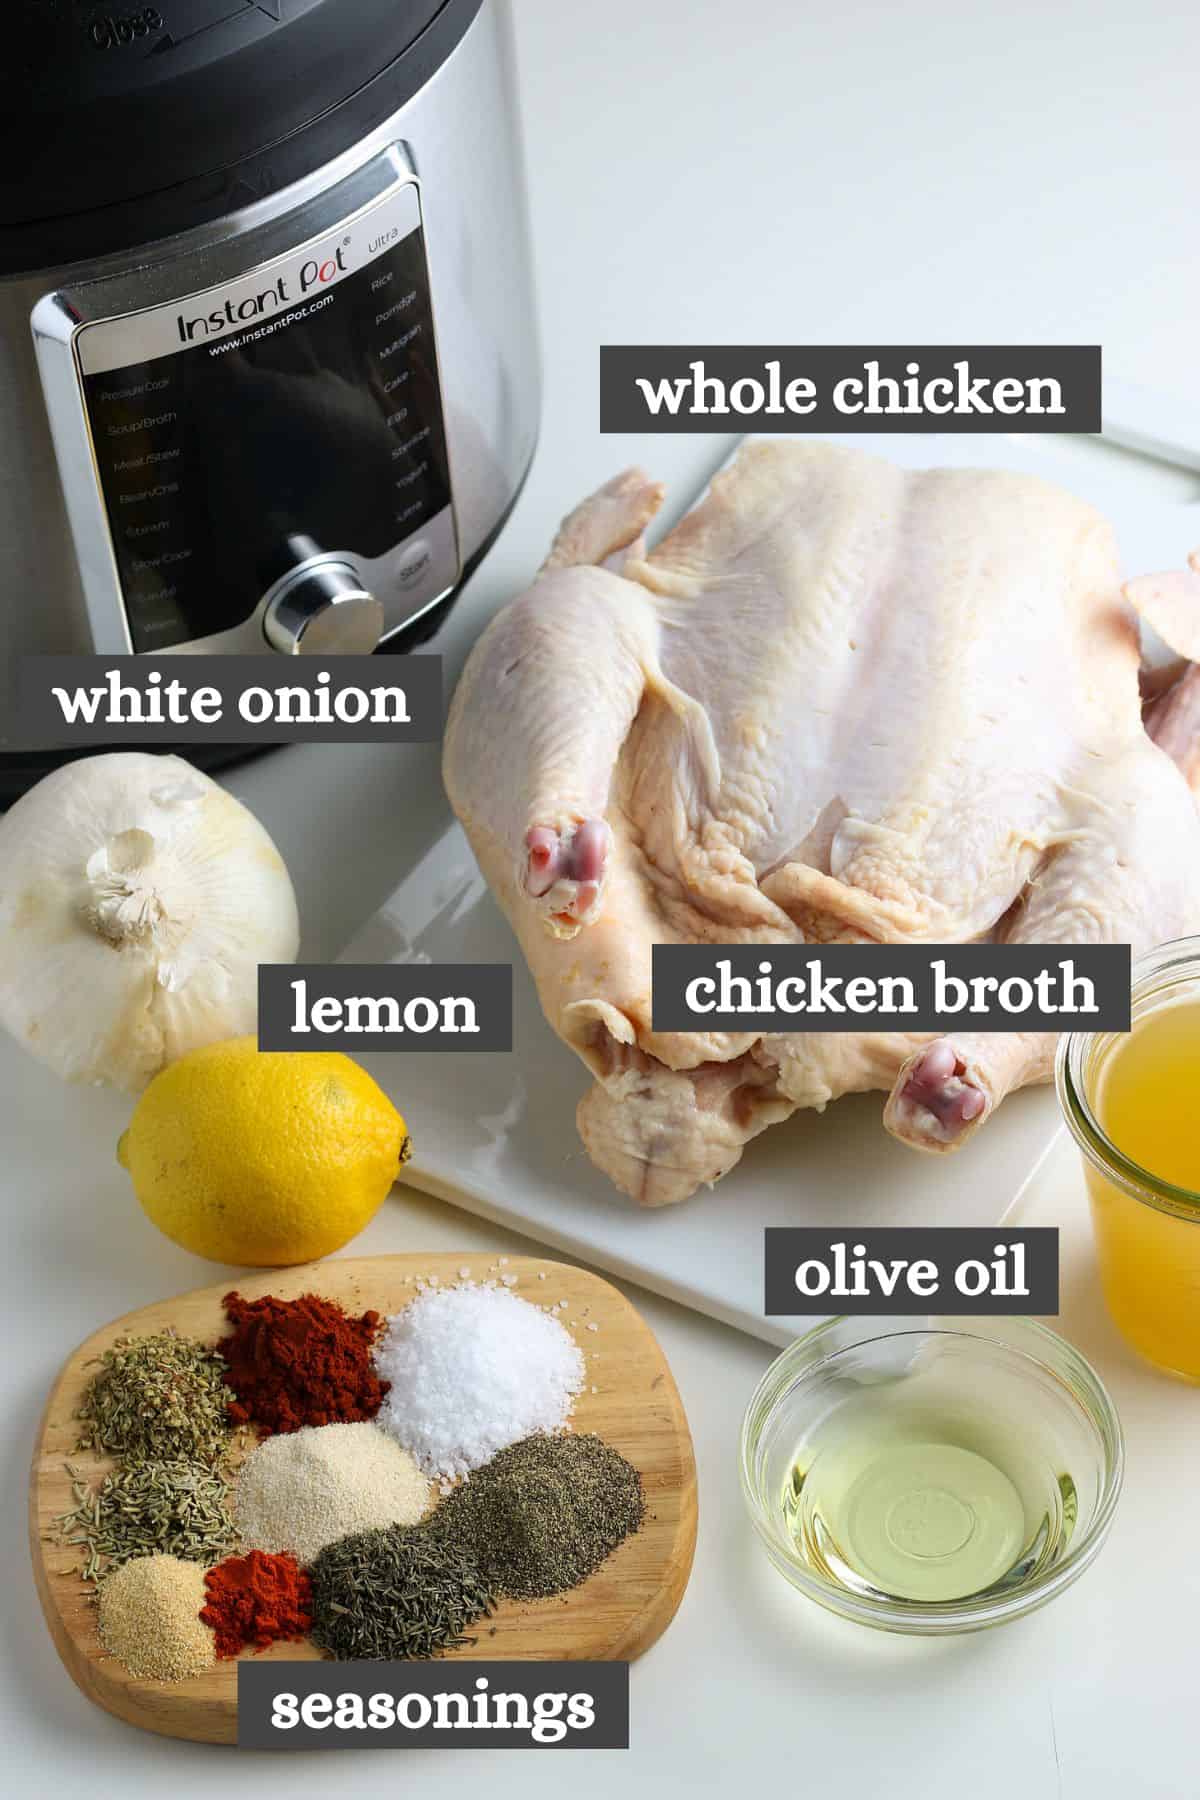
Ingredients & Substitutions Notes
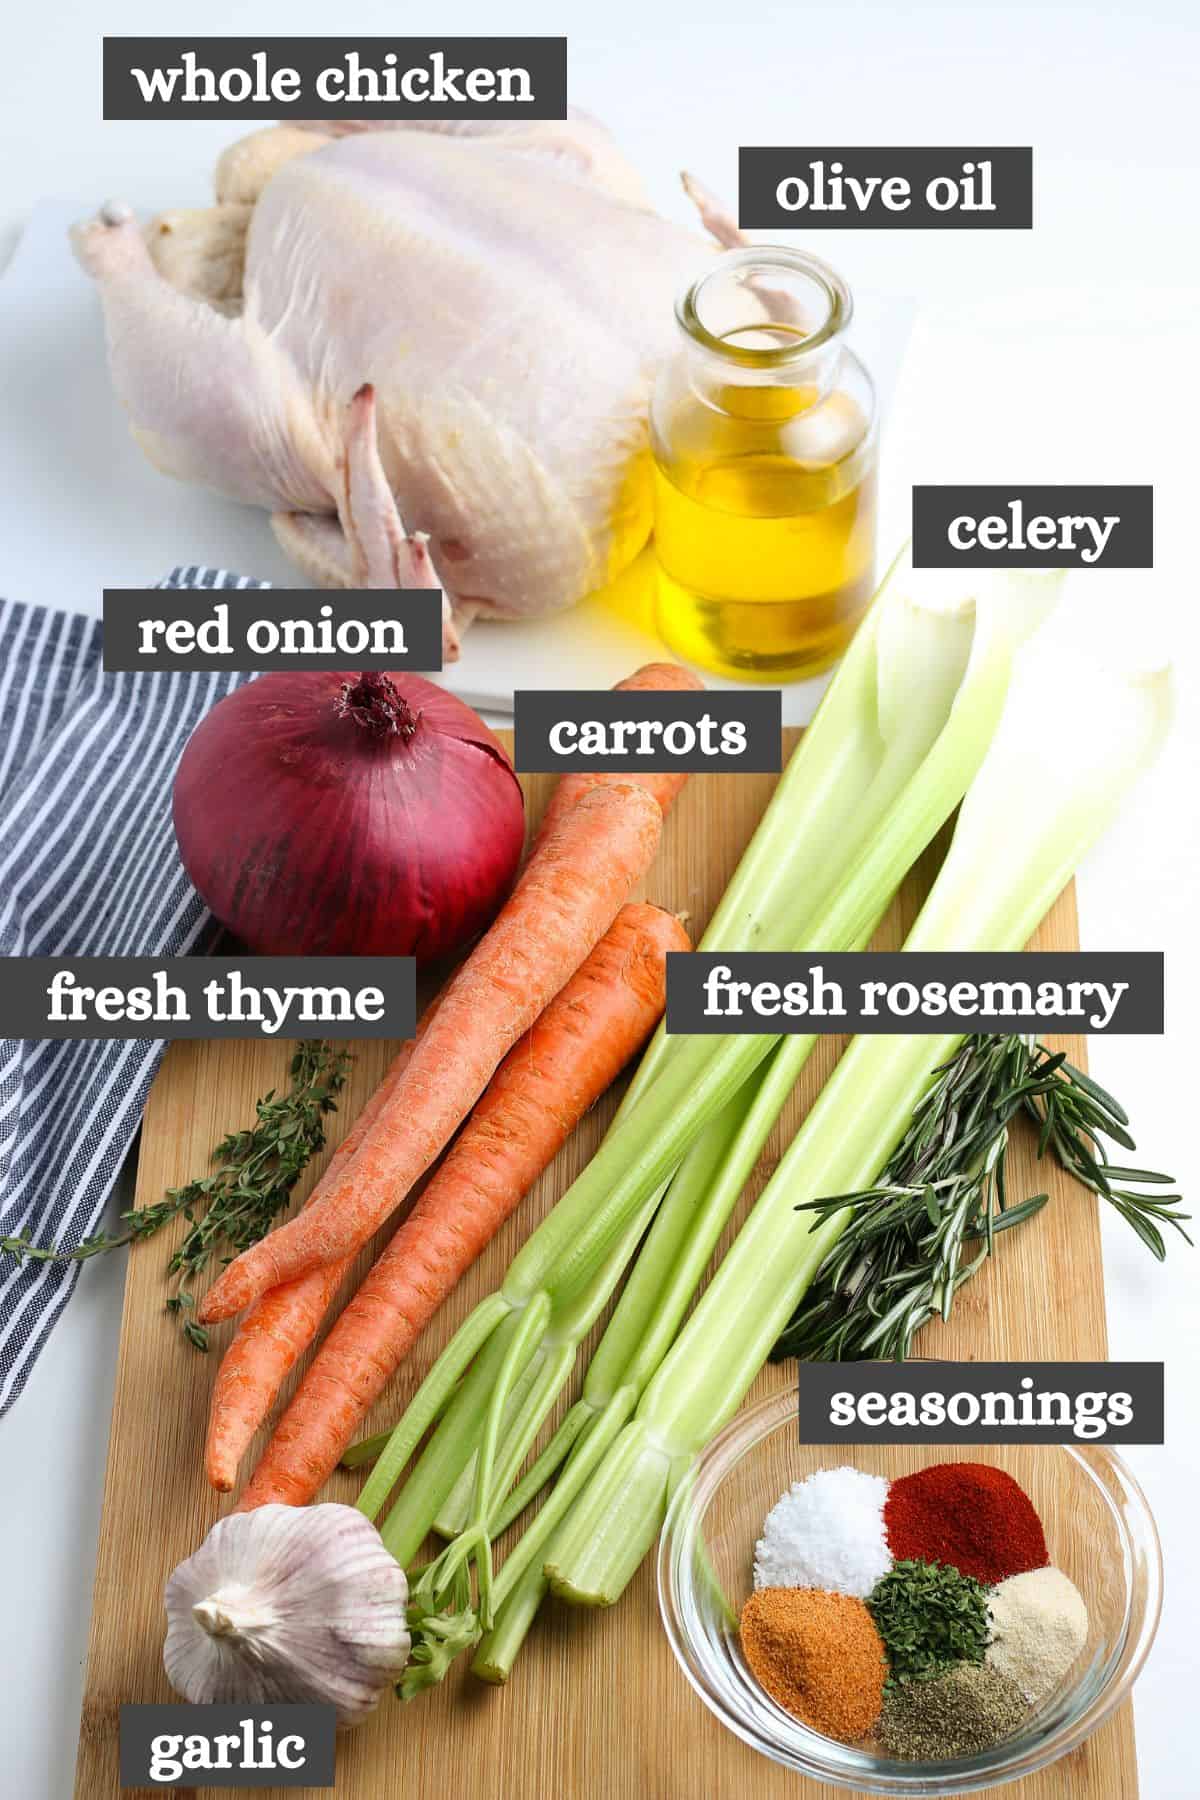
- Whole Chicken – I wrote this recipe out using a fresh, 4-5 pound whole roasting chicken and a 6-quart Instant Pot. If yours is bigger, you’ll not only need to adjust the other ingredient amounts accordingly, but you’ll also need an 8-quart Instant Pot. If you’re using a frozen whole chicken, you’ll need to double the cooking time; I’ll give more details in the recipe instructions below.
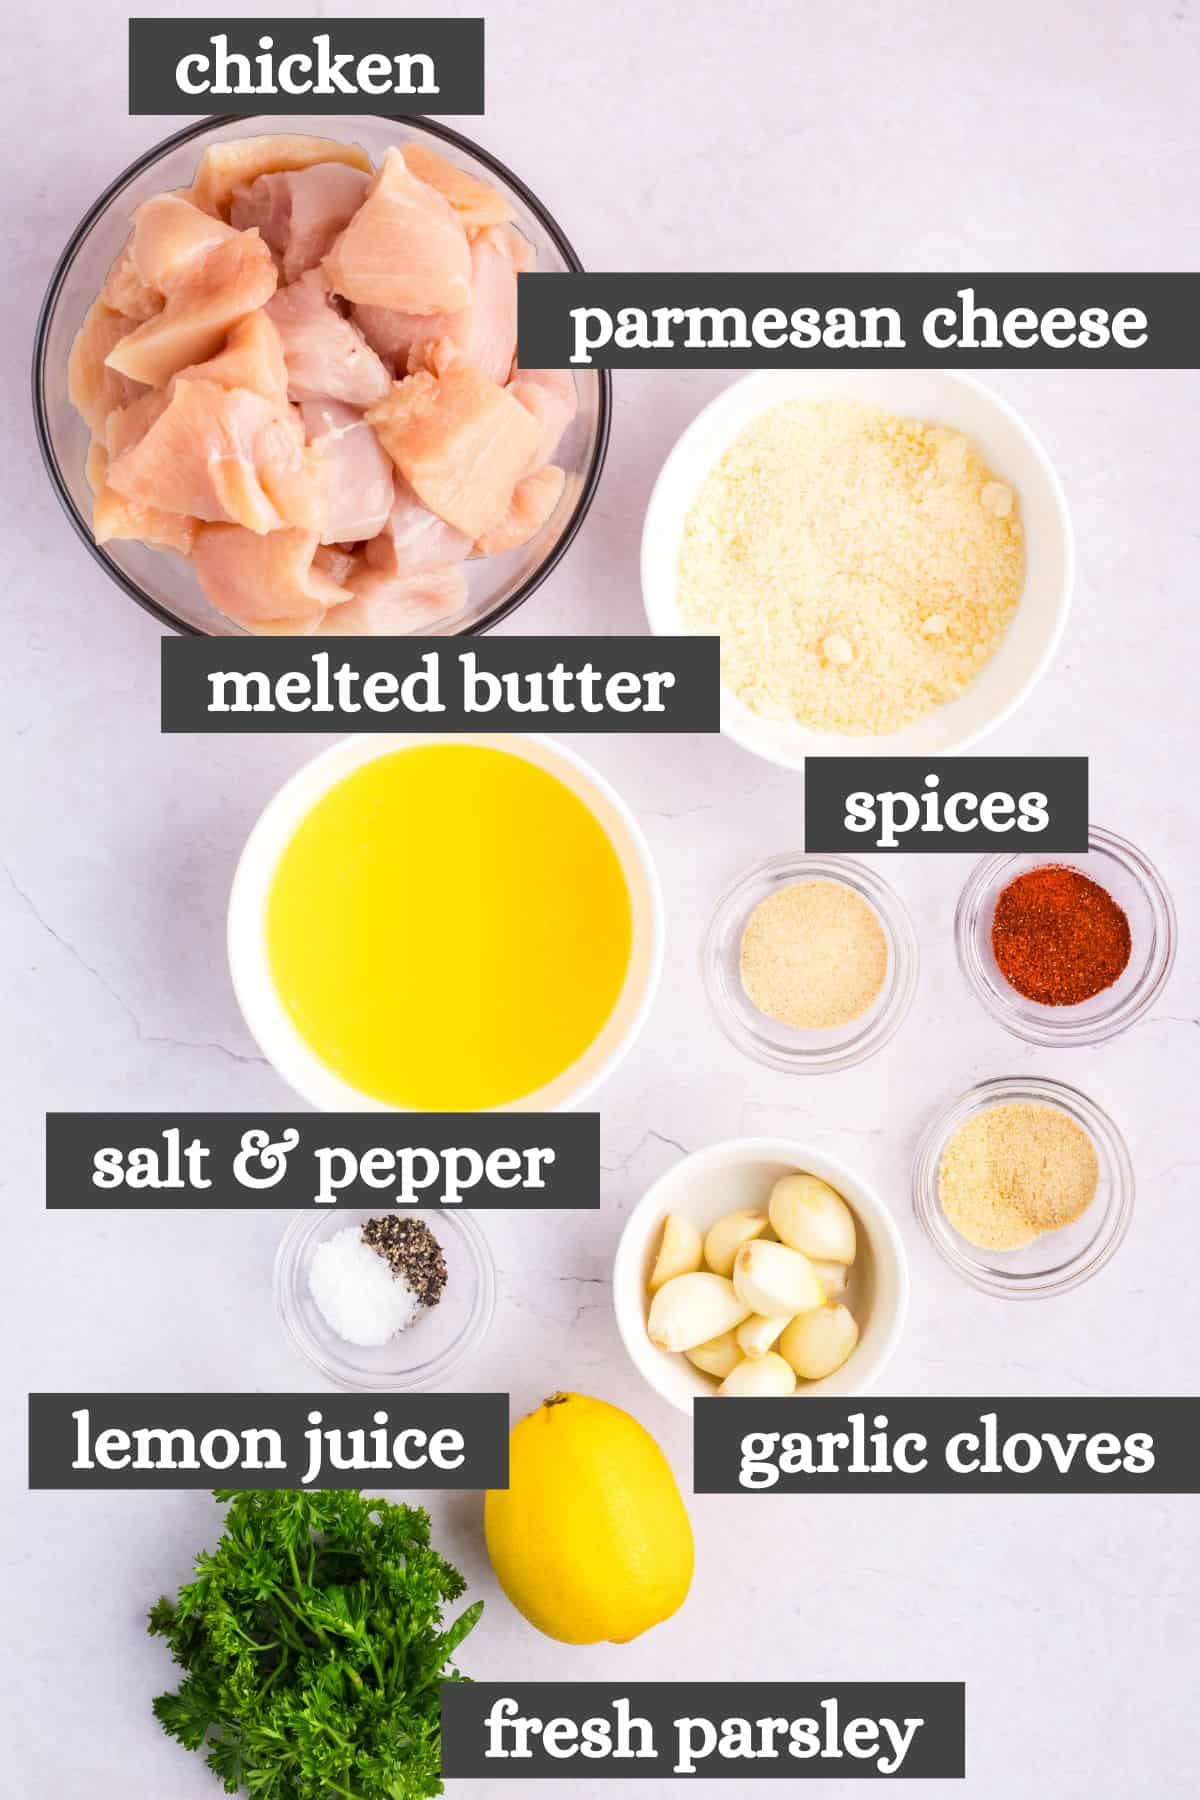
- Seasonings – You’ll need a mixture of salt, black pepper, paprika, onion powder, dried oregano, thyme, rosemary, garlic powder and cayenne pepper for your Instant Pot whole chicken.
- Olive Oil – I like to sauté the chicken in a little bit of olive oil in the bottom of the Instant Pot before pressure cooking. If you don’t have any olive oil on hand, vegetable oil or canola oil will work just fine!
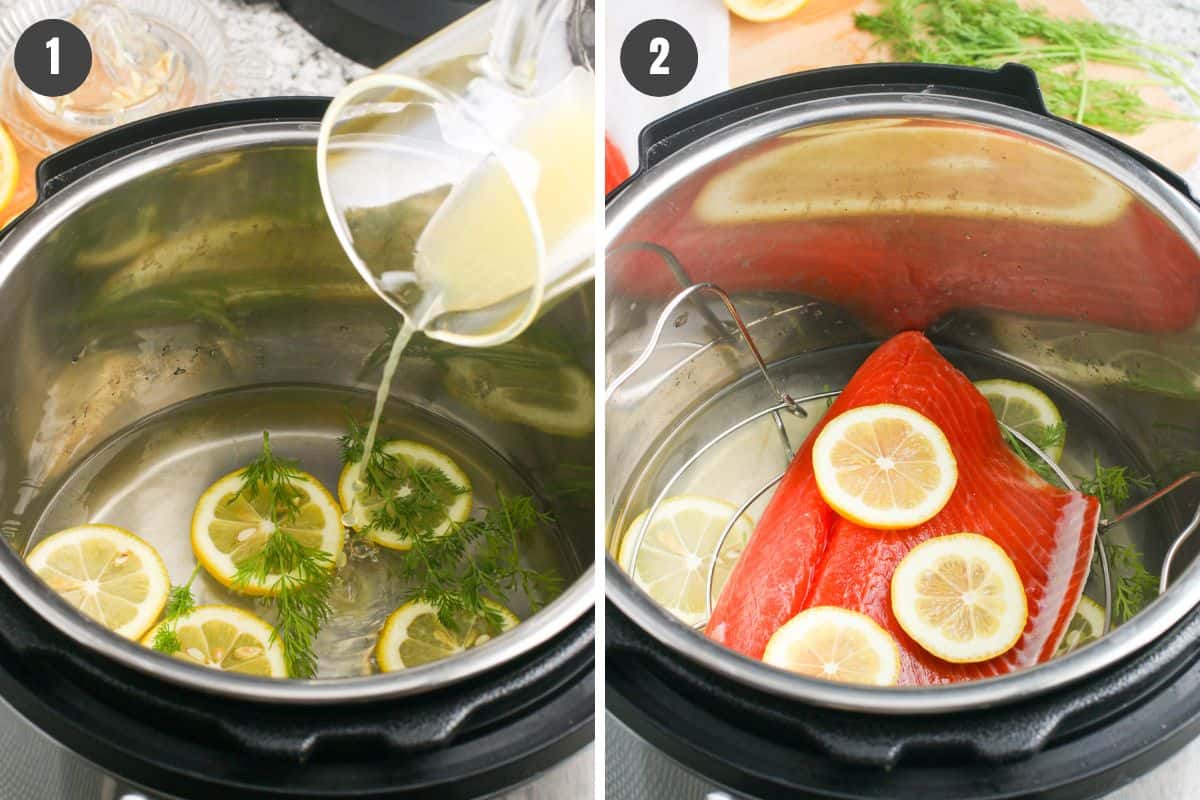
- Chicken Broth – A little bit of chicken broth in the pot goes a long way for extra flavor! Pre-packaged chicken broth is pretty expensive, so I usually make my own broth with chicken bouillon.
- Lemon & White Onion – I always stuff my whole chicken with lemon and white onion for extra flavor.
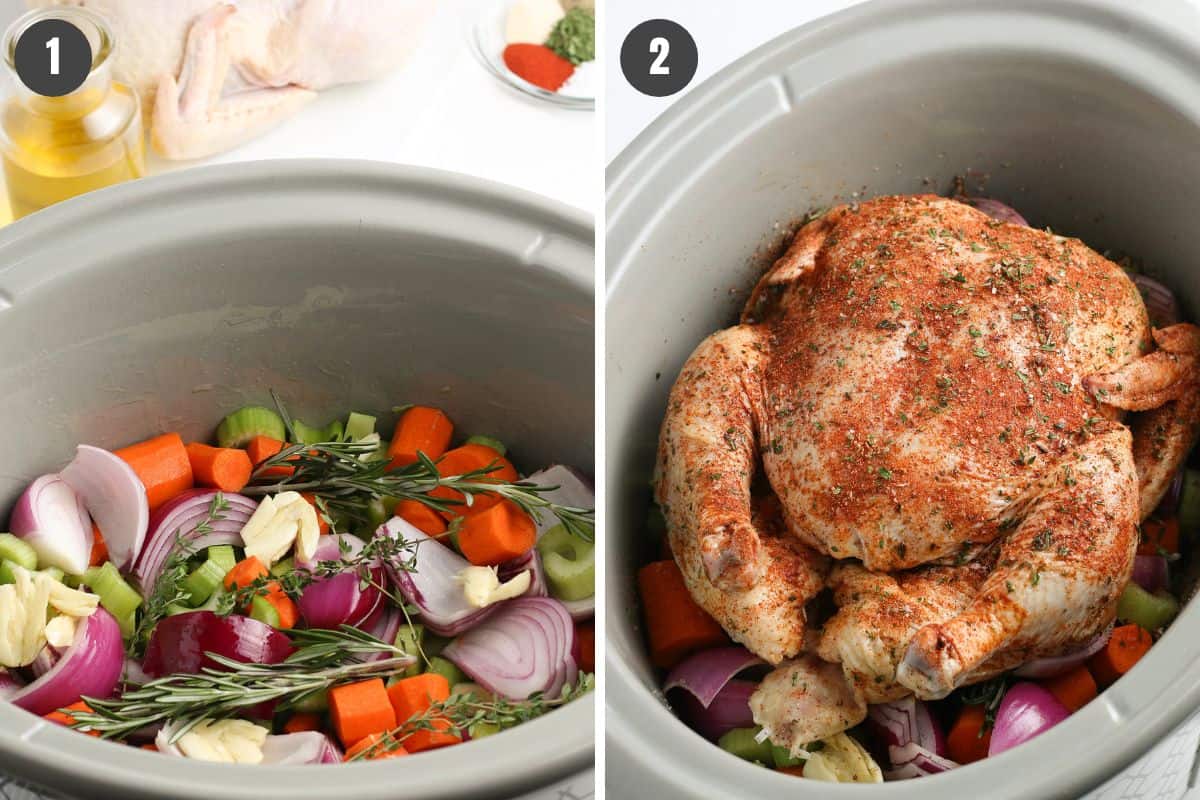
- Veggies – Feel free to make a meal out of it by cooking your Instant Pot whole chicken with vegetables. Sometimes I’ll toss in a few chunked potatoes, sweet potatoes, celery, carrots, garlic, parsnips, turnips or even mushrooms before cooking. Be creative!
How to Make Instant Pot Whole Chicken
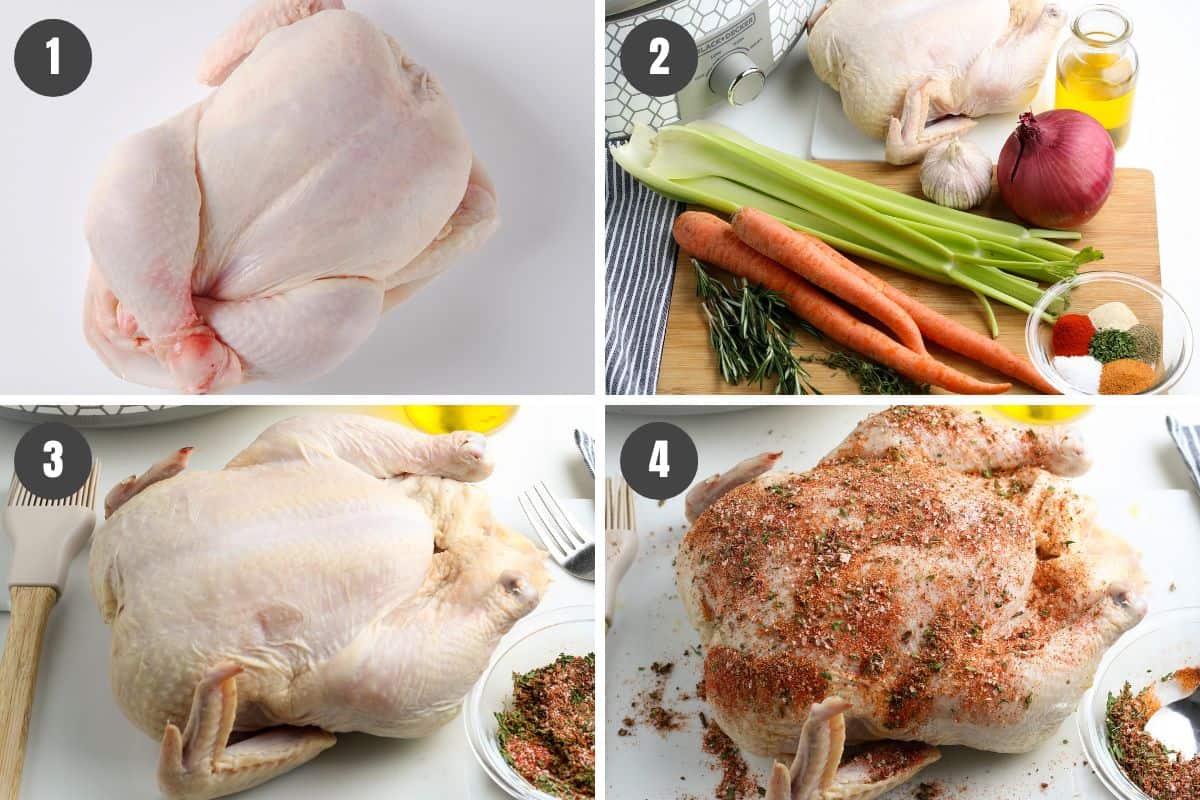
Before getting started, rinse your whole chicken off and pat dry with paper towels. Then use a large knife to quarter a lemon and medium white onion on a large cutting board. Wash and chop up any veggies that you might use, and then set aside…
Prepping the Chicken
- In a small mixing bowl, combine all of the seasonings.
- Then with your chicken on a large cutting board, sprinkle the seasonings over the chicken and cavity.
- Next, stuff the cavity with lemon and onions.
- Add the oil to the Instant Pot, and set it to the high sauté setting.
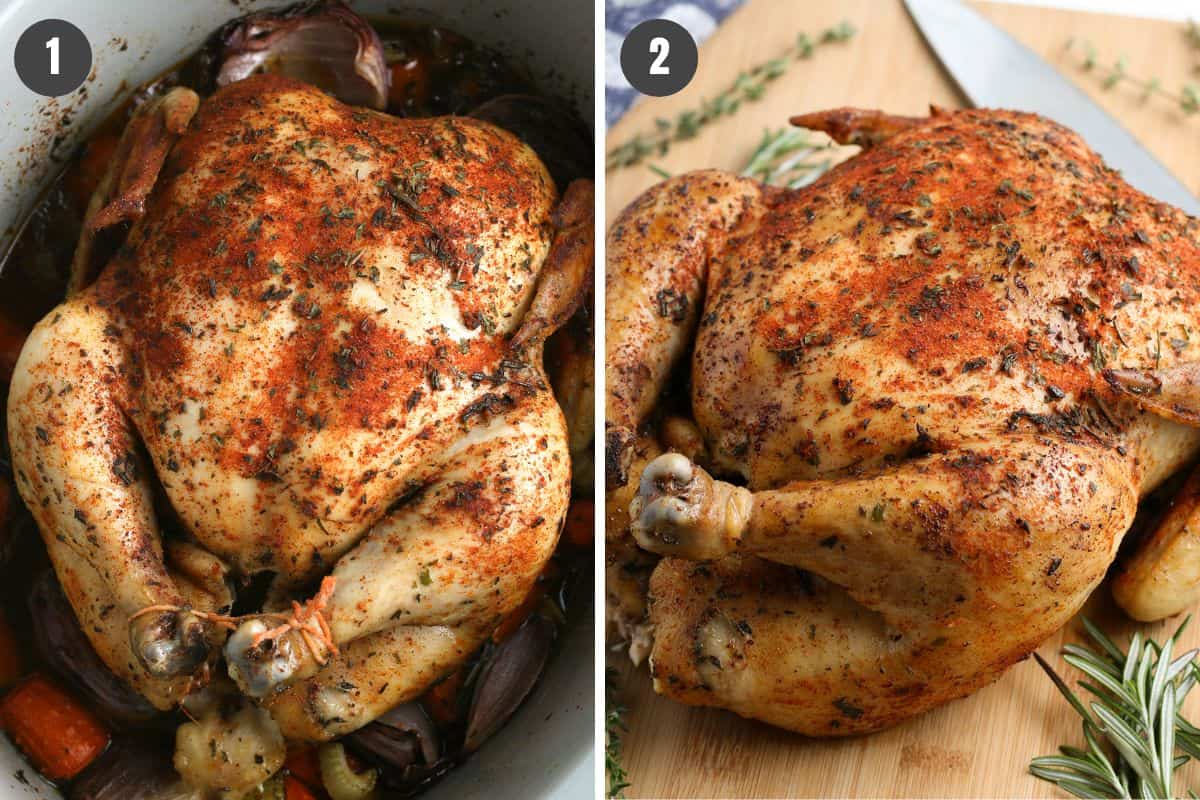
- Lay the whole chicken in the Instant Pot with the breast facing down. Cook ’til golden brown, about 3-4 minutes. This will create that crispy and golden brown, rotisserie-style skin that we all know and love!
- Finally, use a pair of tongs to turn the chicken over and let it cook in the oil for another 3-4 minutes. Then set aside.
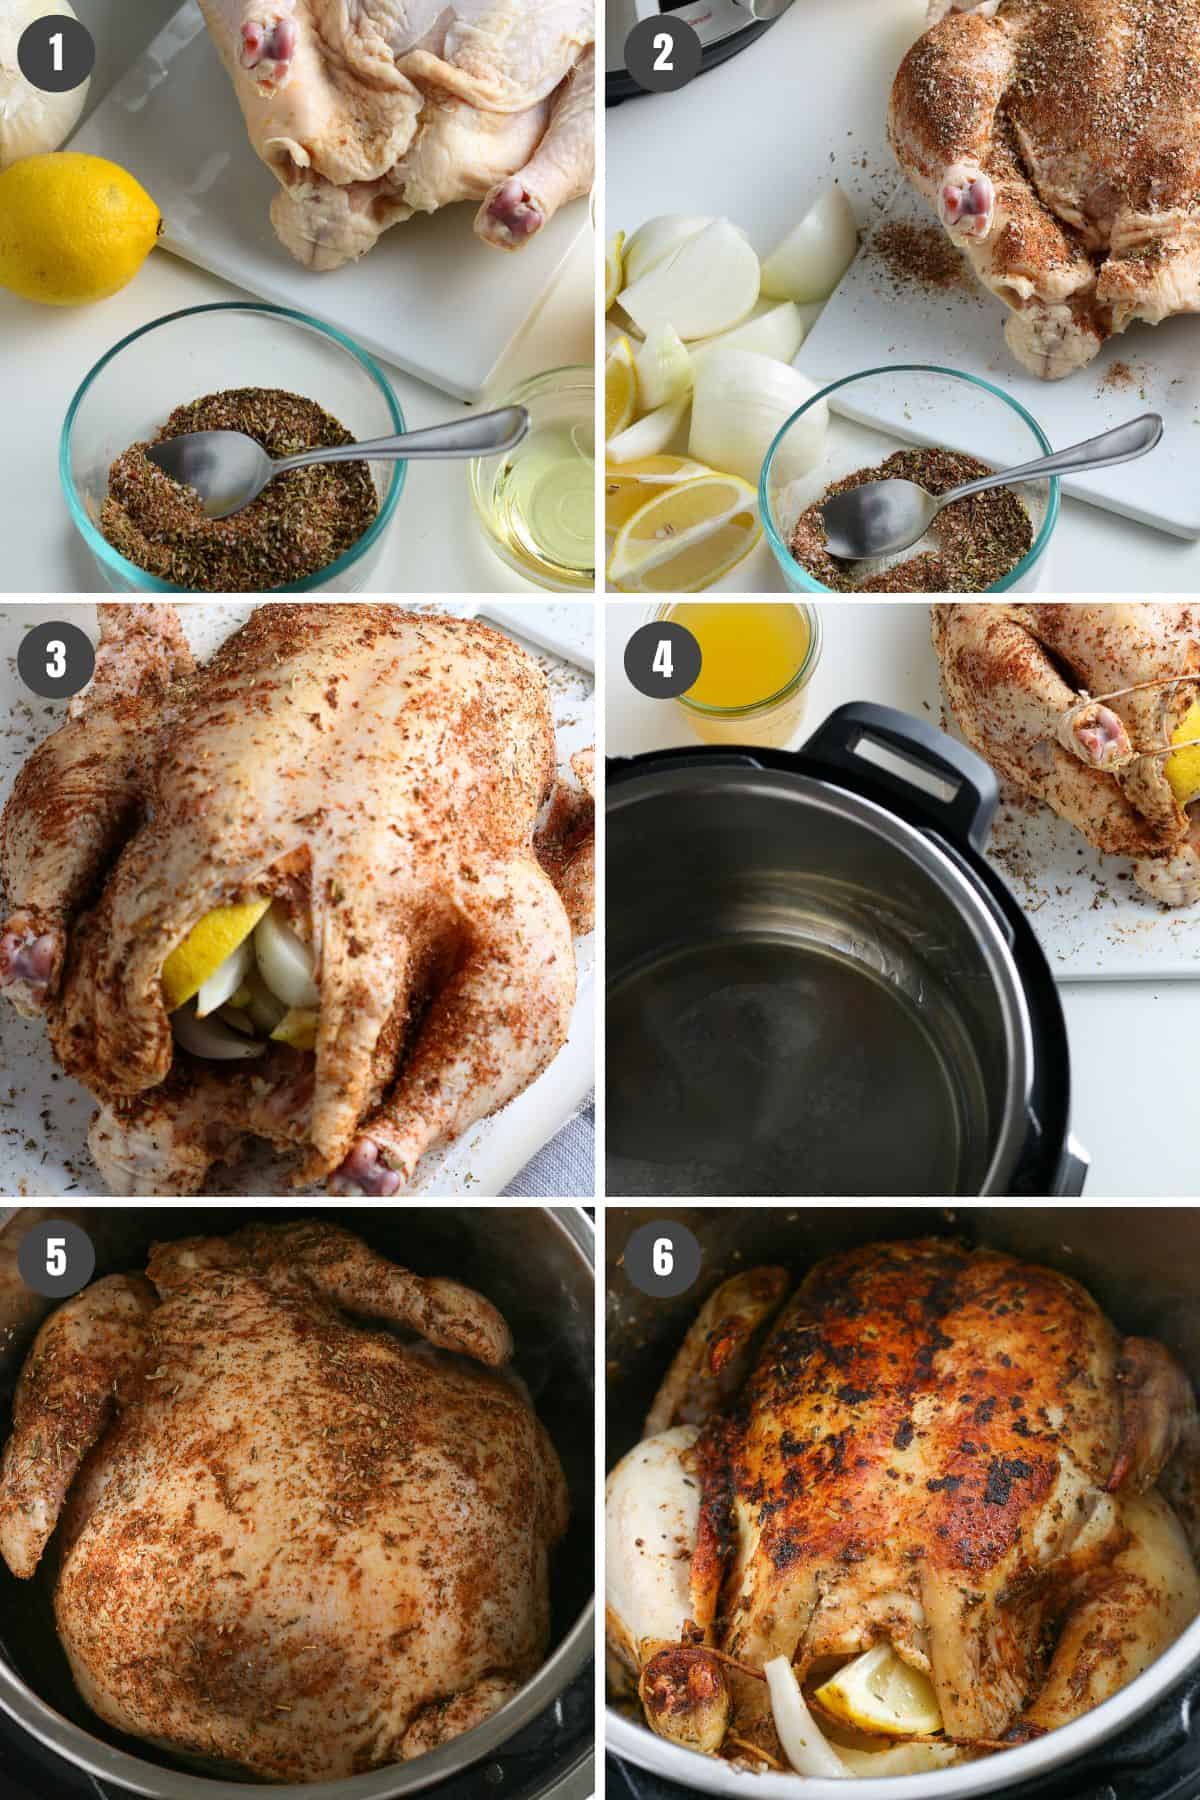
How to Cook a Whole Chicken in the Instant Pot
- Start by placing your metal trivet down inside of the Instant Pot with the handles up. Then add the chicken broth.
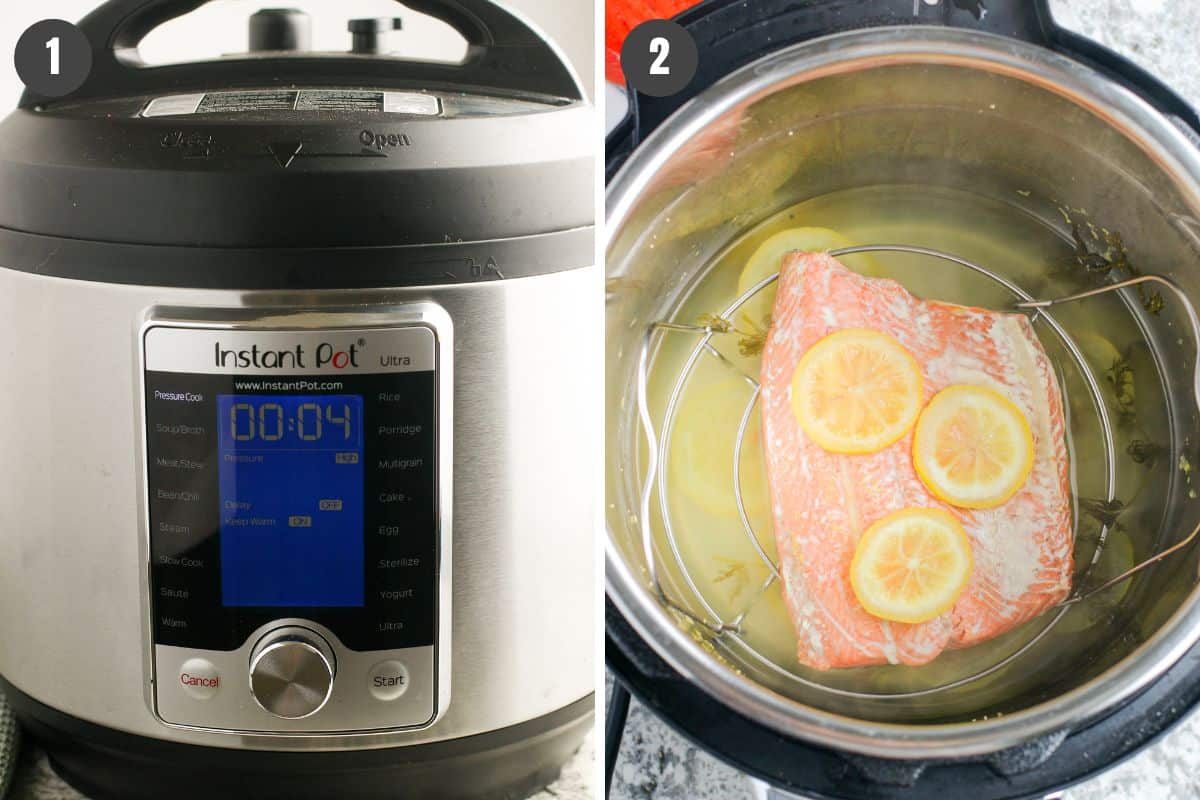
- Place your whole chicken on top of the rack; if you’re adding any veggies, this is where you’ll want to chuck them in. Select the manual setting, and let it cook on high for about 6 minutes per pound. When the timer goes off, naturally release the pressure for about 20 more minutes.
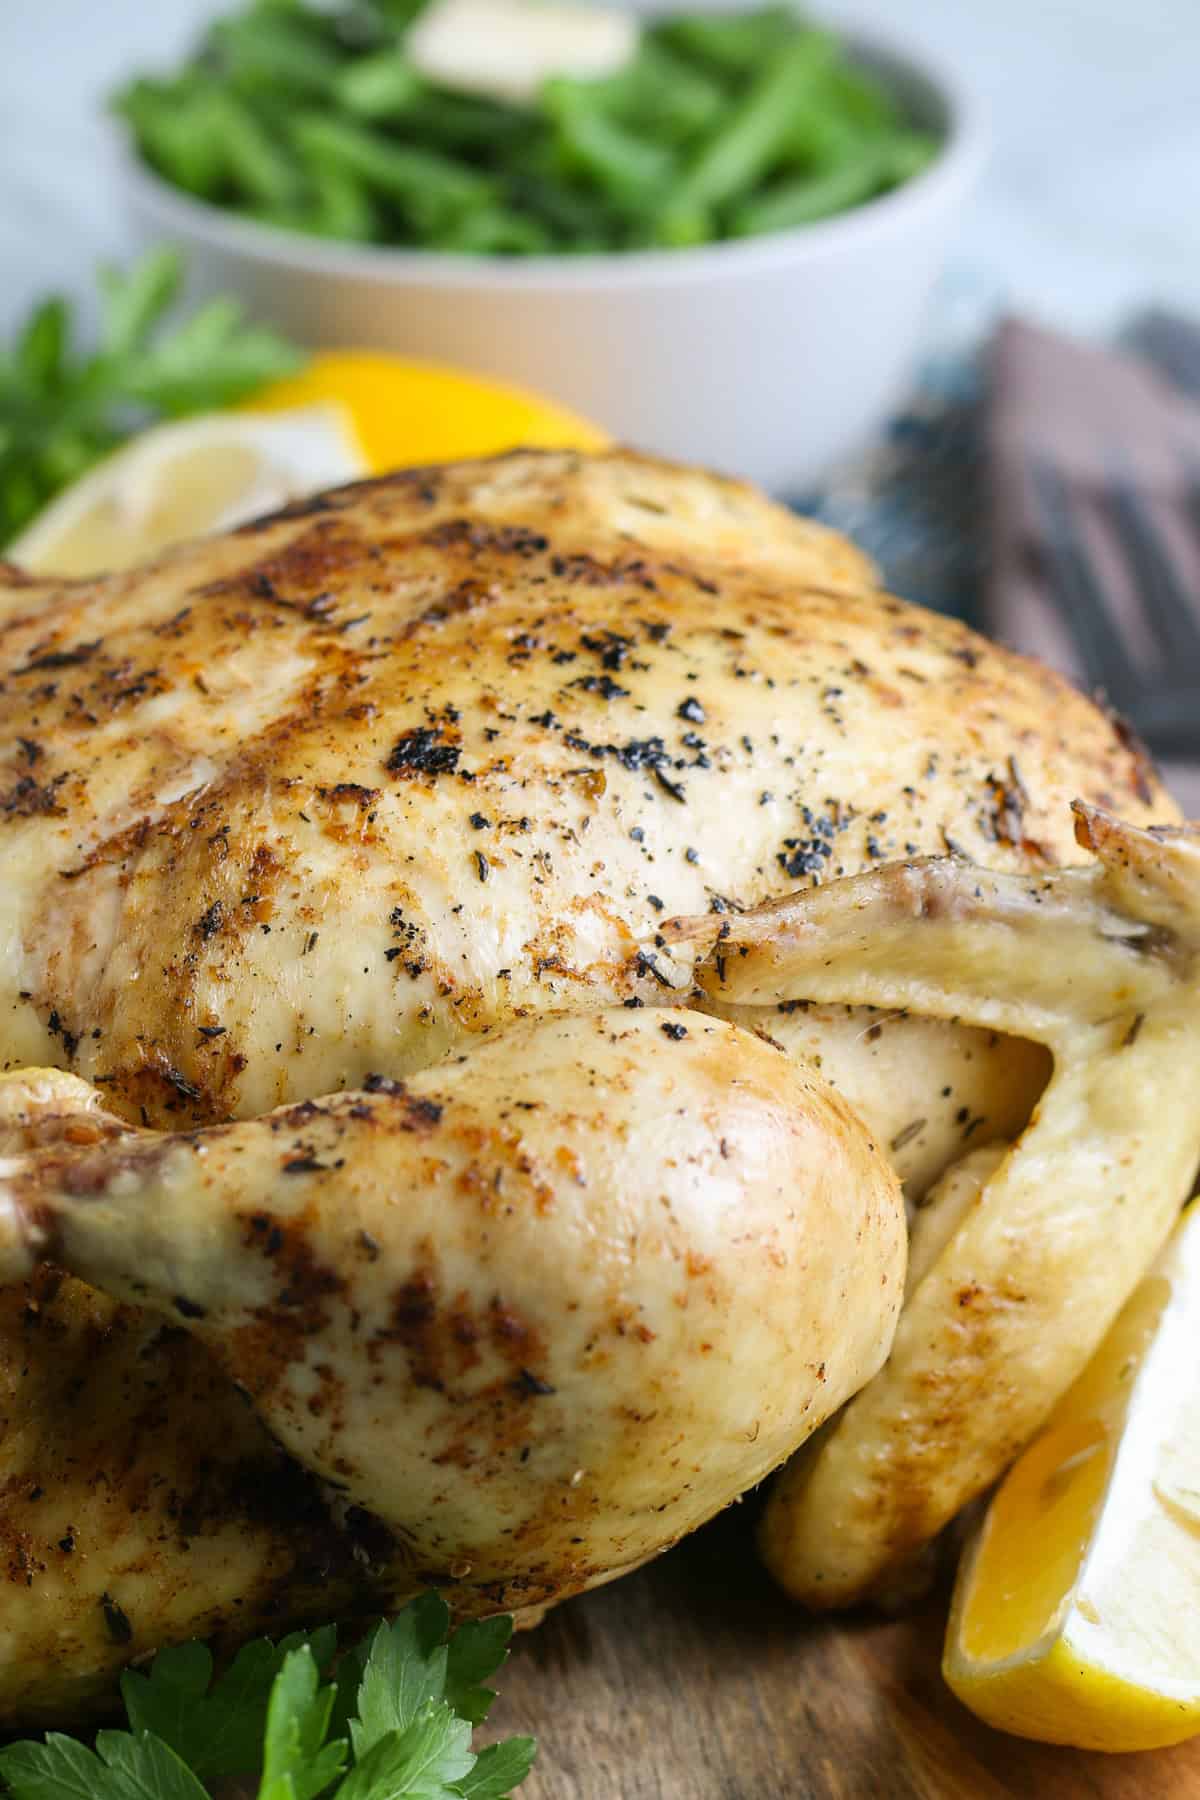
- Once the pressure has naturally released, remove the chicken from the Instant Pot and let rest on a cutting board for about 10-15 minutes before slicing and serving.
If you’re cooking the chicken from frozen, you’ll need to double the cooking time to about 12 minutes per pound, and then let it naturally release for 20 minutes like normal.
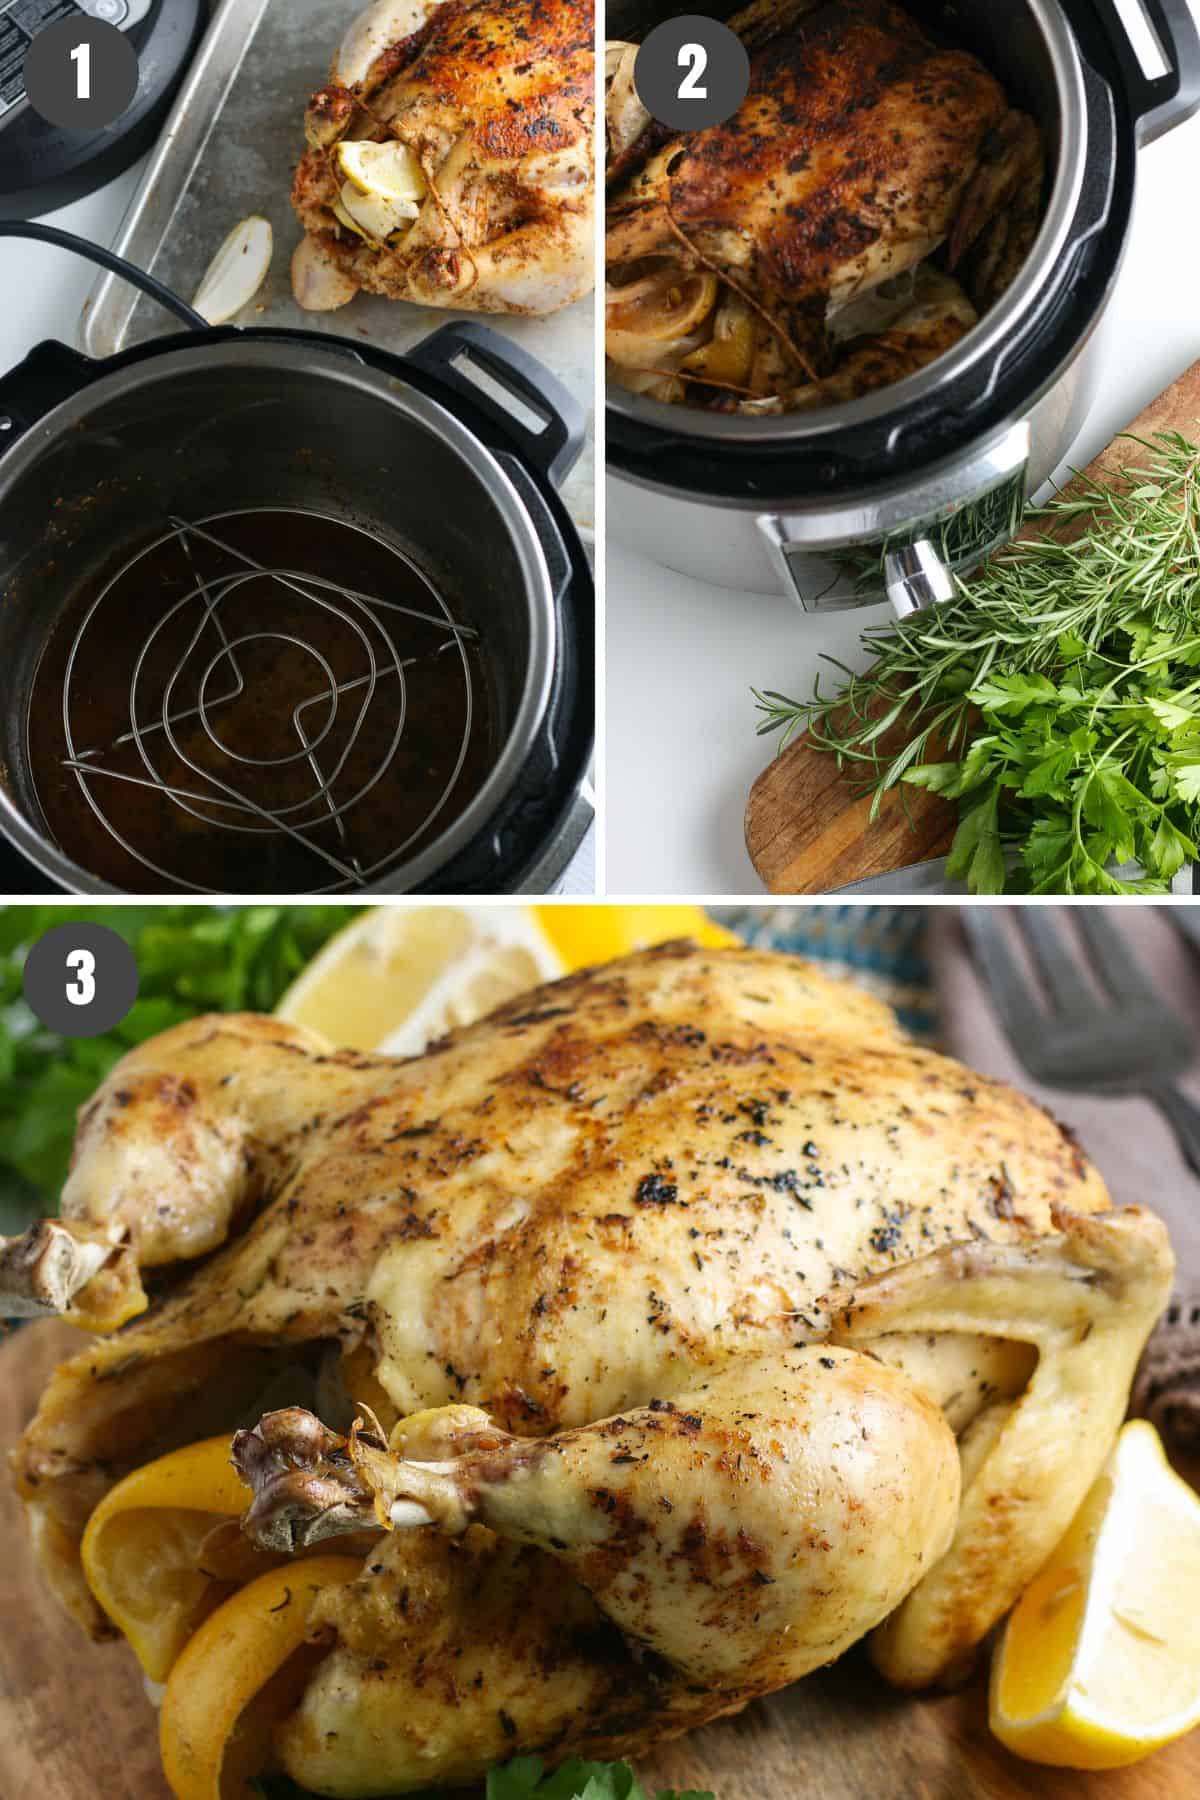
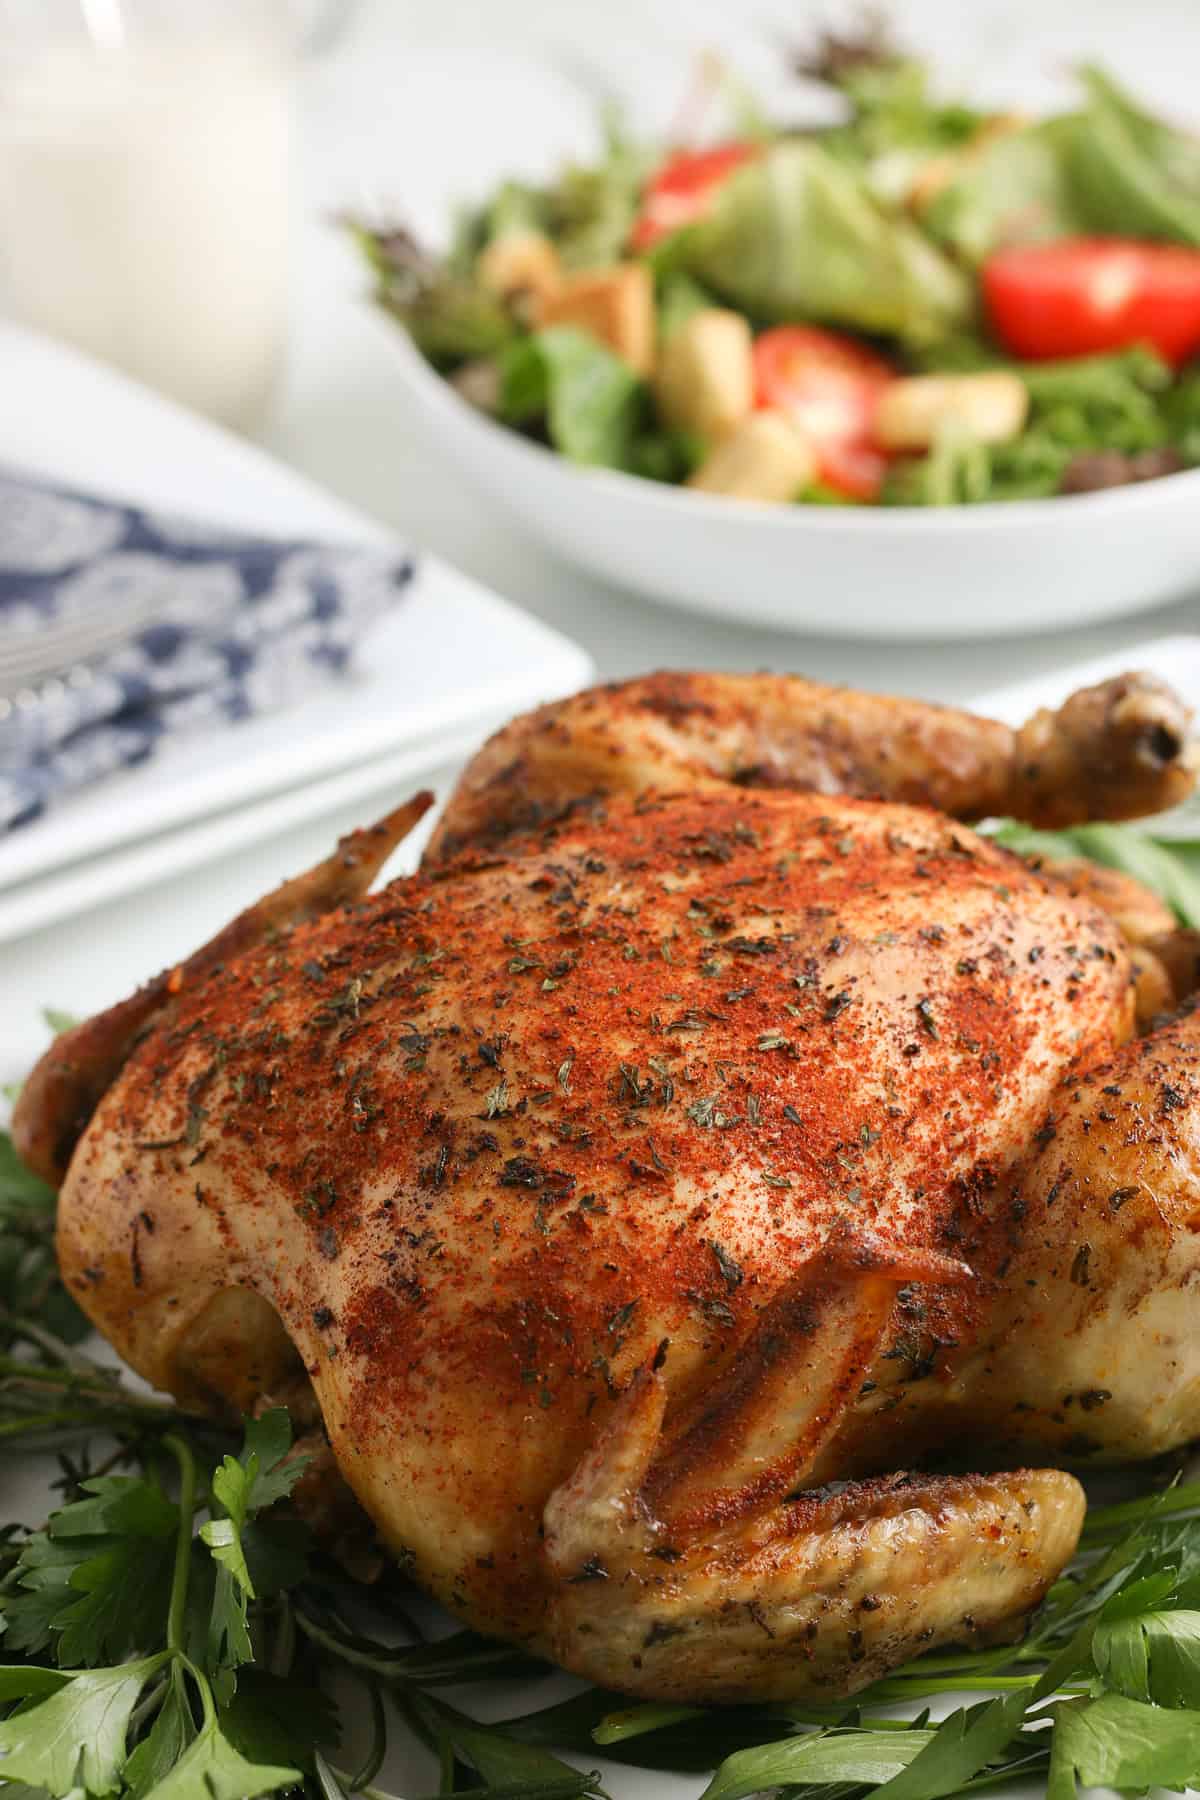
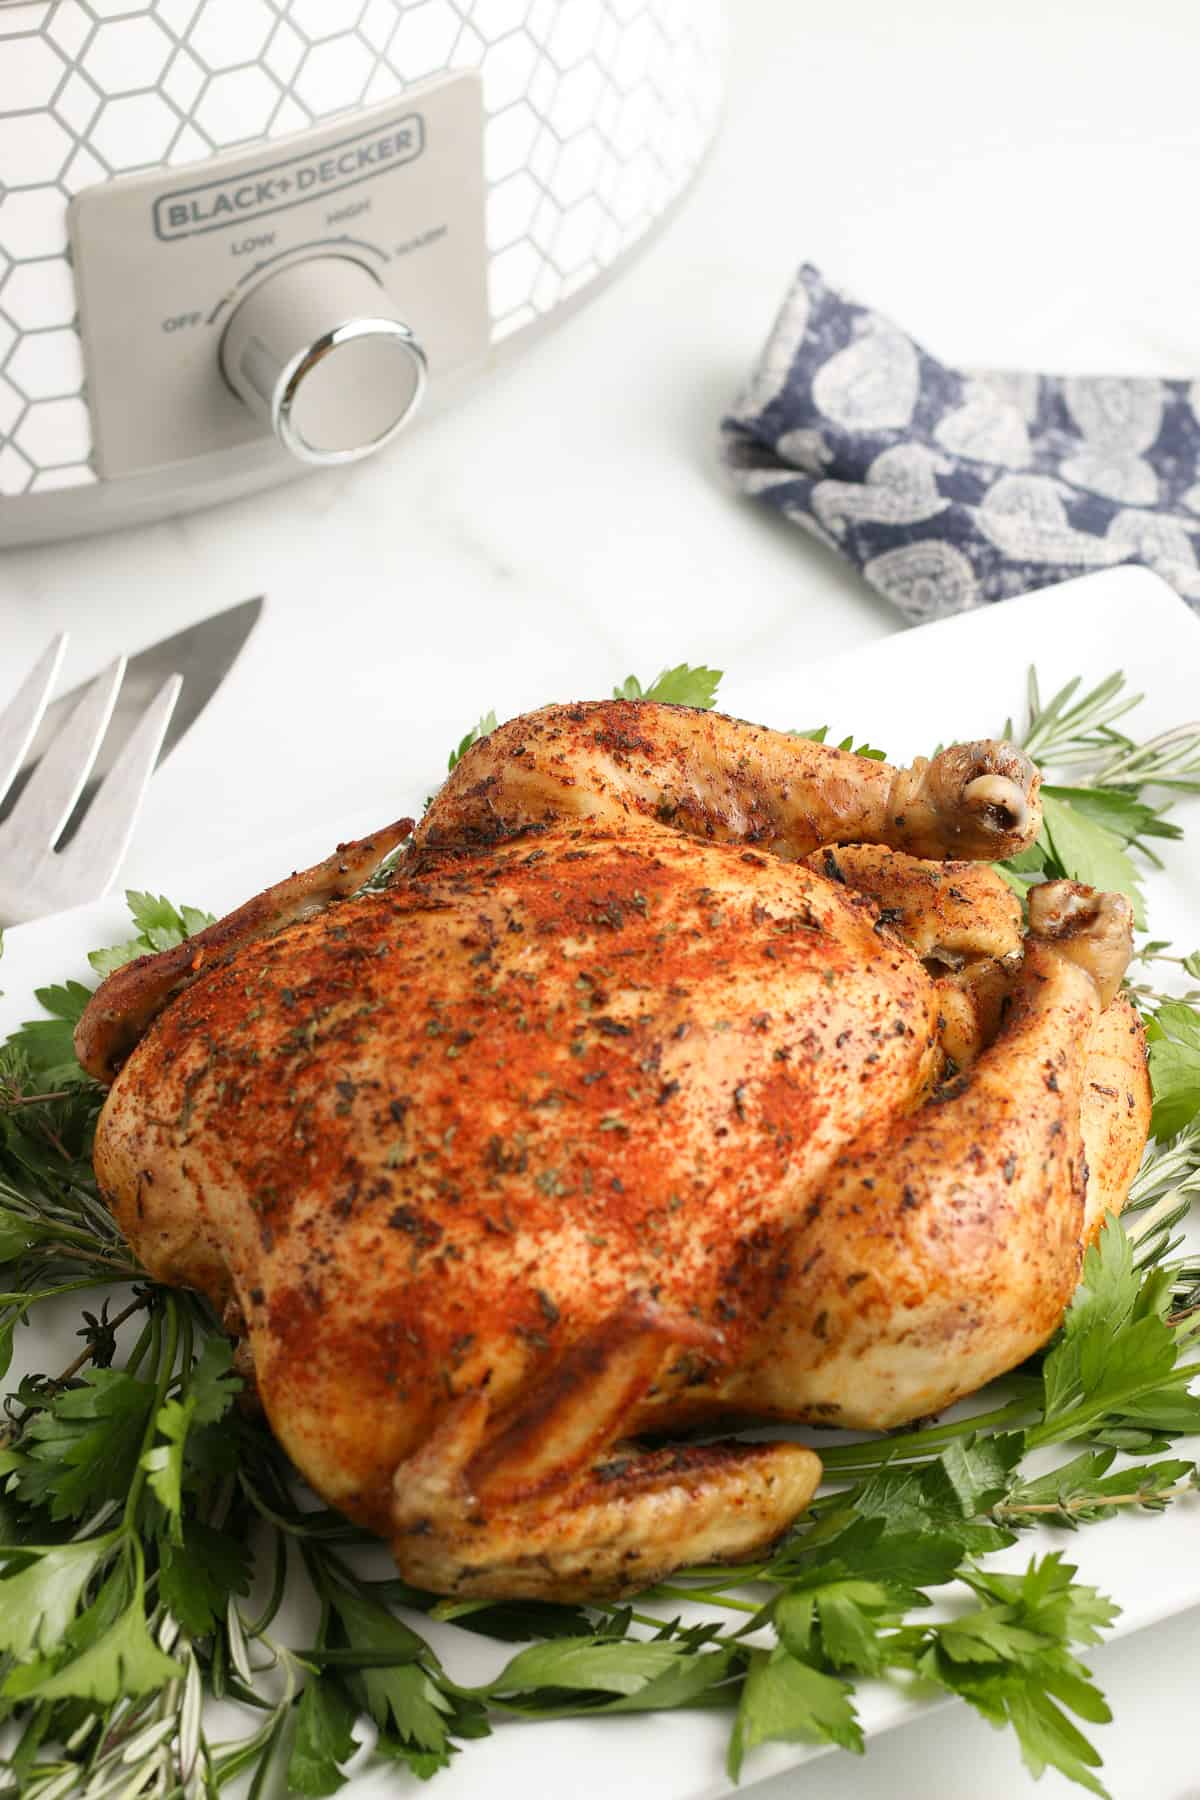
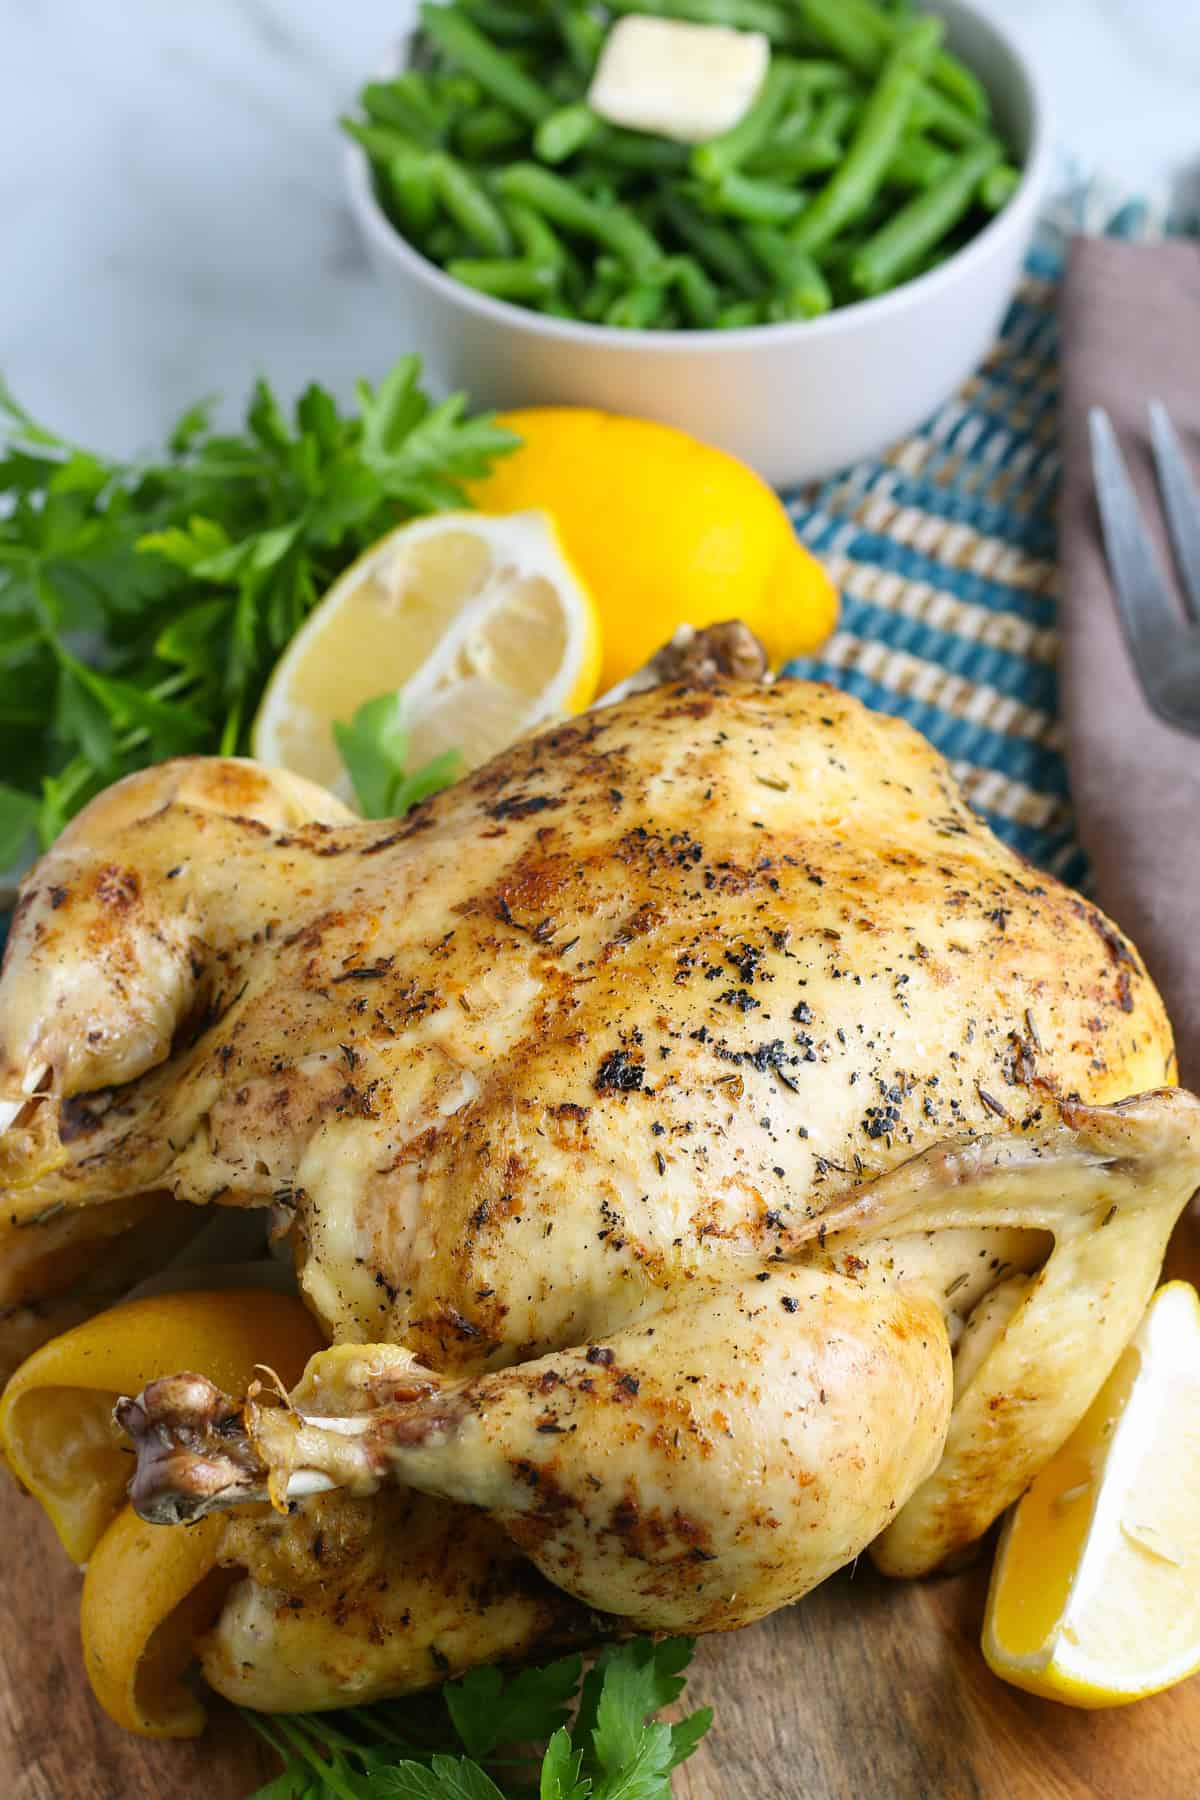
That’s it! Serve and enjoy with any sides while fresh and hot. The great thing about cooking a whole chicken is that there’s usually plenty of leftovers that you can use for other meals later in the week!
What to Serve With Instant Pot Whole Chicken
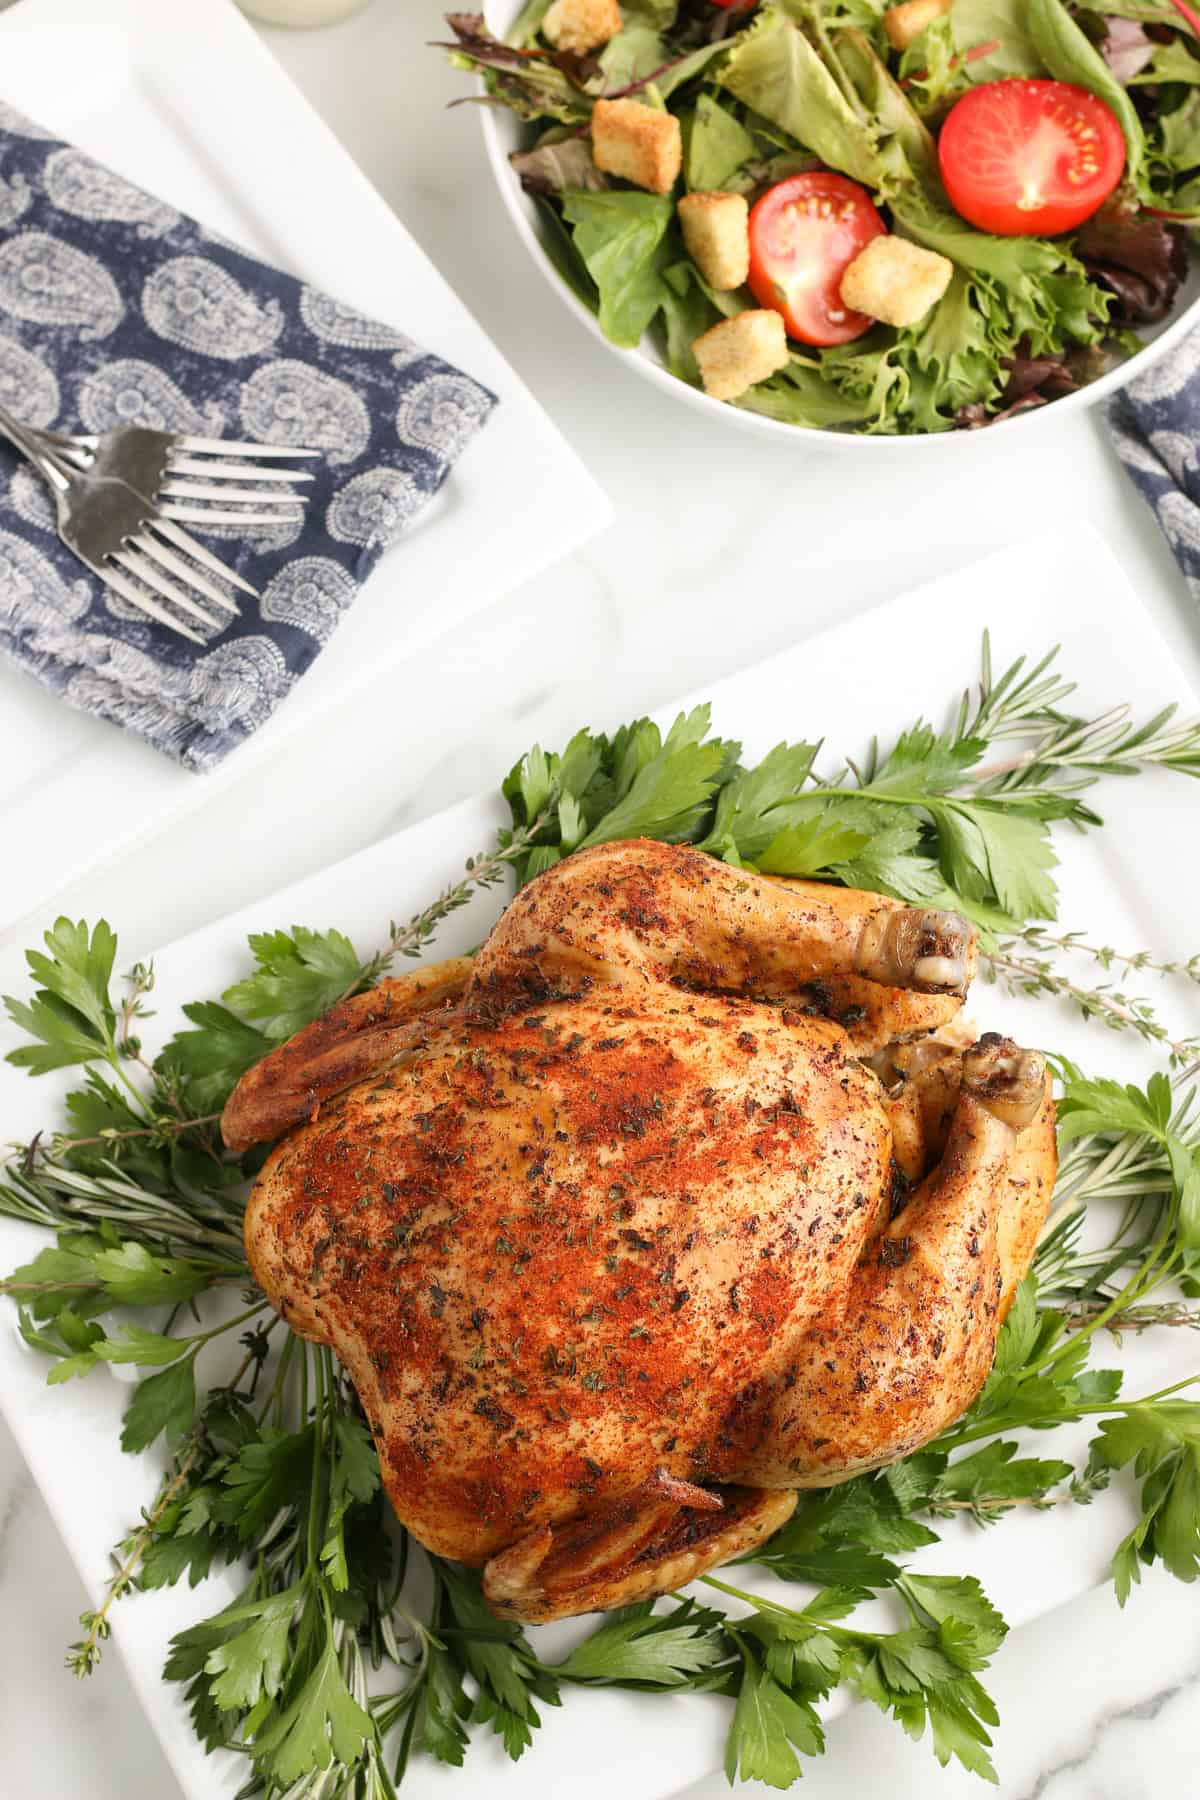
Here are a few ideas as to what you can serve with your whole chicken meal…
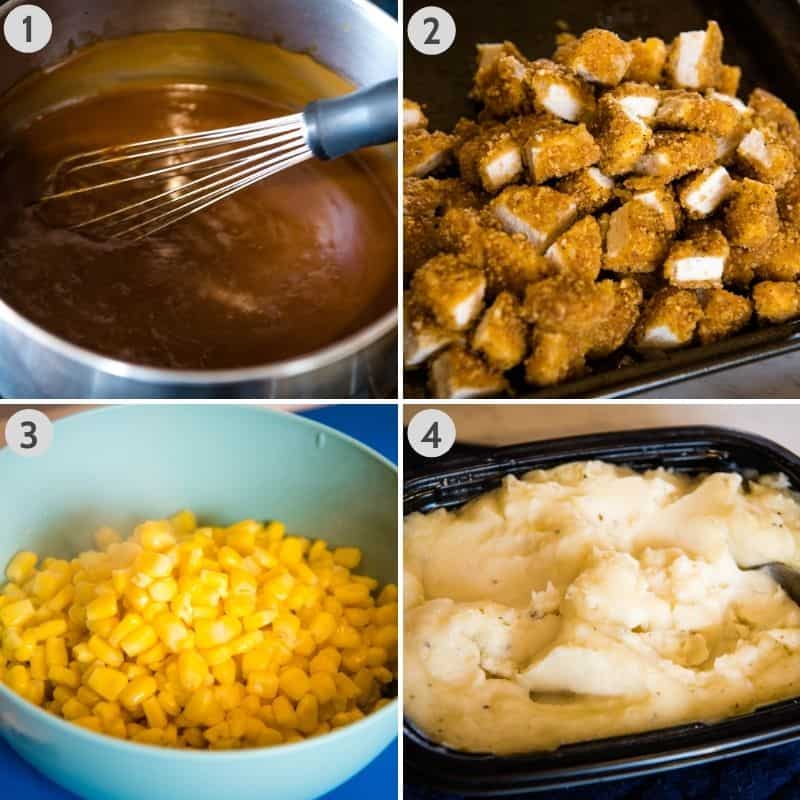
- Lather it in your own homemade chicken gravy from bouillon!
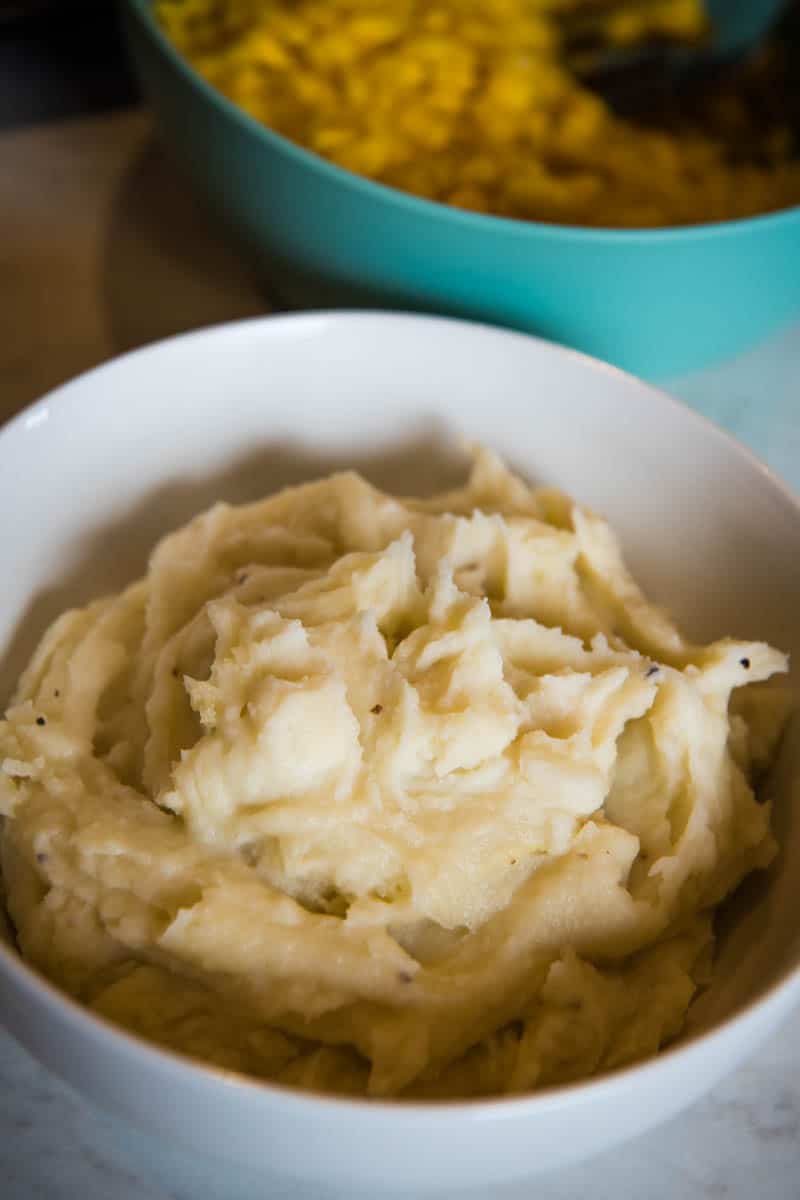
- Creamy mashed potatoes are a classic, although sometimes we do baked potatoes or sweet potatoes instead.
- You can’t go wrong with baked beans and bacon!
- I’m a sucker for seasoned steak fries. These loaded chili cheese fries are really easy to make.
- Of course, you can just add carrots in with the chicken, but these honey glazed carrots are definitely a step up.
- Since you’re making whole chicken in the Instant Pot, why not make Instant Pot southern green beans to go with it? And you can make Instant Pot corn on the cob for a full whole chicken meal!
- If you’re looking for healthier side dishes, check out this broccoli salad, this creamy layered salad, pasta salad with cucumbers and tomatoes, or this dill veggie finger salad.
Expert Tips and Recipe FAQ’s
This is usually because it wasn’t cooked long enough. Fresh whole chicken needs about 6 minutes of cook time per pound in the Instant Pot. If it comes out raw in the middle, the best thing to do is to close it up, set it to manual and let it cook all over again, this time giving it 6 minutes per pound as recommended in the recipe. Then let it naturally release for about 20 minutes.
Leftover chicken is best stored in an airtight container in the refrigerator for up to 3-4 days.
Yes, you can freeze leftover chicken for meal planning in an airtight container or freezer bag for up to 3 months. Be sure to let it thaw out overnight in the refrigerator before using in any recipes.
I usually reheat mine in a microwave-safe dish in the microwave on a medium-high setting for about 3 minutes. If it’s still cold, continue to cook it in 30-second bursts ’til hot, stirring every so often. If your leftover chicken was frozen, be sure to let it thaw out in the refrigerator overnight before reheating.
Recipes for Leftover Chicken
Need to use up leftover chicken before it goes bad? Here’s a list of our go-to leftover chicken recipes…
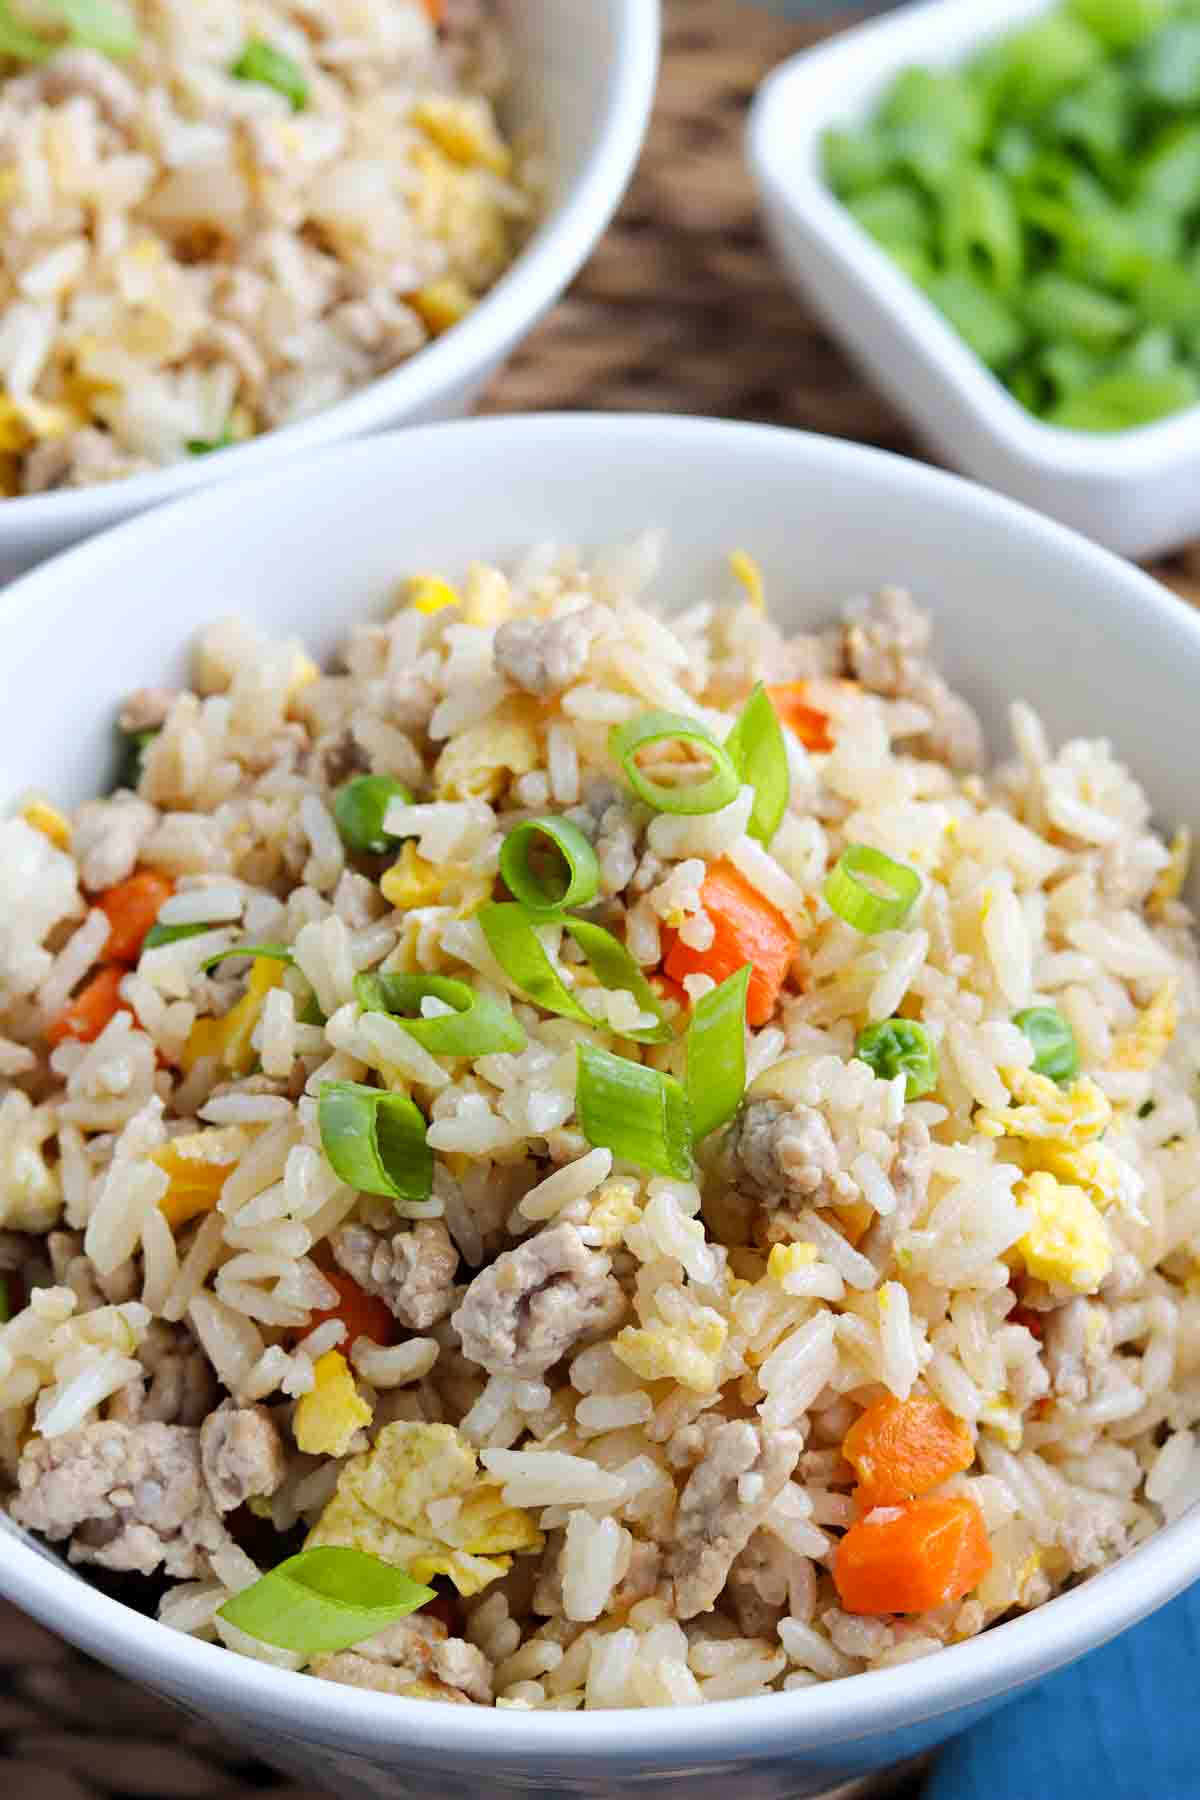
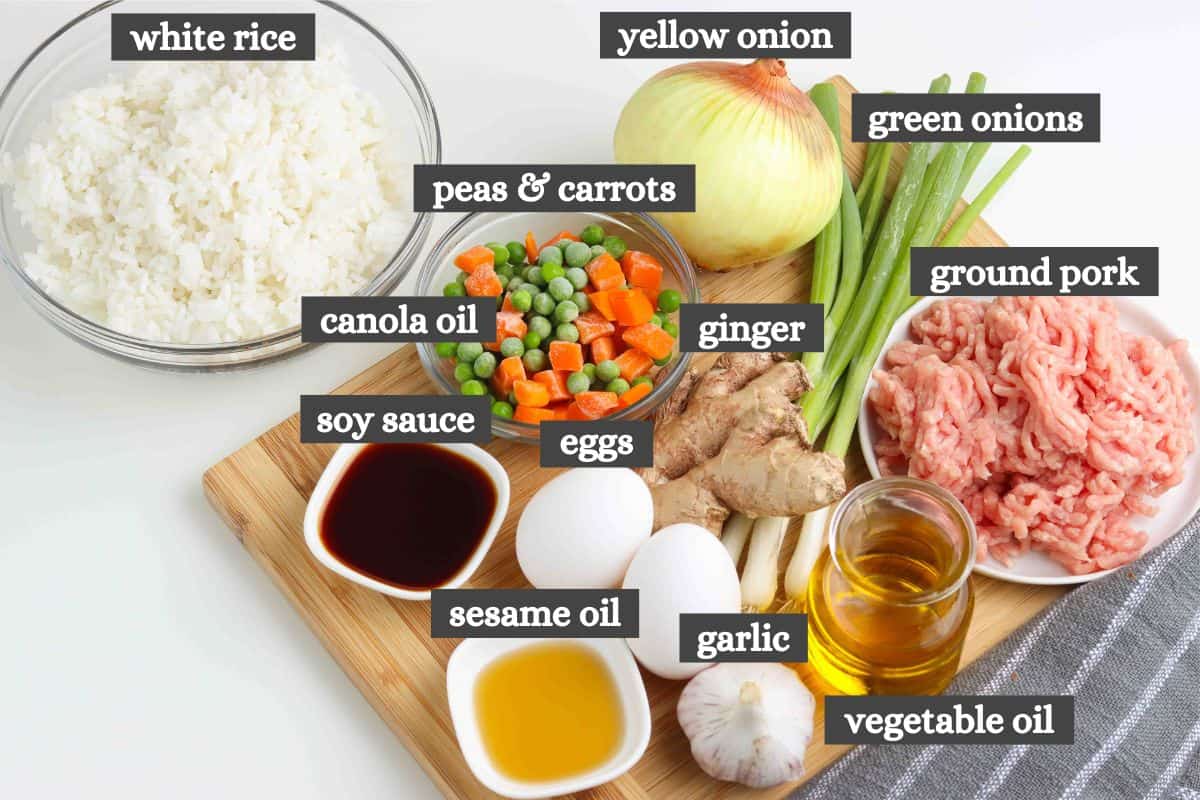
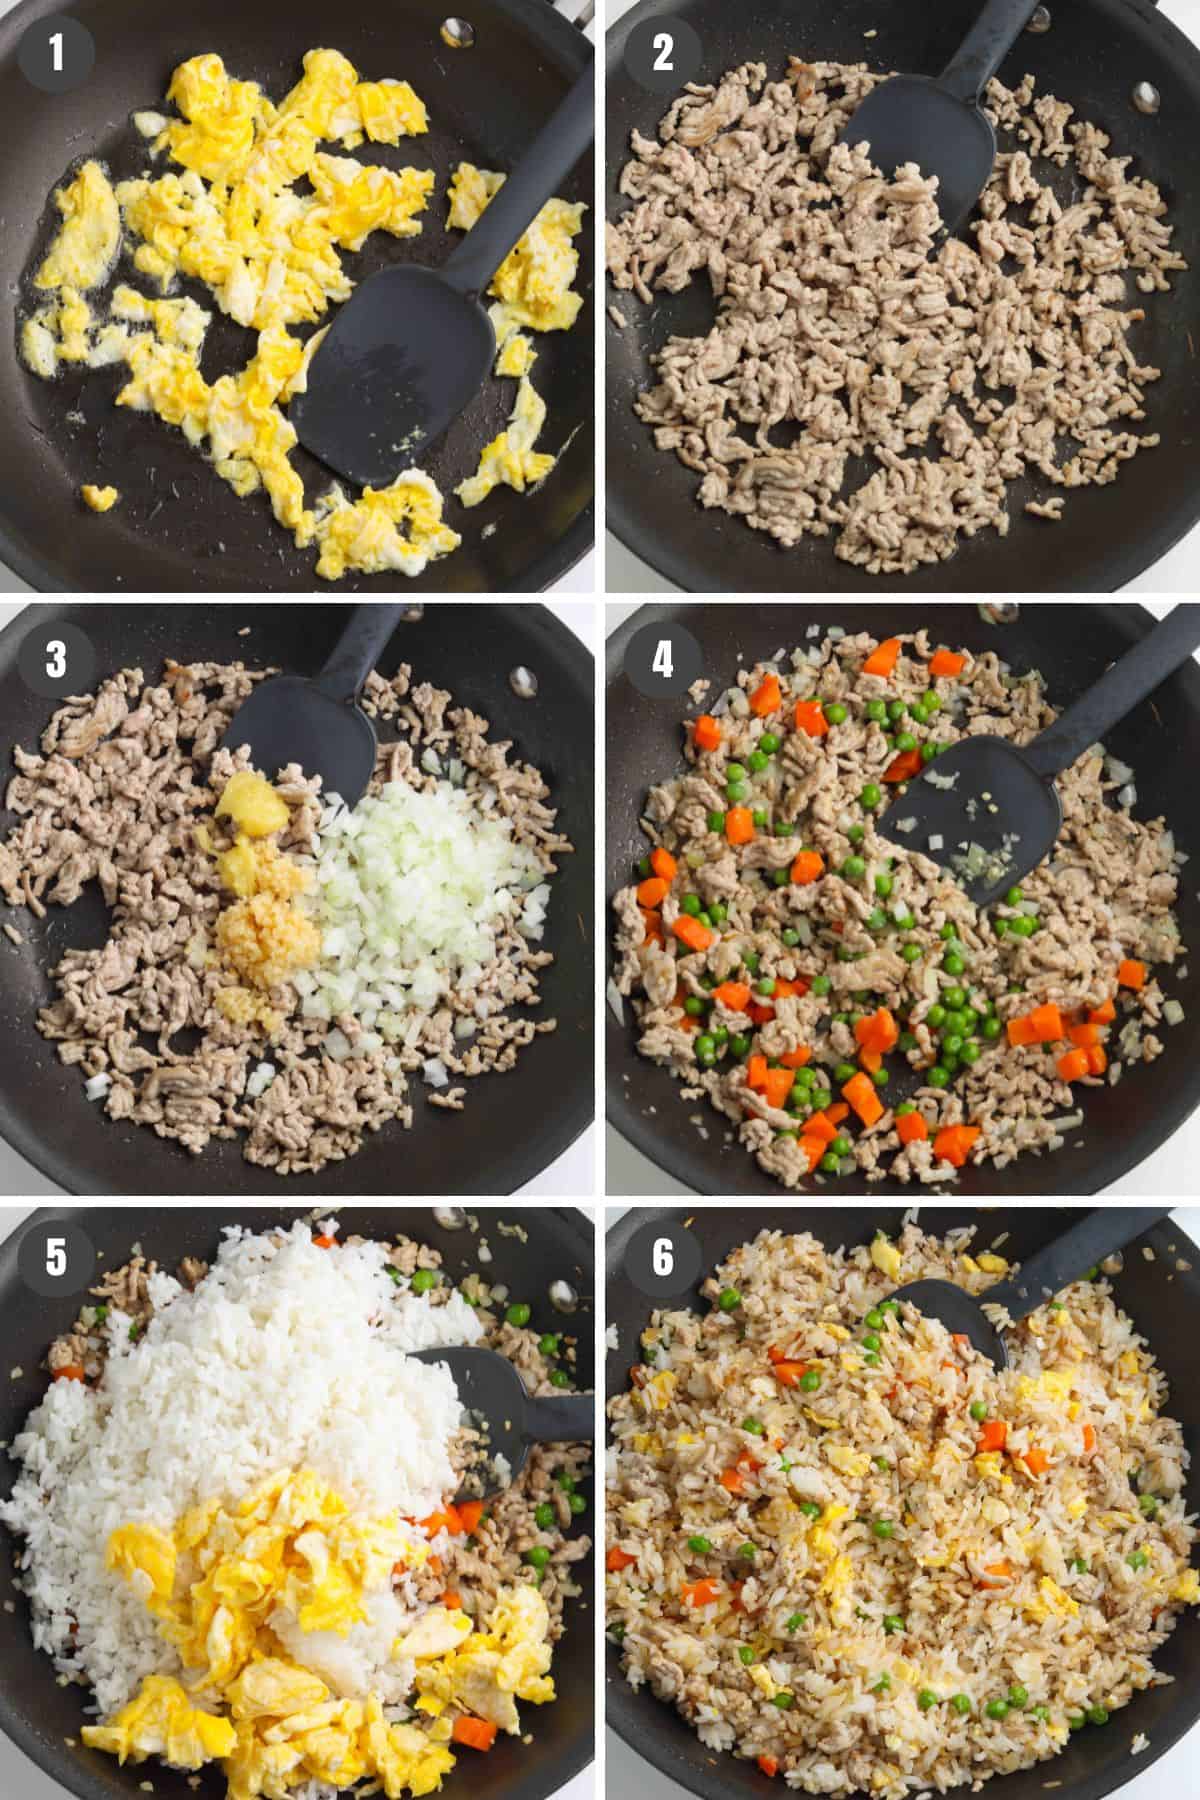
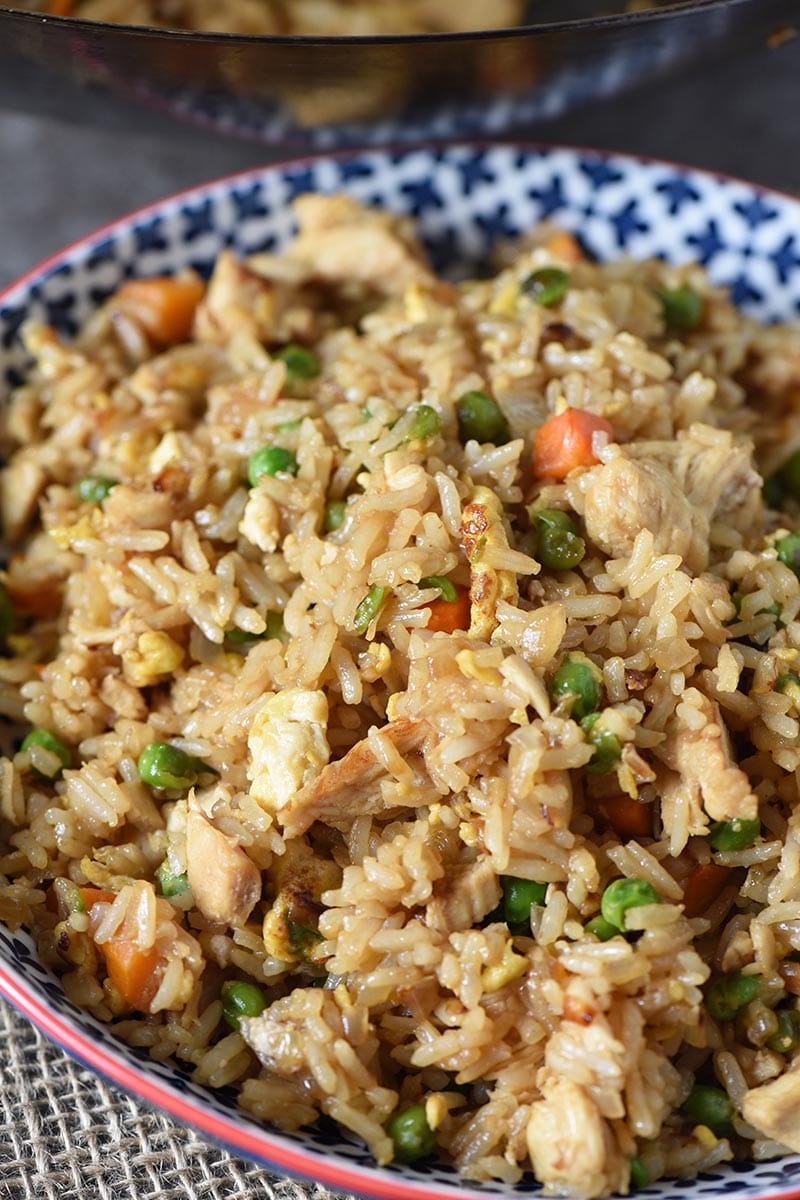
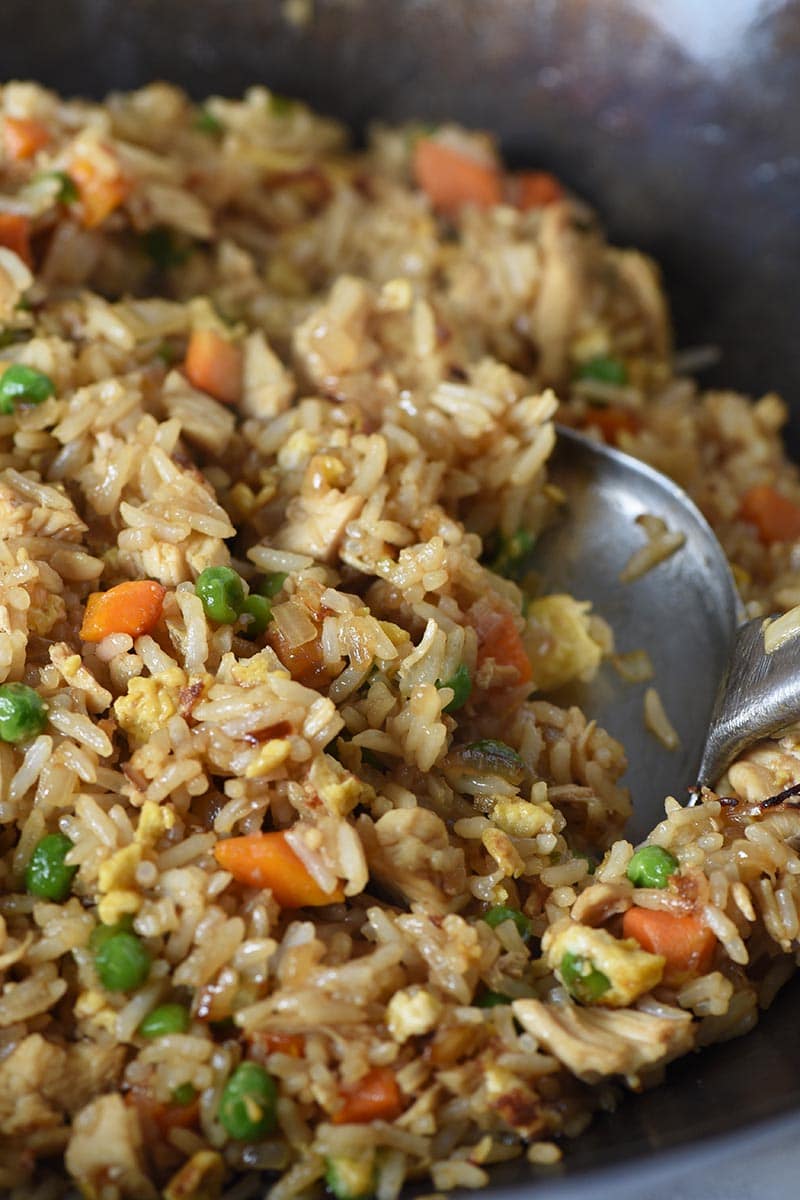
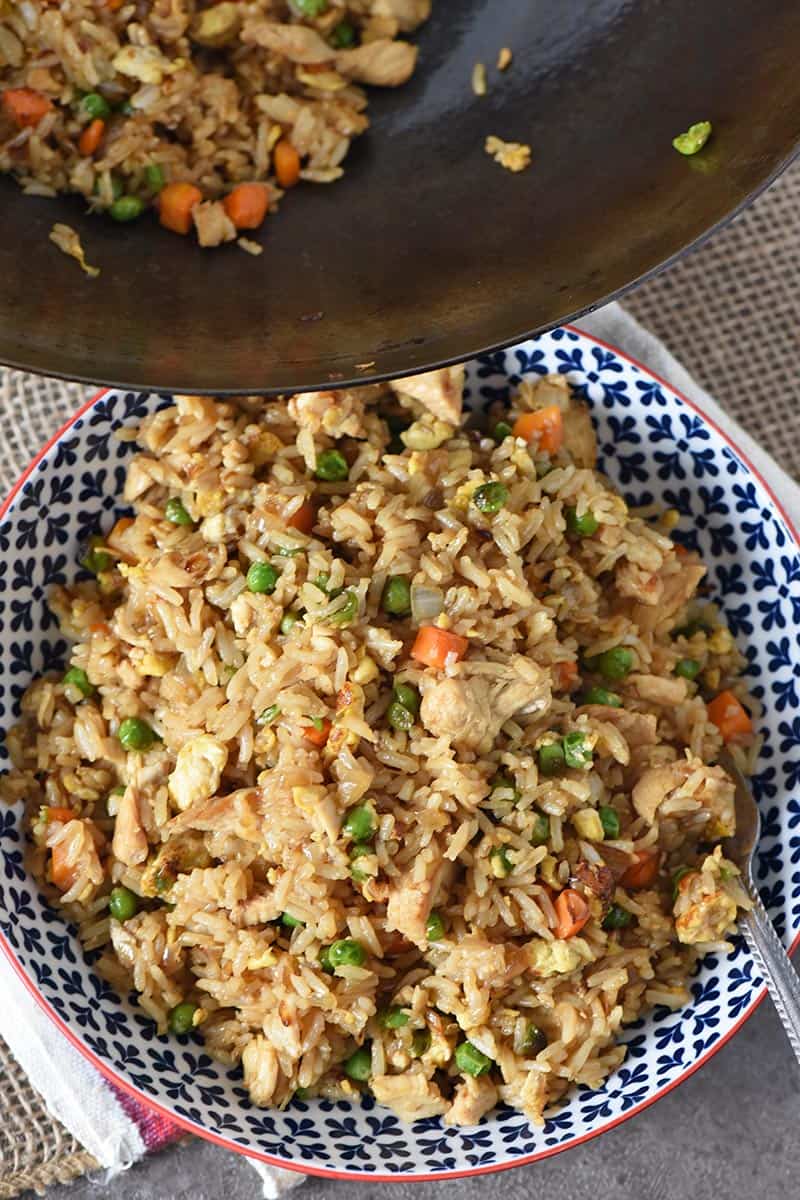
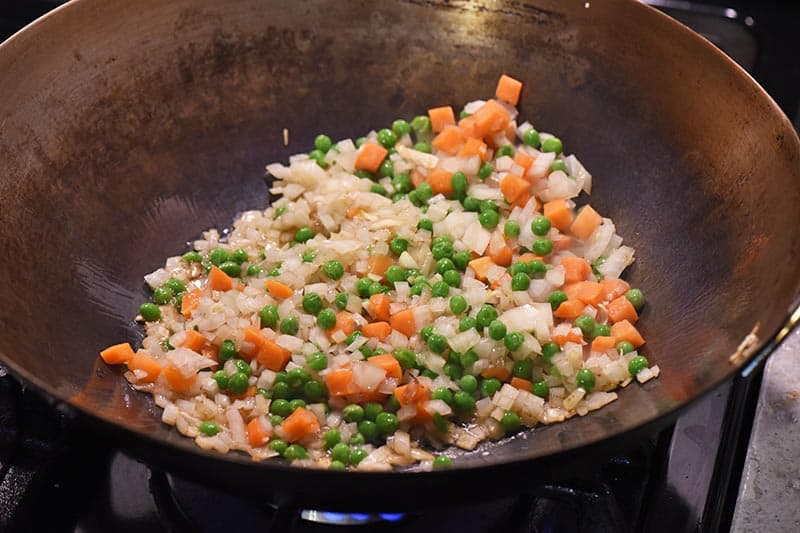
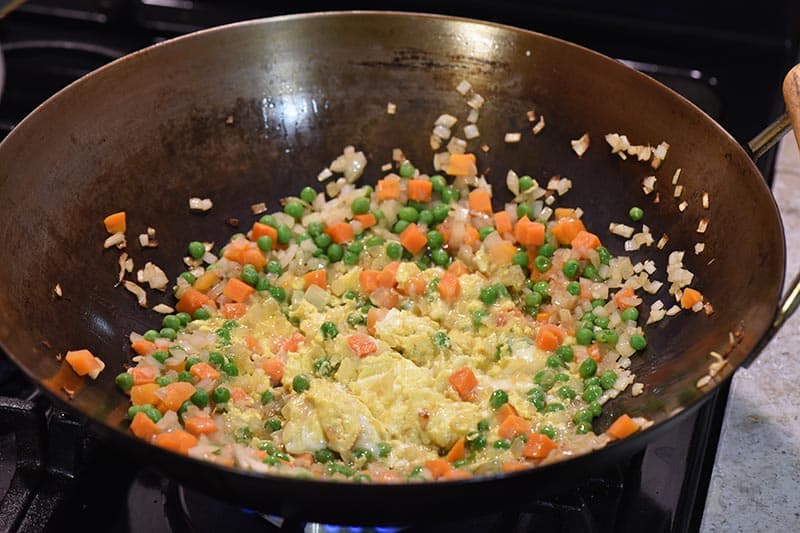
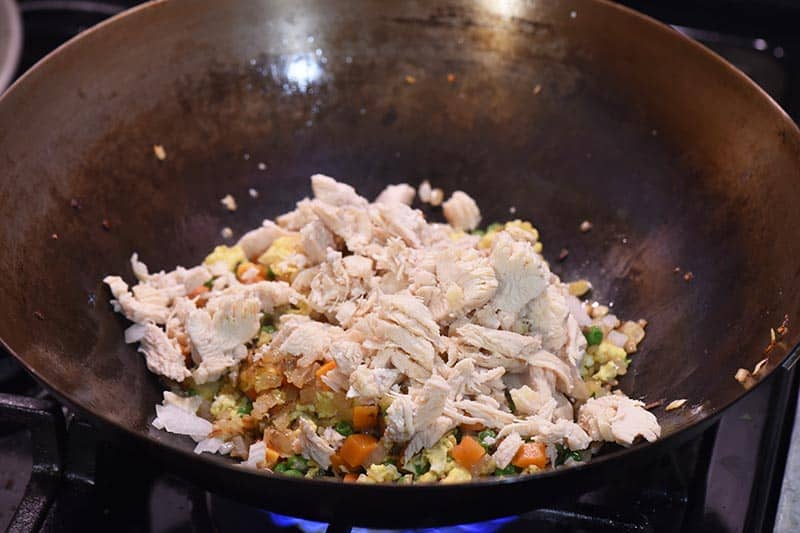
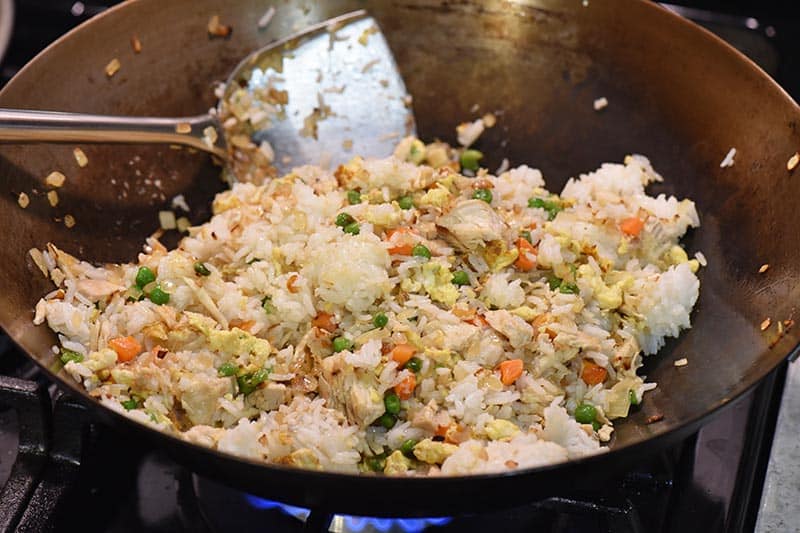
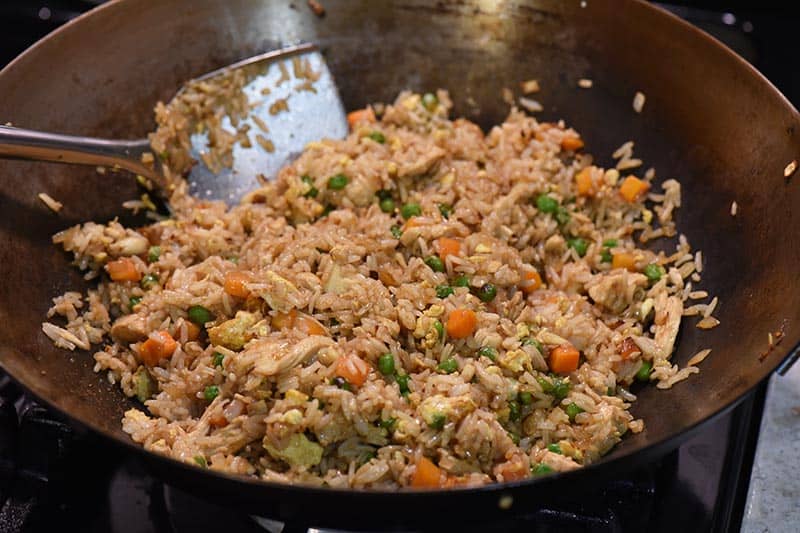
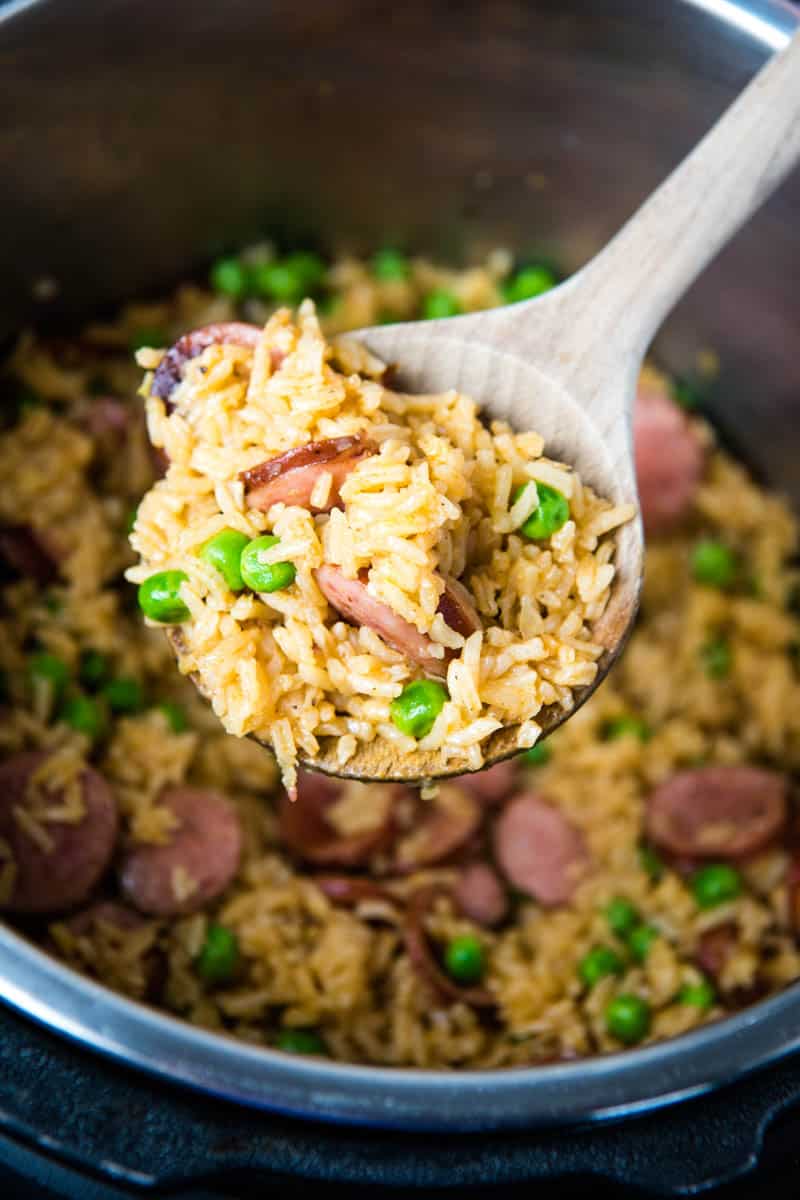
- Chicken fried rice
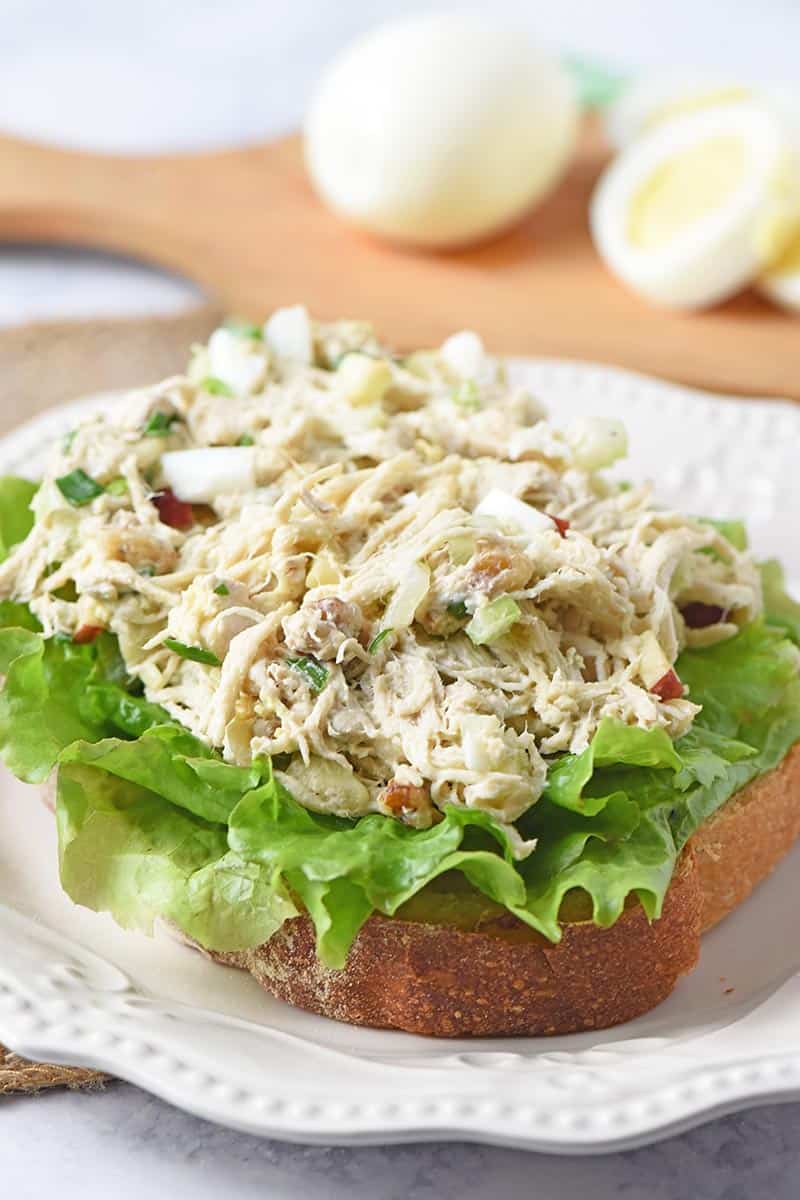
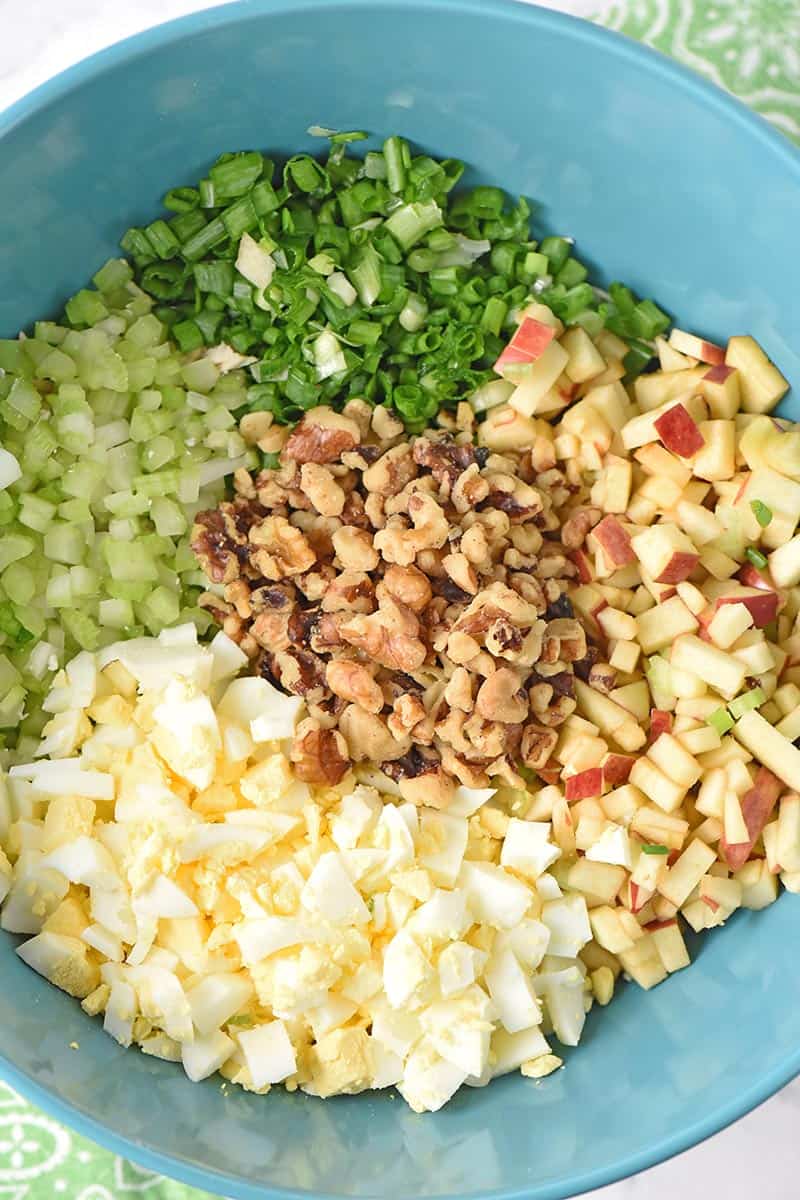
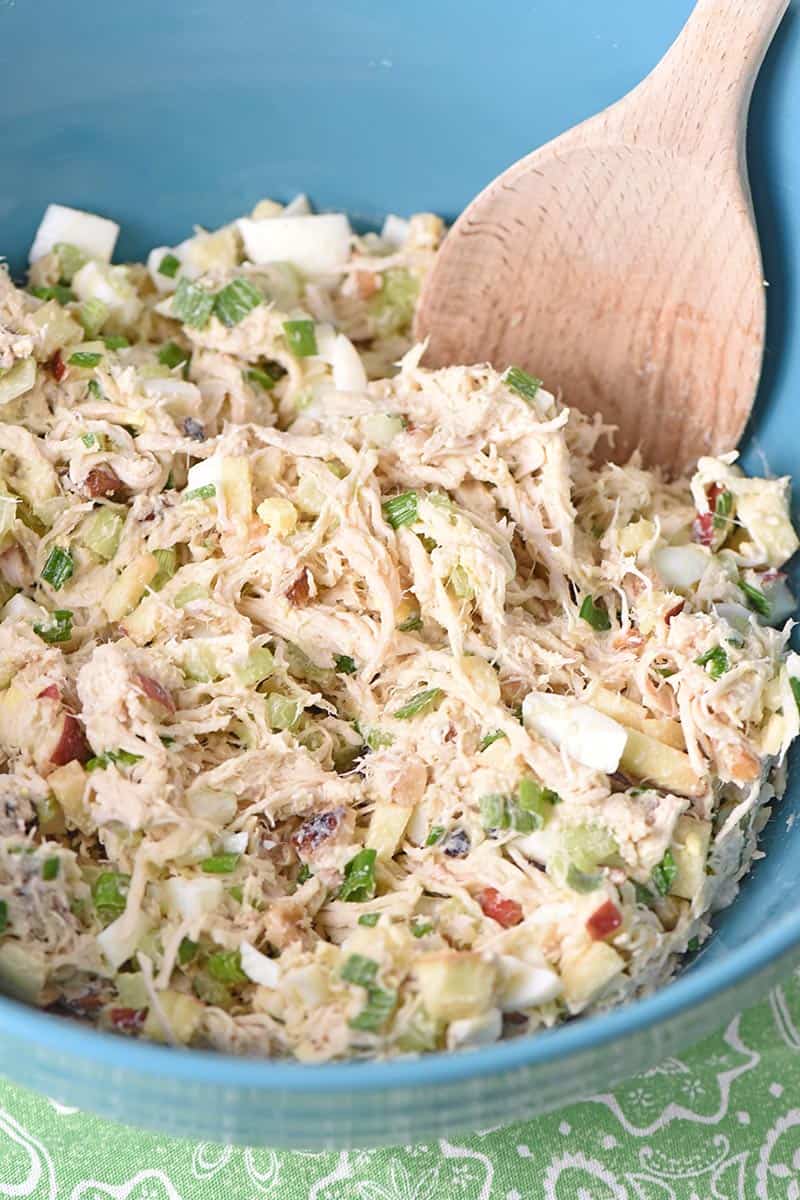
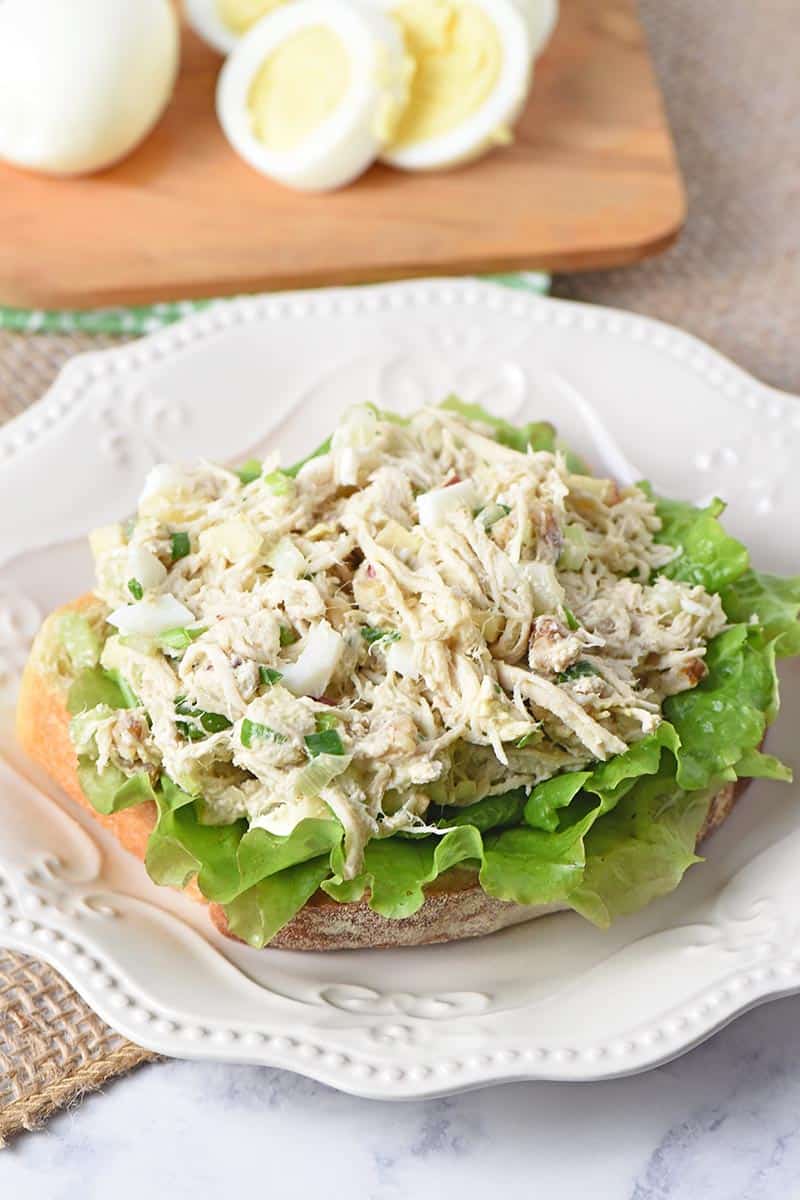
- Chicken and egg salad
- Creamy chicken enchiladas
- Shredded chicken tacos using Instant Pot taco chicken
- Chicken fajitas
- Chicken quesadillas
- Chicken and hummus loaded nachos
- Creamy BBQ chicken dip
- Chicken dip pinwheels
- Chicken and rice stuffed peppers
If you try this recipe, why not leave a star rating in the recipe card right below and/or a review in the comment section further down the page? I always appreciate your feedback. You can also follow me on Pinterest, Facebook, Instagram, and YouTube. And subscribe to my email list too!
Instant Pot Whole Chicken

Perfectly tender and juicy Instant Pot whole chicken from fresh or frozen. Quick and easy dinner recipe that you can cook in just 30 minutes!
- Paper Towels
- Large Knife
- Cutting Board
- Small Mixing Bowl
- Tongs
- 4 pounds Whole Roasting Chicken
- 2 teaspoons Kosher Salt
- 1 teaspoon Black Pepper
- 1 teaspoon Paprika
- 1 teaspoon Onion Powder
- 1 teaspoon Dried Oregano
- 1 teaspoon Dried Thyme
- 1/2 teaspoon Dried Rosemary
- 1/2 teaspoon Garlic Powder
- 1/4 teaspoon Cayenne Pepper (optional)
- 2 tablespoons Olive Oil
- 1 cup Chicken Broth
- 1 Lemon (quartered)
- 1 Medium White Onion (peeled and quartered)
Before getting started, rinse your whole chicken off and pat dry with paper towels.
Then use a large knife to quarter a lemon and medium white onion on a large cutting board. Wash and chop up any veggies that you might use, and then set aside…
In a small mixing bowl, combine all of the seasonings.
Then with your chicken on a large cutting board, sprinkle the seasonings over the chicken and cavity.
Next, stuff the cavity with lemon and onions.
Add the oil to the Instant Pot, and set it to the high sauté setting.
Lay the whole chicken in the Instant Pot with the breast facing down. Cook 'til golden brown, about 3-4 minutes. This will create that crispy and golden brown, rotisserie-style skin that we all know and love!
Finally, use a pair of tongs to turn the chicken over and let it cook in the oil for another 3-4 minutes. Then set aside.
Start by placing your metal trivet down inside of the Instant Pot with the handles up. Then add the chicken broth.
Place your whole chicken on top of the rack; if you're adding any veggies, this is where you'll want to chuck them in.
Select the manual setting, and let it cook on high for about 6 minutes per pound.* When the timer goes off, naturally release the pressure for about 20 more minutes.
Once the pressure has naturally released, remove the chicken from the Instant Pot and let rest on a cutting board for about 10-15 minutes before slicing and serving.
That's it! Serve and enjoy with any sides while fresh and hot.
*If you’re cooking your whole chicken from frozen, you’ll need to double the cooking time to about 12 minutes per pound, and then let it naturally release for 20 minutes like normal.
How should I store leftover whole chicken?
Leftover chicken is best stored in an airtight container in the refrigerator for up to 3-4 days. Reheat in the microwave on a medium-high setting for about 3 minutes. If it’s still cold, continue to cook it in 30-second bursts ’til hot, stirring every so often.