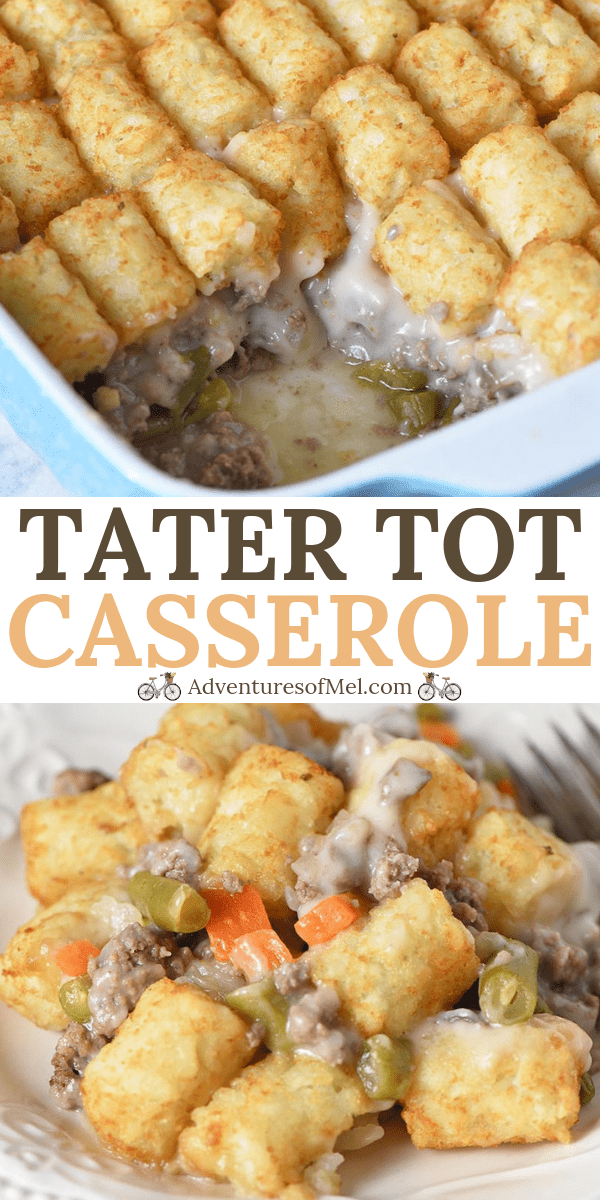
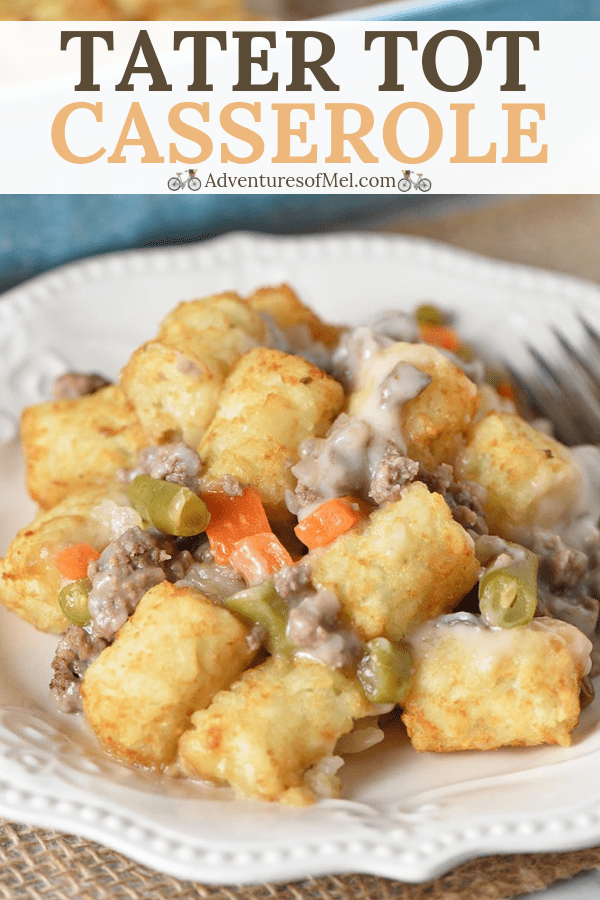
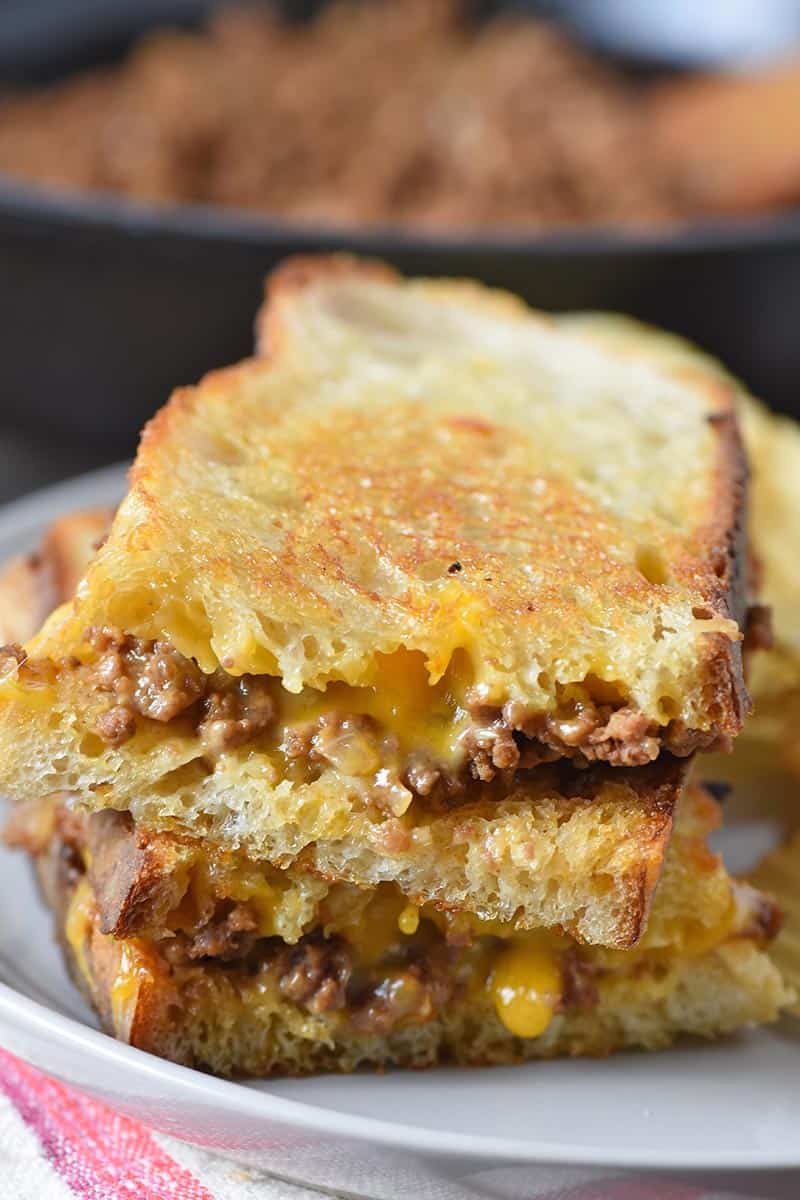
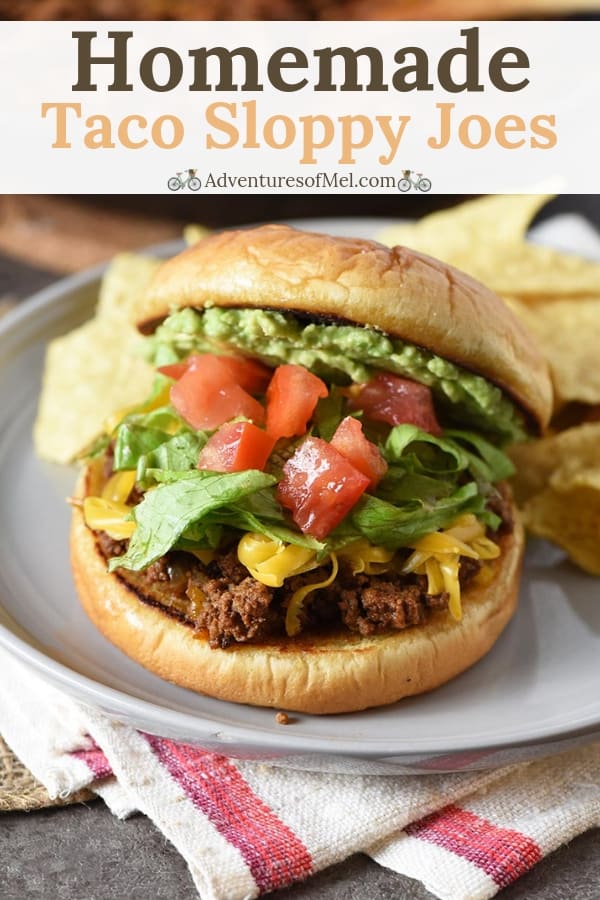
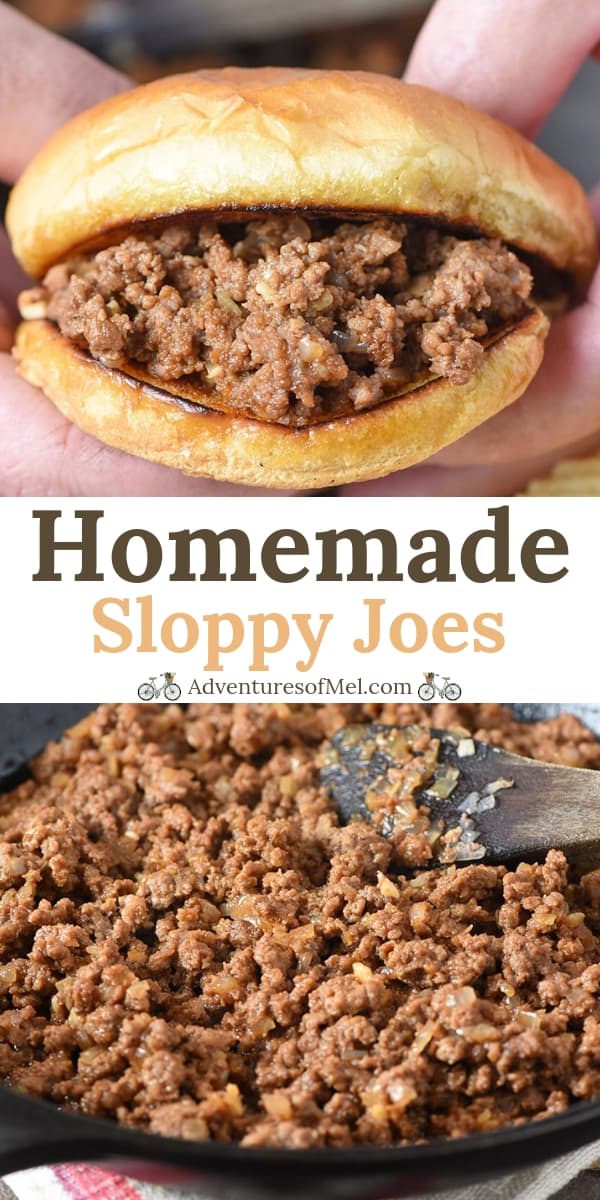
Cook up a deliciously cheesy taco tater tot casserole with ground beef, cheese, and all your favorite taco toppings. Family favorite dinner recipe.
Did you know you can spice up tater tot casserole for Taco Tuesday? And wowsers, does it ever take this family favorite casserole to a whole new level!
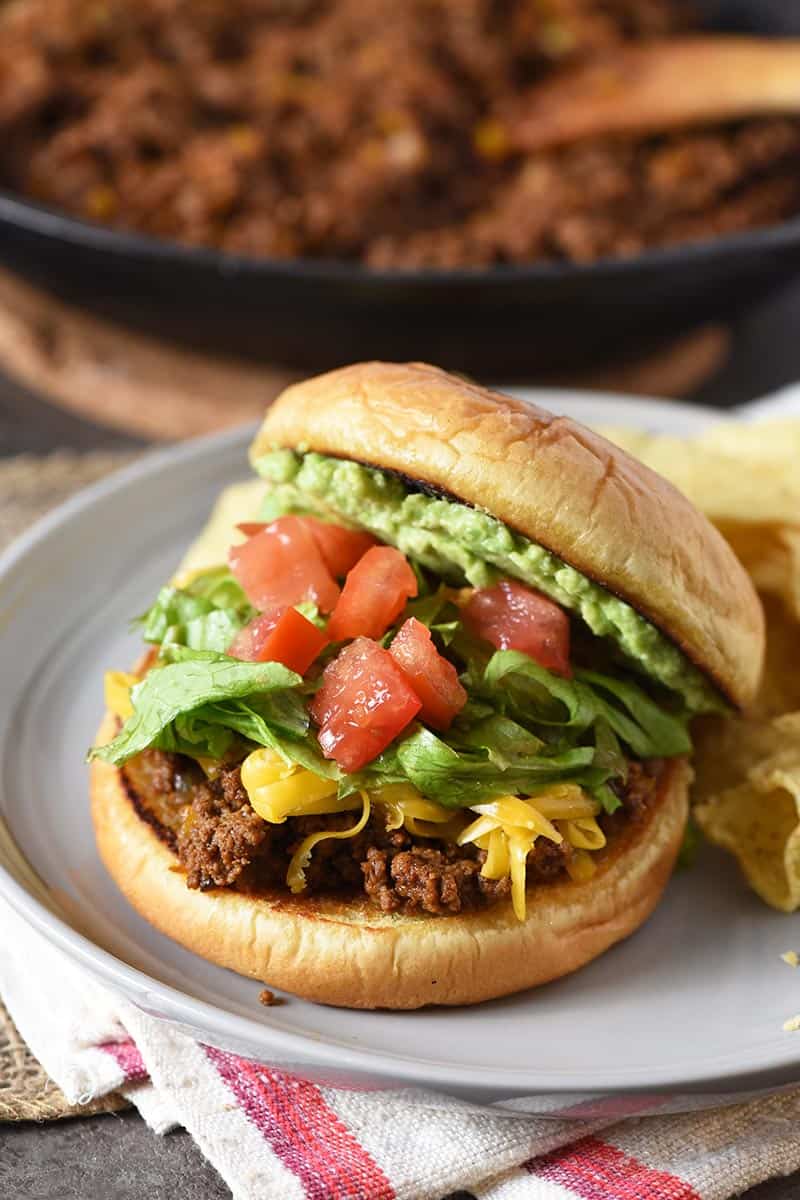
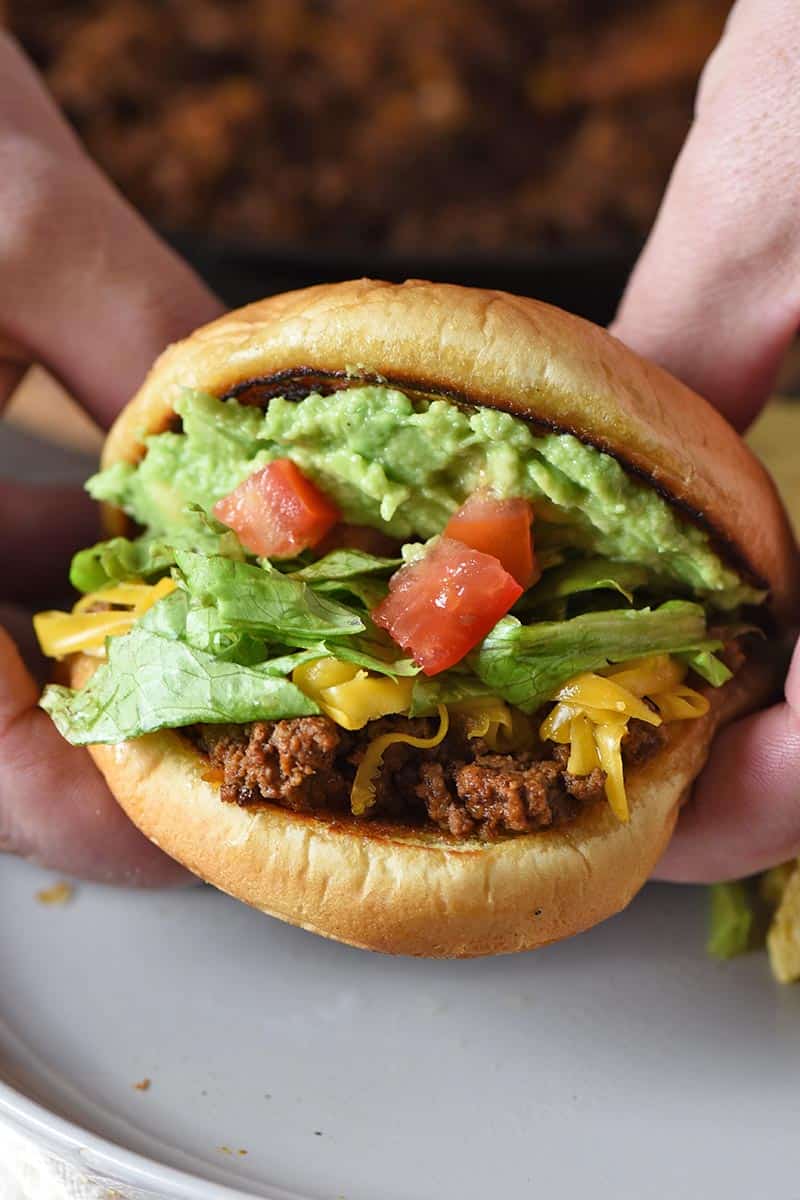
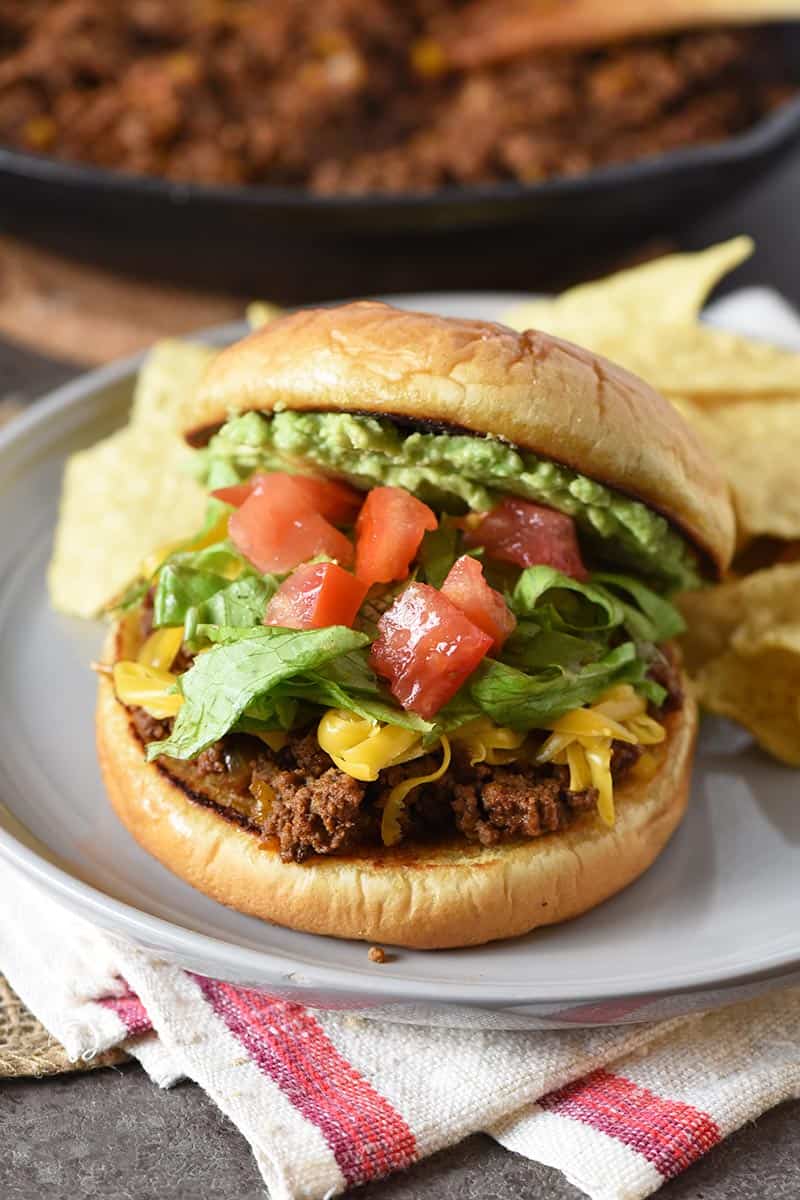
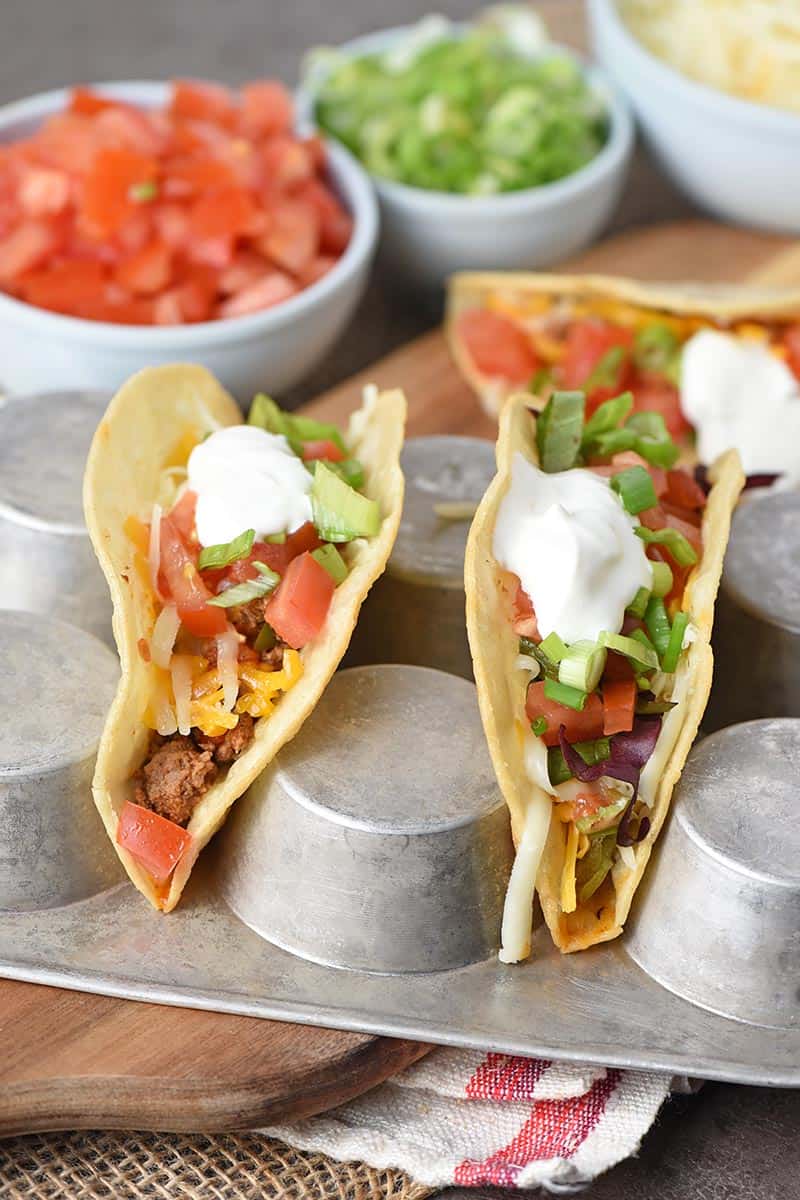
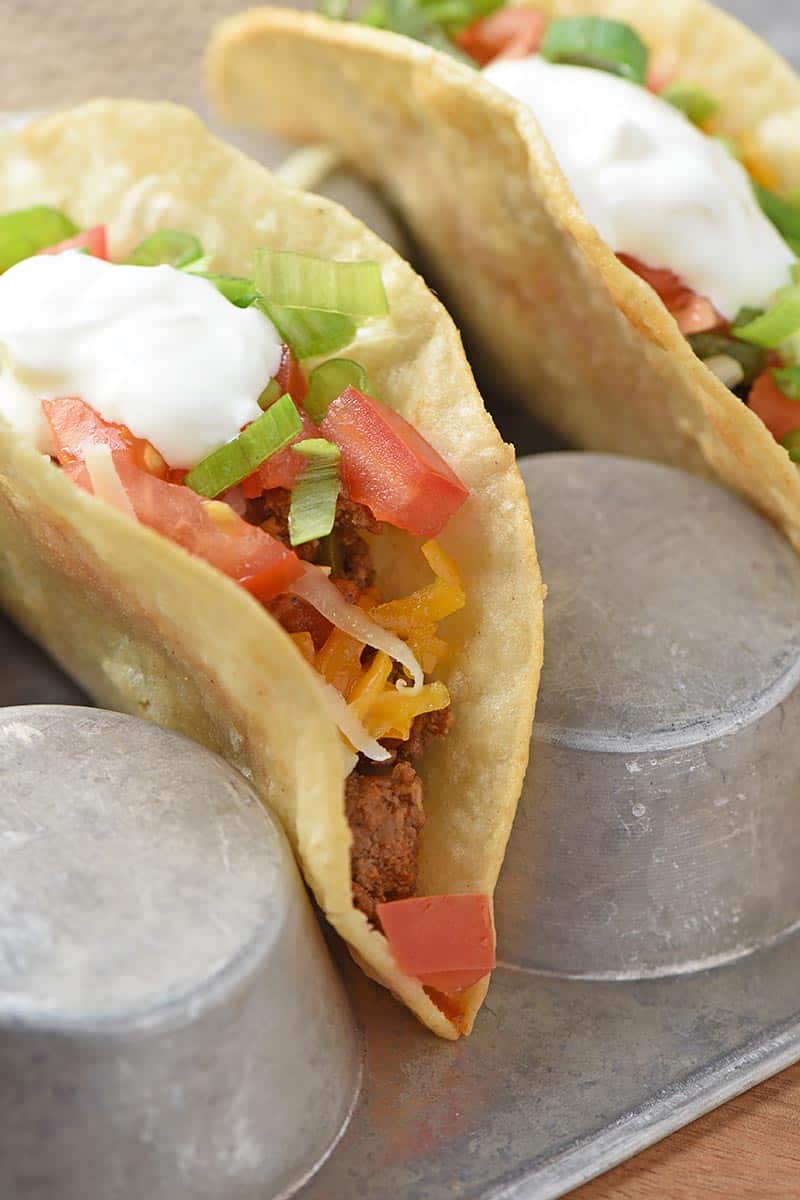
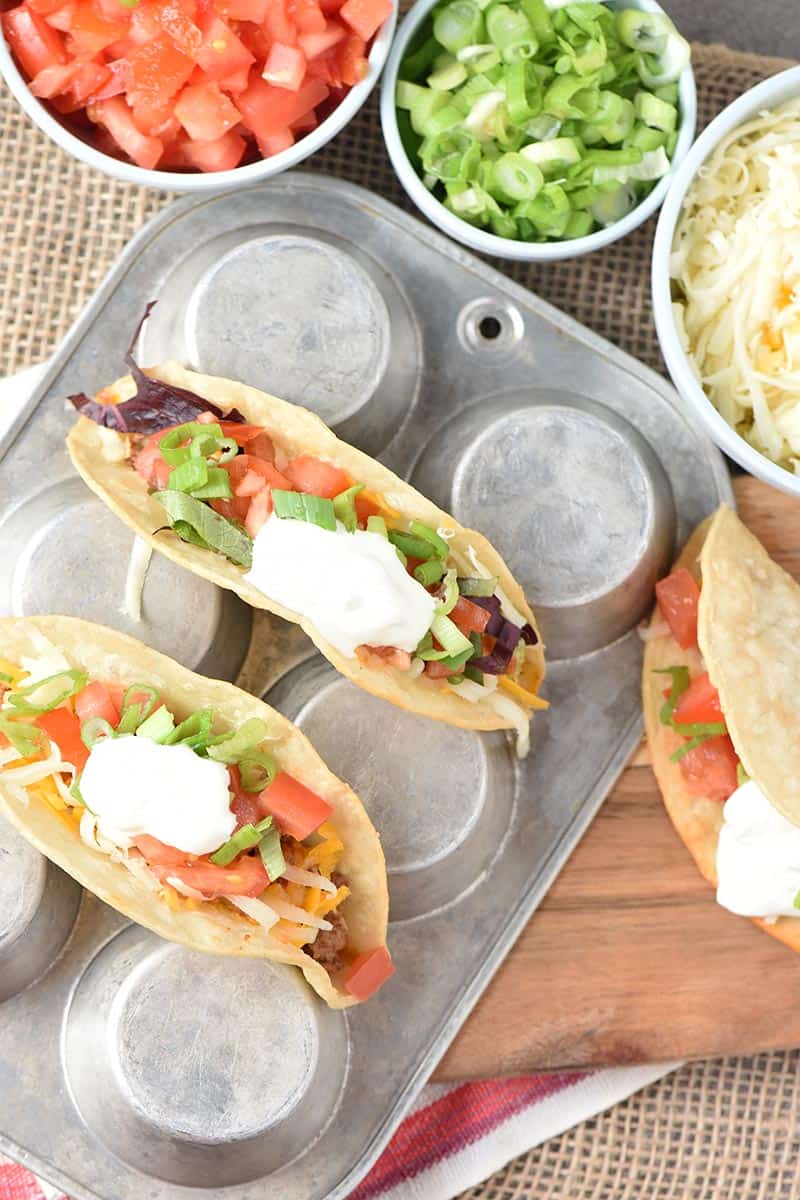
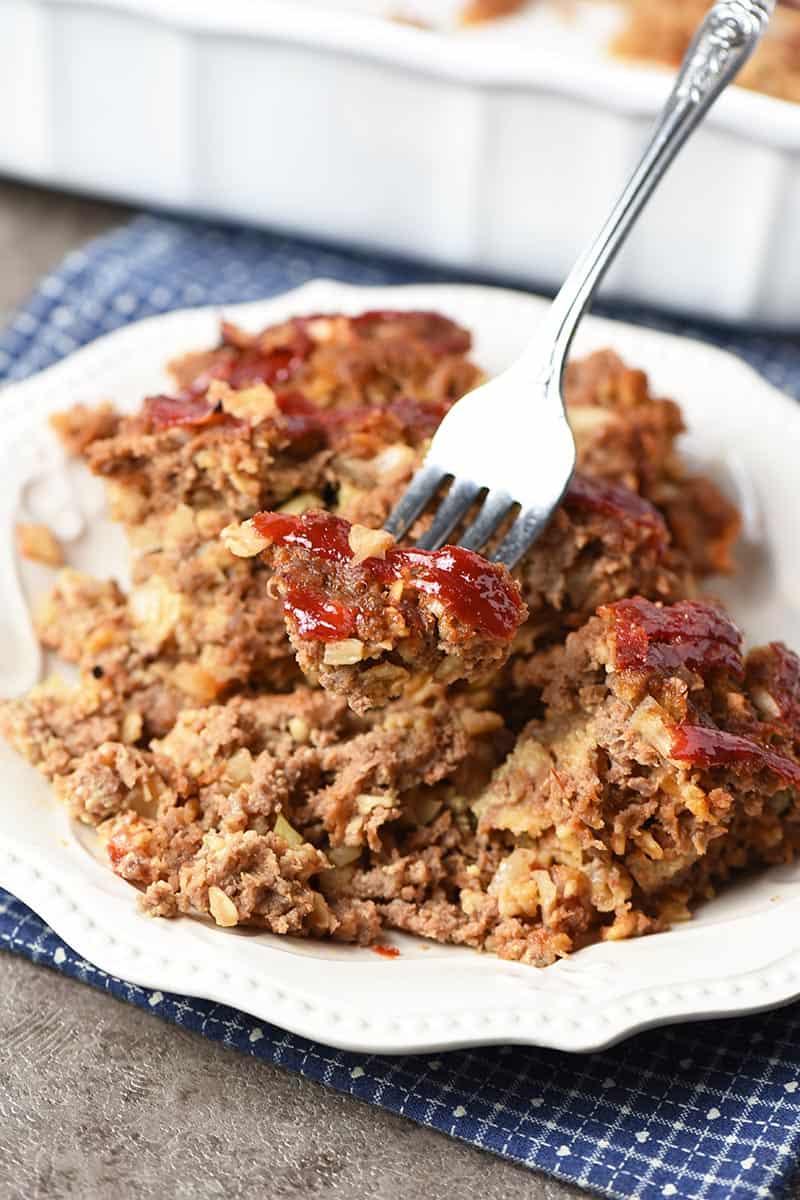
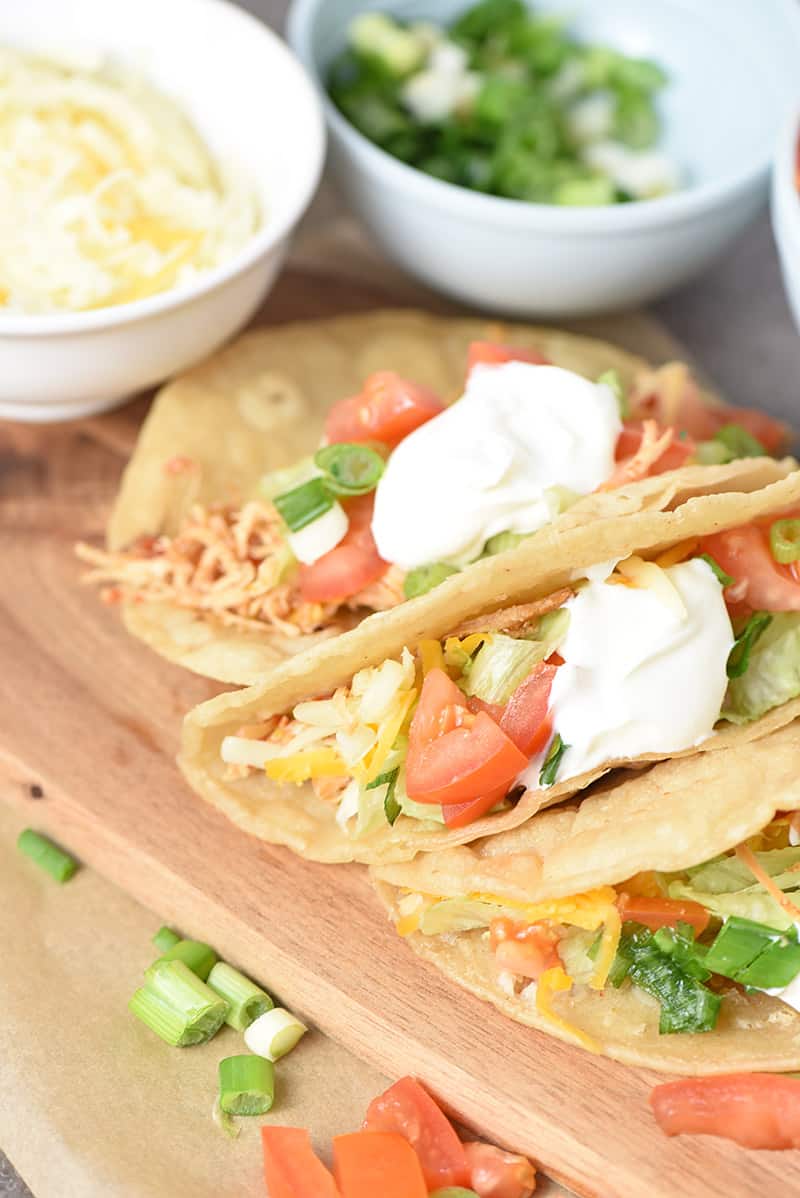
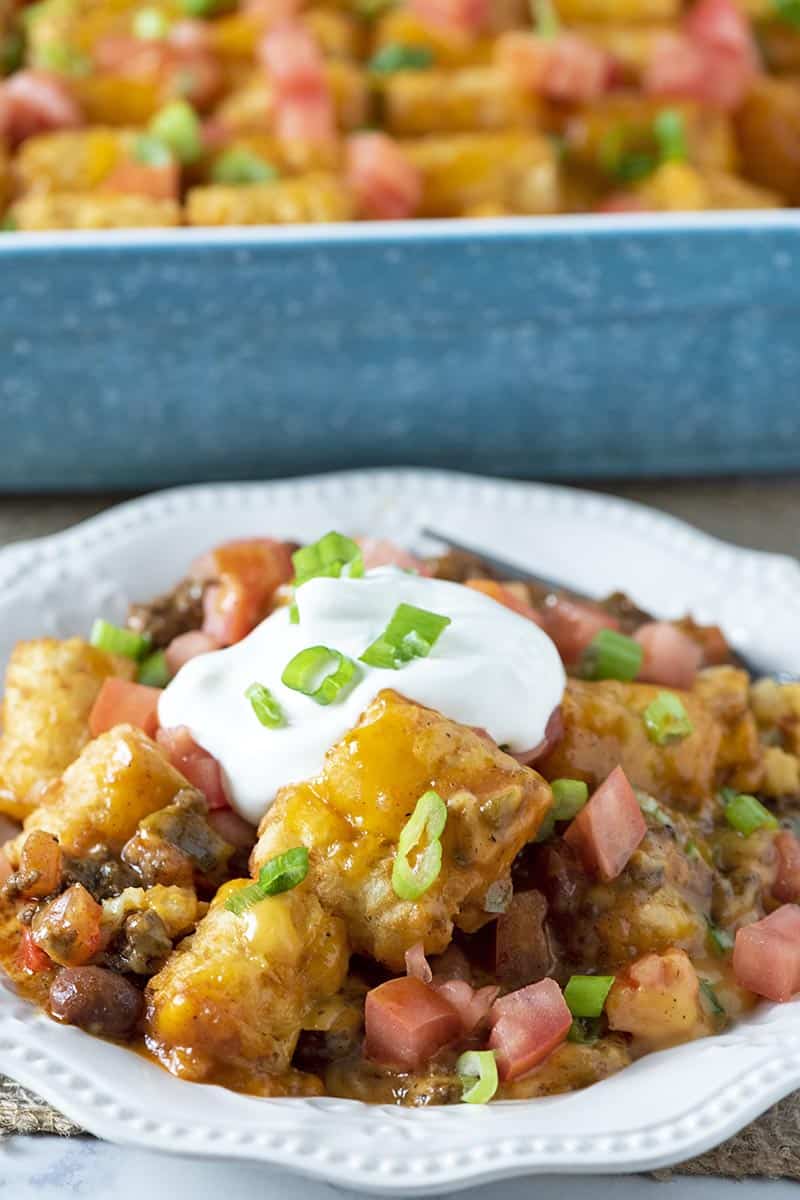
I’m talking full on Mexican tater tot casserole with all the fixin’s, including Monterey Jack, cheddar cheese, tomatoes, green onions, sour cream, and a Tex-Mex beef mixture that is so delicious.
Now I never said this recipe was healthy. In fact, let’s just think of it as more of a comfort food treat.
It’s tater tot hotdish on steroids. Tex-Mex steroids, that is.
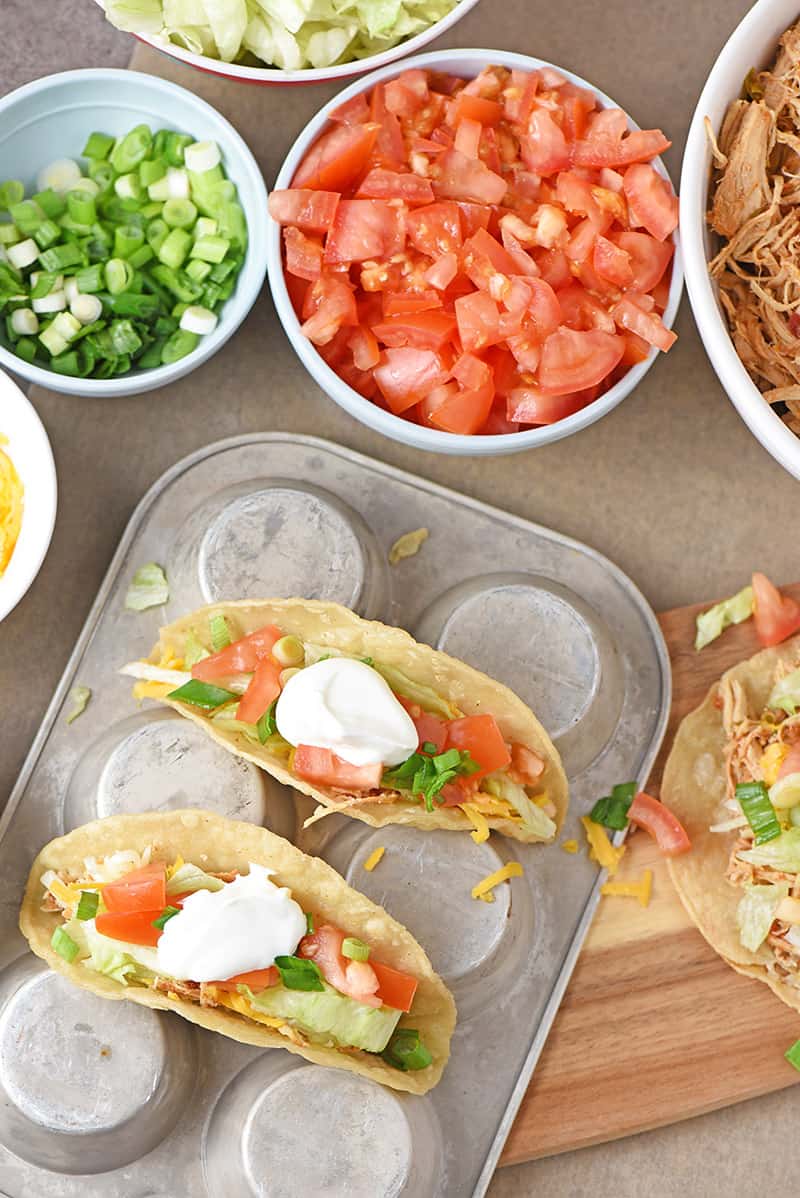
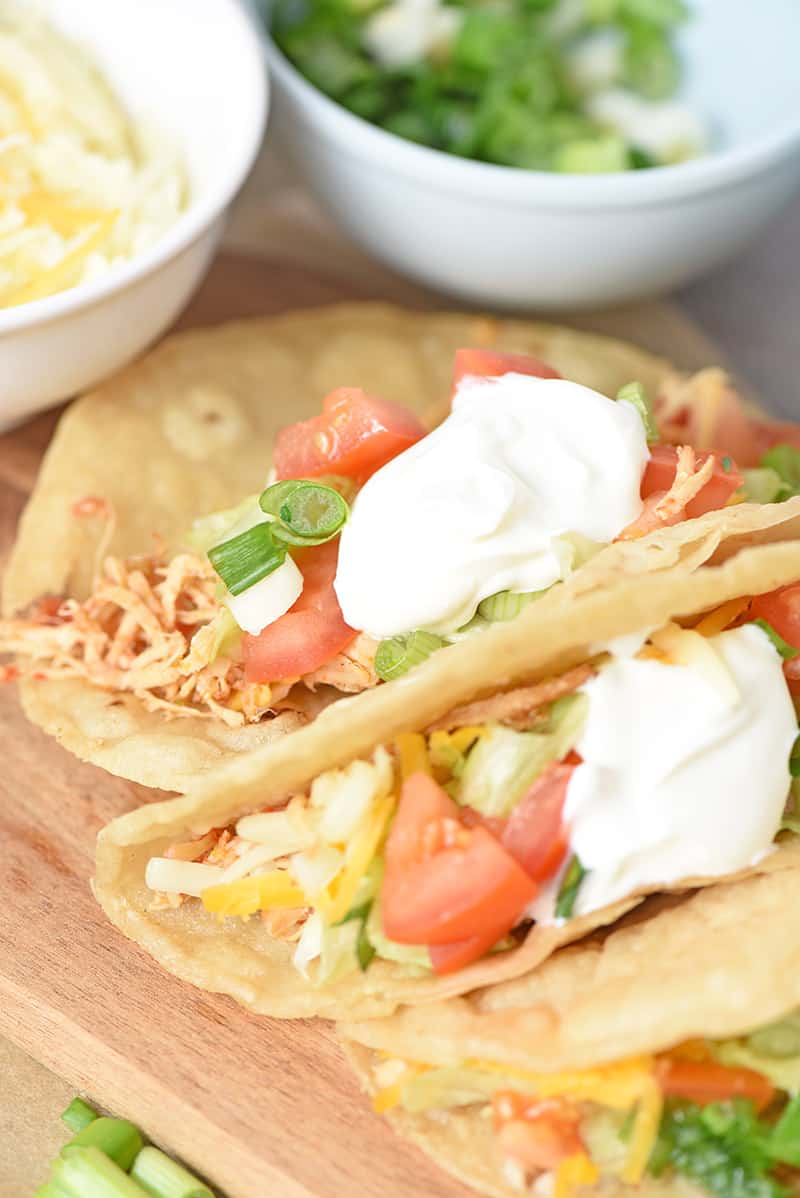
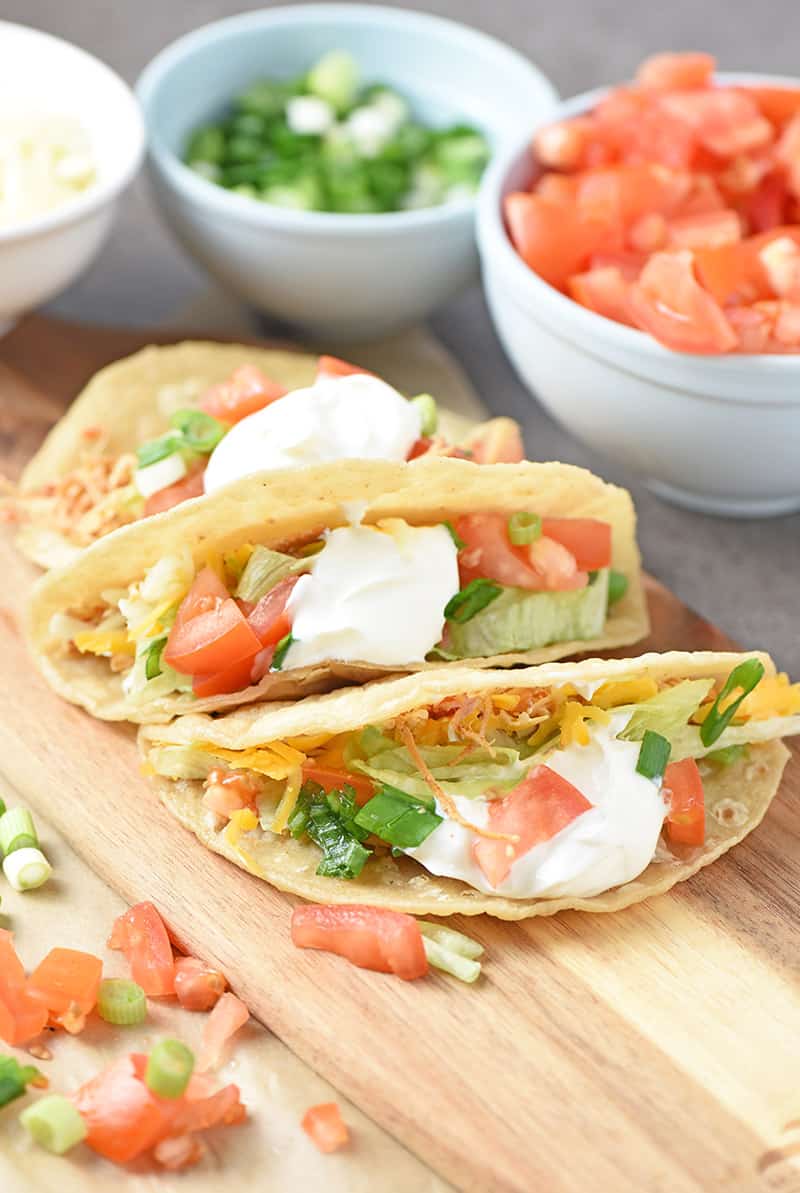
And I know y’all love tacos because some of my most popular posts and videos are taco related. Remember these?
Tacos are life, am I right? I know, I’m so cheesy (no pun intended), but let’s just say I get very excited about tacos.
WHERE CAN I FIND THE RECIPE CARD FOR TACO TATER TOT CASSEROLE?
If you’d rather skip all of my cooking tips, important cooking info for this recipe, and similar recipe ideas – and get straight to the tater tot taco bake recipe – just scroll down to the bottom, where you’ll find a printable recipe card.
LET’S TALK RECIPE LOGISTICS…
This is the part where I try to answer any questions you may have as you follow along with the recipe. And if I don’t answer your question, just leave me a comment, and I’ll answer you there.
WHAT KIND OF MEAT SHOULD I USE IN TACO TATER TOT HOTDISH?
I prefer to use ground beef for this particular recipe. However, you can also use ground turkey or sausage.
WHAT IF I DON’T LIKE CHILI BEANS?
Listen, I get it. Beans all have different textures and flavors.
I prefer chili beans (in their sauce) because that sauce really adds to the flavors of the entire tater tot hotdish.
However, you can also use black beans. You might even give kidney beans a try.
CAN I MAKE AHEAD TATER TOT CASSEROLE AND FREEZE IT?
Yes, you can make it ahead and put it in the freezer for later. Just be sure to put it in the fridge in plenty of time to thaw before baking or add a little additional cook time, maybe 20 minutes or so.
You’ll also want to cover it well before freezing, so it doesn’t get freezer burn. If you have a covered casserole dish, that will work well.
You can also make it the day before and put it in the fridge for baking the next day.
TIPS FOR HOW TO MAKE TACO TATER TOT CASSEROLE
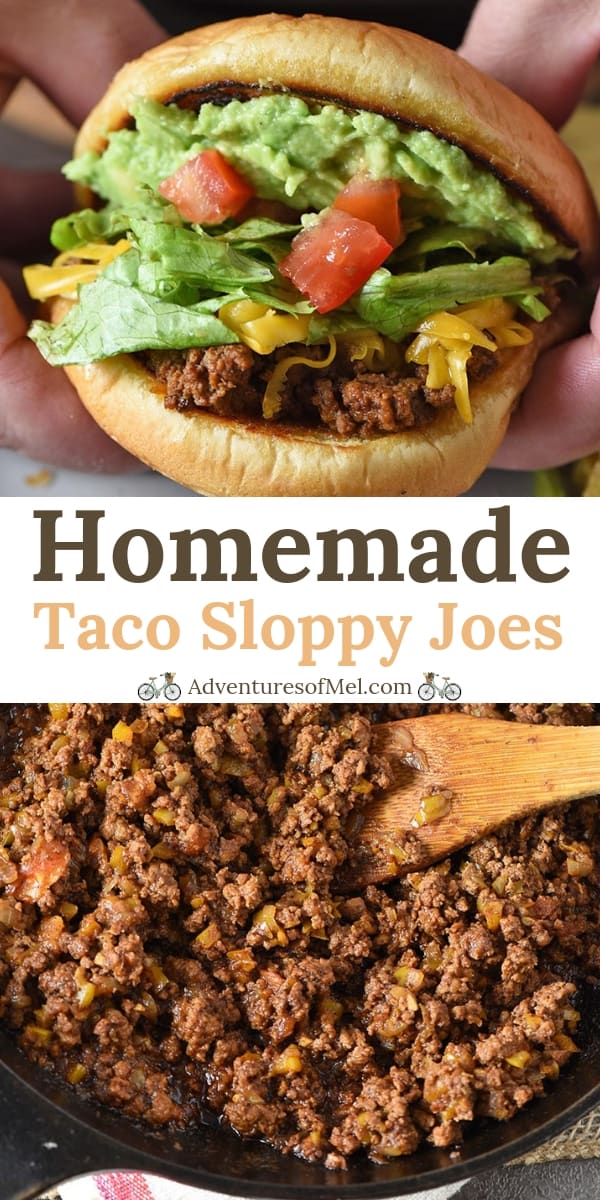
Making taco tater tot hotdish is really simple and easy, even though it does require a bit of prep. There’s no taco seasoning mix or enchilada sauce in this recipe, since the meat mixture is made from scratch.
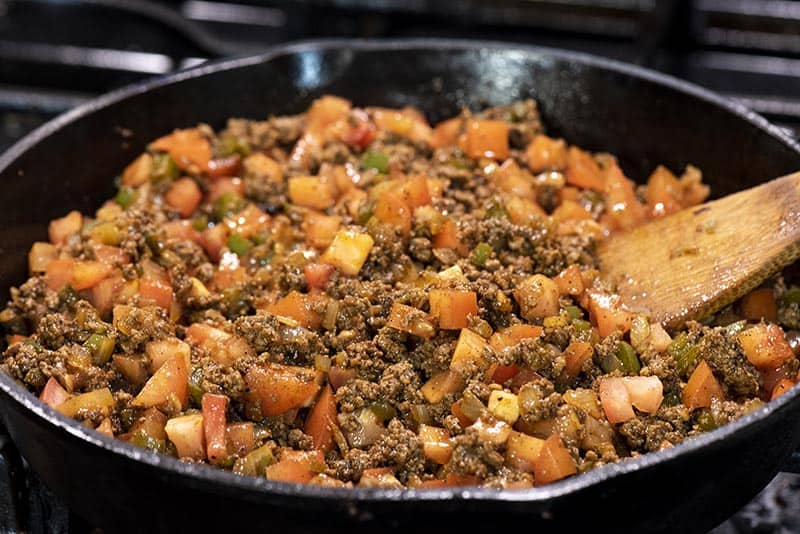
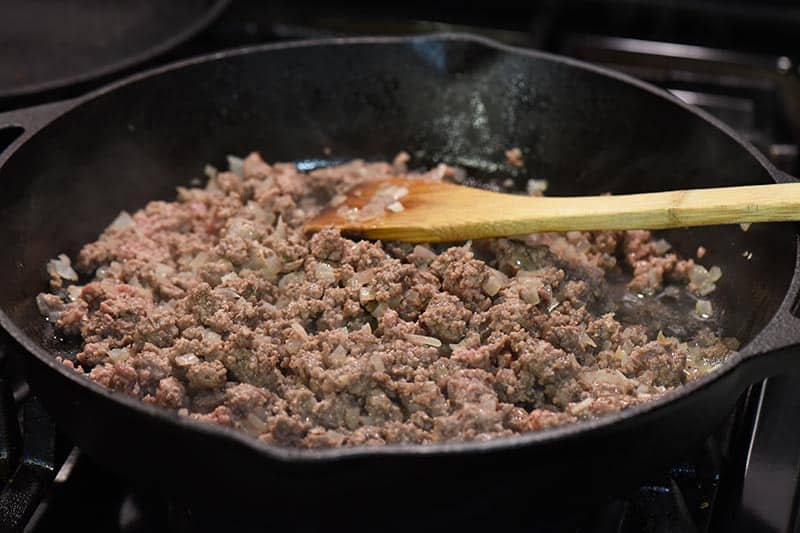
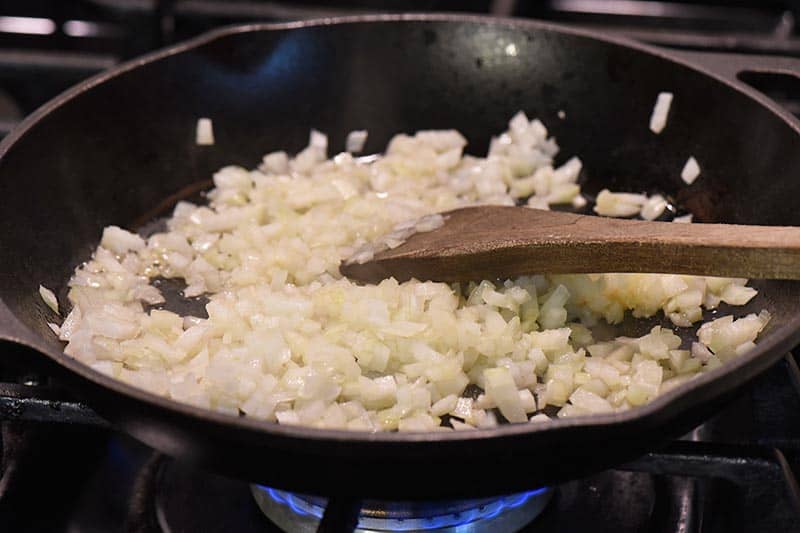
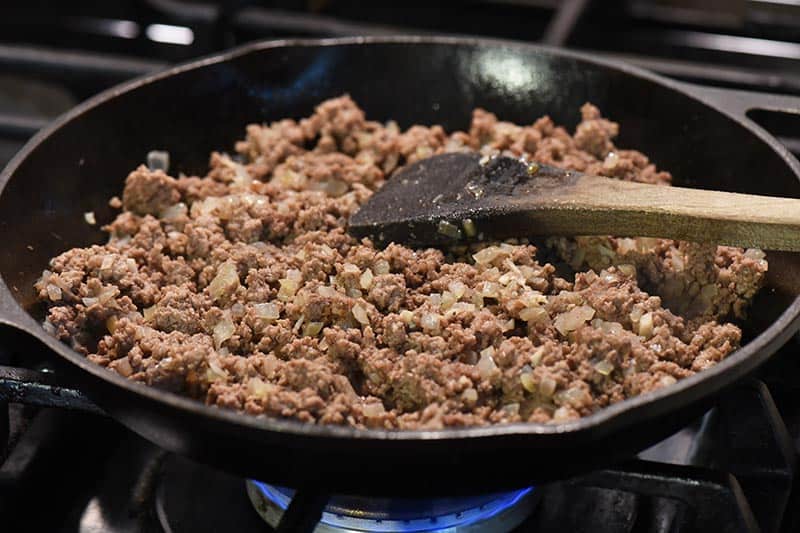
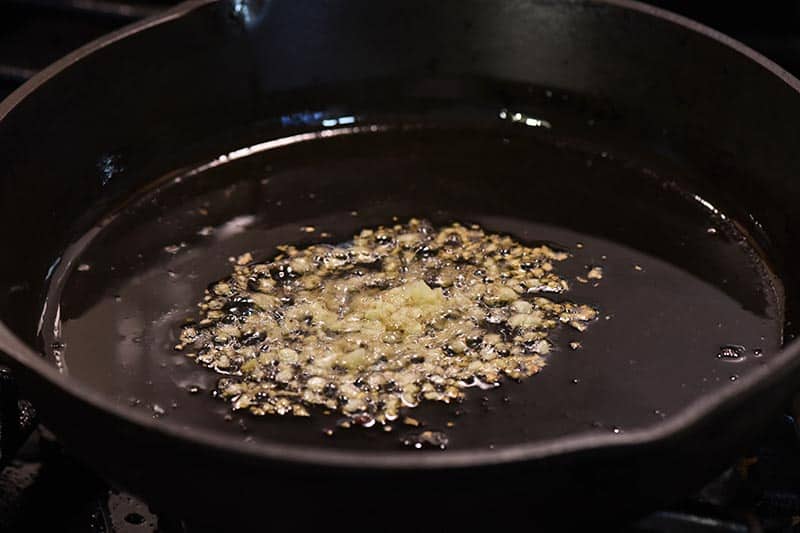
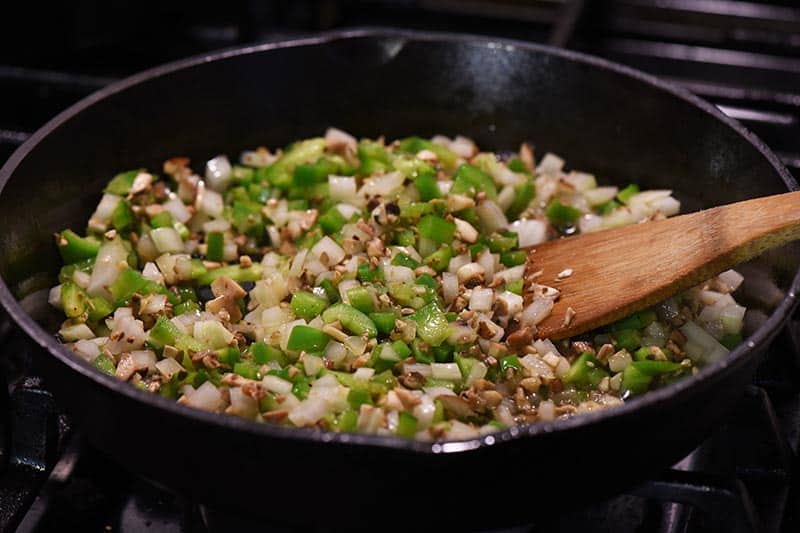
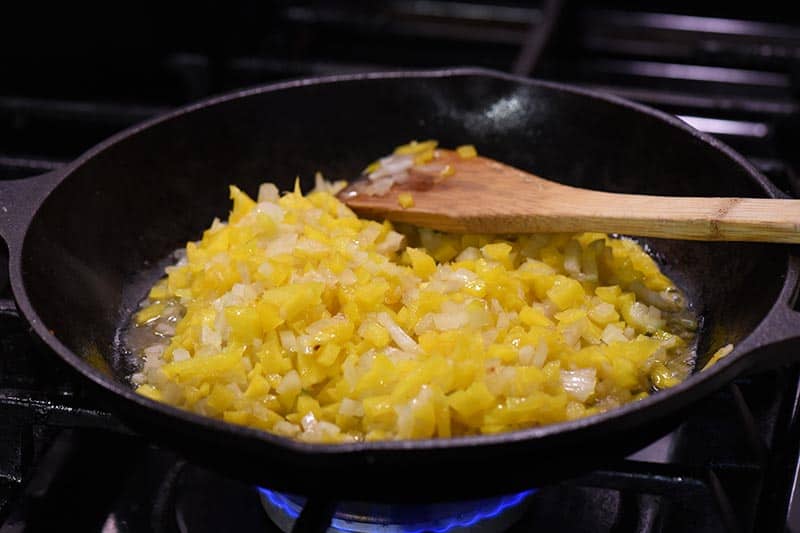
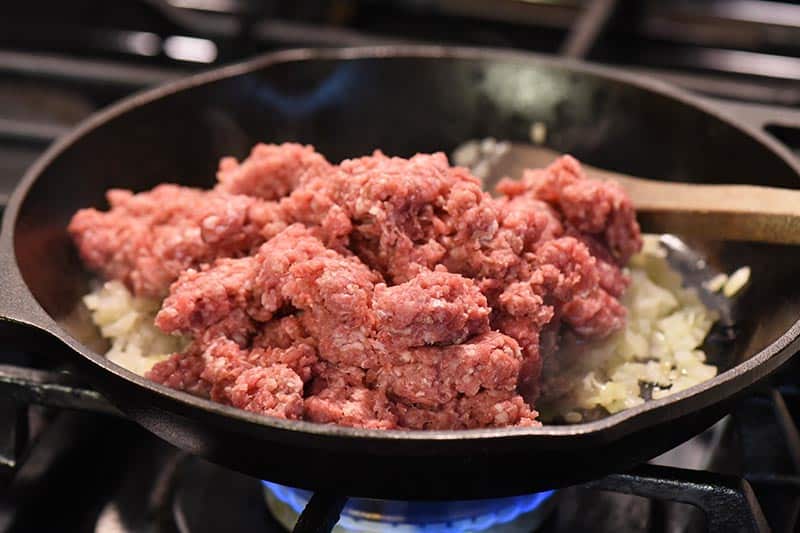
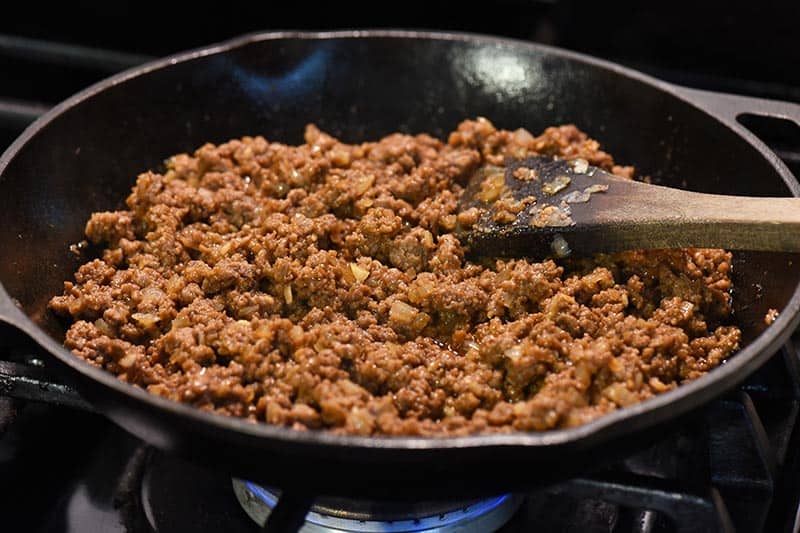
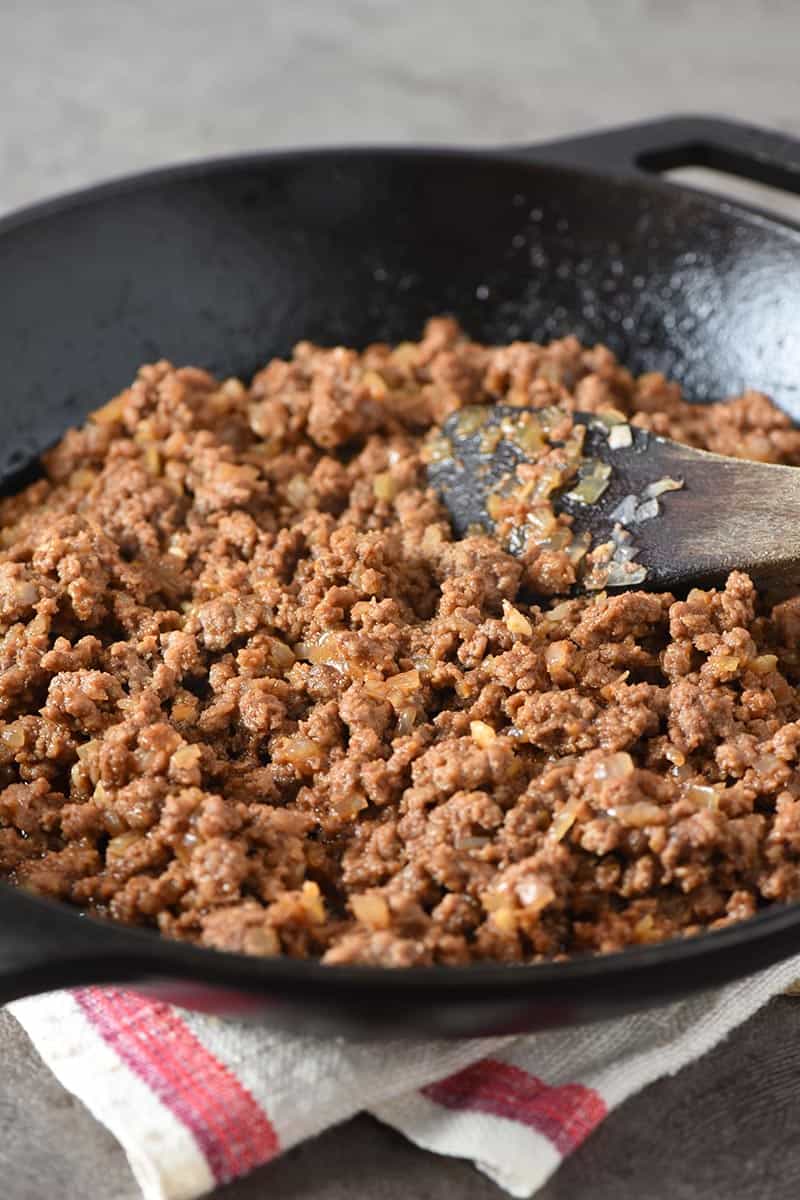
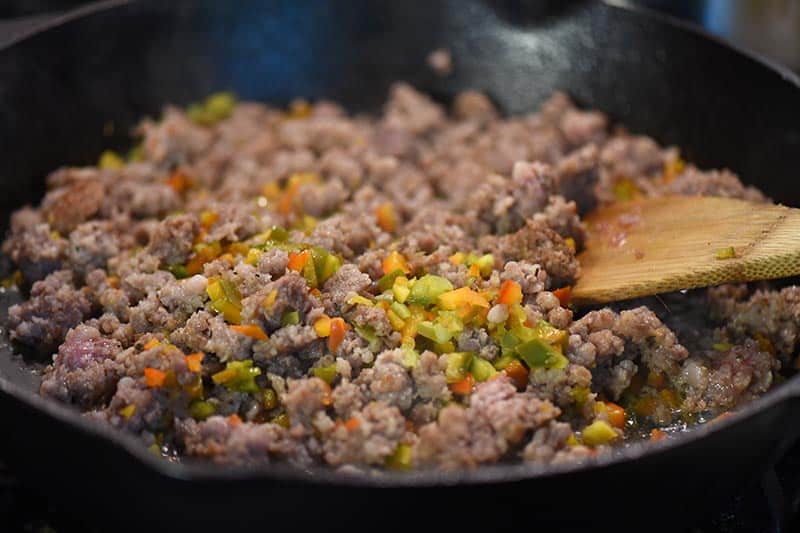
- In a large skillet, sauté the garlic, onion, and bell pepper in bacon grease (or olive oil) for 3 to 5 minutes.
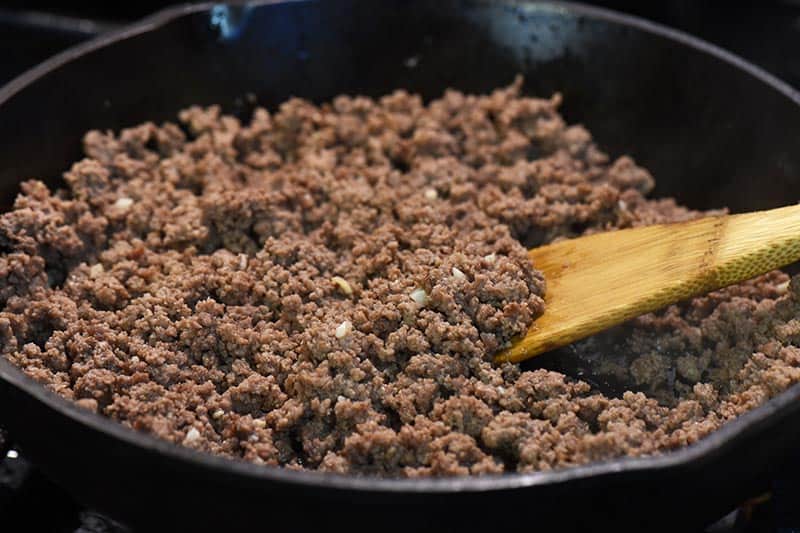
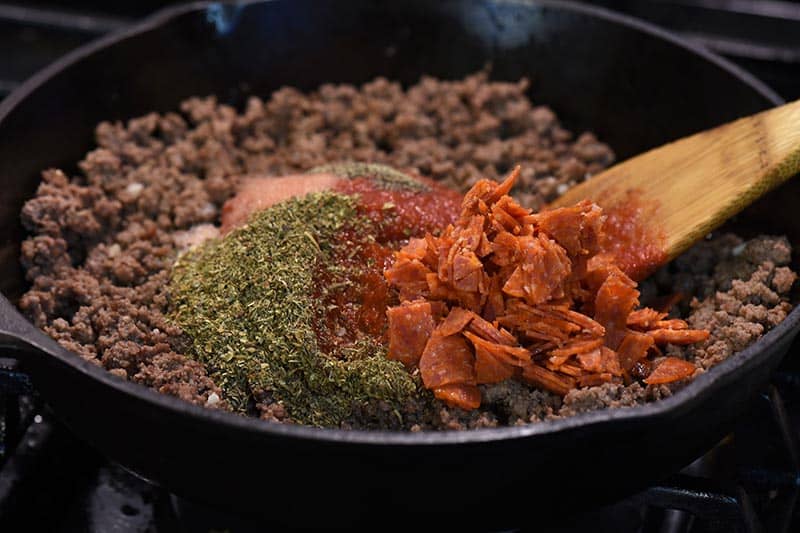
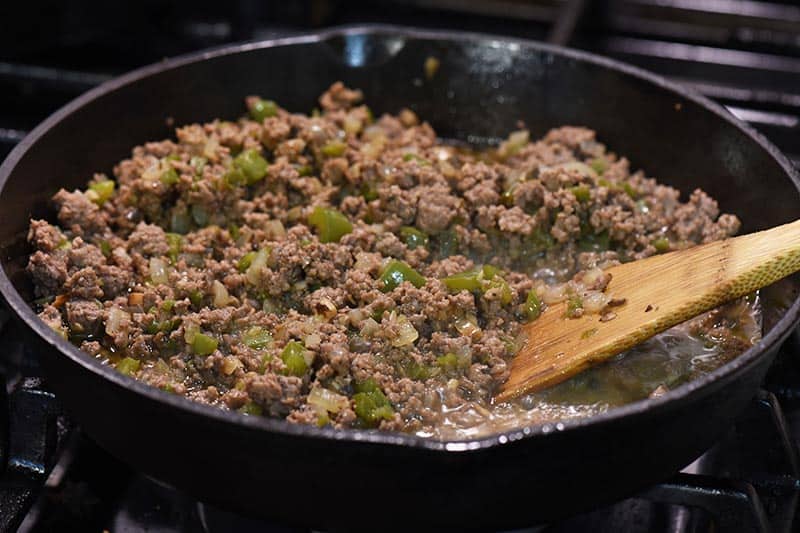
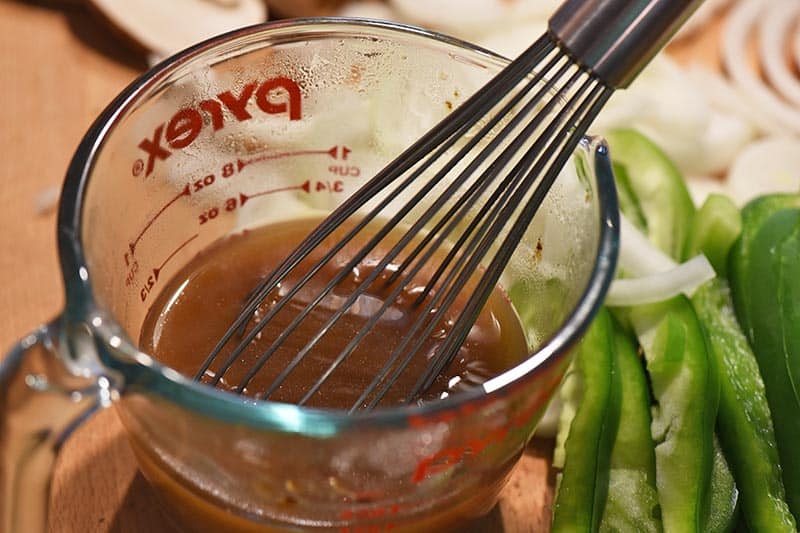
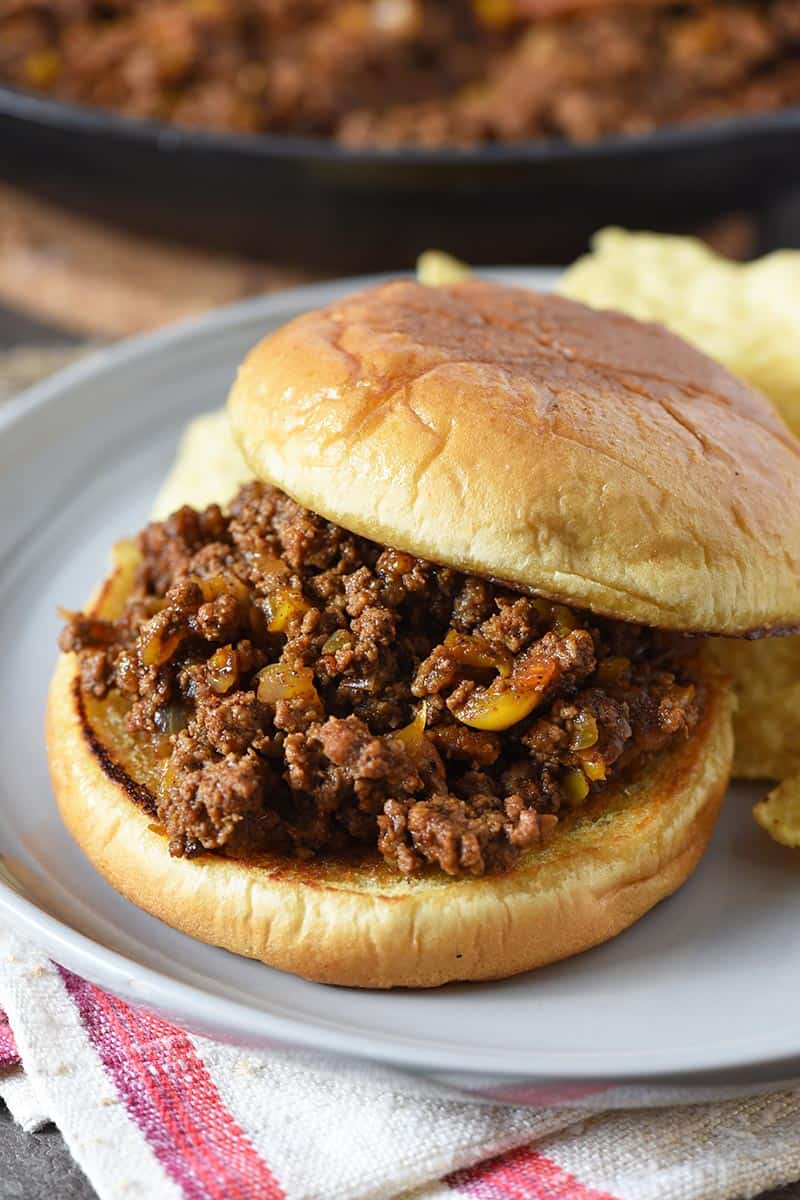
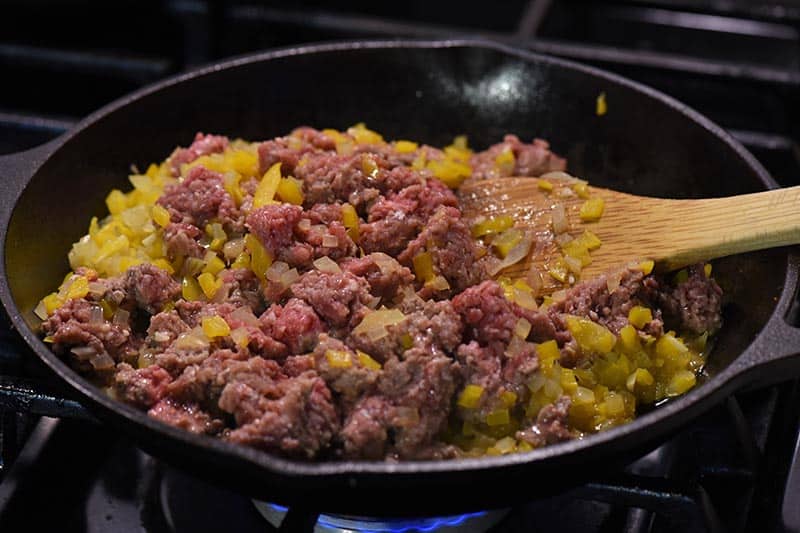
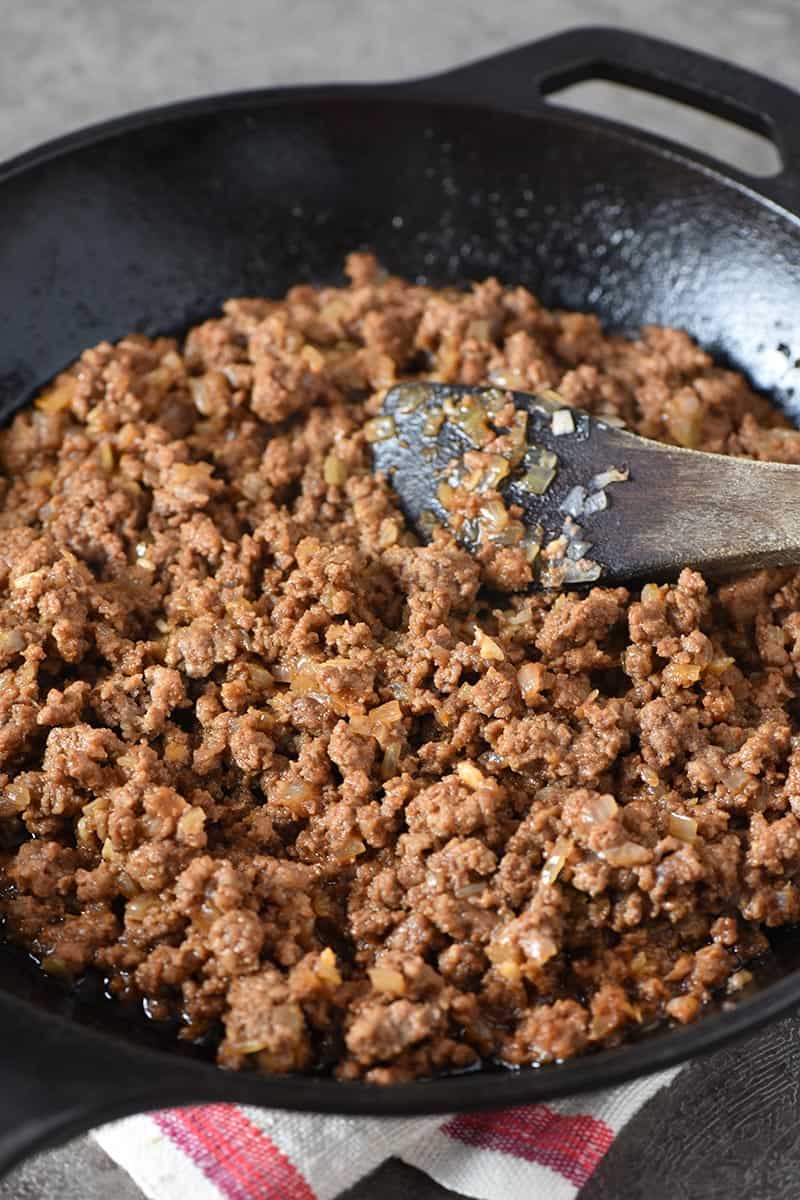
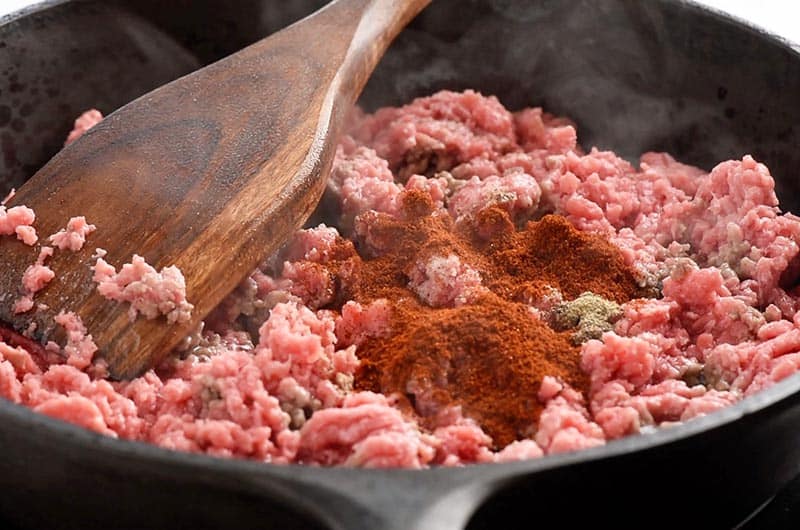
- Add the lemon juice, chili powder, salt, pepper, and ground beef, cooking until the meat is almost browned.
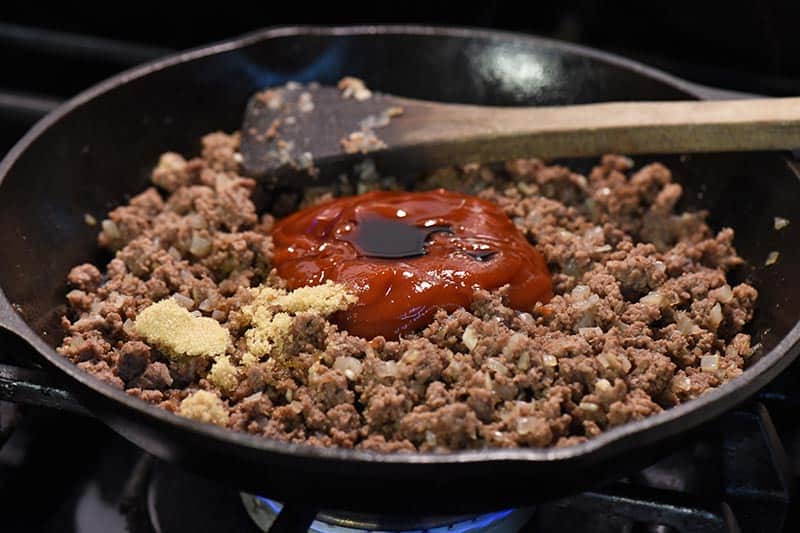
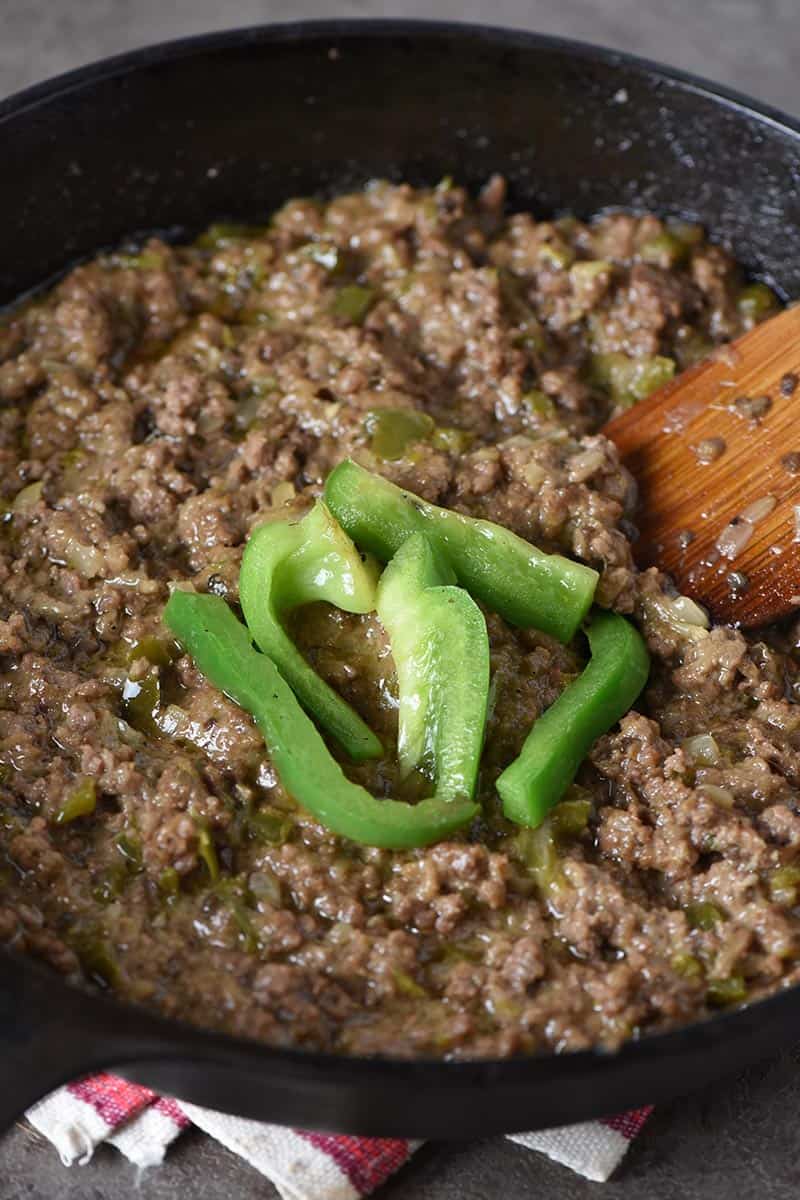
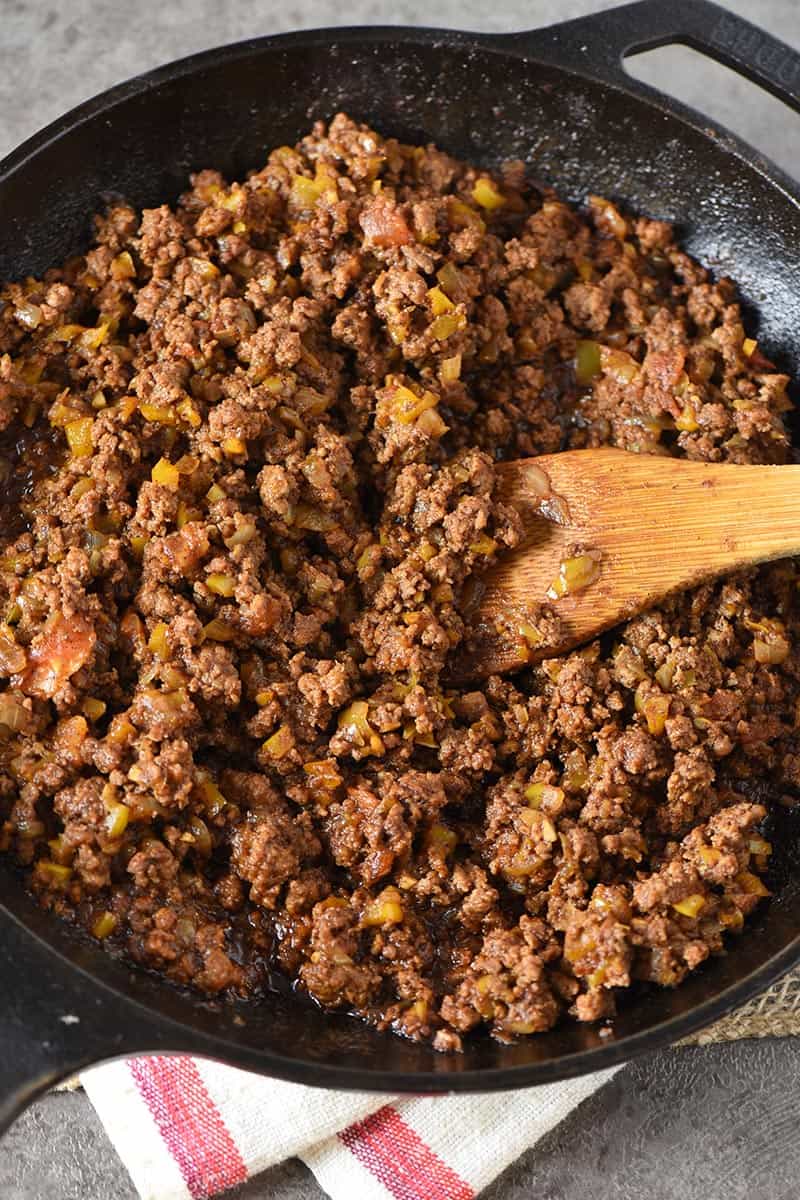
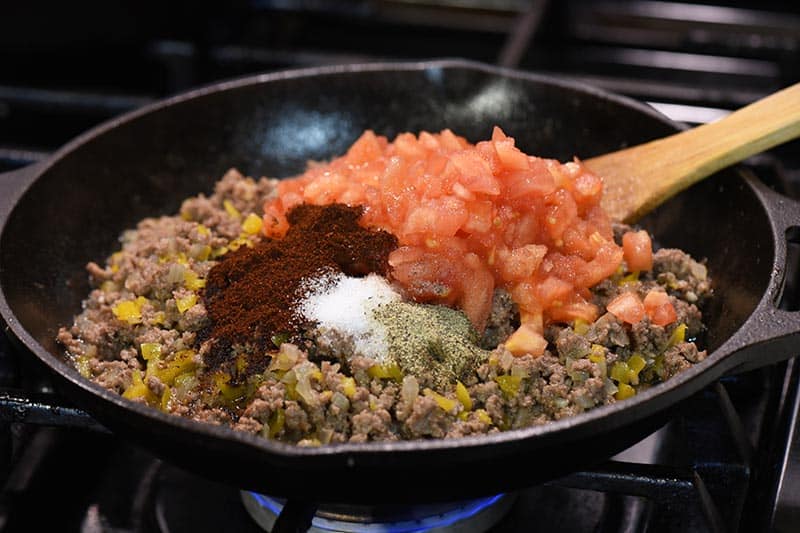
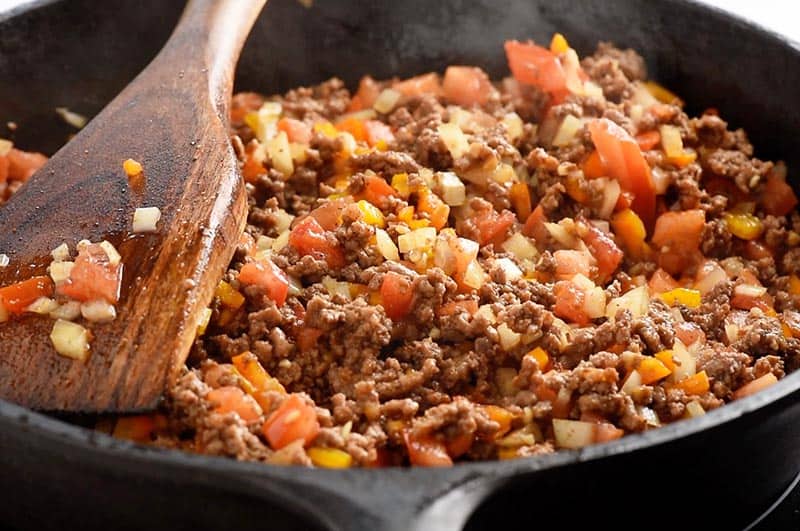
- Next stir in 2 to 3 chopped Roma tomatoes, browning the meat.
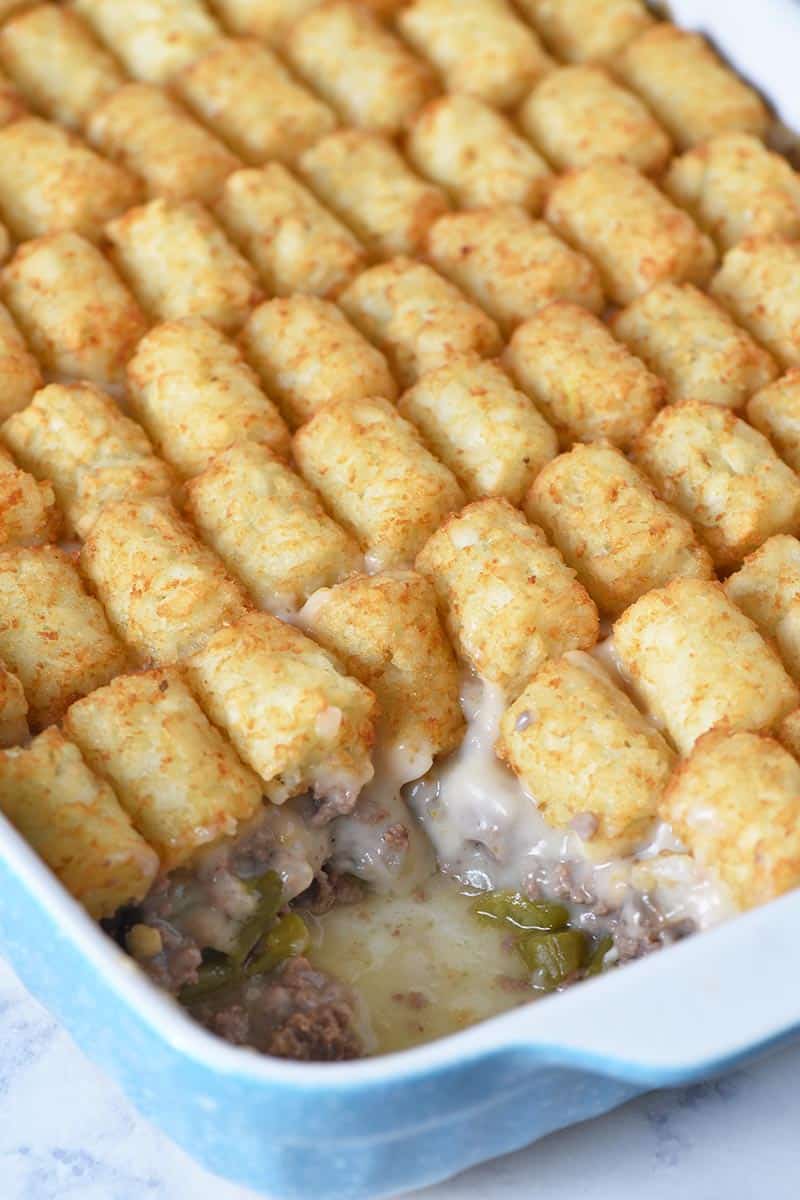
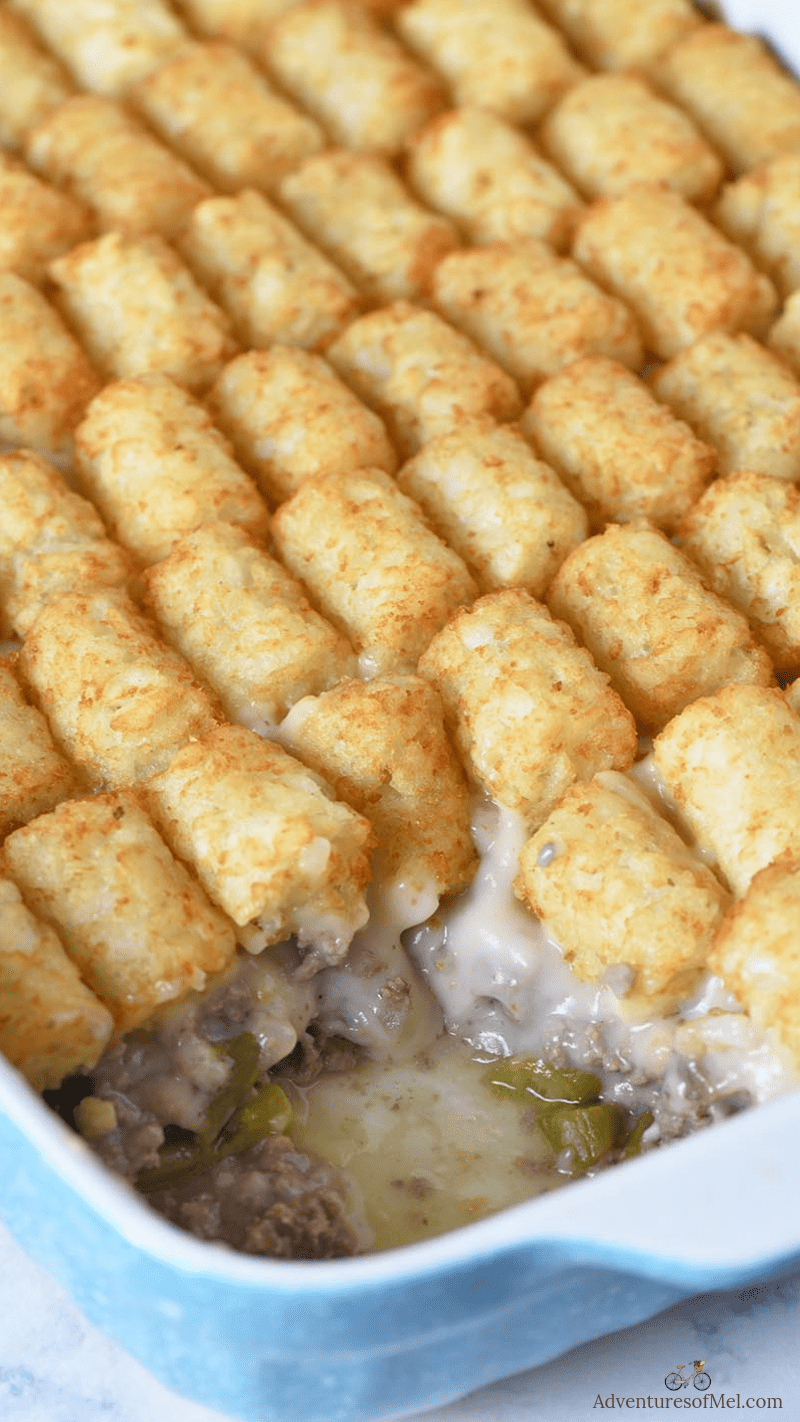
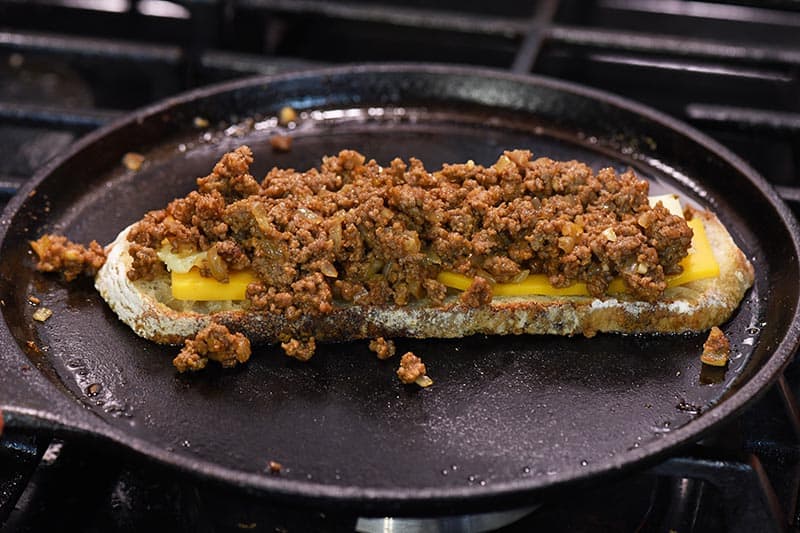
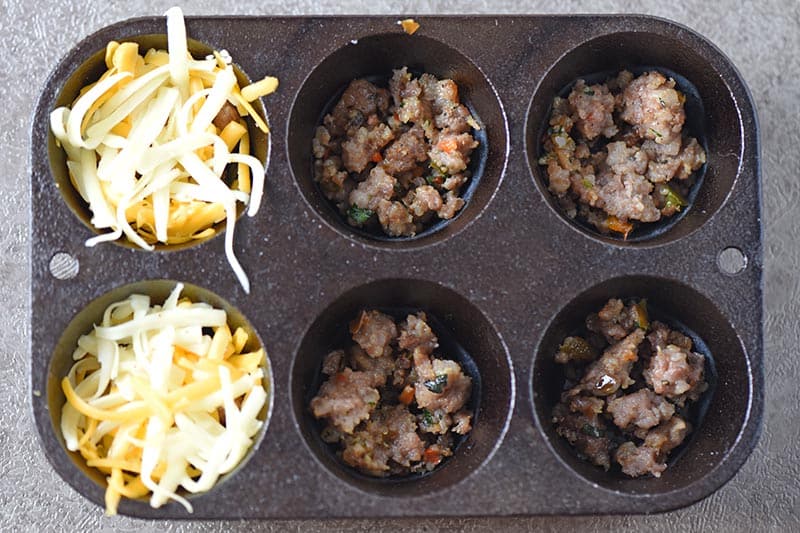
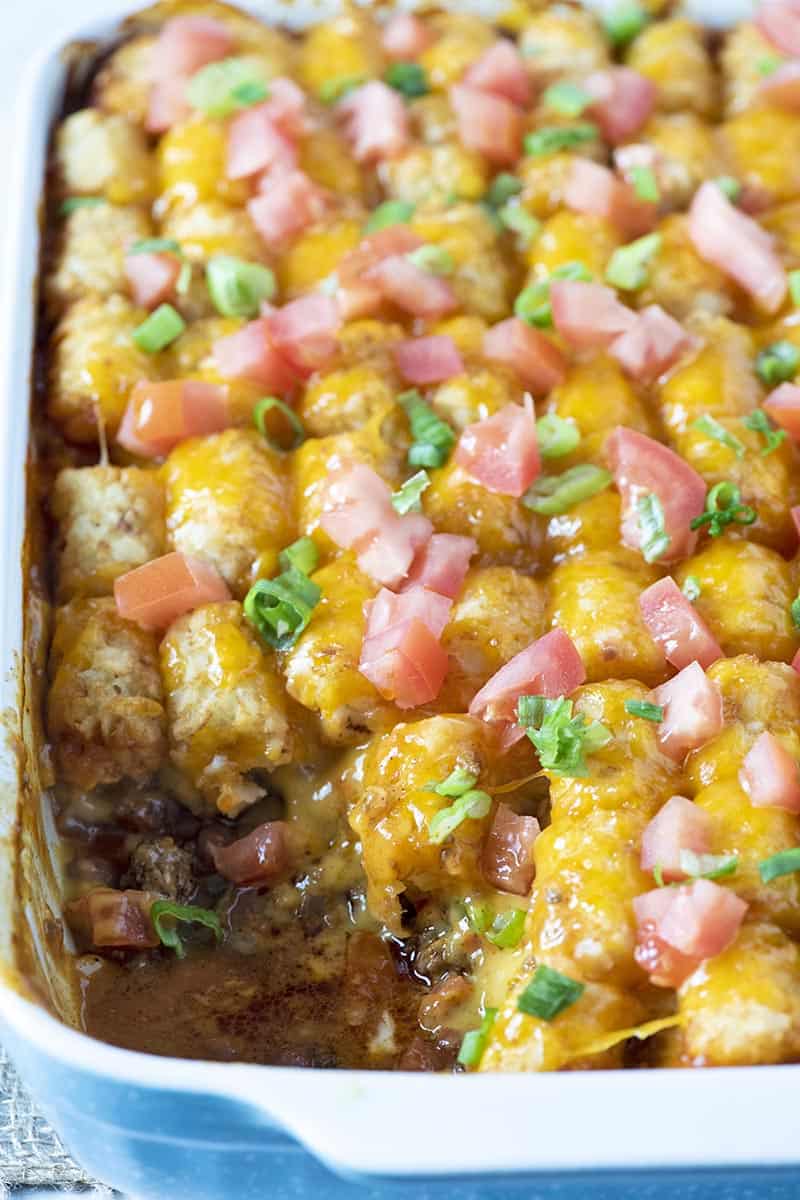
HOW TO LAYER MEXICAN TATER TOT CASSEROLE
- 1st Layer: Chili beans
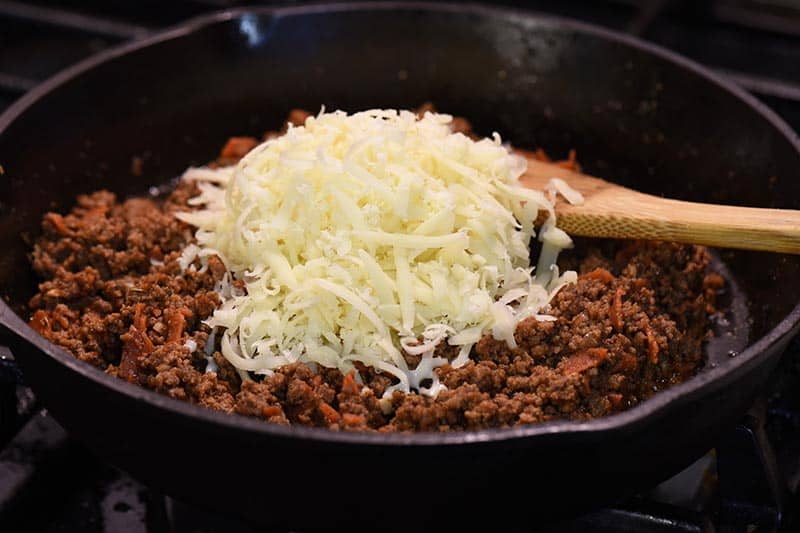
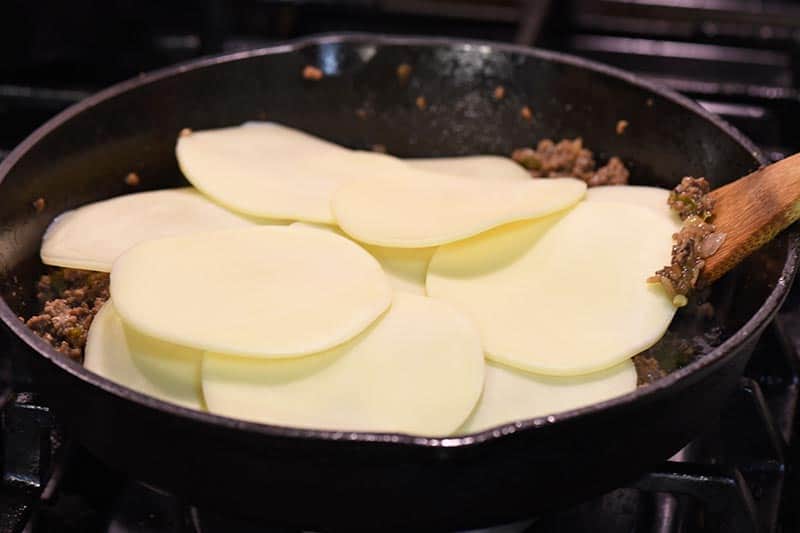
- 2nd Layer: Monterey Jack cheese
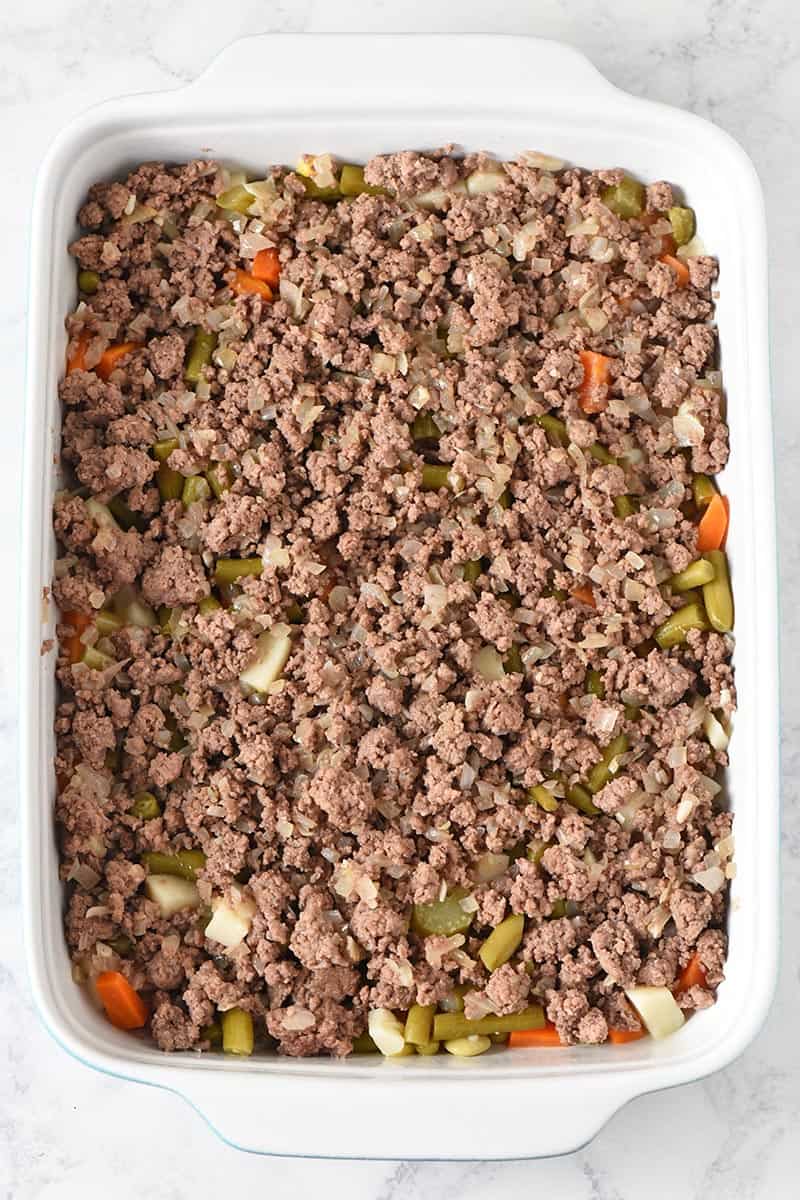
- 3rd Layer: Ground beef mixture
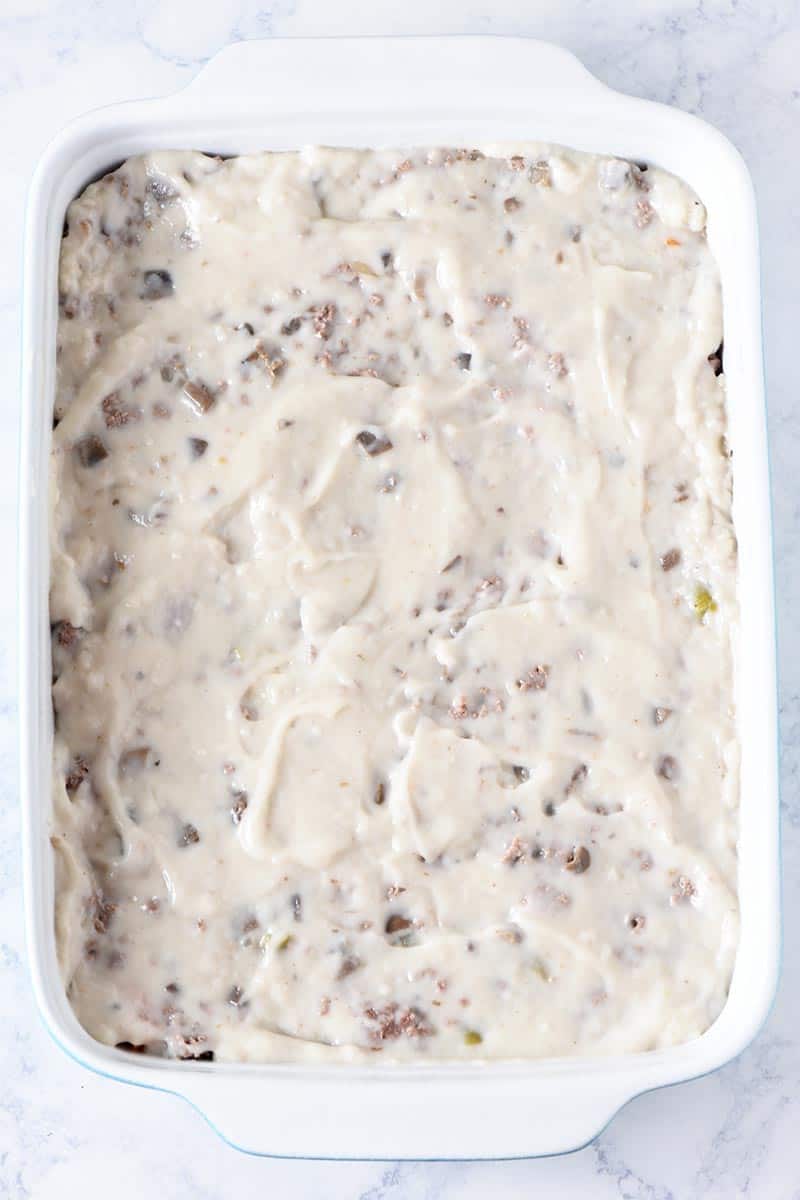
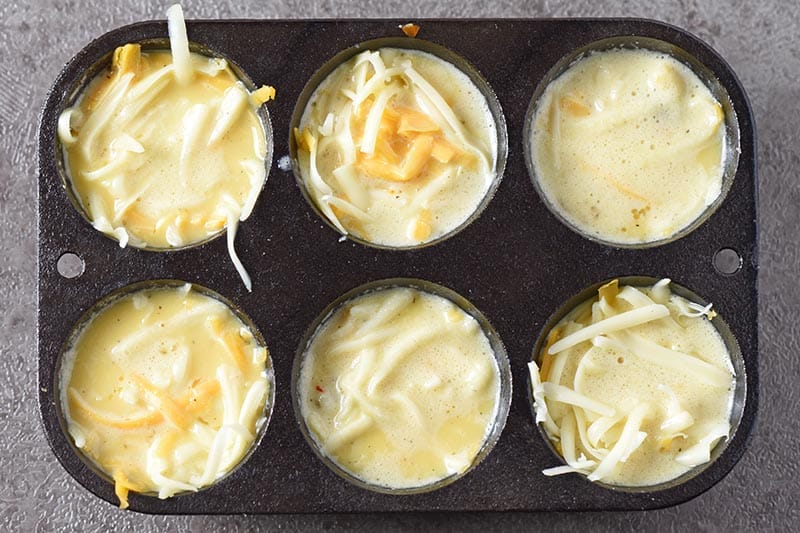
- 4th Layer: Nacho cheese soup
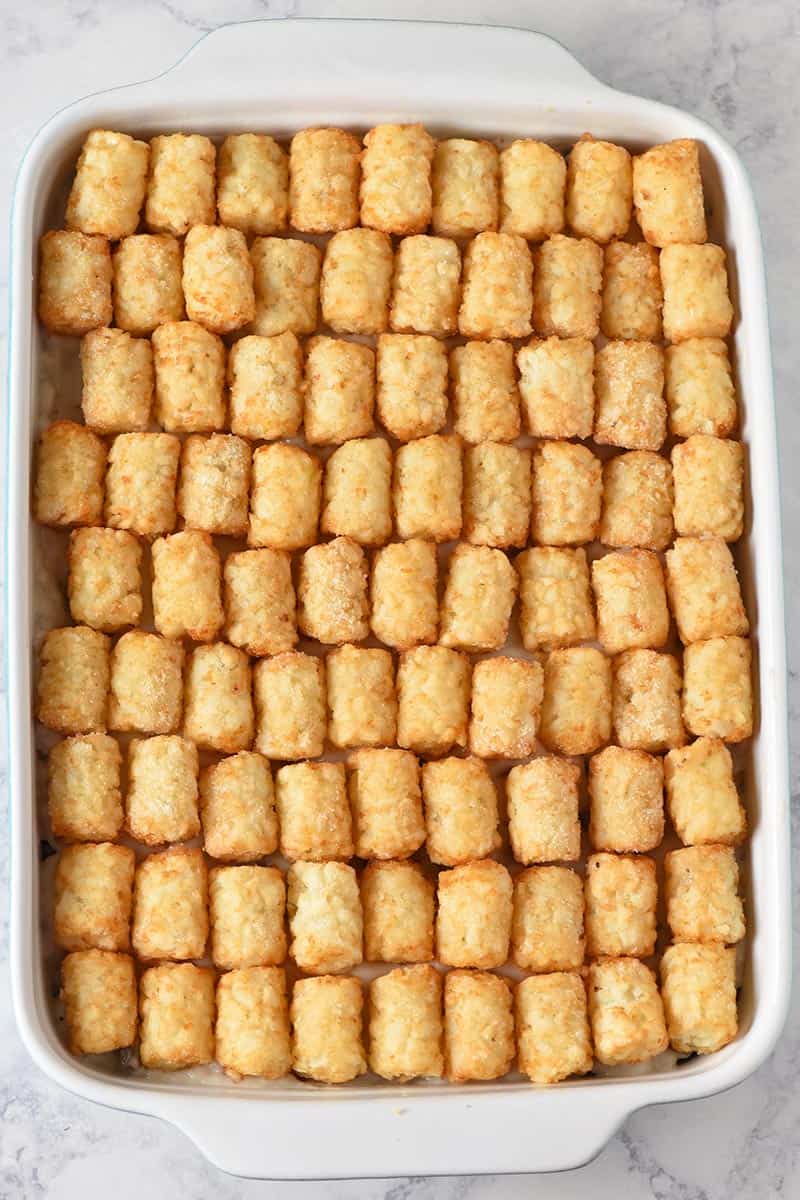
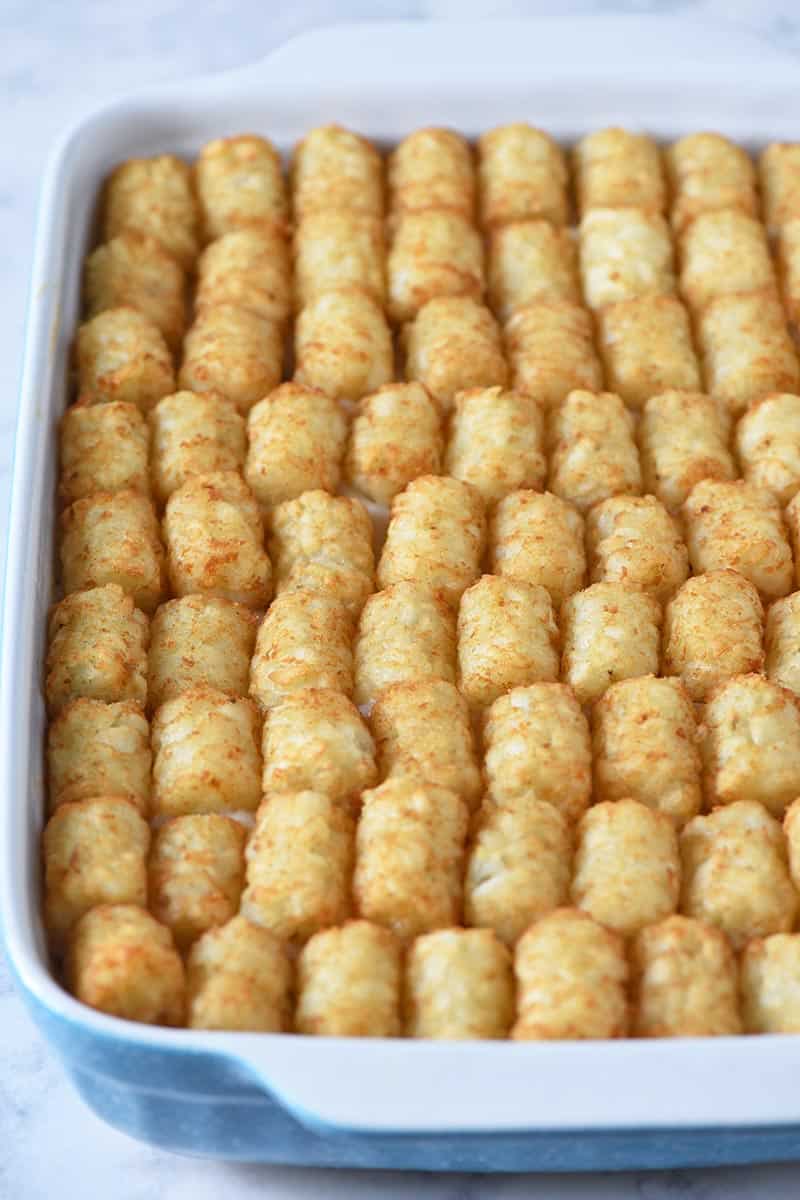
- 5th Layer: Tater tots
At this point, bake the casserole, per instructions in the recipe card below.
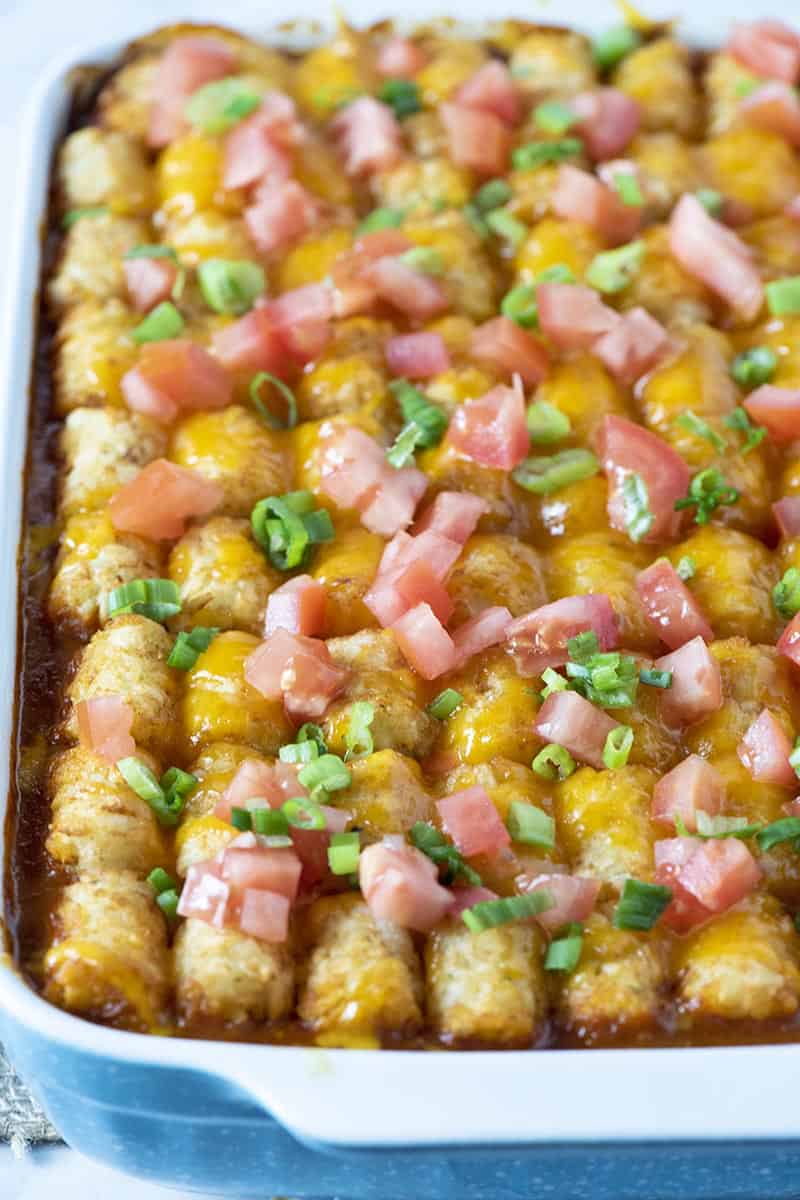
- 6th Layer: Cheddar cheese
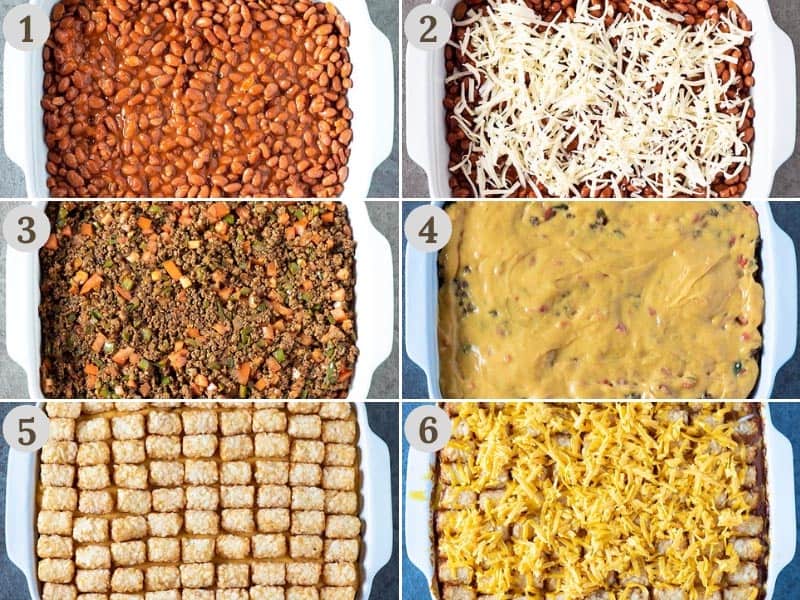
And then you’ll bake it again for about 5 to 10 minutes, or until the cheese is melted.
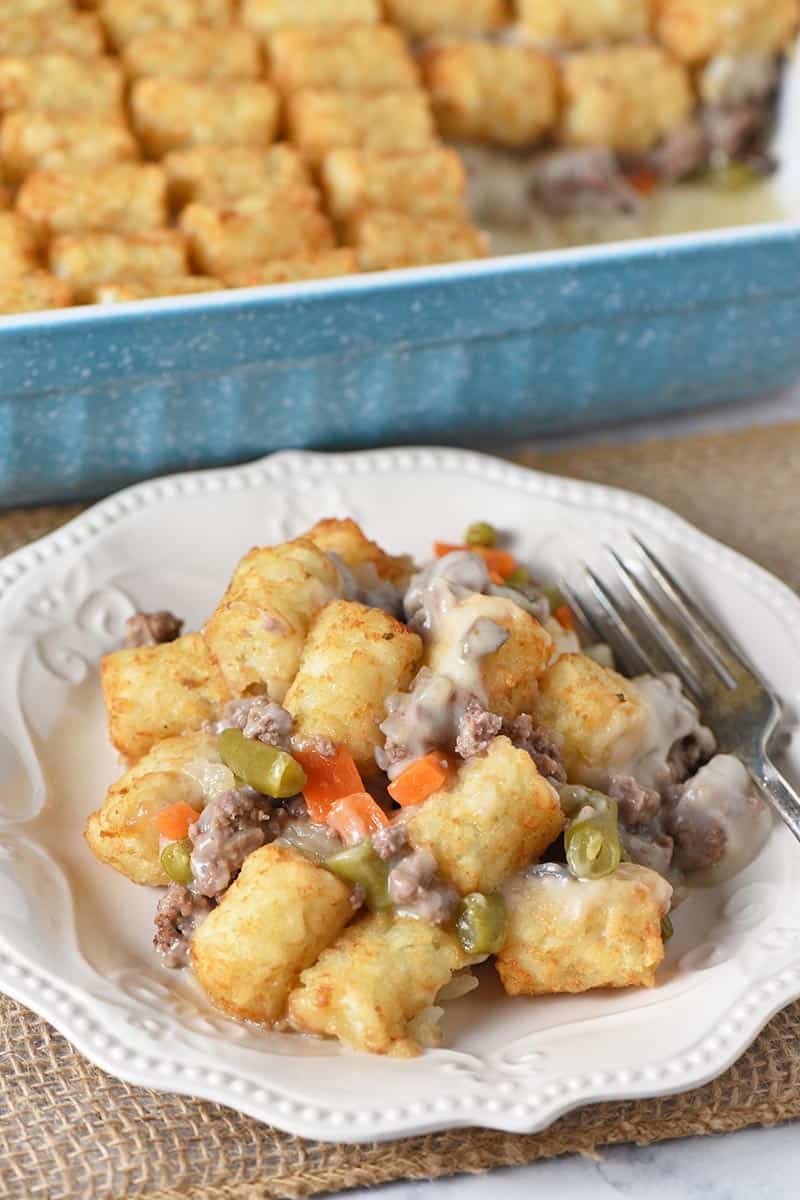
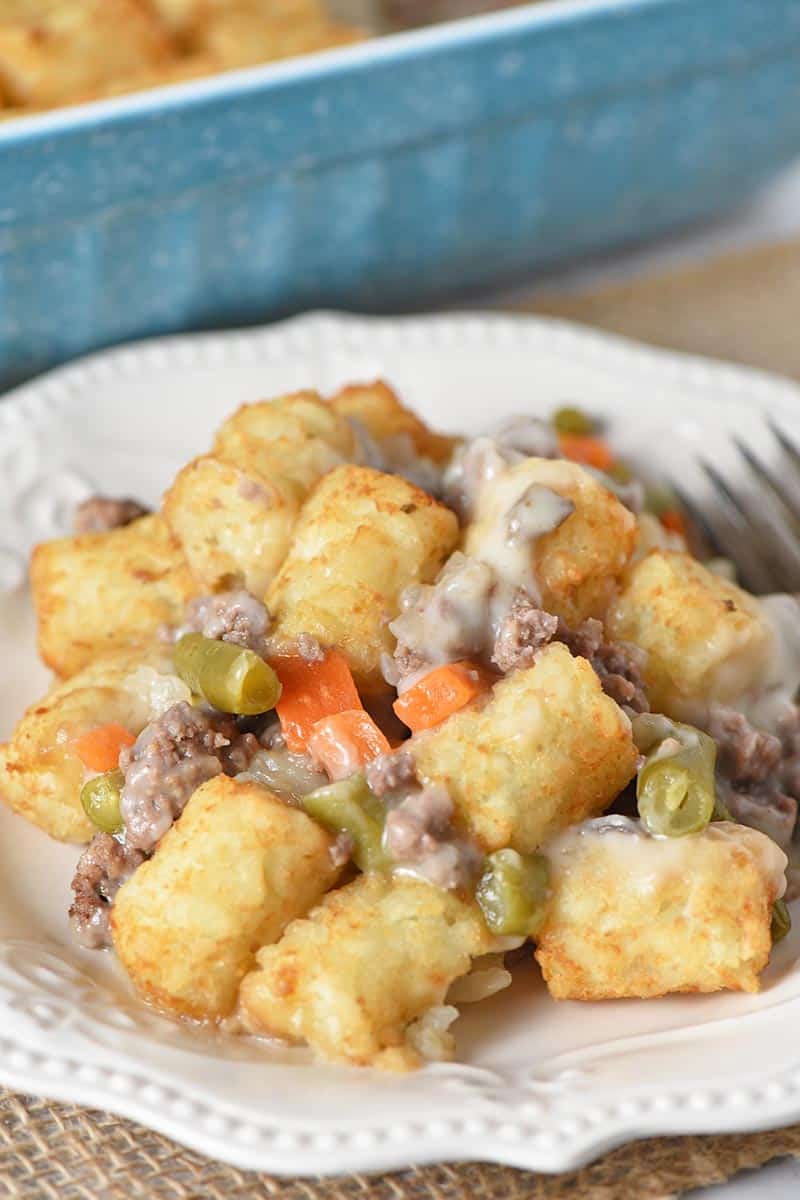
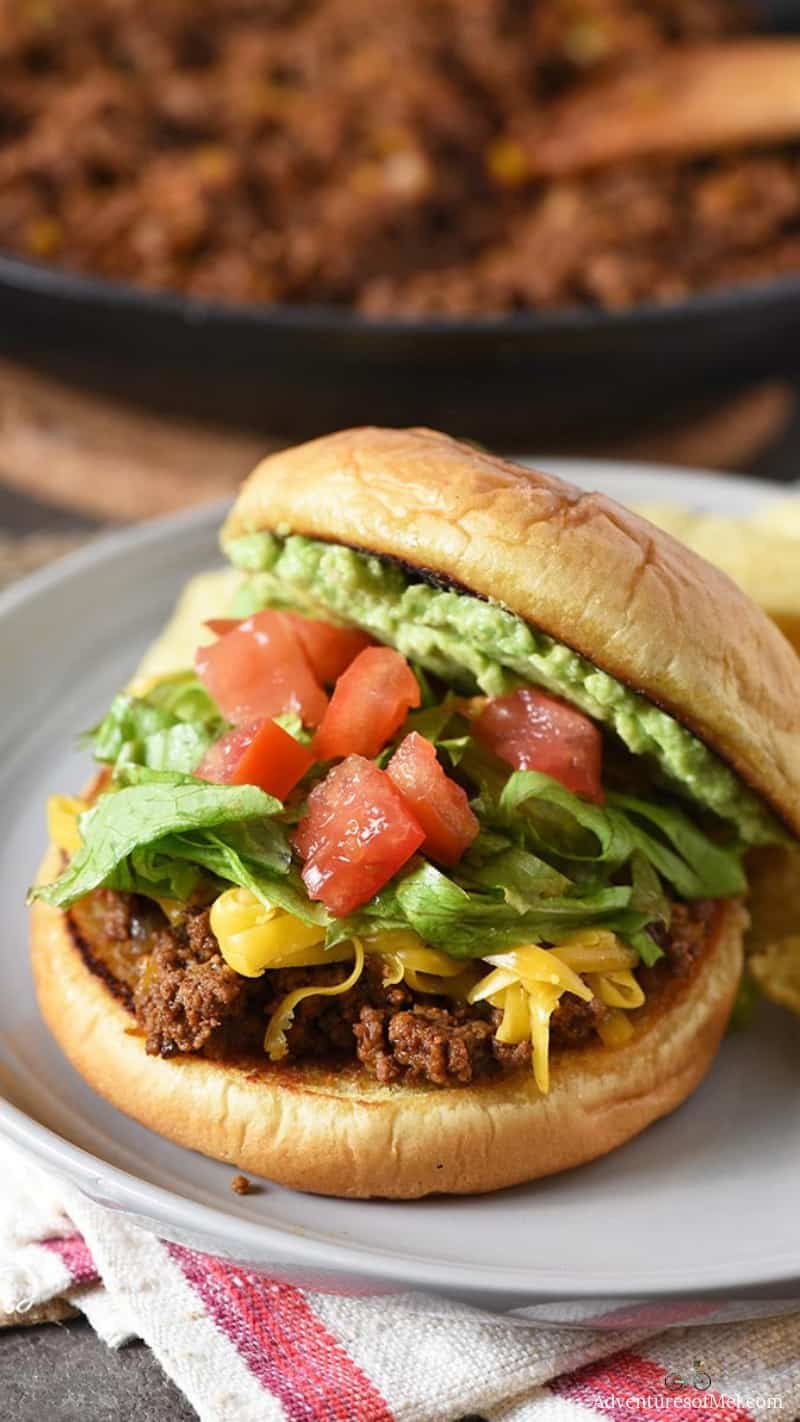
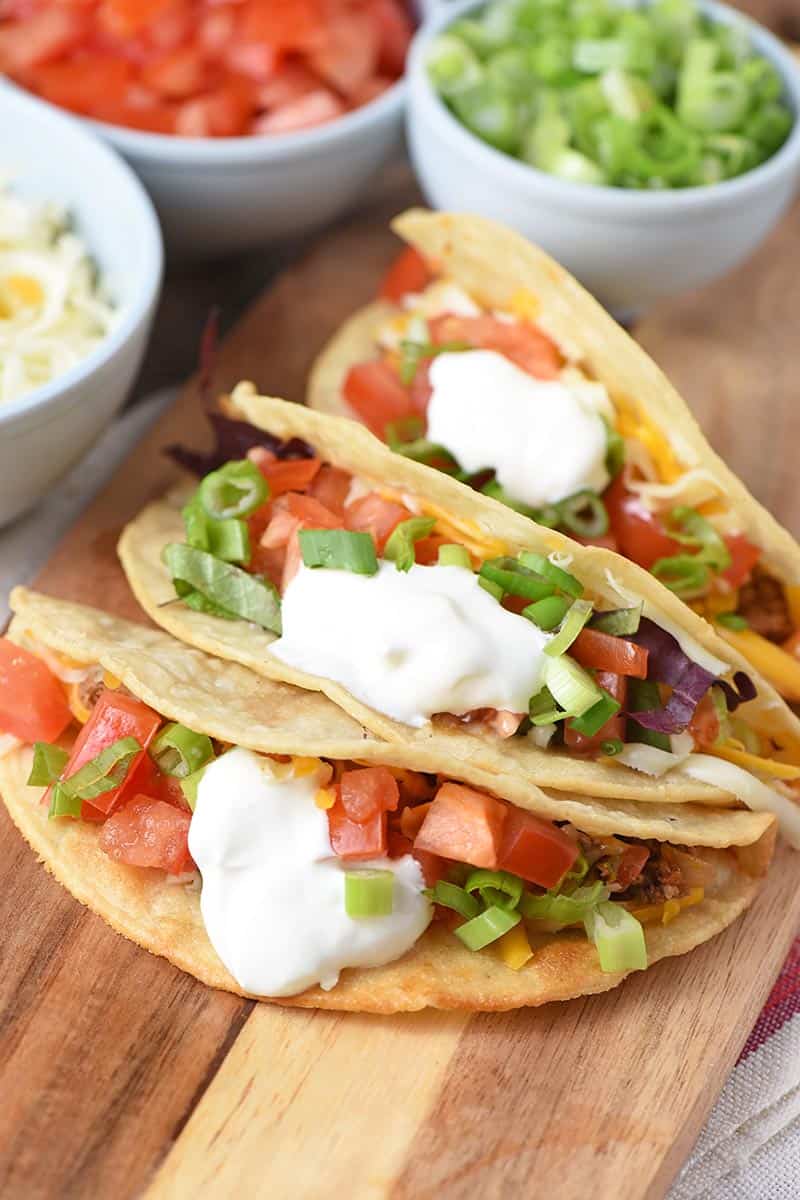
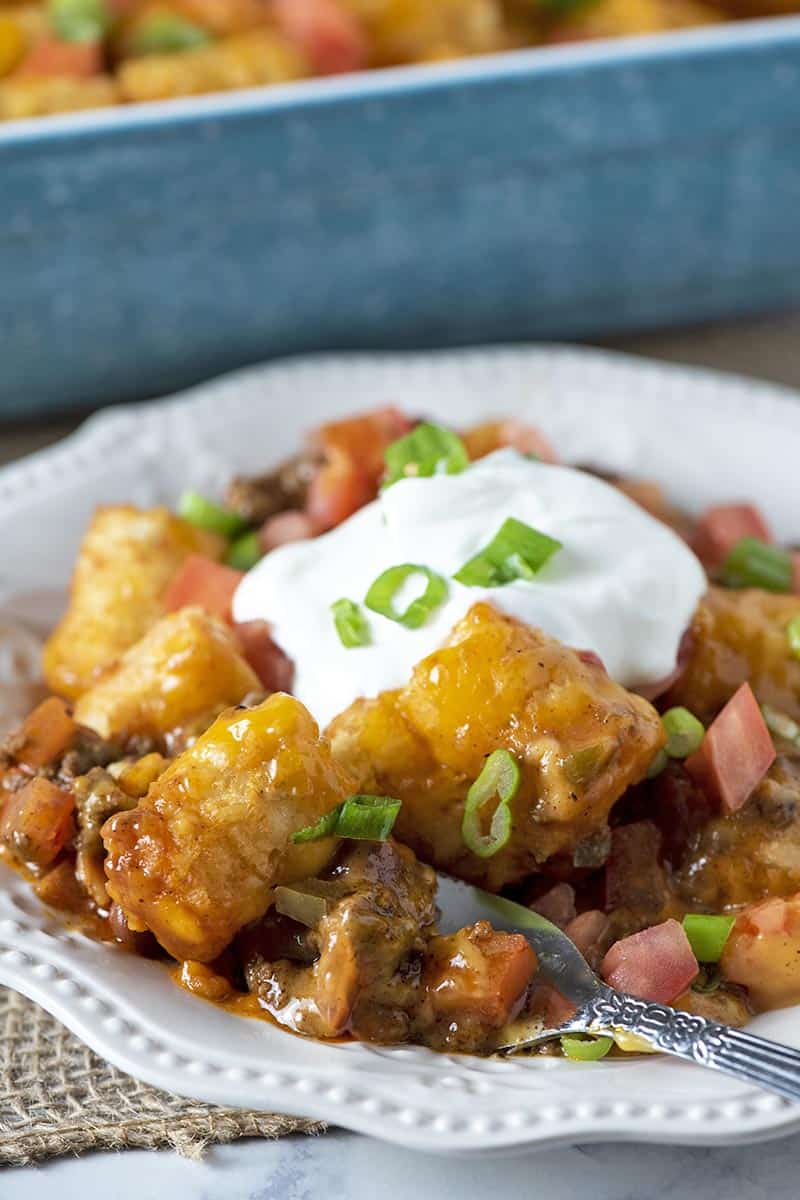
And that’s all there is to it. Sprinkle with your favorite taco toppings, like sour cream, tomatoes, and green onions, and it’s ready to serve.
My family loves a good Mexican tater tot casserole, and so do I.
MORE TEX-MEX CASSEROLE RECIPES YOU MAY ENJOY:
- Mexican Meat Pie
- Turkey Enchilada Casserole
- Mexican Corn Casserole
- Chicken Enchiladas with a Sour Cream Sauce
- White Sauce Crab Enchiladas
SHOP KITCHEN TOOLS FOR THIS RECIPE:
Cast Iron Skillet – for browning the ground beef. You could also layer the casserole in a larger cast iron skillet.
Hamburger Chopper – This handy dandy tool makes it easier to chop up the meat into a much looser mixture.
Ninja Food Chopper Express or Cutting Board and Chef’s Knife
Spatula – especially helpful for scooping out and spreading the soup.
TACO TATER TOT CASSEROLE RECIPE
If you love this taco tater tot bake as much as I do, please write a 5 star review, and help me share the recipe on Facebook and Pinterest! If you make the recipe, be sure to share that you tried it on Pinterest. I love when readers share feedback!

CONNECT WITH ADVENTURES OF MEL!
Be sure to follow me on social, so you never miss a post!
Facebook | Pinterest | YouTube | Instagram | Twitter
Sign up to receive my newsletter, filled with delicious recipes and outdoor travel adventures, in your inbox:
Cheesy Delicious Taco Tater Tot Casserole

Cook up a deliciously cheesy taco tater tot casserole with ground beef, cheese, and all your favorite taco toppings. Family favorite dinner recipe.
- 1 tablespoon bacon grease (*)
- 2 cloves garlic (minced)
- 1/2 large yellow onion (chopped)
- 1 large bell pepper (chopped)
- 1 teaspoon lemon juice
- 1 tablespoon chili powder
- 1 teaspoon salt
- 1/2 teaspoon ground black pepper
- 1 pound ground beef
- 3 Roma tomatoes (chopped)
- 31 ounces chili beans
- 1 cup Monterey Jack cheese (shredded)
- 21 ounces nacho cheese soup
- 32 ounces tater tots
- 1 cup cheddar cheese (shredded)
Taco Toppings:
- 3 Roma tomatoes
- 3 green onions (chopped)
- 1 cup sour cream
- Pre-heat the oven to 350°F.
- In a large skillet, sauté the garlic, onion, and bell pepper in bacon grease (or olive oil) for 3 to 5 minutes, or until they begin to soften.
- Add the lemon juice, chili powder, salt, pepper, and ground beef, cooking until the meat is almost browned.
- Next stir in 2 to 3 chopped Roma tomatoes, browning the meat.
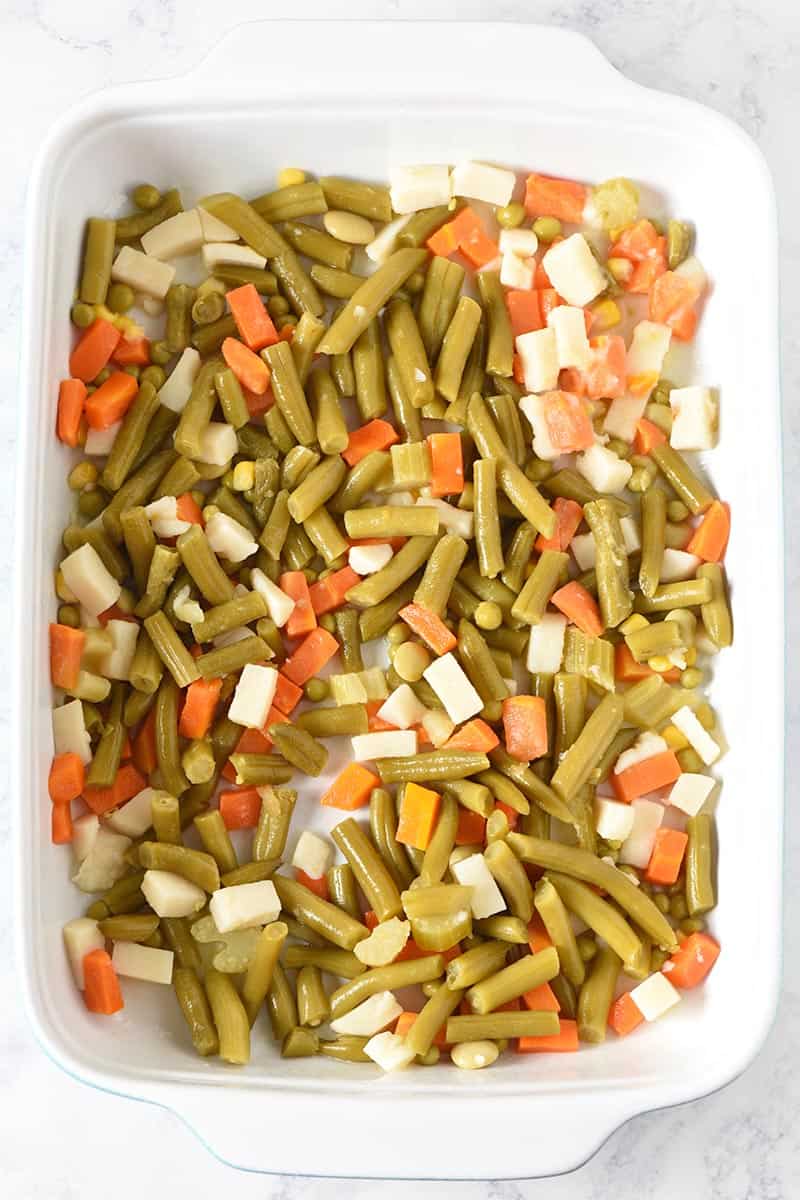
- Begin assembling the casserole by layering the chili beans in the bottom of your greased baking dish.
- Next layer the Monterey Jack cheese.
- Add the ground beef mixture as a third layer.
- Spread the soup over the ground beef mixture.
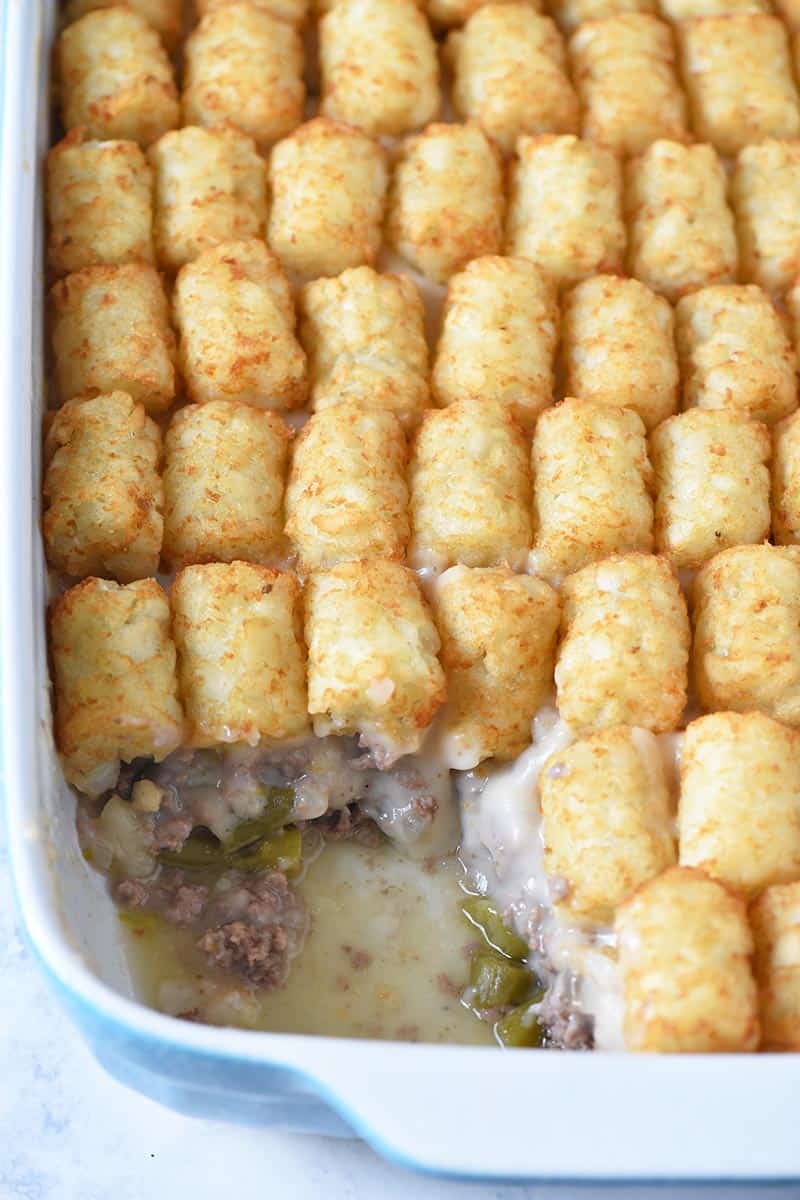
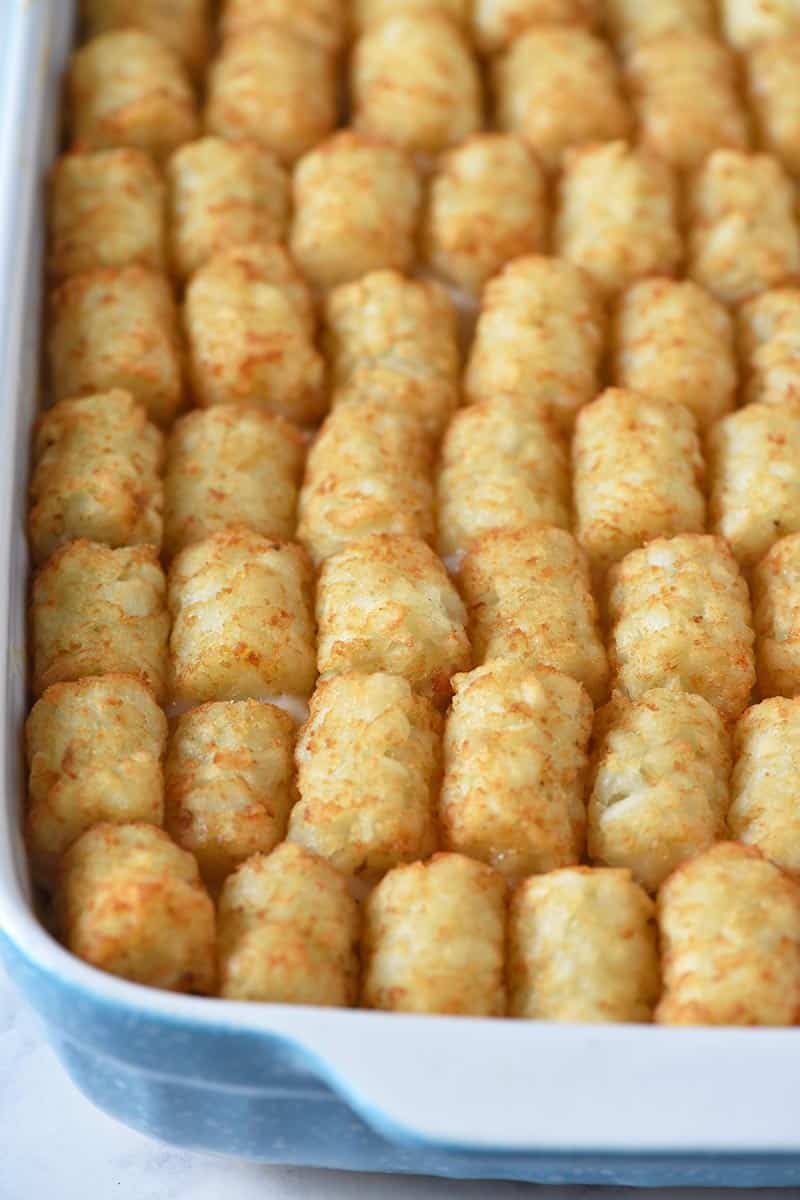
- Finally, add the tater tots to the top of the casserole.
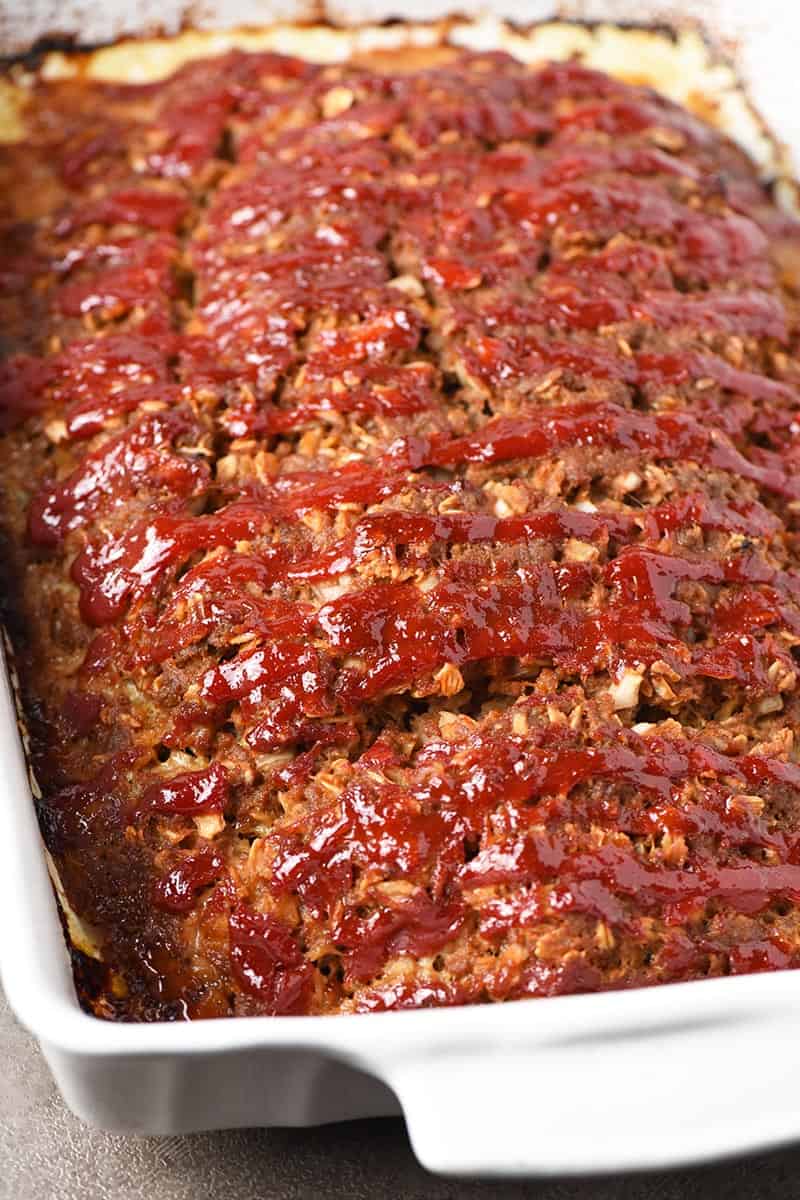
- Bake the casserole at 350°F for 45 minutes, or until the tots are golden brown and everything is cooked thru.
- Sprinkle on a final layer of cheddar cheese, and bake an additional 5 to 10 minutes, or until the cheese is melted.
- Serve with all your favorite taco toppings, including tomatoes, green onions, and sour cream.
*You can use olive oil instead, if preferred.