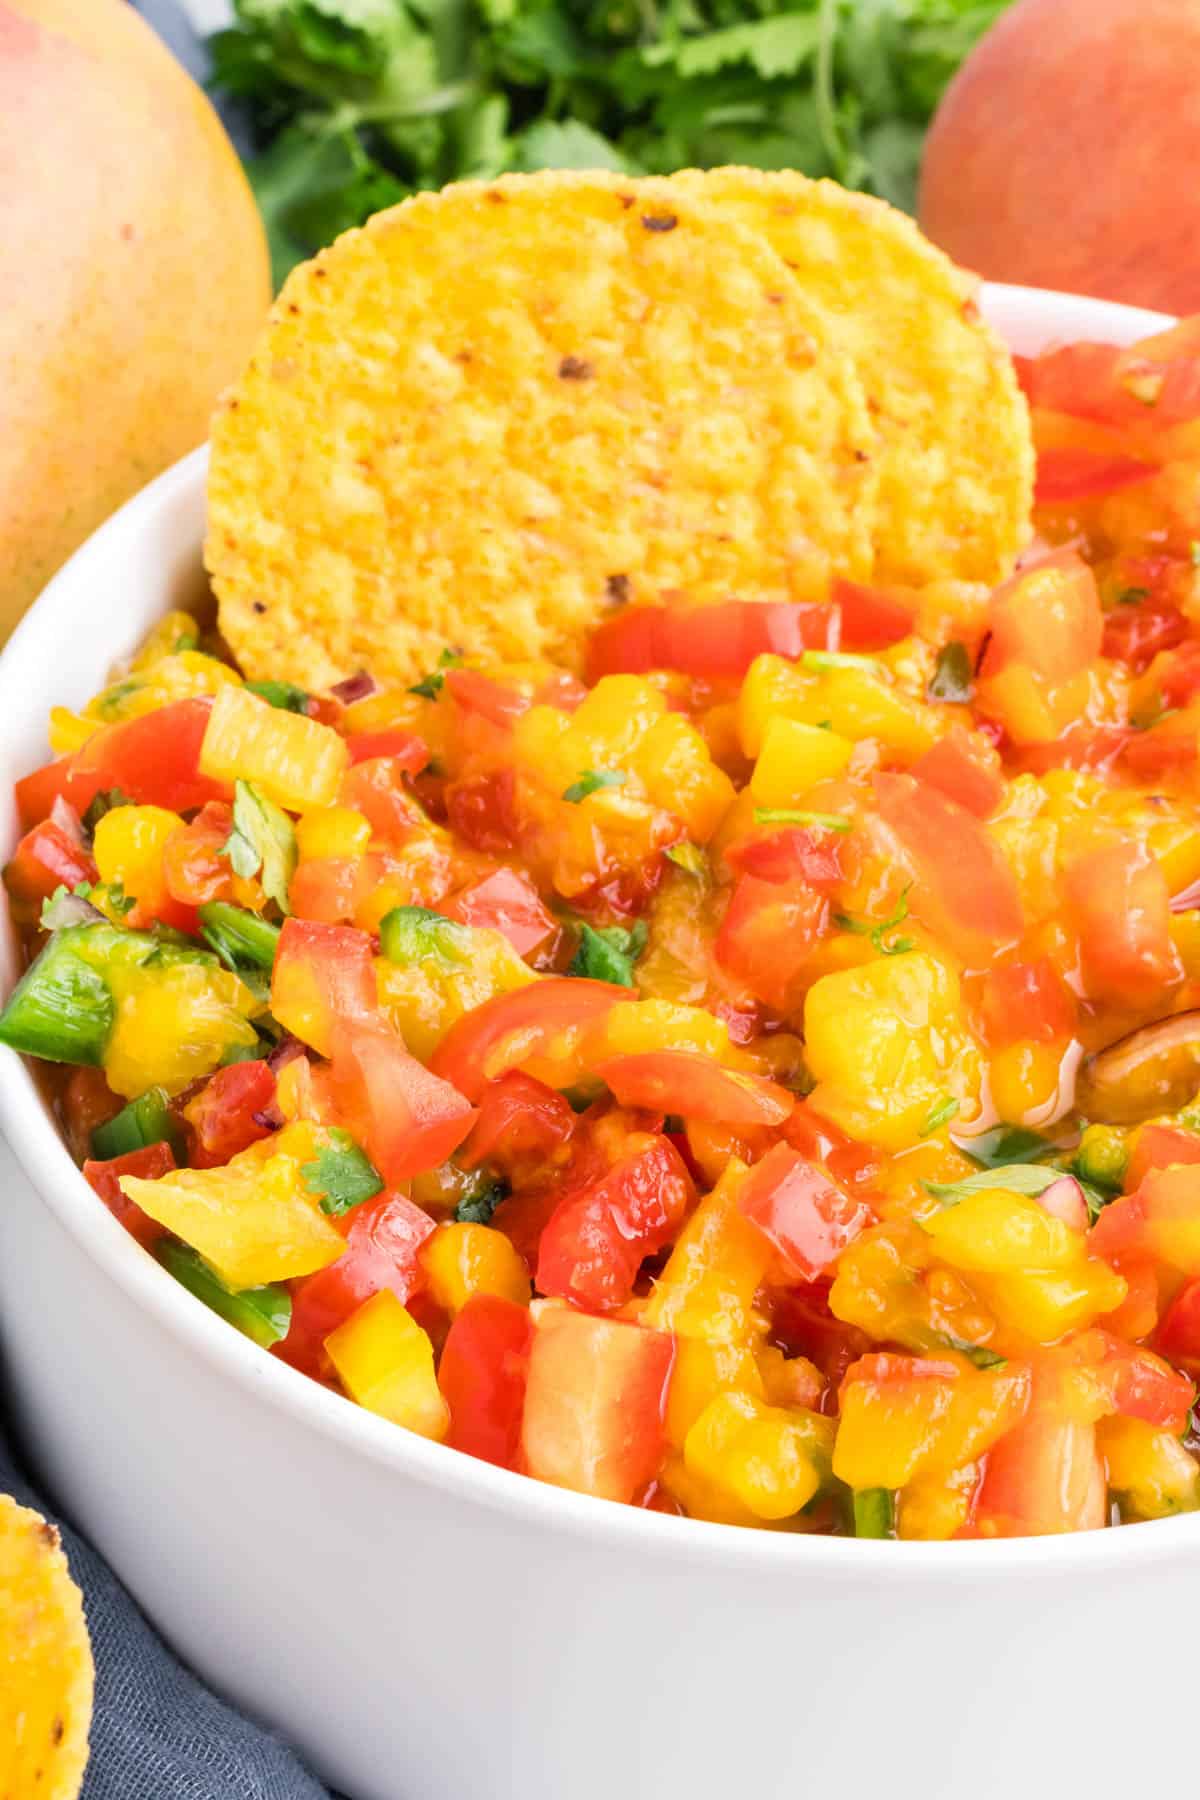
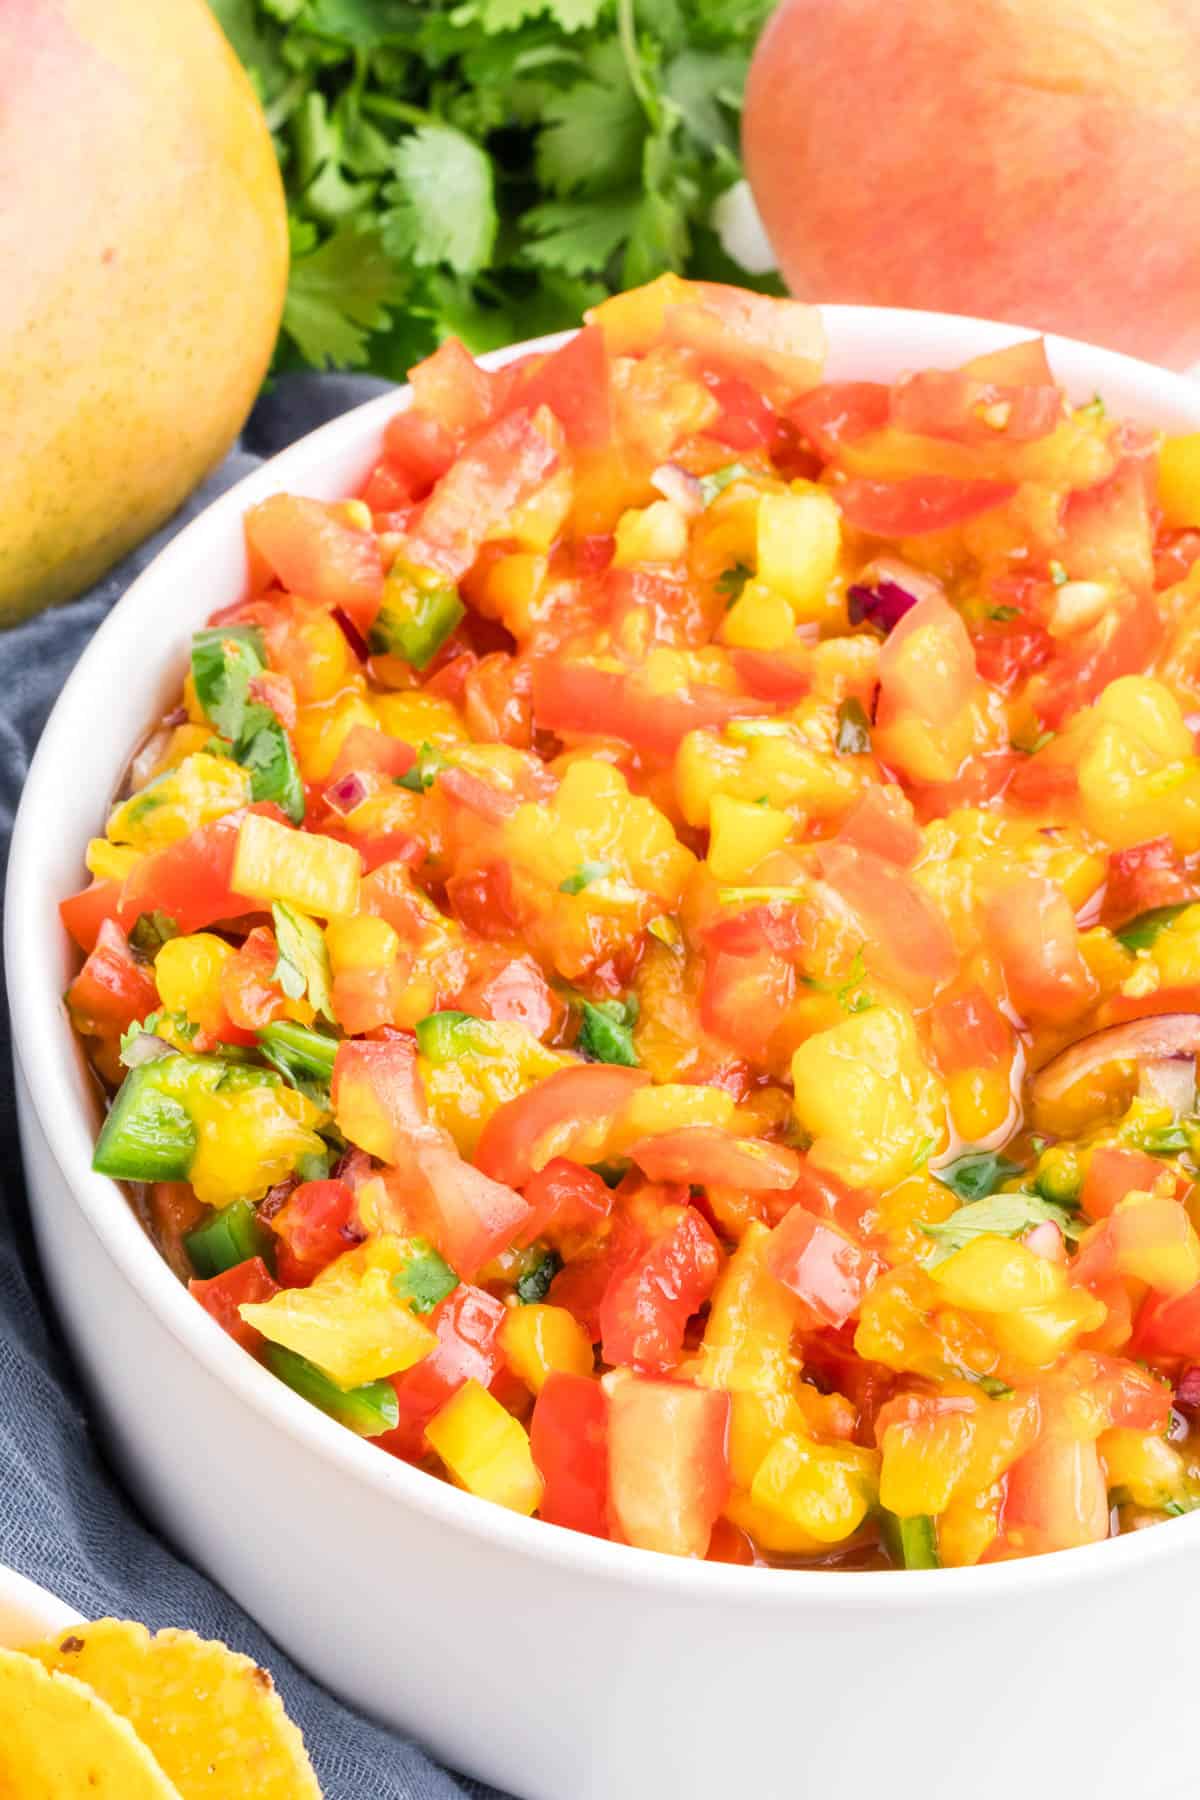
How to make a fresh and colorful mango peach salsa recipe from scratch. Sweet and savory, quick and easy side dish or appetizer with just the right amount of spice. This healthy and delicious spin on traditional salsa is perfect for the summer!
It’s no secret that my family loves a good fresh tomato salsa. I mean, I put up a TON of salsa every year with fresh ingredients right out of the garden, but sometimes regular old salsa just gets old. We love fruit salsa, but sometimes we want something that’s not quite as sweet!
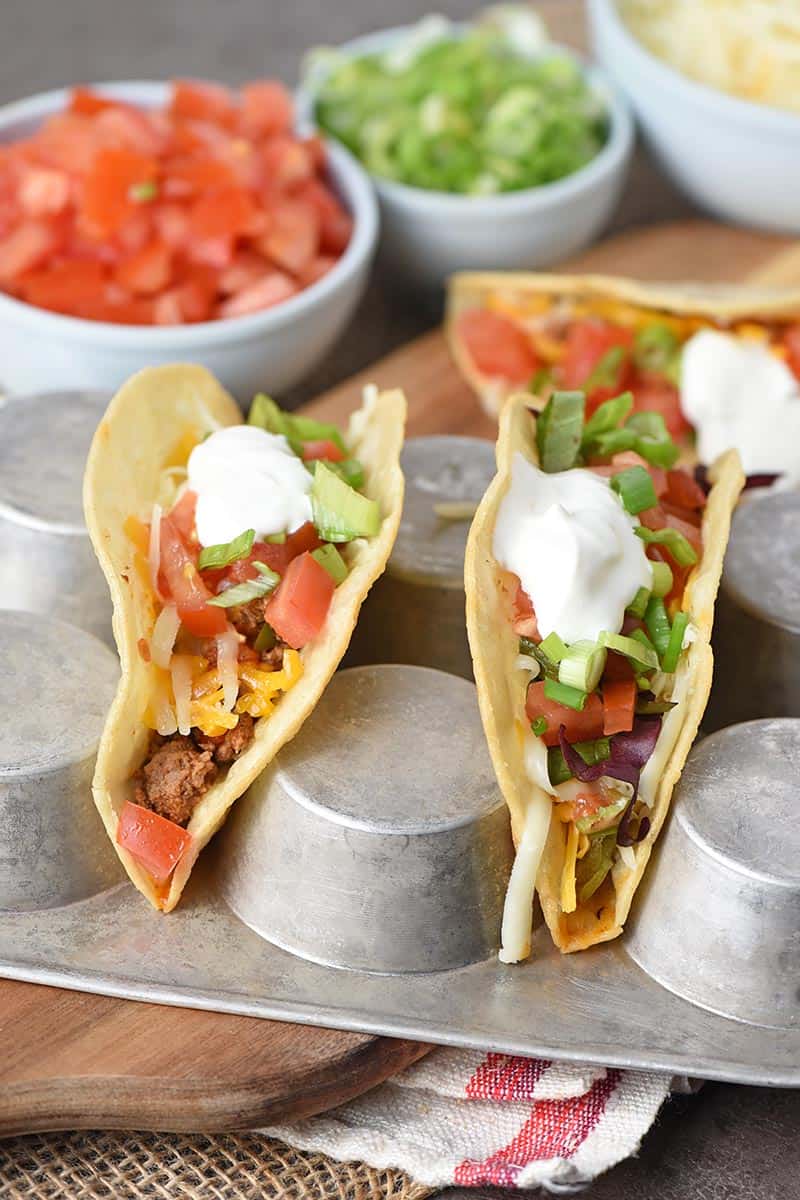
That’s where mango peach salsa comes in. This fruity spin on tomato salsa is a great way to change things up every now and again, and it’s really easy to make! Not only does it make a great party appetizer, but it also goes great on all the Tex-Mex fixins’, including ground beef tacos, Mexican pizza, chicken fajitas or chicken quesadillas.
Why You’ll Love This Fruit Salsa Recipe
- This recipe makes the easiest side dish or appetizer I know. It uses simple, budget-friendly ingredients that you can get at almost any local grocery store.
- Peach mango salsa is sweet and savory with just the right amount of spice. This fresh and colorful spin on traditional salsa will have everyone coming back for more!
- If you’re looking for a great Game Day snack or appetizer, then look no further. Everybody loves chips and salsa, and this recipe makes a quick, healthy snack that you can mix up in 15 minutes or less. This recipe is naturally gluten-free, dairy-free and vegan-friendly!
- It’s also great for parties, holidays, family gatherings and your favorite weeknight Tex-Mex meals.
- You can make peach mango salsa ahead of time. It will stay good for nearly a week in the refrigerator, and it freezes well. In fact, letting it set in the refrigerator for a few hours or overnight will significantly improve the flavor.
- It’s great for kids! My kids will absolutely devour a jar of fruit salsa any time, anywhere.
- You don’t have to use peaches and mangos for this recipe. In fact, you can use in any fruit or veggie you want. Fruit salsa is so versatile!
Ingredients & Substitutions Notes
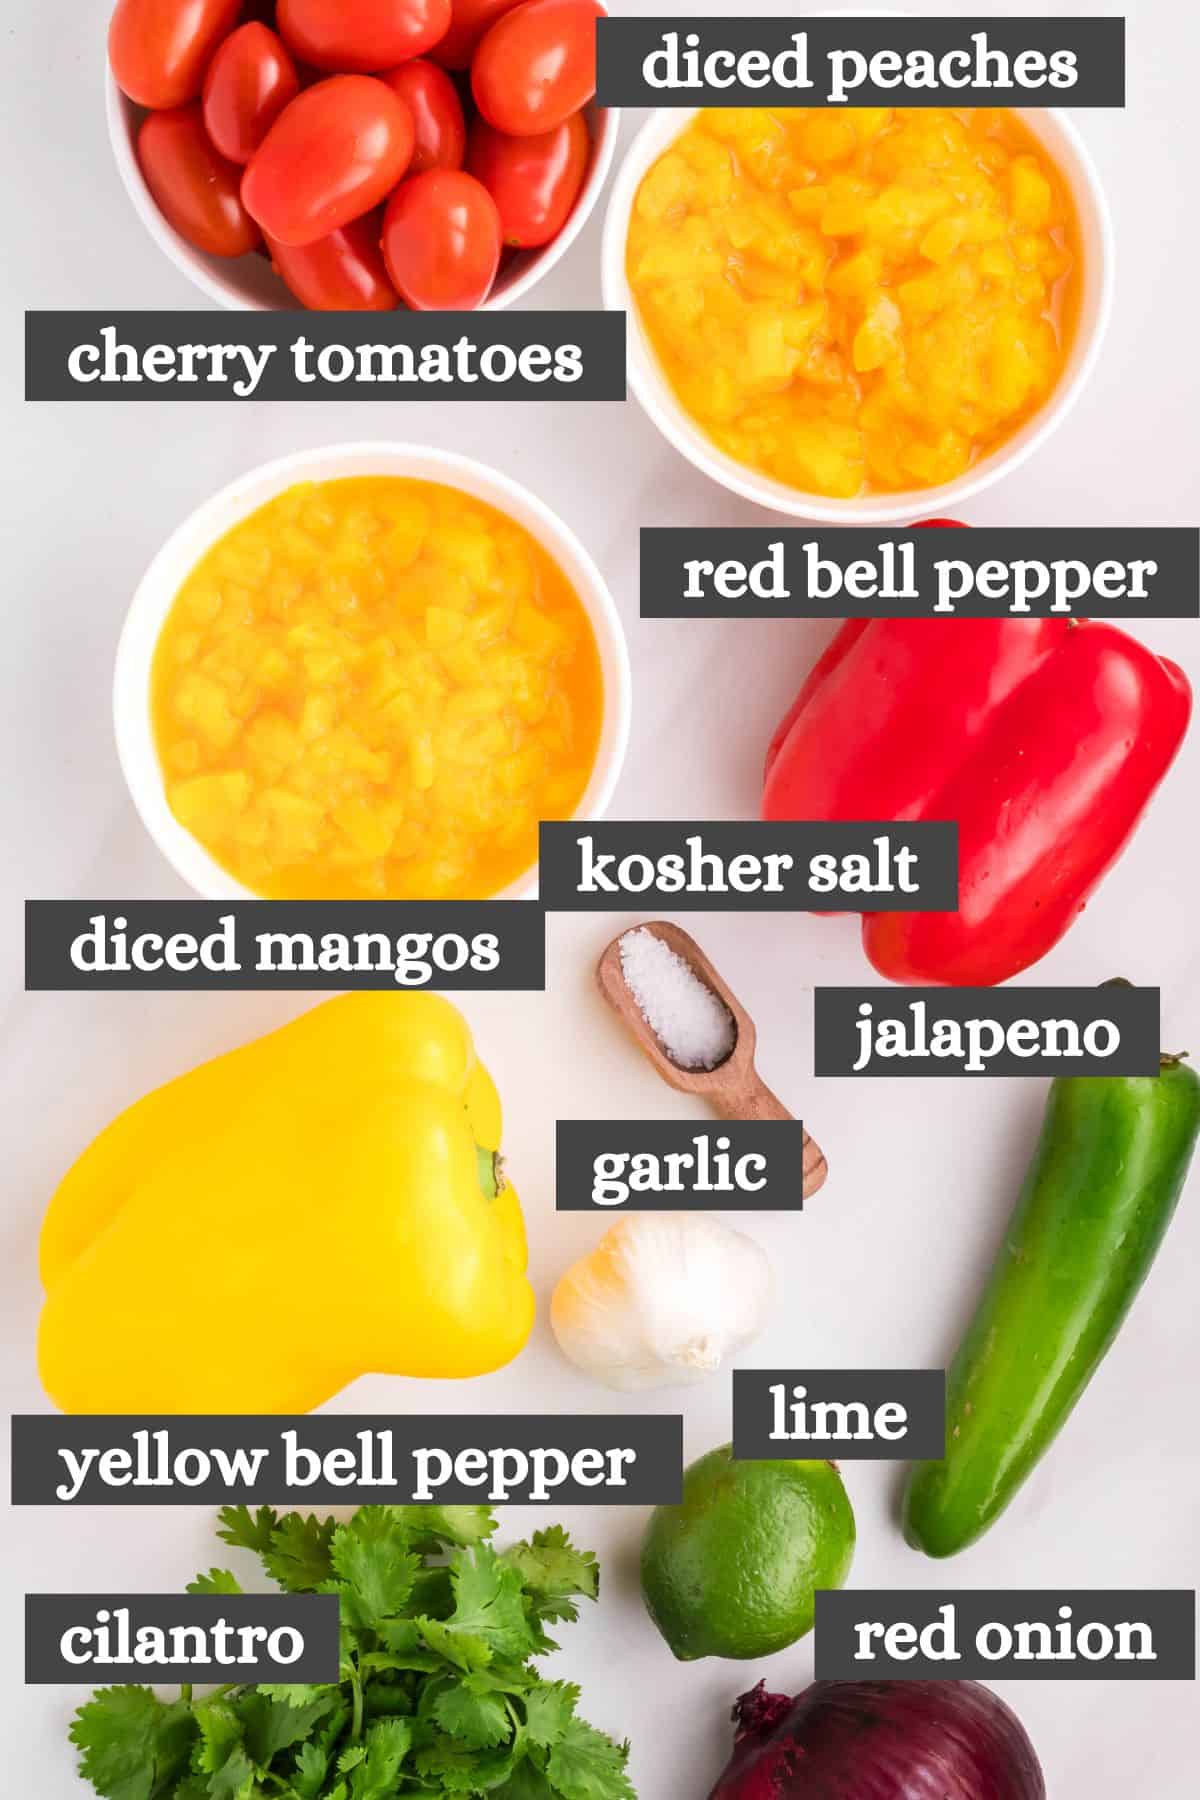
This recipe uses pretty simple ingredients. You may already have most of what you need on hand…
- Peaches & Mangos – You can use fresh, frozen or canned fruit for this recipe. For the sake of ease I usually just use canned peaches and mangos. No washing, no peeling and really no fuss.
- Cherry Tomatoes – I prefer to use diced cherry tomatoes in fruit salsa. The higher sugar content in cherry tomatoes actually pairs really well with the sweetness of most fruits. If you can’t find cherry tomatoes, both grape tomatoes and roma tomatoes work good too.
- Bell Peppers – You can actually use whatever peppers you want, but I prefer red and yellow bell peppers for their extra sweetness.
- Red Onion – Red onions work best for this recipe. They have beautiful color and a mild flavor, which makes them a good pick for most recipes that call for fresh onion.
- Jalapenos – I like to toss in a couple of seeded and diced up, fresh jalapeño peppers for just a hint of spice. If you don’t care for spicy foods, you can choose to omit them entirely. You can also add diced serrano peppers, chile peppers, habanero peppers, chipotle peppers, poblano peppers and even banana peppers. If you prefer sweet over spicy, maybe go for mini sweet peppers instead. Get creative!
- Cilantro – Fresh cilantro gives the best flavor, but you can also substitute dried cilantro if that’s all you have on hand. If you use dried cilantro, remember to use roughly half of what you would use fresh. This recipe calls for 4 tablespoons of fresh cilantro, so you would want to use 2 tablespoons of dried cilantro.
- Juiced Lime – The juice from 1/2 of a fresh lime adds great zesty flavor to just about any fruit salsa. Although fresh limes are usually better, you can also just use about 1 tablespoon of bottled lime juice instead.
- Kosher Salt – I like to use a coarse kosher salt for this recipe. The larger crystal size takes longer to dissolve into the salsa, which can help to distribute the salt more uniformly.
- Garlic Cloves – You’ll need to mince up a couple garlic cloves for this peach and mango salsa. Sometimes I cheat and use already minced garlic from the store instead.
How to Make Mango Peach Salsa
Peach and mango salsa is pretty easy to make. It never takes more than about 15 minutes…
Prepping the Ingredients
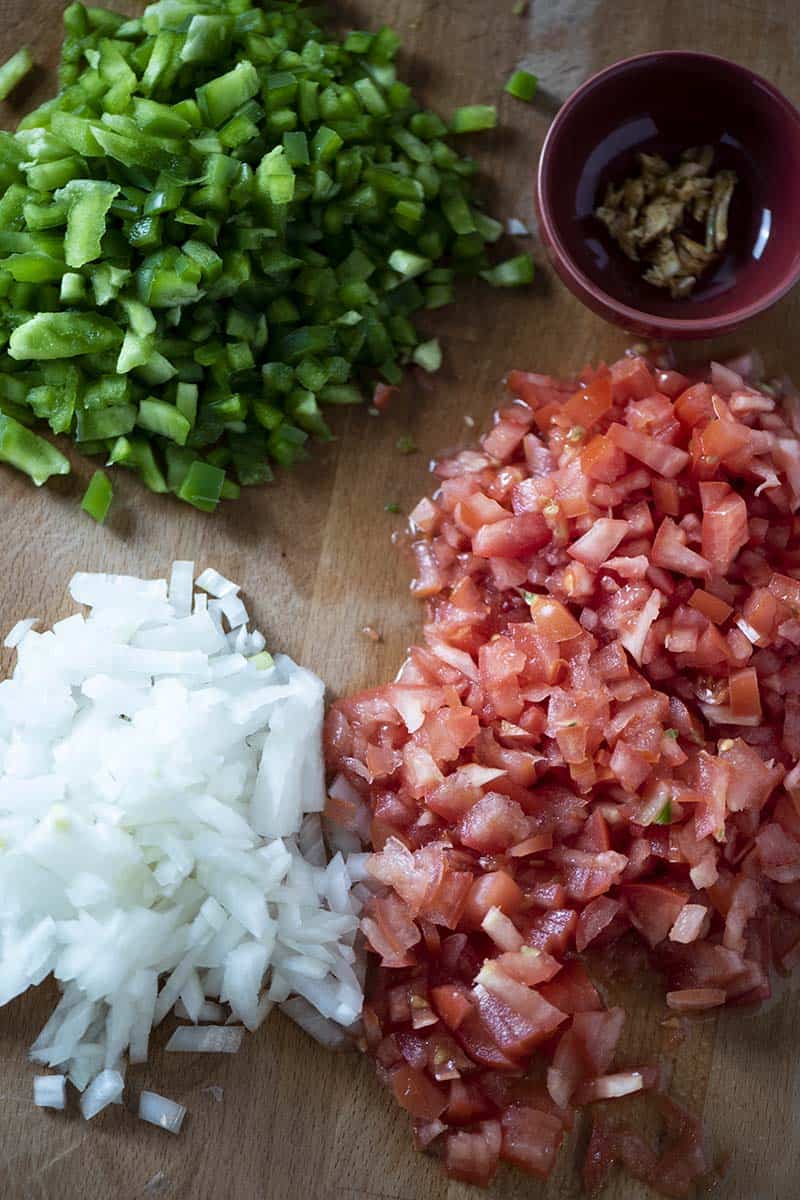
Before getting started, the peaches, mangos, cherry tomatoes, bell peppers, red onion, jalapenos, cilantro and garlic cloves will all need to be finely diced with a large knife or vegetable chopper. If you don’t know how to dice, here’s a handy guide on how to cut a pepper, which includes step by step instructions for dicing just about any fruit or veggie on a cutting board. Of course, you can also just pulse everything a few times in a food processor if you have one.
Don’t forget to slice your bell peppers and jalapeno peppers in half and use a spoon to scrape the seeds out before you dice them up! You can skip this step if you prefer a spicier salsa.
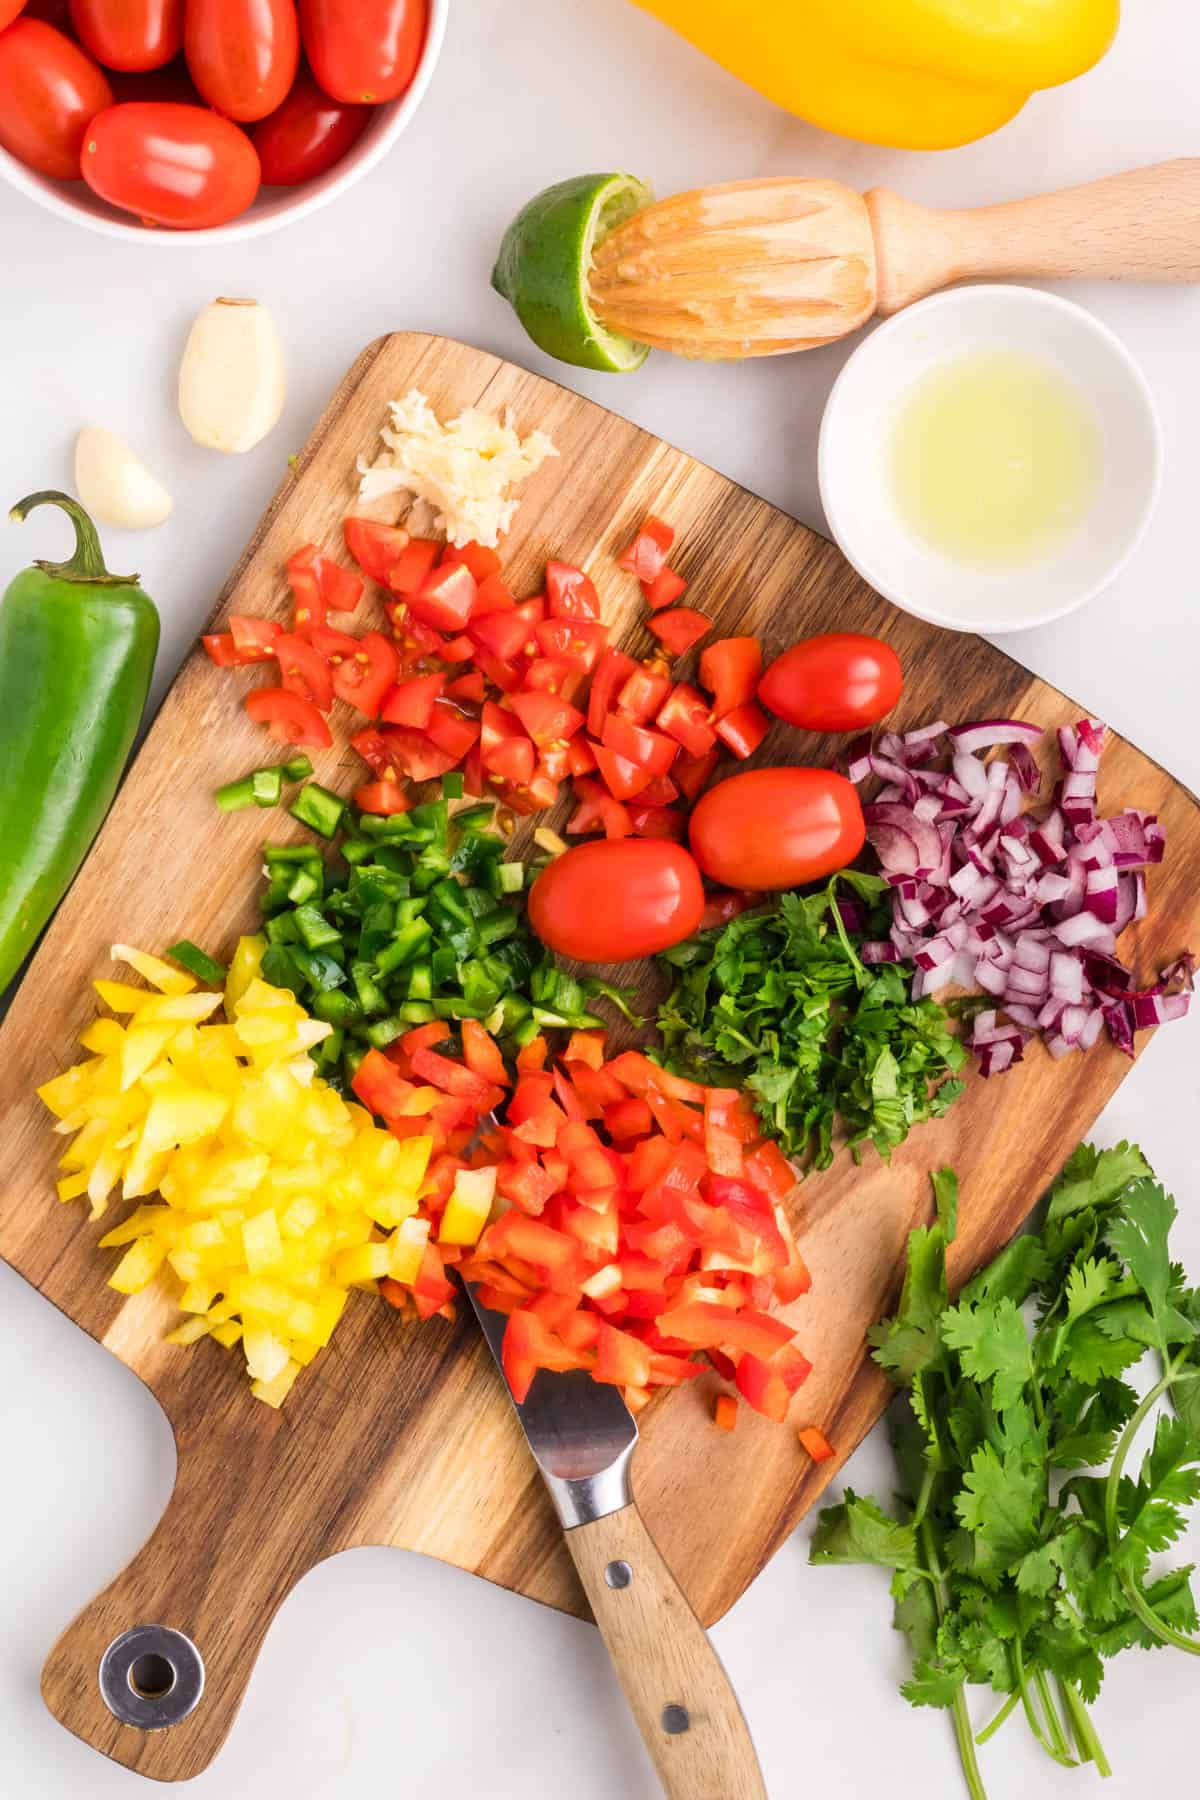
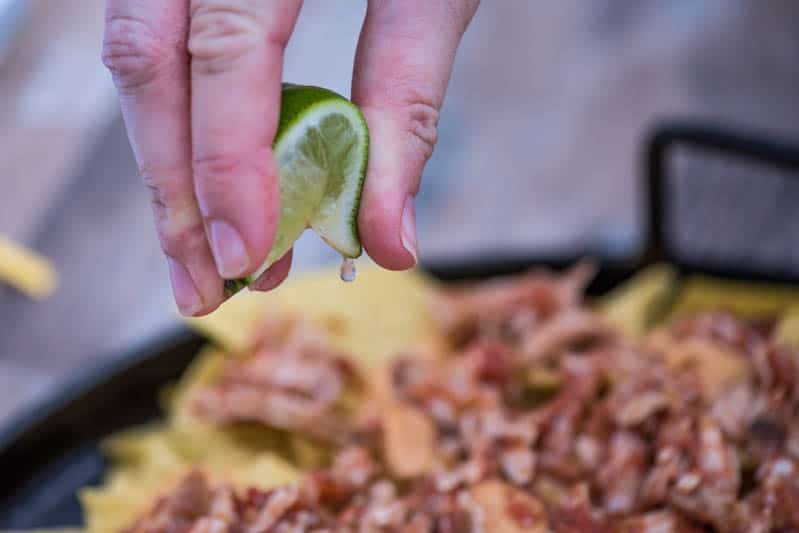
Last but not least, you’ll also need to squeeze out the juice from 1/2 of a fresh lime. If you don’t know how, here’s a great guide on how to juice a lime. It’s super easy!
How to Make the Salsa
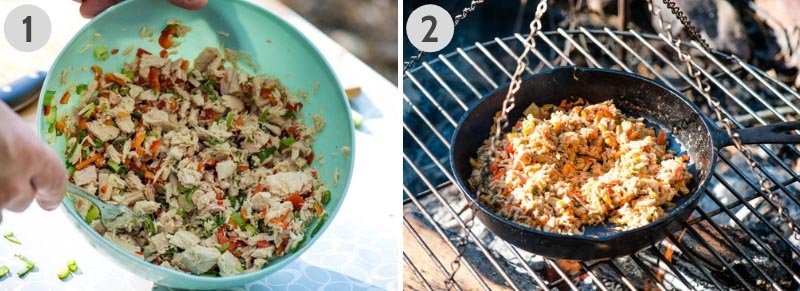
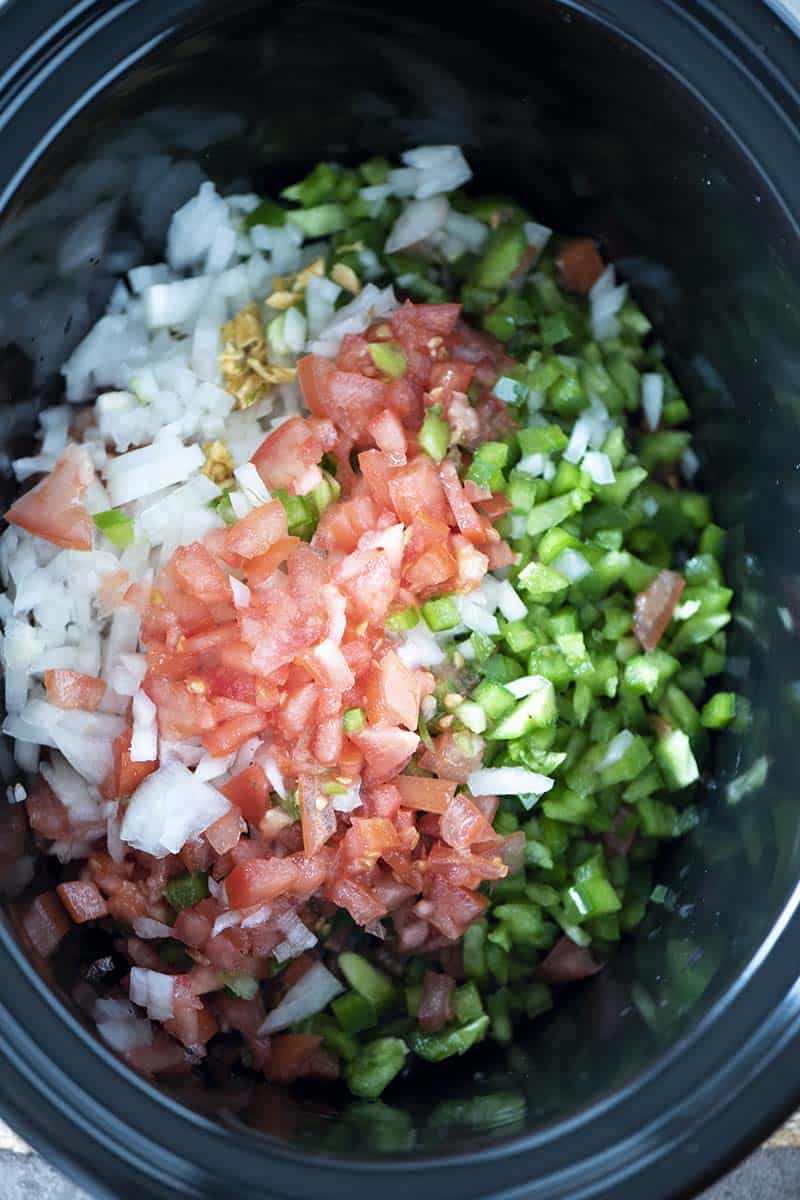
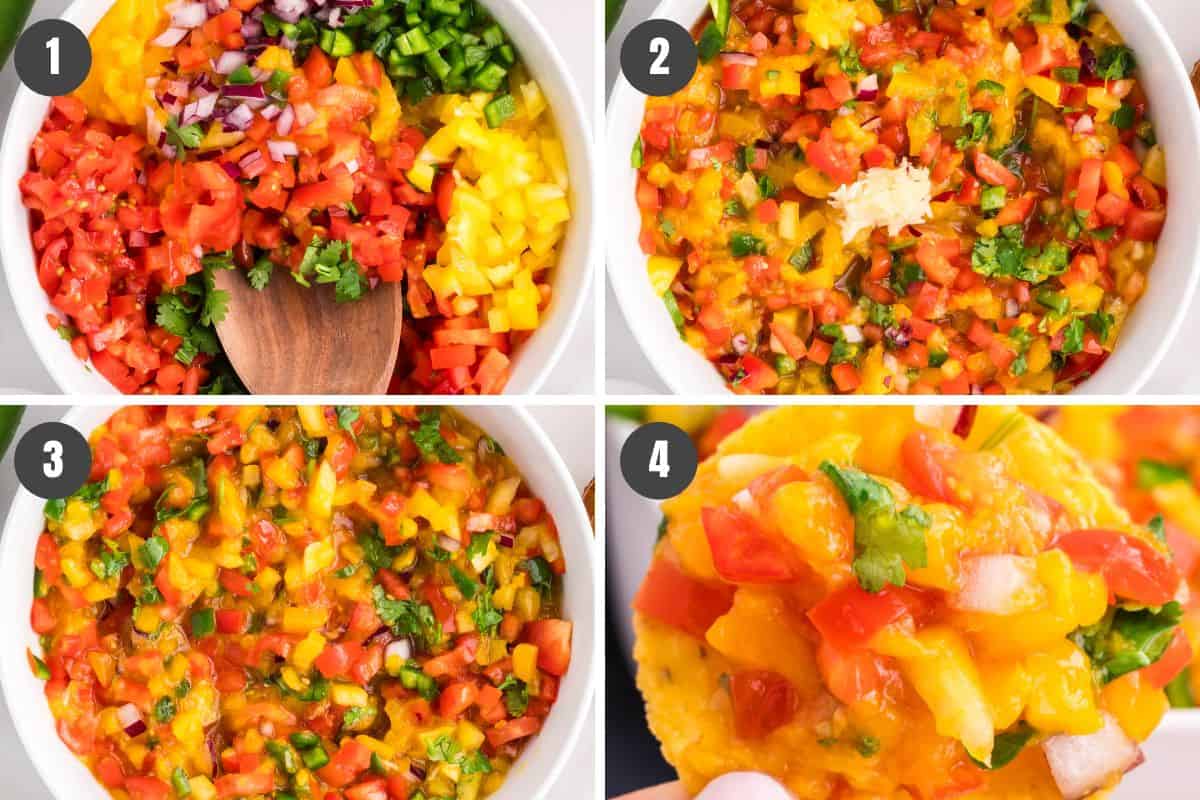
- Once you’ve gotten all of your ingredients prepped, add everything, excluding the minced garlic, to a large mixing bowl. Stir everything together with a large wooden spoon, ’til all of the ingredients have come together.
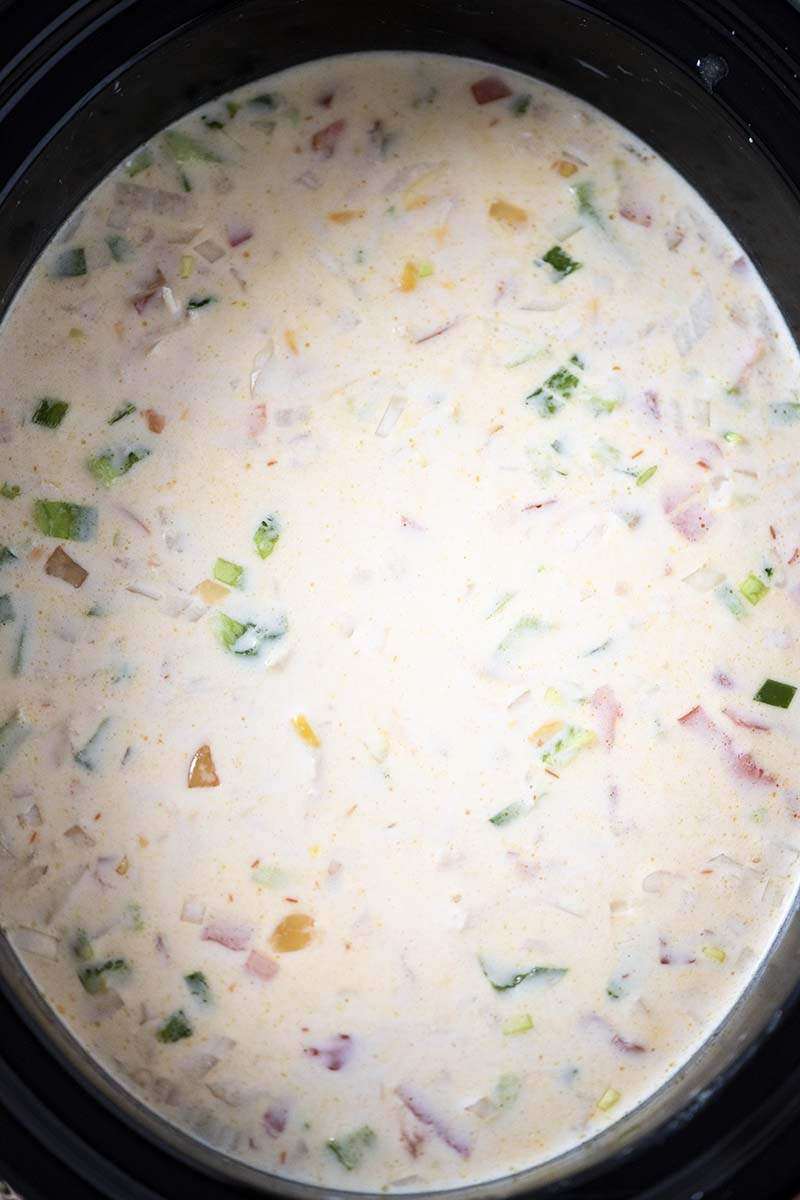
- Next, go ahead and add your minced garlic to the large bowl and mix again until everything is fully combined.
- Be sure to give it a taste test after you’ve mixed everything together. You can add more salt, lime juice or jalapeno peppers to taste, as needed.
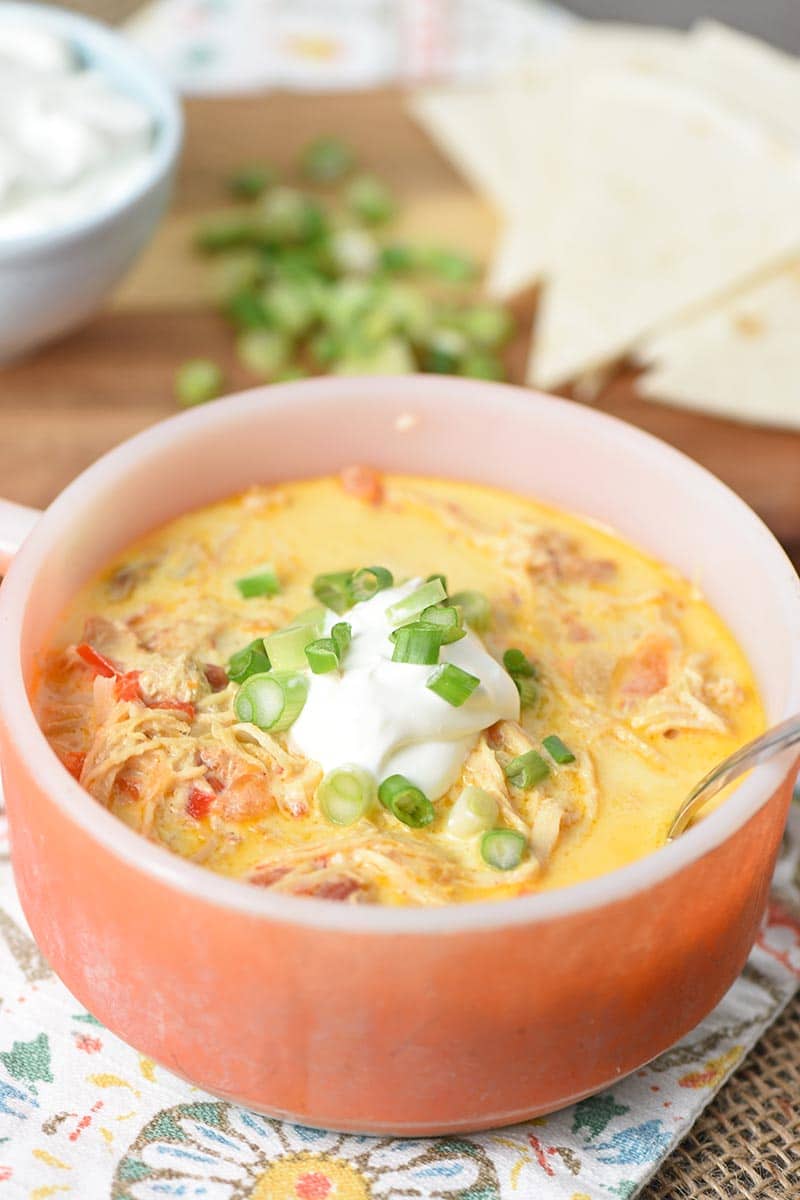
- Serve and enjoy with your favorite crackers or tortilla chips! This is the best peach mango salsa, and it makes the perfect snack, side dish or appetizer to feed a crowd.
What to Serve with Mango Peach Salsa
Don’t know how to serve peach mango salsa? Here are some ways that my family likes to serve it…
- Mango peach salsa makes the best Game Day or party appetizer served up with your favorite crackers or tortilla chips. If you’re looking for more appetizer recipes, you can also make apple cheese and crackers snacks, bacon wrapped apples, dill pickle ham rollups and chicken dip pinwheels to go with it!
- Did you know that fruit salsa can make a great topping for garlic parmesan chicken skewers? Better yet, try adding it to these maple bourbon marinated grilled shrimp kabobs!
- It also makes a great topping for maple pork chops, pork tenderloin, baby back ribs, oven-baked chicken drumsticks and grilled fish filets.
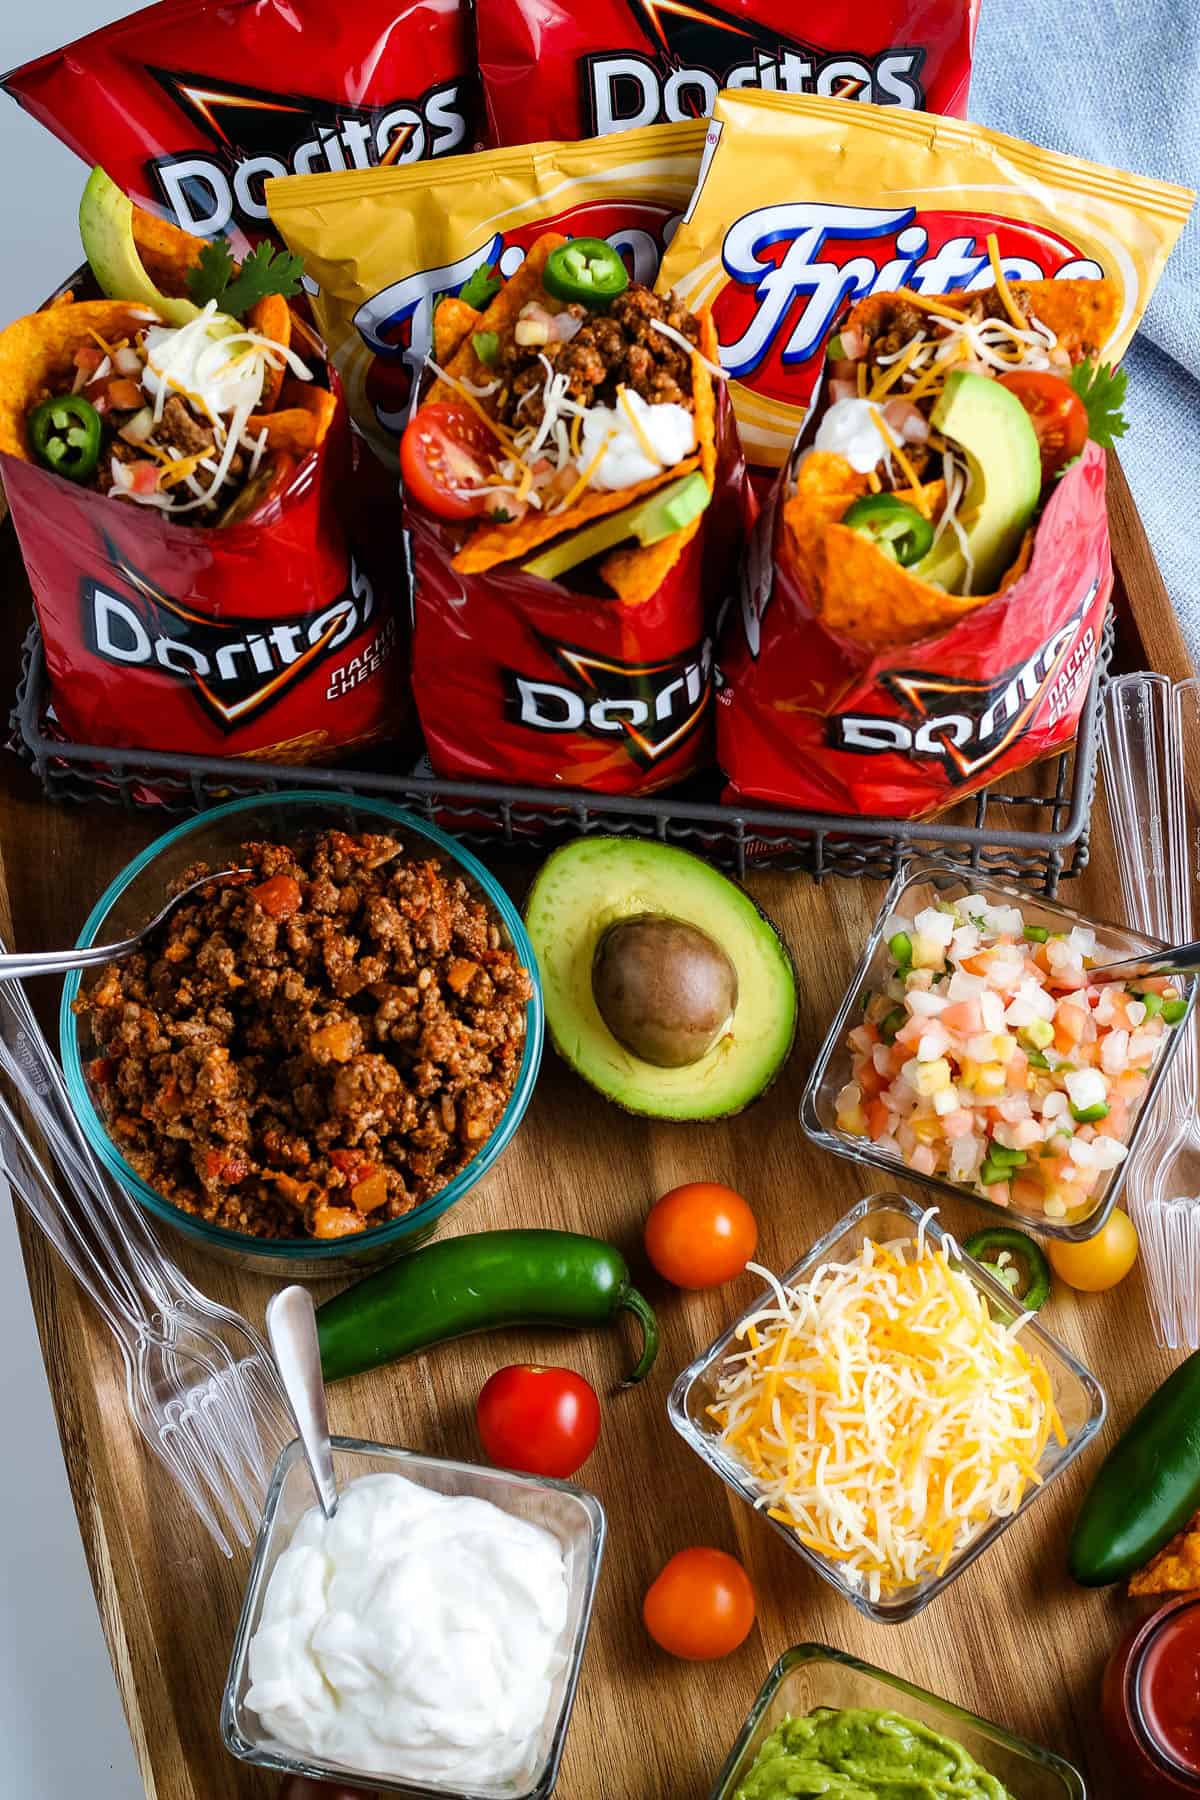
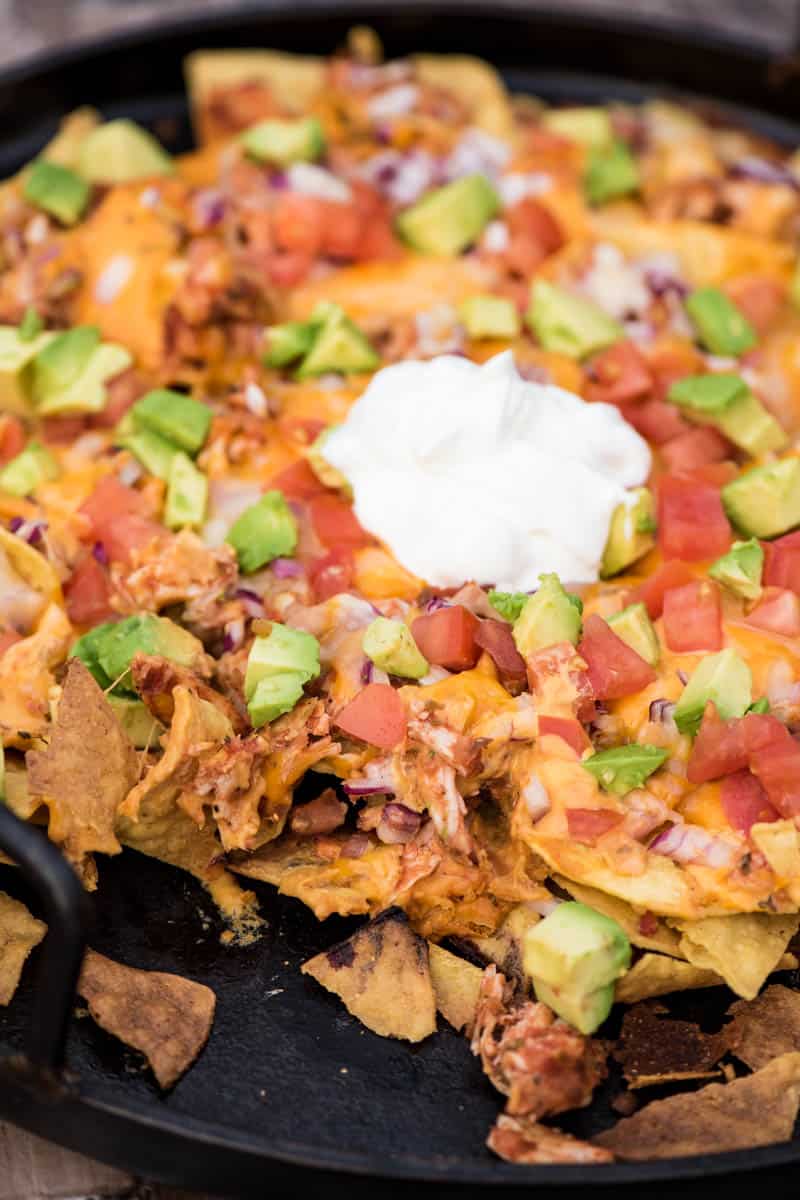
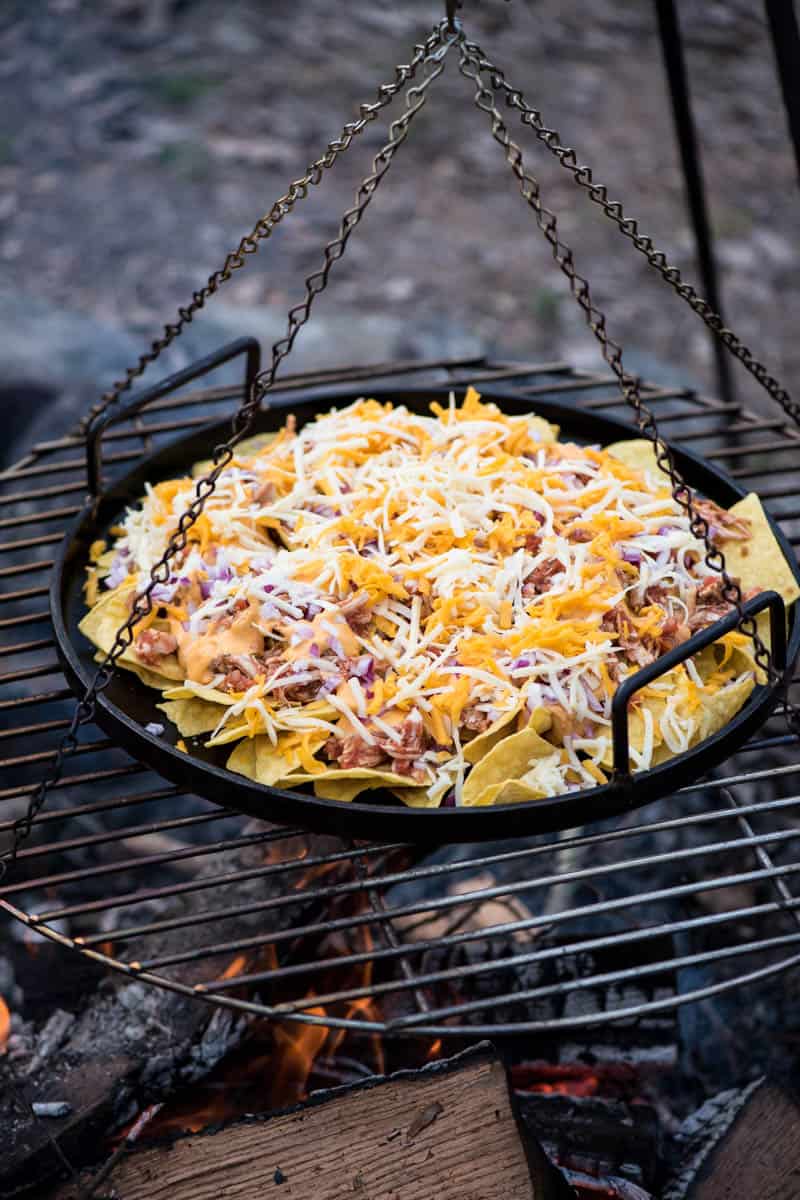
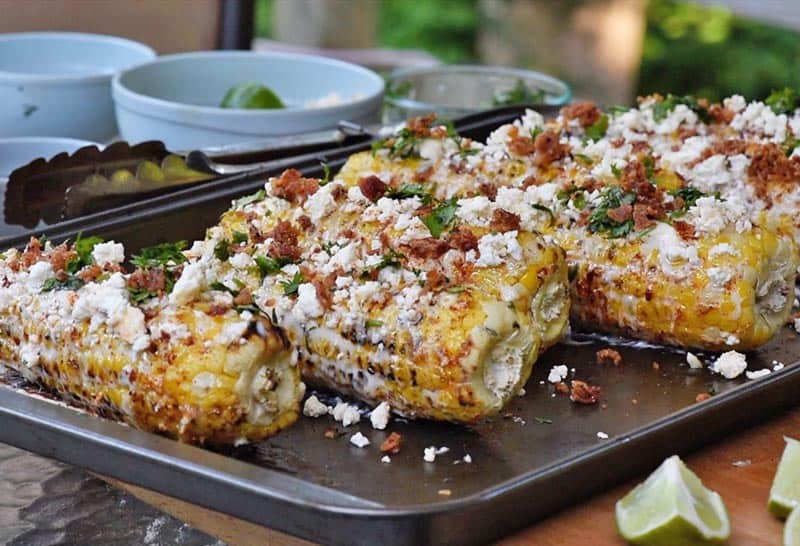
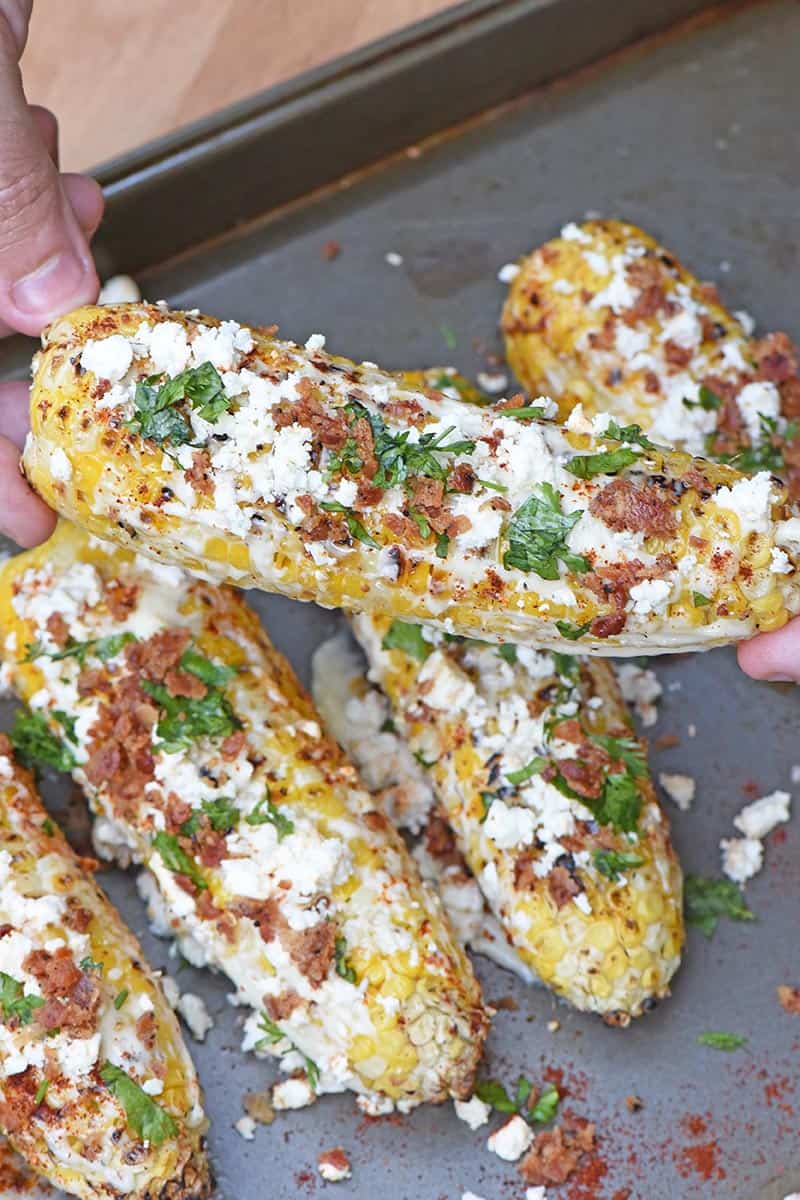
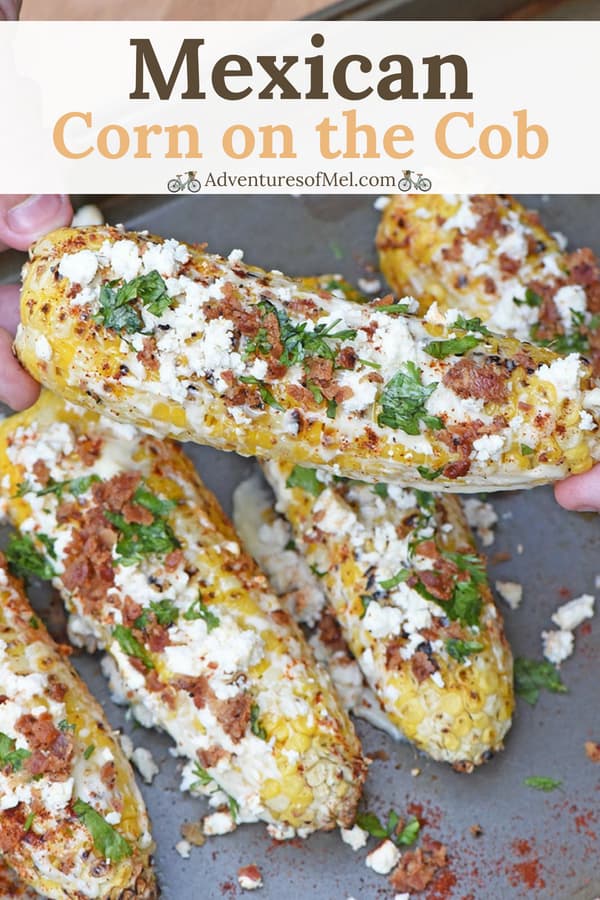
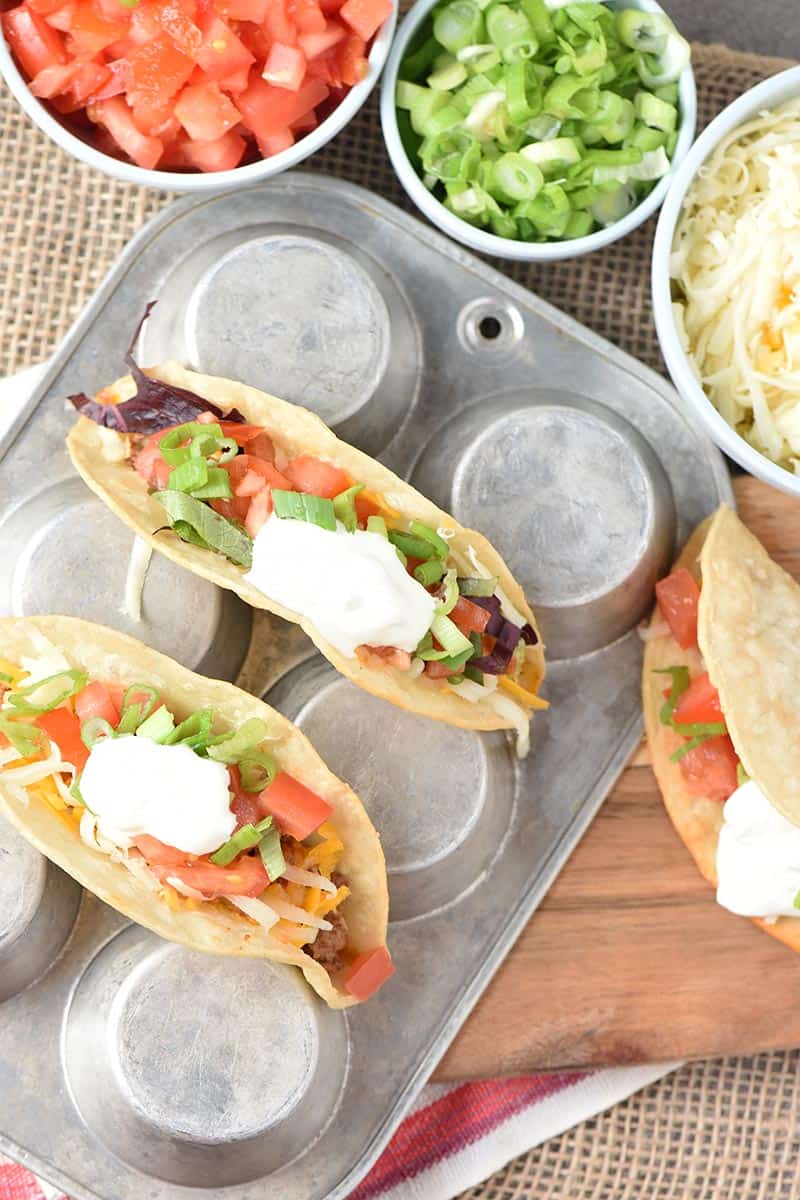
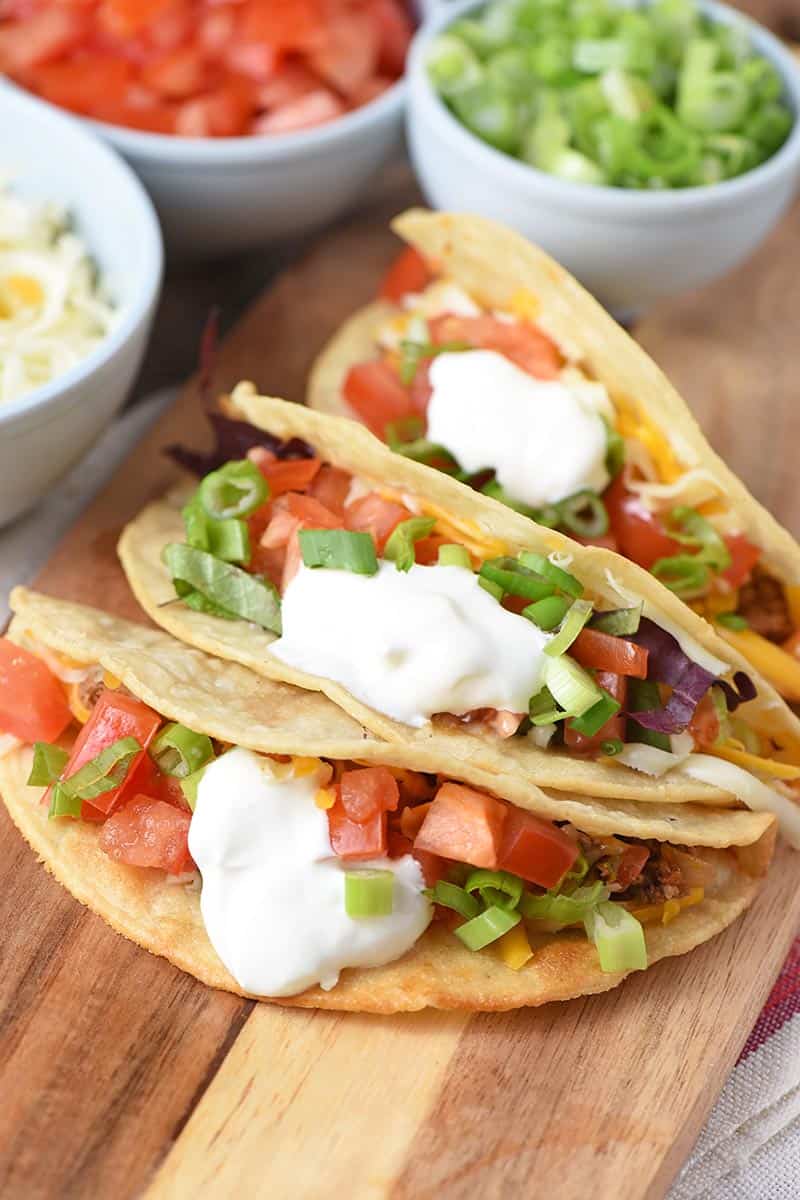
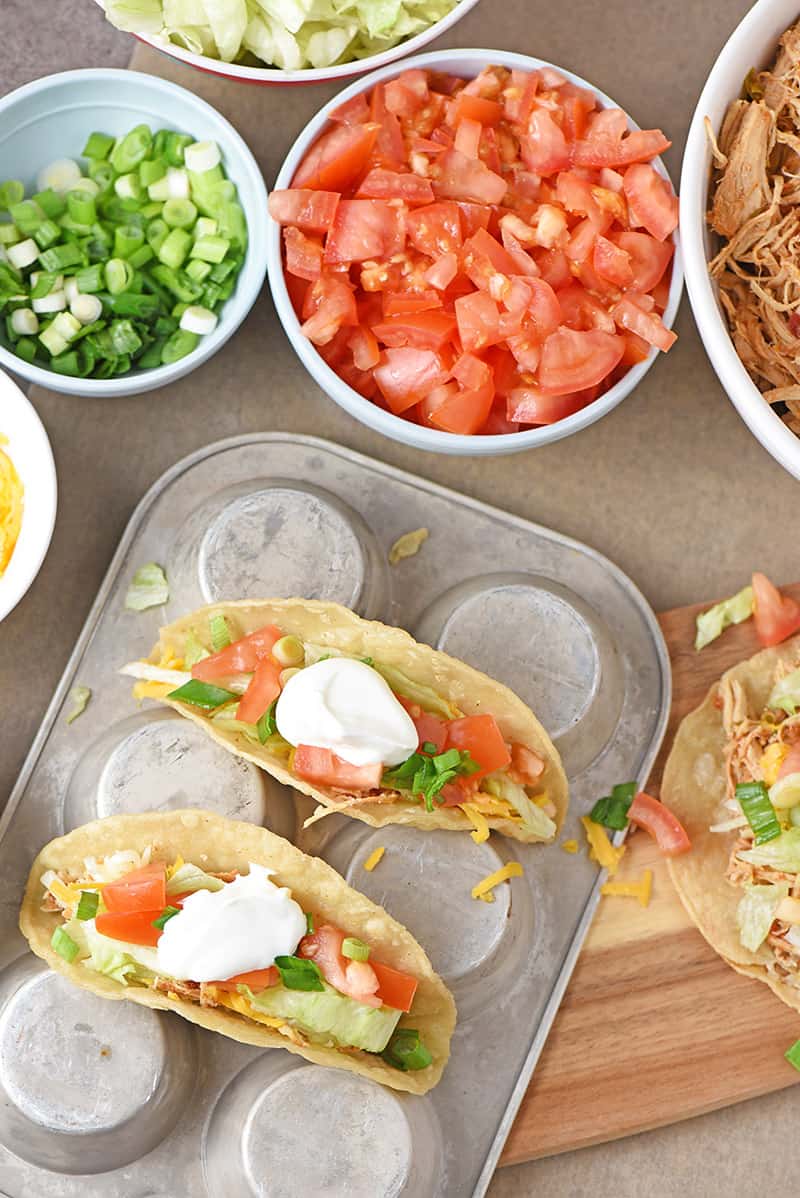
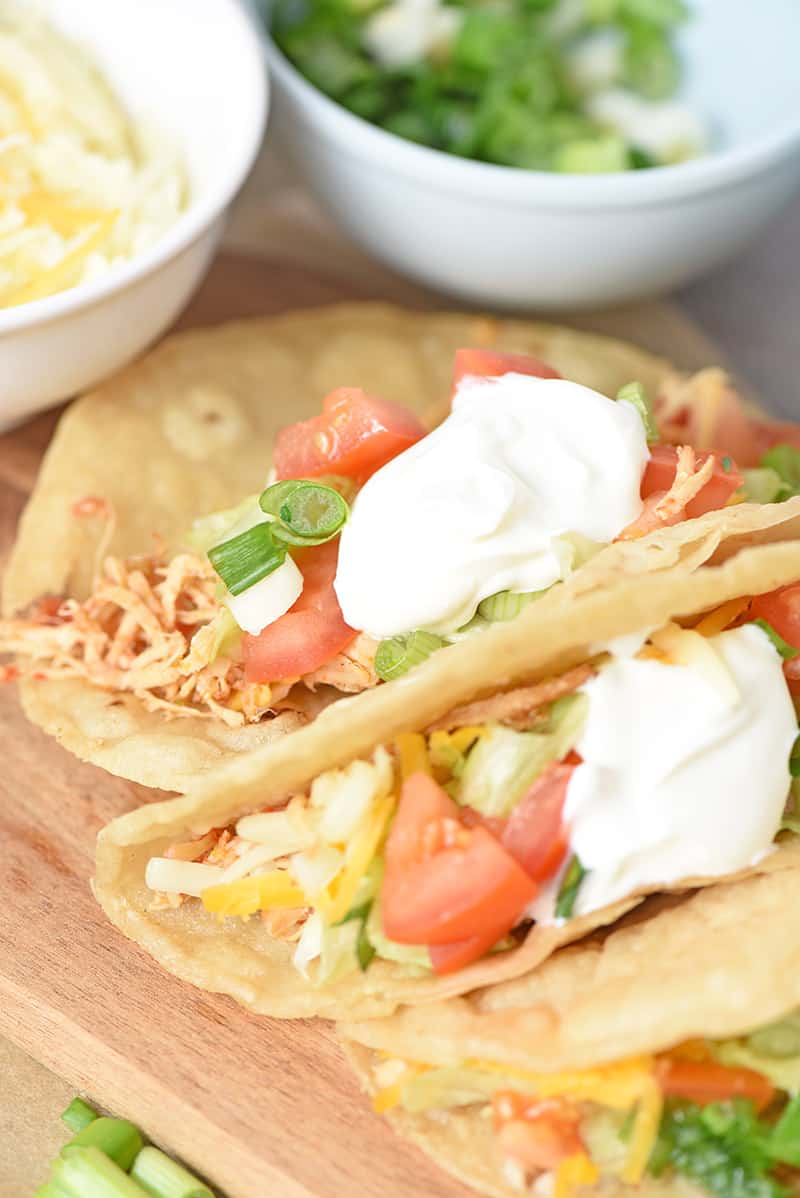
- Like I stated at the top of this post, peach and mango salsa makes the best topping for all the Tex-Mex fixins’. You’ll love it on these easy taco bites, taco stuffed peppers, Mexican corn on the cob, chicken tacos and even fish tacos! It also goes great with my favorite chicken and hummus loaded nachos recipe.
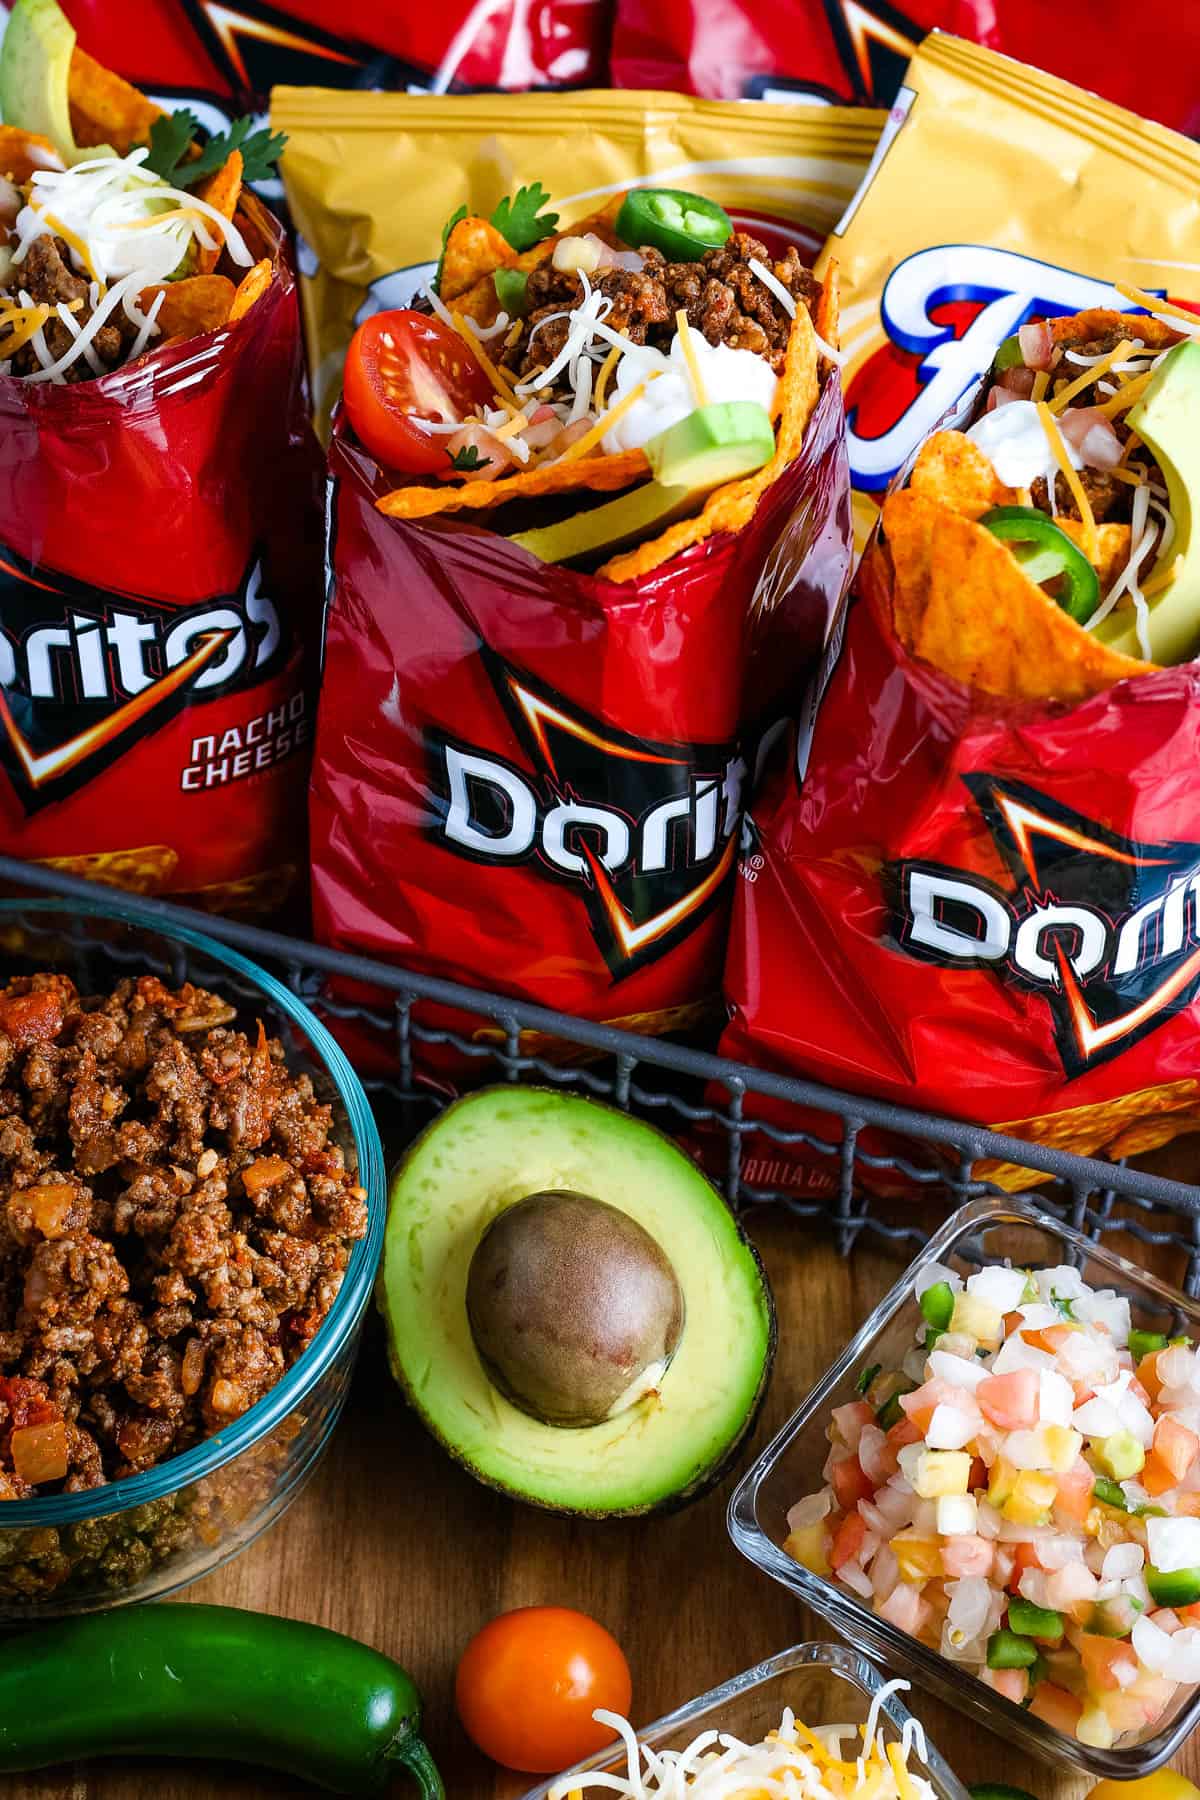
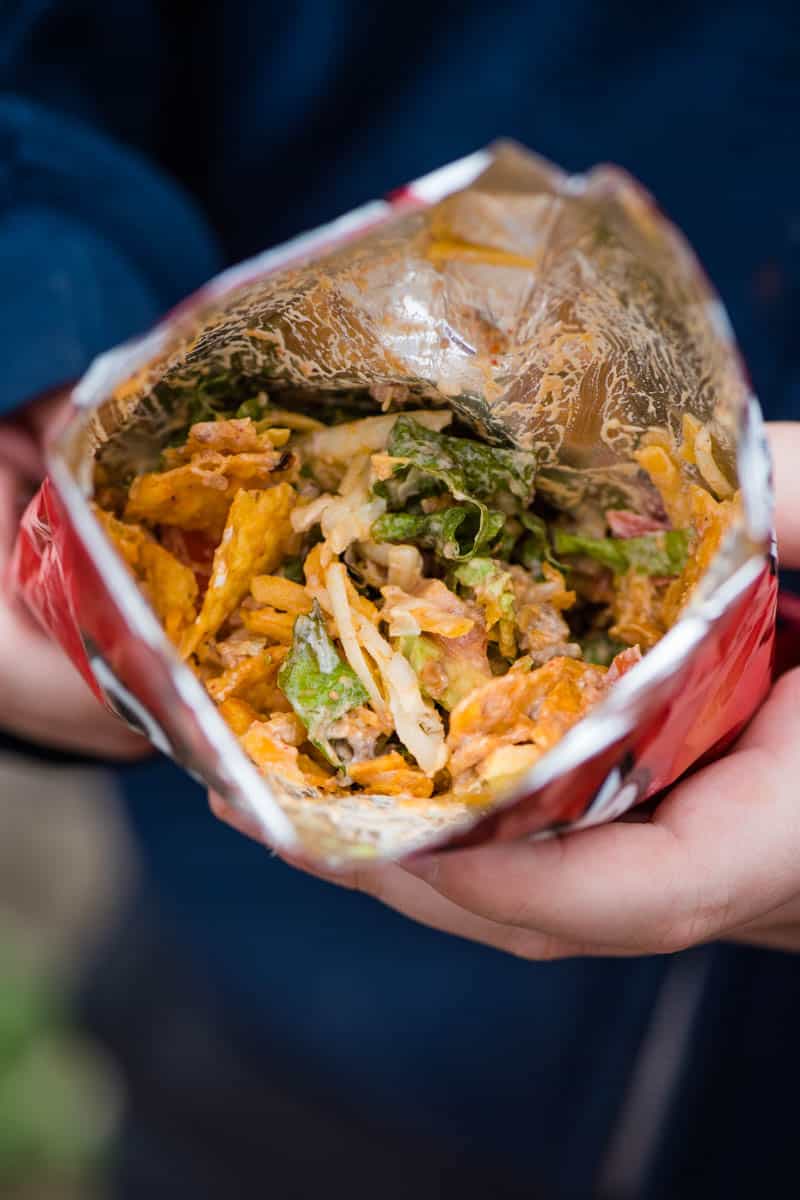
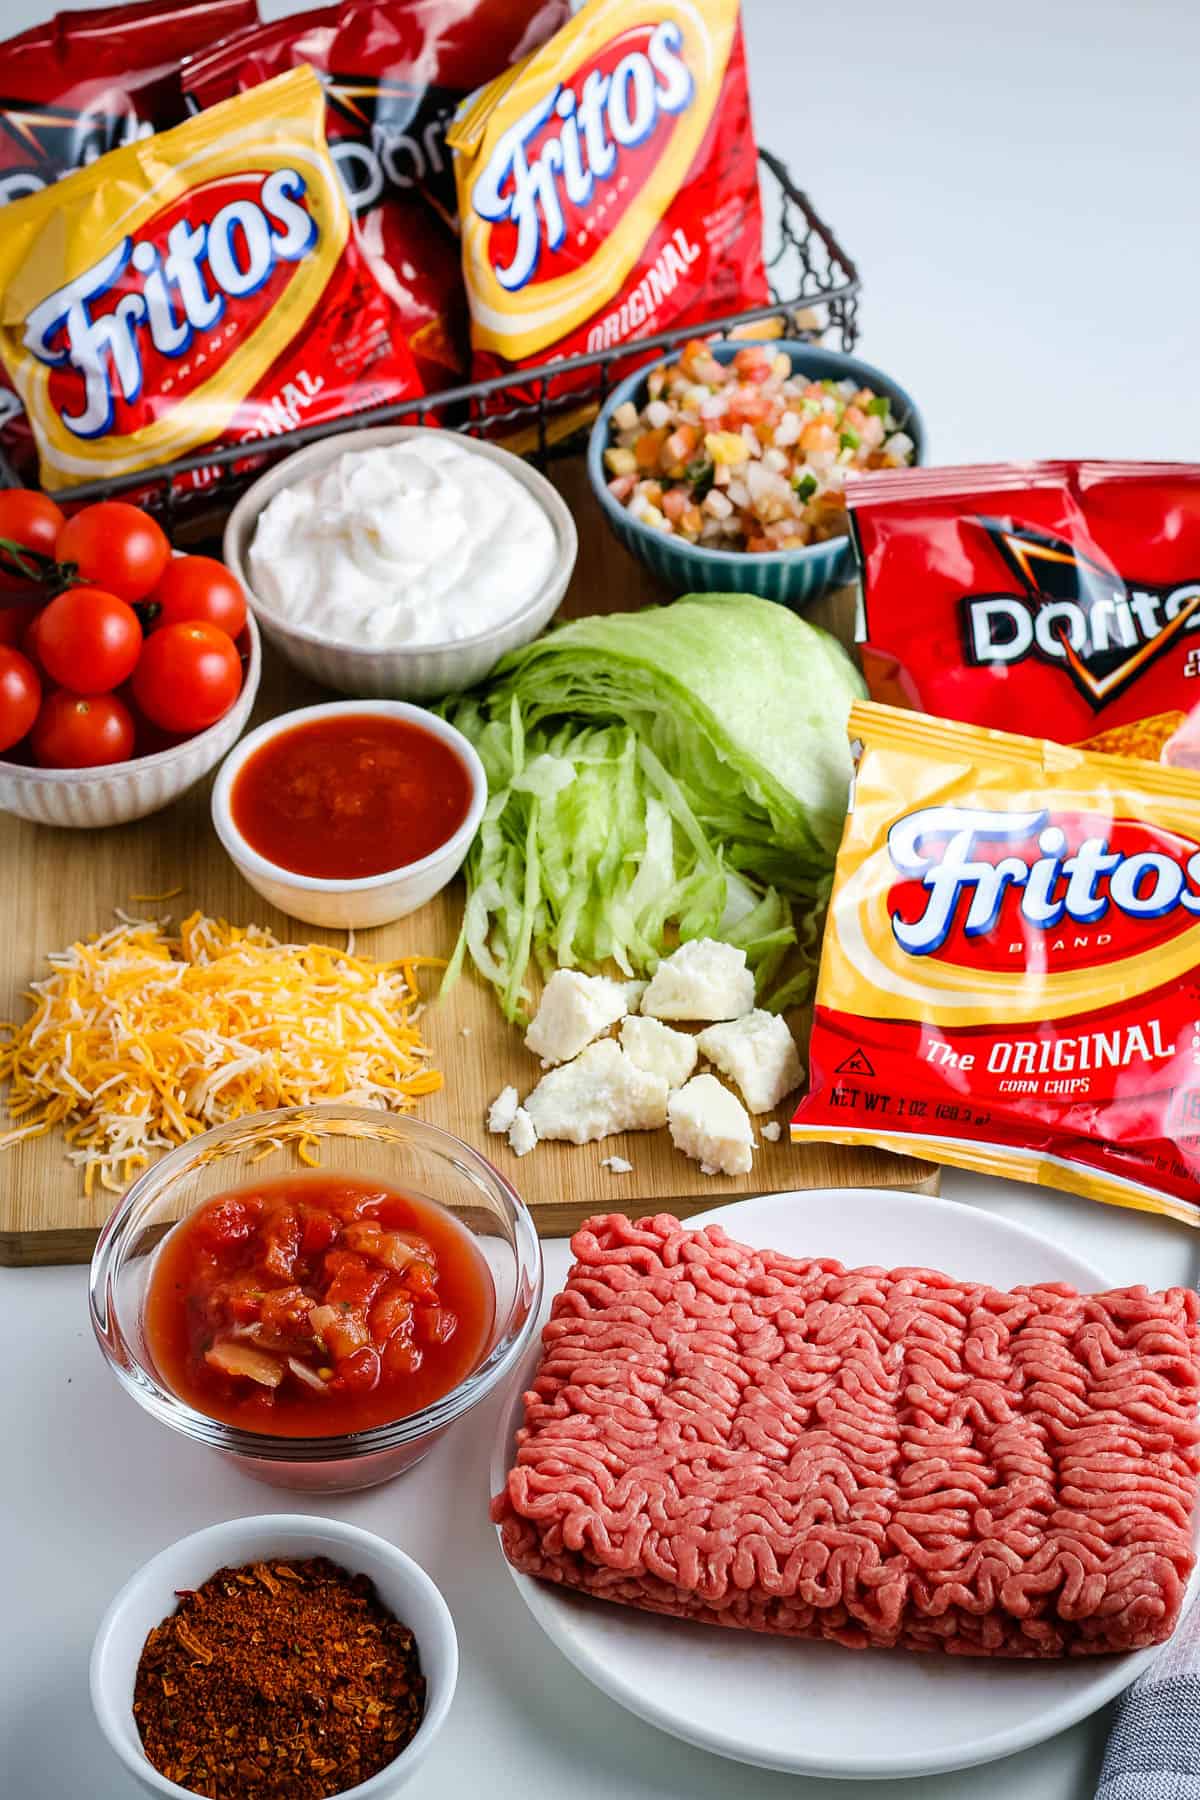
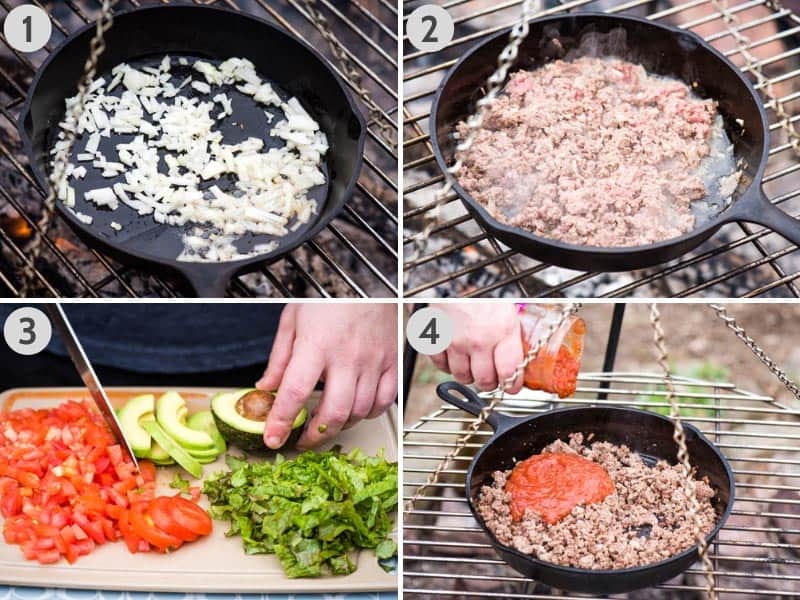
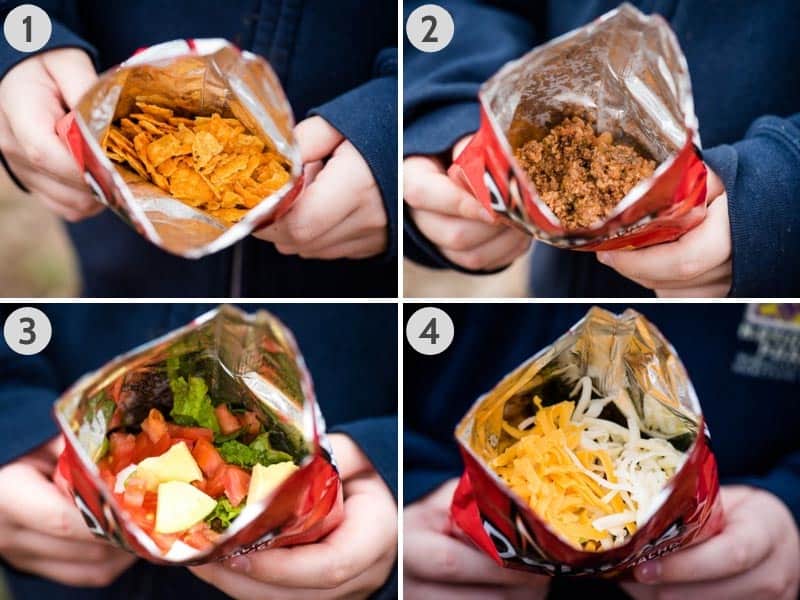
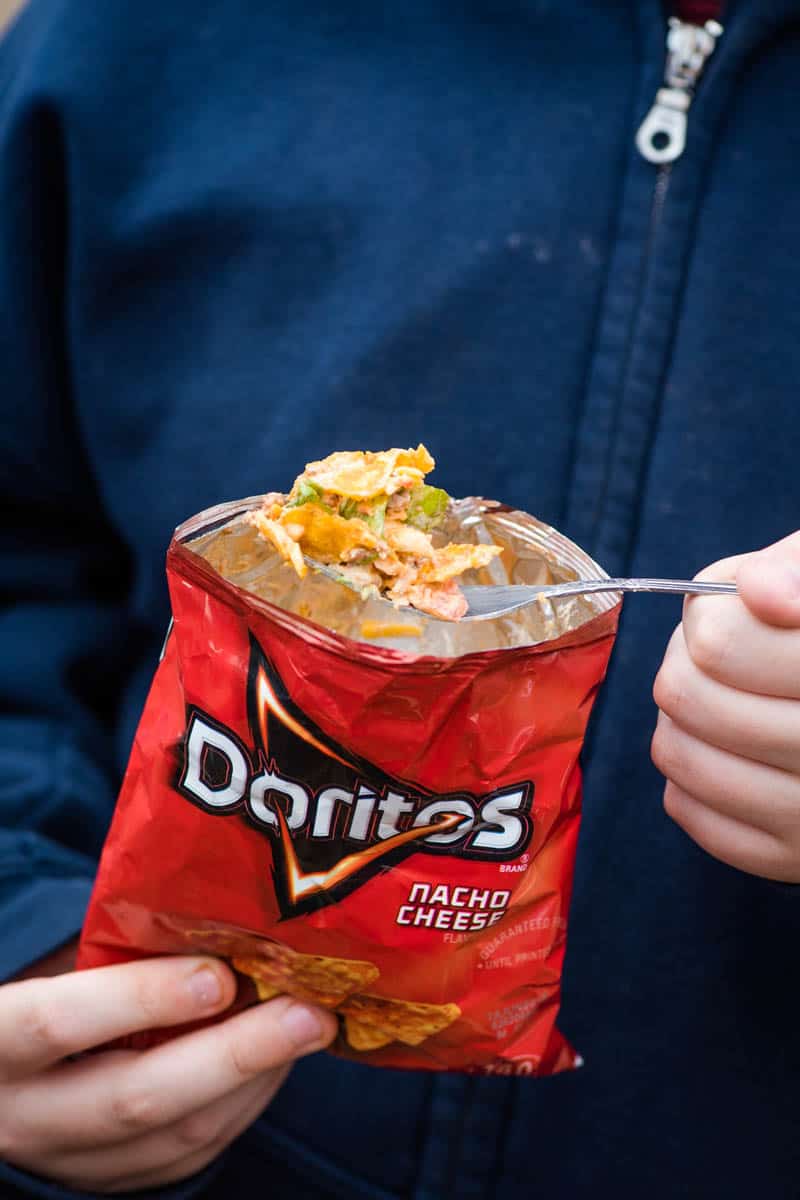
- Speaking of Tex-Mex, peach mango salsa would be so easy to make ahead for walking tacos in a bag on your next camping trip!
Expert Tips and Recipe FAQ’s
Thanks to the jalapeno, this fruit salsa has just the right balance of sweetness to spiciness. It’s just spicy enough, but it’s not so overpowering that you’ll have to drown your mouth out with water to cool it down afterward. If you don’t like spicy food, you can drop the jalapenos from this recipe altogether.
Yes, you can make peach mango salsa ahead of time. Stored in an airtight container in the refrigerator, leftover salsa should keep for up to 5-7 days. In fact, letting it set in the refrigerator for a few hours or overnight before serving may improve the flavor!
Yes, you can freeze this mango peach salsa. Store it in an airtight container or scoop it into plastic freezer bags, and it should keep in the freezer for 1-2 months. Be sure to pull it out and set it in the refrigerator to thaw overnight before serving.
Optional Add-Ins and Recipe Variations
Here are a few ways you can spruce your fruit salsa up a little bit…
- Remember, you can use any fruits or veggies you want. Pineapple, black beans, sweet corn, strawberries, cantaloupe, kiwi, Mandarin oranges and nectarines all come to mind.
- You can also add more fresh herbs, including mint, parsley and basil.
- Just not quite in the mood for salsa? Maybe try this mixed berry salad or tropical fruit salad cups instead…
If you try this recipe, why not leave a star rating in the recipe card right below and/or a review in the comment section further down the page? I always appreciate your feedback. You can also follow me on Pinterest, Facebook, Instagram, and YouTube. And subscribe to my email list too!
Mango Peach Salsa

Fresh and colorful mango peach salsa recipe from scratch. Sweet and savory, quick and easy appetizer with just the right amount of spice!
- Cutting Board
- Large Knife
- Vegetable Chopper
- Food Processor
- Large Mixing Bowl
- Large Wooden Spoon
- 15 ounces Peaches (finely diced)
- 15 ounces Mangos (finely diced)
- 10 ounces Cherry Tomatoes (finely diced)
- 1/2 cup Red Bell Pepper (finely diced)
- 1/2 cup Yellow Bell Pepper (finely diced)
- 1/4 cup Red Onion (finely diced)
- 1-2 Jalapenos (seeded and finely diced)
- 4 tablespoons Cilantro (finely chopped)
- 1/2 Lime (juiced)
- 1/4 teaspoon Coarse Kosher Salt
- 2 Garlic Cloves (minced)
Before getting started, go ahead and get your ingredients prepped. You'll need to use a large knife, a vegetable chopper or food processor to dice up the peaches, mangos, cherry tomatoes, bell peppers*, red onion, jalapenos*, cilantro and garlic cloves. You'll also want to squeeze the juice out of 1/2 of a fresh lime.
Once you've gotten all of your ingredients prepped, add everything, excluding the minced garlic, to a large mixing bowl, and stir it all together with a large wooden spoon 'til all of the ingredients have come together.
Next, go ahead and add your minced garlic to the bowl and mix again until everything is fully combined.
Be sure to give it a taste test after you've mixed everything together. You can add more salt, lime juice or jalapeno peppers to taste, as needed.
Serve and enjoy with your favorite crackers or tortilla chips!
*Unless you prefer a super spicy salsa, I recommend slicing your bell peppers and jalapeno peppers in half, and then use a spoon to scrape the seeds out before you dice them up.
How should I store mango peach salsa?
Peach and mango salsa stores best in an airtight container in the refrigerator for up to 5-7 days.