How to make this easy homemade apple pie spice recipe from scratch in 5 minutes or less. Warm and fragrant cinnamon spice mix that stores well, so that you can always have some on hand for your favorite fall-inspired treats and desserts!
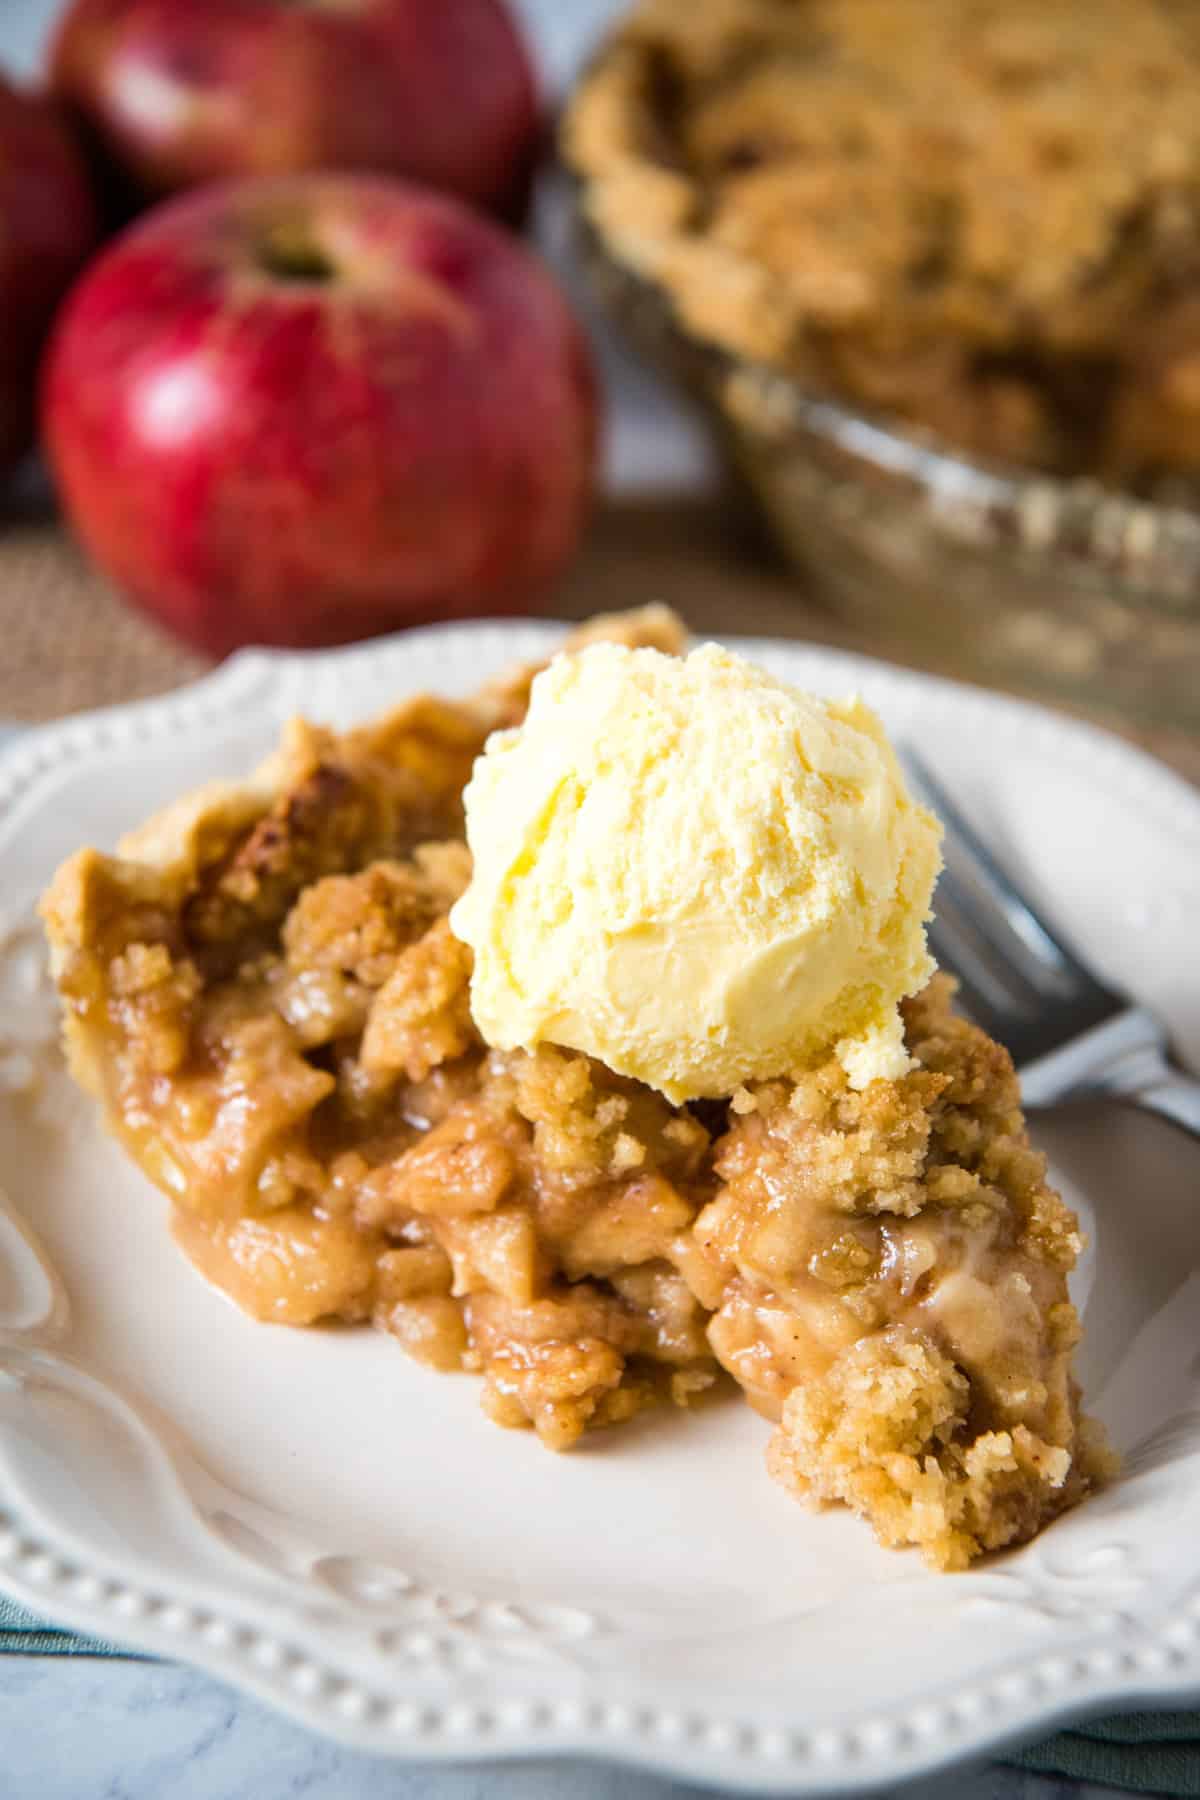
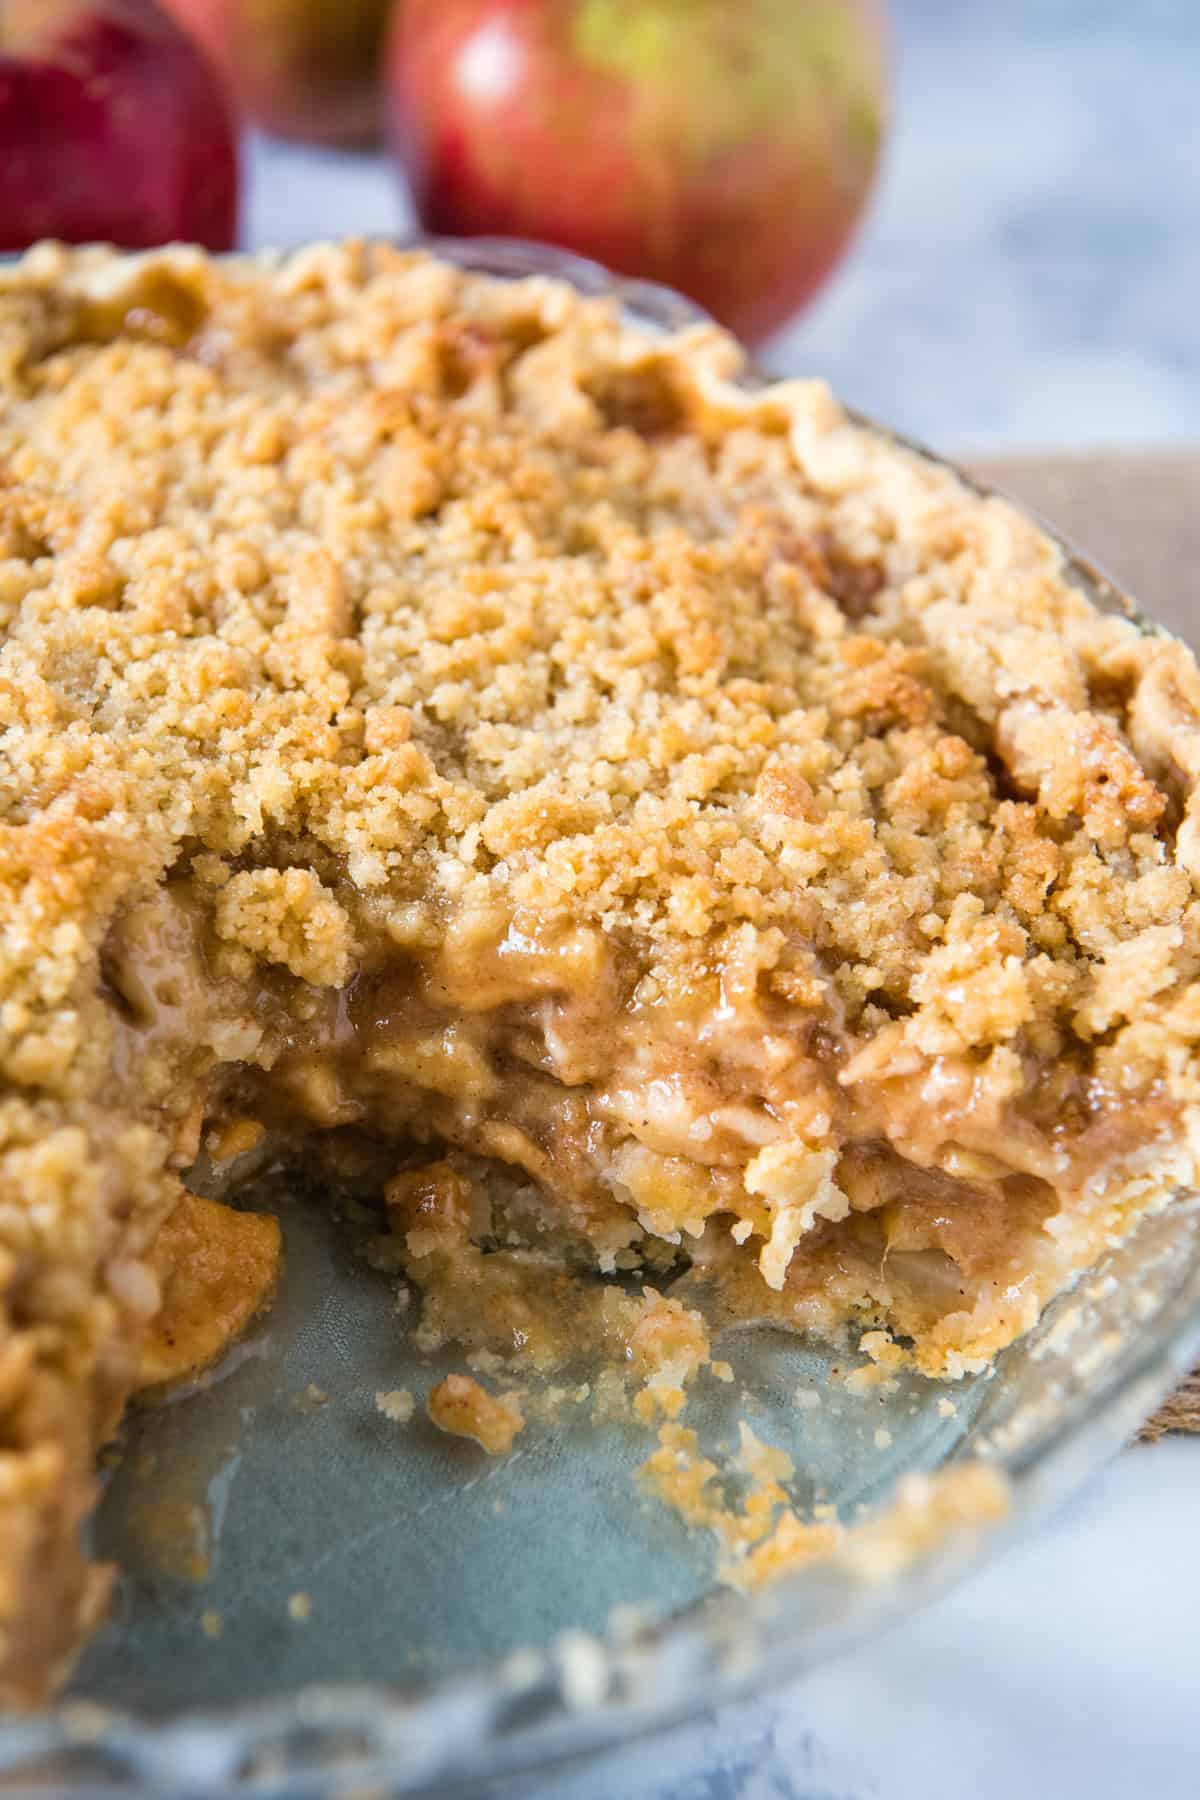
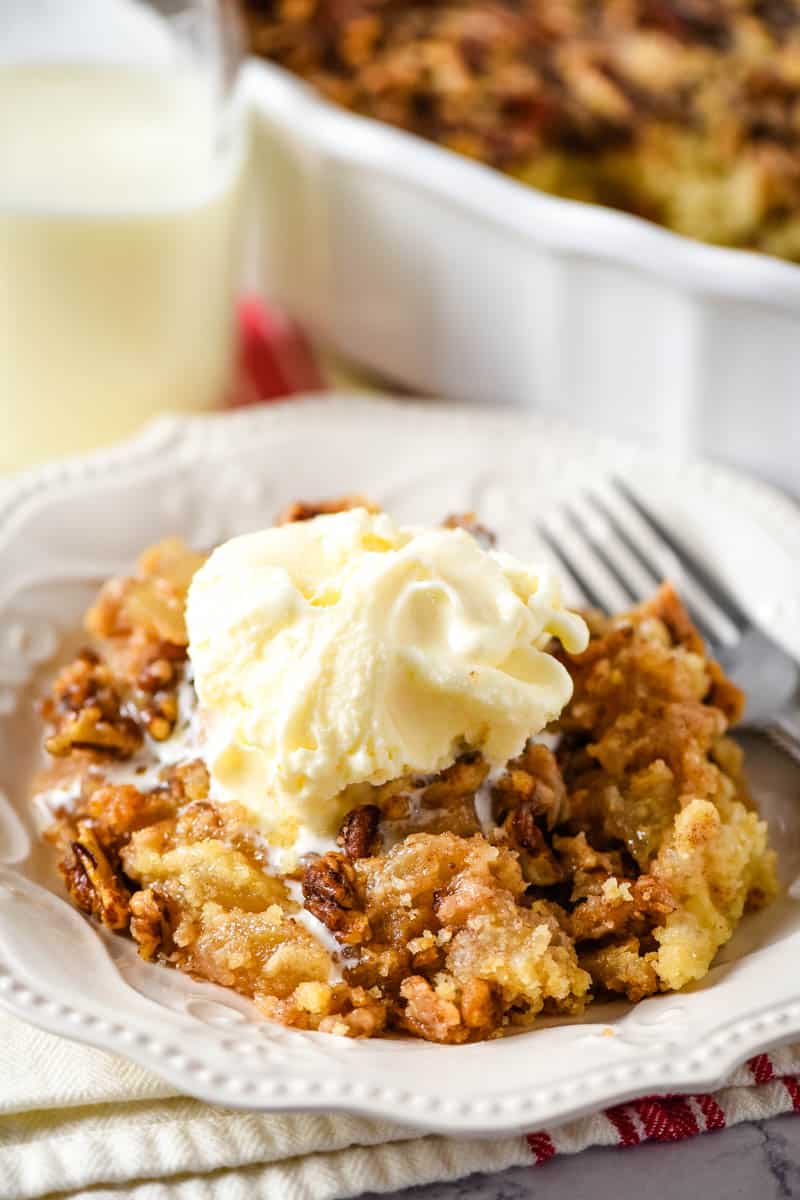
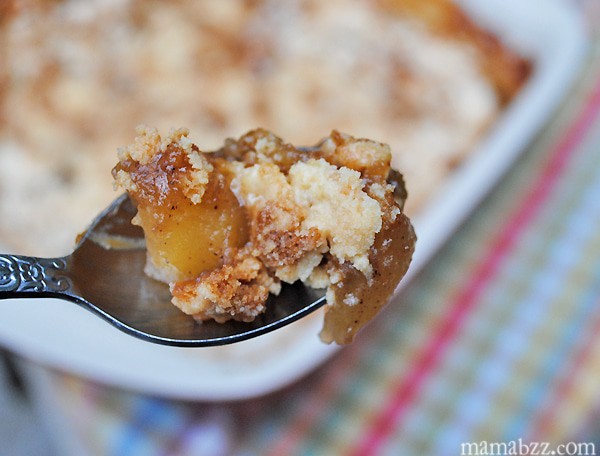
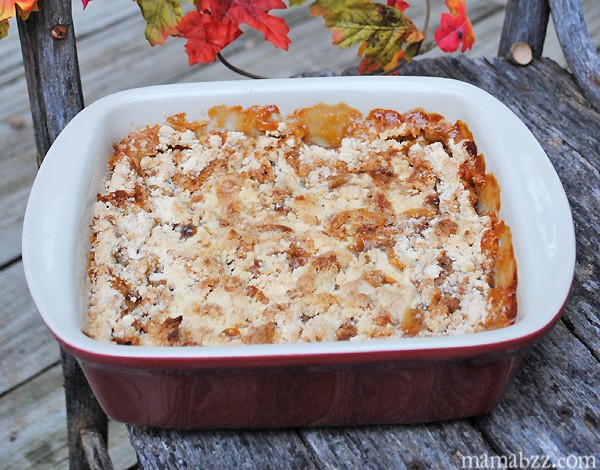
Don’t get me wrong; I love spring and summer, but the fall season has the best desserts! It’s hard to beat a good Dutch apple crumb pie during the peak apple season, and I just love this easy apple crumble. Ever since I went gluten free, I’ve been making this gluten free apple crisp recipe all the time.
Most fall desserts call for fall spices, like cinnamon, nutmeg and a few others. Instead of measuring out each individual spice for every recipe, I’ve started just using my own apple pie spice mix or sometimes this homemade pumpkin pie spice when I’m making pumpkin recipes. You can generally use one or the other as a substitute any time those autumn spices are called for!
And if you’re wondering what the main difference between apple spice and pumpkin pie spice is, pumpkin spice usually has cloves, while as apple pie spice does not. That said, you can generally substitute one for the other without making too much of a difference.
Why You’ll Love This Apple Pie Spice Recipe
- You can make this easy one-bowl recipe in 5 minutes or less, and it uses cheap and simple ingredients.
- It’s chock full of warm, comforting fall spices we all know and love. There’s just something so cozy about the sweet, aromatic smell of this apple pie spice during the fall or holiday season!
- It’s perfect for all of your favorite, fall-inspired desserts and recipes. It makes an easy apple pie spice substitute for just about any recipe that calls for a touch of autumn spice.
- This recipe makes about 5 tablespoons of apple pie spice, but you can double, triple or even quadruple it to make as big of a batch as you need!
- The best part is that this recipe is easily customizable. You can add or take out whatever spices you want! I don’t like cardamom, so I made this homemade apple pie spice mix without cardamom.
- If you have any food allergies, like a gluten or nut intolerance, you can make your apple pie spice with allergen-friendly ingredients. Unfortunately, many store bought spice companies are pretty vague when it comes to food allergens that are listed on the label, so you never really know what you’re getting.
Ingredients & Substitutions Notes
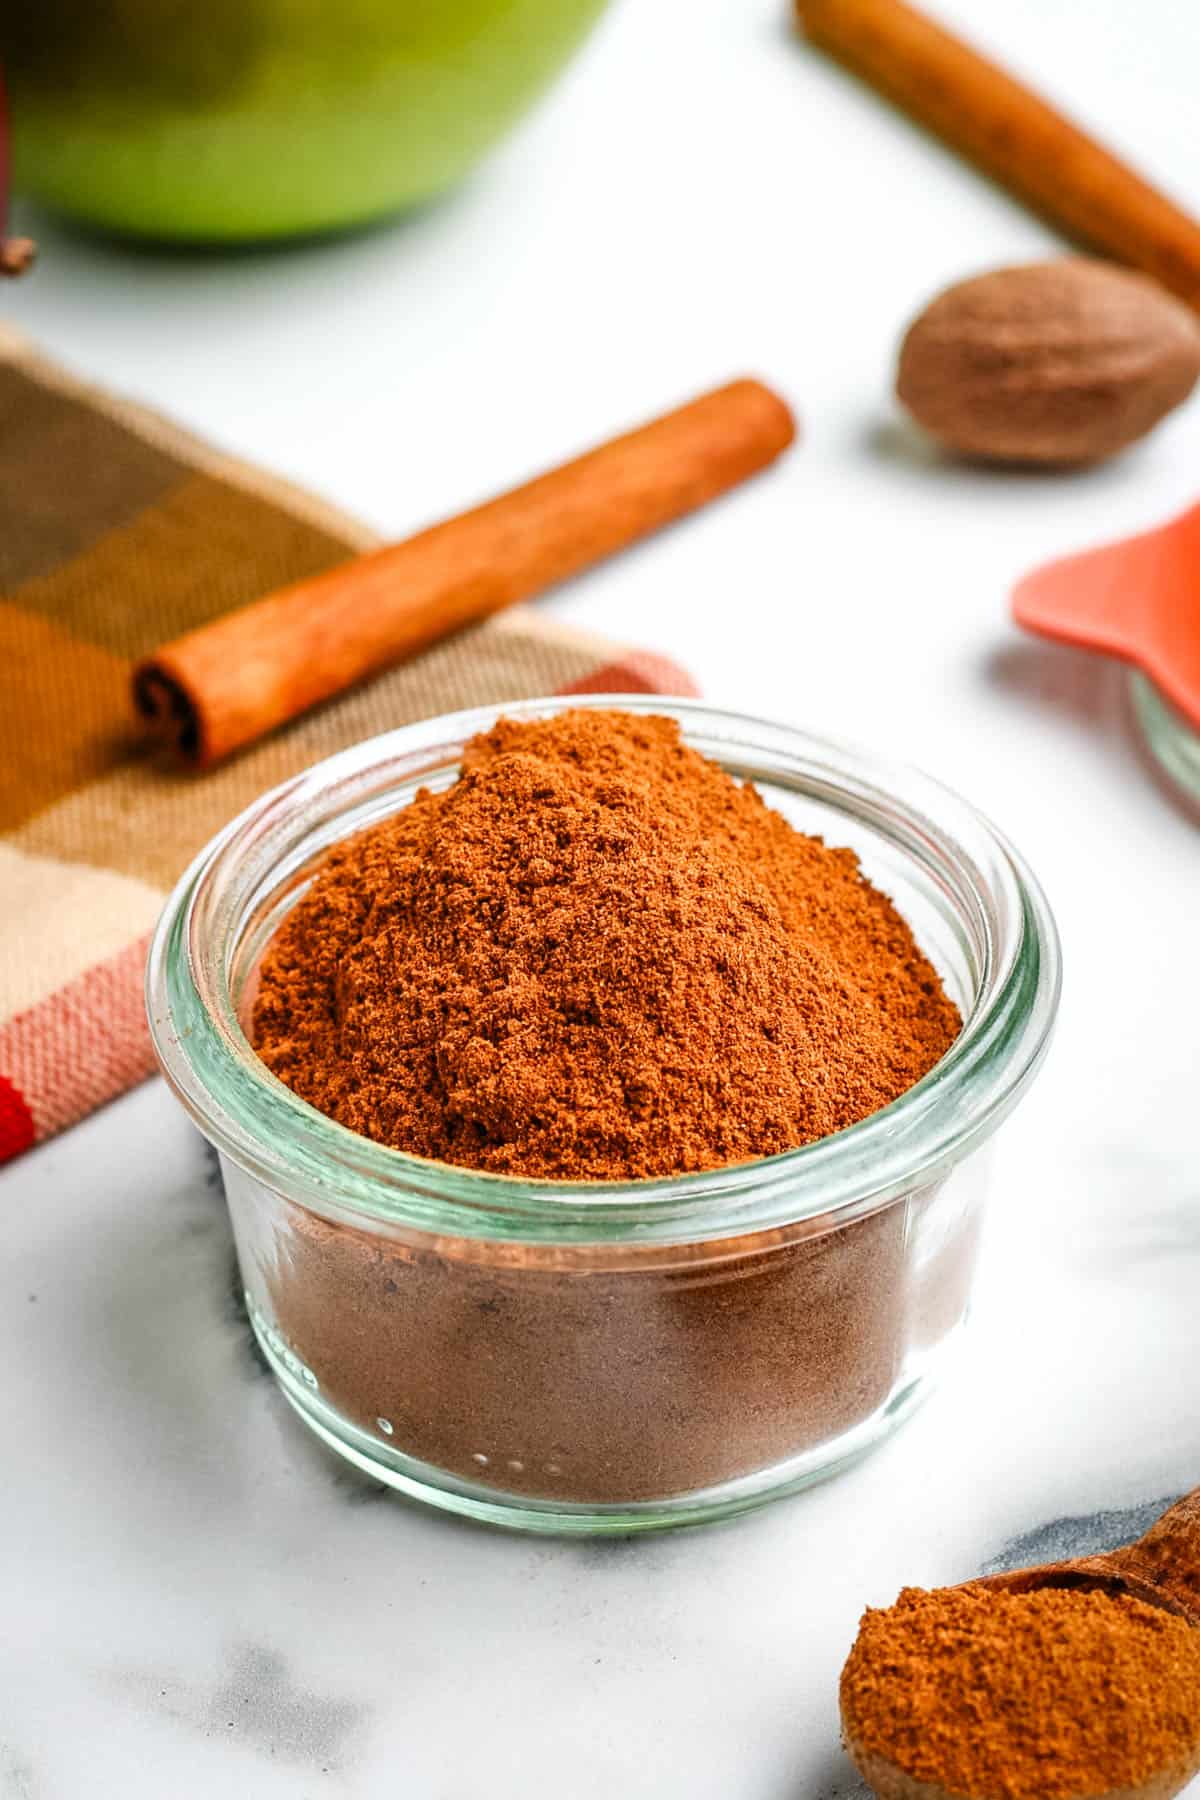
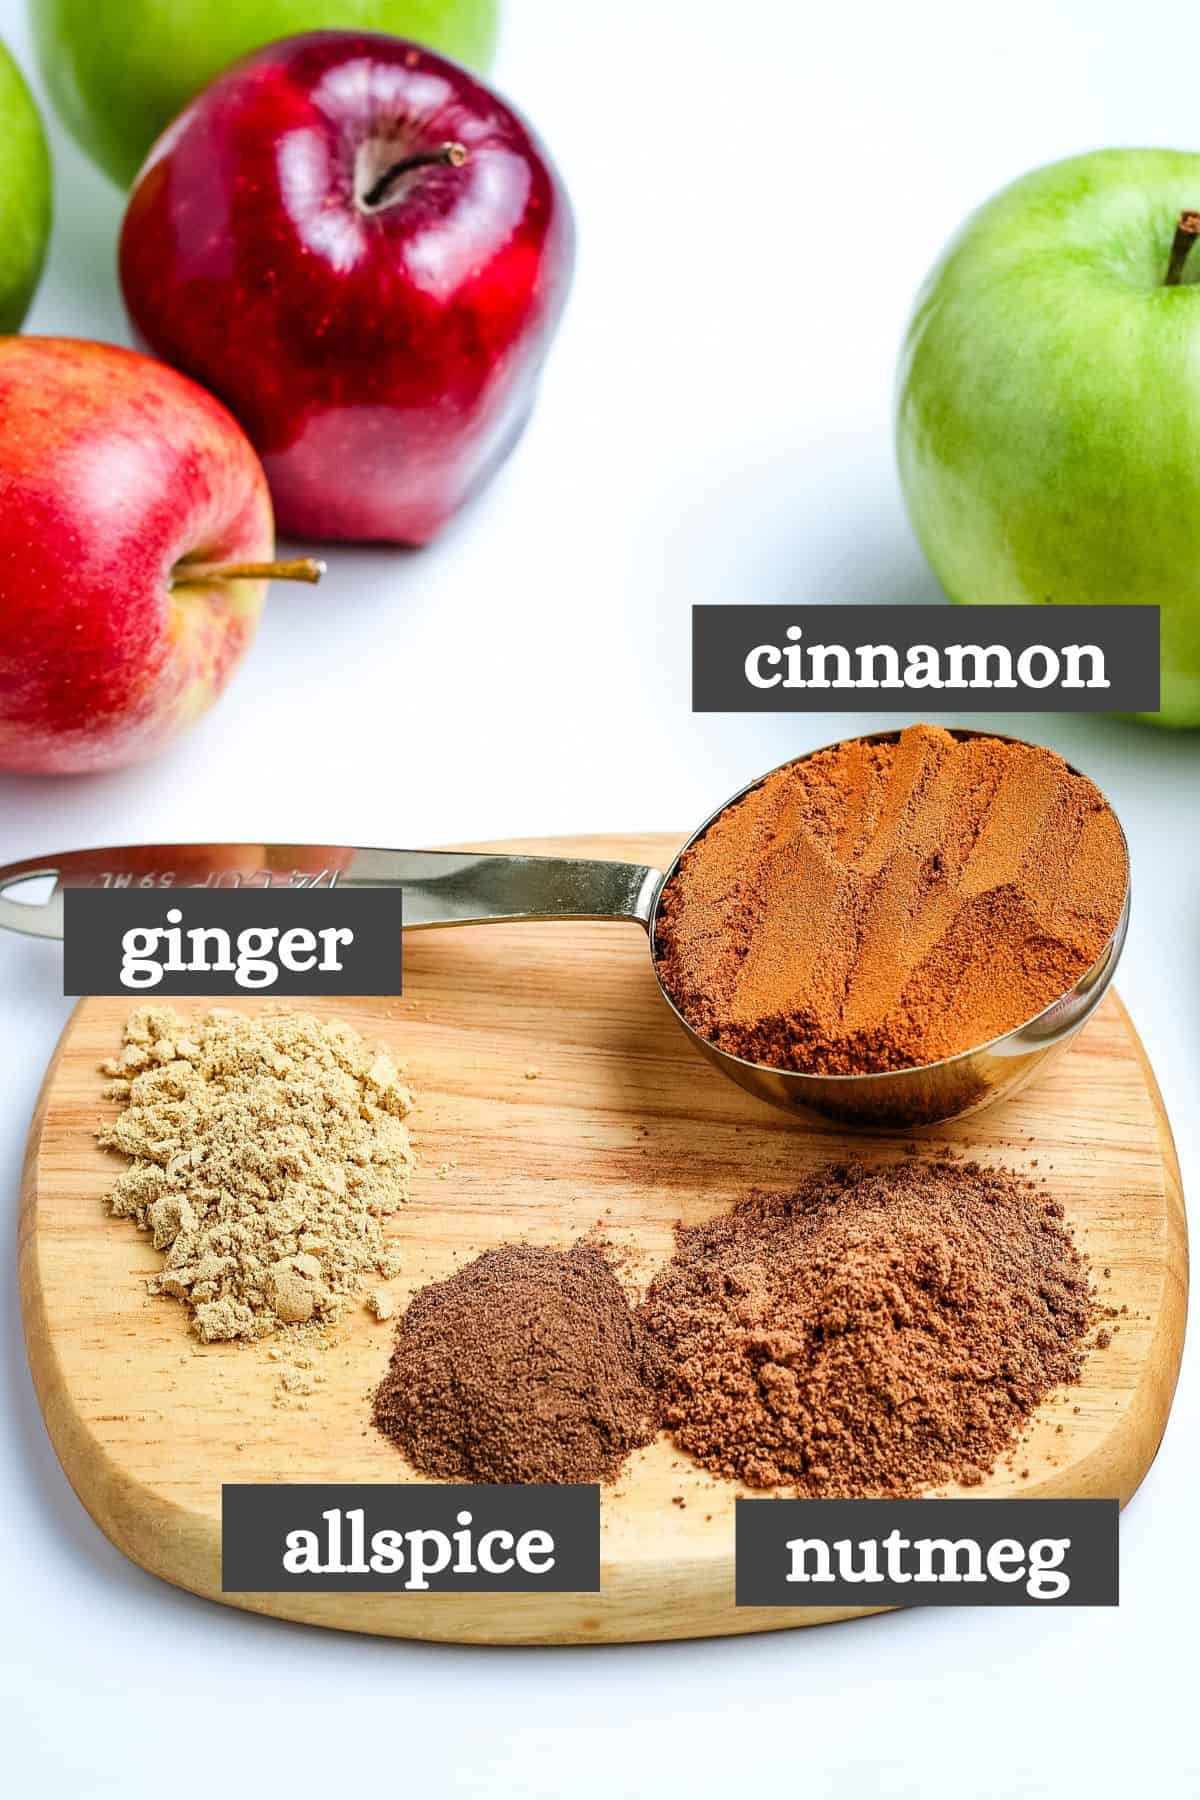
- Cinnamon – Did you know that there are different types of cinnamon? Some people like the milder flavor of a good Ceylon cinnamon, but I prefer the strong flavor of a good Saigon/Vietnamese cinnamon. It’s also cheaper at my local grocery store. Cinnamon is the main ingredient for this recipe, so it does make a difference. If you want to learn more, here’s a great guide to all of the different types of cinnamon available in most big box grocery stores.
- Nutmeg – I just use a small amount of whatever ground nutmeg I can find.
- Allspice – Although many people think that allspice is a blend of various spices, it’s actually just the ground berries from the allspice tree! It has a very unique and spicy cinnamon flavor that gives off hints of black pepper. This recipe wouldn’t be the same without it.
- Ginger – I use ground ginger for this recipe, but it’s very strong and pungent, so you’ll want to use it in sparing quantities. A little bit goes a long way.
- Other Spices – I usually keep things simple with the 4 spices already mentioned, but you can also add other ground spices to your own spice blend, like cloves, cardamom, star anise and even black pepper. Be creative!
How to Make Homemade Apple Pie Spice
This fragrant fall spice blend is so easy to make. I can usually have everything mixed up and ready to go in 5 minutes or less…
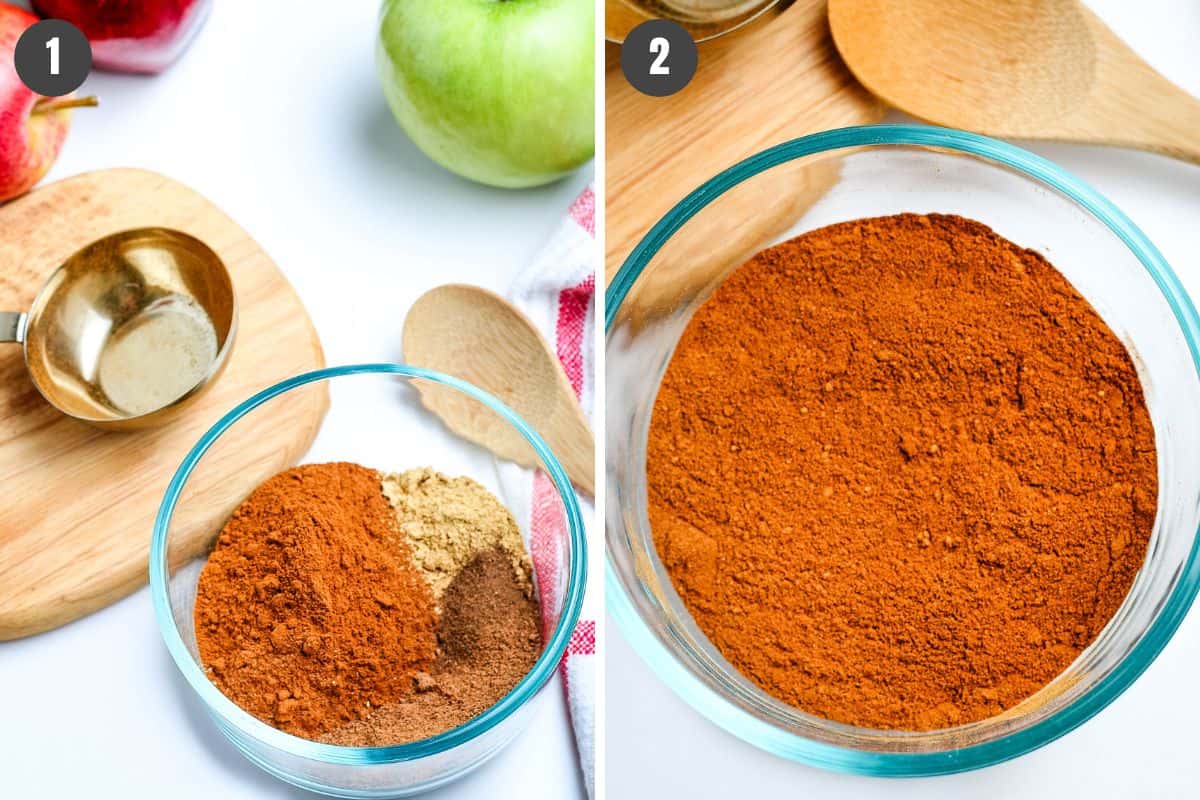
- Start by measuring out the ground cinnamon, nutmeg, allspice, ginger and any other spices in a small mixing bowl.
- Whisk everything together in the small bowl until well combined. That’s it!
This recipe makes a great 1:1 substitute for store bought apple pie spice. If a recipe calls for 2 teaspoons of apple pie spice, you’ll use 2 teaspoons of homemade apple pie spice! It’s pretty strong, so you shouldn’t have to use too much apple pie spice.
Expert Tips and Recipe FAQ’s
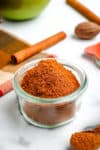
I recommend storing your homemade spice blends in an airtight container or small glass jar. Whatever you use, make sure it’s sealed tight, and then store it somewhere cool, dry and out of direct sunlight in a dark place for up to 6 months. We store all of ours in a dedicated spice cabinet in the kitchen. Another great way to store them is super handy spice rack.
Unfortunately, apple pie spice does not freeze well. The freezing temperatures will destroy the flavor of many spices, so I really just recommend storing them at room temperature.
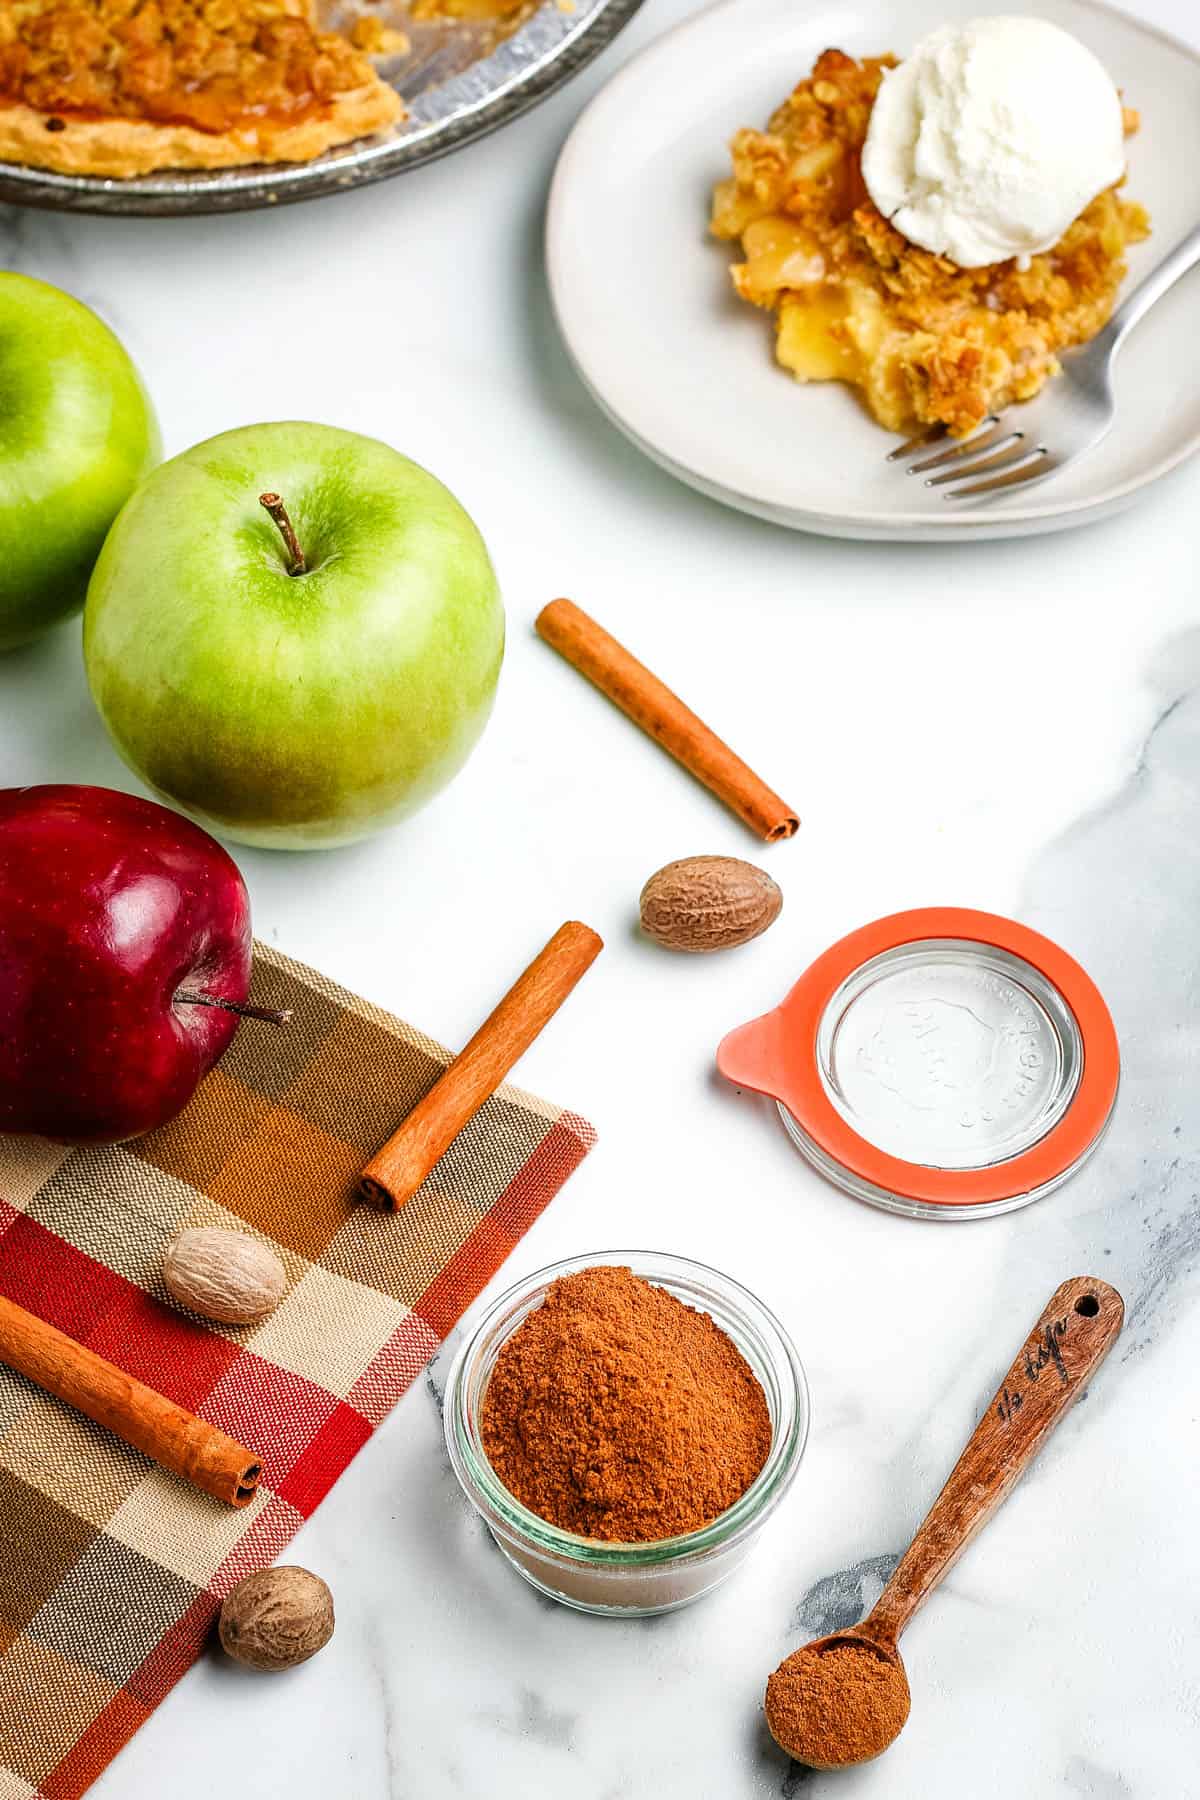
More Fall Recipes Using Apple Pie Spice
Here are some recipes to which you can add your own apple pie spice blend…
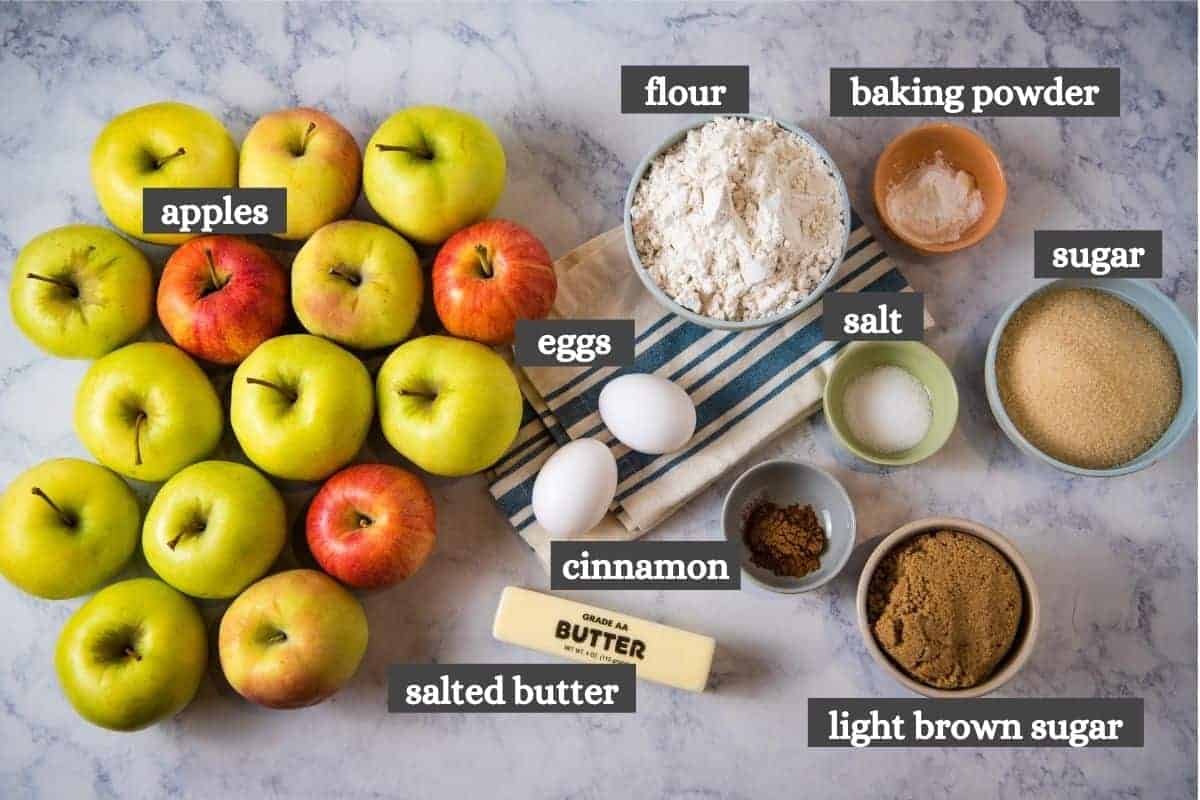
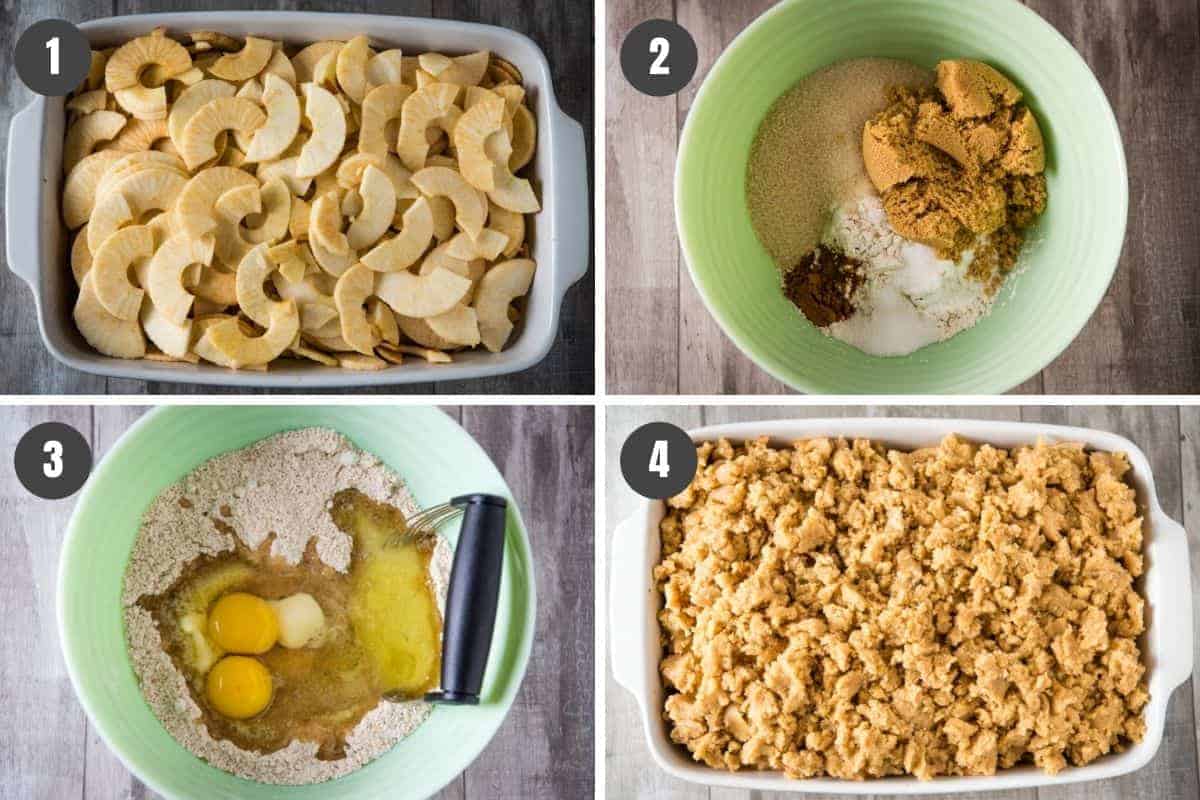
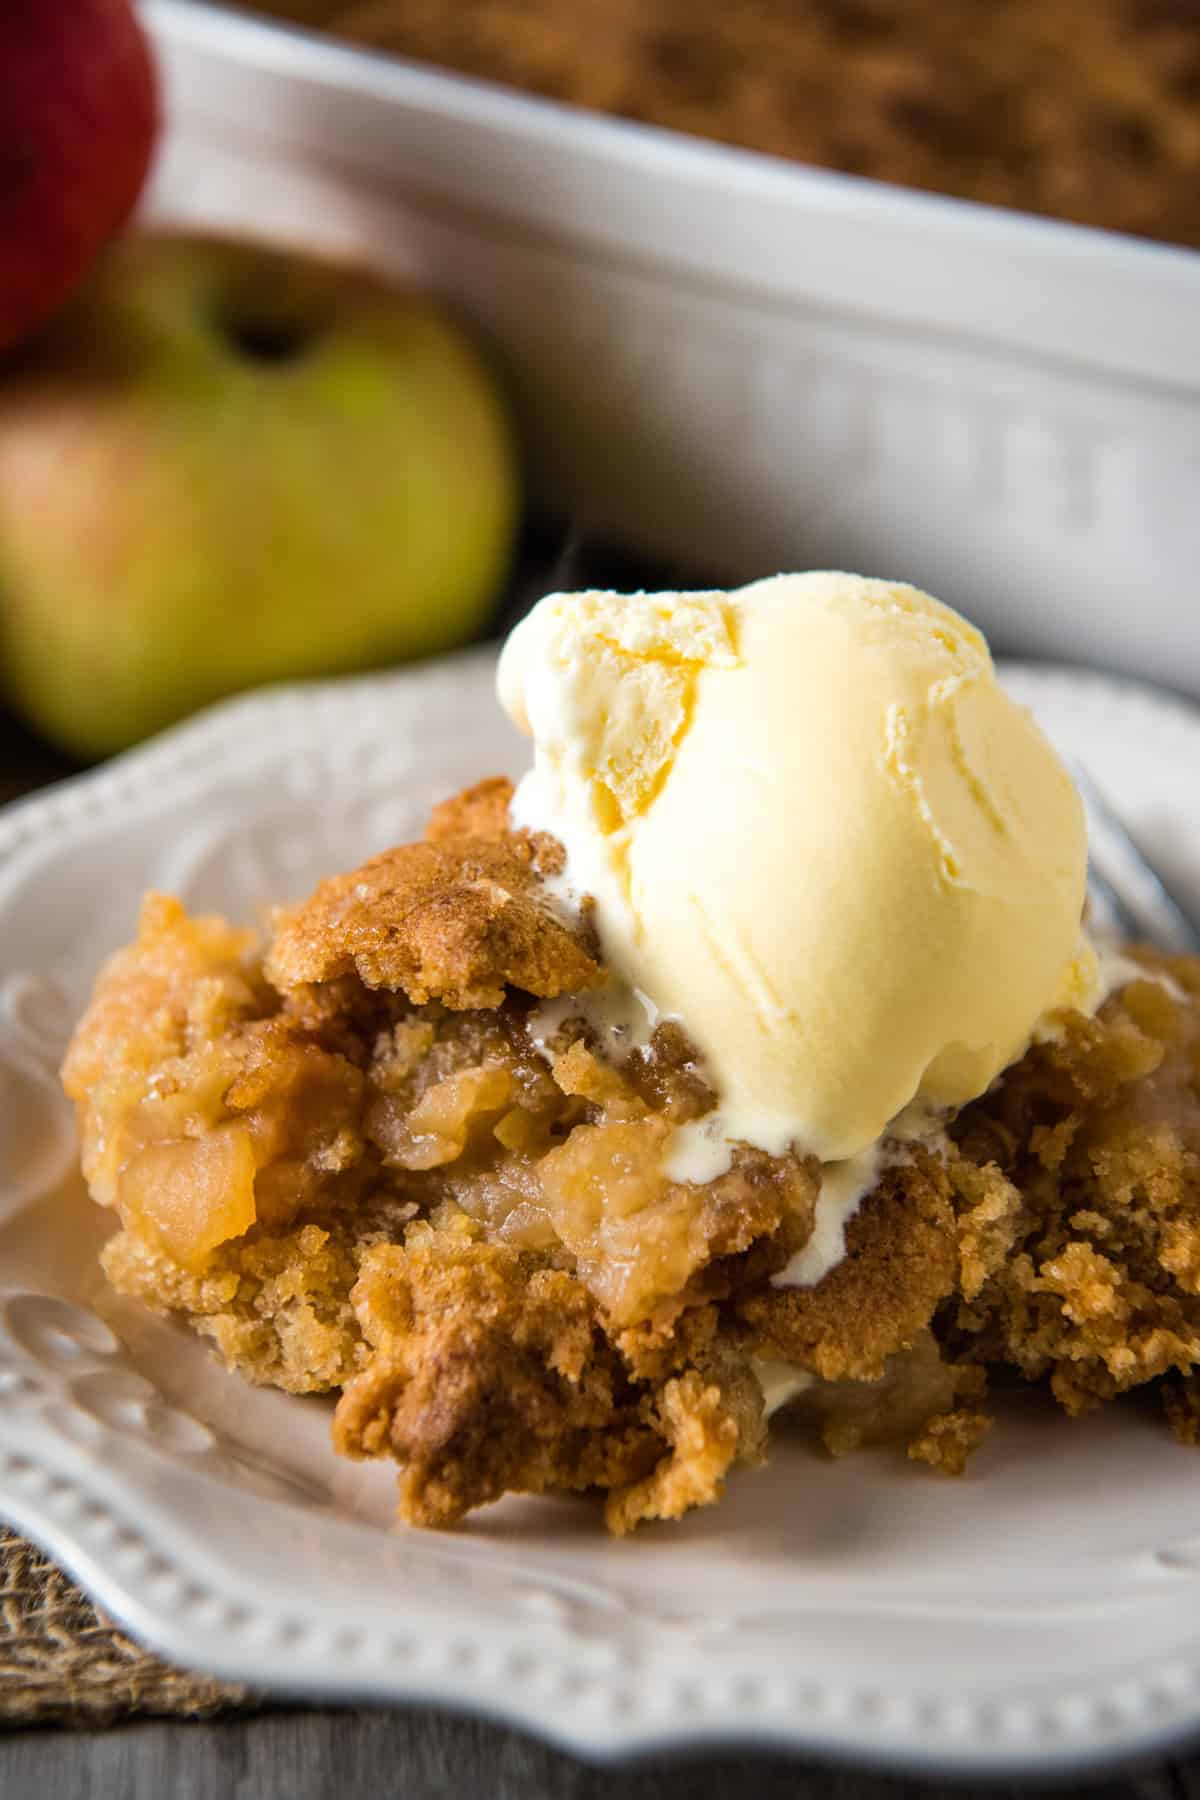
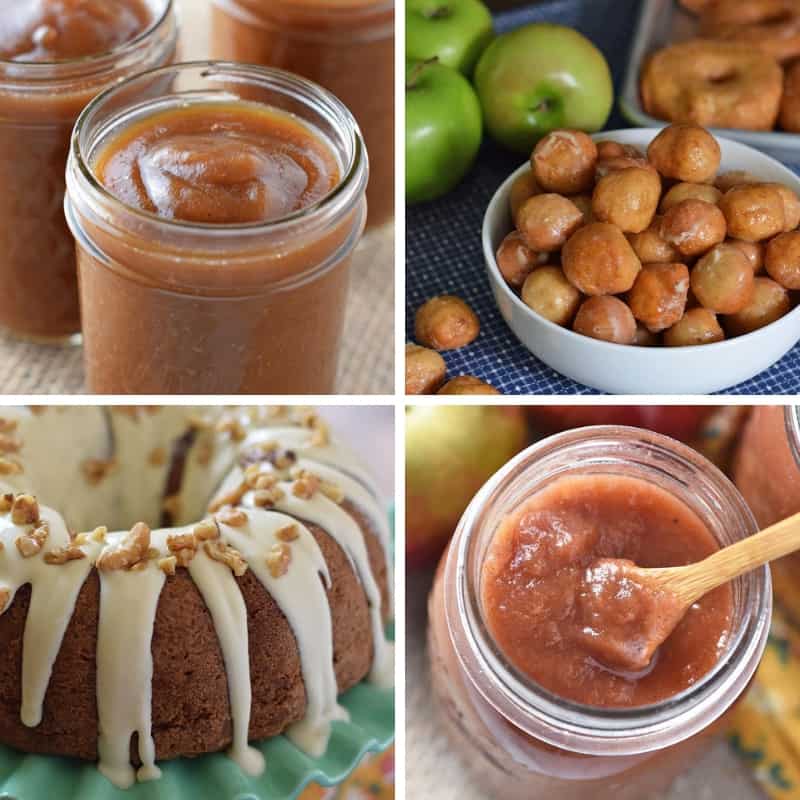
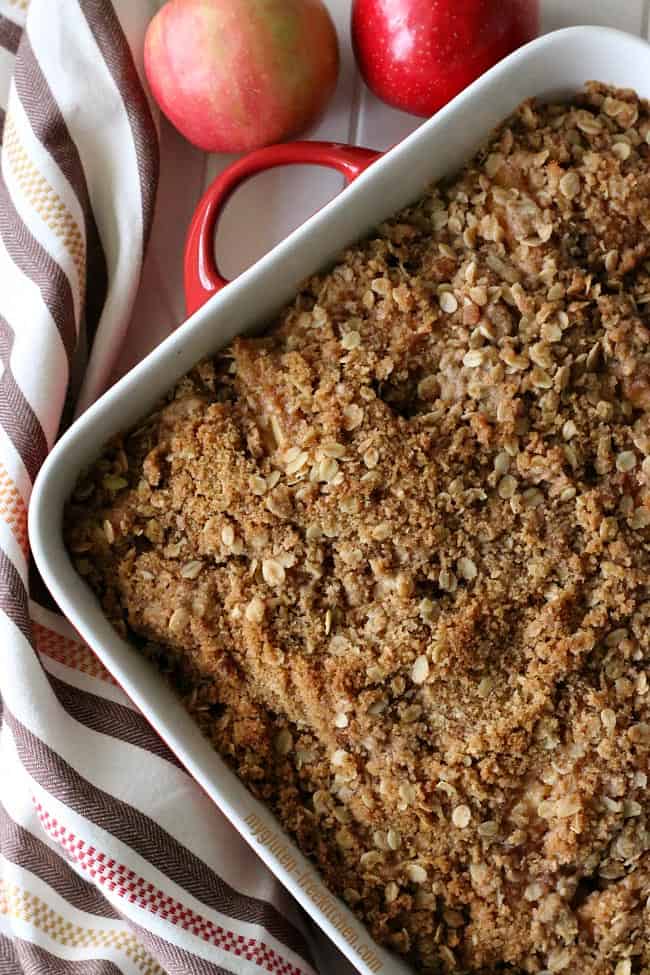
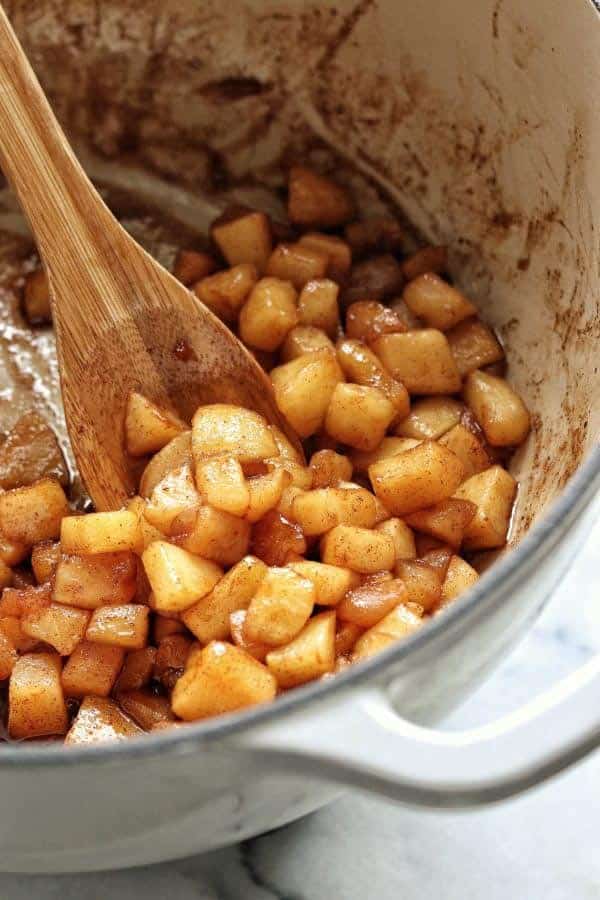
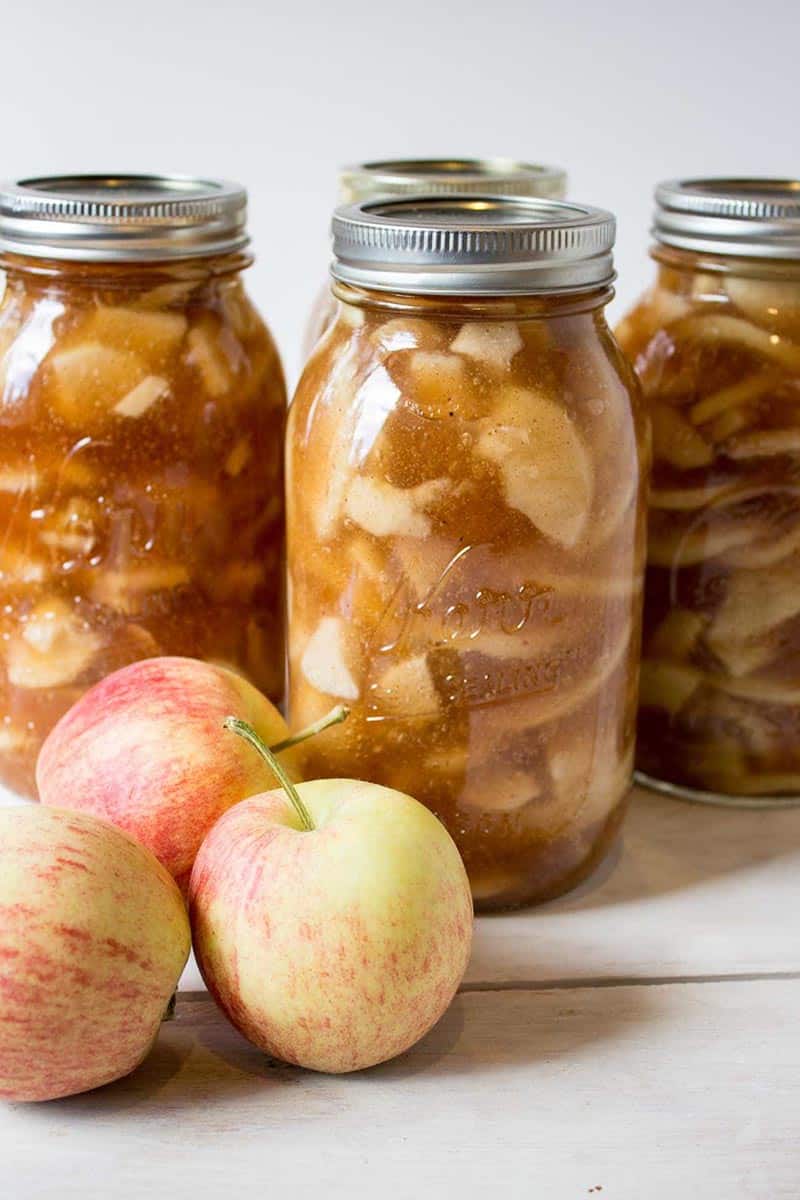
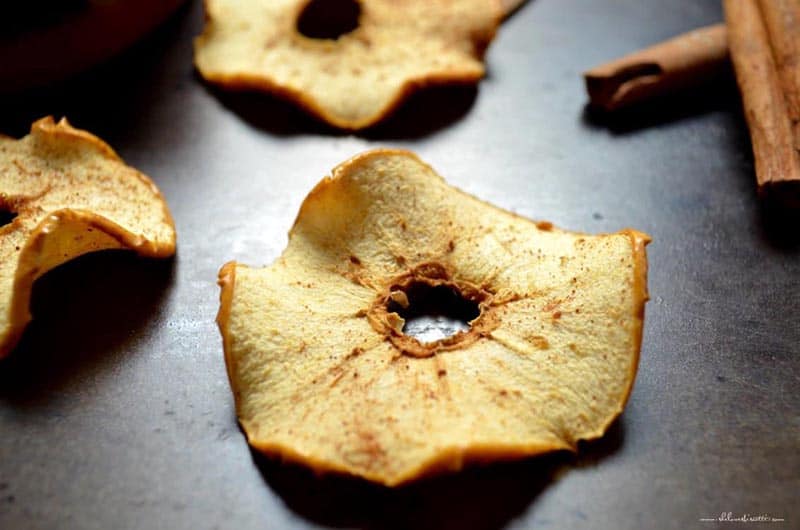
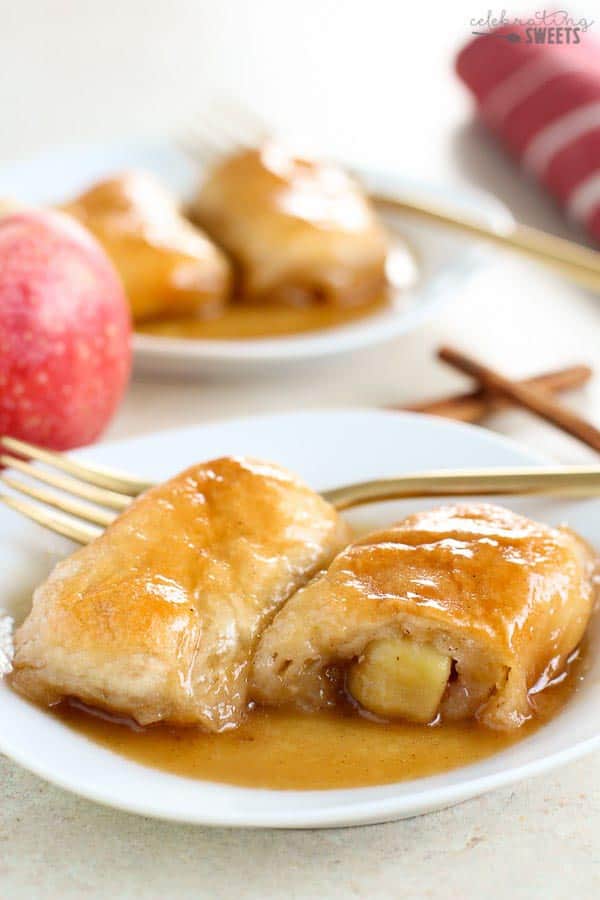
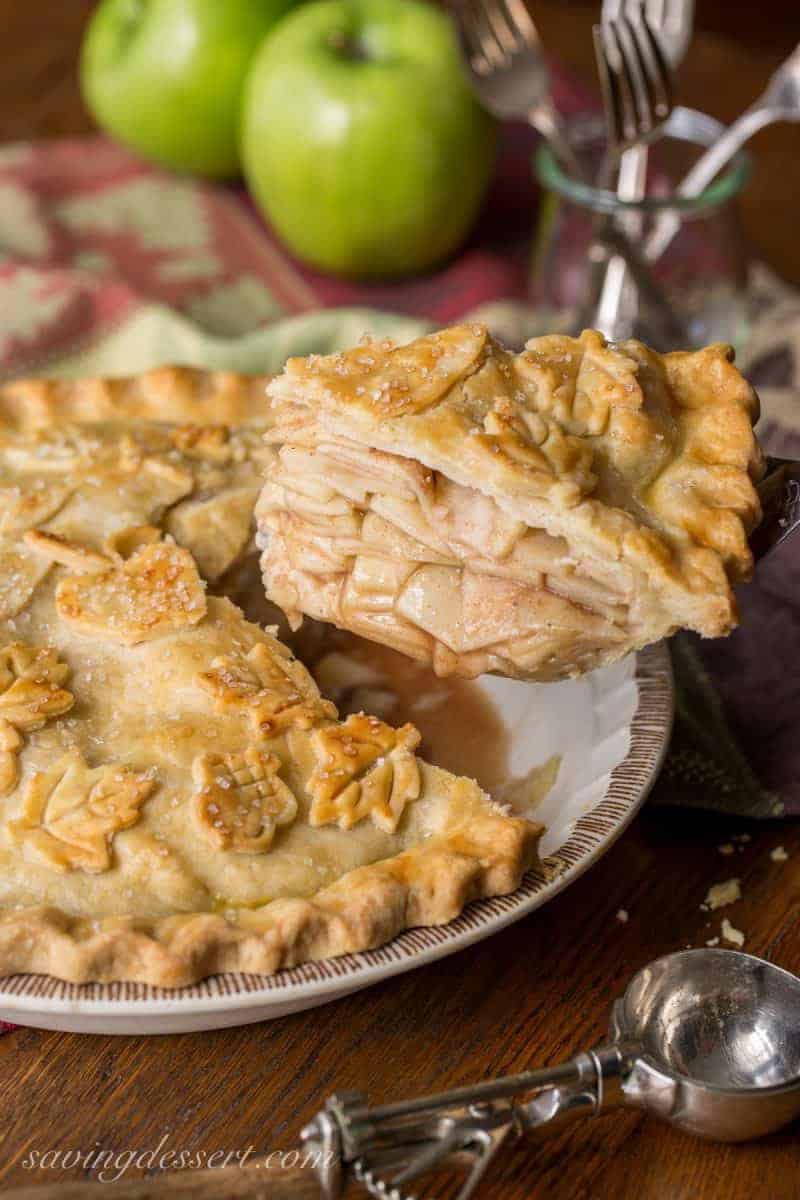
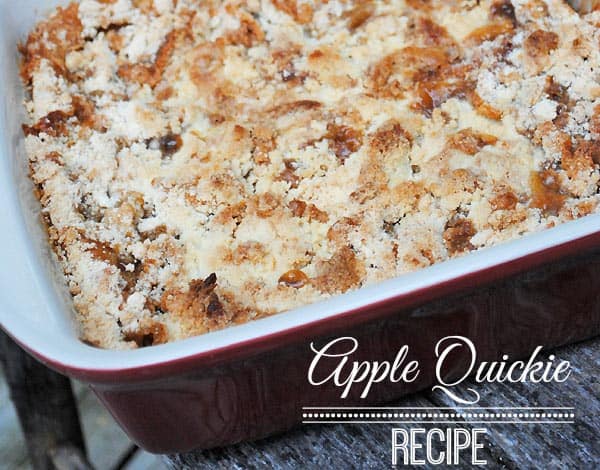
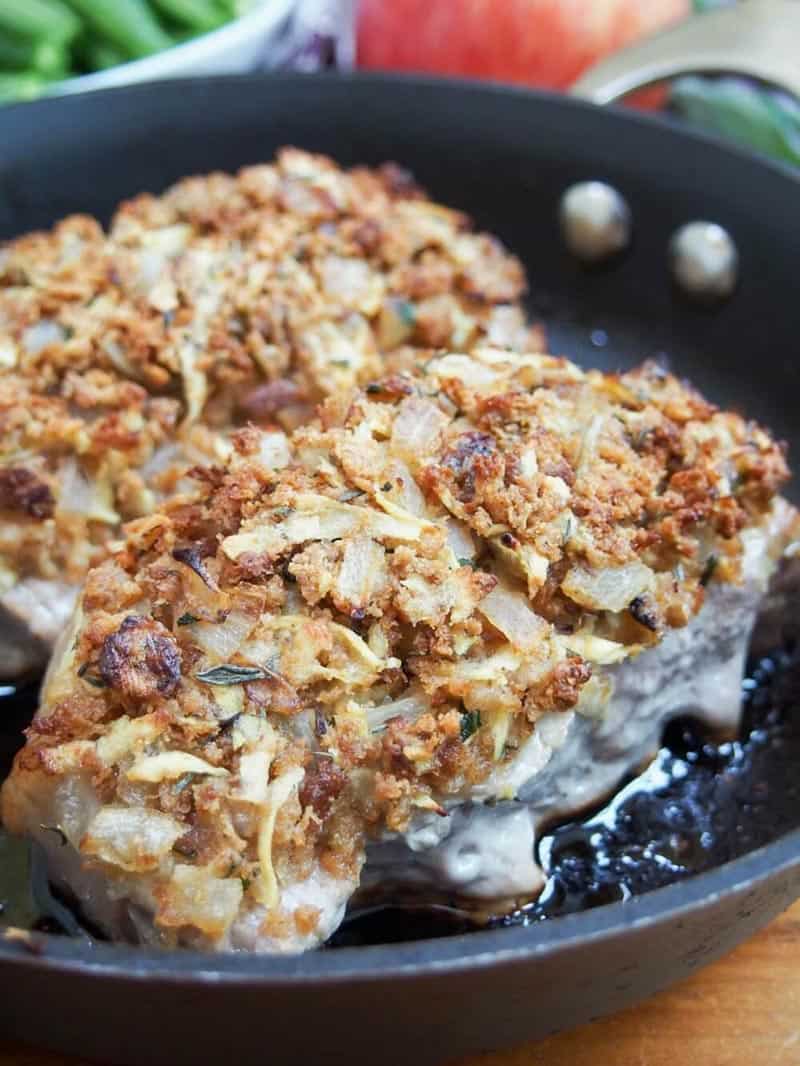
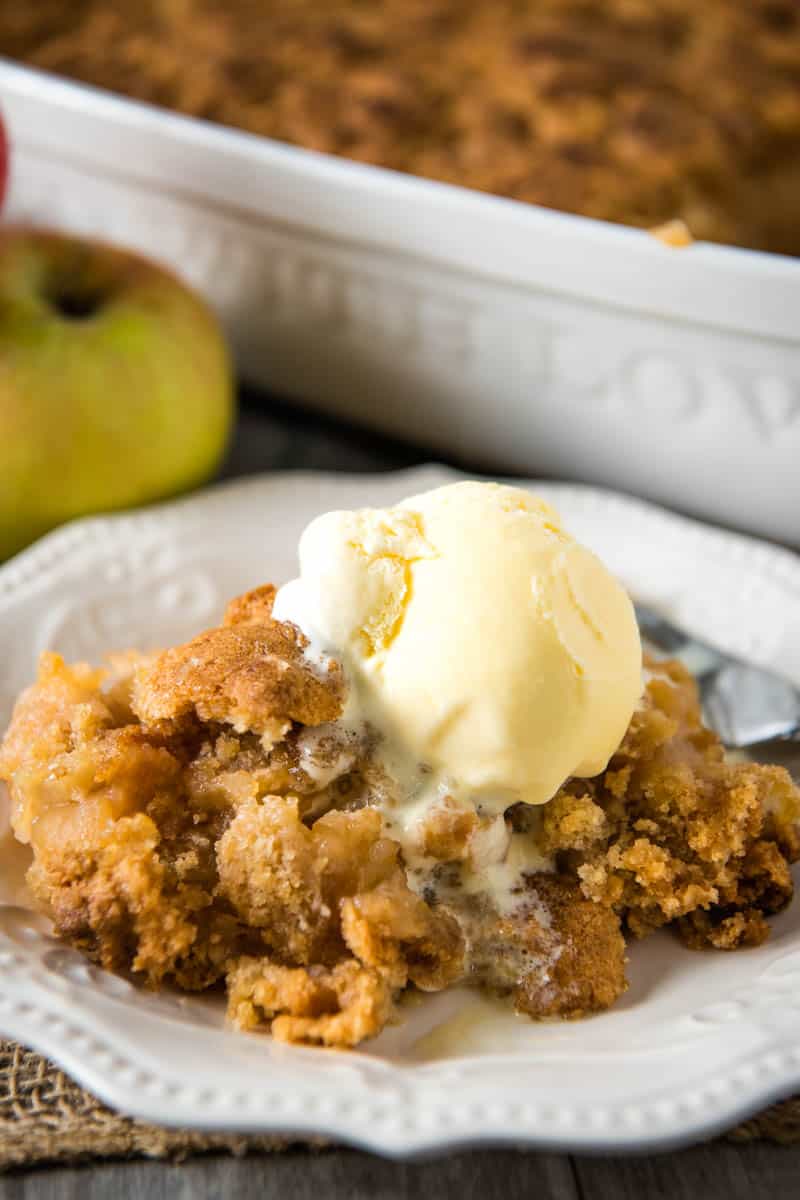
- This apple quickie recipe makes one of the best apple crisps I’ve ever eaten, straight out of Grandma’s recipe box.
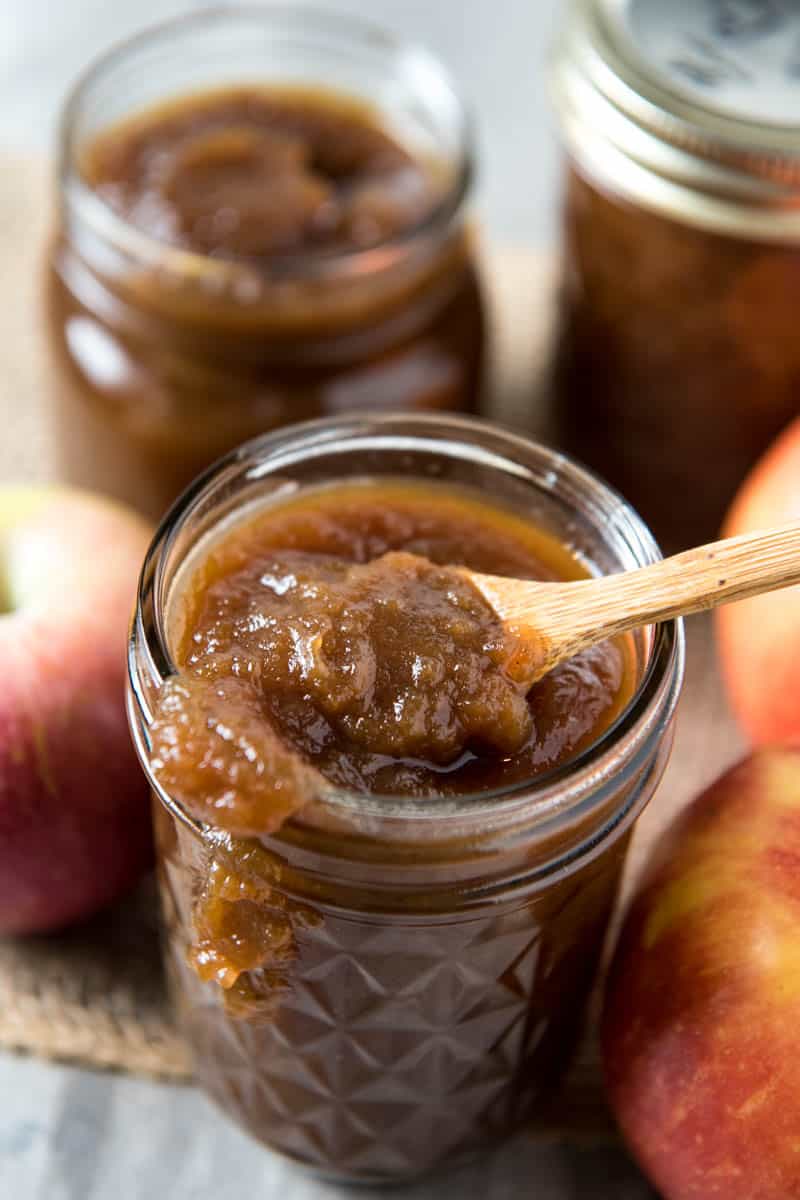
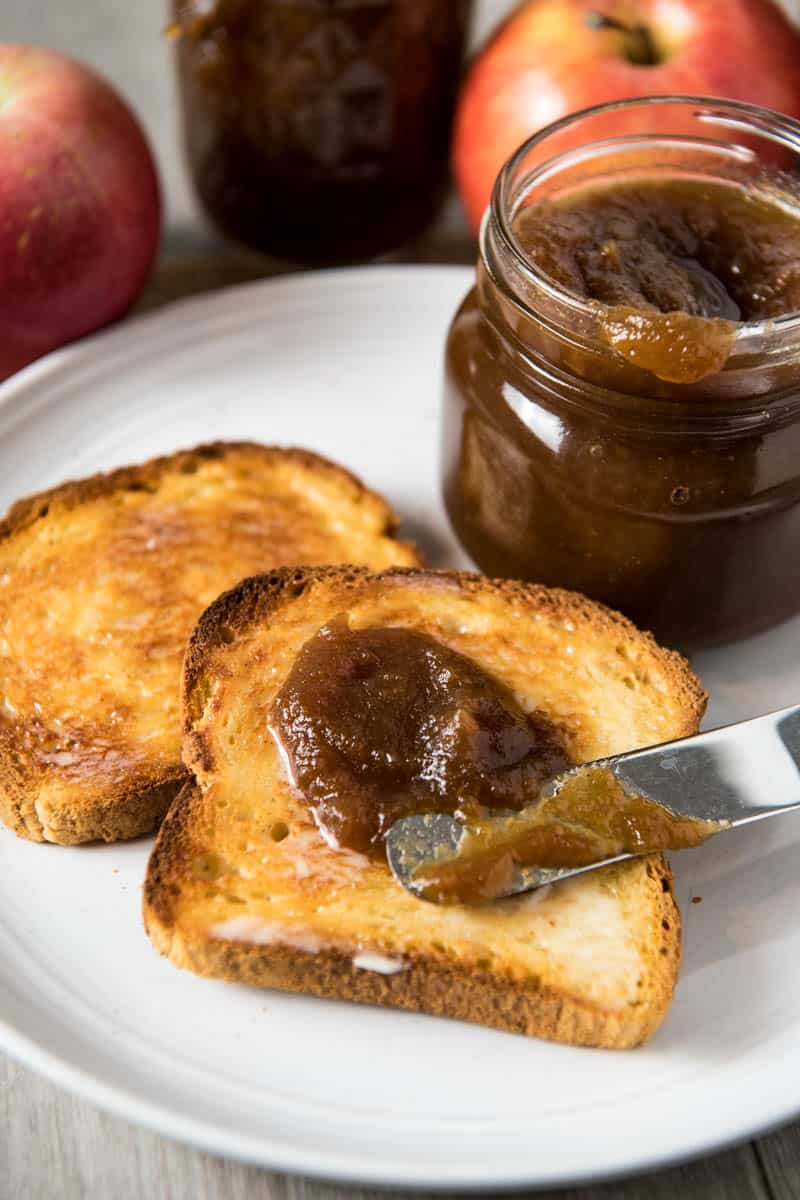
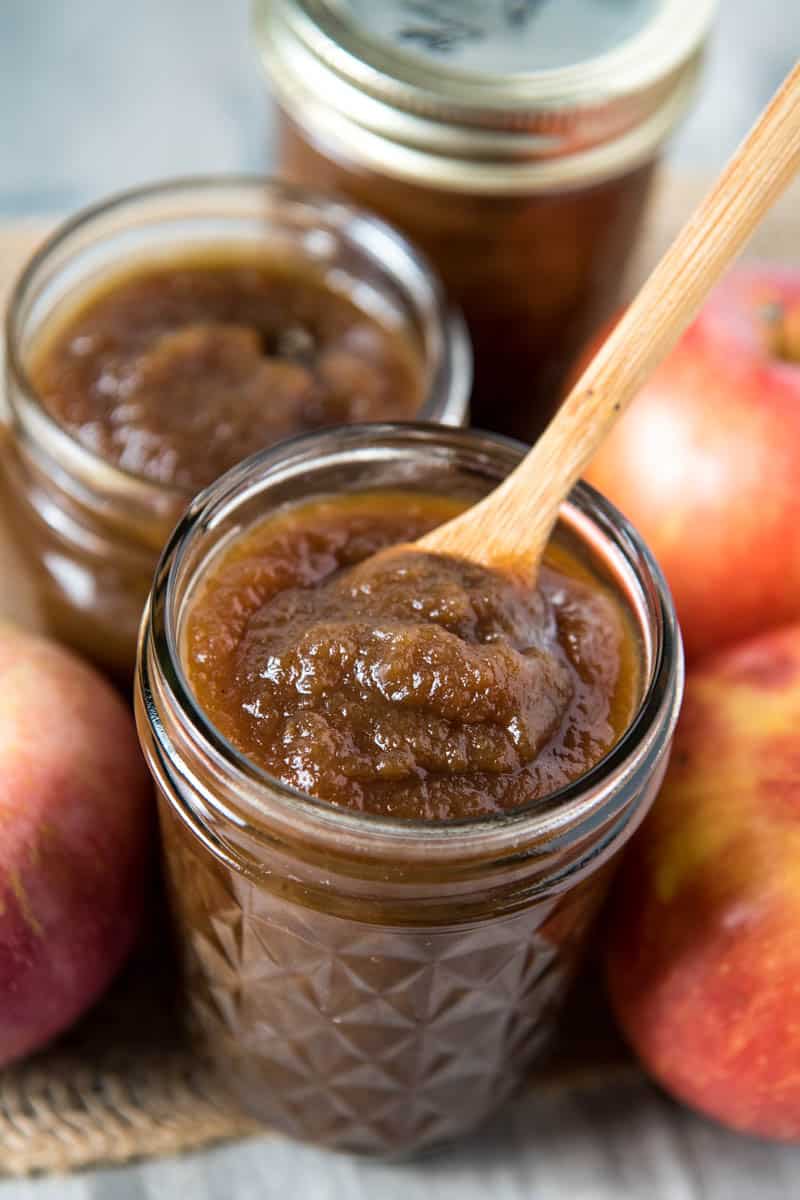
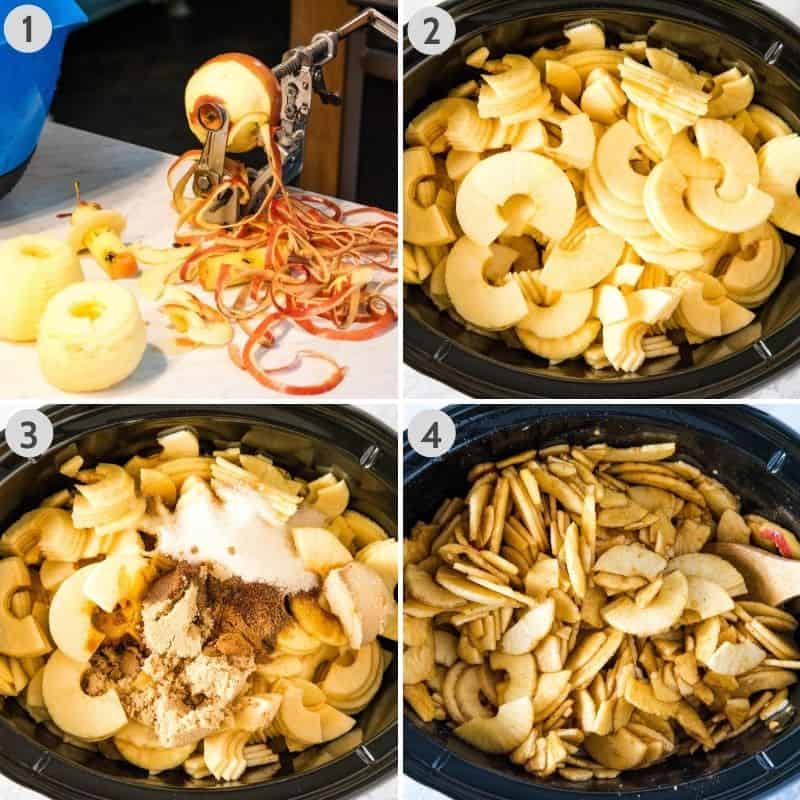
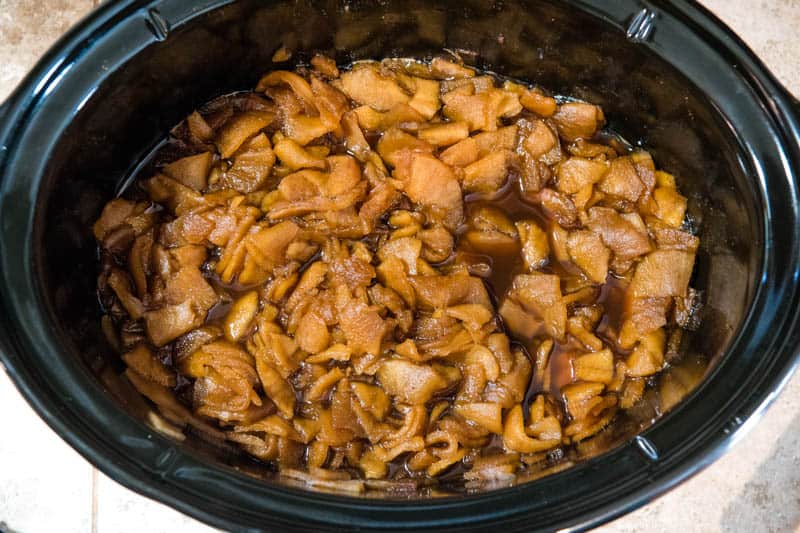
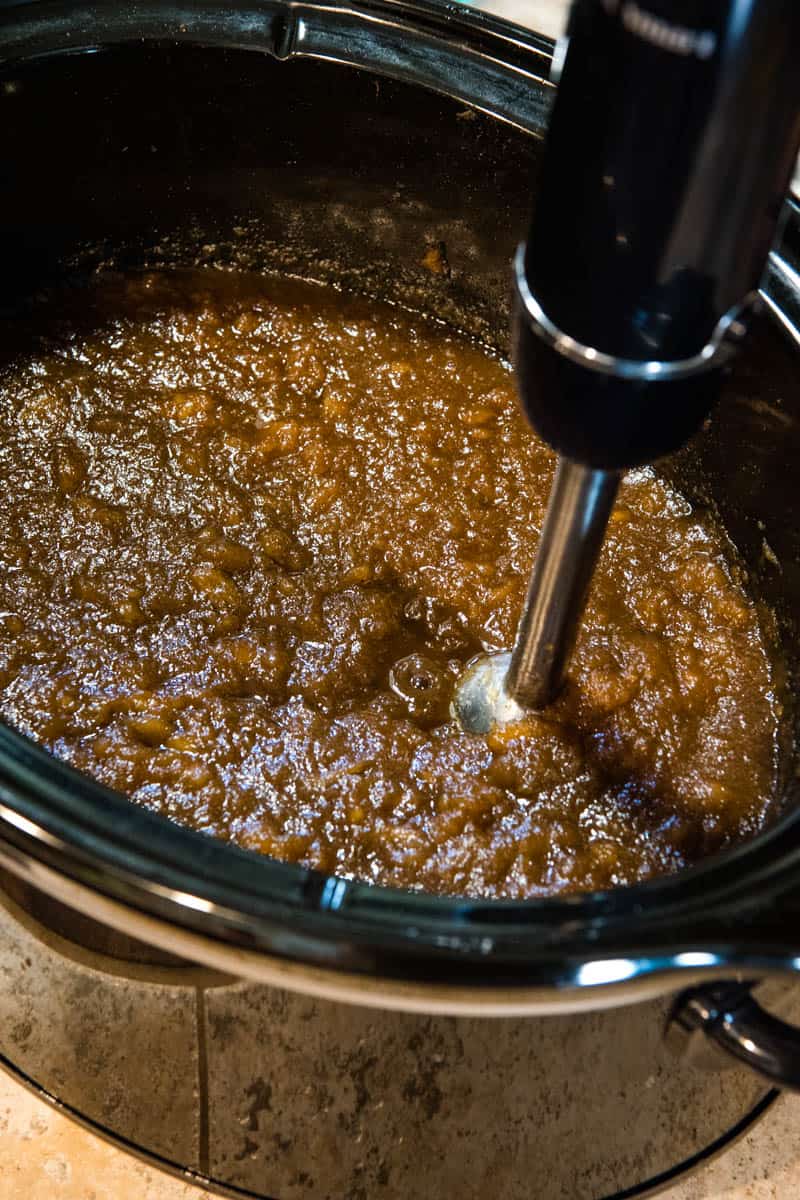
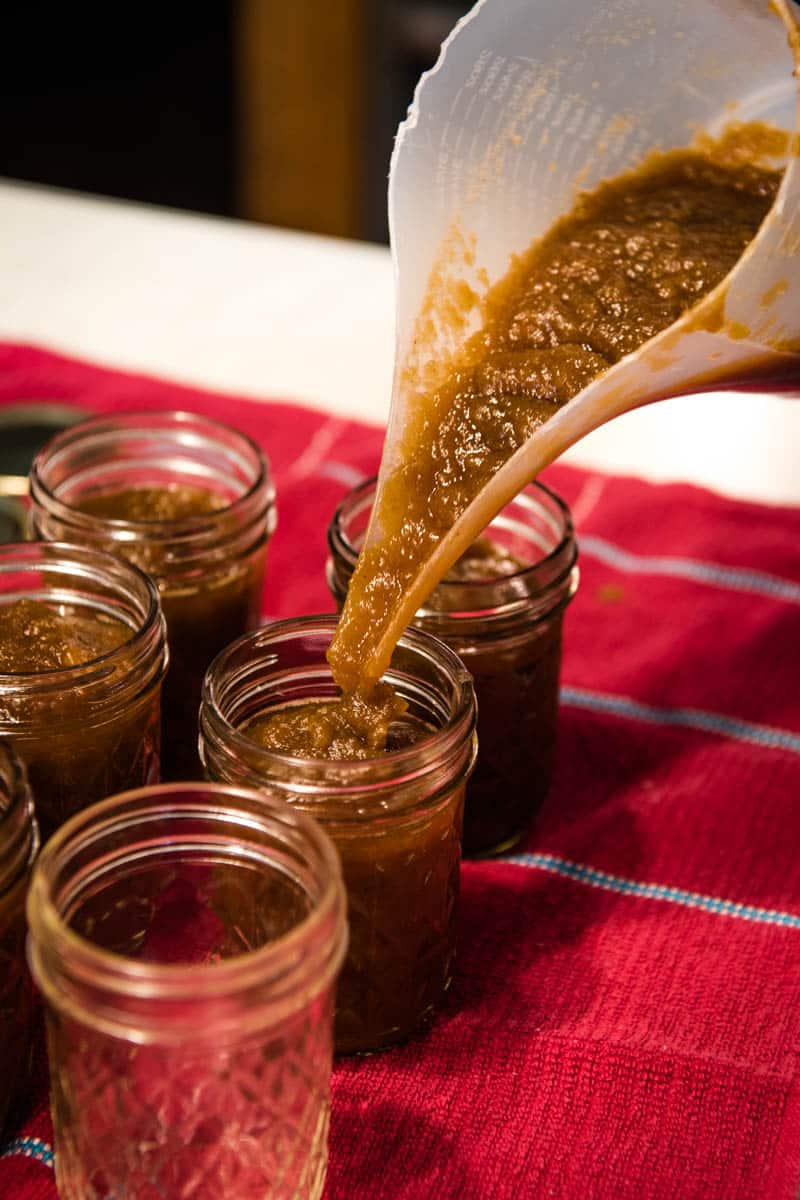
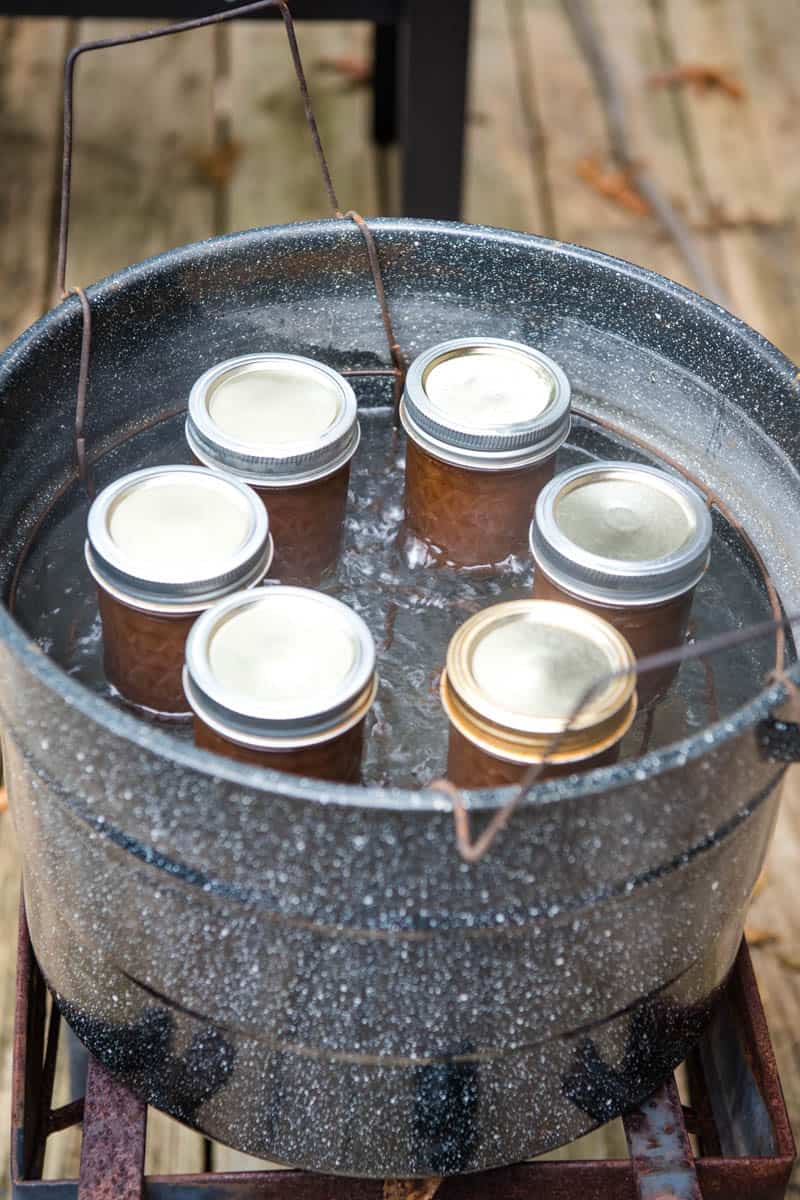
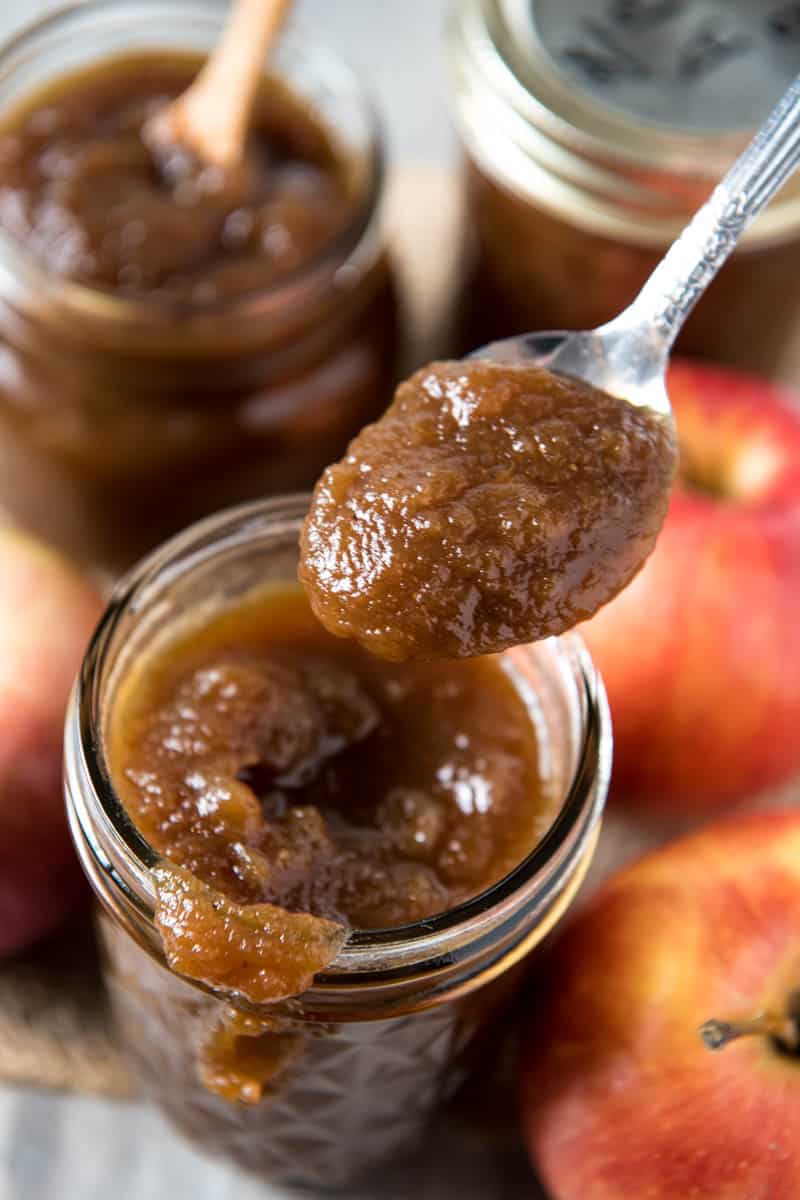
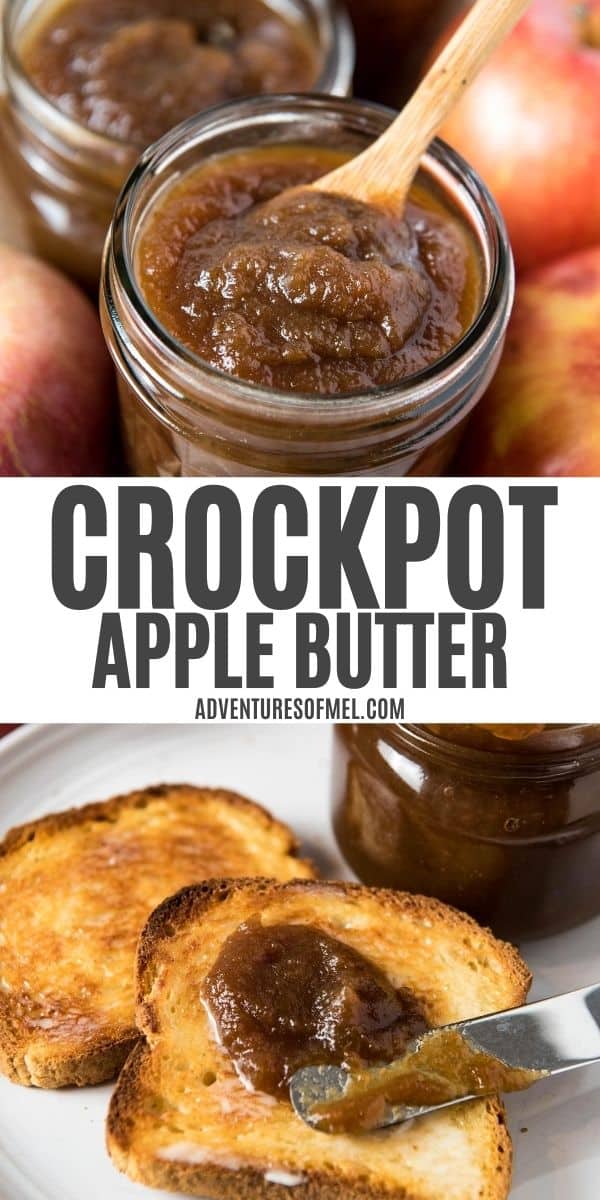
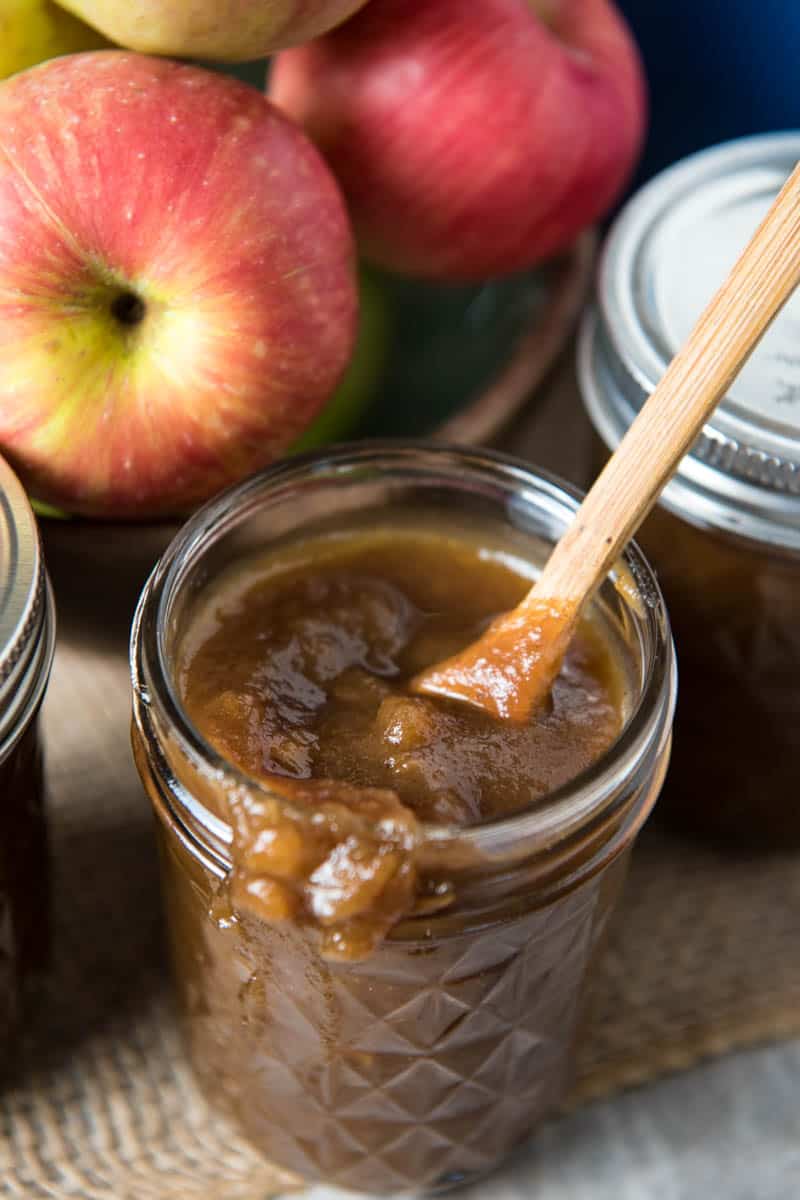
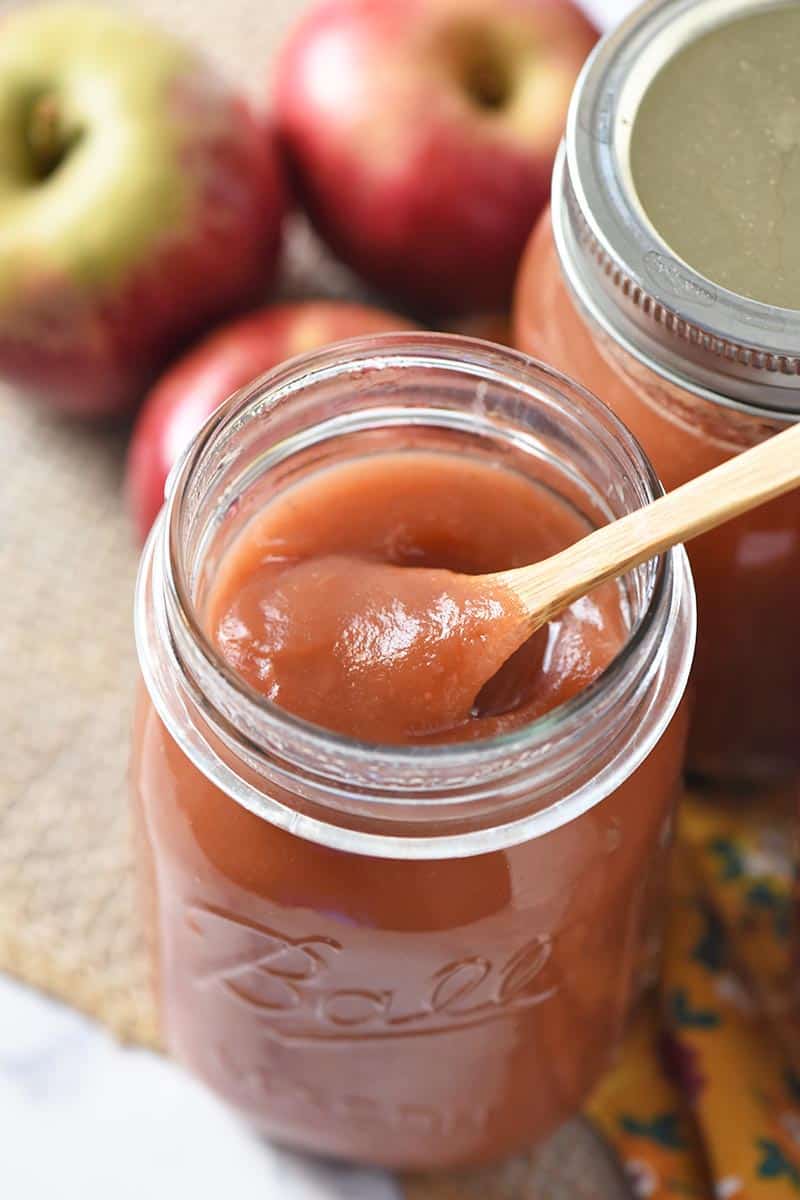
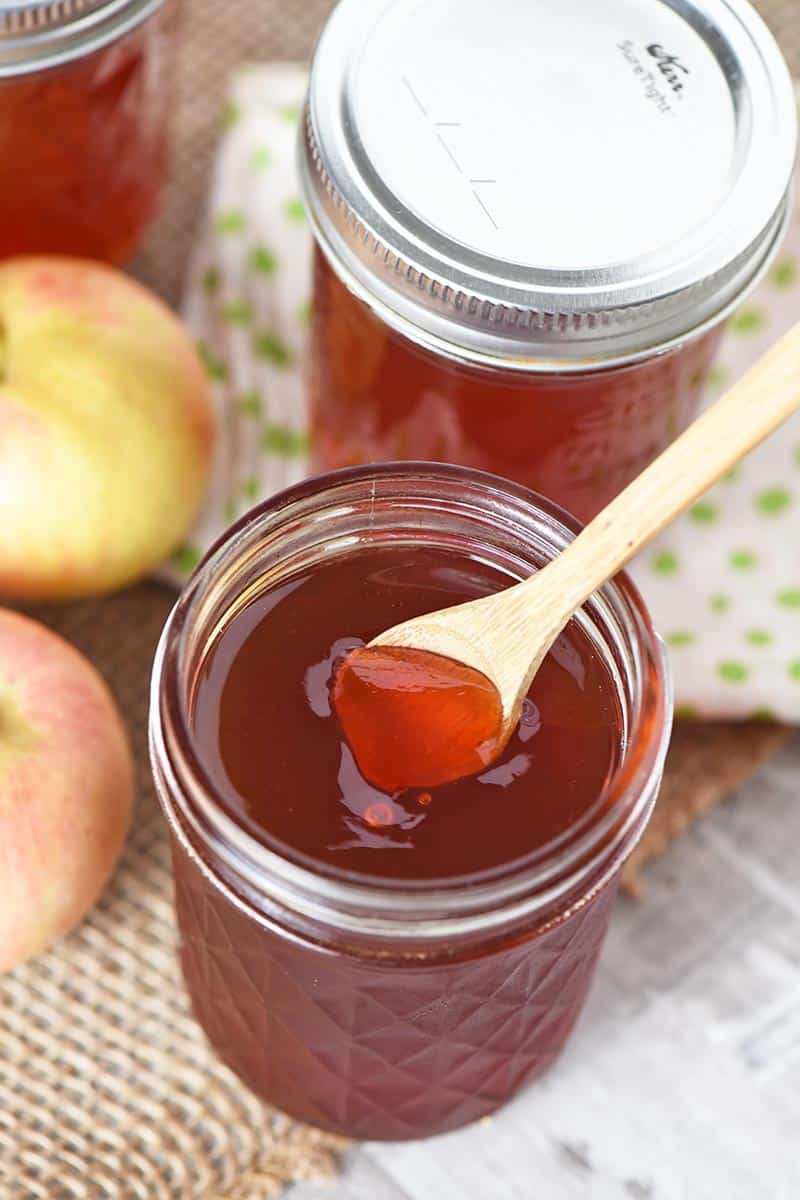
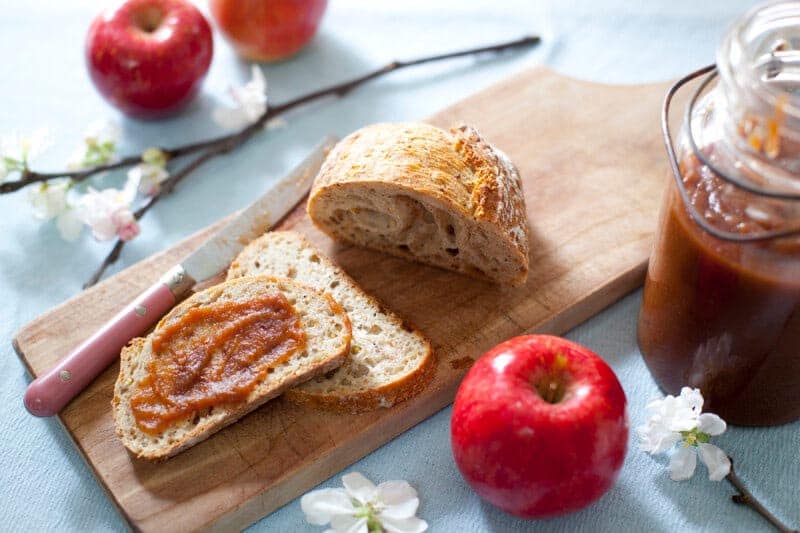
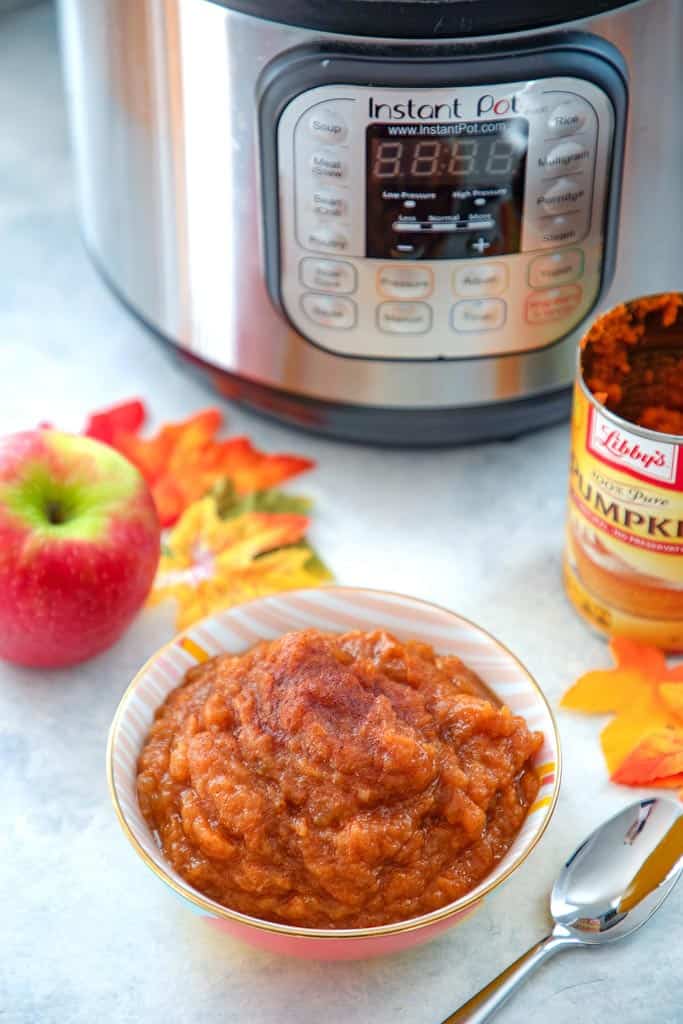
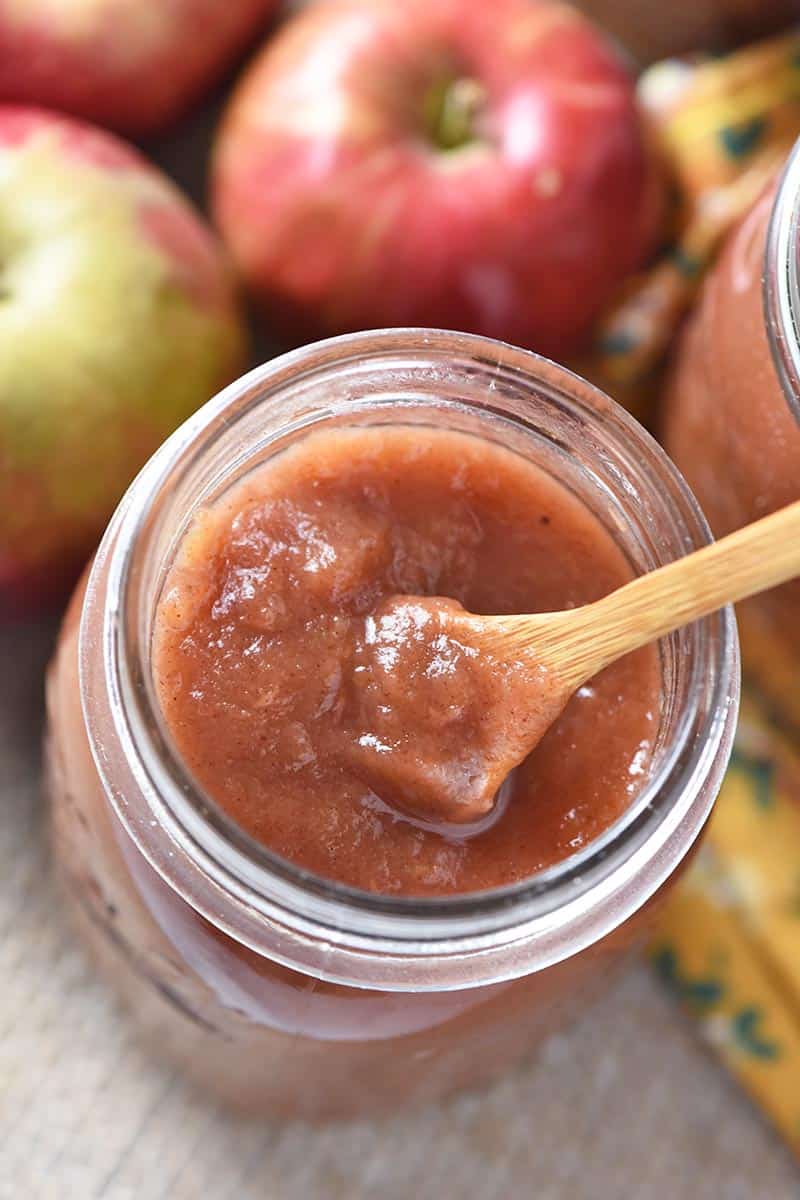
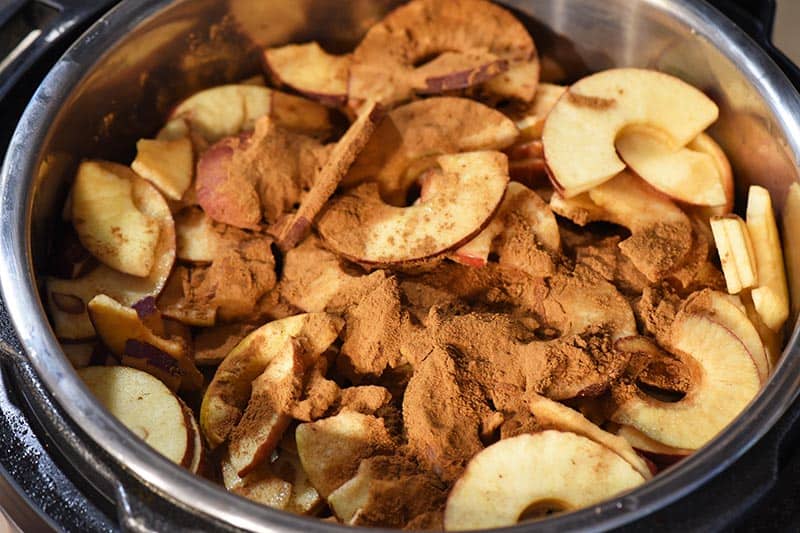
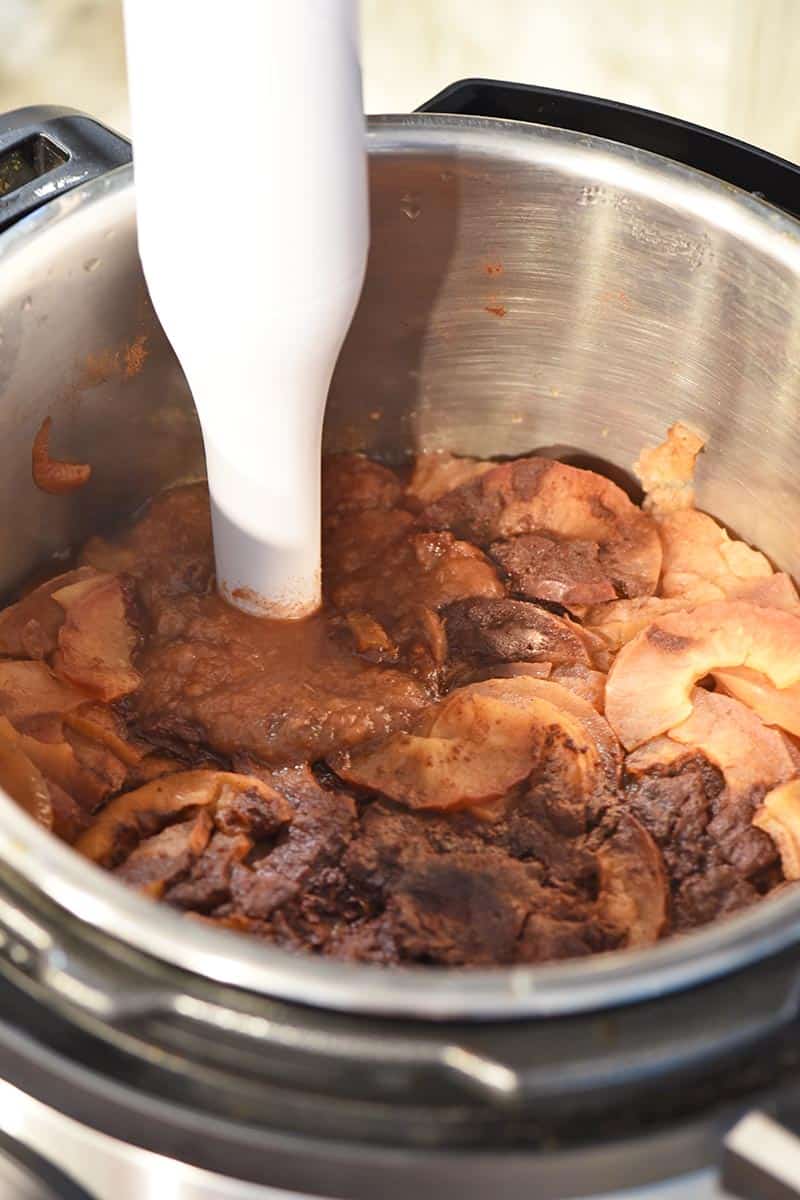
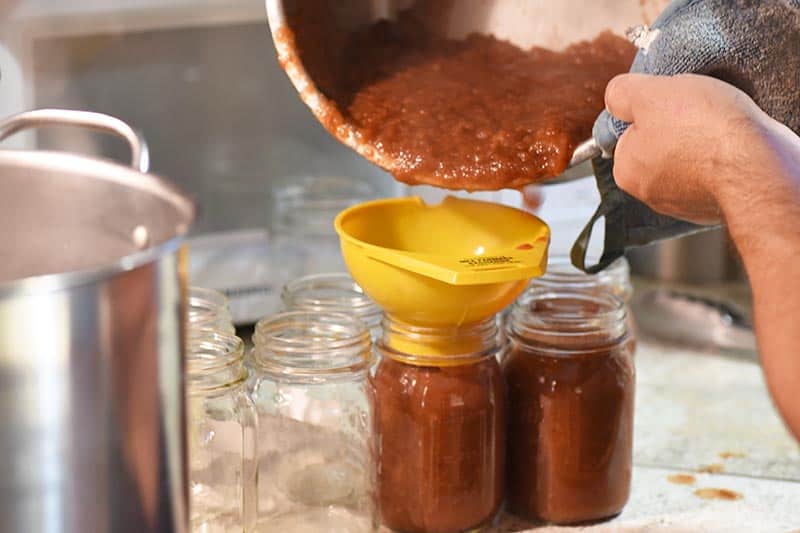
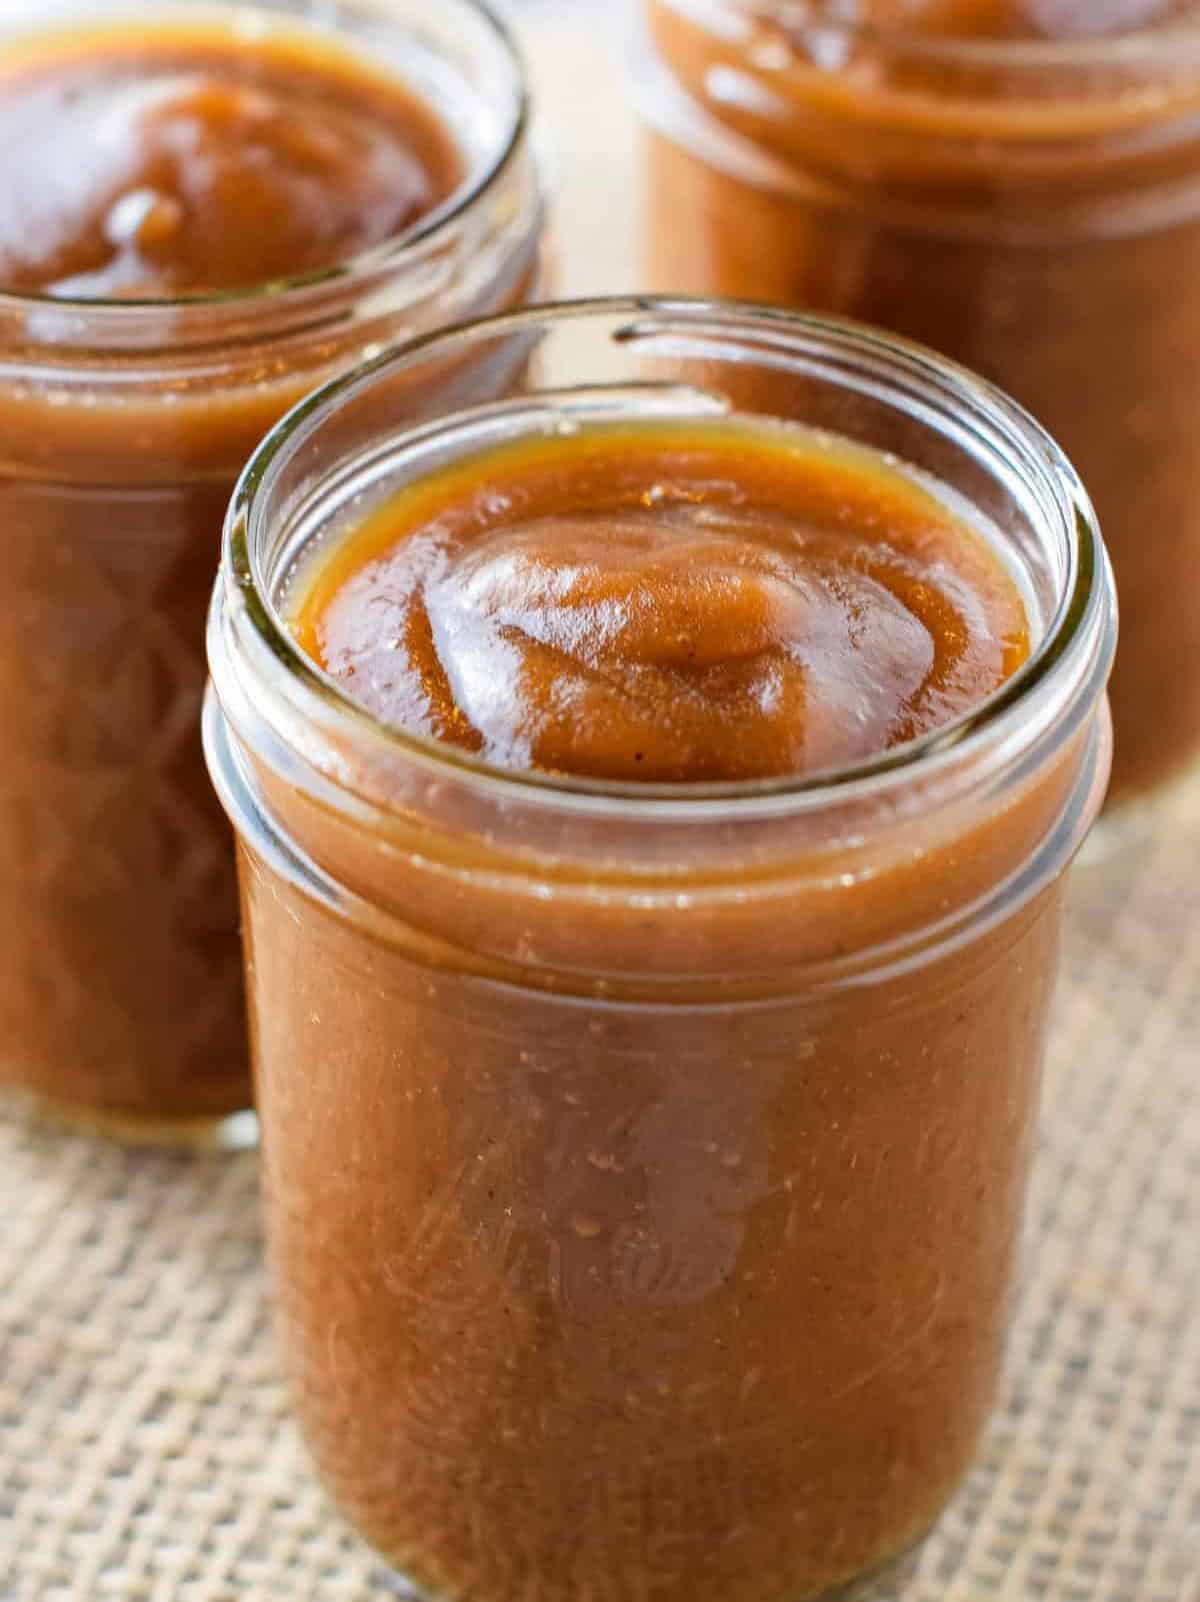
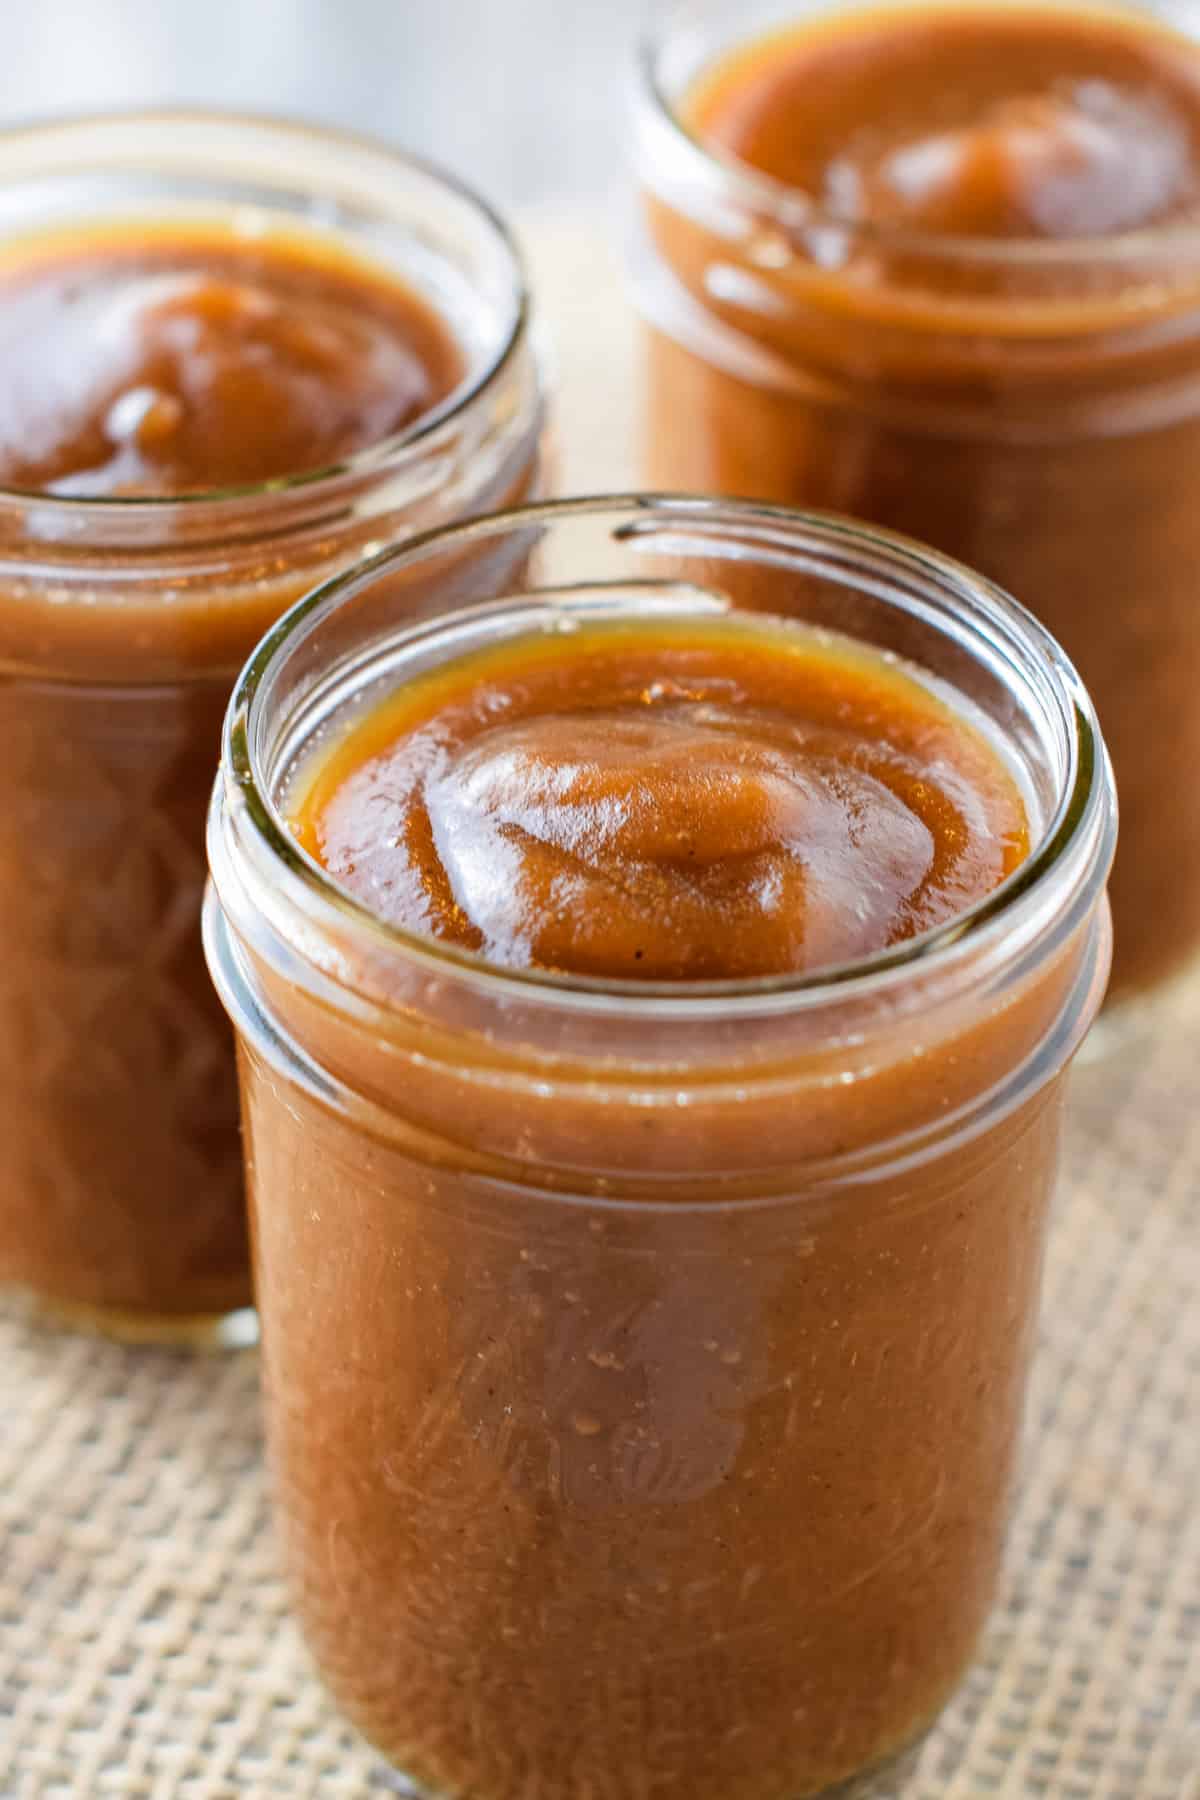
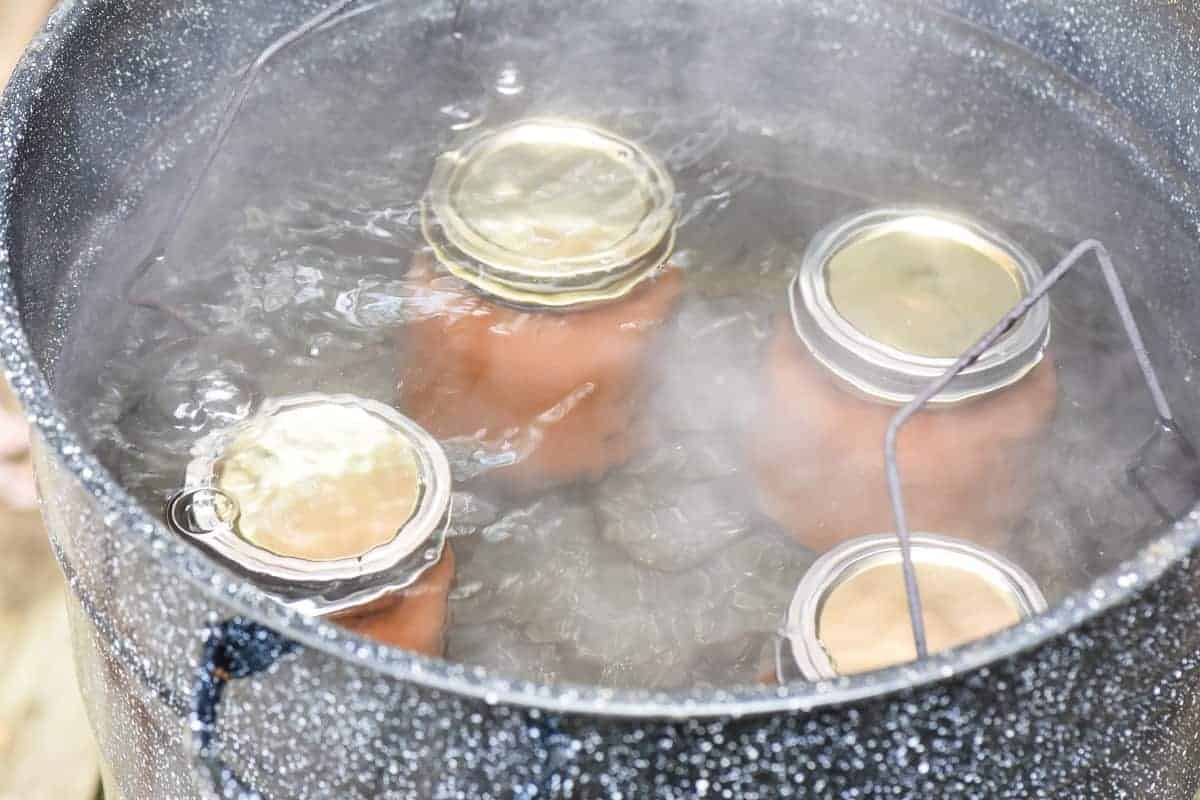
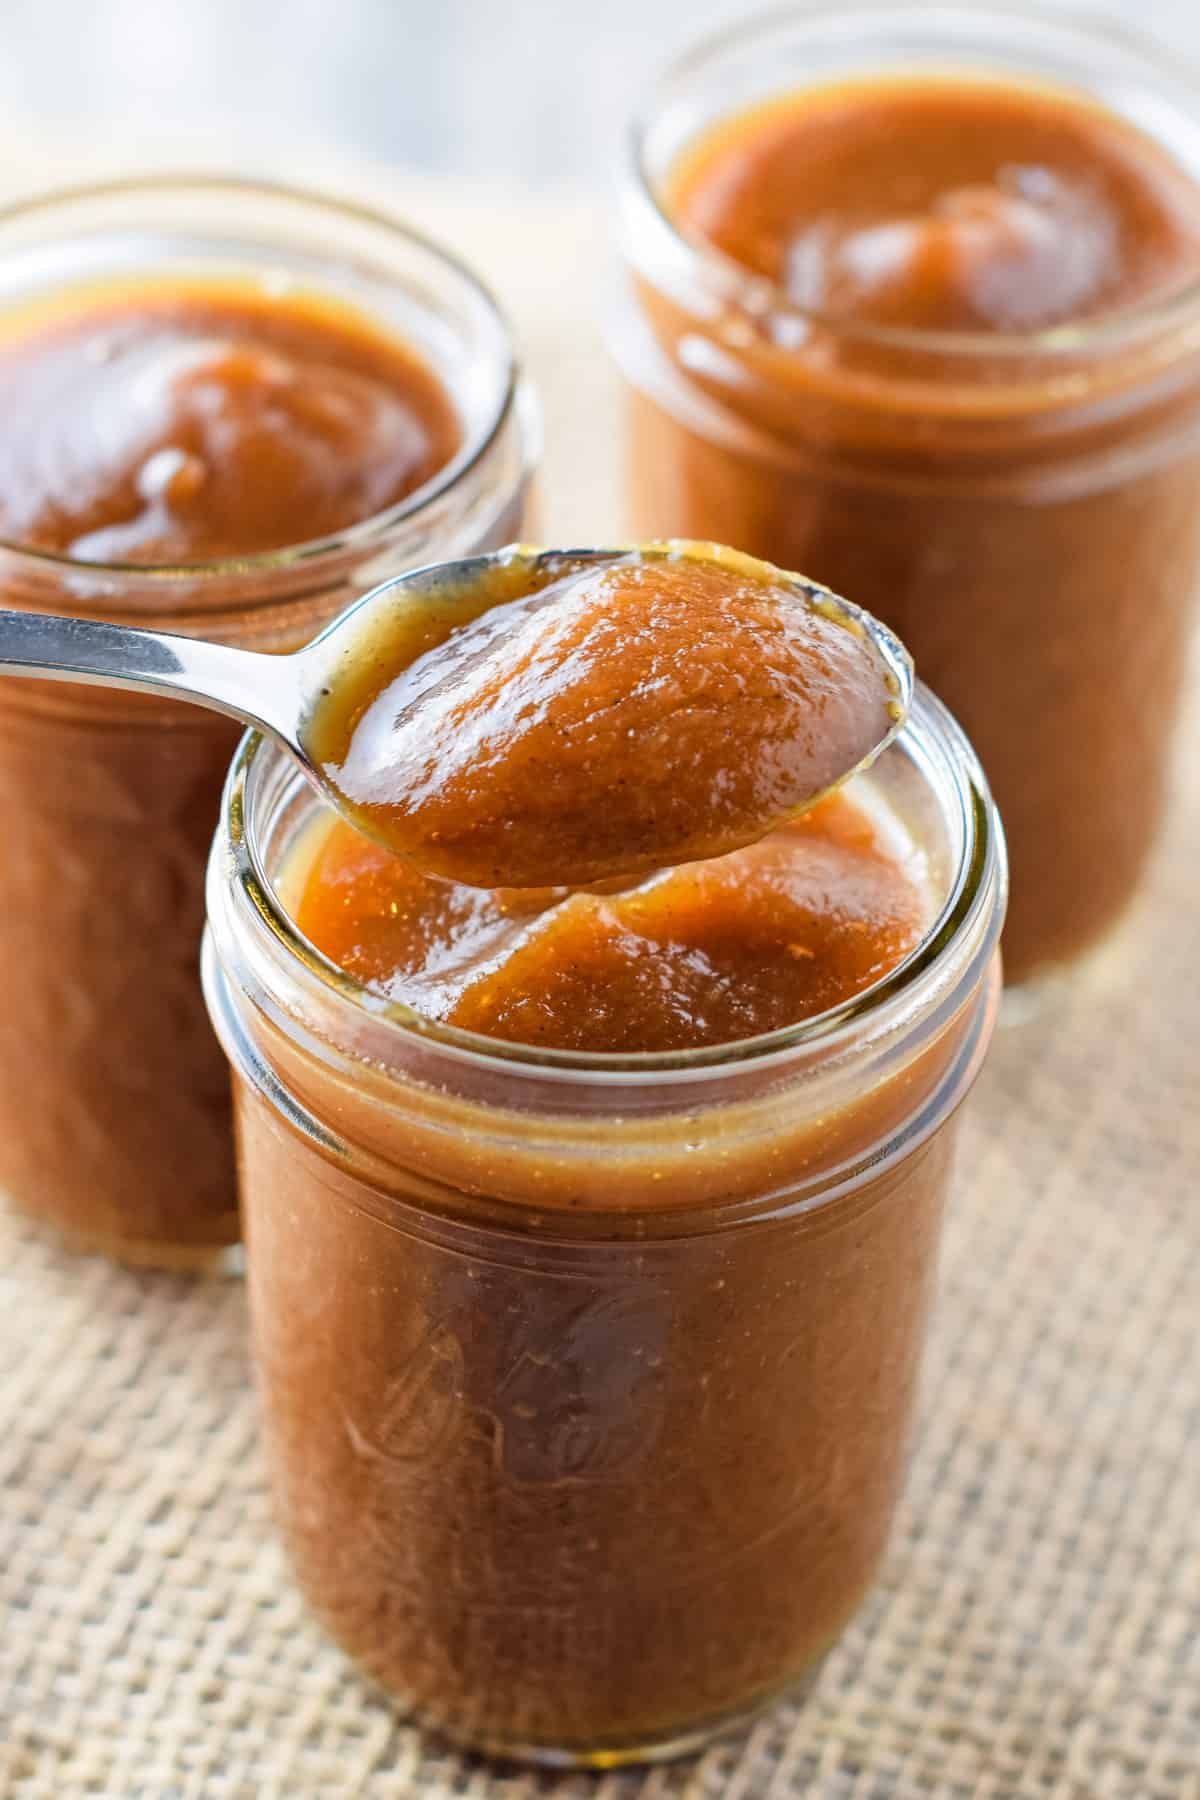
- You can’t go wrong with apple butter. Sometimes I make apple butter in the slow cooker or even apple butter in the Instant Pot.
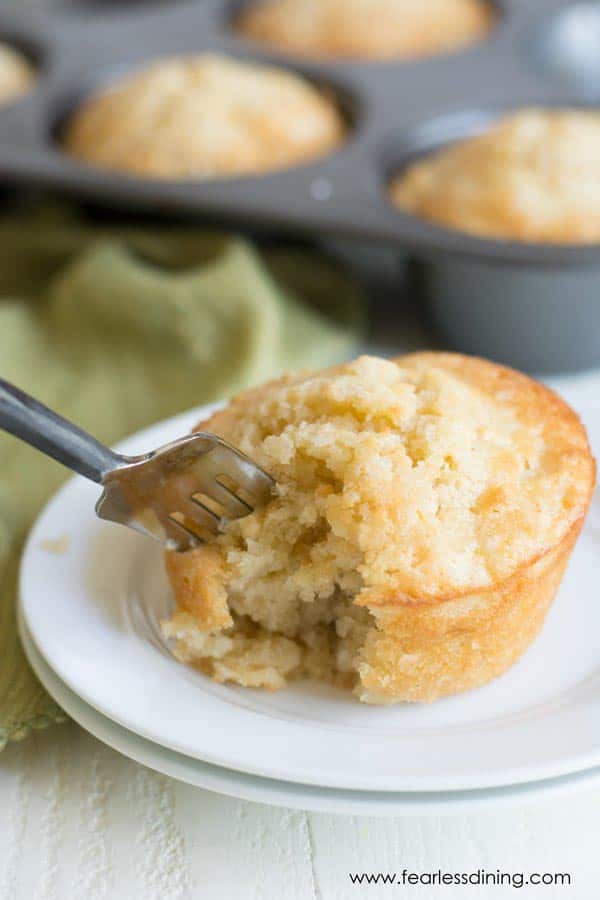
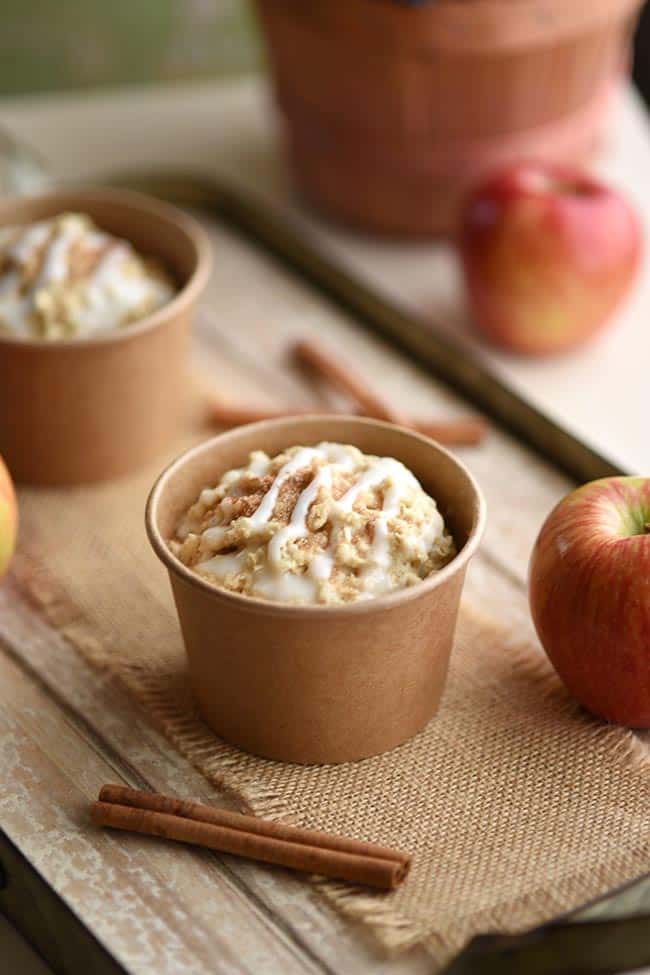
- A hint of apple pie spice would go great in these Bisquick cinnamon muffins, or even these caramel pear crumble muffins!
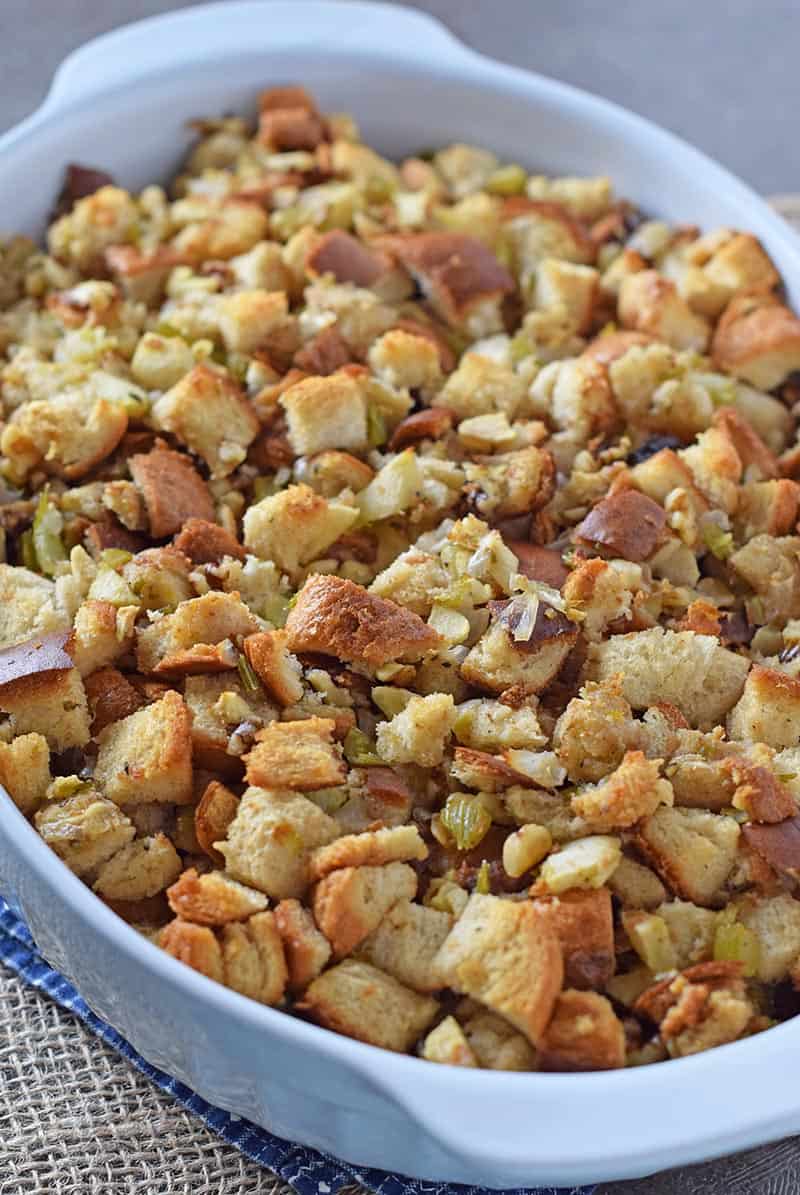
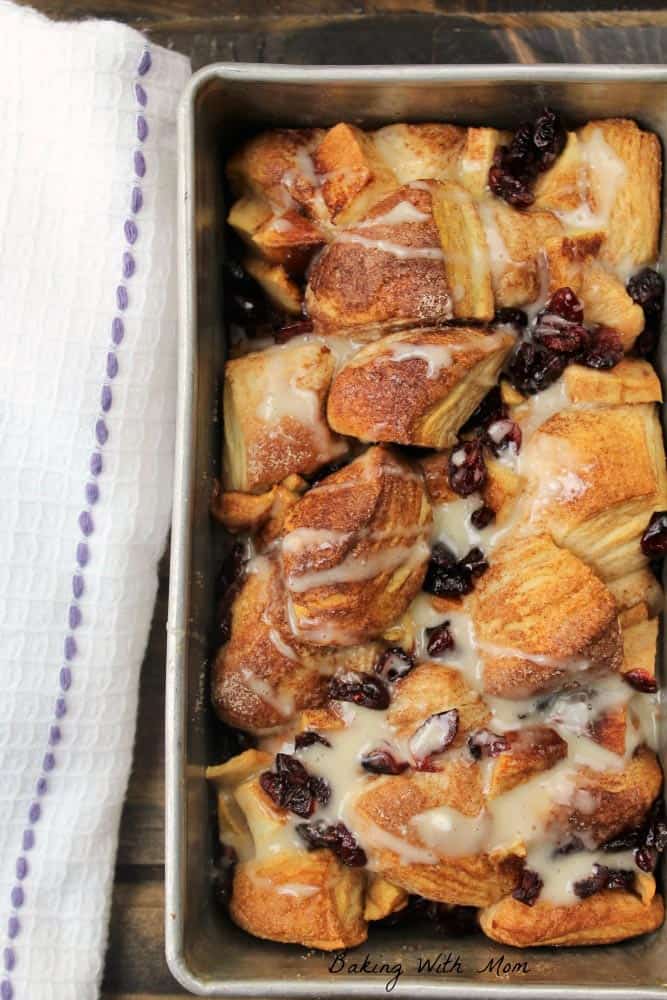
- This French toast casserole makes a quick and easy breakfast recipe that would greatly benefit some of this apple pie spice!
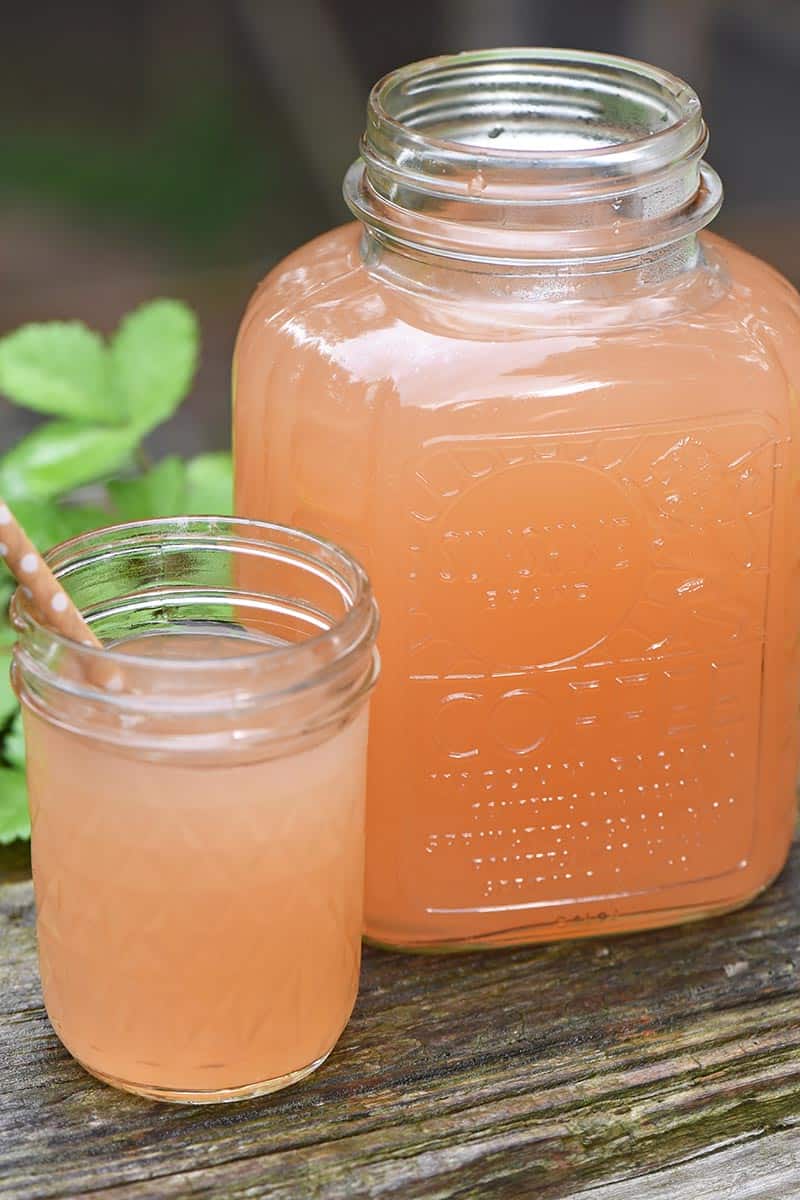
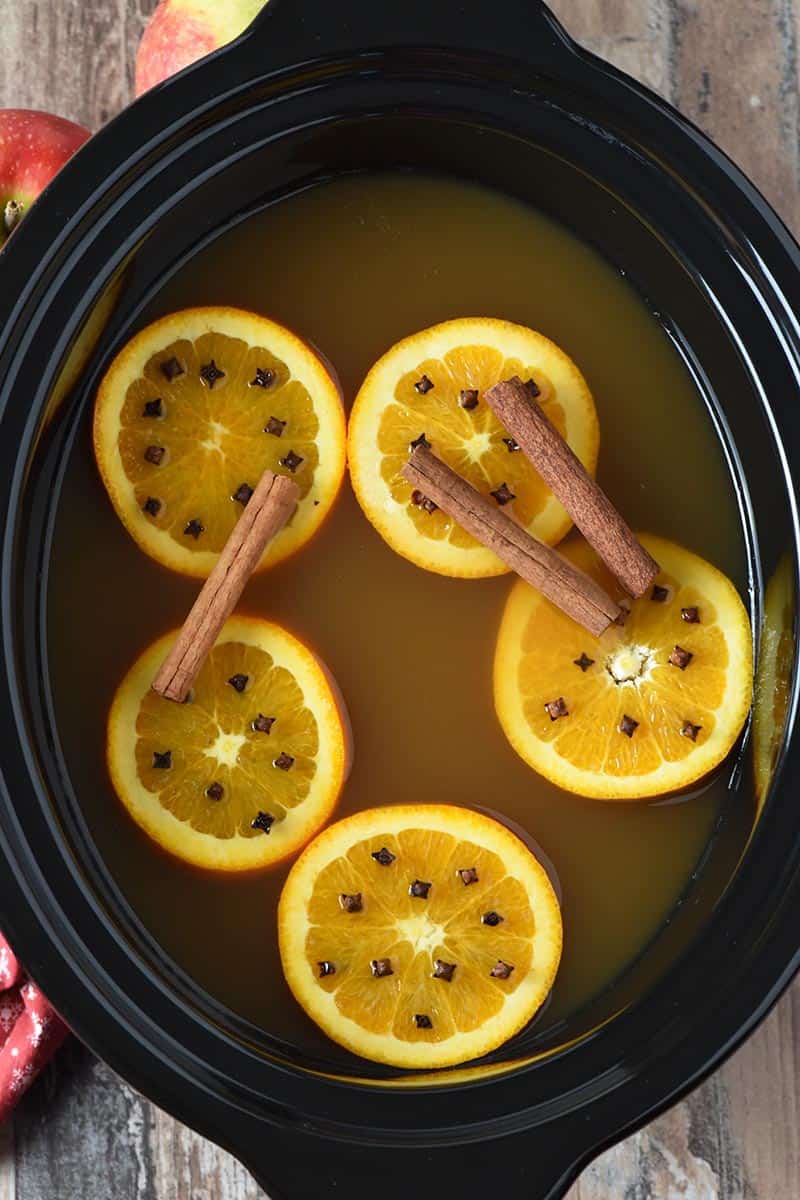
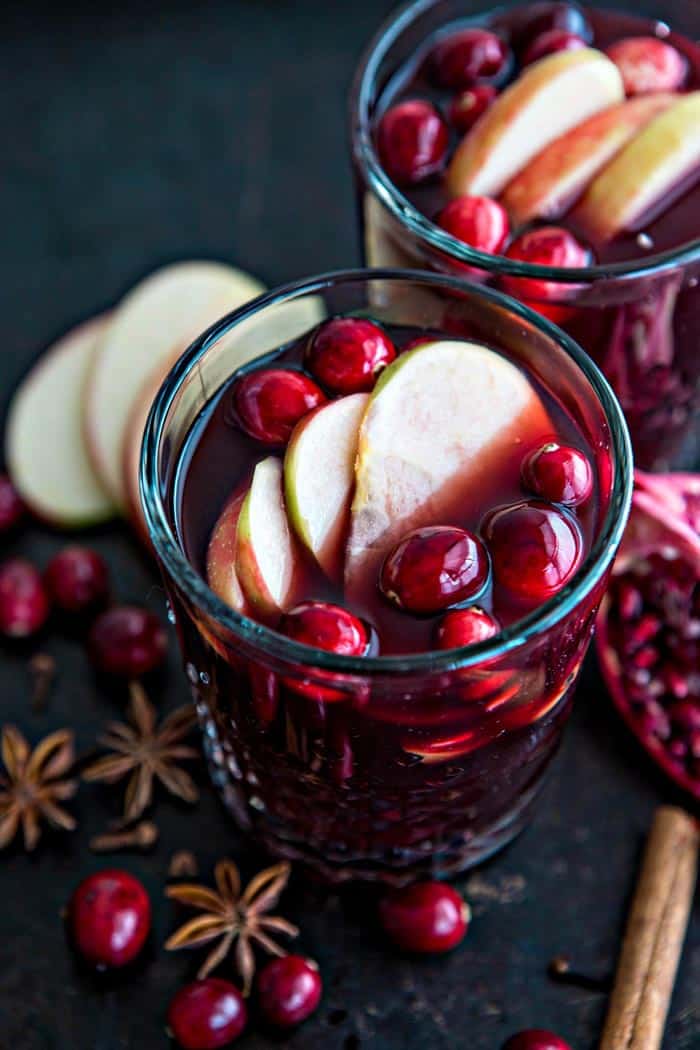
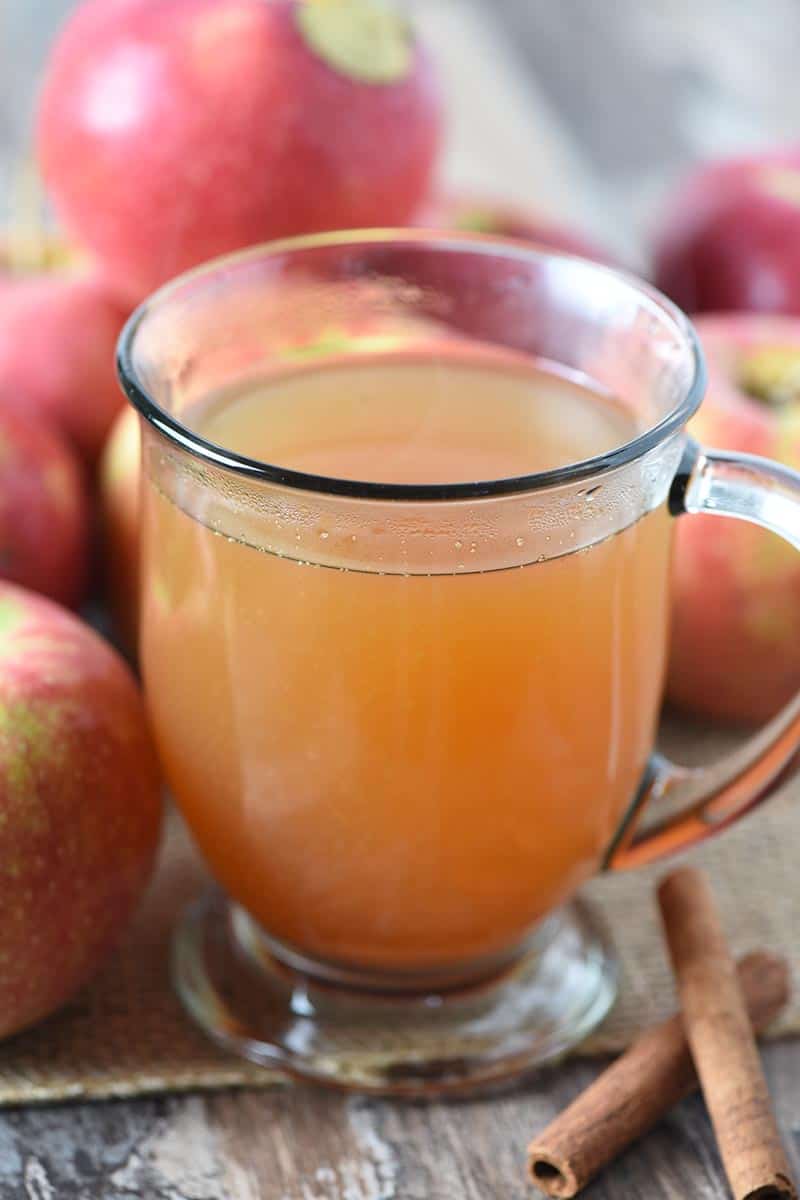
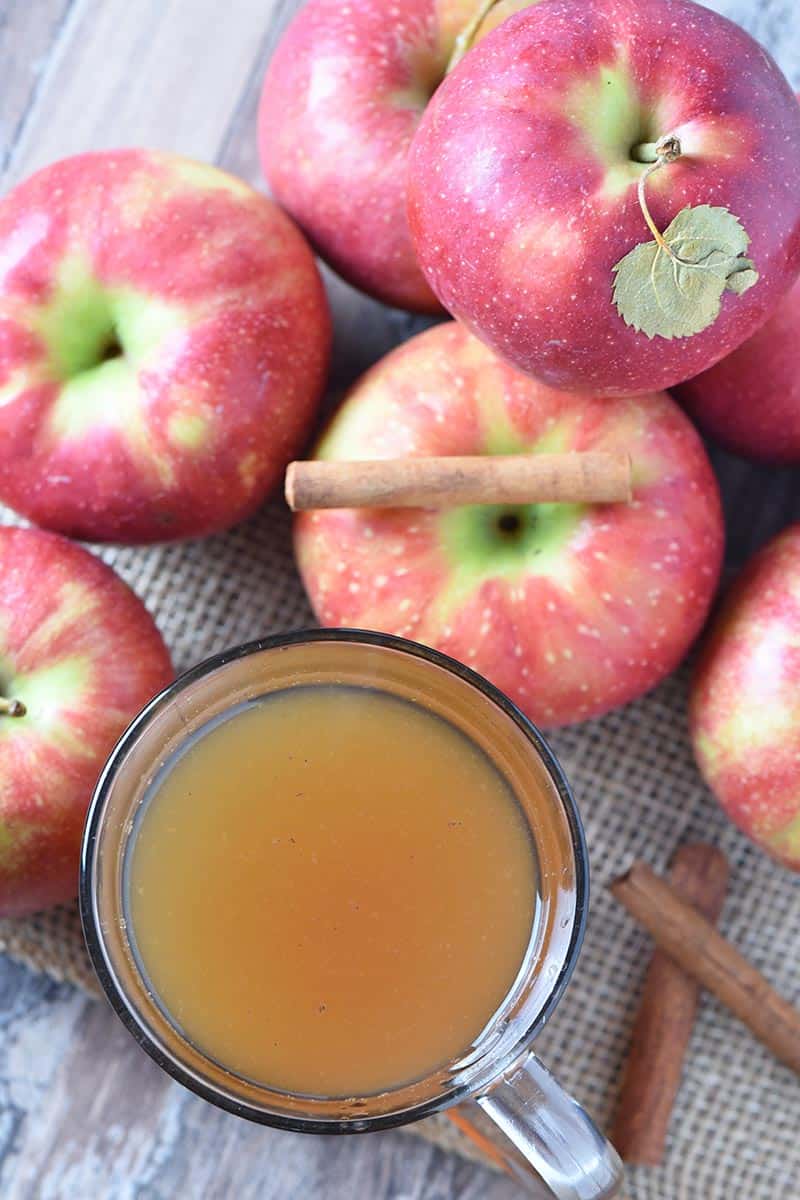
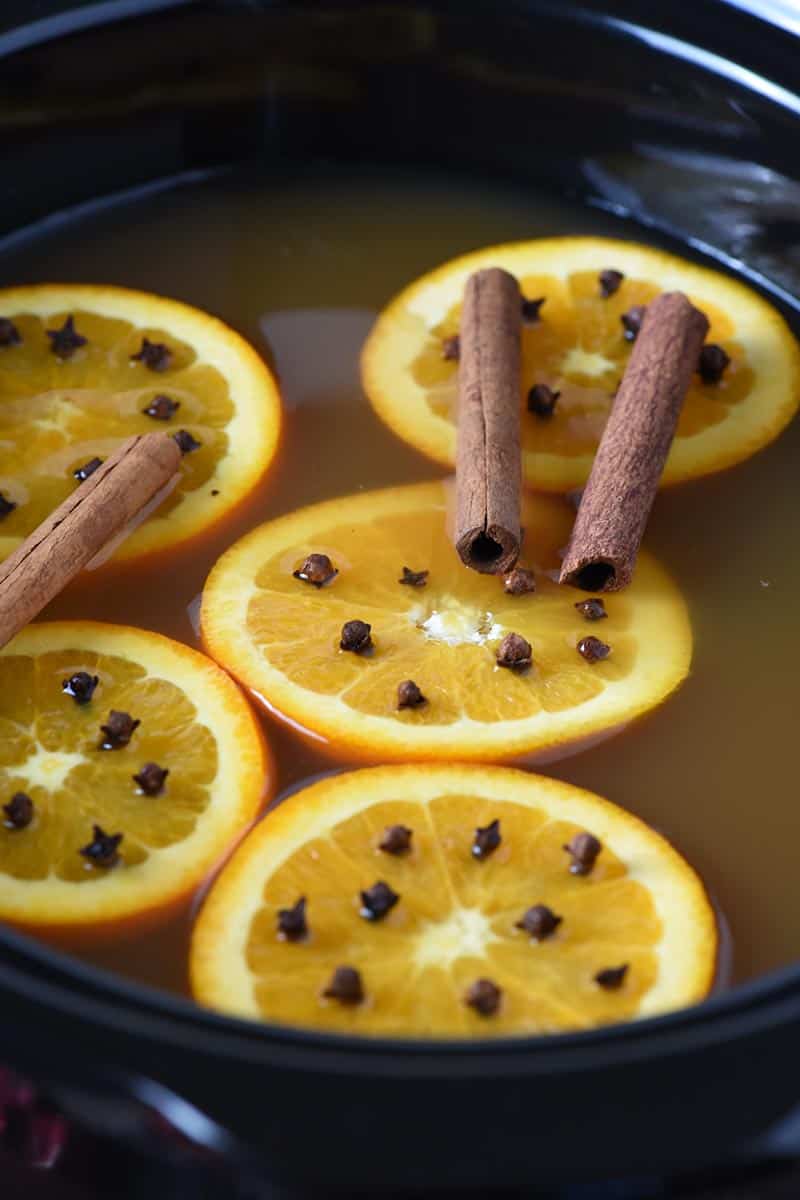
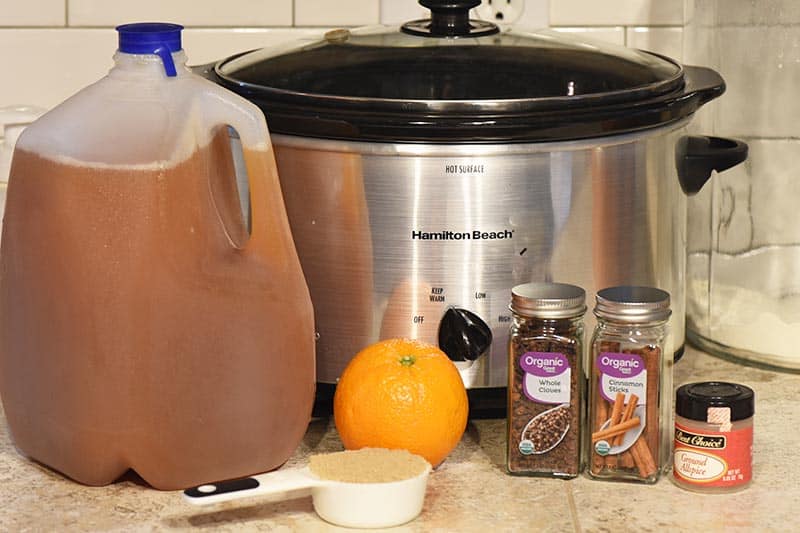
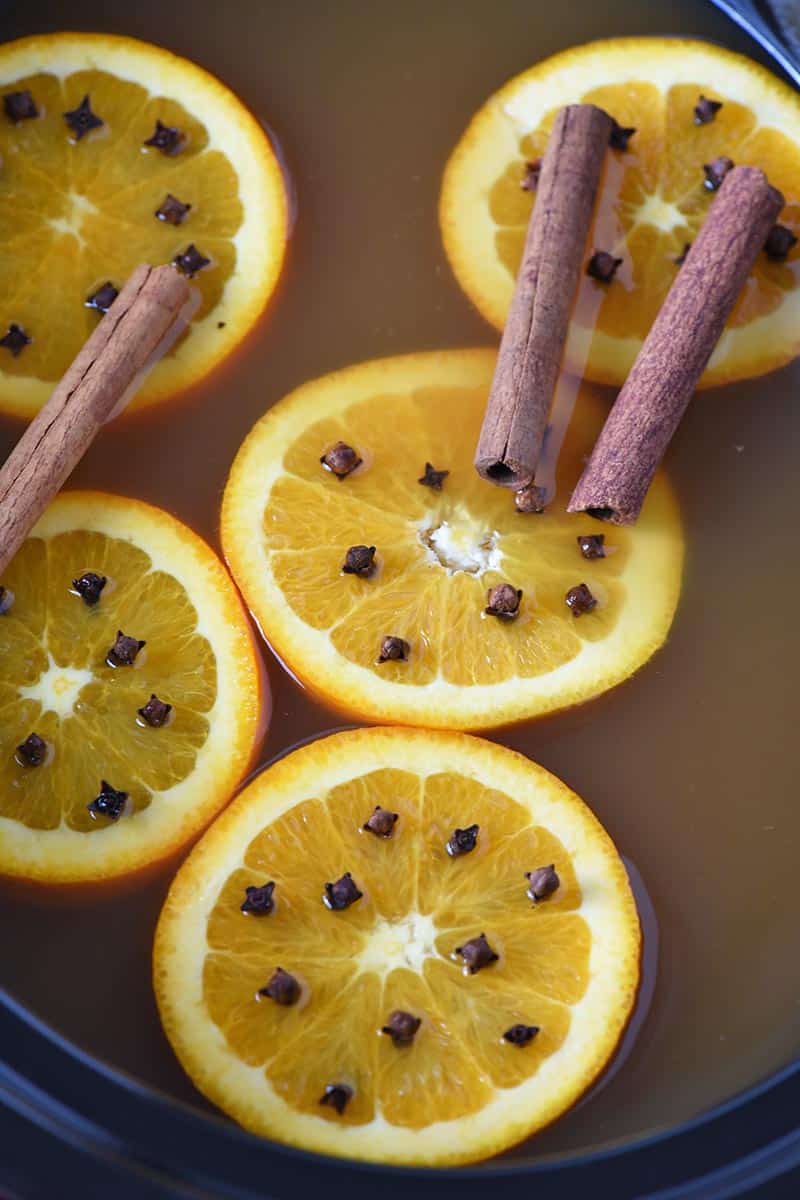
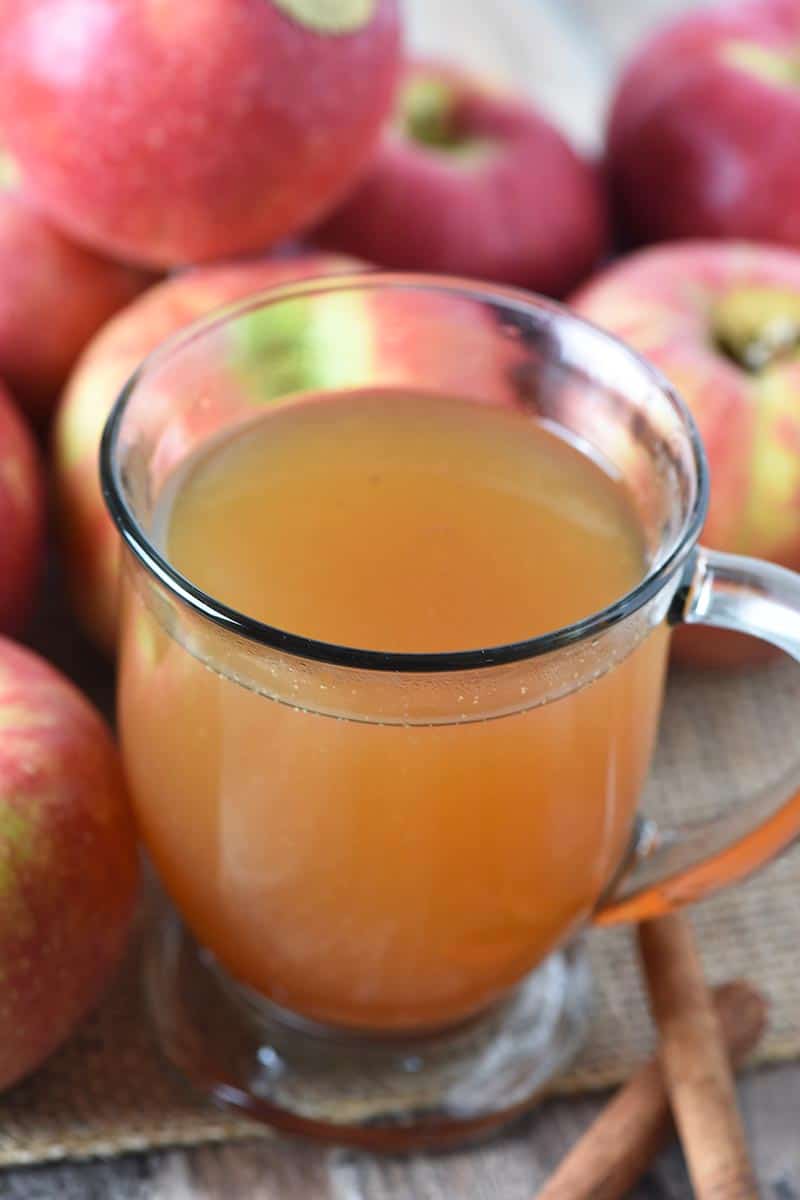
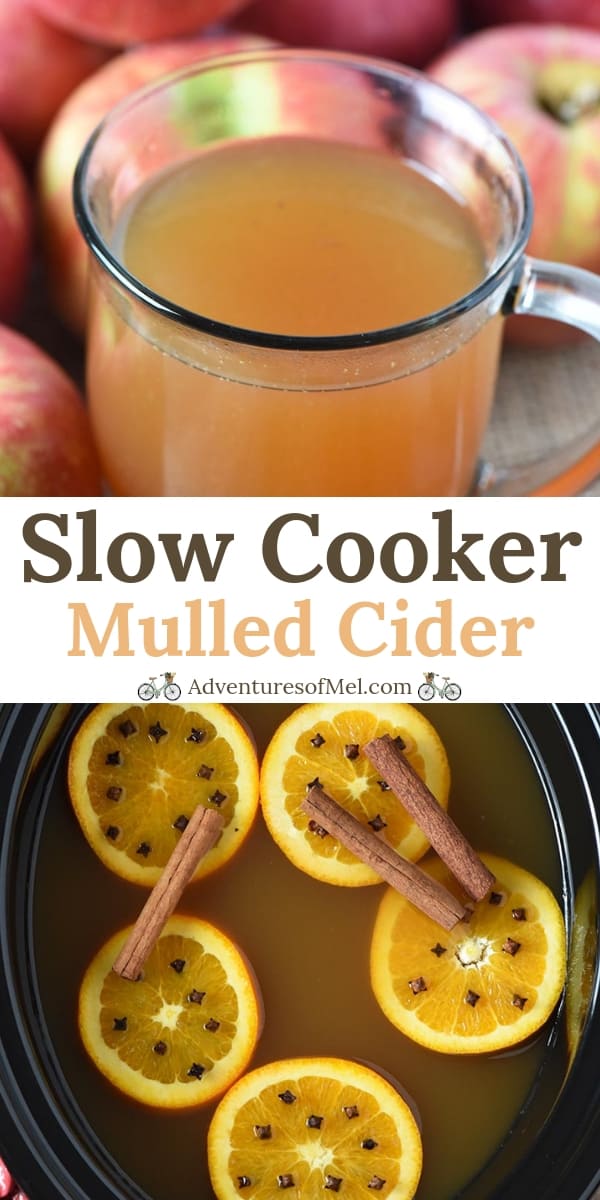
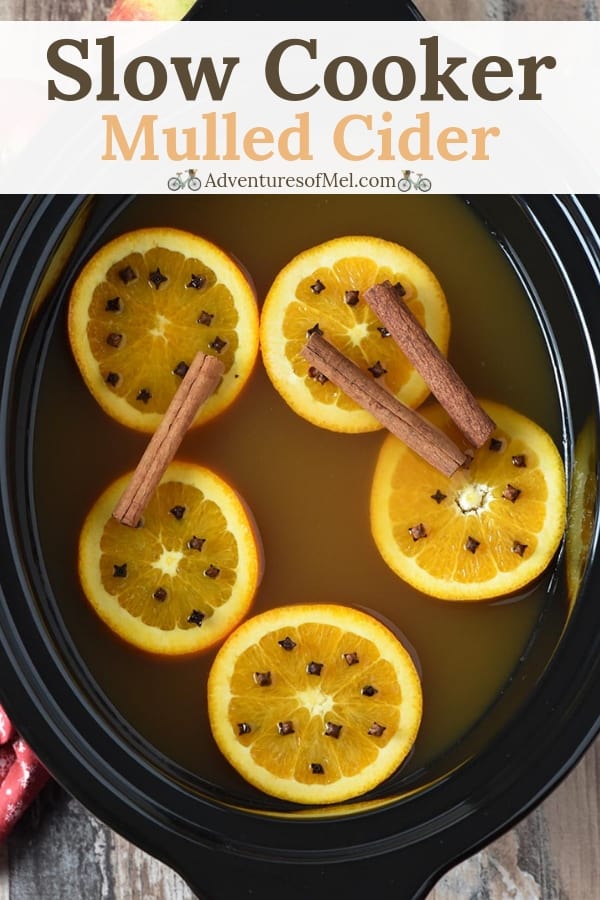
- Make this cooked mulled cider an annual autumn tradition!
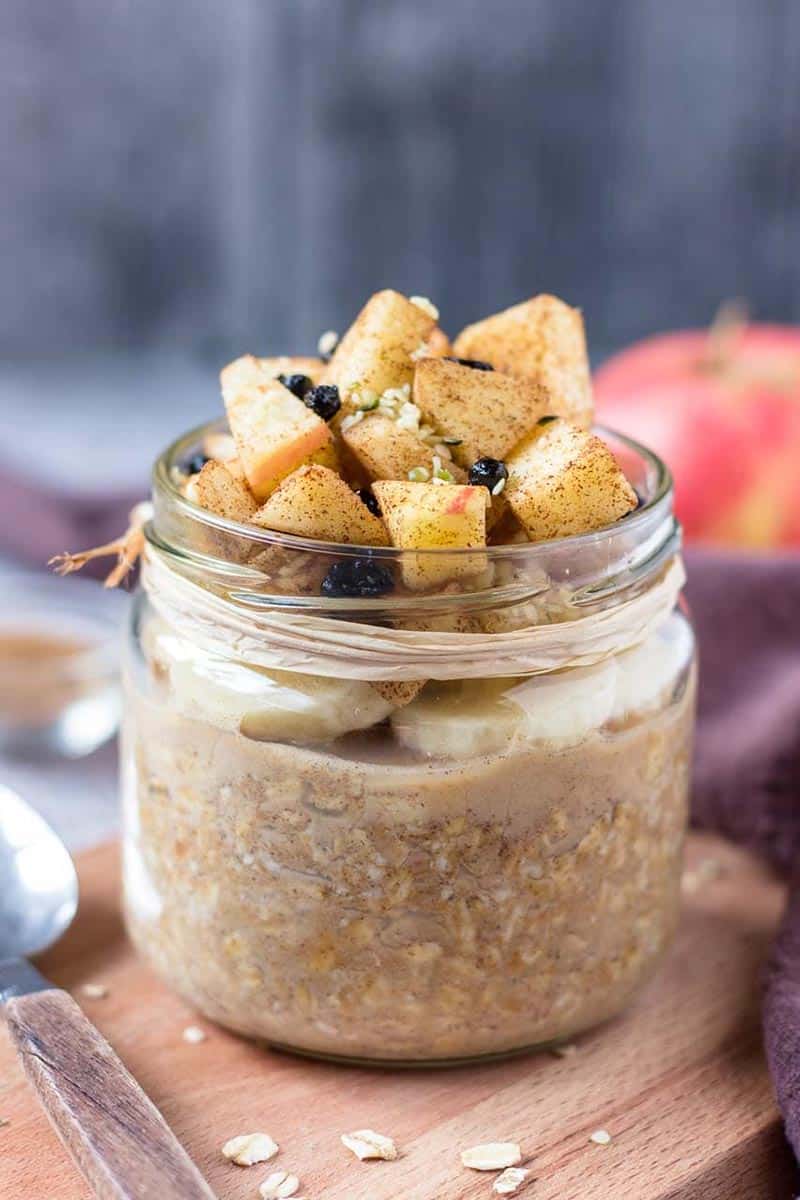
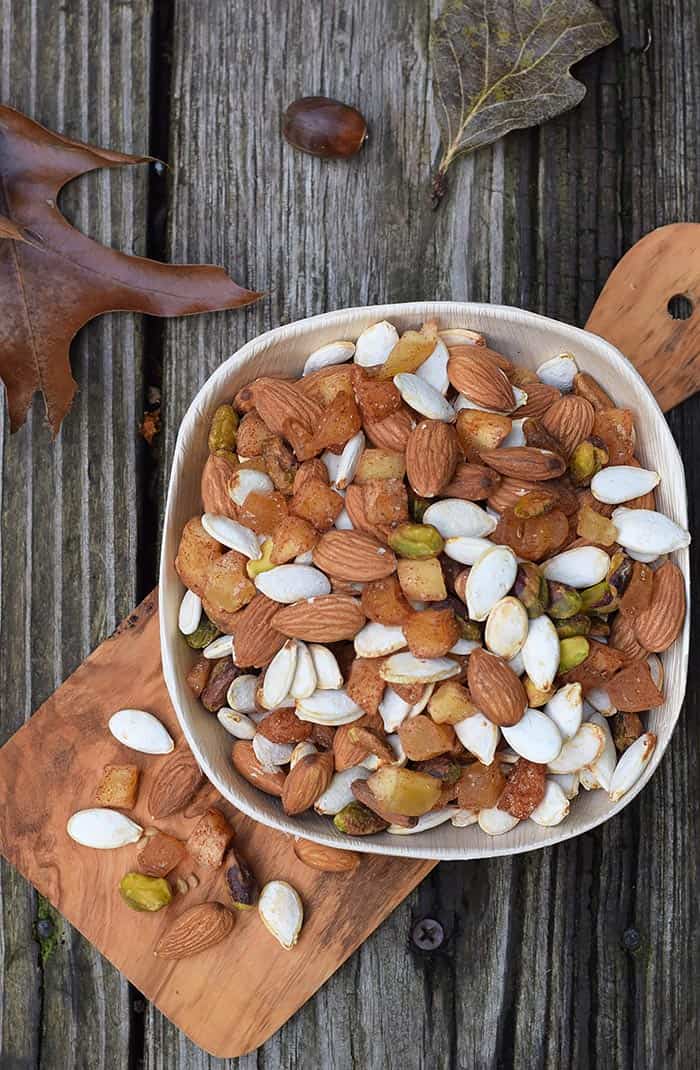
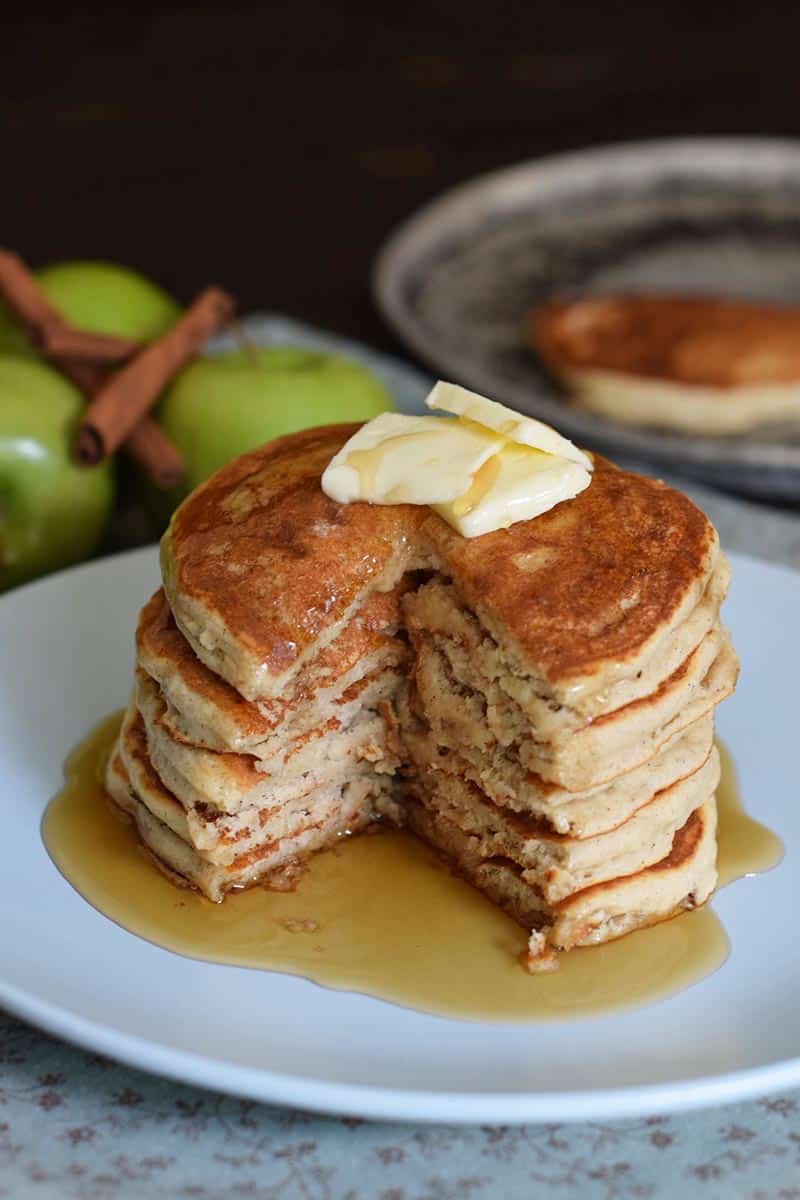
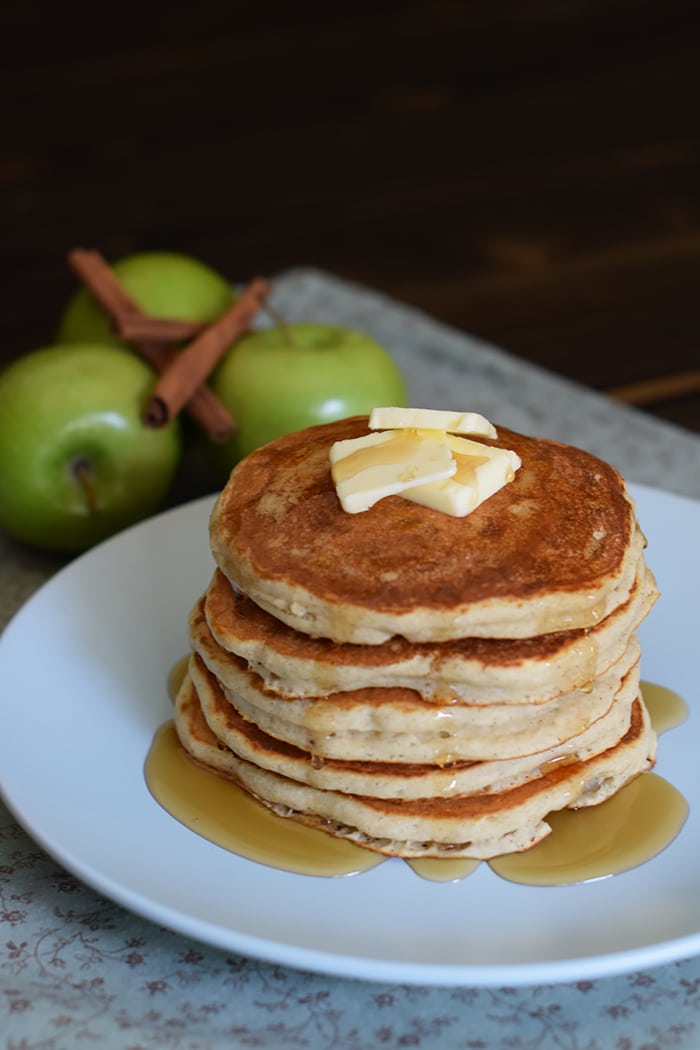
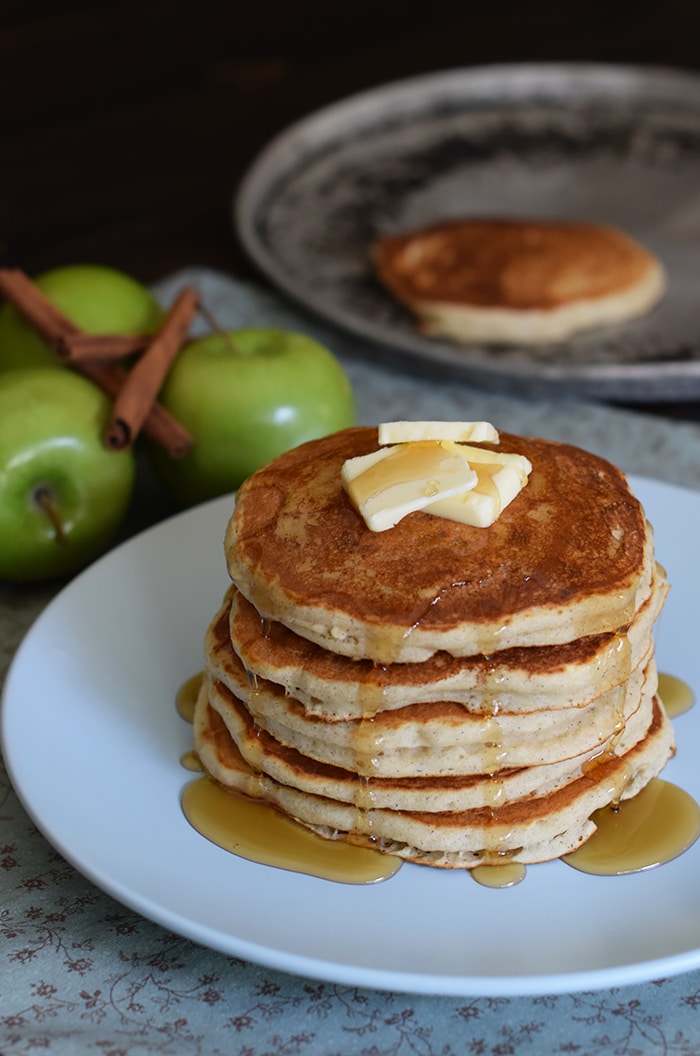
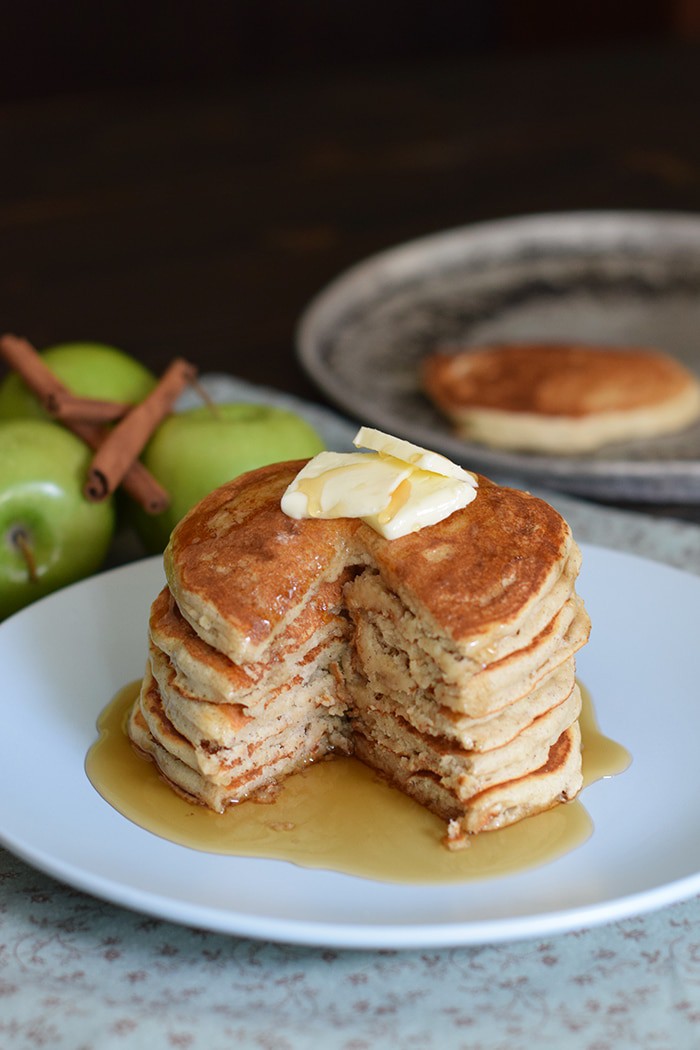
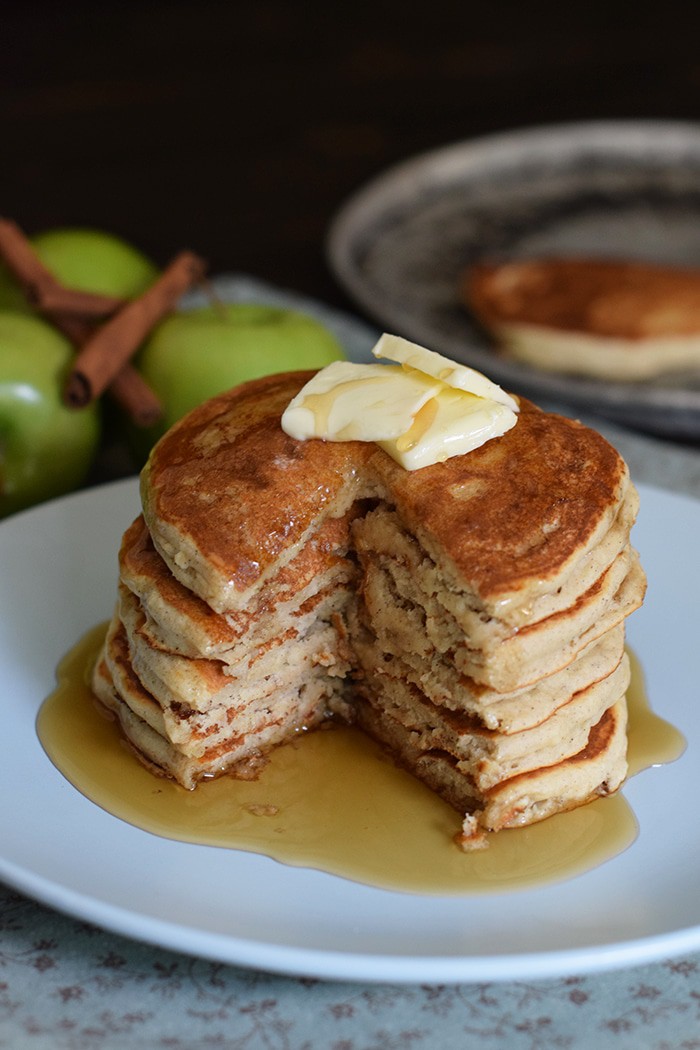
- Looking for more breakfast recipes? Drop a pinch of apple pie spice into the batter for these apple cinnamon buttermilk pancakes. Or what about this classic cinnamon French toast?
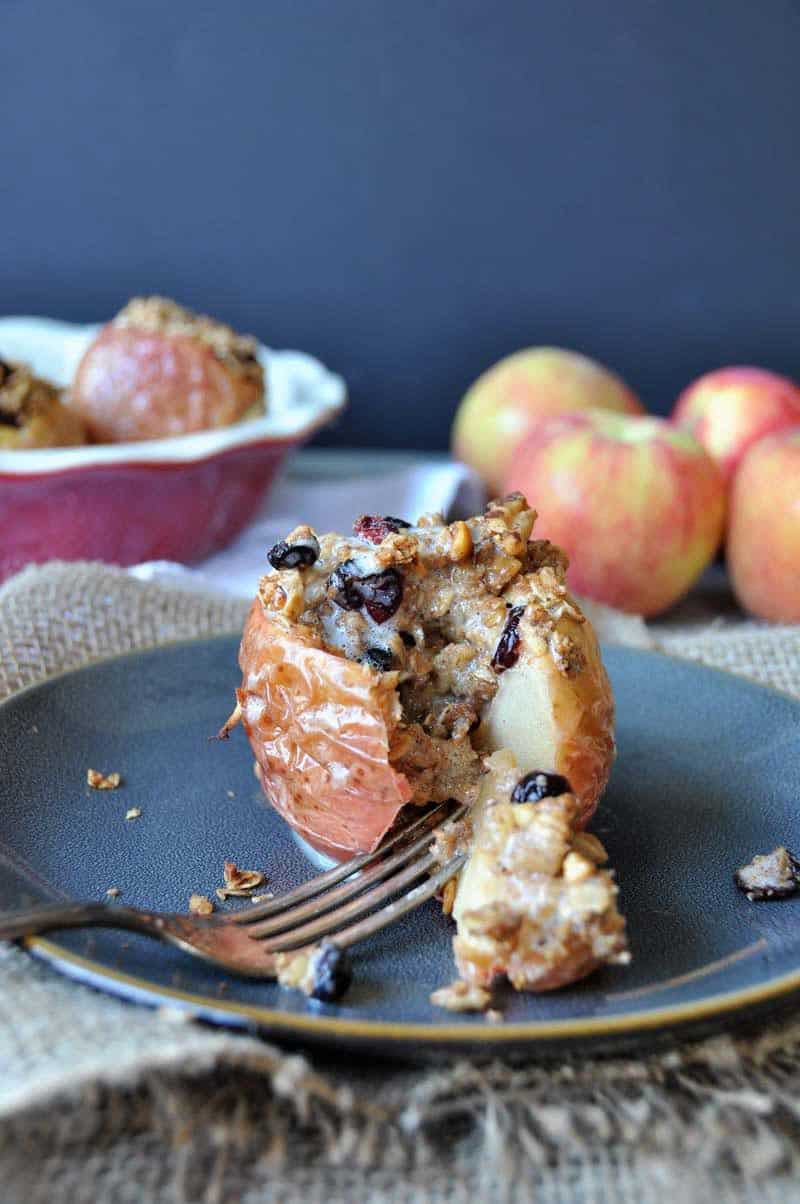
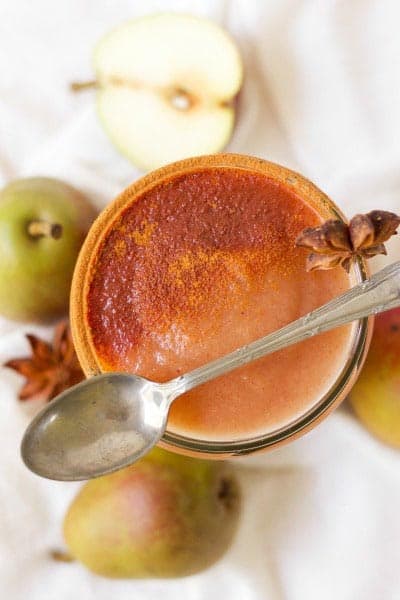
- These cinnamon stuffed pears are practically begging for a drop of homemade apple pie spice.
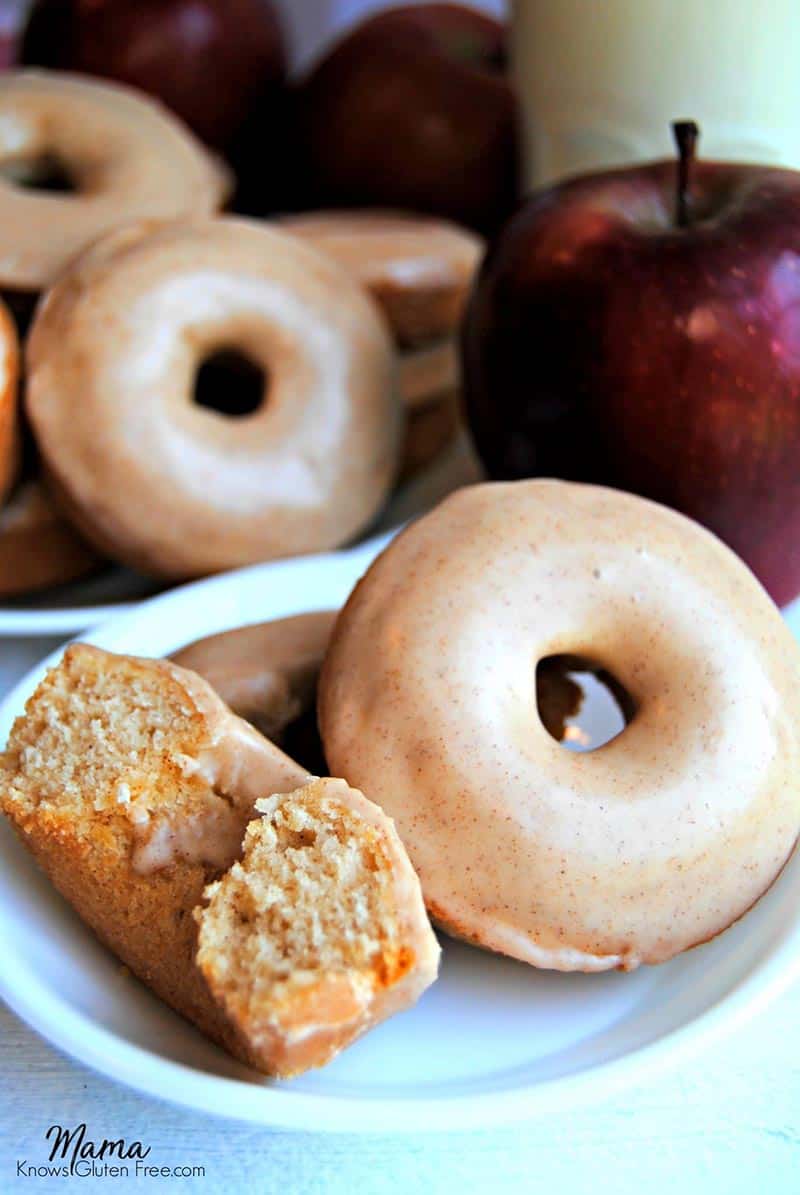
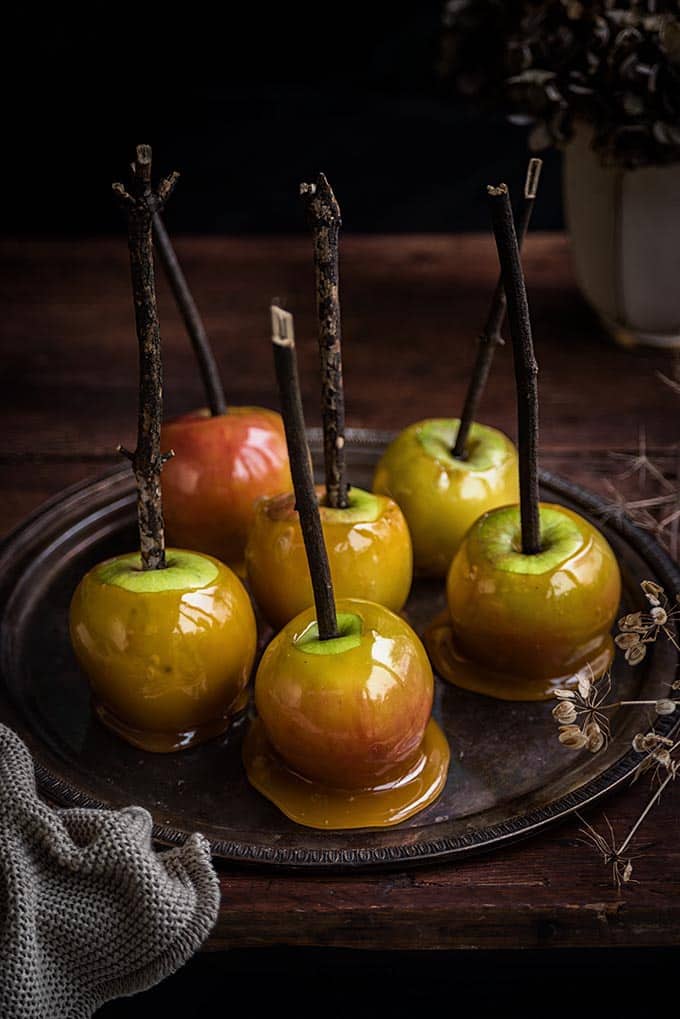
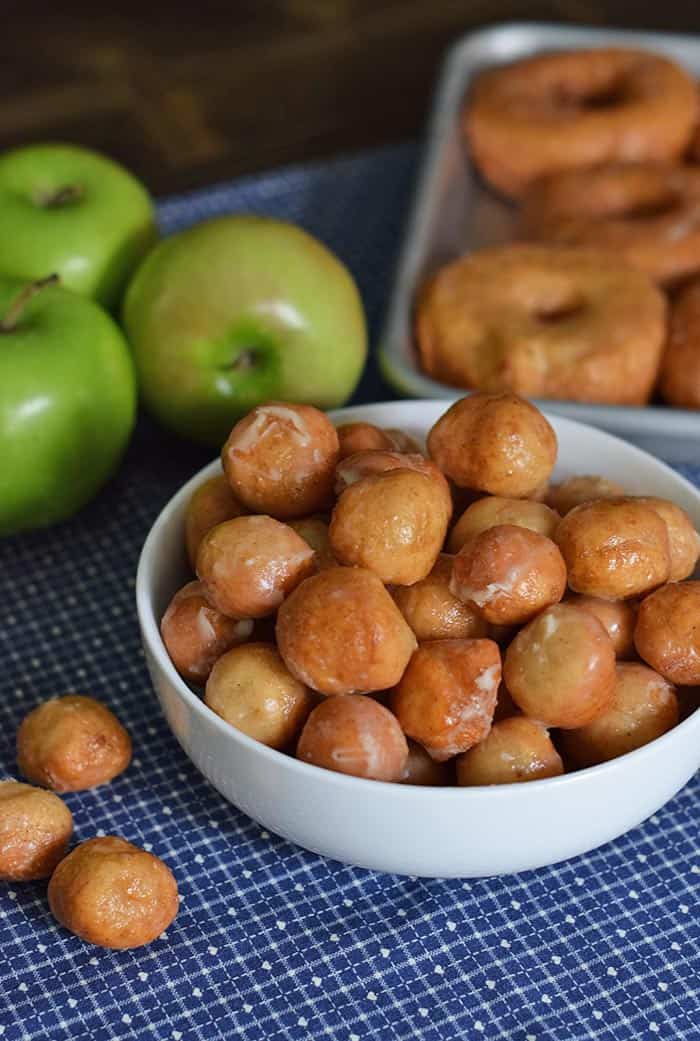
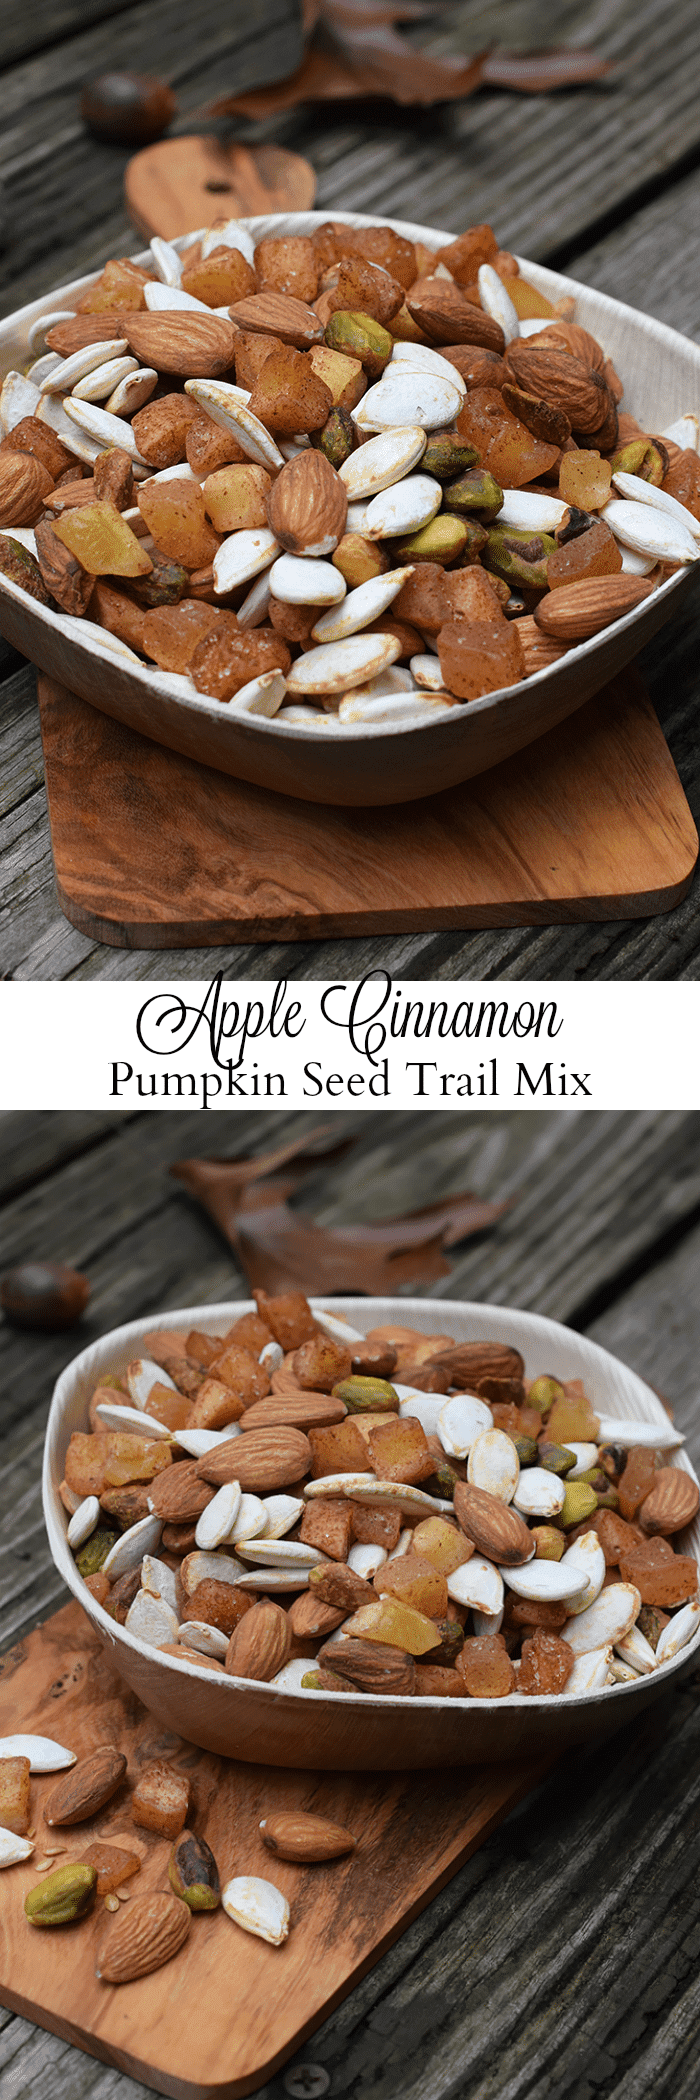
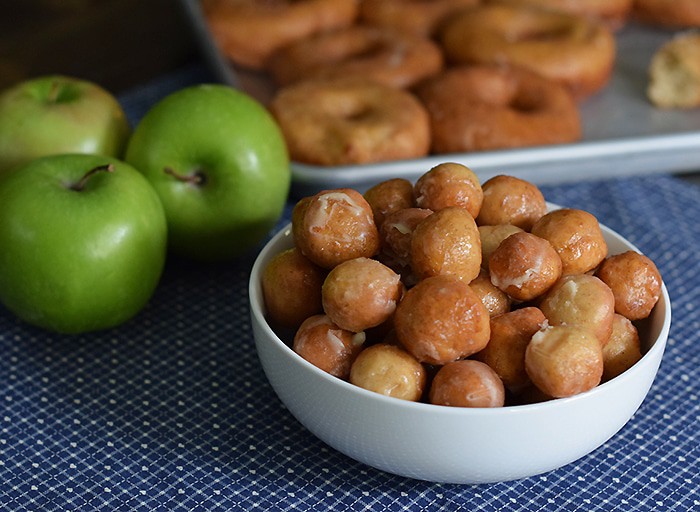
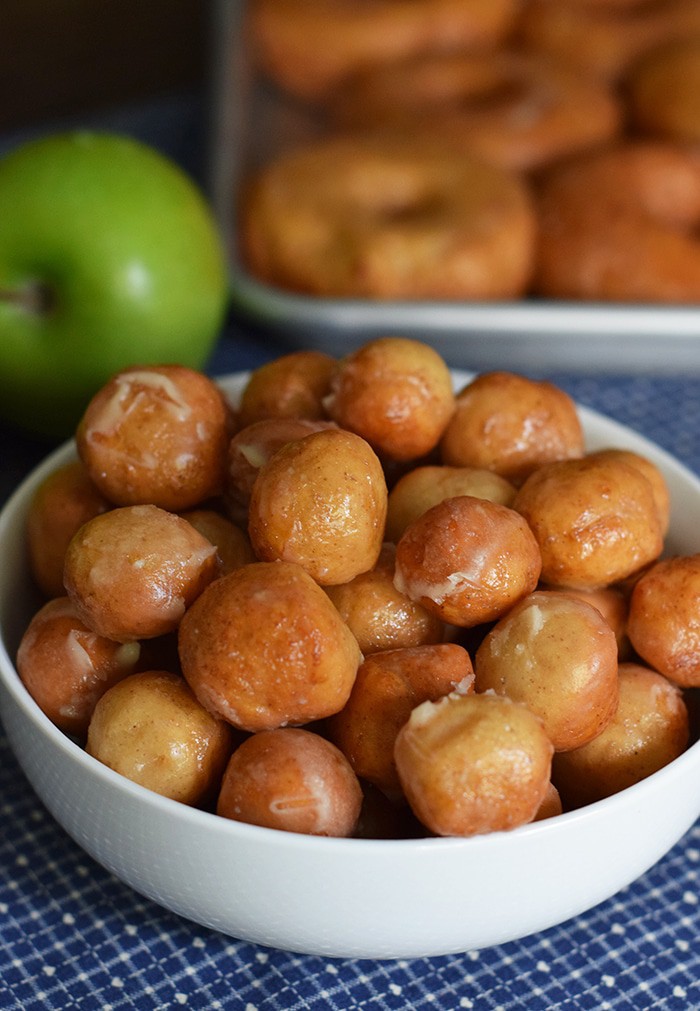
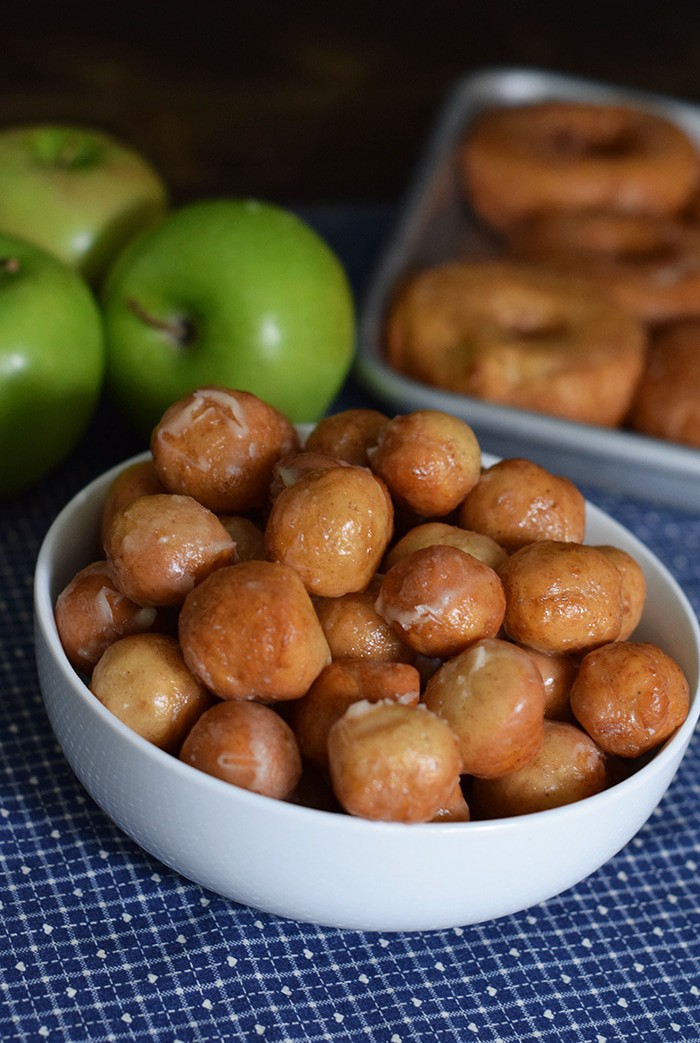
- Caramel apple donut holes make the best sweet snack or dessert, and they’re great for kids.
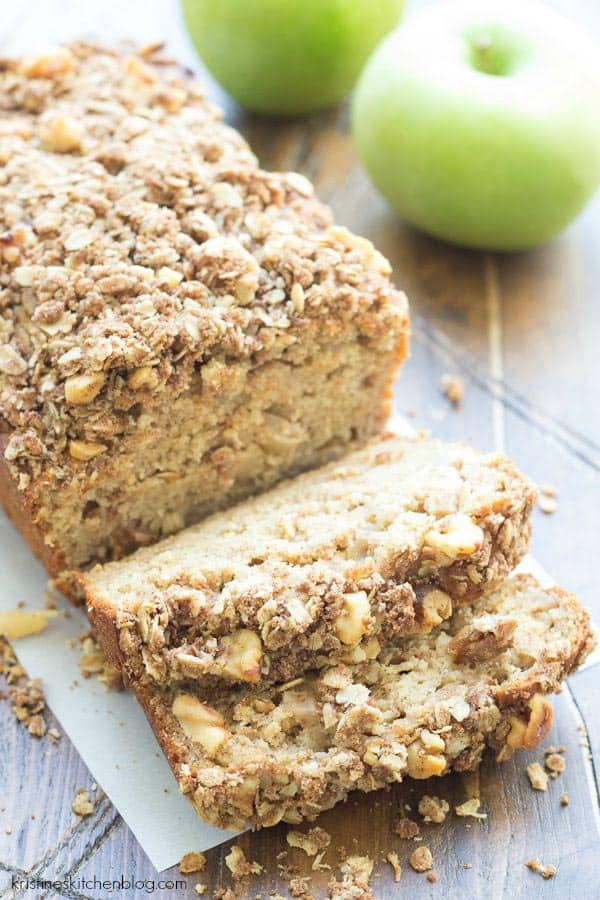
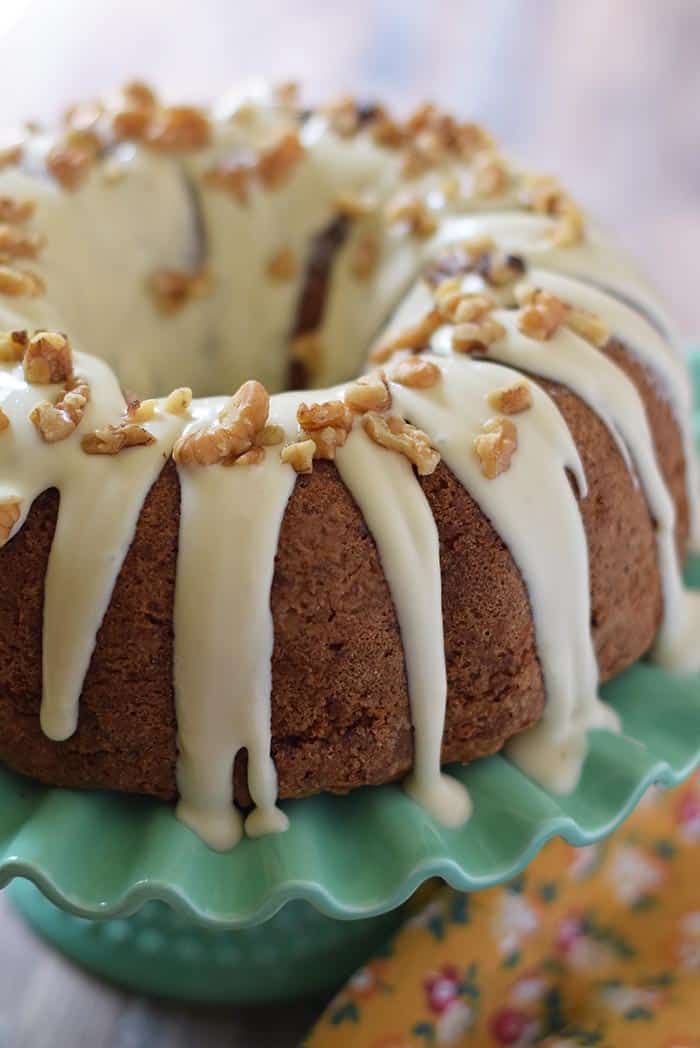
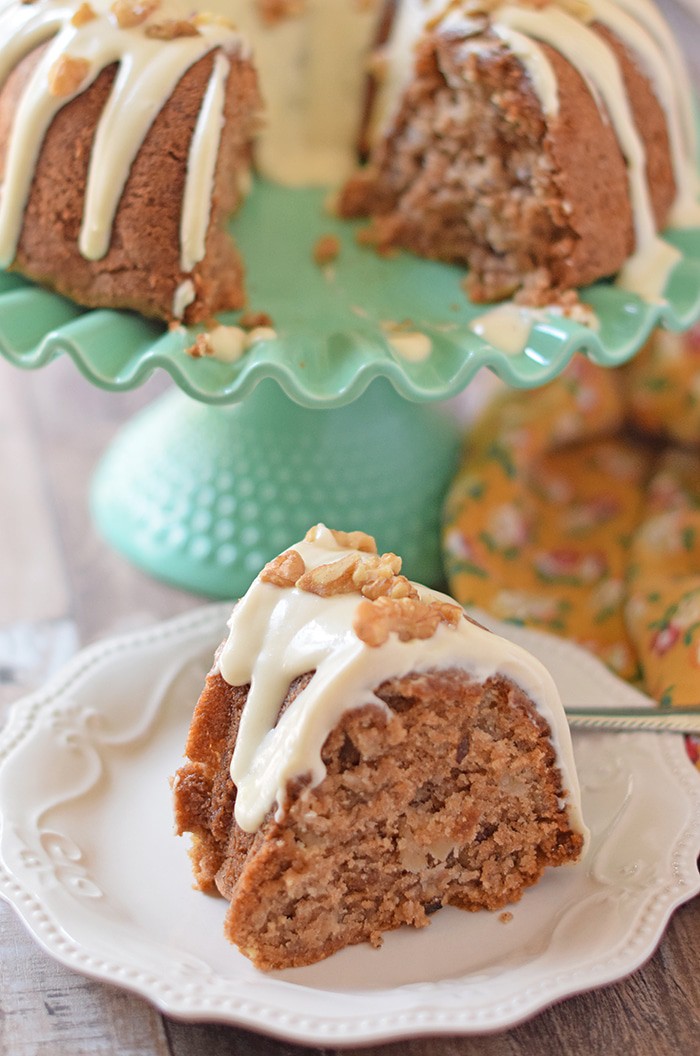
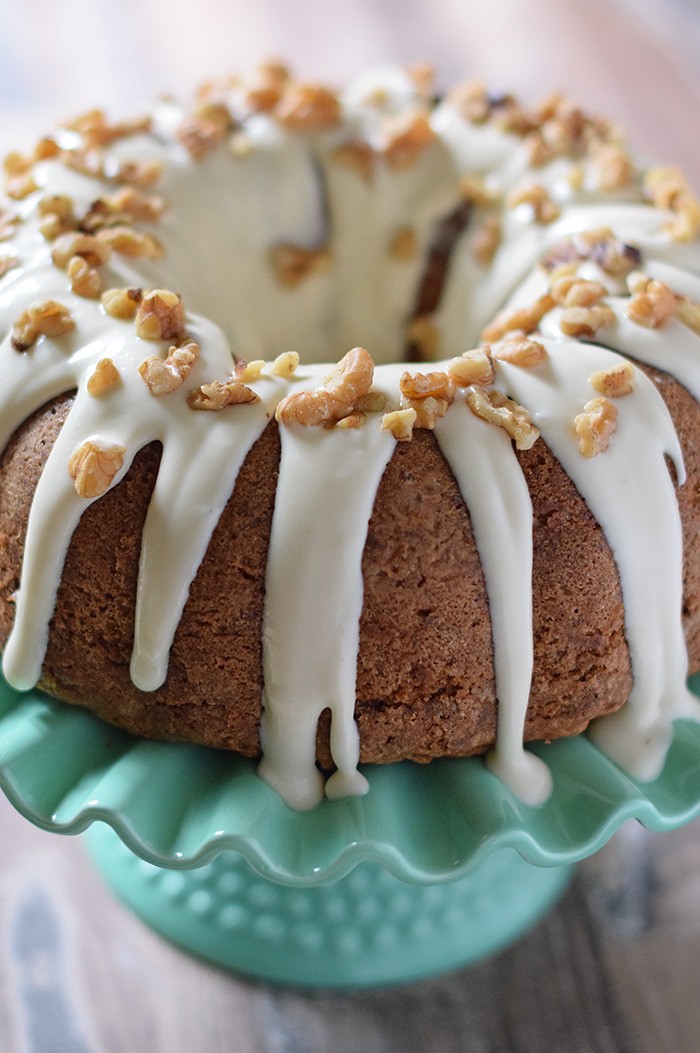
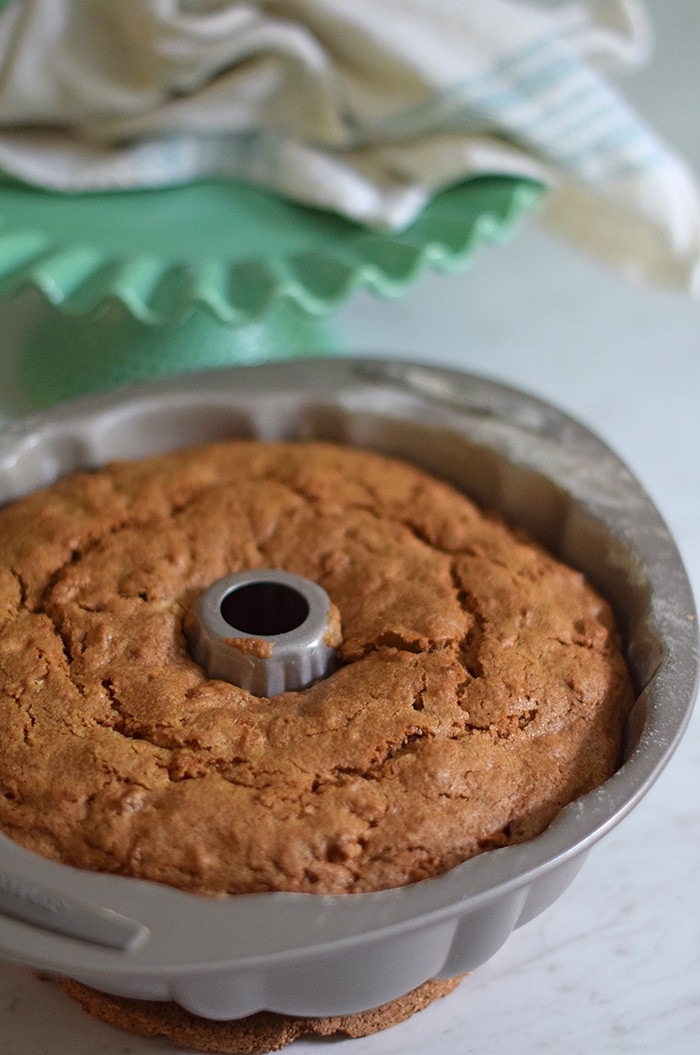
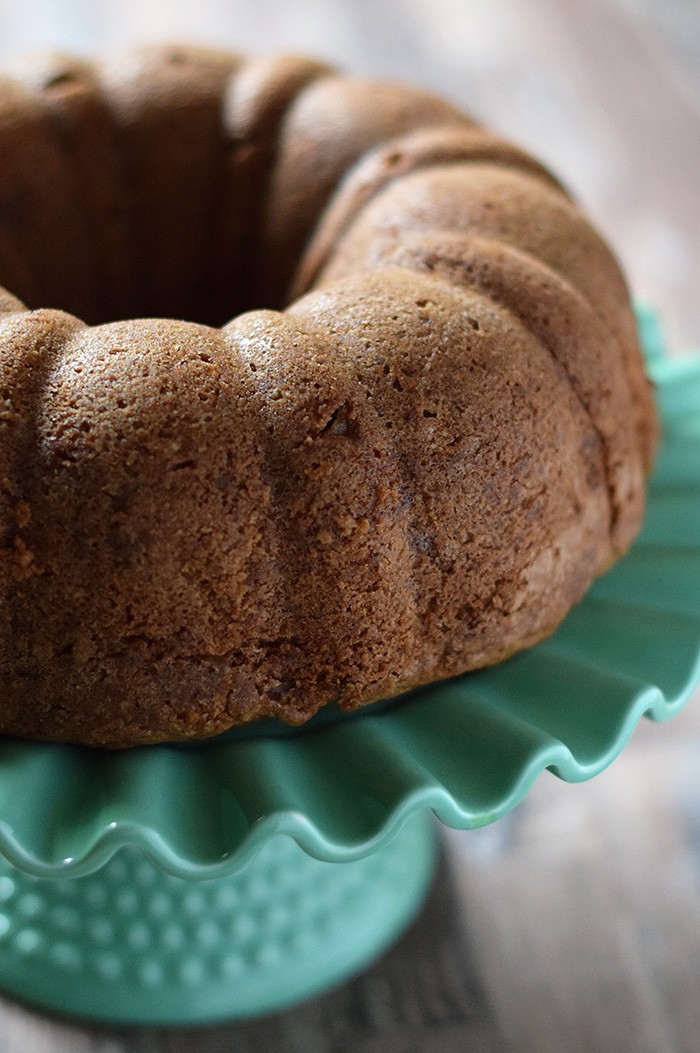
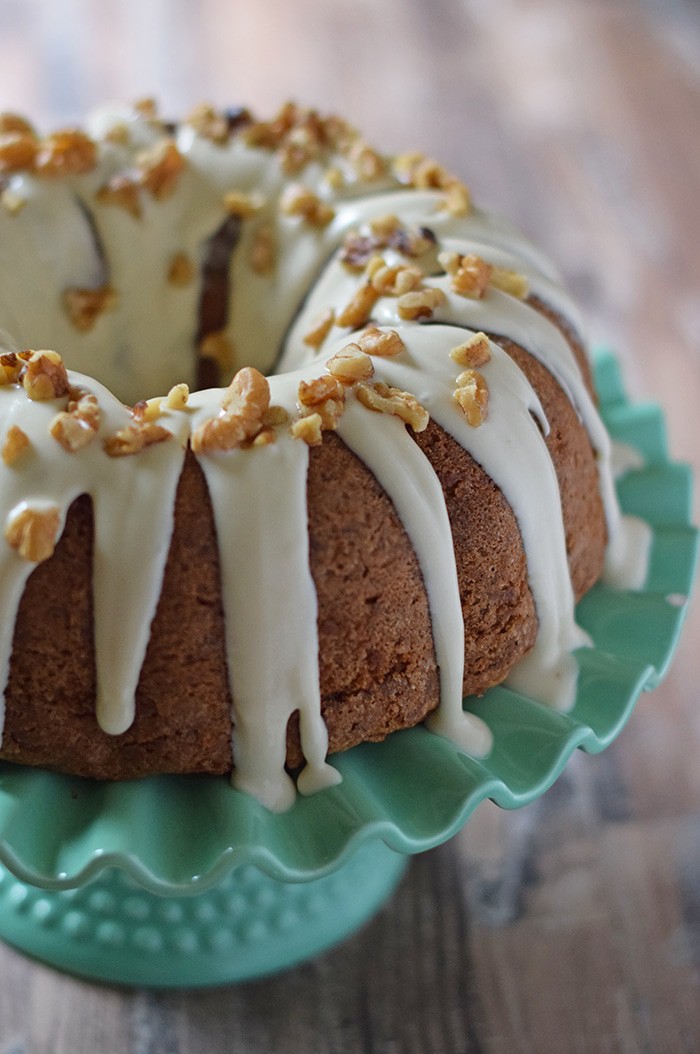
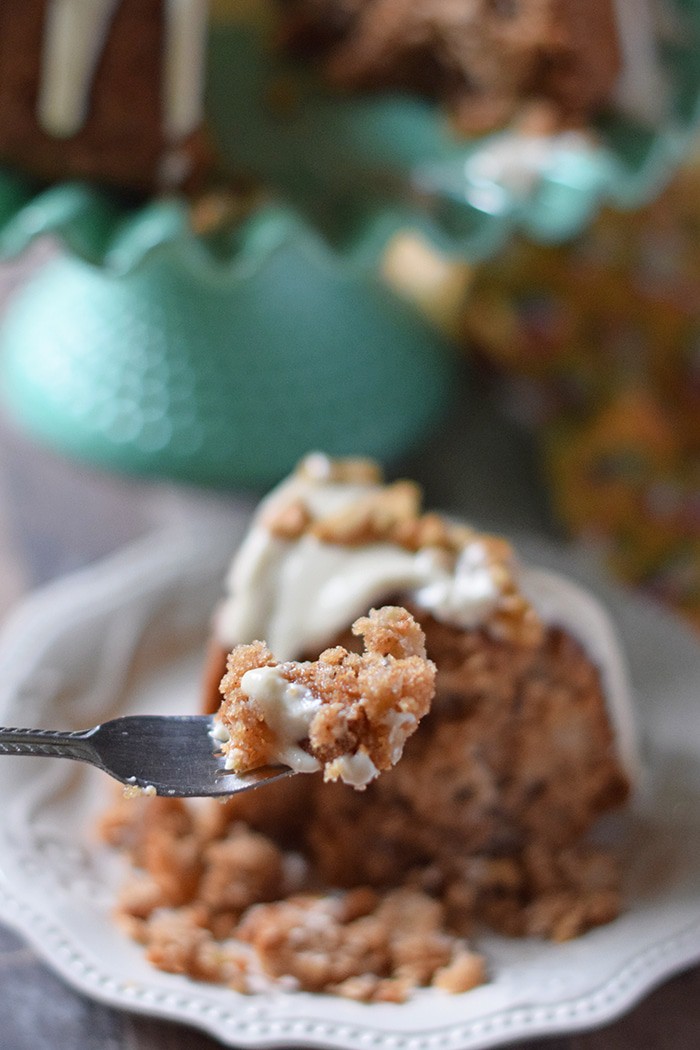
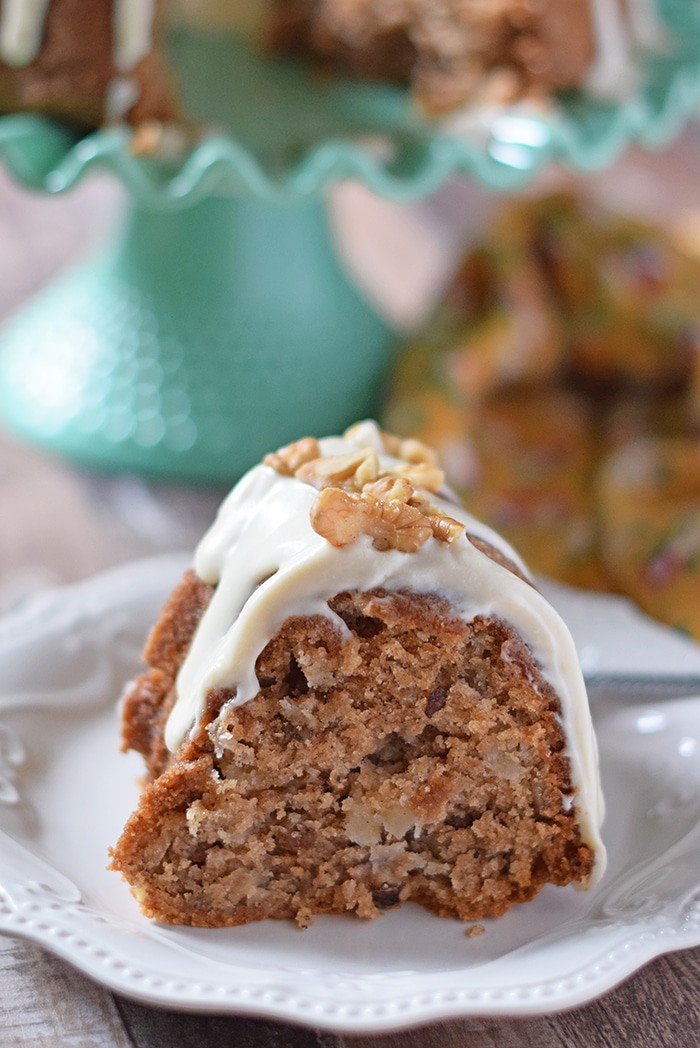
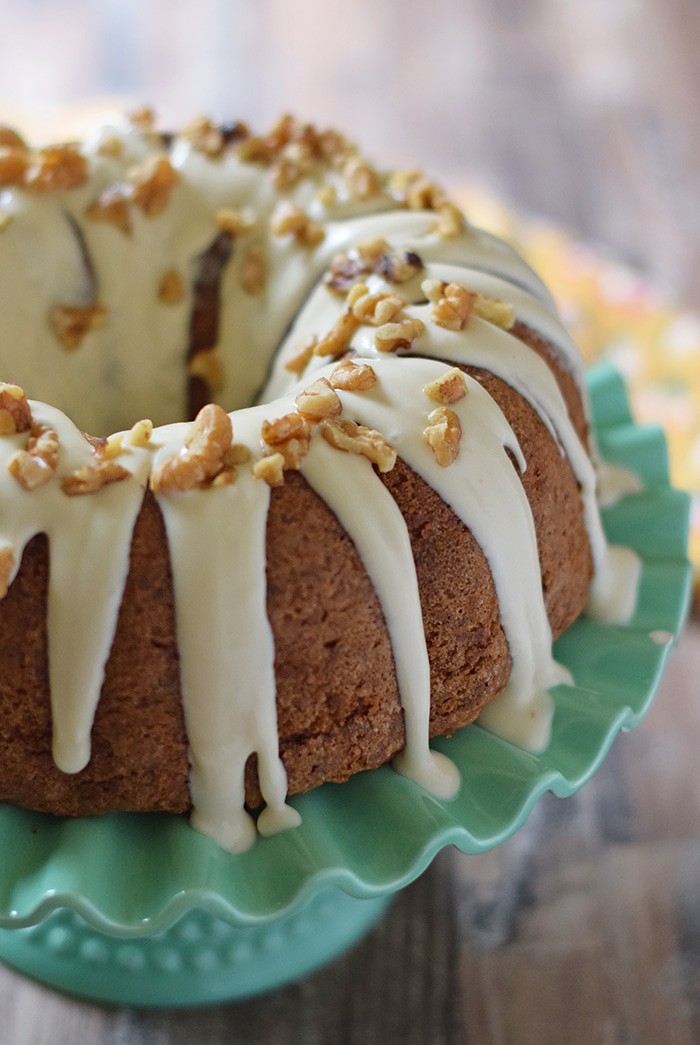
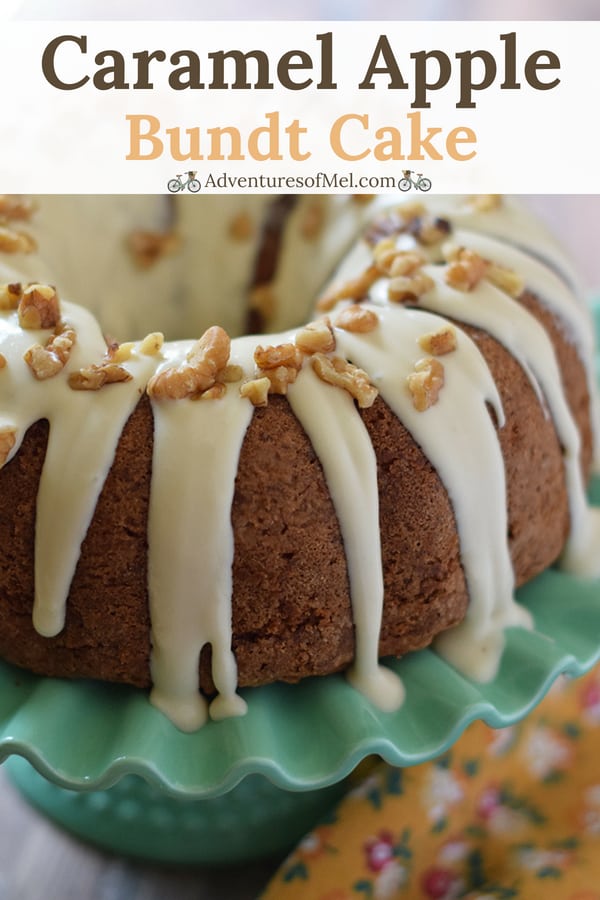
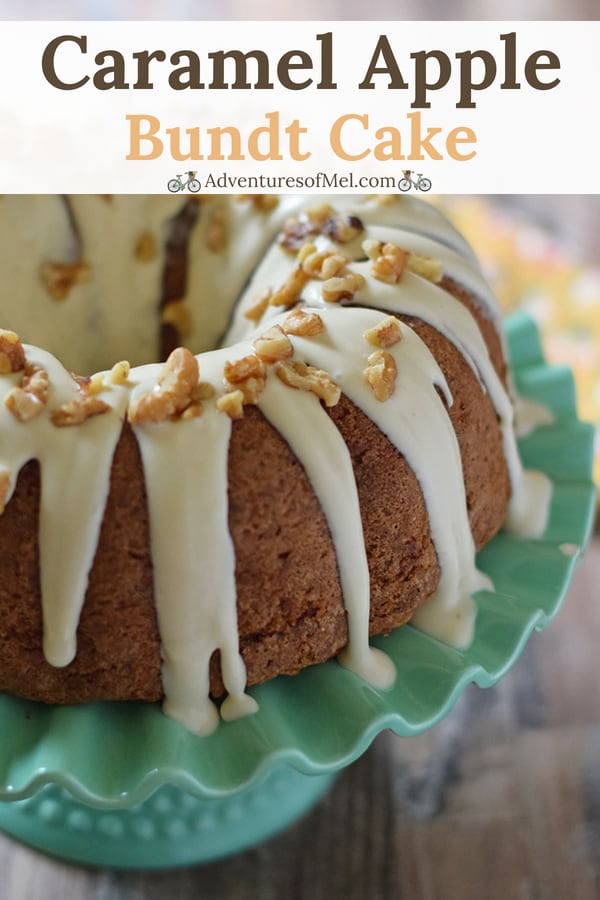
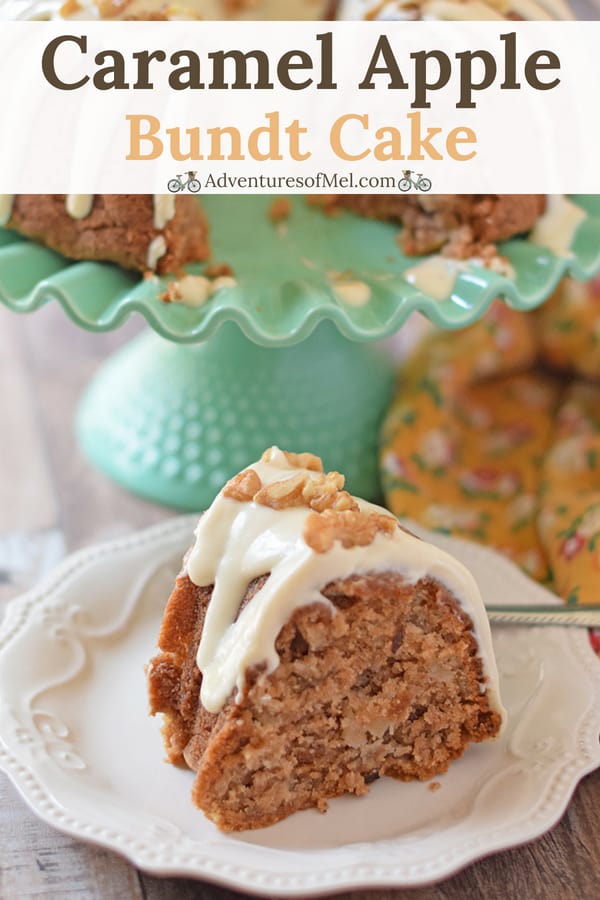
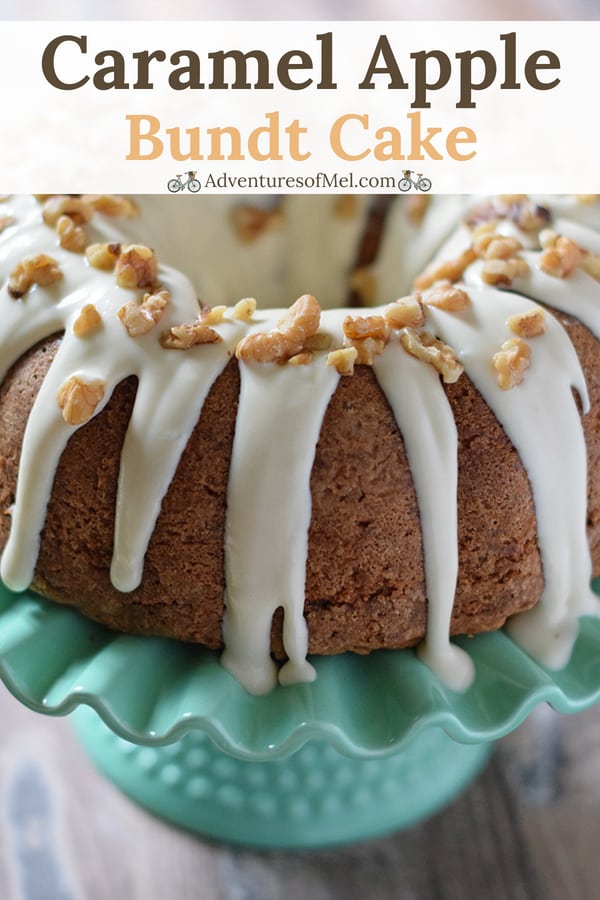
- Last but not least, I like to add a pinch of apple pie spice to this apple bundt cake with a cream cheese frosting. It’s the best apple recipe!
If you try this recipe, why not leave a star rating in the recipe card right below and/or a review in the comment section further down the page? I always appreciate your feedback. You can also follow me on Pinterest, Facebook, Instagram, and YouTube. And subscribe to my email list too!
Apple Pie Spice Recipe
Easy homemade apple pie spice recipe from scratch in 5 minutes or less. Warm and fragrant spice mix for all your favorite fall recipes!
- Small Mixing Bowl
- Whisk
- 1/4 cup Ground Cinnamon
- 2 teaspoons Ground Nutmeg
- 1 teaspoon Ground Allspice
- 1 teaspoon Ground Ginger
Start by measuring out the ground cinnamon, nutmeg, allspice, ginger and any other spices in a small mixing bowl.
Whisk everything together until well combined. That's it!
Store your homemade apple pie spice in an airtight container in a cool, dry place out of direct sunlight. It should keep for up to 6 months.
*You can double, triple or even quadruple it to make as big of a batch as you need.
Can you freeze homemade apple pie spice?
Unfortunately, apple pie spice does not freeze well. The freezing temperatures will destroy the flavor of many spices, so I only recommend storing them at room temperature.