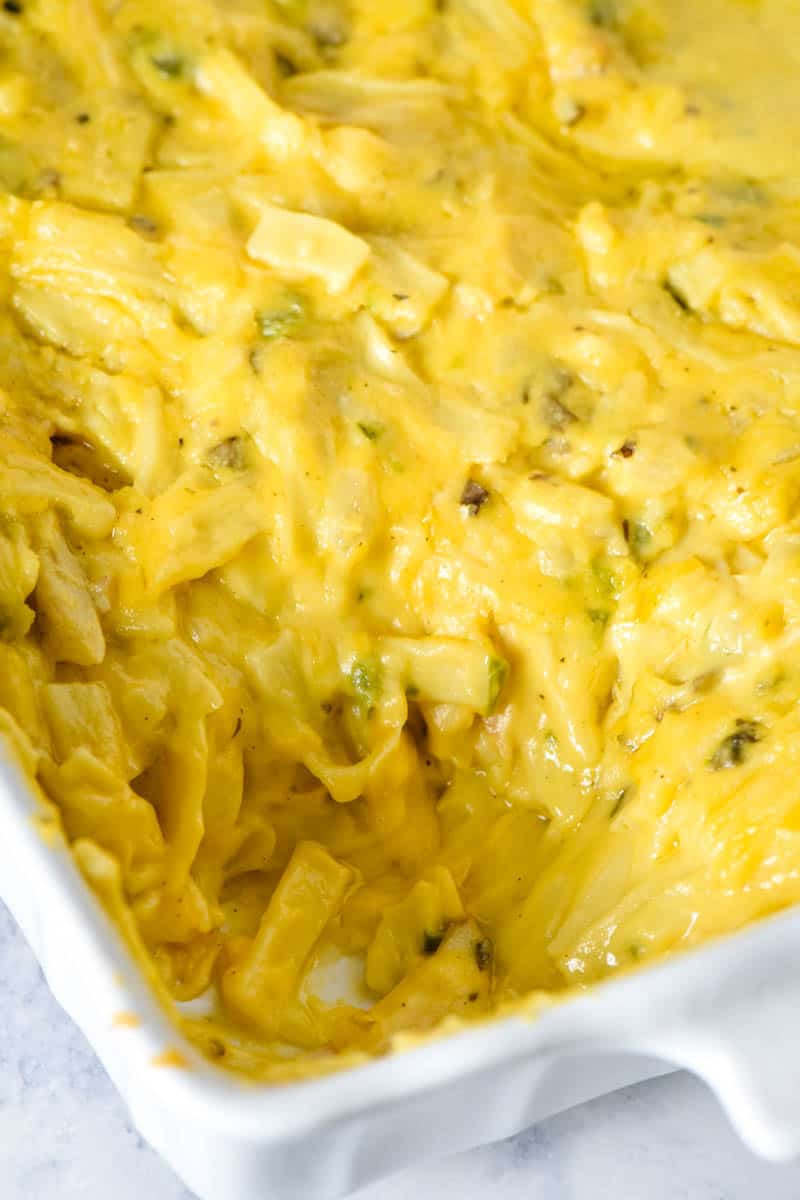
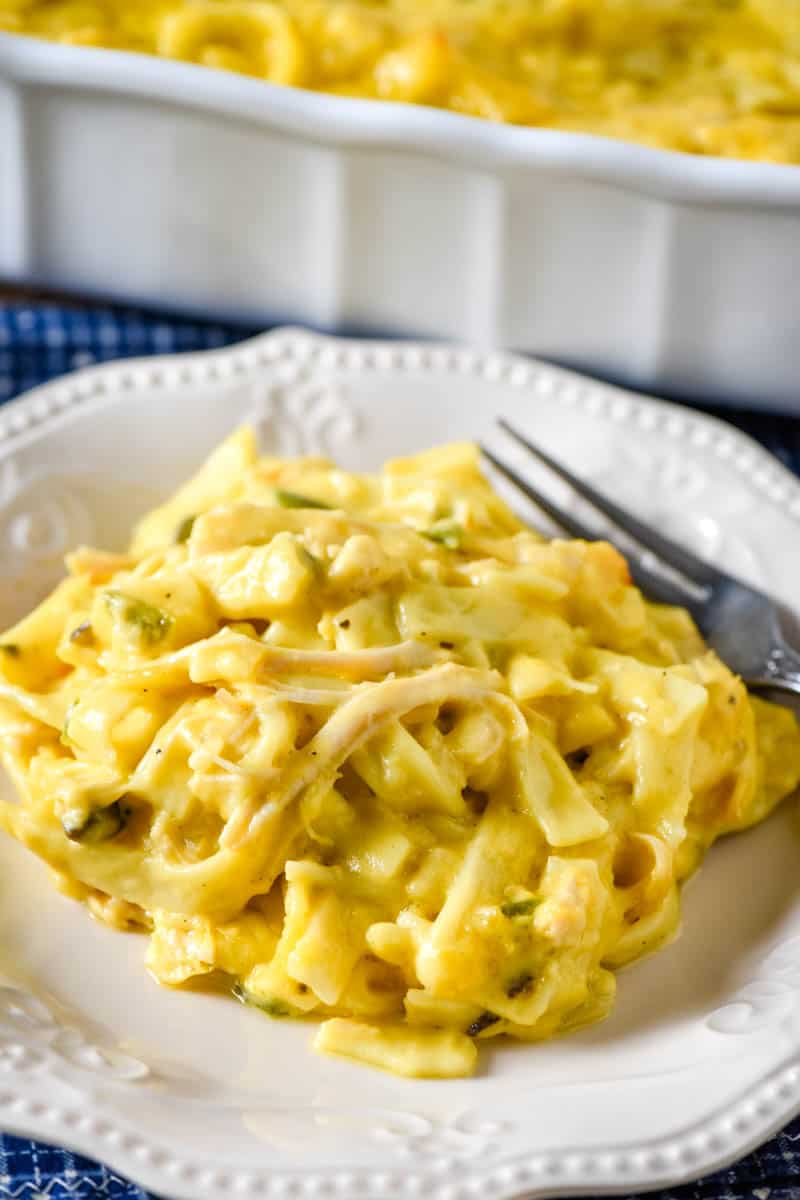
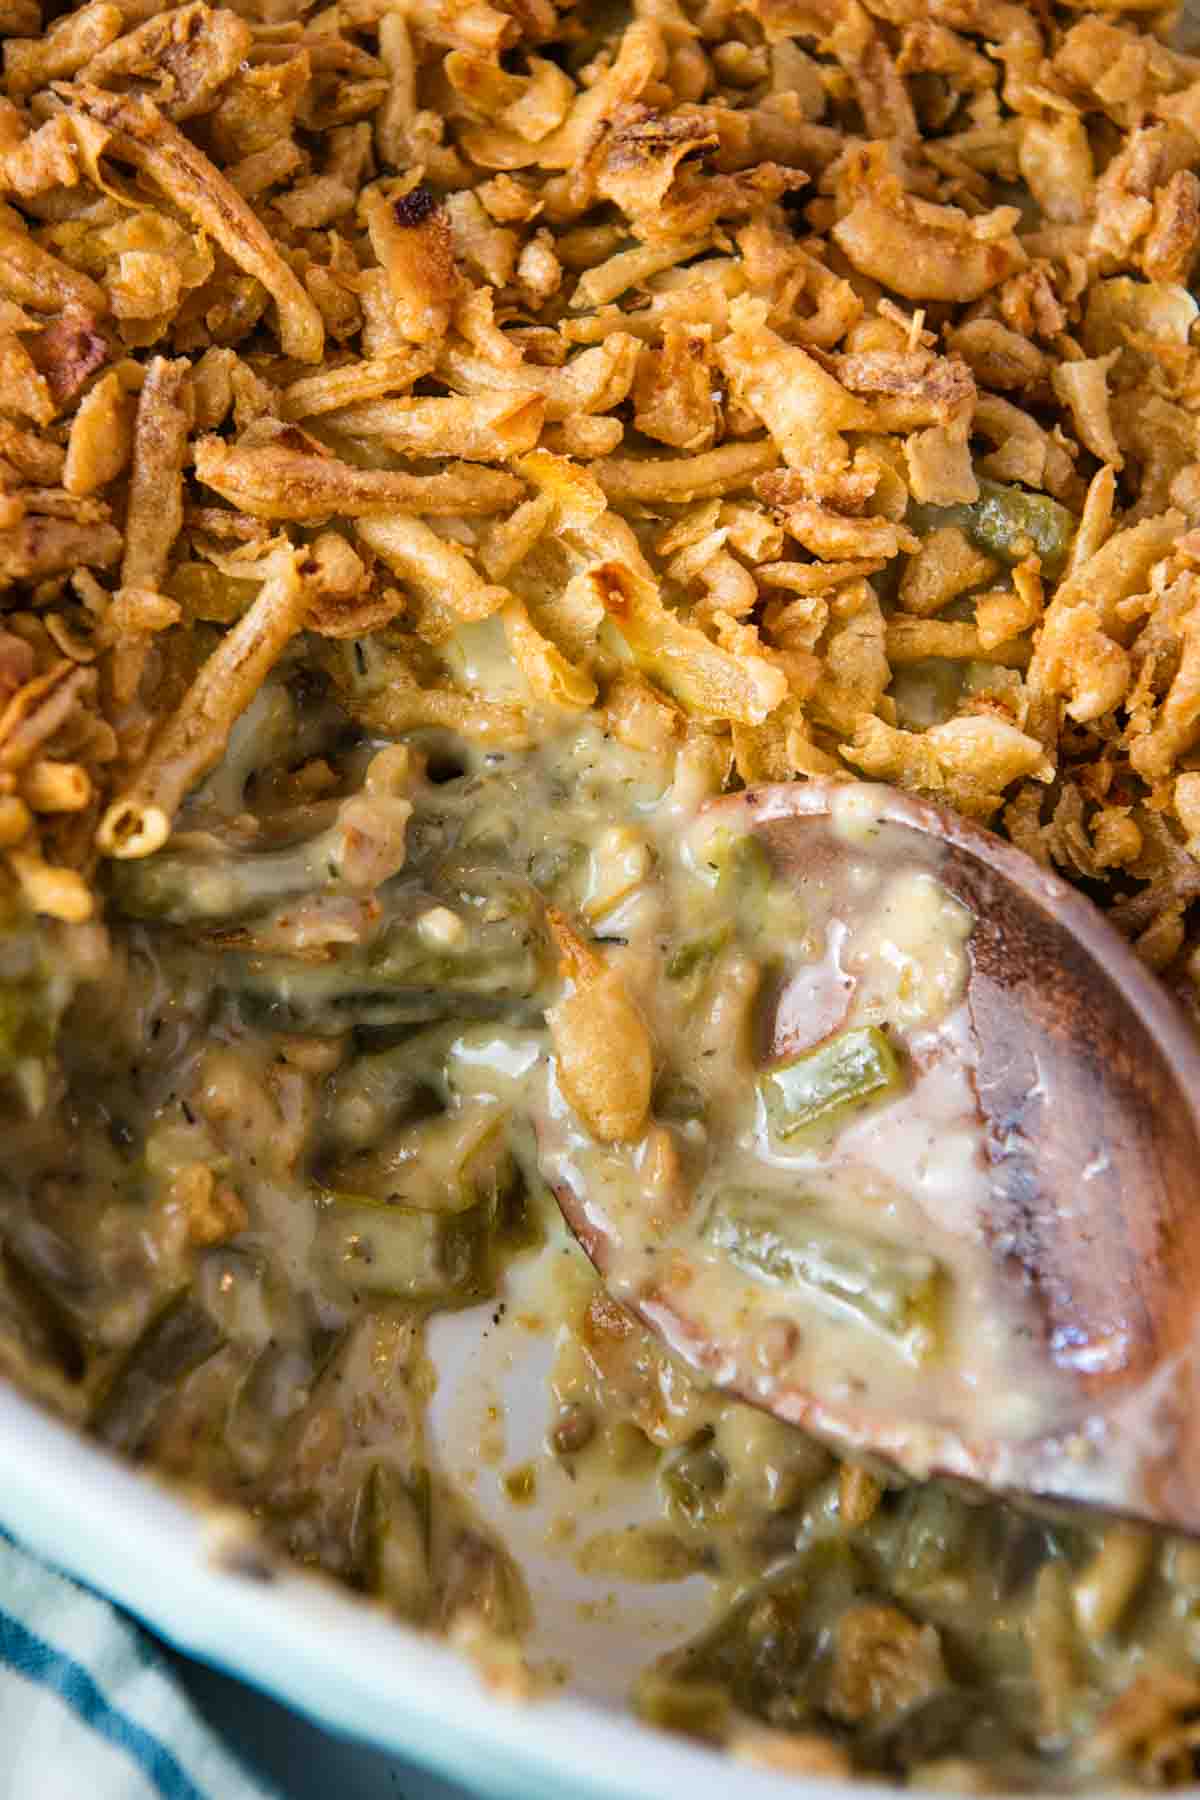
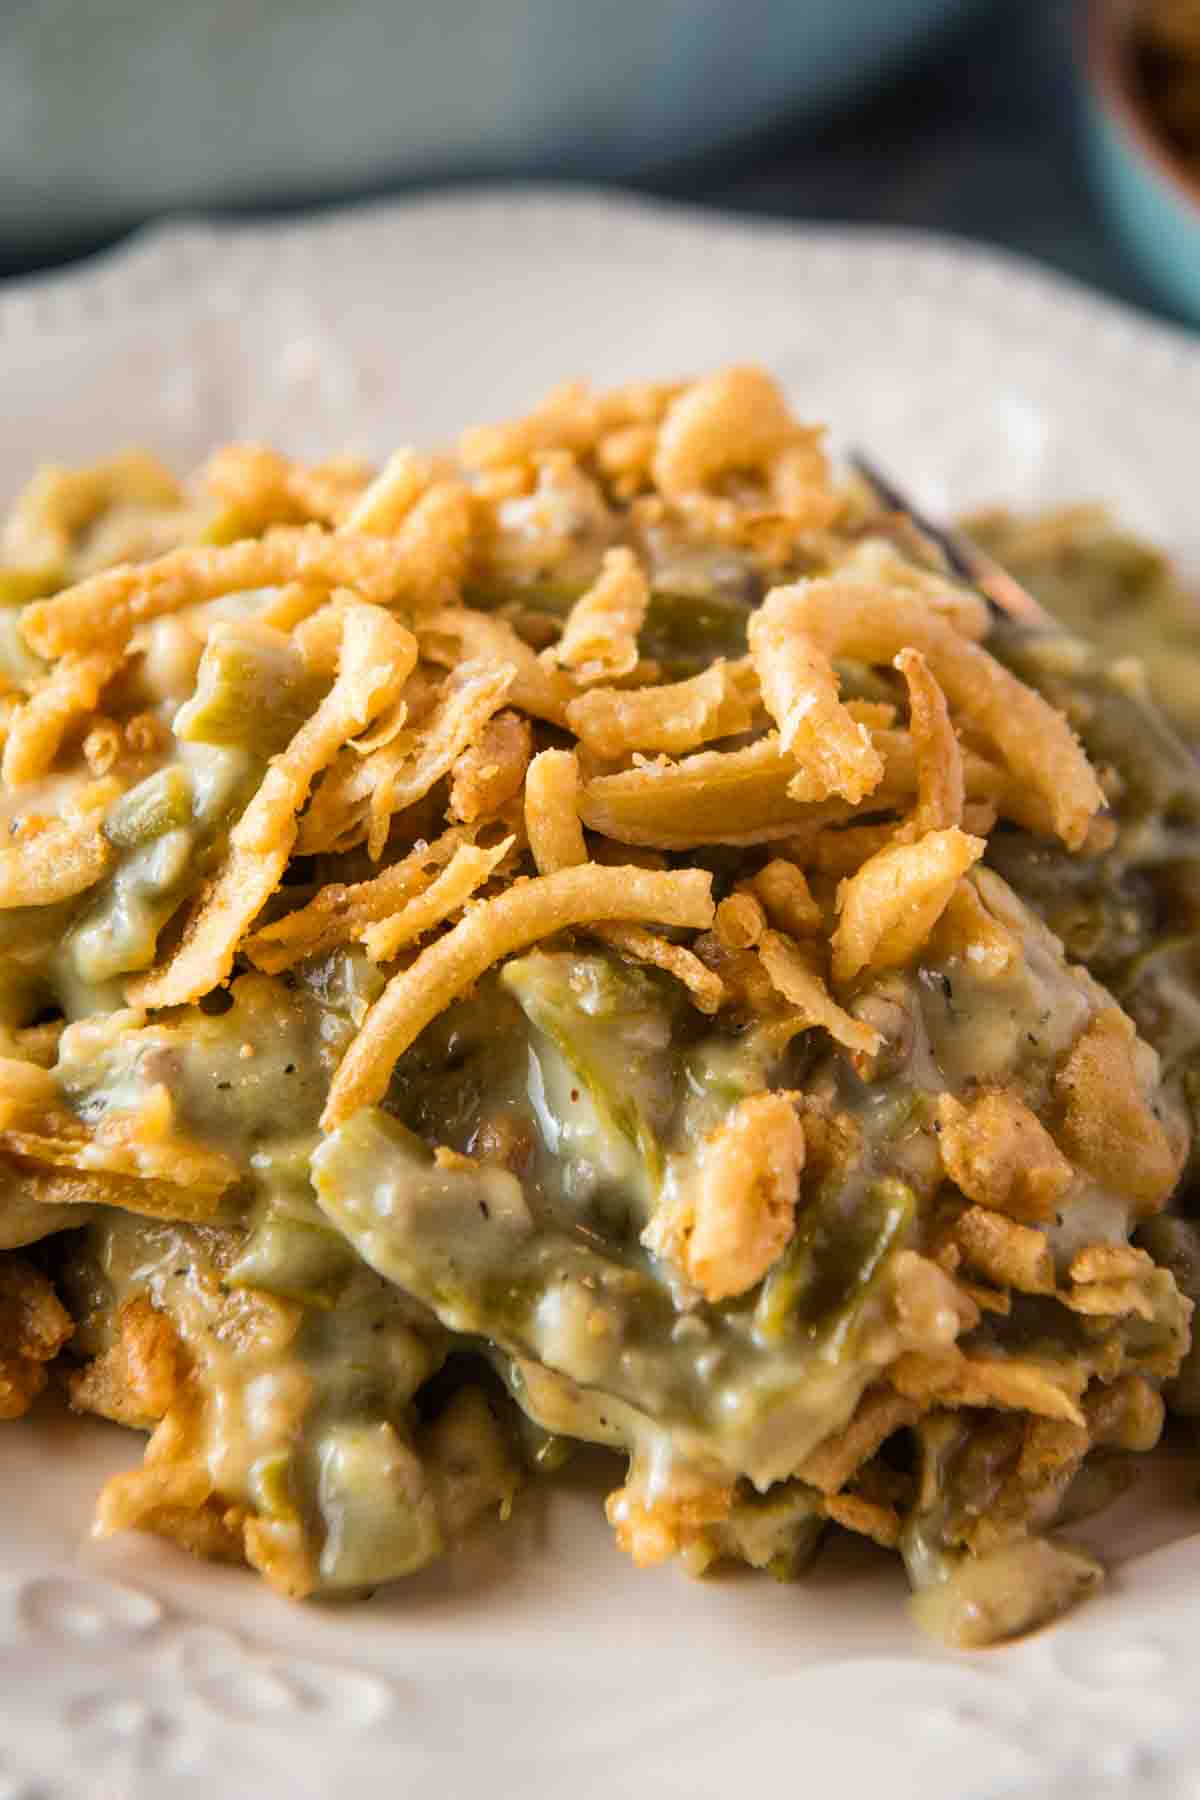
How to make the best homemade green bean casserole from scratch with canned green beans, creamy mushrooms and French fried onions. Quick and easy, classic holiday side dish recipe that can feed a crowd!
Here in the Midwest, our holiday tables tend to be full of all the different casseroles. Think corn casserole, hash brown casserole, sweet potato casserole and this classic green bean casserole! Serve it up for Thanksgiving, Christmas or Easter; it also makes an easy side dish for the next church potluck or even just an easy weeknight dinner!
Traditionally, green beans casserole uses canned cream of mushroom soup from the grocery store, but for this recipe I decided to make my own cream of mushroom soup from scratch instead. Not only is this healthier, but it also tastes a lot better. This recipe is so easy to make, and everyone will be coming back for seconds!
Ingredients & Substitutions Notes
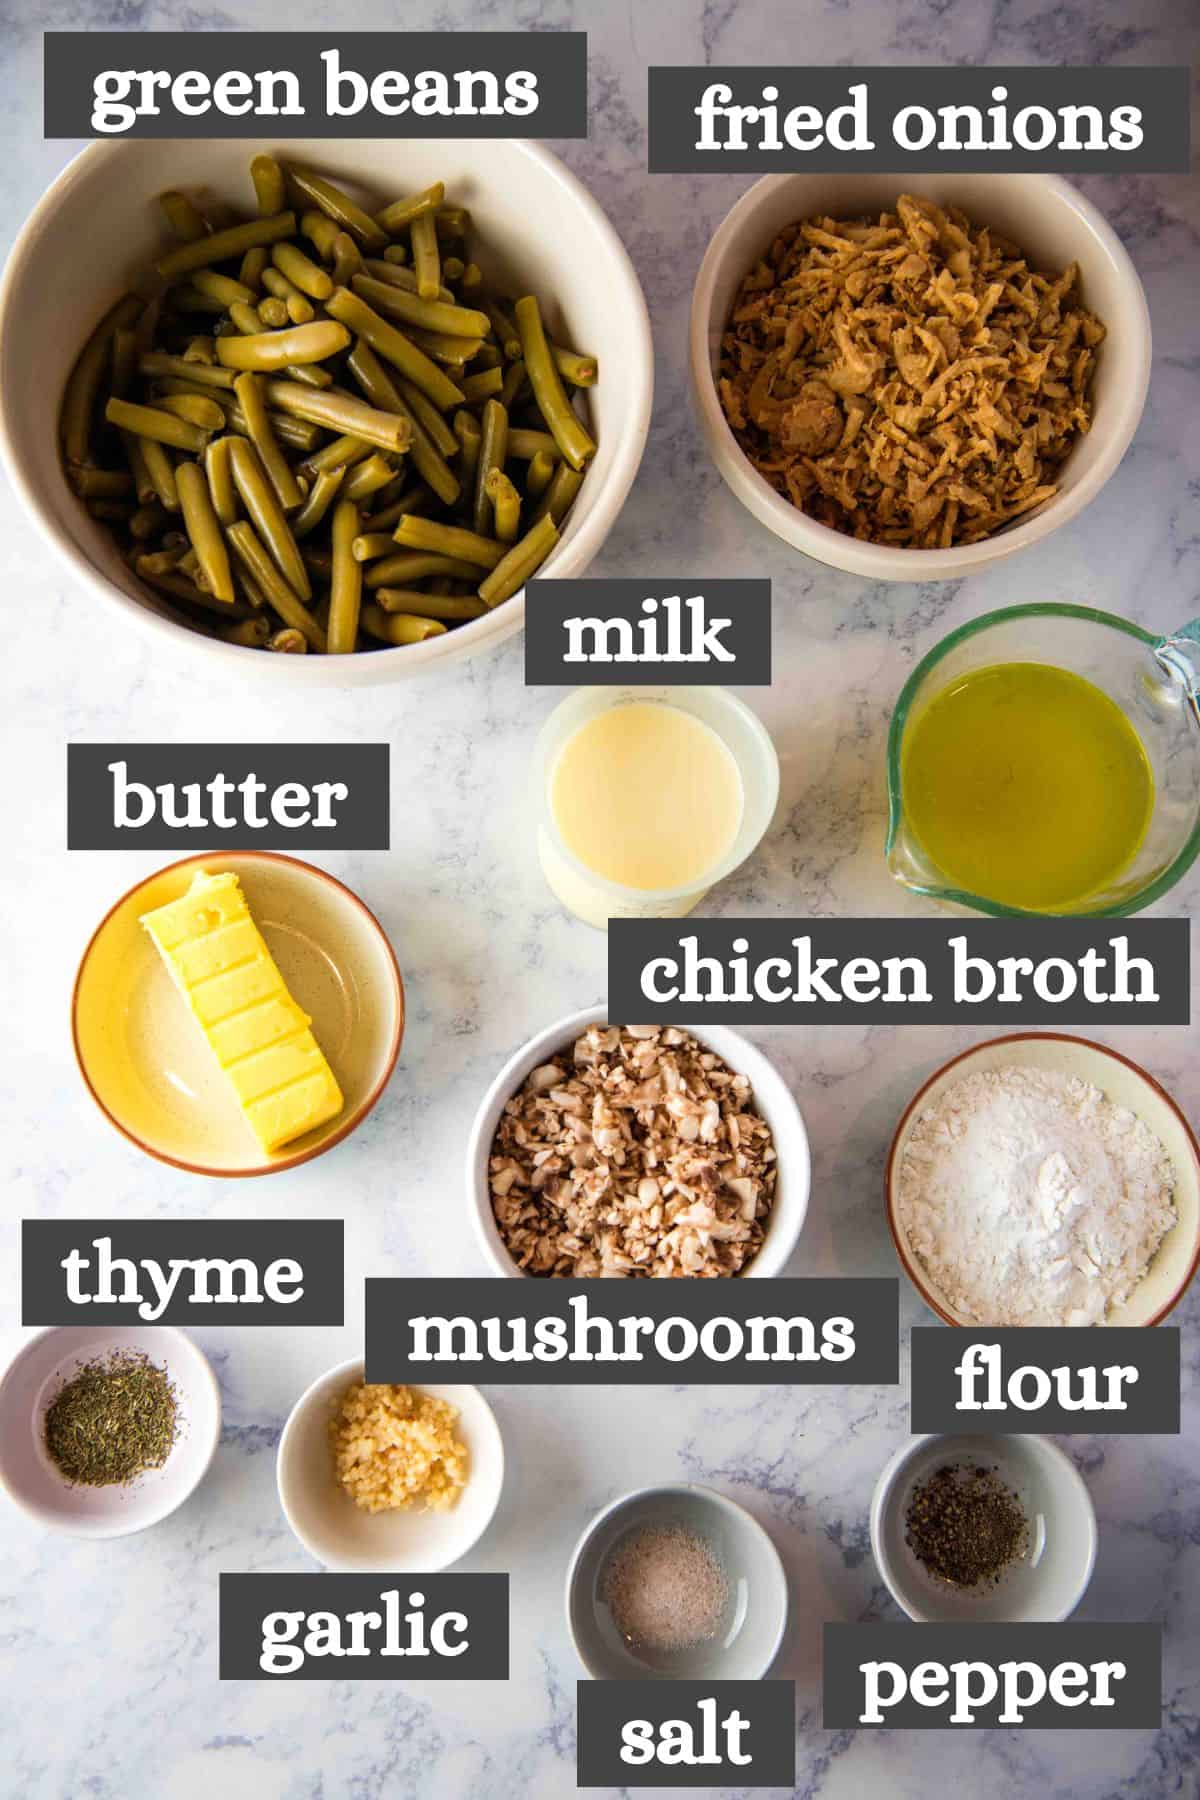
- Salted Butter – I recommend using salted butter for best flavor, although you can substitute with unsalted butter in a pinch. If using unsalted butter, be sure to add about 1/8 teaspoon of extra salt to make up for the lack of salt in the butter.
- Mushrooms – This recipe calls for brown mushrooms, but you can also use cremini, portobello or shiitake mushrooms depending on what’s available in your area.
- All-Purpose Flour – I just use plain all-purpose flour to thicken the creamy mushroom sauce in this recipe. You can make this recipe gluten free by using sweet rice flour instead. If you go this route, be sure to use gluten free French fried onions. And as always, check all of the other ingredient labels over to ensure that they are truly gluten free.
- Chicken Broth – Chicken broth is kind of the secret ingredient for making the best green bean casserole. It adds so much flavor! We often make ours from chicken bouillon…
- Whole Milk – Although whole milk makes the richest mushroom sauce, you can also use 2% milk or even skim milk if that’s all you have on hand.
- Canned Green Beans – For the sake of ease, we always just use canned green beans out of Jacob’s garden. You can also make your green bean casserole with either fresh green beans or frozen green beans. If using frozen green beans, just be sure to let them thaw out in the refrigerator overnight before assembling the casserole.
- French Fried Onions – I always top my green bean casserole off with French fried onions for a perfectly crispy top. I just buy mine from the store, but you can make homemade French fried onions instead!
How to Make Green Bean Casserole From Scratch
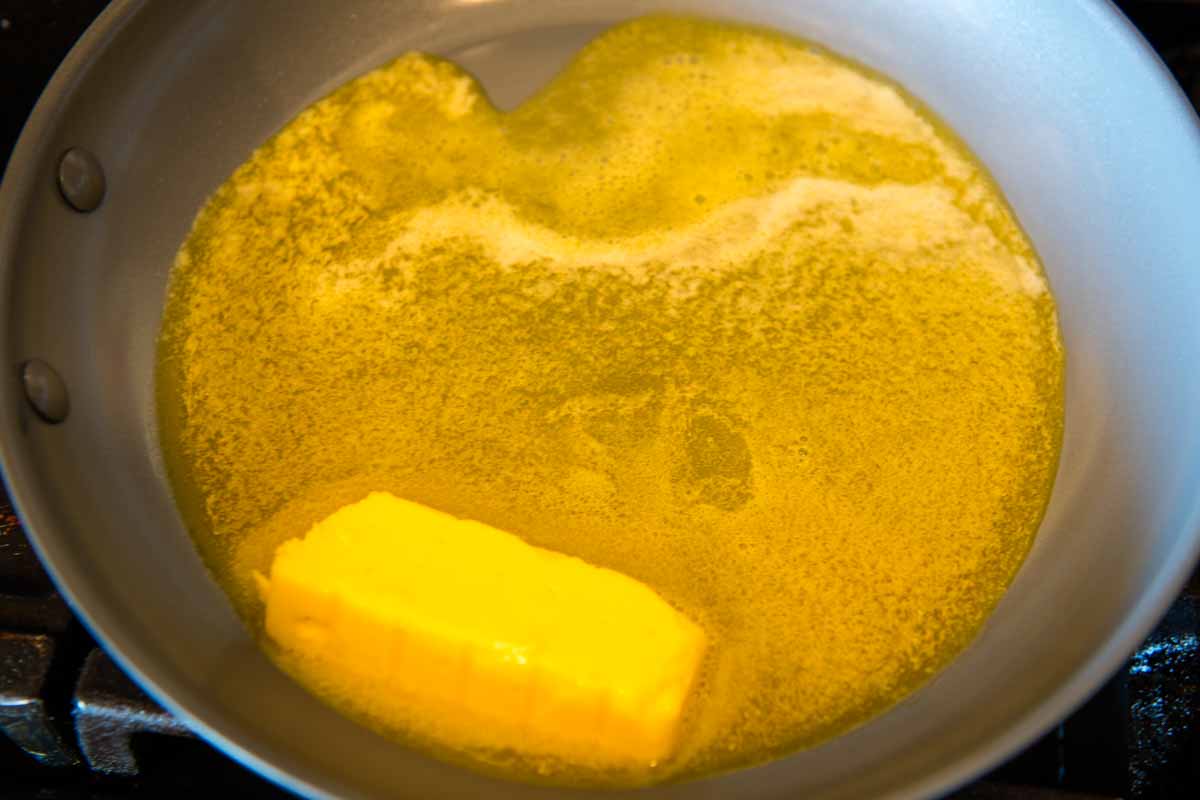
Before getting started, pre-heat your oven to 350ºF, and grease a 9×13 baking dish with nonstick cooking spray. Then melt the butter in a large skillet over low to medium heat.
How to Make Homemade Cream of Mushroom Soup
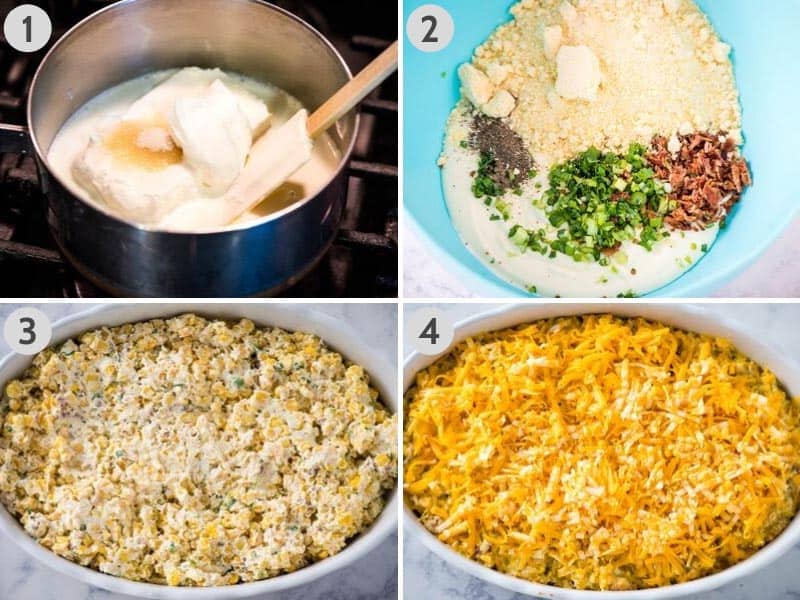
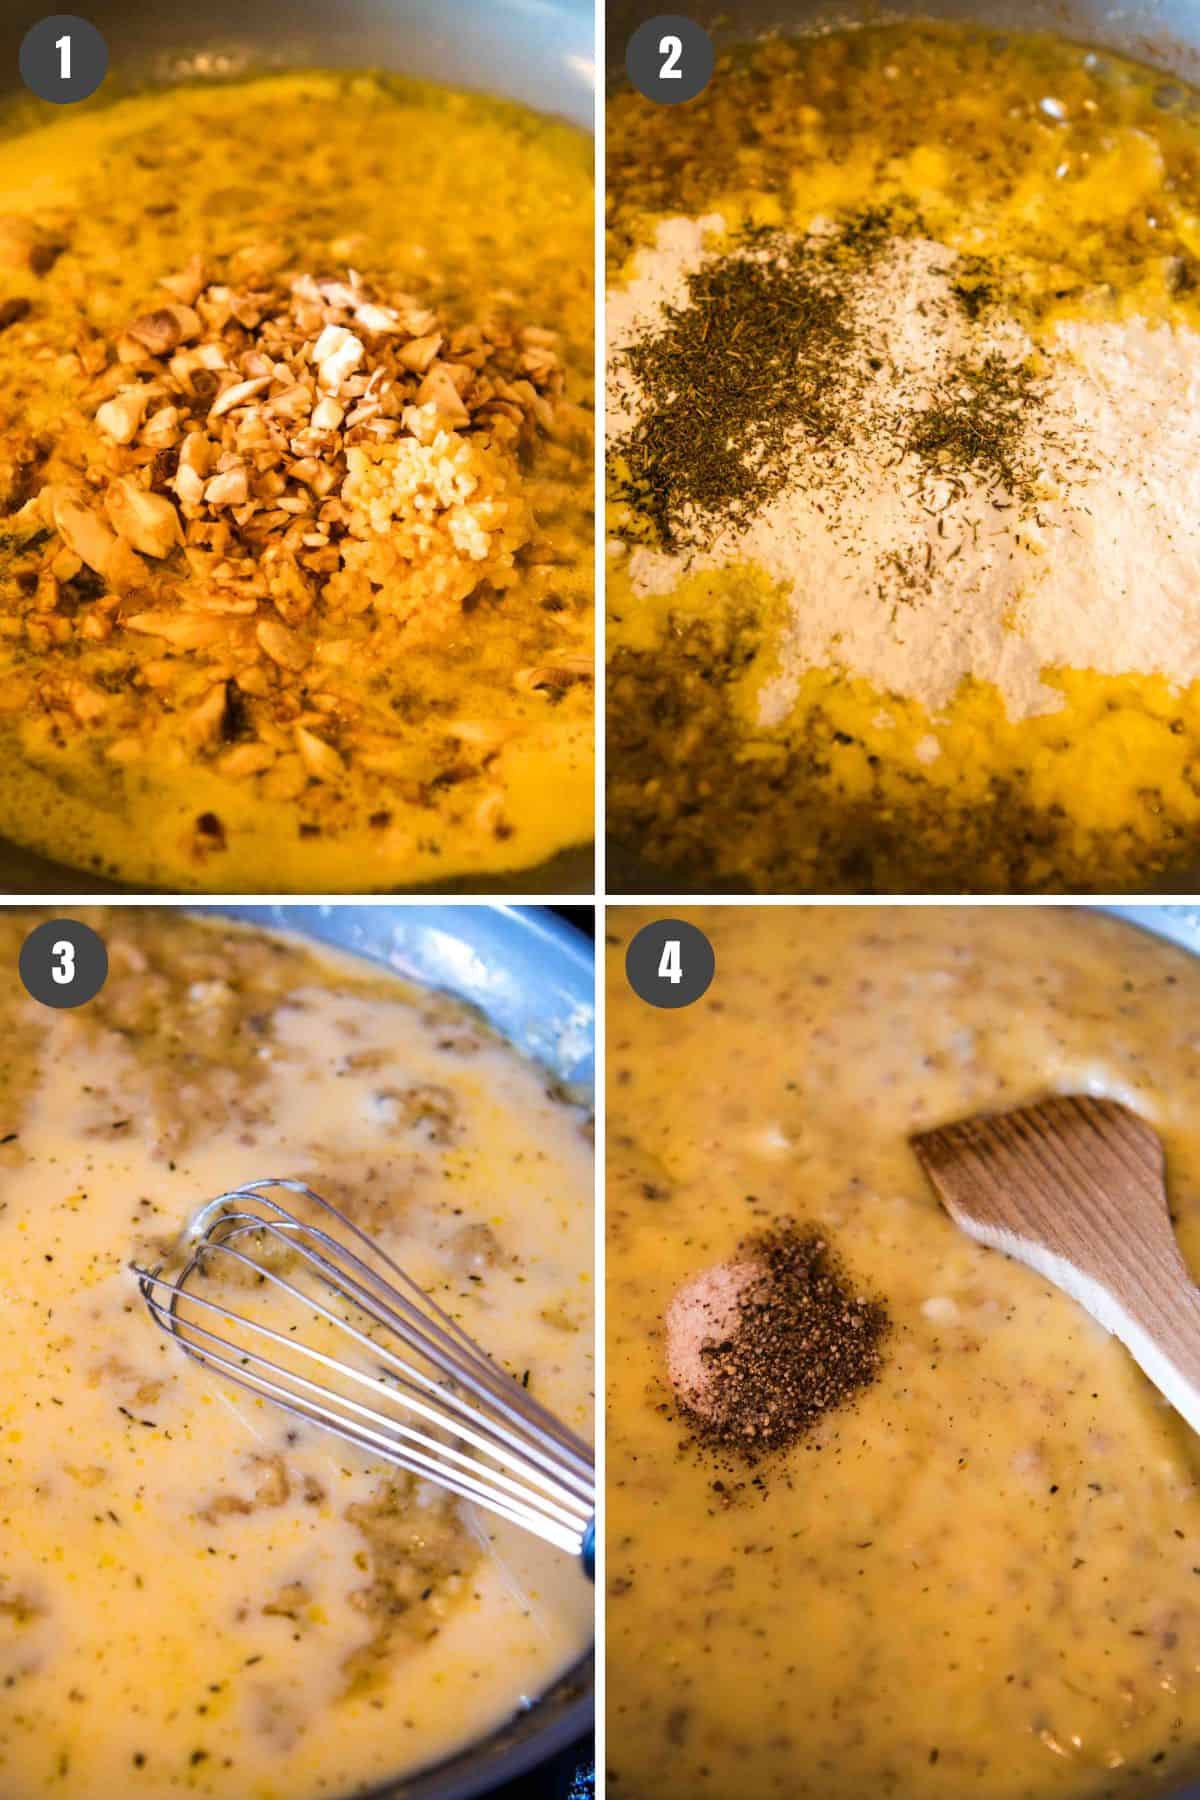
- Start by sautéing the minced garlic and mushrooms in the melted butter for about 4-5 minutes, or ’til softened.
- Once softened, sprinkle the flour and thyme over the mushrooms, stirring ’til well combined.
- Next, add the chicken broth and milk to the mushroom mixture, whisking ’til the mushroom mixture thickens, usually 3-5 minutes.
- Finally whisk in the salt and pepper. I recommend taste testing the mixture after this step so that you can add more salt if needed. That’s it!
Baking Easy Green Bean Casserole Recipe
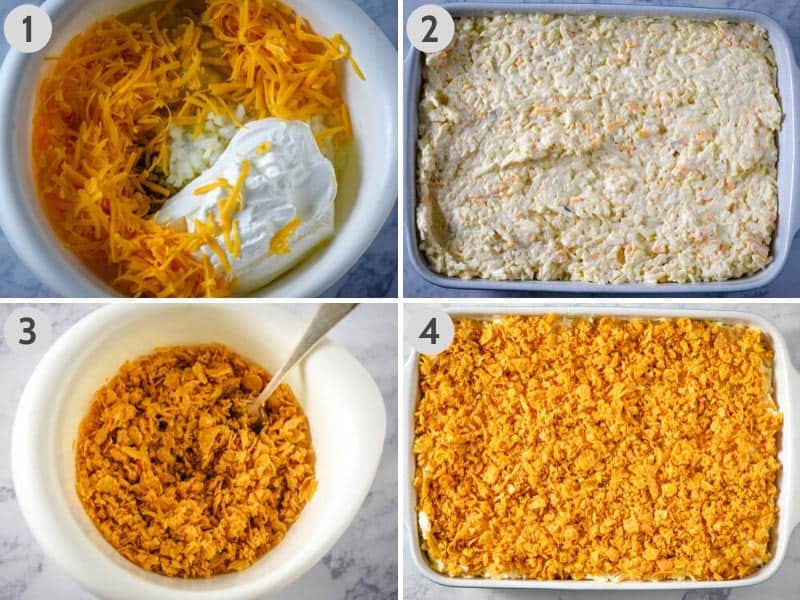
- Now you can use a rubber spatula to mix the creamy mushroom sauce with all of the green beans and 1/2 of the French fried onions in a large mixing bowl.
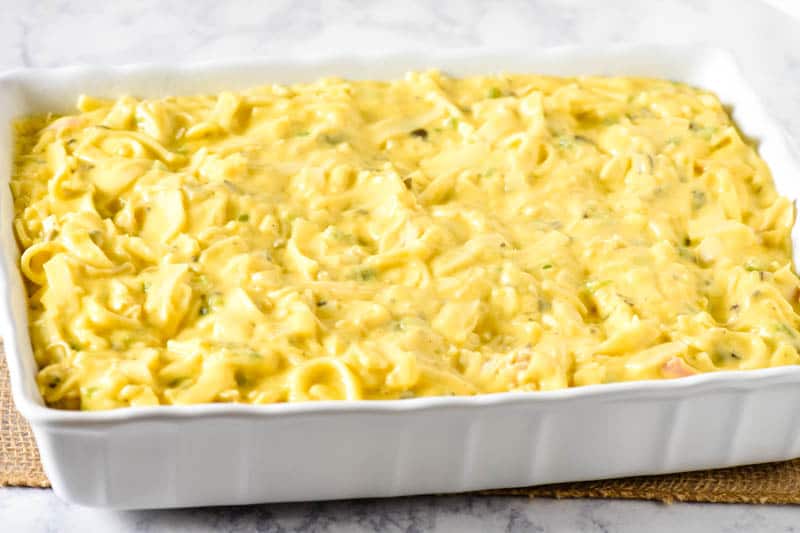
- Next, use the same spatula to spread your green bean casserole mixture into the 9×13 baking dish that you greased up in the first step.
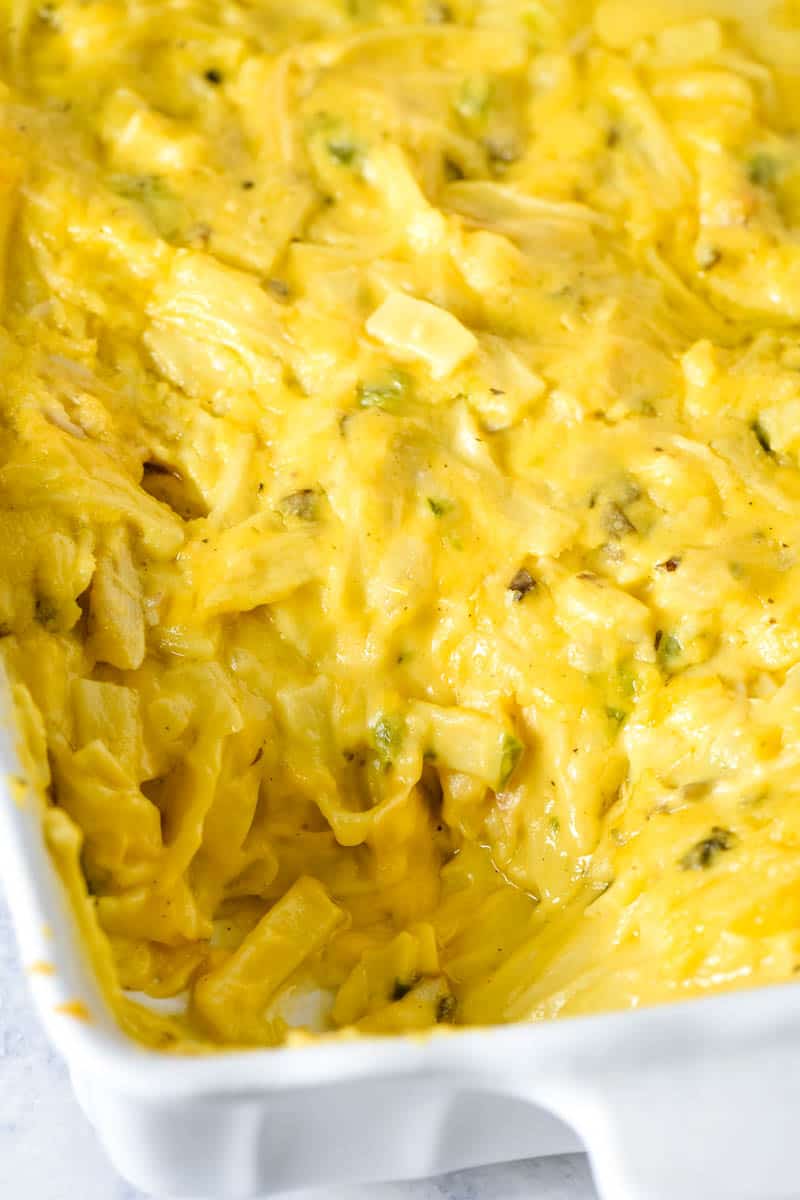
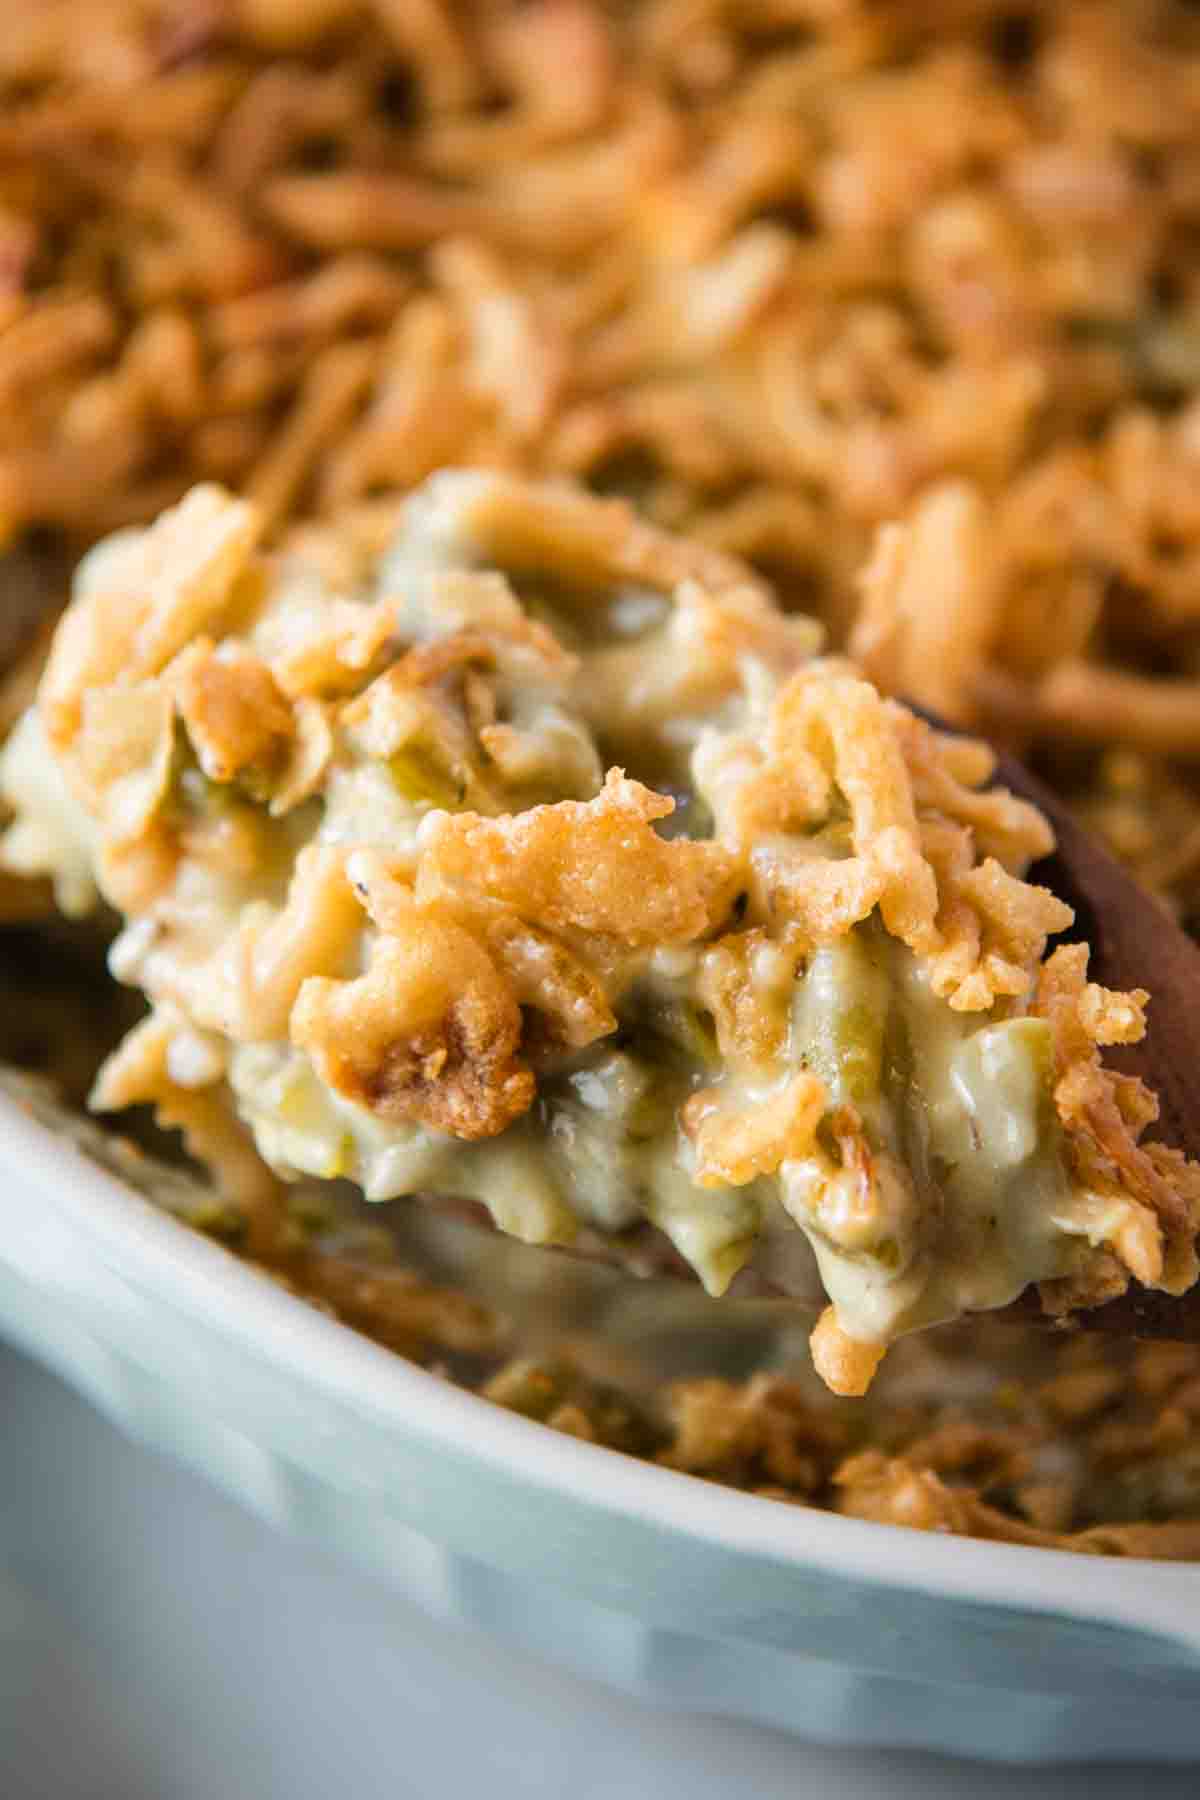
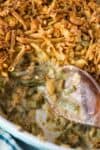
- Bake your green bean casserole at 350ºF for 10-15 minutes, or ’til hot and bubbly in the center. Remove from the oven and top it off with the remaining French fried onions that you saved back earlier.
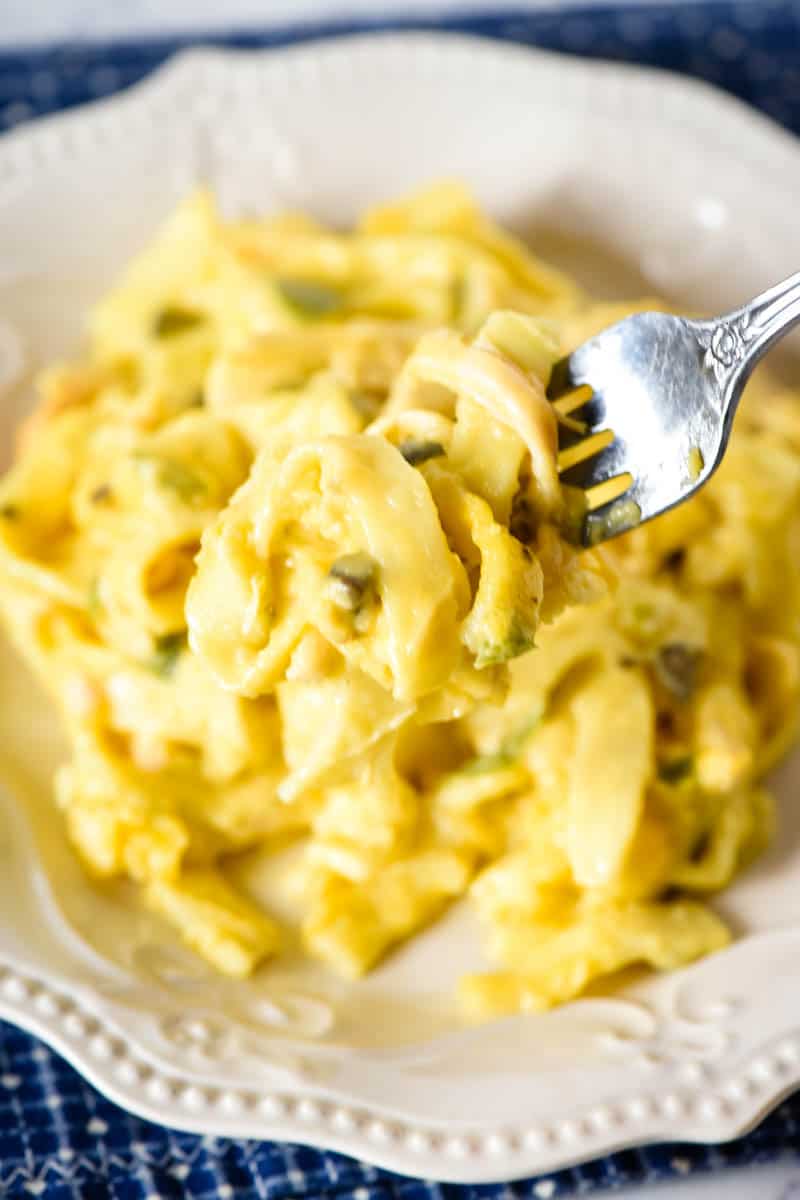
- That’s it! Let it cool for a few minutes before serving.

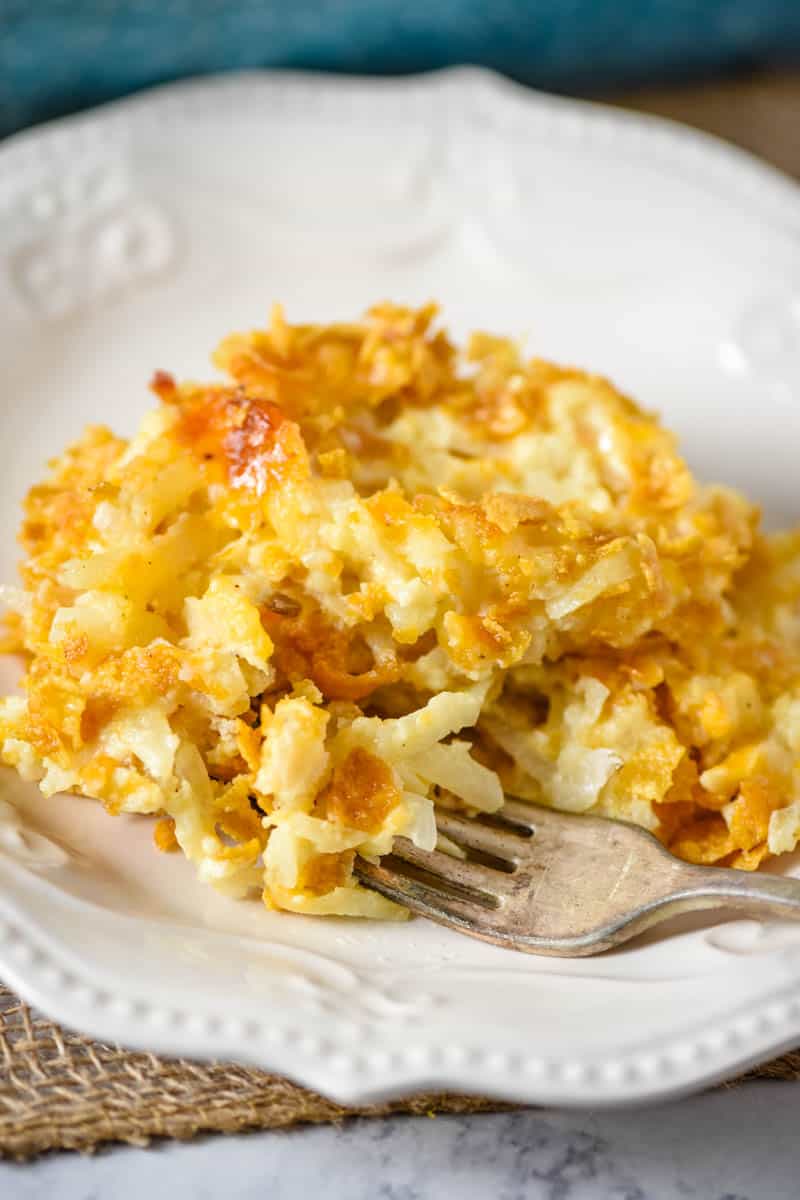
That’s it! Serve and enjoy your green beans casserole while warm and with all of the holiday fixings, like roasted turkey, mashed potatoes and Grandma’s homemade dinner rolls.
Expert Tips and Recipe FAQ’s
No, but you can easily make this a gluten free green bean casserole. First, swap out the all-purpose flour with the same amount of sweet rice flour. Then you’ll need to use gluten free French fried onions. Other than that, you should be good to go. Just be sure to check over all of the other ingredients to ensure that they are truly gluten free!
Yes, you can make this recipe dairy free. Start by replacing the salted butter with a dairy free plant butter. Then you’ll need to swap out the whole milk for a dairy free alternative, like oat milk, almond milk, cashew milk, rice milk or even soy milk. Most of the other ingredients in this recipe are naturally dairy free, but I always recommend checking the ingredient labels over just to make sure.
Yes, this is a great recipe to make ahead! I recommend leaving the French fried onion topping off until you’re ready to serve the casserole. Start by getting your casserole mixed up according to the instructions in the recipe card below, and spread it into your casserole dish or into an airtight container. If using the casserole dish, cover it with plastic wrap. Stored either way, it should last up to 3-4 days in the refrigerator. When you’re ready to eat, bake as normal, and then add the rest of your French fried onion topping. Serve and enjoy!
Of course! I recommend leaving the French fried onion topping off until you’re ready to serve the casserole. Follow the same instructions for making the green bean casserole ahead of time above, except you’ll want to transfer it to the freezer instead of the refrigerator. When you’re ready to eat, transfer the frozen green bean casserole to the refrigerator so that it has time to thaw overnight. Bake as normally directed in the recipe, and then add your French fried onion topping before serving.
Recipe Variations
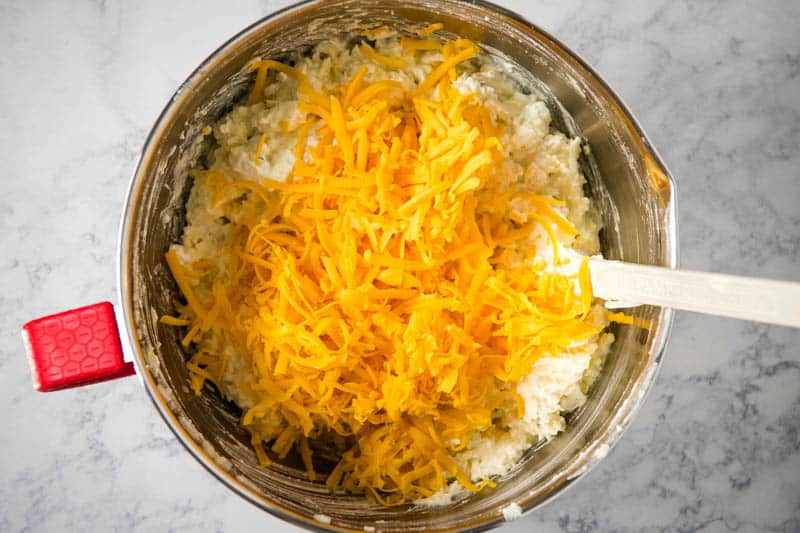
- Mix a little bit of shredded cheddar cheese into the casserole for a delicious cheesy flavor!
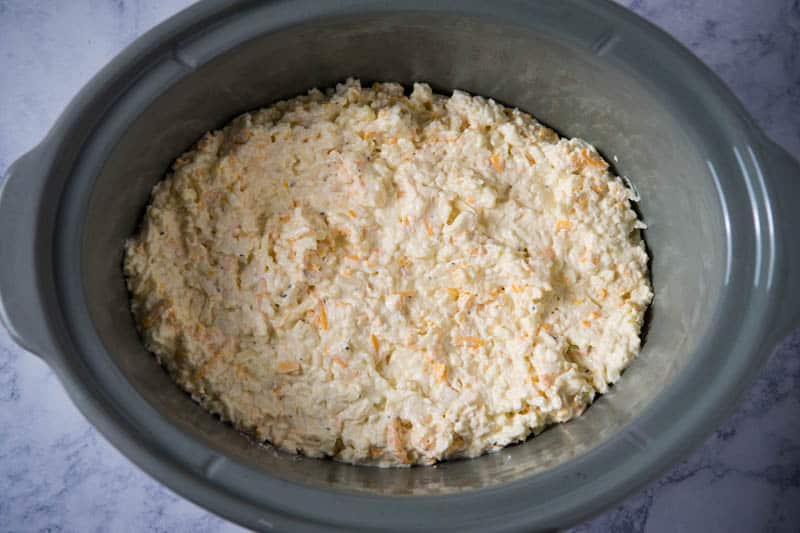
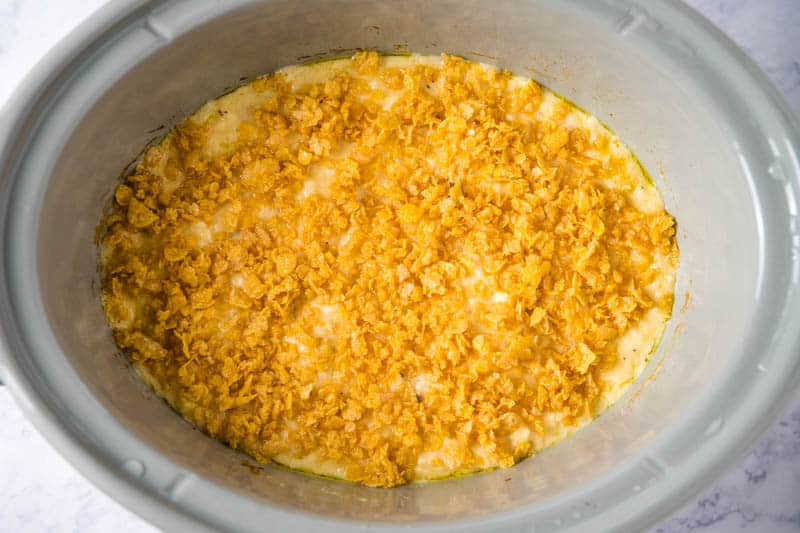
- Try making your green bean casserole in the Crock Pot!
- Bacon makes everything better, so why not add crumbled bacon to the top?
- Add sliced potatoes to make this a green bean and potato casserole!
More Holiday Side Dish Recipes
- Instant Pot Southern Green Beans
- Leftover Turkey Casserole
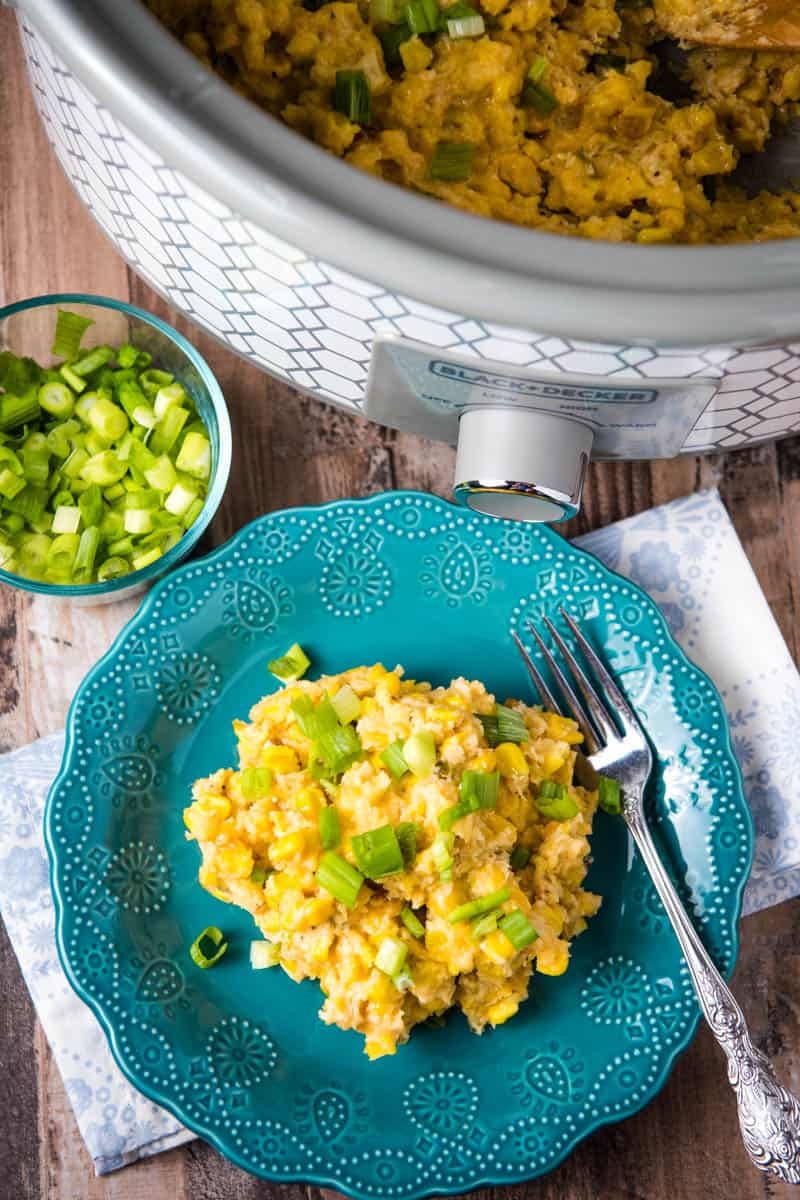
- CrockPot Corn Casserole
- Mexican Corn Casserole
- Turkey Enchilada Skillet Casserole
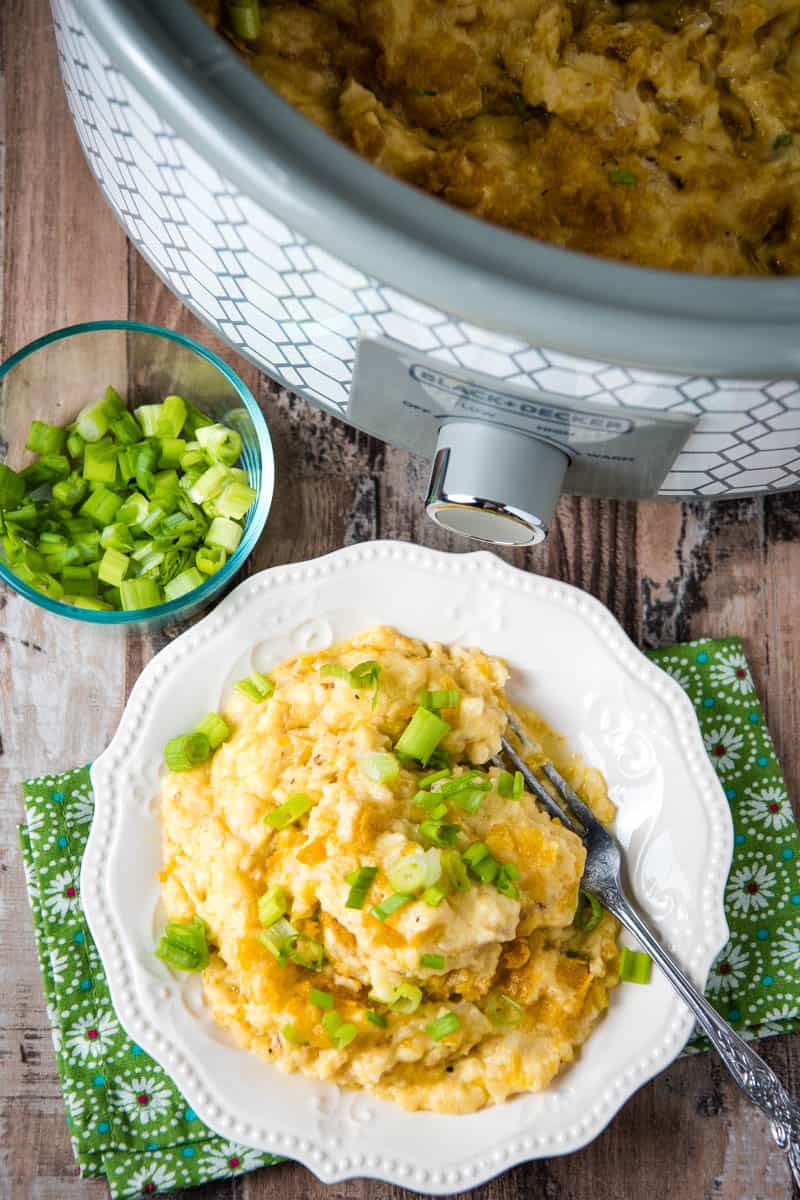
- Cheesy CrockPot Funeral Potatoes
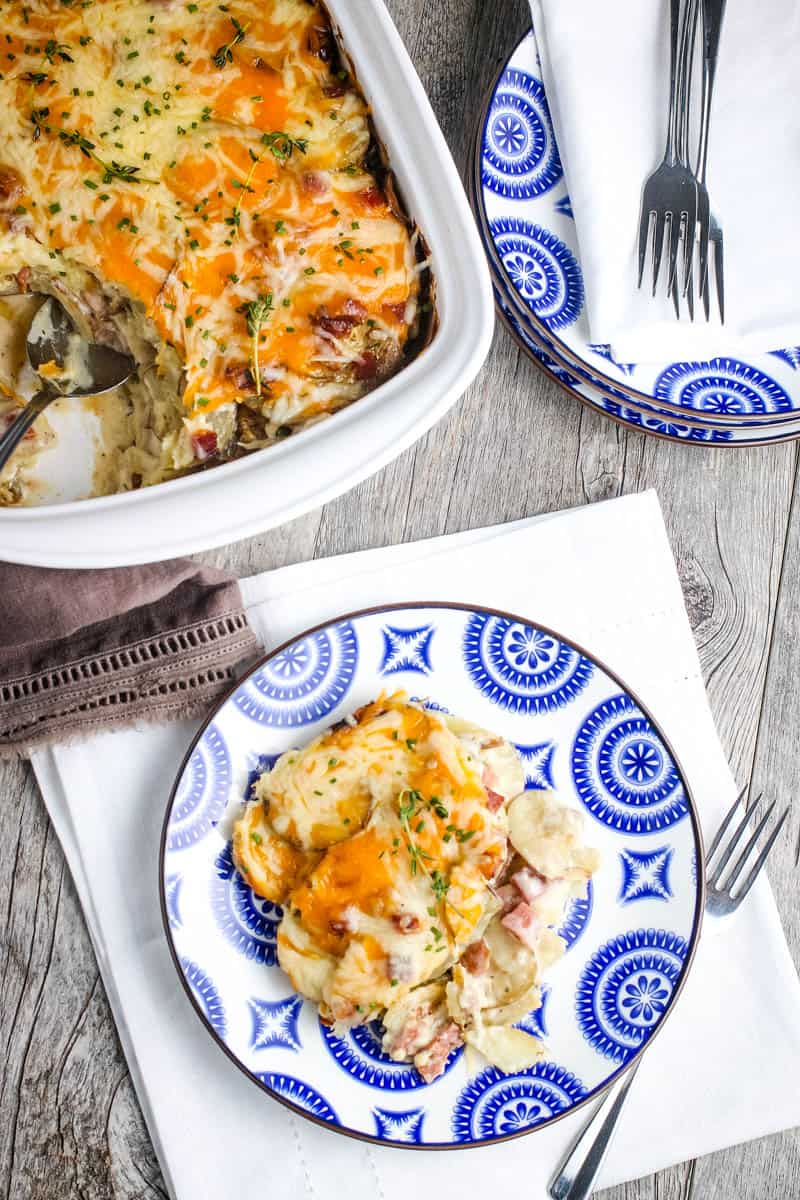
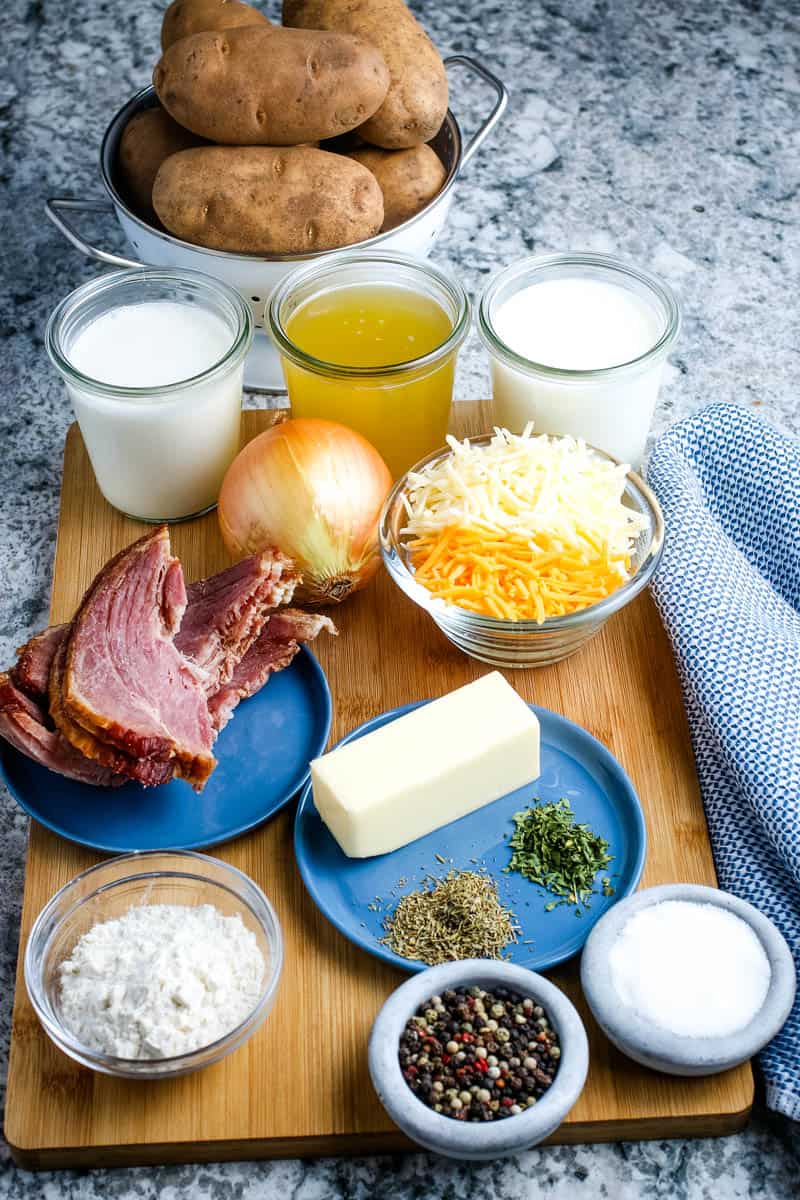
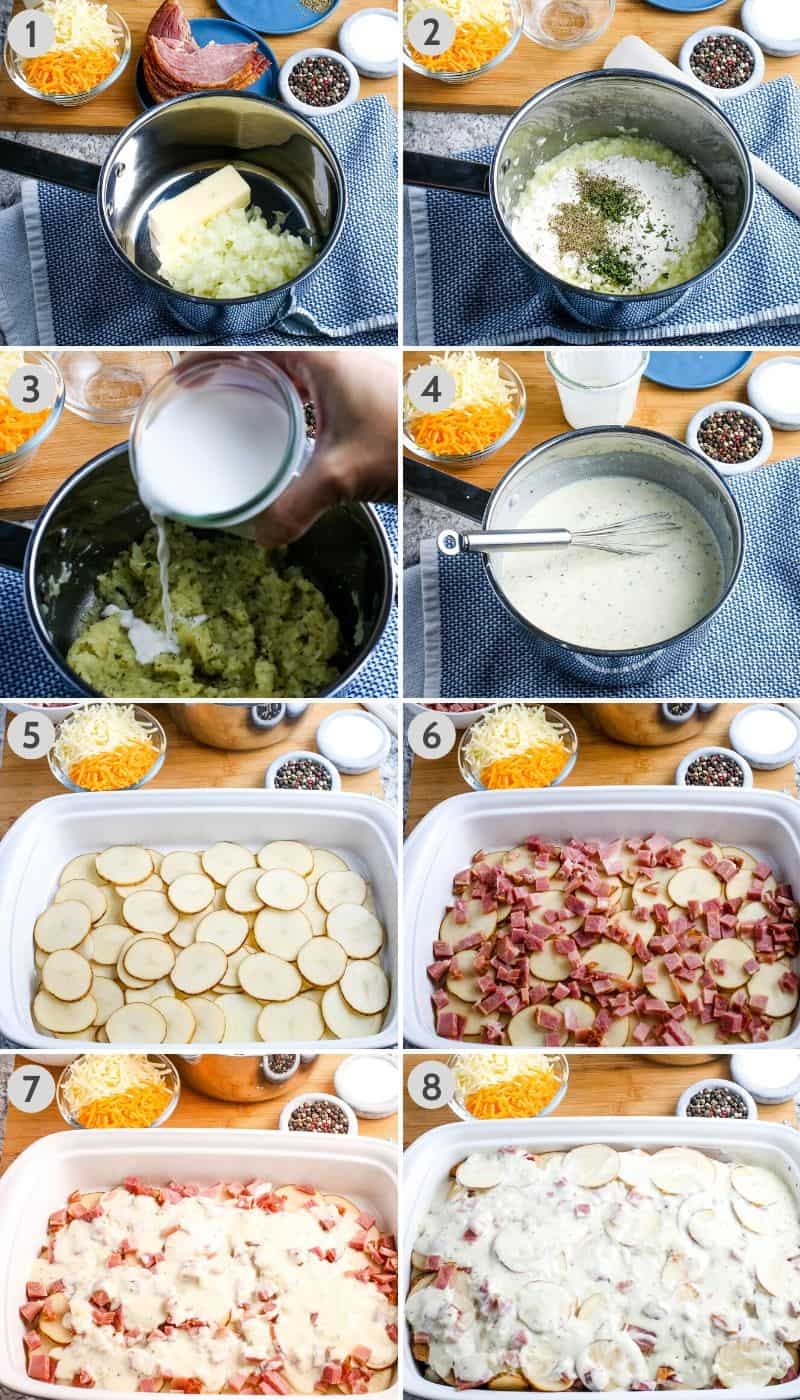
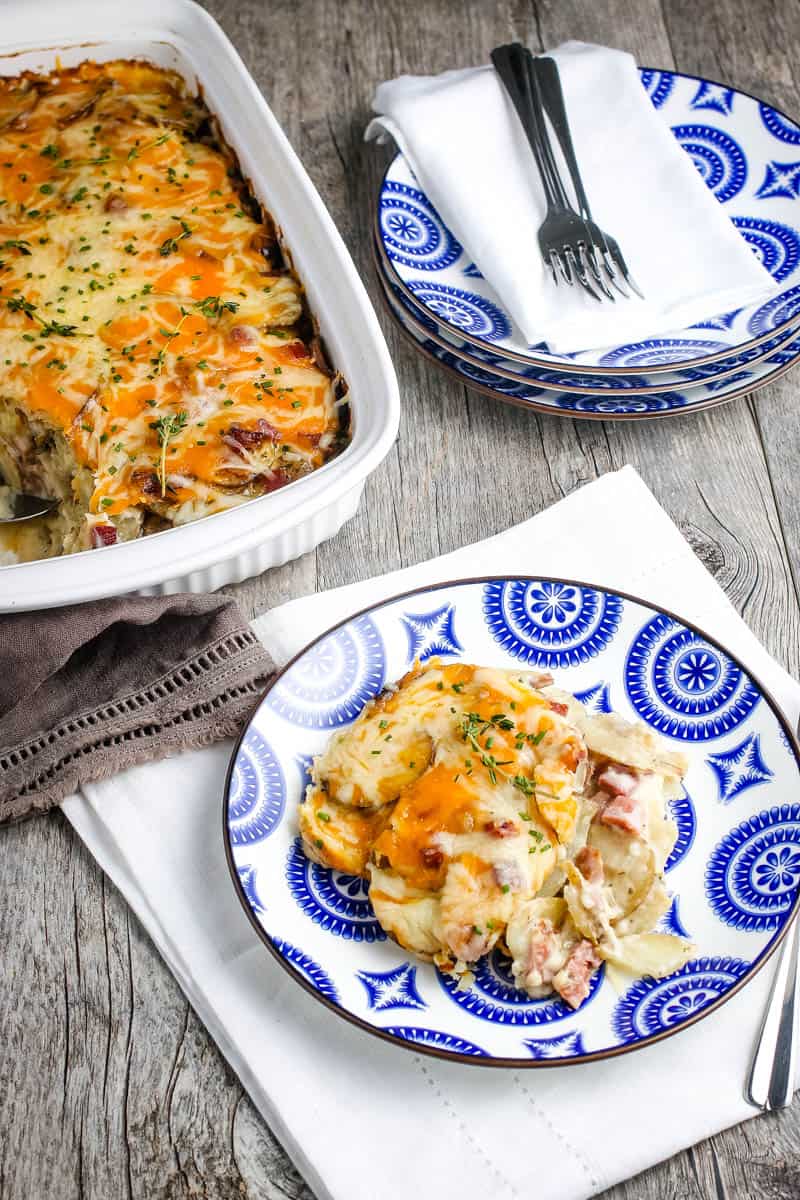
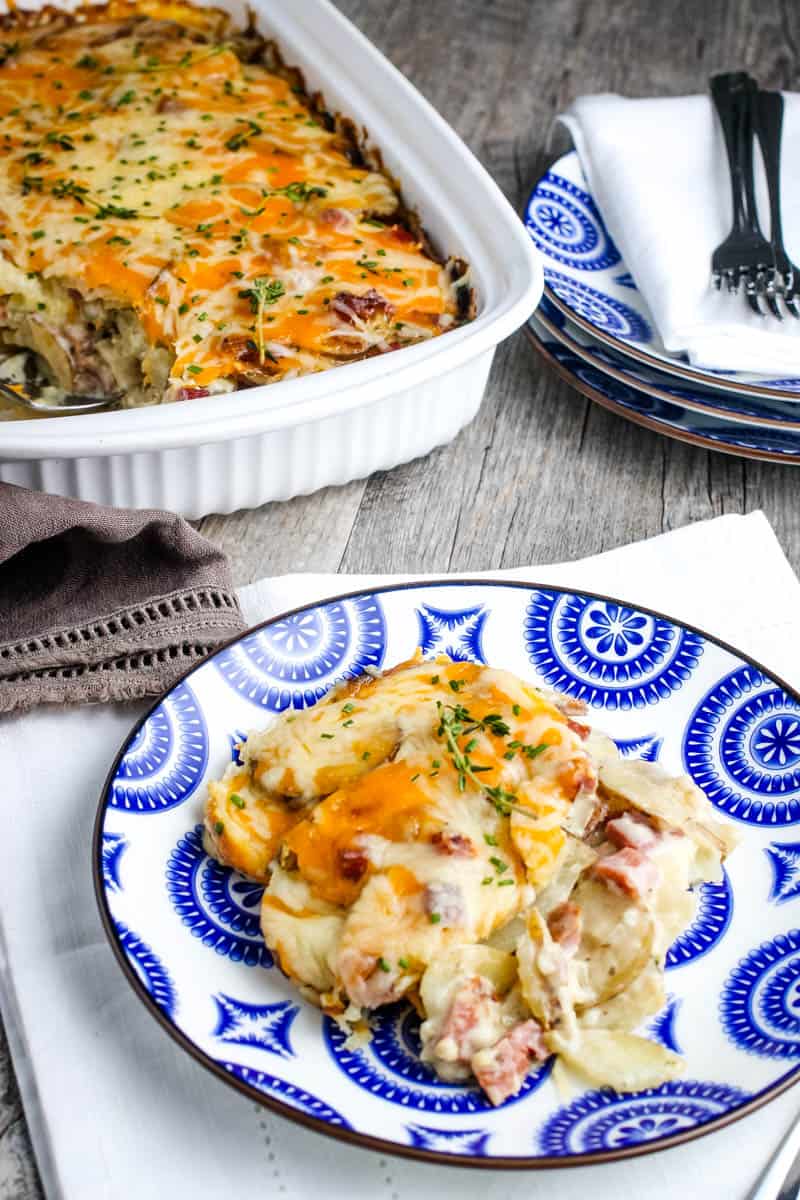
- Scalloped Potatoes and Ham
- Apple Walnut and Bread Stuffing
- Honey Glazed Carrots
- Broccoli Salad, Pasta Salad, Dill Veggie Finger Salad and Layered Salad
If you try this recipe, why not leave a star rating in the recipe card right below and/or a review in the comment section further down the page? I always appreciate your feedback. You can also follow me on Pinterest, Facebook, Instagram, and YouTube. And subscribe to my email list too!
Green Bean Casserole
How to make the best homemade green bean casserole with canned green beans. Quick and easy holiday side dish recipe that can feed a crowd!
- 9×13 Baking Dish
- Large Skillet
- Whisk
- Rubber Spatula
- Large Mixing Bowl
- 6 tablespoons Salted Butter
- 2 teaspoon Garlic (Minced)
- 1 cup Brown Mushrooms (Minced)
- 6 tablespoons All-Purpose Flour
- 1 cup Chicken Broth
- 1 cup Whole Milk
- 1 teaspoon Thyme
- 1 teaspoon Sea Salt
- 1/2 teaspoon Black Pepper
- 48 ounces Canned Green Beans
- 6 ounces French Fried Onions
Before getting started, pre-heat your oven to 350ºF, and grease a 9×13 baking dish with nonstick cooking spray.
Start by melting the butter in a large skillet over low to medium heat.
Sauté the garlic and mushrooms in the melted butter for about 4-5 minutes, or 'til softened.
Once softened, sprinkle the flour and thyme over the mushrooms, stirring 'til well combined.
Next, add the chicken broth and milk to the mushroom mixture, whisking 'til the mushroom mixture thickens, usually 3-5 minutes.
Finally whisk in the salt and pepper. I recommend taste testing the mixture after this step so that you can add more salt if needed.
Now you can use a rubber spatula to mix the creamy mushroom sauce with all of the green beans and 1/2 of the fried onions in a large mixing bowl.
Next, use the same spatula to spread your green bean casserole mixture into the 9×13 baking dish that you greased up in the first step.
Bake your green bean casserole at 350ºF for 10-15 minutes, or 'til hot and bubbly in the center. Remove from the oven and top it off with the remaining French fried onions that you saved back earlier.
That's it! Let it cool for a few minutes before serving.
Can I make green bean casserole ahead of time?
I recommend leaving the French fried onion topping off until you’re ready to serve the casserole. Start by getting your casserole mixed up according to the instructions in the recipe card below, and spread it into your casserole dish or into an airtight container. If using the casserole dish, cover it with plastic wrap. Stored either way, it should last up to 3-4 days in the refrigerator. When you’re ready to eat, bake as normal, and then add the rest of your French fried onion topping. Serve and enjoy!