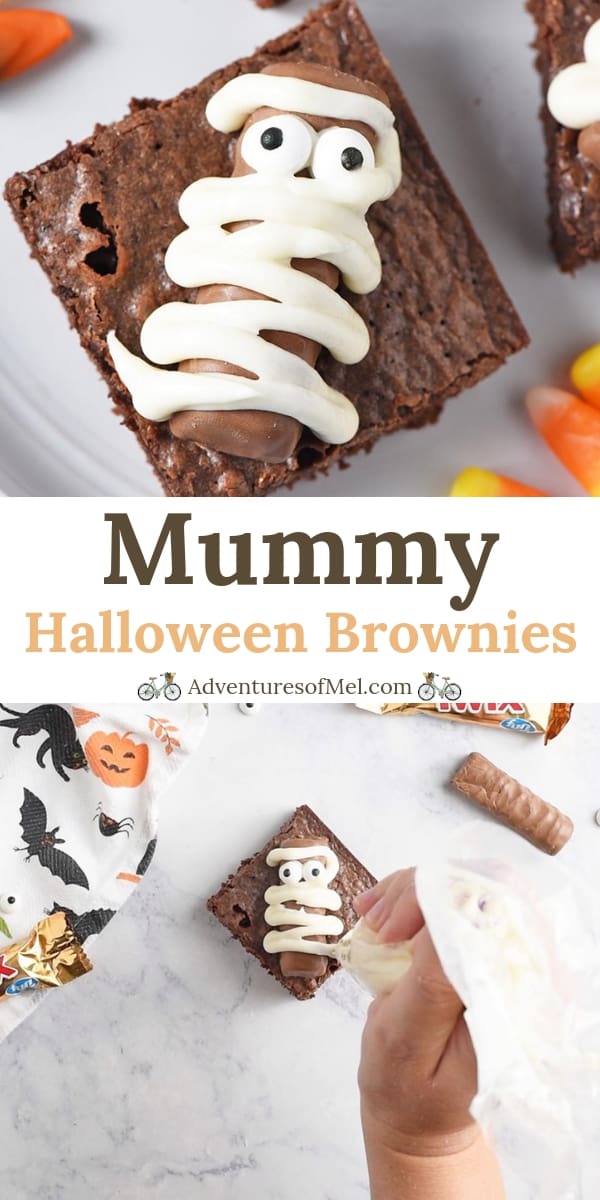
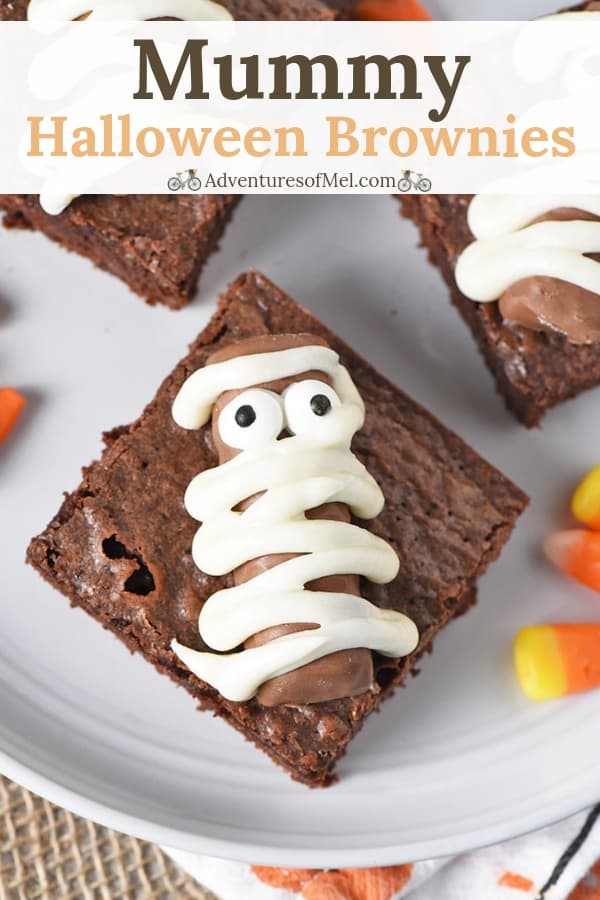
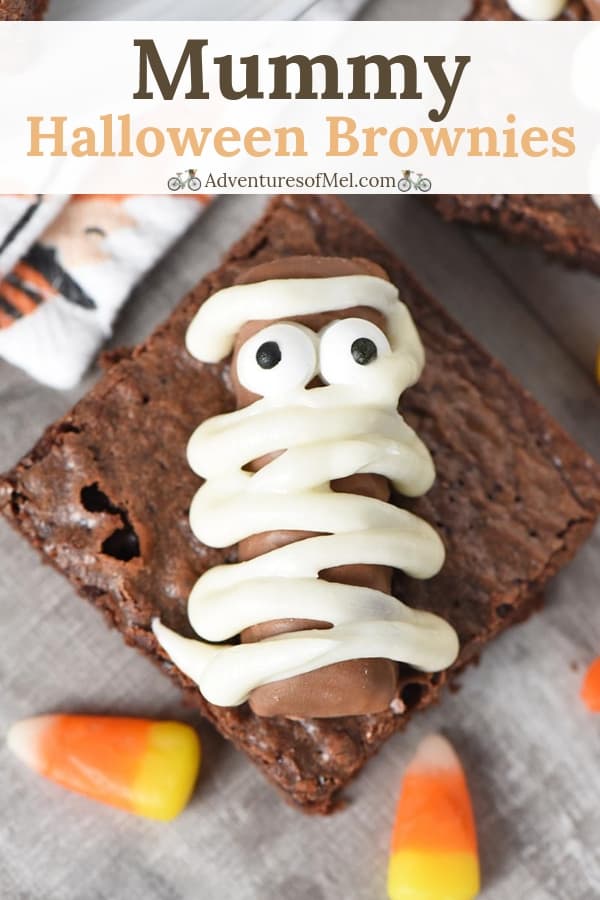
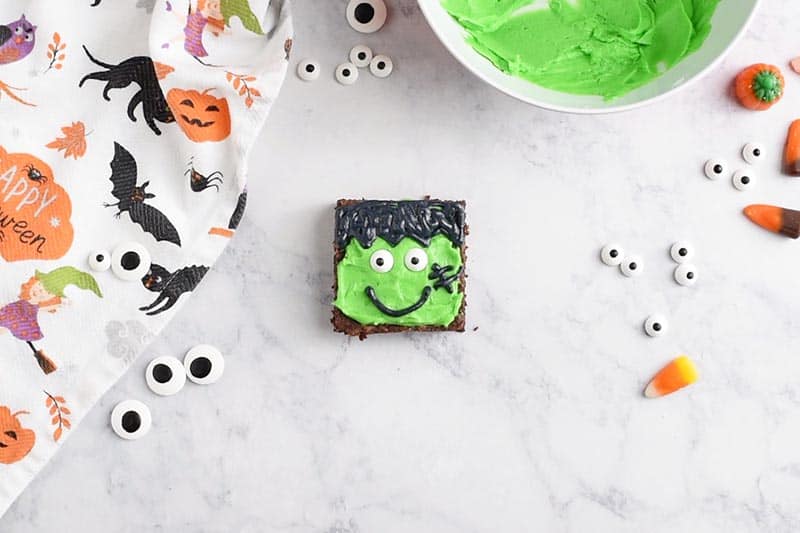
Frankenstein brownies are the cutest Halloween treats. They’re quick and easy Halloween snacks anyone can make, and especially fun for kids. Decorate these frosted chocolate treats at your next Halloween party!
These fun Frankenstein Halloween Brownies are my favorite out of my entire Halloween brownie series I’m sharing with you. There’s just something so cute and sweet about a silly Frankenstein face.

I wanted to give you several Halloween desserts you can make in just a short amount of time. More Halloween brownie recipes you’ll love include:
And even though they’re not brownies, I can’t forget these super cute Frankenstein Rice Krispie treats.
Why You’ll Love These Halloween Frankenstein Brownies
- These Frankenstein Halloween treats may look like they take a lot of time, but they really don’t. They’re super quick and easy to make; you can even use a brownie mix.
- You can either mix up a quick batch of sugar cookie icing, or you can buy pre-made decorating icing, whatever is easiest for you.
- This recipe makes the best activity for a Halloween party. Set up a simple brownie buffet, and let everyone decorate their own Frankenstein brownie.
Below you’ll find a few tips so that hopefully, making these Halloween snacks can be quick, seamless, and enjoyable for you. This is an opportunity for you to grab your kids and have some Halloween fun with them in the kitchen!
If you still need a costume, I’ve gotcha covered with the most adorable Garfield costume ever!
Ingredients and Substitutions Notes
You’ll need just a handful of things to make Frankenstein Halloween brownies, including the following:
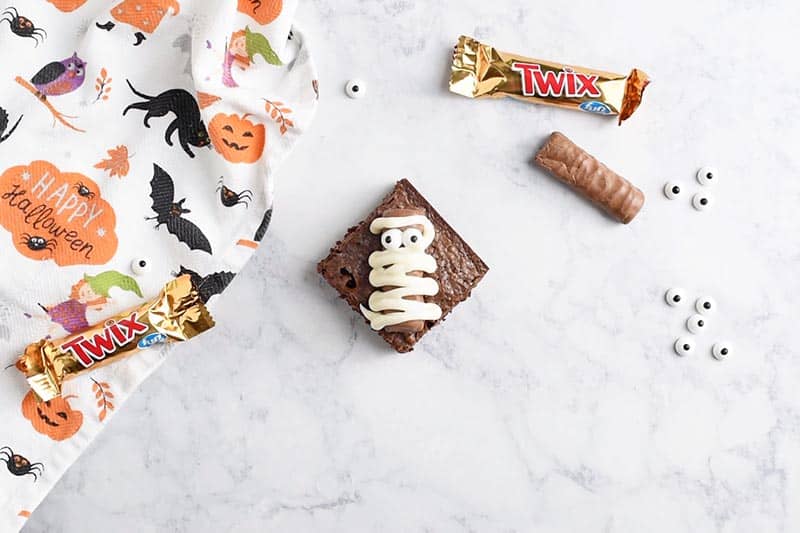
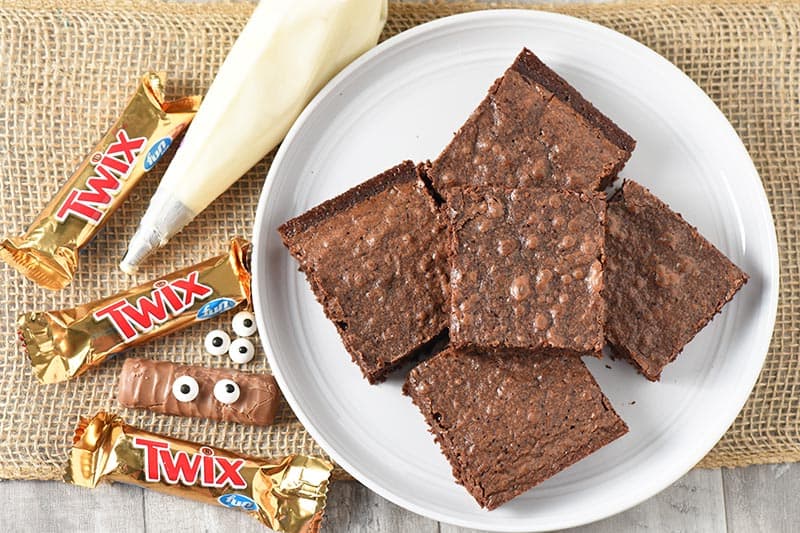
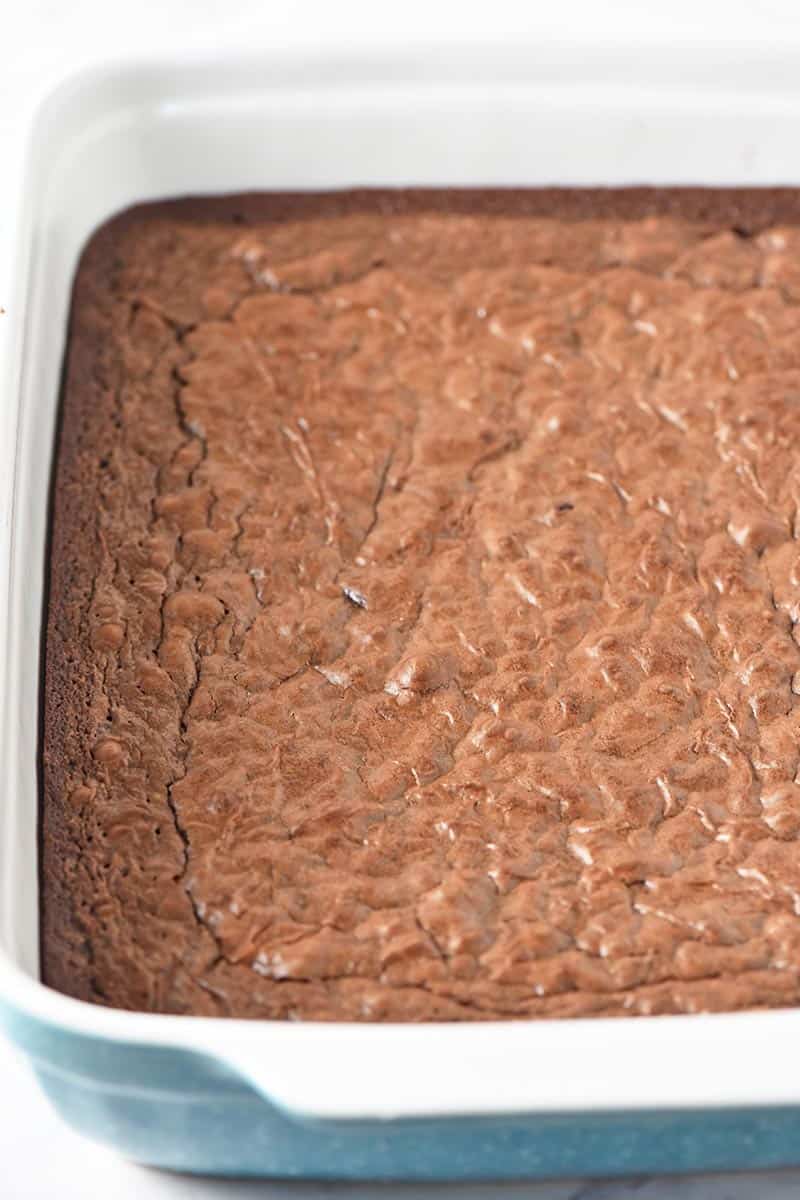
- Already baked and cooled brownies – You really want a brownie that’s going to be easy to slice and pull out of the pan, nothing too messy or gooey. My first batch of brownies turned out really soft and gooey; I didn’t realize they’d be that gooey. They could hardly be scraped off the bottom of the pan. I recommend using cake-like or chewy brownies (preferably chewy) that won’t be so gooey and will easily come right out of the pan. This brownie mix worked wonderfully for our Frankenstein brownies.
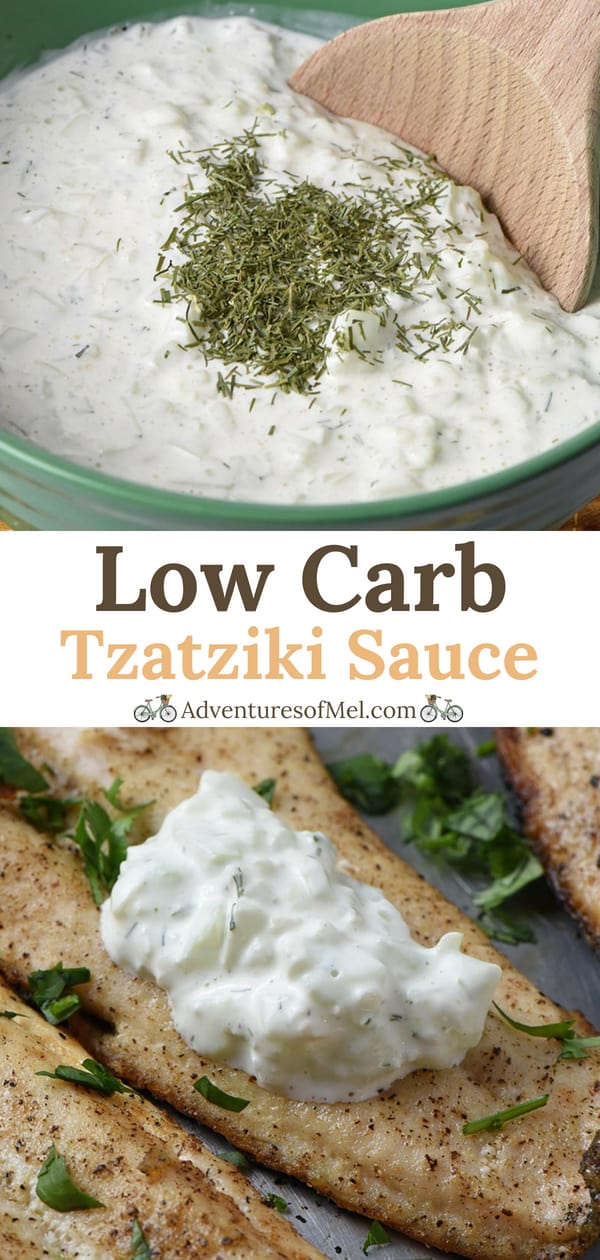
- Green and black sugar cookie icing – Like I said above, you can mix up a quick batch of my favorite sugar cookie icing. You can even add peppermint extract if you want a minty flavor to your frosting. Once mixed, just separate the icing into two bowls, and mix according to your specific food coloring directions. I used Wilton Leaf Green and Black icing colors for my Frankenstein treats. Or you can use pre-made icing or decorating icing that’s ready to go. Personally, I love the flavor of homemade frosting. It just tastes so much better! But whatever you decide to use will work just fine.
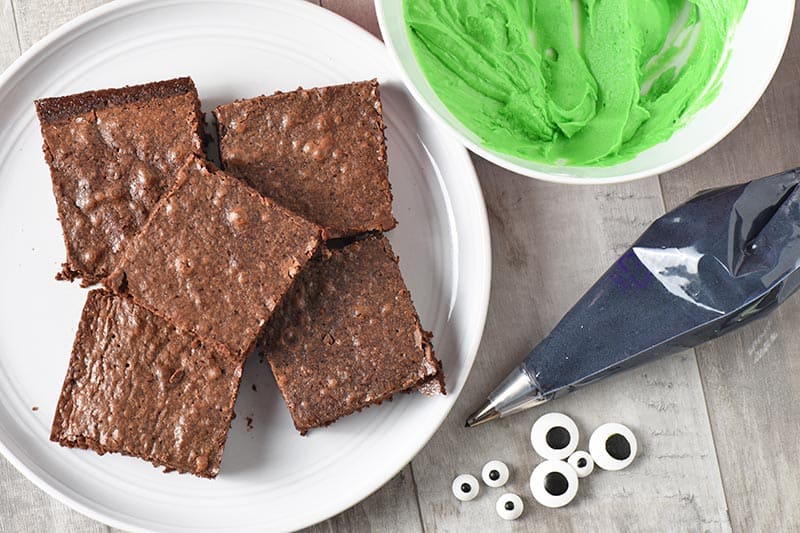
- Candy eyeballs
How to Make Frankenstein Brownies
First things first, make and prep the brownies…
- Mix and bake a brownie mix according to package directions.
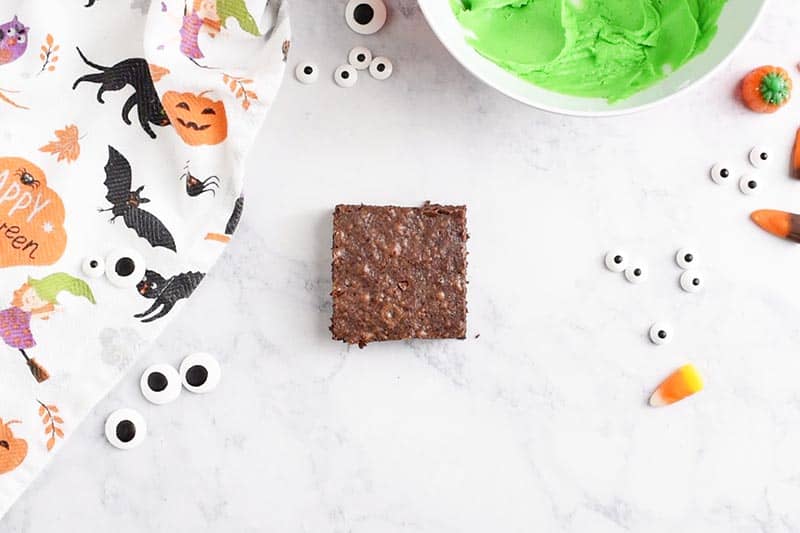
- Slice the brownies into squares, or at least, as close to square shaped brownies as you can.
How to Decorate a Frankenstein Brownie
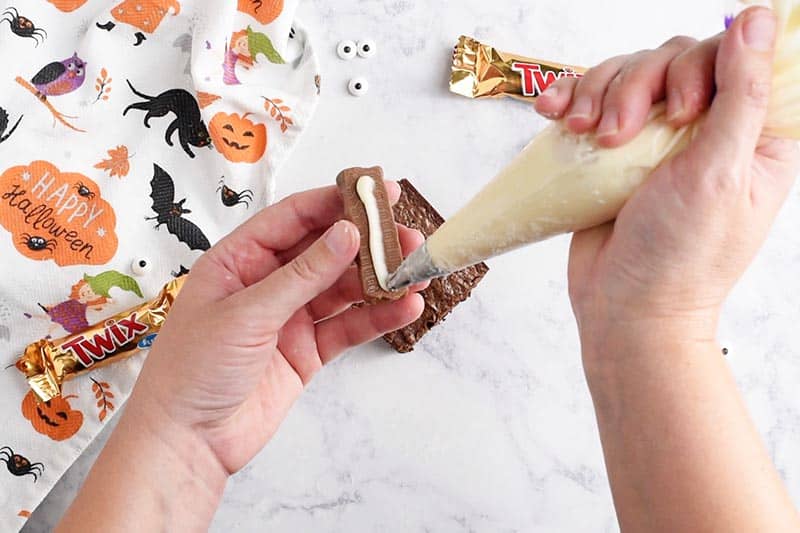
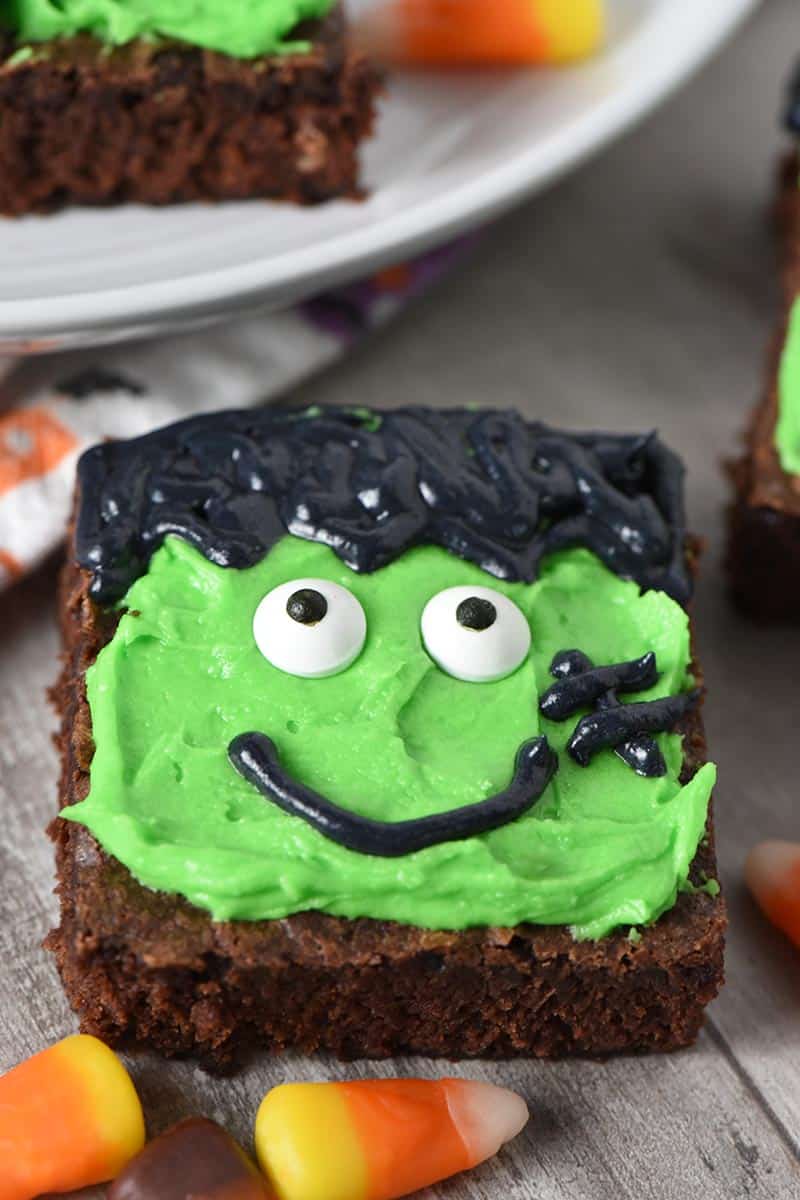
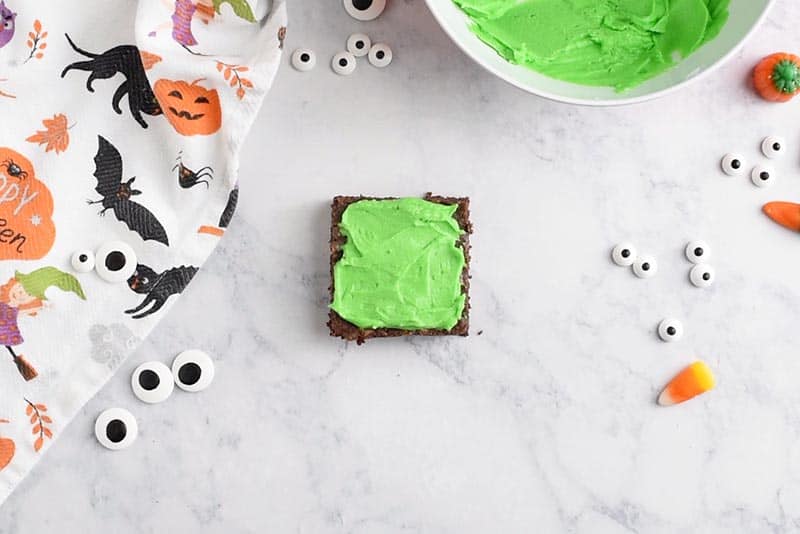
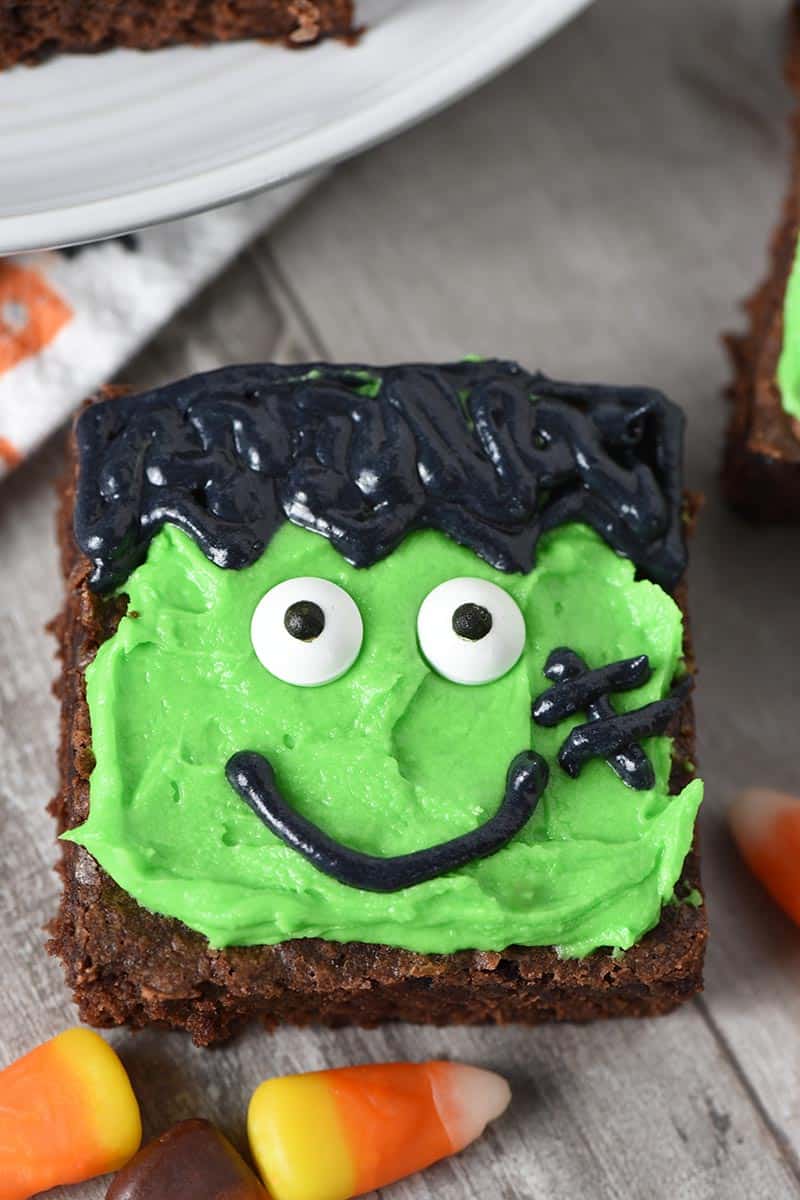
- Spread a layer of green icing on top of the brownie.
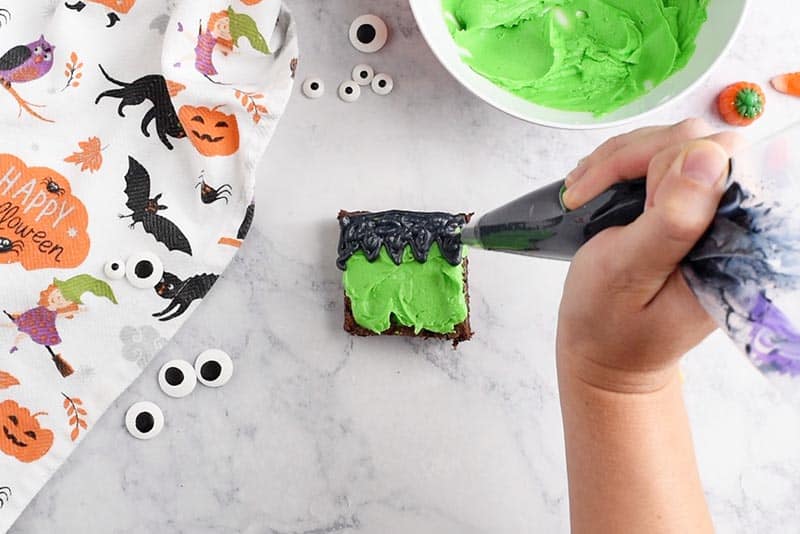
- Using Wilton Round Tip 5 (or the closest off brand cake tip) and a small pastry bag, add hair to your Frankenstein with the black icing. Just do a zig-zag along the hairline, and outline around the top of the head. Then fill in with black icing.
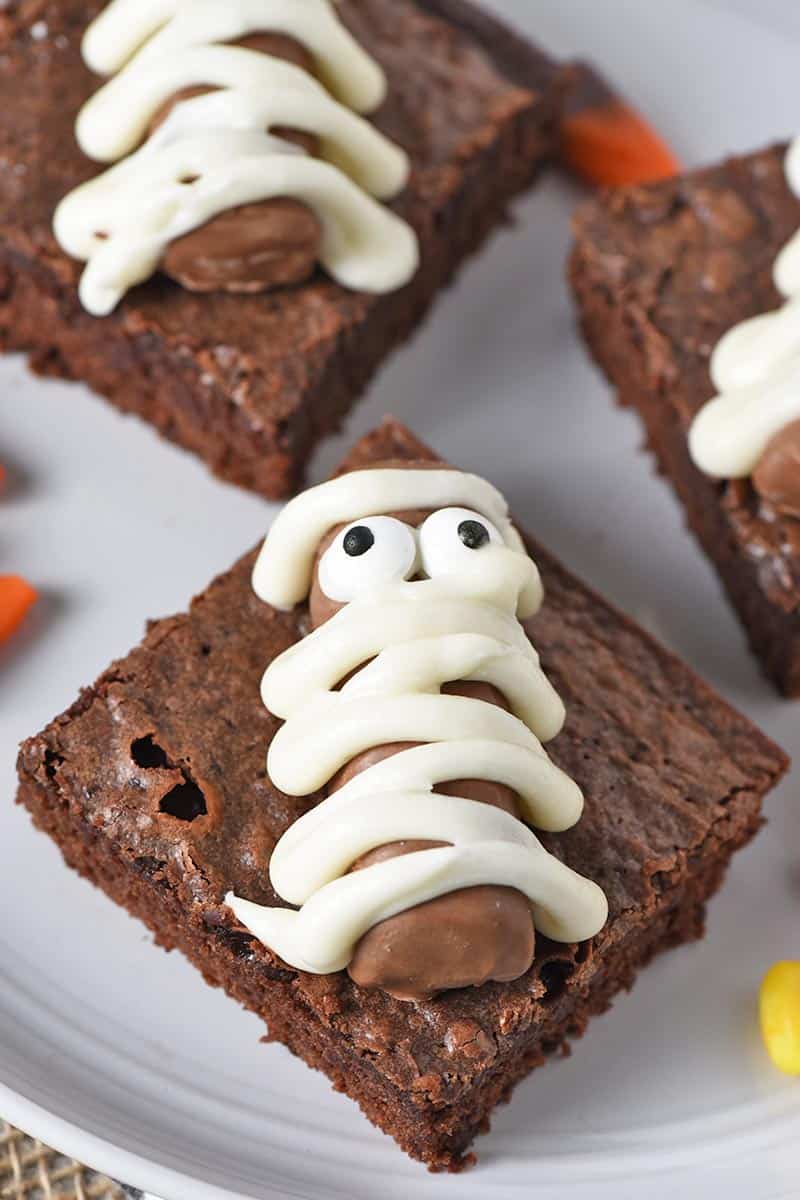
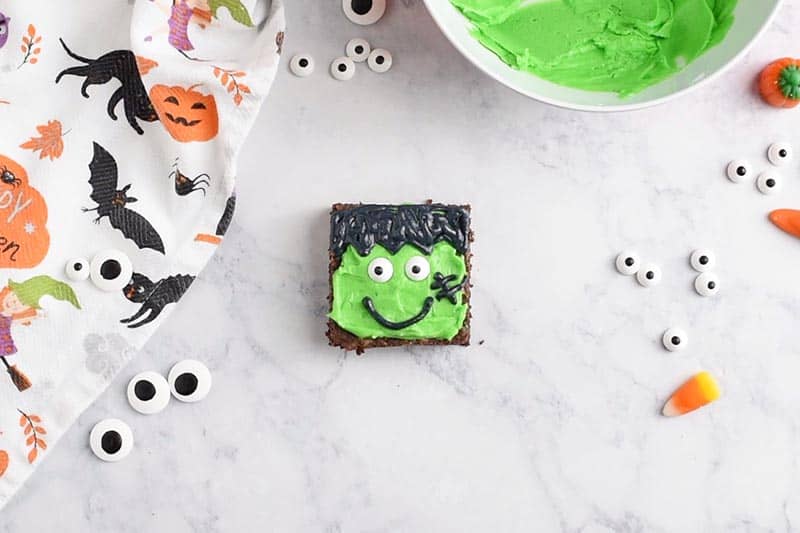
- Add candy eyeballs for his eyes.
- Add a small smile or mouth with the black icing.
- Then add a small piece of stitching to one cheek, also with black icing.
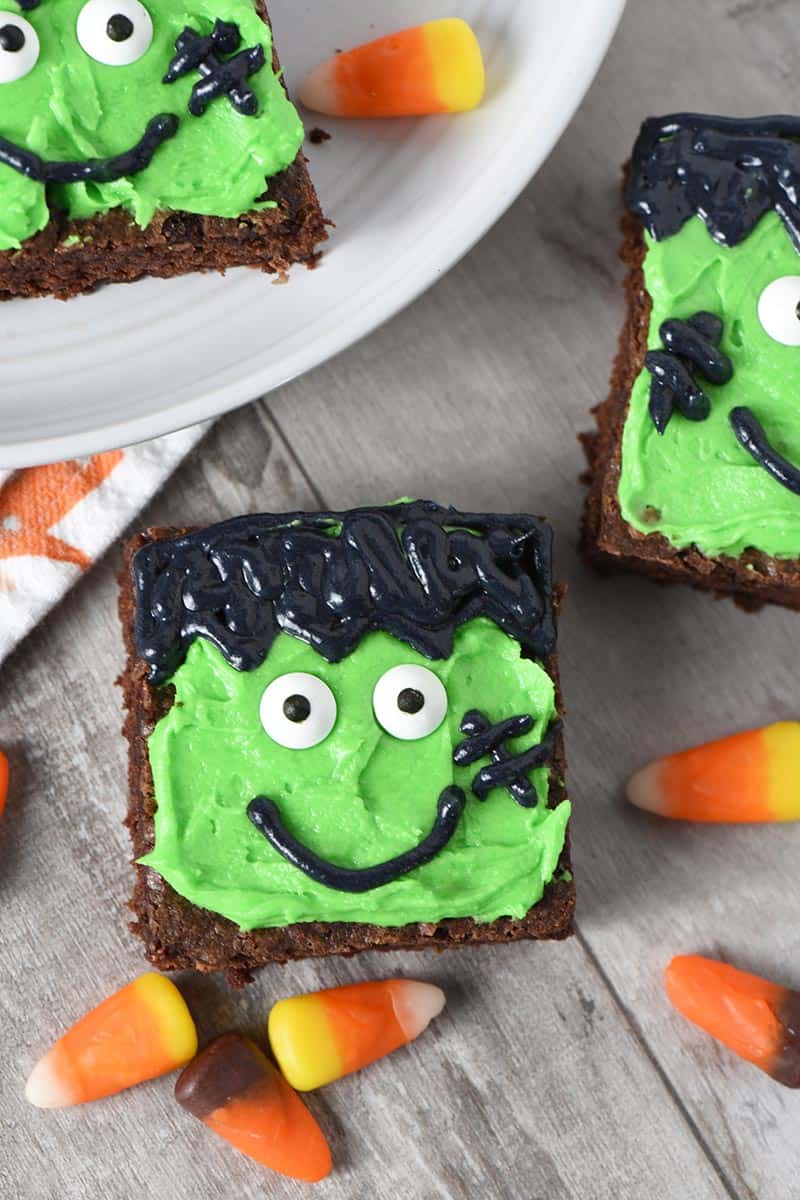
Don’t worry about perfection because the more imperfect your Frankenstein looks, the more he’ll look like the monster mash-up his character was really created to be. Just have fun with it!
Expert Tips and Recipe FAQ’s
No worries! You really don’t have to have the cake tip I mentioned above or the pastry bag. You can get creative with what you have. If you have sandwich bags, snip the corner of a sandwich bag, fill the bag with icing, and swirl away. Works like a charm! You can also create a DIY pastry bag using parchment paper or wax paper. Or you can just use ready made icing that comes with a convenient tip for decorating, making the process even easier.
I’d recommend making them day of or only 1 day ahead of time. Reason being is the brownies, icing, and candy can degrade over time, and you really want these spooky Halloween brownies to look and taste their best.
Depending on the type of frosting you use, you should be able to store them in an airtight container on the countertop for 1-2 days; after that, they should be in the fridge for longer keep.
More Easy and Spooky Halloween Recipes:
If you love this freaky Frankenstein dessert, you’ll love these recipes too…
More easy last minute ideas –>> 20+ Halloween movie desserts – including Halloween brownies, party punch, cookies, no bake desserts, treats on a stick, Halloween cupcakes, and more!
If you try this recipe, why not leave a star rating in the recipe card right below and/or a review in the comment section further down the page? I always appreciate your feedback. You can also follow me on Pinterest, Facebook, Instagram, and YouTube. And subscribe to my email list too!
Frankenstein Brownies
Frankenstein brownies are the cutest Halloween treats. Quick and easy Halloween snacks anyone can make, especially fun for kids!
- Mixer
- Brownie Pan
- Wilton Tip 5
- Pastry Bags
- 15 brownies (baked and cooled)
- 2 cups green icing
- 2 cups black decorating icing
- 40 candy eyeballs
Slice the brownies into squares.
Spread a layer of green icing on top of each brownie.
Using the black decorating icing and a round tip, add hair to your Frankenstein brownie. Just do a zig-zag along the hairline, and outline around the top of the head. Then fill in with the icing.
- Add candy eyeballs for his eyes.
- Add a small smile or mouth with the black icing.
Then add a small piece of stitching to one cheek, also with the black icing.
And that's it! They're ready to serve.
*I used Wilton Leaf Green and Black icing colors for my Frankenstein.
*If you don’t want to buy icing, you can make homemade cookie frosting; then just separate the icing into two bowls, and mix it with black and green food coloring. Use a pastry bag and round tip to decorate. If you don’t have pastry bags or tips, you can use a sandwich bag instead. Just snip the corner of a sandwich bag, fill the bag with icing, and swirl away. You can also create a DIY pastry bag using parchment paper or wax paper.
Depending on the type of frosting you use, you should be able to store these Halloween brownies in an airtight container on the countertop for 1-2 days; after that, they should be in the fridge for longer keep. I’d recommend making them either day of or only 1 day ahead of time. Reason being is the brownies, icing, and candy can degrade over time, and you really want these spooky Halloween brownies to look and taste their best.