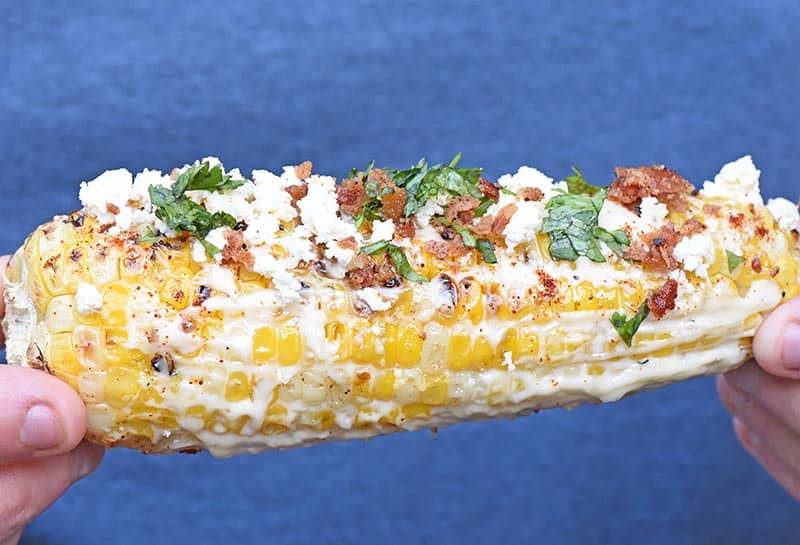
Mexican Corn on the Cob with Bacon – How to transform grilled corn on the cob into Mexican corn, with a tasty addition of bacon sprinkled on top. Delicious, flavorful side dish recipe!

One of our all-time favorite summer sides for my favorite Crock Pot pork roast, roast beef Philly cheesesteaks and baked chicken drumsticks is corn on the cob, both grilled and pressure cooked to perfection in the Instant Pot. Now we have a way to dress up grilled corn on the cob and transform it into our new favorite, Mexican corn.
Trust me when I say, this is such a delicious recipe. I know what you’re thinking, though.
Ew, mayo and butter on corn? No way! Oh yes way.
Just give it a chance, because the combination of ingredients in this Mexican street corn recipe make a very flavorful, crispy, tasty ear of corn. Just one bite, and those ears will fly off the table.
All you need are a few ingredients to make this amazing Mexican corn recipe. And if you’d rather have it in casserole form, you can make Mexican Corn Casserole.
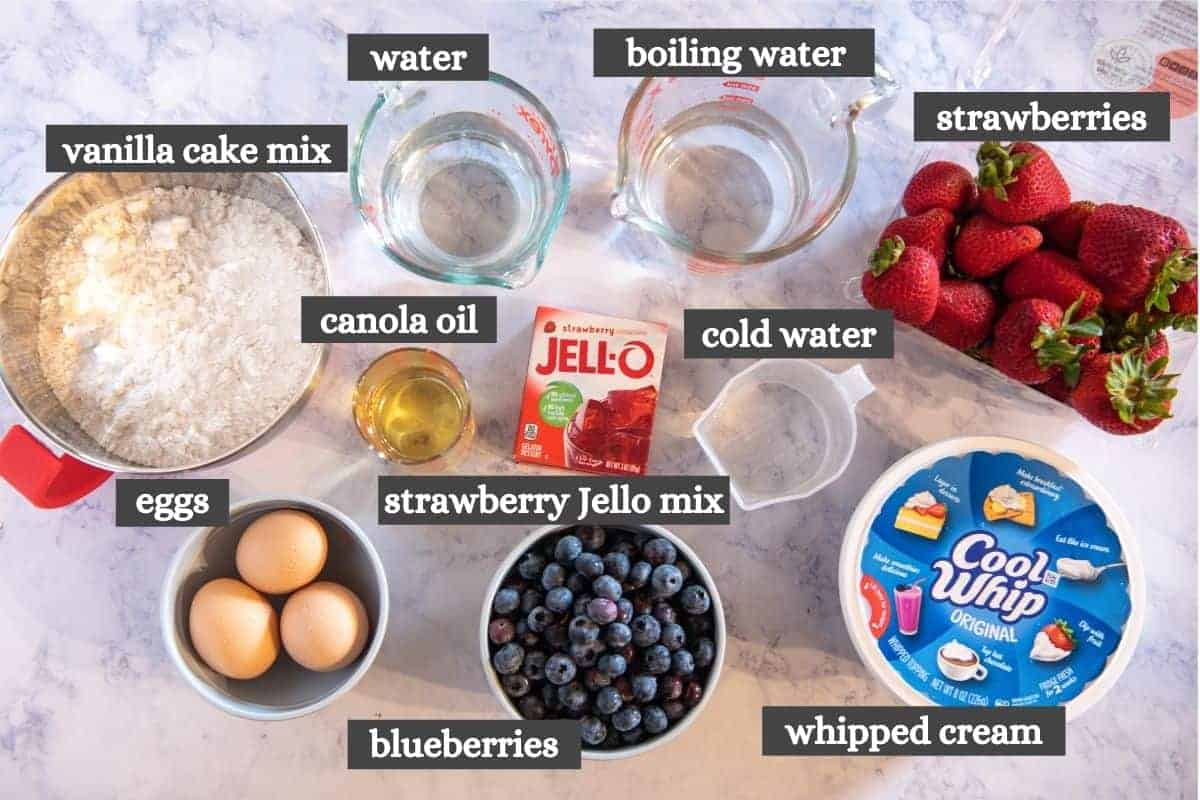
Ingredients you’ll need to make Mexican corn:
- Corn on the cob
- Salted butter
- Mayonnaise
- Chili powder
- Feta cheese
- Cilantro
- Bacon
- Lime
Tips for how to make delicious Mexican corn on the cob:
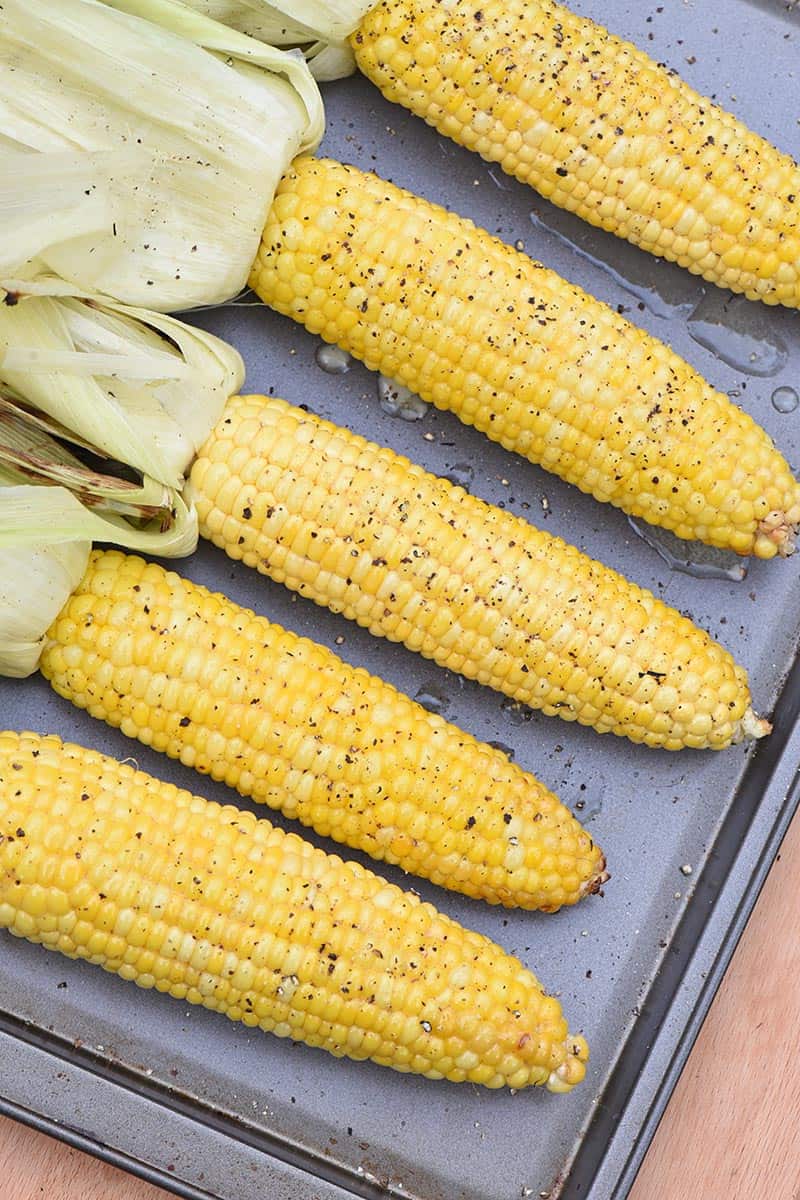
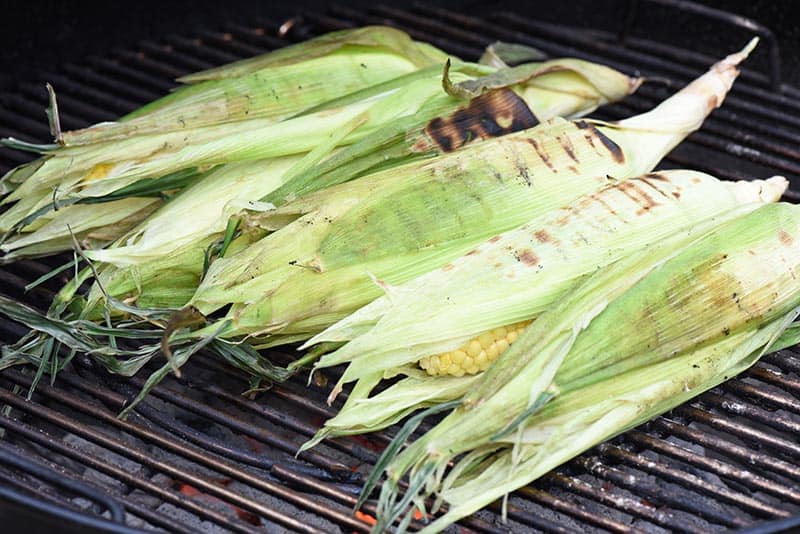
Once you’ve gathered all your ingredients, your first step is to get the grill going. You can use any type of grill, either a charcoal grill or gas grill; we prefer charcoal, mainly for the taste it gives the food.
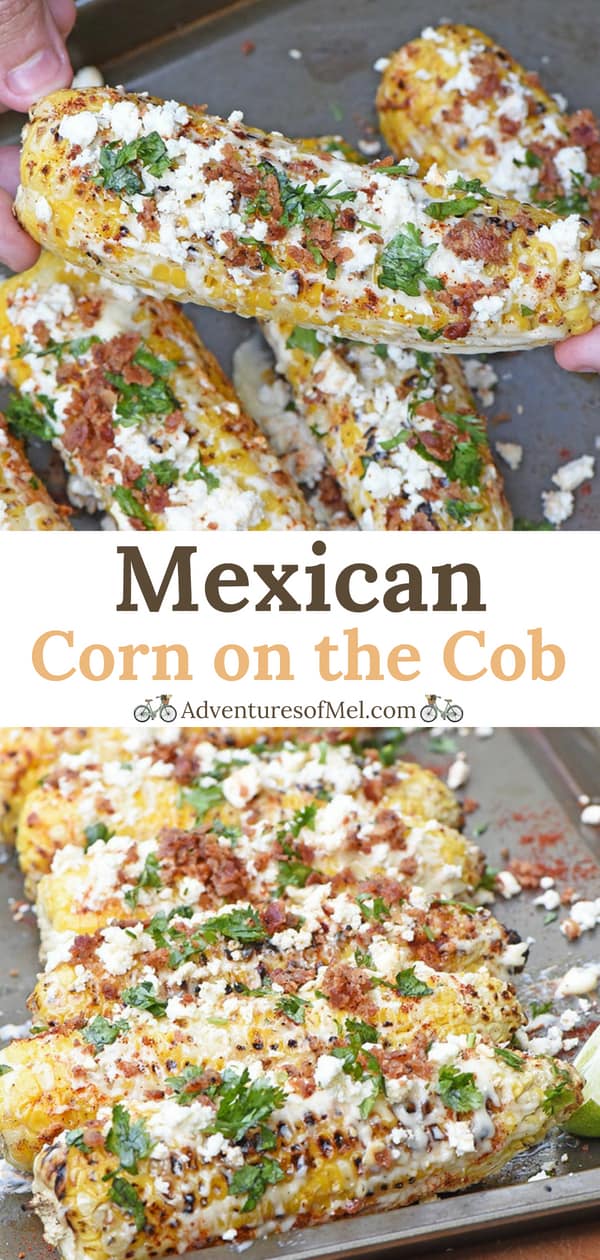
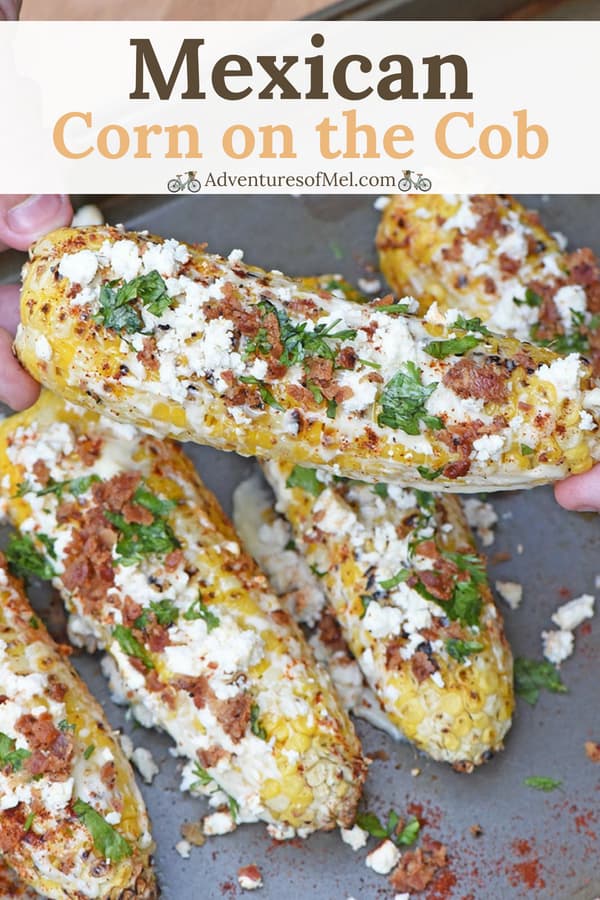
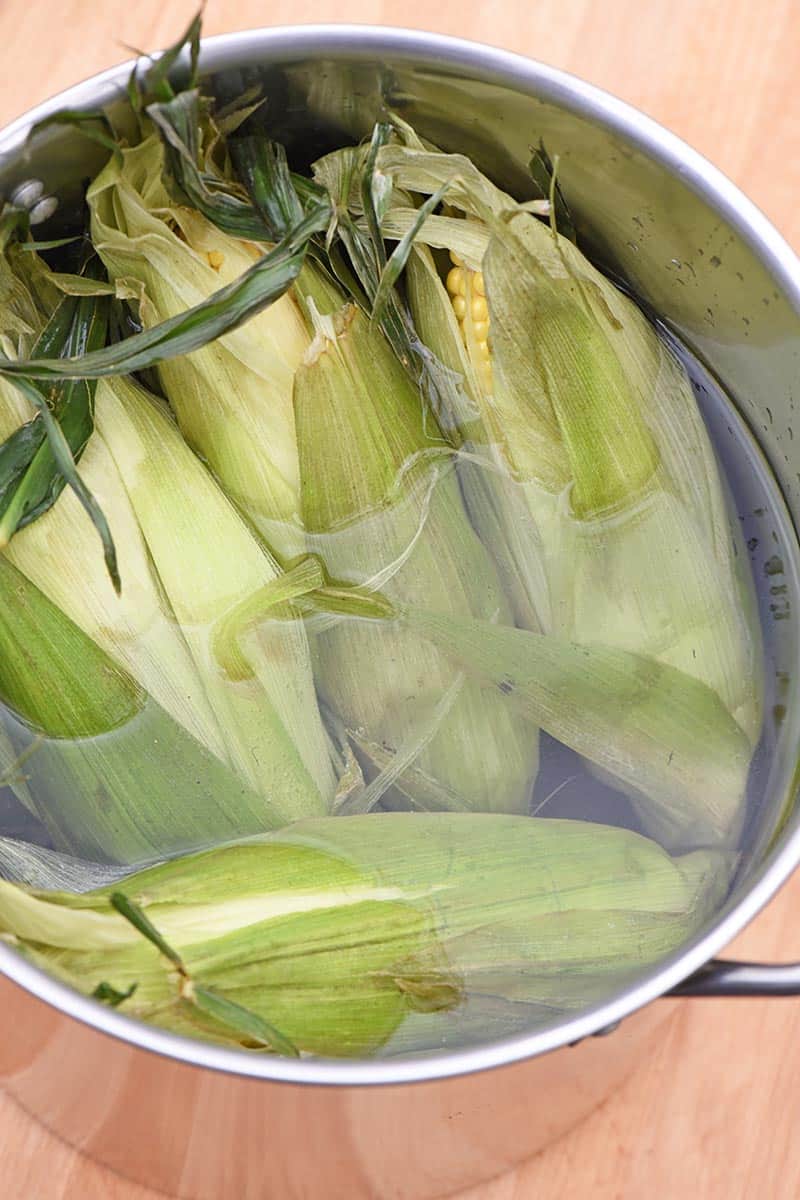
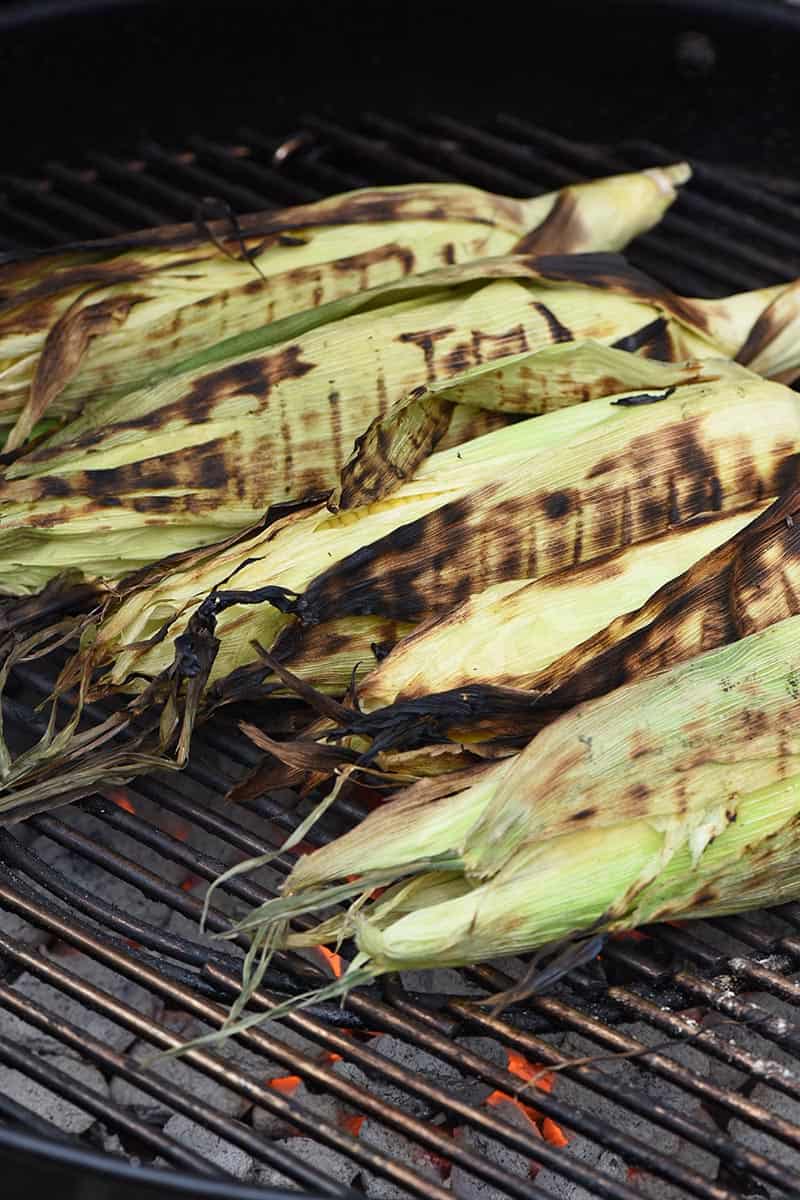
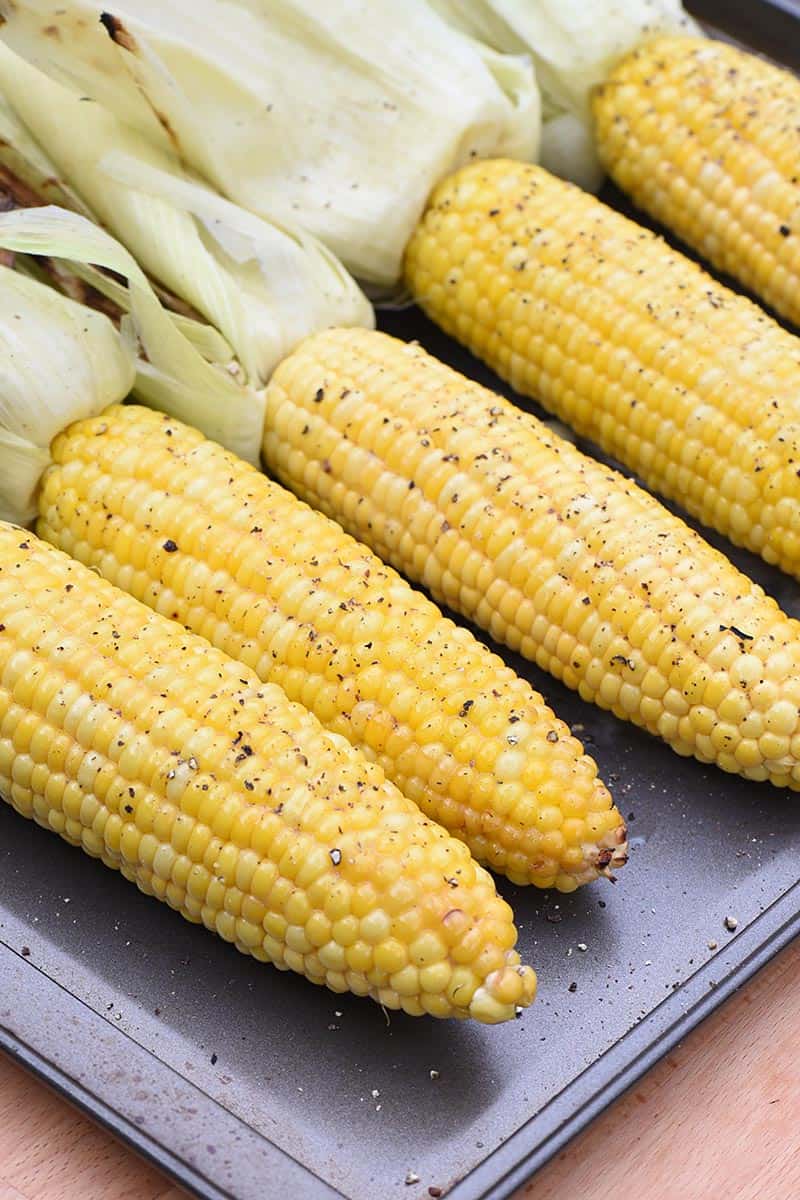
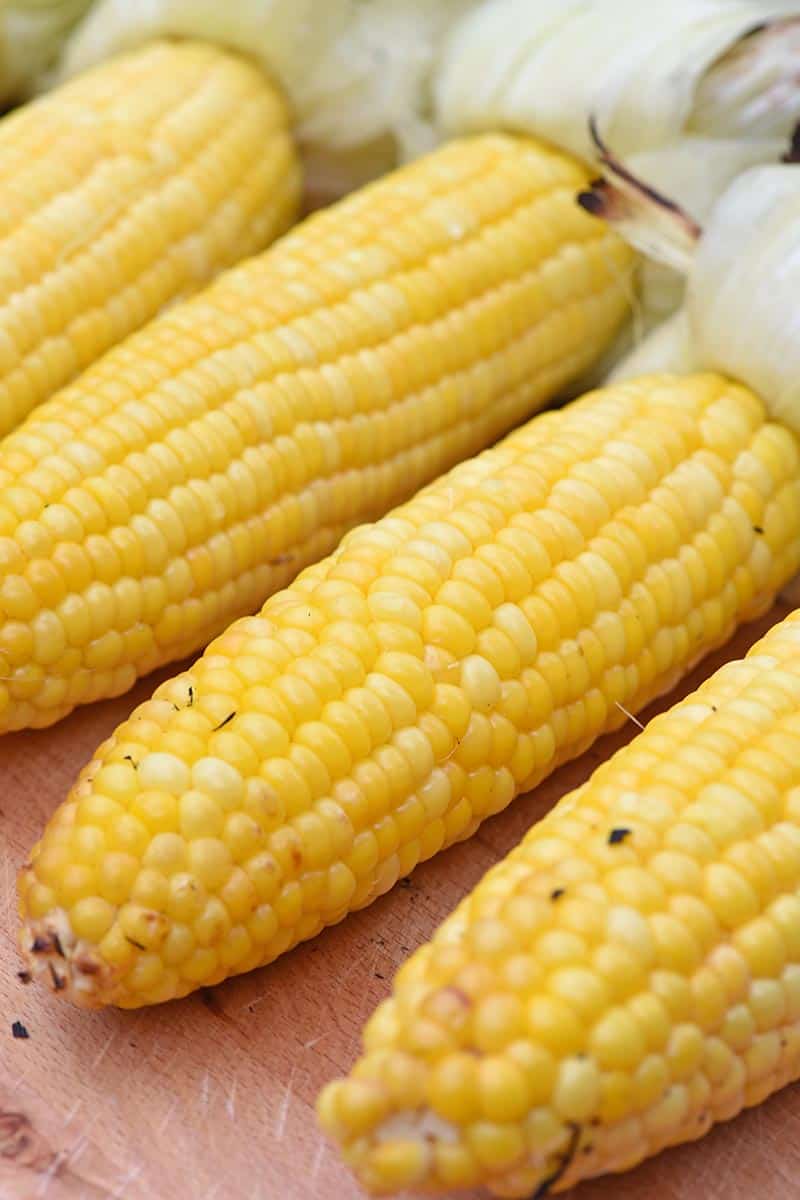
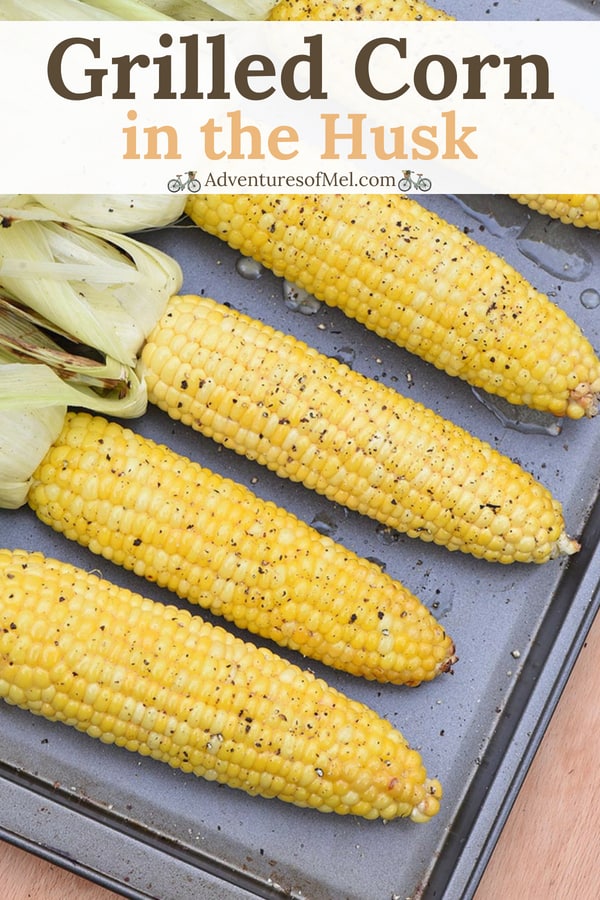
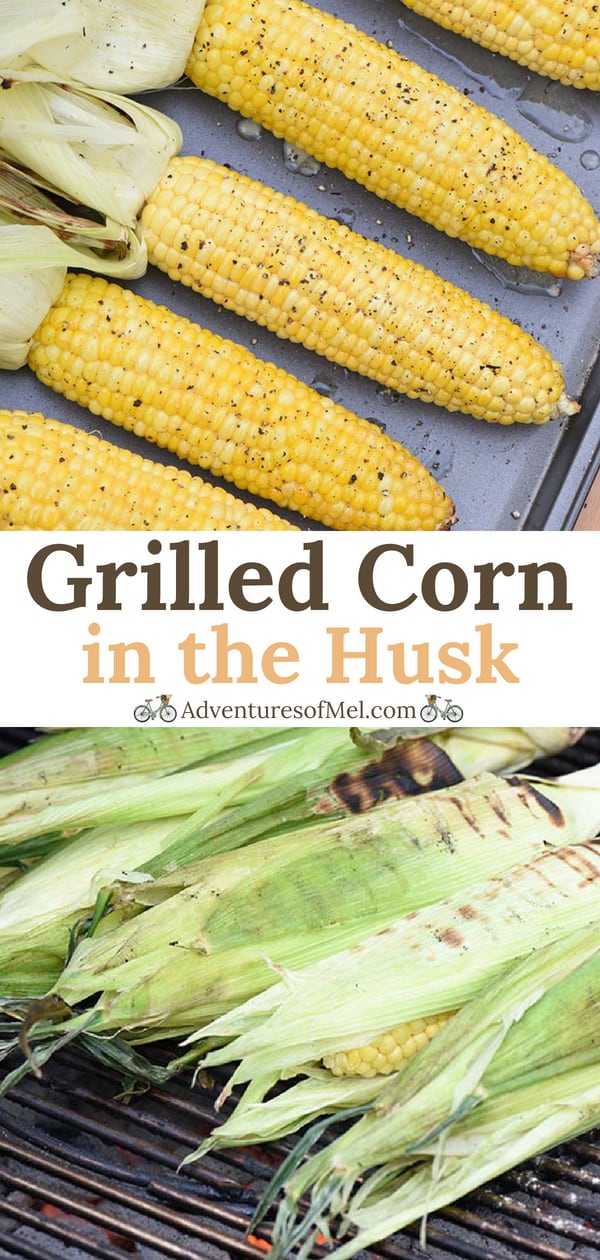
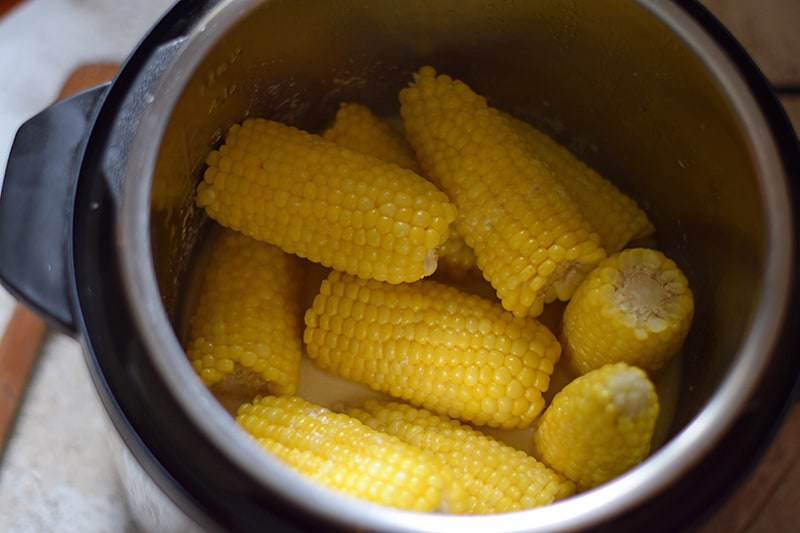
Shuck and wash the corn. Then grill the corn until it’s done and slightly charred; as you grill it, make sure you stay with it and turn it often with a good pair of grilling tongs.
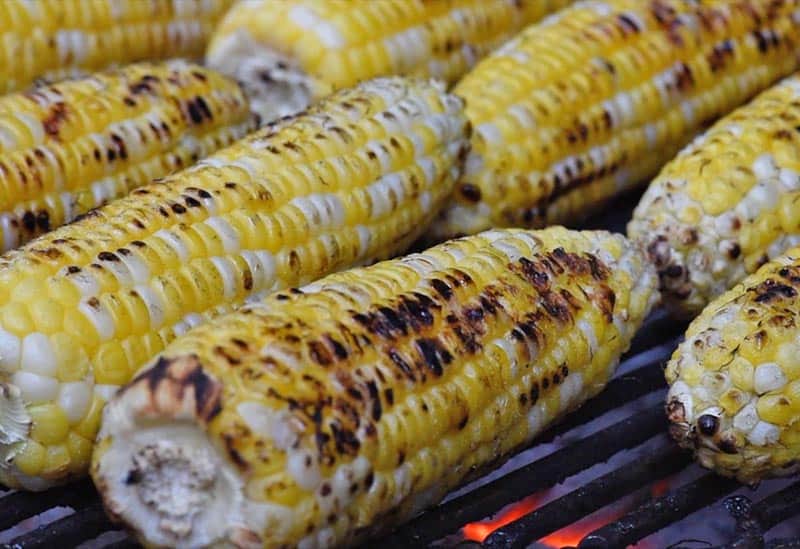
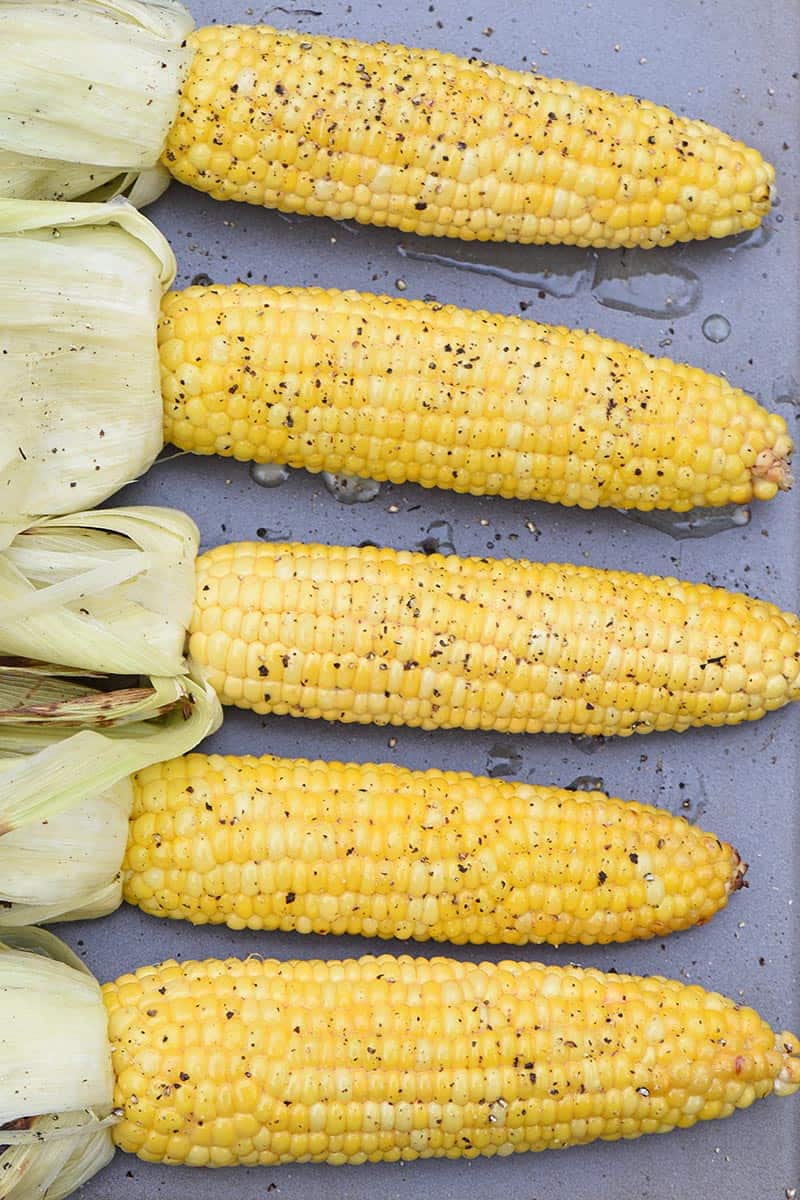
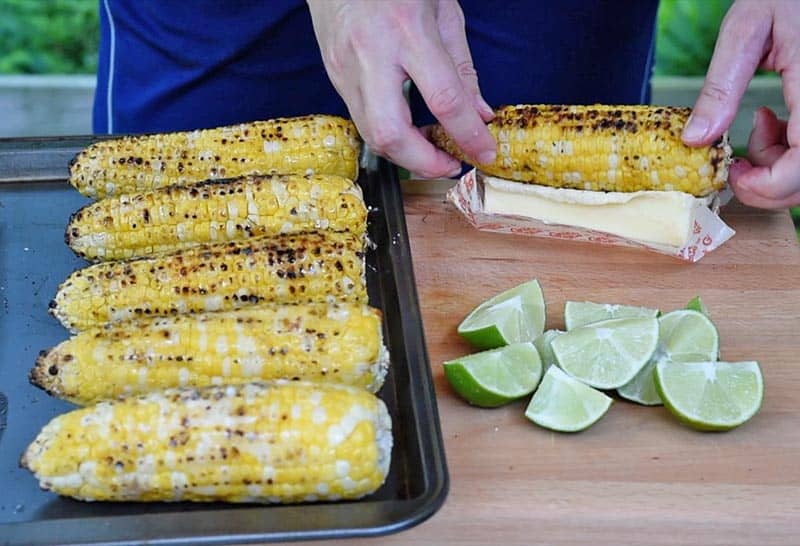
Once the corn is cooked to perfection, take it off the grill and put it on a baking sheet.
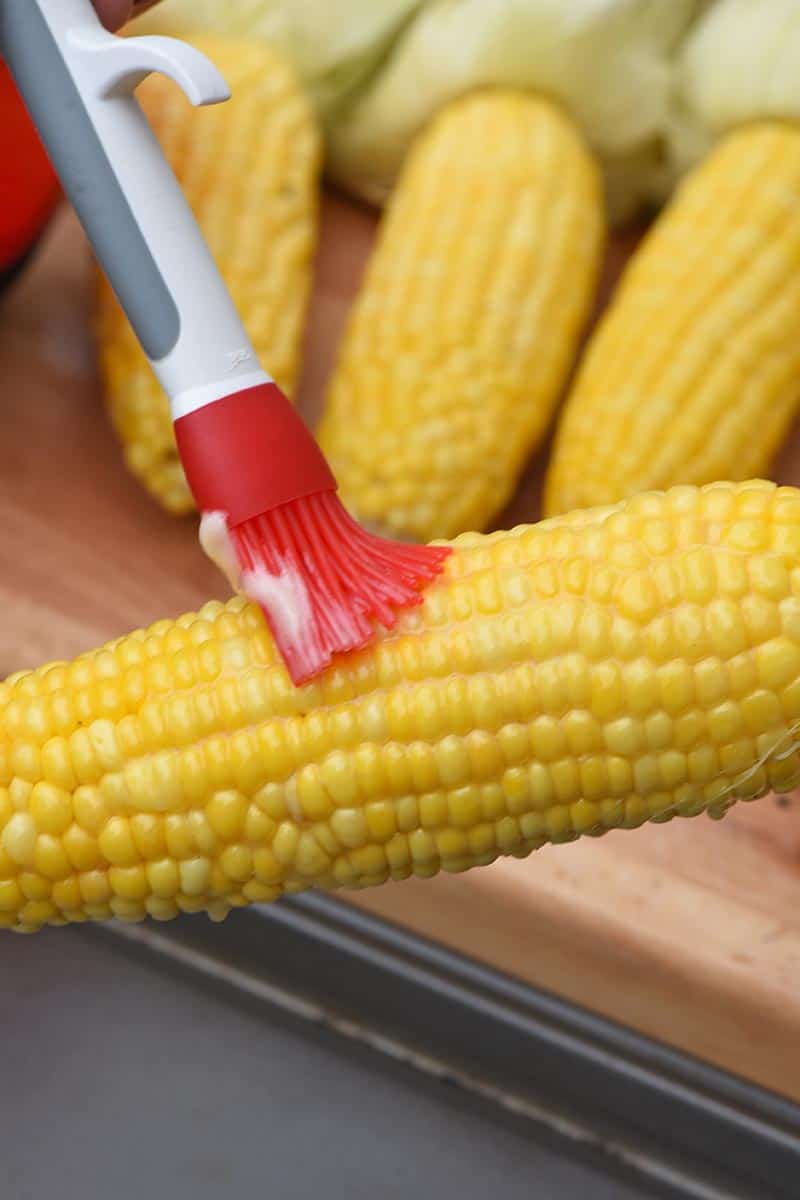
Generously butter each ear of corn.
Use a basting brush to brush a generous helping of mayo onto each ear of corn, turning the ear to make sure it’s coated well all the way around.
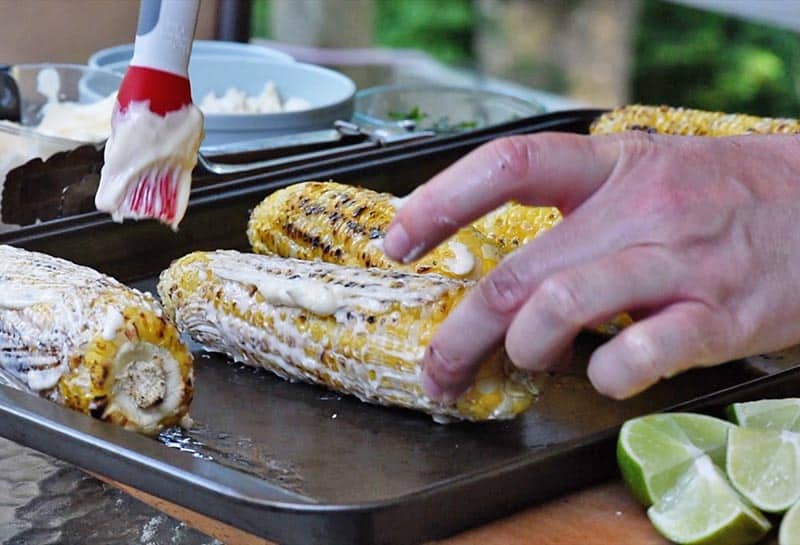
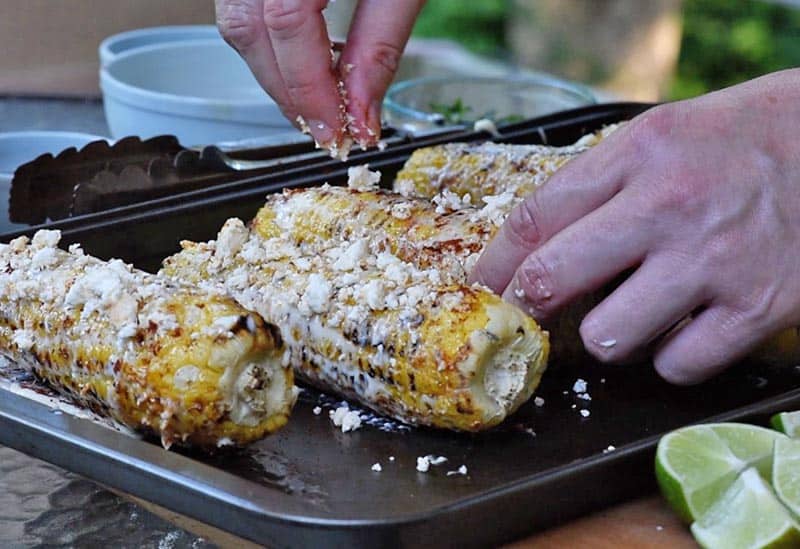
Sprinkle chili powder on every ear, again turning to sprinkle all the way around each ear.
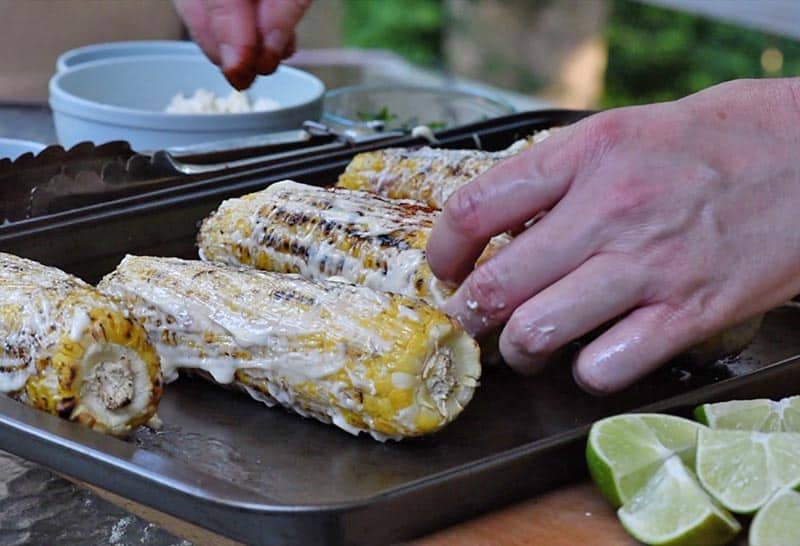
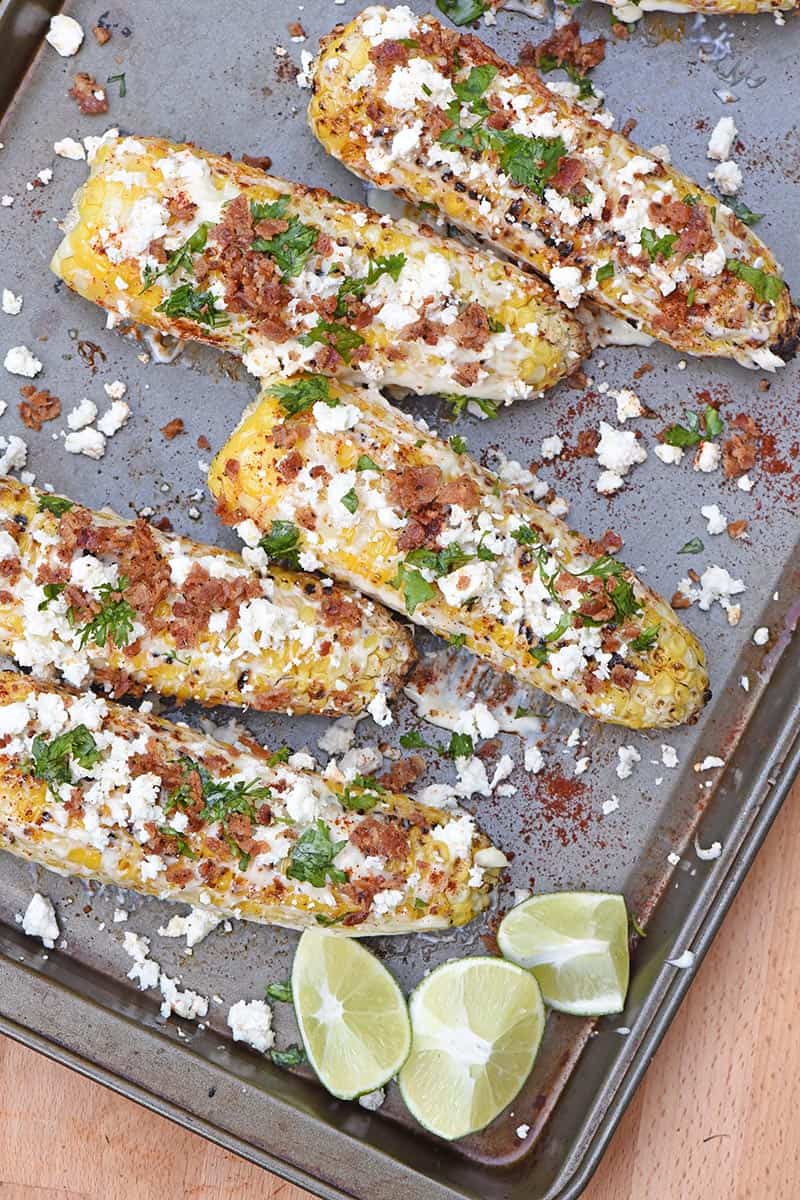
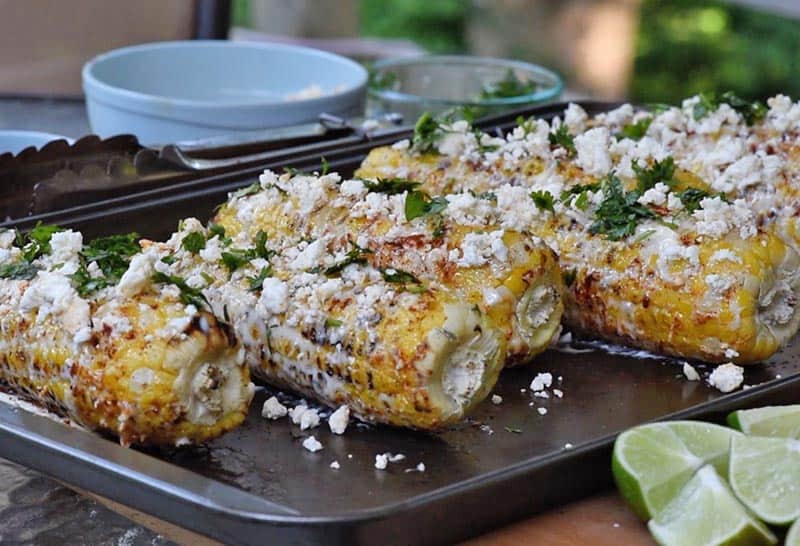
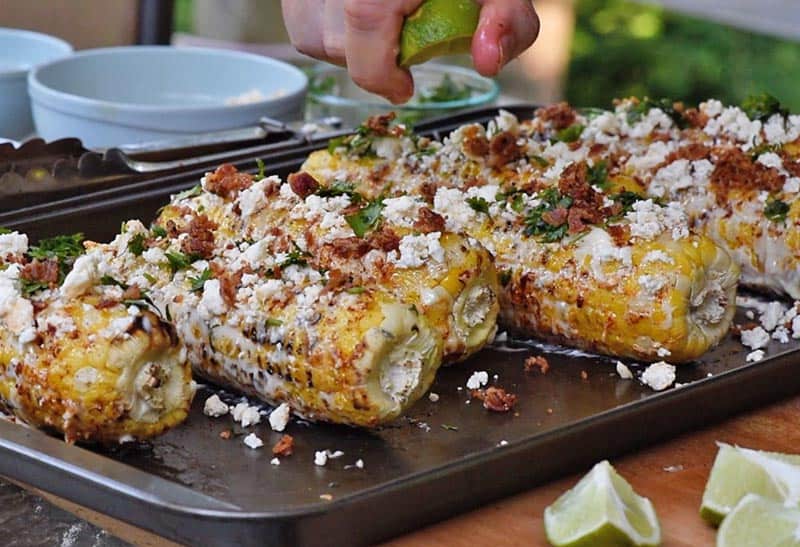
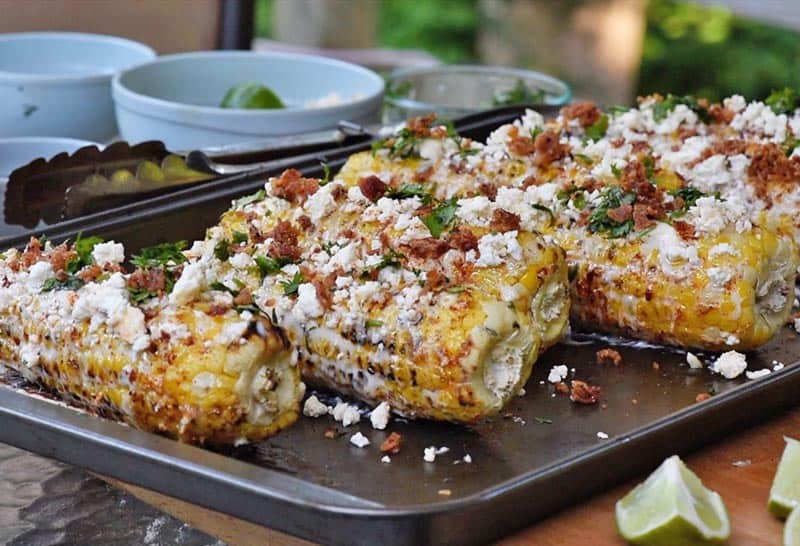
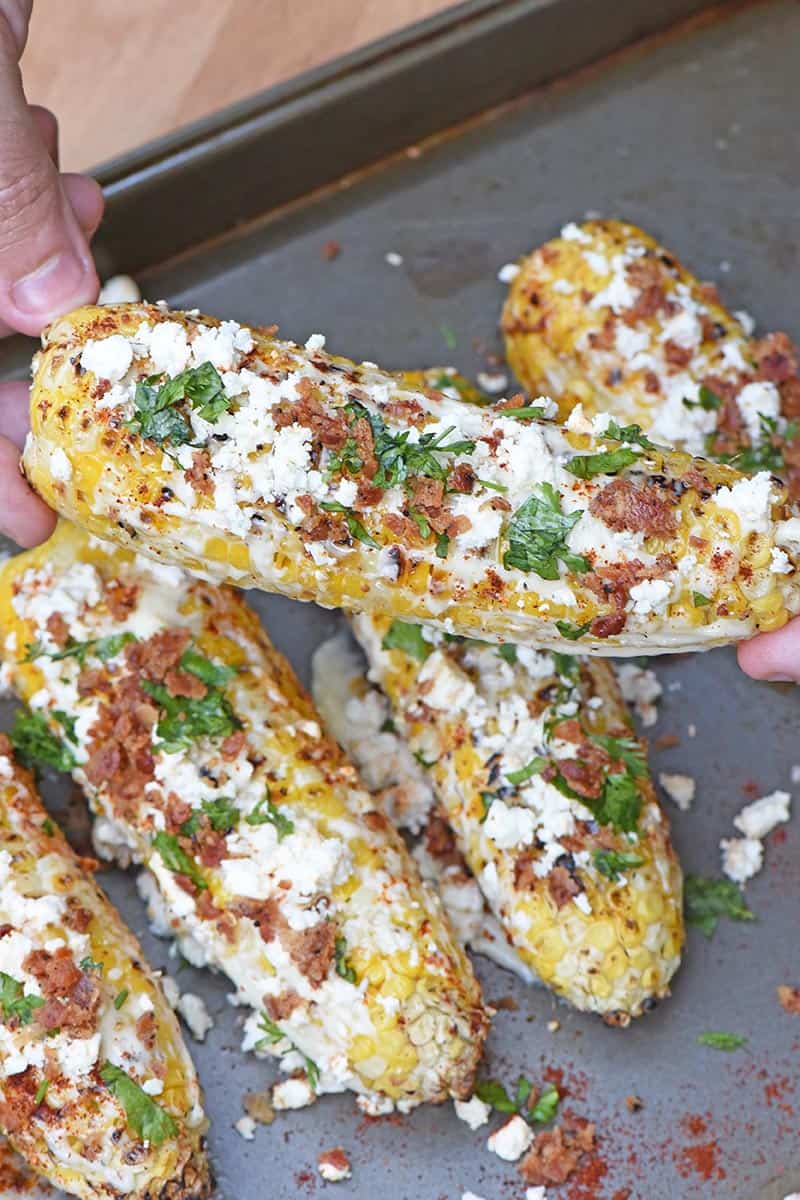
Crumble Feta cheese on top of each ear of corn.
Sprinkle all the corn with a good helping of chopped up cilantro.
Crumble real bacon on top of each ear… Because bacon makes everything better, right?
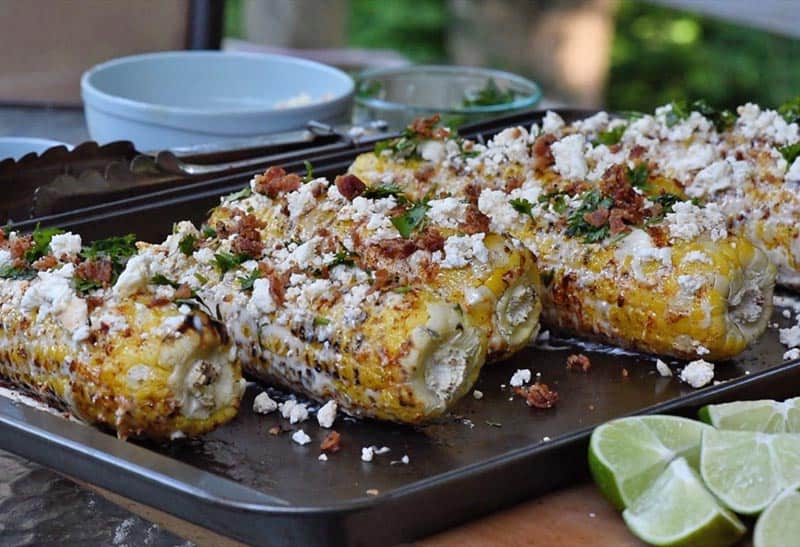
Finally, cut your limes into wedges, and give a good squeeze of lime juice over everything. This will give the flavors just a hint of citrus kick.
And that’s it. You’re ready to eat!

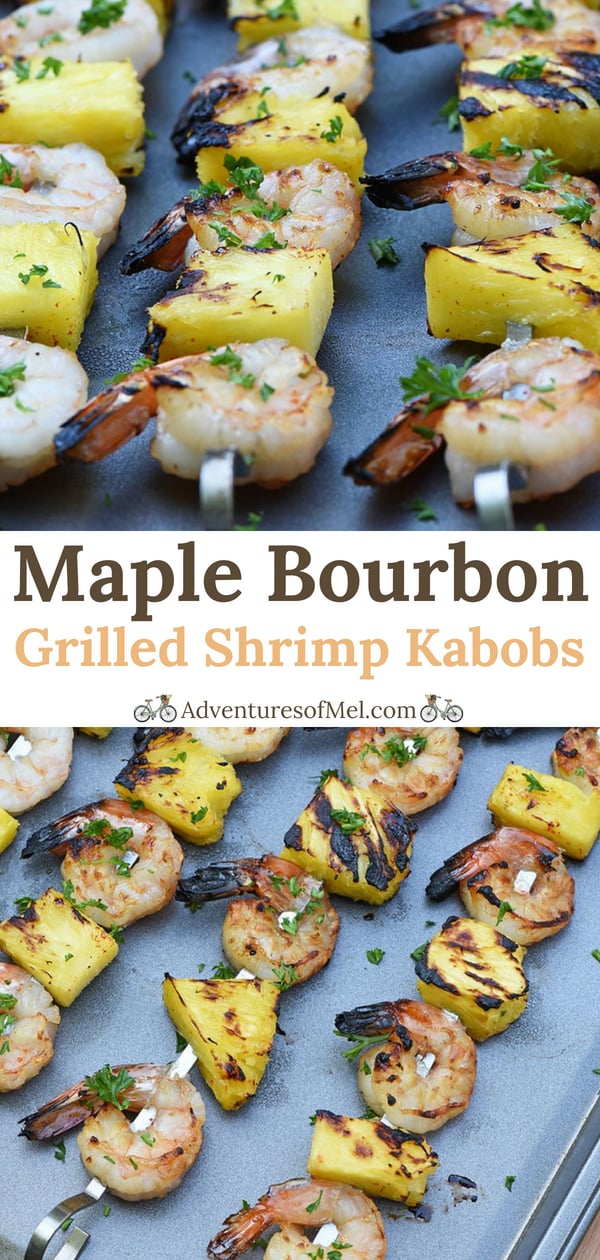
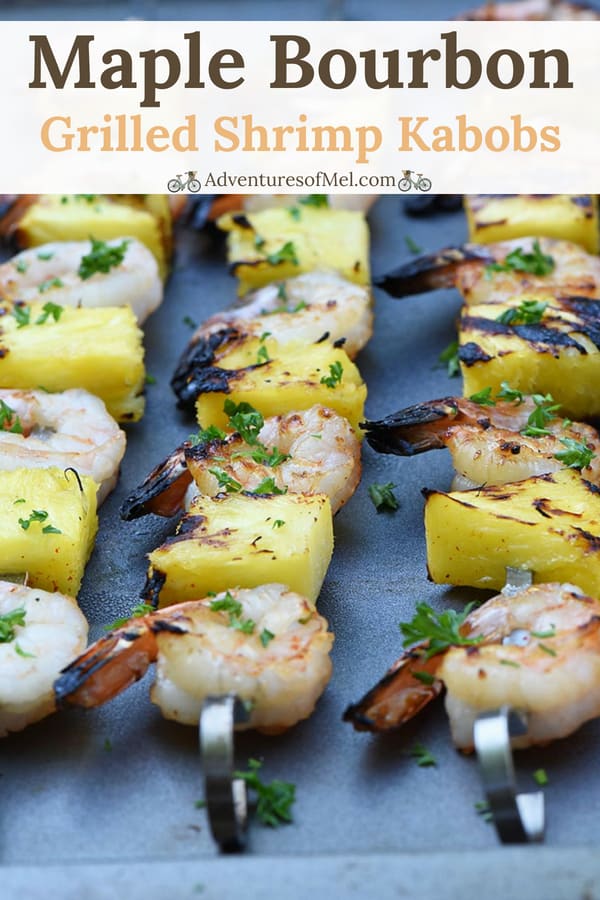
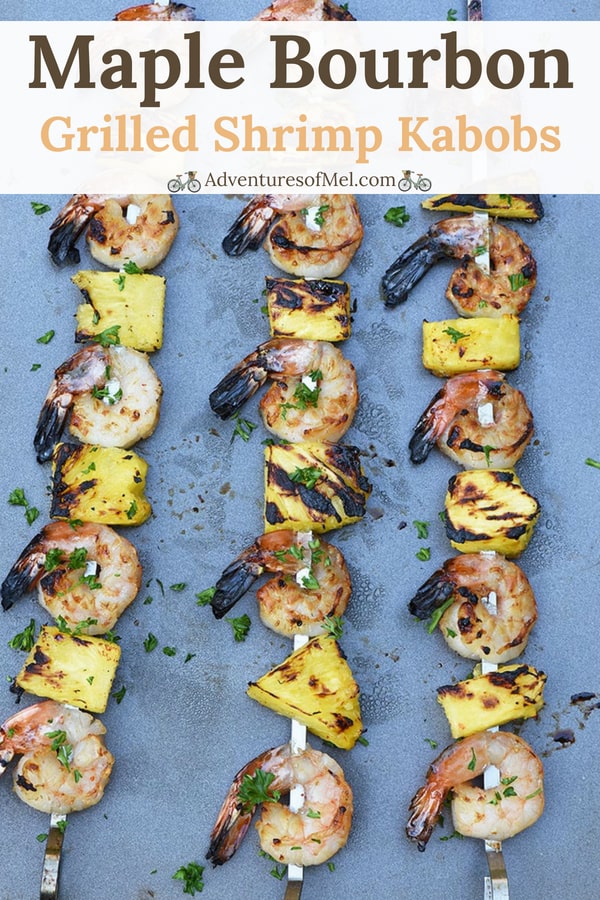
This corn pairs really well with pork chops, bacon cheeseburgers, Chicago hot dogs, garlic parmesan chicken skewers, crock pot sloppy joes and shrimp kabobs! If you’re looking for a high quality meat to grill with your corn, click here to see what Snake River Farms has to offer.
Alternative ingredient options for your Mexican corn recipe
There are certain ingredients you can substitute for others when you’re making a Mexican street corn recipe.
- Instead of mayonnaise, you can use a plain Greek yogurt or sour cream; or maybe even a combination.
- If you don’t want the flavors of chili powder, you can give the corn a little kick with cayenne pepper or a little hot sauce drizzled over the corn.
- Feta cheese is absolutely delicious on this corn; but you can use parmesan, Cotija cheese, or Queso Fresco.
- Cilantro is totally optional, but it does add an interesting citrus-like taste.
- Instead of bacon, you could use diced up ham. Or no meat at all.
- Limes, lemons, you call the shots. It’s your food. But I do love a squirt of lime juice. It just gives the corn an oomph.
- It’s got plenty of flavor, but a dash of black pepper would give it a li’l extra spicy kick.
- This peach mango salsa makes the best topping for Mexican corn!
More corn recipes you may enjoy:
Grilled Corn in the Husk with Honey Butter
Mexican Corn Casserole with Bacon

Tools you may need to make Mexican corn:
Charcoal Grill or Gas Grill – We love using our charcoal grill.
Grilling Tongs – You’ll need tongs to turn the corn on the grill.
Basting Brush – to brush on the butter and mayo.
Baking Sheet – This works really well to hold all the corn as you dress it up into Mexican corn.

Cute Dachshund Corn Holders – Because they’re fun… And cute!
Mexican Corn on the Cob with Bacon

How to transform grilled corn on the cob into Mexican corn, with a tasty addition of bacon sprinkled on top. Delicious, flavorful side dish recipe!
- 8 ears corn on the cob
- 8 tablespoons salted butter
- 3/4 cup mayonnaise
- 1 tablespoon chili powder
- 4 ounces Feta cheese (crumbled)
- 3 tablespoons cilantro (chopped)
- 4 slices bacon (cooked and crumbled)
- 1 whole lime
- Start up the grill first. You can use any type of grill, either a charcoal grill or gas grill; we prefer charcoal, mainly for the taste it gives the food.
- Shuck and wash the corn.
- Grill the corn until it’s done and slightly charred; as you grill it, make sure you stay with it and turn it often with a good pair of grilling tongs.
- Once the corn is cooked to perfection, take it off the grill and put it on a baking sheet.
- Generously butter each ear of corn.
- Use a basting brush to brush a generous helping of mayo onto each ear of corn, turning the ear to make sure it’s coated well all the way around.
- Sprinkle chili powder on every ear, again turning to sprinkle all the way around each ear.
- Crumble Feta cheese on top of each ear of corn.
- Sprinkle all the corn with a good helping of chopped up cilantro.
- Crumble real bacon on top of each ear.
- Finally, cut your limes into wedges, and give a good squeeze of lime juice over everything.
- And that’s it. You’re ready to eat! This corn pairs really well with pork chops, burgers, Chicago hot dogs, and shrimp kabobs!