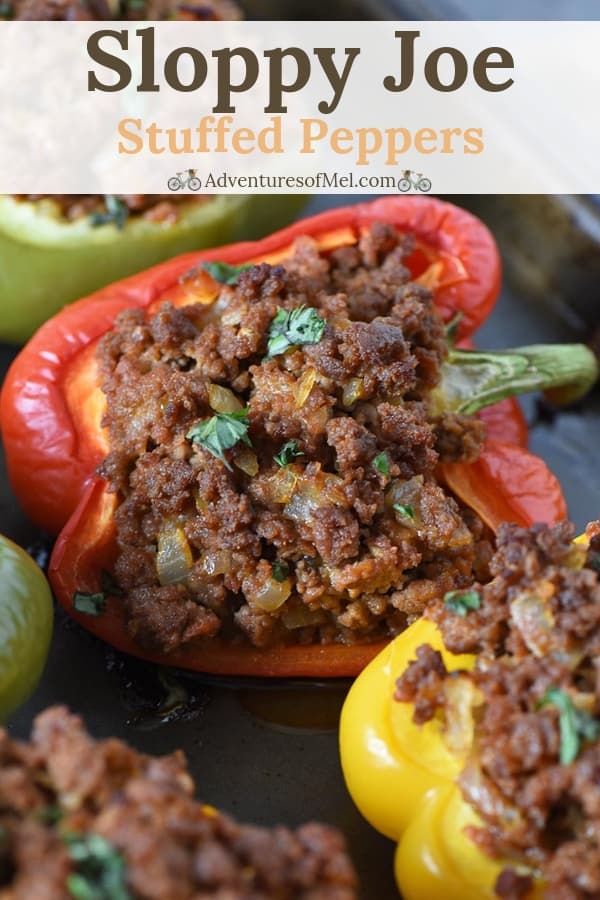
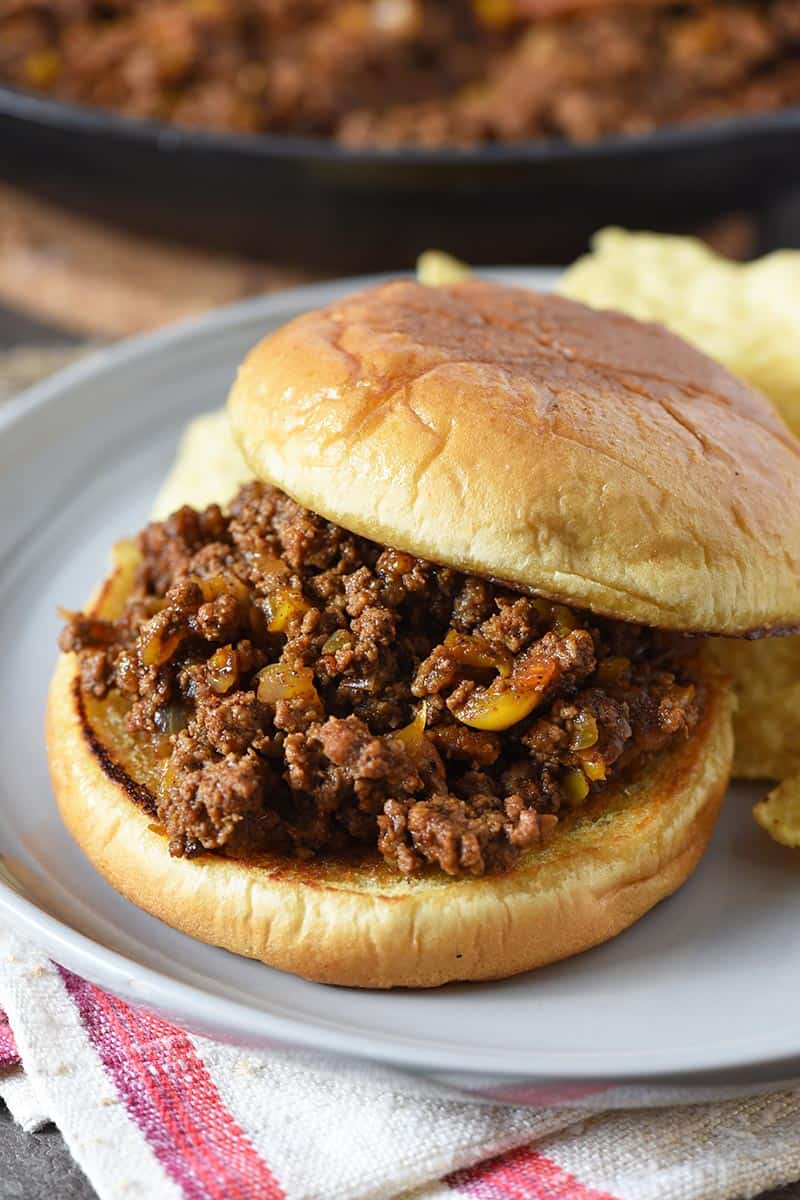
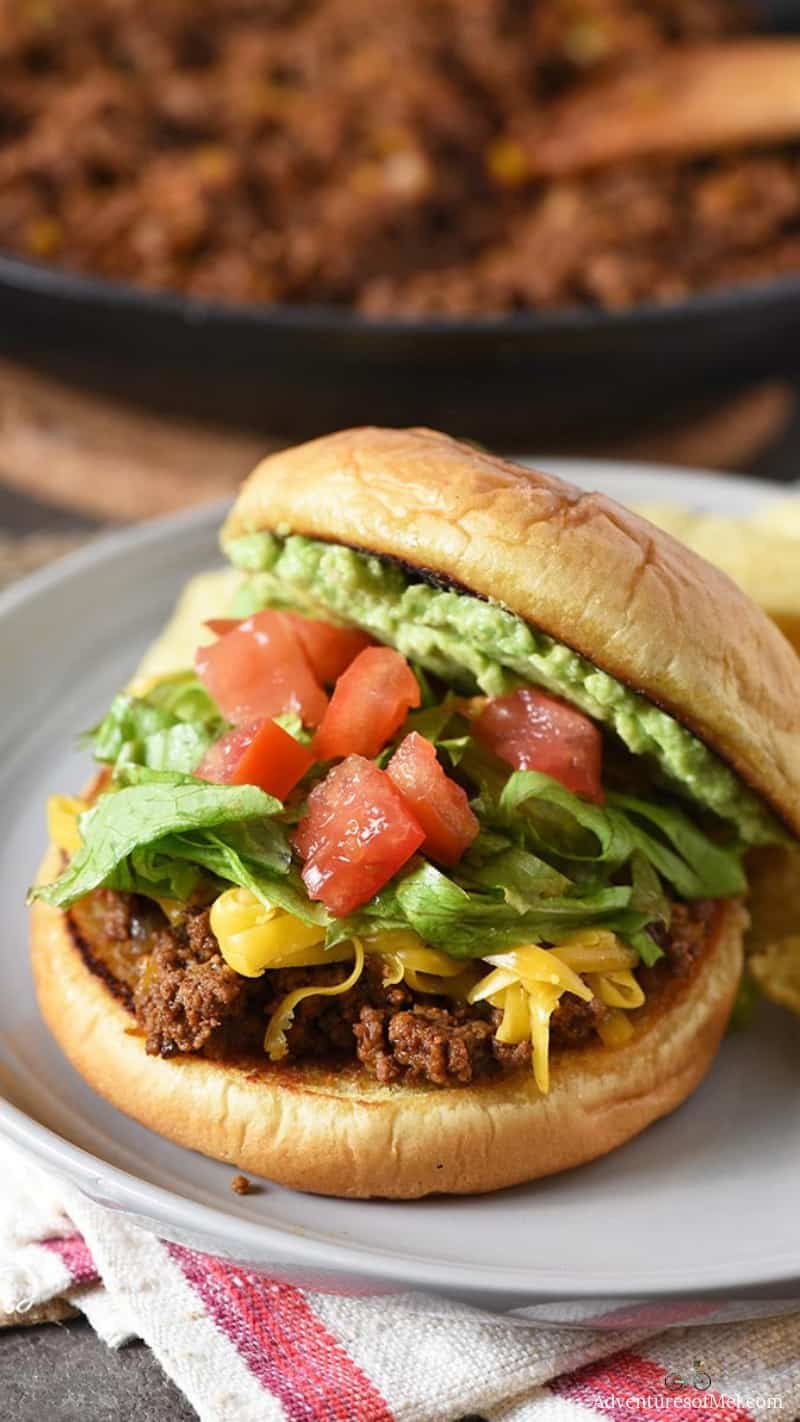
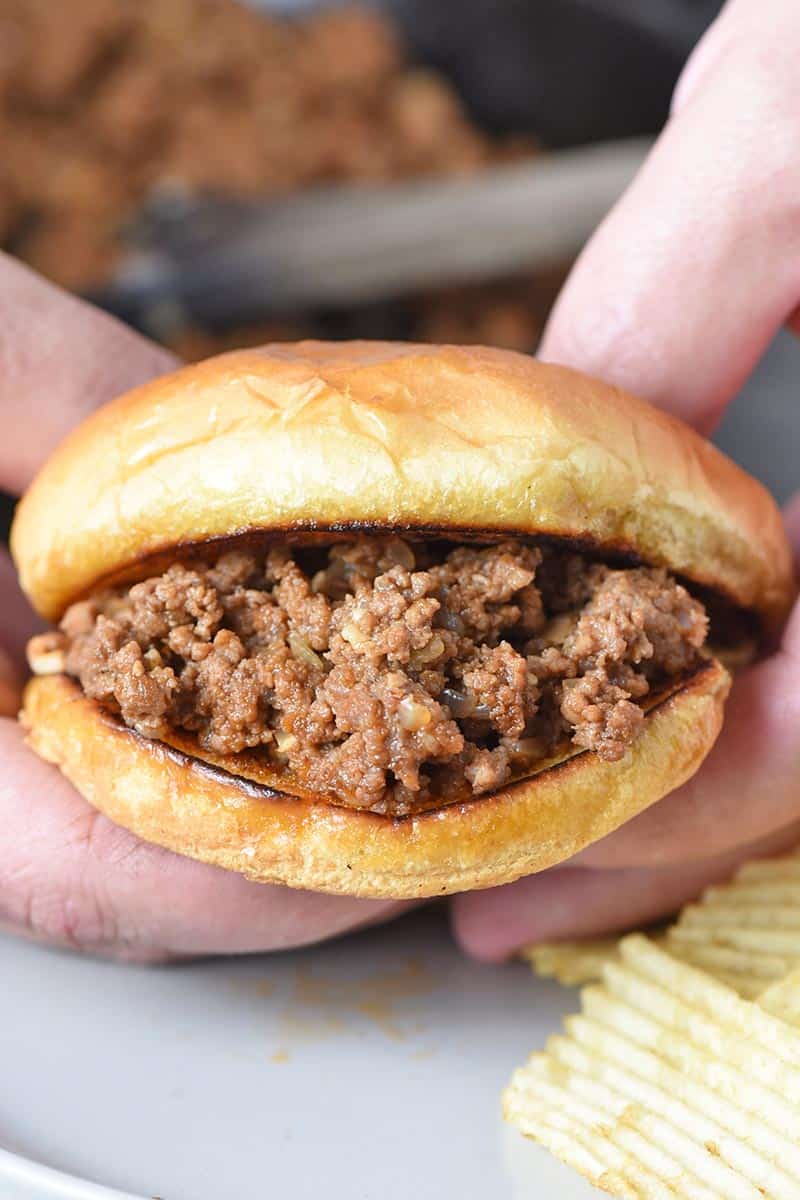
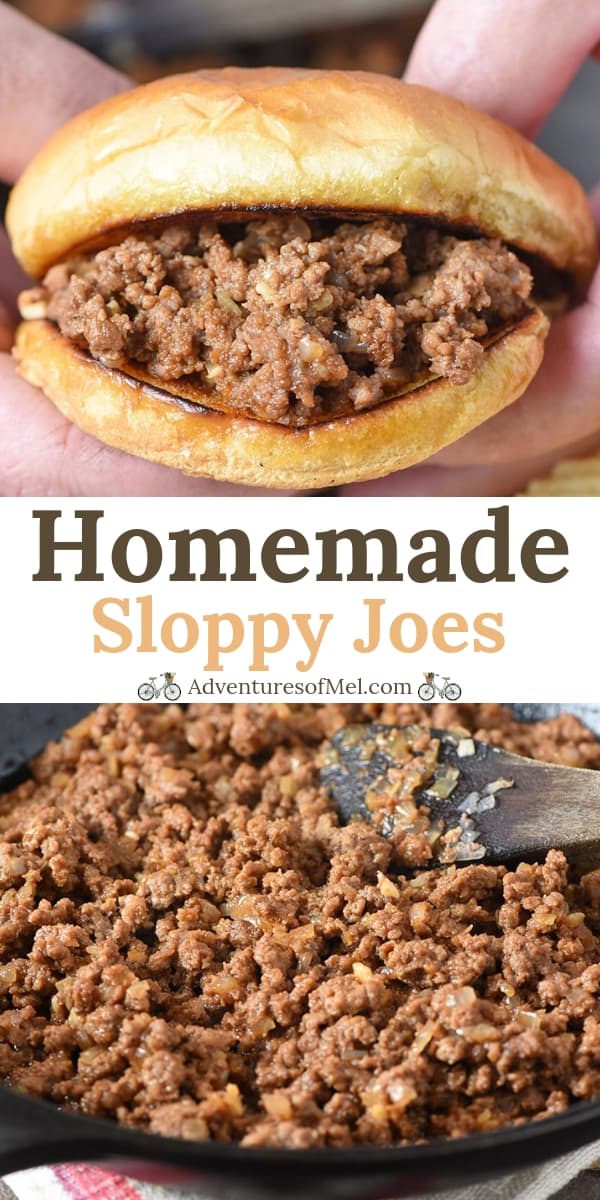
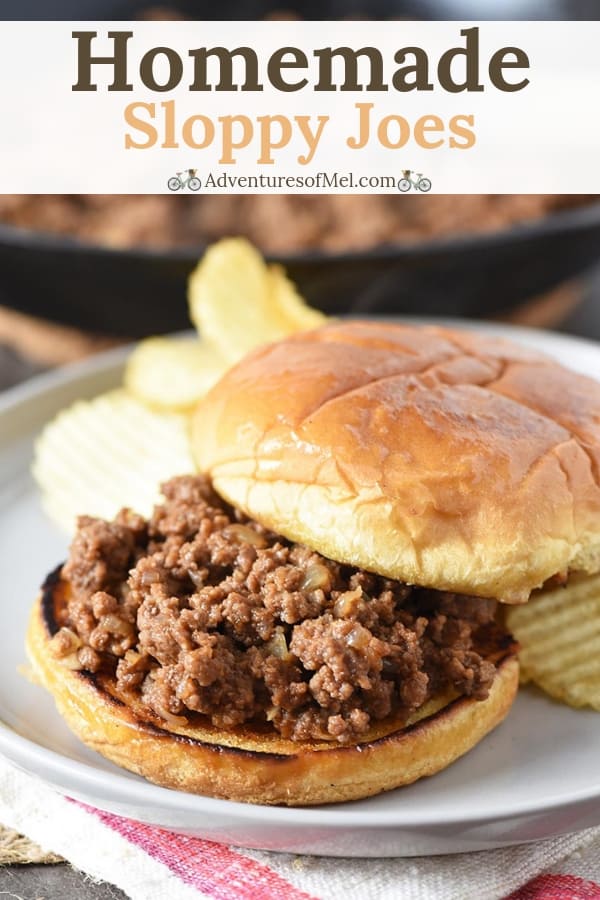
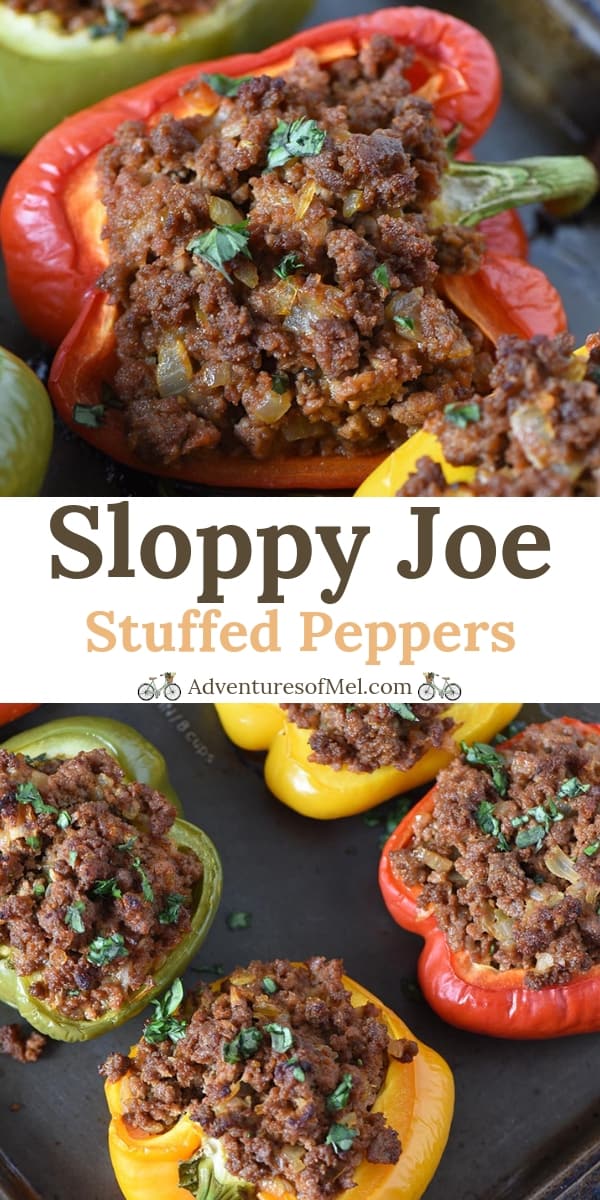
Easy homemade sloppy joe stuffed peppers, made with ground beef and baked in the oven, are a healthy dinner recipe the whole family will love!
If you love sloppy joes and you love stuffed peppers, you are going to love this recipe. Combine the two and you’ve got a grand slam dinner recipe that’s pretty easy to make.

The best part about this stuffed pepper recipe is you don’t need any buns or bread, so it’s going to be a healthier option. Low carb is a necessity on our weekly dinnertime menu.
And who needs canned sloppy joe sauce when you can make your own? We like a good homemade sauce that’s not so thick and gooey. Sometimes I even make crock pot sloppy joes!
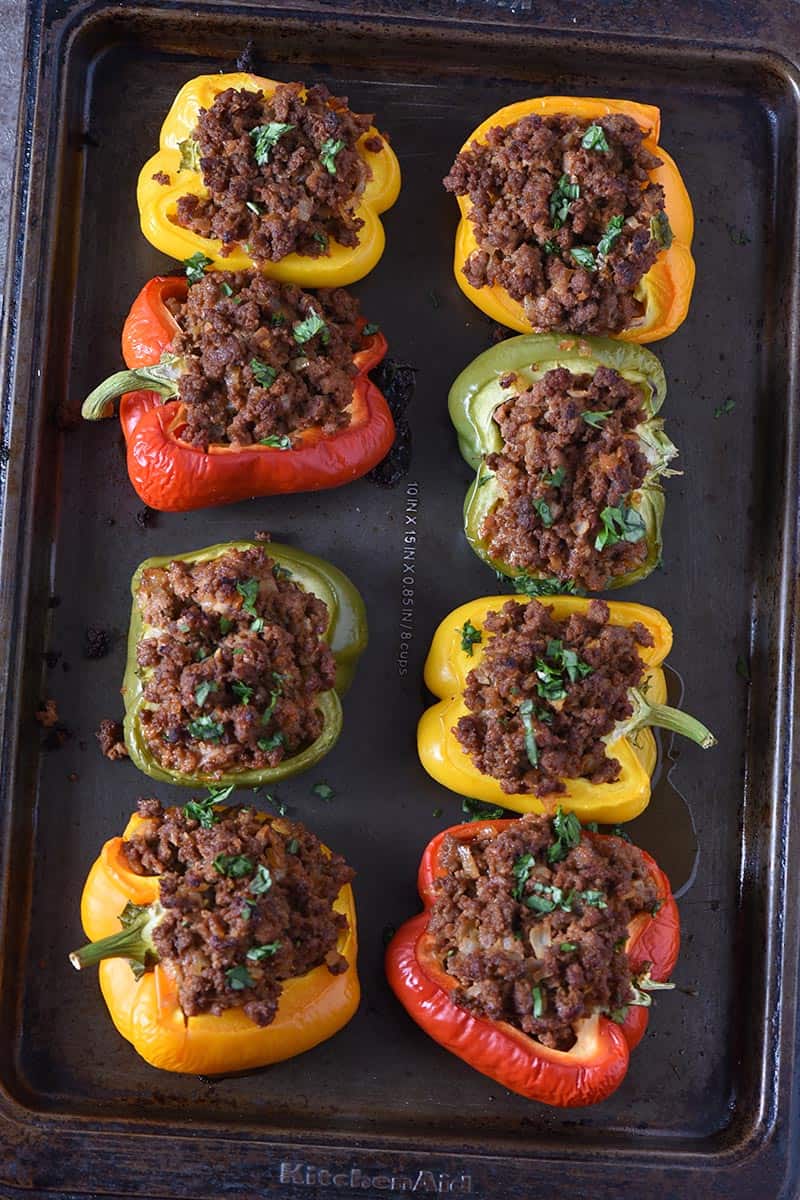
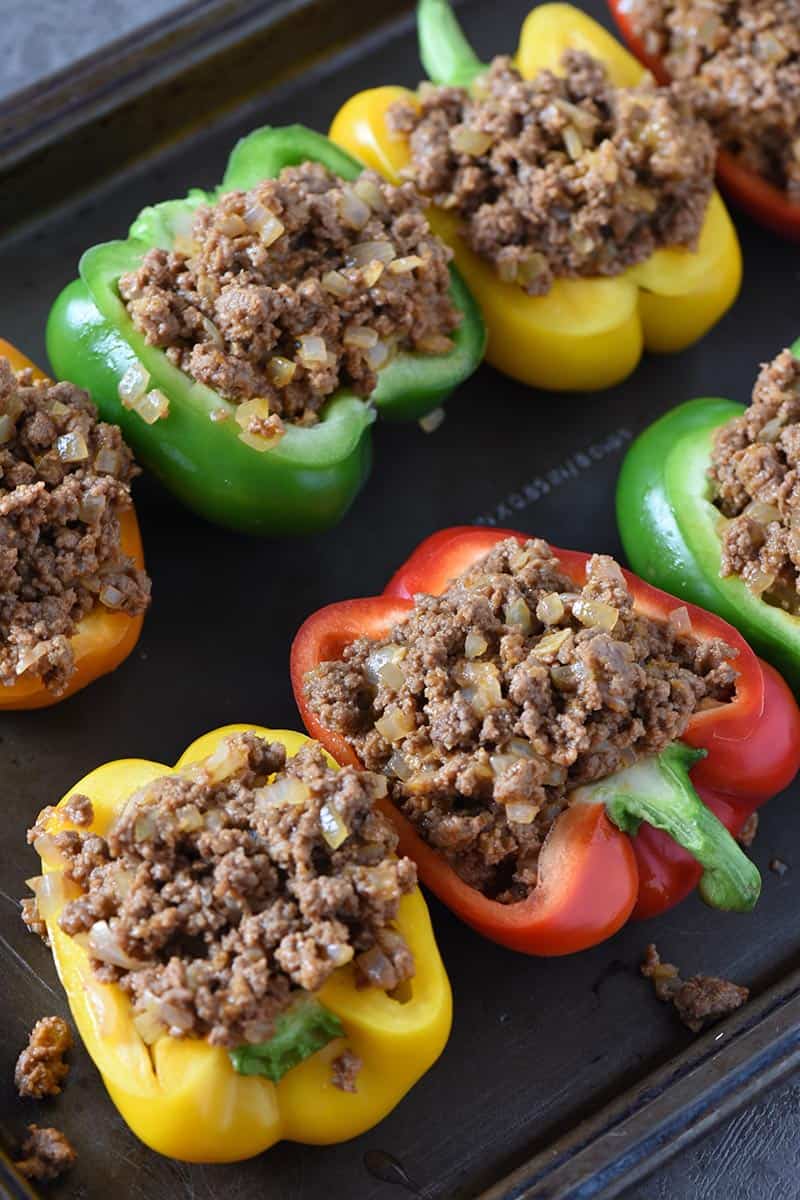
I sometimes use a colorful variety for our stuffed bell peppers, but you can pretty much use any color you want. Whether you want stuffed green peppers, red, yellow, or orange, it doesn’t matter.
You may also enjoy these stuffed peppers recipes: Spinach and Chicken Stuffed Peppers, Chicken and Rice Stuffed Peppers, Philly cheese stuffed peppers, and beef taco stuffed peppers.
DO I NEED TO PRE-COOK BELL PEPPERS BEFORE STUFFING THEM?
You can, but you don’t have to. This is usually done to shorten the cooking time.
The Cookful has a great explanation for how to pre-cook peppers.
HOW TO CUT THE PEPPERS WHEN MAKING STUFFED PEPPERS
While I usually cut my bell peppers in half, you can go with one of two options when prepping your bell peppers for a stuffed bell pepper recipe…
- Remove the top of the pepper, along with all the pith and seeds that are down inside.
- OR cut the peppers in half and remove all the pith and seeds inside. Just remember not to eat the stem if you leave the stem intact.
Not sure how to go about cutting up a pepper? Here’s a whole tutorial for how to cut a pepper 4 easy ways!
DO I HAVE TO USE GROUND BEEF FOR SLOPPY JOE MEAT?
No, you can use ground turkey or ground pork too, whichever is your personal preference.

We prefer ground beef, so this recipe is based around ground beef.
DO I NEED TO THAW THE MEAT BEFOREHAND? CAN I USE FROZEN GROUND BEEF?
You can use frozen hamburger meat to make the sloppy joe meat for your stuffed peppers, but you may need to sauté your onion and garlic in a different skillet so they can be added to the ground beef once it’s thawed.
We actually do this quite often because we forget to get the meat out, so don’t fret if you’ve forgotten it too.
Since sloppy joes are a loose meat sandwich and you’re not making hamburger patties but rather going with that juicy burger texture for stuffed bell peppers, it’s a little bit easier to do; though I do recommend thawing if at all possible.
Just put the meat into a skillet with maybe 1/2 cup water, turn the heat on medium, and place a lid on the skillet. This basically steams the meat.
You can add the sautéed onion and garlic once the meat has loosened up.
When it’s browned, you’ll need to drain off any excess oil.
TIPS FOR HOW TO MAKE STUFFED PEPPERS WITH SLOPPY JOE MEAT
I recommend using bacon grease for a li’l added flavor to the meat mixture. But if you don’t have bacon grease, no worries; you can also use butter or olive oil.
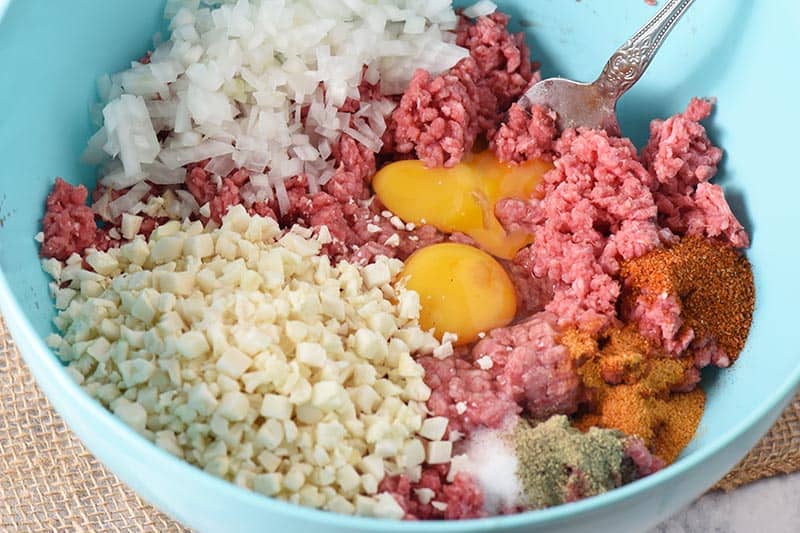
Be sure to mince up the garlic and the onion really well. I like mincing them up so they blend well with the meat and sauce.
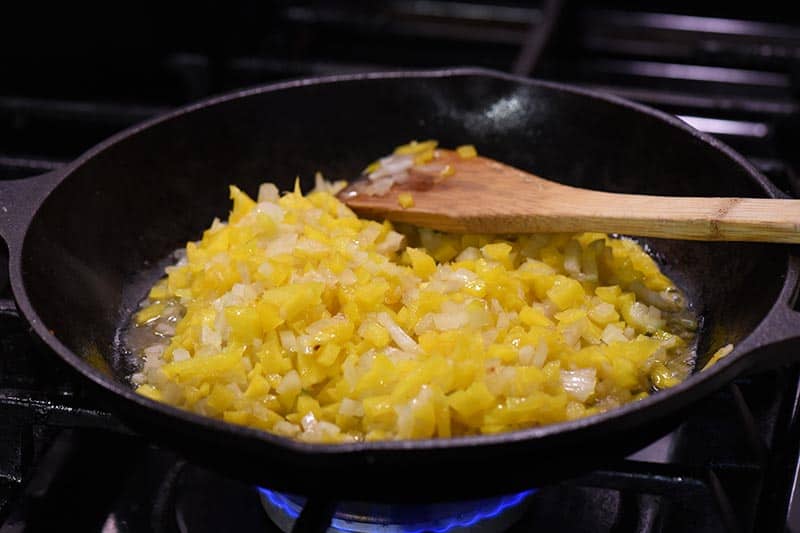
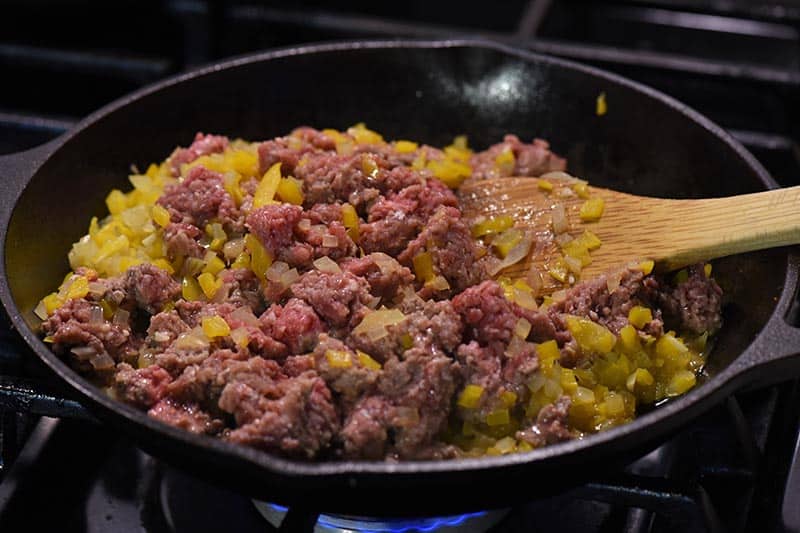
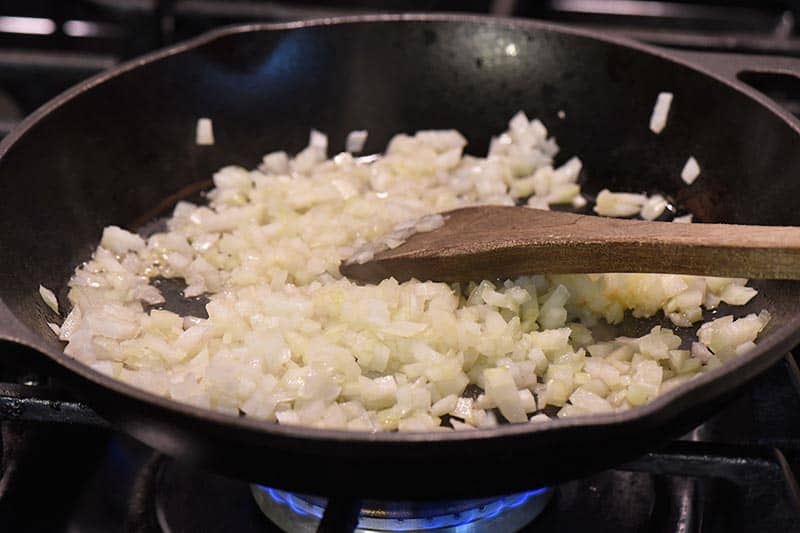
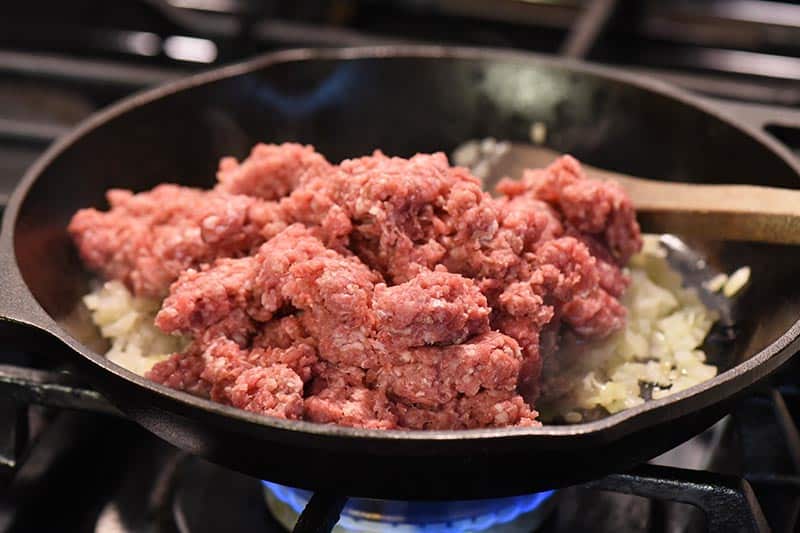
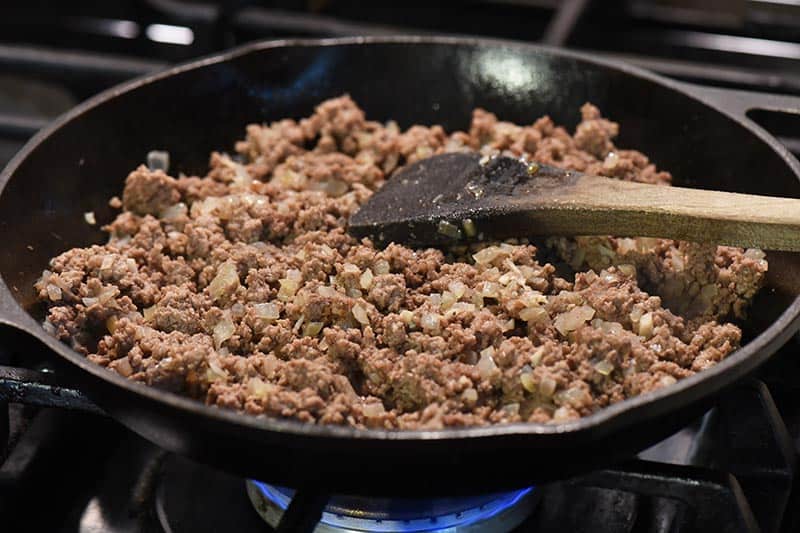
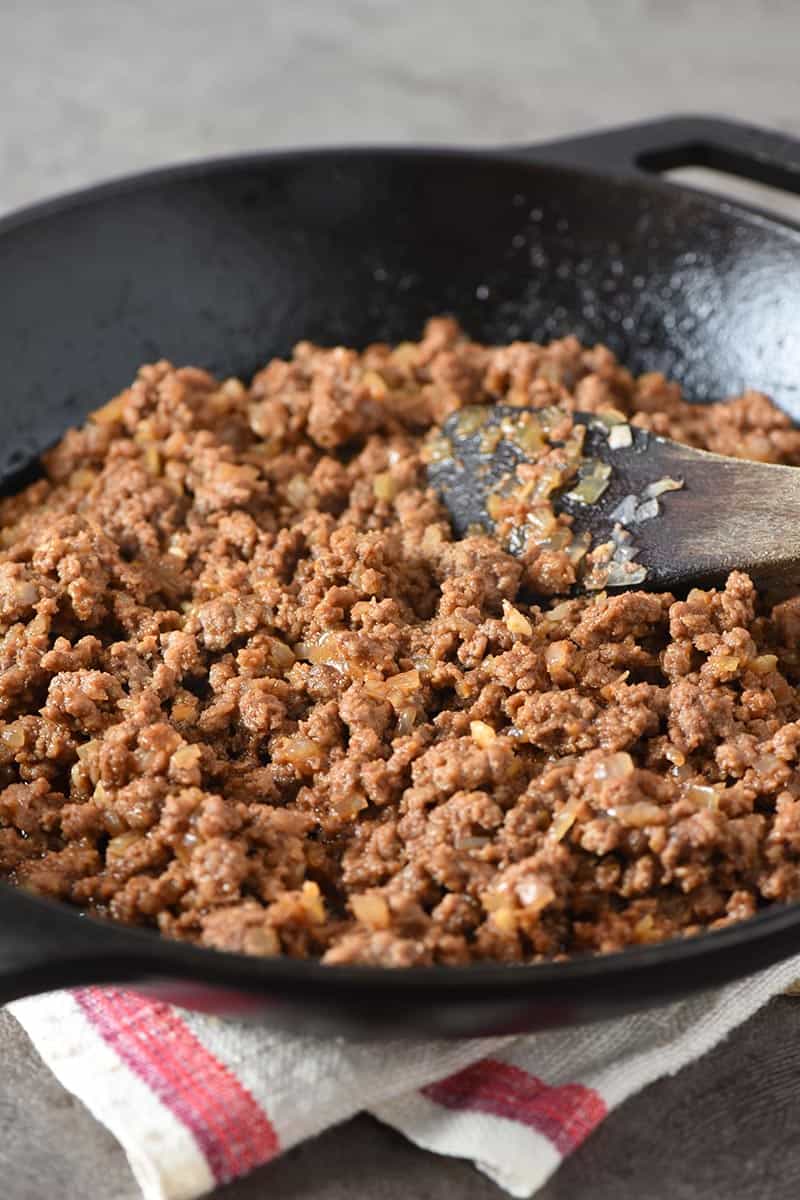
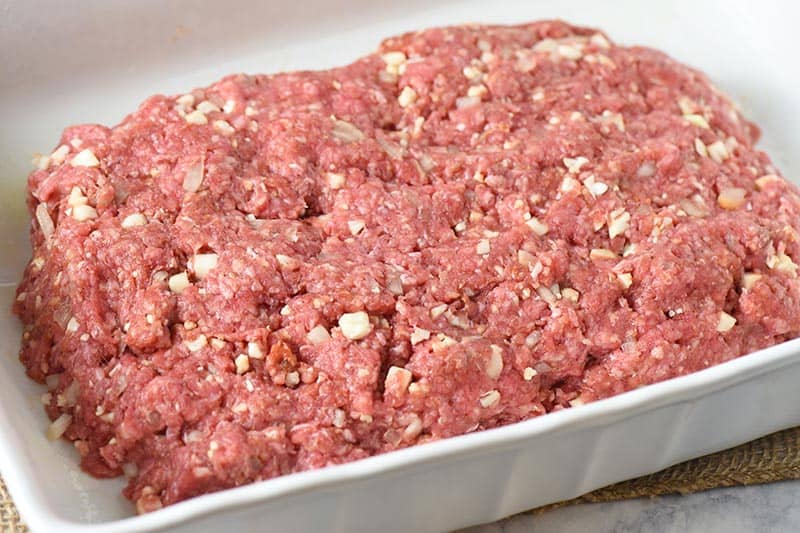
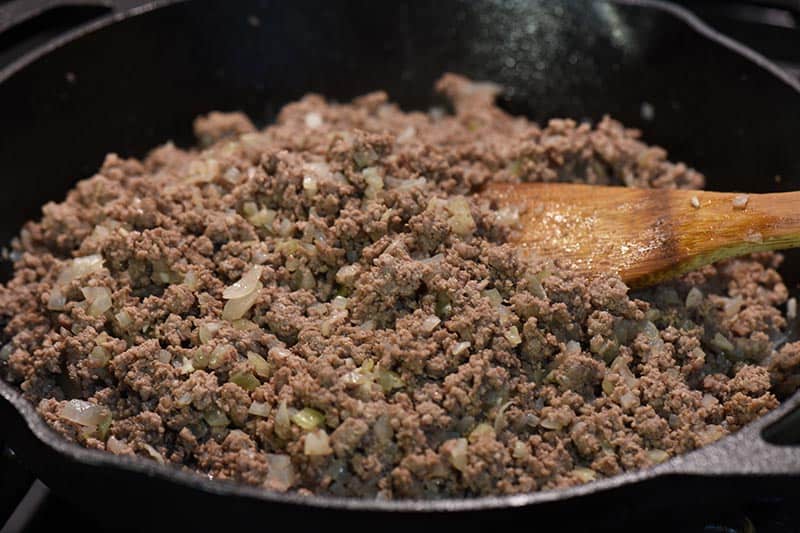
You’ll start by sautéing the garlic and onion in a large skillet. Then add the meat and mix together with the garlic and onion, cooking the mixture just until the meat is browned.
Be sure to drain off any excess oil when the meat has finished cooking.
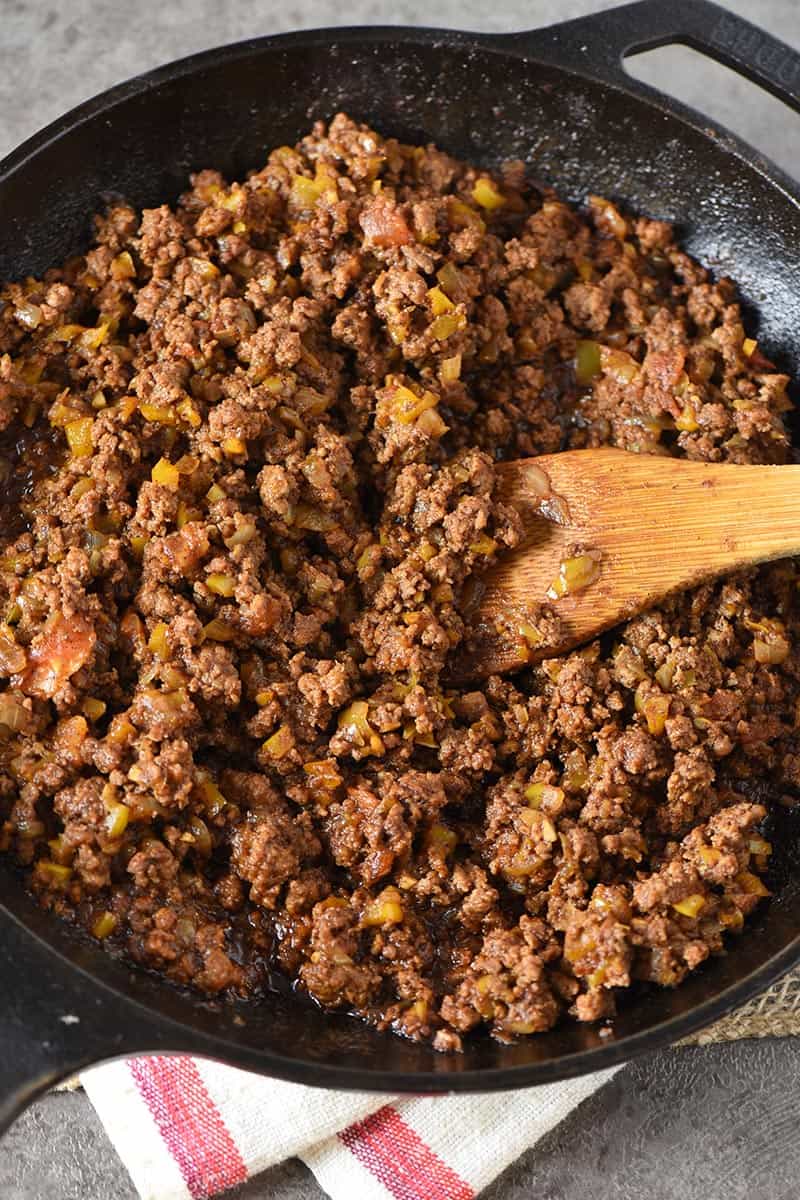
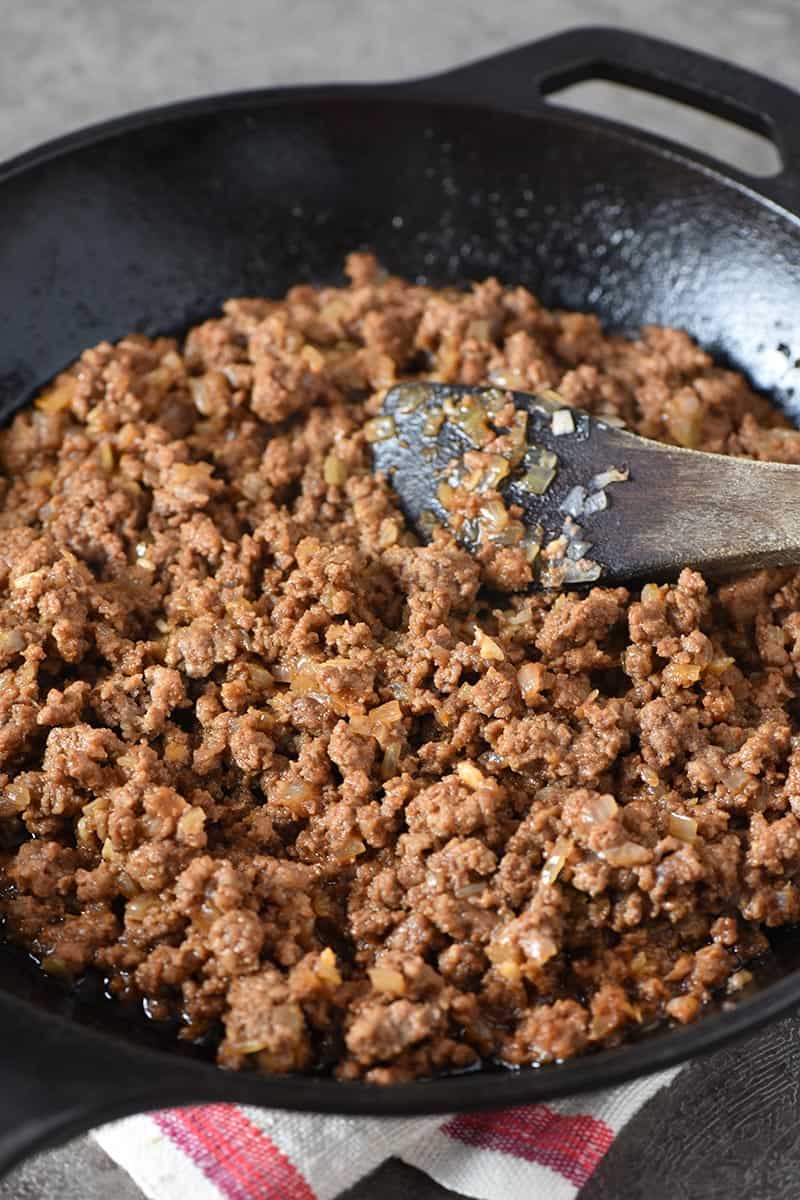
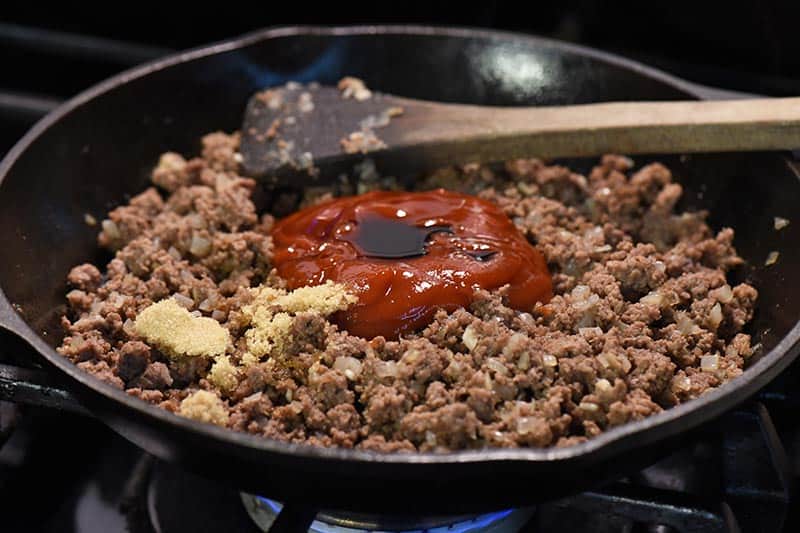
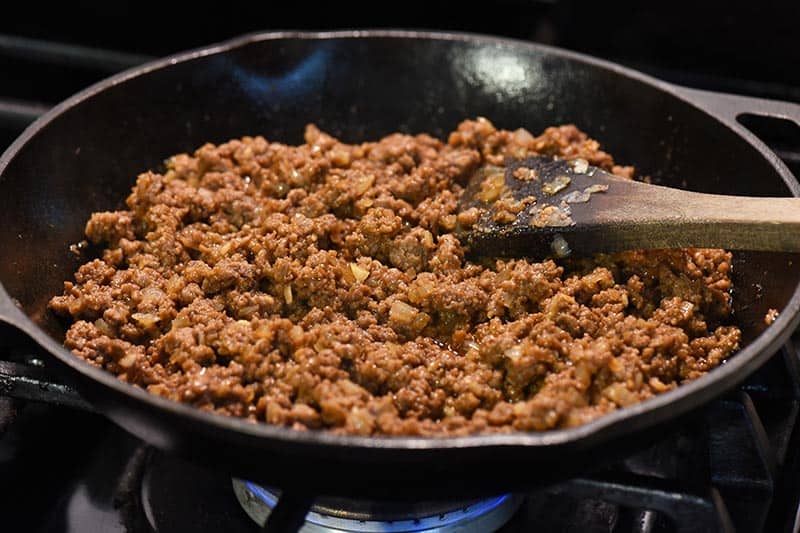
Once you add the sauce ingredients, give it a really good stir and let it simmer for 2 to 3 minutes.
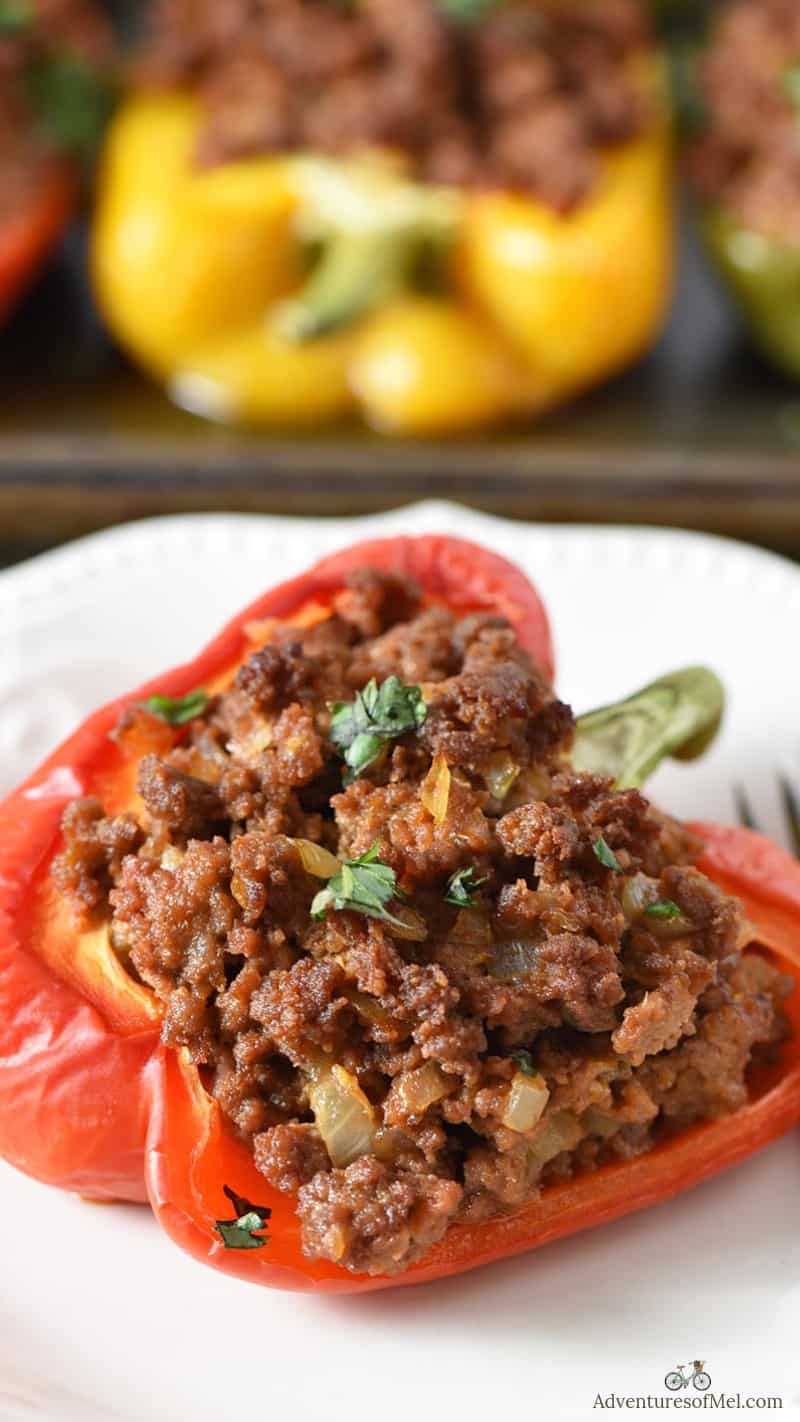
Remove the meat mixture from the stovetop, and mix the shredded cheddar into it. Then spoon the sloppy joe mixture into the washed and prepared peppers.
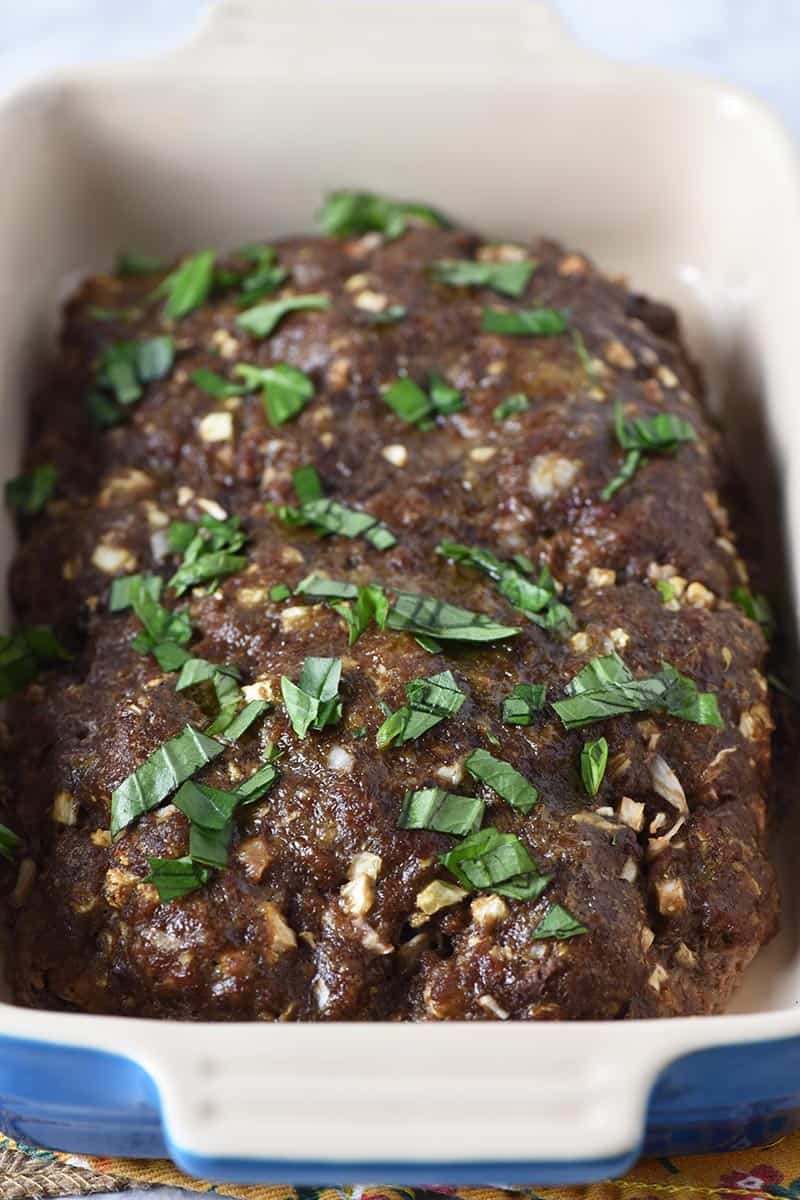
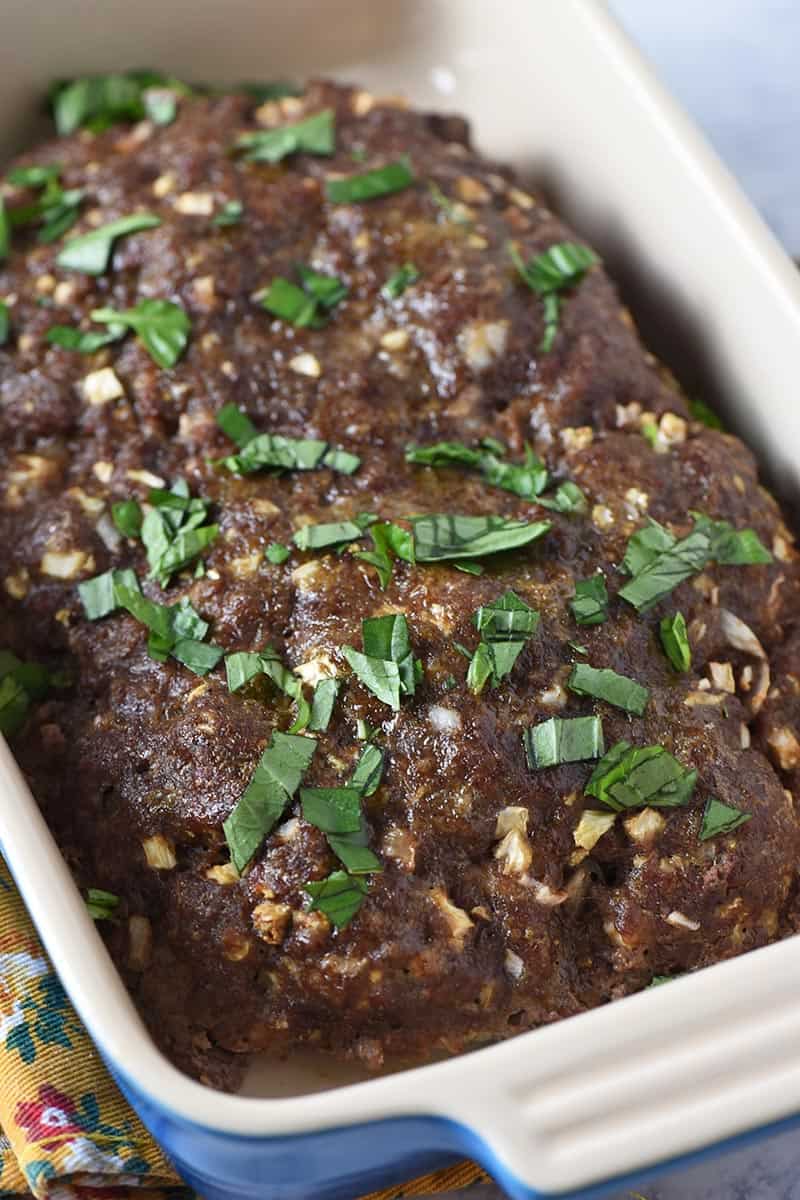
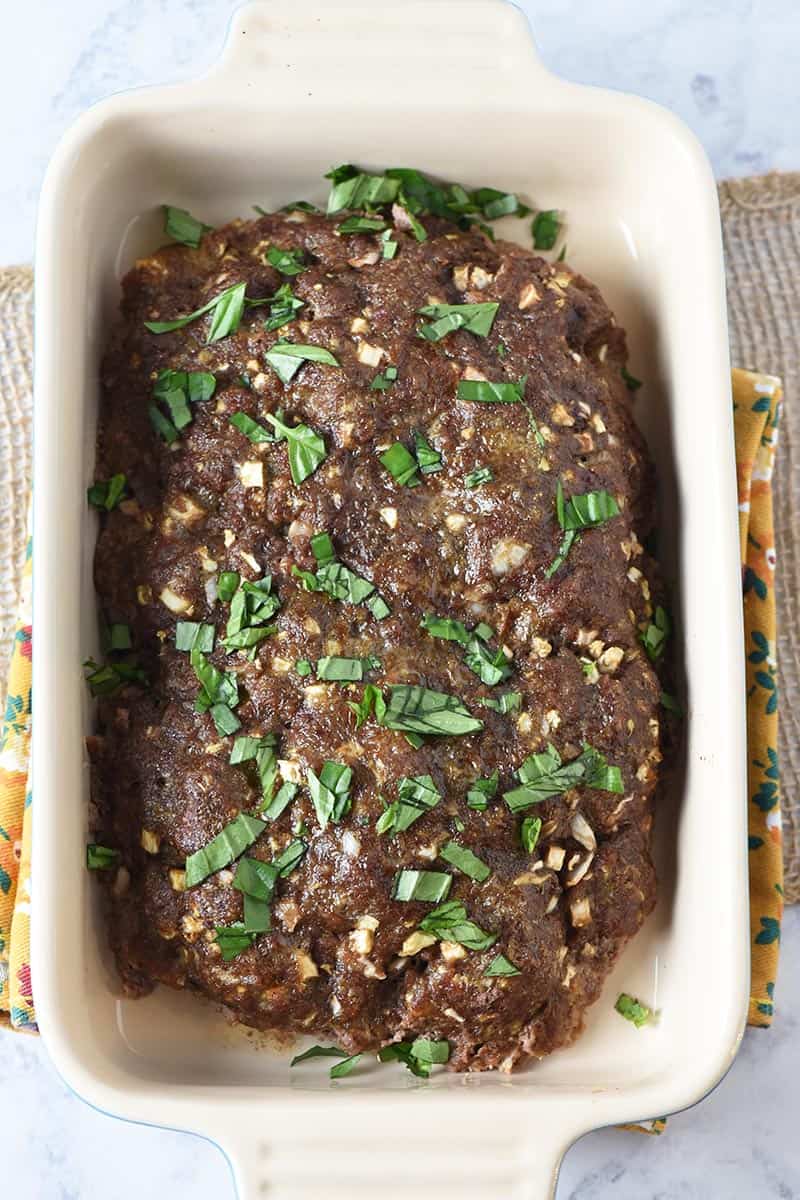
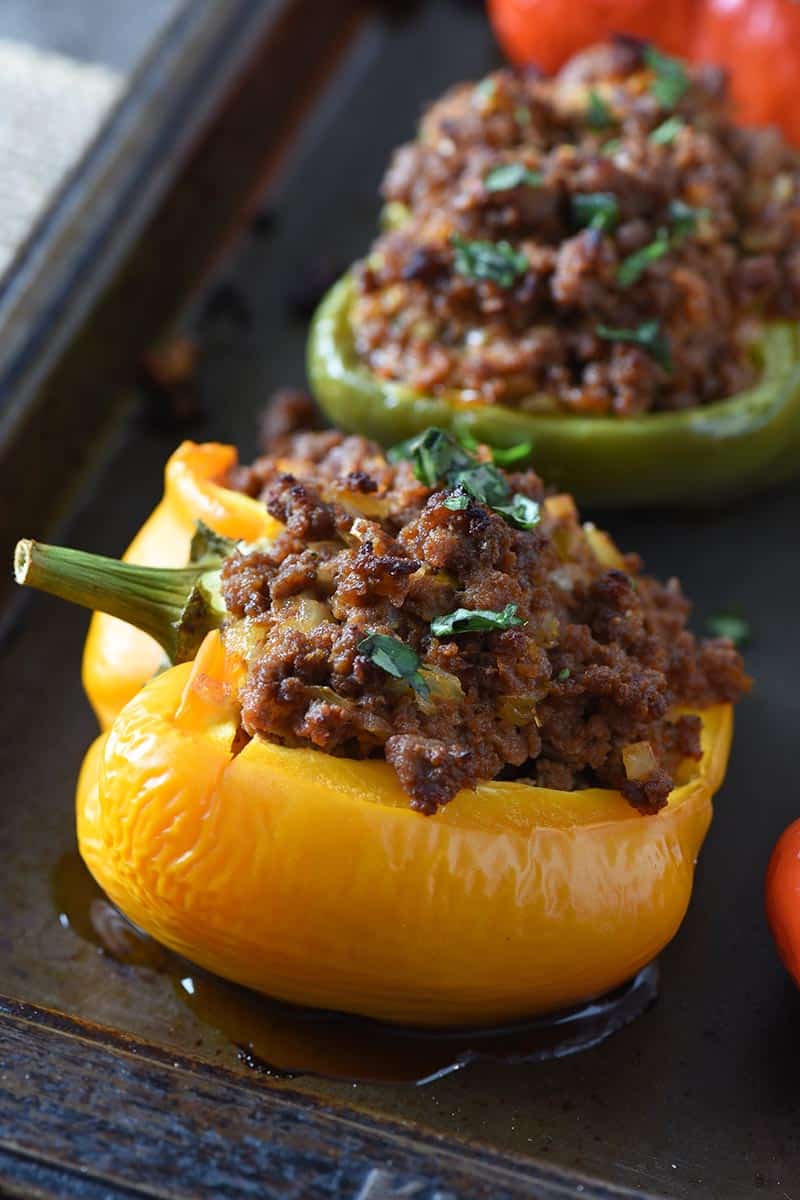
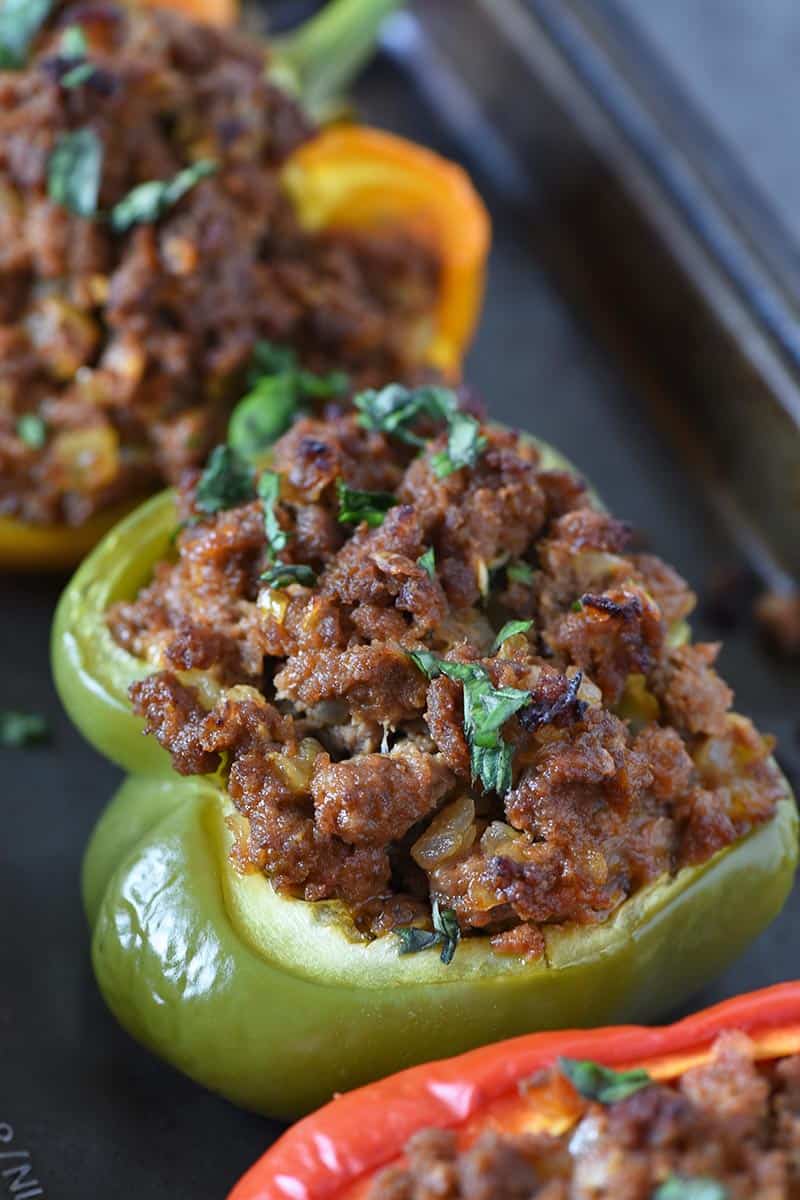
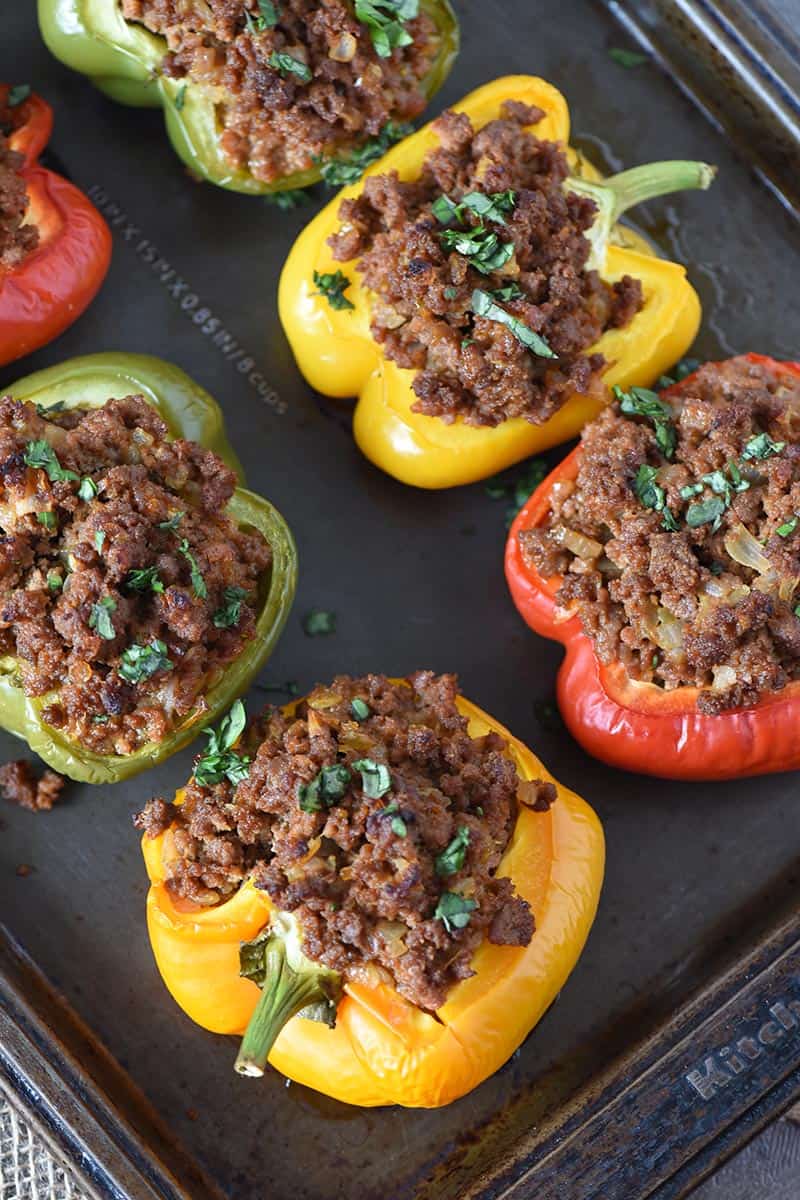
Bake the stuffed peppers at 350° for 30 to 45 minutes, or until they reach an internal temperature of at least 160°F with a meat thermometer. You may need to cover the peppers halfway through with aluminum foil to prevent them from getting too brown on top.
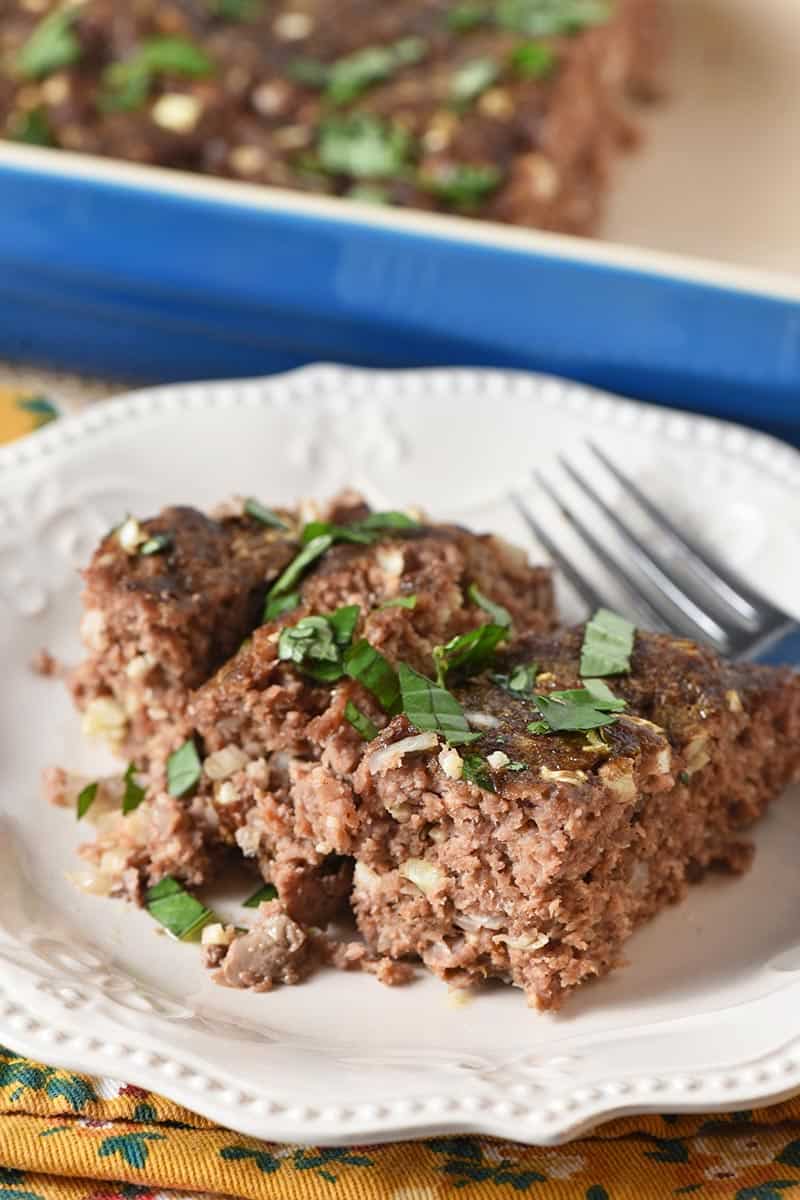
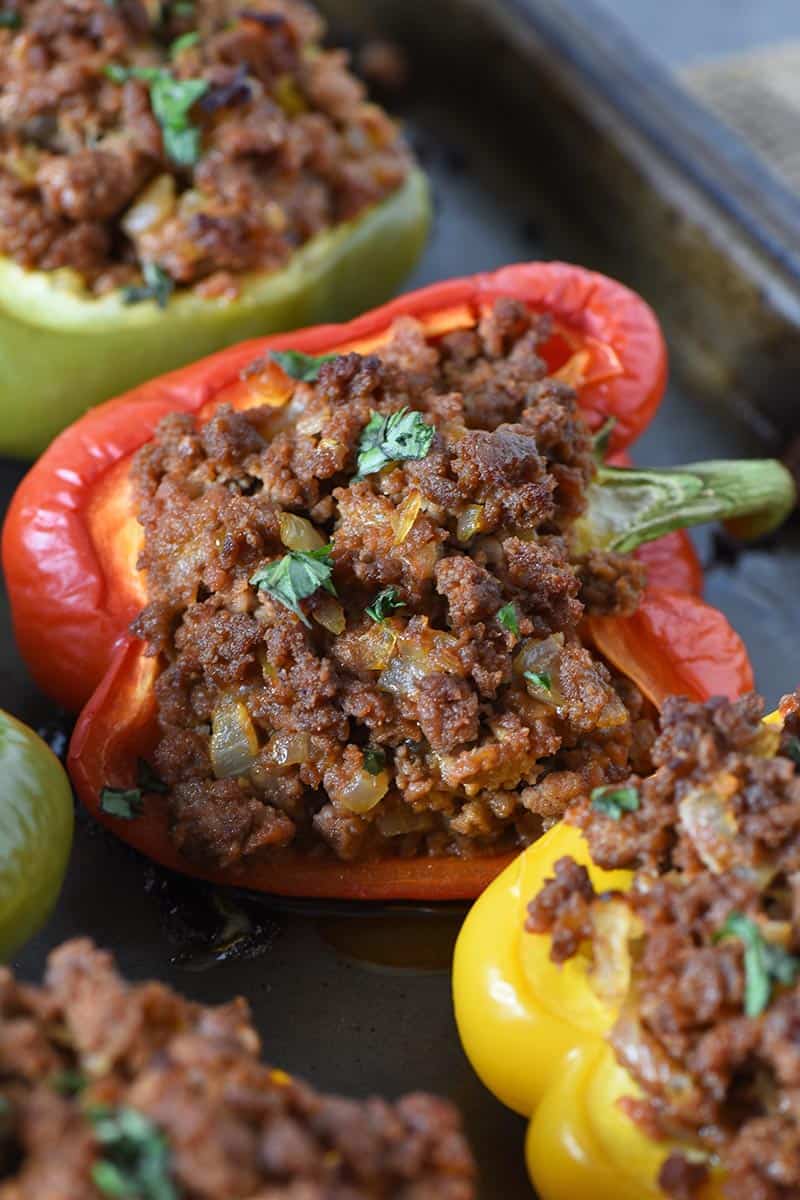
Garnish with fresh basil if you want and serve!
MORE SLOPPY JOE RECIPES YOU MAY ENJOY:
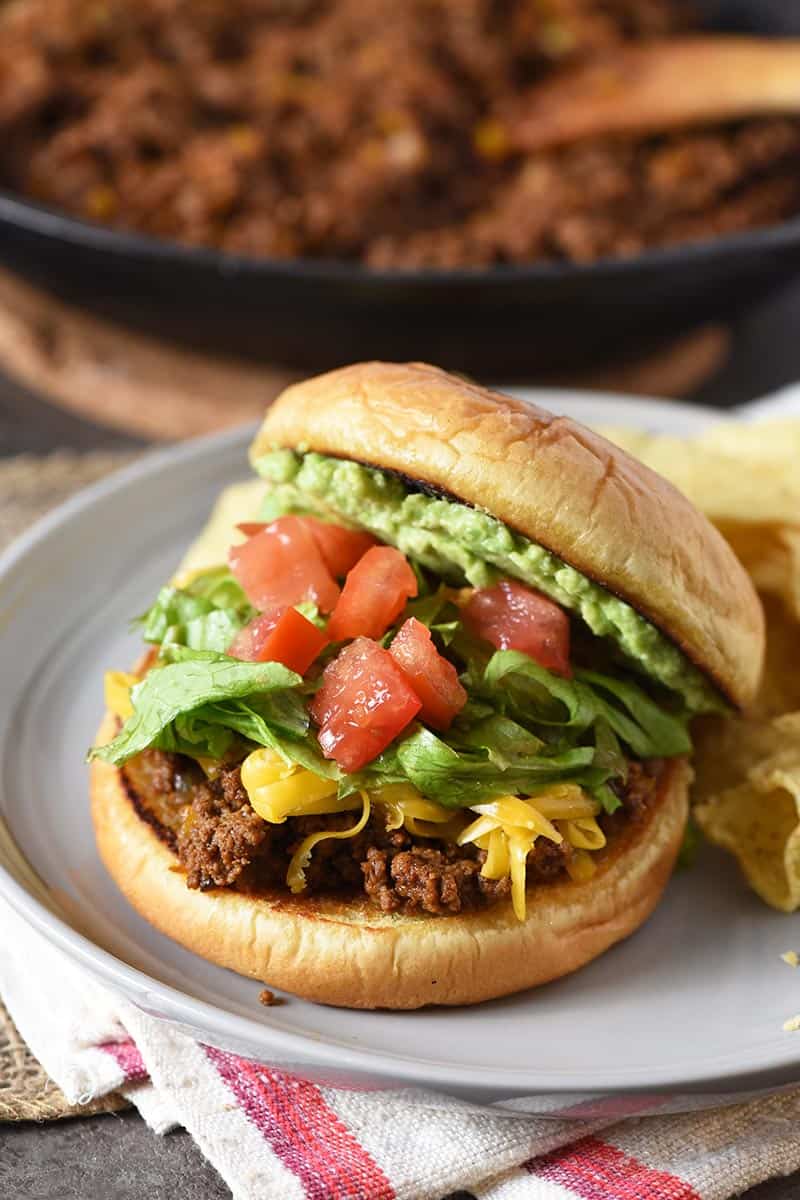
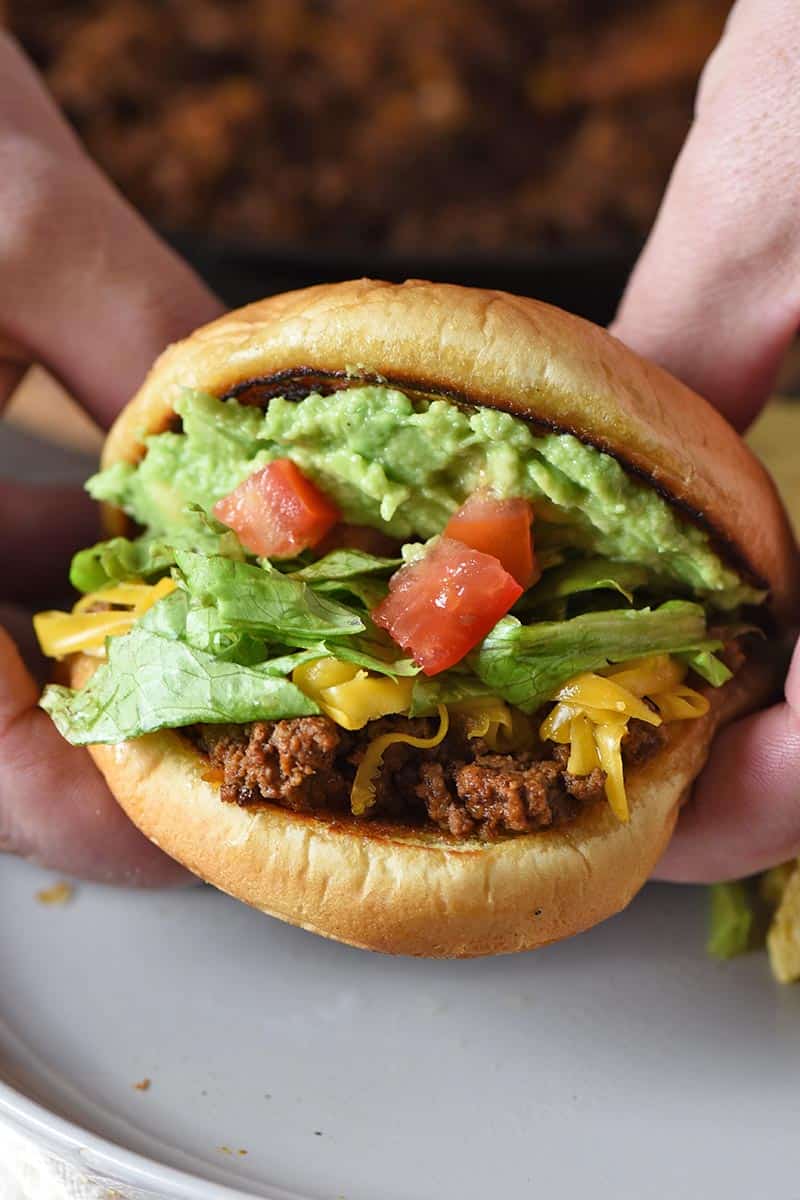
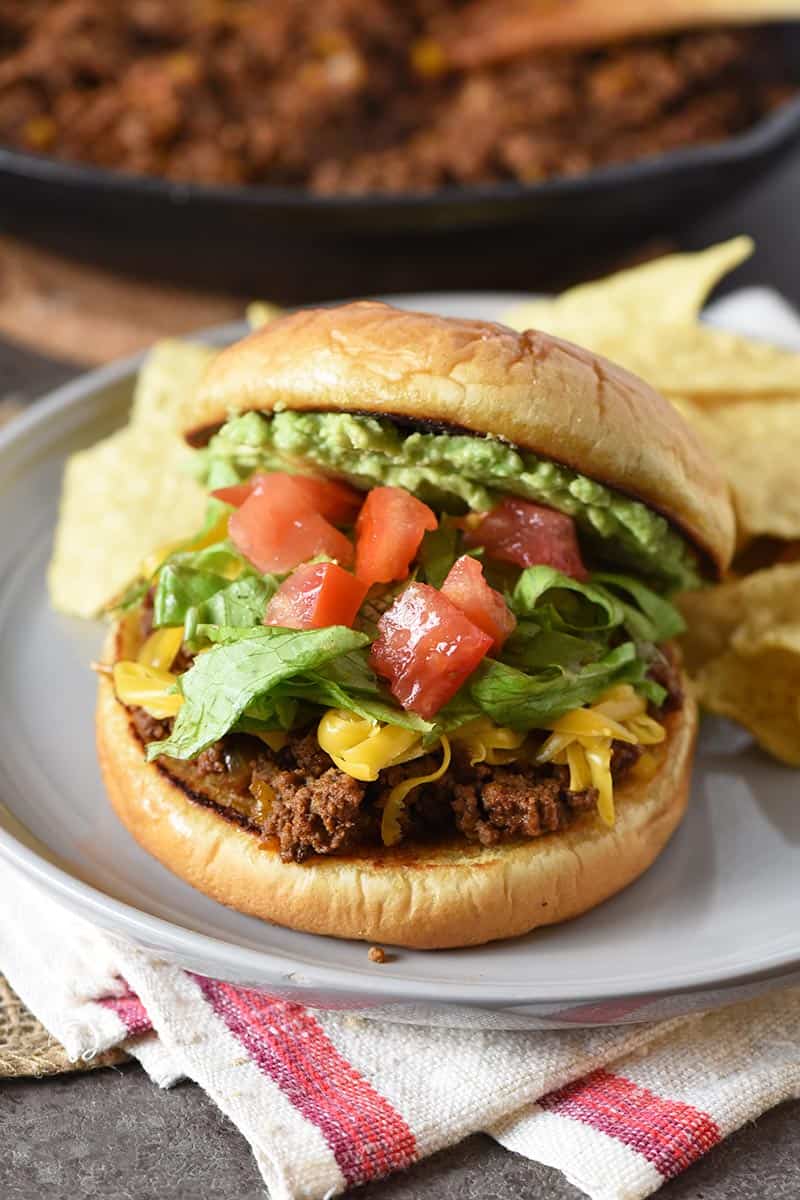
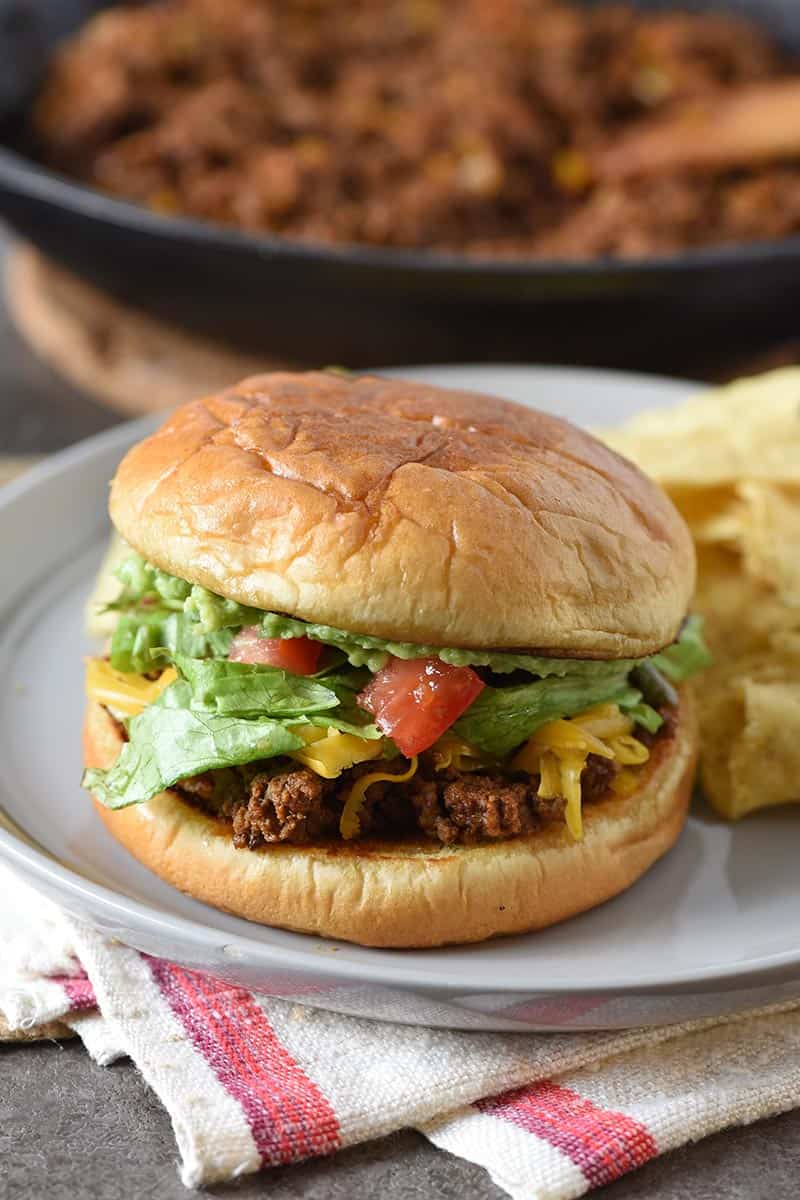
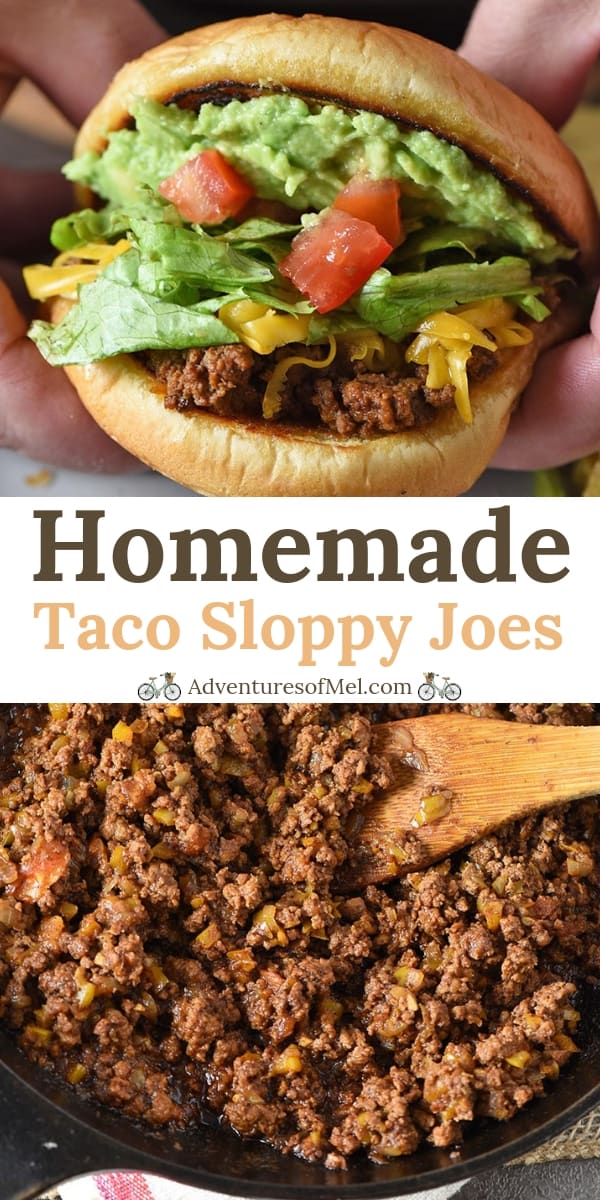
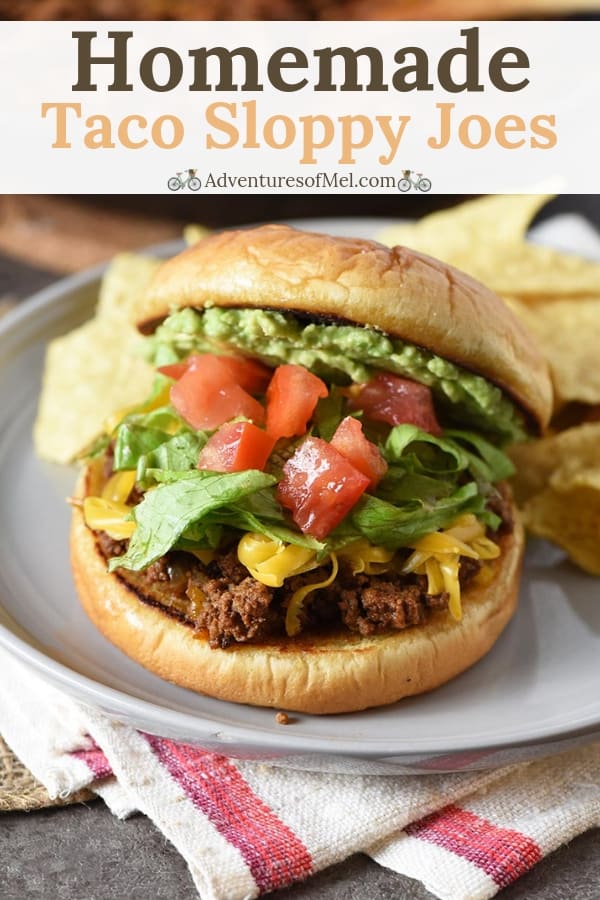
- Taco Sloppy Joes
- Philly Cheesesteak Sloppy Joes
- Pepperoni Pizza Sloppy Joes
- Grilled Cheese Sloppy Joes
- Sloppy Joe Mashed Potato Casserole
KITCHEN TOOLS YOU MAY NEED TO MAKE SLOPPY JOE STUFFED PEPPERS
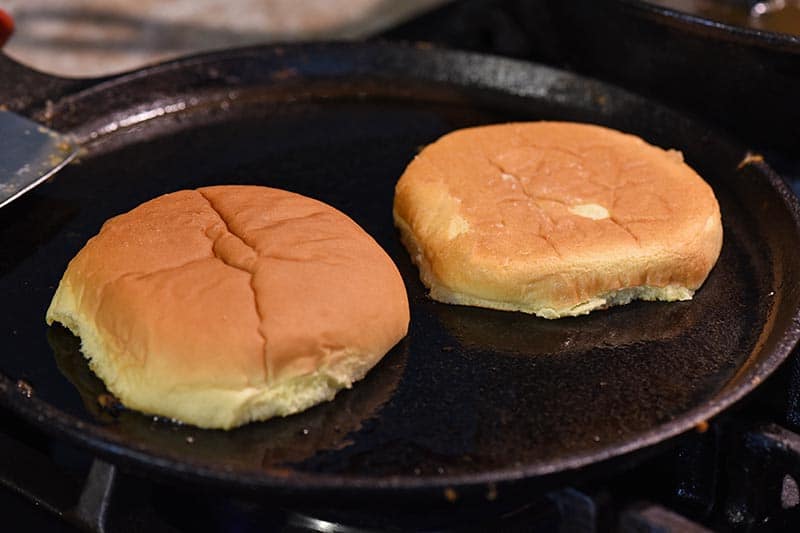
Skillet – We love using our cast iron skillets and griddle for pretty much everything both at home and while camping; they are very much a part of our camping cooking gear on every trip.
Hamburger Chopper – This handy dandy tool makes it easier to chop up the meat into a much looser mixture.
Ninja Food Chopper Express or Cutting Board and Chef’s Knife
SLOPPY JOE STUFFED PEPPERS RECIPE
If you love this sloppy joe stuffed peppers recipe as much as I do, please write a 5 star review, and help me share the recipe on Facebook and Pinterest! If you make the recipe, be sure to share that you tried it on Pinterest. I love when readers share feedback!
CONNECT WITH ADVENTURES OF MEL!
Be sure to follow me on social, so you never miss a post!
Facebook | Pinterest | YouTube | Instagram | Twitter
Sign up to receive my newsletter, filled with delicious recipes and outdoor travel adventures, in your inbox:
Sloppy Joe Stuffed Peppers

Easy homemade sloppy joe stuffed peppers, made with ground beef and baked in the oven, are a healthy dinner recipe the whole family will love!
- 2 tablespoons bacon grease (*)
- 2 cloves garlic (minced)
- 1 medium yellow onion (minced)
- 2 pounds ground beef
- 1/2 cup ketchup
- 2 tablespoons Worcestershire sauce
- 1 tablespoon light brown sugar
- 1 cup cheddar cheese (shredded)
- 4 whole bell peppers
- Pre-heat the oven to 350°.
- Mince the garlic and onion really well.
- Sauté the garlic and onion in a large skillet.
- Then add the meat and mix together with the garlic and onion, cooking the mixture just until the meat is browned.
- Be sure to drain off any excess oil when the meat has finished cooking.
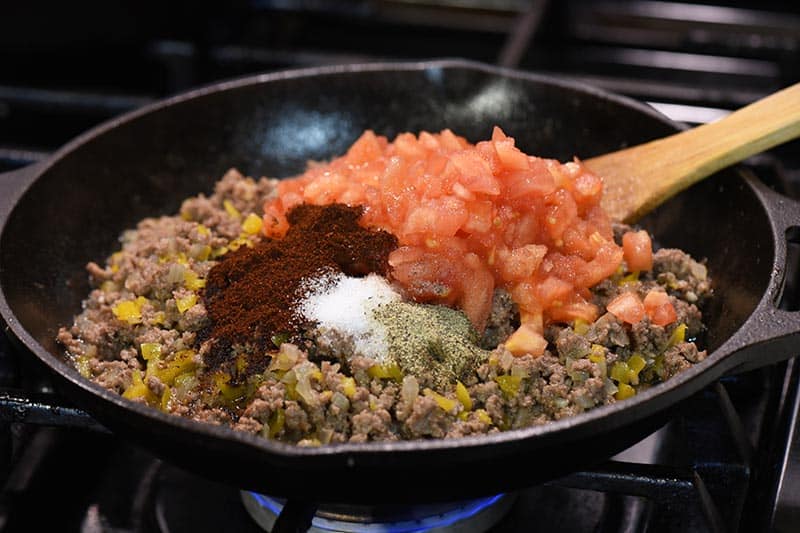
- Add the sauce ingredients, including the ketchup, Worcestershire sauce, and light brown sugar, to the ground beef.
- Give the meat mixture a really good stir and let it simmer for 2 to 3 minutes.
- Remove the meat mixture from the stovetop, and mix the shredded cheddar into it.
- Wash and prepare the peppers by either removing the top of the pepper, along with all the pith and seeds that are down inside. Or cut the peppers in half and remove all the pith and seeds inside.
- Spoon the sloppy joe mixture into the washed and prepared peppers.
- Bake the stuffed peppers on a baking sheet at 350° for 30 to 45 minutes, or until they reach an internal temperature of at least 160°F with a meat thermometer.**
- Garnish with fresh basil if you want and serve!
*I recommend using bacon grease for the added flavor to the meat mixture. But if you don’t have bacon grease, no worries; you can also use butter or olive oil.
**You may need to cover the peppers halfway through with aluminum foil to prevent them from getting too brown on top.