How to make kid-friendly s’mores dip over a campfire, on the grill, on the stove, or in the oven at home. Easy camping dessert recipe you can enjoy anytime.
S’mores are the perfect way to end a busy week together as a family. And they’re an especially great way to enjoy time together around the campfire.

We love hanging out by a campfire, especially when we’re camping. When at home, we’ll even fill up a tray with all sorts of campfire goodies and head outside to the fire pit.
Usually, we end up with a hodge podge assortment of whatever we have available, maybe hot dogs, the makings for s’mores, and our roasting sticks.
But we’re not always able to have a campfire due to burn bans and fire restrictions. No worries, though. This is one of my favorite shortcuts for how to make s’mores without a fire.
So whether you love the great outdoors or would rather enjoy a movie night in, this is the perfect dessert to share.
Sometimes we make “normal” s’mores, and sometimes we make s’mores dip, banana boats s’mores, or sugar cone s’mores. 3 surprising ways to make s’mores that are all equally as yummy as the other.
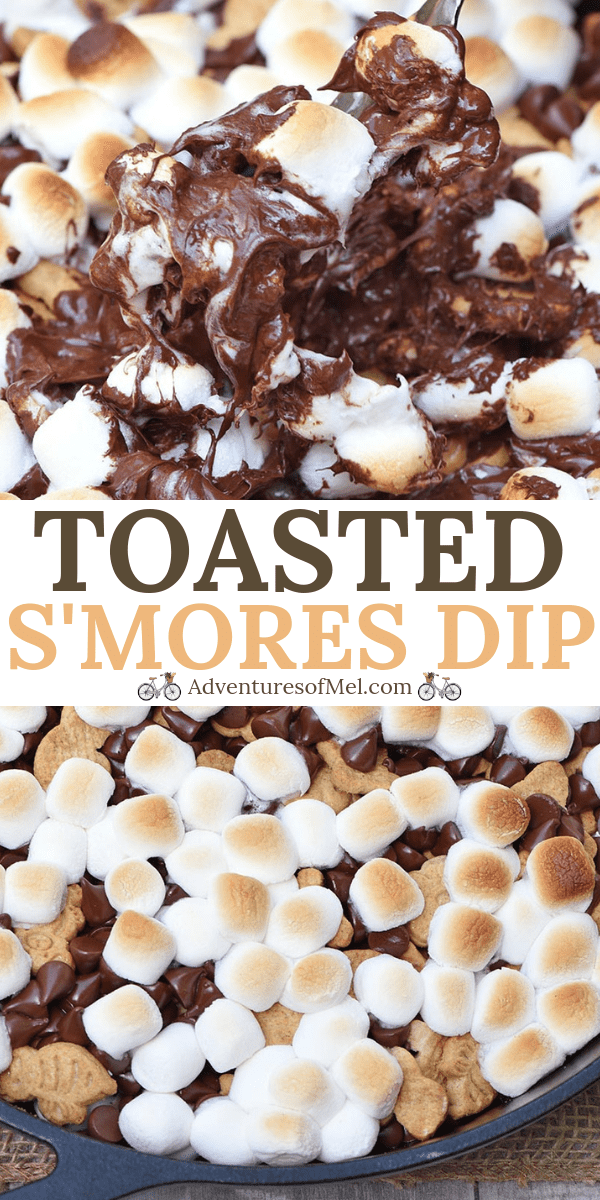
WHERE CAN I FIND THE RECIPE CARD FOR THIS TOASTED S’MORES DIP?
If you’d rather skip all of my cooking tips, important cooking info for this recipe, and similar recipe ideas – and get straight to the s’mores dip recipe – just scroll down to the bottom, where you’ll find a printable recipe card.
HOW TO MAKE S’MORES DIP
Really, the only ingredients you need are graham crackers, mini marshmallows, and chocolate chips.
WHAT KIND OF GRAHAM CRACKERS SHOULD I USE?
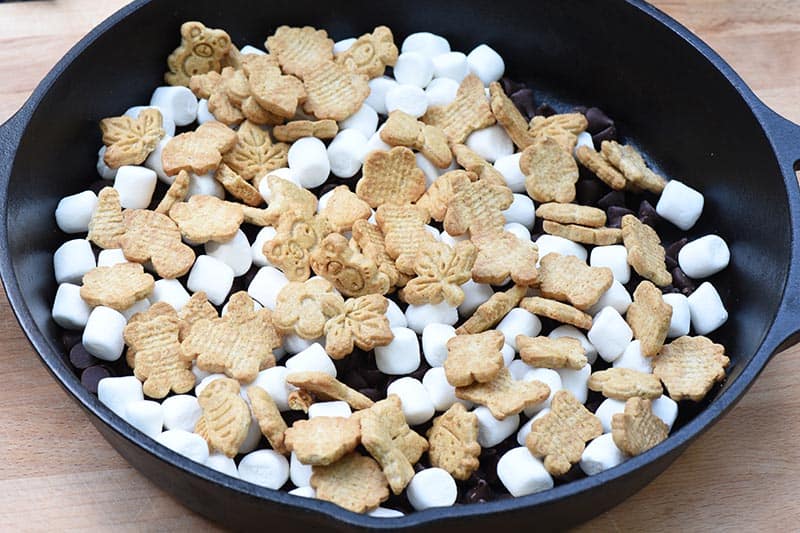
You can use regular graham crackers and break them up, or you can use smaller graham crackers in different shapes, like Teddy Grahams or Goldfish Grahams.
If you’re wondering which crackers we used, I found these Teddy Grahams Outdoor Discoveries crackers at our grocery store, and they were perfect! They come in cute li’l outdoor shapes like butterflies, bumblebees, and leaves.
WHAT’S THE BEST CHOCOLATE FOR S’MORES?
I’ll tell ya, I love using semi sweet chocolate chips. But you can use any kind of chocolate, whether you love milk chocolate or dark chocolate.
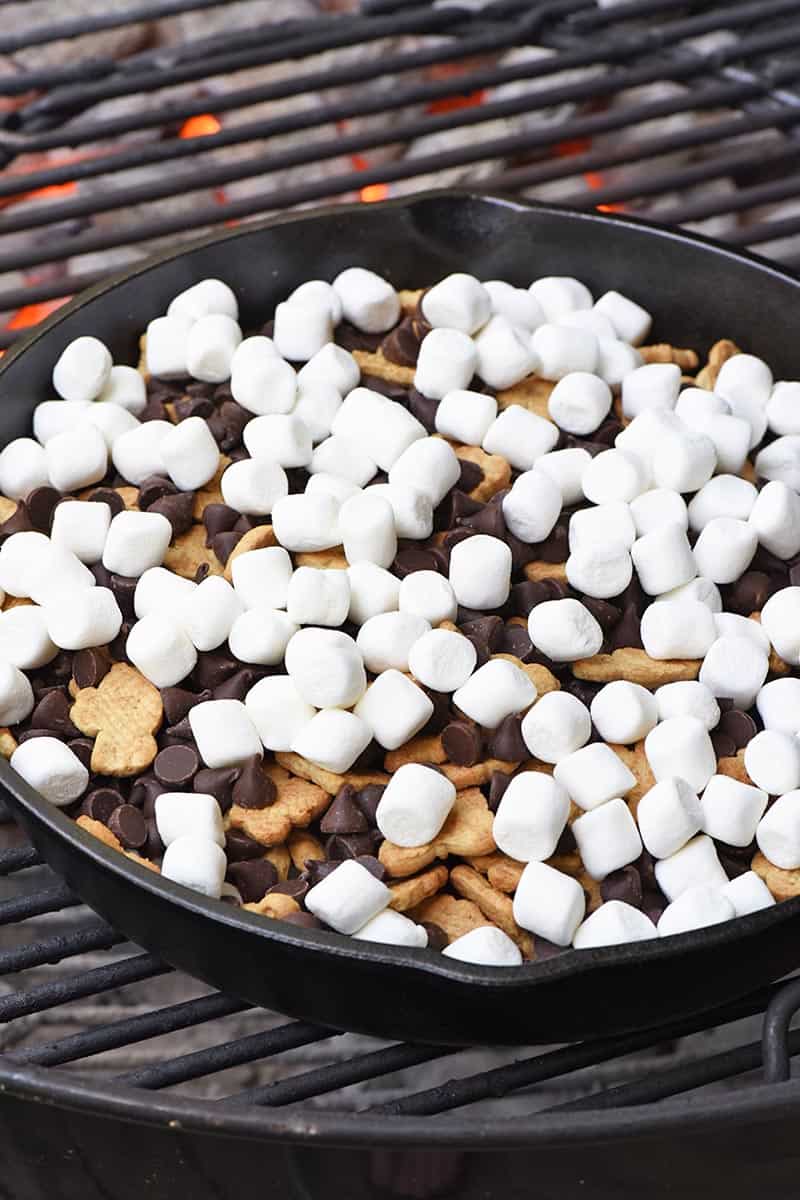
HOW TO LAYER S’MORES IN A PAN
Layer your ingredients in a oven or campfire friendly skillet, preferably an 8-inch cast iron skillet or 10.25-inch cast iron skillet.
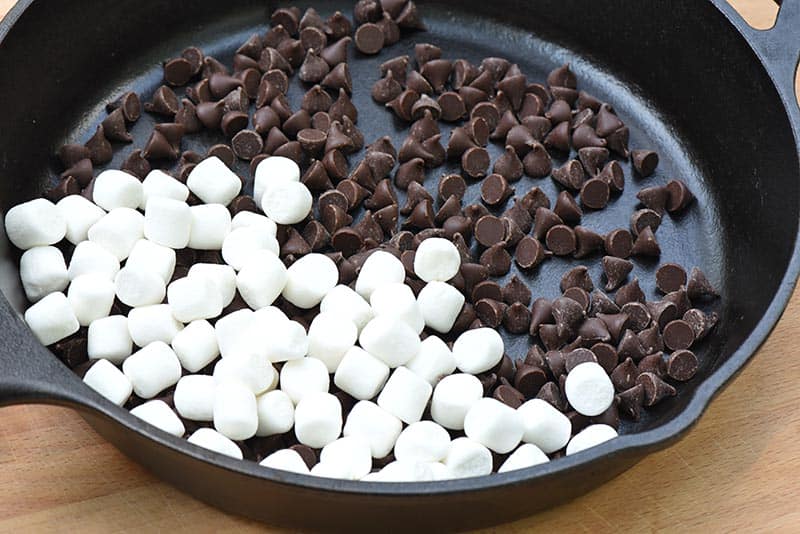
- Start with a layer of chocolate chips and mini marshmallows.
- Add another layer of chocolate chips.
- Then add a layer of graham crackers.
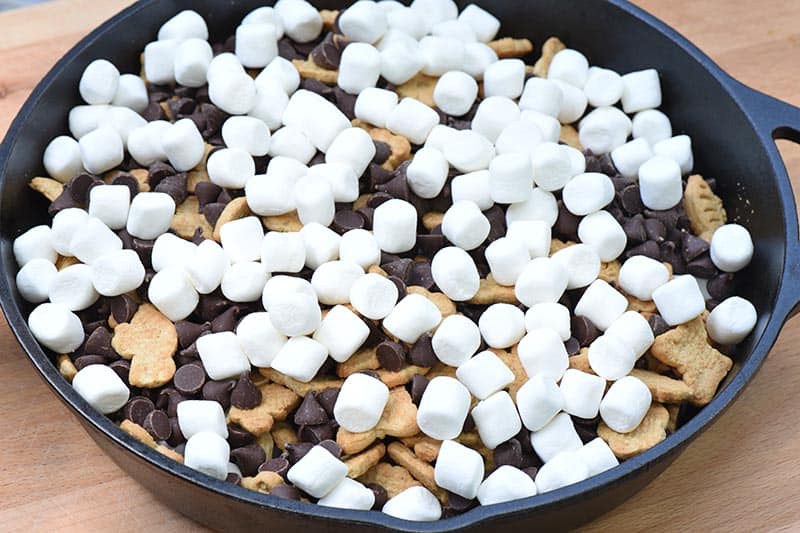
- Add another layer of chocolate chips, then a top layer of mini marshmallows.
You can add as many or as few layers as you want; I say, the more the merrier.
HOW TO COOK S’MORES DESSERT DIP
On a Campfire or on a Grill: Put your skillet s’mores over the fire or on the grill for about 3 to 5 minutes, or until things begin to show signs of melting… Not too long or your bottom layer will burn.
On the Stove: Layer ingredients and warm on low heat until everything begins to melt. If you want to toast a top layer of marshmallows, just place in the oven for a few minutes.
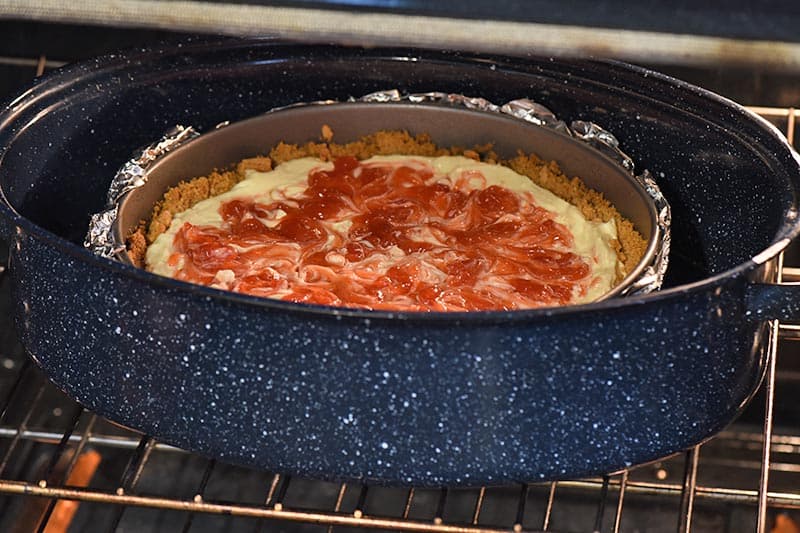
In the Oven: Place the skillet in the oven at about 450° for about 5 to 10 minutes, or until things begin to show signs of melting… Again, not too long or your bottom layer will burn.
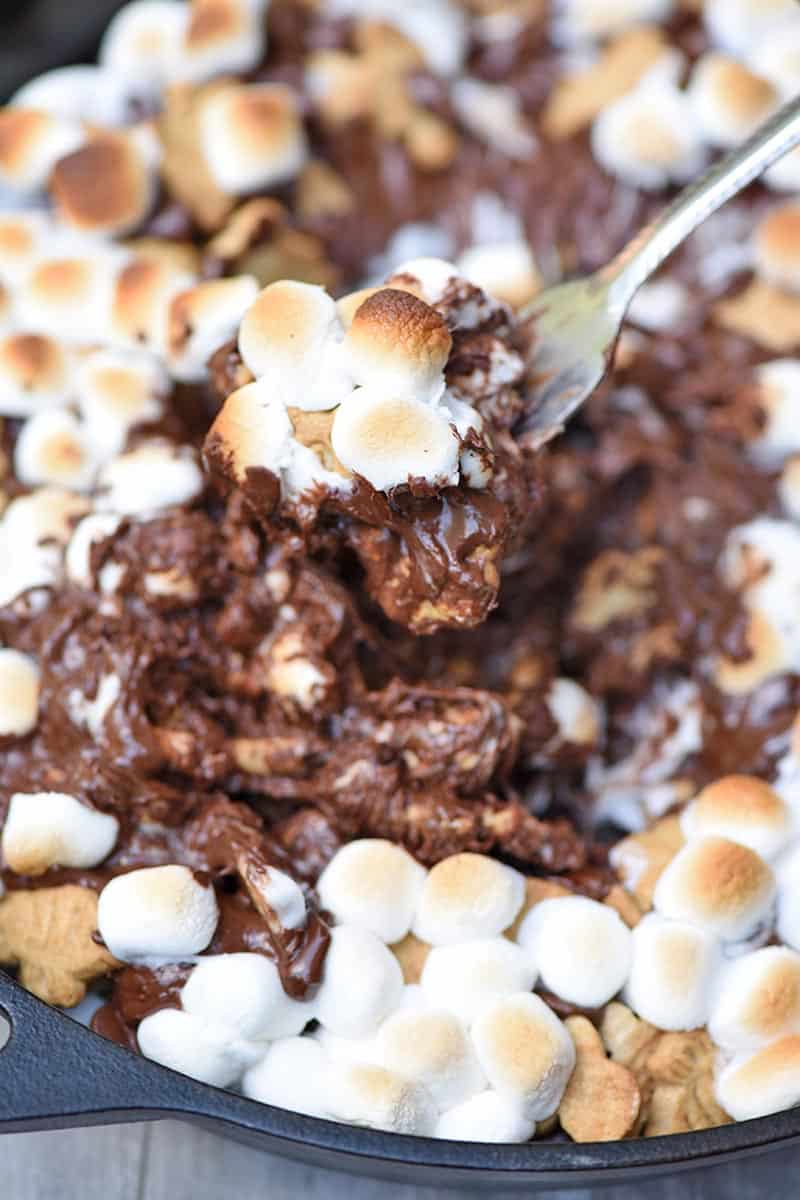
Don’t worry if the chocolate doesn’t look completely melted when you take it off the fire or out of the oven. Once you remove the skillet from the fire or oven, it will continue to radiate heat and melt the rest of your chocolate.
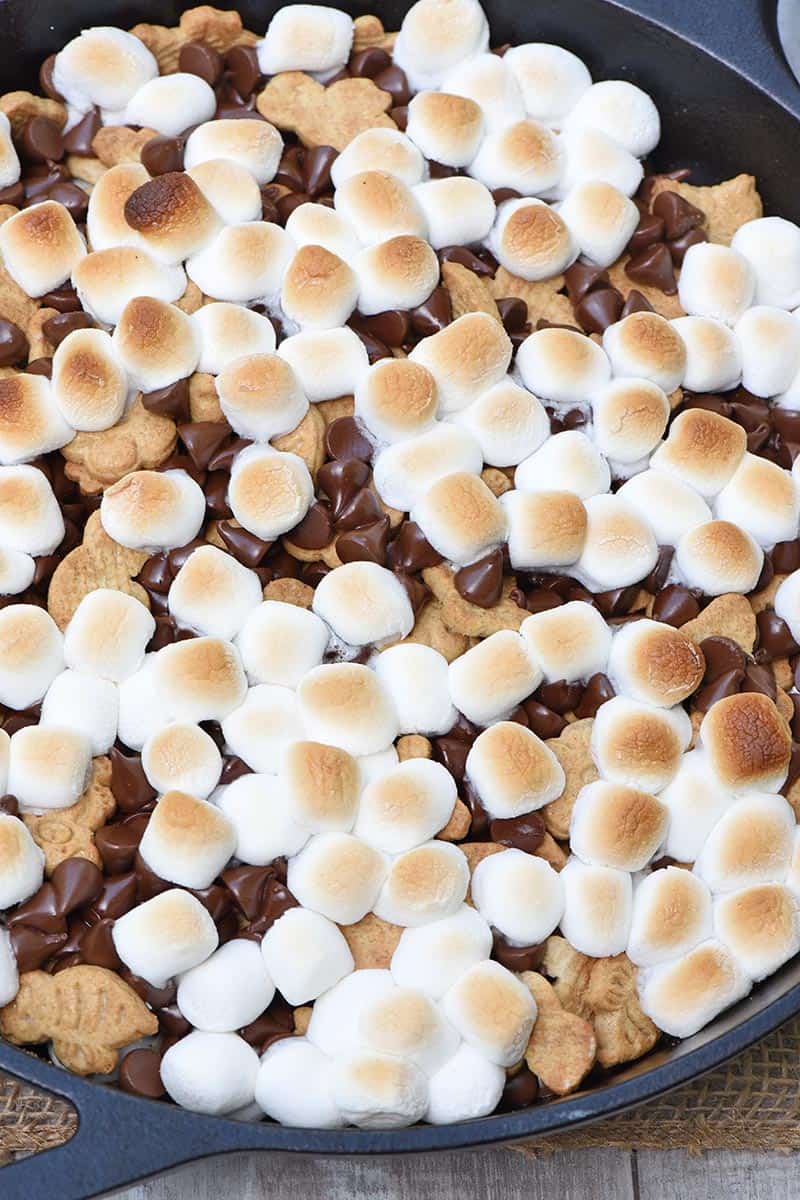
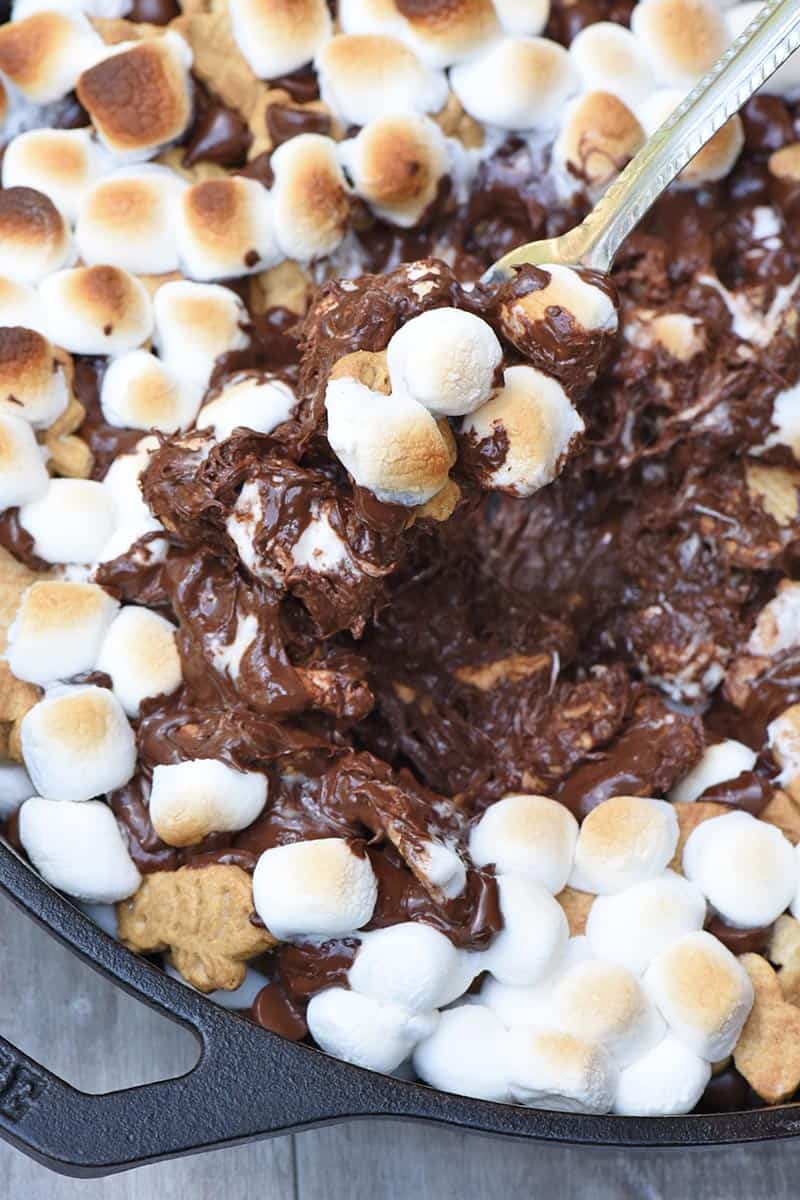
And if your marshmallows aren’t toasted enough for your liking, you can keep your pan over the heat for just a bit longer until you have perfectly toasted marshmallows.
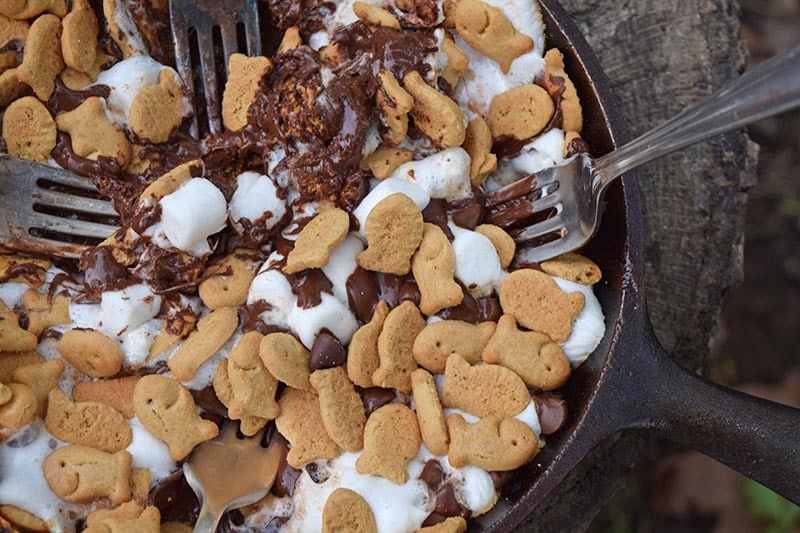
These are not the type of s’mores you serve by hand; these are more the type of s’mores you dig in with a fork or a graham cracker, sharing the same skillet with the entire family.
ALTERNATIVE RECIPE OPTIONS
- You can use regular graham crackers, or you can use graham snacks, like I mentioned above.
- I love using semi-sweet chocolate chips, but you can also use chocolate bars, peanut butter cups, etc. The sky’s the limit.
- In addition to chocolate chips, add white chocolate chips, peanut butter chips, etc.
- Add in peanuts or crushed up almonds for a little crunch.
- Give the entire skillet a drizzle of caramel or a dollop of whipped cream for a li’l extra oomph.
WANT MORE CAMPING RECIPES?
- 31+ Scrumptious Camping Recipes
- Campfire Cinnamon Rolls
- Bisquick Drop Biscuits
- Campfire Cherry Cobbler
SHOP KITCHEN TOOLS FOR THIS RECIPE:
8-Inch Cast Iron Skillet or 10.25-Inch Cast Iron Skillet
Grill – If you decide to make them over the grill.
TOASTED S’MORES DIP RECIPE
If you love this s’mores recipe as much as I do, please write a 5 star review, and help me share the recipe on Facebook and Pinterest!
CONNECT WITH ADVENTURES OF MEL!
Be sure to follow me on social, so you never miss a post!
Facebook | Pinterest | YouTube | Instagram | Twitter
Sign up to receive my newsletter, filled with delicious recipes and outdoor travel adventures, in your inbox:
Toasted S’mores Dip

How to make kid-friendly s’mores dip over a campfire, on the grill, or in the oven at home. Easy camping dessert recipe you can enjoy anytime.
- 3 cups semi-sweet chocolate chips
- 2 cups graham crackers (*)
- 2 cups mini marshmallows
- In a cast iron skillet, start with a layer of chocolate chips and mini marshmallows.
- Add another layer of chocolate chips.
- Then add a layer of graham crackers.
- Add another layer of chocolate chips, then a top layer of mini marshmallows.**
- Cook following the desired instructions below.
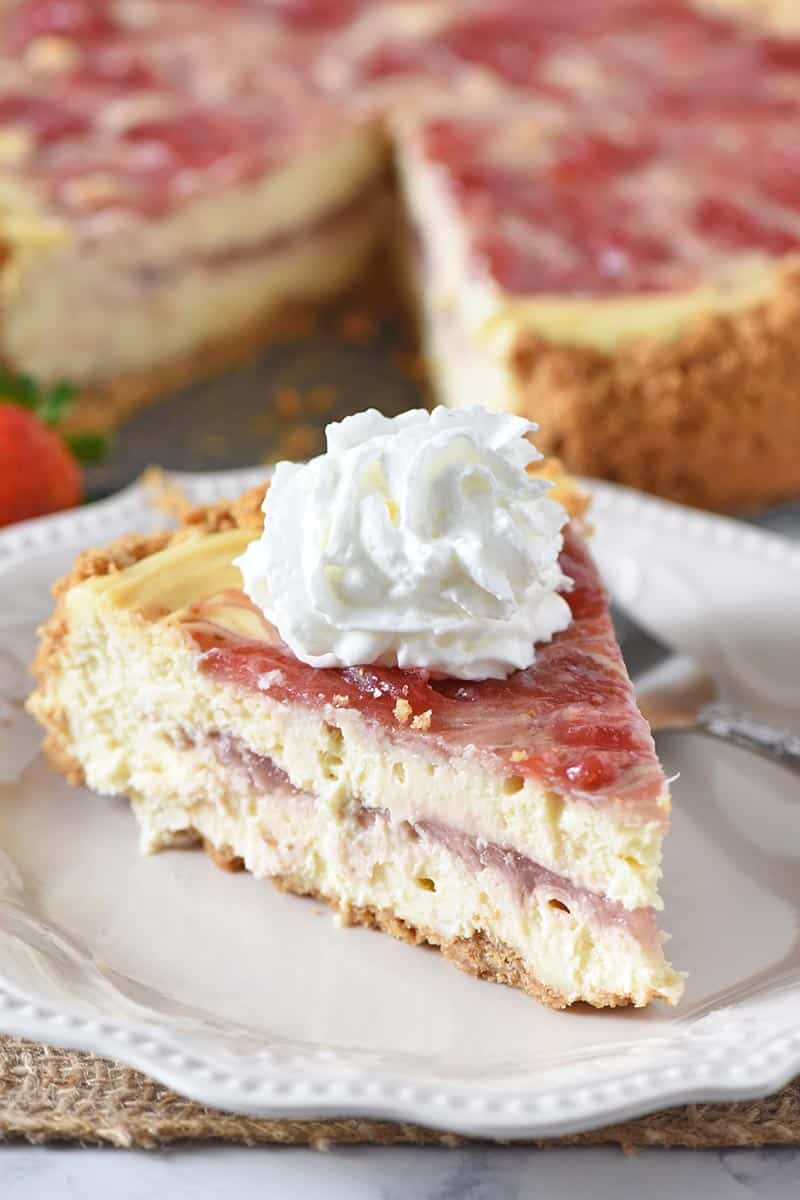
- Once they’re cooked through, serve with forks or more graham crackers.
Over a Campfire:
- Place your skillet over the fire for about 3 to 5 minutes, or until things begin to show signs of melting… Not too long or your bottom layer will burn.***
On a Grill:
- Place your skillet on the grill for about 3 to 5 minutes, or until things begin to show signs of melting… Not too long or your bottom layer will burn.***
On the Stove:
- Layer ingredients and warm on low heat until everything begins to melt.
- If you want to toast a top layer of marshmallows, just place in the oven for a few minutes.
In the Oven:
- Place the skillet in the oven at about 450° for about 5-10 minutes, or until things begin to show signs of melting… Again, not too long or your bottom layer will burn.***
*You can use regular graham crackers or smaller graham cracker snacks, like Teddy Grahams.
**You can add as many or as few layers as you want; I say, the more the merrier.
***Don’t worry if the chocolate doesn’t look completely melted when you take it off the fire or out of the oven. Once you remove the skillet from the fire or oven, it will continue to radiate heat and melt the rest of your chocolate. If you want the marshmallows to be more golden brown, just cook the s’mores a bit longer, being careful that they don’t burn.