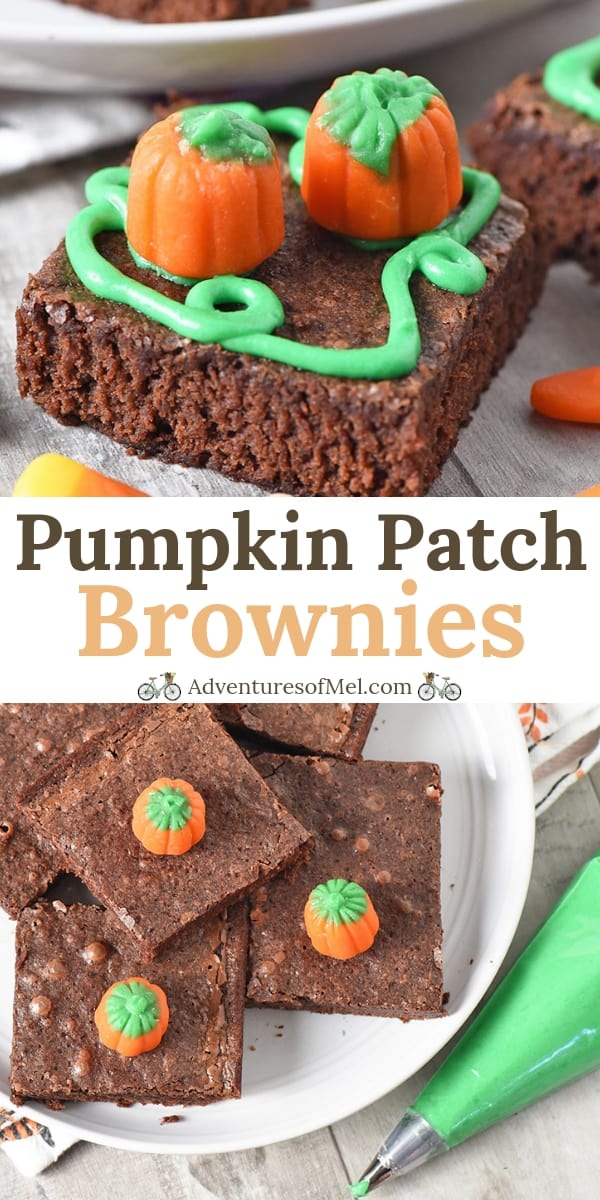
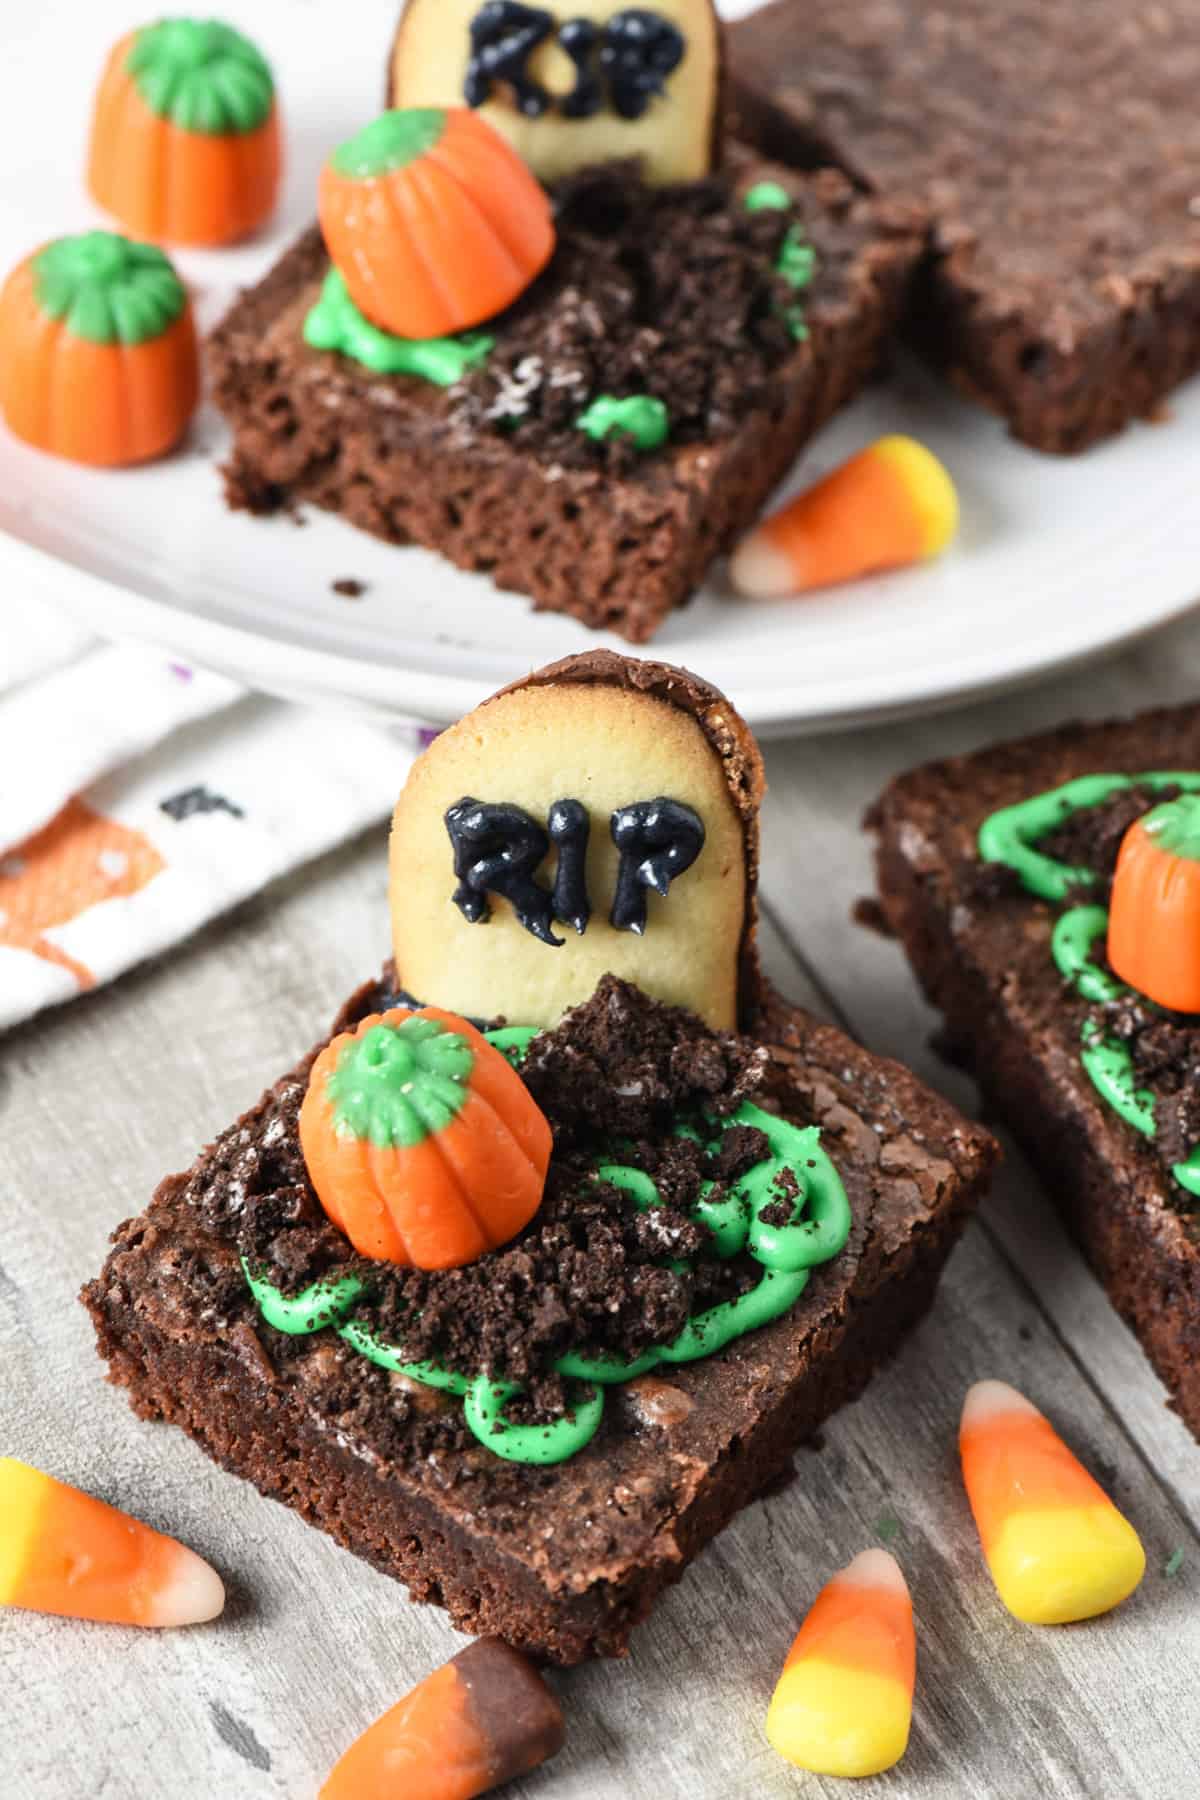
Make an easy batch of graveyard brownies, perfect for your Halloween party. Use Milano cookies, Oreos, and candy pumpkins to decorate these spooky treats!
You can make the cutest little tombstone brownies with just a little bit of time and a handful of ingredients. They’re so cute and fun to eat too, especially for kids.

The secret to making these brownies quick? Use a brownie mix.
Why This Recipe Works
- They’re so quick and easy to make.
- Brownie mix brownies taste just as good as homemade, especially when they’re chewy.
- You can just use pre-made decorating icing; or make homemade icing, whatever’s easiest for you.
- This is a great opportunity to get your kids in the kitchen and let them help decorate too.
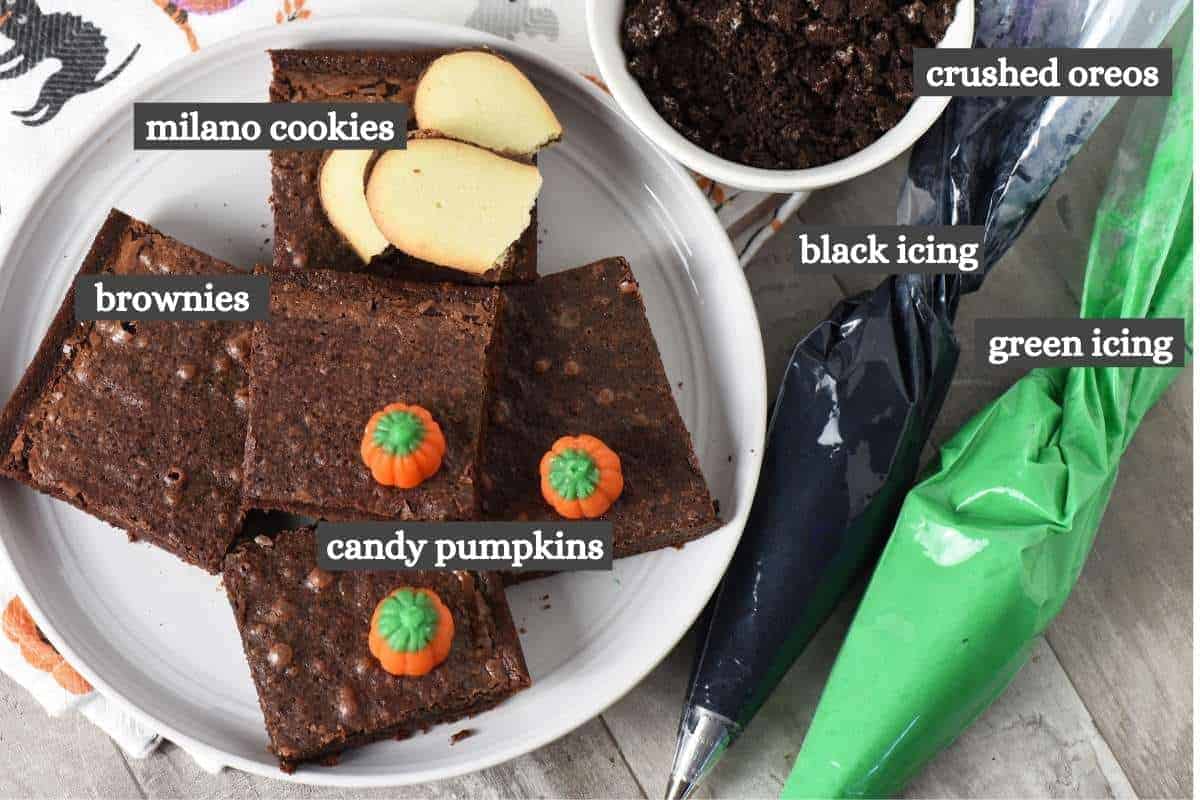
Ingredient Notes
You’ll need just a few things to make Halloween graveyard brownies…
- Brownies – Make sure you pick out a brownie mix that’ll make brownies that are easy to slice and pull out of the pan, nothing too messy or gooey. I recommend using cake-like or chewy brownies (preferably chewy) that won’t be so gooey and will easily pop right out of the pan.
- Decorating Icing – You’ll need black and green. You can usually find it in the baking aisle or the cake decorating aisle at the grocery store. If you choose to go with pre-made, just make sure it has a fine enough tip, or you can attach a tip, to write letters on your “gravestone.” If you don’t want to buy icing, you can make homemade cookie frosting; then just separate the icing into two bowls, and mix it with black and green food coloring. I used Wilton Kelly Green and Black icing colors.
- Oreo Cookies – These will need to be crushed.
- Milano Cookies – They’ll need to be cut or broken in half to make the cookie graves. I like the curvature of Milano Cookies, but you can use other cookies like Oreo cookies, graham crackers, chocolate covered grahams, vanilla wafers, or shortbread cookies.
- Candy pumpkins – Brach’s Mellowcreme Pumpkins are my favorite.
How to Make Graveyard Brownies
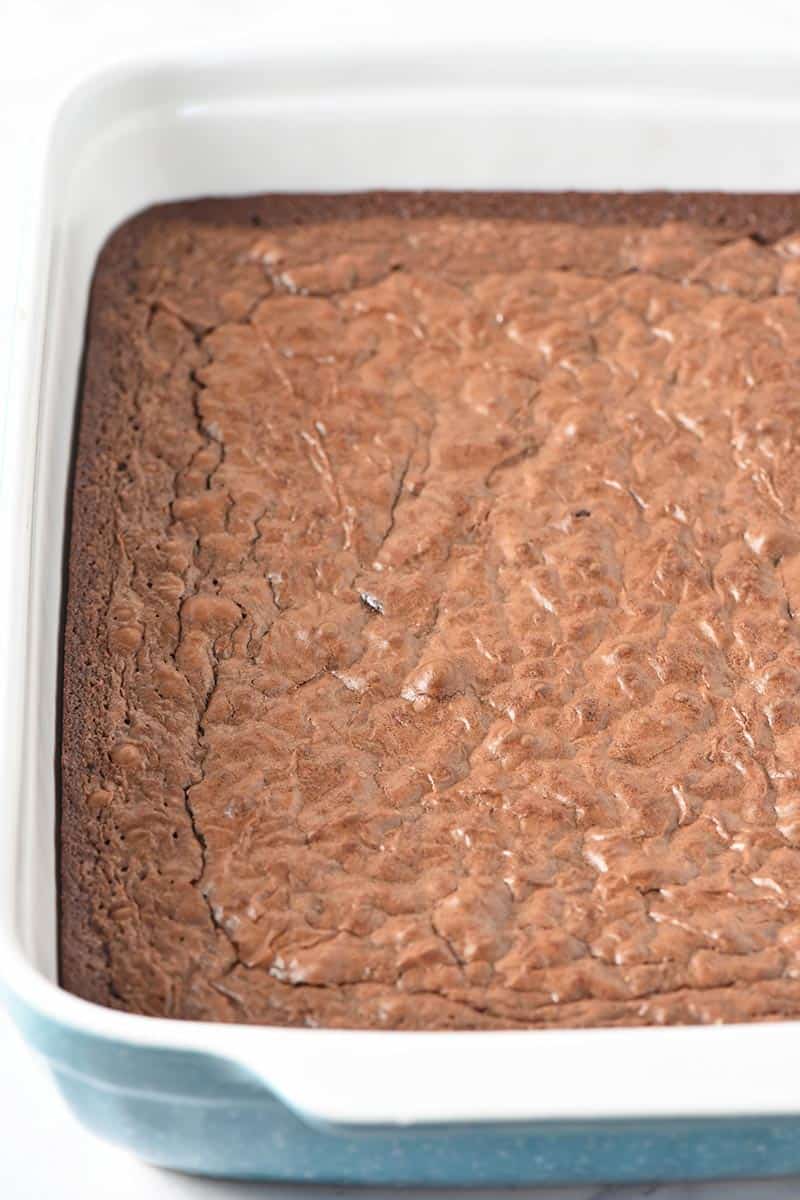
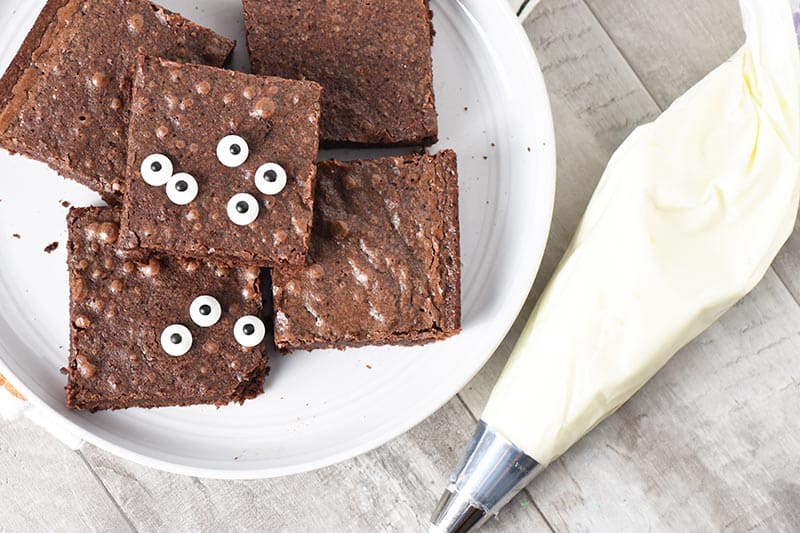
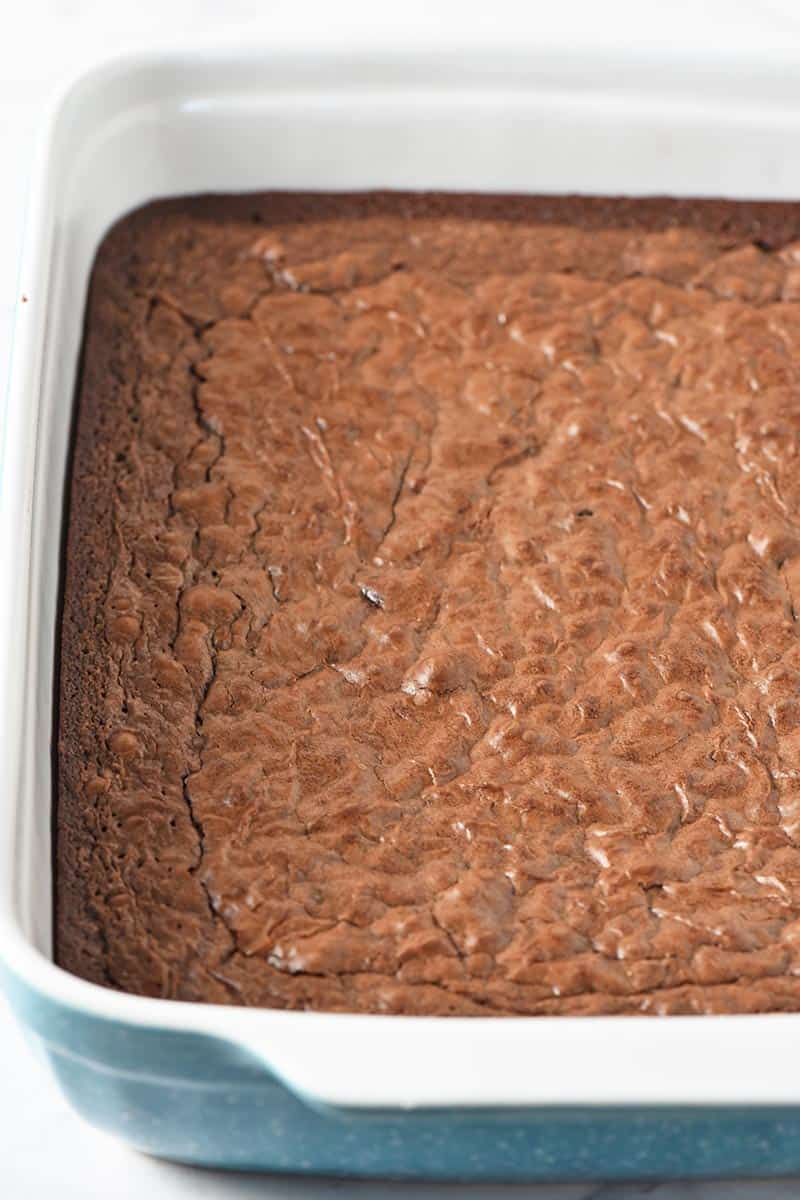
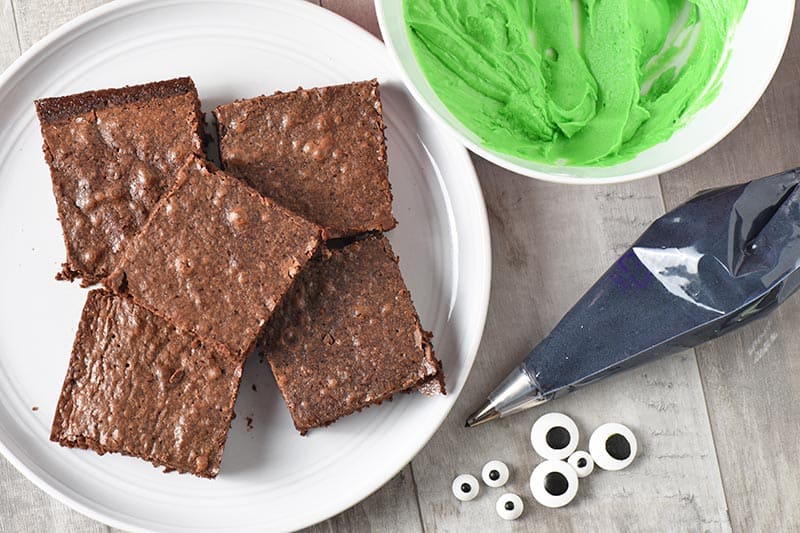
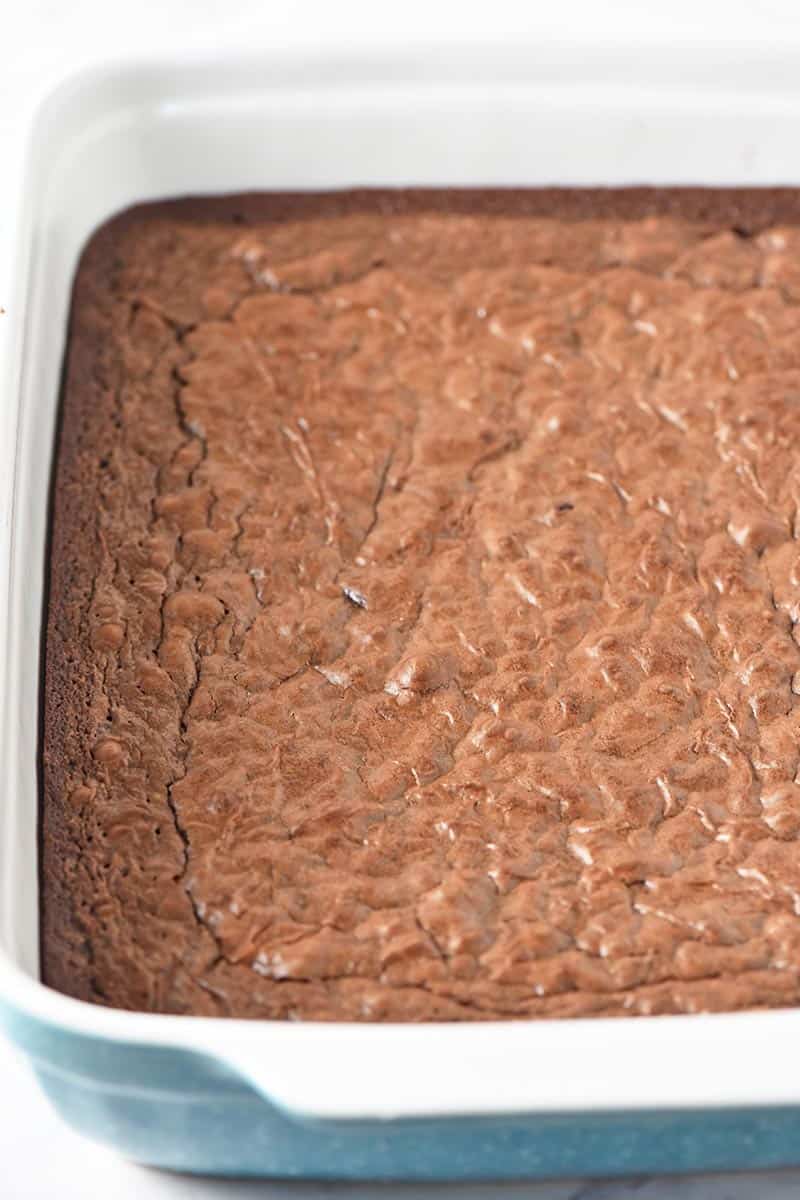
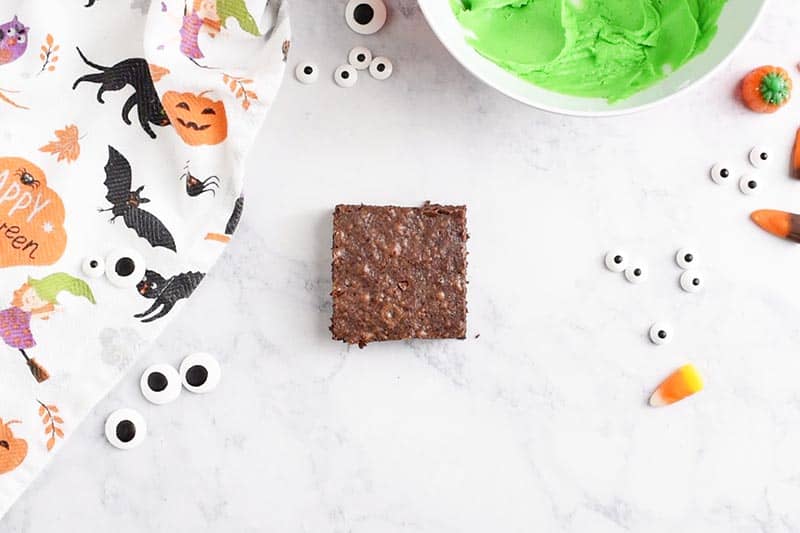
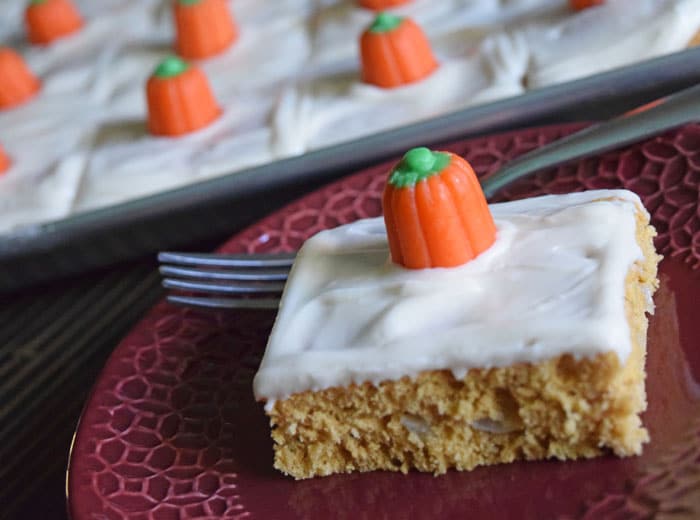
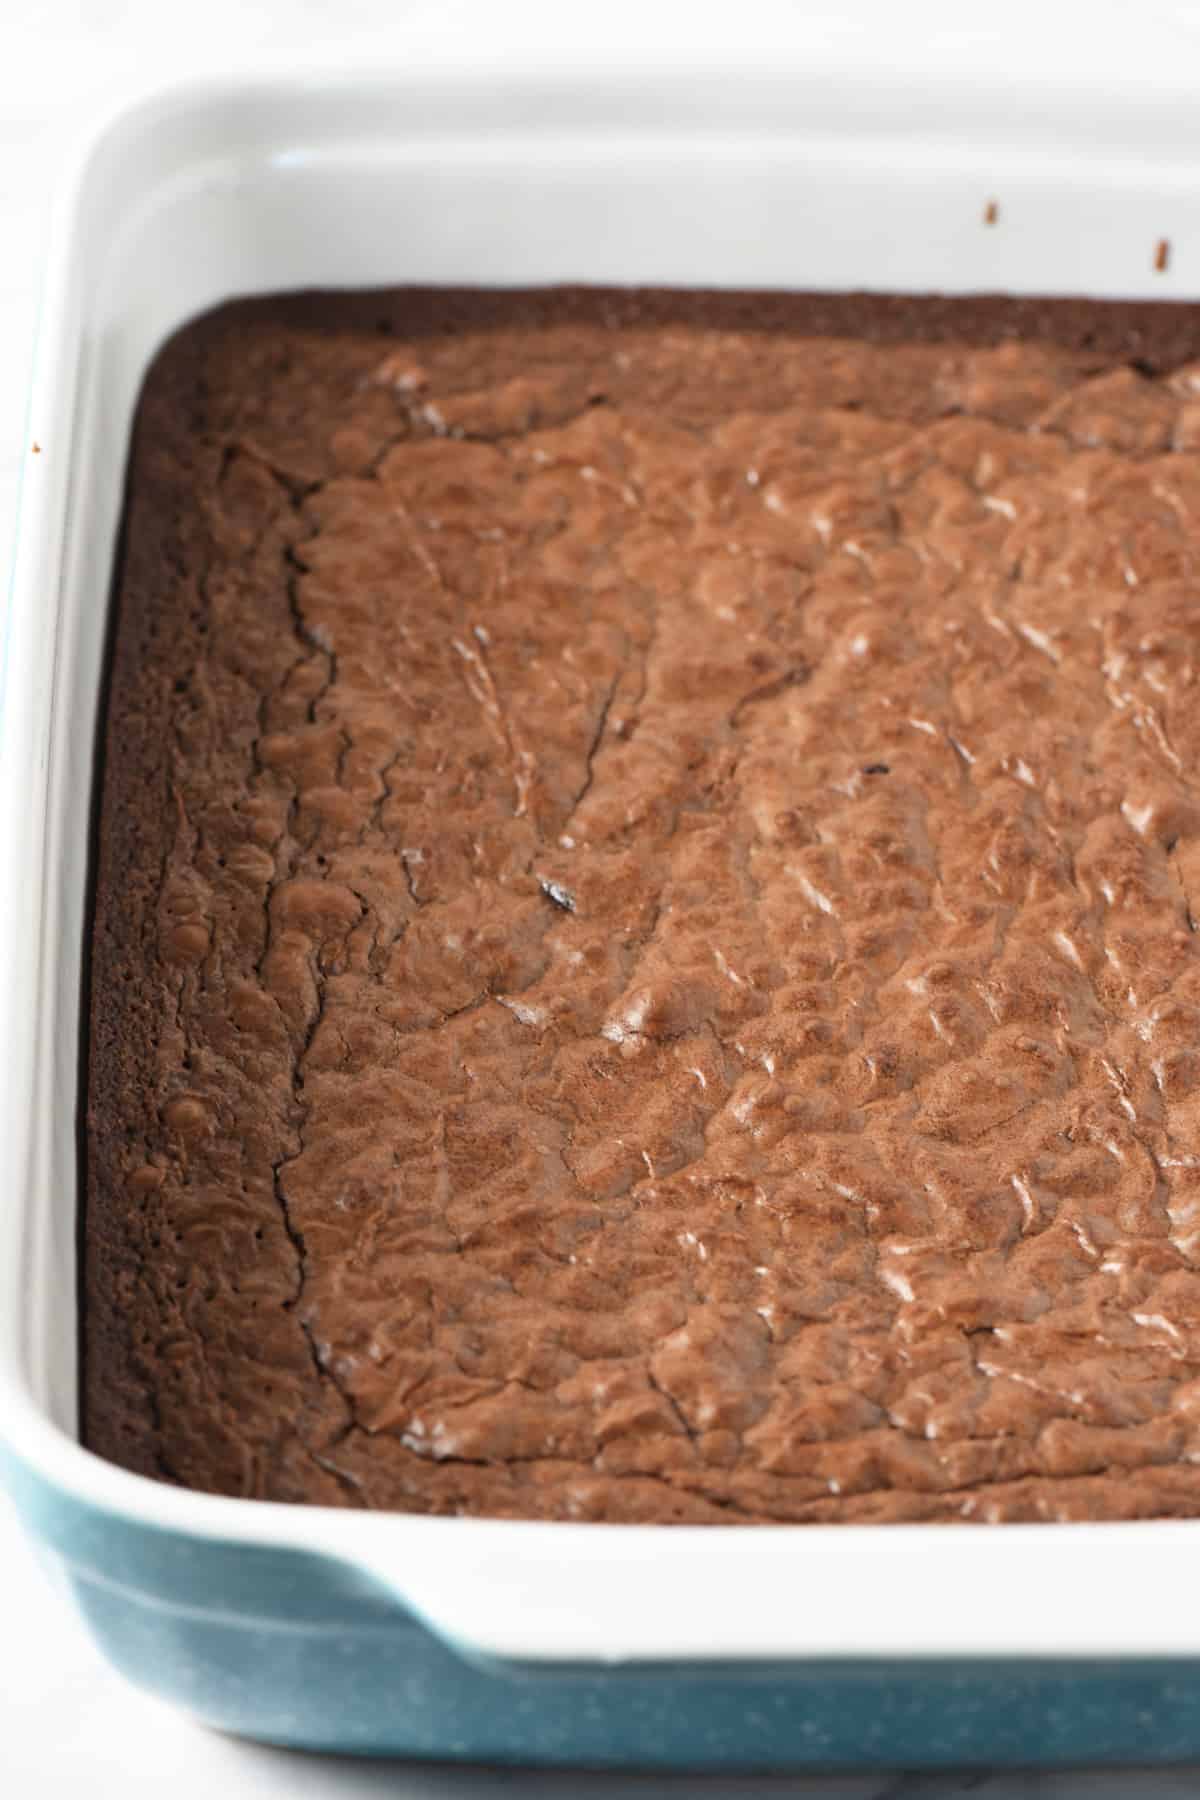
First you’ll need to mix up the brownie mix according to package directions, bake the brownies, and allow them to cool completely. Then slice the brownies into squares or as close to square shaped brownies as you can.
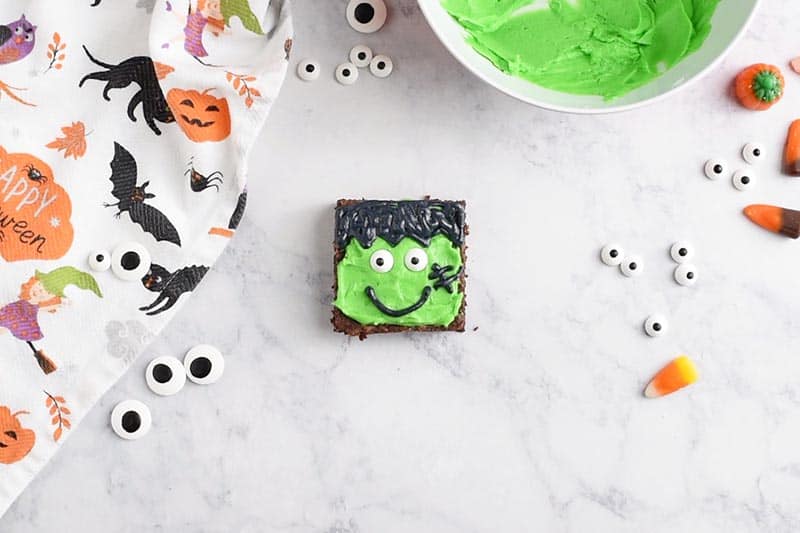
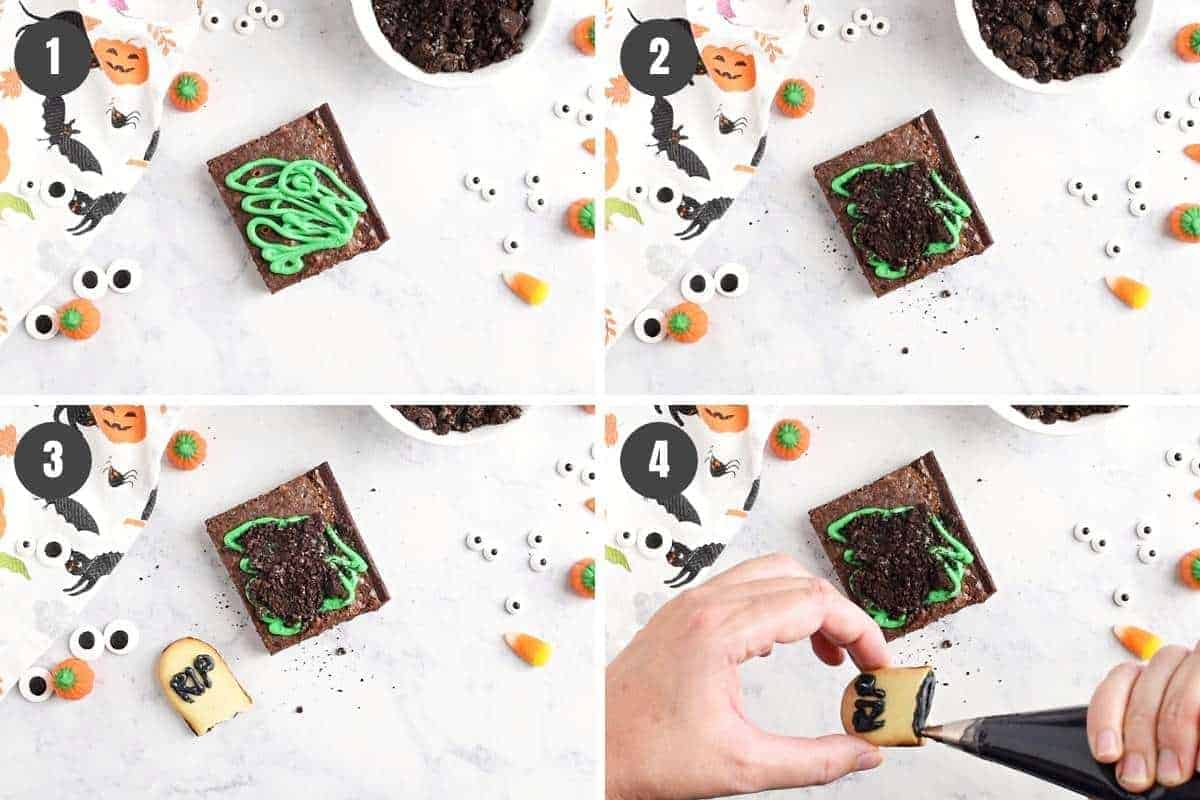
Then to decorate each brownie graveyard, follow these steps:
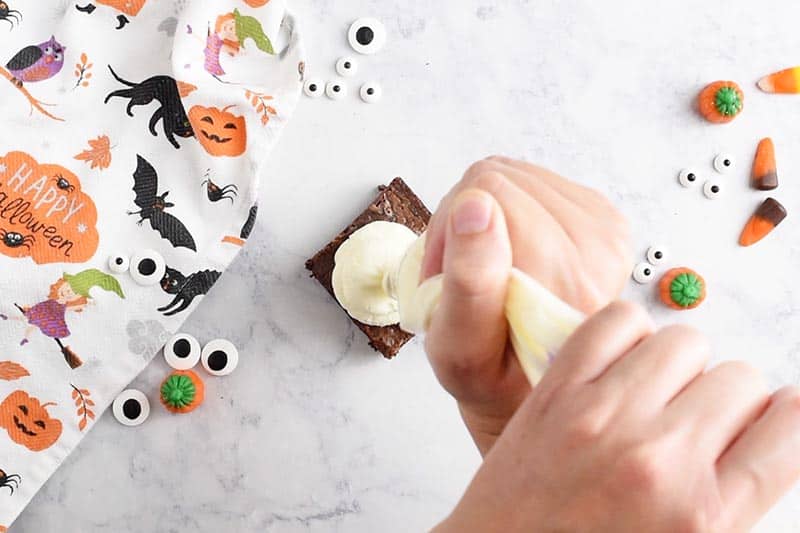
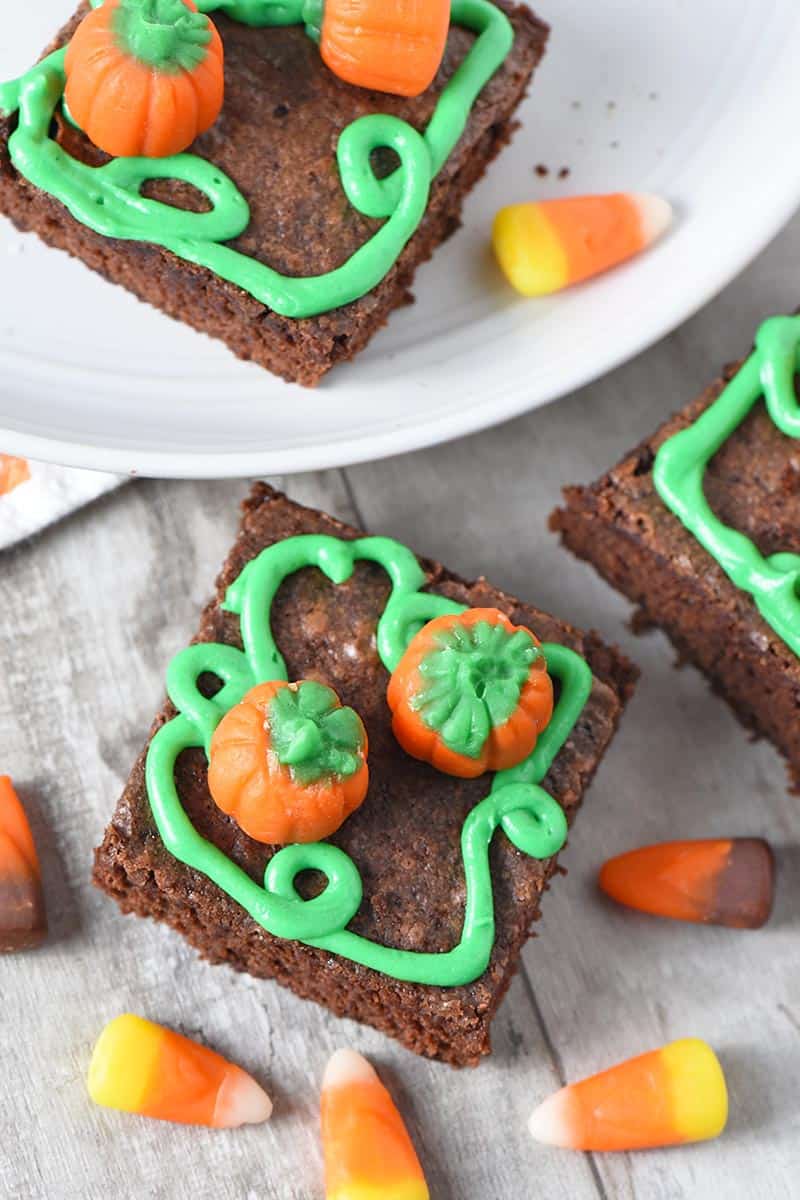
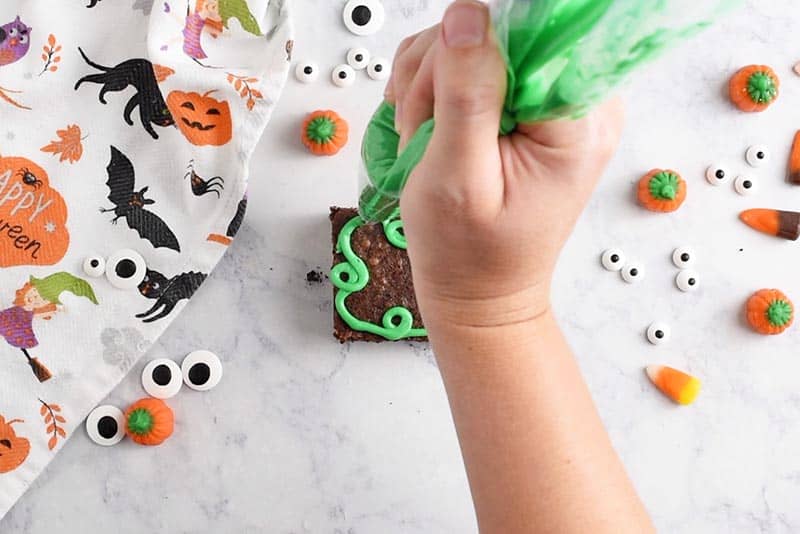
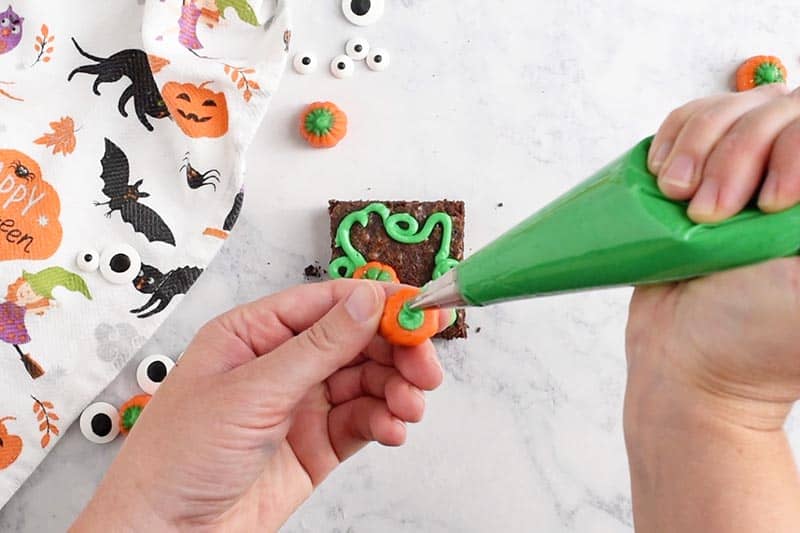
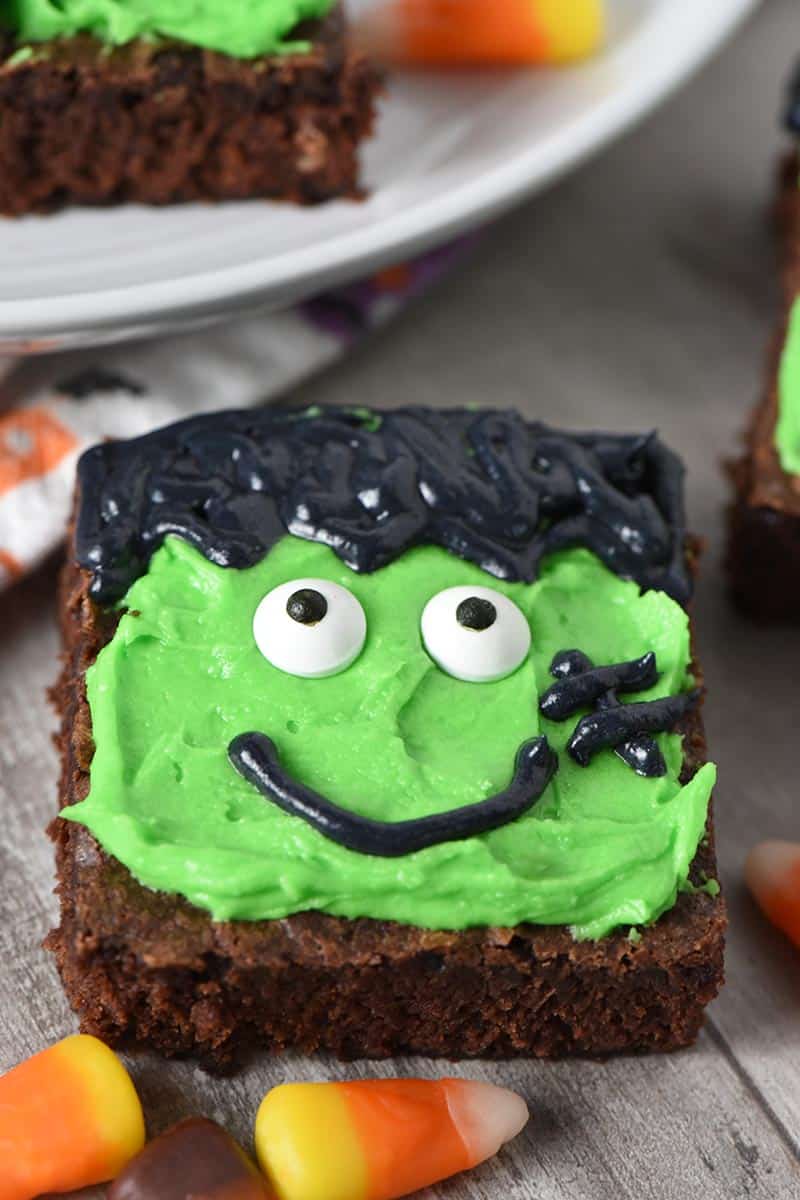
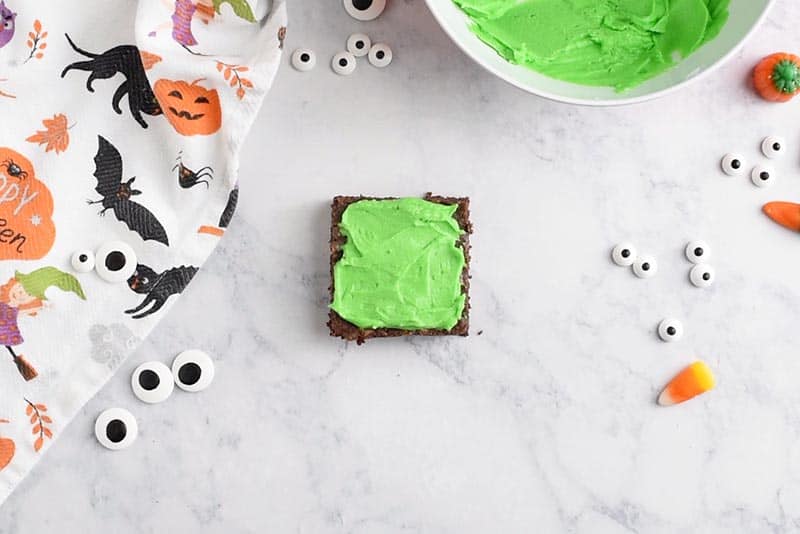
- Using either pre-made icing or homemade icing with Wilton Round Tip 5 (or the closest off brand cake tip) and a small pastry bag, add pumpkin vines (or squiggles) to the top of the brownie with green icing.
- Crumble crushed Oreos on top of the green icing.
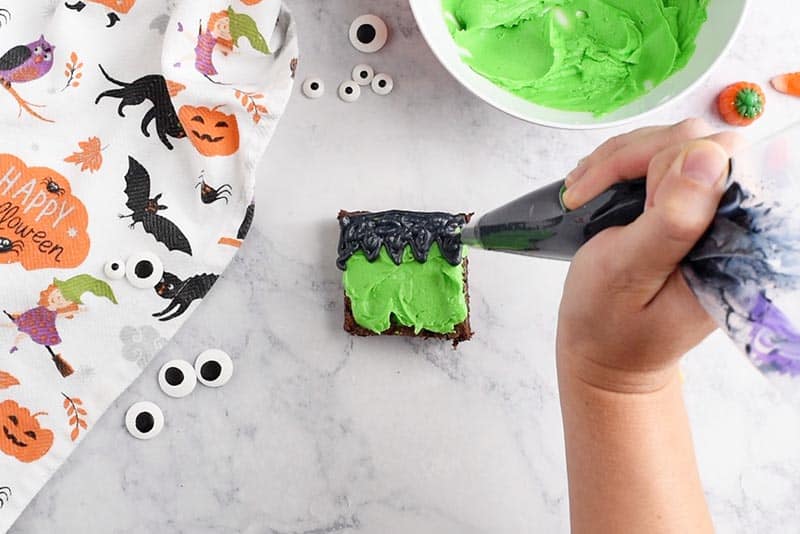
- Break or cut a Milano Cookie in half. Using either pre-made icing or homemade icing with Wilton Round Tip 5 (or the closest off brand cake tip) and a small pastry bag, pipe the letters R.I.P. with black icing.
- Pipe black icing onto the cut end of the Milano Cookie.
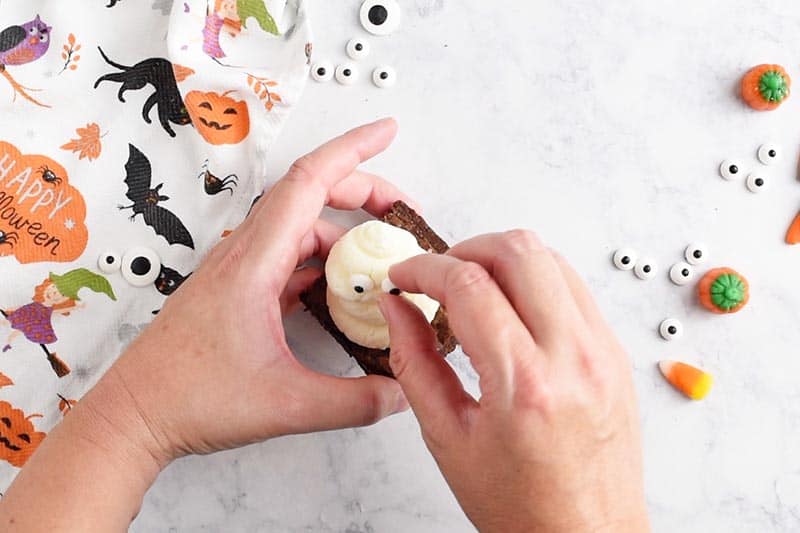
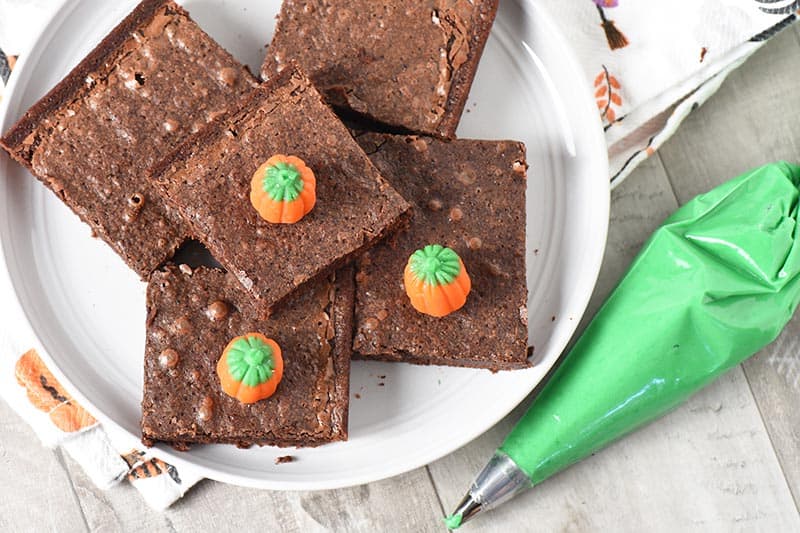
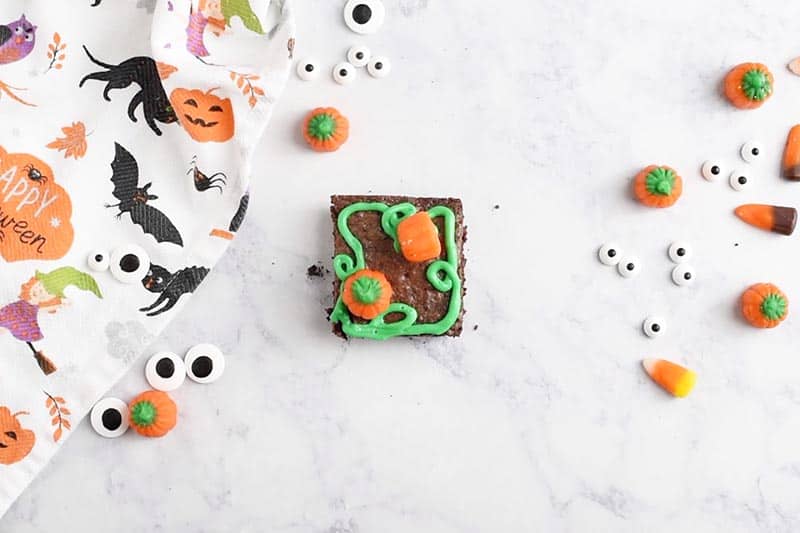
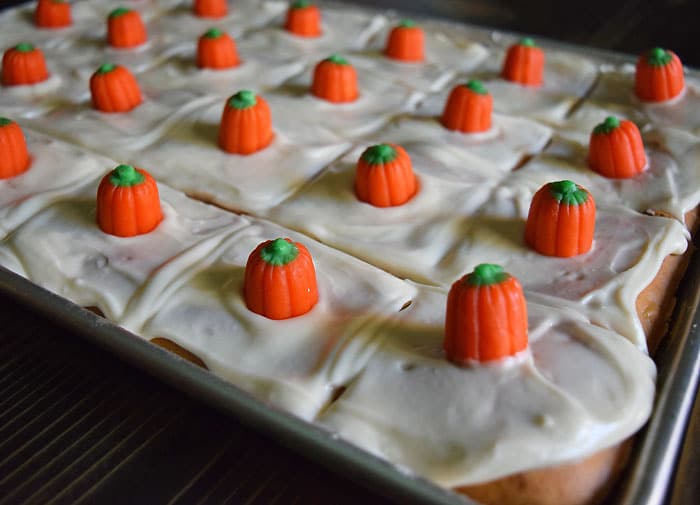
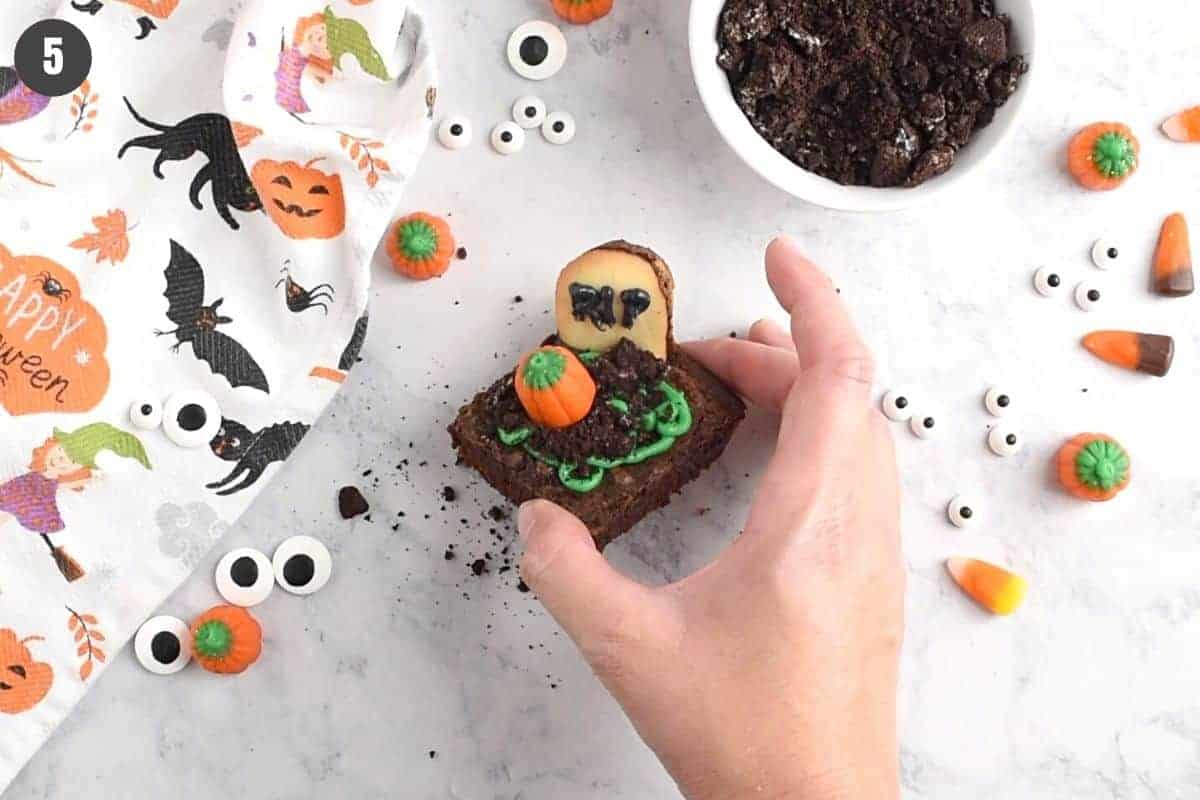
- Press the “gravestone” into the corner of the brownie; and add a dab of green icing to the bottom of a candy pumpkin, and set it in place on the “grave.”
Just remember that perfection is overrated and have fun with this! While there are a few more steps to this brownie, it’s still really easy to make and a really fun way to spend some quality time with your kids in the kitchen.
Expert Tips and Recipe FAQ’s
Don’t sweat it! If you want to use homemade icing, you can snip the corner of a sandwich bag, fill the bag with icing, and swirl away. Works like a charm! You can also create a DIY pastry bag using parchment paper or wax paper.
You can definitely make the brownies ahead of time. But I’d wait to decorate them ’til right before your party or event. That way everything looks fresh and crisp. Because of the ingredients used and the way they’re decorated, they can be more difficult to properly store.
More Halloween Desserts:
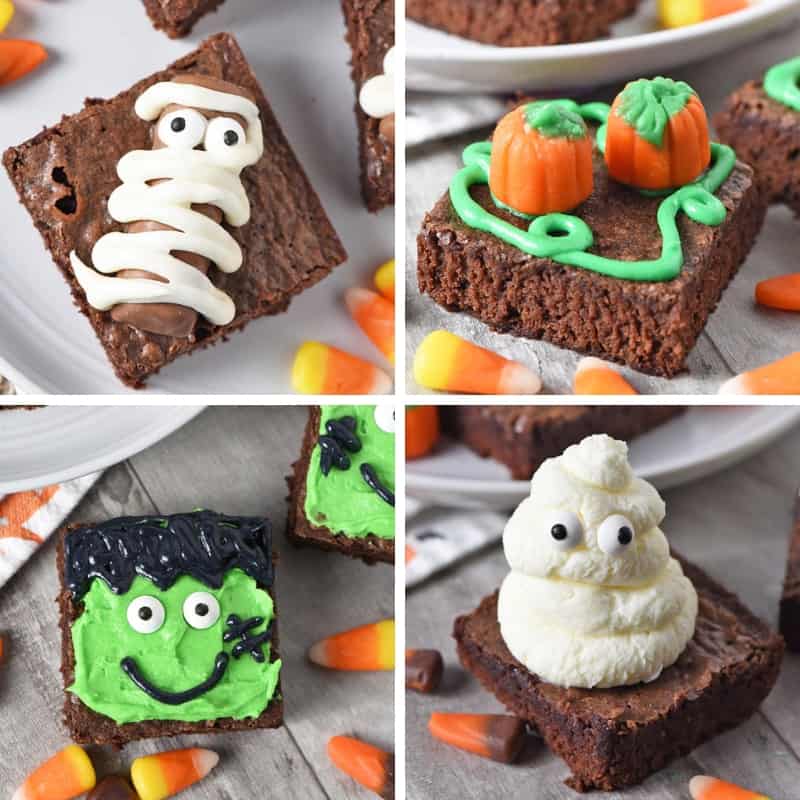
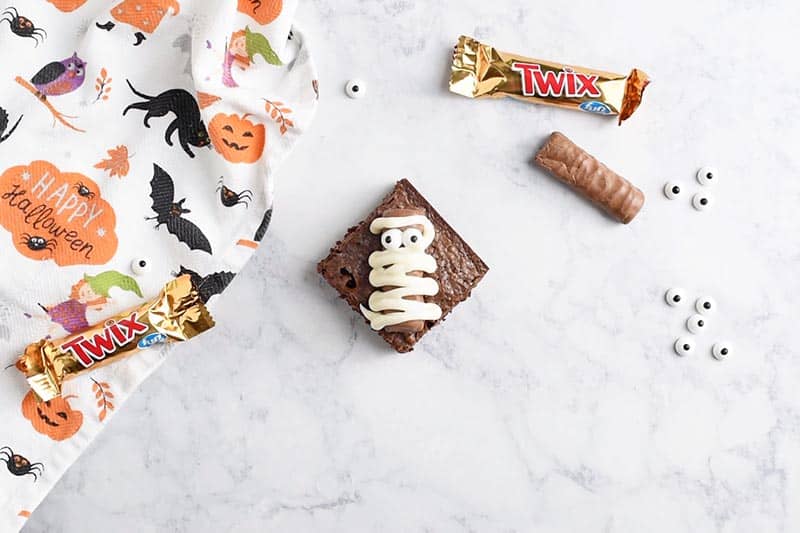
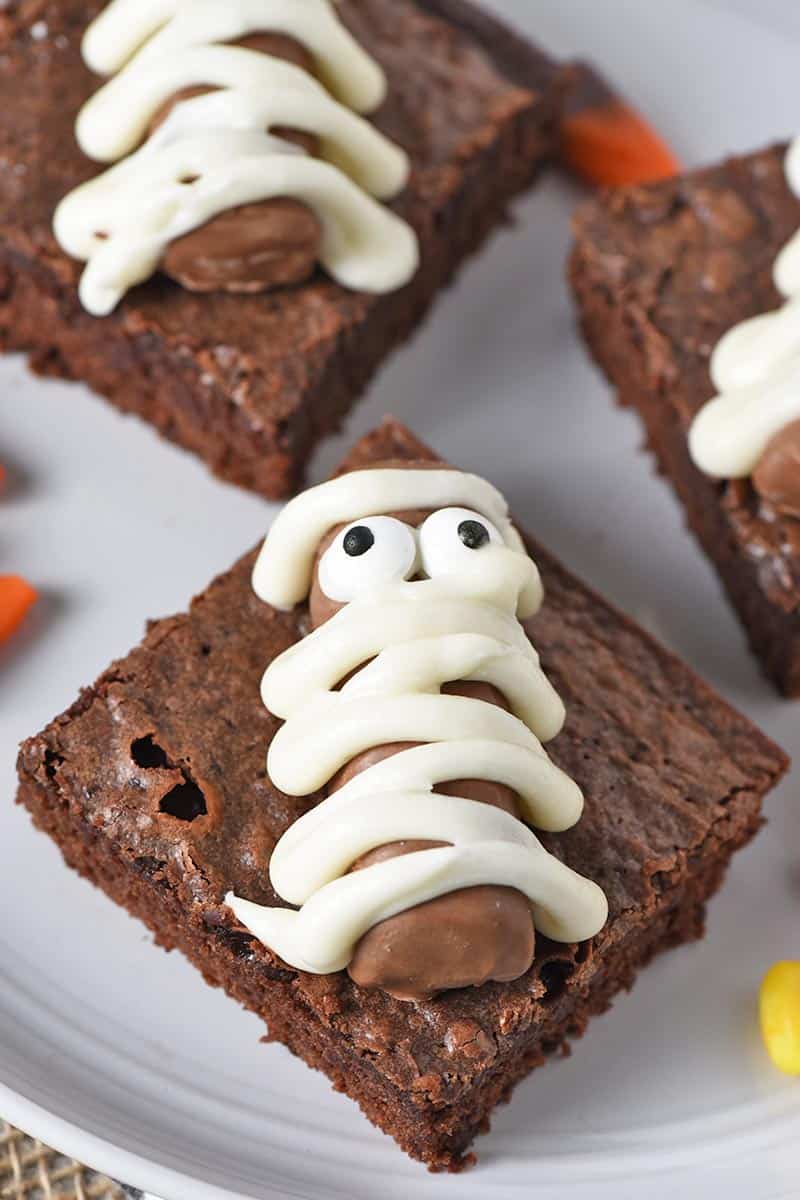
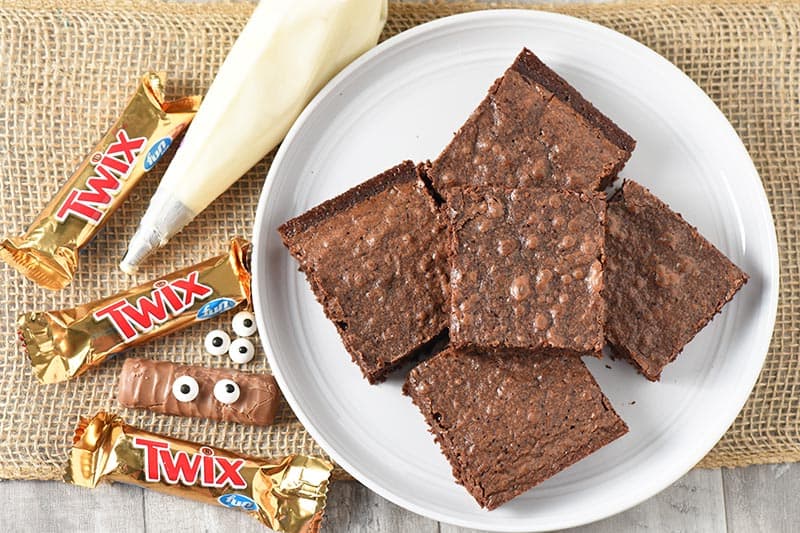
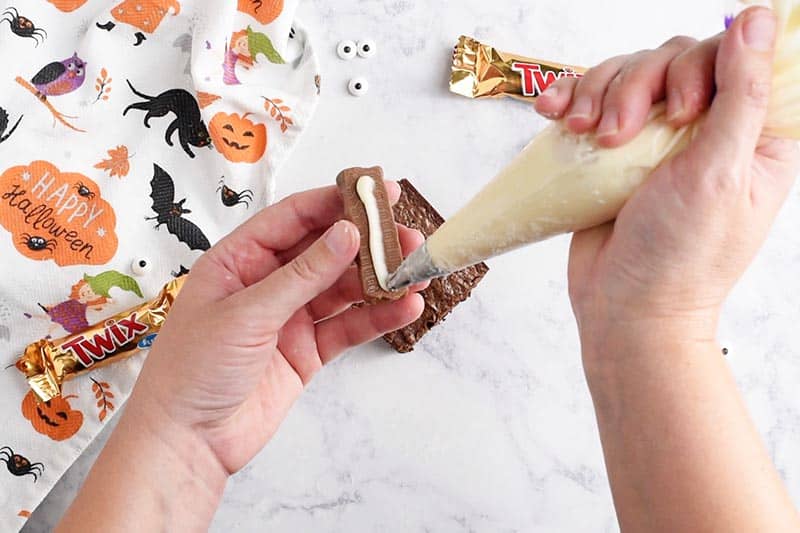
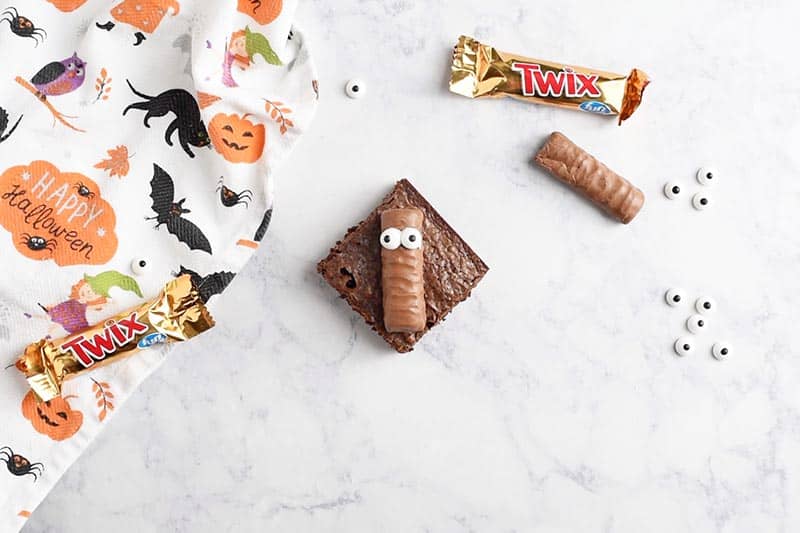
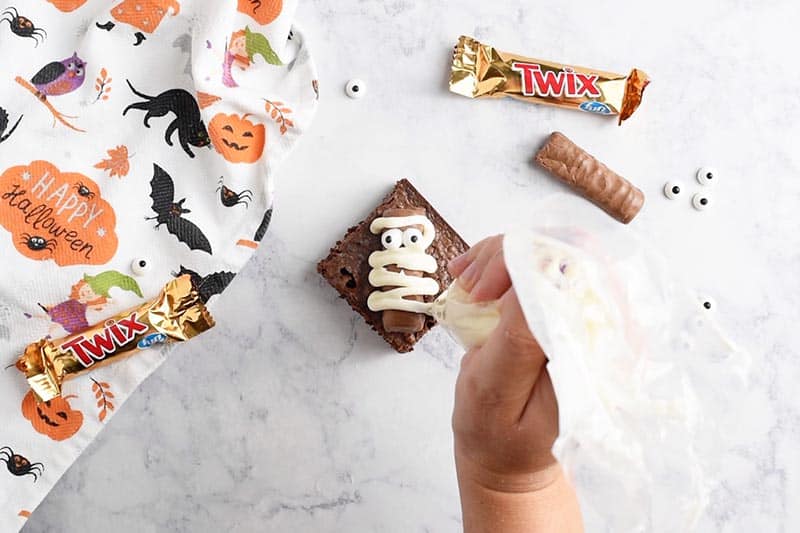
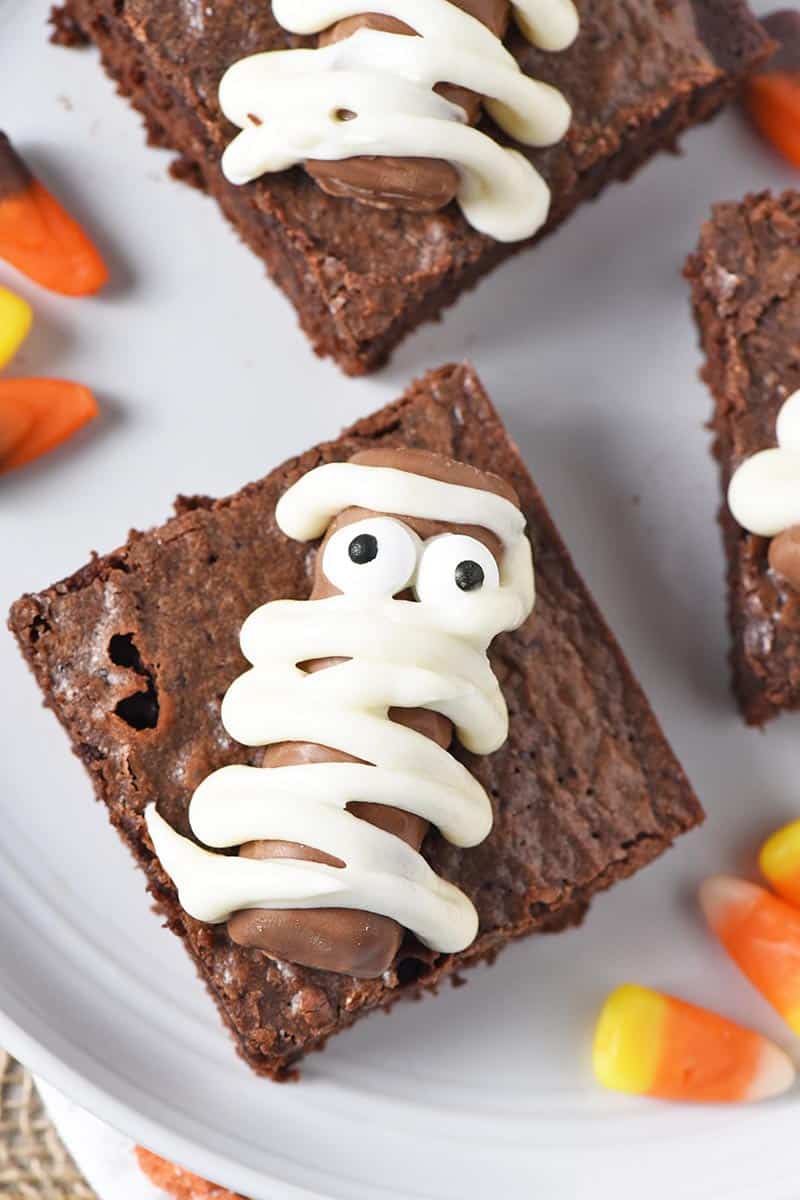
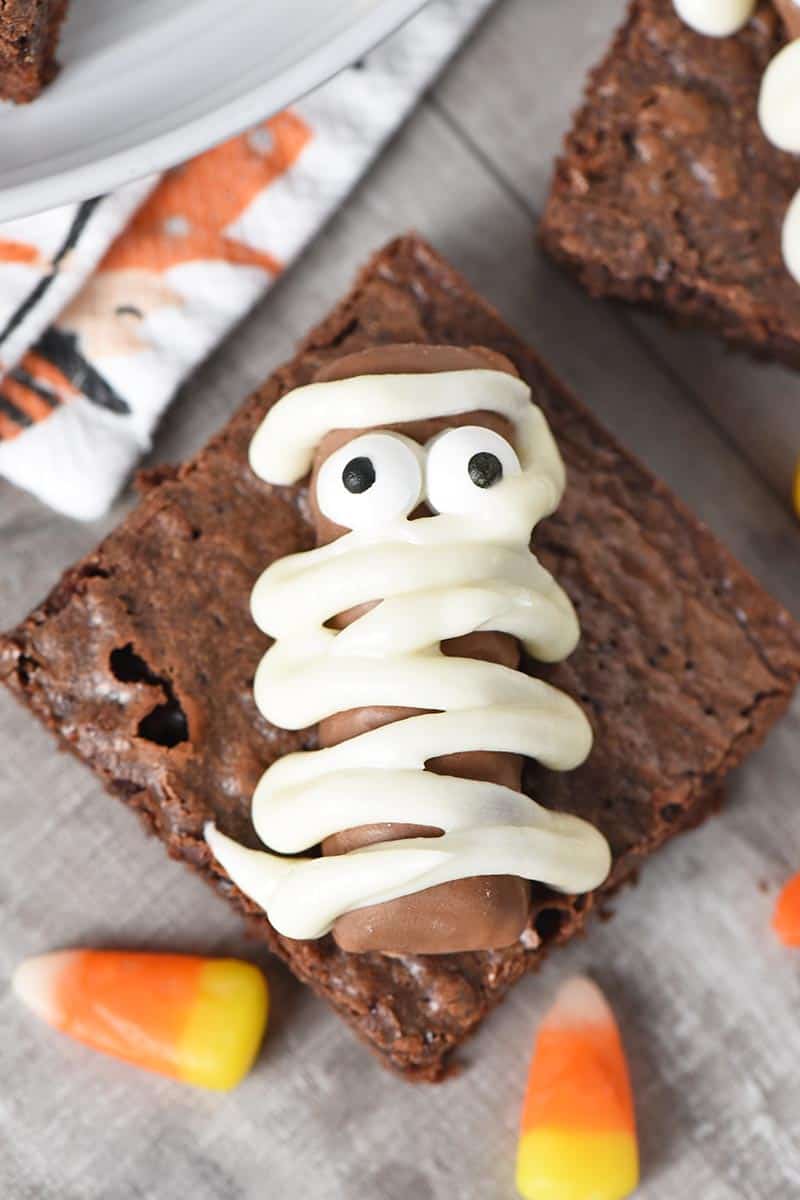
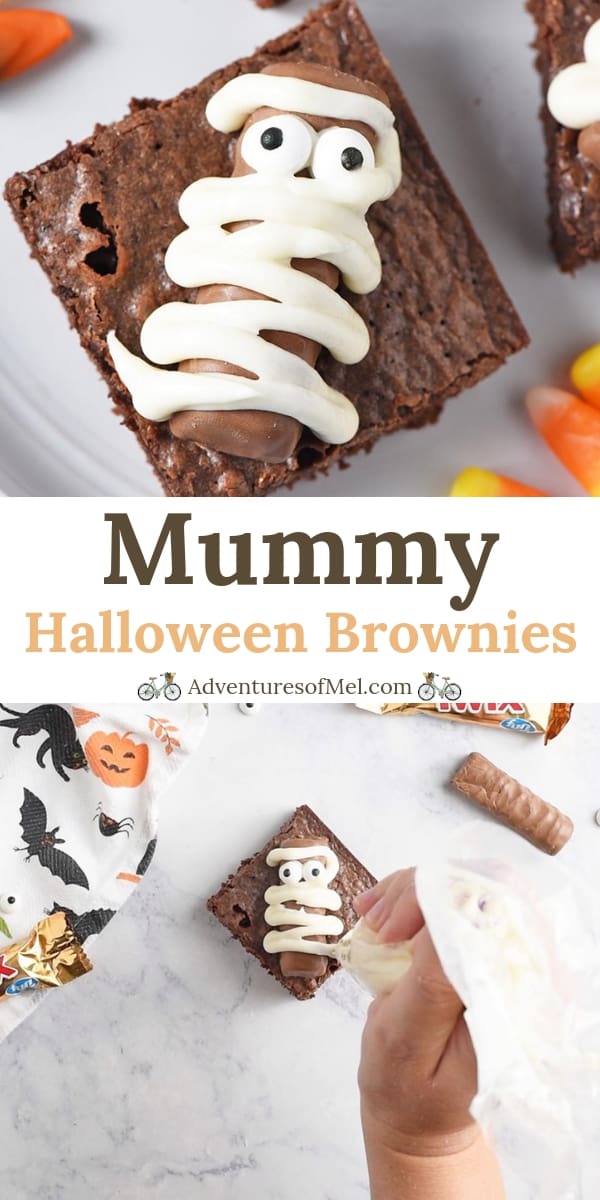
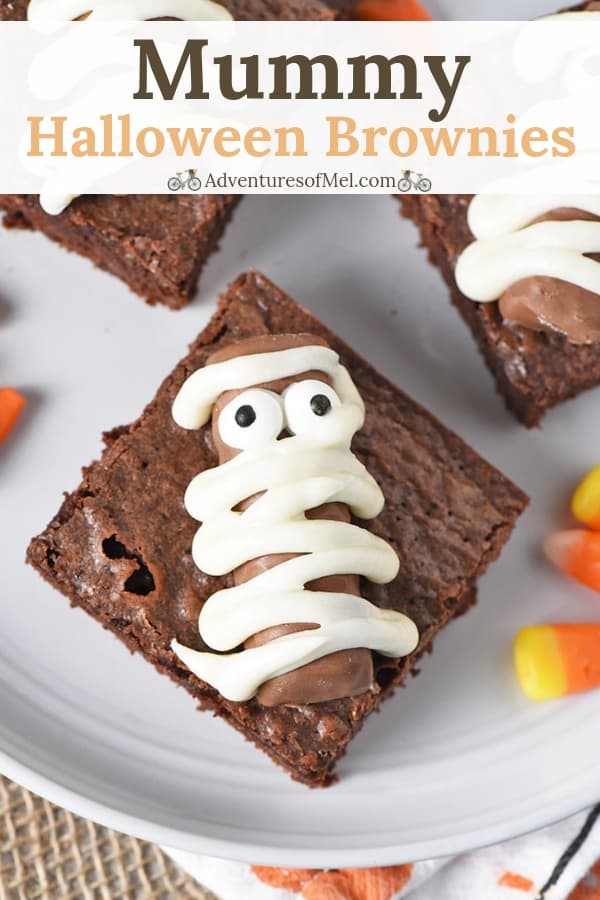
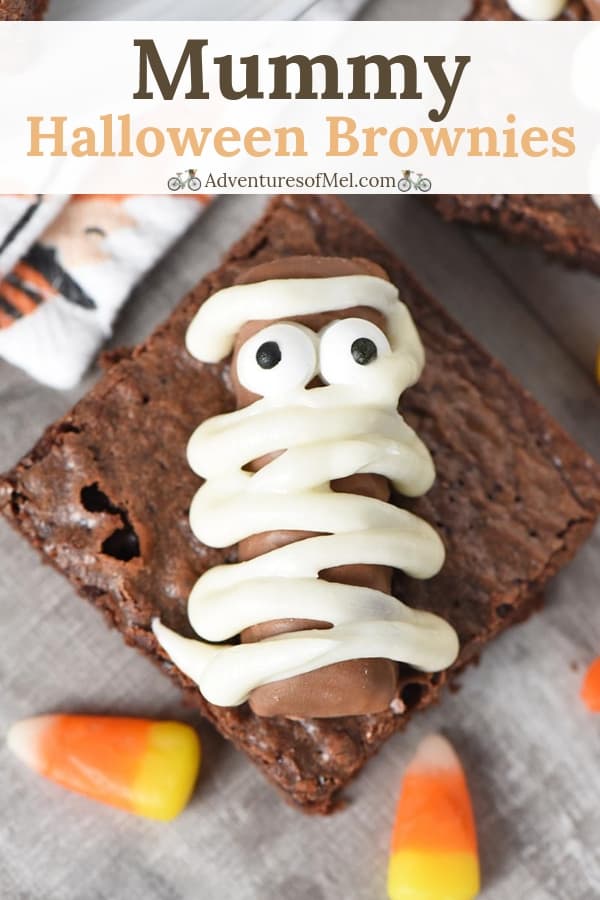
- Twix Bar Mummy Halloween Brownies
- Frankenstein Brownies
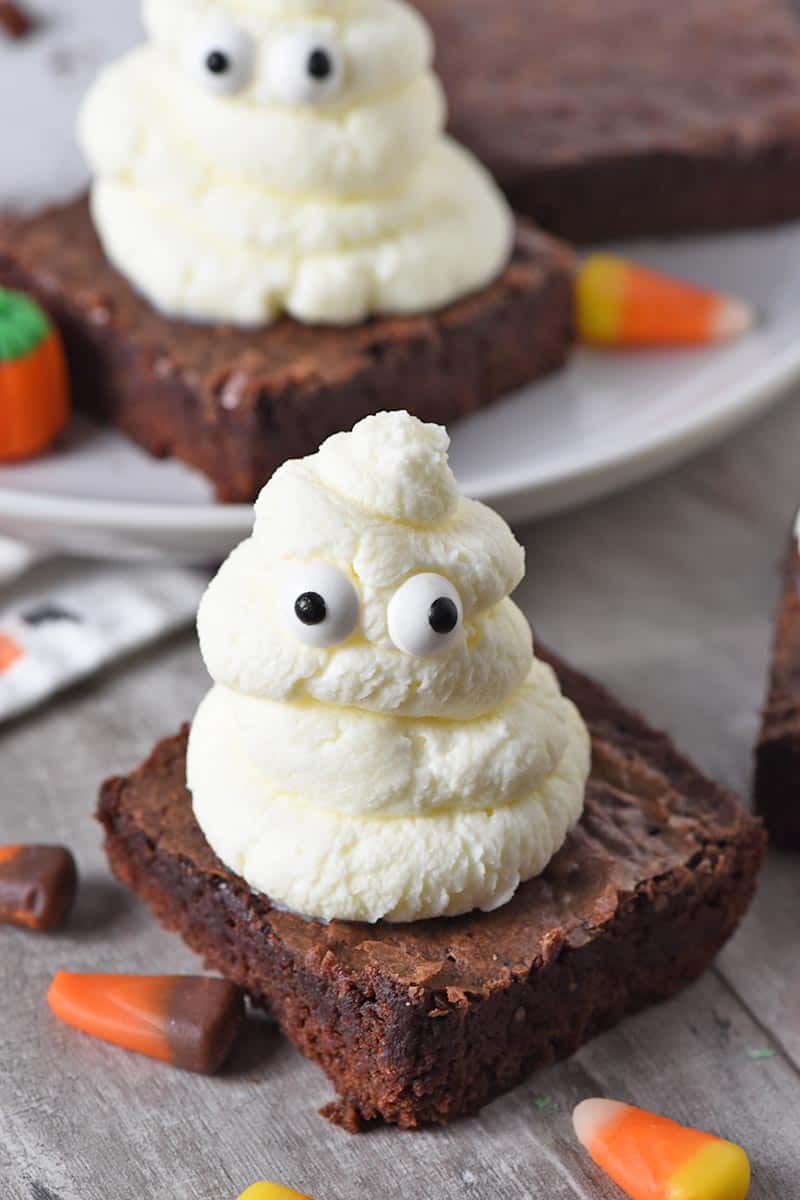
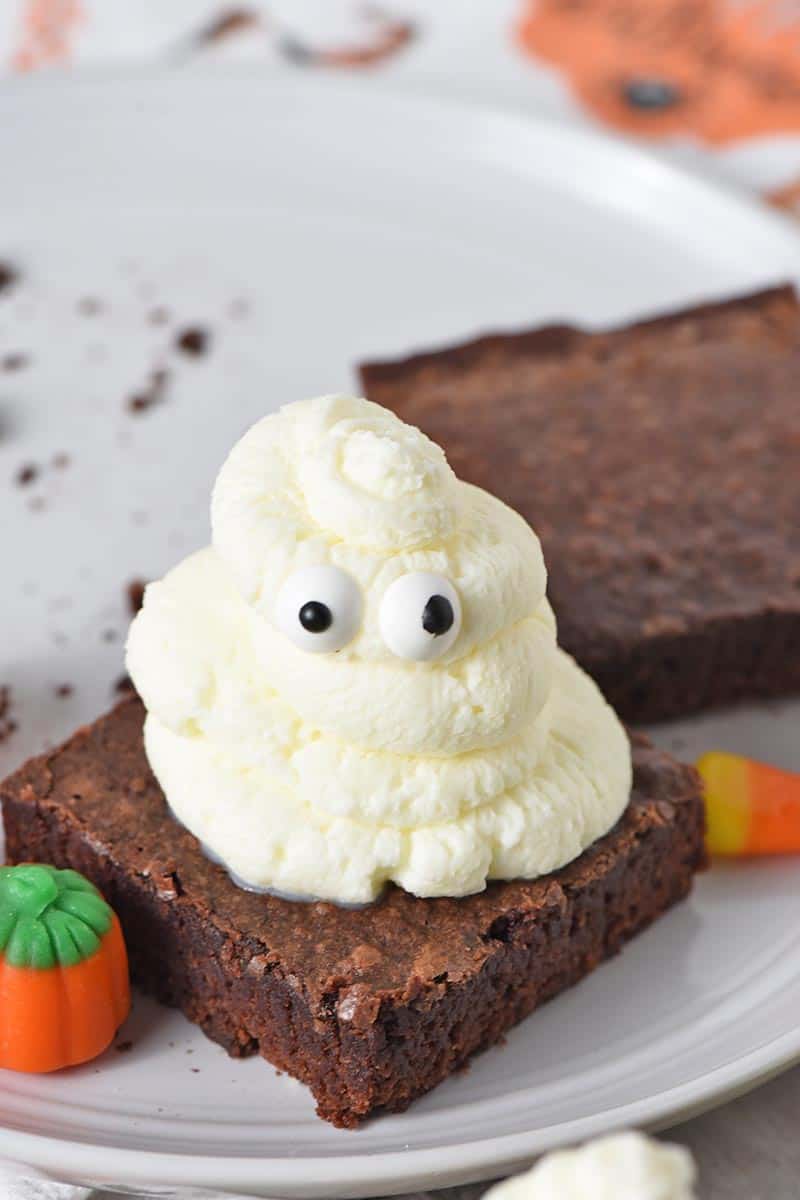
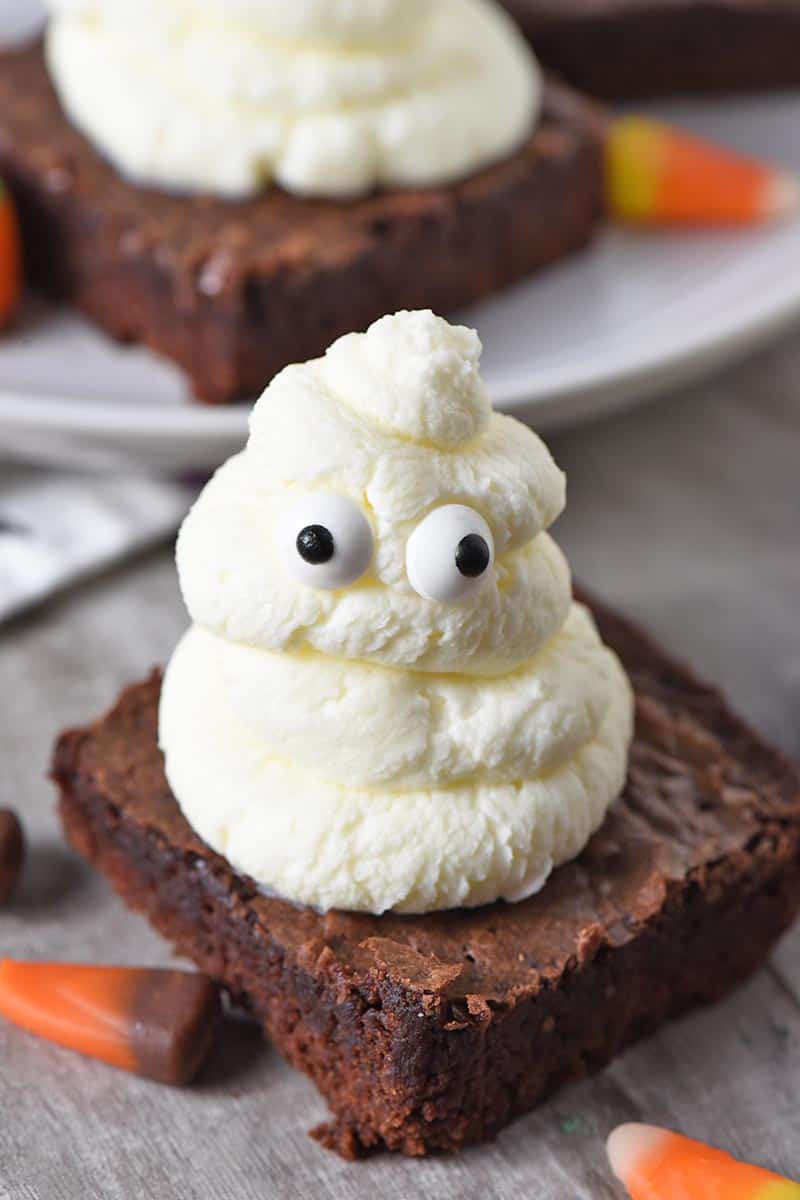
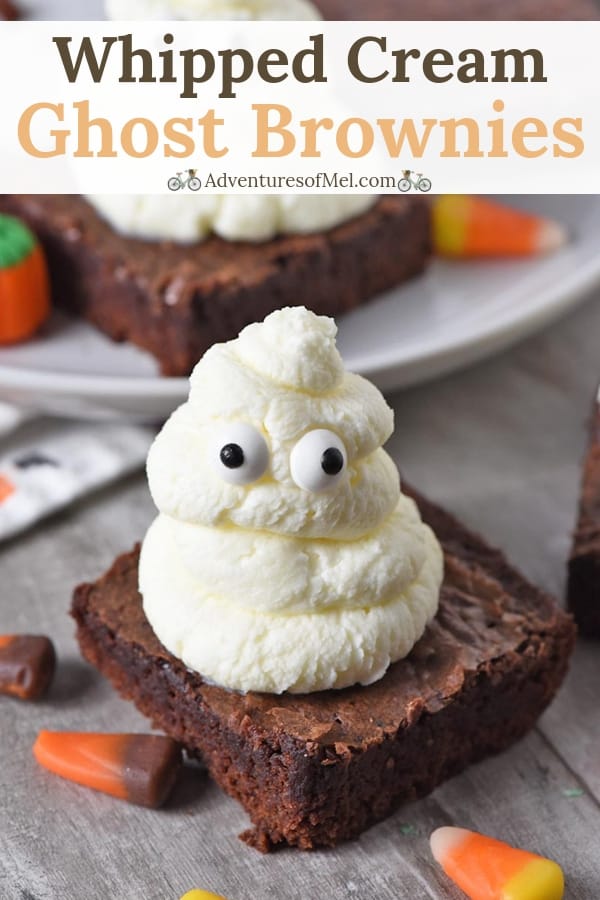
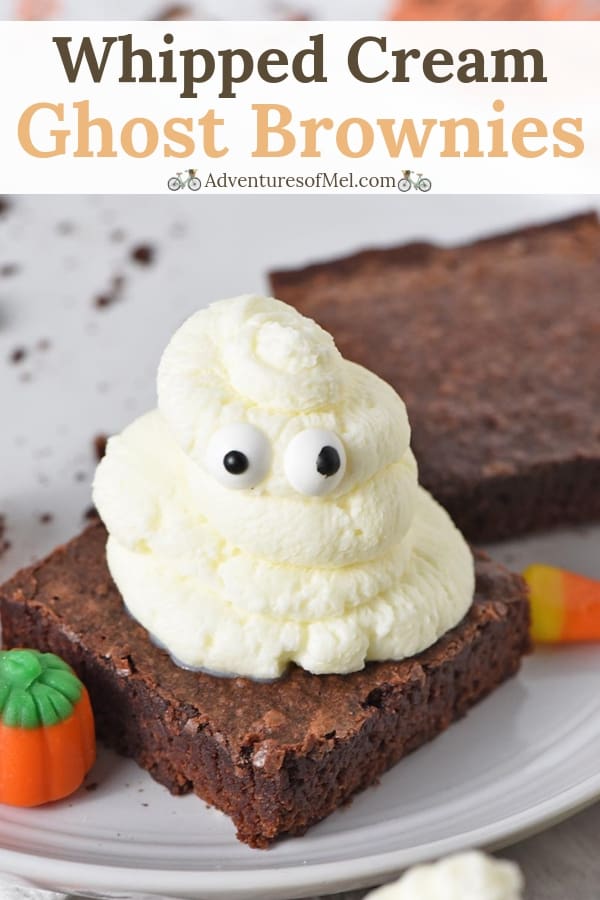
- Whipped Cream Ghost Halloween Brownies
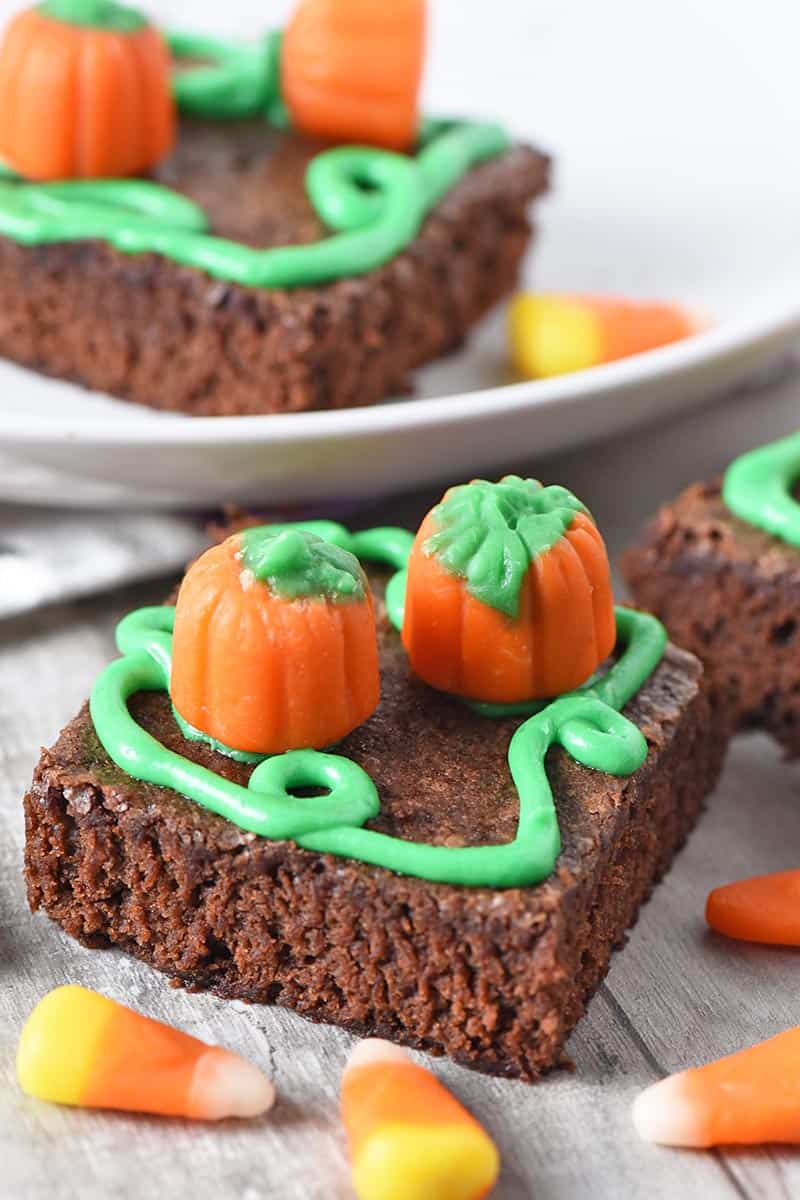
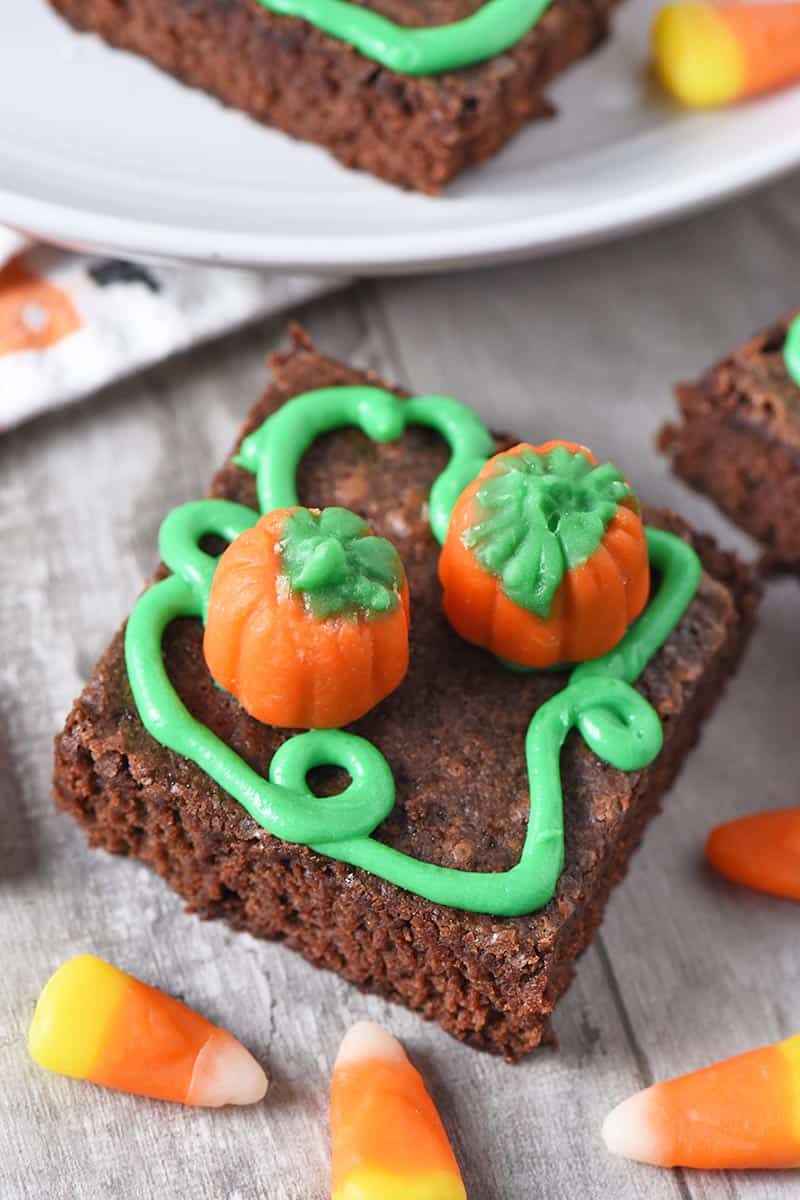
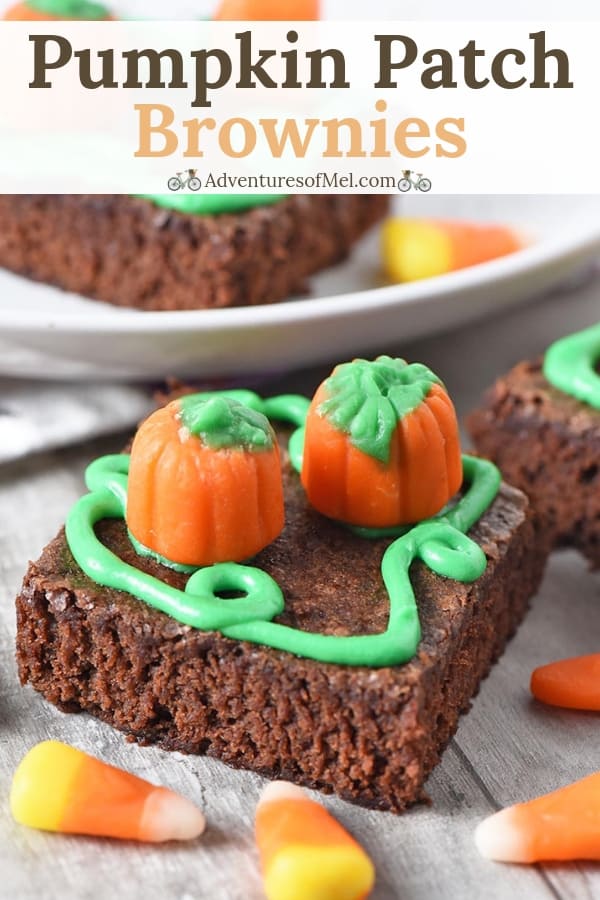
- Pumpkin Patch Halloween Brownies
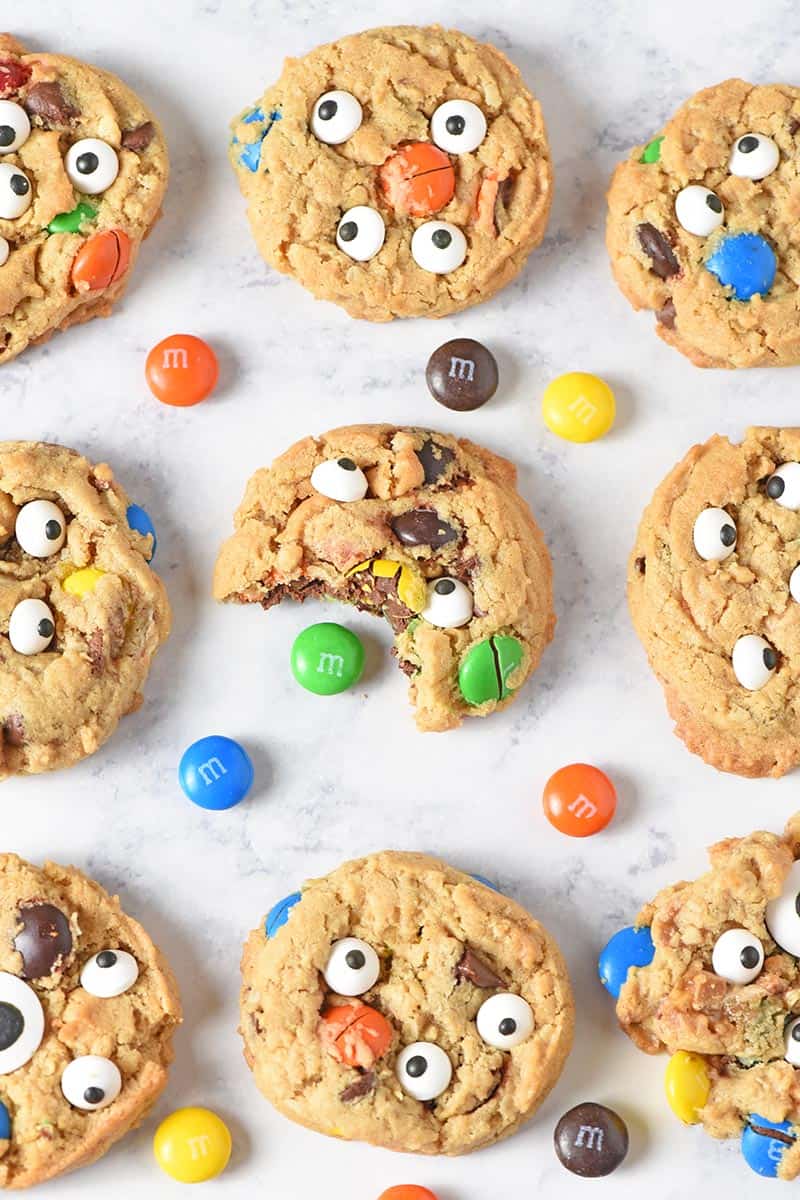
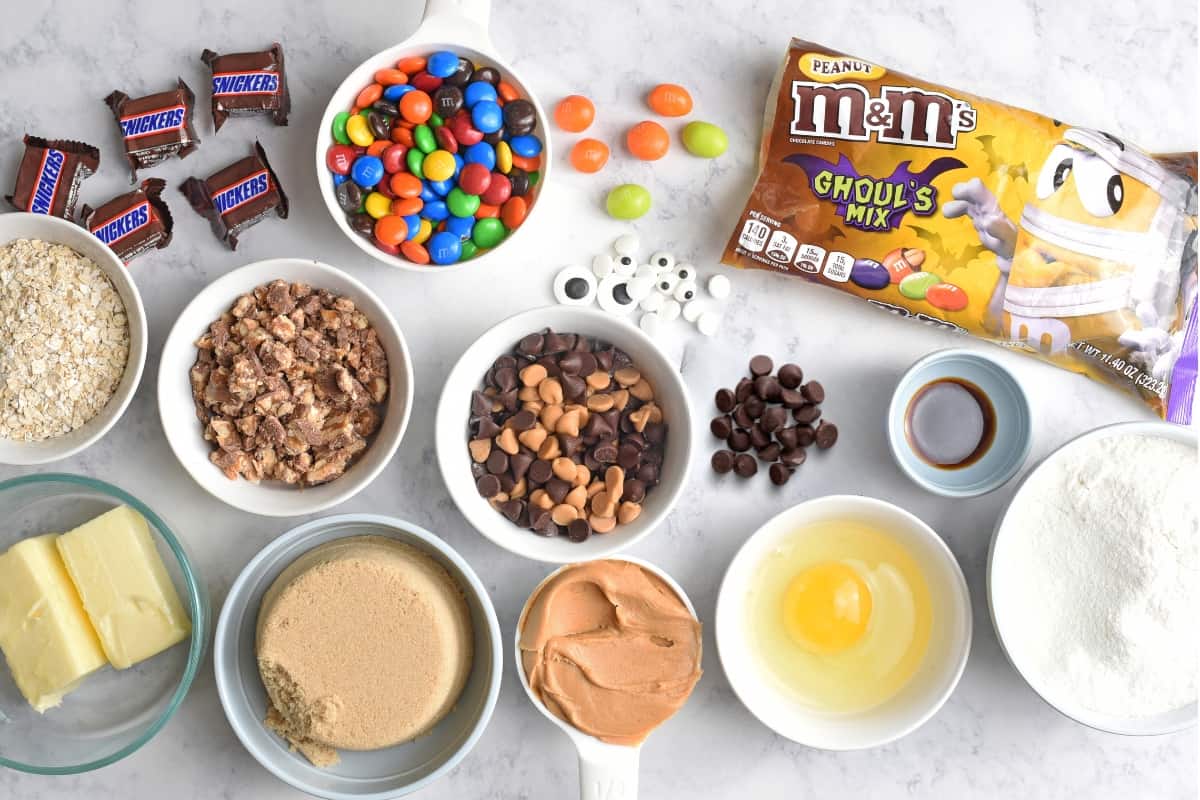
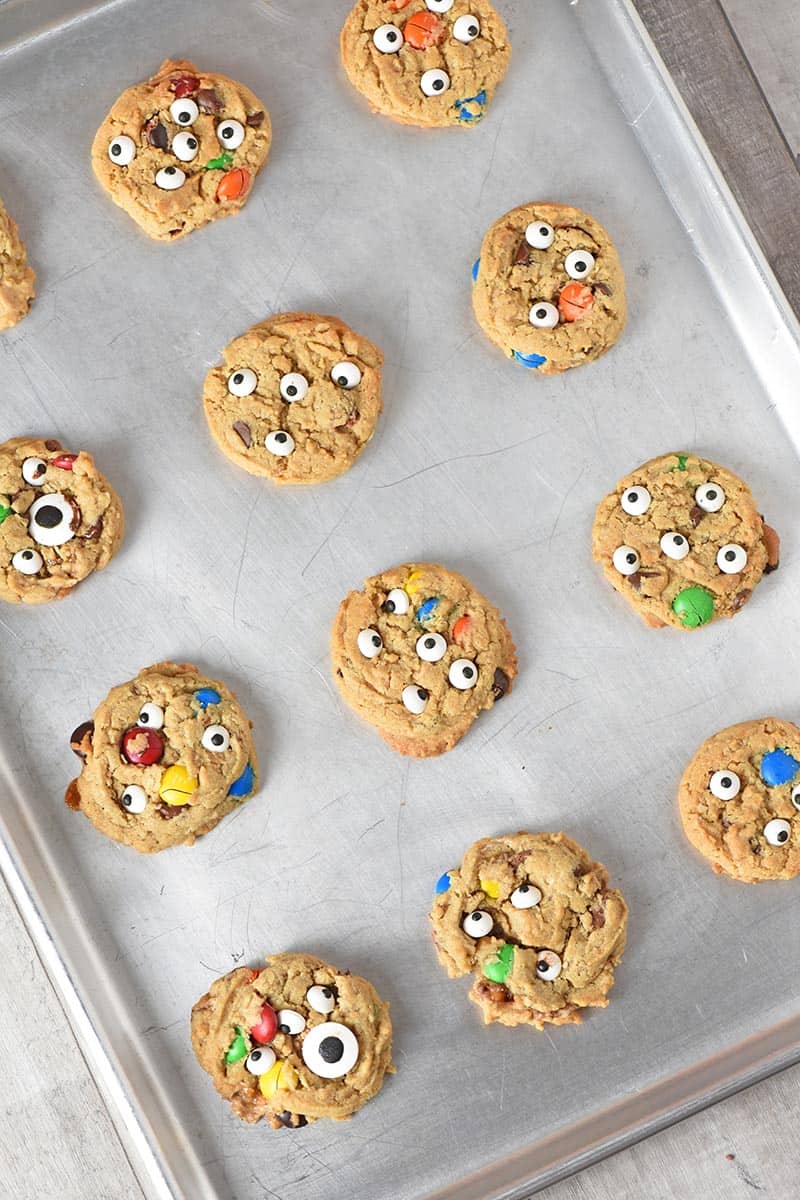
- Soft and Chewy Monster Cookies
More easy last minute ideas –>> 20+ Halloween snacks for party – including Halloween brownies, party punch, cookies, no bake desserts, treats on a stick, Halloween cupcakes, and more!
If you try this recipe, why not leave a star rating in the recipe card right below and/or a review in the comment section further down the page? I always appreciate your feedback. You can also follow me on Pinterest, Facebook, Instagram, and YouTube. And subscribe to my email list too!
Spooky Graveyard Brownies

Easy graveyard brownies, perfect for your Halloween party. Use Milano cookies, Oreos, and candy pumpkins to decorate these spooky treats!
- 15 brownies (baked and cooled)
- 1 1/2 cups green decorating icing
- 2 cups Oreo cookies (crushed)
- 6 Milano Cookies
- 1 1/2 cups black decorating icing
- 12 mellowcreme candy pumpkins
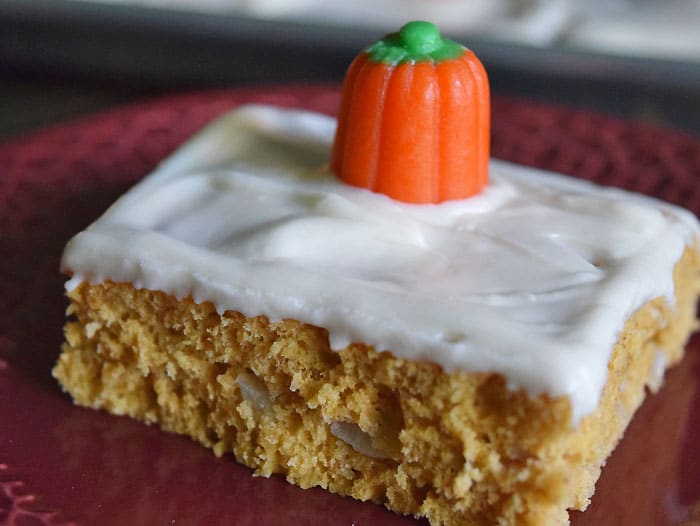
Slice the brownies into squares.
Using green decorating icing with a round tip, add pumpkin vines (or squiggles) with green icing to the top of each brownie.
- Crumble crushed Oreos on top of the green icing.
- Break or cut a Milano Cookie in half.
Using black decorating icing with a round tip, pipe the letters R.I.P. with black icing onto the front of the cookie.
- Pipe black icing onto the cut end of the Milano Cookie.
- Press the "gravestone" into the corner of the brownie.
Add a dab of green icing to the bottom of a candy pumpkin and set it in place on the grave.
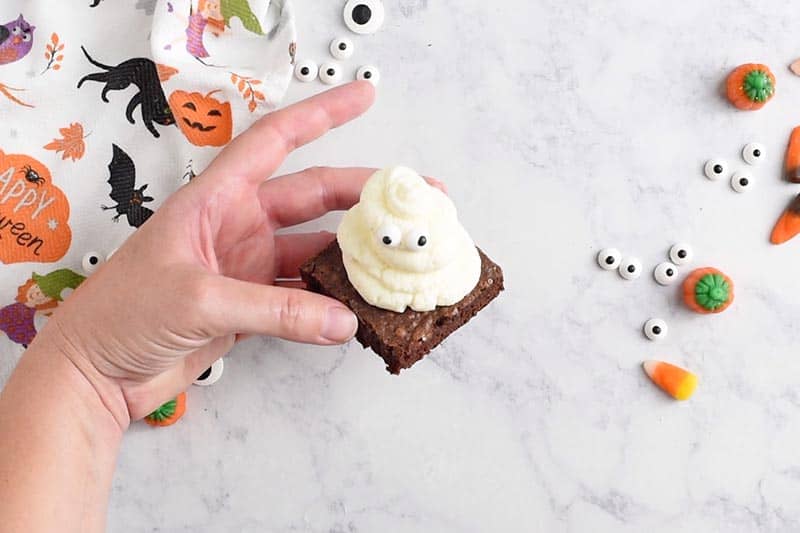
- And that’s it! They’re ready to serve for a fun Halloween treat!
*I recommend using cake-like or chewy brownies (preferably chewy) that won’t be so gooey and will easily pop right out of the pan.
*If you don’t want to buy icing, you can make homemade cookie frosting; then just separate the icing into two bowls, and mix it with black and green food coloring. Use a pastry bag and round tip to decorate. If you don’t have pastry bags or tips, you can use a sandwich bag instead. Just snip the corner of a sandwich bag, fill the bag with icing, and swirl away. You can also create a DIY pastry bag using parchment paper or wax paper.