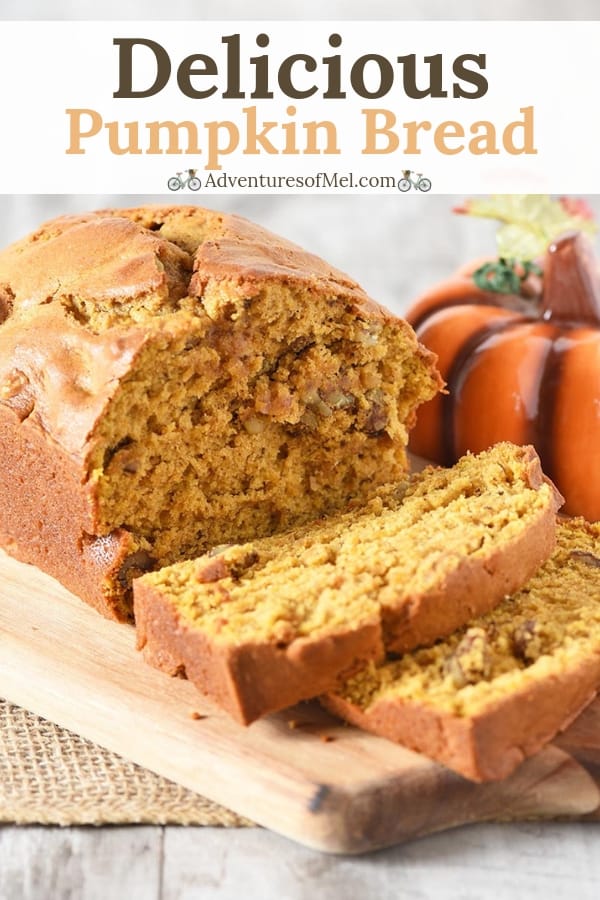
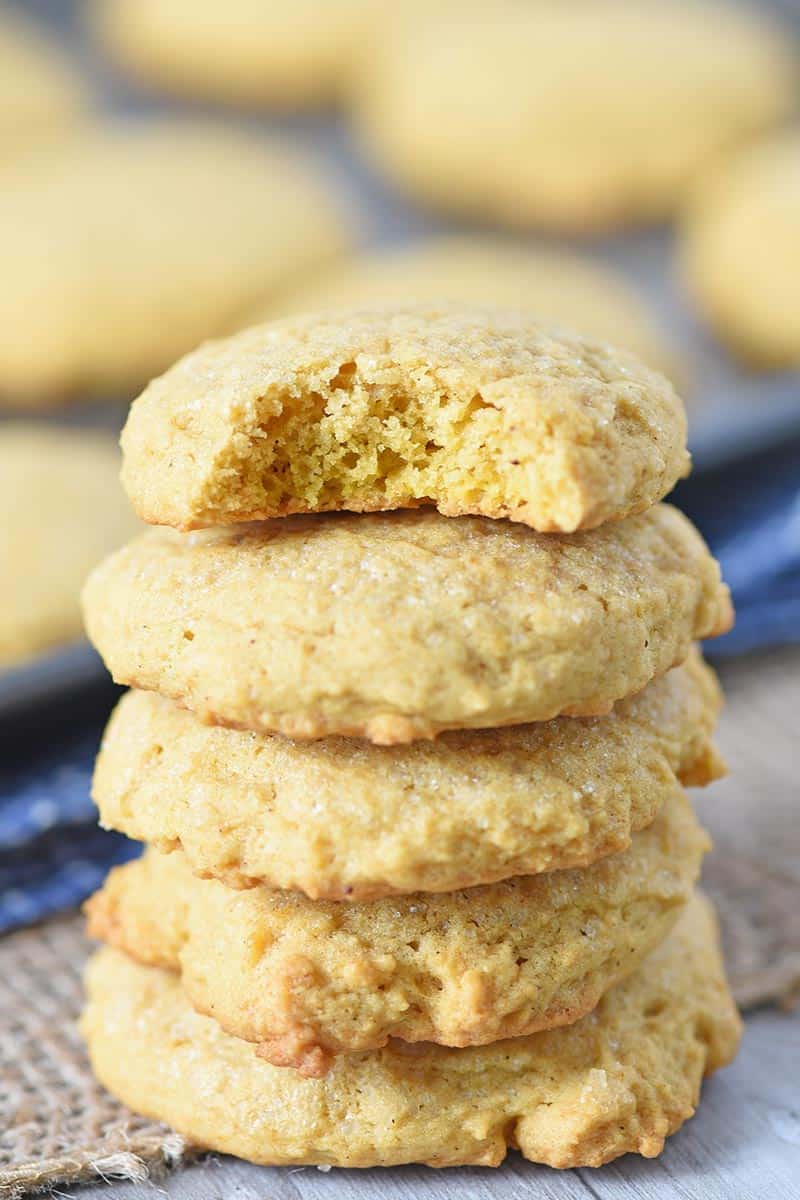
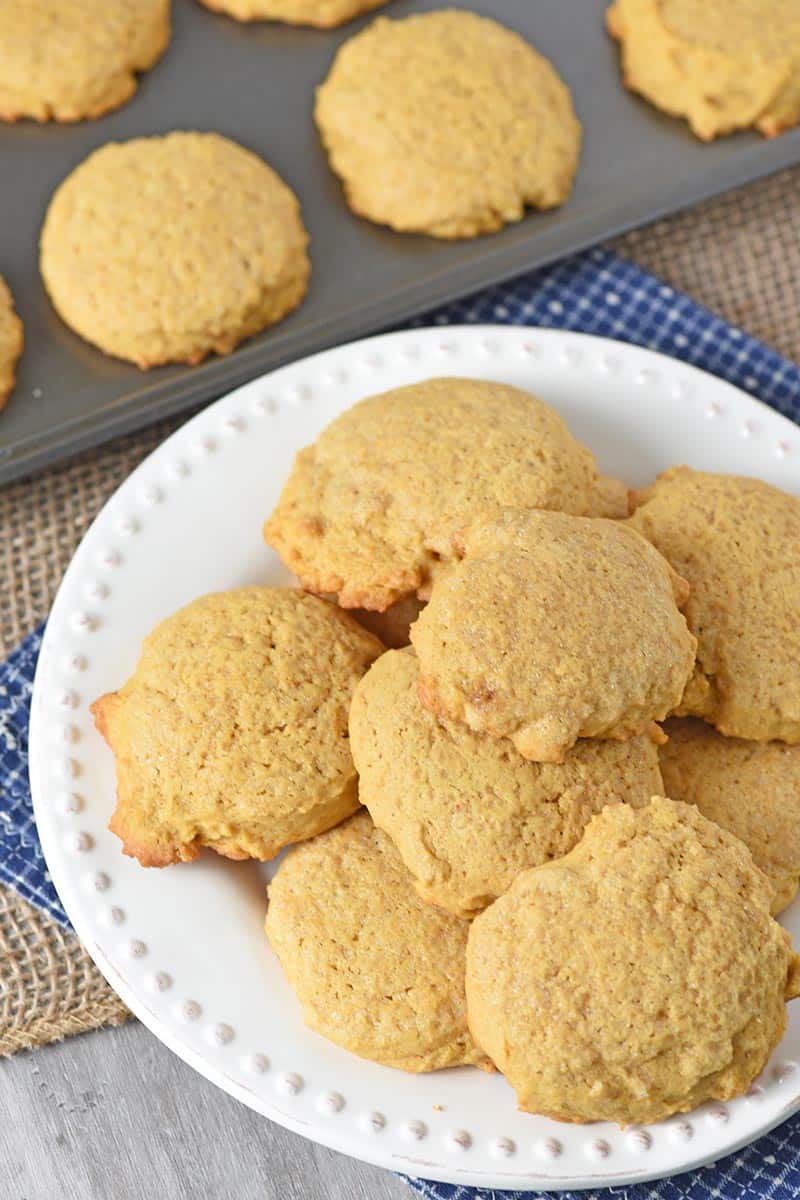
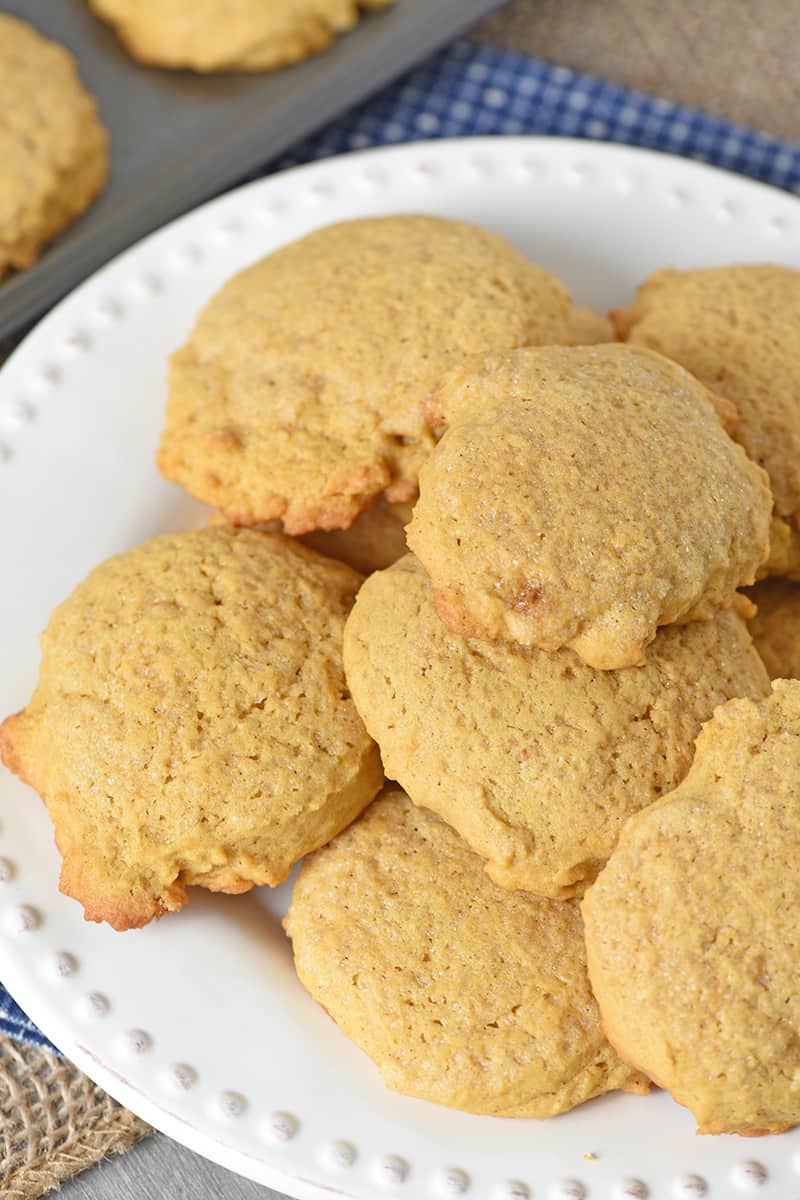
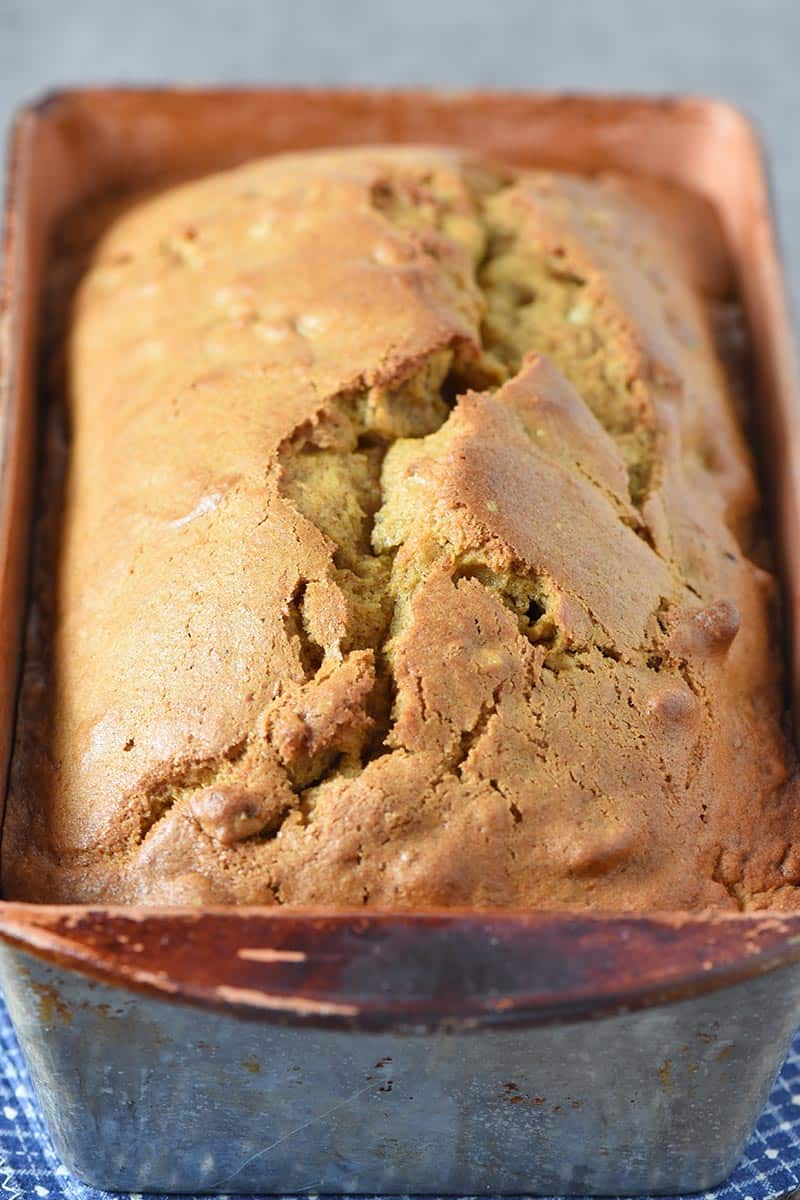
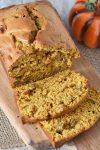
Bake up a taste of fall with this deliciously moist pumpkin bread recipe. Simple, easy, and quick, you can even add walnuts, pecans, or chocolate chips. Thank you to WonderMix for sponsoring this recipe!
There’s nothing quite like a pumpkin bread recipe to bring the taste of fall right into your very own kitchen. Filled with pumpkin and the flavors of pumpkin spice, this is one quick bread I look forward to every year.

Pumpkin bread is a lot like banana bread. It has many of the same ingredients; only it has pumpkin instead of banana.
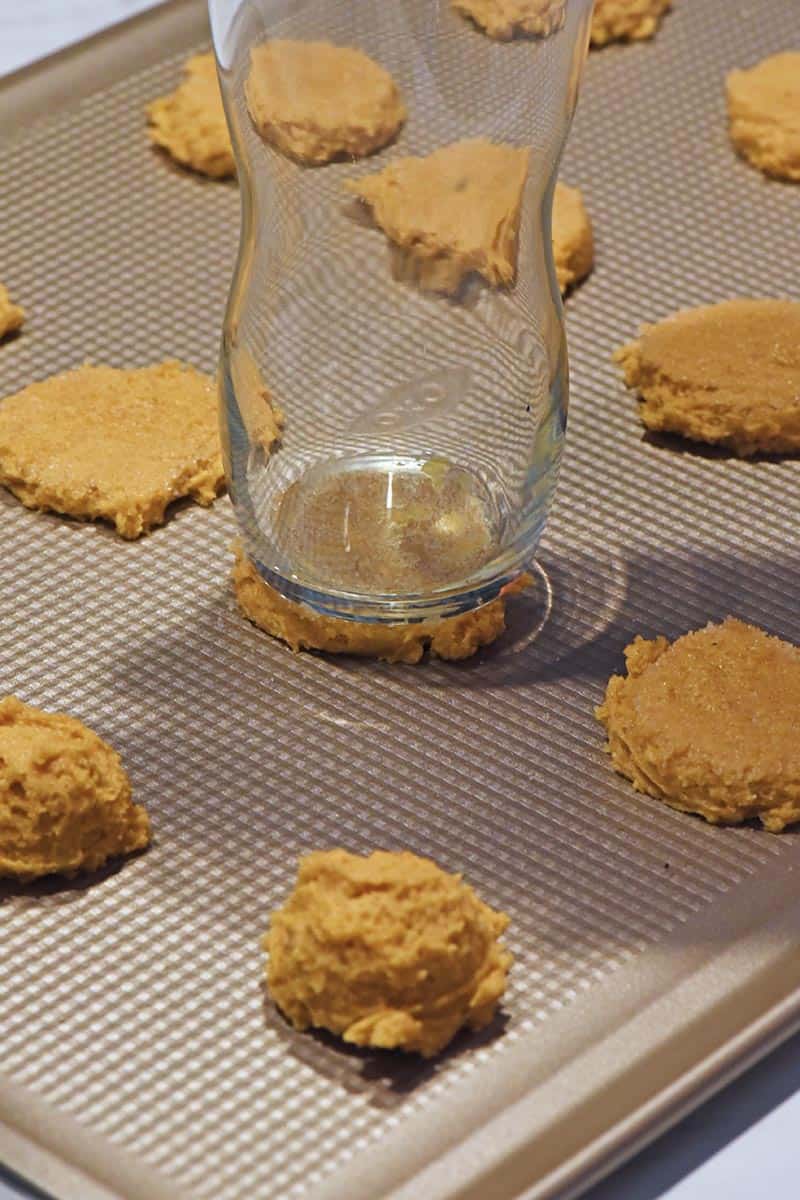
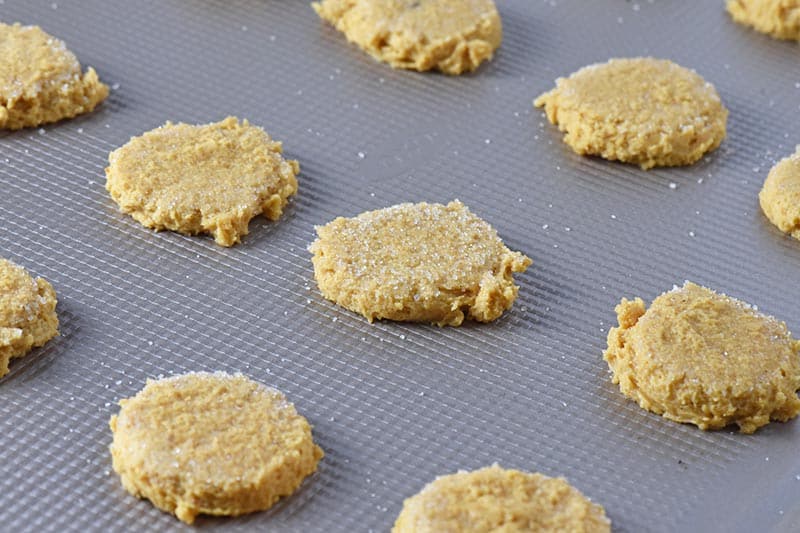
While I haven’t tried it myself, I would think that you could also make muffins with this recipe, if you don’t want to actually make a bread loaf. The muffins will be sweet, moist, and everything you love about a fall morning.
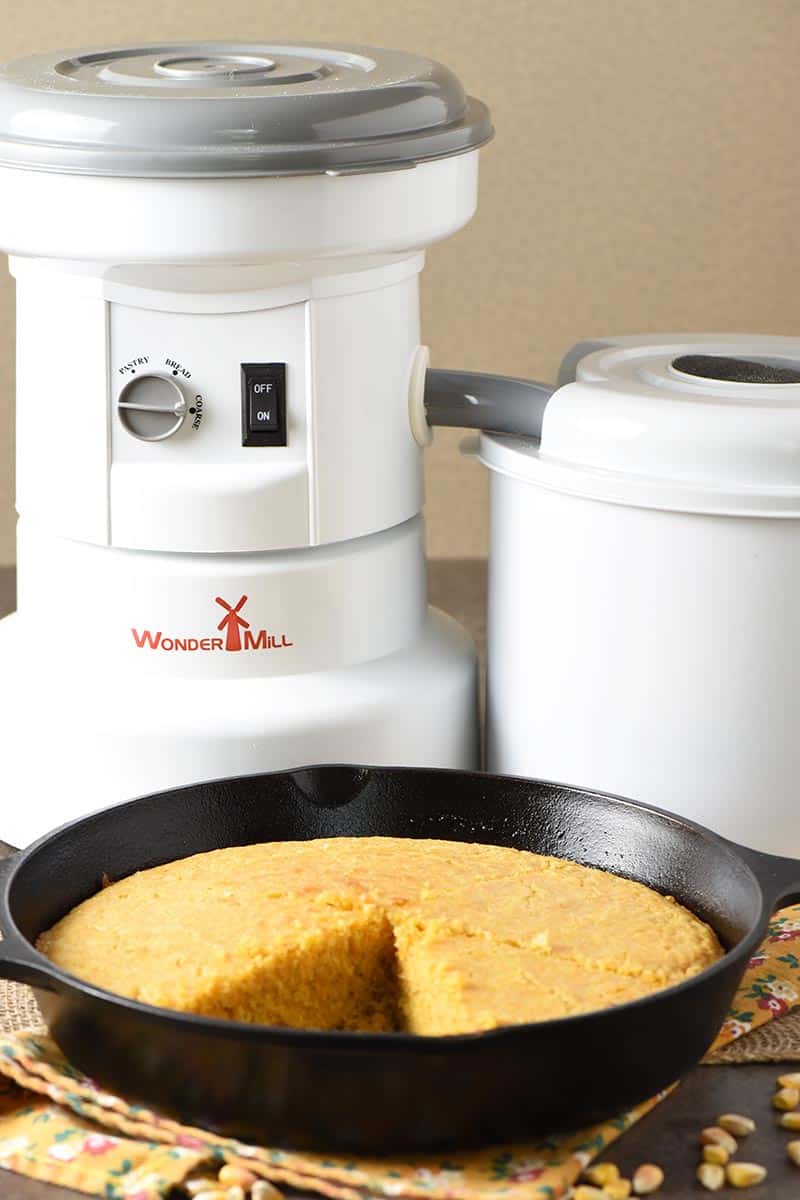
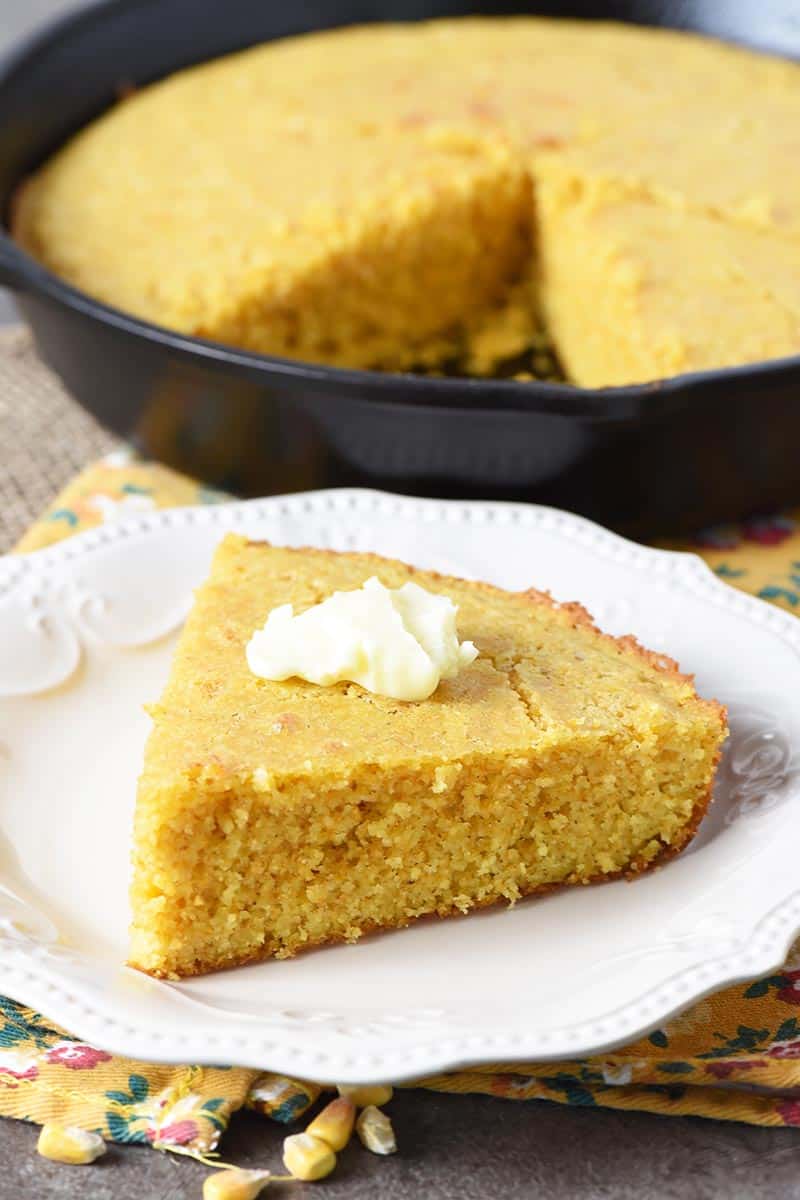
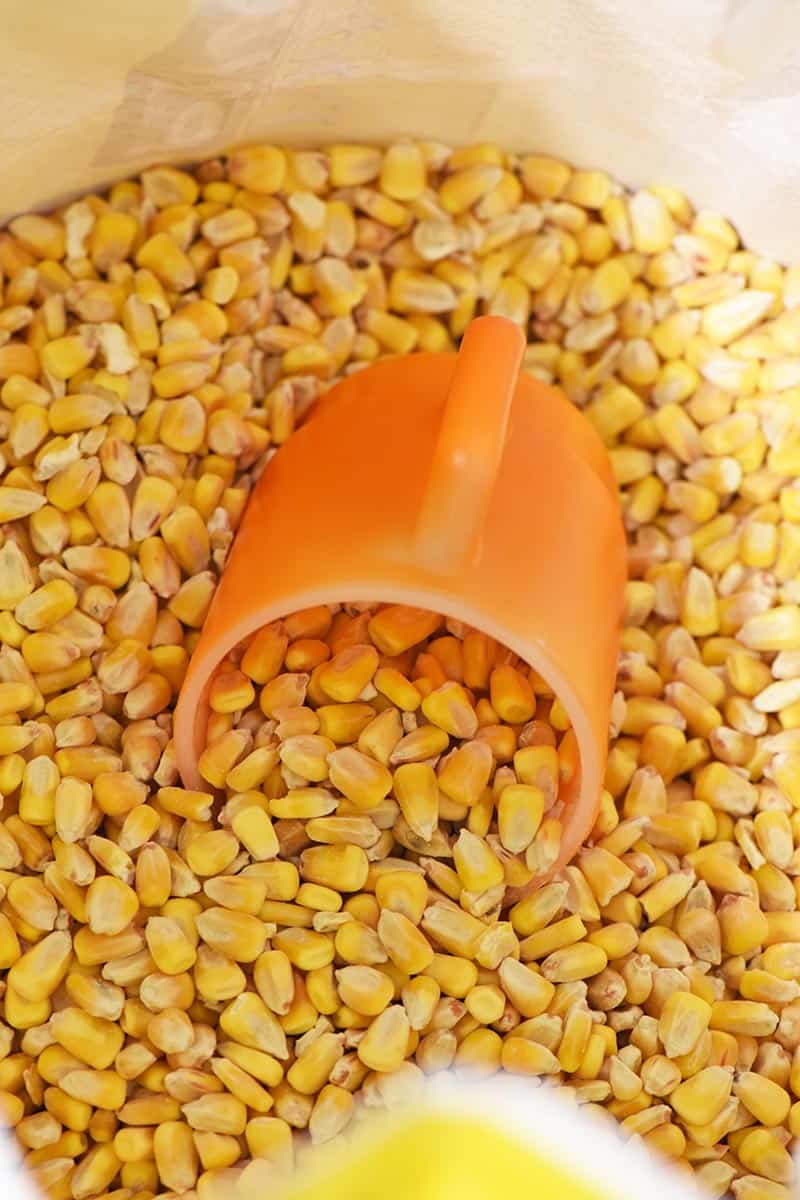
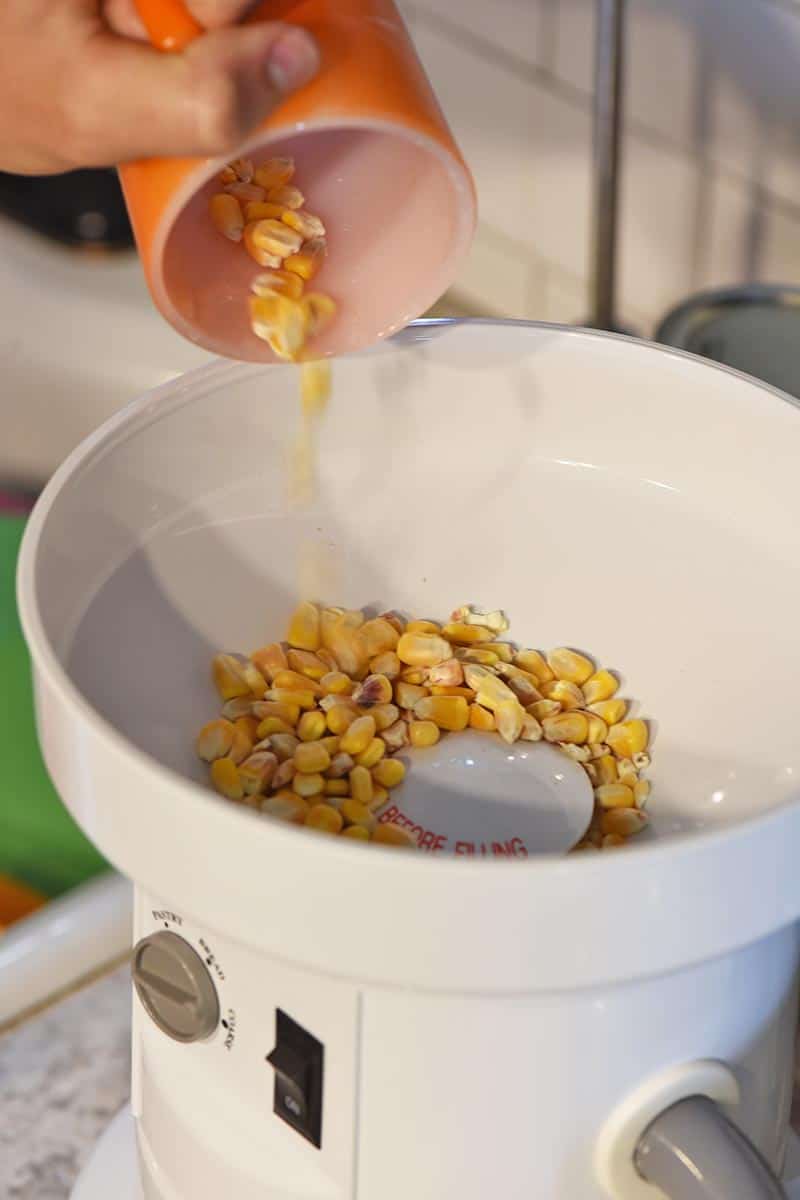
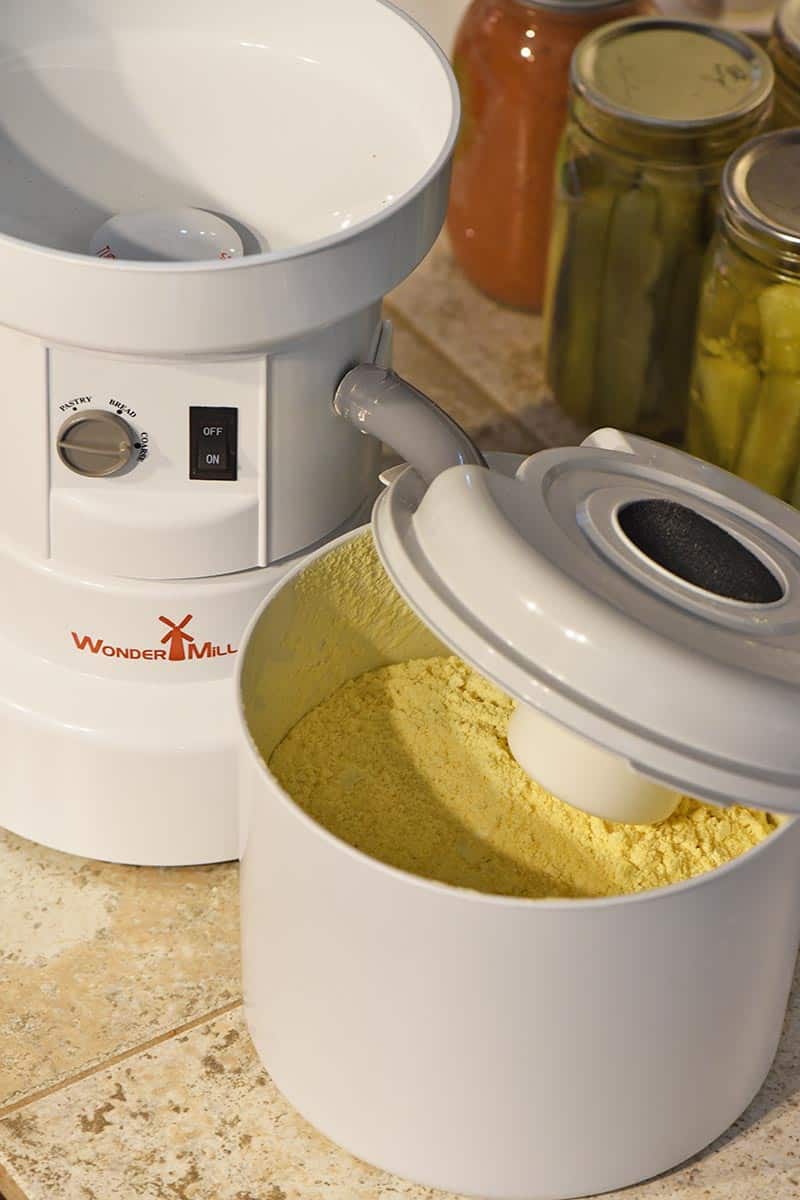
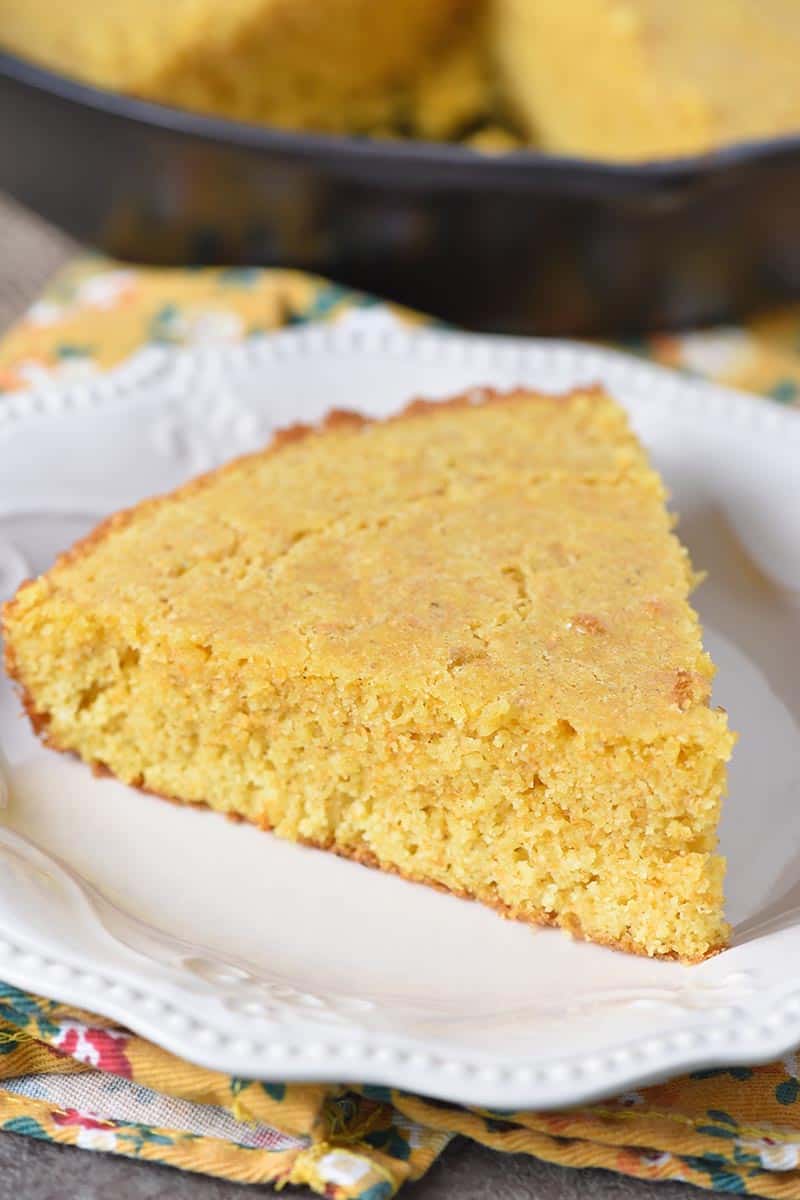
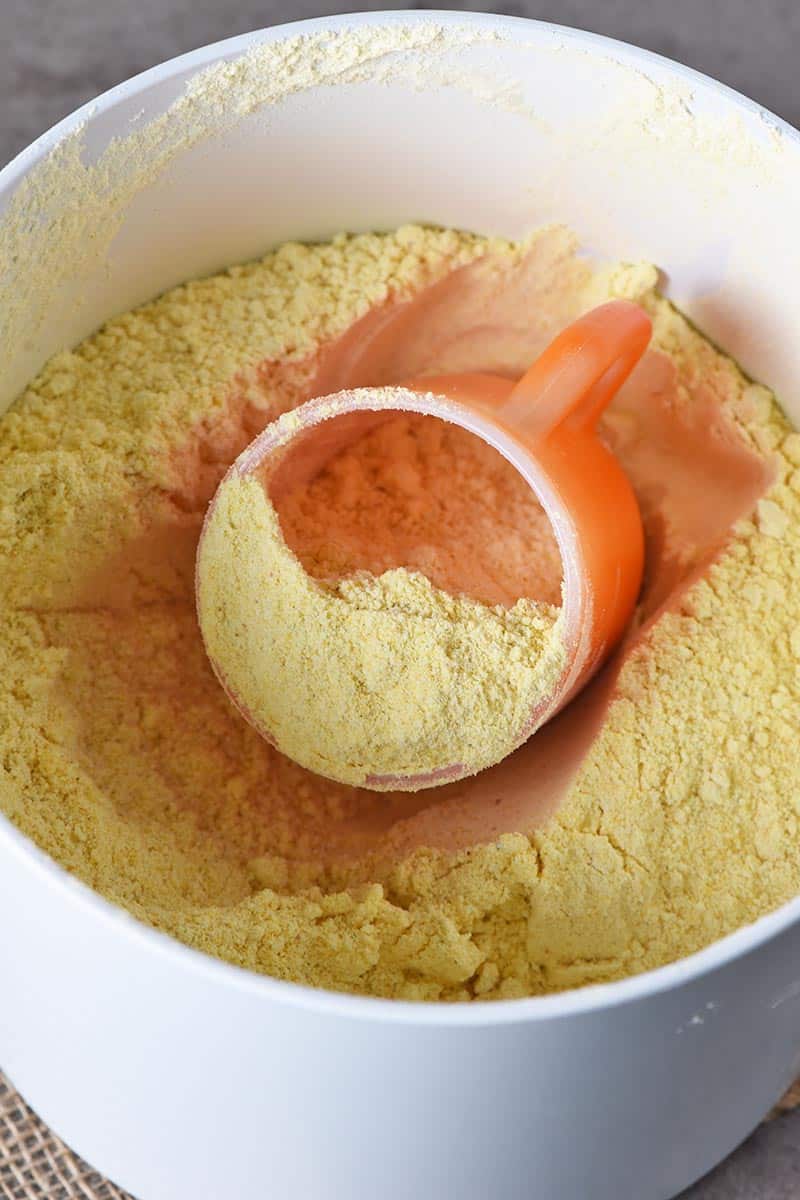
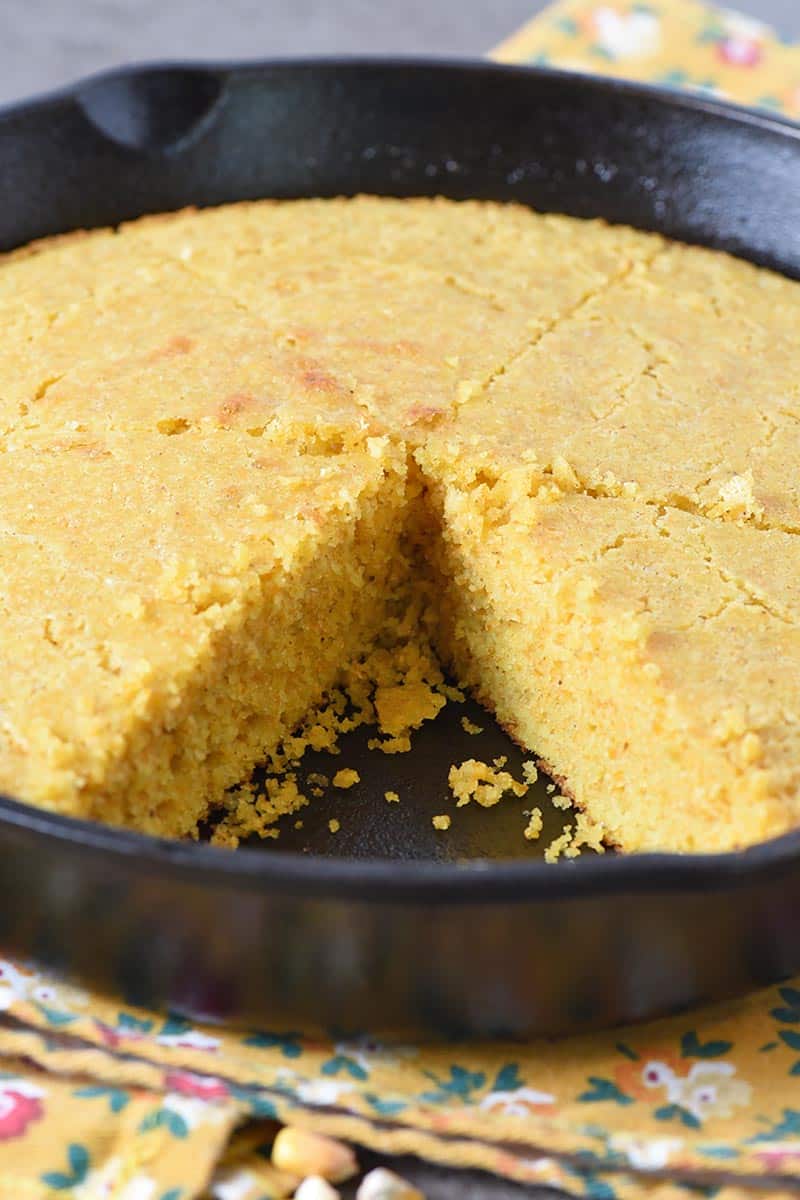
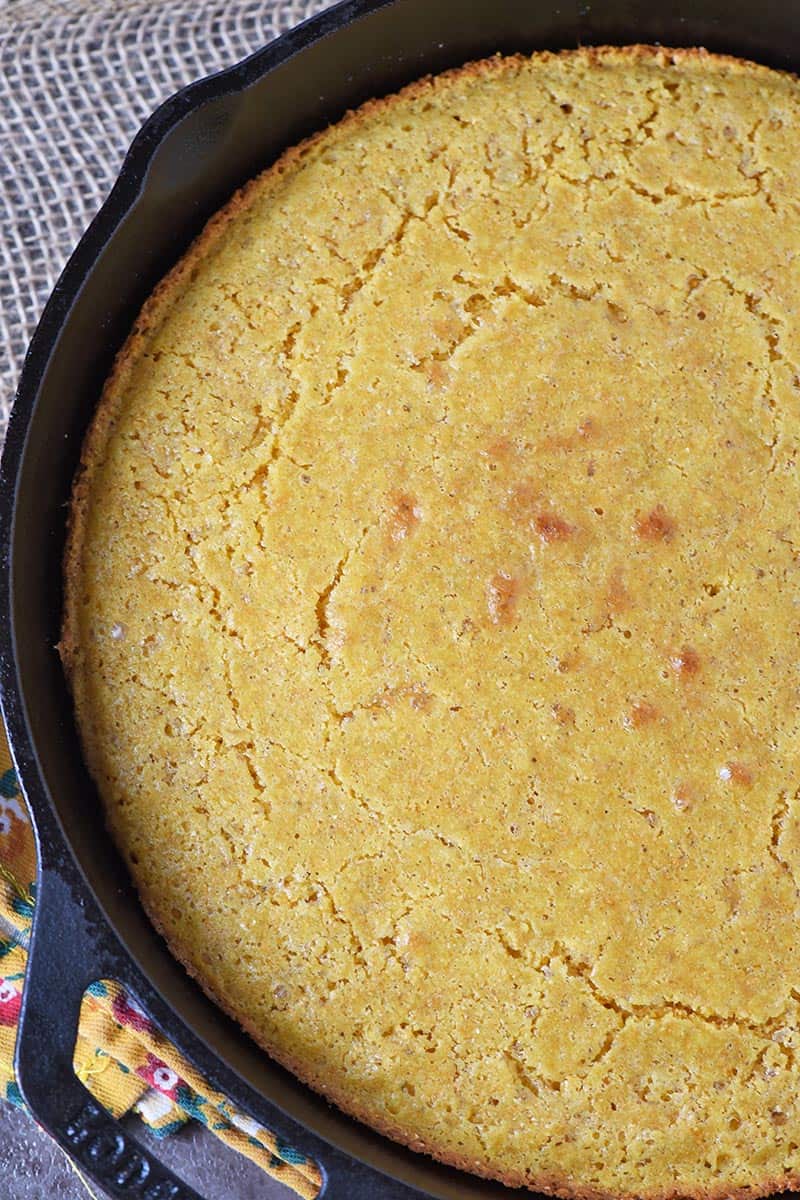
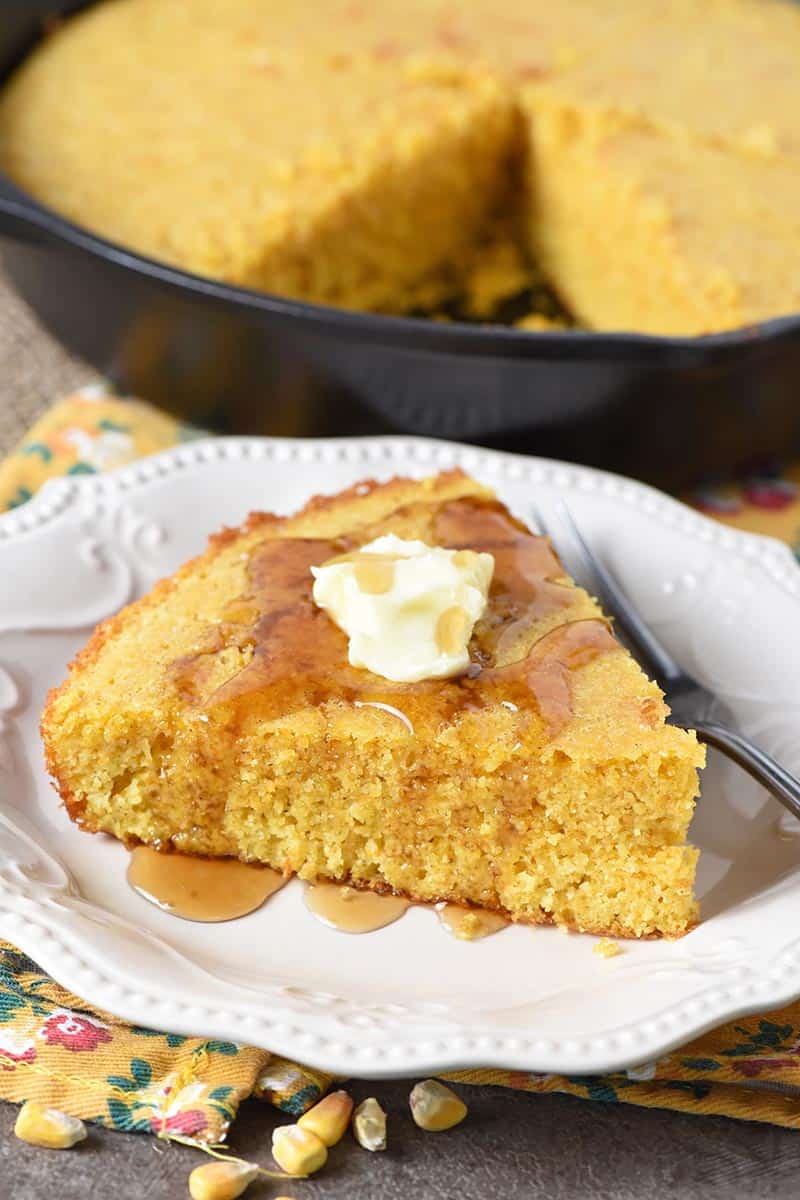
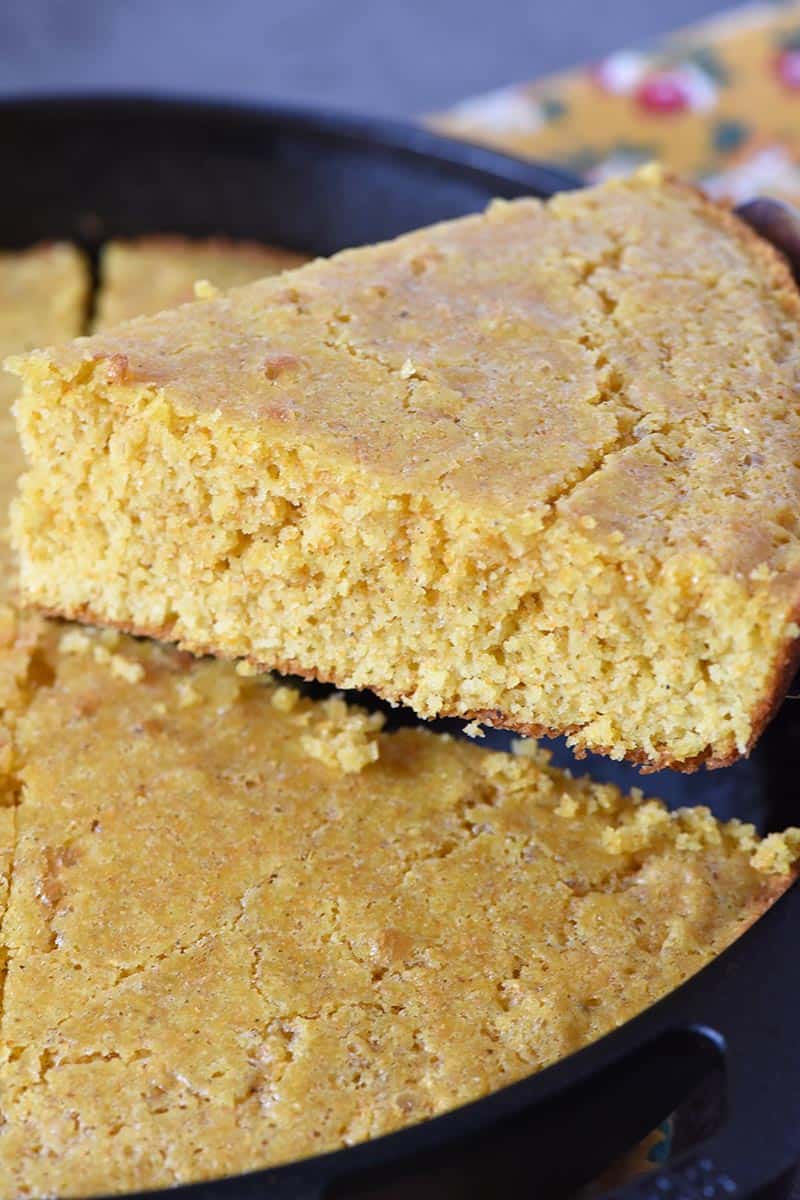
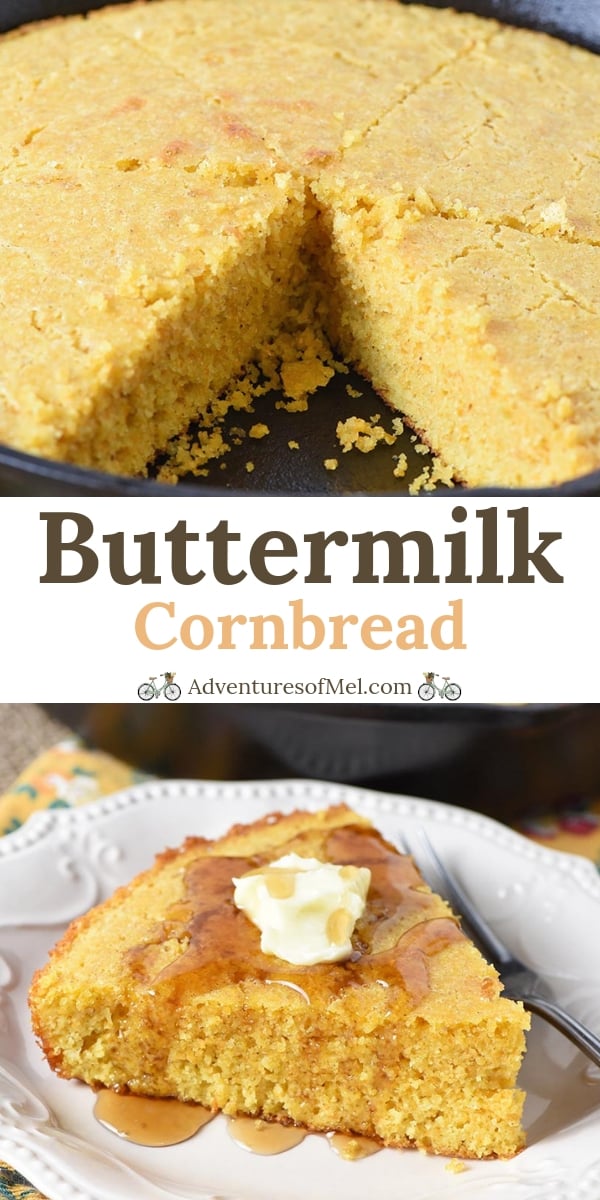
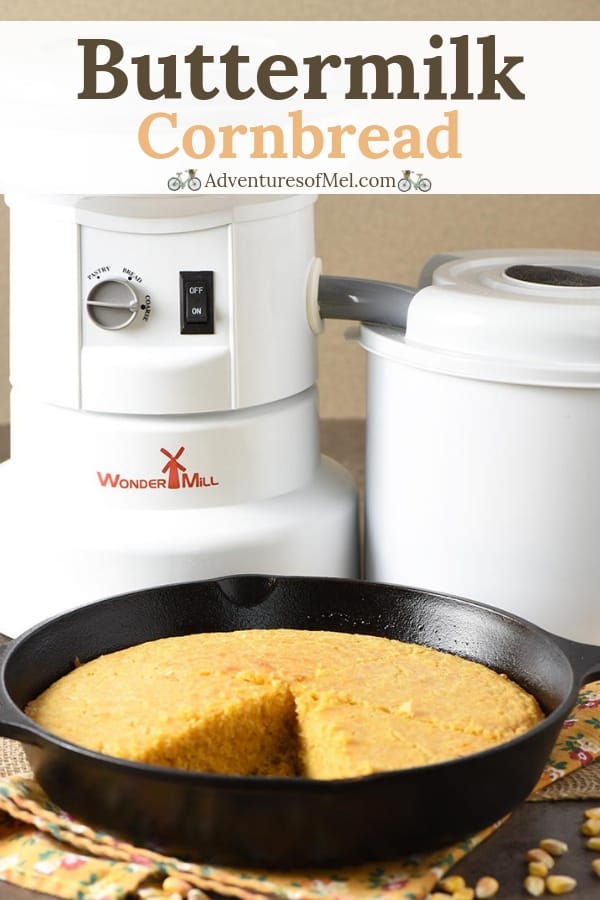
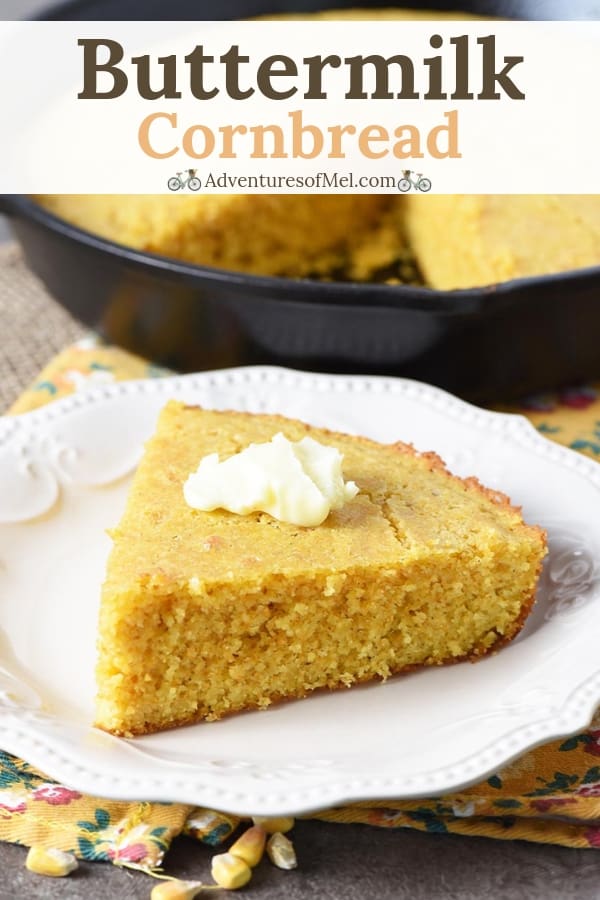
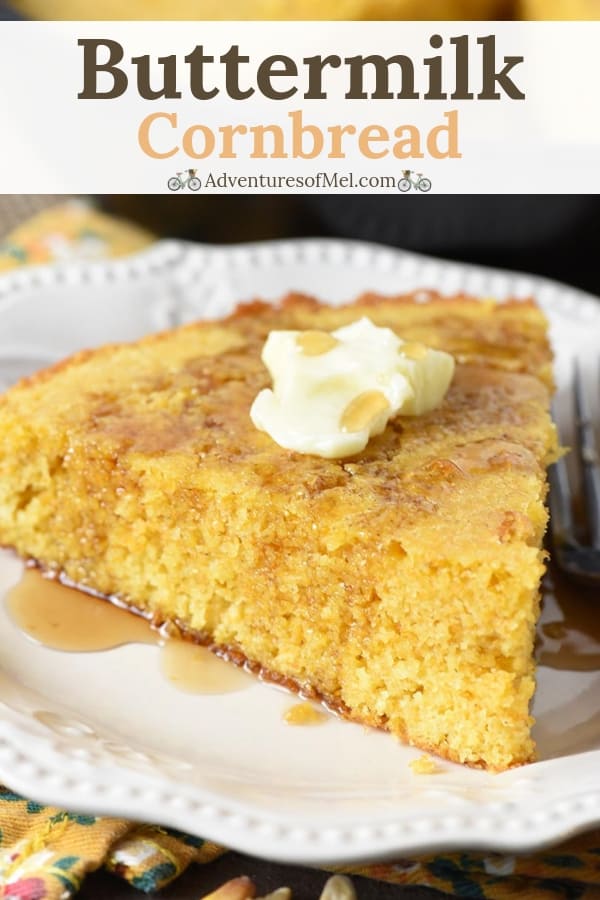
A couple weeks ago, I shared a buttermilk cornbread recipe we’d made, using milled corn from our WonderMill grain mill.
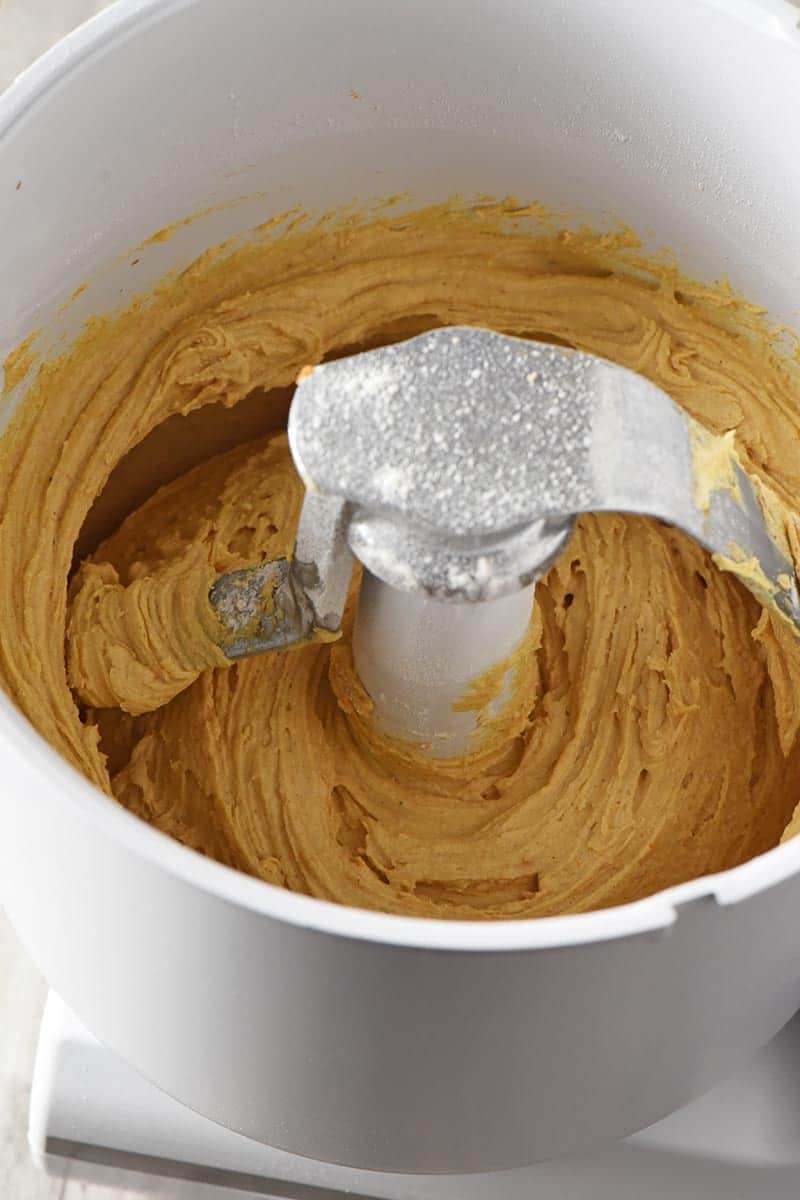
Now with the help of my WonderMix, pumpkin bread is quite easy to make. You really just have to mix a few ingredients, pour the dough into a greased loaf pan, and bake it.
Homemade pumpkin bread is the best! It’s right up there with pumpkin spice muffins and gingerbread loaf!
I JUST WANT THE RECIPE! TAKE ME TO THE RECIPE FOR PUMPKIN BREAD!
If you’d rather skip all of my baking tips, important cooking info for this recipe, and similar recipe ideas – and get straight to the deliciously easy pumpkin bread recipe – just scroll down to the bottom, where you’ll find a printable recipe card.
TELL ME MORE ABOUT WONDERMIX!
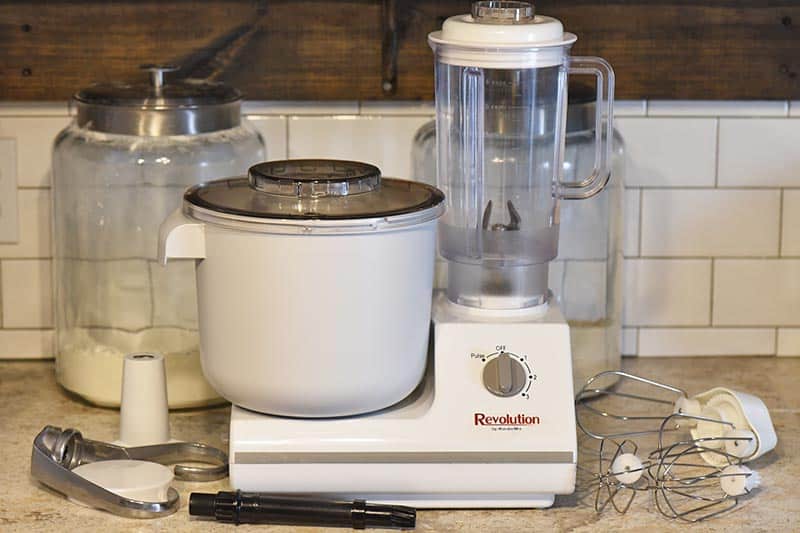
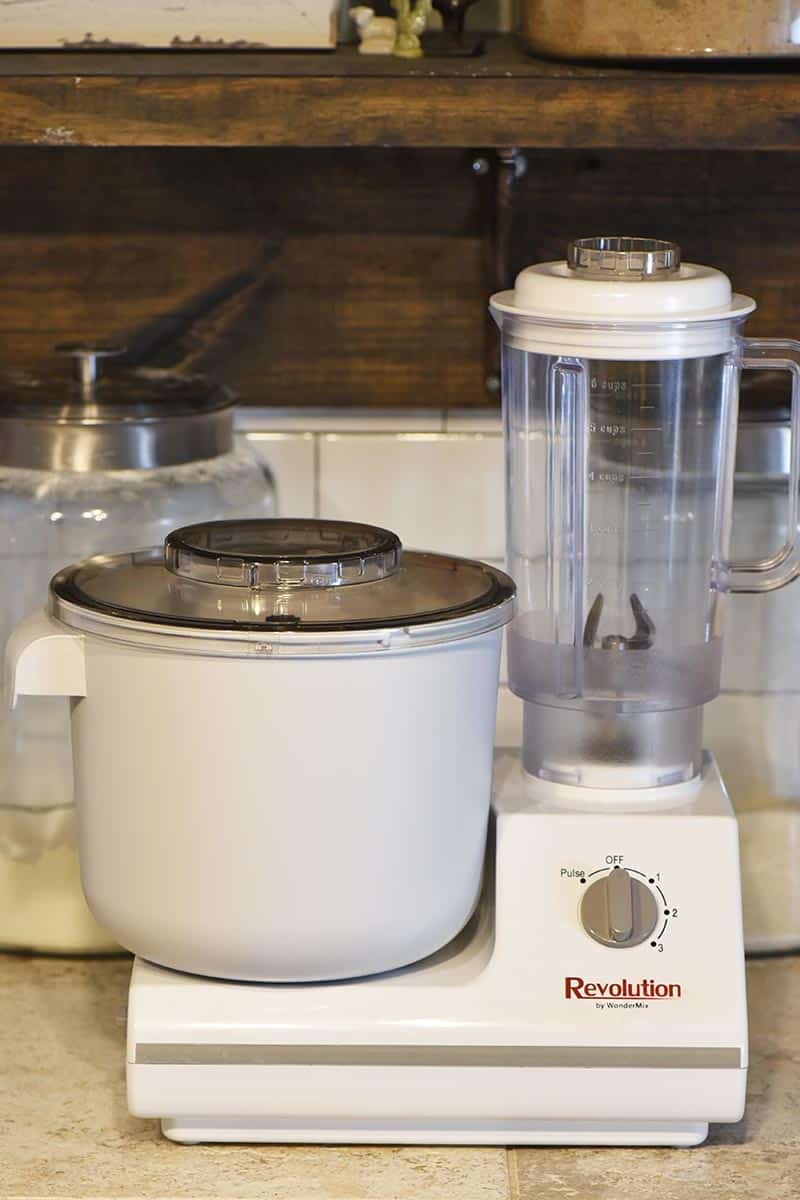
WonderMix is “the kitchen mixer that’s built for life.” I love using my WonderMix when I’m baking.
The WonderMix Revolution Mixer is an all-in-one kitchen mixer with optional attachments like cookie whips, a blender, and a food processor.
Features of the WonderMix include the following:
- 900-watt motor
- Direct drive high torque transmission
- 3 speeds and pulse function
- Large 5.5-qt. bowl with handle that’s dishwasher safe
- Dough hook
- BPA free
- Cord storage
- and so much more… You can read more about the features on the WonderMix site.
WHAT ATTACHMENTS CAN I GET FOR THE WONDERMIX?
There are several attachments you can get to complement your WonderMix, including the blender, cookie whips, a slicer/shredder, meat grinder, grain flaker, and grain mill.
HOW DOES THE WONDERMIX REALLY WORK?
I love how easy the WonderMix is to use and how easy it is to clean up.
The large capacity bowl is very important when mixing larger quantities of foods, and I love that it actually has a handle. I don’t have to wrestle with the bowl to remove the ingredients.
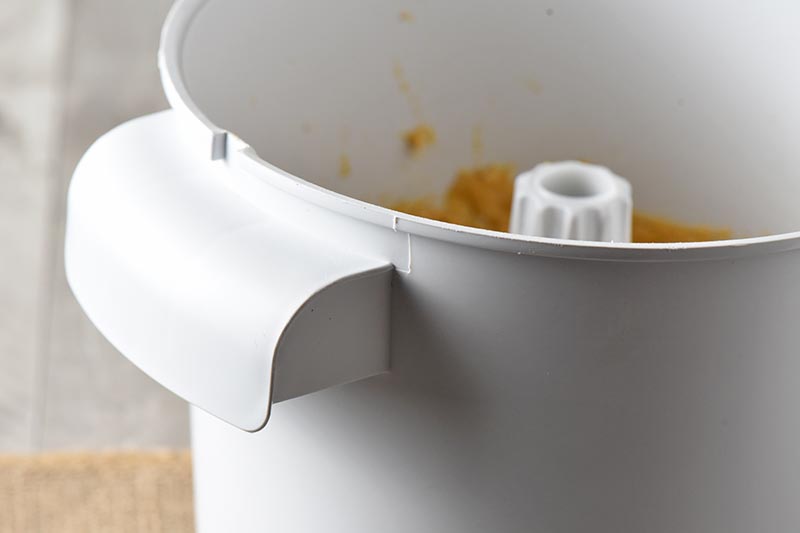
I also like that the bowl is deep and ingredients don’t splatter out near as easily, if ever, while mixing. It also has a lid that prevents splatters and flour dust.
The beaters really do mix the ingredients in the bowl; they don’t leave chunks of unmixed ingredients in the bottom. And while I do have to occasionally scrape the sides, this mixer does a really good job overall of mixing up my recipes.
The speed did throw me for a loop at first because it doesn’t get louder the faster it goes. I wasn’t quite used to that.
It’s easy to scrape contents out of the bowl when I’m done mixing, even with the center console for the drive shaft there. And did I mention it’s easy to clean up, even after making a batch of homemade pumpkin bread?
WHERE CAN I BUY PUMPKINS FOR PUMPKIN RECIPES?
You can either use fresh pumpkin for this recipe or canned pumpkin.
Fresh pumpkins are easy to find this time of year; you can buy pumpkins at any grocery store, pumpkin patch, or orchard. You can find canned pumpkin in the baking aisle of your nearest grocery store too.
HOW DO I MAKE PUMPKIN PUREE?
Homemade pumpkin purée is really easy to make. In fact, I have a recipe you can follow for homemade pumpkin purée.
The recipe involves roasting the pumpkins and blending the pumpkin flesh into a smooth purée, meaning you can use the blender on your WonderMix to make the purée.
IS CANNED PUMPKIN THE SAME AS PUMPKIN PUREE?
I got this question the other day from a reader… I can see how it might be a bit confusing because they can look quite different from each other.
Canned pumpkin is, however, pumpkin purée. The only difference I see when using either/both is that homemade pumpkin purée can have a bit more water and be a little more juicy than store bought canned pumpkin.
You can use either kind of pumpkin for this pumpkin bread recipe.
TIPS FOR HOW TO MAKE PUMPKIN BREAD
You’ll need a bread loaf pan to bake easy pumpkin bread. You’ll need to grease the pan well, either with cooking spray or with shortening/butter.
- Pre-heat the oven to 350°.
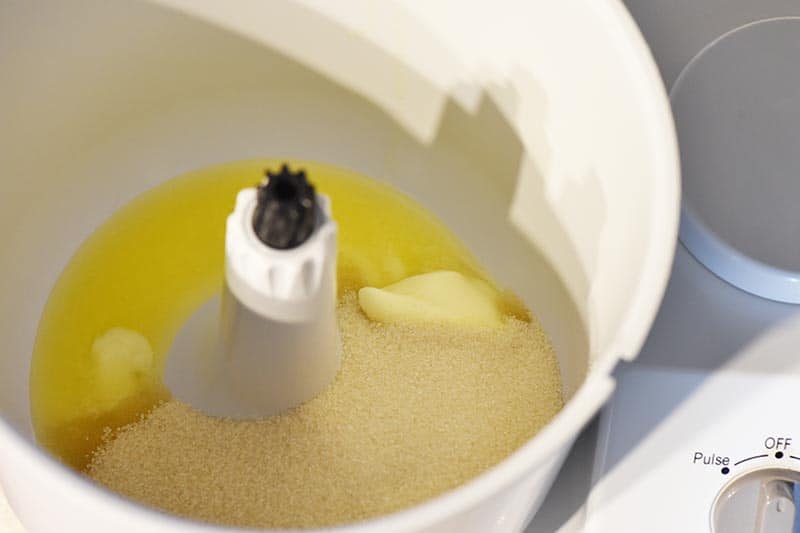
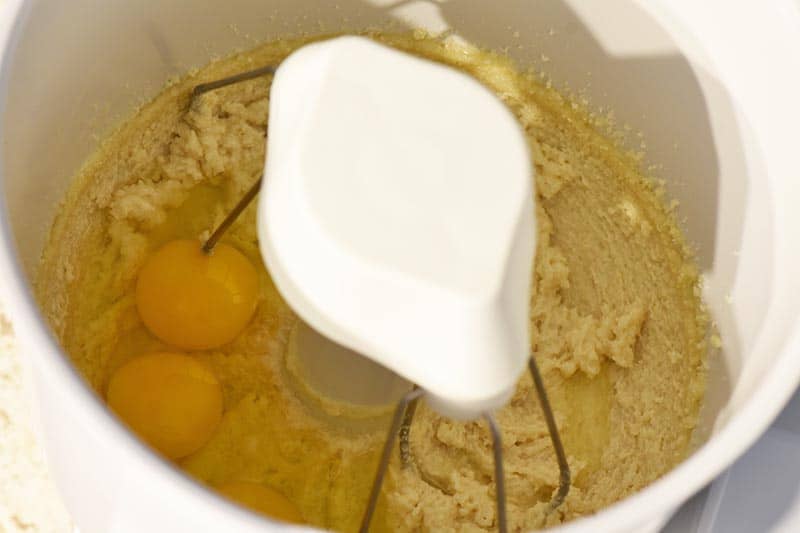
- Mix together the softened butter and sugar; then mix in the eggs, vanilla extract, and pumpkin.
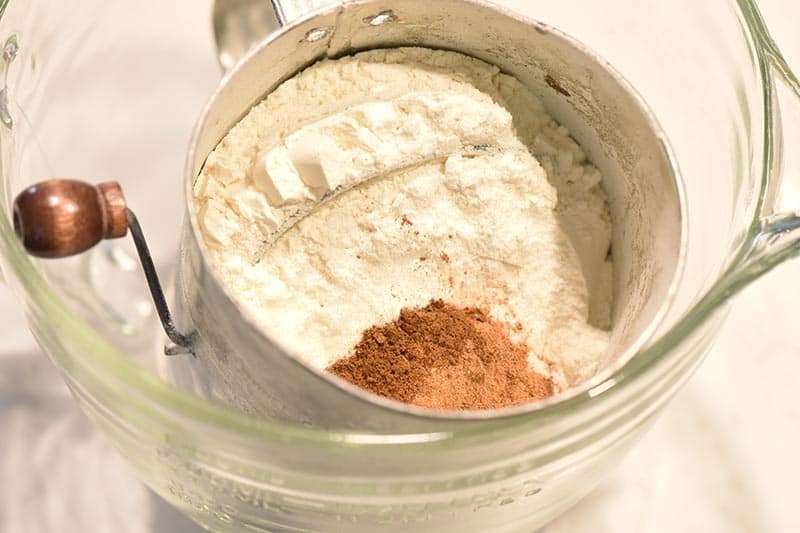
- Sift together the dry ingredients, including the flour, salt, baking soda, baking powder, pumpkin pie spice, and ground cloves.
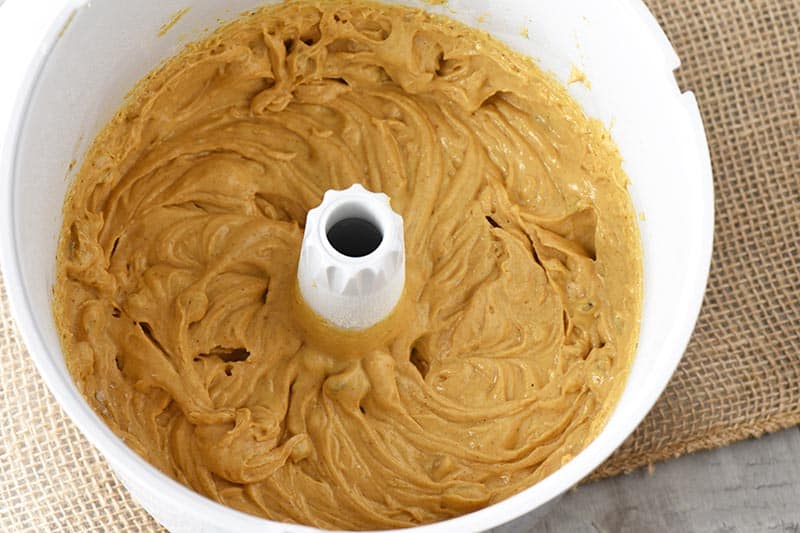
- Mix the dry ingredients into the wet ingredients.
- Then add the chopped walnuts and mix again.
- You can add a cup or so of chocolate chips, as well, if you’d like to make chocolate chip pumpkin bread.
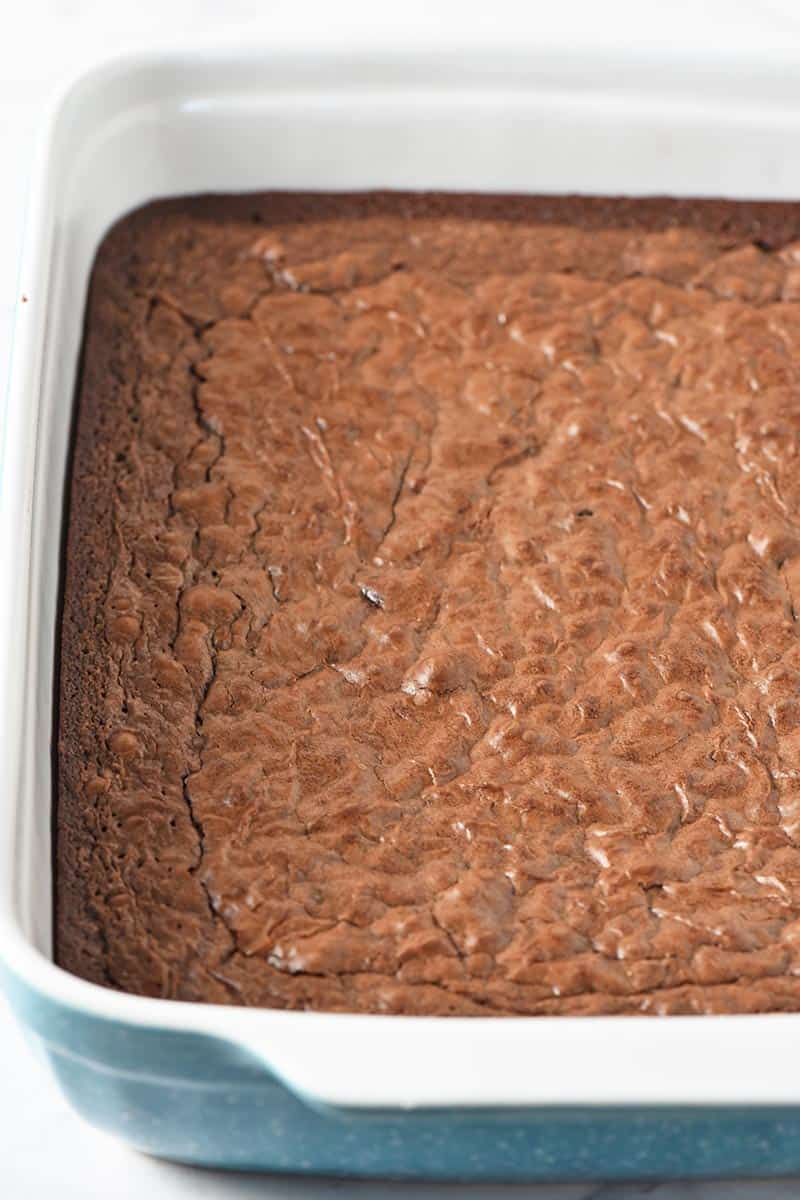
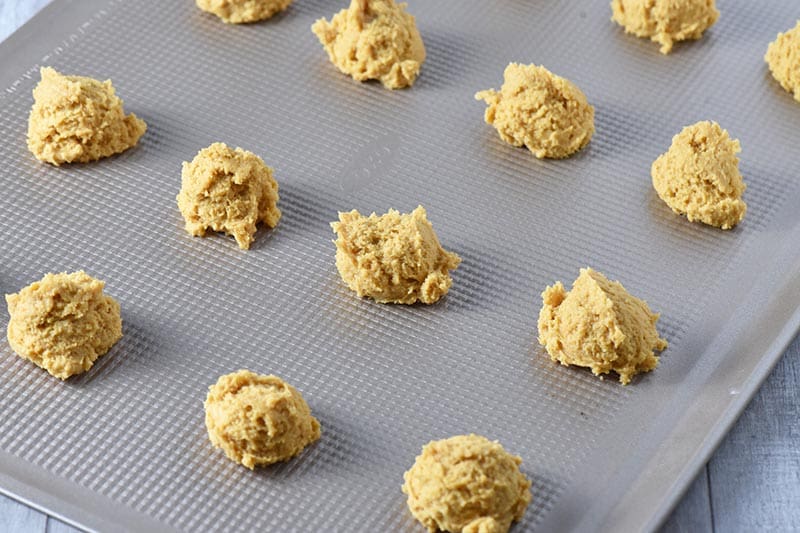
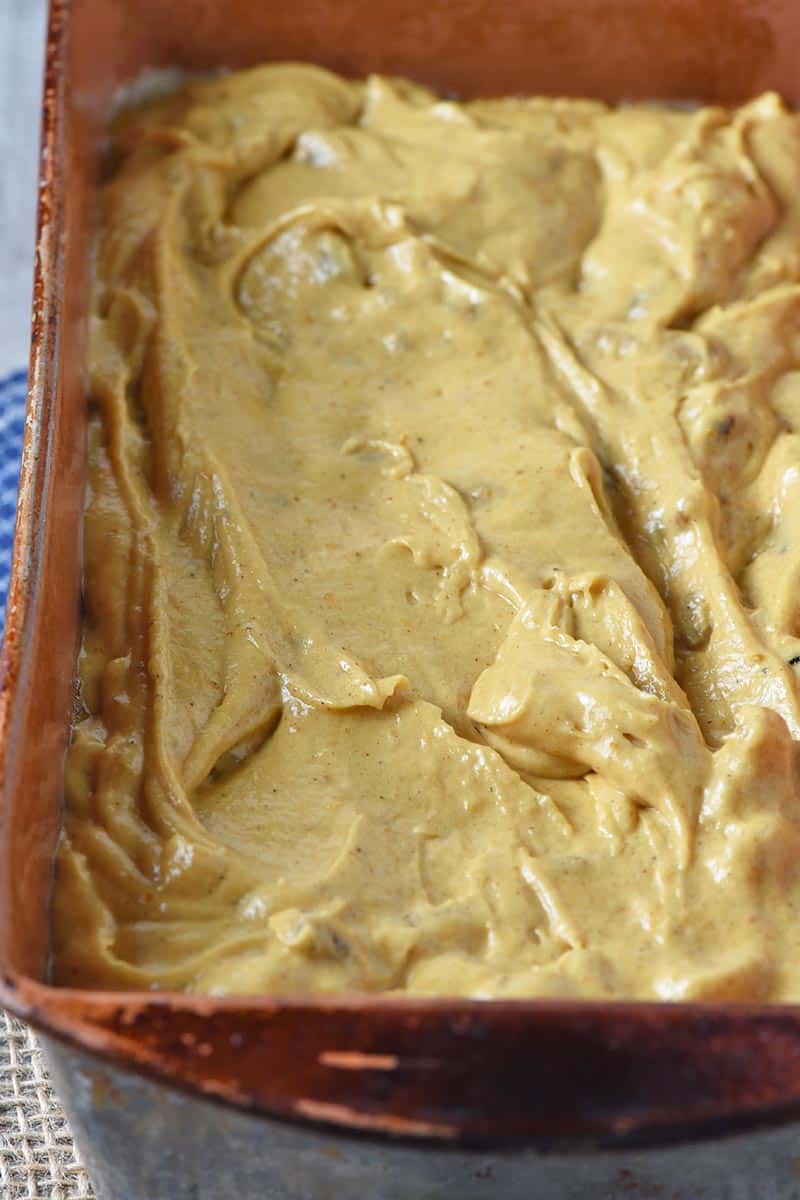
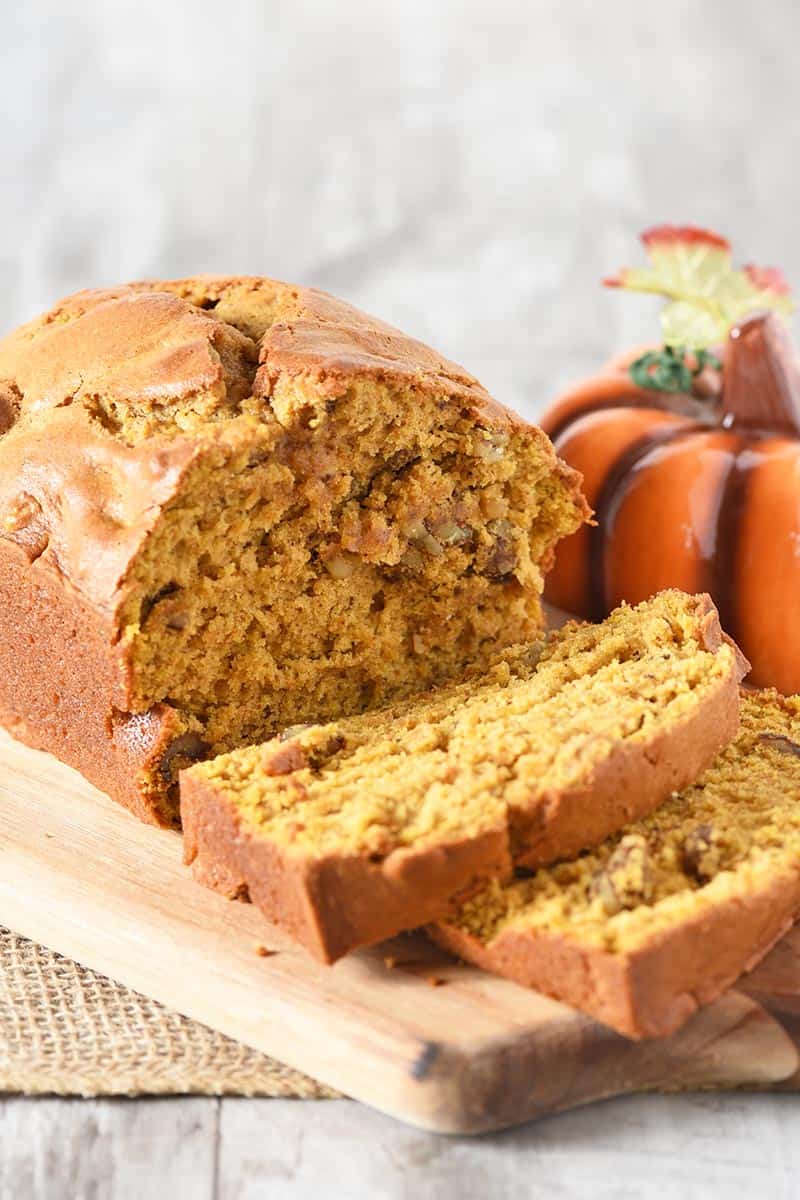
- Pour the dough into a well greased loaf pan, and bake at 350° for about an hour, or until a toothpick (or cake tester) inserted in the center comes out clean.
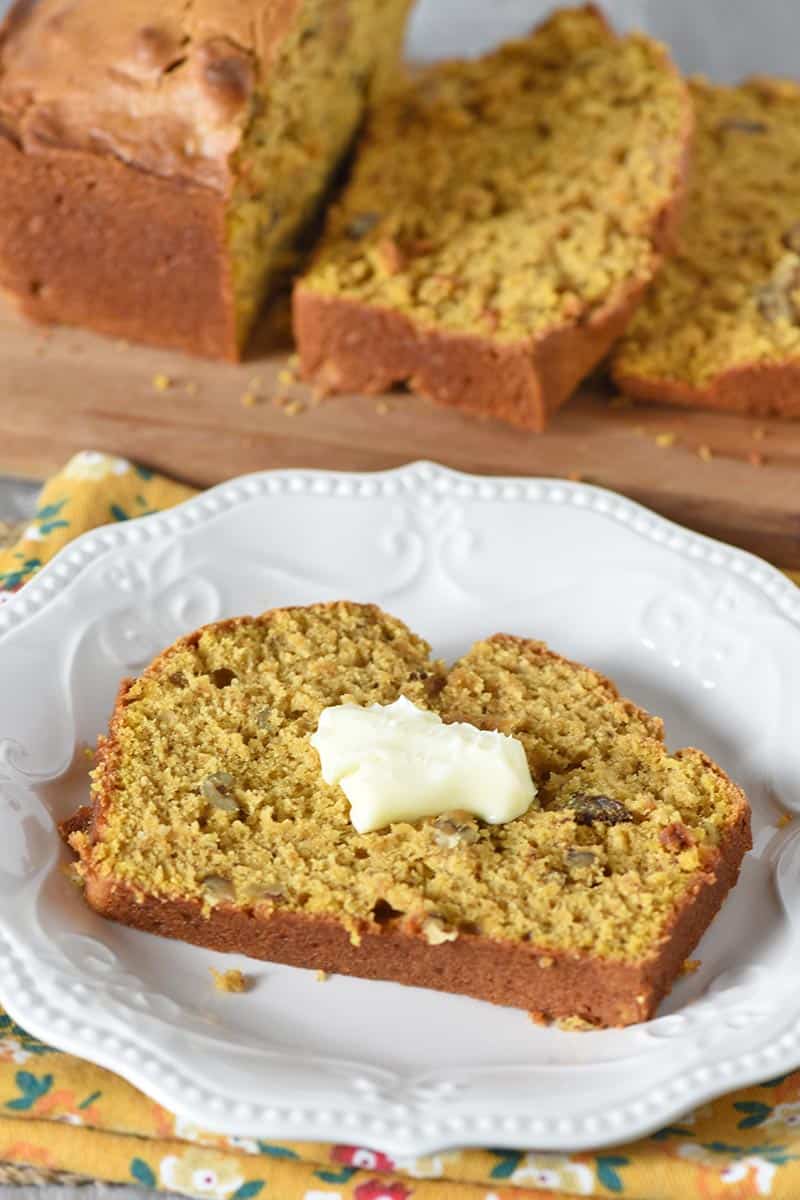
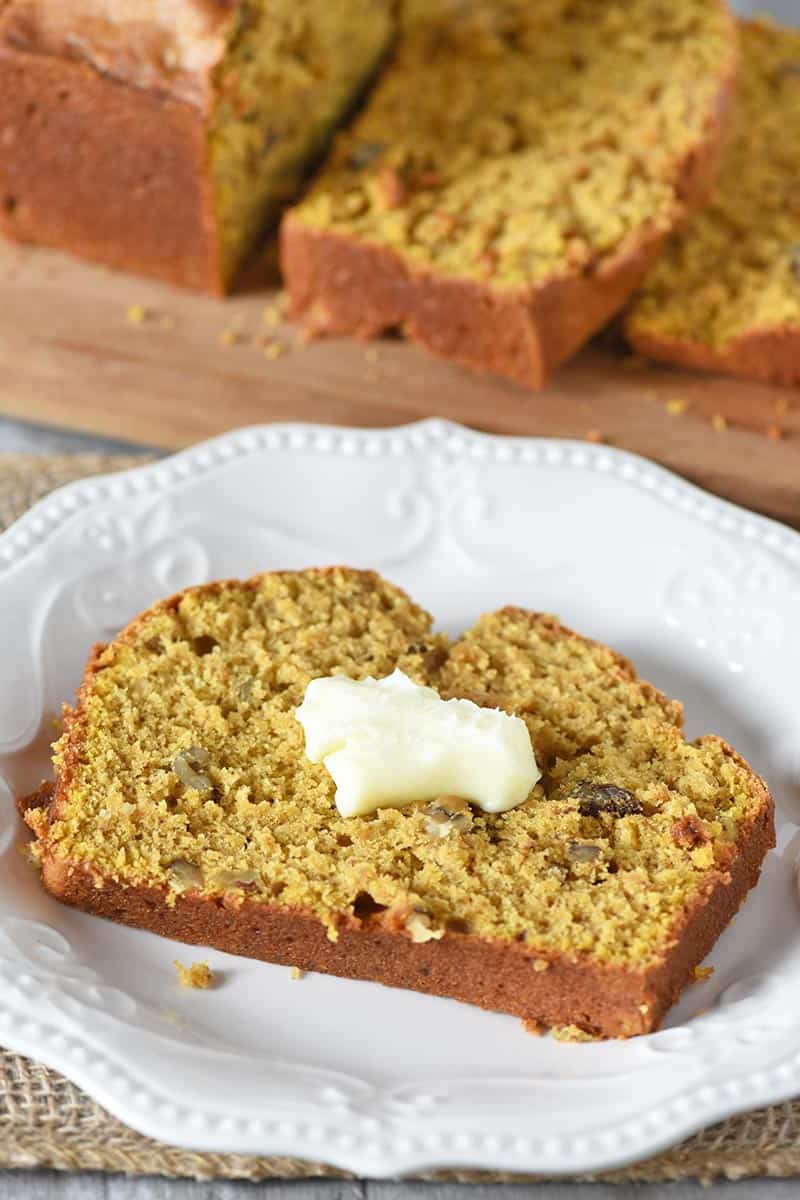
- Remove your loaf of deliciously moist pumpkin bread from the oven, and let it cool in the pan for about 10 minutes.
- Then run a butter knife around the edge of your loaf, and slip the loaf out of the pan onto a wire rack to cool.
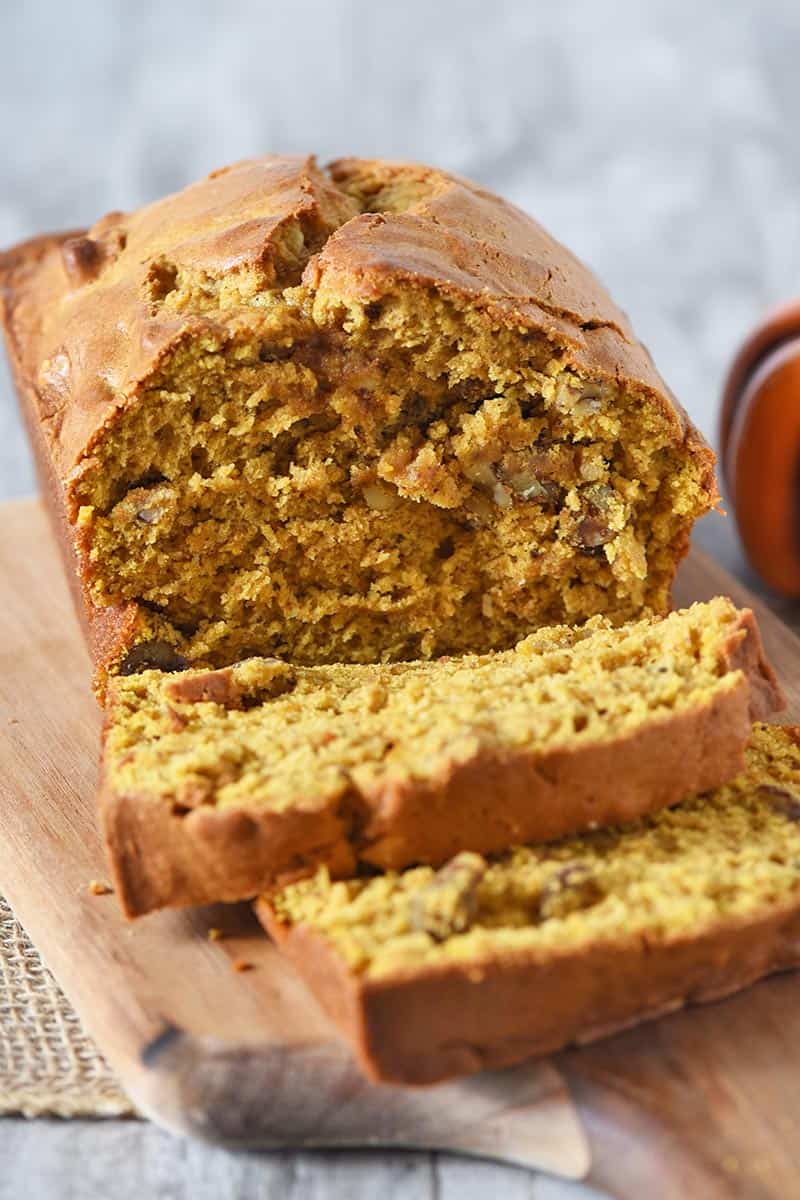
We love to slice our bread while it’s still slightly warm (but not too hot) and slather it with butter. It’s so good!
WHAT IF I DON’T HAVE PUMPKIN PIE SPICE?
That’s ok! What is in pumpkin pie spice is a mixture of spices, including ground cinnamon, nutmeg, and ginger; it may also include cloves and allspice.
You can use these spices, individually, if you have them. You’ll just need to use a smaller amount of each spice you choose to use, so they can work together to create the amount of pumpkin pie spice you would need, in this case, a teaspoon.
I would definitely try to use cinnamon, nutmeg, ginger, and even allspice if possible.
MORE PUMPKIN RECIPES YOU MAY ENJOY:
- Grandma’s Pumpkin Pie Recipe
- Pumpkin Sugar Cookies
- Pumpkin Roll
- Instant Pot Pumpkin Spice Cheesecake
- Gooey butter pumpkin cake
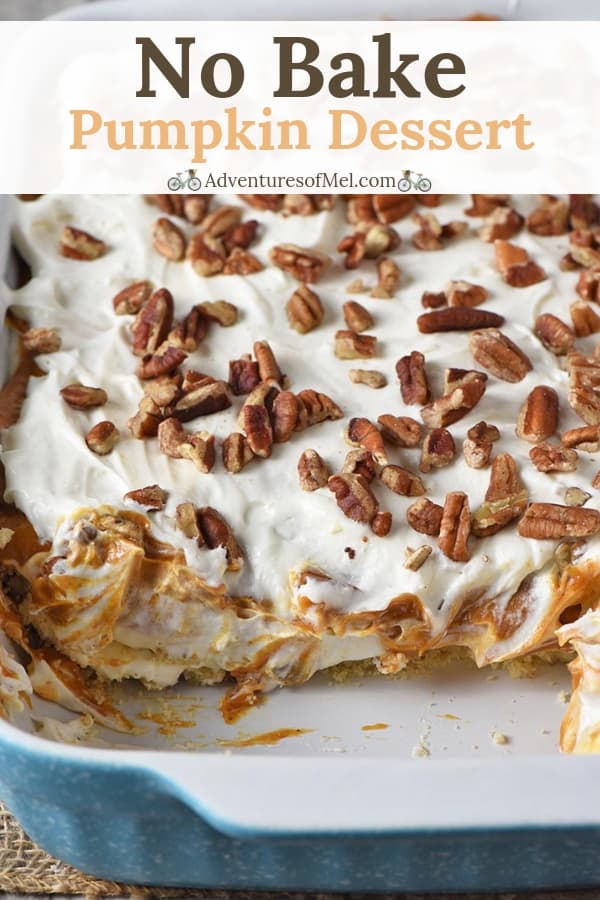
- Creamy No Bake Pumpkin Dessert
KITCHEN TOOLS YOU’LL NEED TO MAKE PUMPKIN BREAD:
WonderMix Kitchen Mixer
Spatula – for pouring the dough into the loaf pan.
Cake Tester – While you can also use a toothpick, I kinda love my li’l cake tester.
PUMPKIN BREAD RECIPE
If you love this pumpkin bread recipe as much as I do, please write a 5 star review, and help me share the recipe on Facebook and Pinterest!
CONNECT WITH ADVENTURES OF MEL!
Be sure to follow me on social, so you never miss a post!
Facebook | Pinterest | YouTube | Instagram | Twitter
Sign up to receive my newsletter, filled with delicious recipes and outdoor travel adventures, in your inbox:
Moist Pumpkin Bread Recipe
Bake up a taste of fall with this deliciously moist pumpkin bread recipe. Simple, easy, and quick, you can even add walnuts, pecans, or chocolate chips.
- 1/2 cup unsalted butter
- 1 cup cane sugar
- 3 large eggs
- 1 teaspoon vanilla extract
- 1 cup pumpkin purée
- 2 cups all-purpose flour
- 1/2 teaspoons salt
- 1/2 teaspoon baking soda
- 1/4 teaspoon baking powder
- 1/2 teaspoon pumpkin pie spice
- 1/2 teaspoon ground cloves
- 3/4 cup chopped walnuts
Pre-heat the oven to 350°, and grease a loaf pan well.
- Mix together the softened butter and sugar; then mix in the eggs, vanilla extract, and pumpkin.
- Sift together the dry ingredients, including the flour, salt, baking soda, baking powder, pumpkin pie spice, and ground cloves.
- Mix the dry ingredients into the wet ingredients.
Then add the chopped walnuts and mix again.
- Pour the dough into a well greased loaf pan, and bake at 350° for about an hour, or until a toothpick (or cake tester) inserted in the center comes out clean.
- Remove your loaf of deliciously moist pumpkin bread from the oven, and let it cool in the pan for about 10 minutes.
- Then run a butter knife around the edge of your loaf, and slip the loaf out of the pan onto a wire rack to cool.
- Serve with butter, jelly, or whatever your heart desires!
*You can make this recipe into a pumpkin bread loaf, or you can use a muffin tin and make pumpkin muffins instead. You can add a cup or so of chocolate chips, as well, if you’d like to make chocolate chip pumpkin bread.