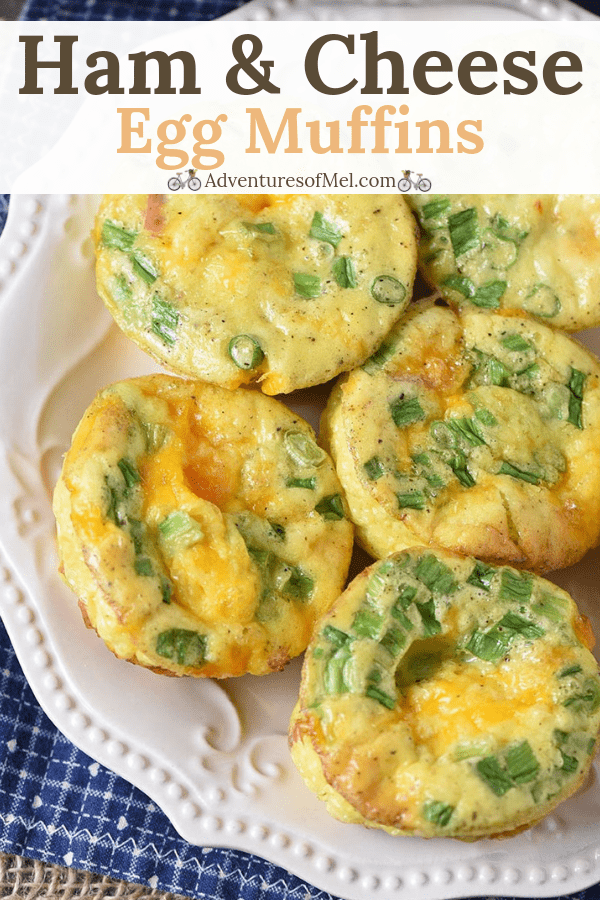
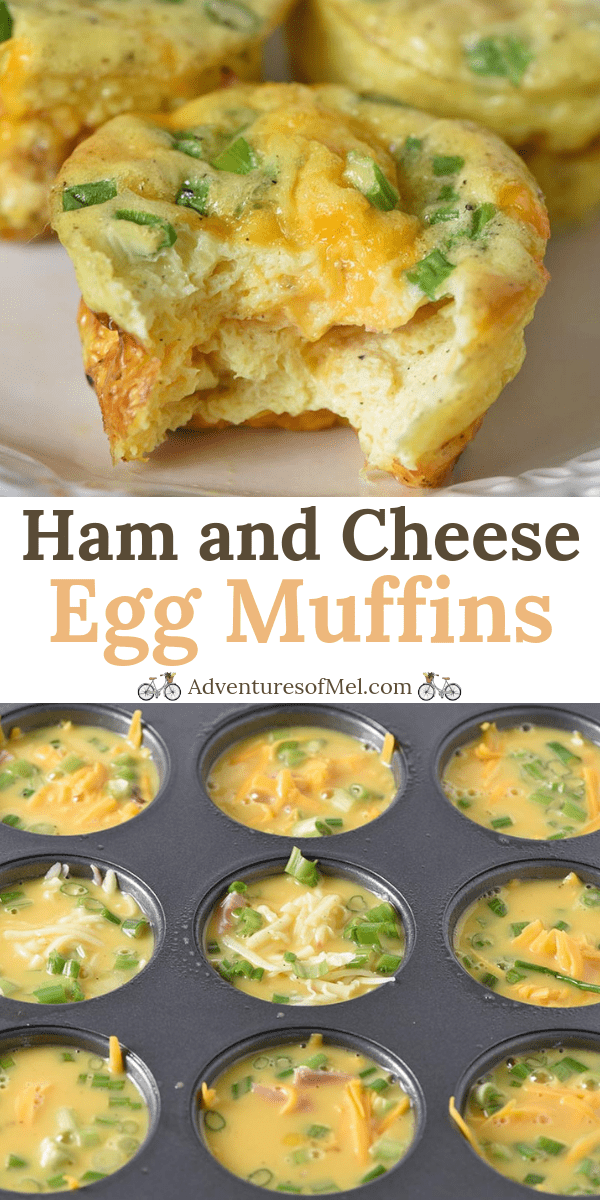
Simple ham and cheese egg muffins are an easy and healthy breakfast and brunch recipe, perfect for busy mornings or make ahead freezer meals and snacks.
There are times when we’ll make breakfast ahead of time, like when we’re headed out on a dispersed camping trip or for mornings we know we may not have enough time to make a good breakfast. We love making Instant Pot hard boiled eggs, as well as bacon, egg, and cheese breakfast muffins for just such occasions.

Ham and cheese egg cups are also the perfect take along meal or snack. They keep well in the fridge, freezer, and cooler, and they’re full of delicious flavor.
Eat them with a fork, or eat them with your fingers, making them the perfect breakfast on the go. They’re a quick, healthy, low carb breakfast, giving you a boost of protein to give you a good start to your day.

Rather have sausage? No problem! Make low carb sausage egg muffins instead.
WHERE CAN I FIND THE HAM AND CHEESE EGG MUFFIN RECIPE?
If you’d rather skip all of my cooking tips, important cooking info for this recipe, and similar recipe ideas – and get straight to the delicious recipe for ham and cheese egg muffins – just scroll down to the bottom, where you’ll find a printable recipe card.
CAN YOU MAKE AHEAD AND FREEZE BREAKFAST MUFFINS WITH EGGS?
Yes, you can. In fact, you can make enough for a whole week in just a short amount of time.
- Make a batch or two of breakfast egg muffins and allow them to cool.
- Then place them all in a freezer bag or airtight container and freeze.
- When morning comes, simply warm them up in the microwave or the oven, whichever your preference.
Enjoy easy breakfasts every single morning of your week. Or feed a holiday crowd with egg muffin cups you’ve already made before the big day.

TIPS FOR HOW TO BAKE MUFFIN TIN EGGS
Baking ham and eggs in a muffin tin is actually really easy, even when you have multiple ingredients you’re trying to fit in each small muffin cup.
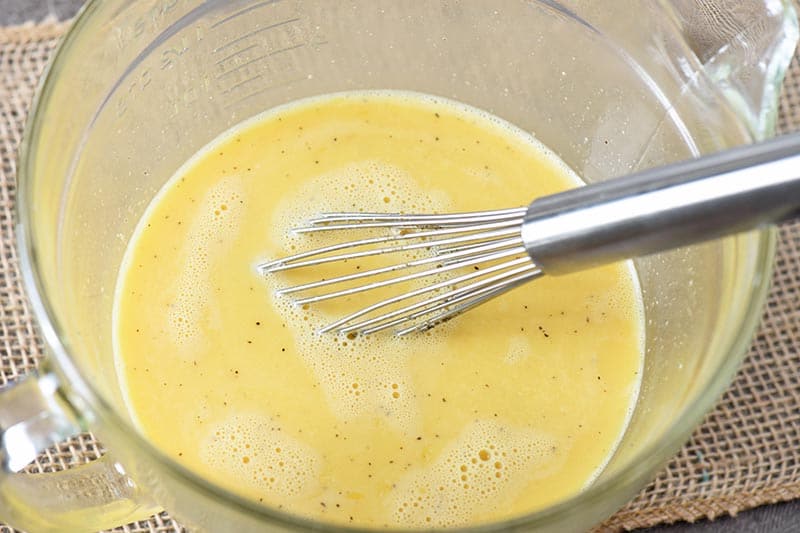
Make sure all of your ingredients are ready first… Ham is cooked and chopped (no need to cook deli ham), green onions are chopped, cheese is shredded, and eggs are whipped up with either heavy whipping cream or milk.
Spray the muffin pan with cooking spray before adding any ingredients to it. Then start by adding your meat.

Add the cheese.
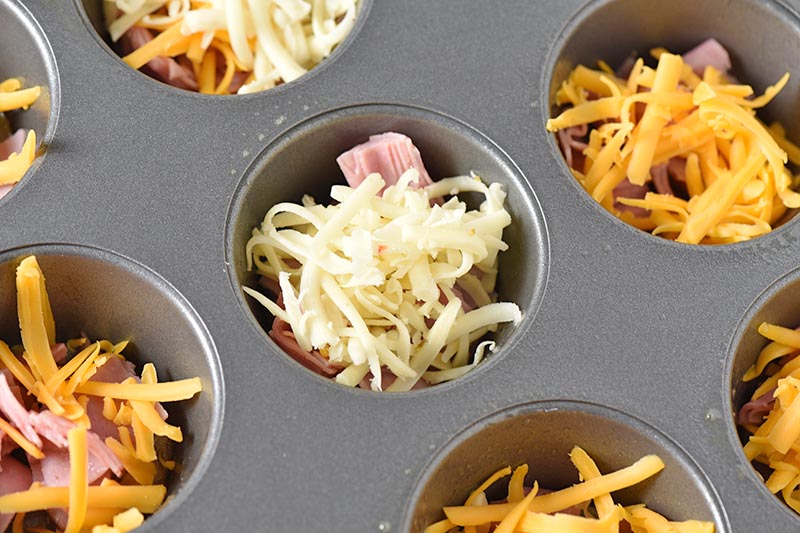
Then sprinkle in the green onions.

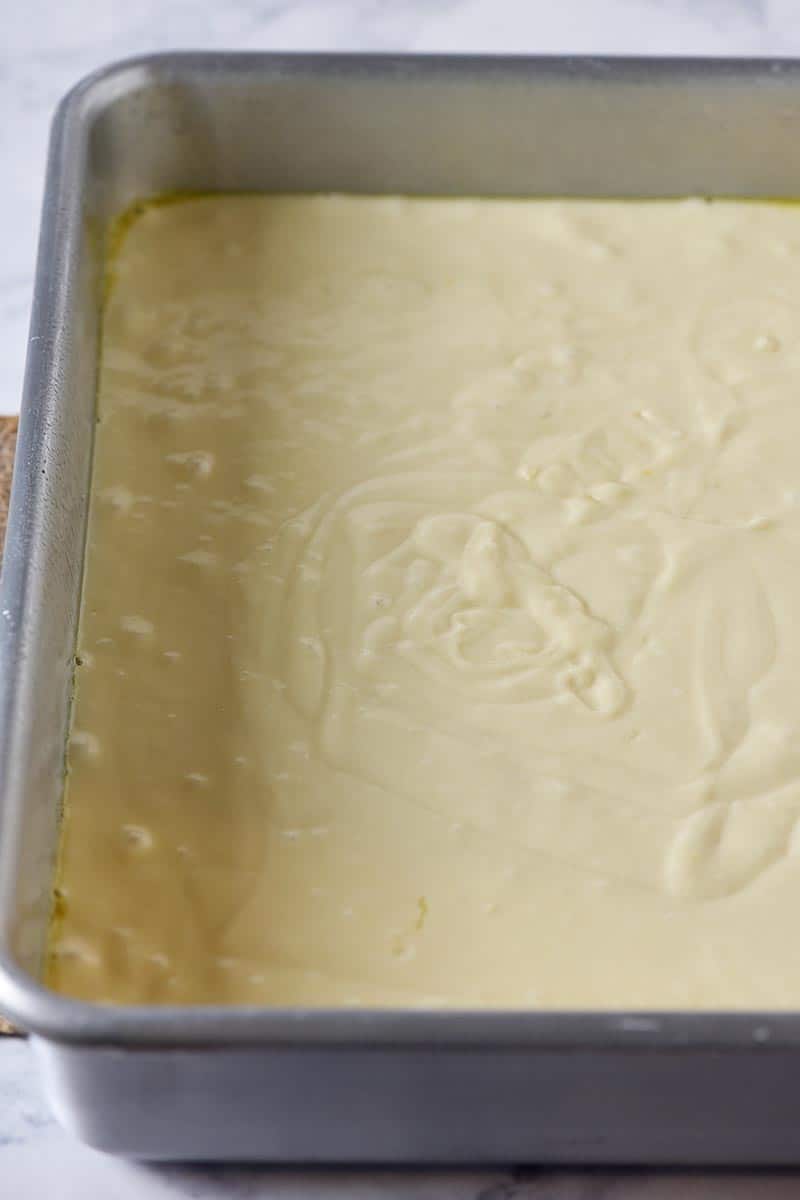
Pour the egg mixture into the muffin tin, filling each cup about 3/4 of the way full; this will leave a little room for expansion in baking.

Finally, bake the ham and cheese egg muffin cups, following the recipe instructions.
Ham and egg cups are another one of my favorite ham recipes to use up leftover ham or pineapple ham from the holidays or family dinners.
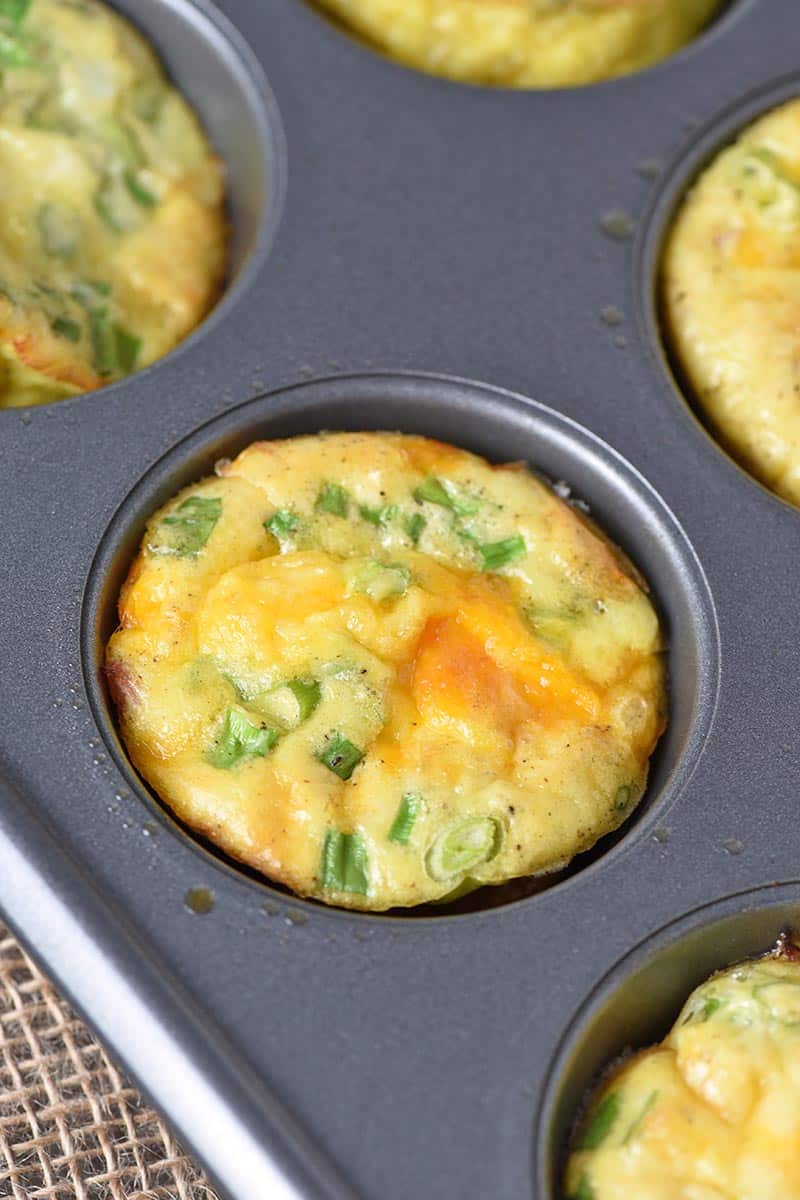
HOW TO TELL WHEN EGG MUFFINS ARE DONE
You’ll be able to tell when your egg muffins are done by both sight and touch. They’ll be fluffy and not jiggly in the middle.
Of course, if you really want to make sure the eggs are cooked through, you can always use a cooking thermometer to check the temperature. According to the Egg Safety Center, any type of quiche or egg casserole should reach a temperature of 160°F.
WAYS YOU CAN CHANGE UP BAKED EGG MUFFINS
- Add minced onions (yellow onions or sweet onions).
- Add chopped up spinach to the egg mixture.
- Use smoked cheese, Queso Fresco, or Cotija cheese in place of cheddar, colby jack, or pepper jack.
- Add a different type of meat, like sausage or bacon.
- Or go meatless.
LOOKING FOR MORE EASY BREAKFAST IDEAS?
One of my favorite breakfast sandwiches is the Egg McMuffin, so it stands to reason I’d create McDonald’s Egg McMuffin and sausage egg McMuffin copycat recipes. And eggs in a basket has been one of my favorite breakfast treats since I was a little girl.
Moscato Mom has a delicious finger food breakfast idea for Ham, Cheese, and Bell Pepper Mini Quiche. Midlife Boulevard has a list of 10 easy and delicious keto breakfast recipes.

KITCHEN TOOLS YOU’LL NEED TO MAKE HAM AND CHEESE EGG MUFFIN CUPS:
Ninja Food Chopper Express or Cutting Board and Chef’s Knife
Mixing Bowl and Whisk
Cooking Thermometer (optional)
HAM AND CHEESE EGG MUFFINS RECIPE
If you love this easy breakfast recipe as much as I do, please write a 5 star review, and help me share the recipe on Facebook and Pinterest!
CONNECT WITH ADVENTURES OF MEL!
Be sure to follow me on social, so you never miss a post!
Facebook | Pinterest | YouTube | Instagram | Twitter
Sign up to receive my newsletter, filled with delicious recipes and outdoor travel adventures, in your inbox:
Ham and Cheese Egg Muffins

Simple ham and cheese egg muffins are an easy and healthy breakfast and brunch recipe, perfect for busy mornings or make ahead freezer meals and snacks.
- Muffin Tin
- 4 ounces ham (chopped)
- 1 cup cheddar cheese (shredded)
- 3 green onions (chopped)
- 10 large eggs
- 1/4 cup heavy whipping cream
- 1/2 teaspoon salt
- 1/2 teaspoon ground black pepper
Pre-heat the oven to 375° F and grease a muffin tin.
Place a little bit of chopped ham in the bottom of each muffin cup.
Next sprinkle a little cheese on top of the ham in each muffin cup.
Then sprinkle green onions into each muffin cup.
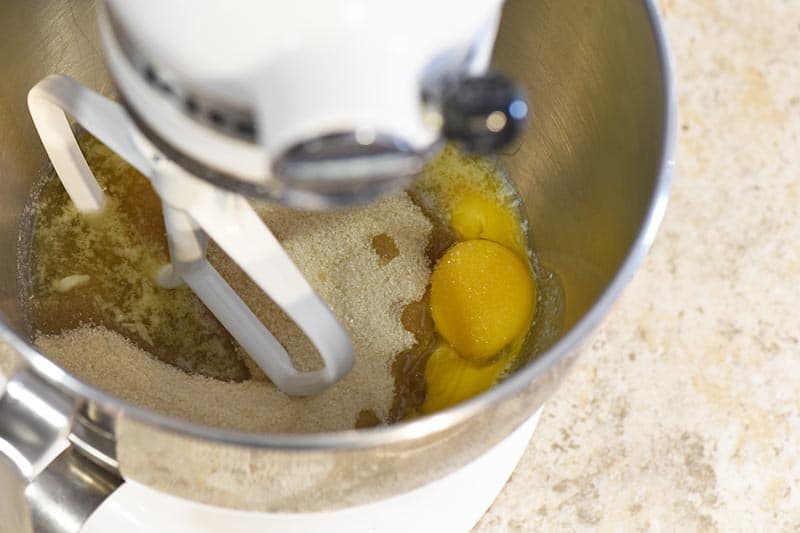
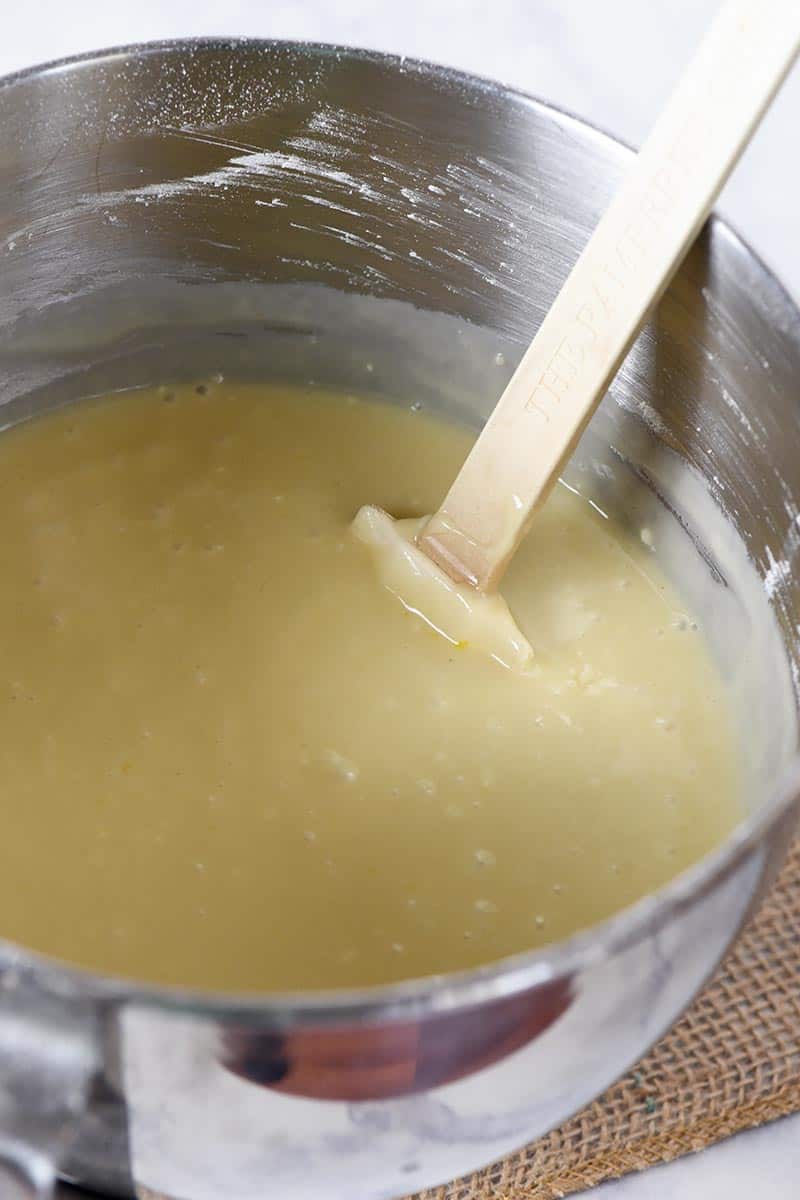
In a large mixing bowl, whisk together the eggs, heavy whipping cream, salt, and pepper.
- Pour the egg mixture into the muffin tin, filling each cup about 3/4 of the way full; this will leave a little room for expansion in baking.
Bake the muffins at 375° F for 20 to 25 minutes, or until the egg muffins are fluffy, not jiggly, and have reached 160° F with a meat thermometer.
Allow the muffins to cool for 2 to 3 minutes in the pan; then run a table knife around the edges of the muffin cups, and pop the muffins out onto a wire rack to cool.
Serve immediately with your favorite toppings and sides!
*You can use any kind of cheese you like, including cheddar, American, pepper Jack, smoked cheese, Queso Fresco, Cotija cheese, etc.
*You can serve them immediately, or you can refrigerate or freeze them. Then pop them in the microwave in the morning, and enjoy a warm breakfast with hardly any effort! They’re perfect for a quick, on the go, healthy breakfast!