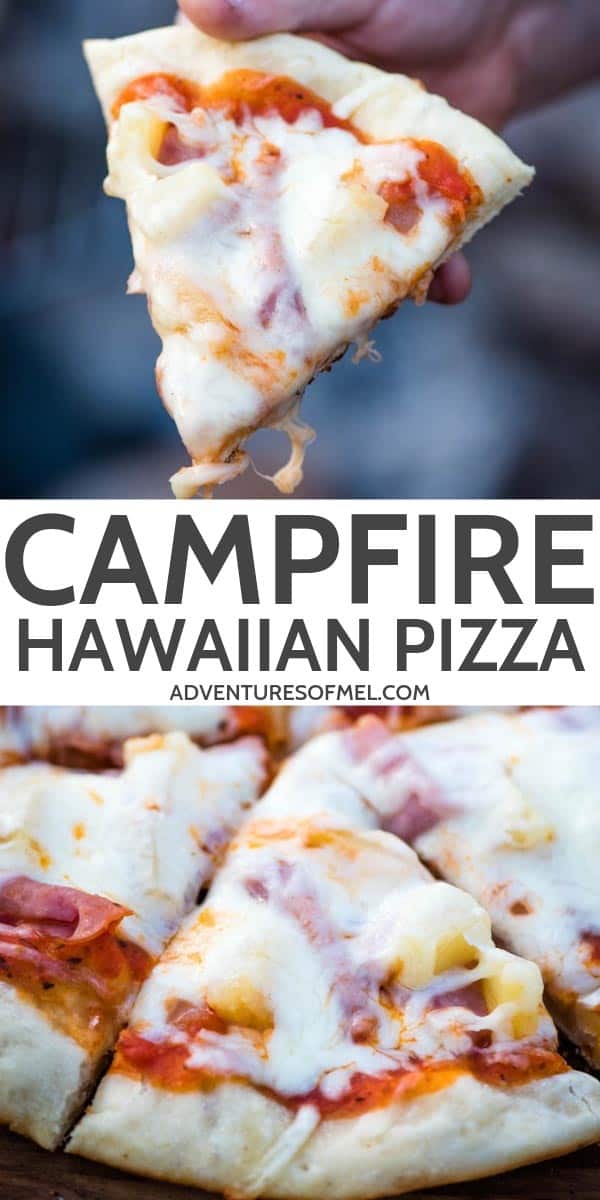
How to make campfire Hawaiian pizza. Just 5 ingredients and a cast iron skillet are all you need for this simple and easy ham and pineapple pizza recipe.
If you’ve never had the smoky flavors of Hawaiian pizza cooked over a campfire, then have I ever got the most delicious pizza recipe for you.
Now… I have a confession. I’m not a fan of pineapple on my pizza.
However, my family loves it. And if I have to eat pineapple pizza, I’d much rather have it cooked over the campfire in a cast iron skillet.
Plus, I do love ham on my pizza. And cheese… I love a really cheesy pizza, and that’s exactly what this is.
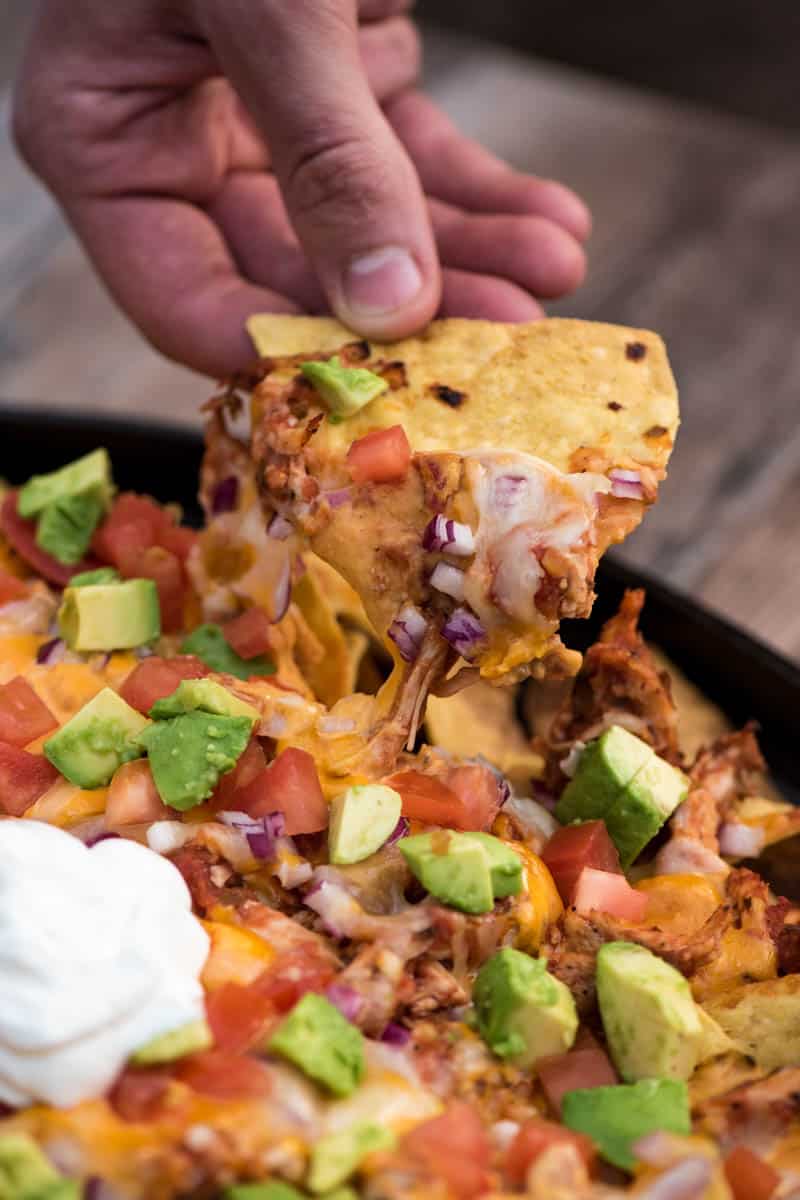
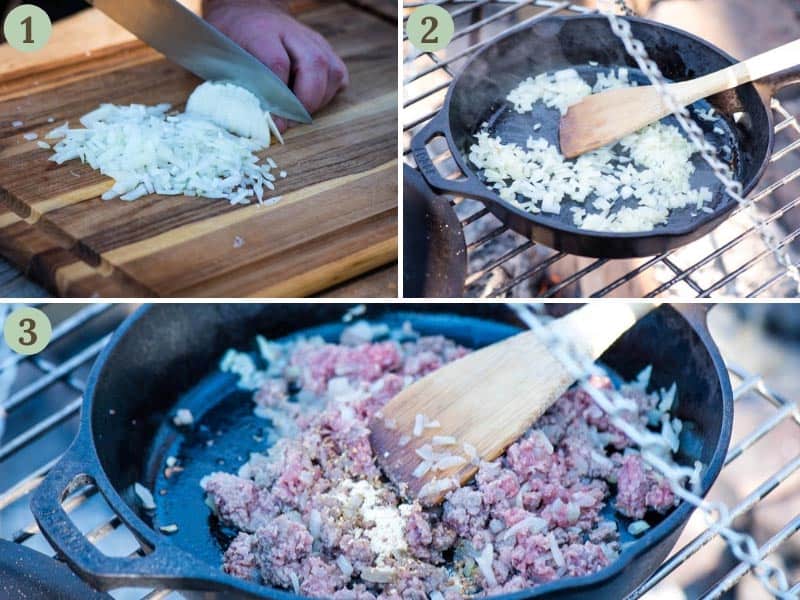
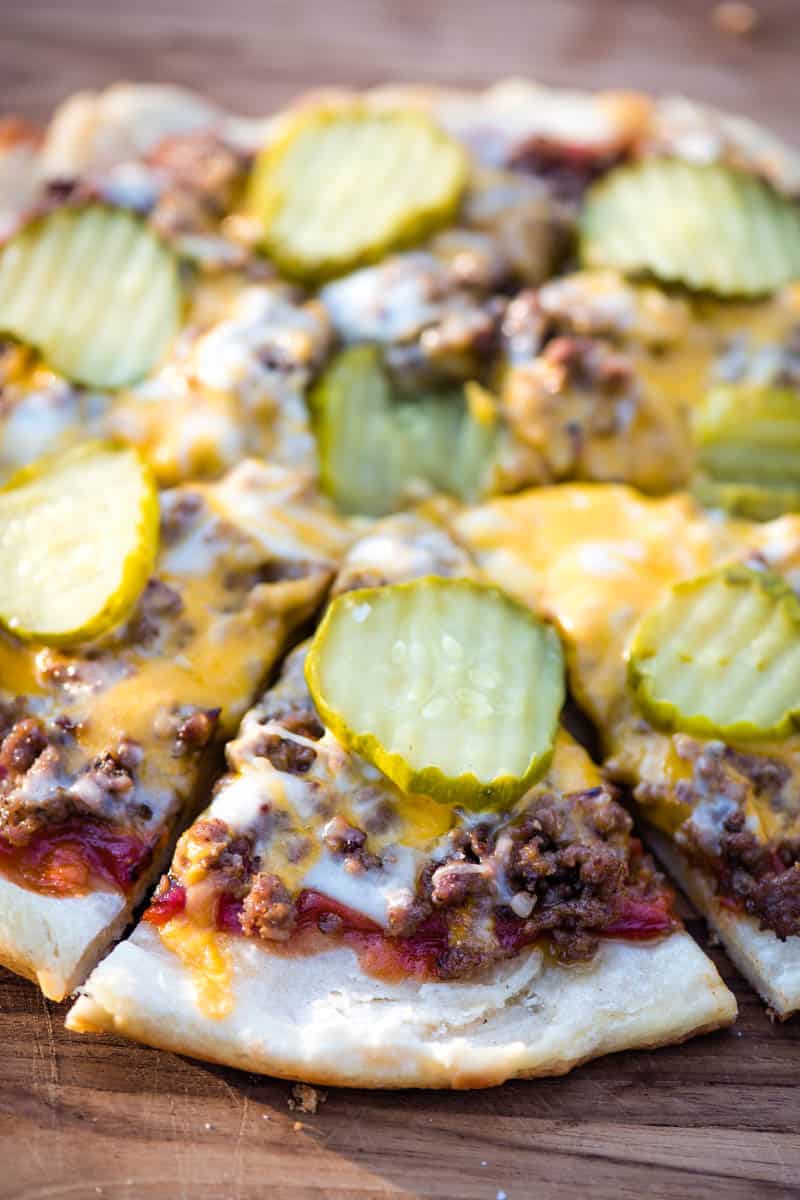
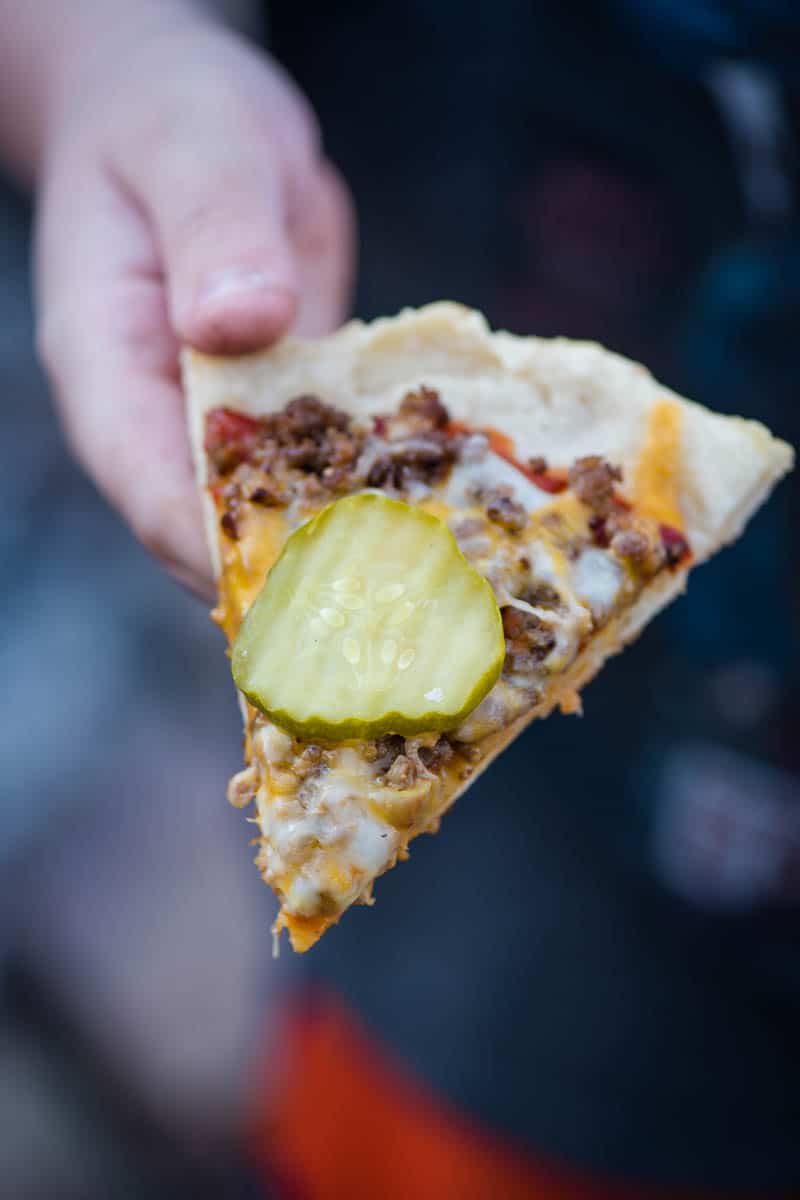
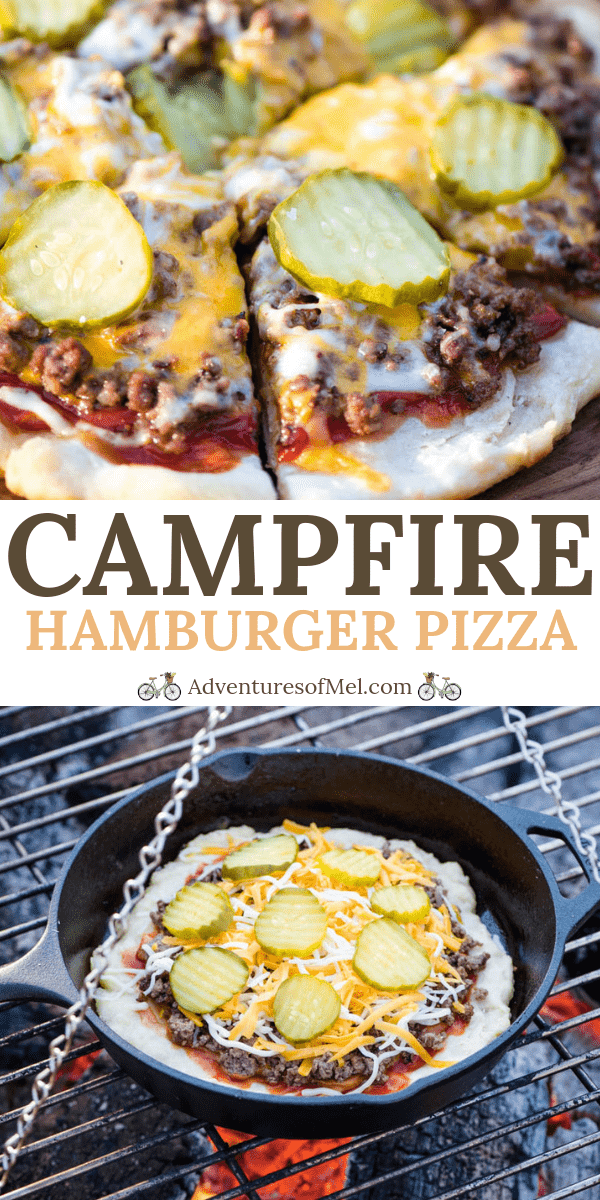
Love a good campfire pizza? You’ll LOVE this hamburger pizza on a campfire.
Important Note: This recipe makes enough for 2 10-inch pizzas.
WHERE CAN I FIND THE ACTUAL RECIPE CARD?
If you’d rather skip all of my tips for making cast iron pizza, important info for this recipe, and similar recipe ideas – and get straight to the pizza recipe – just scroll down to the bottom, where you’ll find a printable recipe card.
BEFORE YOU GET STARTED COOKING…
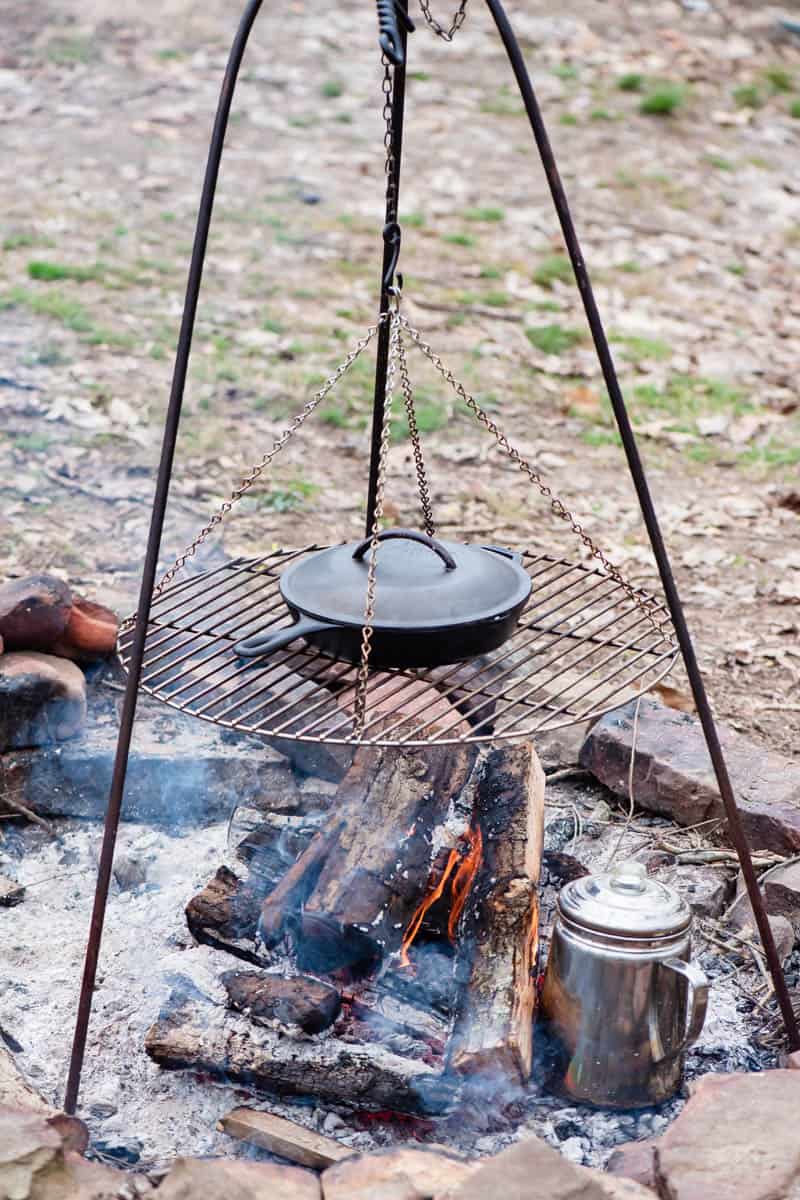
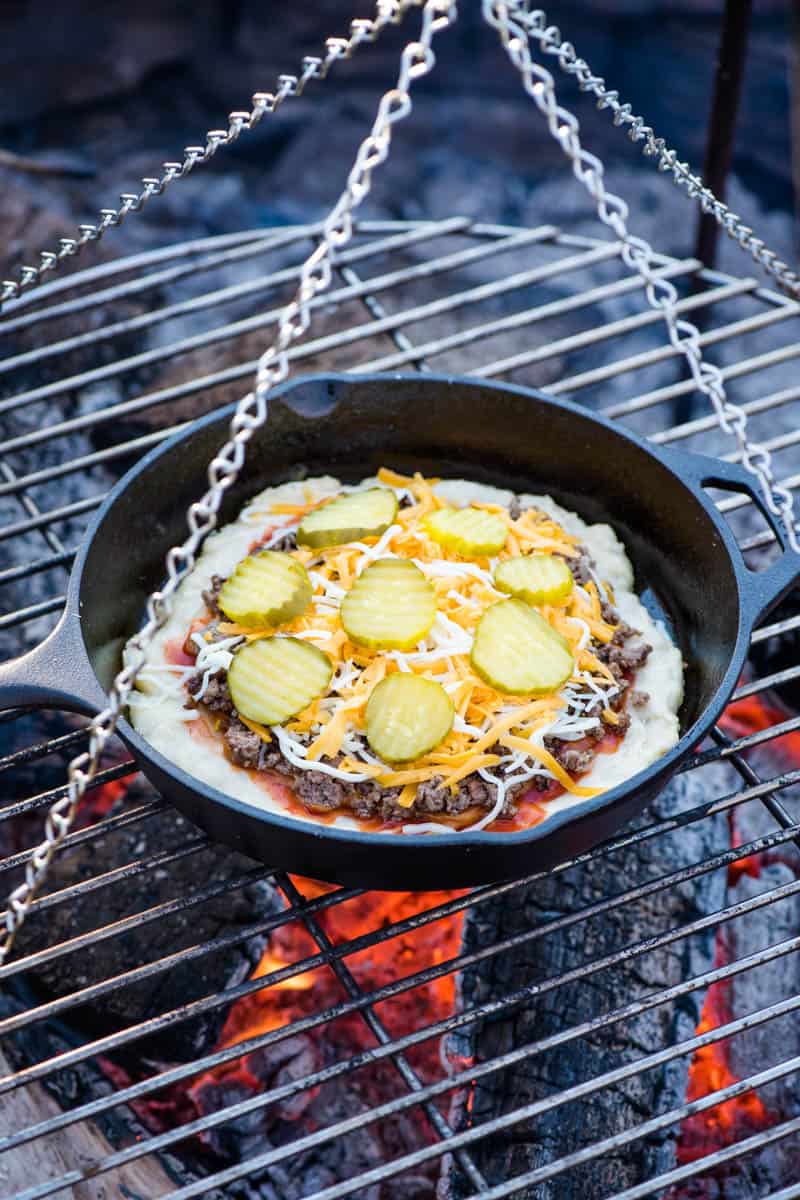
Your fire should be down to coals, with a little bit of flame here and there.
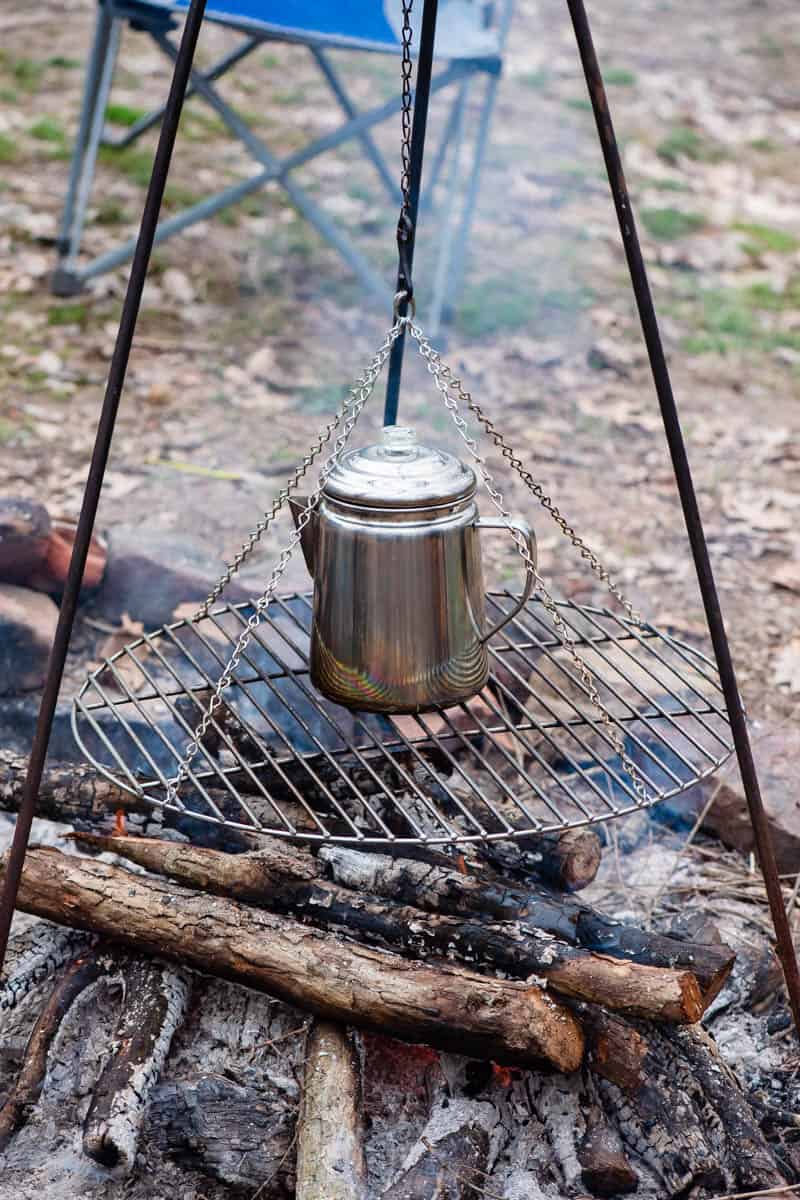
We use a tripod grill. You’ll want to watch it closely, though, as you may need to adjust the height of the grill over the fire, so the pan or griddle you’re using doesn’t get so hot that it cooks everything too quickly.
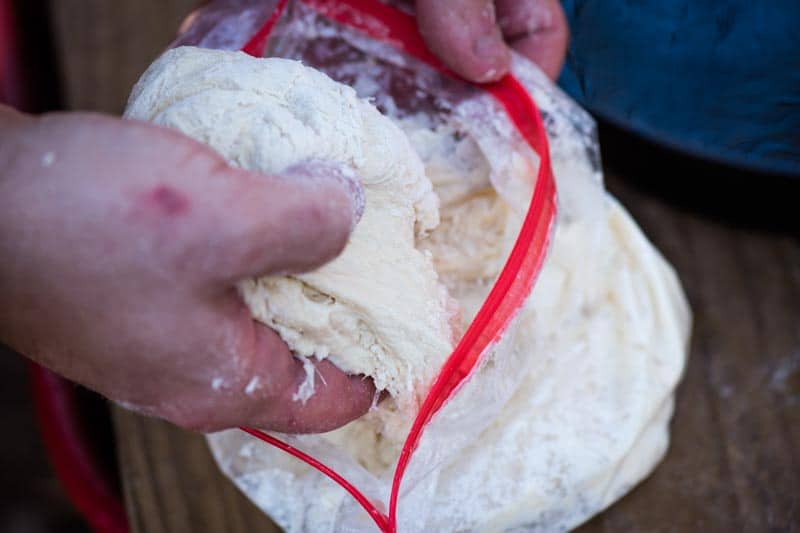
LET’S TALK DOUGH
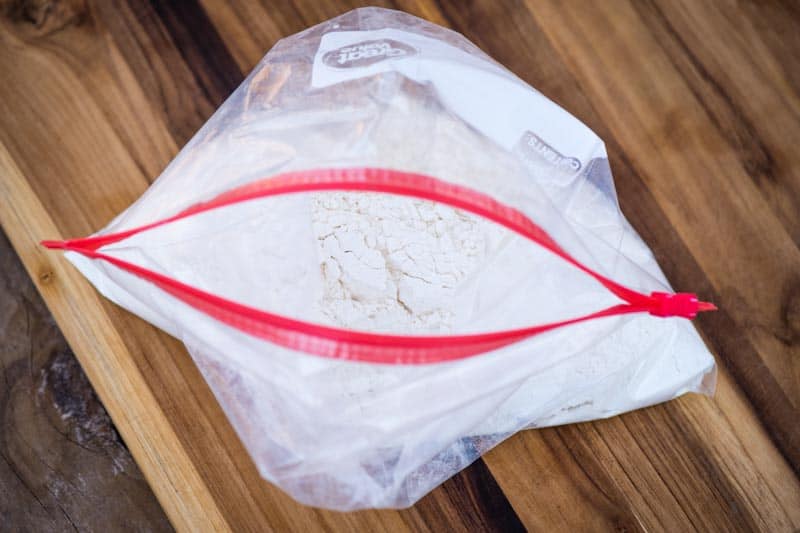
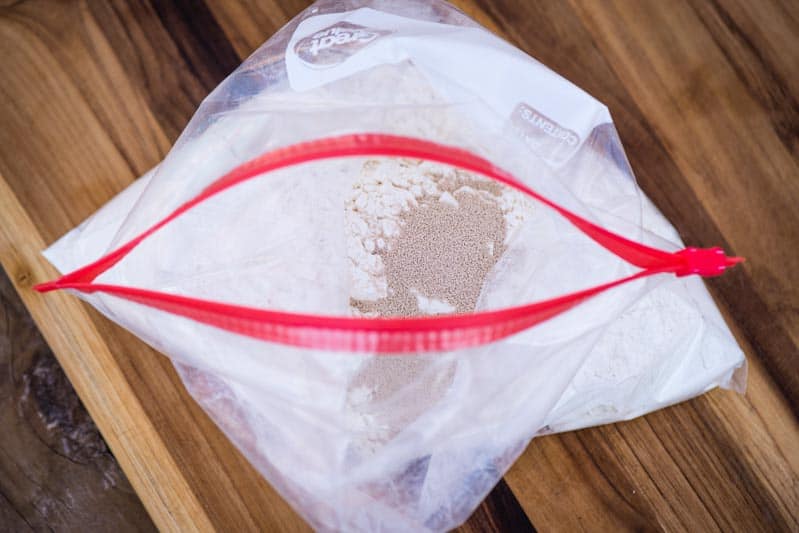
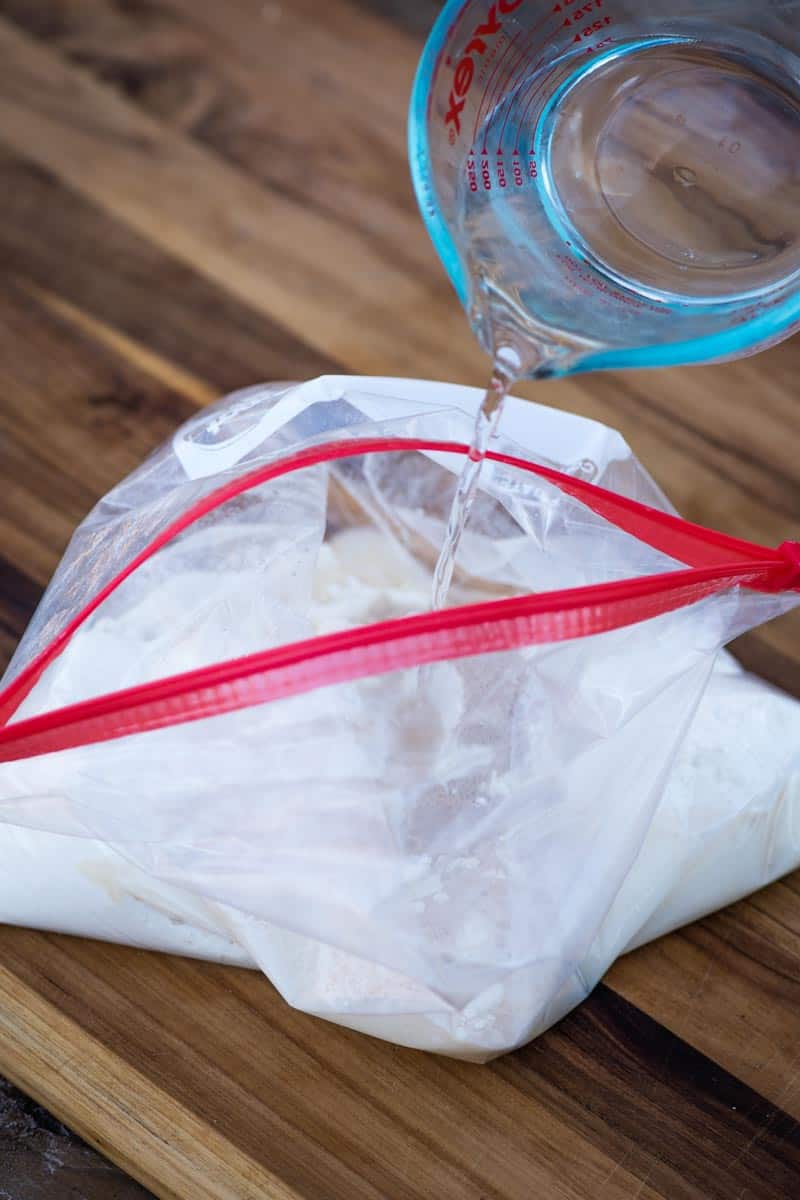
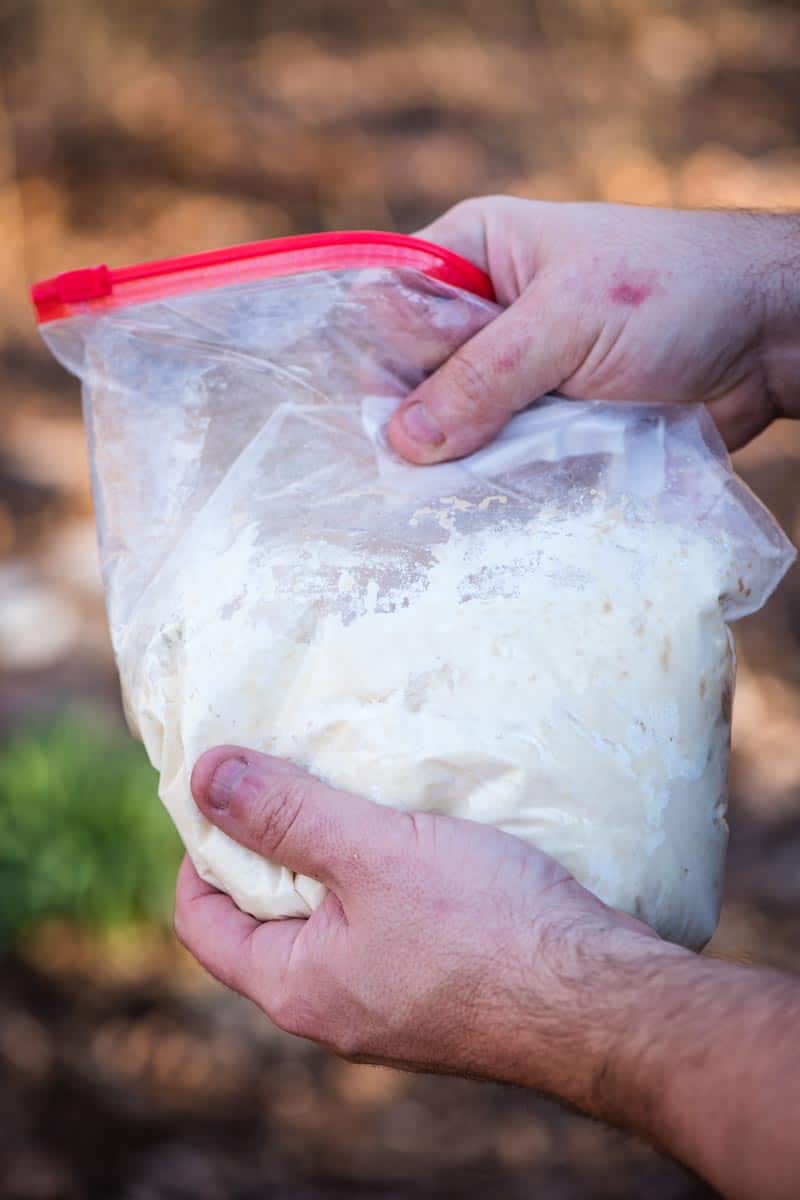
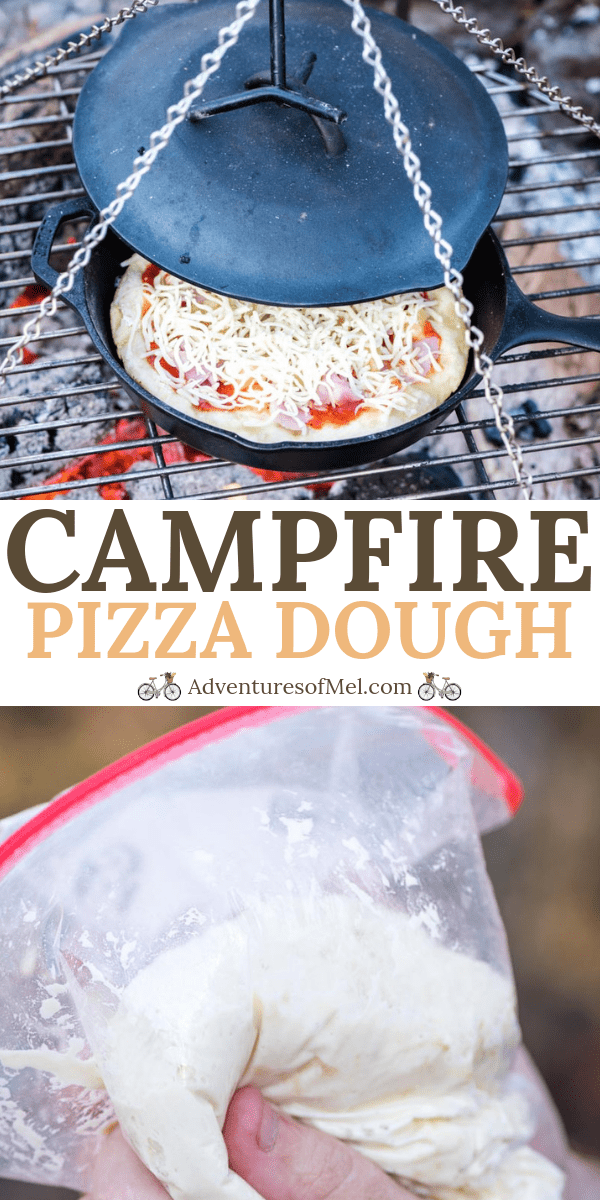
As this is meant to be a camping recipe, you can either take a pre-made pizza crust with you, or you can make our easy homemade pizza dough right in a Ziploc bag.
Either way, don’t let the pizza dough trip you up and keep you from making pizza for dinner while you’re sitting around the campfire.
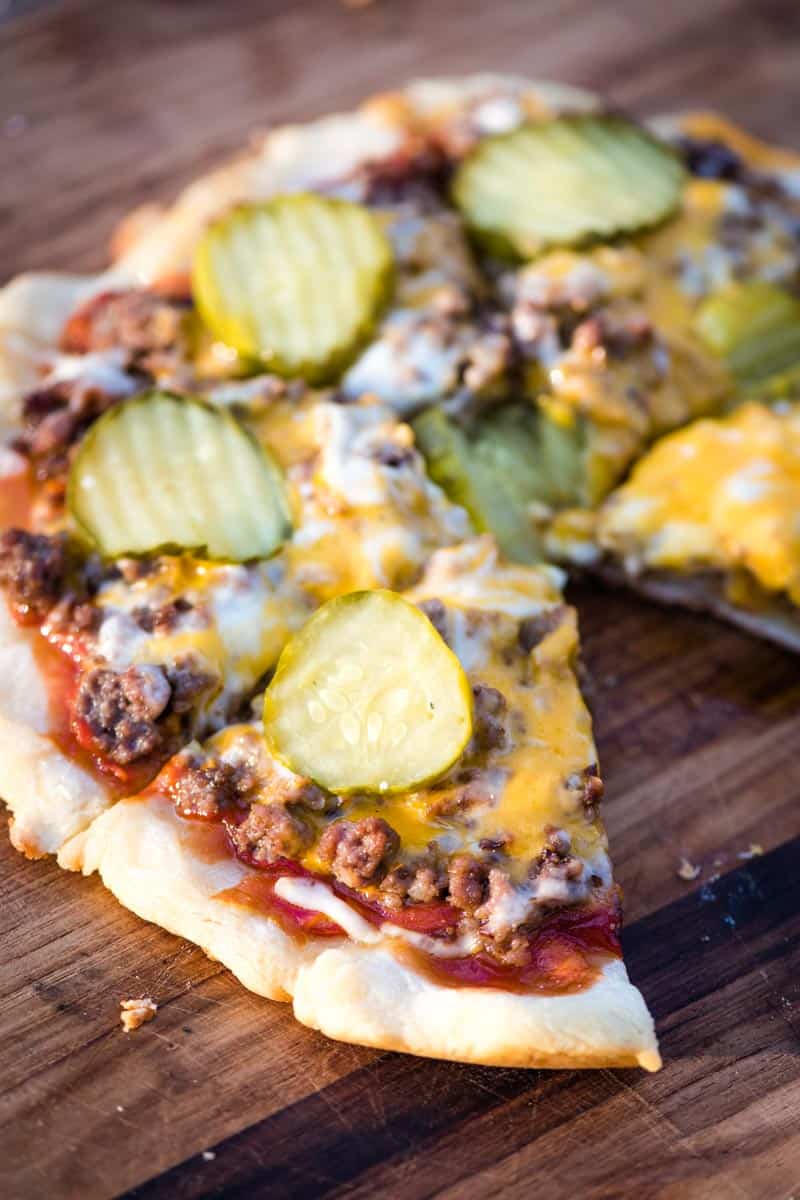
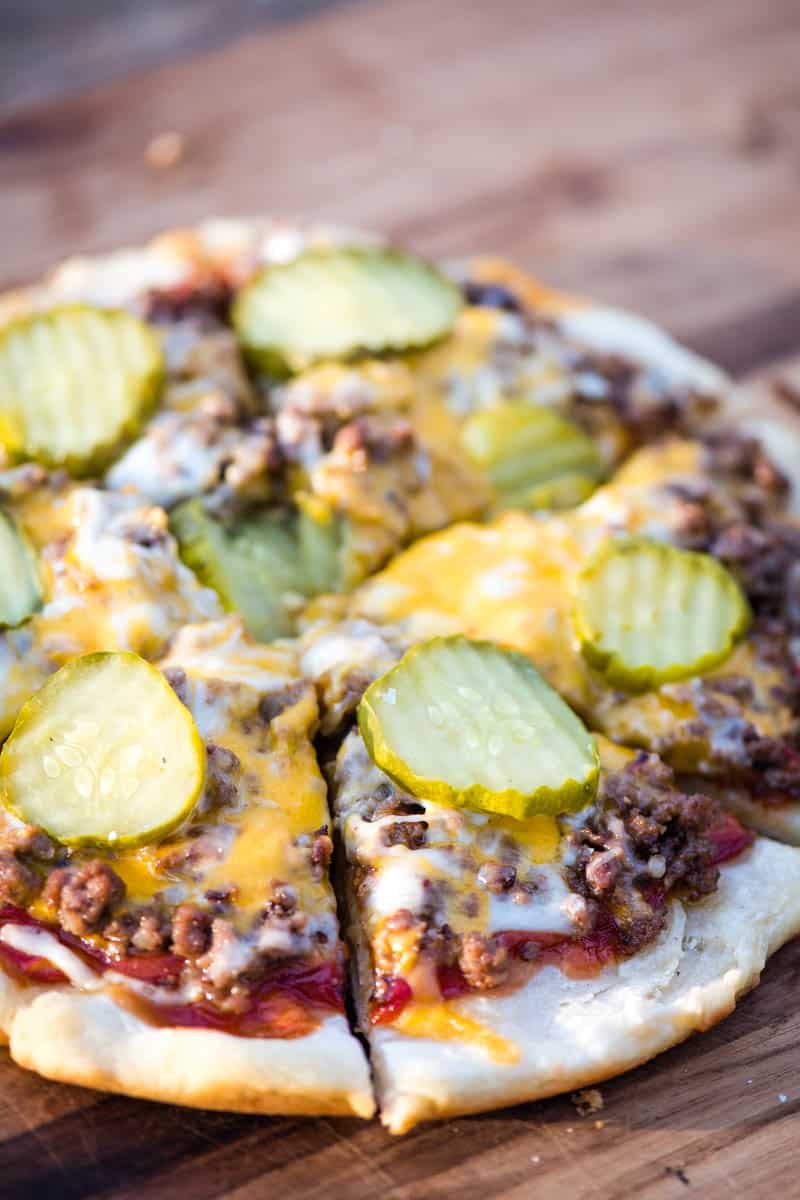
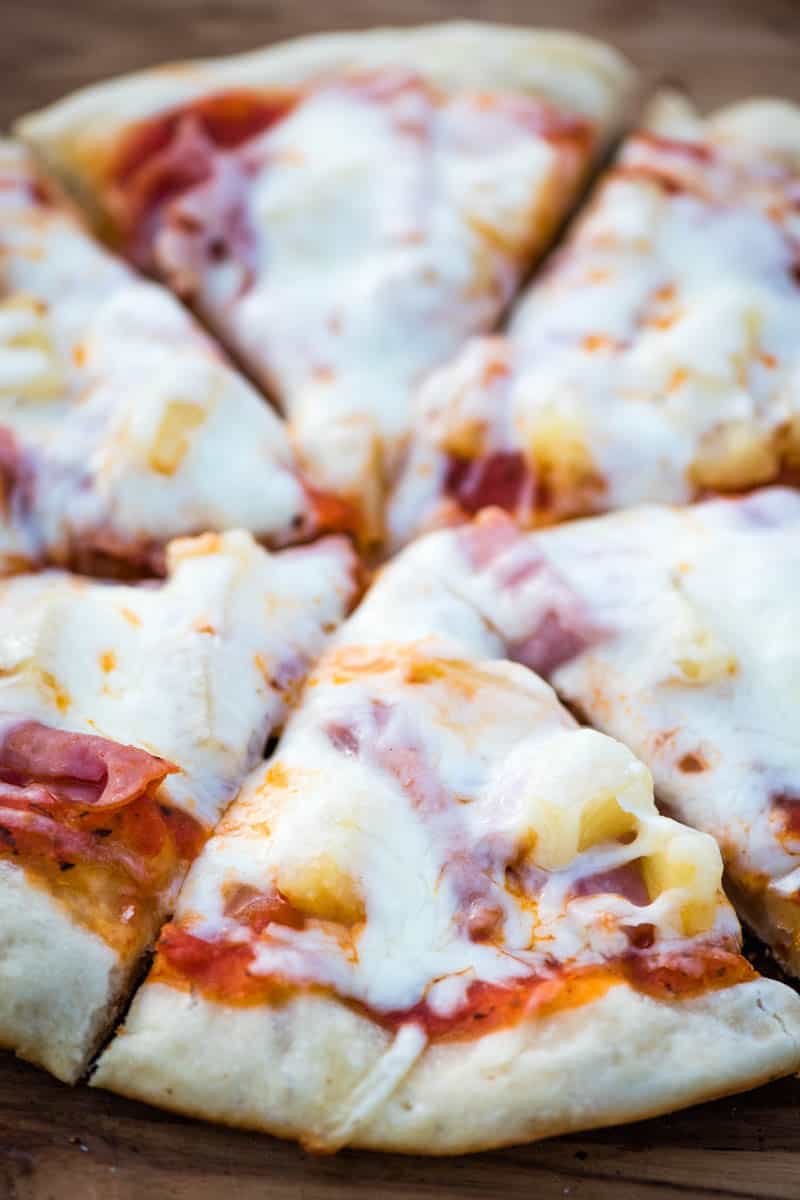
WHAT IS ON A HAWAIIAN PIZZA?
Hawaiian pizza toppings include the sauce, ham or Canadian bacon, pineapple, and mozzarella cheese.
You can also add other favorite ingredients like bacon, mushrooms, peppers, etc. It’s your pizza, your choice of toppings.
TIPS FOR HOW TO MAKE HAWAIIAN PIZZA
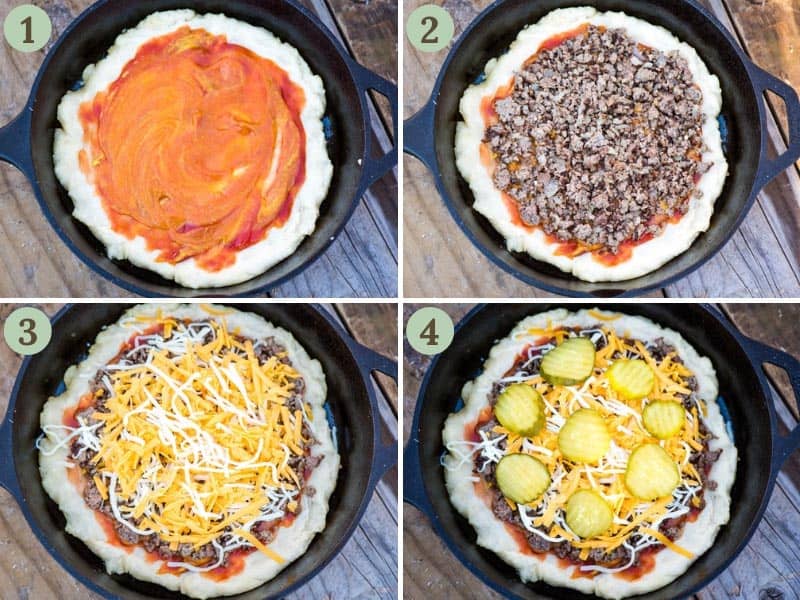
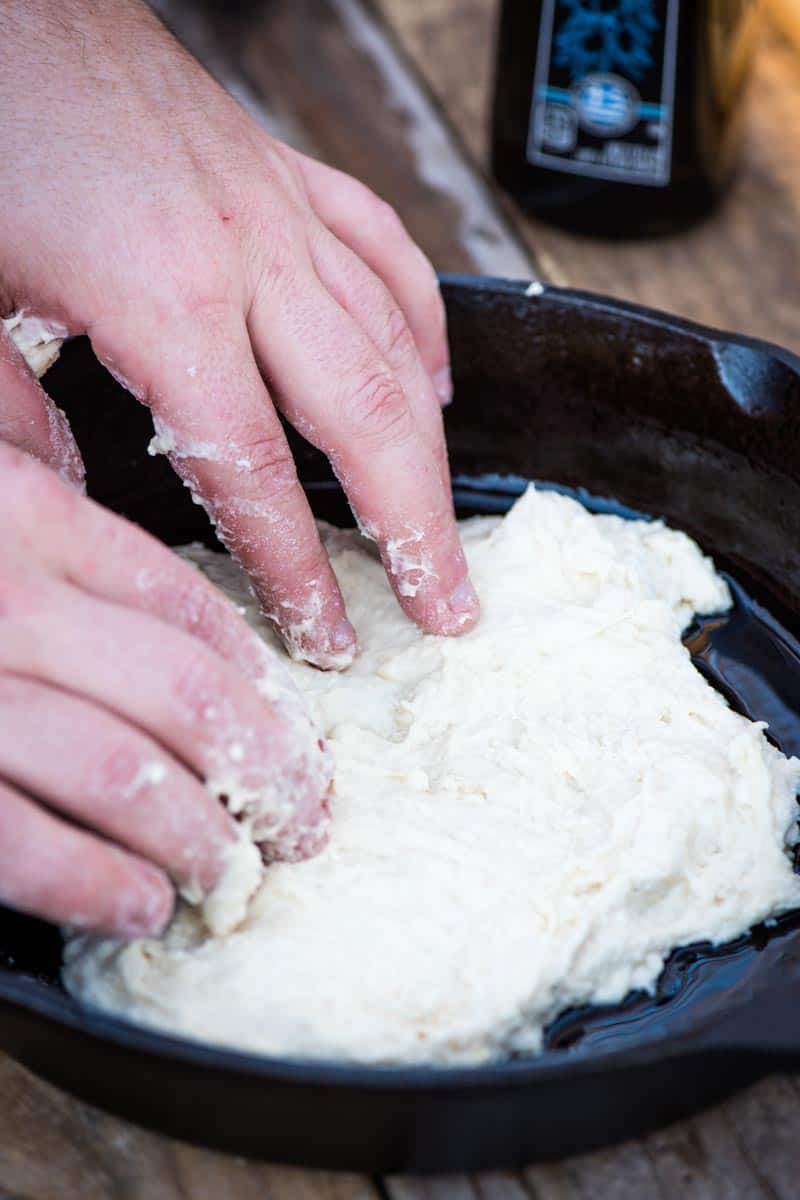
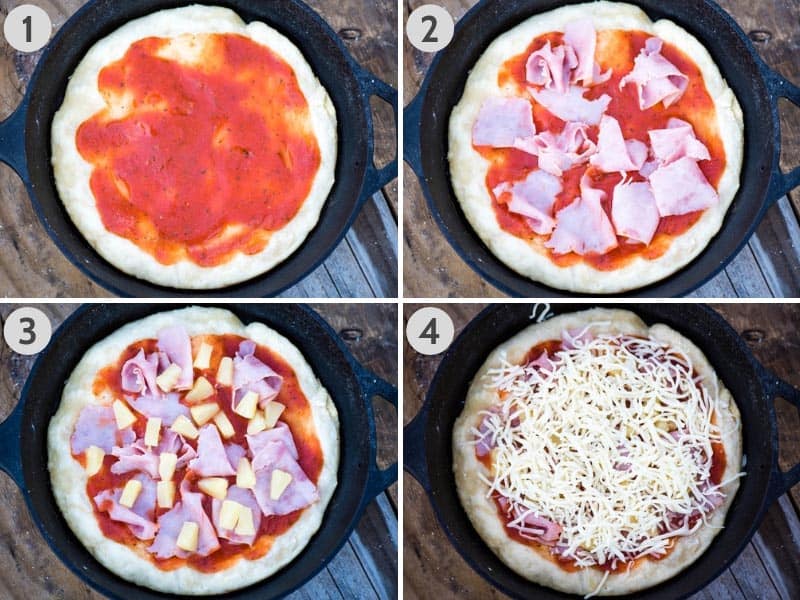
Once your pizza crust is ready to go, you’ll just layer the pizza toppings right onto the partially cooked crust in a cast iron skillet.
- Begin with a layer of pizza sauce.
- Add a layer of sliced or shredded ham.
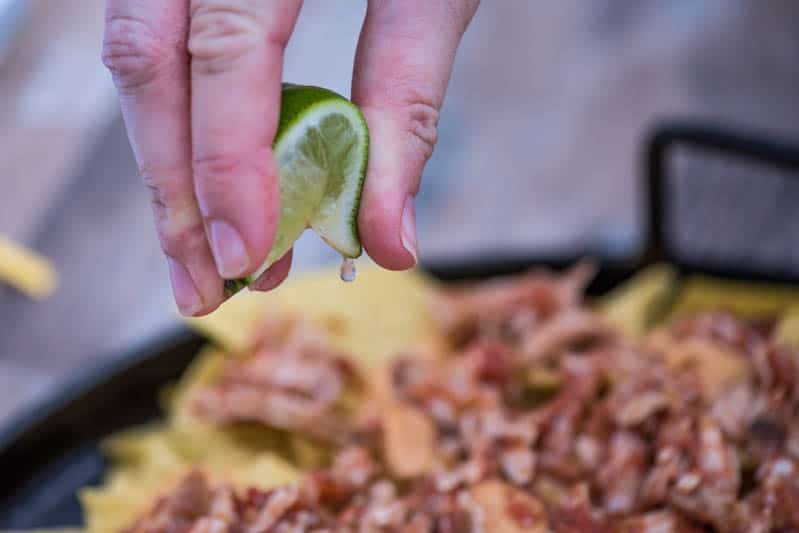
- Next add a layer of pineapple (you can use fresh pineapple or canned pineapple chunks; I used pineapple tidbits because they’re slightly smaller, the perfect size for pizza).
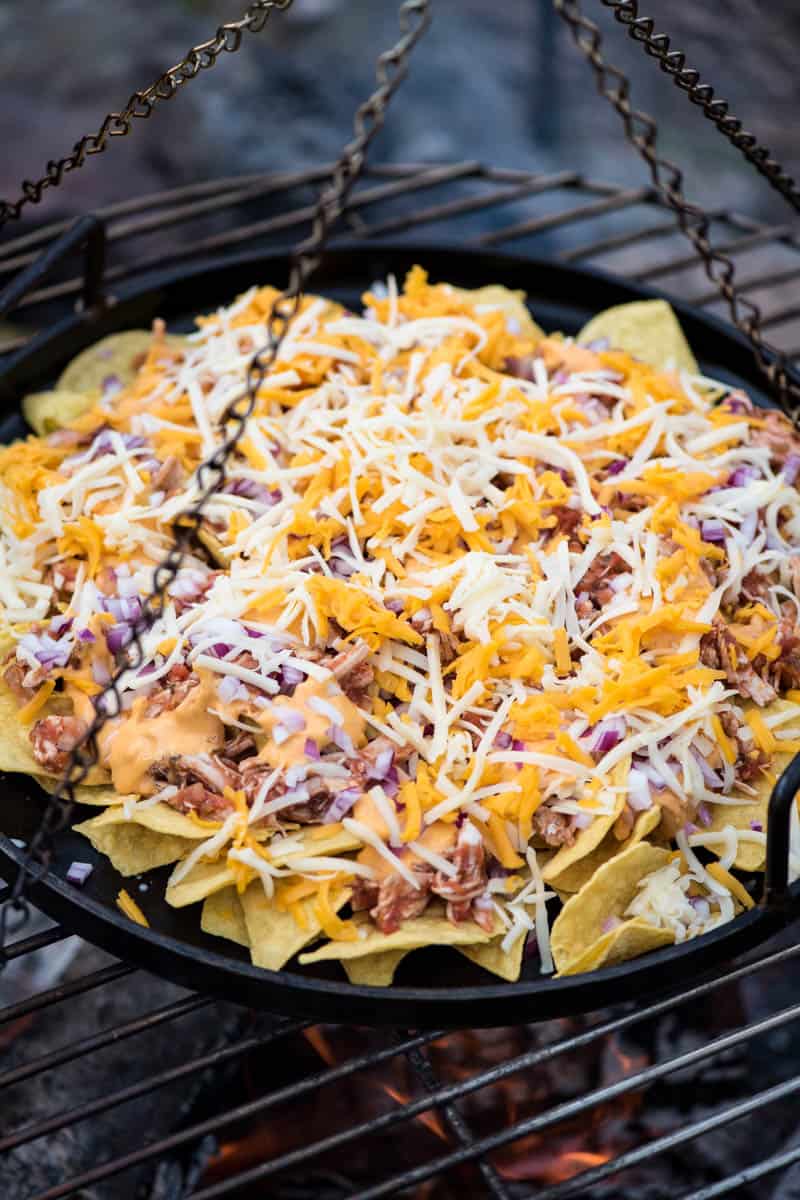
- Finally, finish it off with a layer of shredded mozzarella cheese.
HOW TO COOK HAWAIIAN PIZZA ON A CAMPFIRE
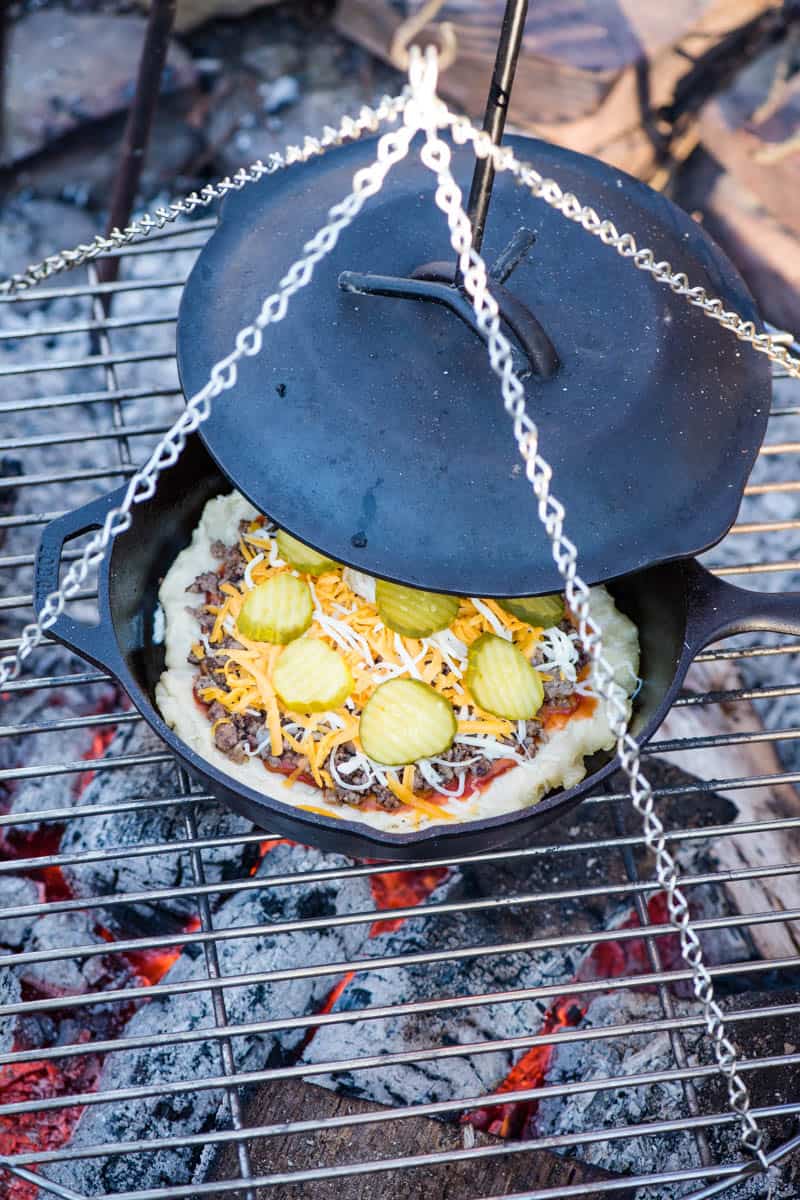
Now comes the part where you finish cooking your pizza. Don’t worry, cooking pizza on a campfire is really easy to do.
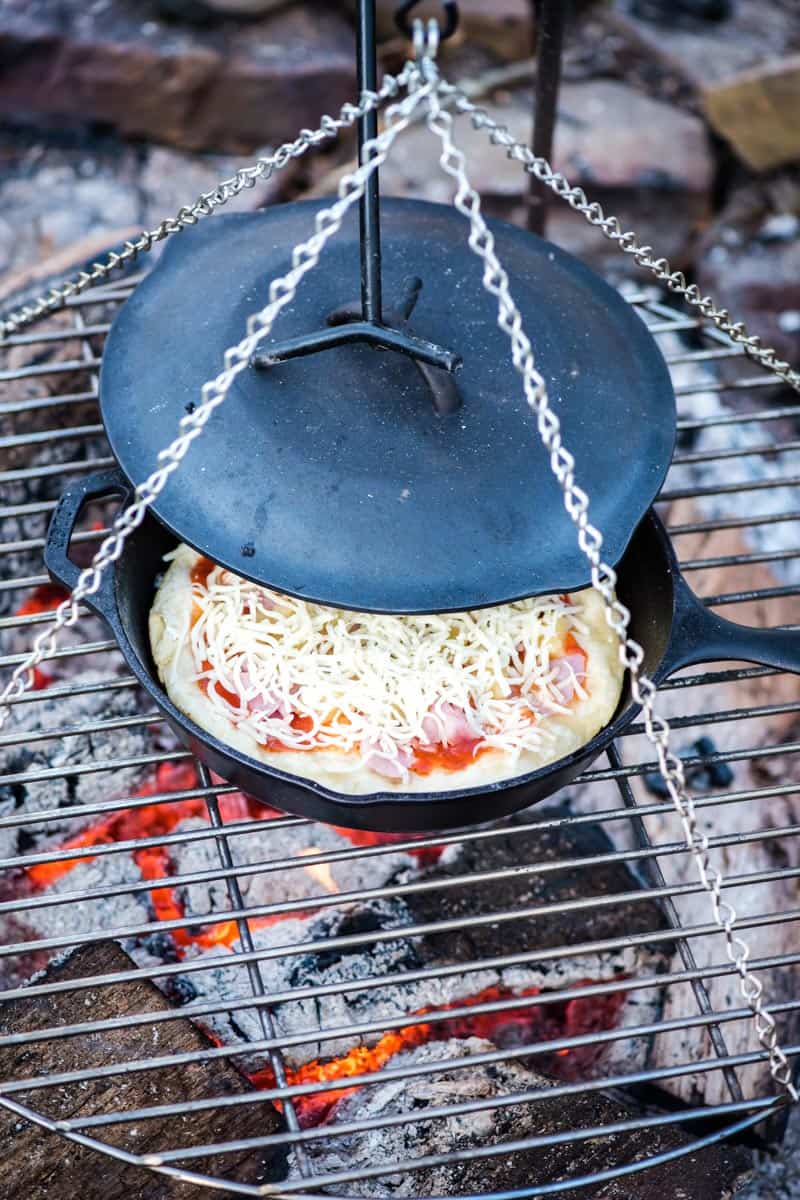
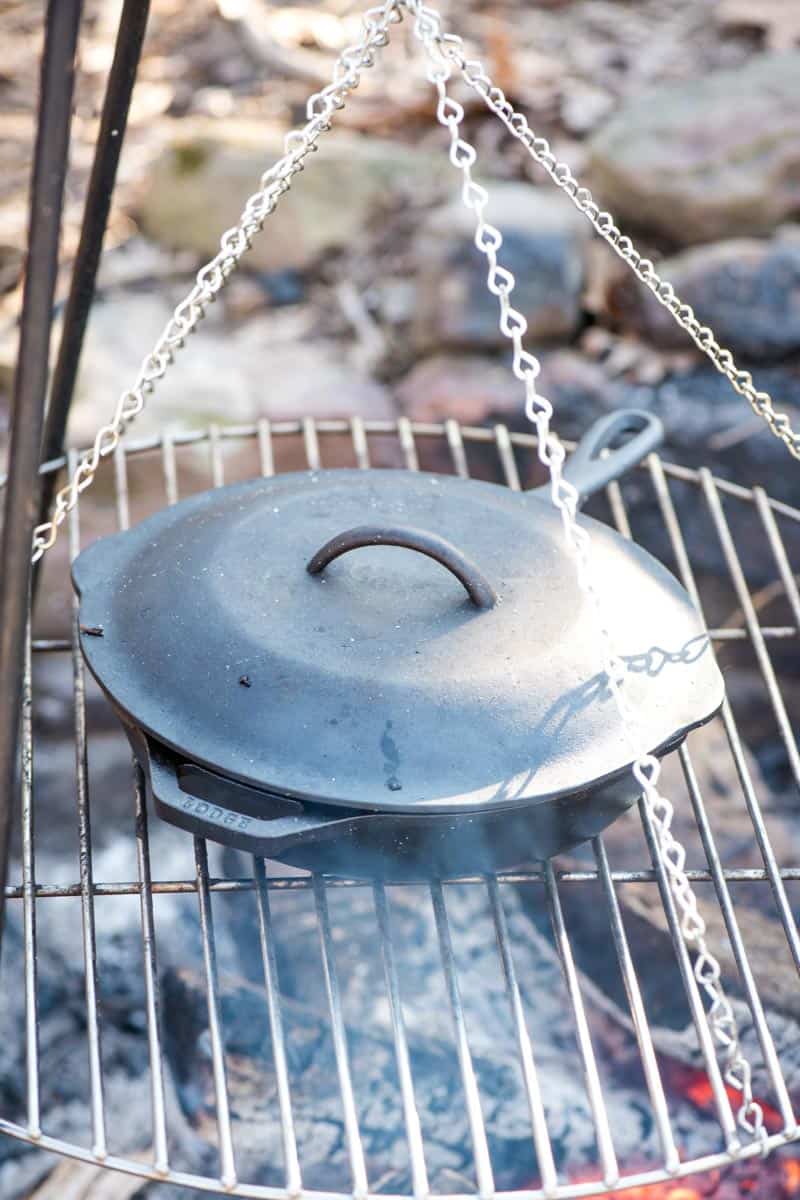
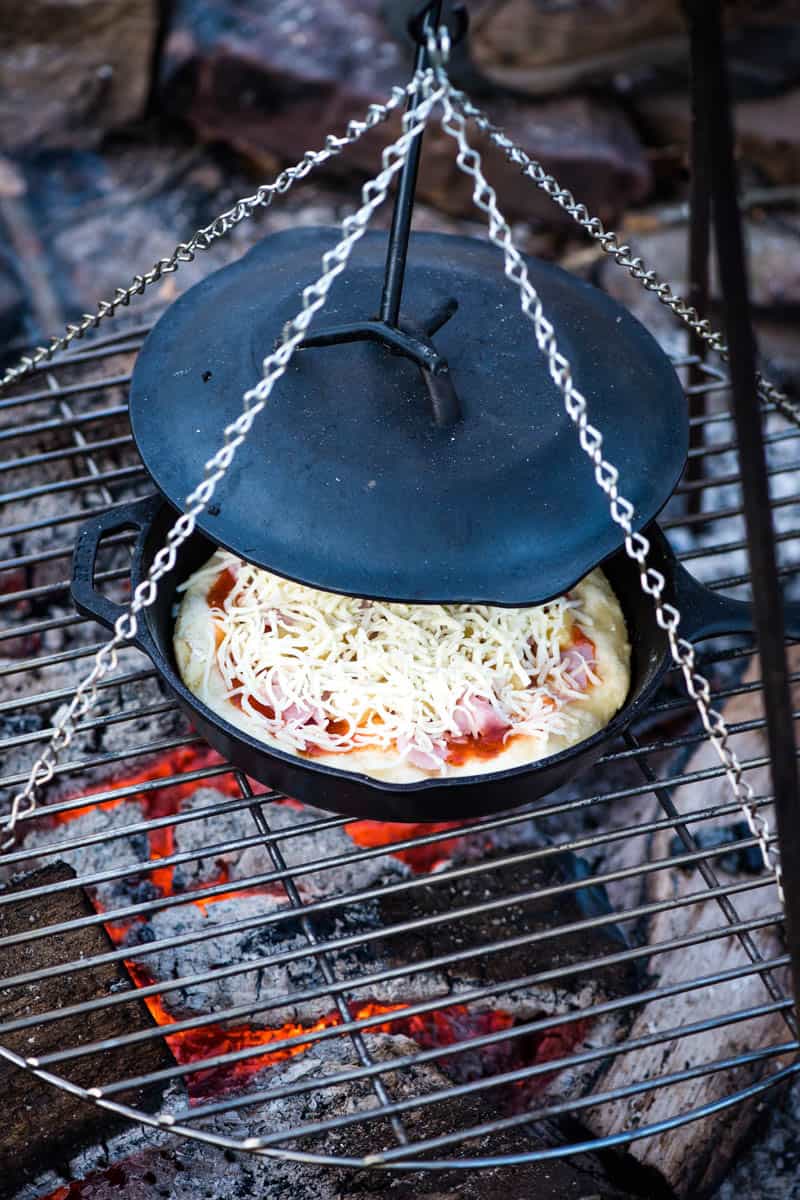
All you need are a cast iron skillet (or two) and a cast iron lid to go with it.
Once your pizza is in place on the grill, I’d recommend heating the lid over the coals and then placing it on top of the cast iron pan. This creates an oven like effect, which in turn, will bake your pizza.
Again, be sure that your rack is not too close to the fire because if not careful, you can burn the bottom of your pizza crust.
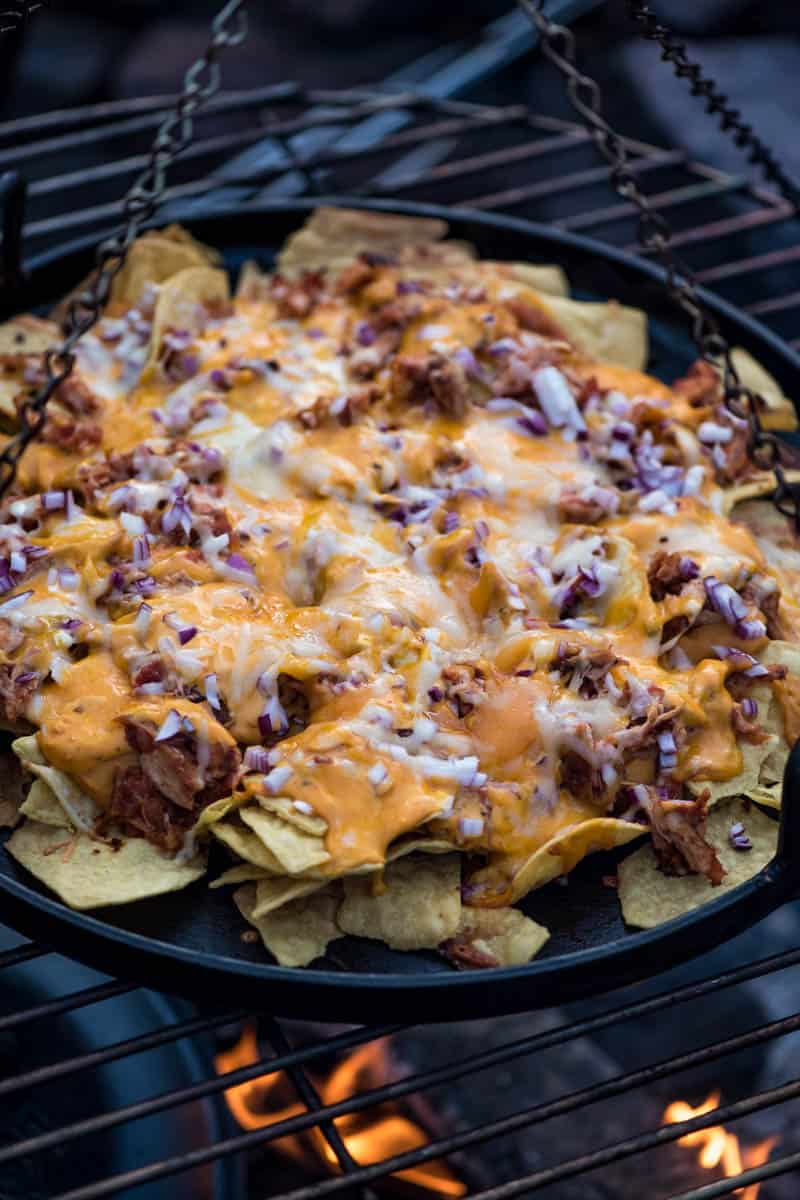
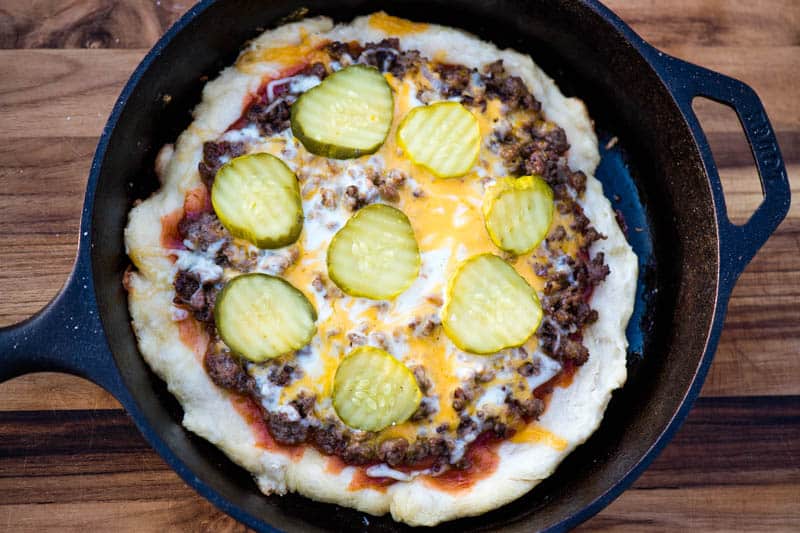
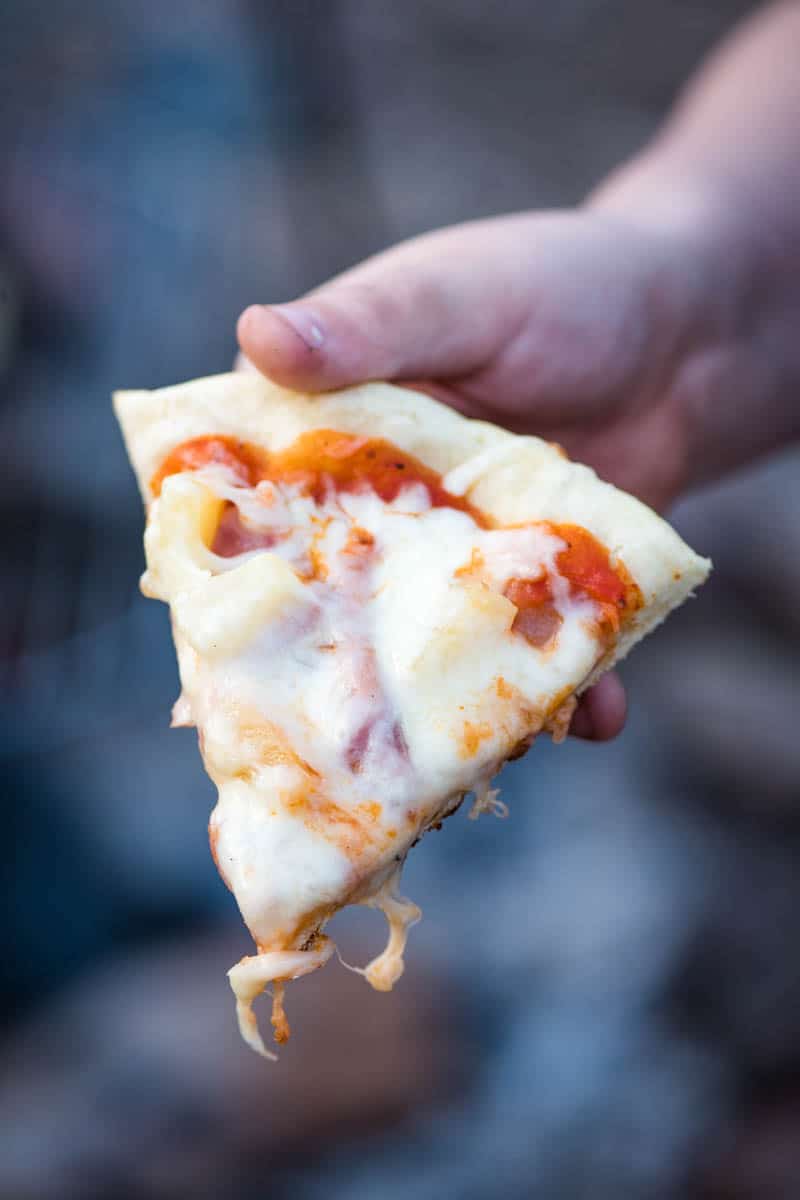
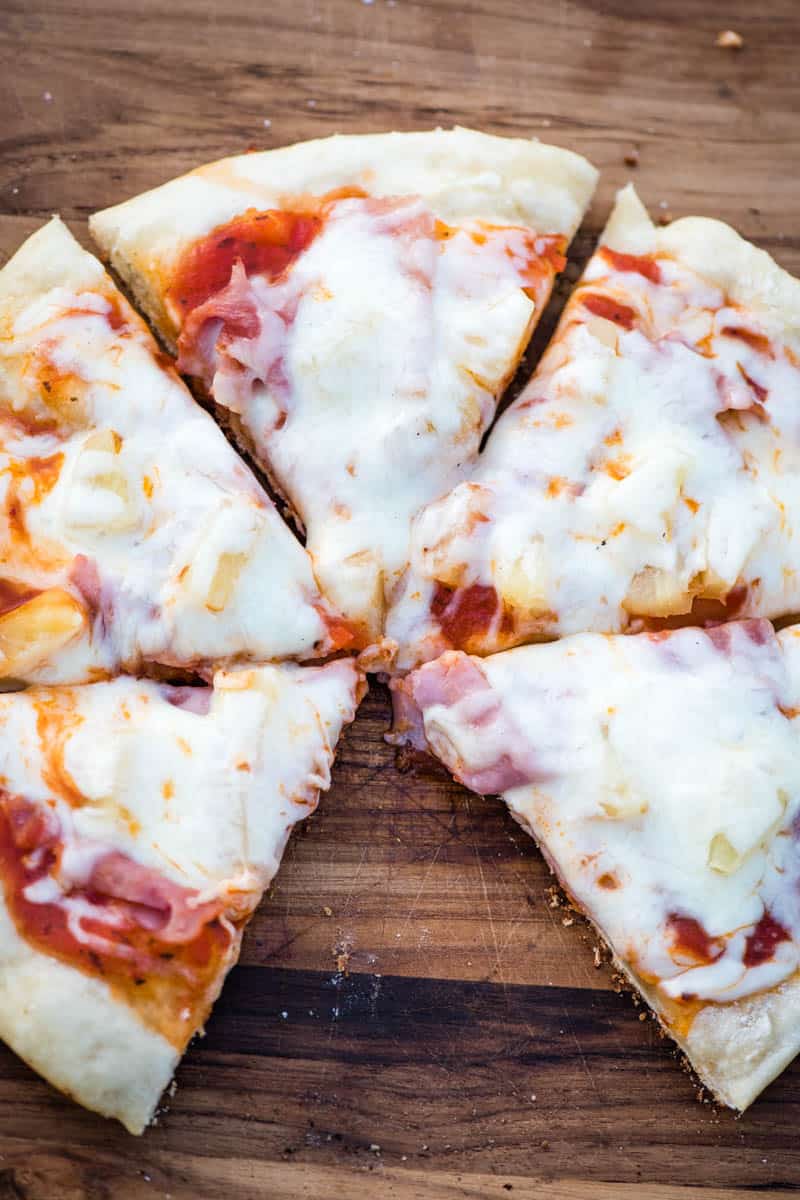
Cook the pizza for about 8-10 minutes or so, until the crust begins to turn slightly golden on the edges and the cheese completely melts.
Once the pizza is fully cooked, you can remove it from the fire, slice it up, and serve it.
HOW ‘BOUT DESSERT AFTER DINNER? SWEET CAMPING RECIPES YOU MAY ENJOY…
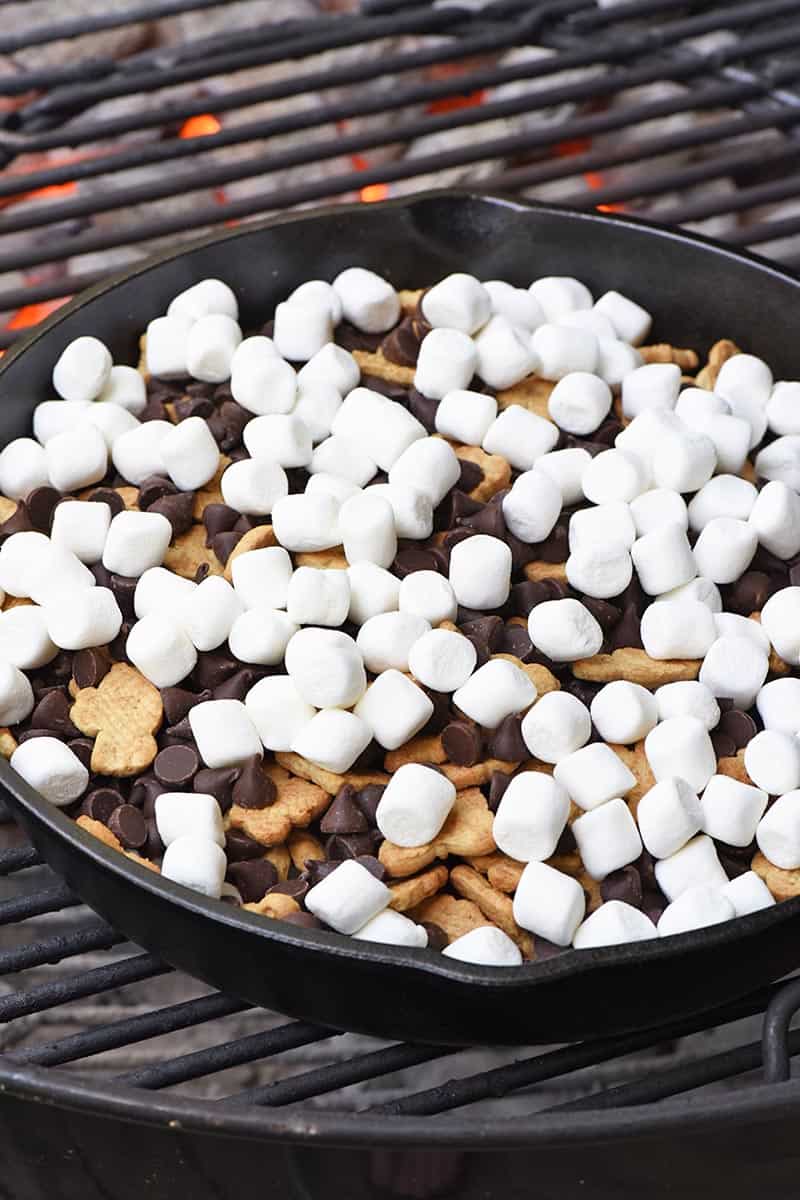
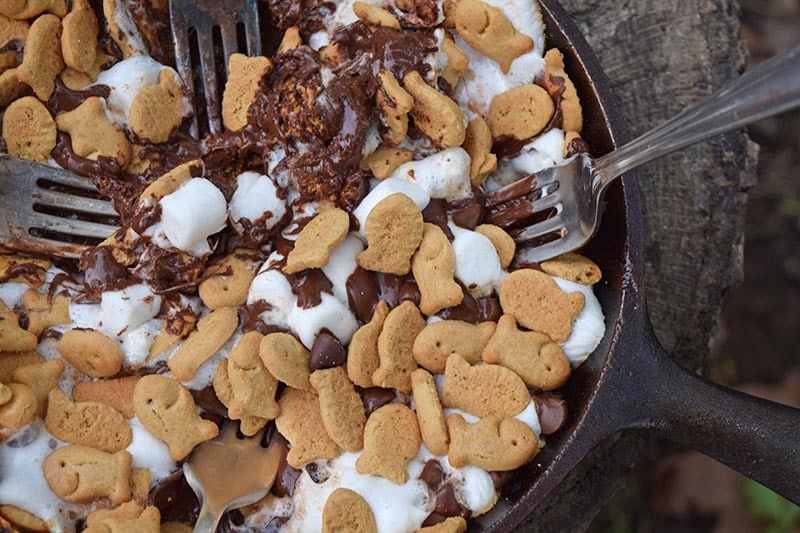
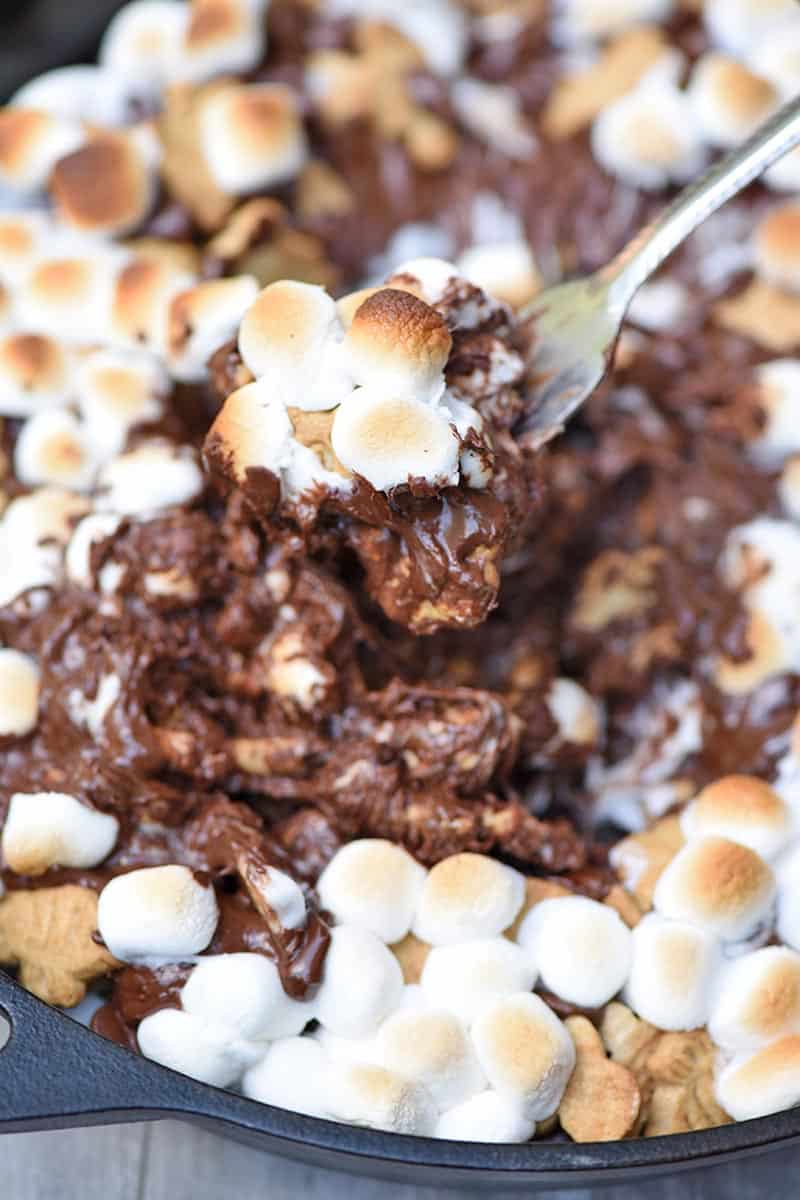
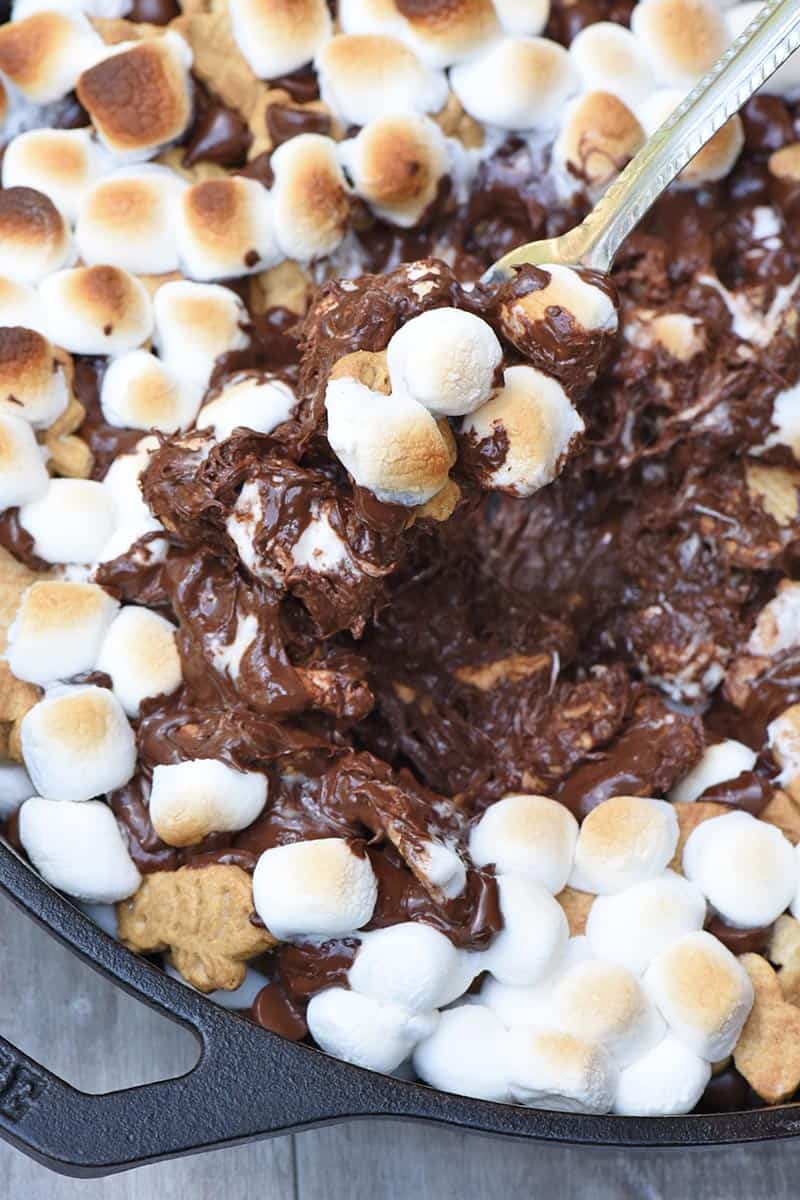
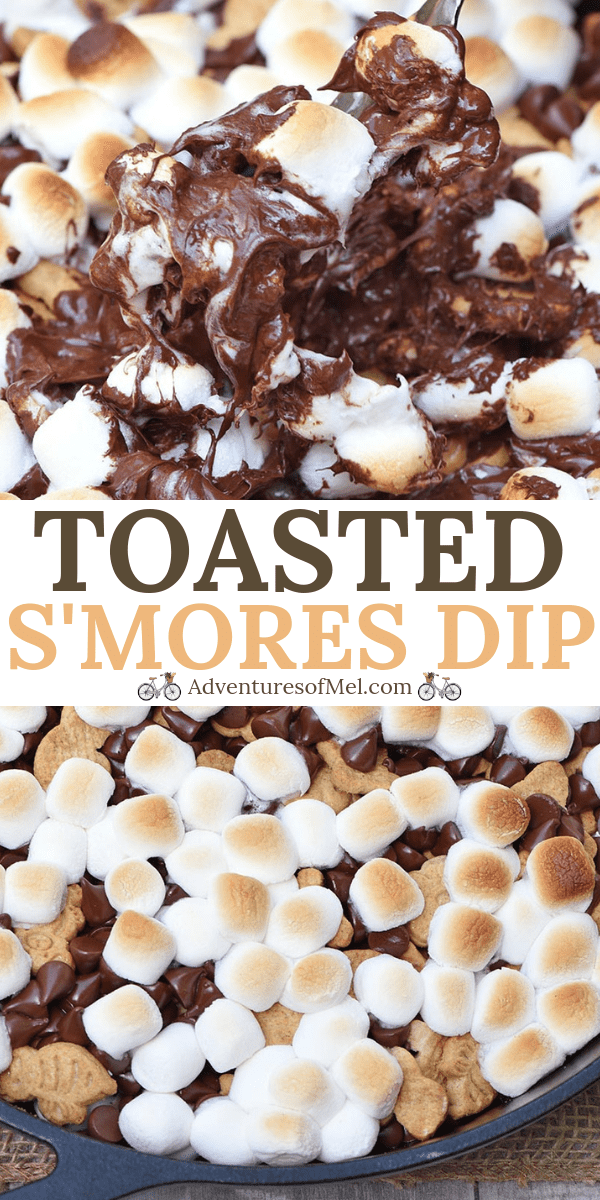
- S’mores Dip
- Banana Boat S’mores
- Sugar Cone S’mores
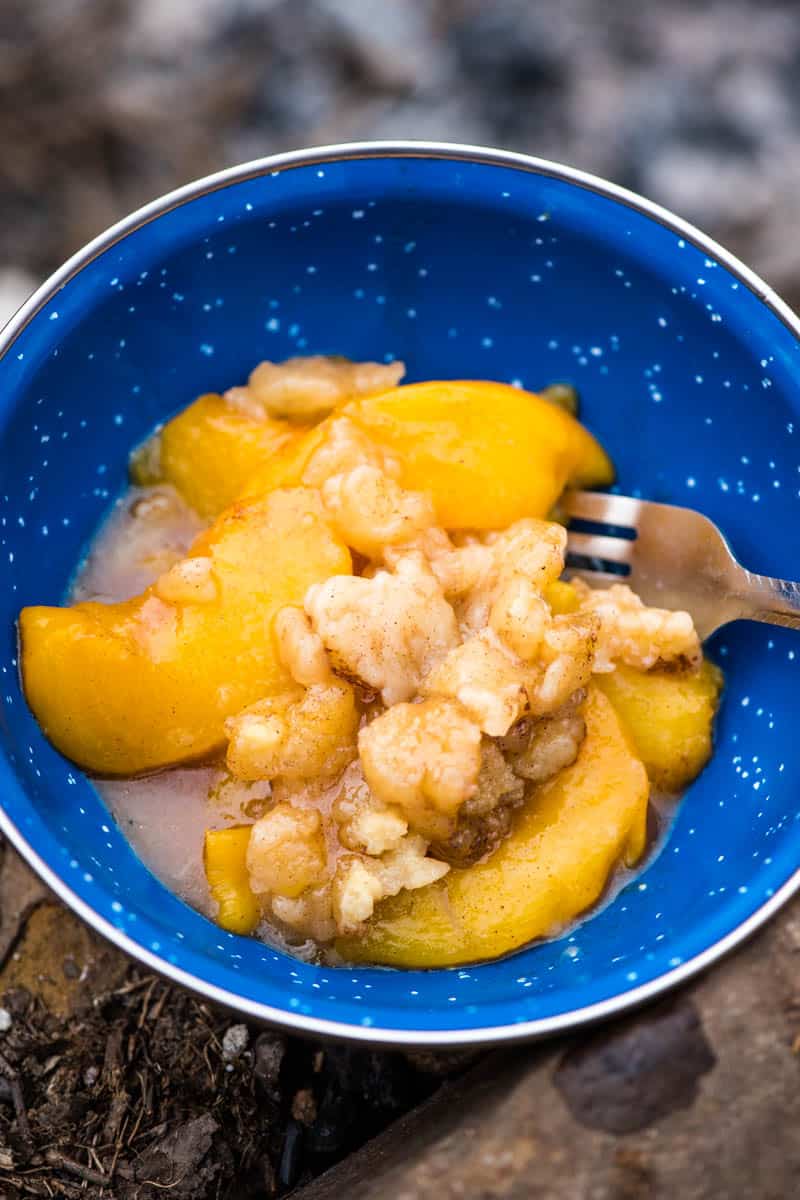
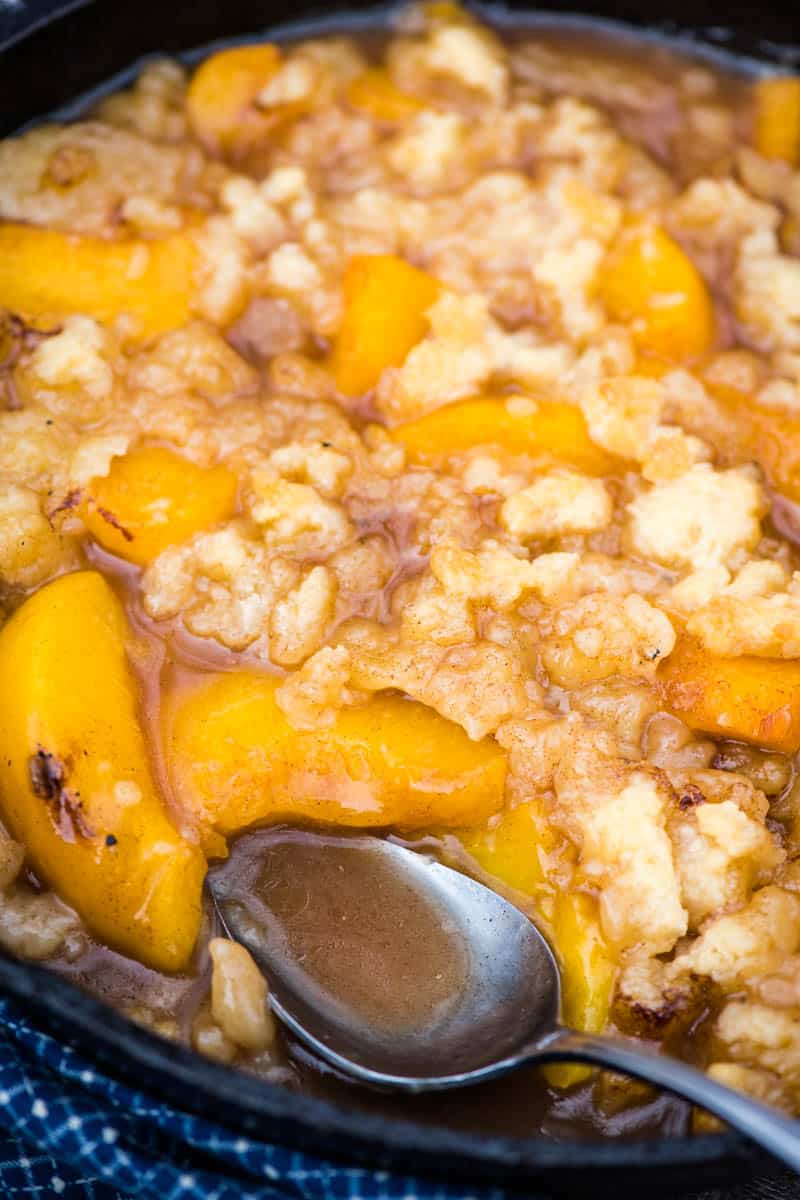
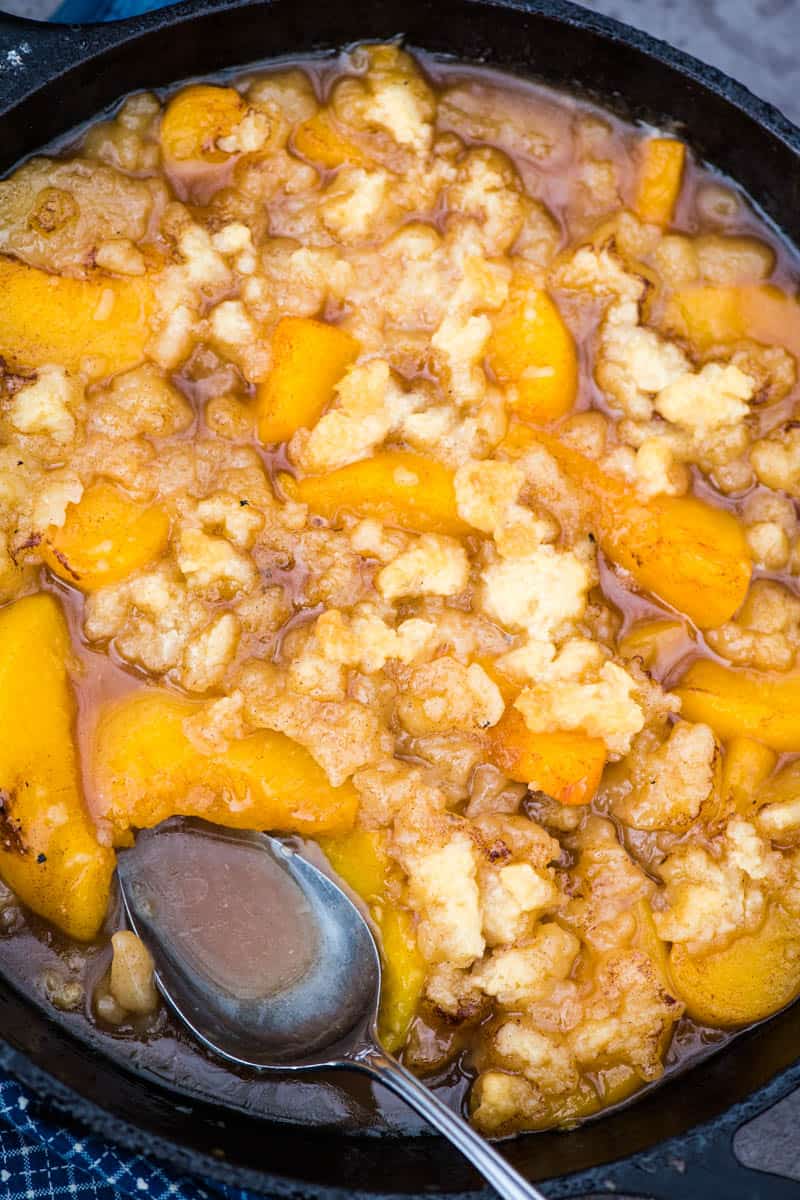
- Campfire Peach Cobbler Recipe
- Campfire Chili Cheese Fries
SHOP KITCHEN TOOLS AND CAMPING GEAR FOR THIS RECIPE:
10.25-Inch Cast Iron Skillet x’s 2 – You can also find 14-inch cast iron pizza pans.
Lid for Cast Iron Skillet and Lid Lifter
Tripod Grill – While we rigged up our own tripod grill, you can also buy them. They come with slightly smaller grates, but still usable over the fire.
Cutting Board and Outdoor Knife Set
We’ve put together a list of camping cooking gear you may need for your next adventure. Be sure to check it out for all the essentials!
GET THE PRINTABLE RECIPE
If you love this Hawaiian pizza recipe as much as we do, please write a 5 star review, and help me share the recipe on Facebook and Pinterest!
CONNECT WITH ADVENTURES OF MEL!
Be sure to follow me on social, so you never miss a post!
Facebook | Pinterest | YouTube | Instagram | Twitter
Sign up to receive my newsletter, filled with delicious recipes and outdoor travel adventures, in your inbox:
Quick and Easy Campfire Hawaiian Pizza

How to make campfire Hawaiian pizza. Just 5 ingredients and a cast iron skillet are all you need for this simple and easy ham and pineapple pizza recipe.
- 2 10- inch pizza crusts (partially cooked)
- 1/2 cup pizza sauce
- 8 slices deli ham (sliced or shredded)
- 1/2 cup pineapple tidbits
- 1 1/2 cups mozzarella cheese (shredded)
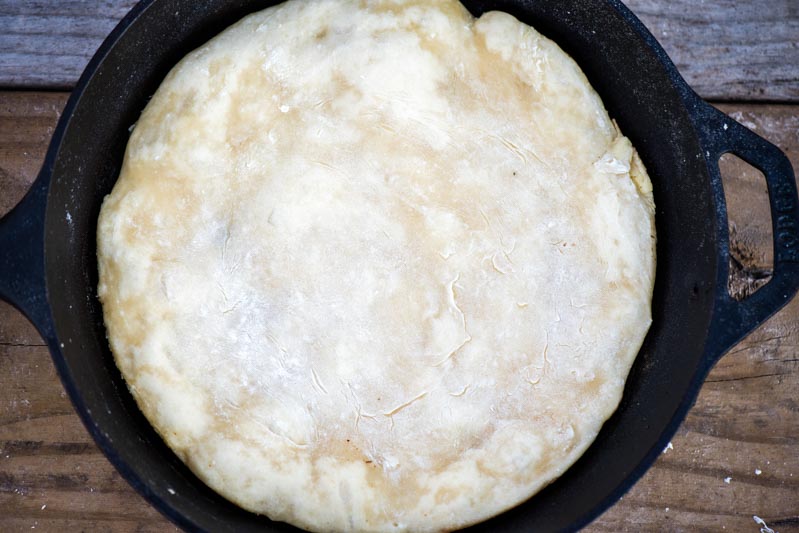
- Prep the pizza crust by partially cooking it, per individual recipe instructions.
- Begin layering each pizza crust with a layer of pizza sauce.
- Add a layer of sliced or shredded ham.
- Next add a layer of pineapple.*
- Finally, finish it off with a layer of shredded mozzarella cheese.
- Once your pizza is in place on the tripod grill, I’d recommend heating the cast iron lid over the coals and then placing it on top of the cast iron pan. This creates an oven like effect, which in turn, will bake your pizza (see notes about rack placement over the fire**).
- Cook the pizza for about 8-10 minutes or so, until the crust begins to turn slightly golden on the edges and the cheese completely melts.
- When it’s fully cooked, remove the pizza from the fire, slice it up, and serve.
*You can use fresh or canned pineapple chunks; I used pineapple tidbits because they’re slightly smaller, the perfect size for pizza.
**Be sure that your tripod rack is not too close to the fire because if not careful, you can burn the bottom of your pizza crust when you go to cook the pizza. Your campfire should have a little flame but be mostly burning coals.