Prepare for your next trip with a complete camping supplies list, from the shelter you need to kitchen essentials and hygiene items. It’s printable too!
As we pack up for another camping trip, I’m reminded of how often I’ve thought of creating a camping checklist for packing. Too many times to count, that’s for sure, yet here I am again.
When it comes to packing, some people like to take everything but the kitchen sink. Others like to keep it simple and pack only the basics.
Table of Contents
- How You Should Use This Camping Supplies List
- Shelter and Essential Gear
- Cooking and Kitchen Basics
- Hygiene and Personal Items
- Fun Camping Essentials Your Kids Will Love
- Miscellaneous Camping Supplies and Equipment
- All Set for a Fun Camping Adventure
How You Should Use This Camping Supplies List
This is meant to be a comprehensive list of tent camping essentials, but it’s also perfect for car camping, RV camping, and even backpacking (though you’d carry much less, as well as lighter equipment). Keep in mind, though, that some of the items on this tent camping checklist are geared more toward dispersed camping.
As you look down through the list, use it to your specific advantage. What I mean by this is, pack the things that make the most sense for you and your family; then forget the rest.
While we don’t carry everything that’s on this packing list for camping, it definitely gives us goals for our future camping endeavors. And if you’re camping on a really tight budget (we’ve been there), there are a lot of things you can go without, or find ways to improvise.
Below are a few different categories of gear and supplies you may want to think about packing. My hope is that this list makes it easy for you to check off items or even print if you want.
Who’s ready to go camping? I know we are!
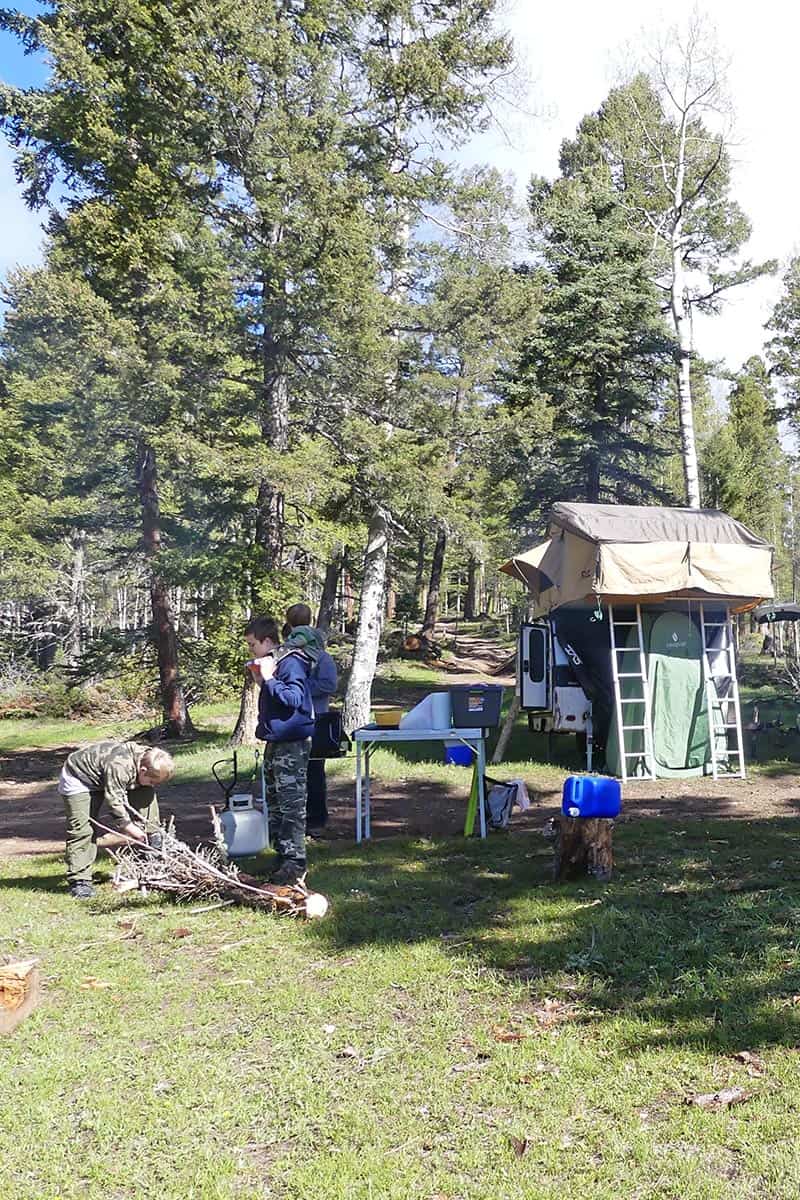
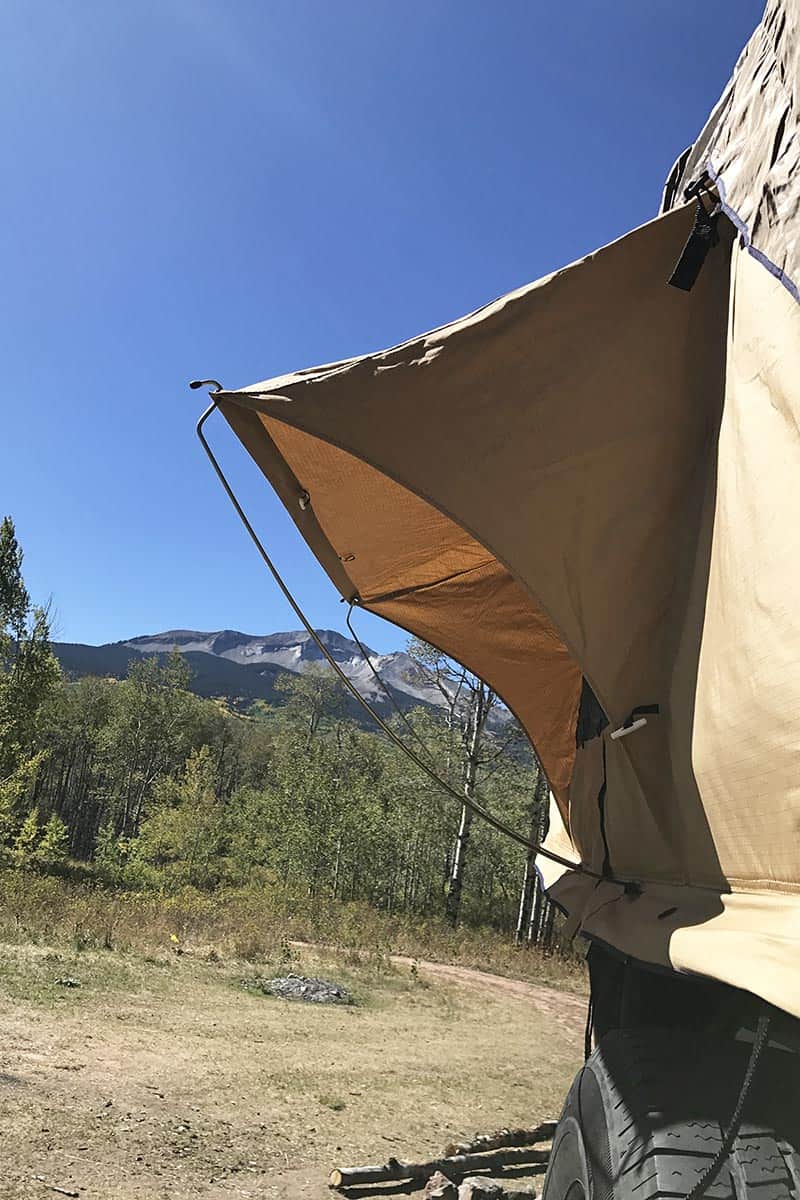
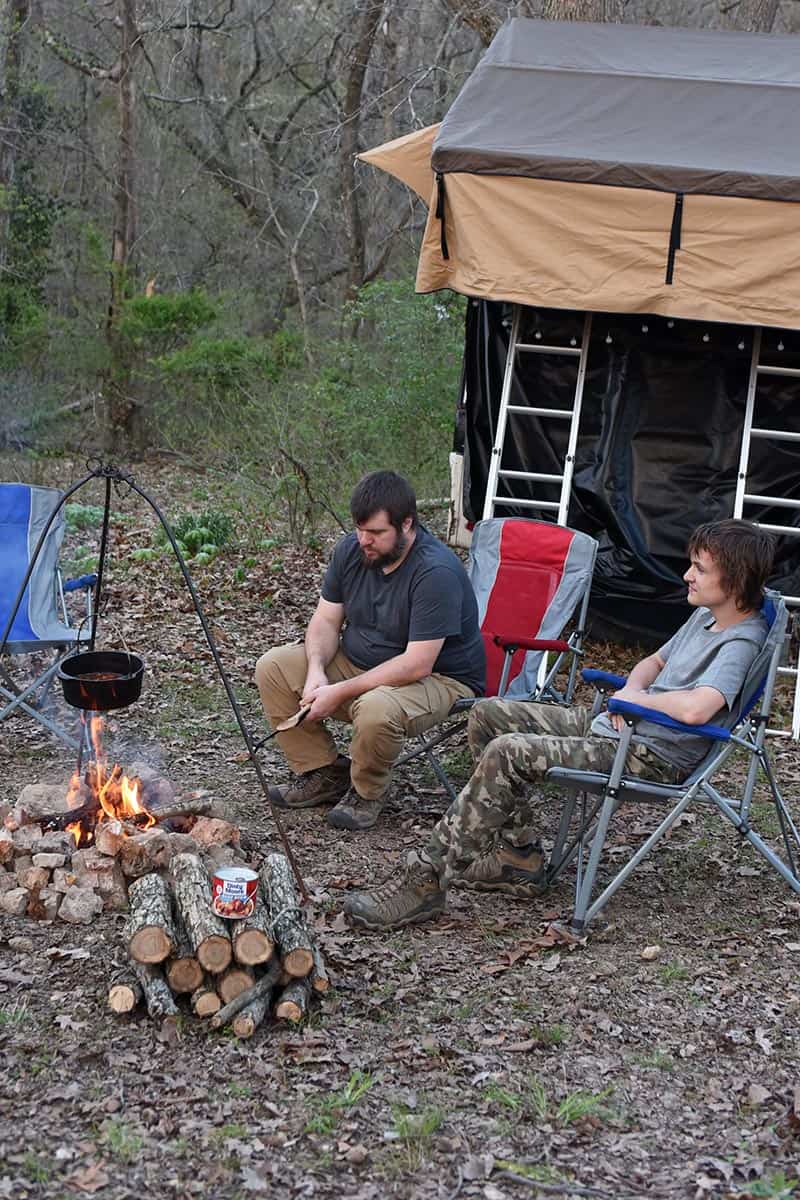
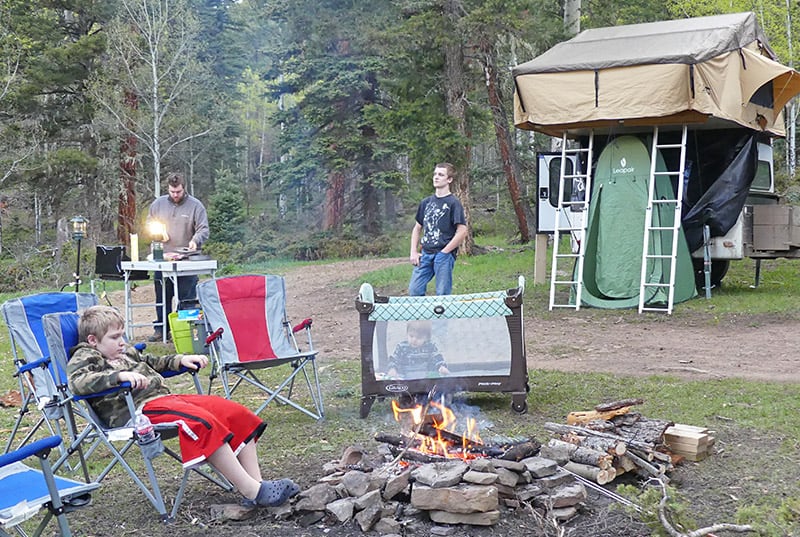
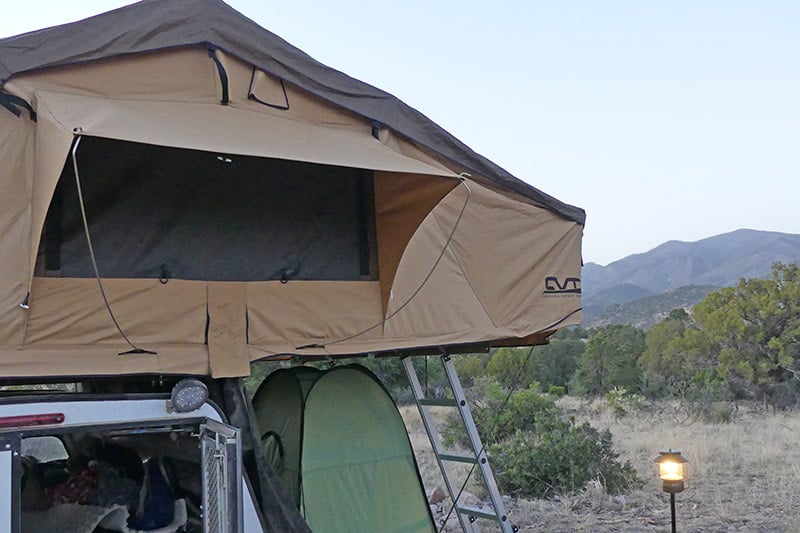
Shelter and Essential Gear
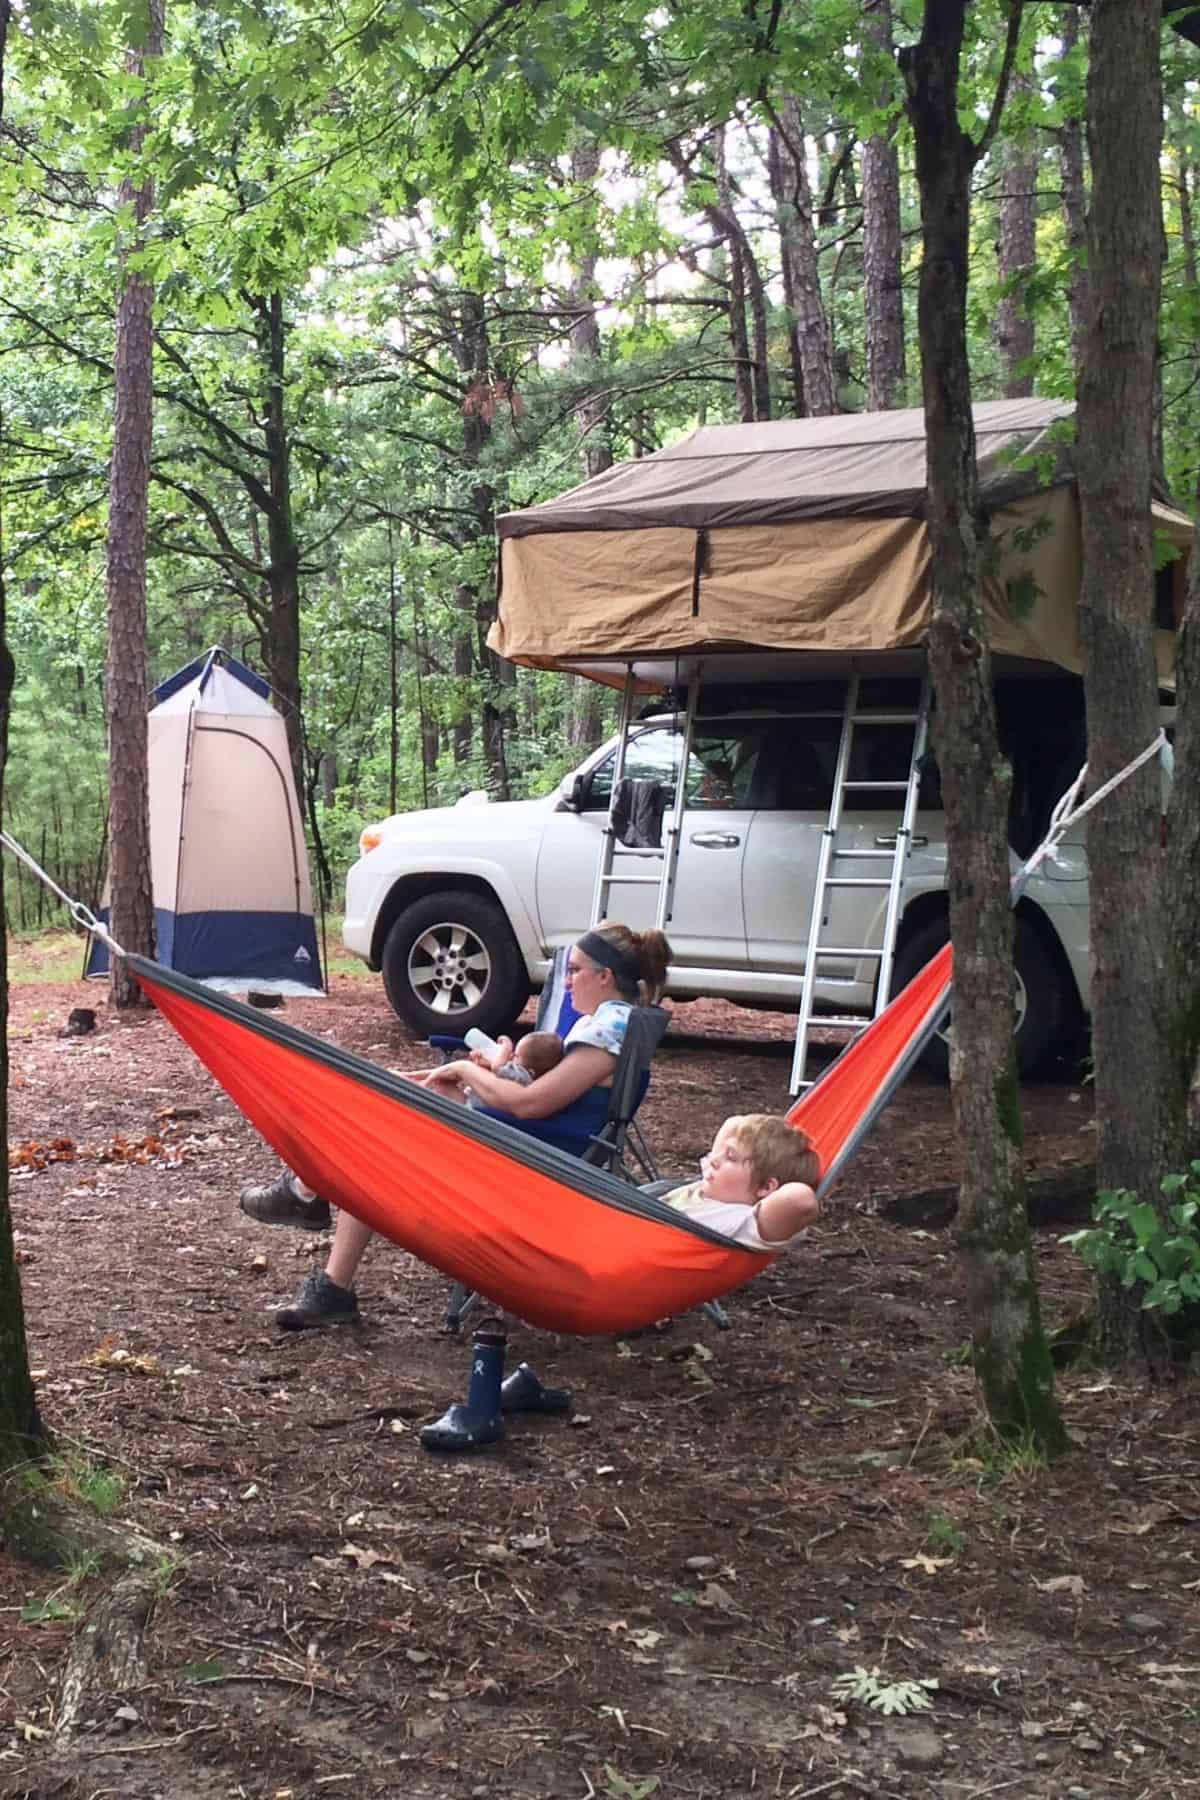
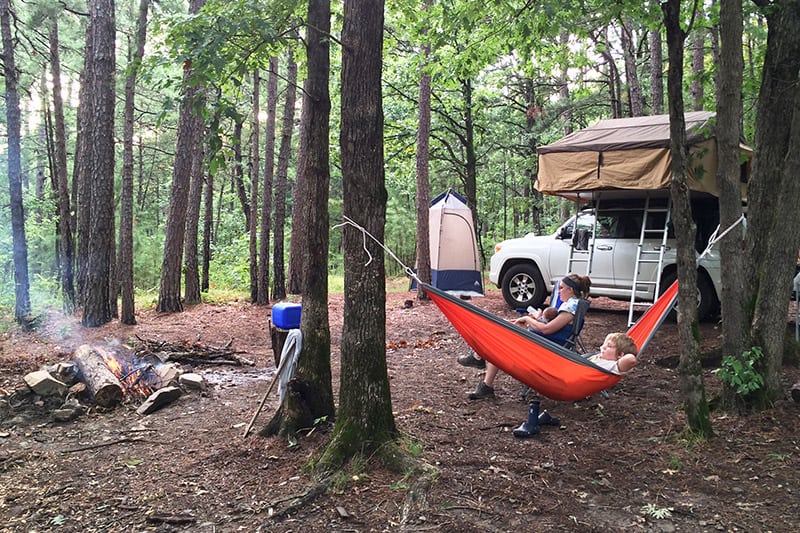
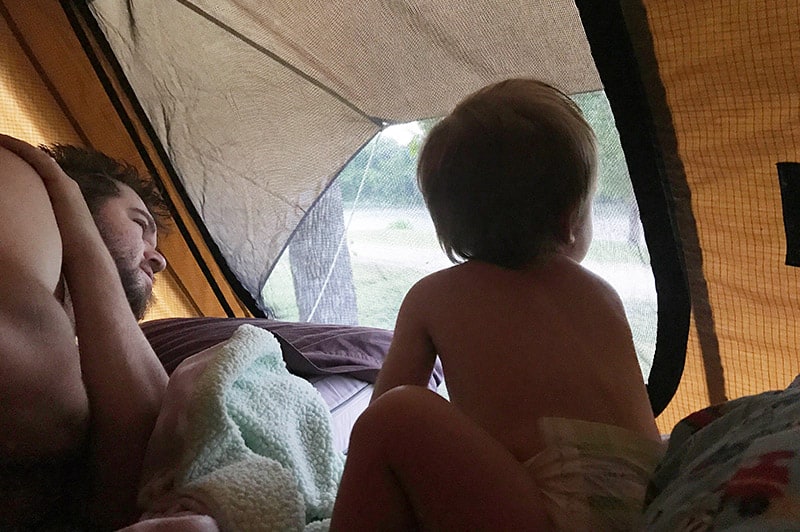
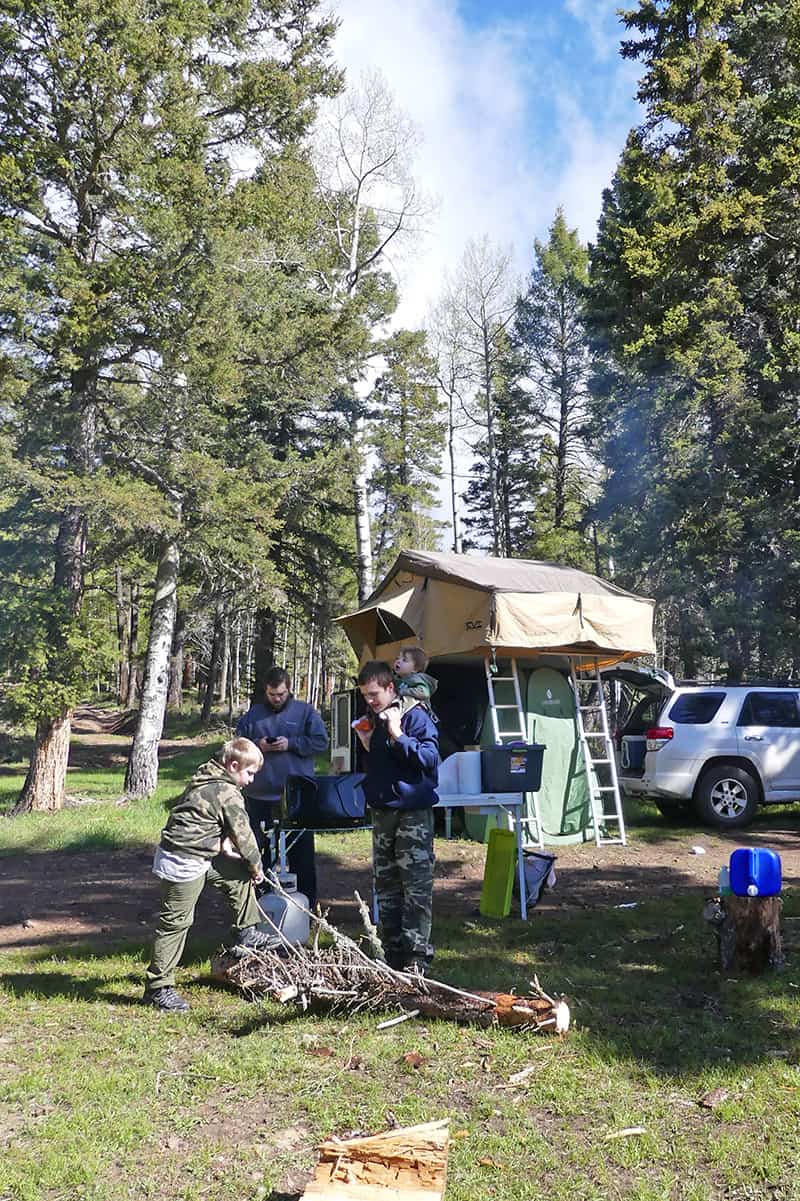
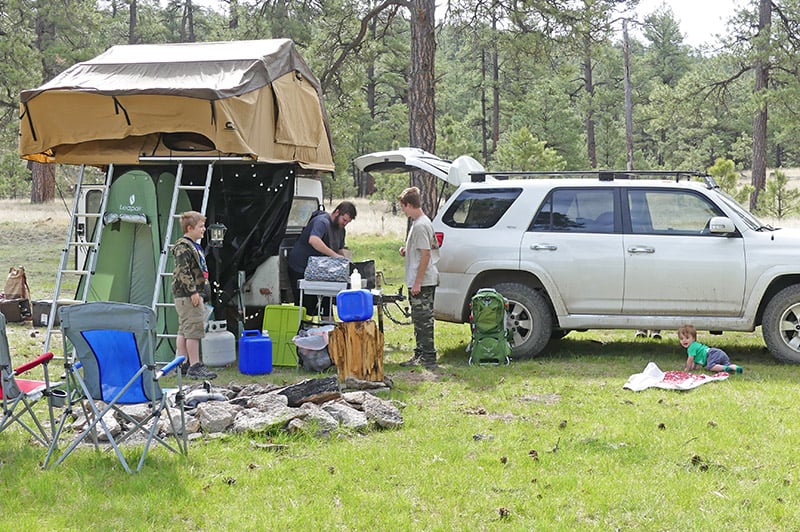
- Tent (Get the inside scoop on a roof top tent vs. ground tent.)
- Tent Stakes
- Awning (for shade)
- Extra tarp
- Camping rope
- Hatchet
- Mallet
- Knife
- Propane Lantern with distribution tree, extension hose, and extra mantles
- Headlamps
- Flashlight
- Camping light with fan – We hang these in our tent.
- Extra batteries
- Sleeping bags – We bought these after one especially freezing cold camping trip in the mountains.
- Pillows
- Air mattress or self-inflating pad
- Camping chairs
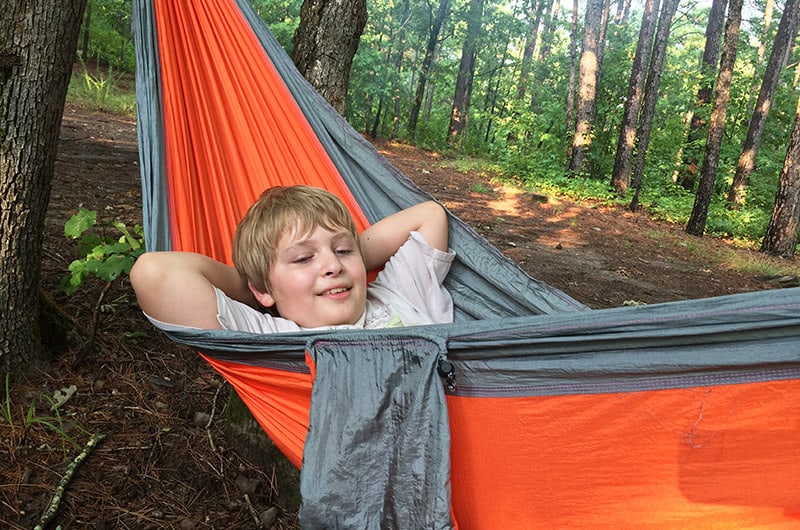
- Hammock/s
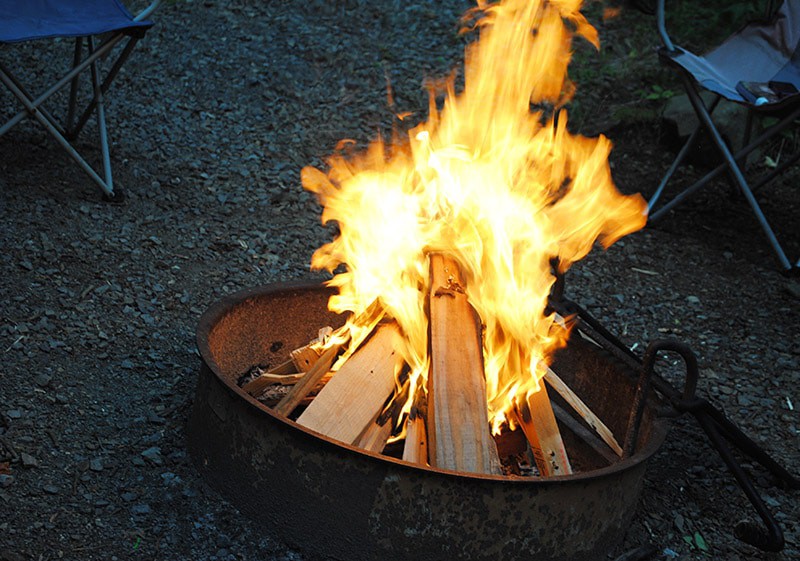
- Fire starter or homemade fire starters
- Matches or Lighter
- Fire extinguisher
- Small shovel
Cooking and Kitchen Basics
Be sure to check out our list of campfire cooking equipment for all your kitchen basics. It contains pretty much everything we take on a typical camping trip. Here are a few things from that list.
- Cooler/s
- Kitchen table (We use a Pack Away Kitchen)
- Camp stove
- Portable charcoal grill
- Large water jugs
- Water bottles
- Water filters or purification tablets
- Plates, bowls, and cups
- Eating Utensils or plastic cutlery
- Cooking utensils – spatula (can’t cook without it), flipper spatula, ladle, large serving spoon, whisk, wooden spoon/spatula set, chopping knife, paring knife, can opener, vegetable peeler, grater, etc.
- Cutting board
- Mixing bowl
- Set of nesting pots
- Iron skillet or two
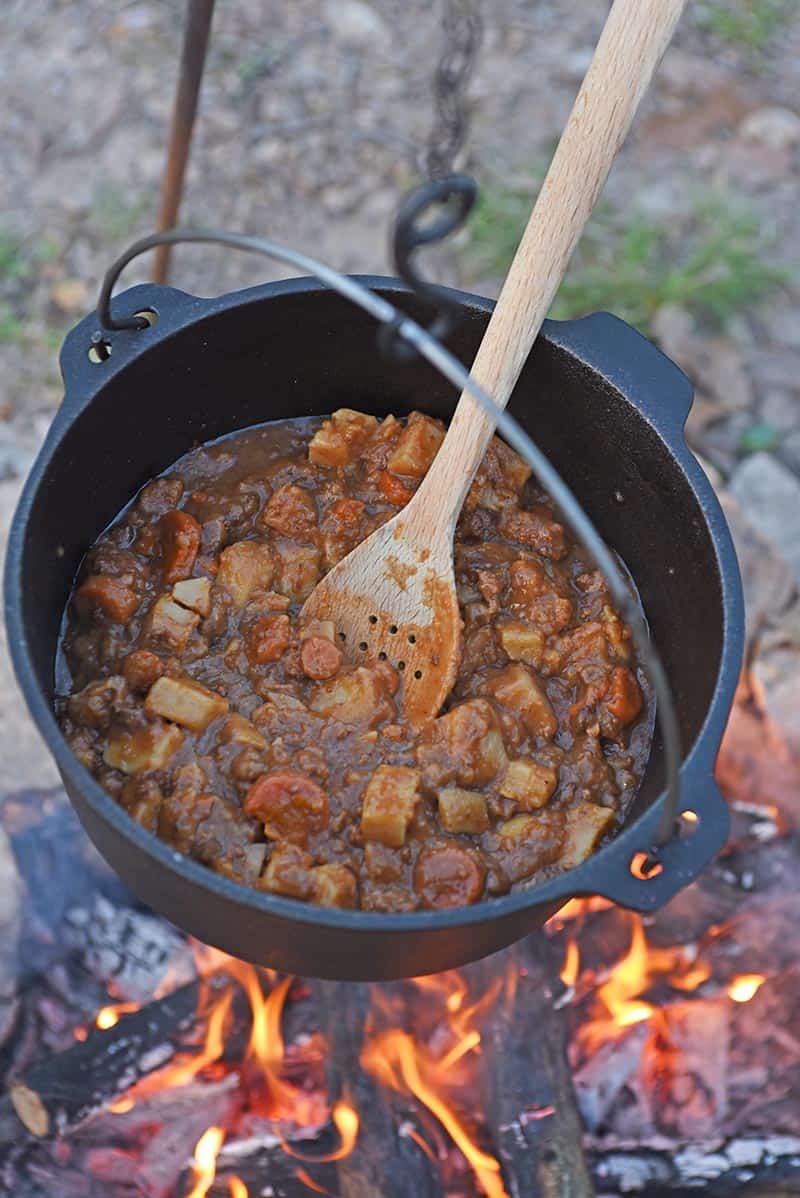
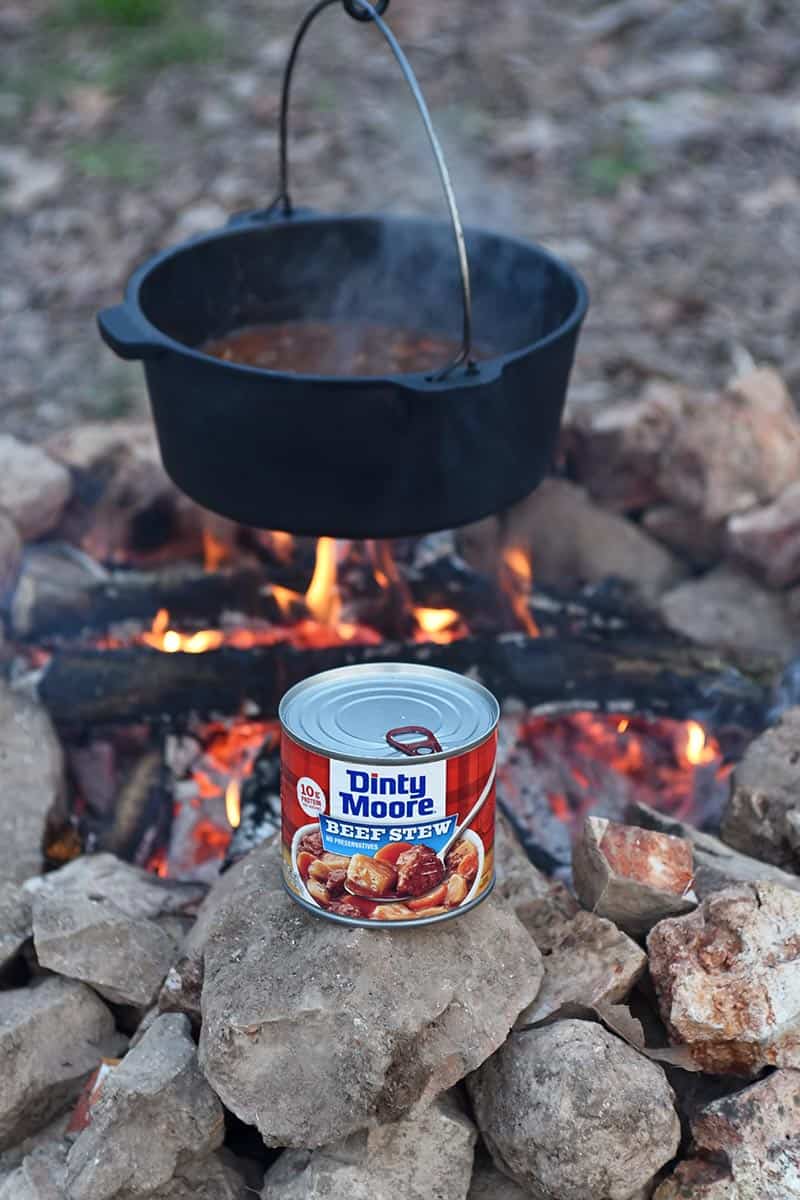
- Dutch oven with Dutch oven tripod
- Roasting sticks
- Camp stove toaster
- Tea kettle or coffee pot
- Strainer
- Egg holder
- Pot holders
- Ziploc bags and trash bags
- Aluminum foil
- Scrubbing pads/wash cloths/quick drying towels
- Dish pan
- Campsuds
- Paper towels
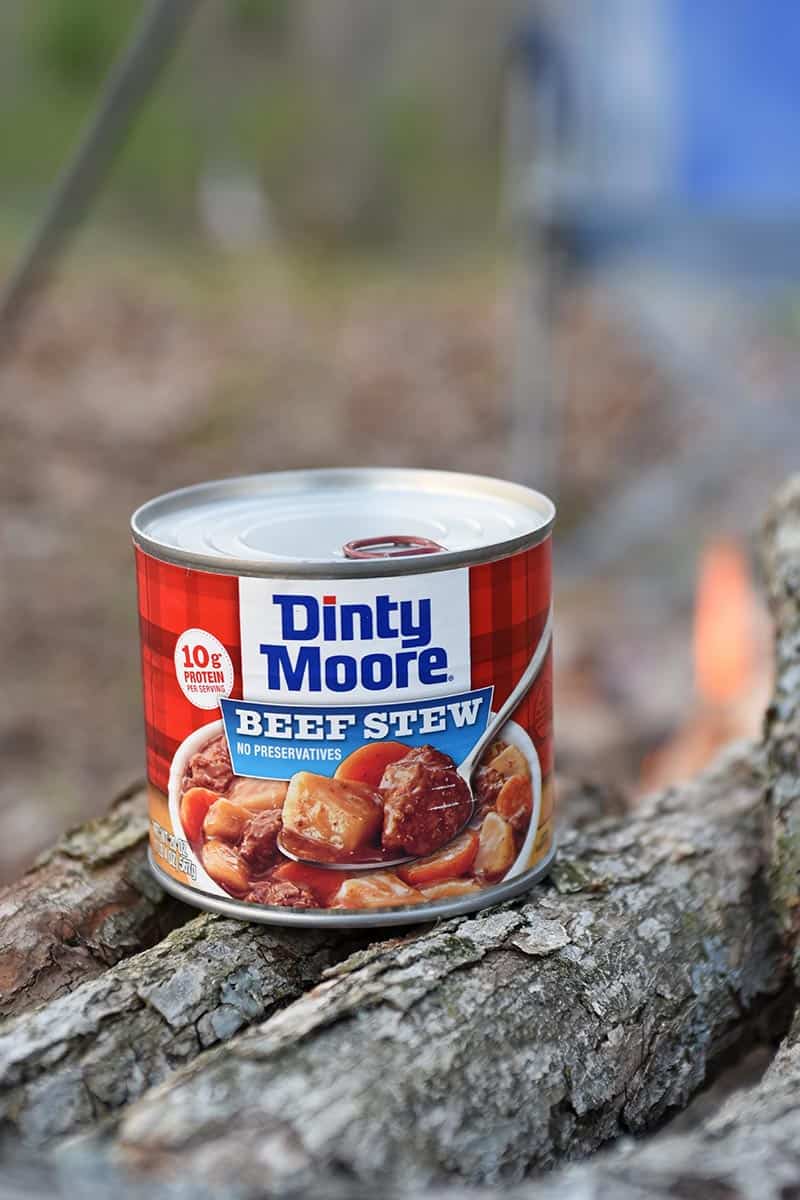
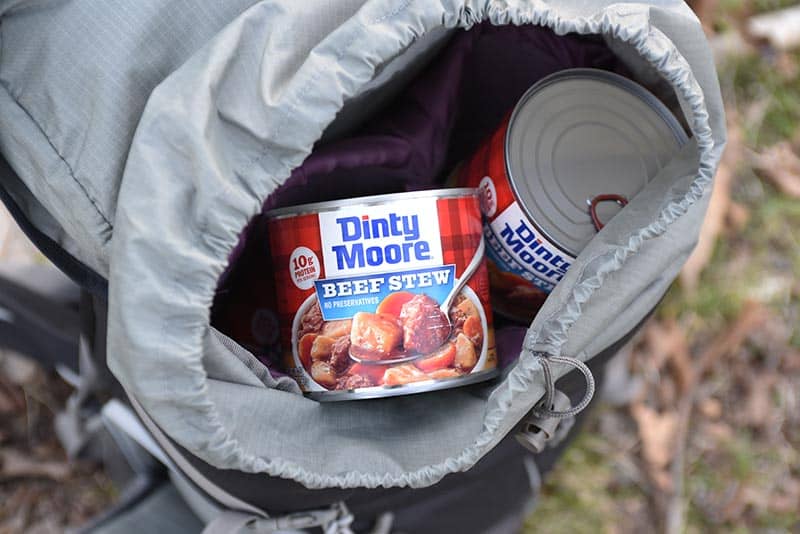
- Food and snacks
- Tablecloth and clips
Hygiene and Personal Items
- Popup shower/toilet tent
- Portable toilet
- Toilet paper
- No rinse camping body wipes
- Baby wipes
- Solar outdoor shower for camping
- Quick dry towels and wash cloths
- Shower shoes or flip flops
- Toiletries (Campsuds are good for hair and body, in addition to dishes)
- Dry shampoo
- Toothbrushes (with covers) and toothpaste
- Razor
- Deodorant
- Comb and/or brush
- Compact mirror
- Hair ties
- Bug repellent
- Sunscreen
- First aid kit – Learn how to pack your own first aid kit.
- Medications
- Thermometer
- Clothes and shoes – Think layers and be sure to pack the proper footwear.
- Swimwear
- Pajamas
- Underwear and socks
- Hats, gloves, and jackets or coats – A hat is especially helpful when you’re primitive camping in Big Bend National Park where there is no shade.
- Rain coats or rain ponchos
- Sunglasses, including kids sunglasses
- Lip balm
Fun Camping Essentials Your Kids Will Love
- Card games – Uno, Phase 10, Dutch Blitz, playing cards, etc.
- Twizzlers
- Badminton set
- Frisbee
- Soccer ball
- Bubbles
- Compass
- Binoculars
- Field guides and star chart – We use an app called Sky Guide, and it seems to work without service, as long as it’s already loaded.
- Sketch book or journal
- Books
- Bikes and bike helmets
- Musical instrument – Jacob likes to take his guitar and serenade us.
Miscellaneous Camping Supplies and Equipment
- Hiking Carrier – This is hands down the BEST thing we could have ever gotten for our baby/now toddler. We’ve used it so many times. Read our review of our favorite baby carrier backpack.
- Scissors
- Walkie talkies
- CB radio – It never hurts to have a link to the outside world because you never know when you may encounter an unexpected emergency.
- Maps – including topographical maps, if possible.
- Camera, lenses, SD cards, and batteries
- Backpack
- Duct tape
This camping checklist will have you on your way to being well prepared for your next camping trip. You may find more helpful ideas in our list of 12+ awesomely useful cool camping gifts under $20.
And remember… Packing is the hardest part. When it’s all done and you’re ready to hit the road, you’re ready to create some pretty amazing memories with your family.
All Set for a Fun Camping Adventure
- Looking for somewhere to actually go camping? We’ve got all the details on where to find the best free camping spots in the USA.
- Ozark National Forest camping is some of the most beautiful camping you’ll ever experience.
- Speaking of Arkansas, why not go camping at Petit Jean State Park? This park has such an interesting history.
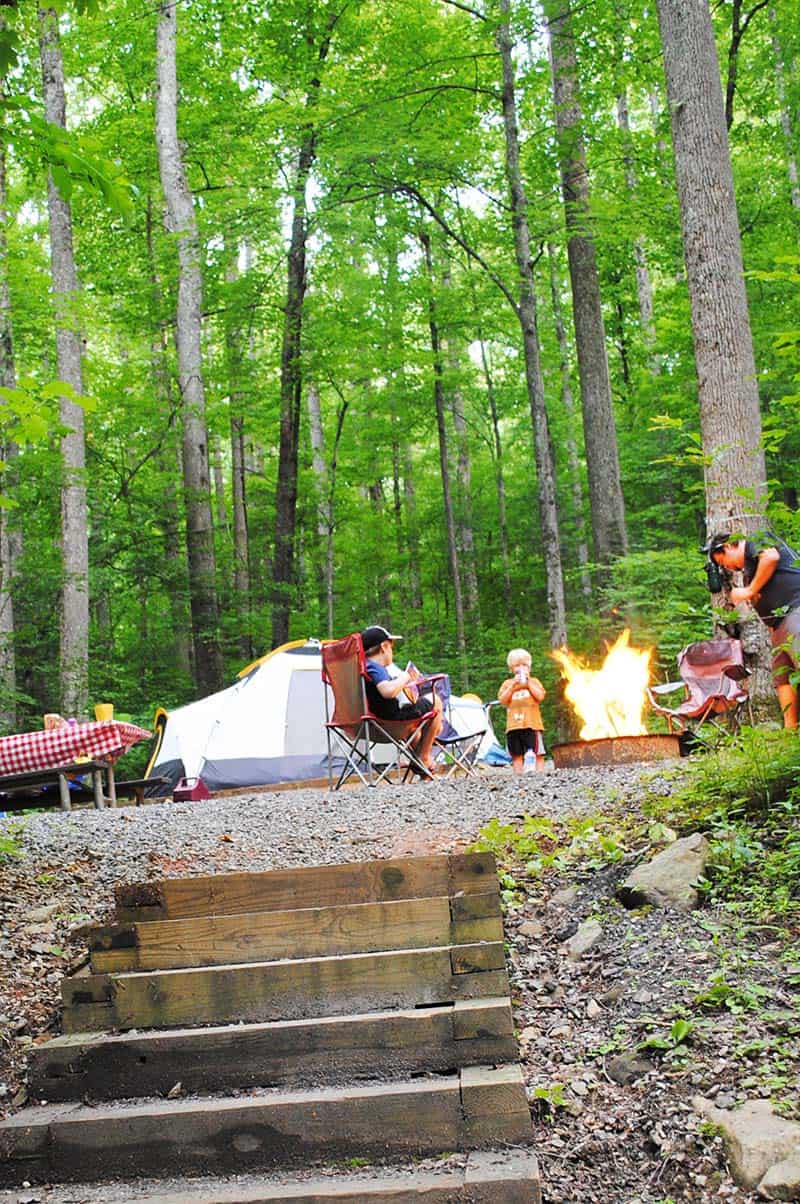
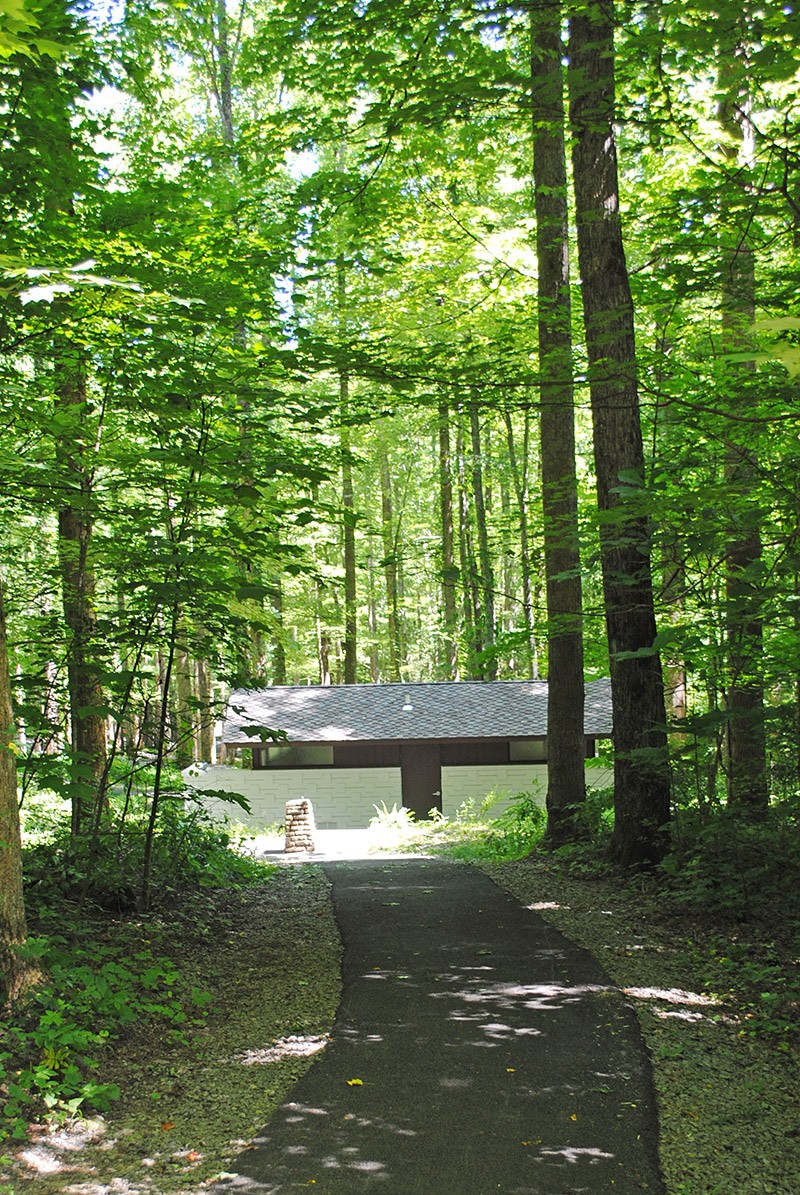
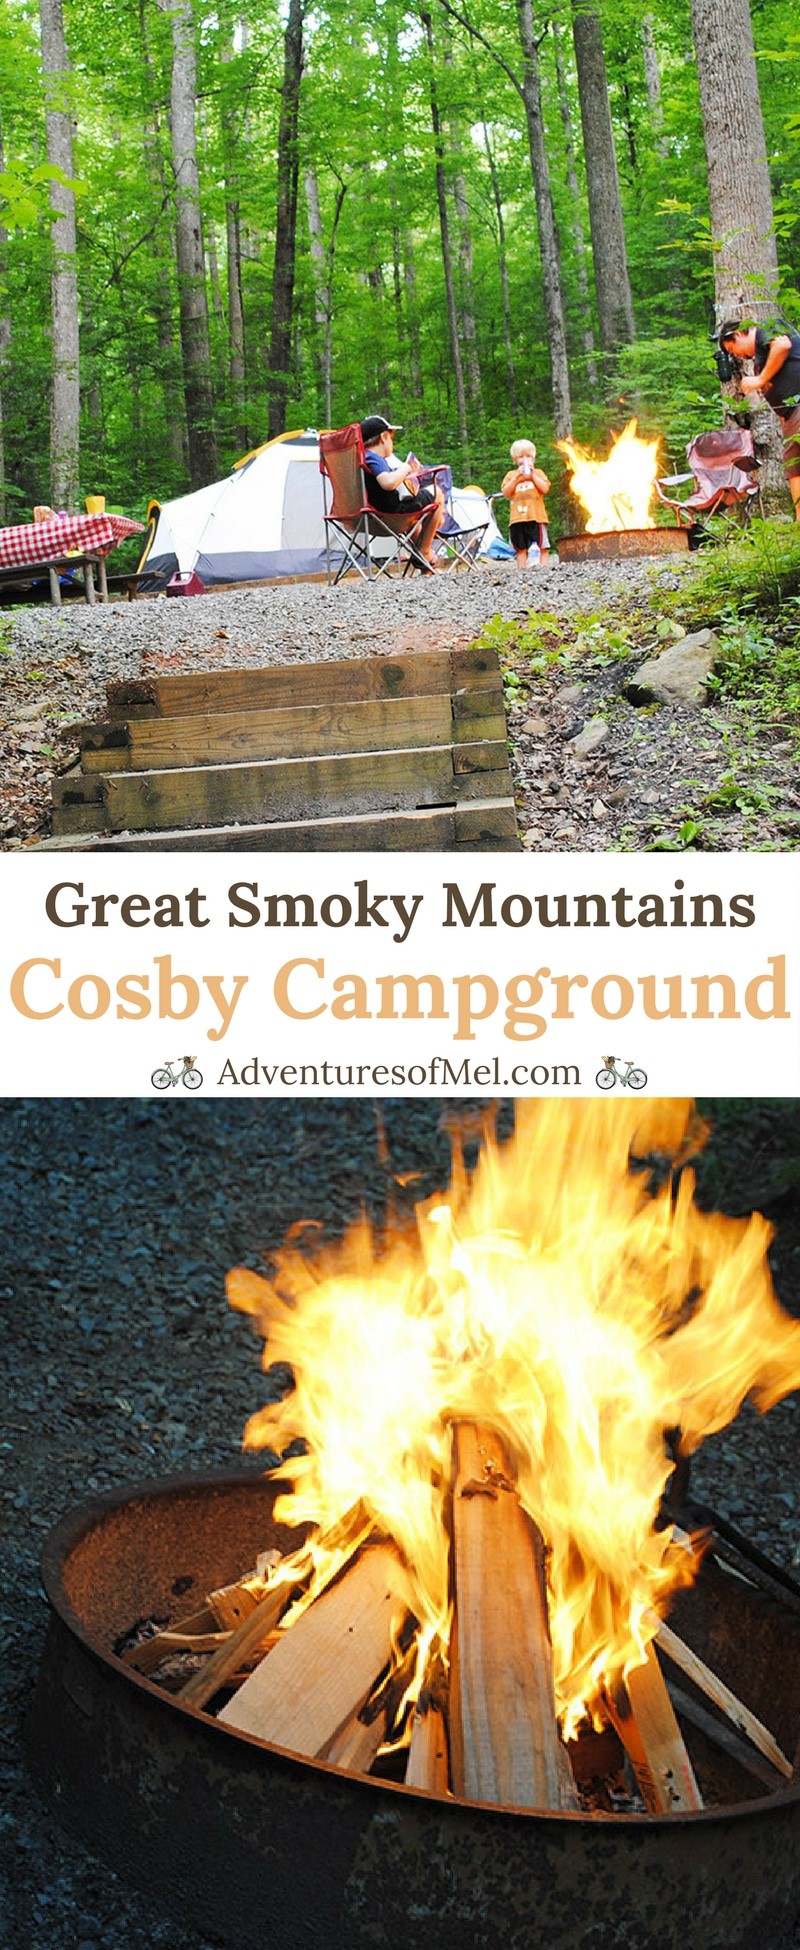
- Cosby Campground in Great Smoky Mountains National Park is a beautiful place for a vacation.
- On your way to Colorado, stop in and do a little roadside camping on the Rita Blanca National Grassland. The stars are ah-mazing!
I always appreciate your feedback. Be sure to leave a comment, and follow me on Pinterest, Facebook, Instagram, and YouTube. You can subscribe to my email list too.


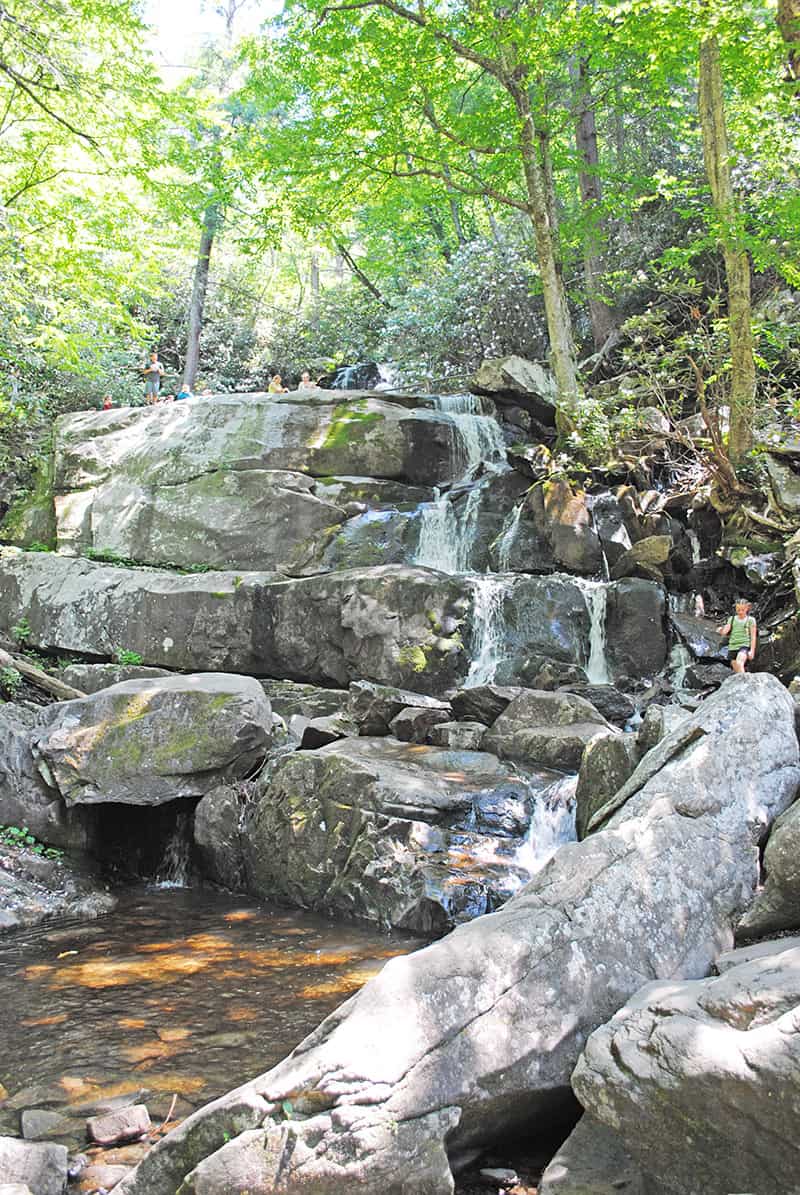
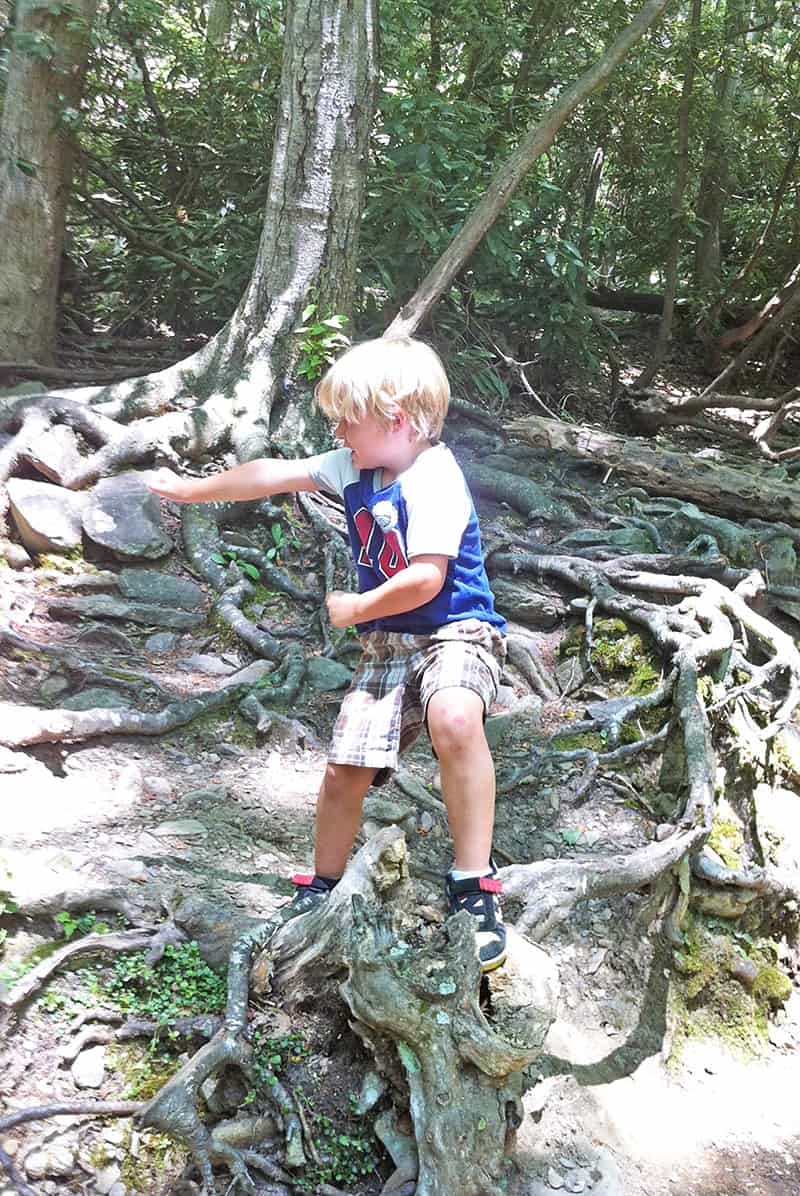
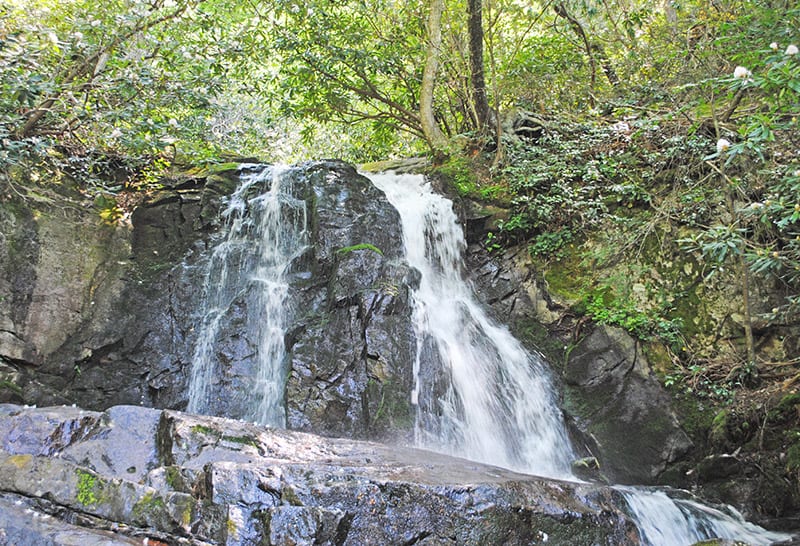
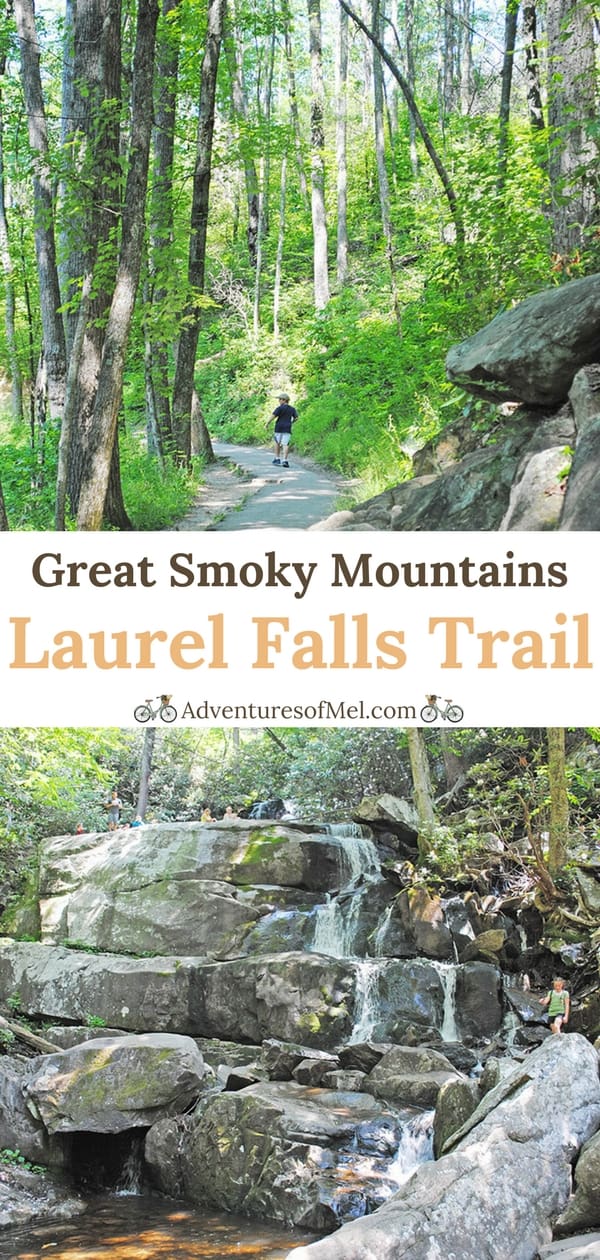
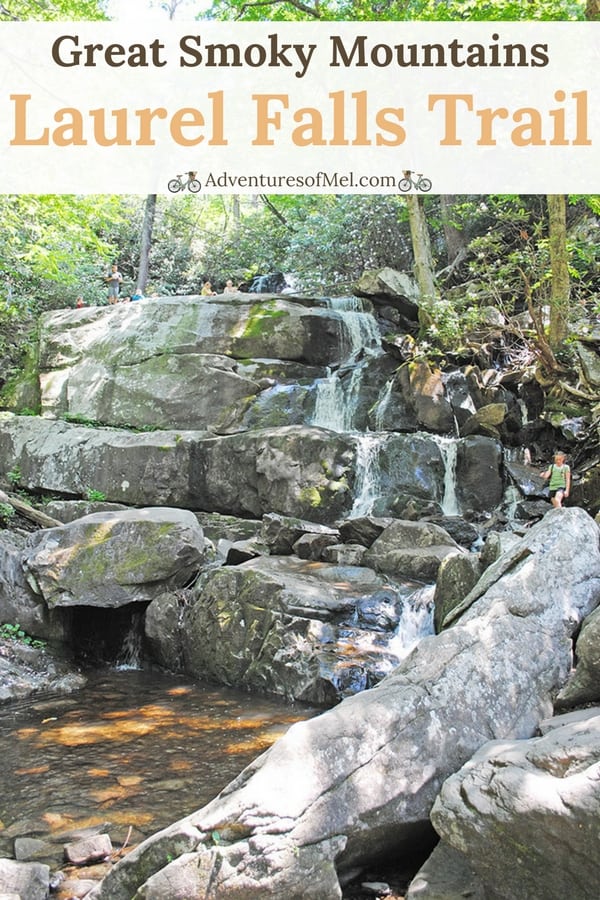
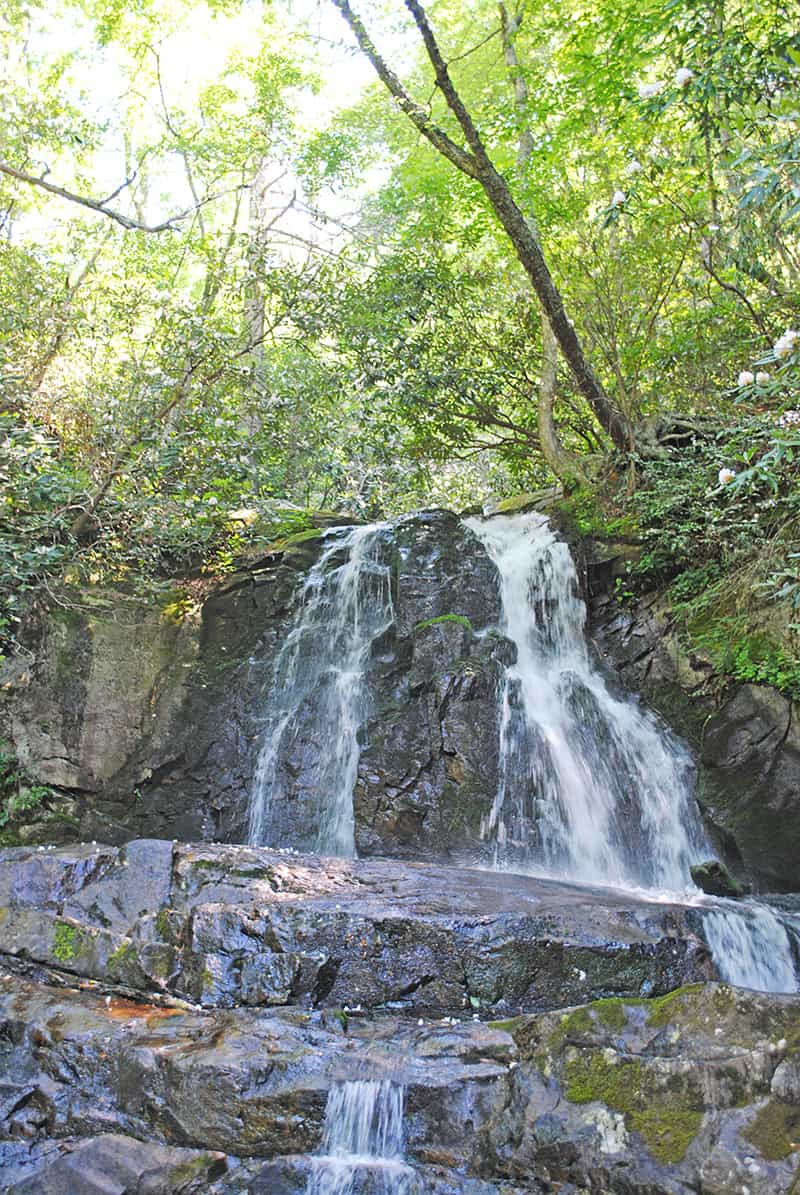 Smoky Mountain waterfalls include beautiful Laurel Falls, an upper and lower waterfall accessible by a moderate hike perfect for families who love hiking. Roundtrip, the trail is a 2.6 mile hike that winds through the forest and gives incredible views of the Great Smoky Mountains.
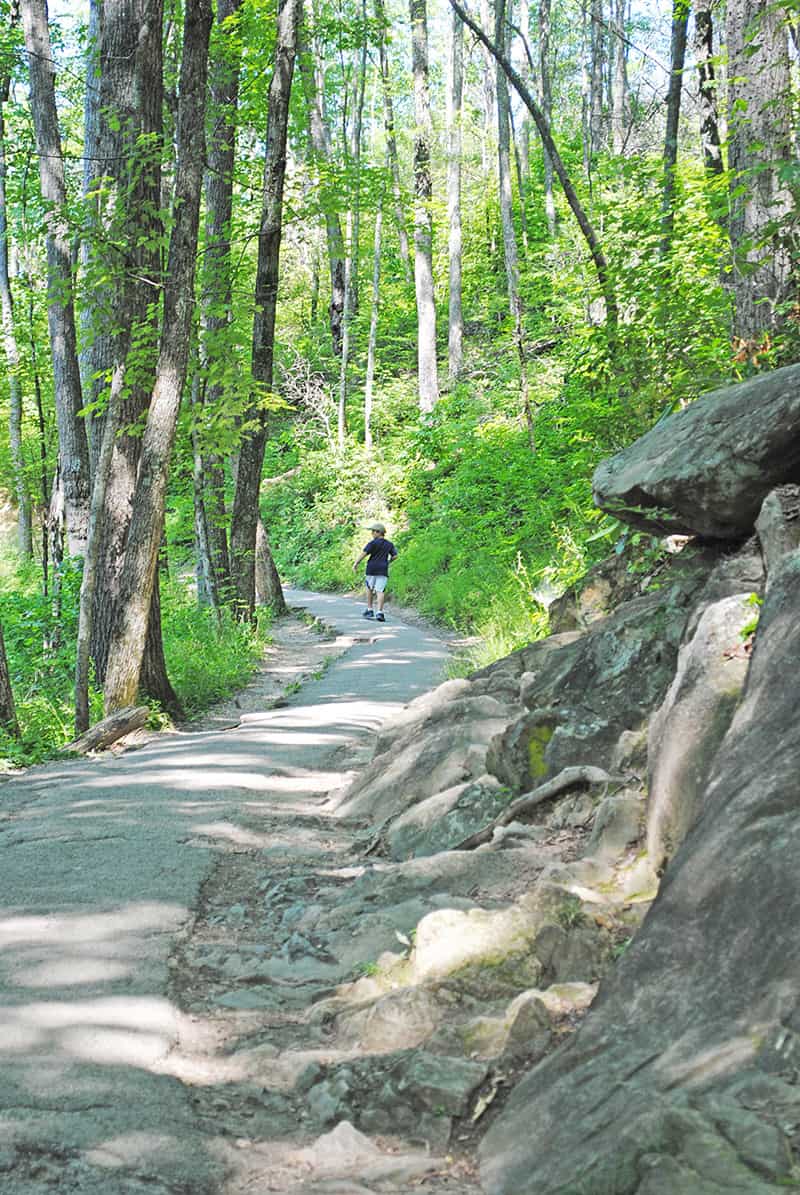
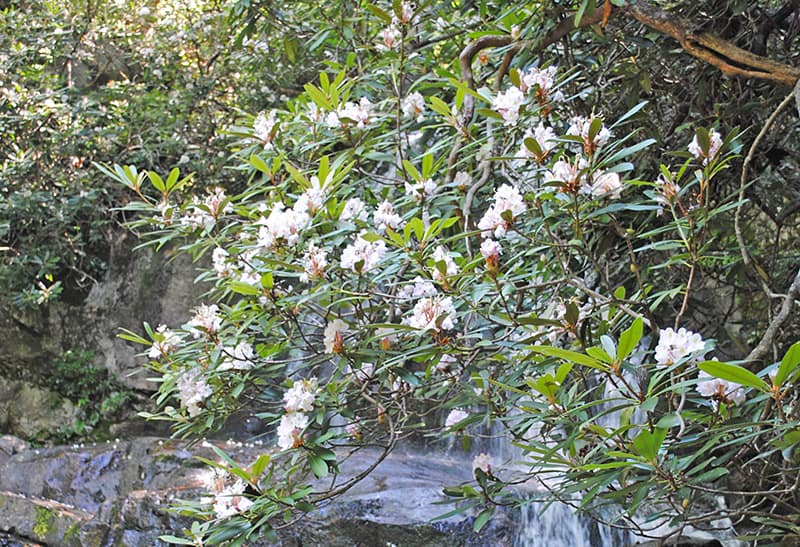
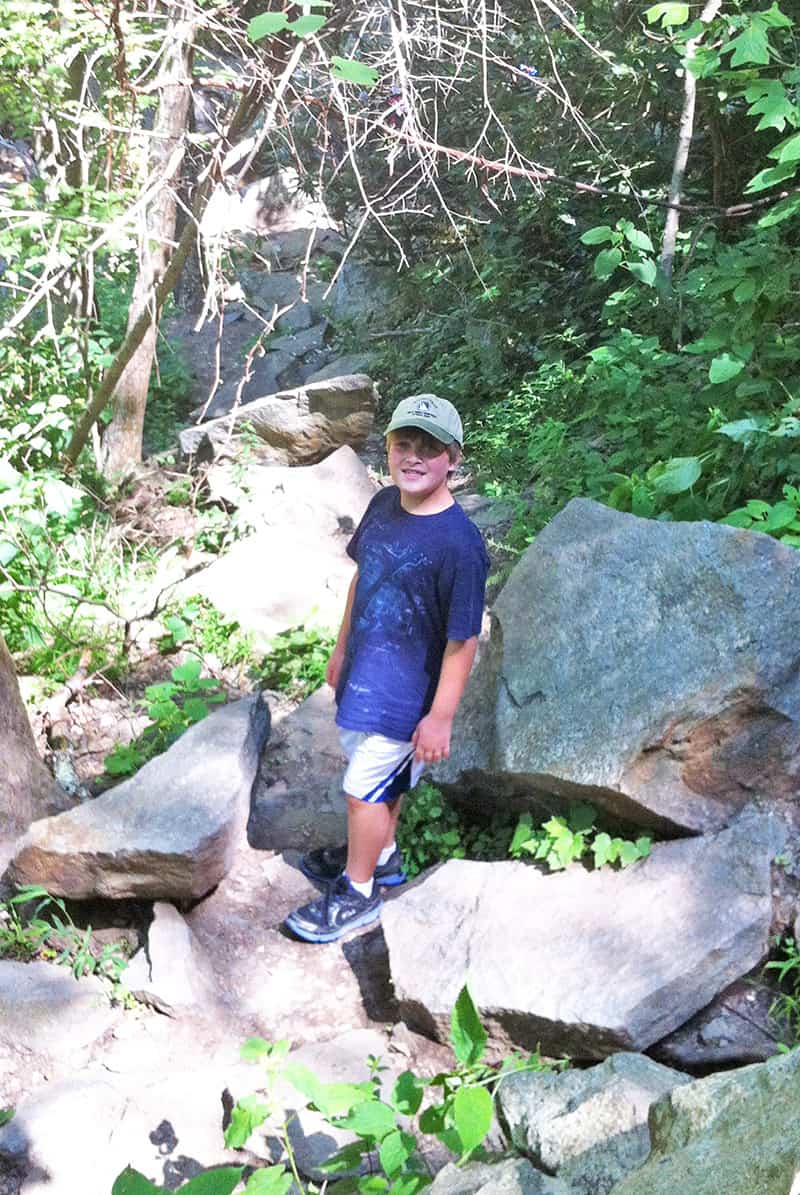
 The views at certain vantage spots are so beautiful and so amazing. We’d stop every so often and just admire the Smoky Mountain vista.