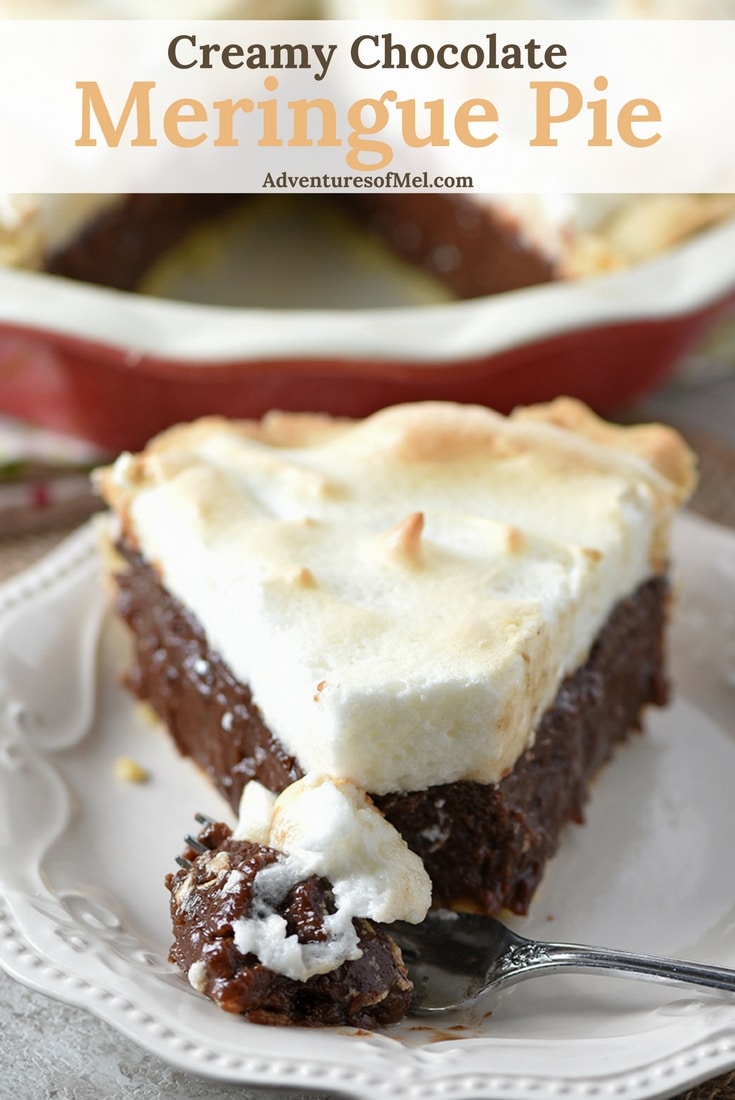
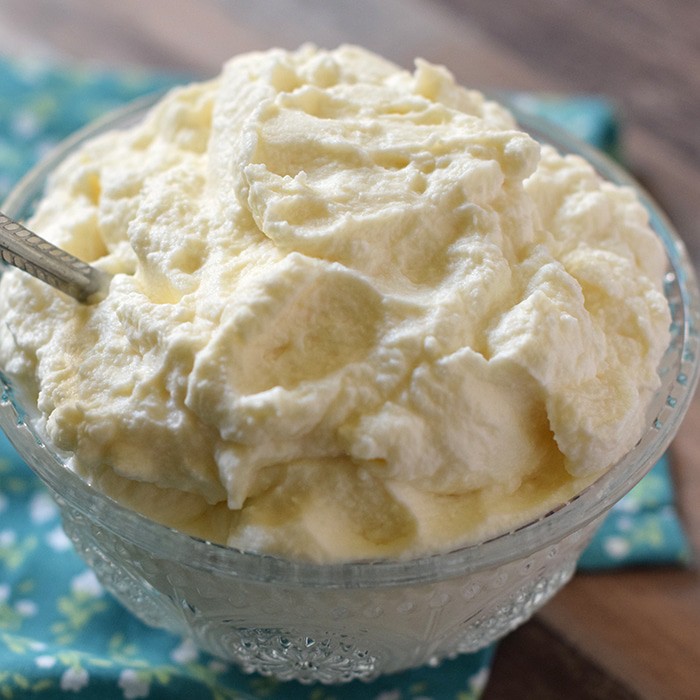
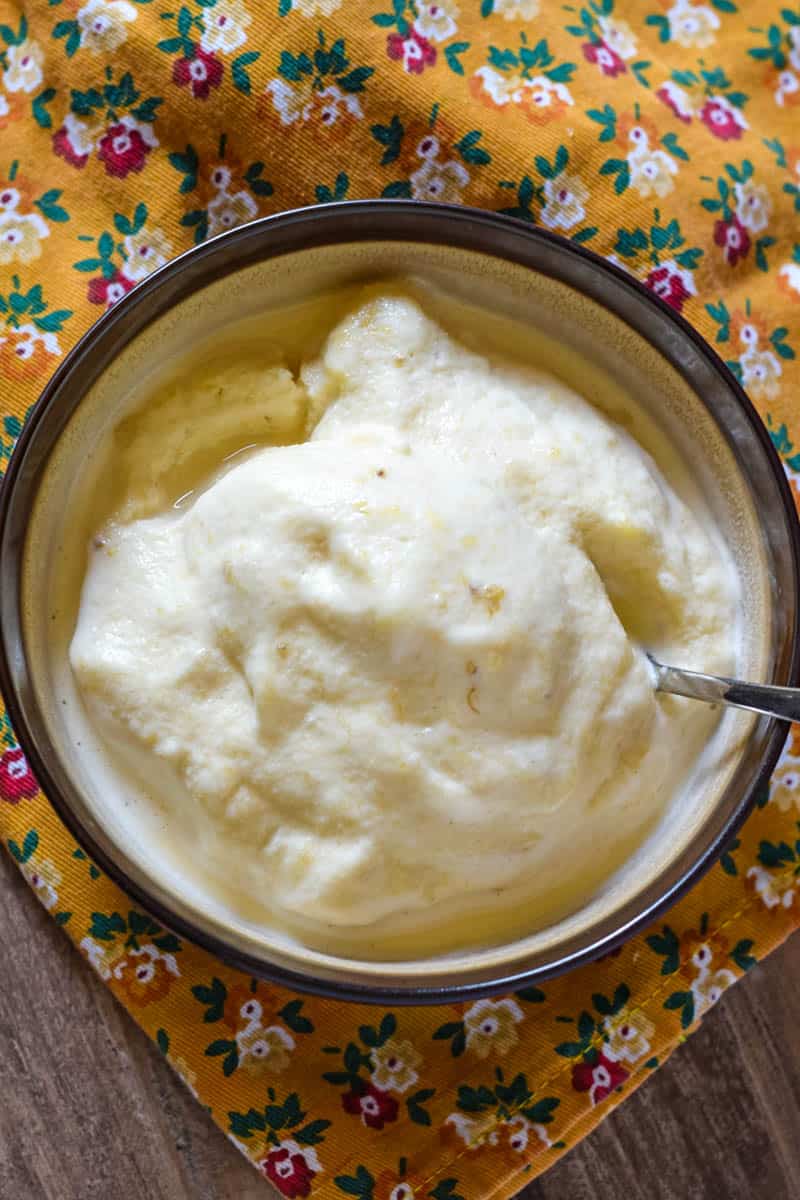
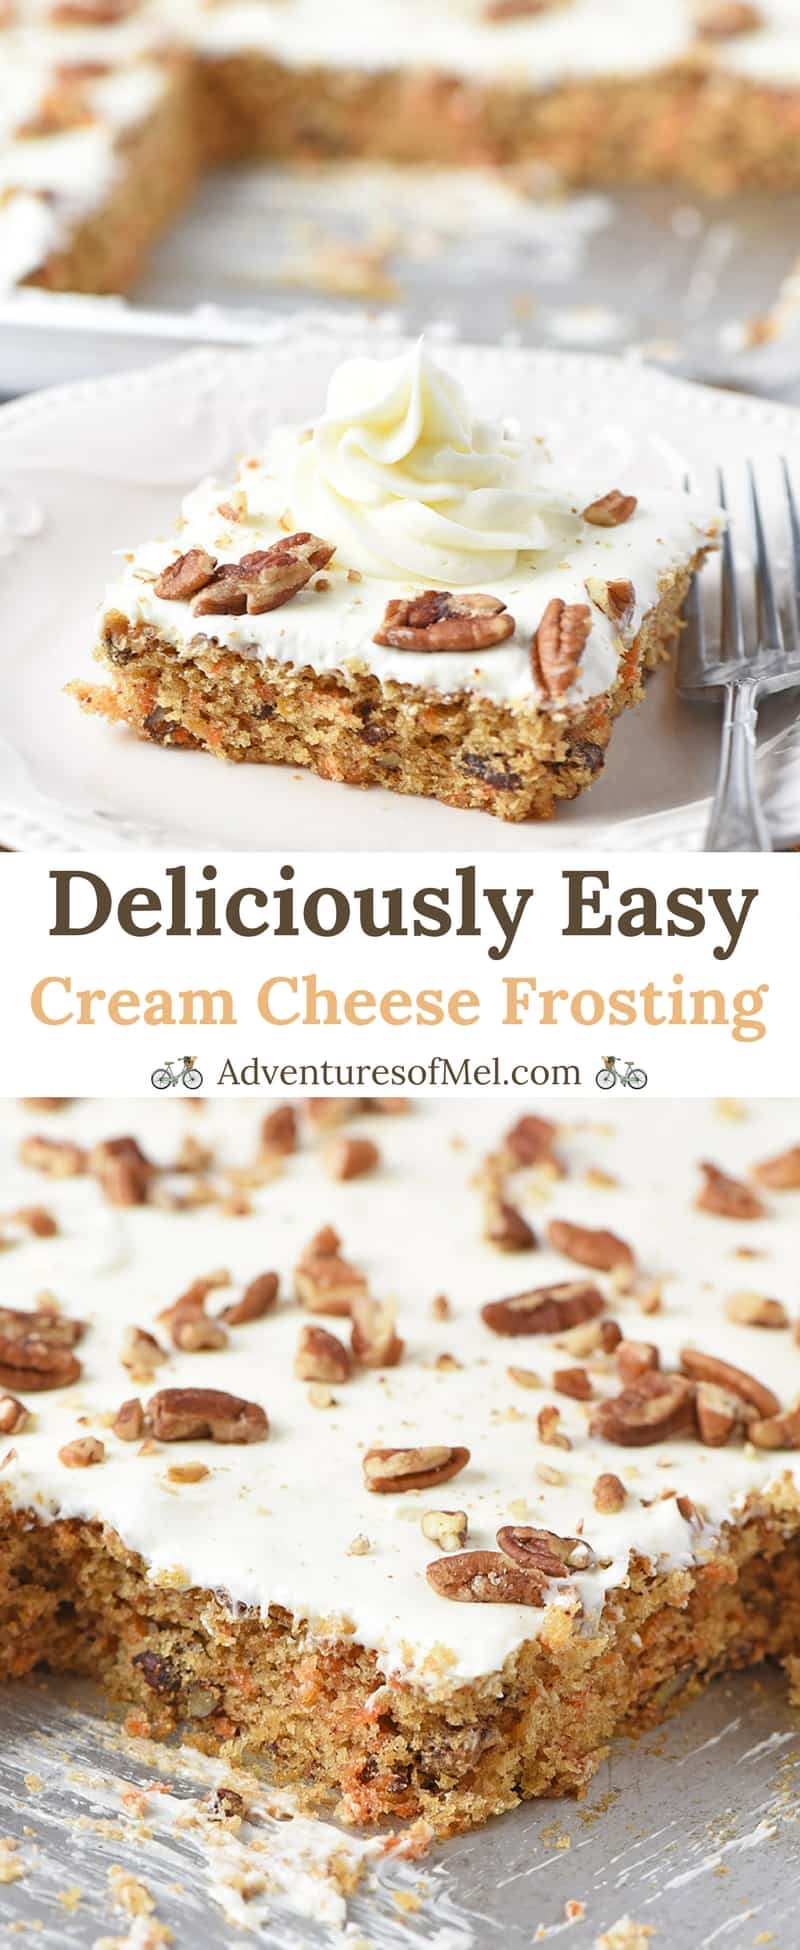
Cream Cheese Frosting is easy to make, and this recipe uses only 4 simple ingredients. How to make the best homemade cream cheese frosting perfect for cake, cupcakes, cinnamon rolls, and more.
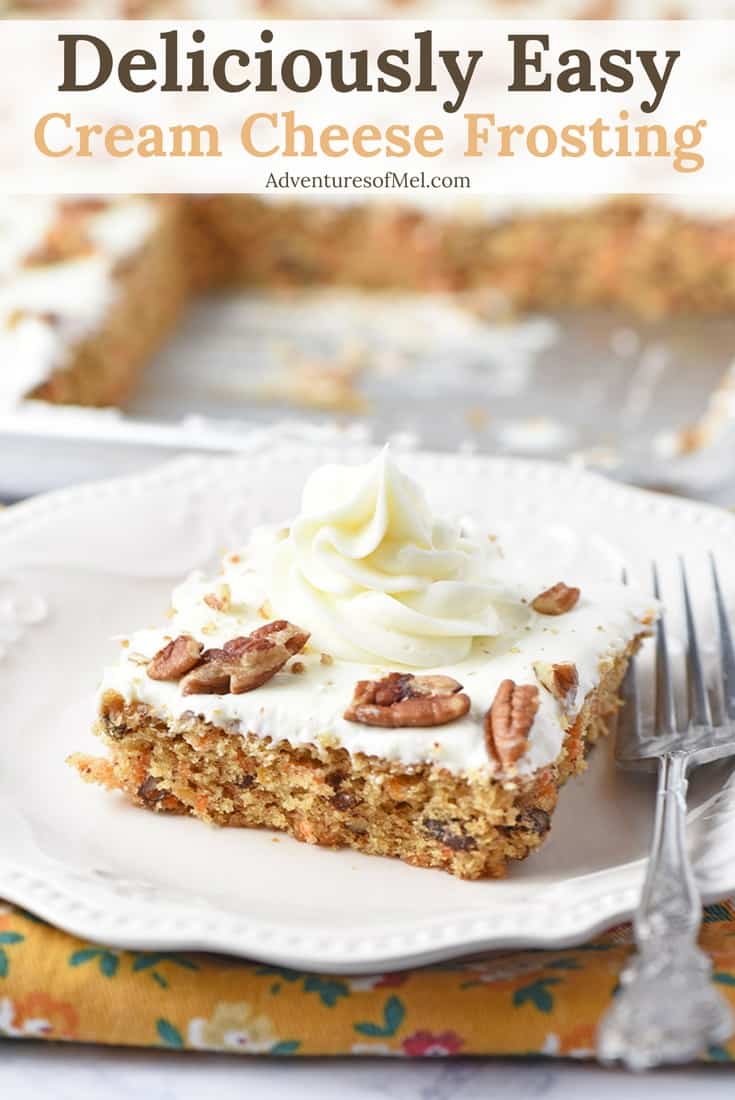
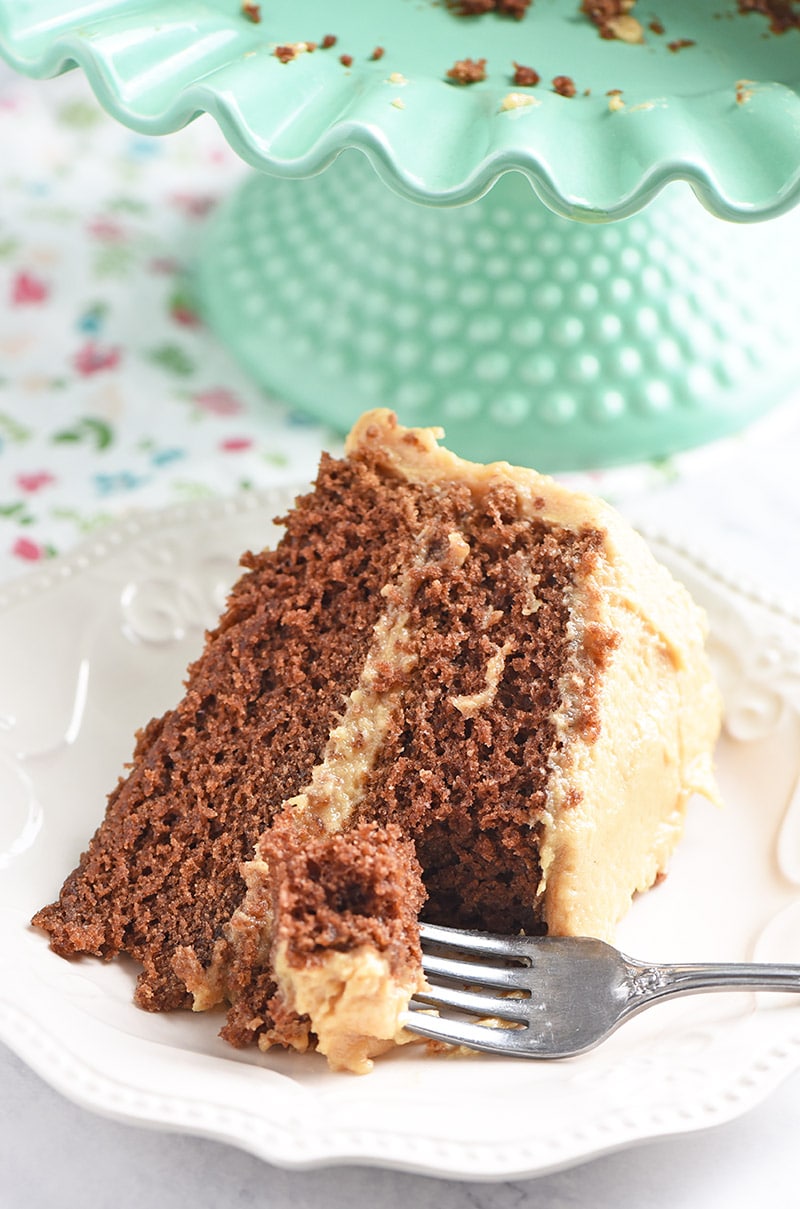
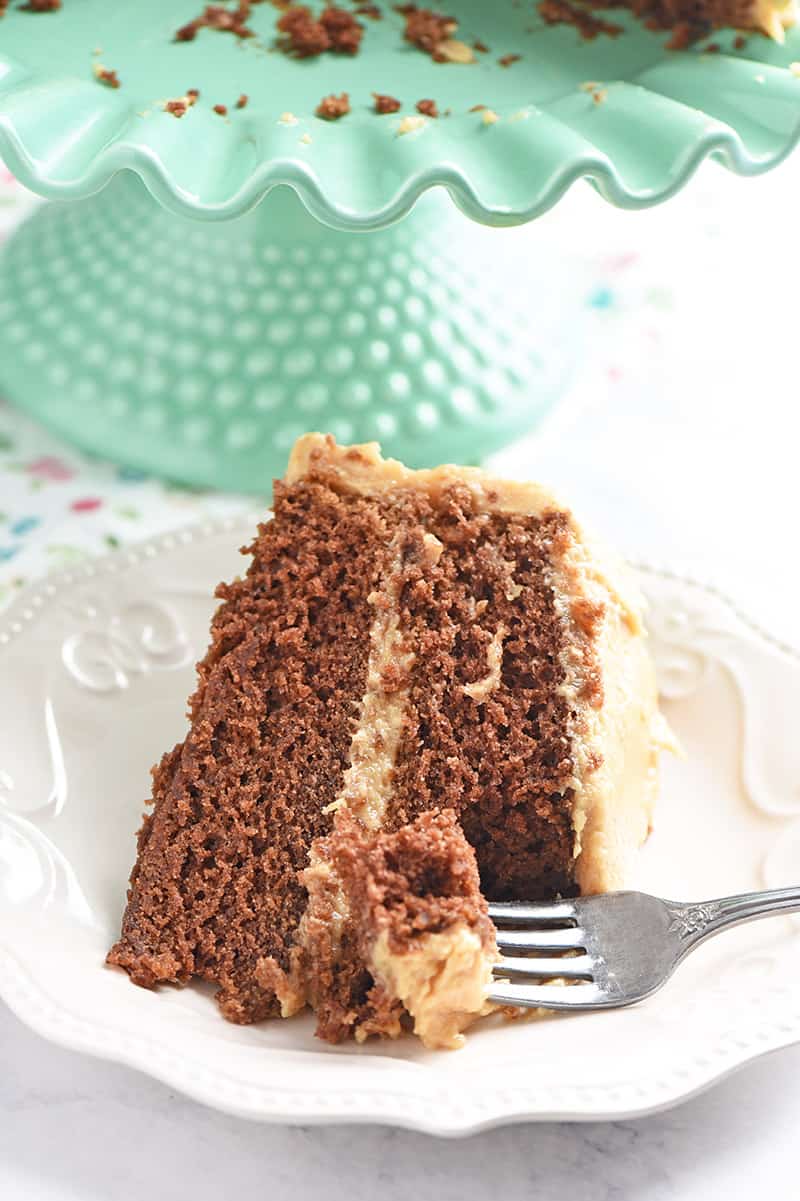
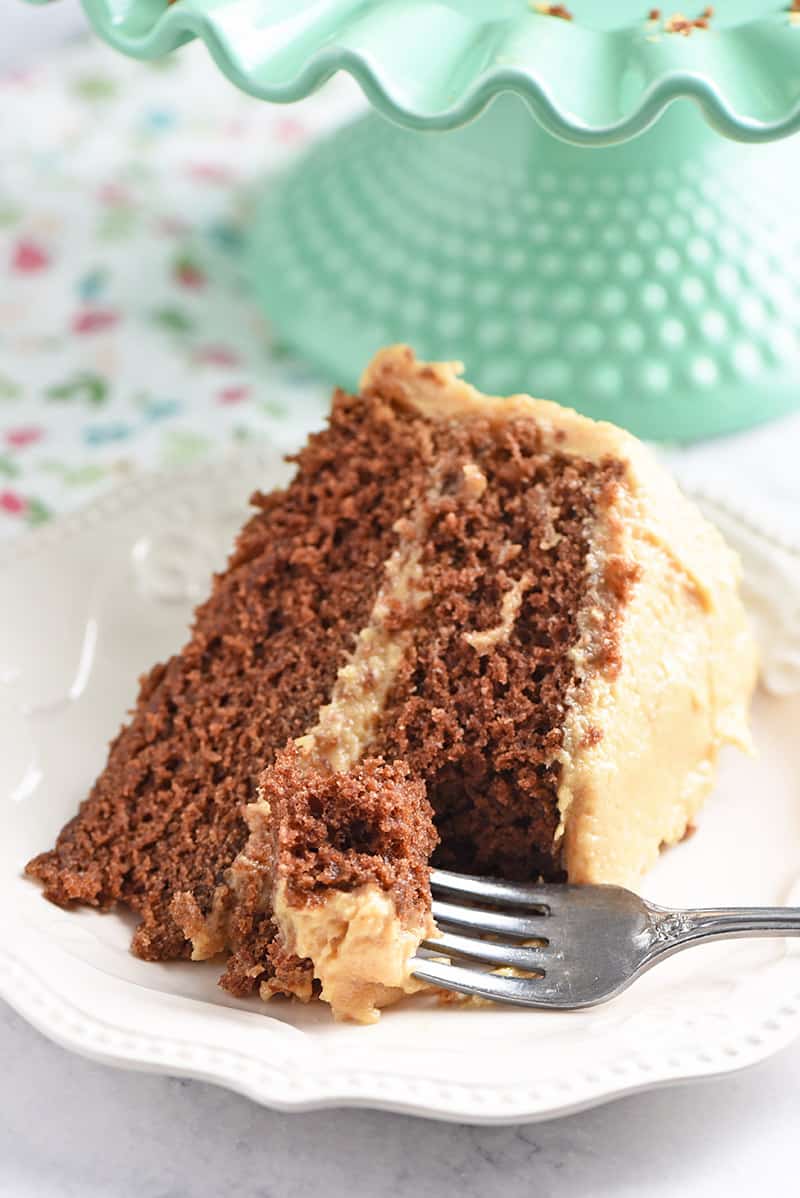
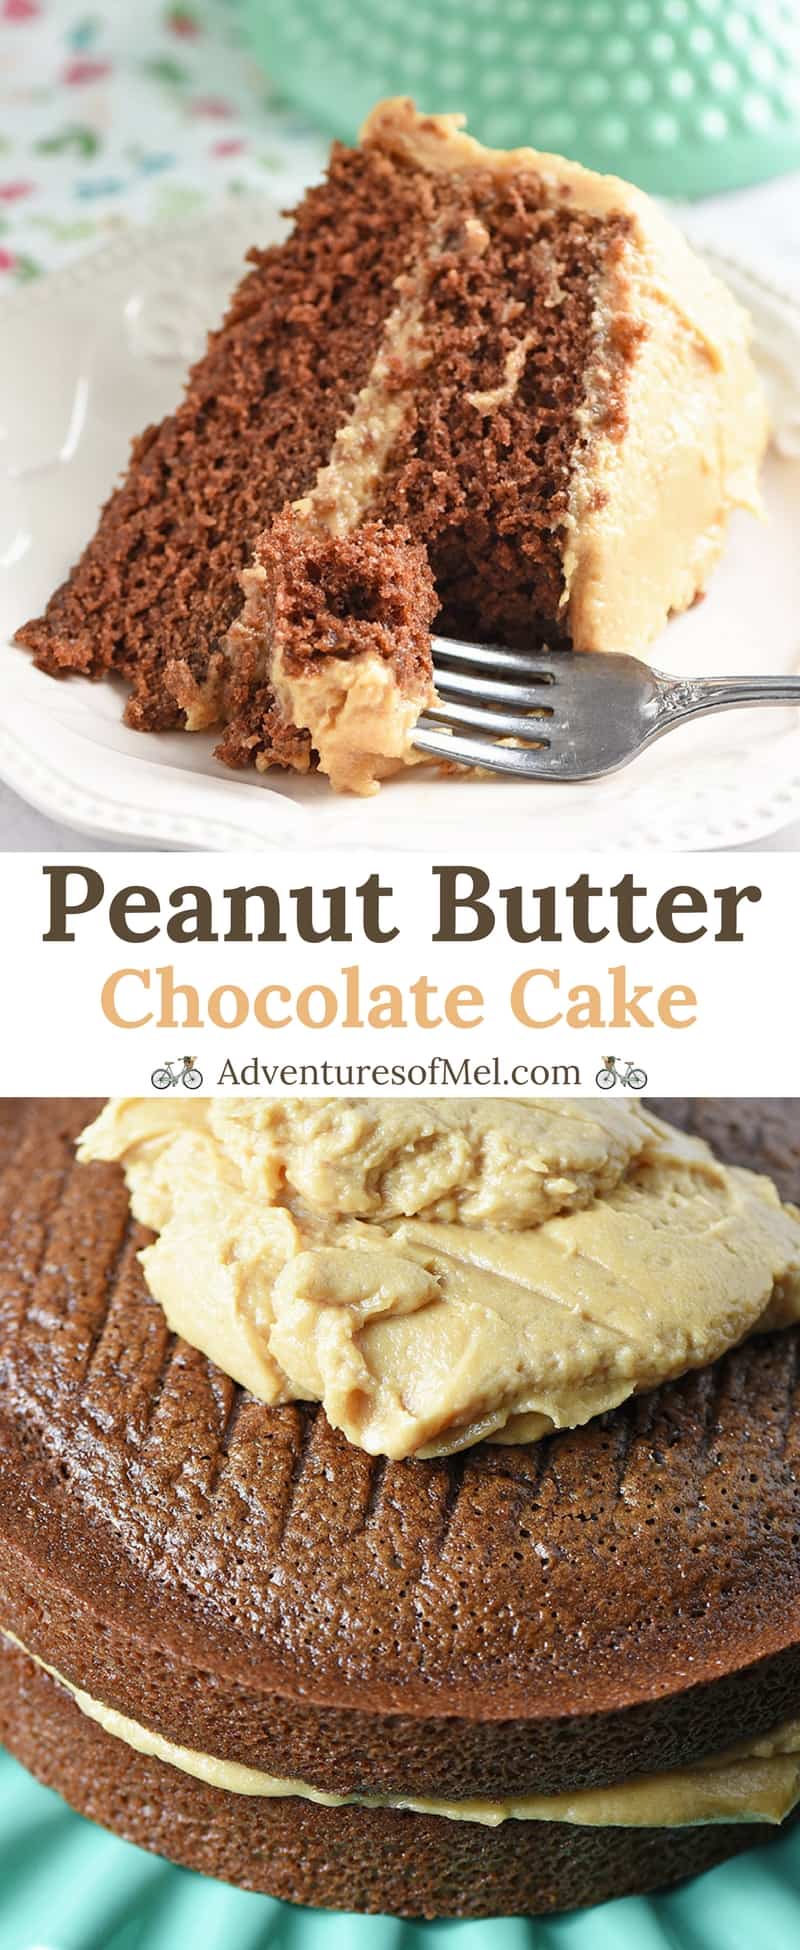
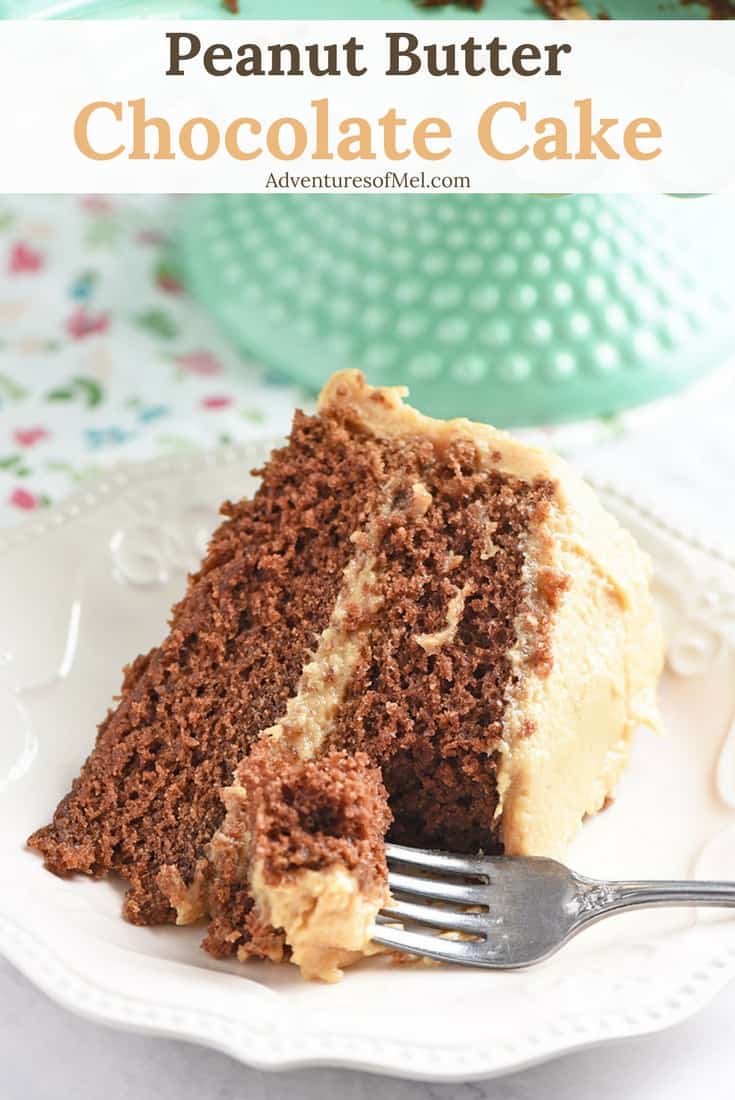
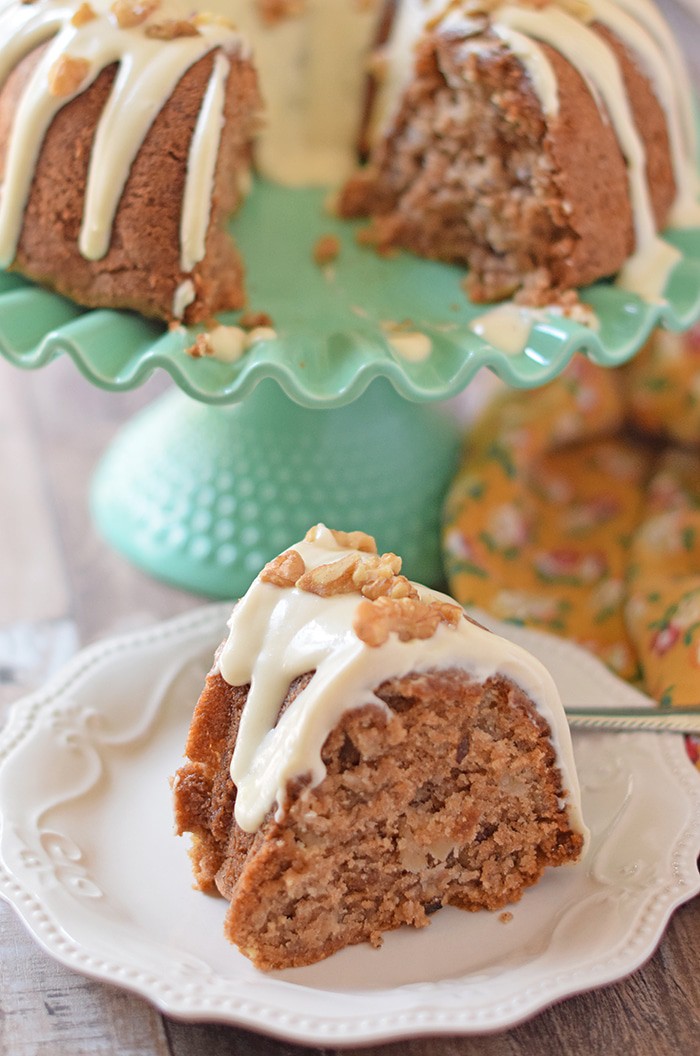
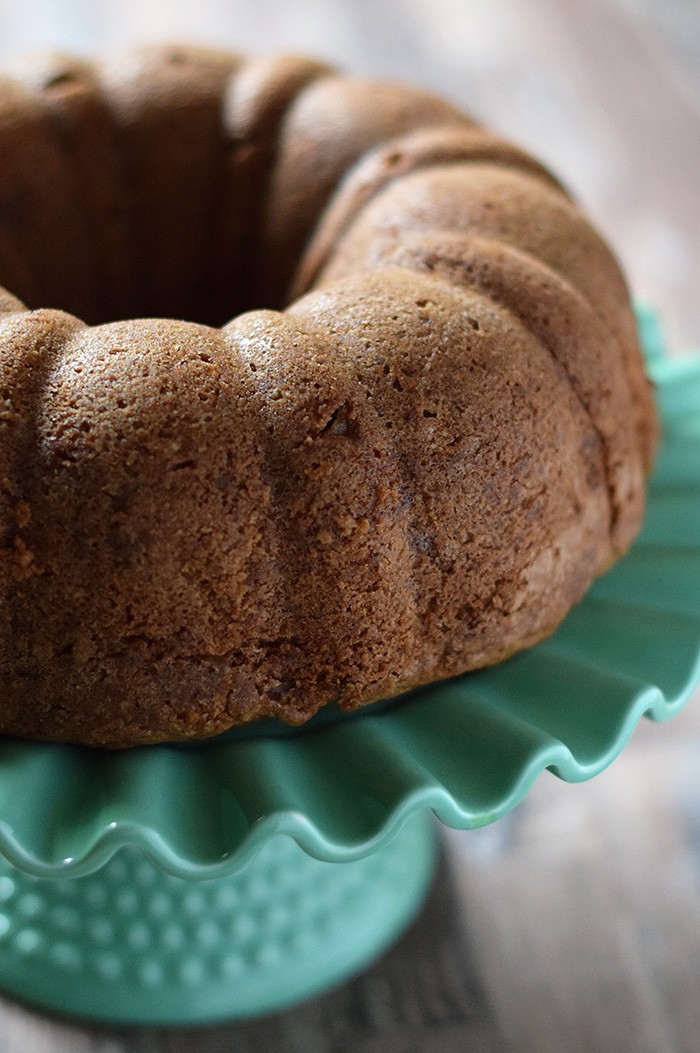
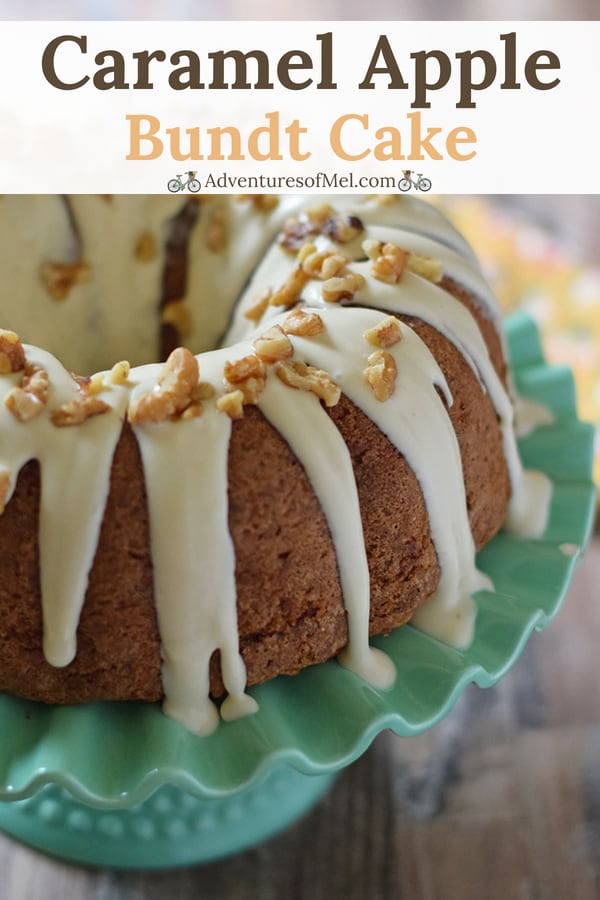
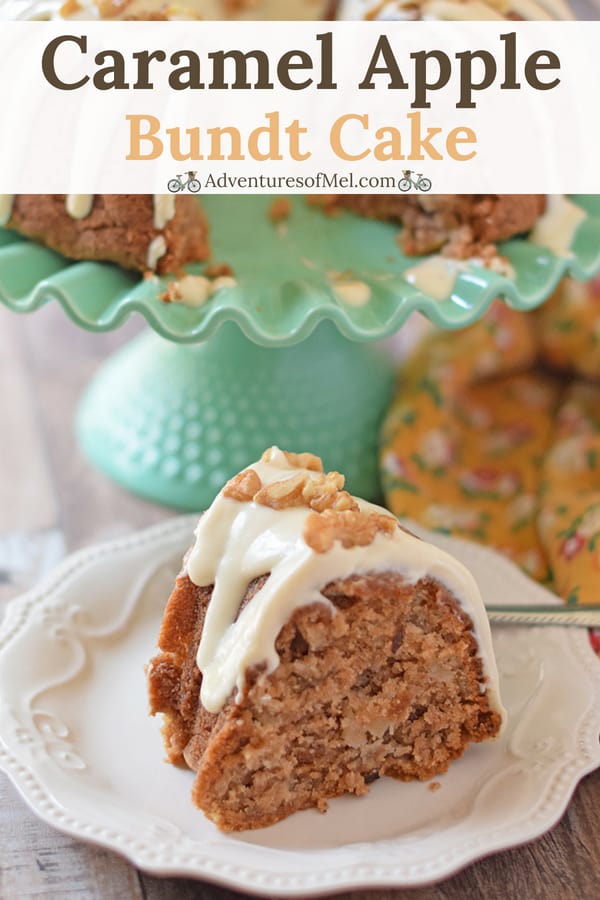
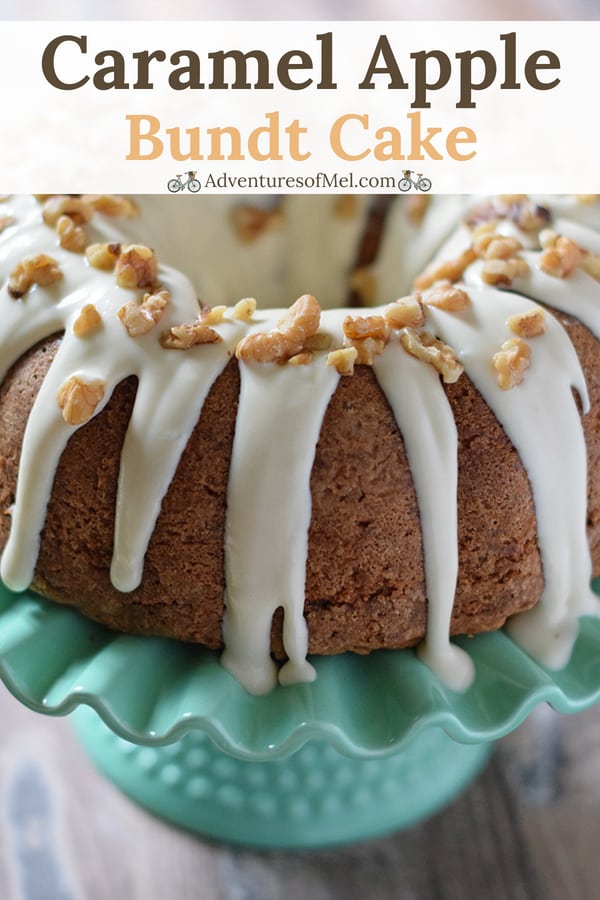
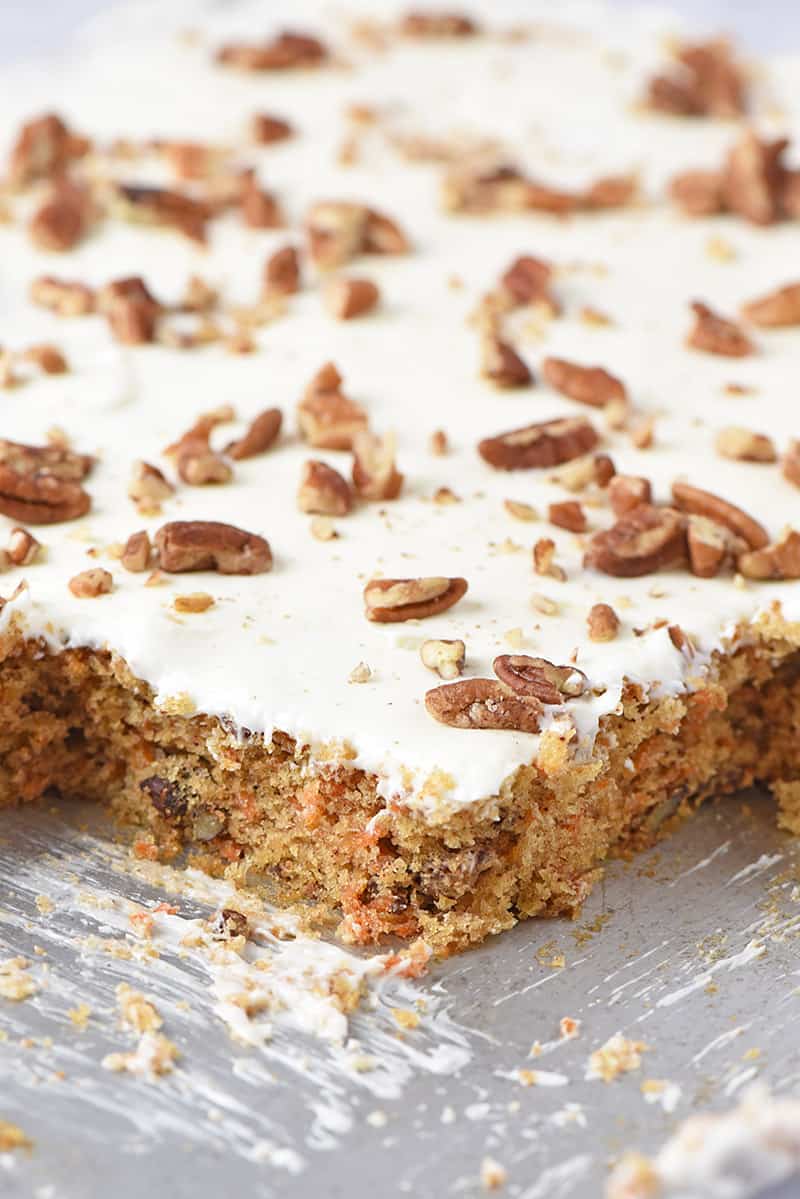
Cream Cheese Frosting is definitely my favorite frosting for cakes and cupcakes. There’s just nothing quite as scrumptious as a carrot cake, cherry chip cake, strawberry Jello cake, or chocolate cake with cream cheese frosting. Yum!
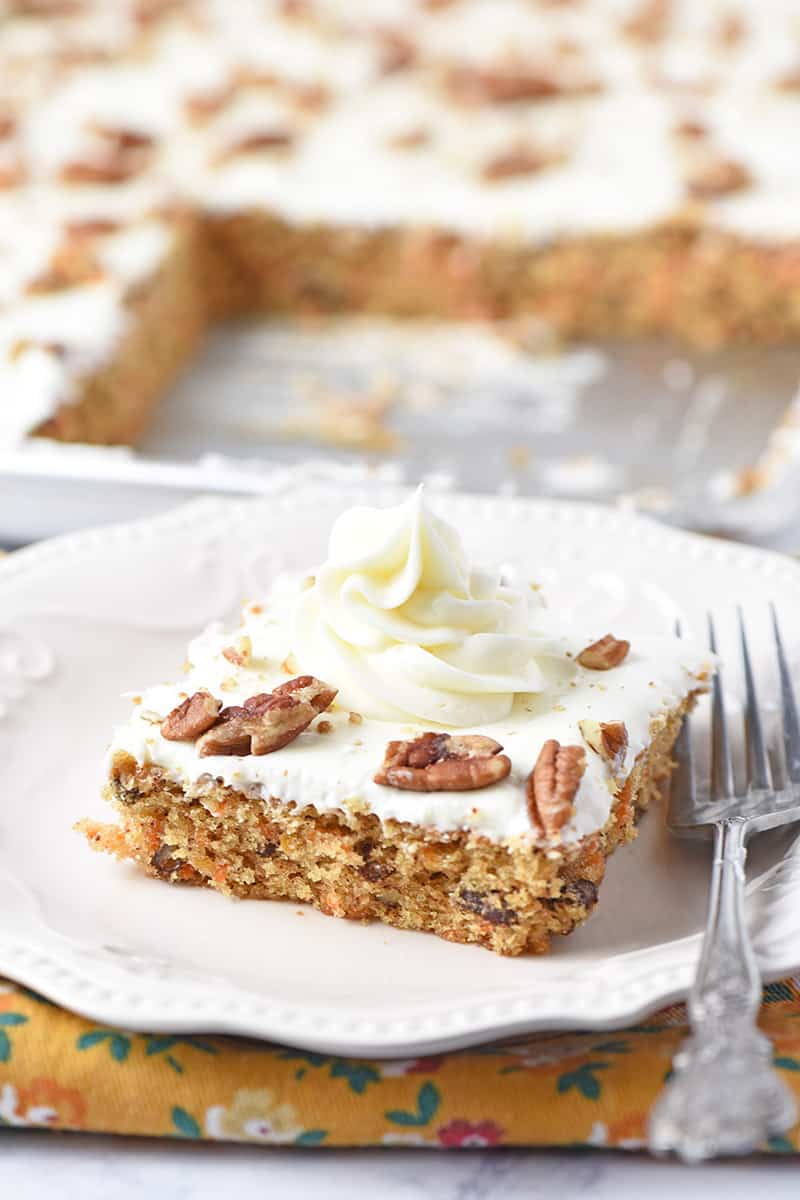
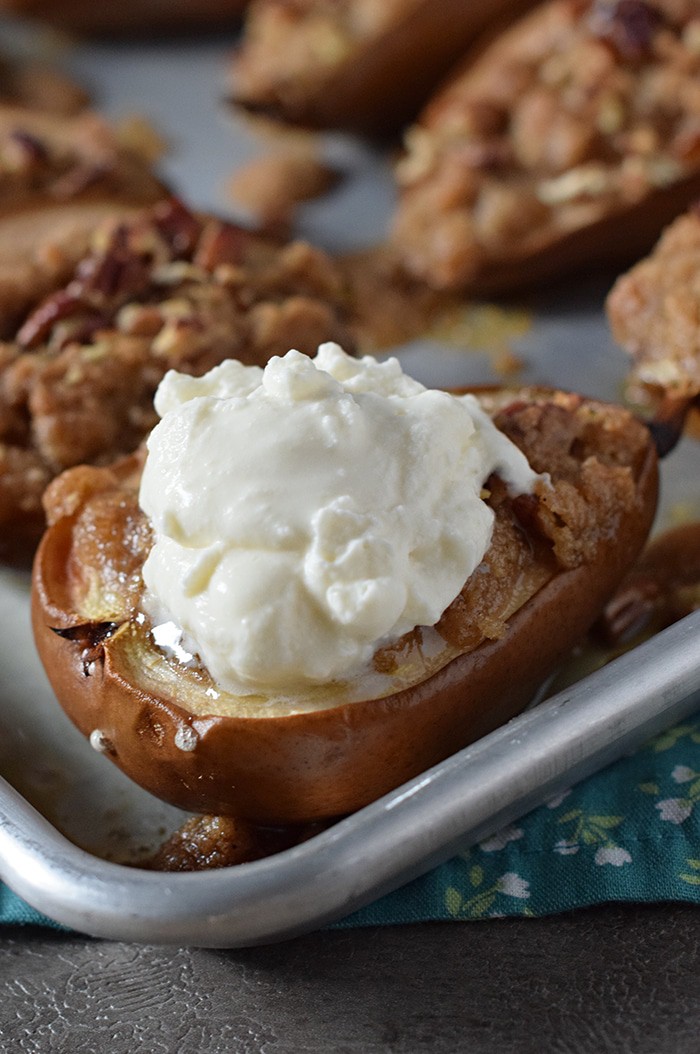
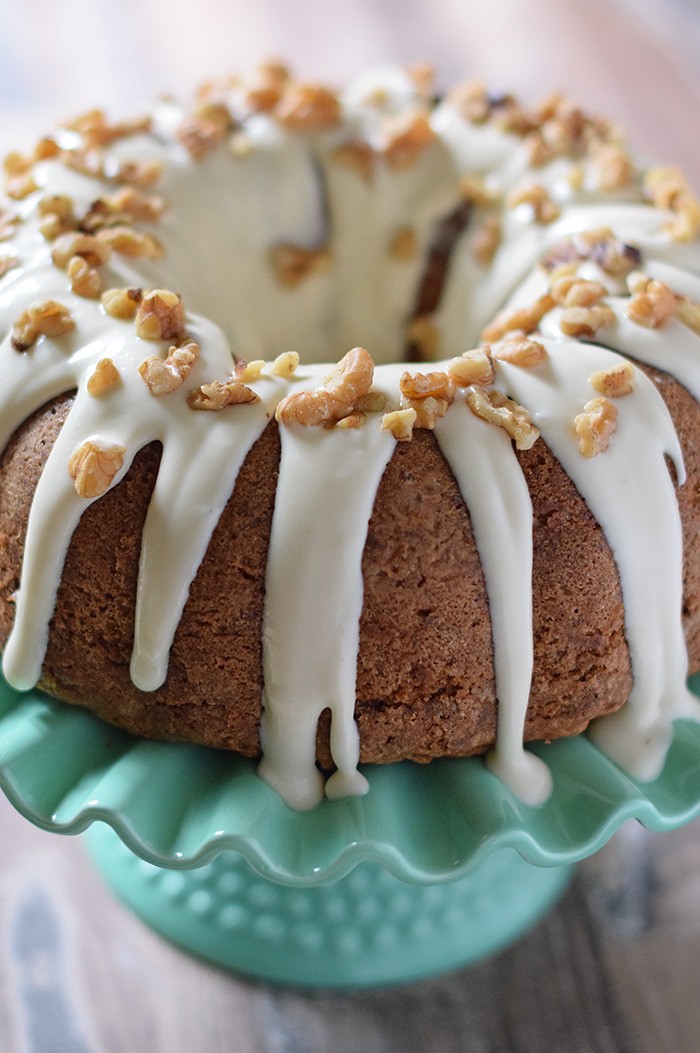
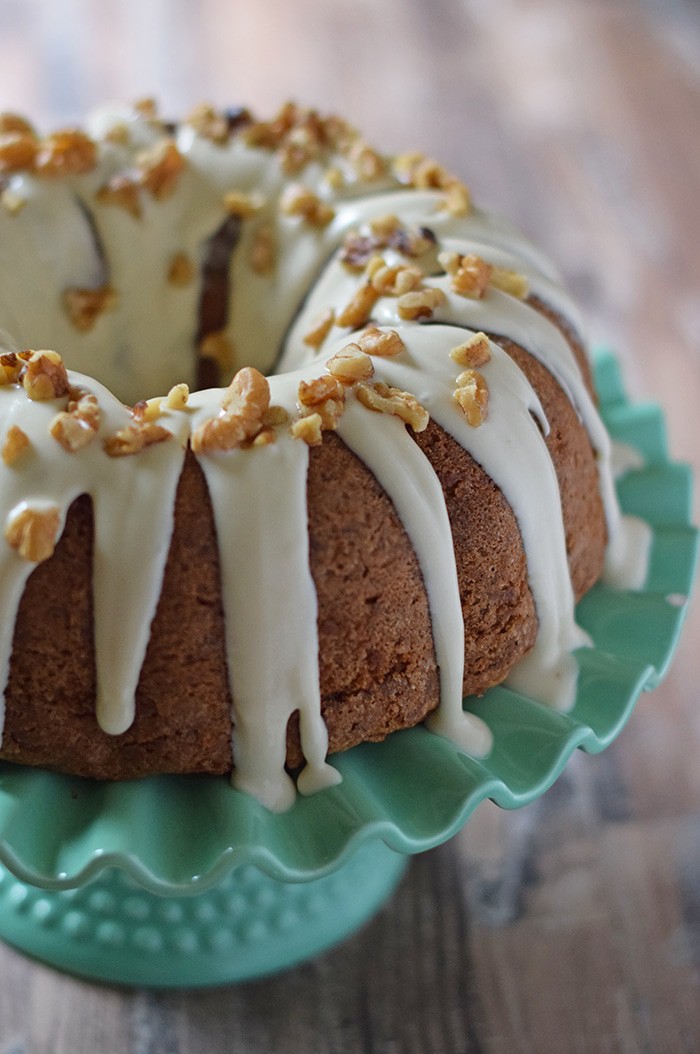
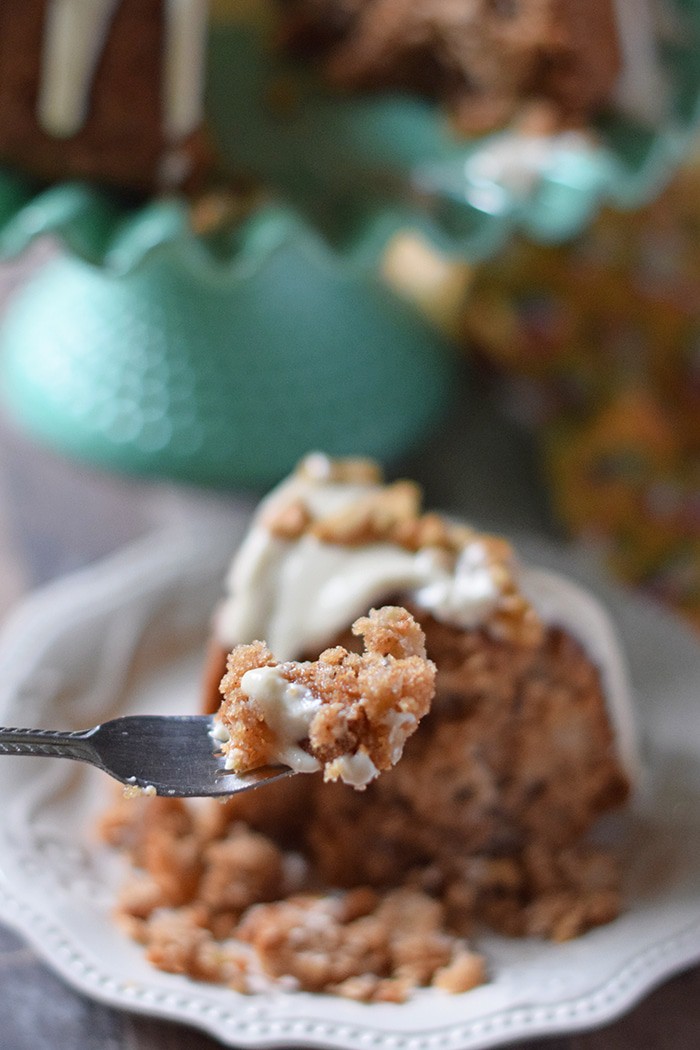
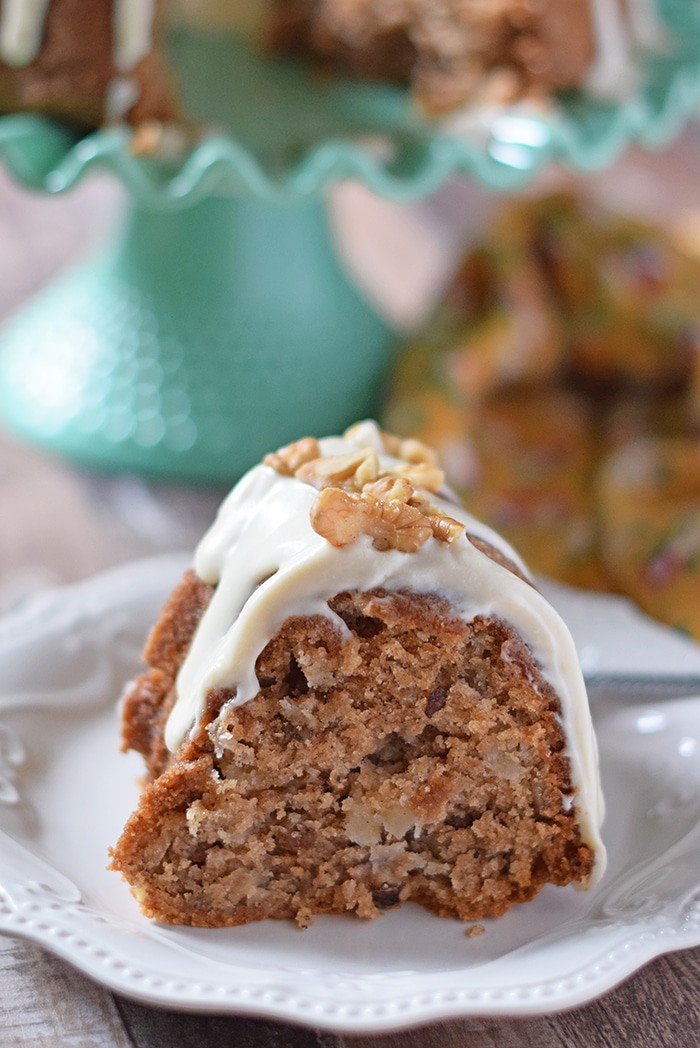
This recipe happens to make the best cream cheese frosting for carrot cake. It’s sweet and tangy; and it brings a creaminess that no other frosting can bring.
It’s also a super easy cream cheese frosting recipe, calling for only 4 ingredients. They’re ingredients you probably already have in your kitchen. I know I always have these things on hand.
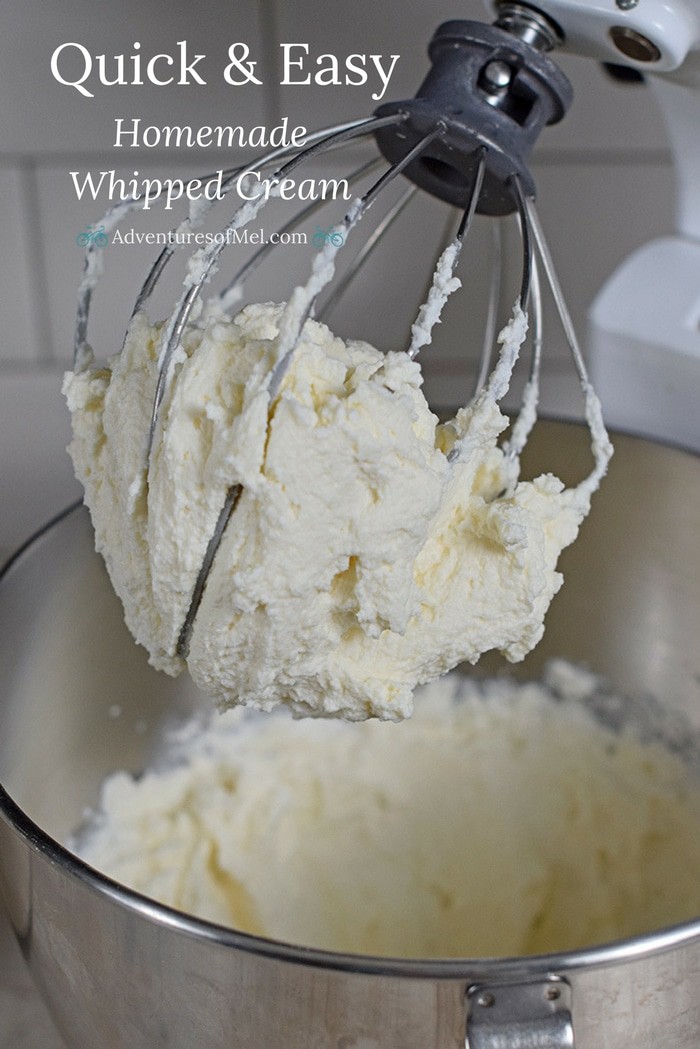
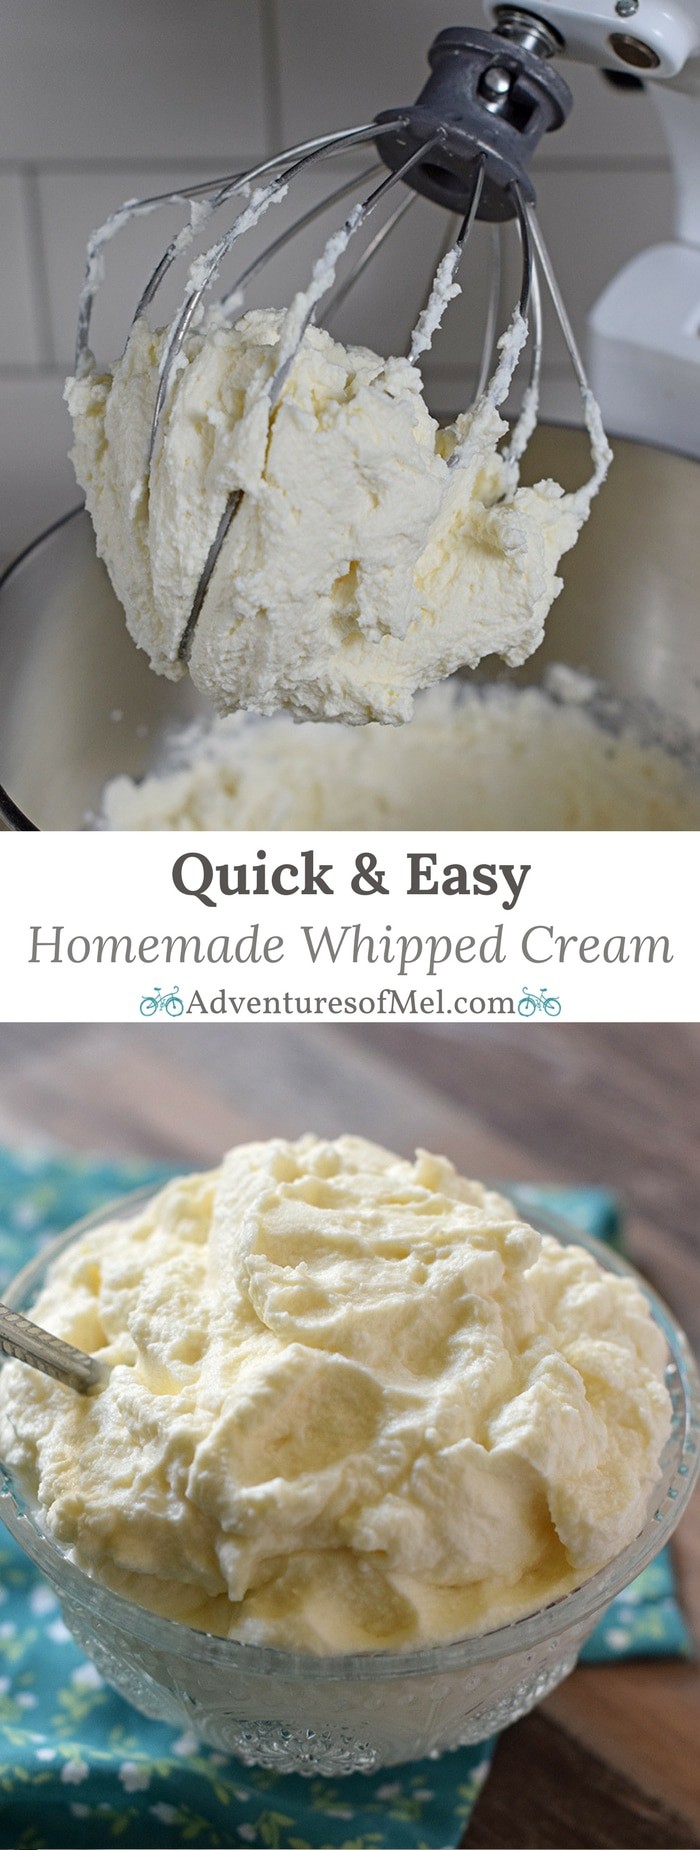
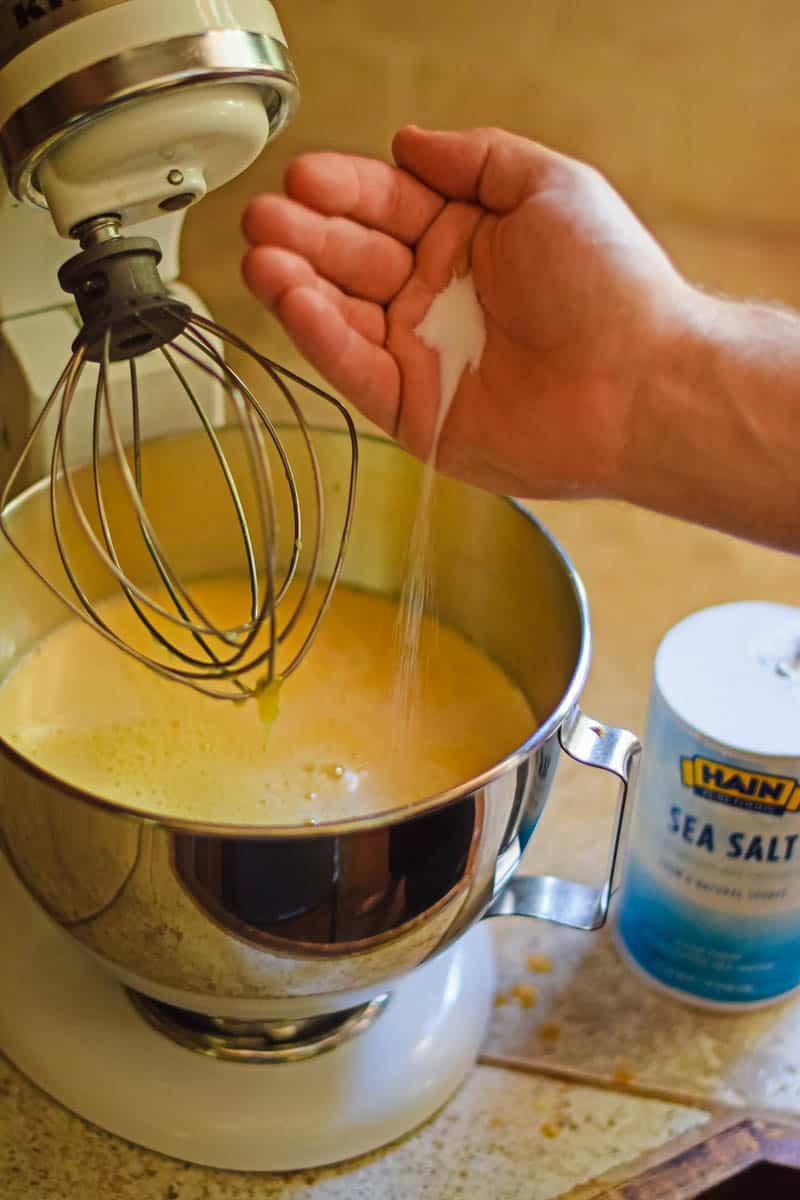
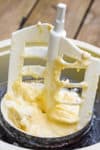
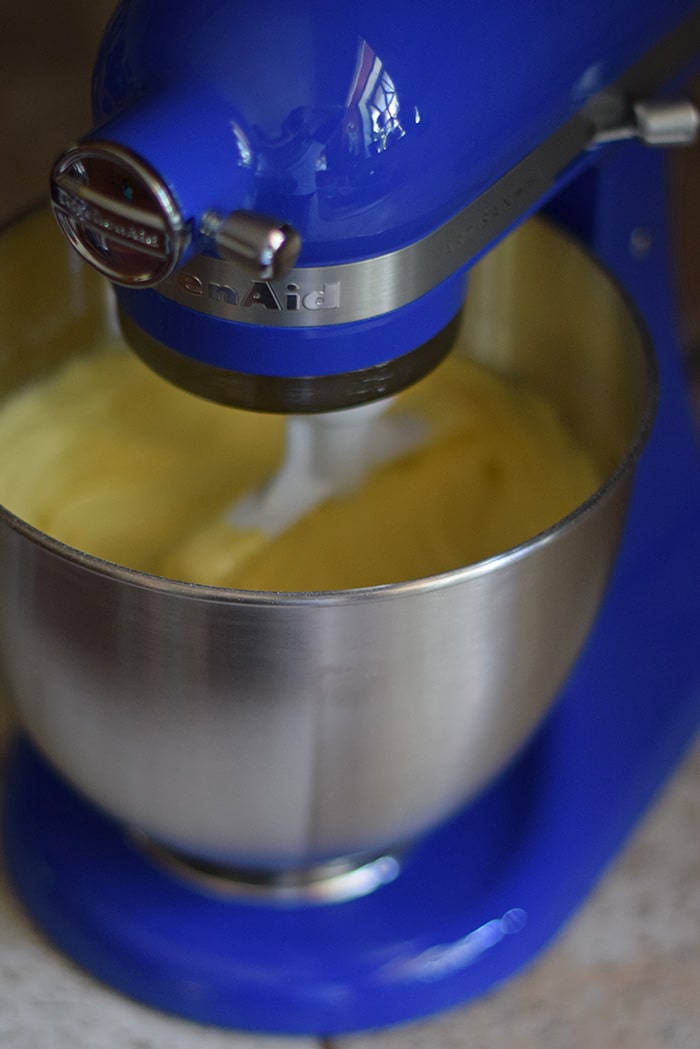
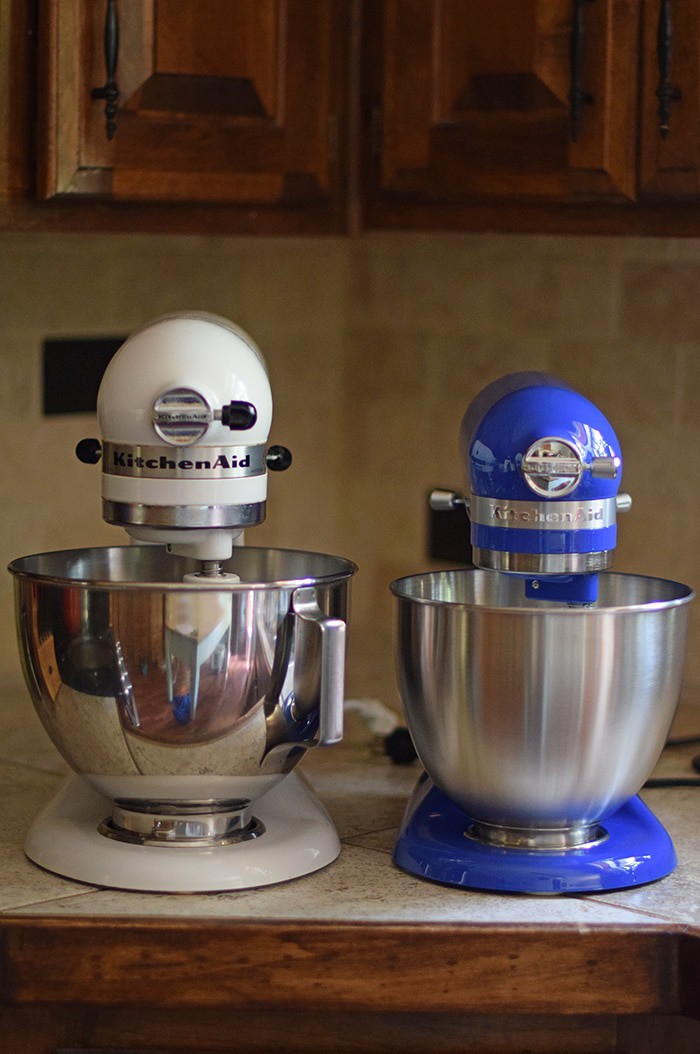
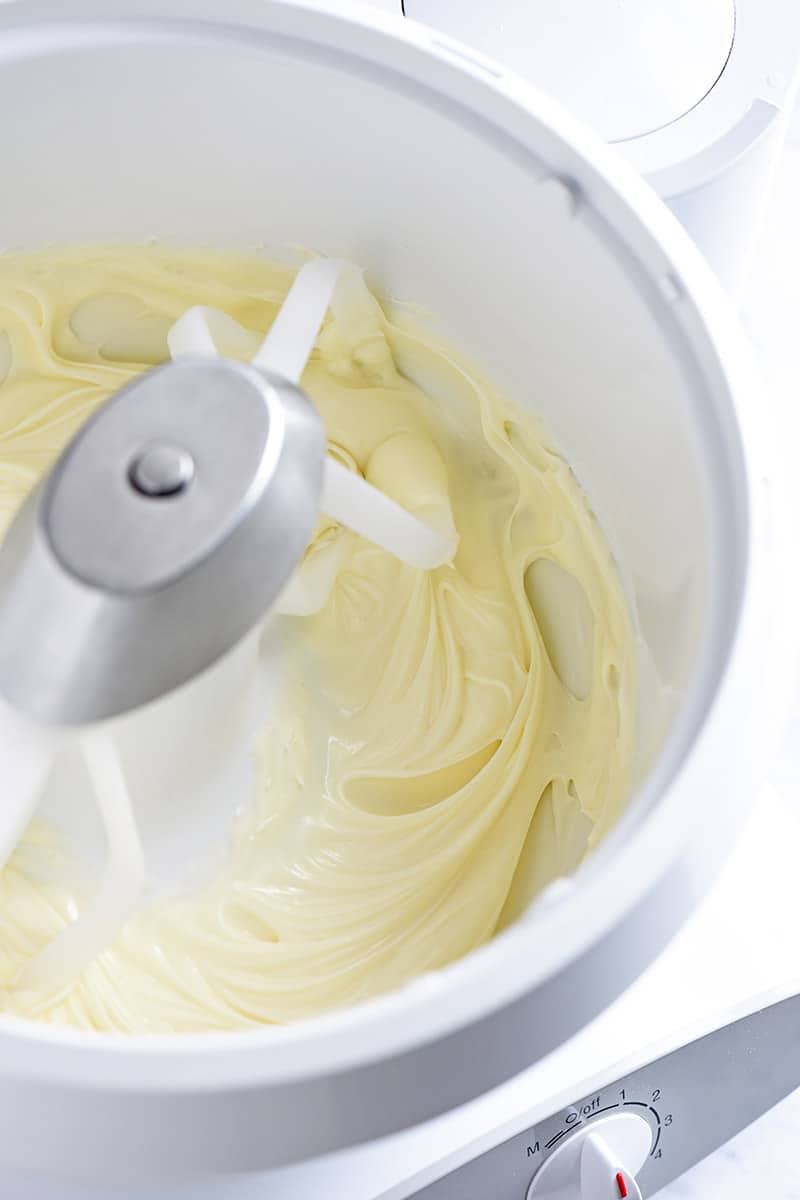
I also highly recommend you use a mixer when you mix this up, whether you have a hand mixer or stand mixer. A mixer helps to get all the little lumps that powdered sugar and cream cheese can leave behind when mixing by hand.
More frosting recipes you may enjoy include this buttercream frosting and chocolate buttercream frosting.
I JUST WANT THE RECIPE! TAKE ME TO THE RECIPE FOR CREAM CHEESE FROSTING!
If you’d rather skip all of my cooking tips, important cooking info for this recipe, and similar recipe ideas – and get straight to the scrumptious cream cheese frosting recipe – just scroll down to the bottom, where you’ll find a printable recipe card.
Tips for how to make this easy cream cheese frosting:
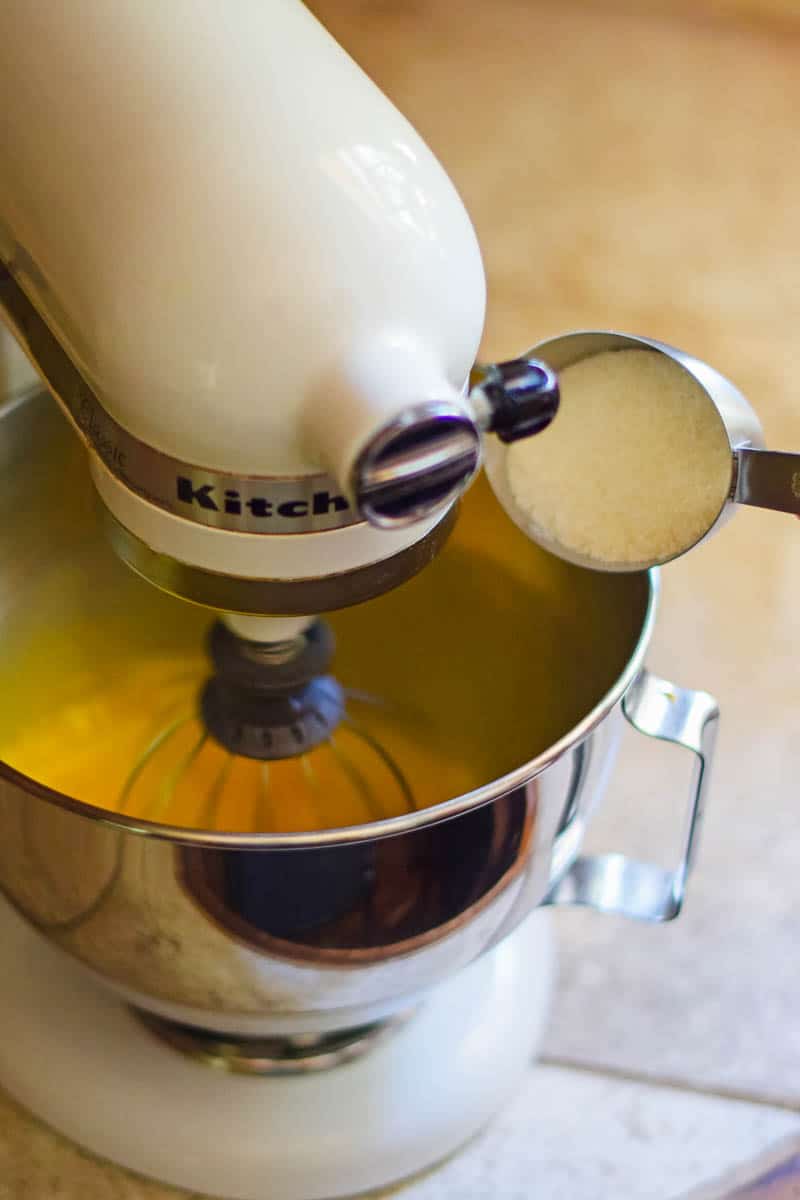
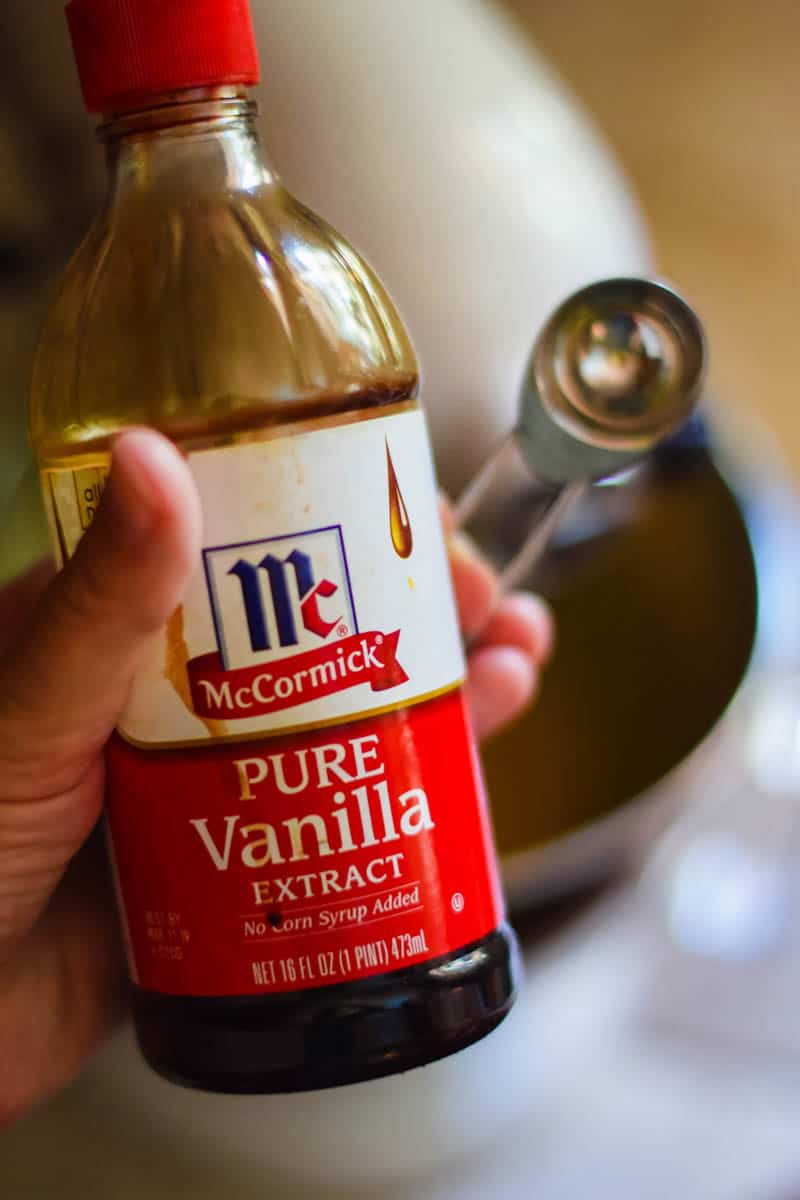
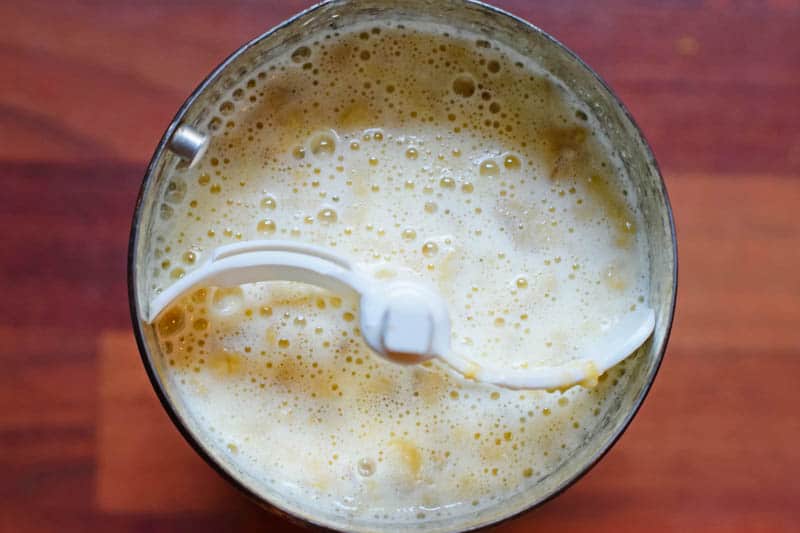
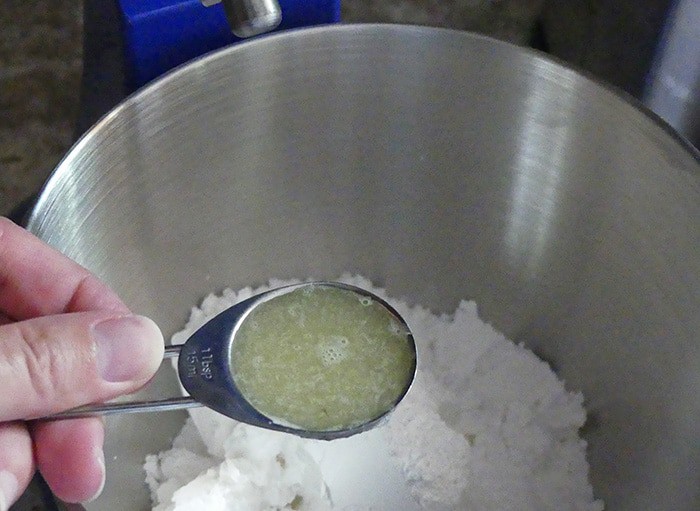
First you’ll need a few ingredients… Cream cheese, salted butter, vanilla extract, and powdered sugar.
Make sure your cream cheese and butter have been softened. If you forget to get them out (like I usually do), just soften them up in the microwave quick.
- Mix together your softened cream cheese and salted butter.
- Add in the vanilla extract, mixing even more.
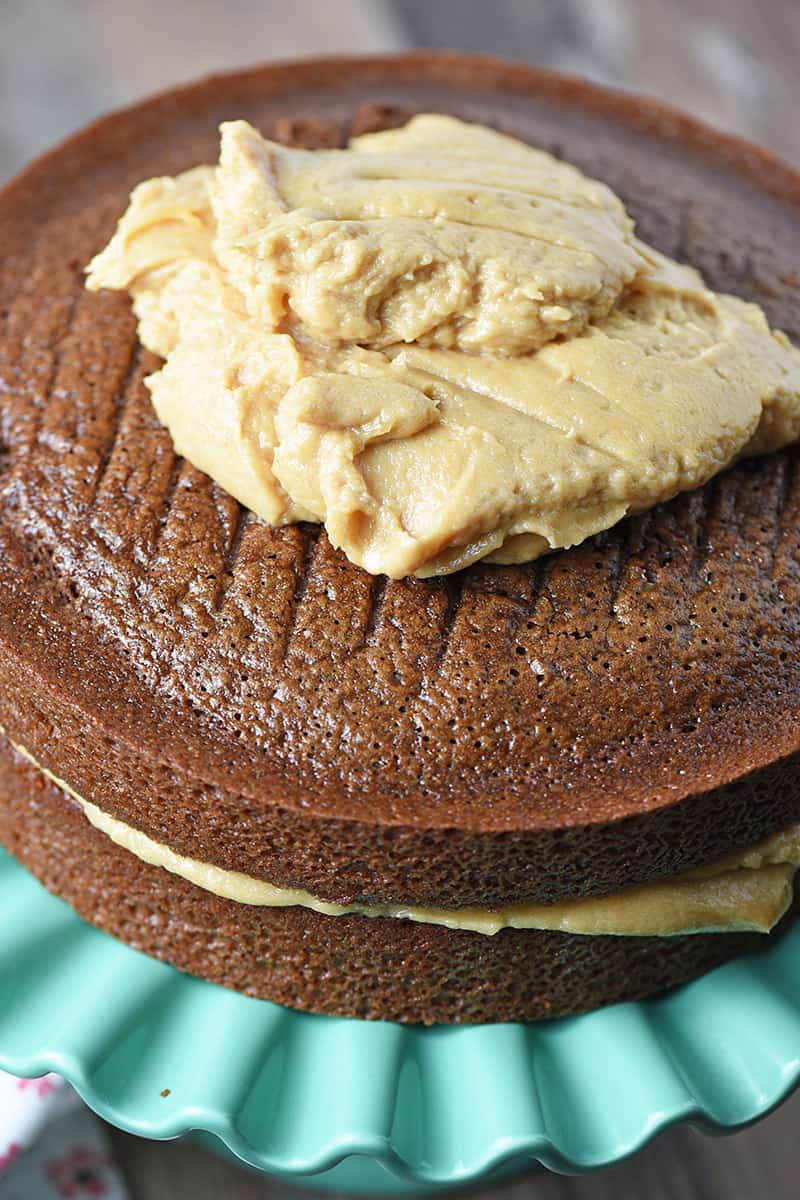
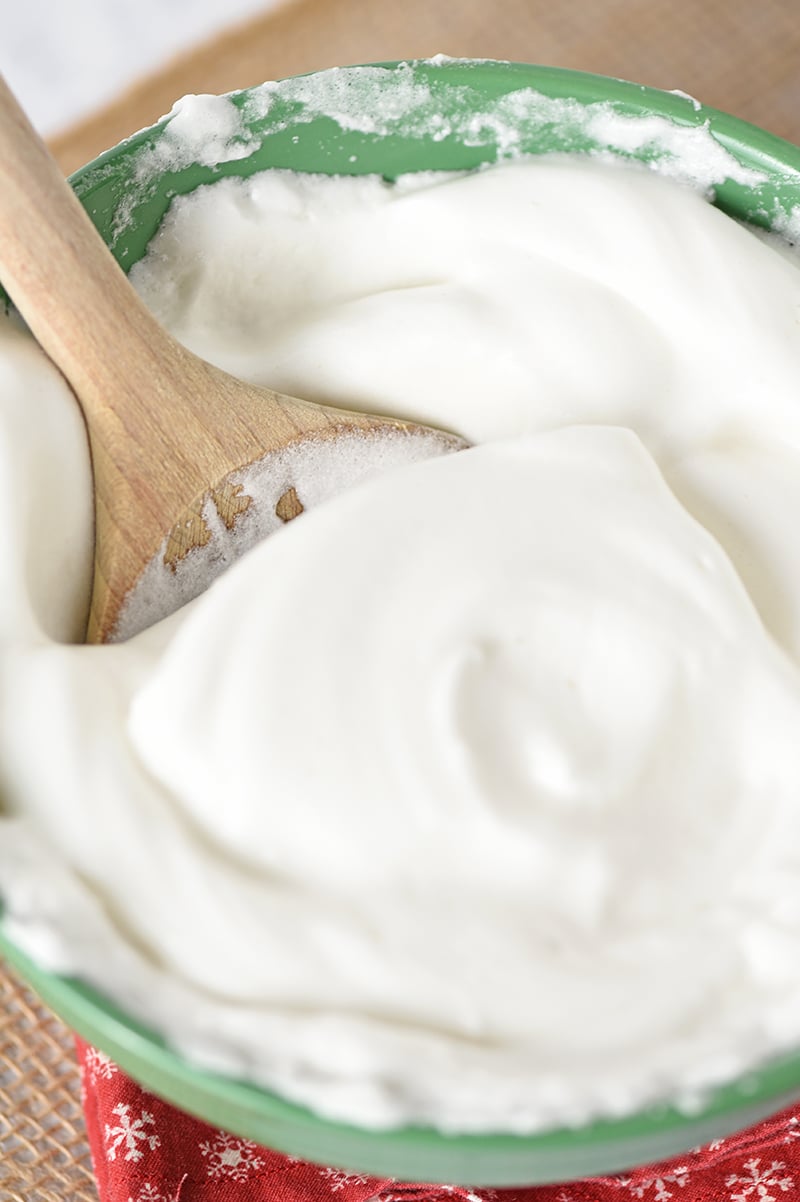
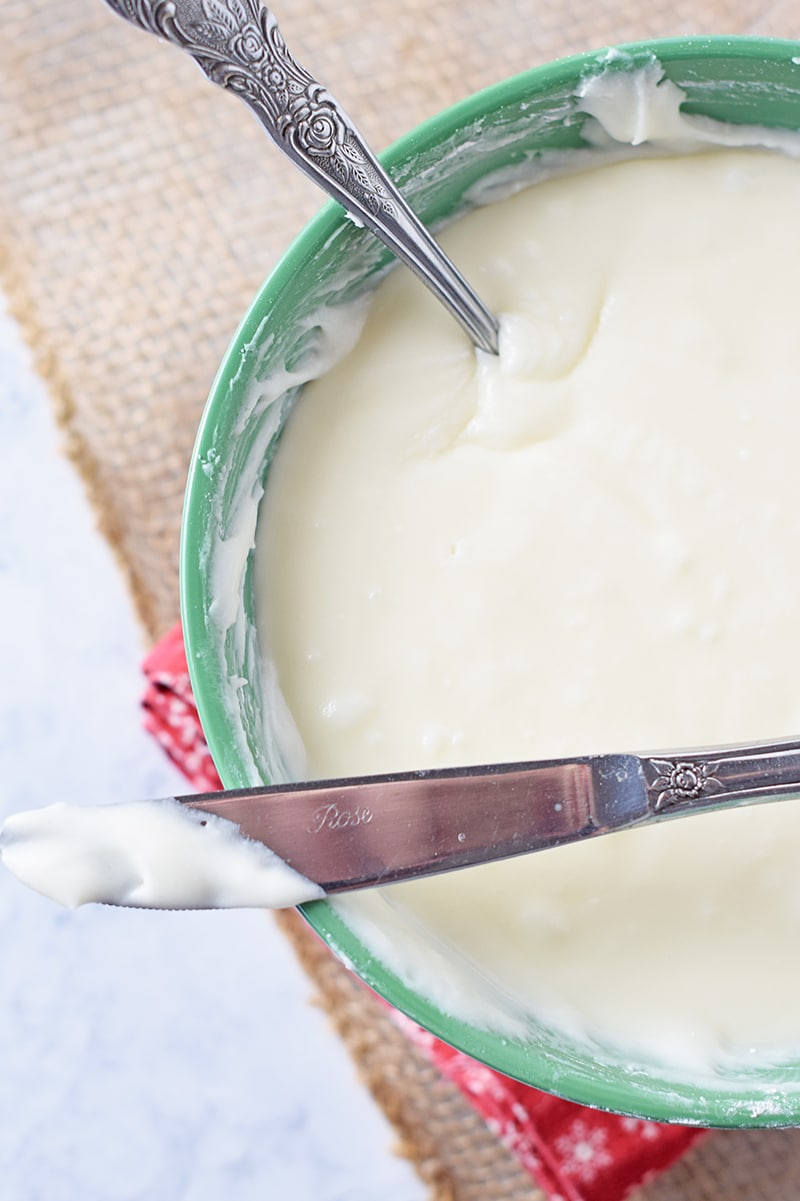
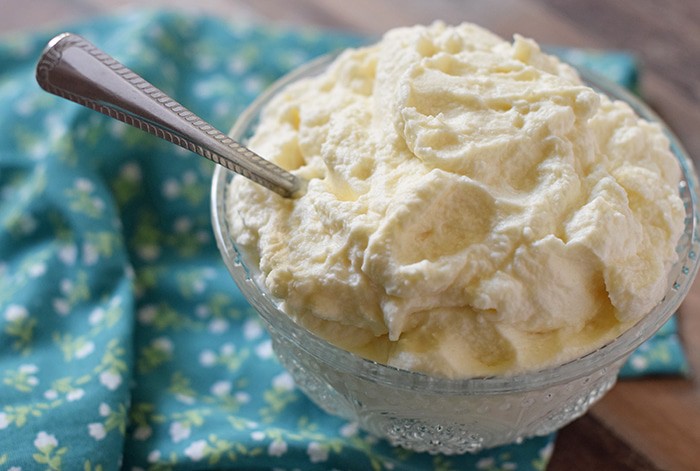
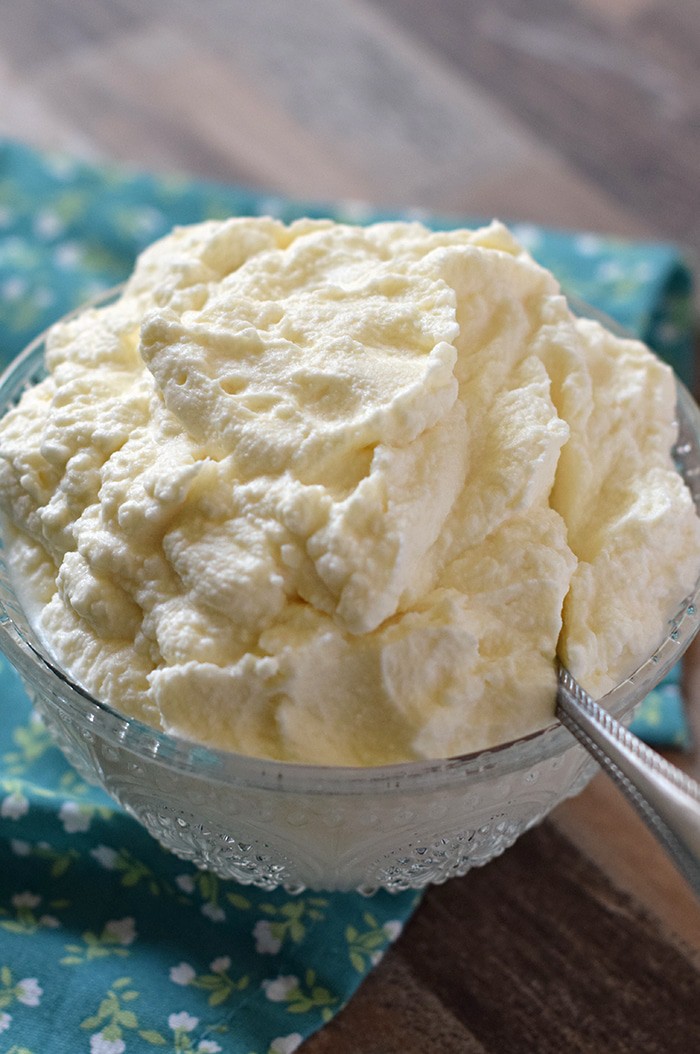
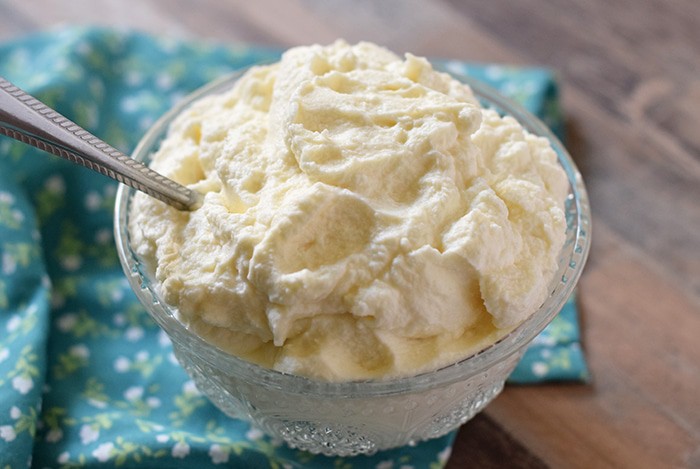
- Finally mix in the powdered sugar, being sure to scrape the sides of the bowl so you get all of that powdered sugar goodness in your frosting.
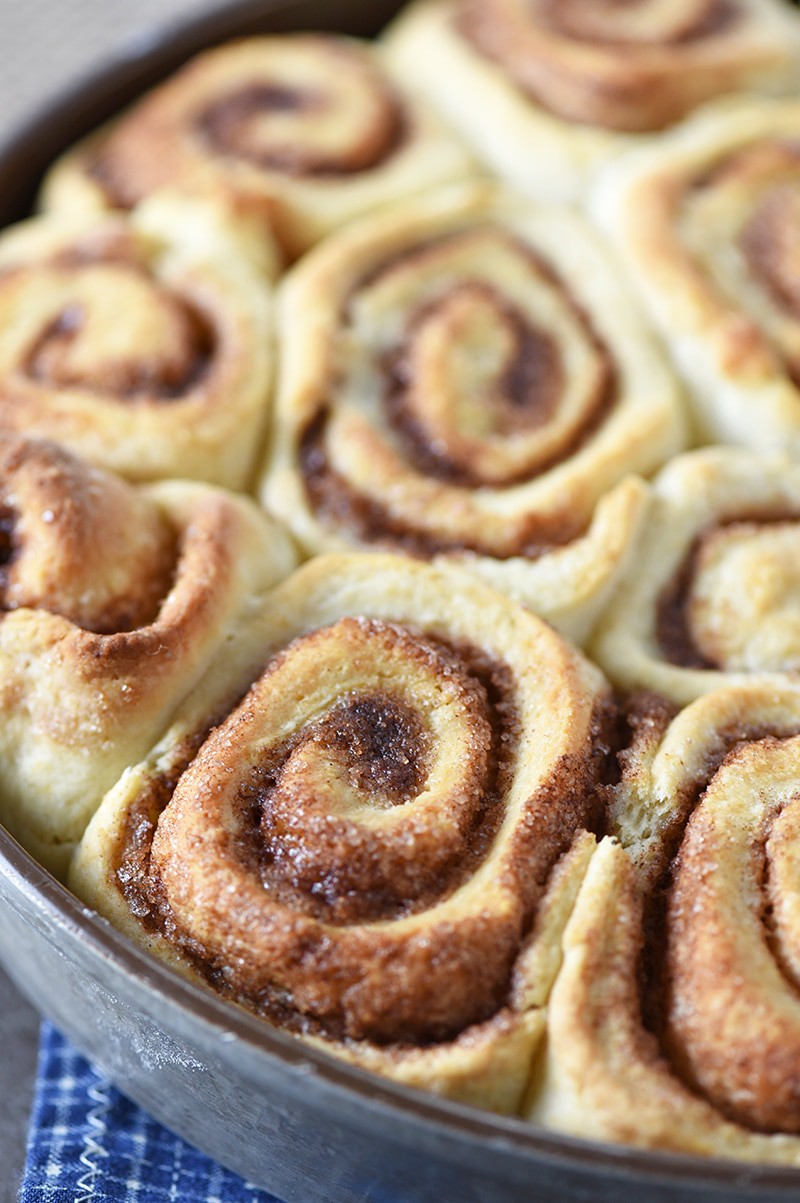
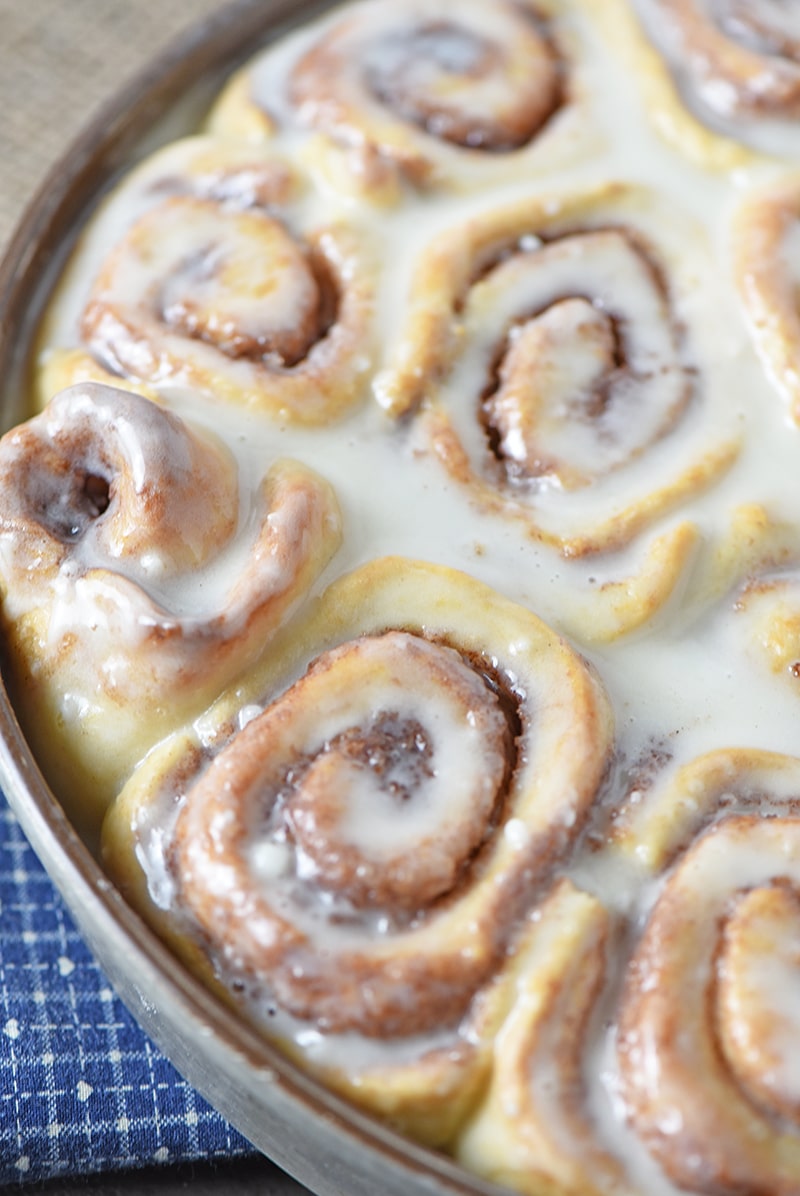
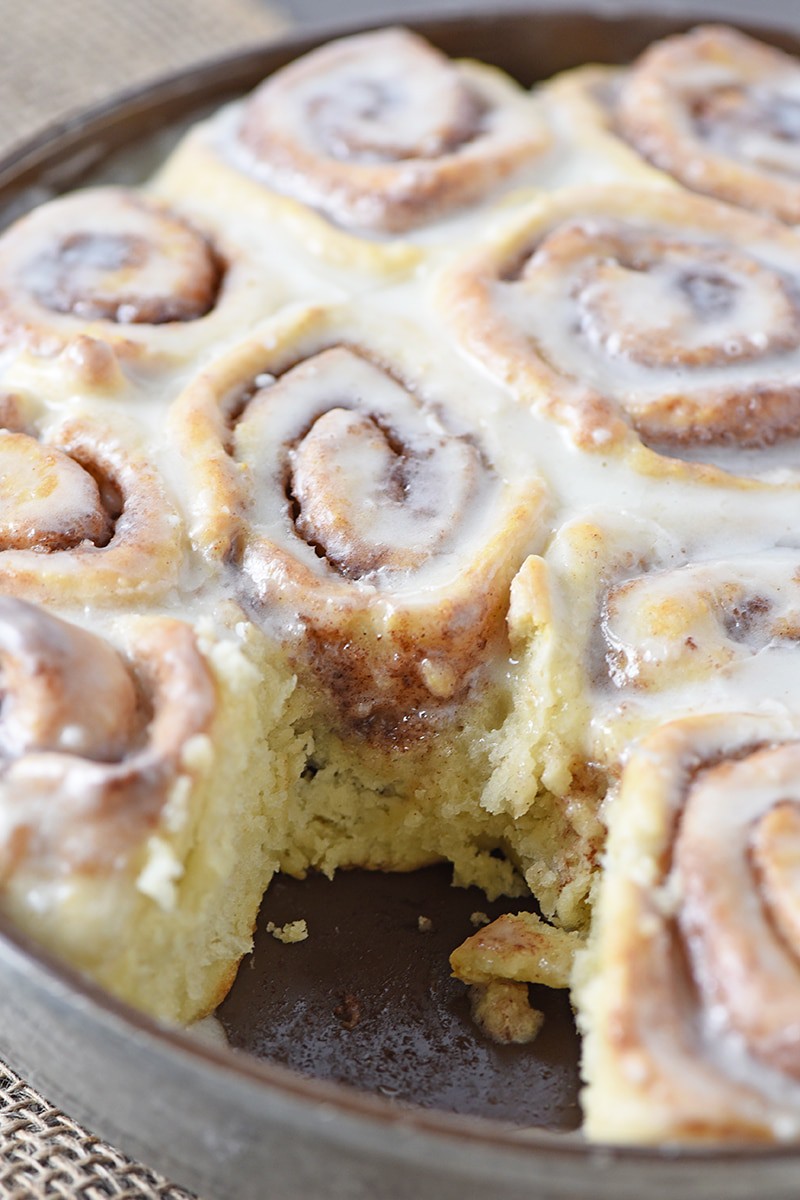
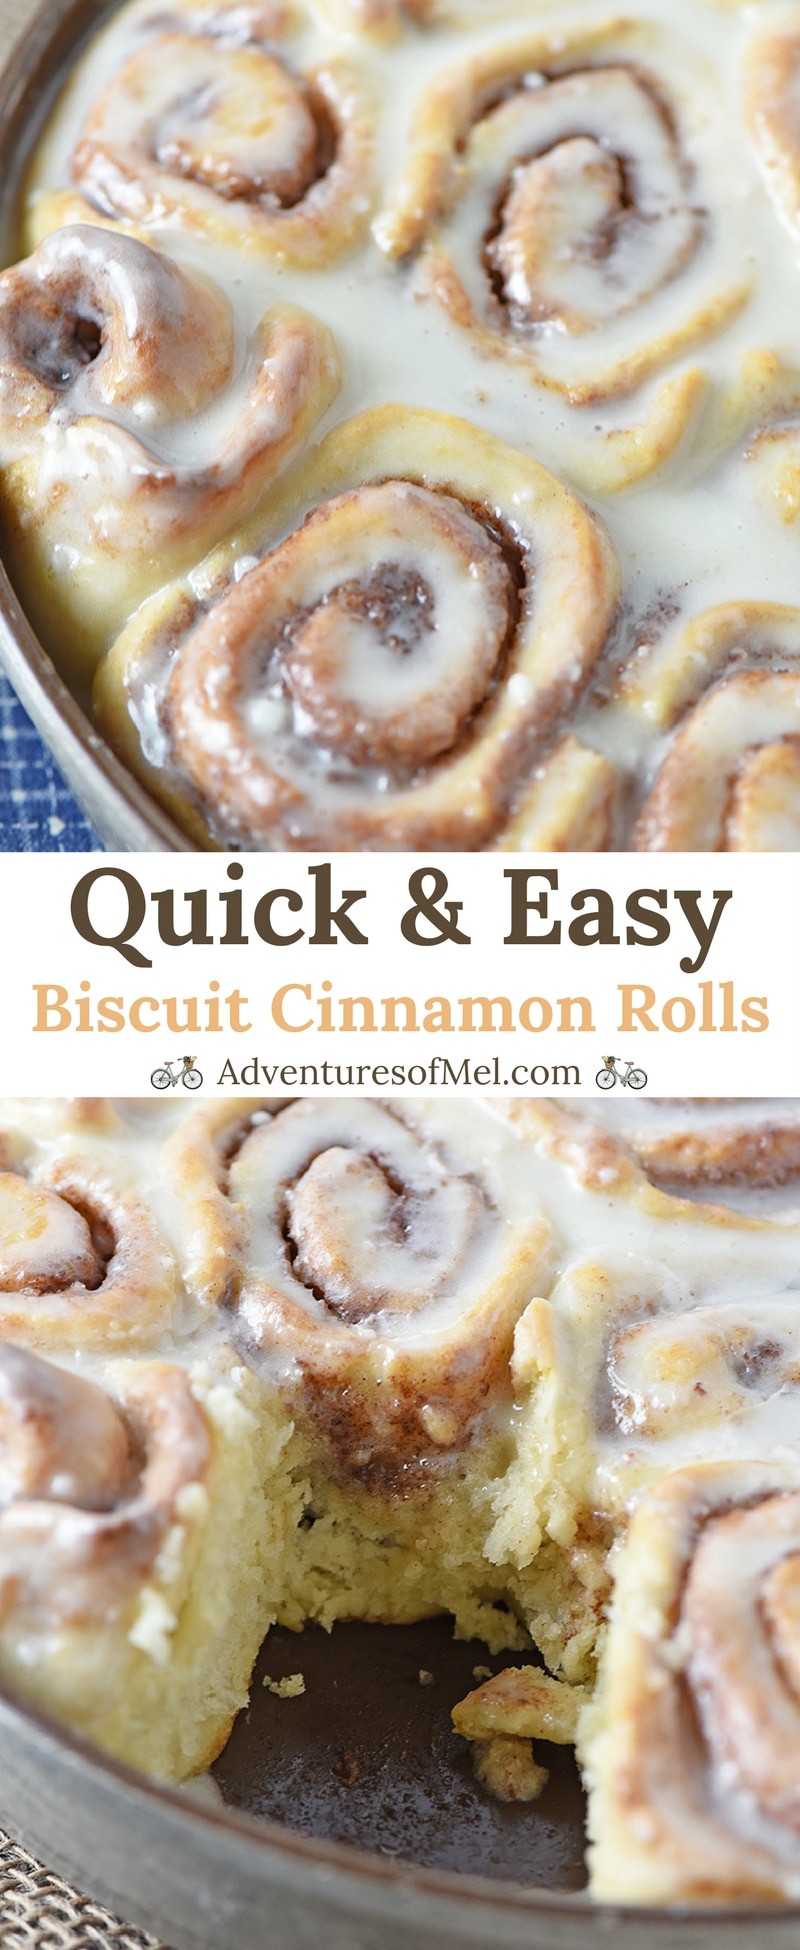
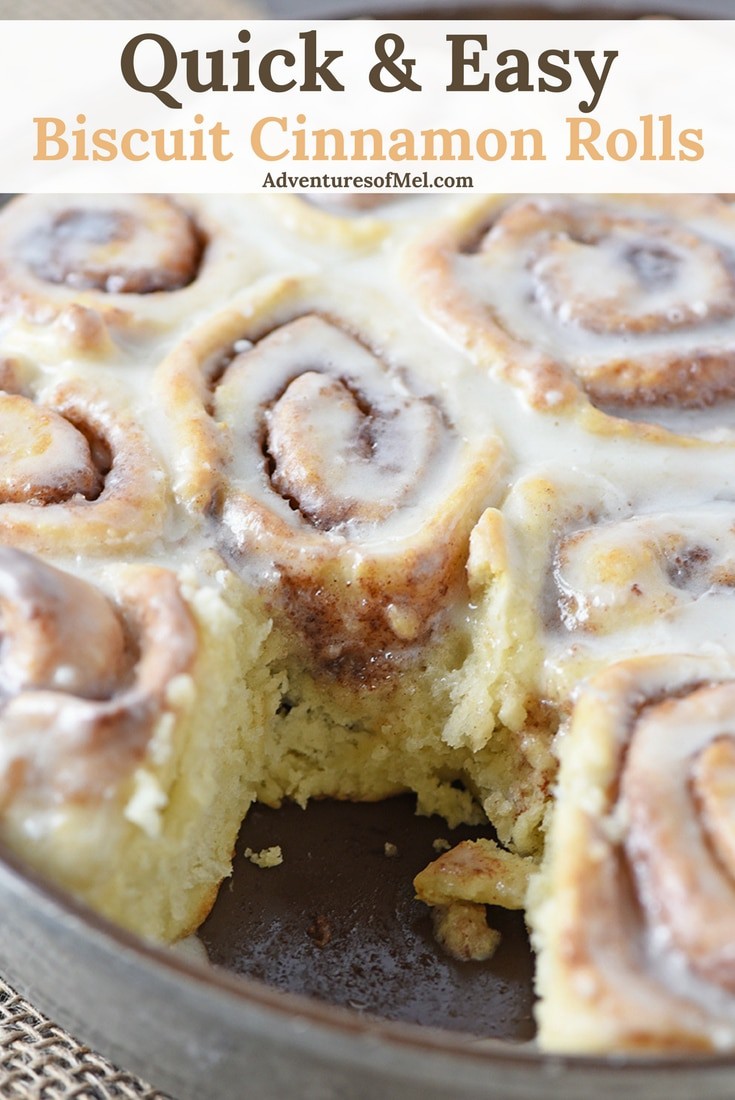
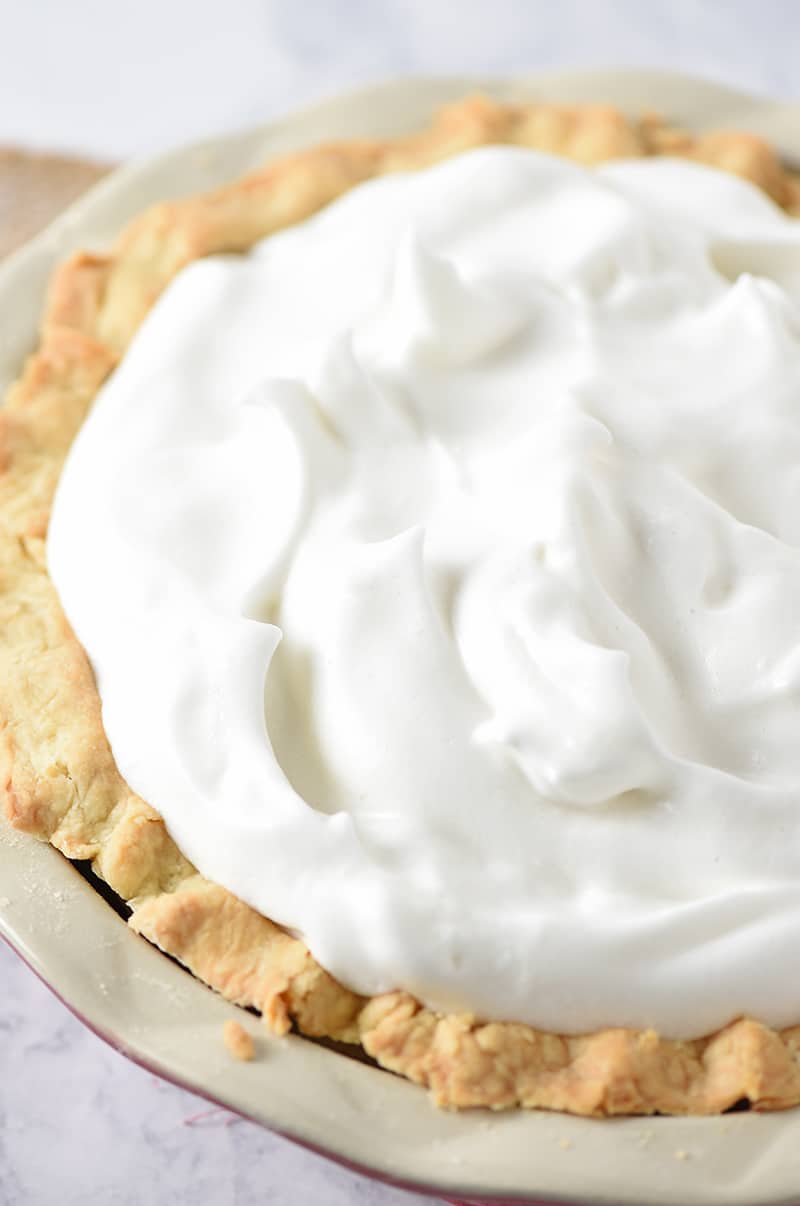
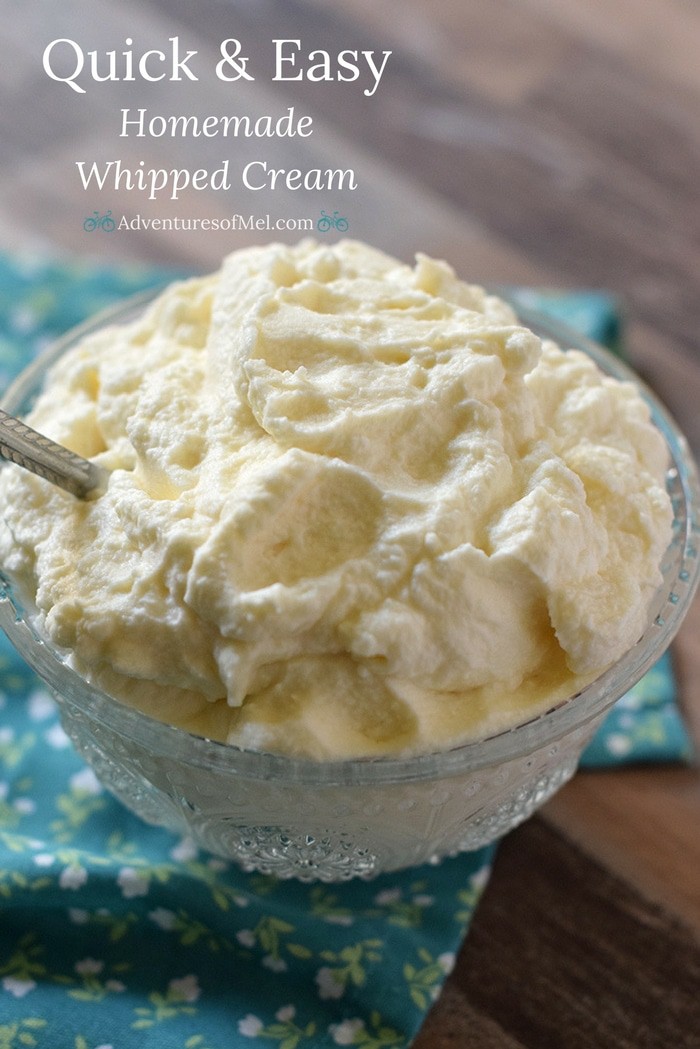
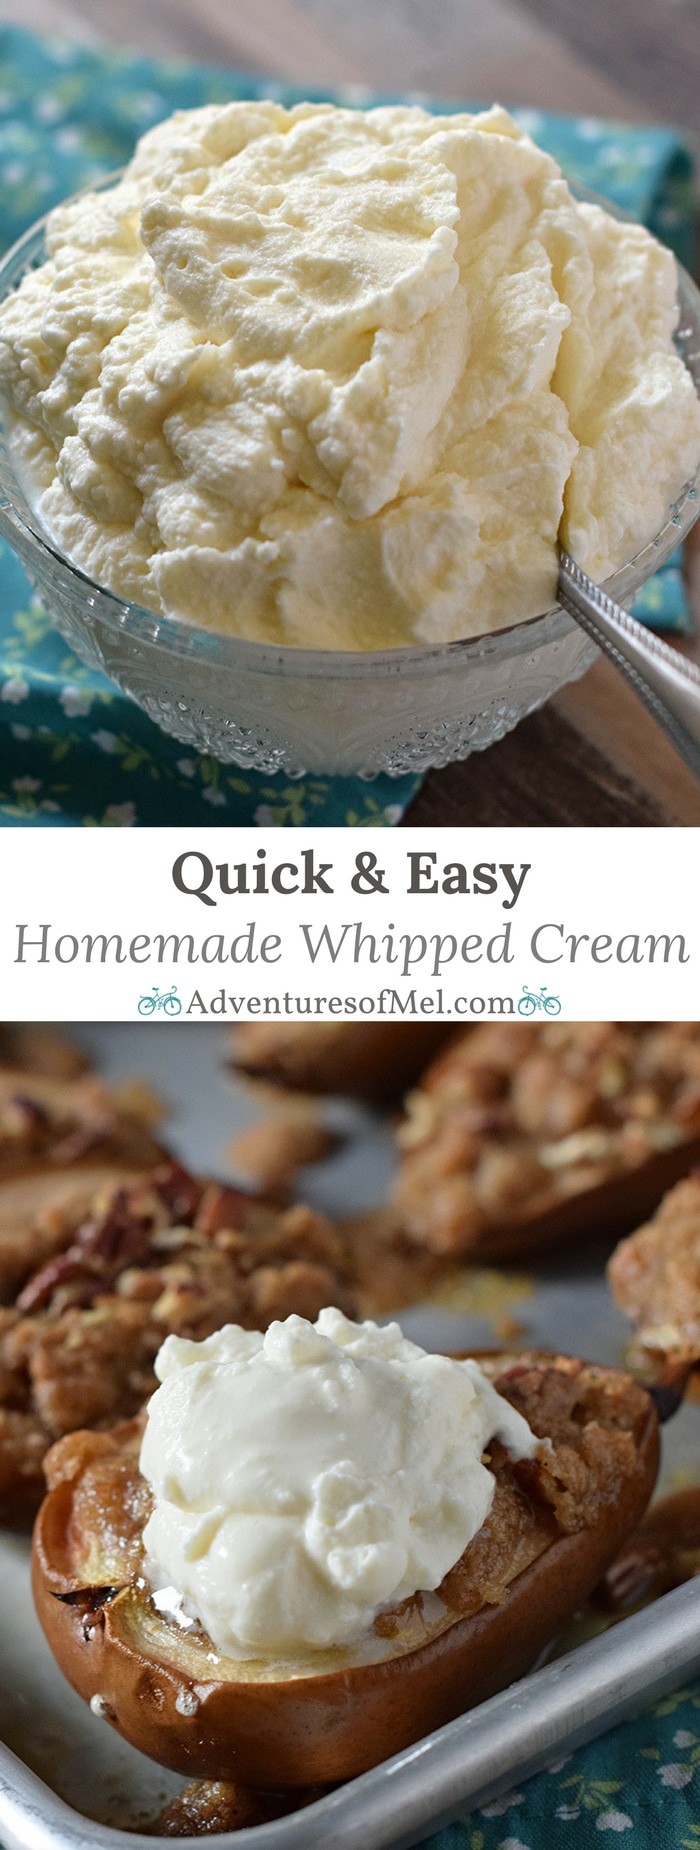
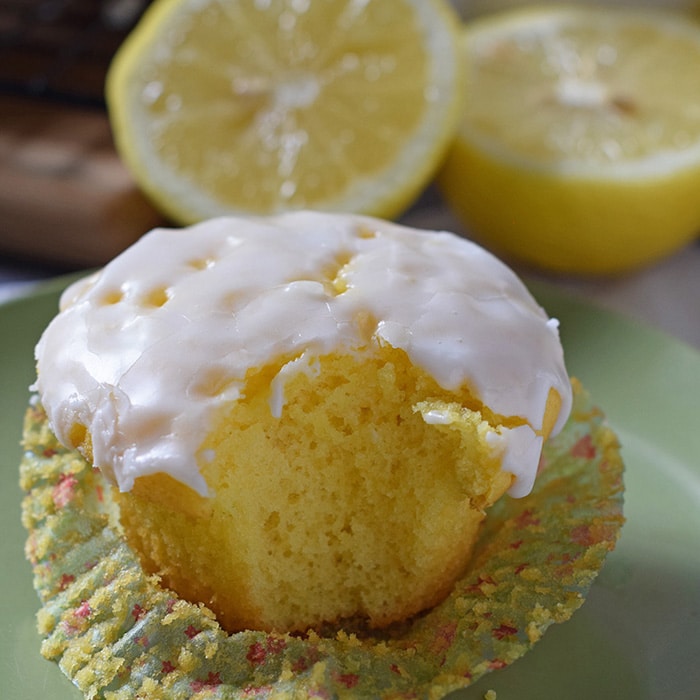
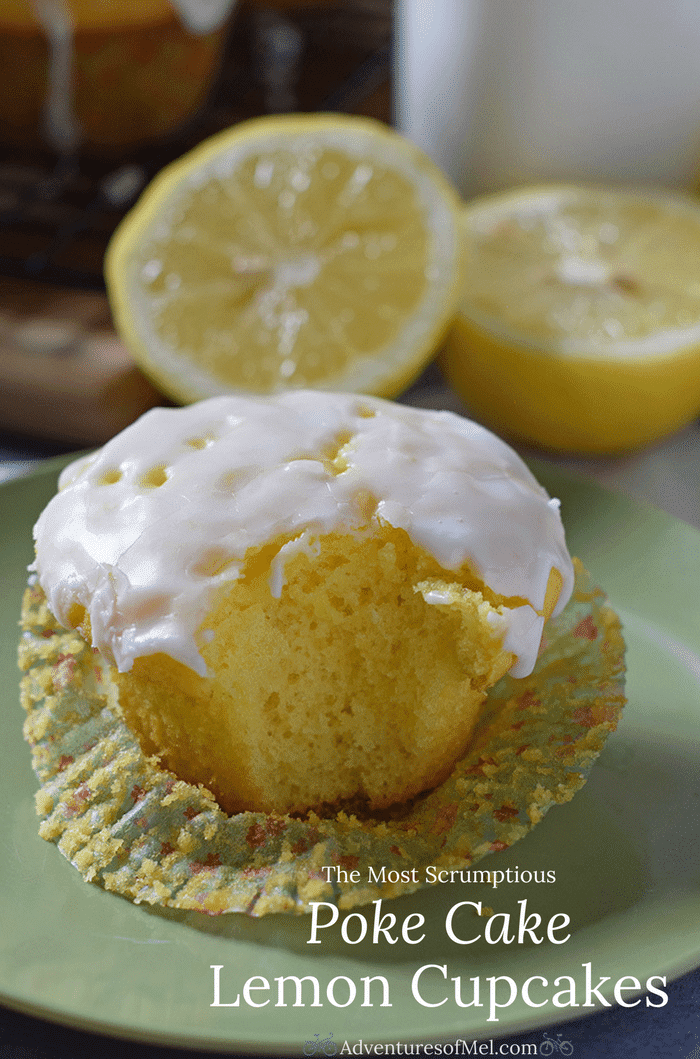
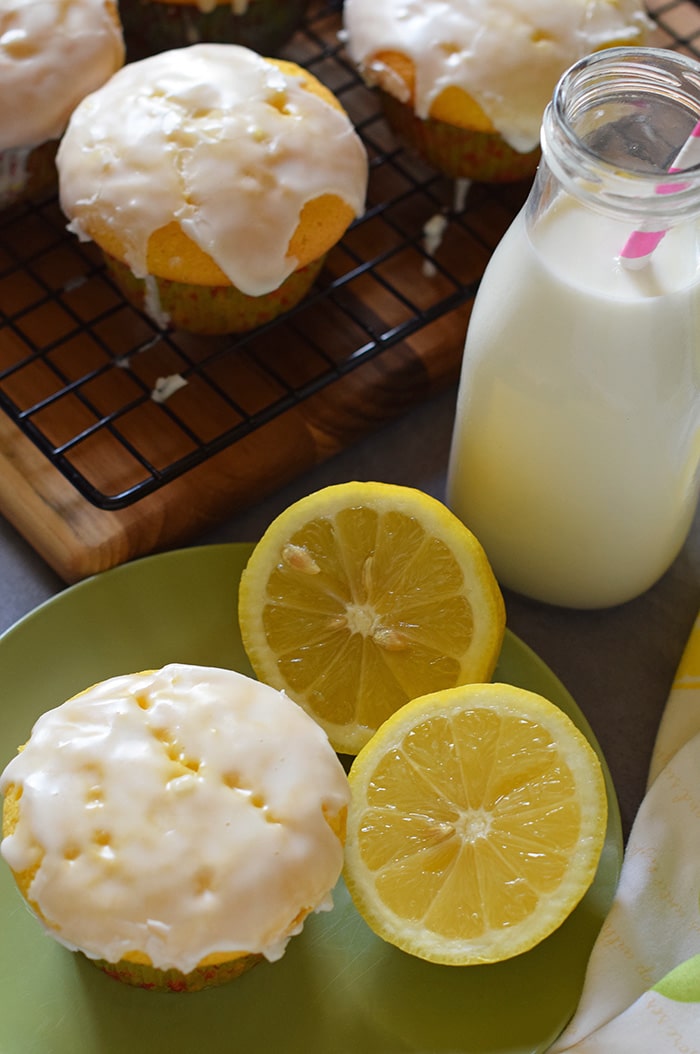
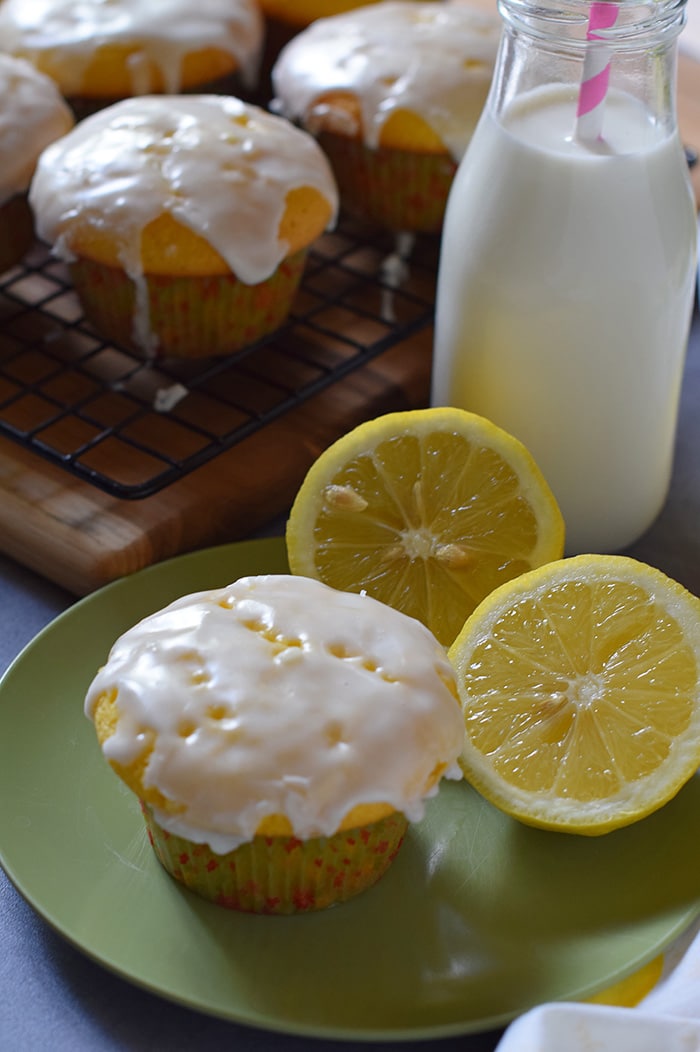
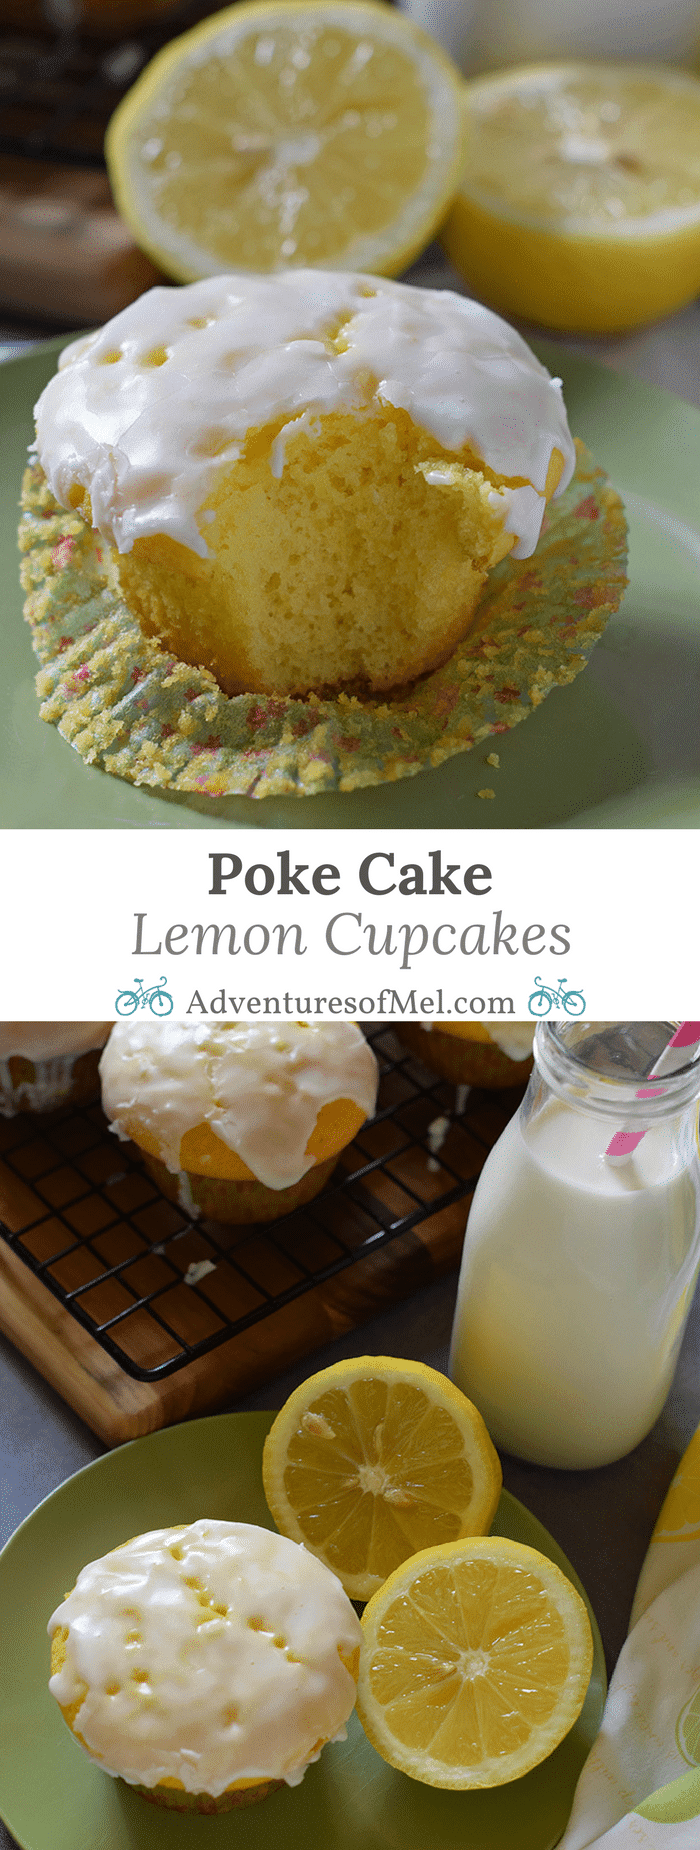
- And that’s it. It’s ready for spreading on cake, July 4th cupcakes, cinnamon rolls, or whatever other type of dessert you choose to put it on.
Alternative ways you can switch up the recipe:
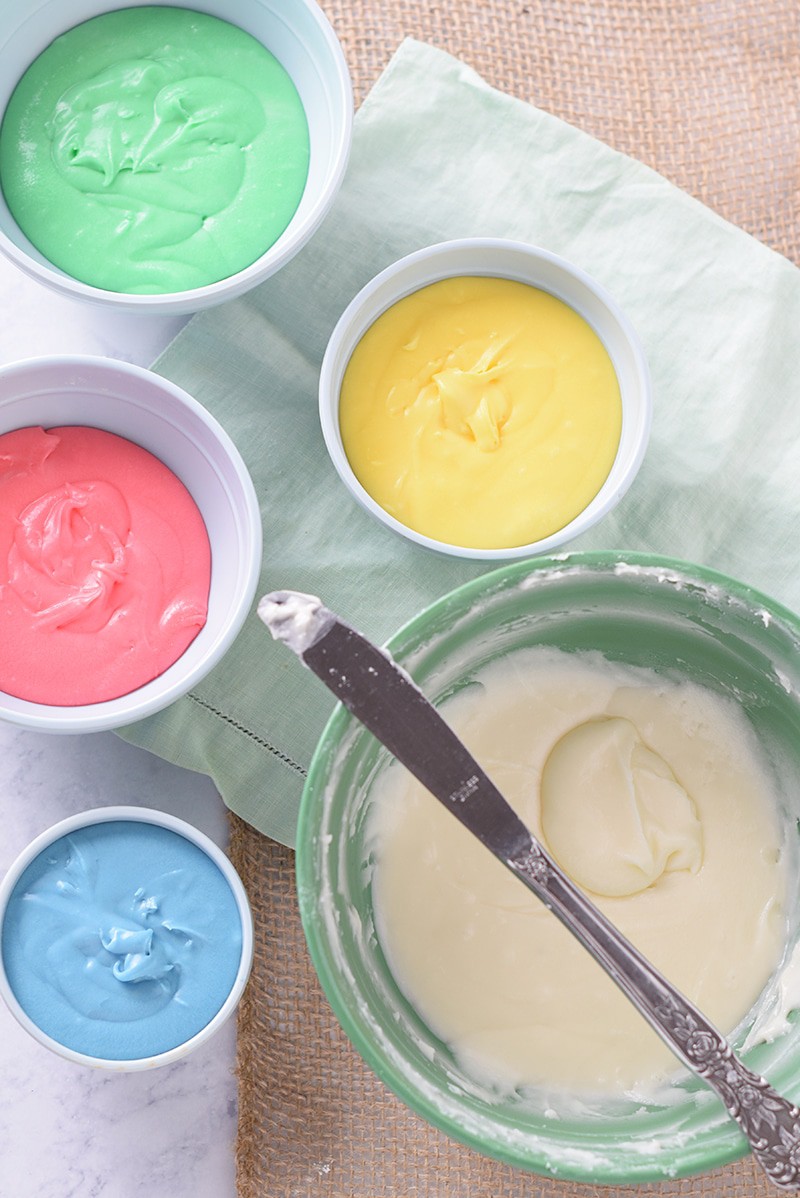
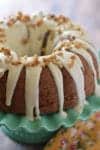
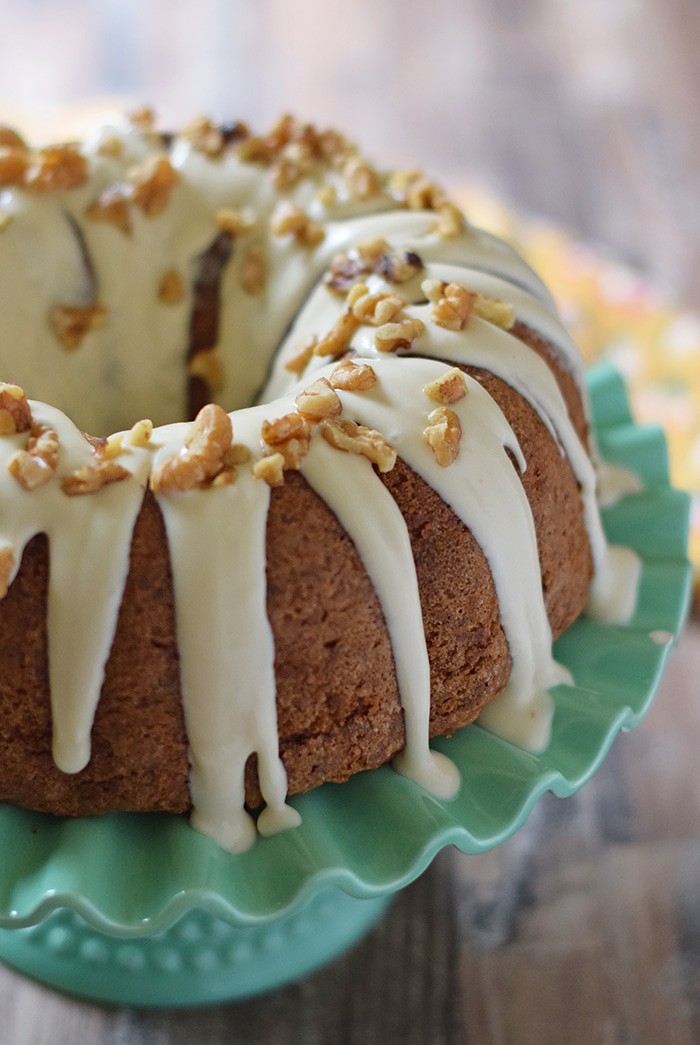
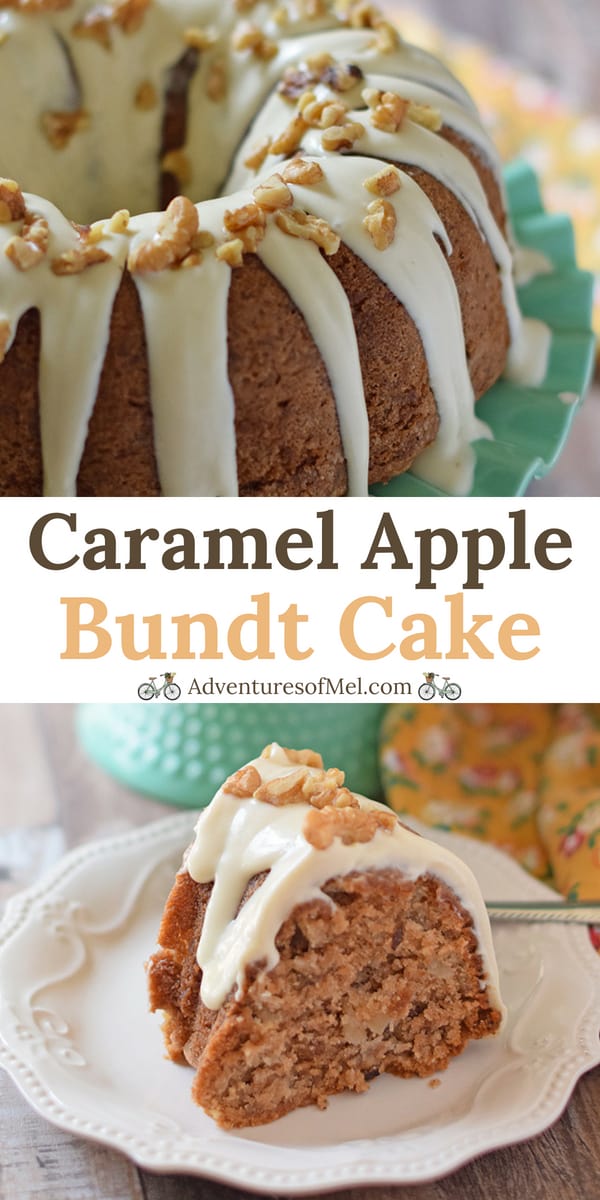
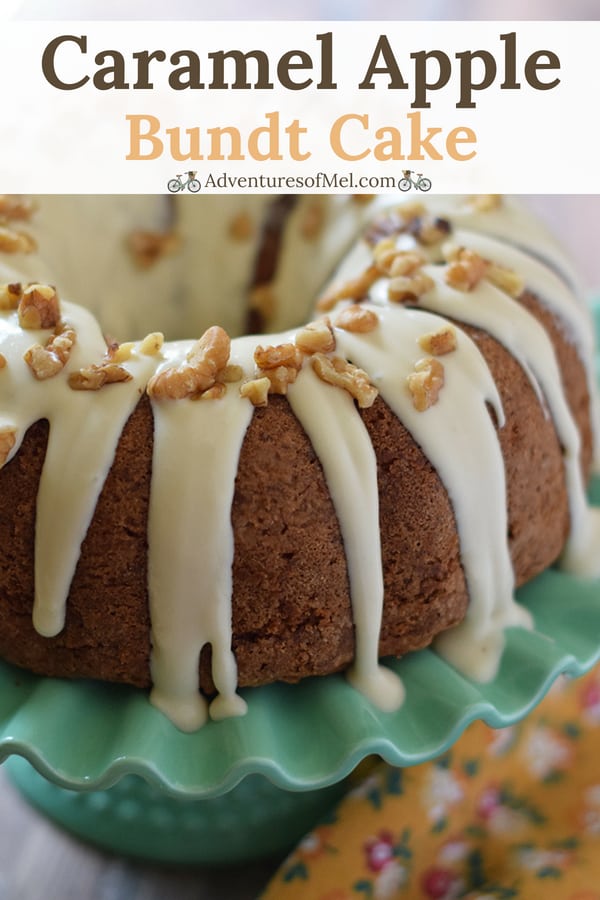
Depending on what you’re making, you could add some sort of flavored extract. One of my favorites is caramel extract for a caramel flavored cream cheese frosting. It’s so good!
You can add nuts into your frosting; I highly recommend pecans or walnuts. You can mix them in or sprinkle them on top of whatever you’re making. The frosting combined with the crunchy nuts gives a sweet crunchy flavor reminiscent of warm cinnamon baked pecans at Christmas time.
Try mixing fruit into your frosting for a fruity frosting. We’ve added sliced strawberries to our frosting in the past, which really gives frosting quite the oomph.
More frosting/icing recipes you may enjoy:
Kitchen tools you may need to make cream cheese frosting:
Mixer – I love to use my Bosch for mixing whenever I’m baking anything.
Spatula – Perfect for scraping the frosting out of the bowl, my spatulas are one kitchen tool I can’t cook without.
Angled Icing Spatula – This makes it easy to spread icing or frosting around on a big cake.
DELICIOUSLY EASY CREAM CHEESE FROSTING RECIPE
If you love this cream cheese frosting recipe as much as I do, please write a 5 star review, and help me share the recipe on Facebook and Pinterest!
CONNECT WITH ADVENTURES OF MEL!
Be sure to follow me on social, so you never miss a post!
Facebook | Pinterest | YouTube | Instagram | Twitter
Sign up to receive my newsletter, filled with delicious recipes and outdoor travel adventures, in your inbox:
Deliciously Easy Cream Cheese Frosting
Cream Cheese Frosting is easy to make, and this recipe uses only 4 simple ingredients. How to make the best homemade cream cheese frosting perfect for cake, cupcakes, cinnamon rolls, and more.
- 16 ounces cream cheese
- 4 tablespoons salted butter
- 1/2 teaspoon vanilla extract
- 4 cups powdered sugar
- Mix together your softened cream cheese and salted butter.
- Add in the vanilla extract, mixing even more.
- Finally mix in the powdered sugar, being sure to scrape the sides of the bowl so you get all of that powdered sugar goodness in your frosting.
- And that’s it. It’s ready for spreading on cake, cupcakes, cinnamon rolls, or whatever other type of dessert you choose to put it on.