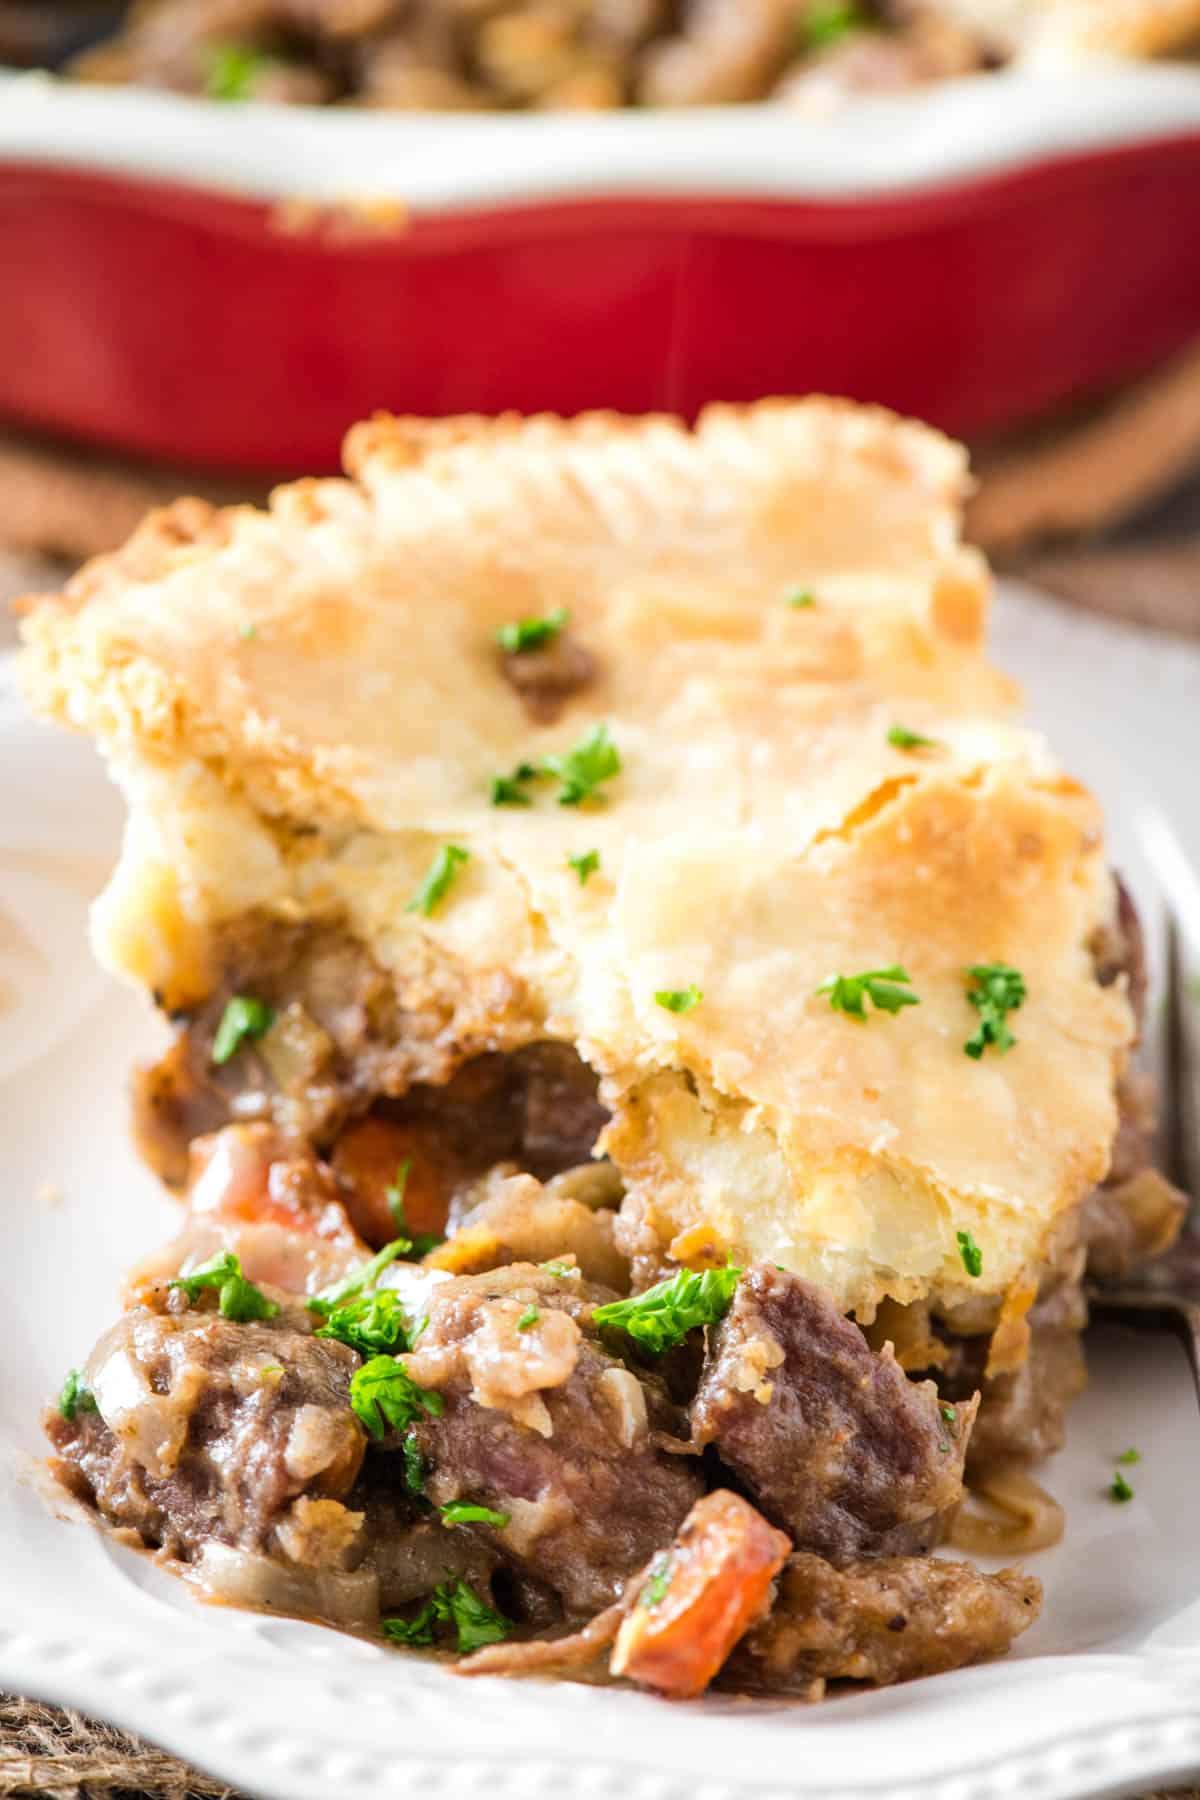
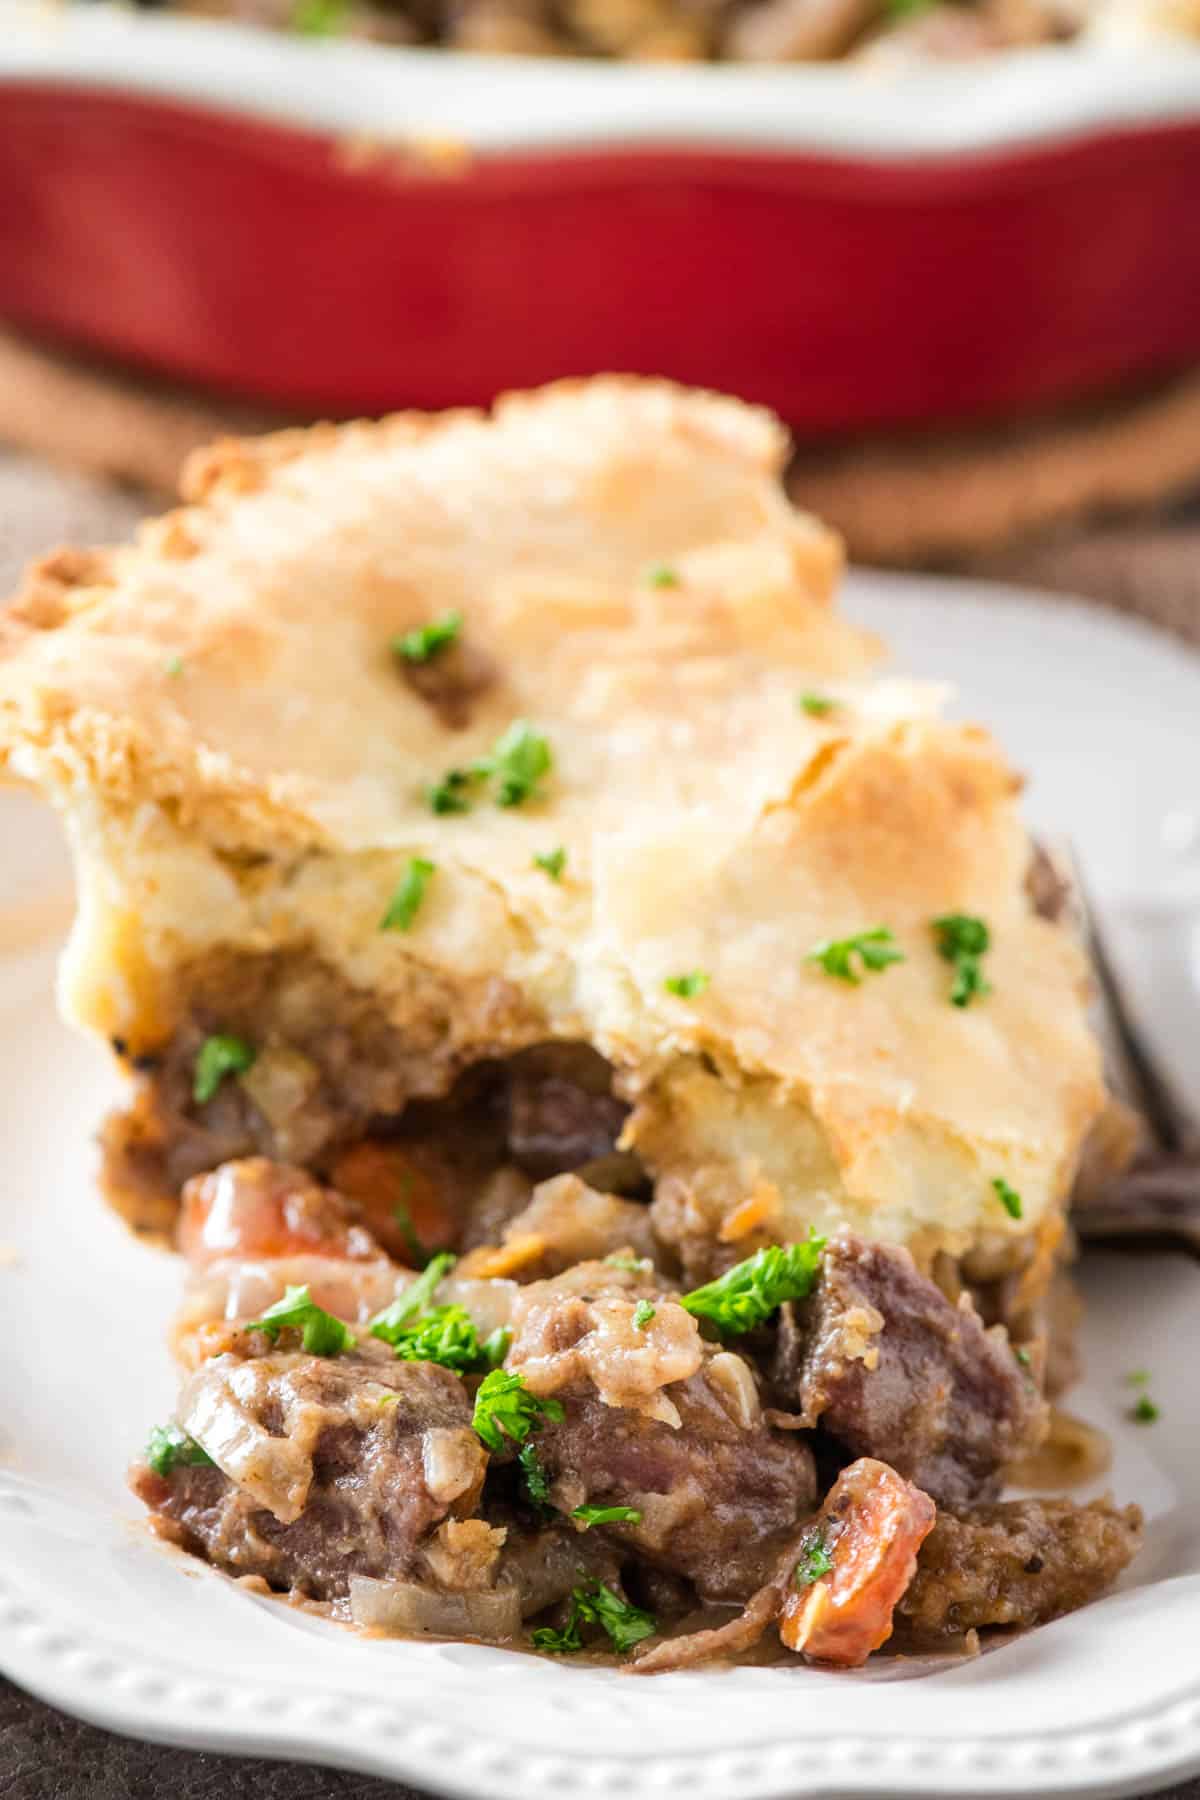
How to make a rich and hearty beef pot pie recipe with a creamy slow cooker filling that’s baked to perfection in the best buttery, flaky puff pastry pie crust. This easy old fashioned meat pie makes the ultimate holiday or New Year’s dinner, and it doesn’t take very long to make!
I’ve made chicken pot pie for years, but for some reason it never occurred to me to try making a beef pot pie. In fact, it wasn’t until my son had the idea that we decided to make this recipe, and boy am I glad that we did!
It really shouldn’t be surprising that this recipe is so delicious. It tastes just like those classic Marie Callender’s beef pot pies that we used to buy in the frozen section at the grocery store. But I’ll be honest, this homemade beef pot pie knocks any store bought pot pie out of the park!
What’s the Difference Between a Meat Pie and a Pot Pie?
In short, meat pies and pot pies are basically the same thing. Meat pie actually originated in Europe, and pot pie is basically what we call it over here in America.
And it’s so easy to make! This hearty and healthy beef pot pie recipe is perfect for potlucks, Christmas, New Year’s or even just a simple weeknight dinner.

Ingredients & Substitutions Notes
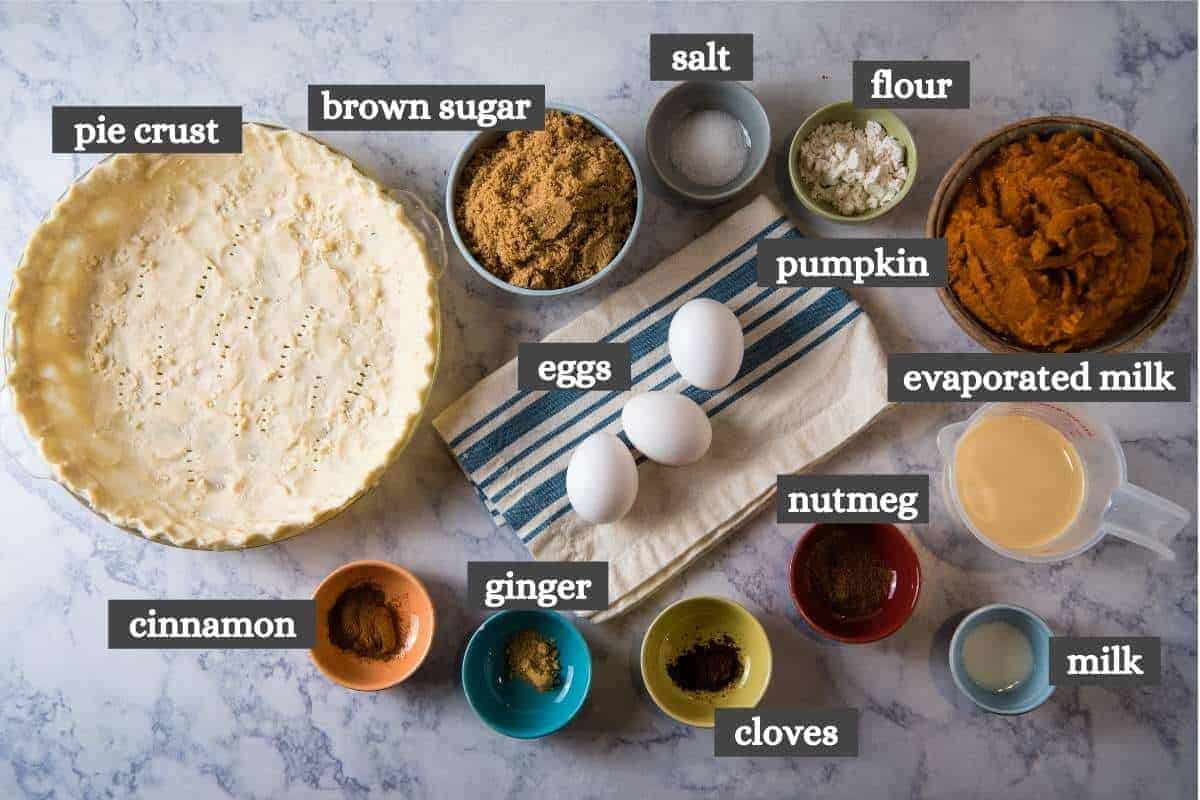
This recipe uses simple ingredients. You may already have everything you need on hand…
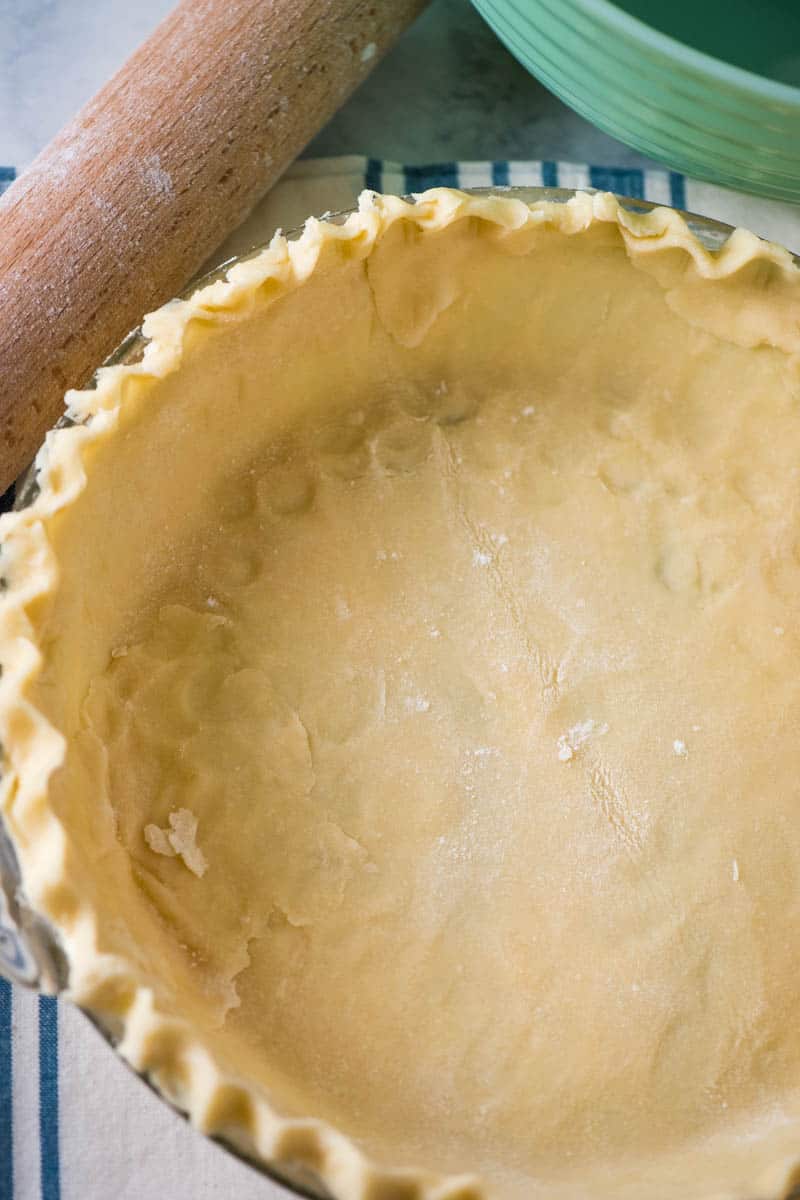
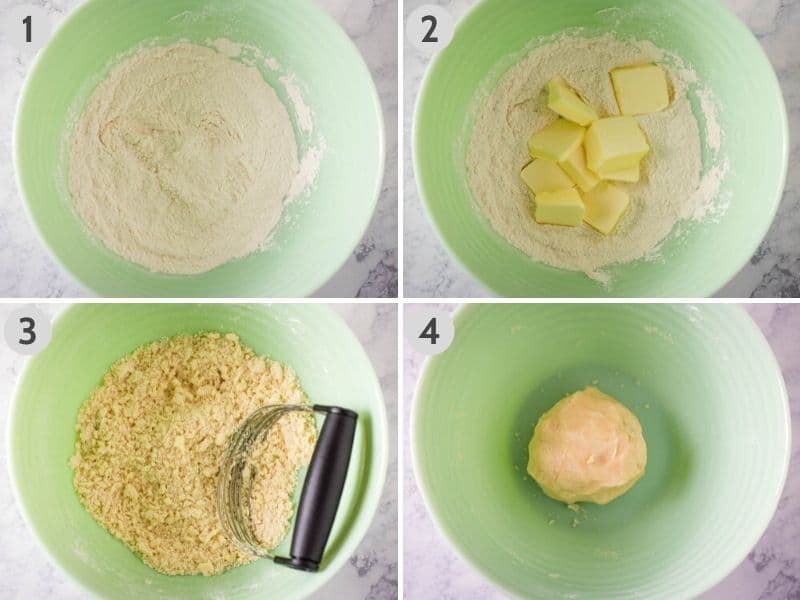
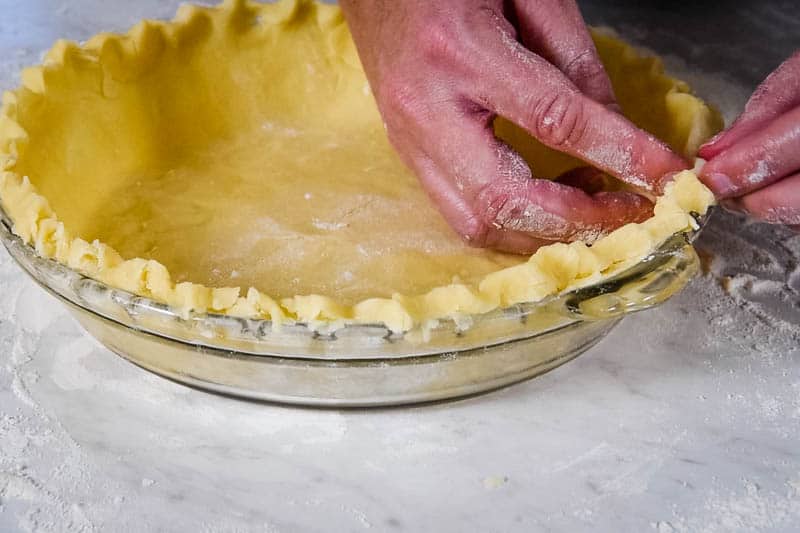
- Pie Crust – You will need an unbaked pie shell for this recipe. I usually make a homemade pie crust, but there’s no shame in using a premade pie crust instead. You can also use puff pastry. Keep in mind that this recipe uses a double crust, so you’ll need both a bottom crust and a top crust.
- Beef Stew Meat – It may not be the most tender cut, but I use beef stew meat simply because it’s the most affordable. Plus we’re going to slow cook the filling ahead of time in the CrockPot, so it’ll have plenty of time to tenderize. All that said, just about any beef cut will work just fine for this recipe.
- Fresh Veggies – I typically drop a yellow onion, a couple stalks of celery, a few carrots, some potatoes, and minced garlic into my slower cooker beef pot pie filling. You can also add peas, frozen corn or even mushrooms if you’re looking to change things up a bit. Be creative!
- All-Purpose Flour – All-purpose flour is essential as a thickening agent to create that creamy gravy in the slow cooker filling.
- Spices – In addition to salt and pepper, I like to add a pinch of cumin, cinnamon and nutmeg to my beef pie. A little bit goes a long way!
How to Make Beef Pot Pie From Scratch
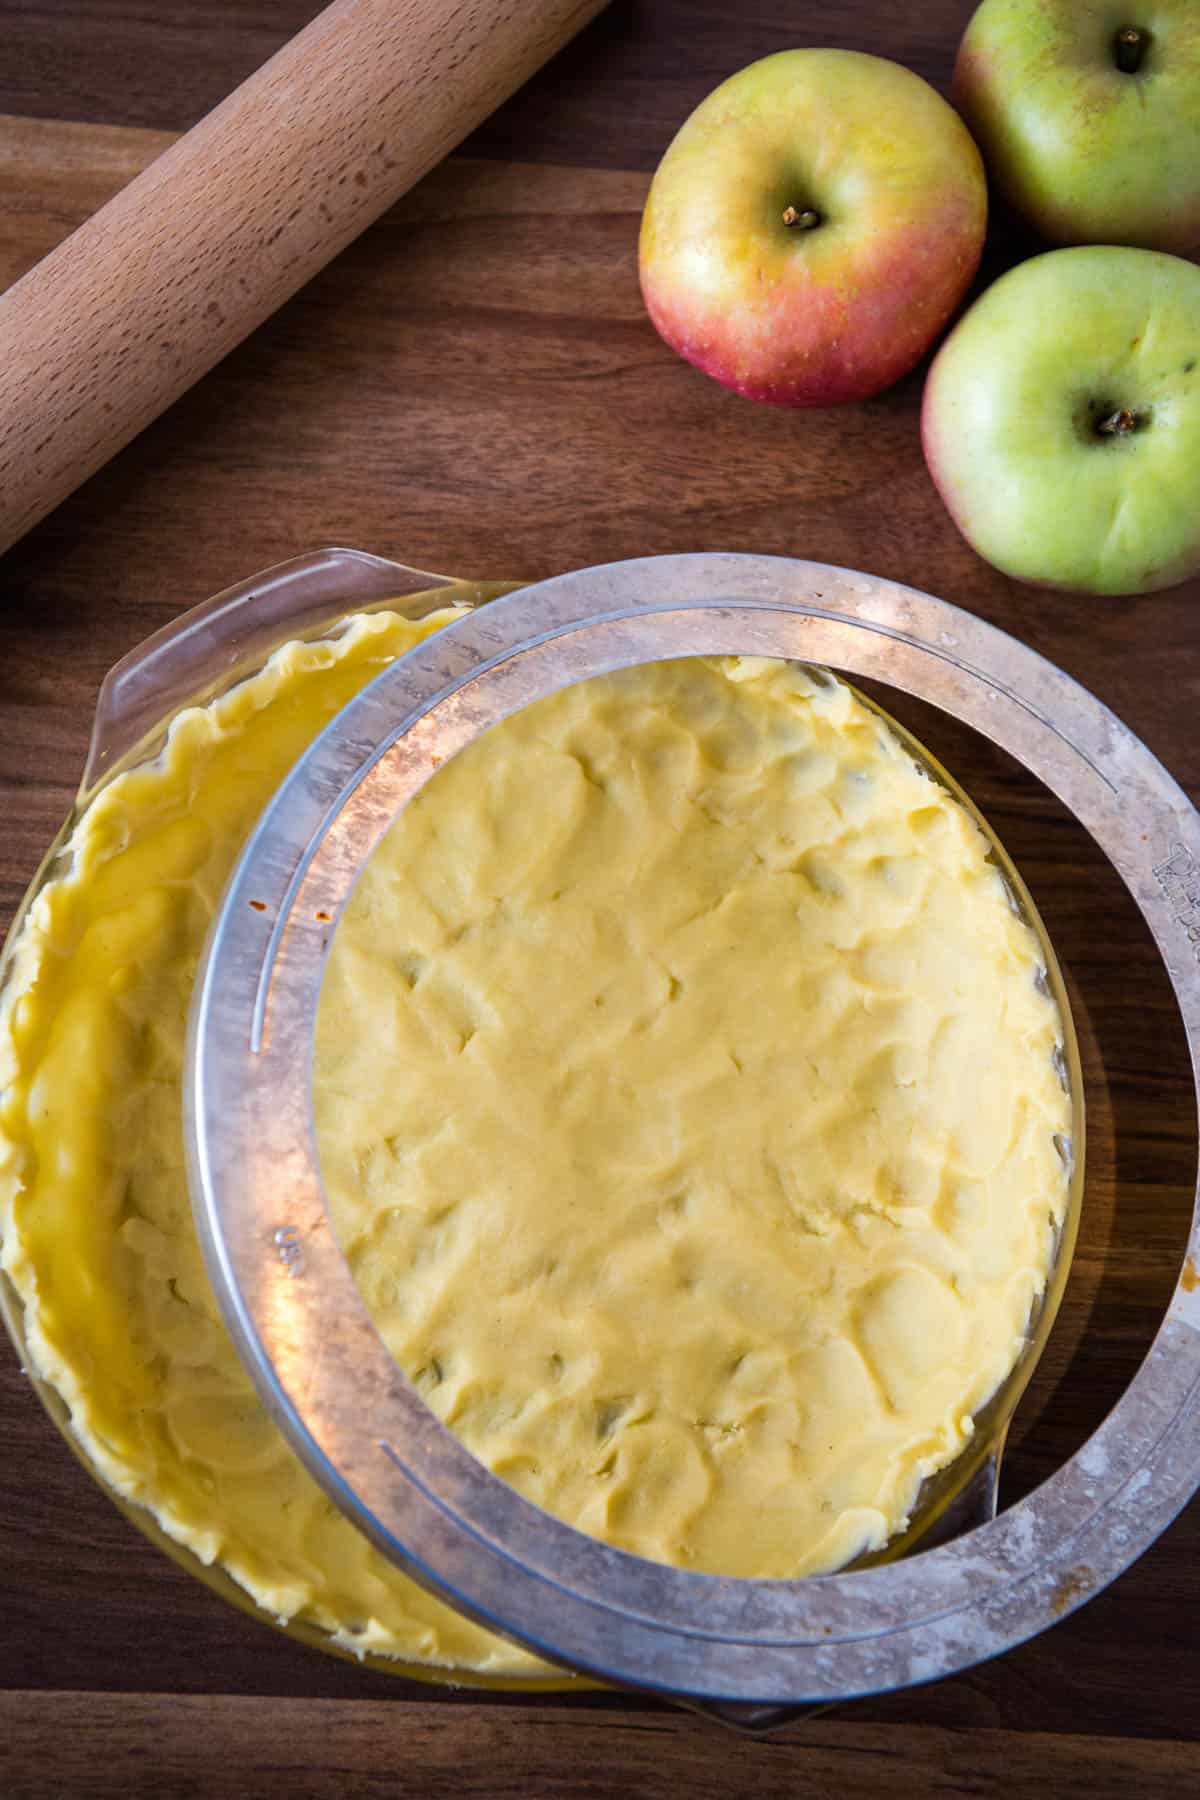
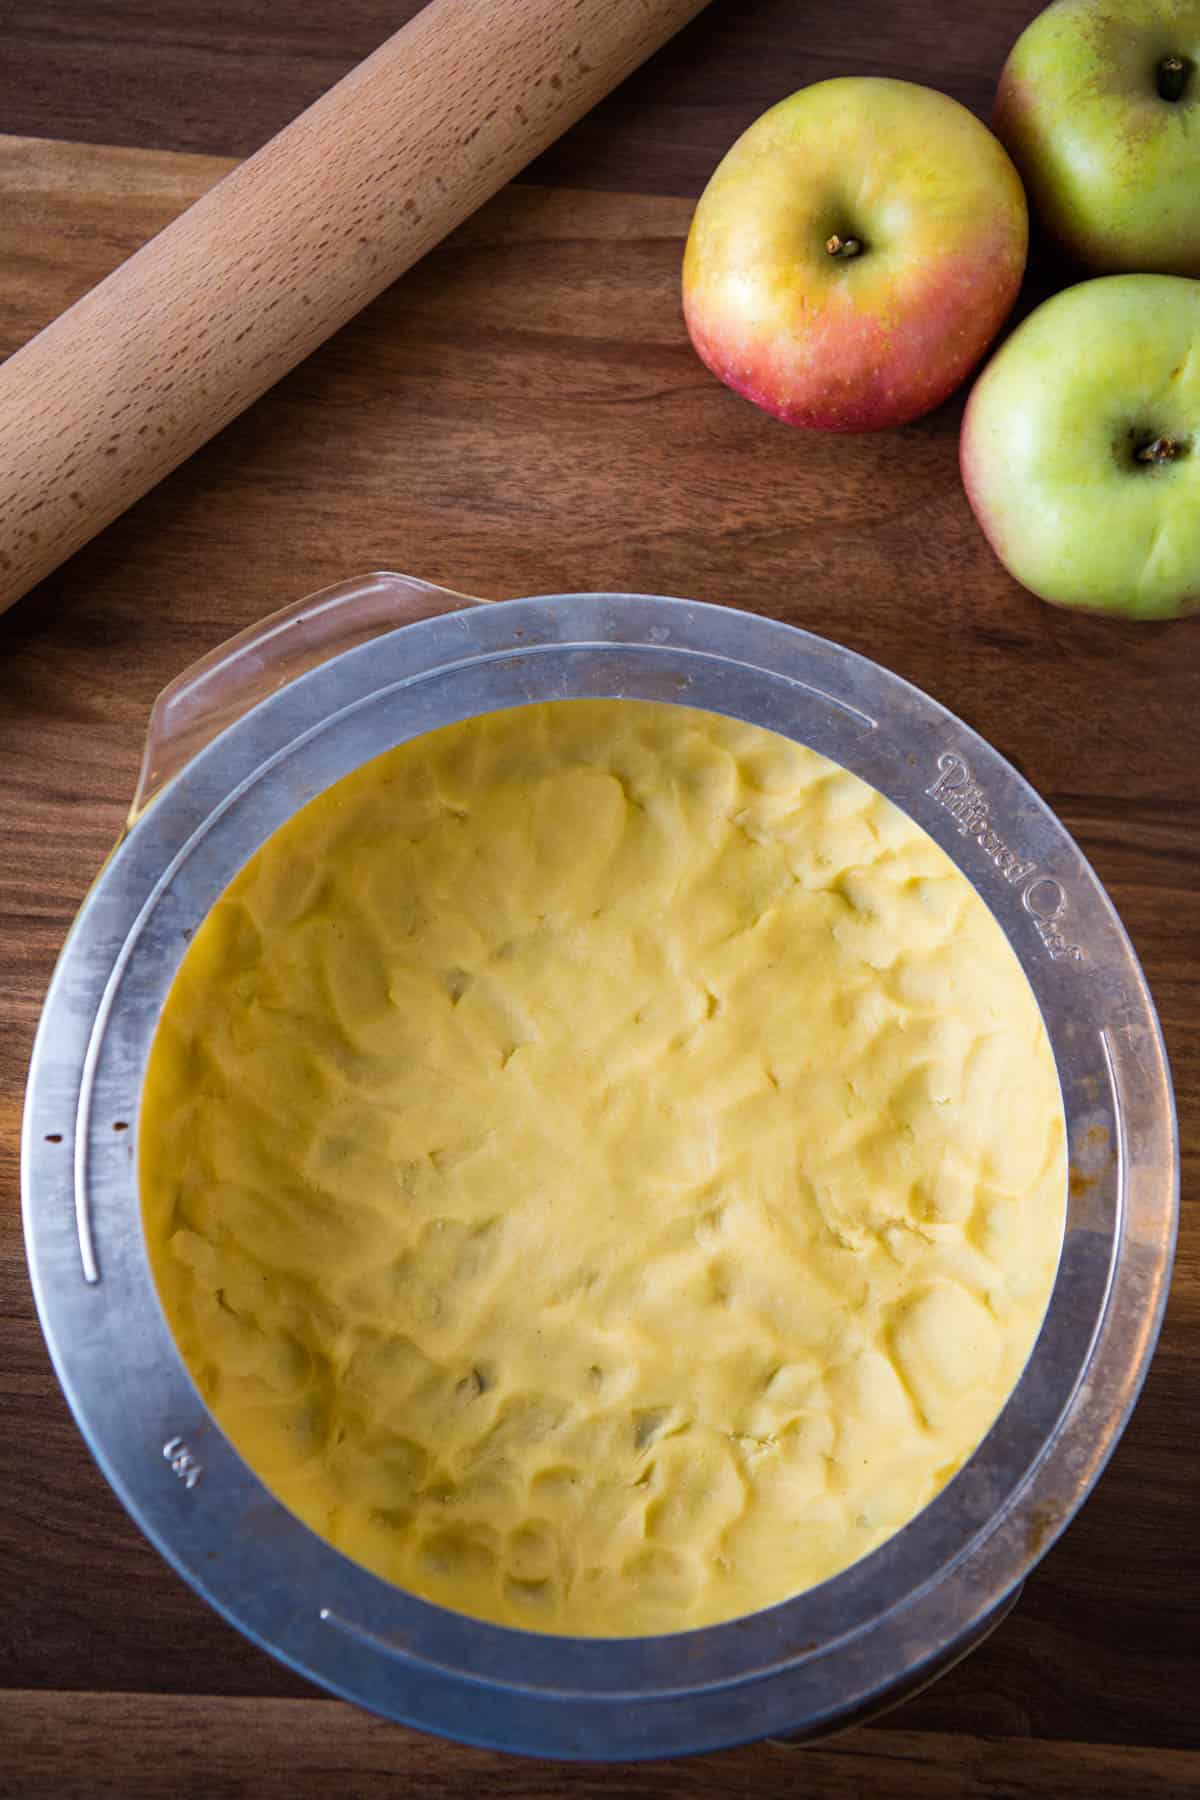
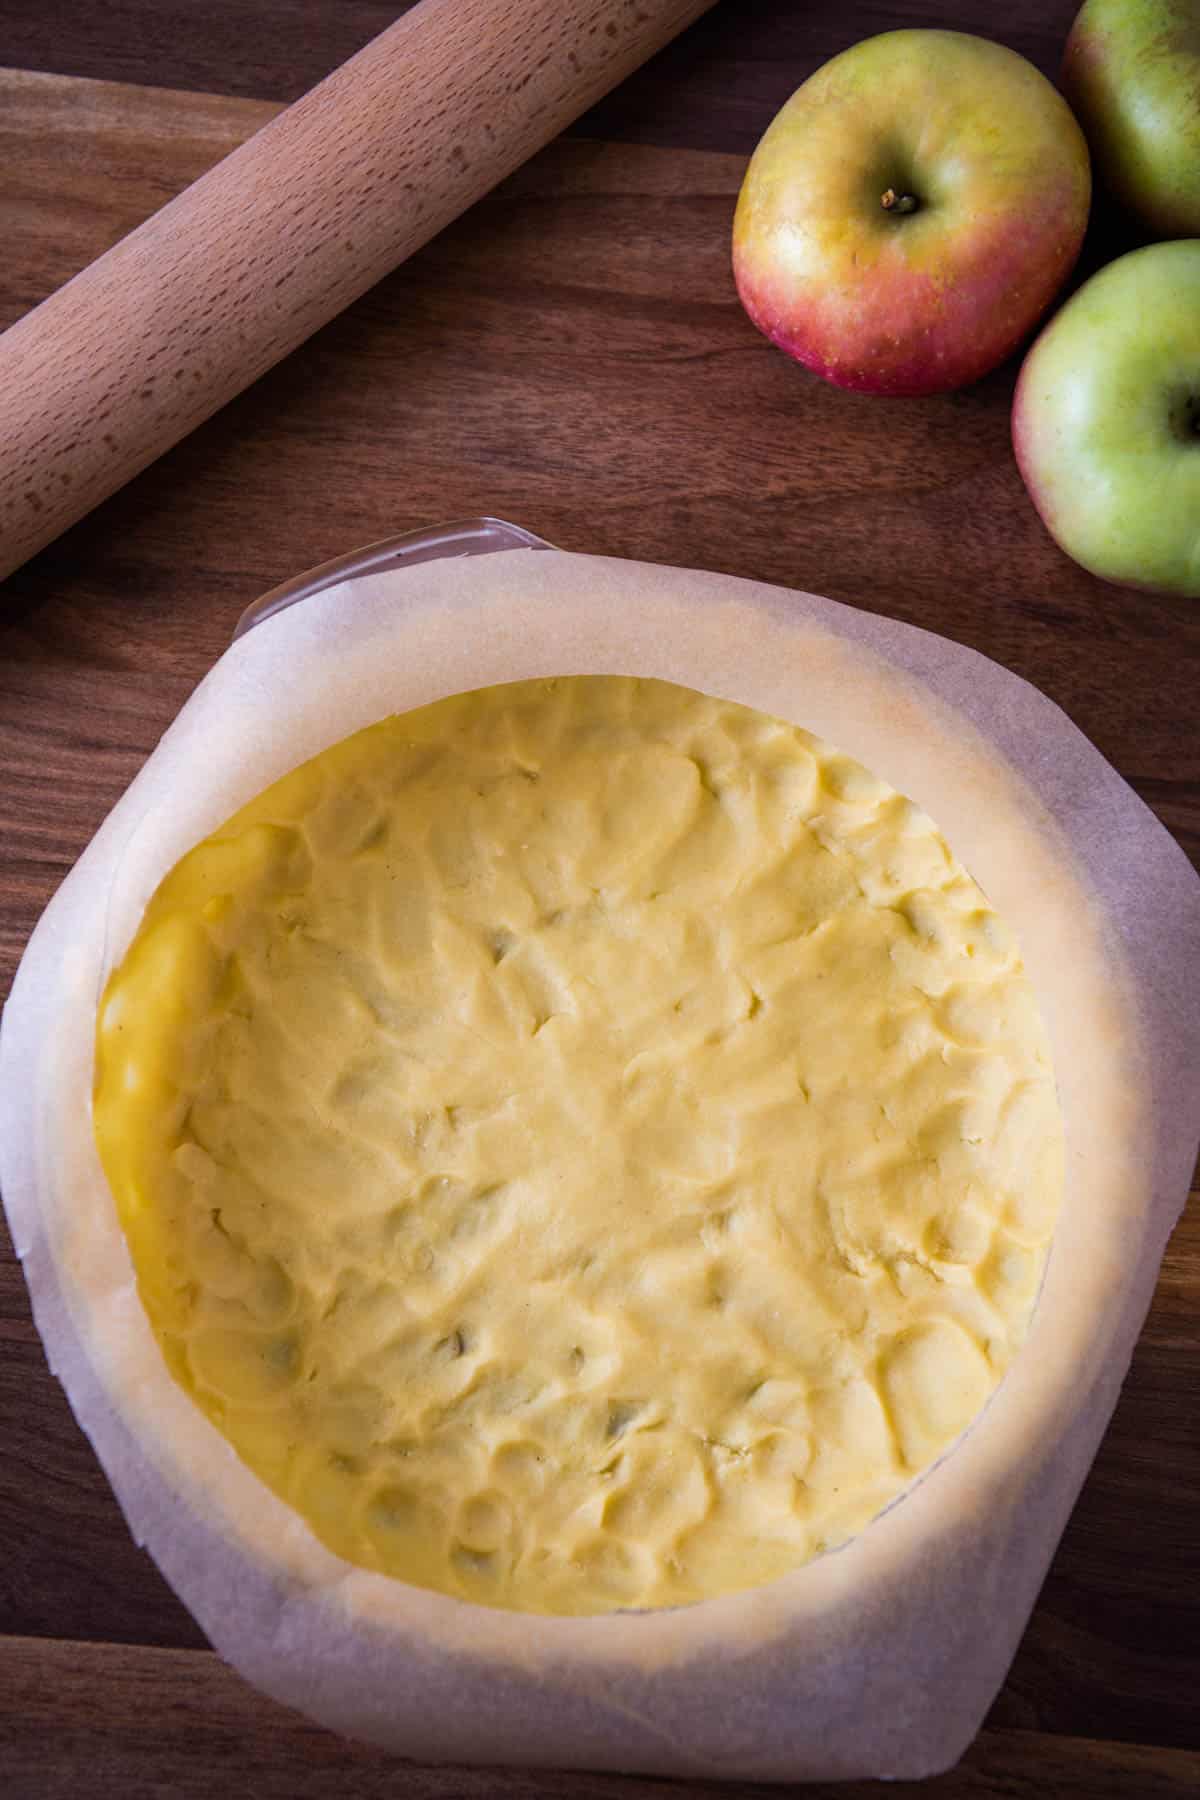
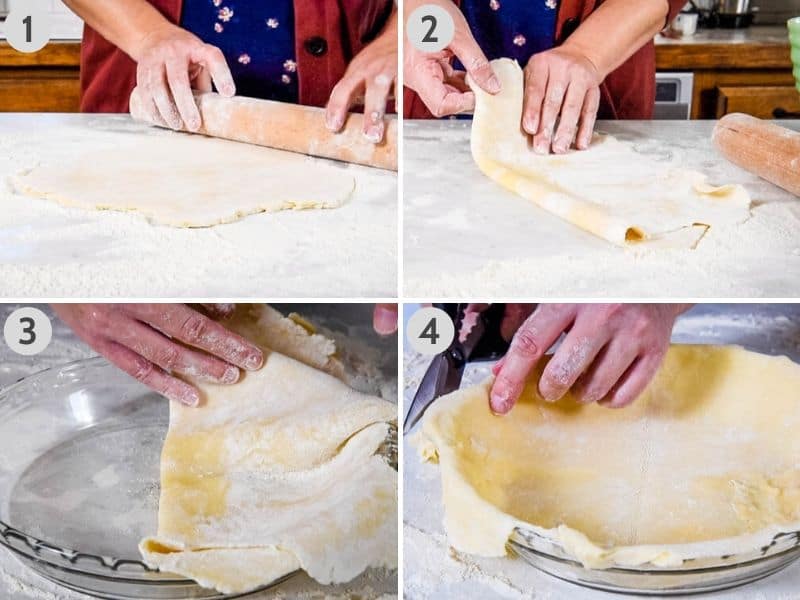
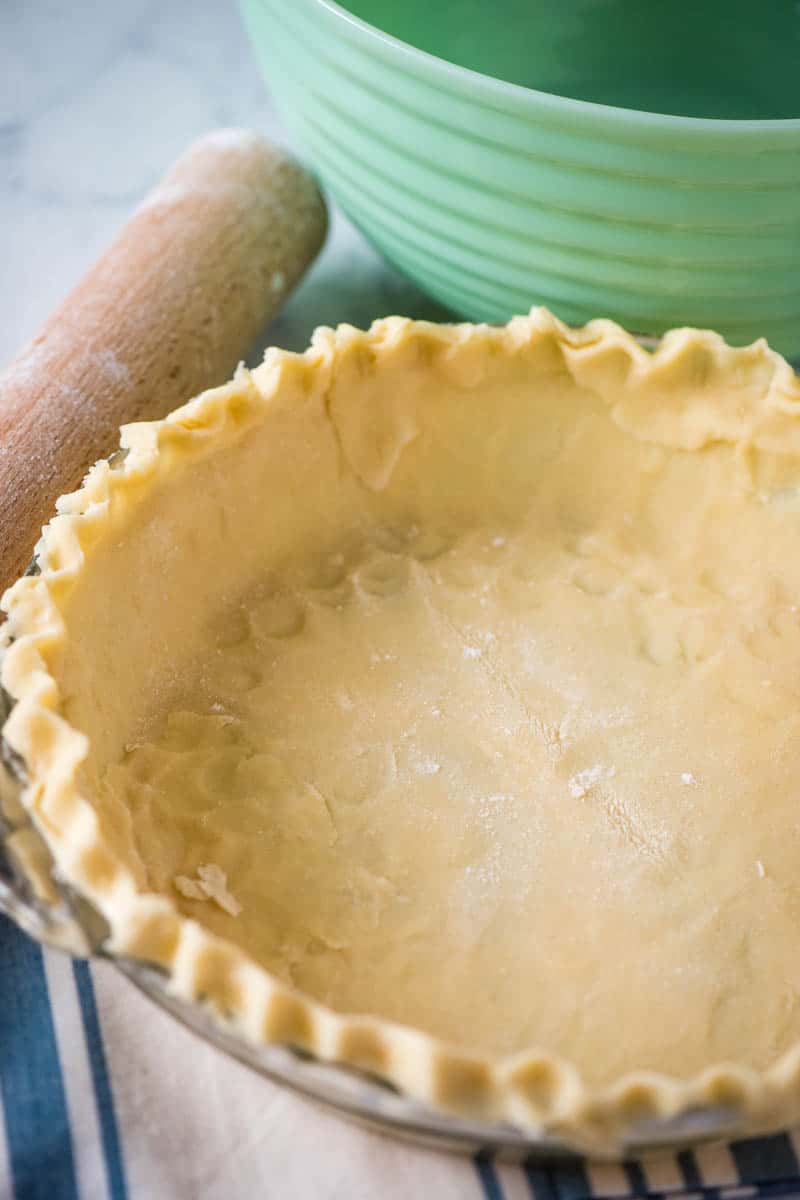
Before getting started, go ahead and get your slow cooker out and ready to go. You’ll also want to line a 9-inch pie plate with a homemade pie crust– or you can use a premade pie crust. This recipe uses a double crust, so be sure to have a top crust rolled out and ready to go…
How to Make the Beef Pie Filling
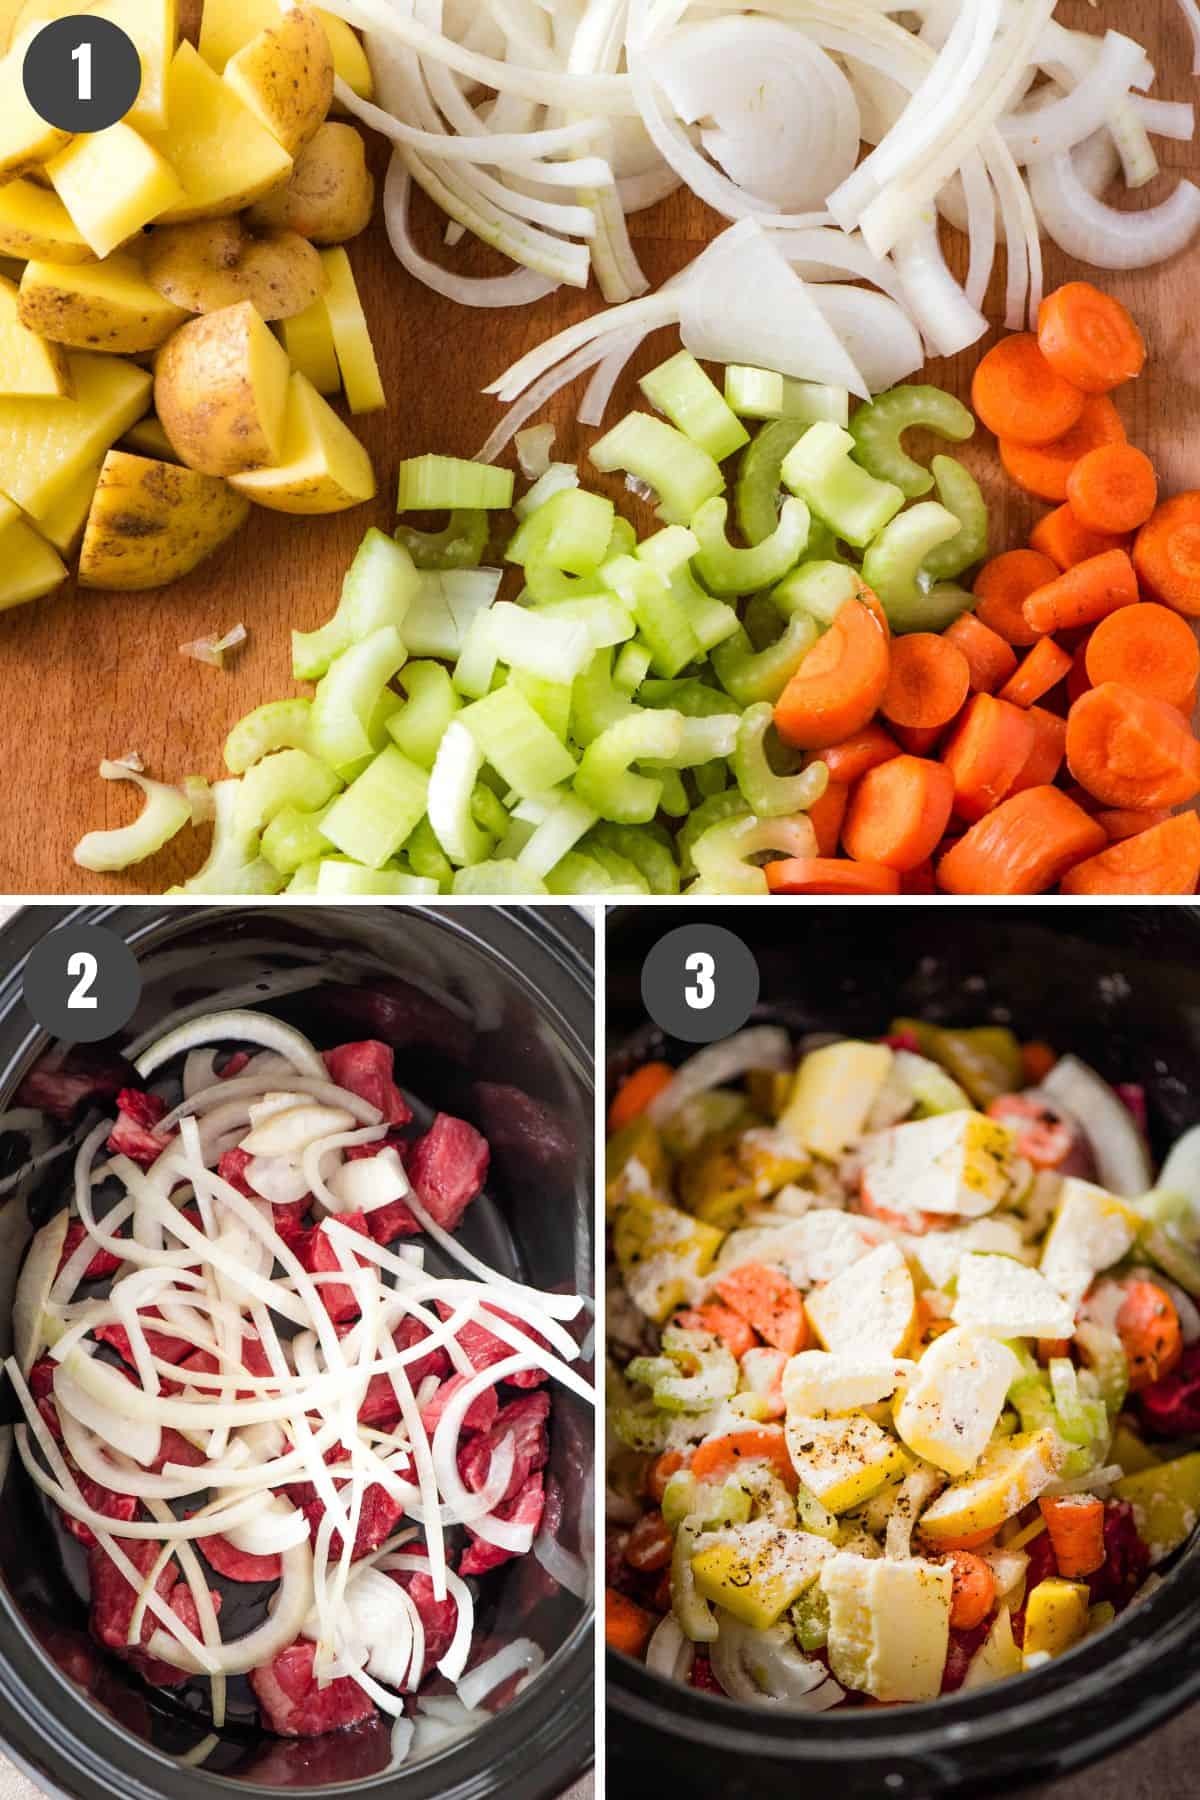
- Start by thinly slicing the onions with a large knife, and then chop up the rest of the veggies, including the celery, carrots and the potatoes. Then mince up the garlic.
- Once the vegetables are prepared, layer everything in the slow cooker. You’ll want to make 3 total layers, adding 1/3 each of the stew meat, veggies, butter, water, flour, cream, salt & pepper to each individual layer.
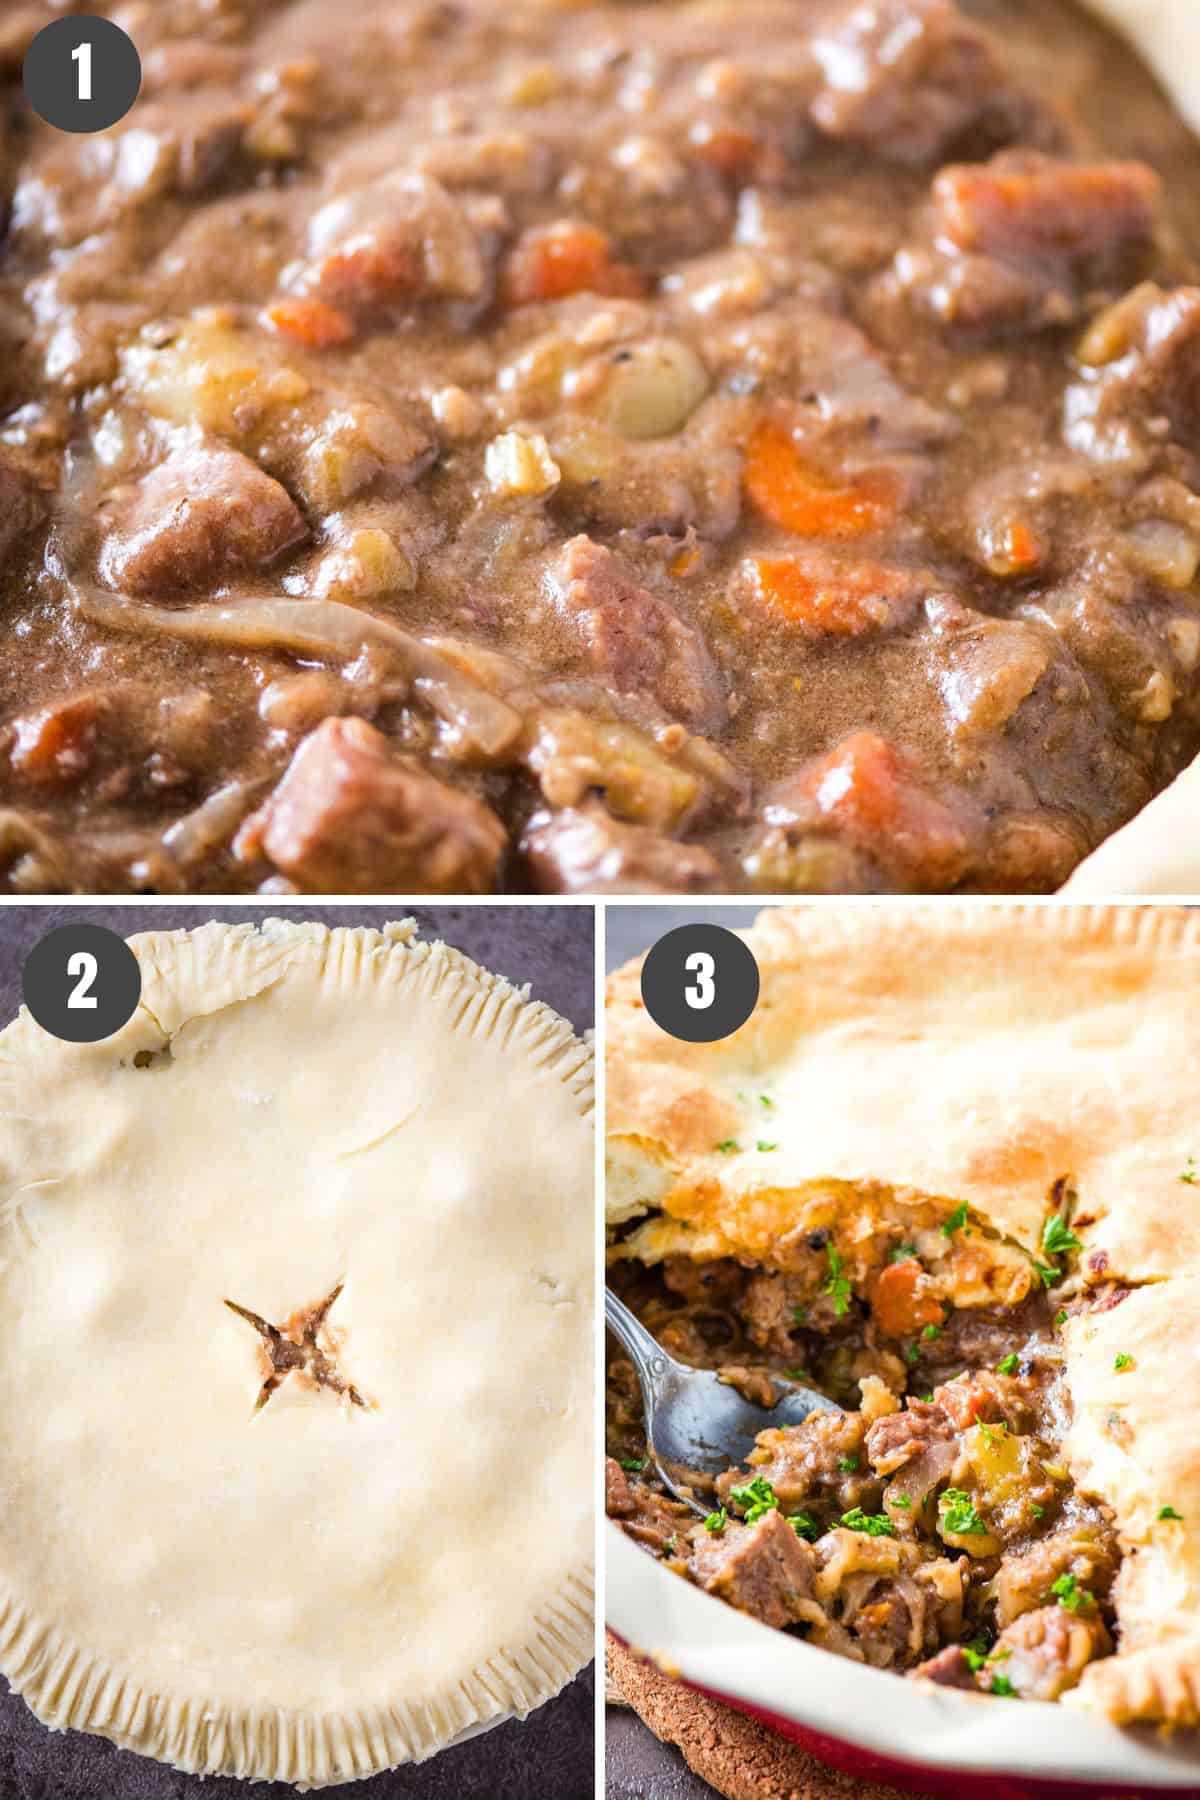
- Cook on high for 4 hours, and then turn it down on low for an additional 1-2 hours, or ’til the onions are dissolved and a thick gravy forms.
Be sure to check on it and give everything a stir with a wooden spoon periodically as it cooks. You can add extra water if needed. Once your filling is fully cooked, stir in the cumin, cinnamon, nutmeg and any other spices ’til well combined.
How to Bake Beef Pot Pie in the Oven
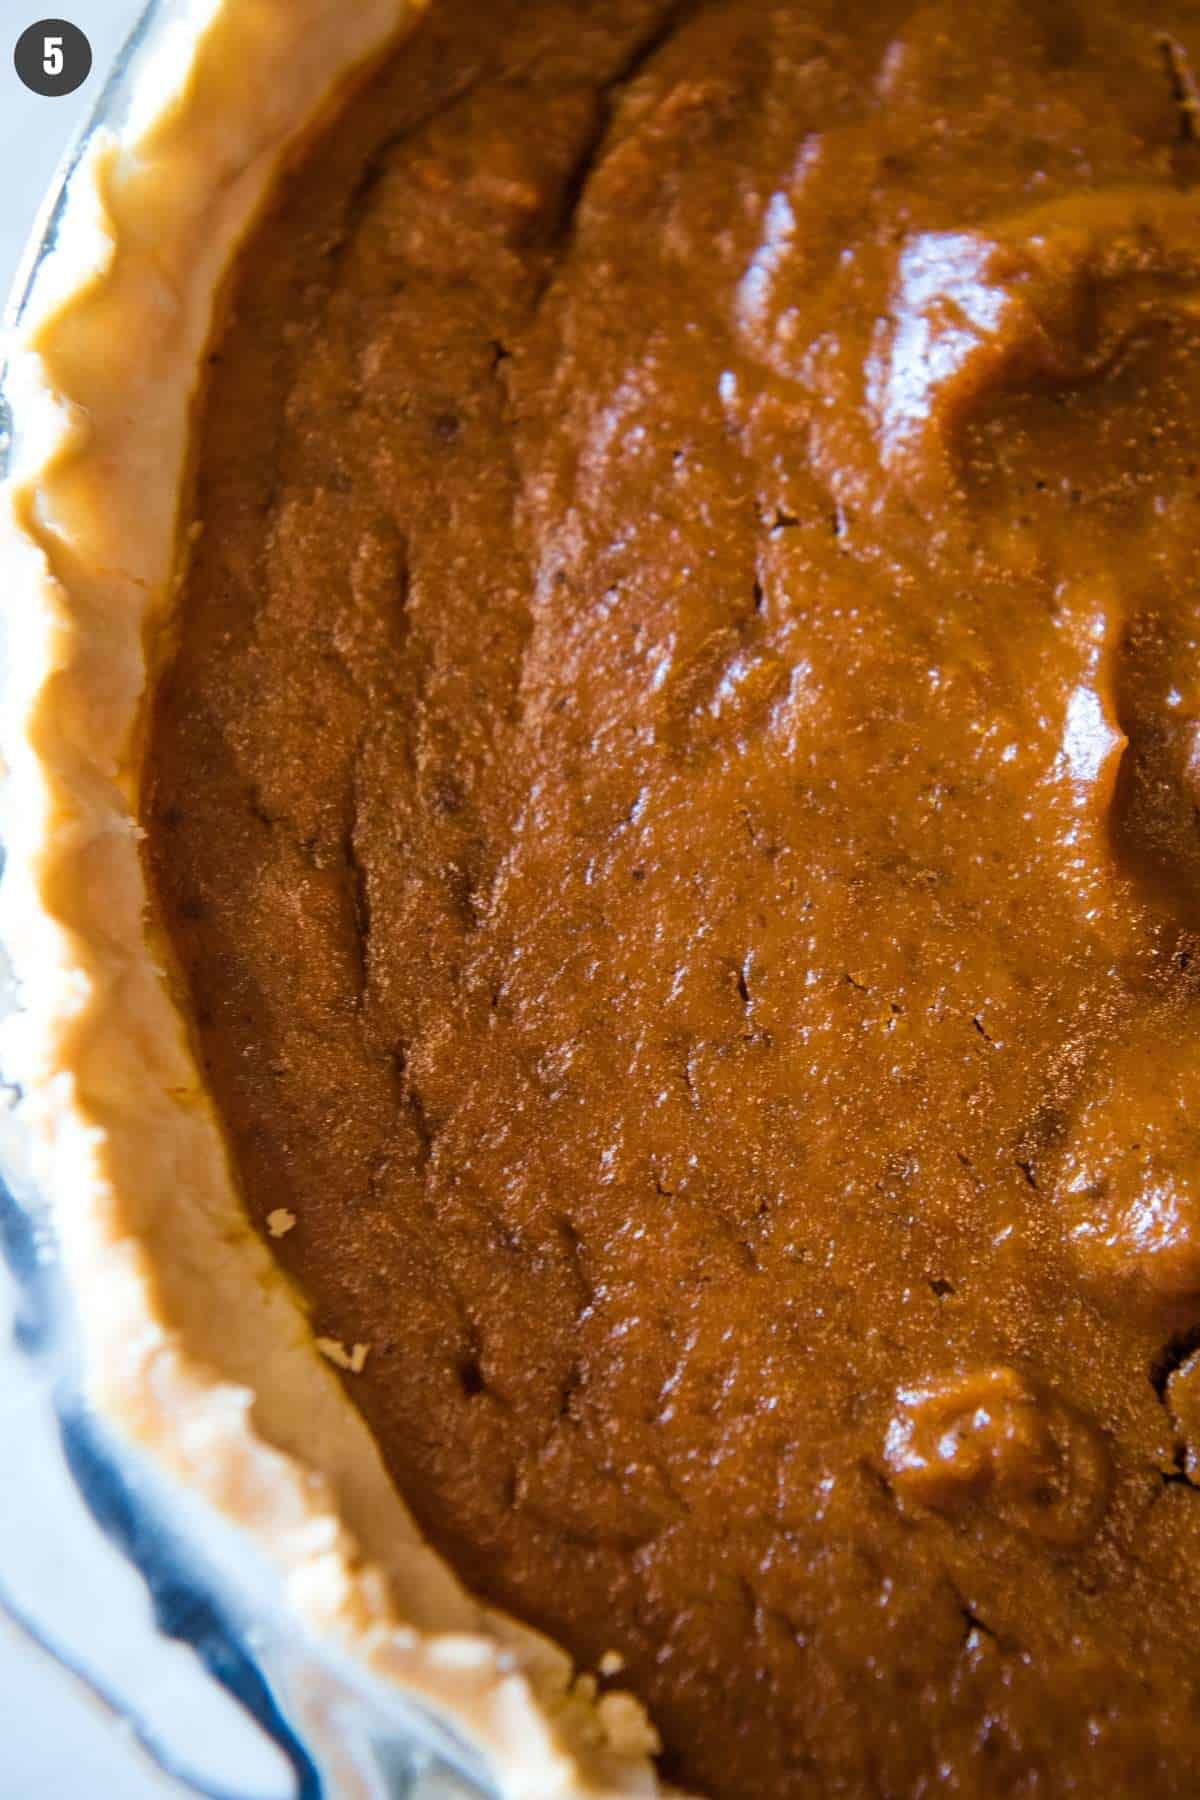
- Pour the precooked filling into your unbaked pastry shell.
- Add your top crust to the pie, and use a knife to cut 2 1” slits, criss-crossed in the middle. This should create an X-shaped hole in the middle of the top crust, through which excess steam can escape. Don’t skip this step, or else the crust will get super soggy!
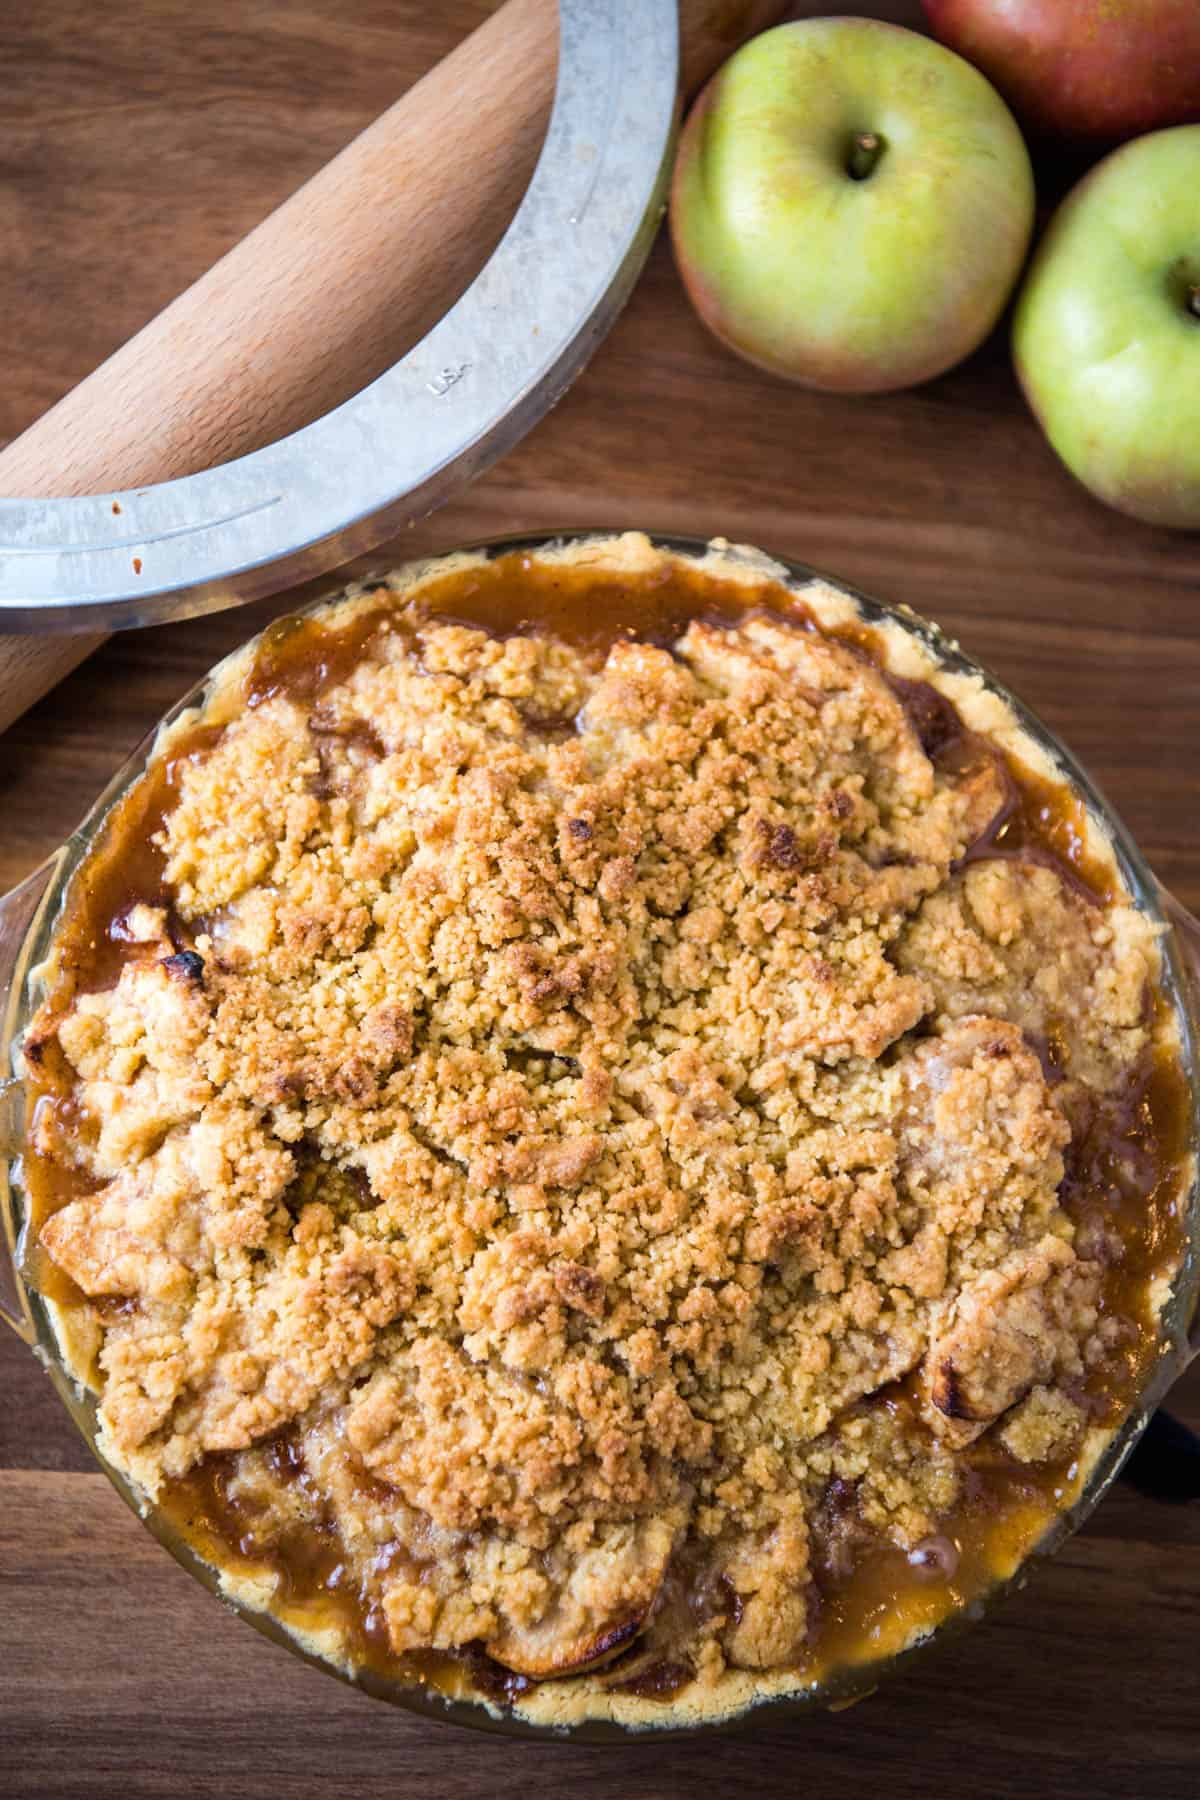
- Bake at 425ºF for 20-25 minutes, or ”til the crust is golden-brown. That’s it!
What to Serve with Beef Pot Pie
Now your steak pie is ready to serve. You can pair it with so many different side dishes; some of our favorites include corn on the cob, southern green beans, honey glazed carrots, and this cheesy corn casserole.

You can also whip up a quick broccoli salad, this dill veggie finger salad, a creamy layered salad or even this 30 minute pasta salad to go alongside your homemade steak pie!
Expert Tips and Recipe FAQ’s
Yes, you can make this recipe gluten free. Just make your pie crust and filling with a quality cup for cup gluten-free all-purpose flour instead of regular flour. I regularly make this recipe gluten-free, and I kid you not, you can’t even tell the difference! As always, be sure to check all of your other ingredients over to ensure that they are truly gluten free.
Beef pie is best eaten immediately, but you can store any leftovers in an airtight container in the refrigerator for up to 3-4 days. Reheat it in the oven at 350ºF for 10-15 minutes, or you can heat it up in the microwave on high for a few minutes instead.
Yes, you can freeze this beef pot pie baked or unbaked, although I do recommend using a disposable pie tin if you go this route. Simply slide it into a gallon-sized freezer bag or airtight container and into the freezer for up to 2-3 months. If you’re freezing an unbaked pie, just be sure to add on 15-20 minutes or more to the baking time to account for everything coming back up to temp. You can reheat a pre-baked pie at 350ºF for 15-20 minutes, or ’til good and hot. Don’t worry about defrosting ahead of time; this will make the crust soggy.
More Savory Pie Recipes
If you try this recipe, why not leave a star rating in the recipe card right below and/or a review in the comment section further down the page? I always appreciate your feedback. You can also follow me on Pinterest, Facebook, Instagram, and YouTube. And subscribe to my email list too!
Beef Pot Pie

Hearty beef pot pie with a creamy filling and a buttery, flaky pie crust. Easy old fashioned meat pie that makes the ultimate holiday dinner!
- 7-Quart Slow Cooker
- 9-Inch Pie Plate
- Large Knife
- Wooden Spoon
- 2 Pastry Shells (unbaked)
- 1 medium Yellow Onion
- 2 stalks Celery (chopped)
- 3 medium Carrots (chopped)
- 1 medium Potato (chopped)
- 2 1/2 teaspoons Minced Garlic
- 2 pounds Beef Stew Meat
- 5 tablespoons Salted Butter
- 1/4 cup Water
- 4 tablespoons All-Purpose Flour
- 3 tablespoons Heavy Whipping Cream
- 1 1/2 teaspoons Sea Salt
- 1 teaspoon Pepper
- 1/2 tablespoon Ground Cumin
- 1/4 teaspoon Ground Cinnamon
- 1/4 teaspoon Ground Nutmeg
Before getting started, line a 9-inch pie plate with a homemade pie crust if you're using homemade. Keep in mind that you will also need a second crust for the top.
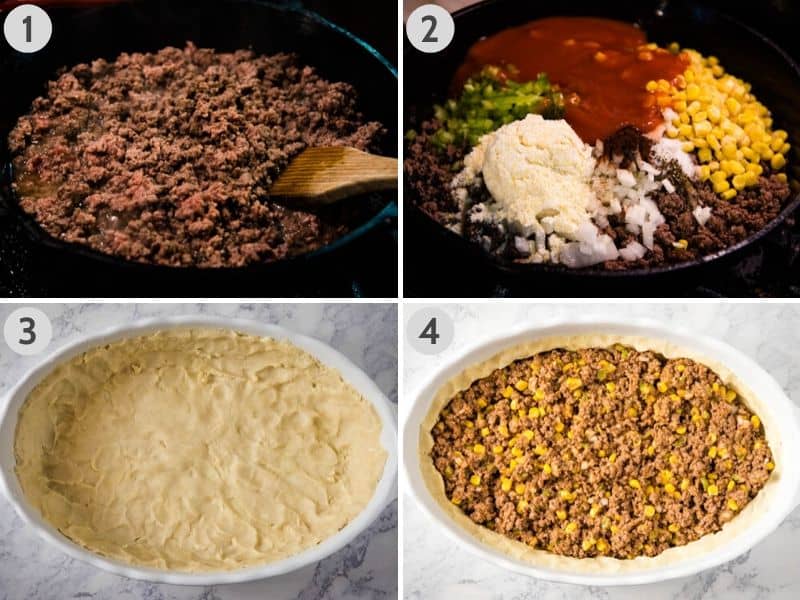
Start by thinly slicing the onions with a large knife, and then chop up the celery, carrots and potatoes. Mince up the garlic if using cloves.
Once the vegetables are prepared, layer everything in the slow cooker. You want to make 3 total layers, adding 1/3 each of the stew meat, veggies, butter, water, flour, cream, salt & pepper to each individual layer.
Cook on high for 4 hours, and then turn it down on low for an additional 1-2 hours, or ’til the onions are dissolved and a thick gravy forms. Be sure to give everything a stir periodically as it cooks.
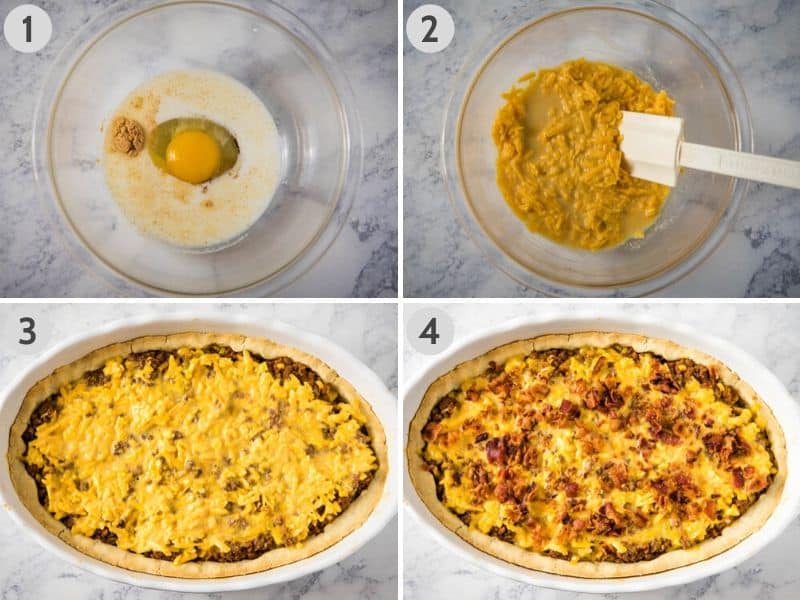
Once your filling is fully cooked, stir in the cumin, cinnamon and nutmeg 'til well combined.
Pour the precooked filling into your unbaked pastry shell.
Add your top crust to the pie, and use a knife to cut 2 1” slits, criss-crossed in the middle. This should create an X-shaped hole in the middle of the top crust through which excess steam can escape, which prevents a soggy crust.
Bake at 425ºF for 20-25 minutes, or ''til the crust is golden-brown.
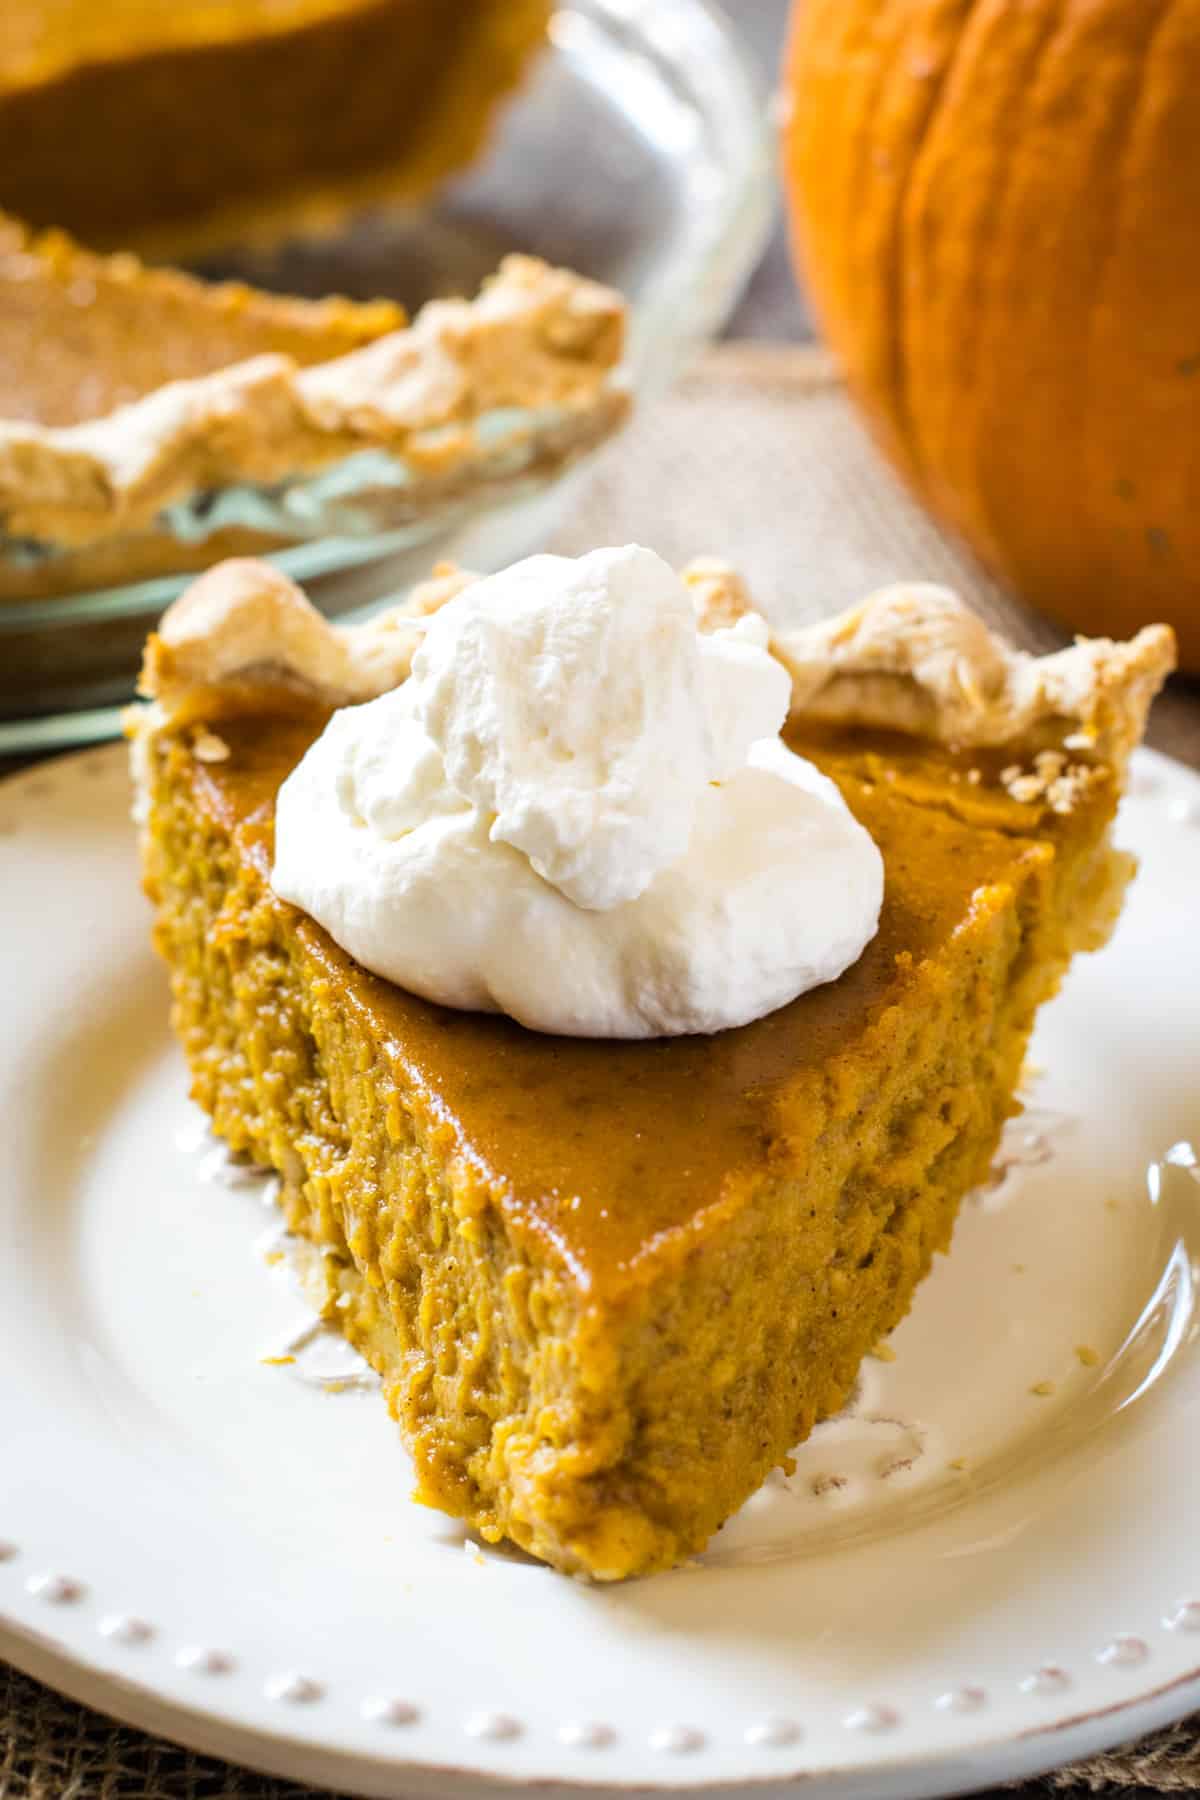
That's it! Serve and enjoy with all your favorite side dishes.
How should I store leftover meat pie?
Beef pie is best eaten immediately, but you can store any leftovers it in an airtight container in the refrigerator for up to 3-4 days. Reheat it in the oven at 350ºF for 10-15 minutes, or you can heat it up in the microwave on high for a few minutes instead.