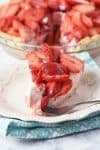
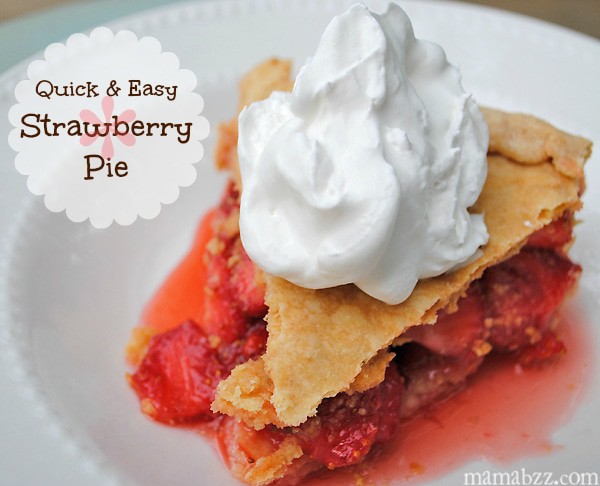
Easy recipe for a strawberry cream cheese pie, made with fresh strawberries, a creamy no bake filling, and a simple homemade crust. It’s a family favorite!
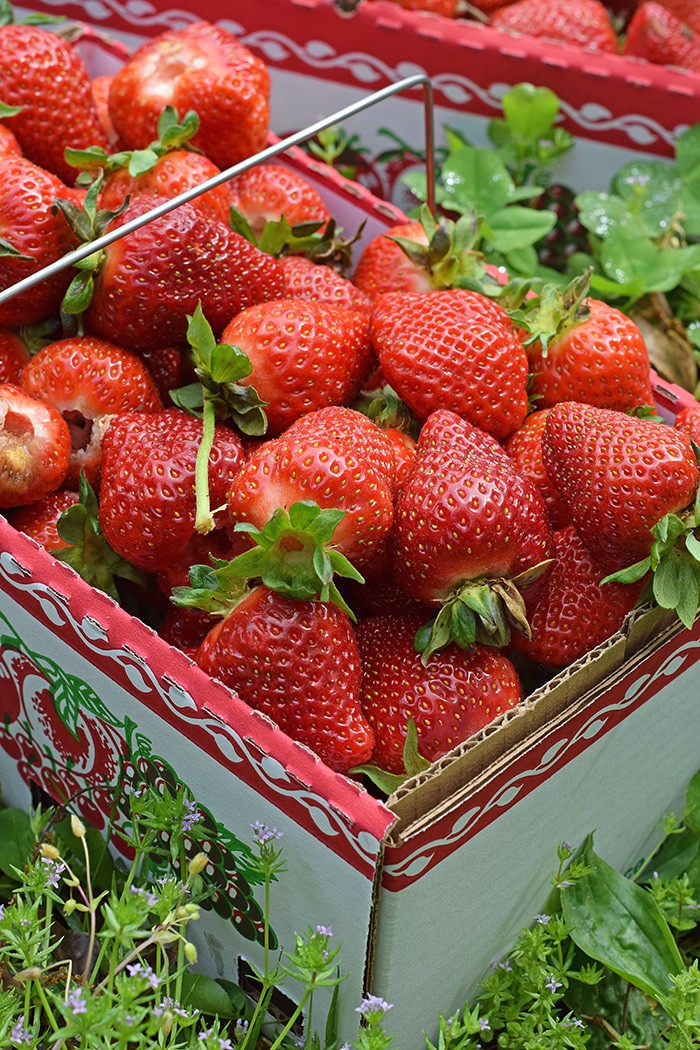
Who doesn’t love fresh berries from the strawberry patch, especially when you have the satisfaction of picking them yourself, then coming home to make them into a strawberry cream pie? It’s the absolute best!

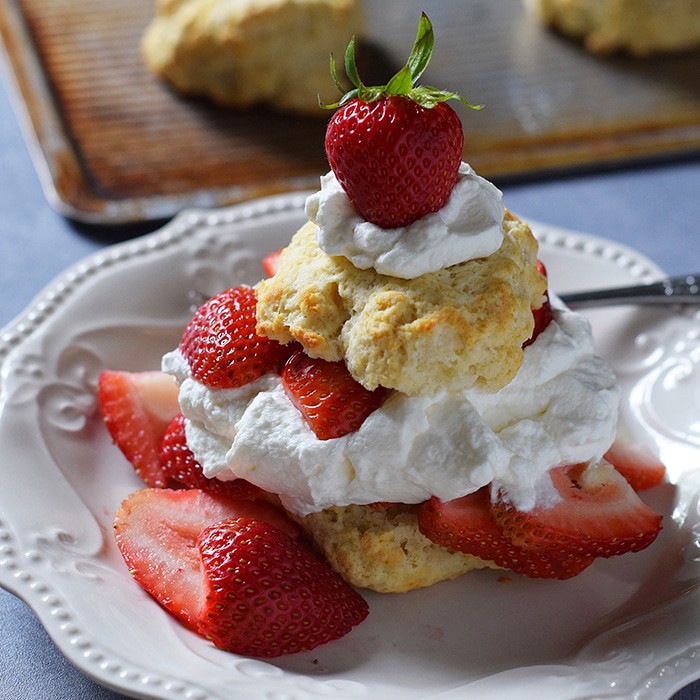
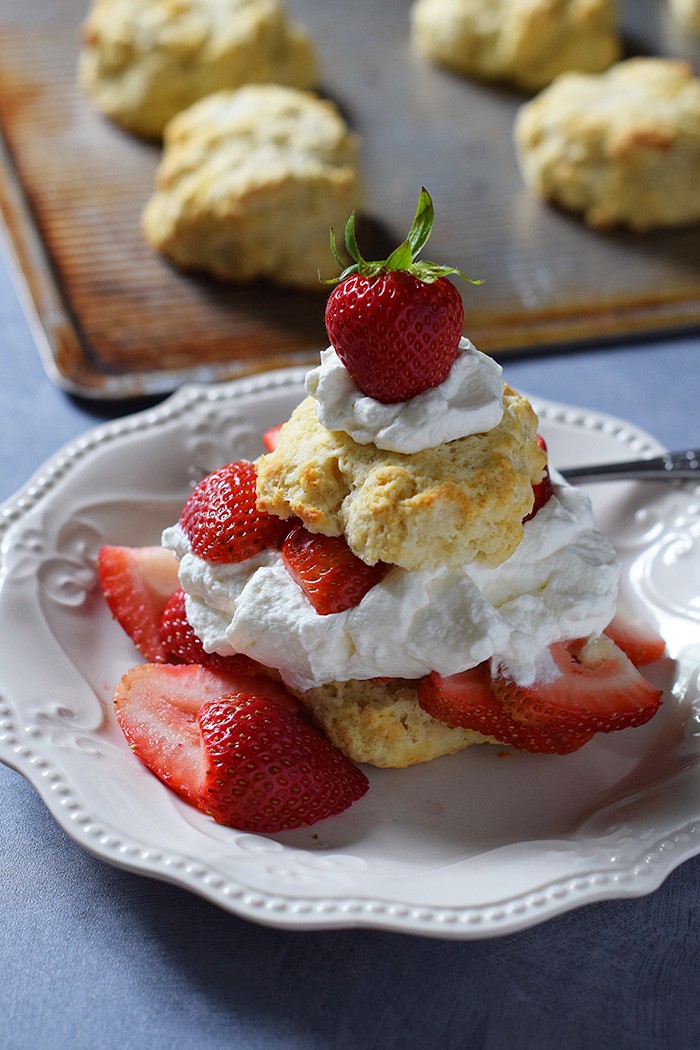
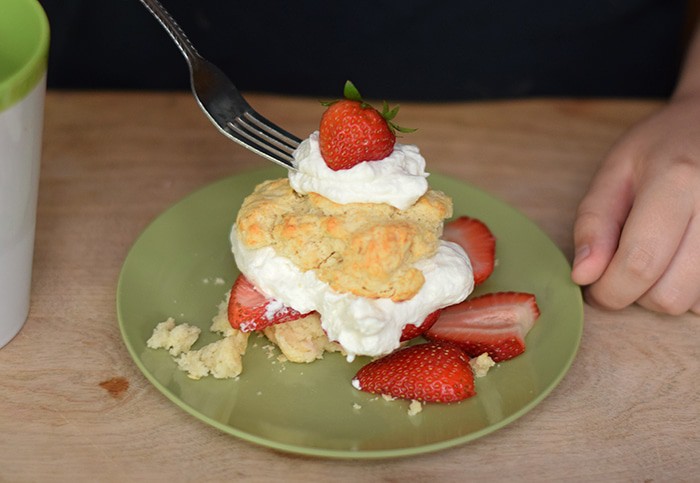
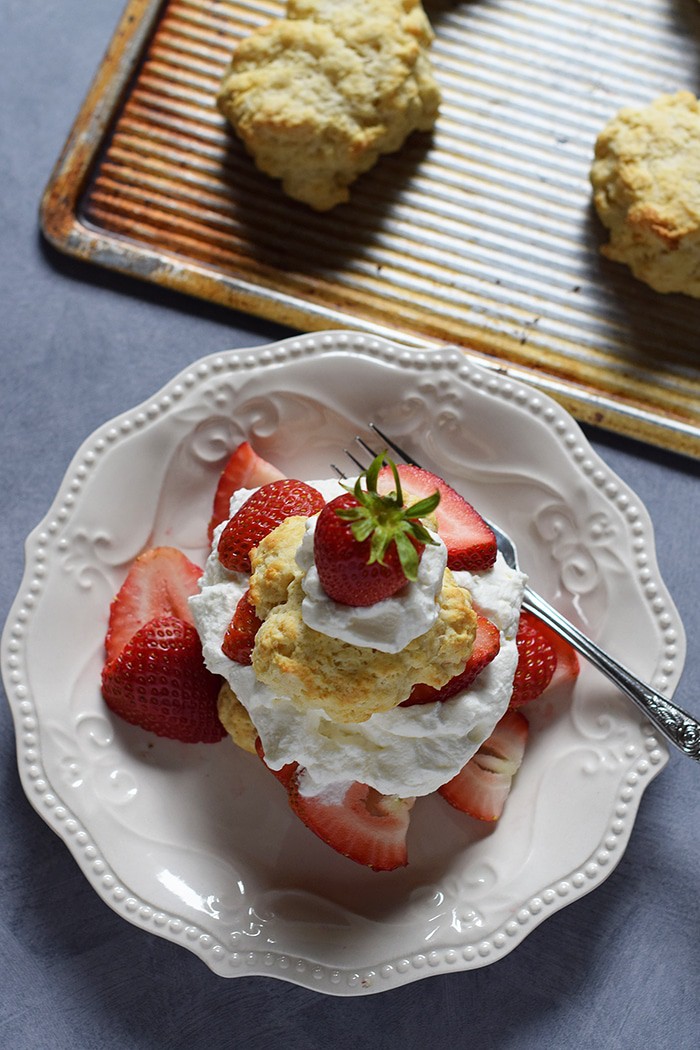
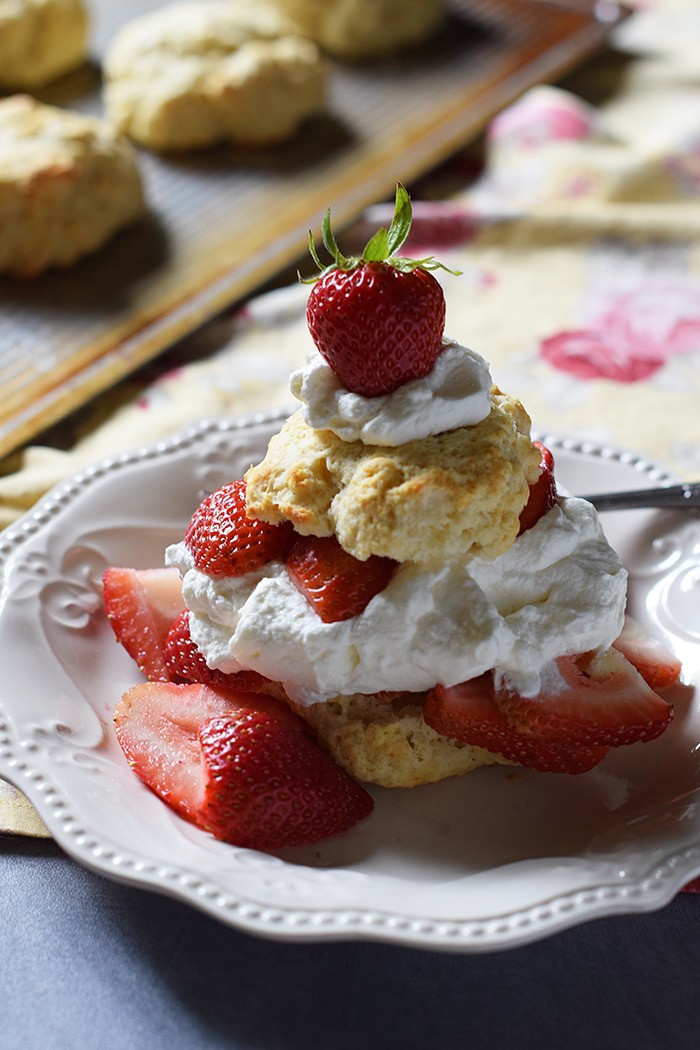
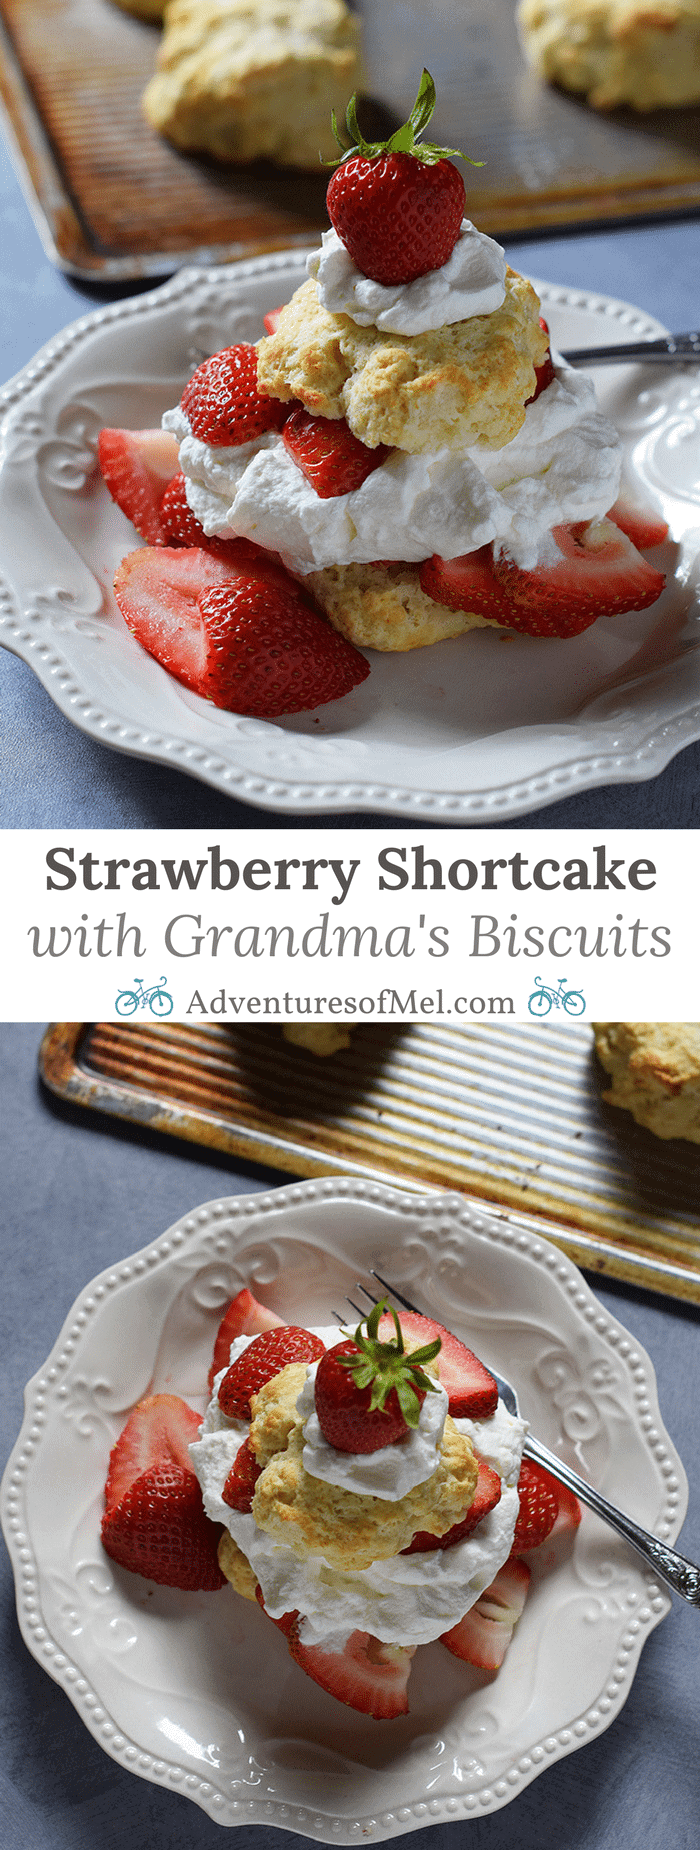
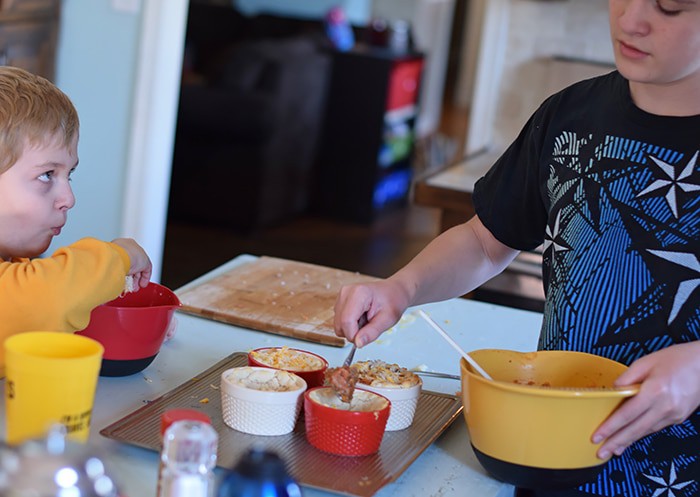
I have 3 boys who are all about the strawberries. If we bring strawberries home, I can barely get a strawberry shortcake or a quick batch of homemade strawberry jam in edgewise before the berries are all eaten up.
This no bake strawberry pie is one of the first things we make every single year with our berry haul. It really doesn’t take a lot of berries either; though I’ll admit, I do like to pile them on.
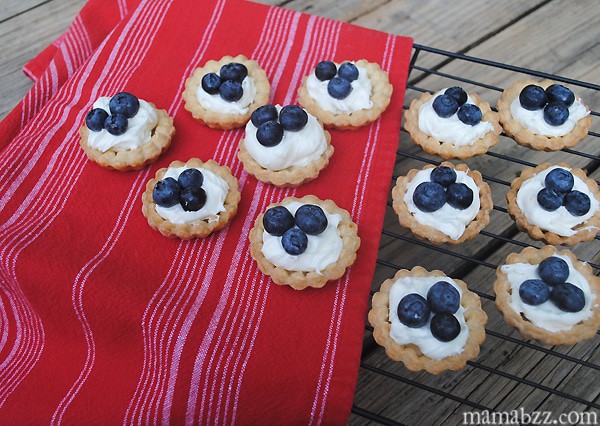
I make a similar version with blueberries every summer. Blueberry cream cheese pie is just as delicious as strawberry.
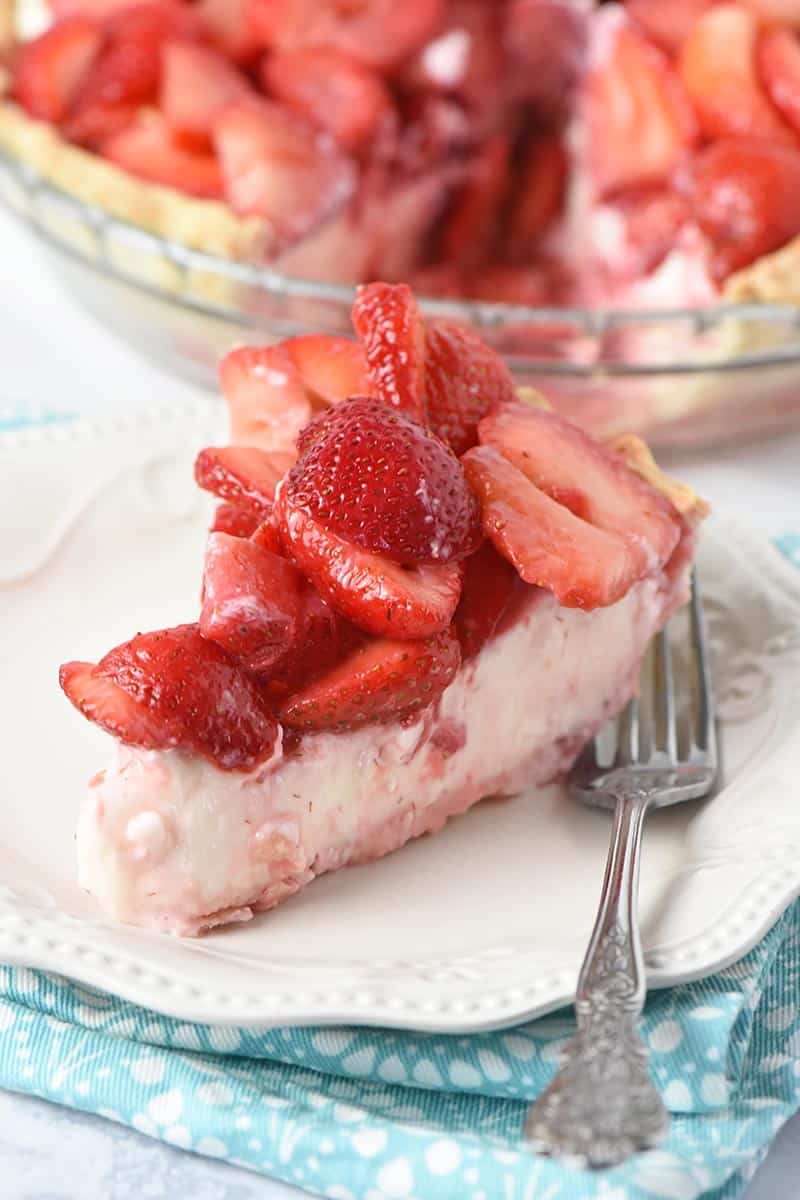
Just a few simple ingredients are all you need to make this easy strawberry cream pie. The hardest part is waiting for it to chill so all the juices have time to seep into the creamy filling and down into the crust, making it even more delicious than ever.
Don’t want a cream cheese filling? You may enjoy this easy strawberry pie recipe.
WHERE CAN I FIND THE ACTUAL RECIPE CARD?
If you’d rather skip all of my tips for making homemade strawberry pie, important info for this recipe, and similar recipe ideas – and get straight to the strawberry cream pie recipe – just scroll down to the bottom, where you’ll find a printable recipe card.
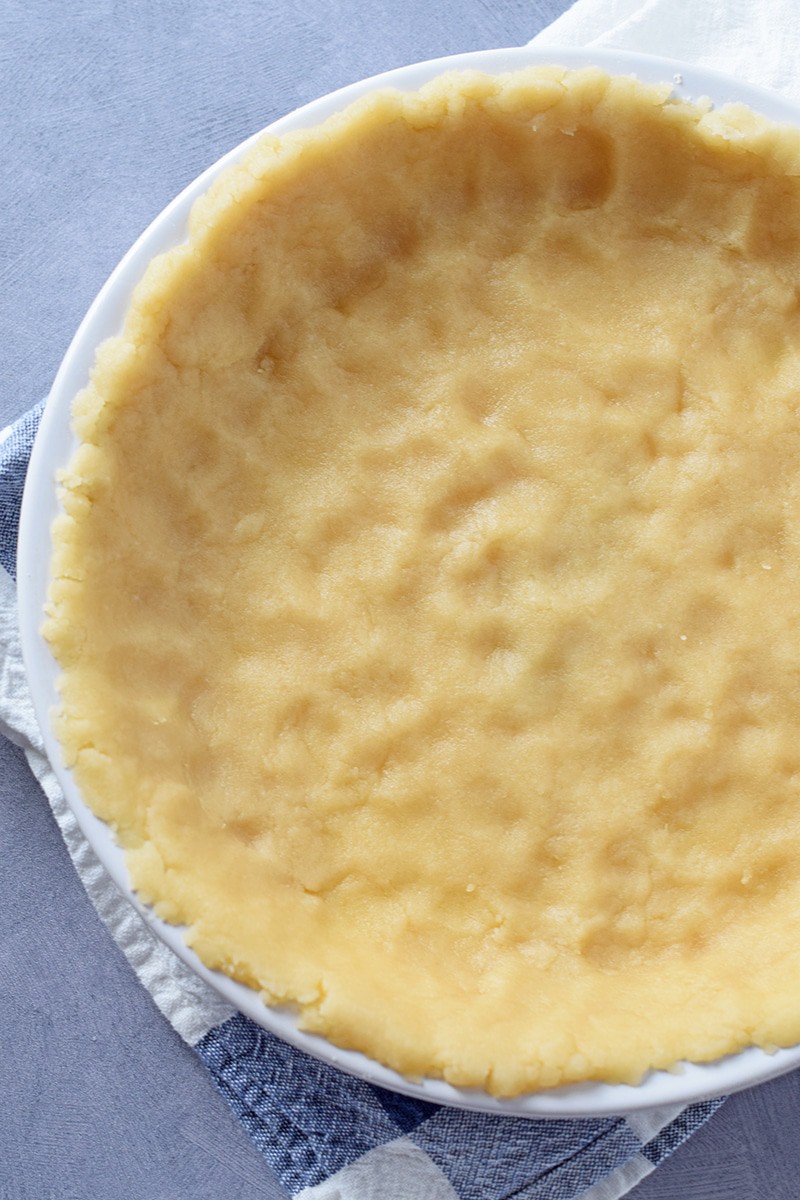
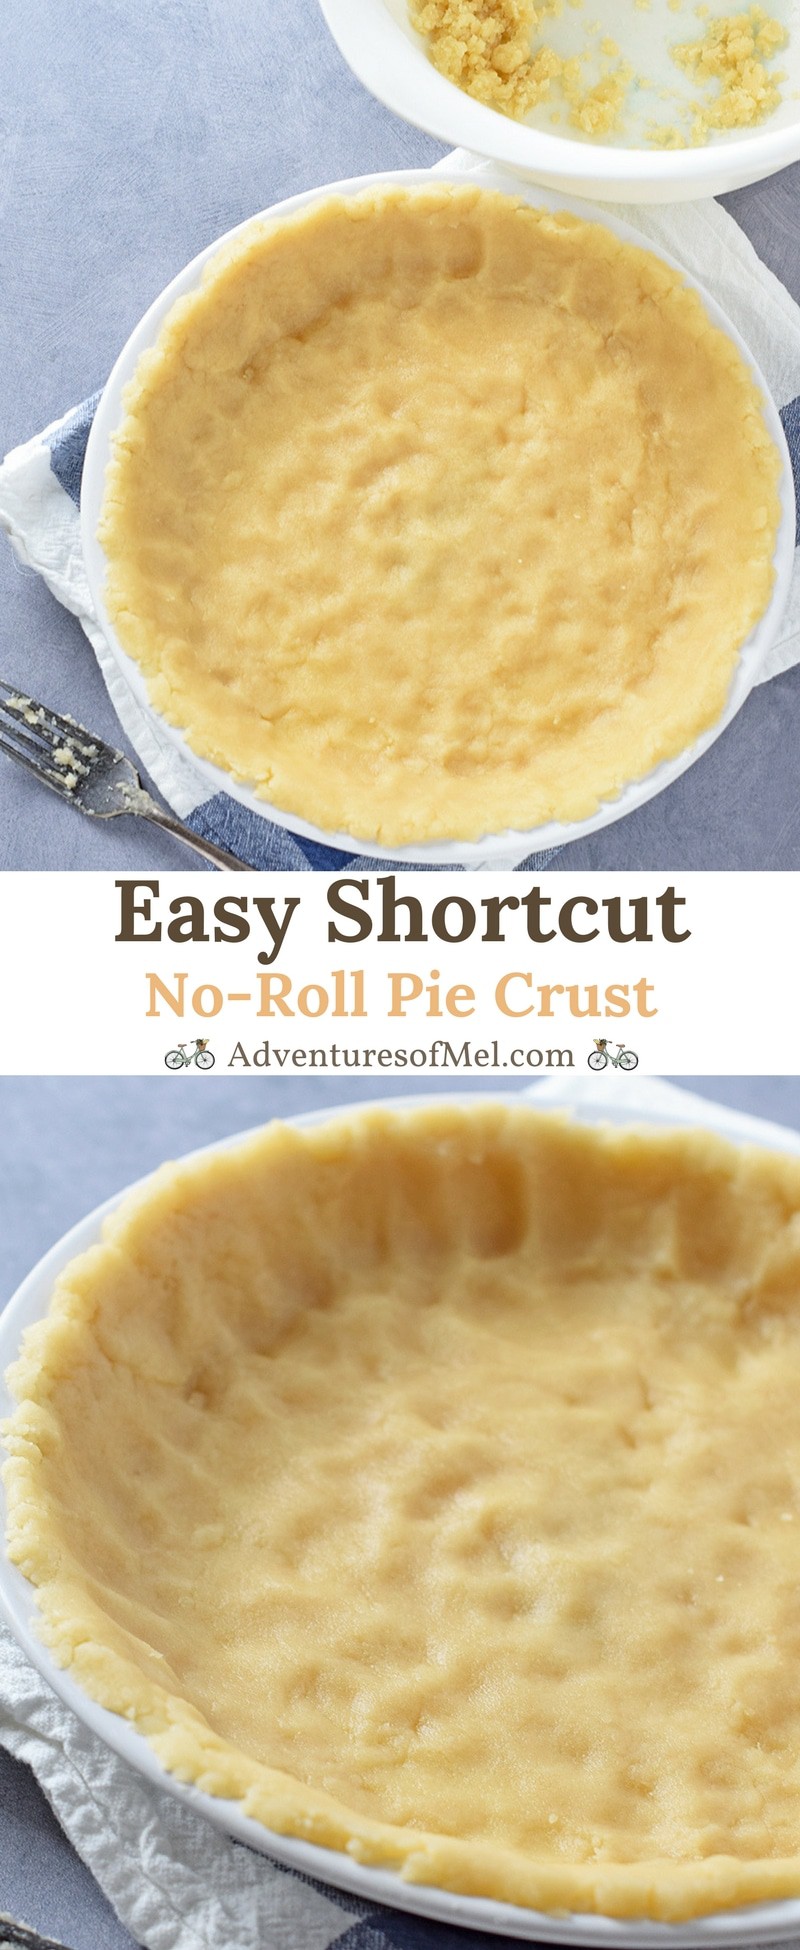
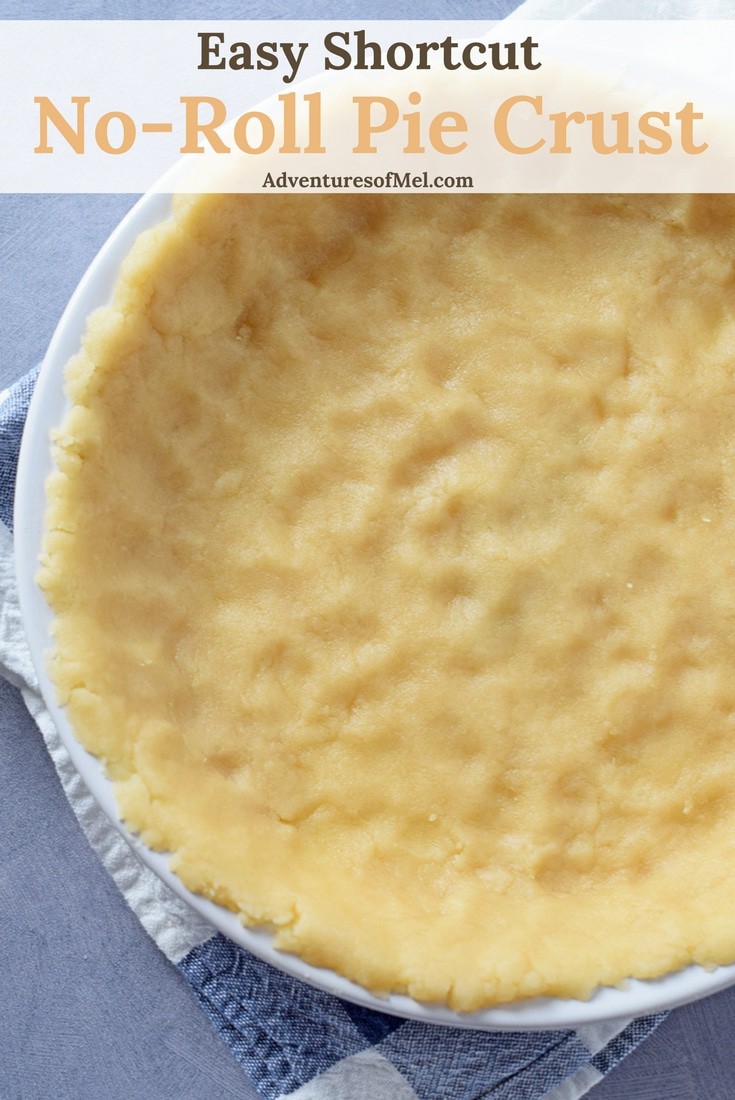
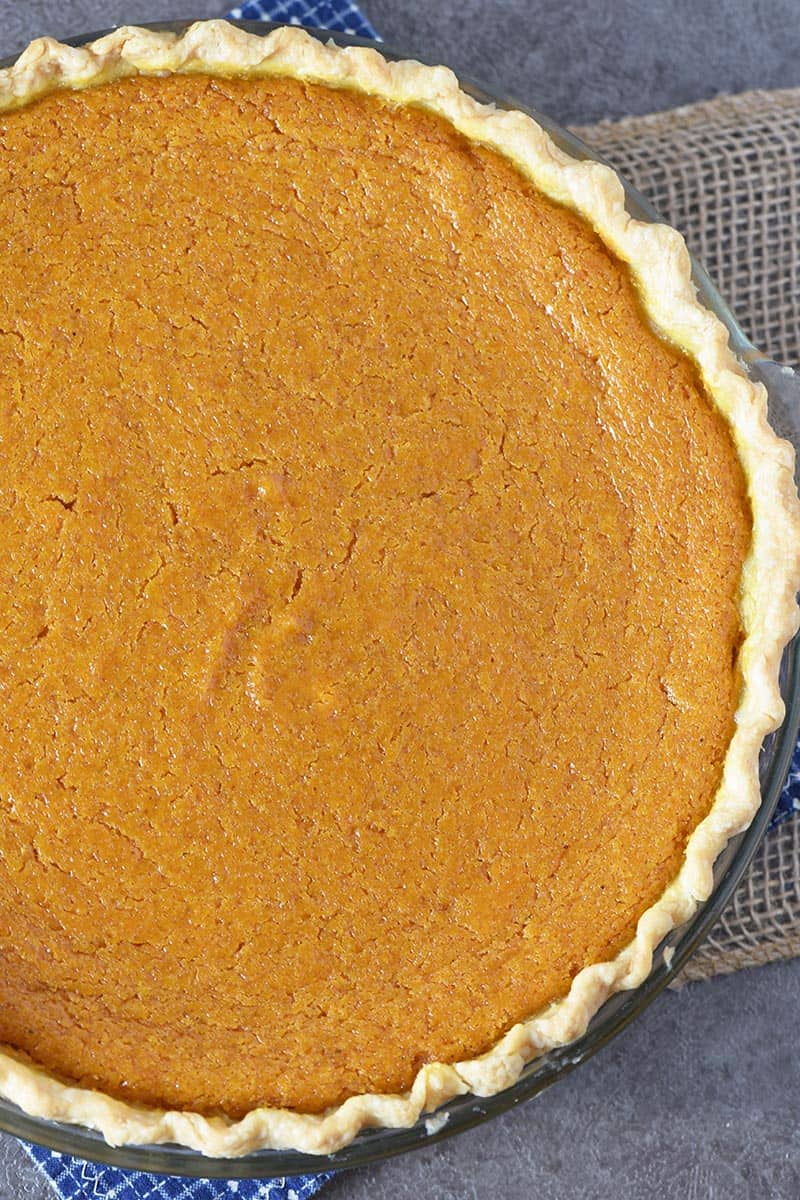
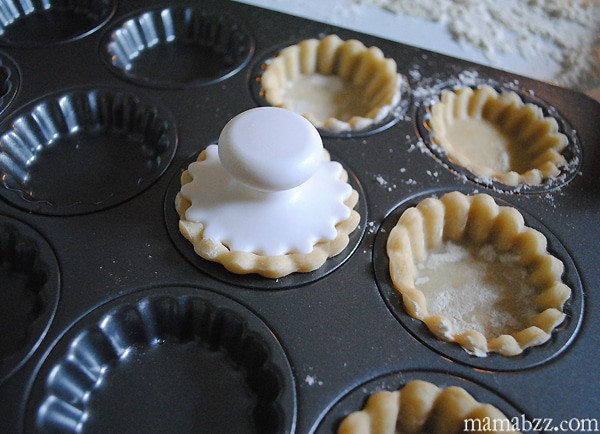
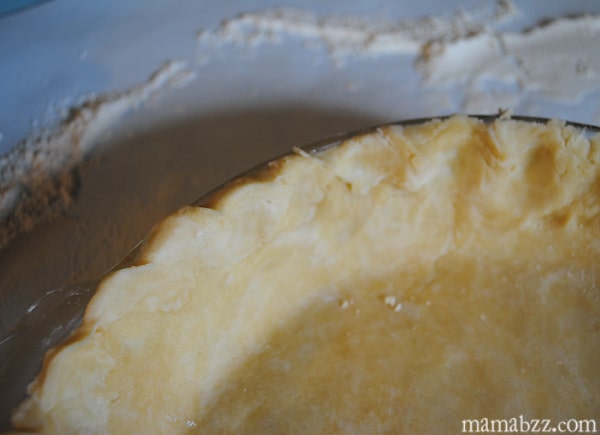
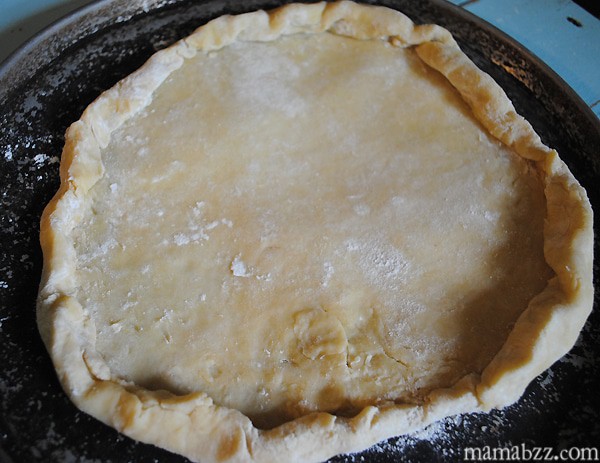
BUT FIRST, THE PIE CRUST
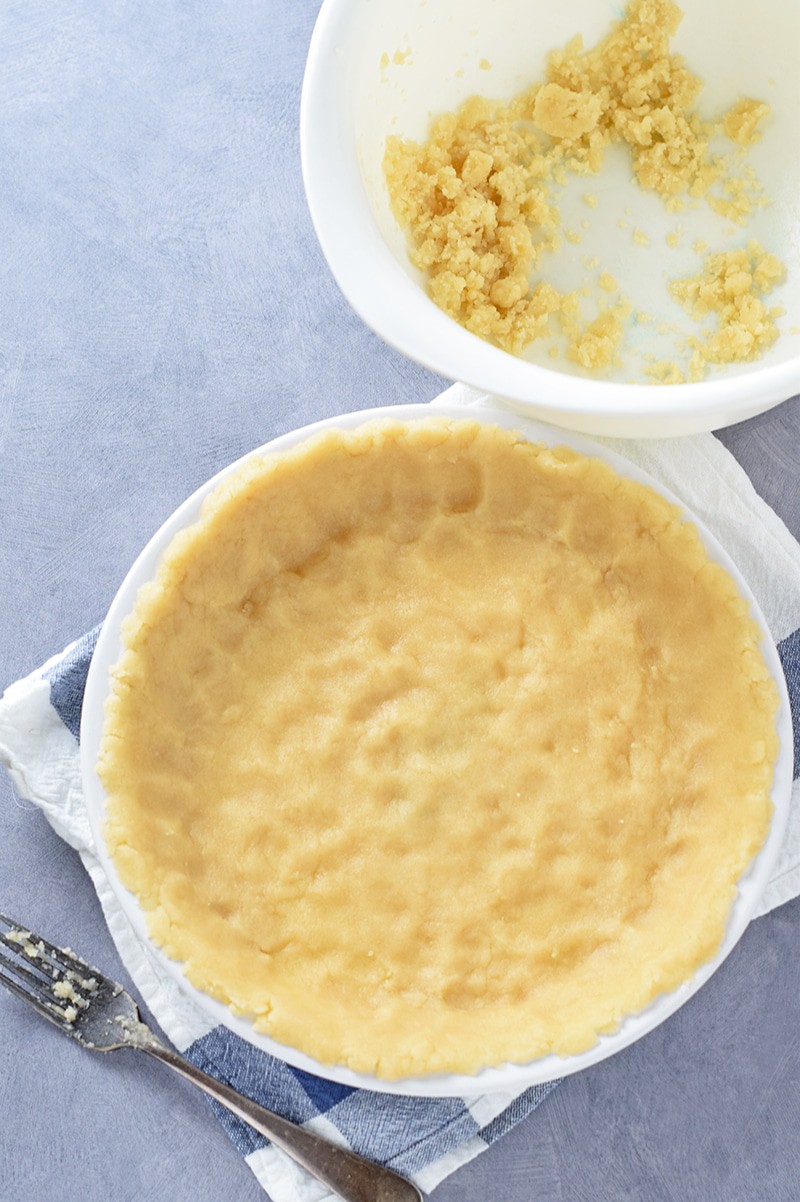
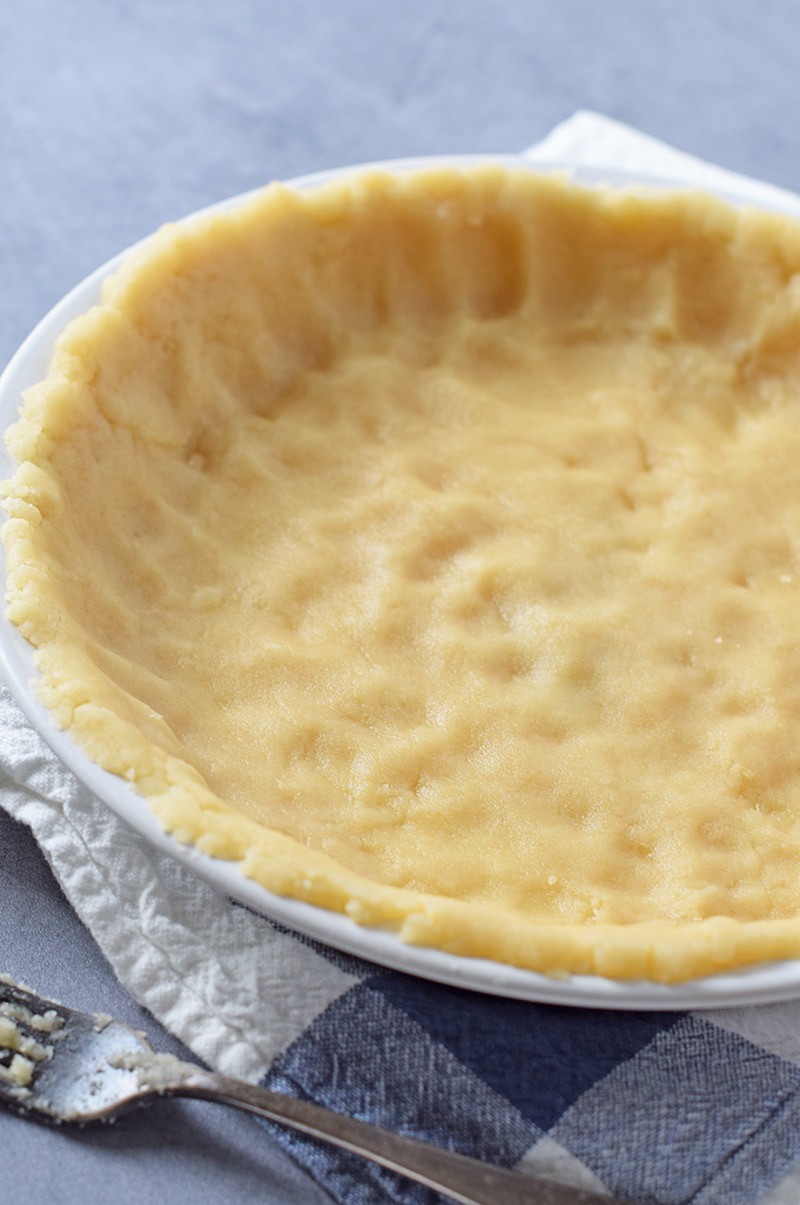
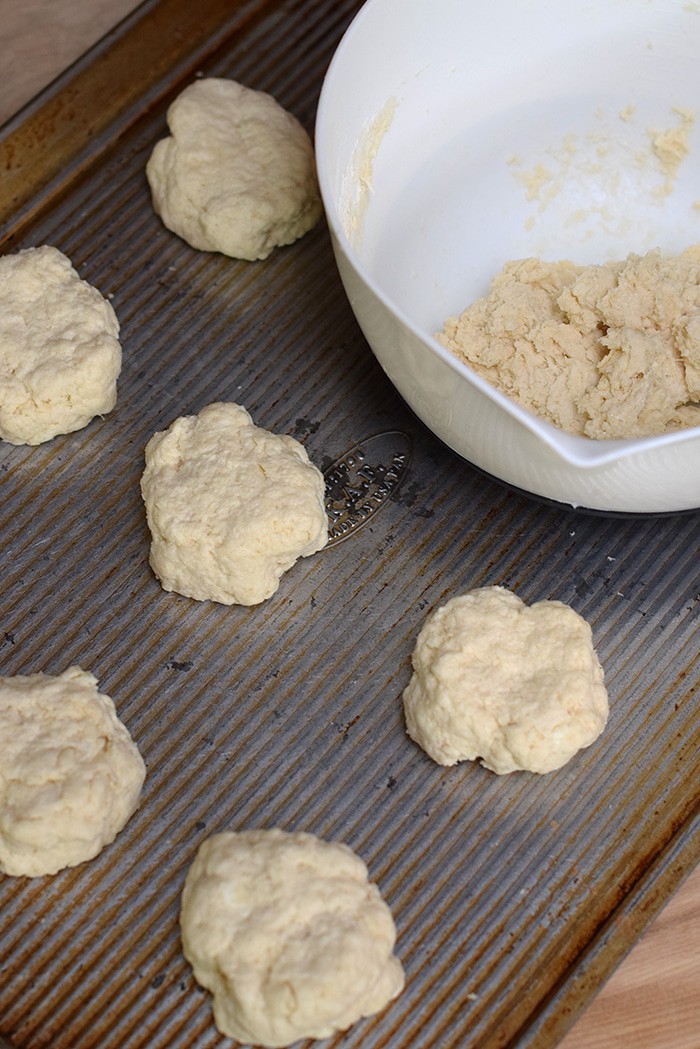
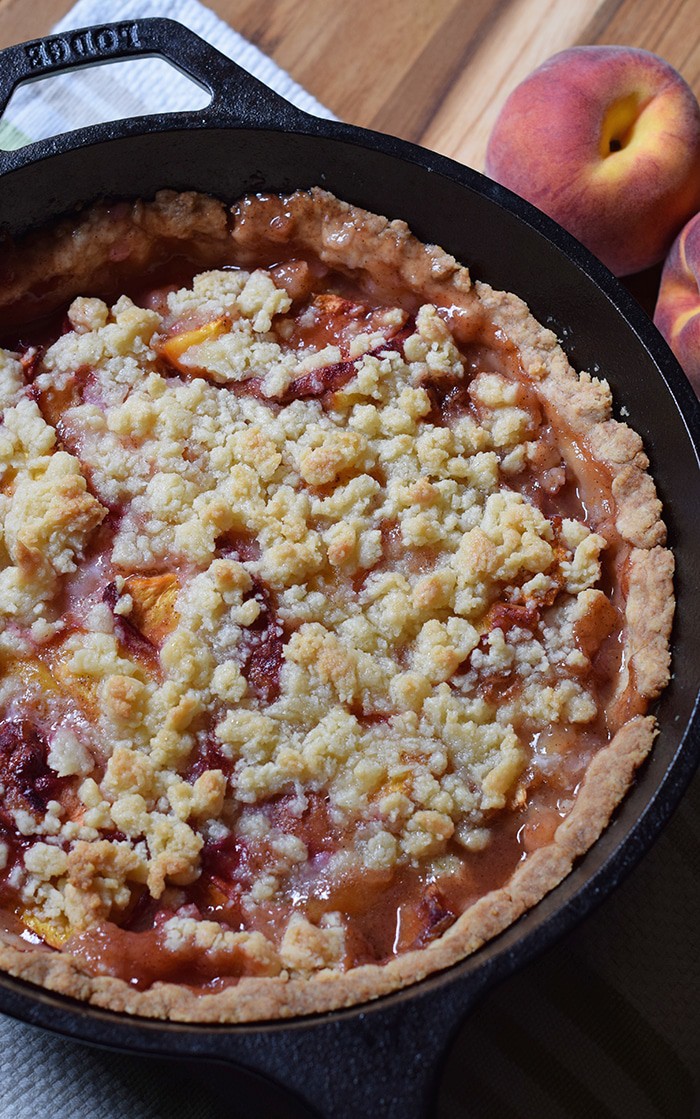
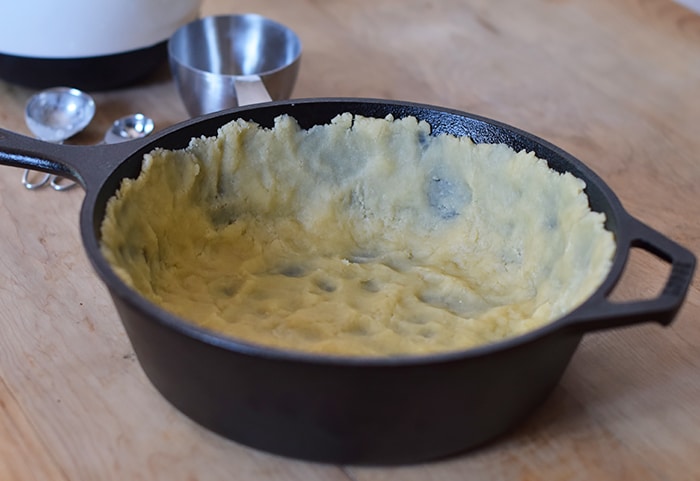
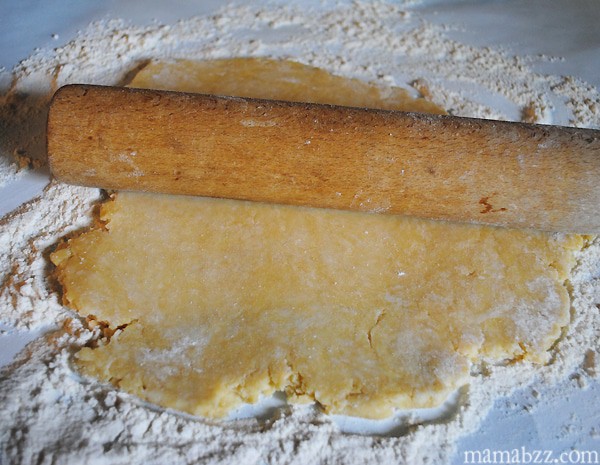
You will need a single pie crust, baked and ready to go, for this recipe. You can make a homemade pie crust, or you can just buy a ready made crust at the grocery store. Here are 3 ways to keep pie crust from burning, so you can make sure you have the perfect pie crust.
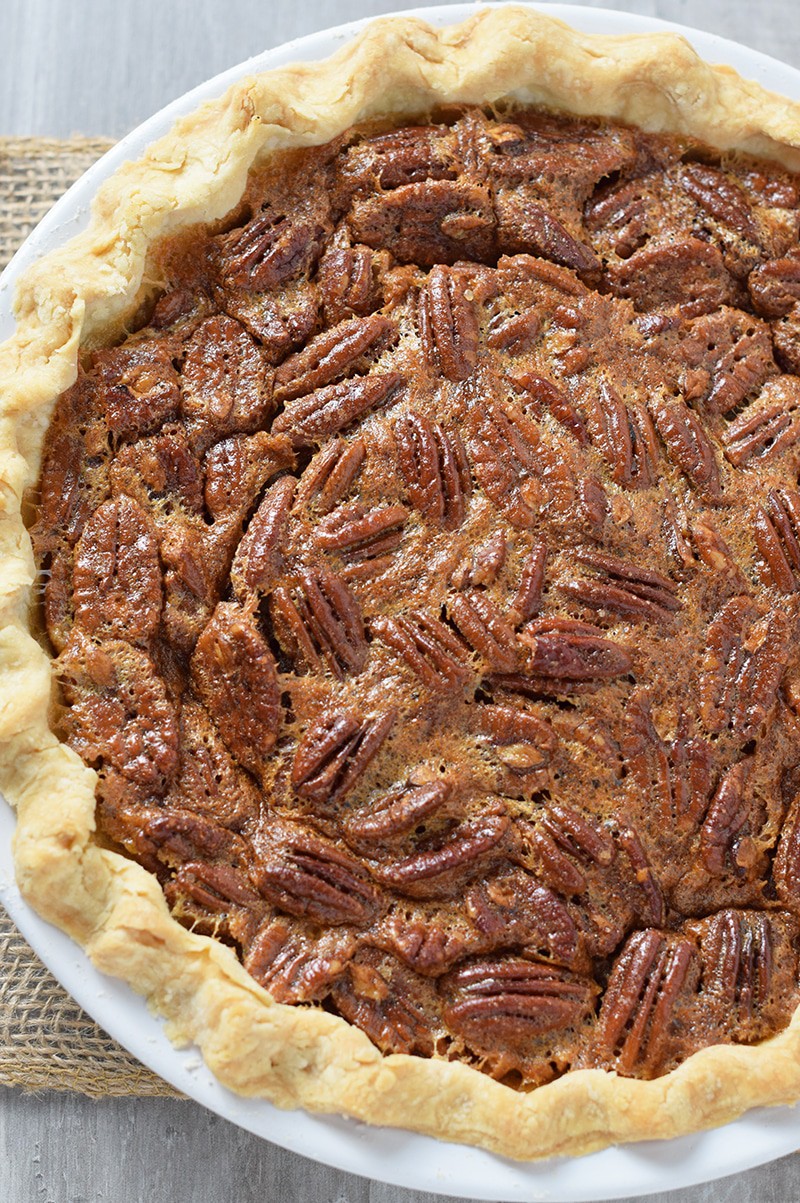
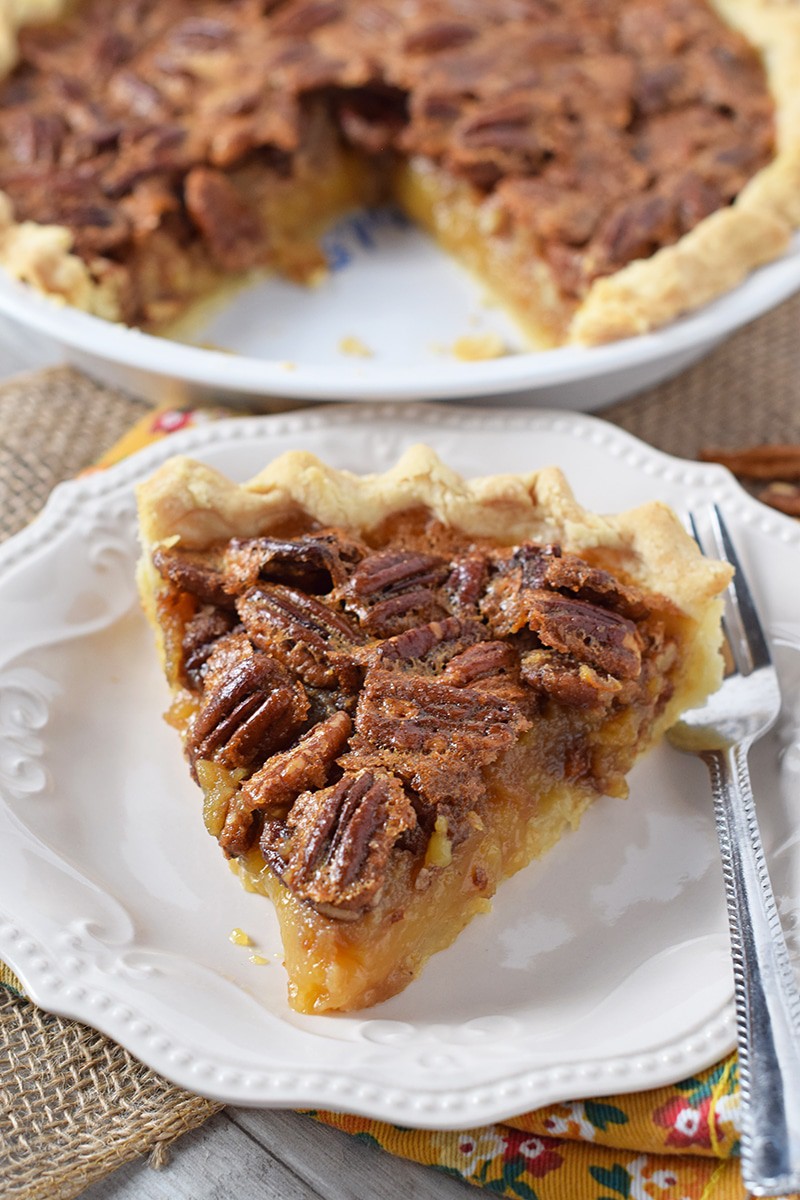
Sometimes I even like to make a family favorite, this pie crust with pecans. It gives the pie even more of an oomph, and like my favorite press in pie crust, it doesn’t have to be rolled either.
Or you can skip a regular crust altogether and make a graham cracker crust instead.
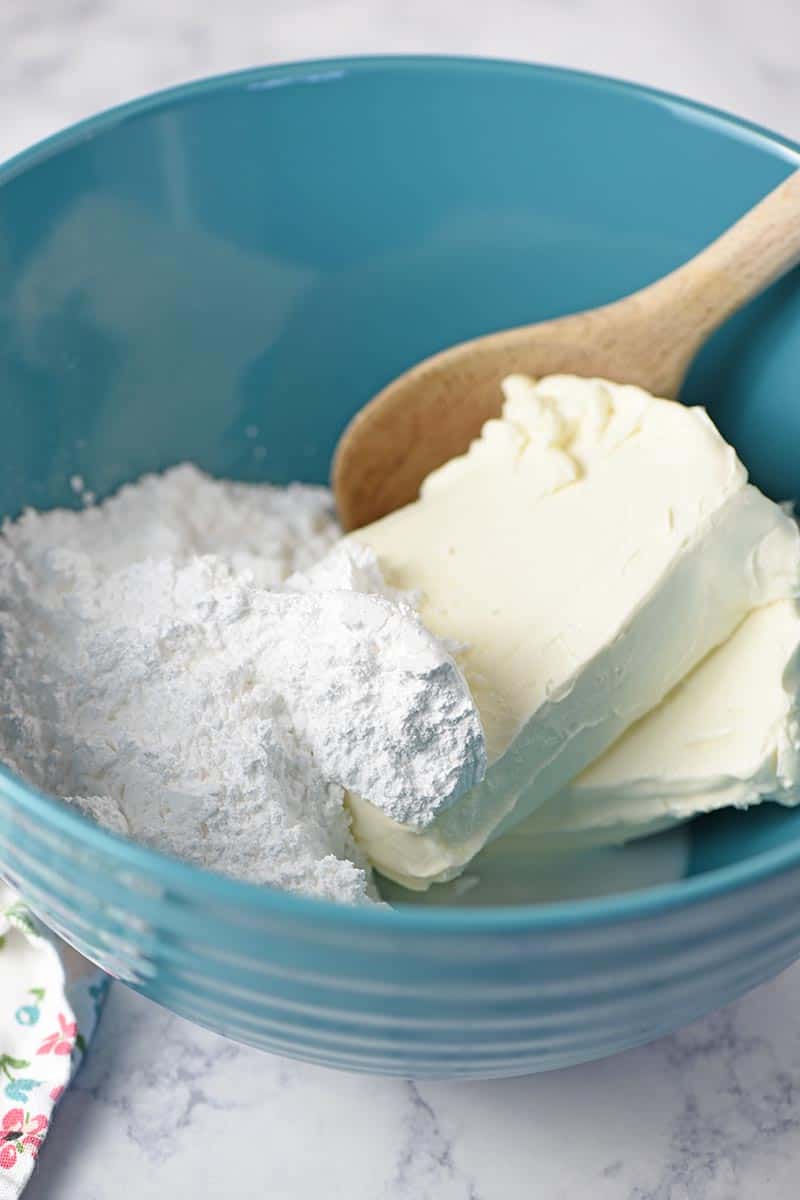
AND THEN THE CREAM CHEESE FILLING
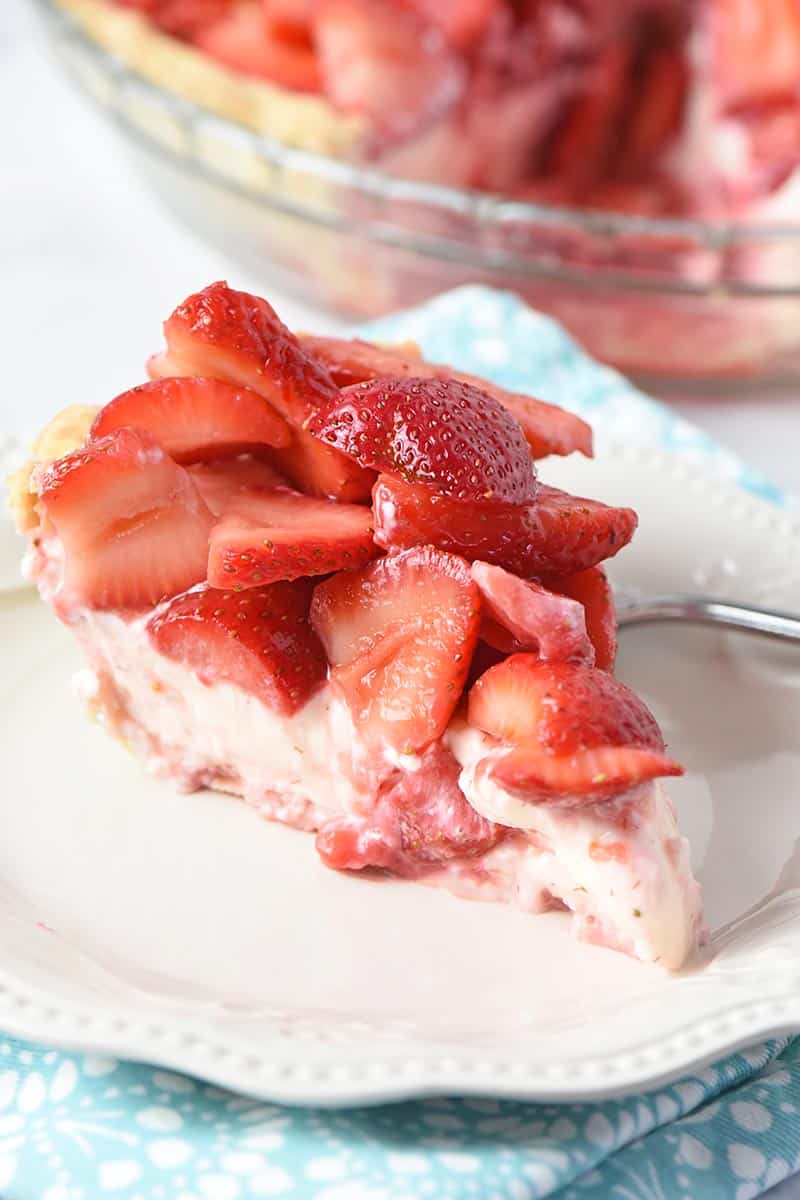
The cream cheese filling in this no bake strawberry cream pie is just a simple, 3-ingredient, cream cheese filling; but it’s oh so good, especially when you pair the creamy filling with the berries and the pie crust.
Let’s get down to making and putting this pie together.
TIPS FOR HOW TO MAKE STRAWBERRY CREAM CHEESE PIE
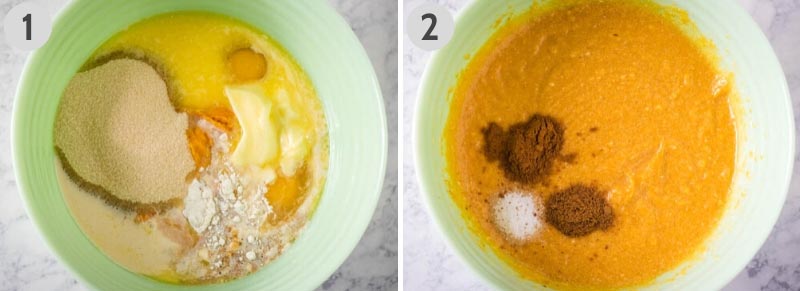
Gather together your ingredients… You’ll need fresh strawberries, pure cane sugar, cream cheese, powdered sugar, and whole milk. That’s it, easy peasy.
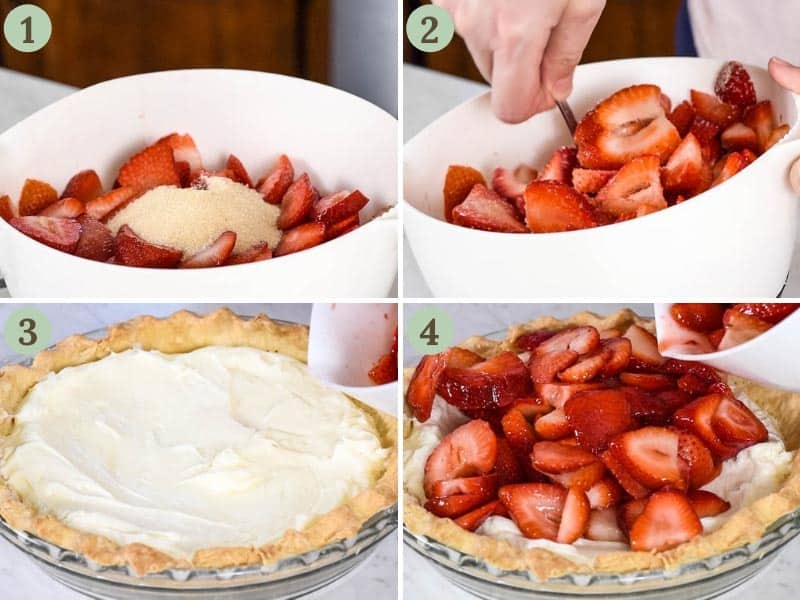
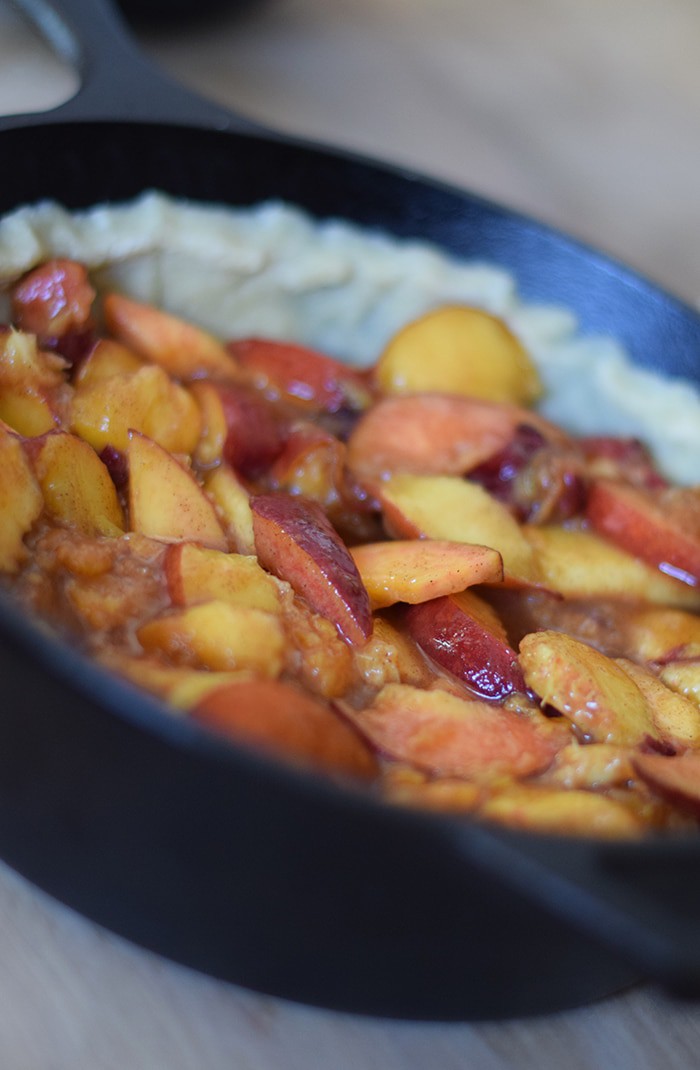
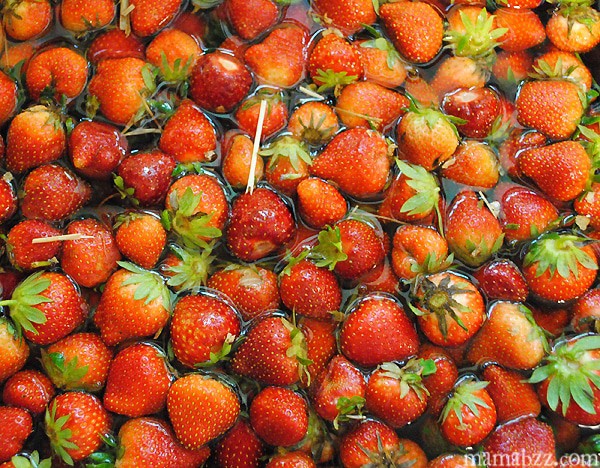
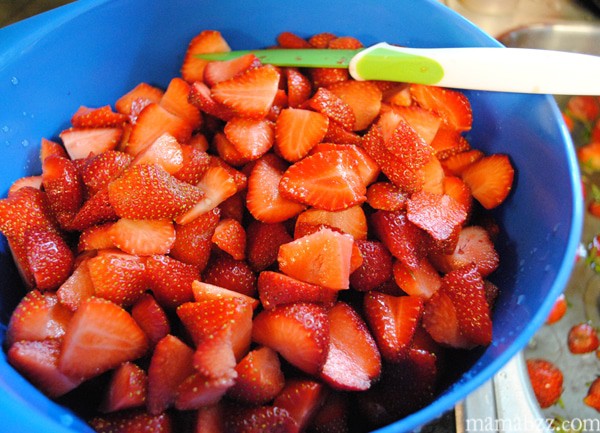
- Wash and slice the berries.
- Then mix them together with sugar to help the strawberries form a little juice.
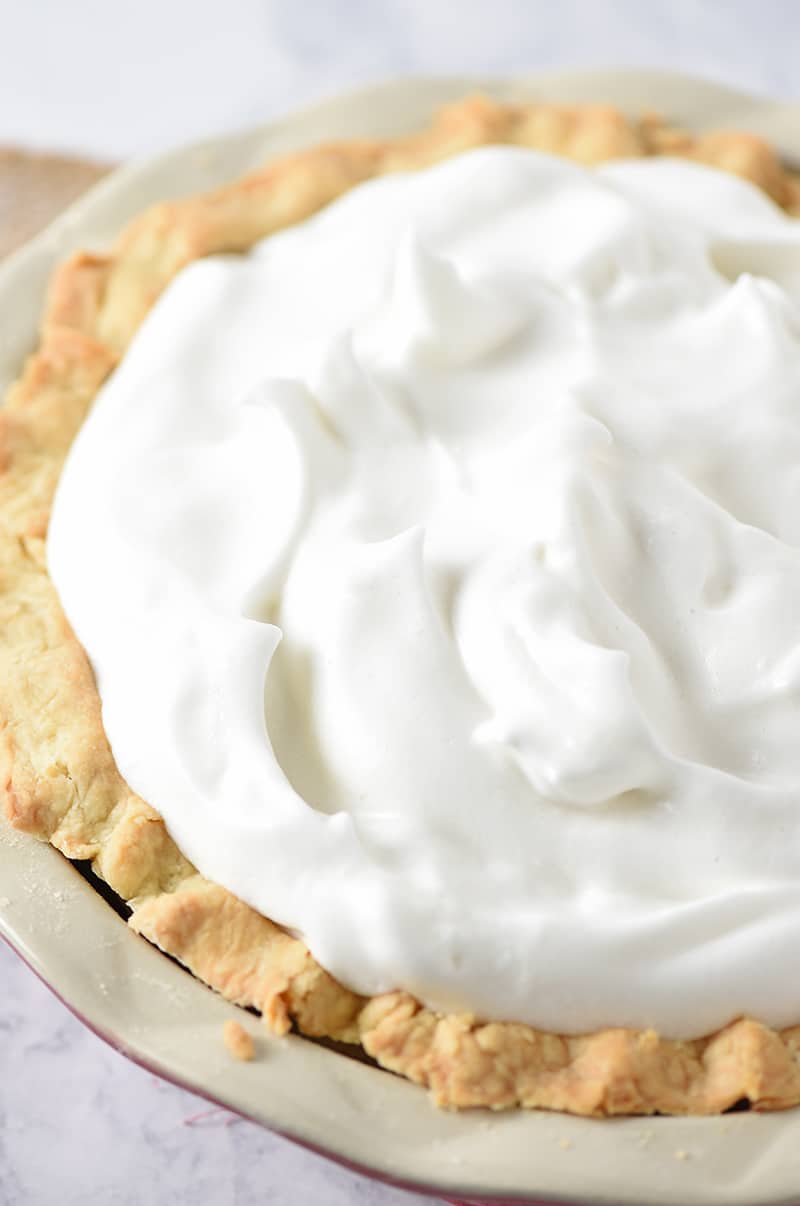
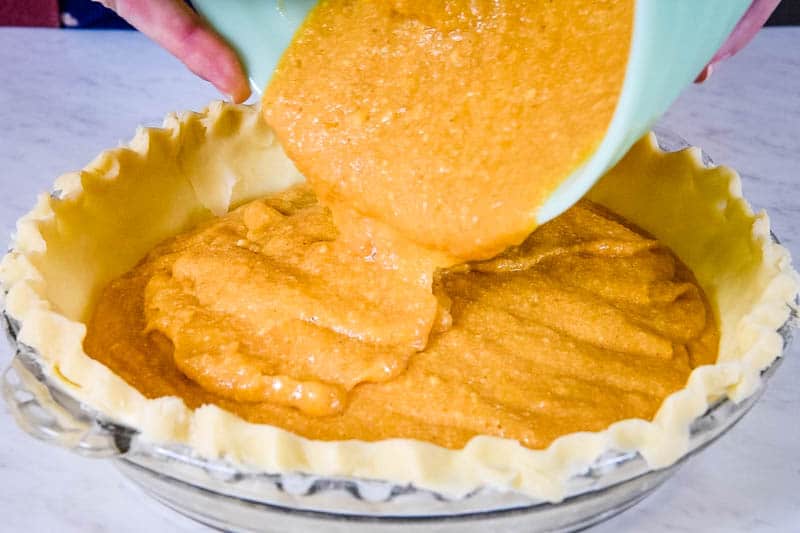
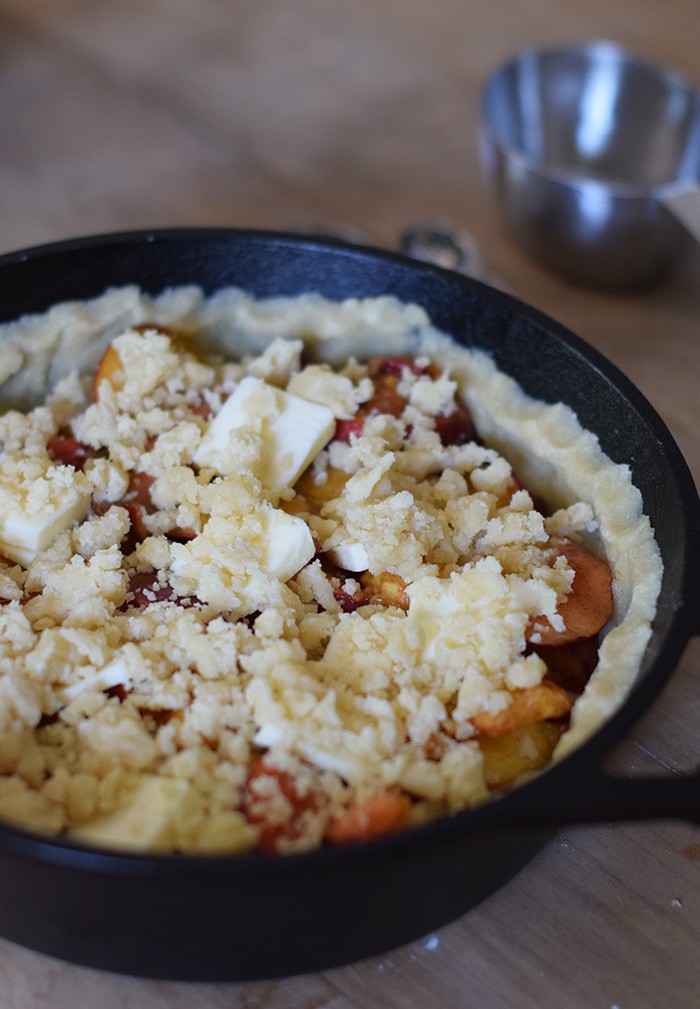
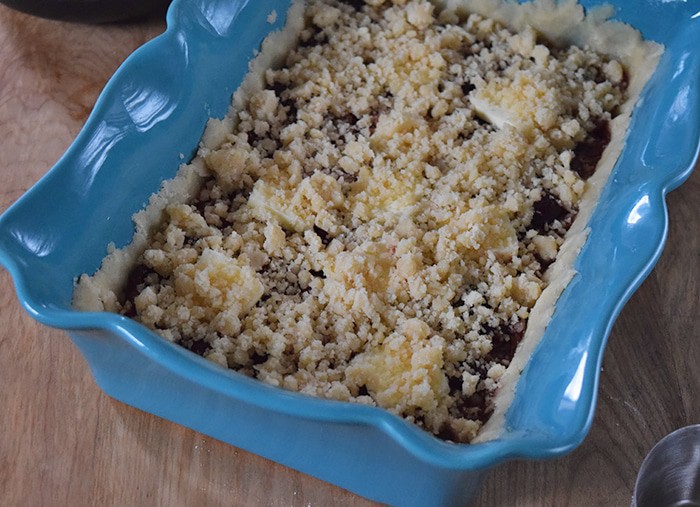
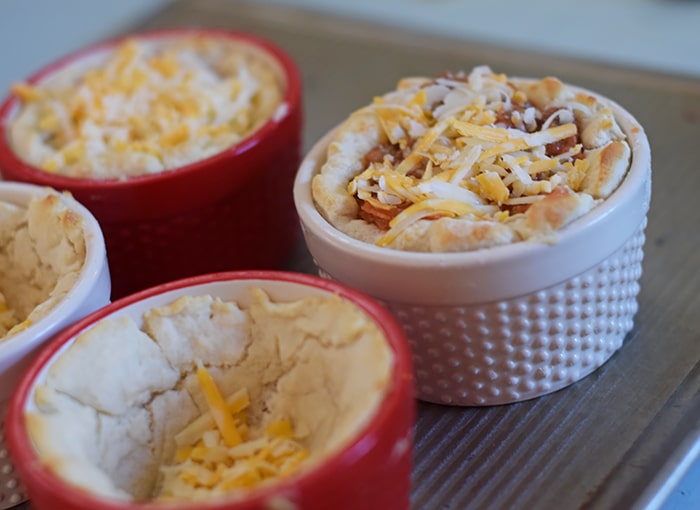
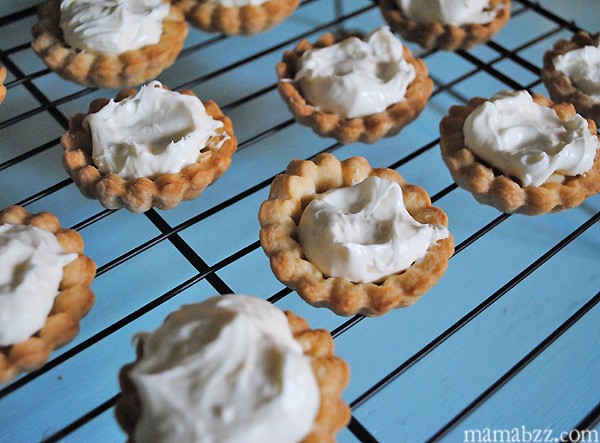
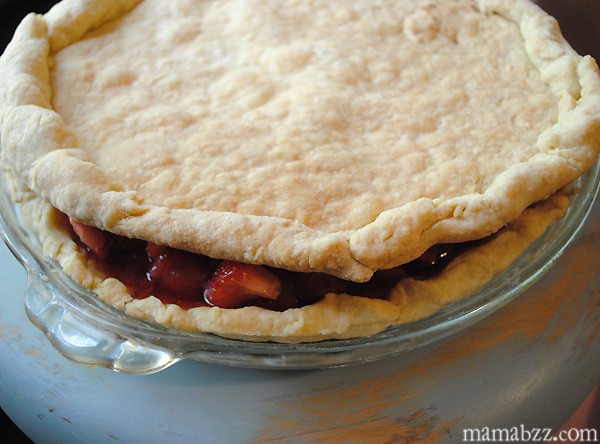
- Mix together the cream cheese, powdered sugar, and milk, and using a spatula, spread the creamy filling in the pie crust.
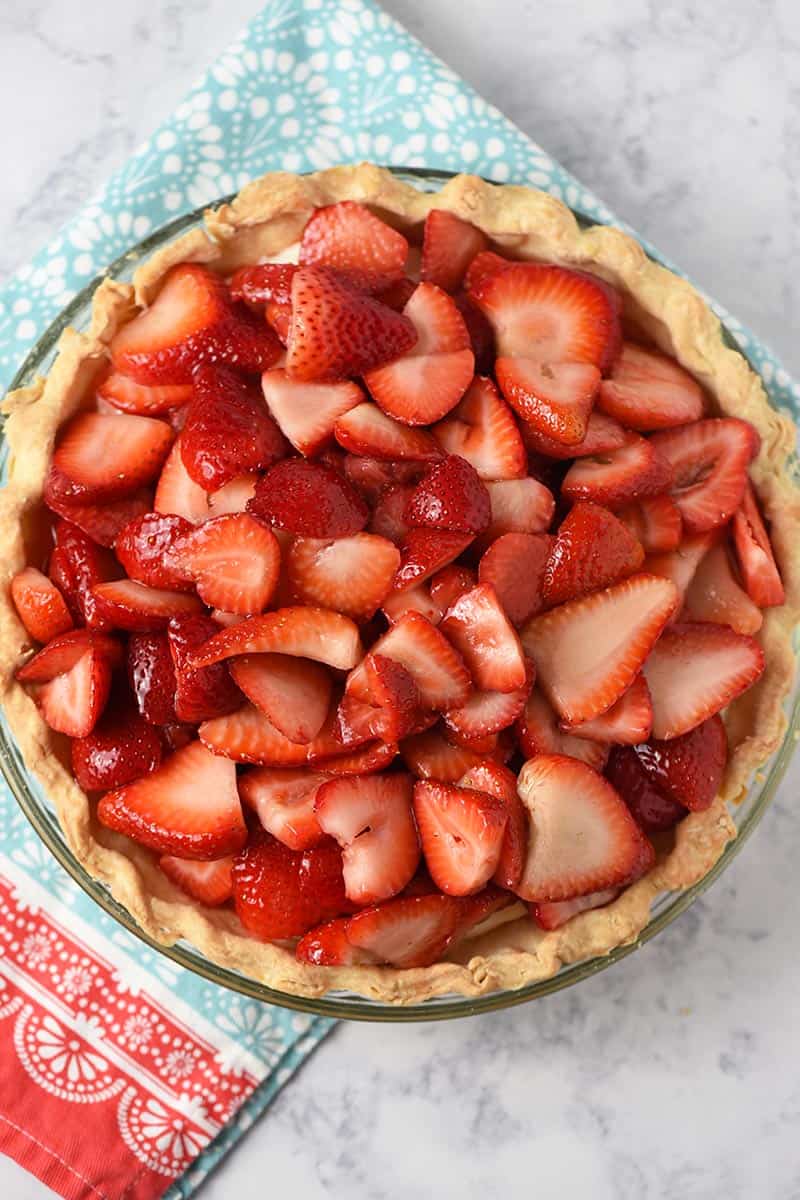
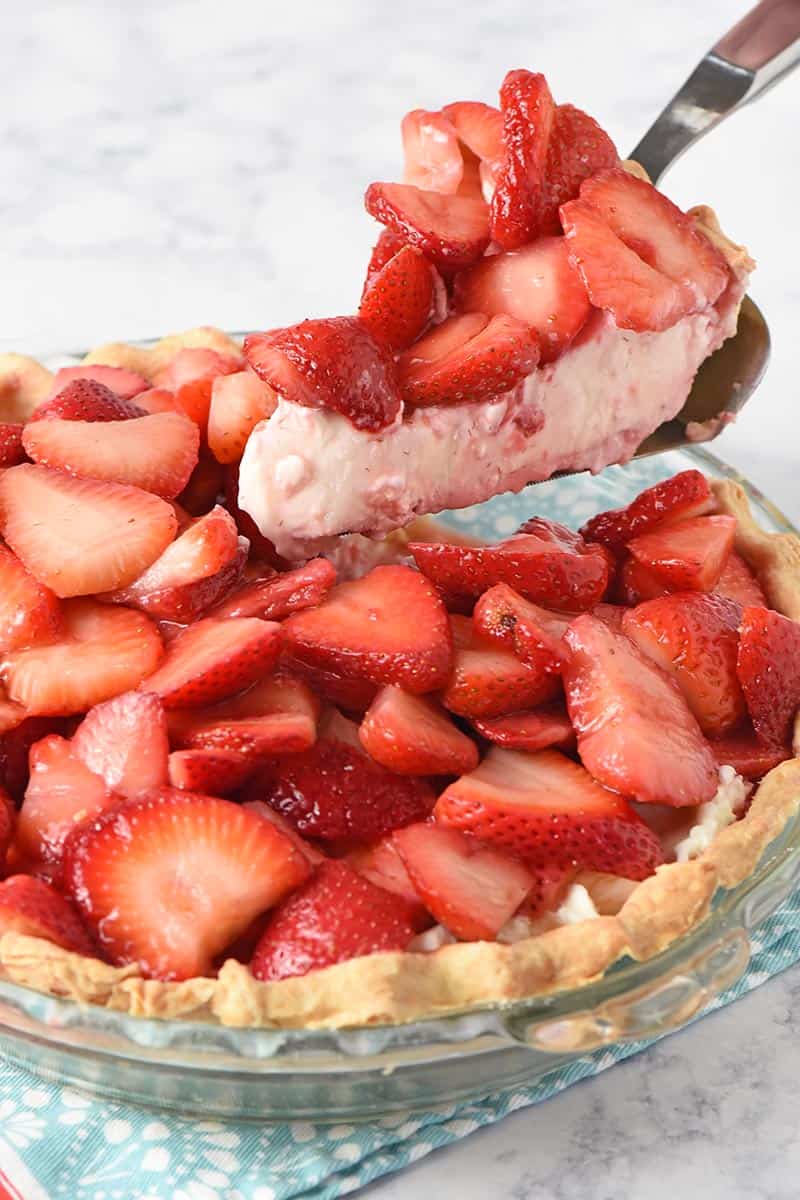
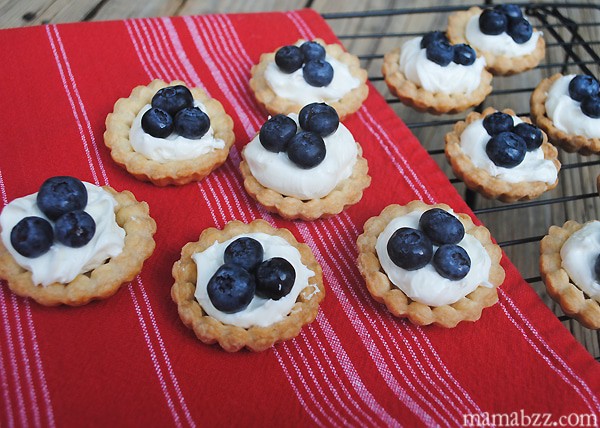
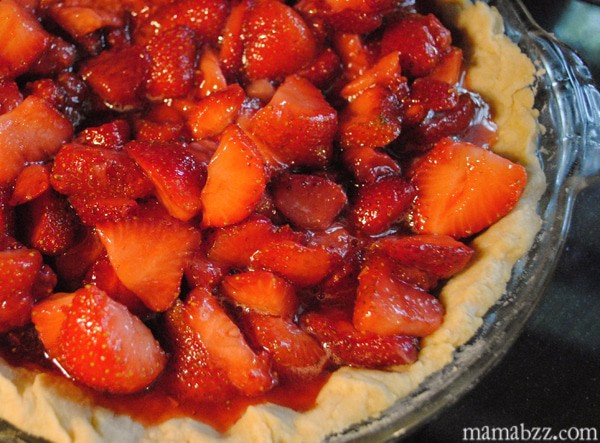
- Top with the berries; you can put as few or as many as you like. We prefer to pile our strawberry pie sky high with berries.
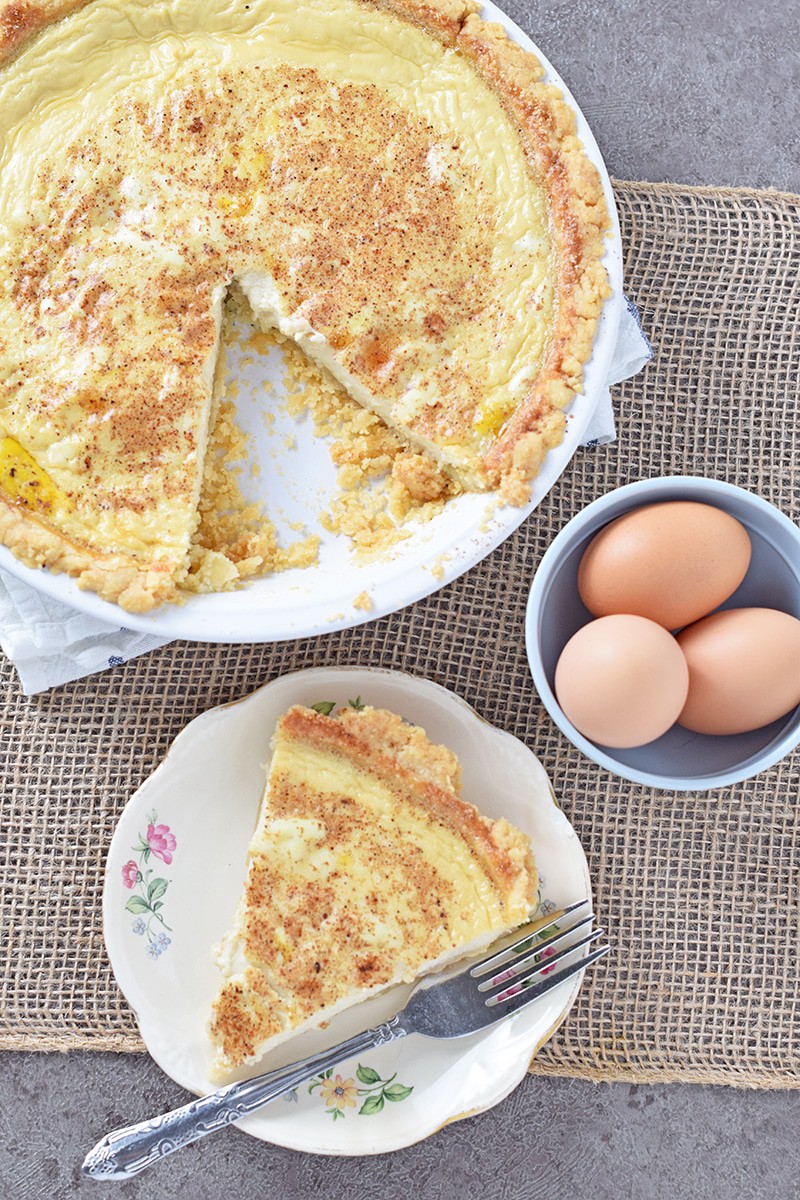
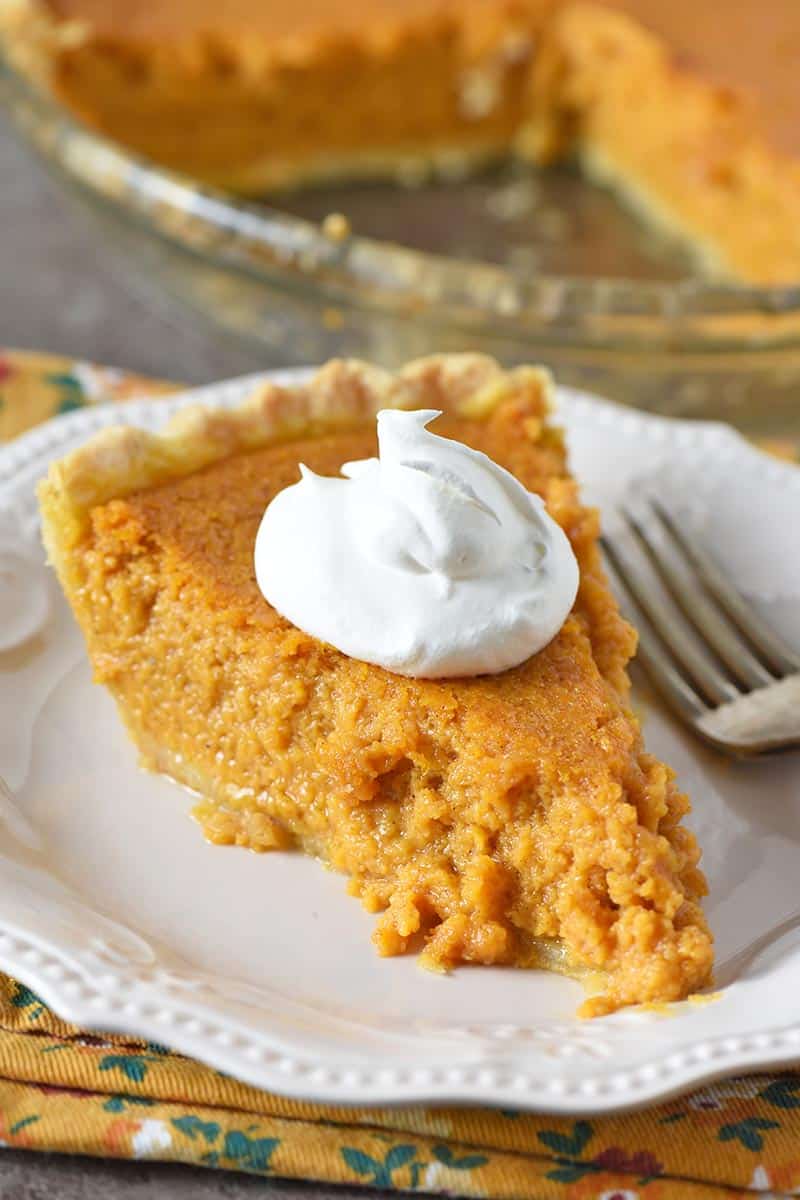
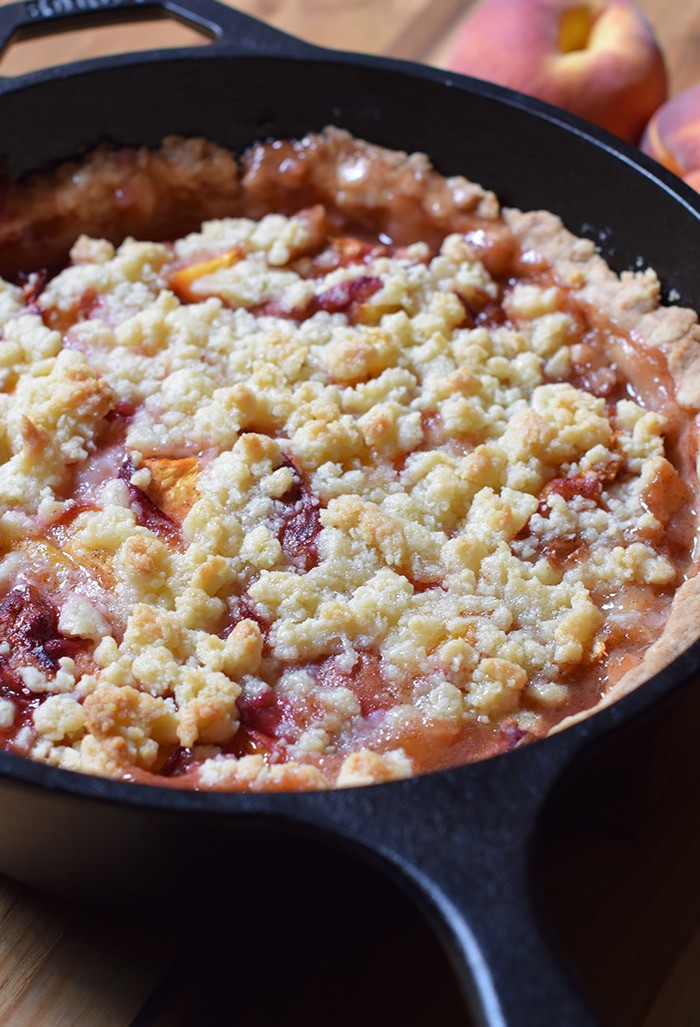
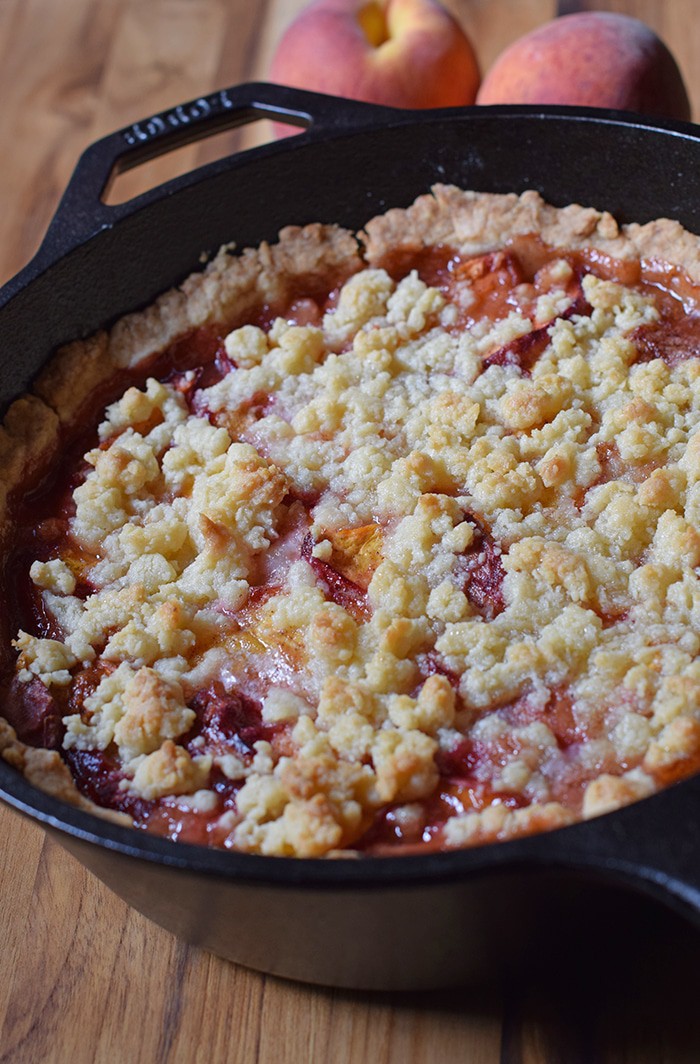
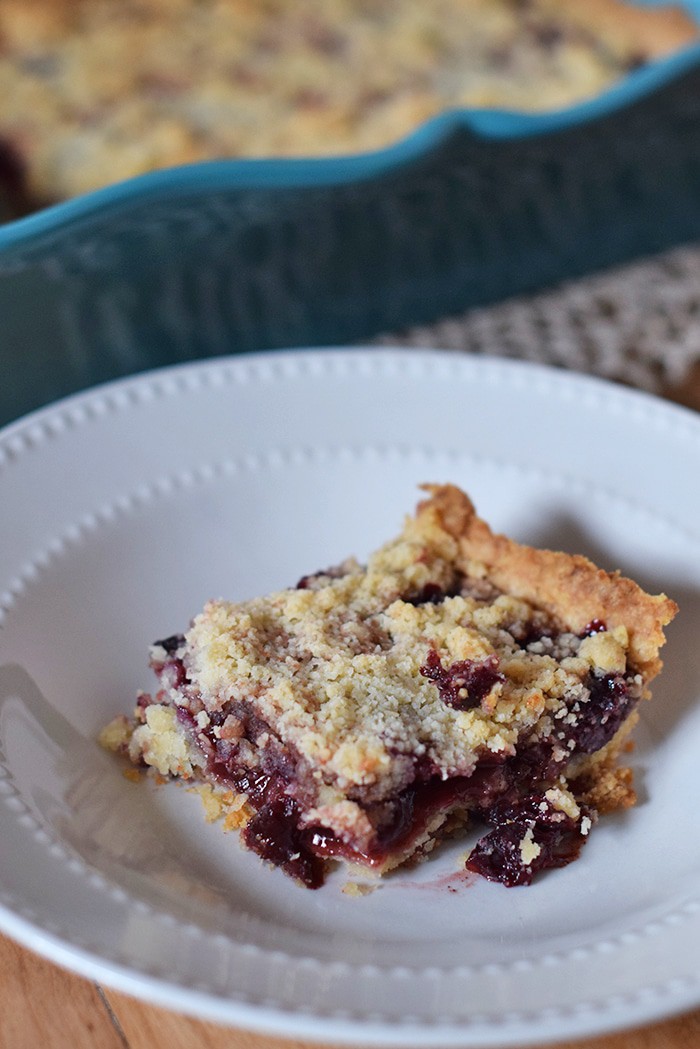
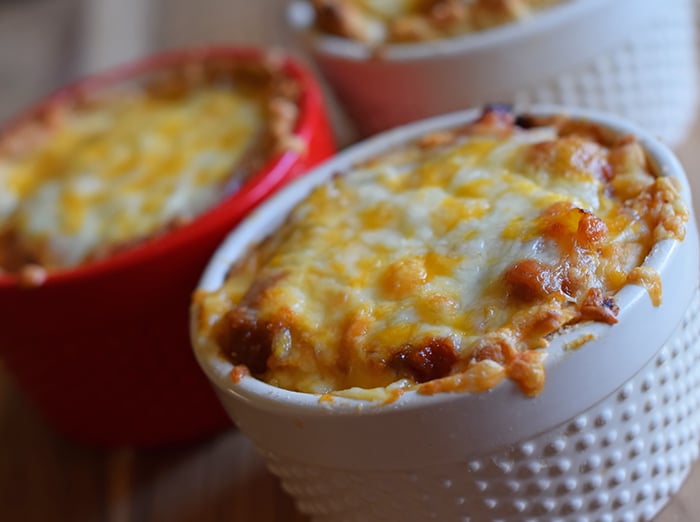
Chill the pie in the fridge for at least 1-2 hours. We think it tastes even better the next day, so if you’re able to chill it overnight, go for it.
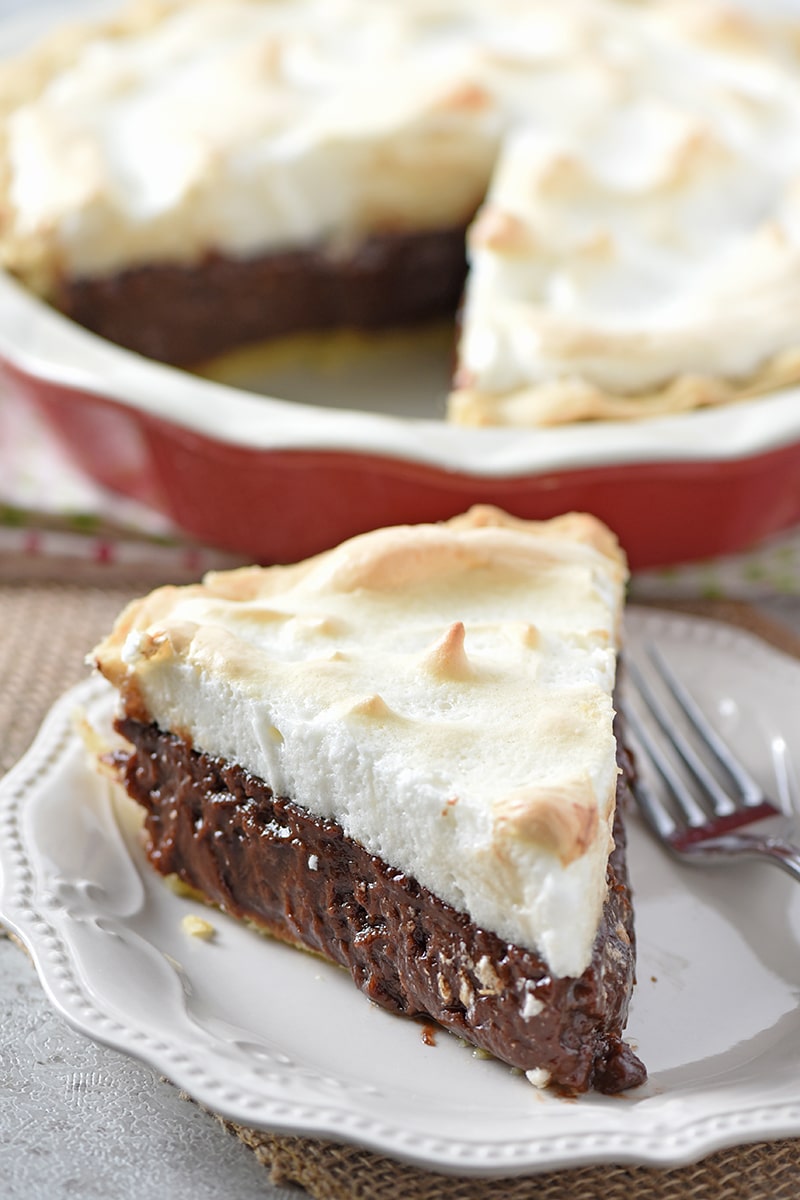
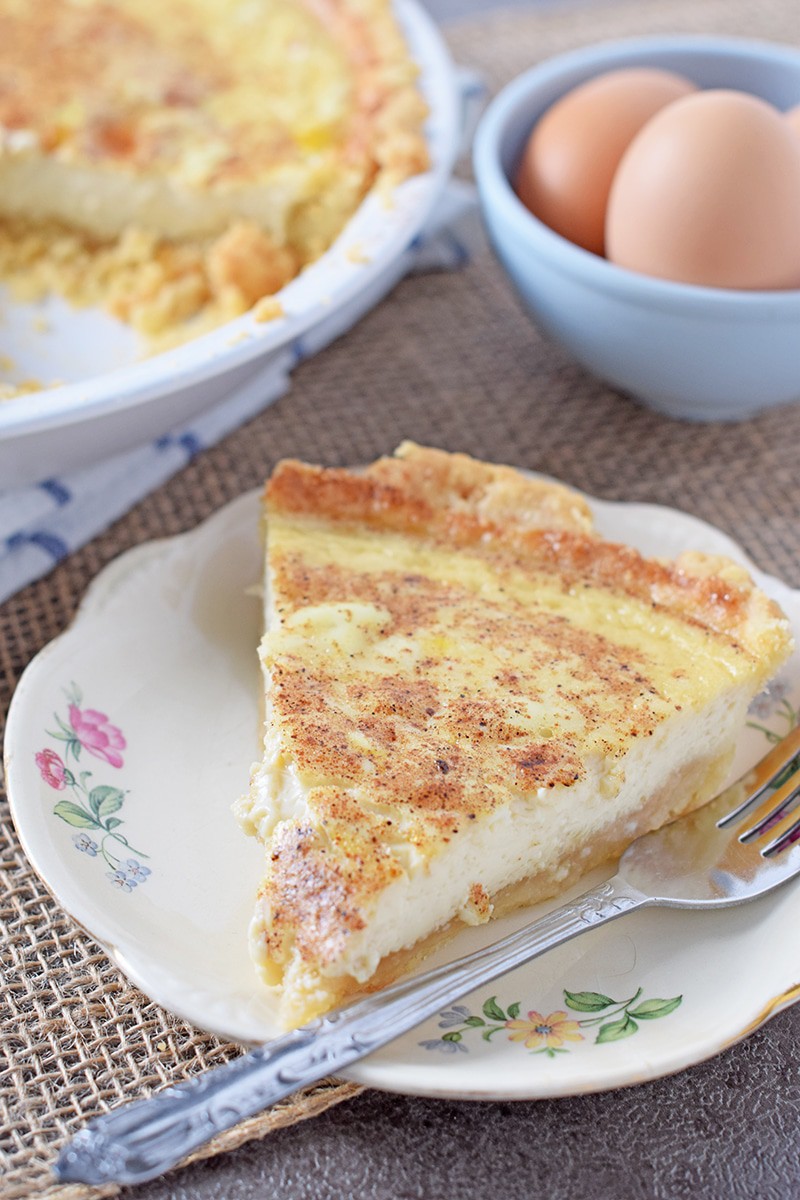
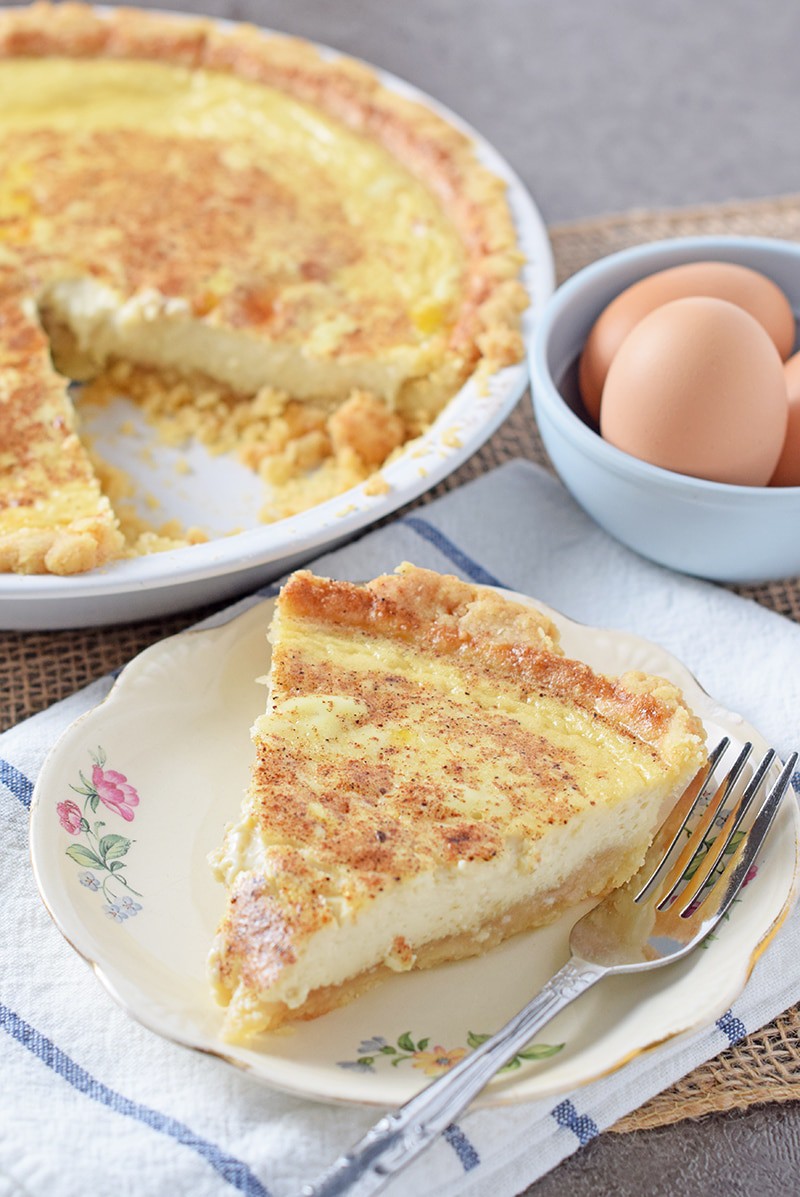
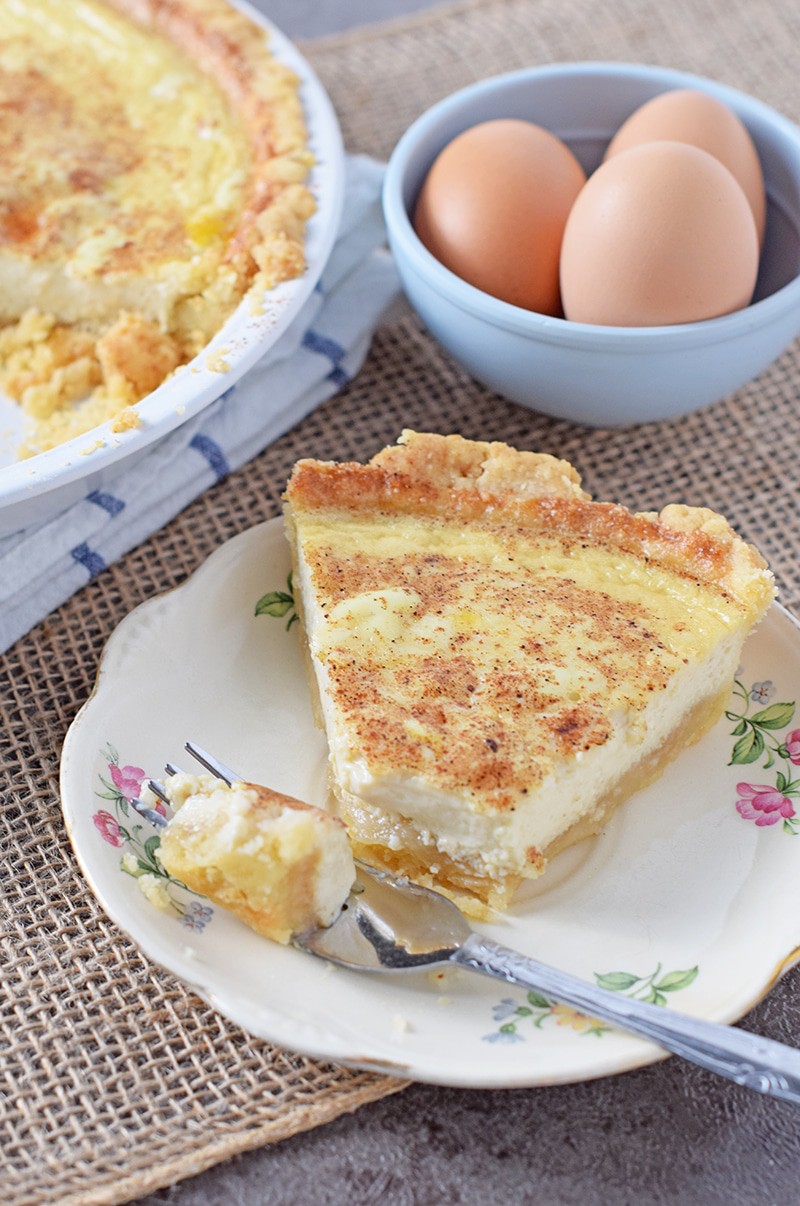
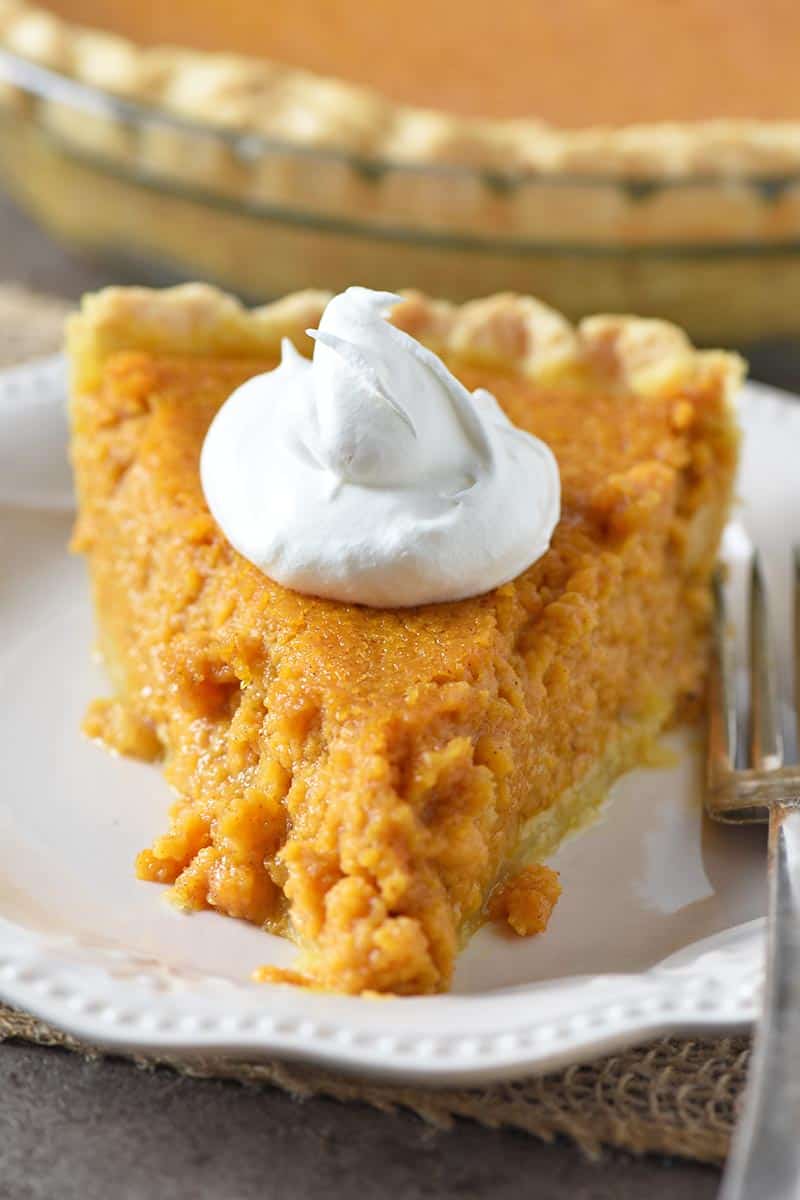
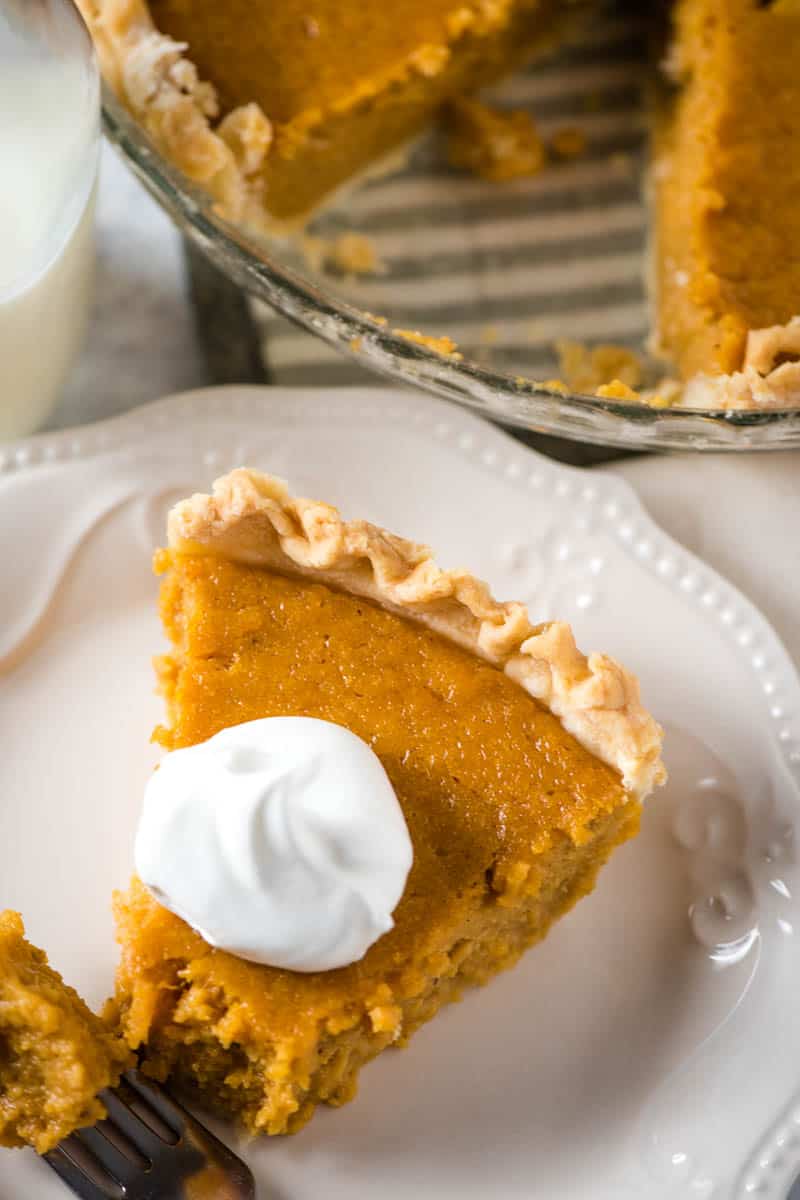
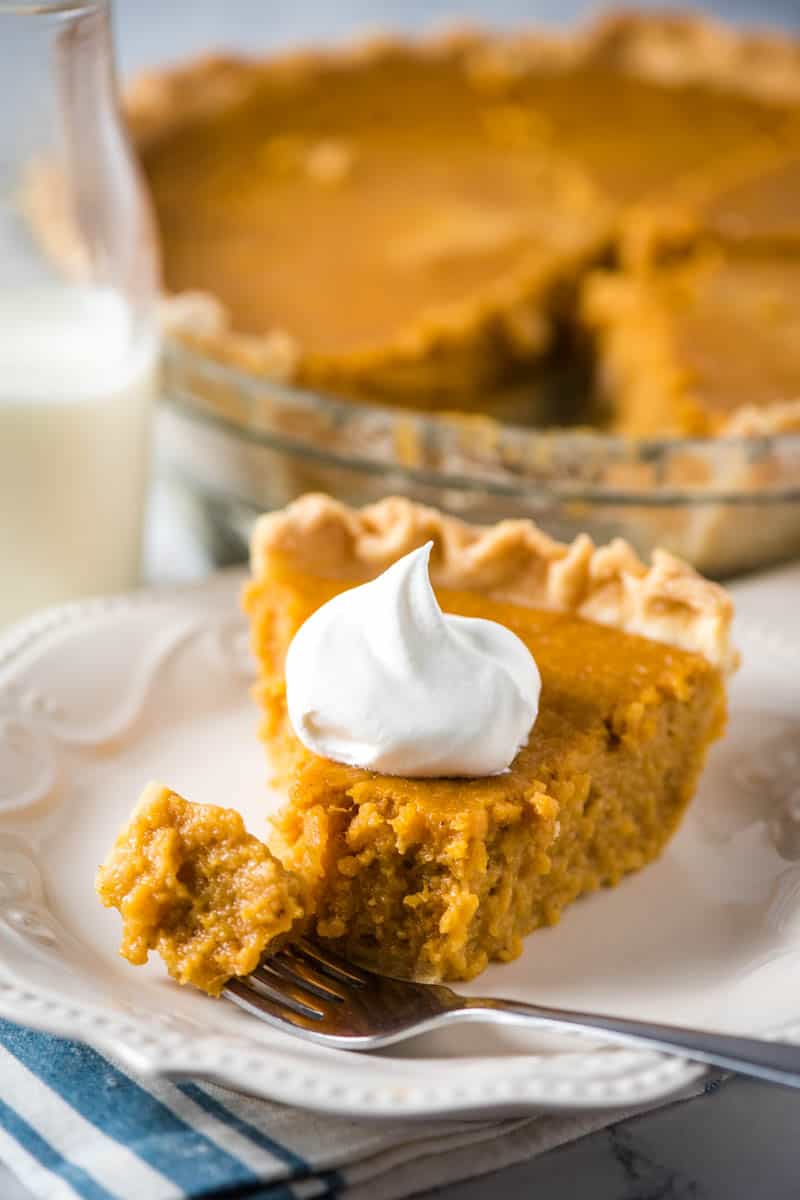
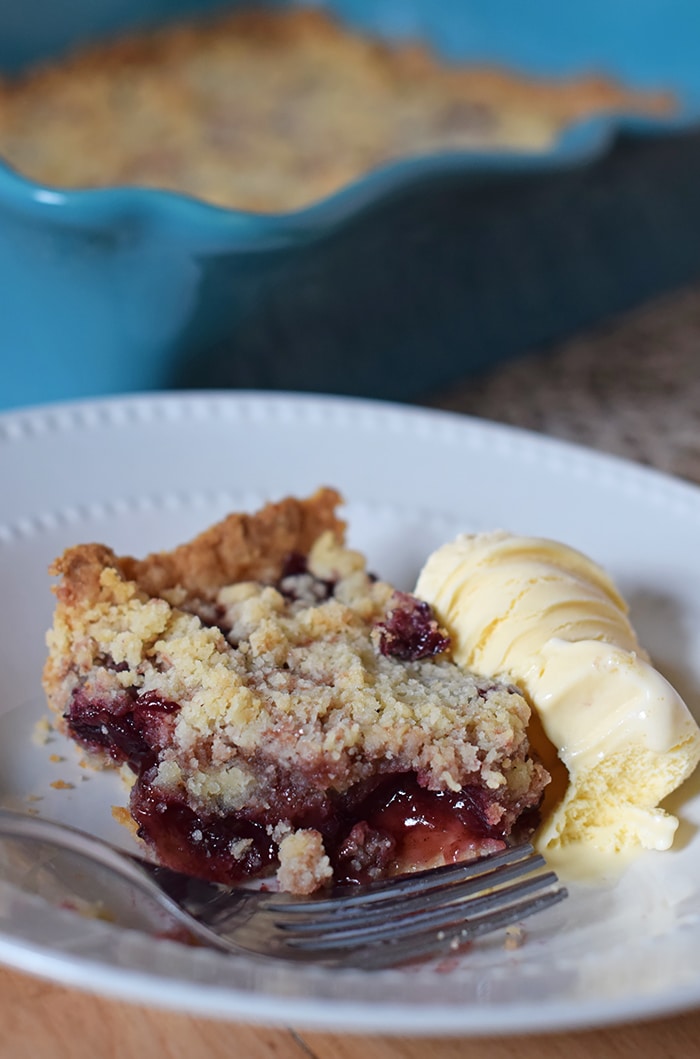
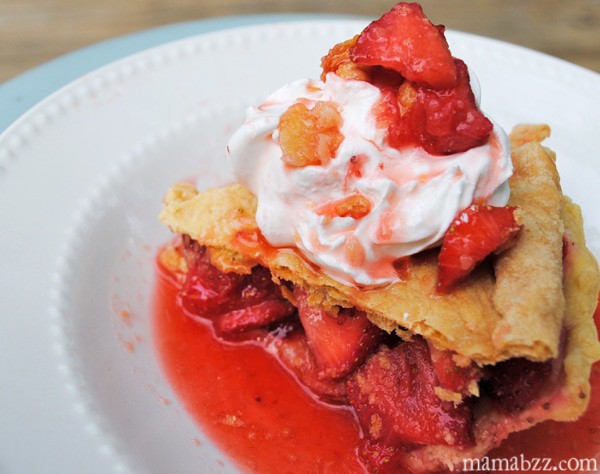
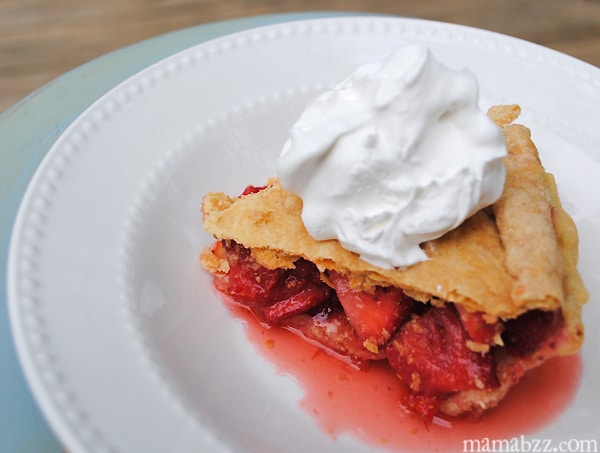
Then when you’re ready to serve, just slice it up and serve!
MORE NO BAKE DESSERTS
CAN YOU FREEZE STRAWBERRY CREAM PIE?
Yes, you can freeze strawberry cream pie, filling and all. Just make sure it’s covered well or stored in an airtight container, so it doesn’t get freezer burn.
Strawberry pie should keep in the freezer for about 6 months or less.
SHOP KITCHEN TOOLS FOR THIS RECIPE:
Spatula – You know I can’t cook or bake without my trusty spatulas. A spatula is the perfect tool to spread the creamy filling into the pie crust.
Over-the-Sink Colander – This comes in handy for rinsing the berries after you’ve washed/soaked them.
Paring Knife – Yet another one of those handy kitchen tools I couldn’t live without, perfect for slicing the berries.
Mixing Bowl – You’ll need a bowl for both the strawberries and one for your pie filling. Of course, I love my batter bowl and use it for just about every recipe.
Mixer – A mixer makes quick work of mixing up the pie filling.
Pie Plate – Definitely needed to make a pie, and it’s even better when it’s pretty.
GET THE PRINTABLE RECIPE
If you love this recipe as much as we do, please write a 5 star review, and help me share the recipe on Facebook and Pinterest!
CONNECT WITH ADVENTURES OF MEL!
Be sure to follow me on social, so you never miss a post!
Facebook | Pinterest | YouTube | Instagram | Twitter
Sign up to receive my newsletter, filled with delicious recipes and outdoor travel adventures, in your inbox:
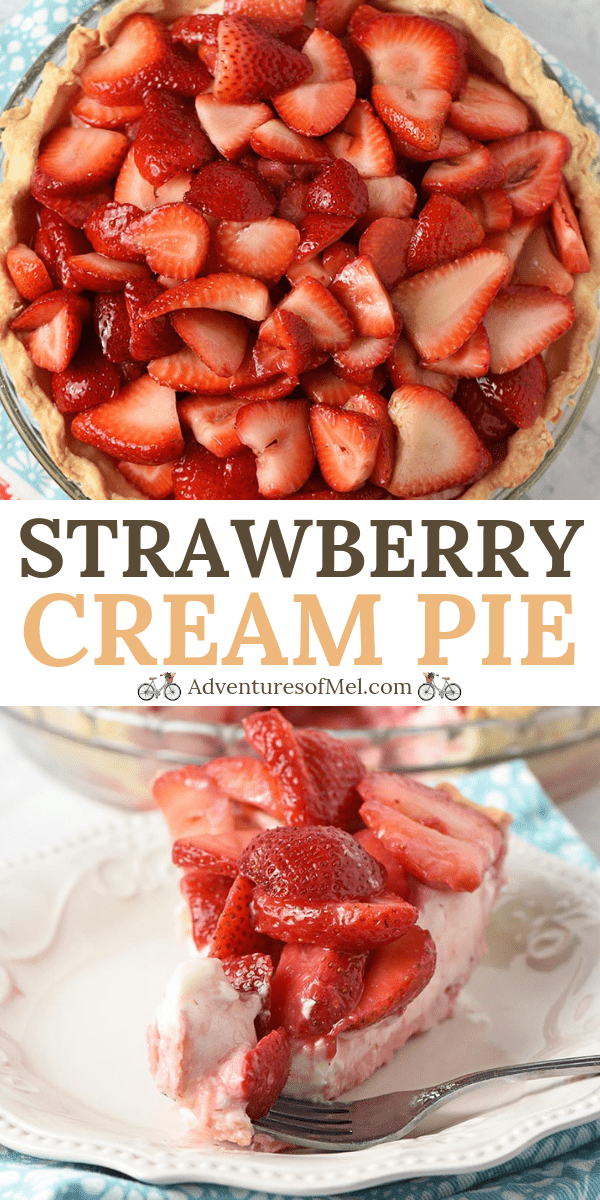
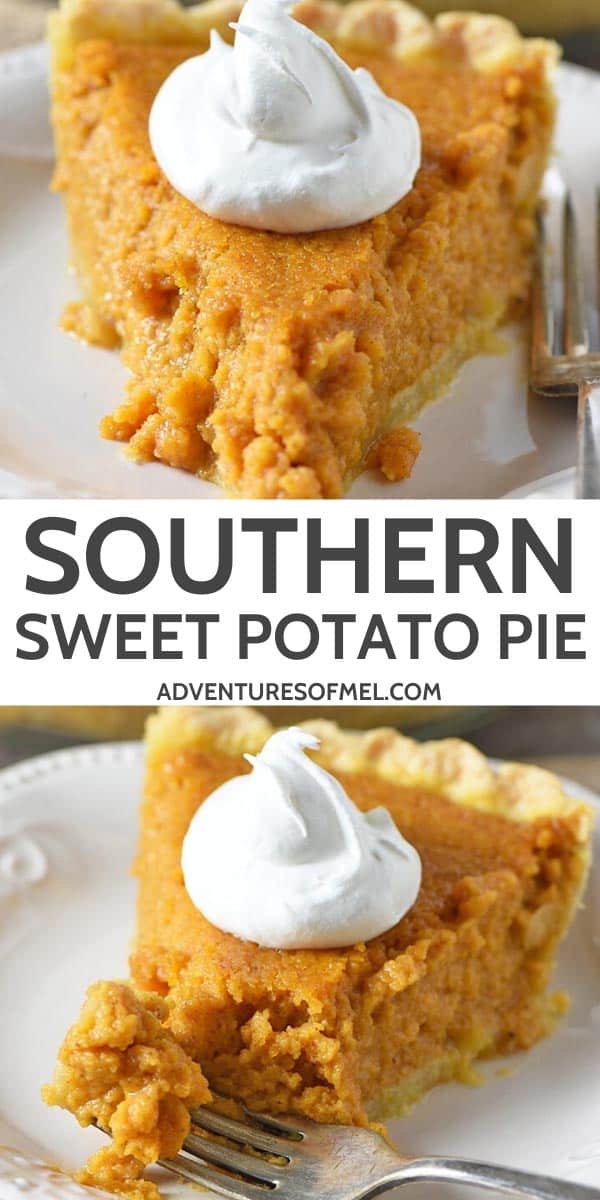
Scrumptious Strawberry Cream Cheese Pie
Easy recipe for a strawberry cream cheese pie, made with fresh strawberries, a creamy no bake filling, and a simple homemade crust. It’s a family favorite!
- 1 single pie crust (*)
- 3-4 cups strawberries (sliced)
- 3 tablespoons pure cane sugar
- 16 ounces cream cheese
- 1 1/2 cups powdered sugar
- 1 tablespoon whole milk
- Wash and slice the berries.
- Mix together the berries with the sugar to help them form a little juice.
- In a separate bowl, mix together the cream cheese, powdered sugar, and milk.
- Using a spatula, spread the creamy filling in the pie crust.
- Top the cream cheese filling with the berries; you can put as few or as many as you like. We prefer to pile it high with berries.
- Chill the pie in the fridge for at least 1-2 hours, or even overnight for better results.
- Slice, serve, and enjoy!
*You can make a homemade pie crust, or you can just buy a ready made crust at the grocery store. Other options include this pecan pie crust, this easy press in pie crust, or a graham cracker crust.
Update Notes: This recipe was originally published on May 8, 2017, but was re-published with bigger photos and more details in May of 2018.


 Below, you’ll find a printable recipe, without photos, for your convenience.
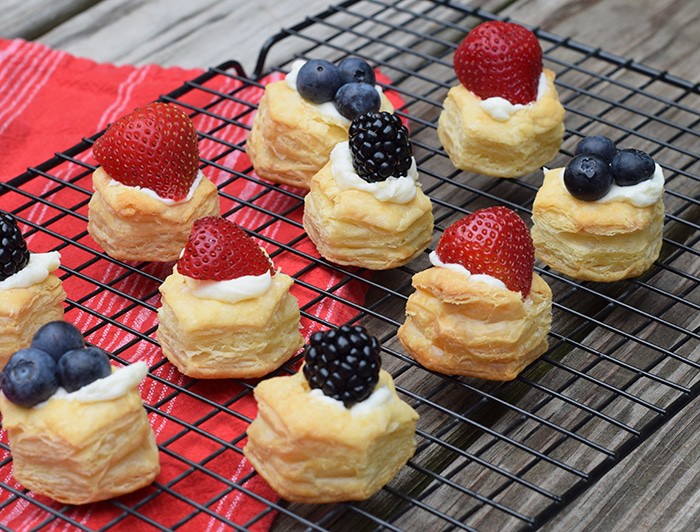
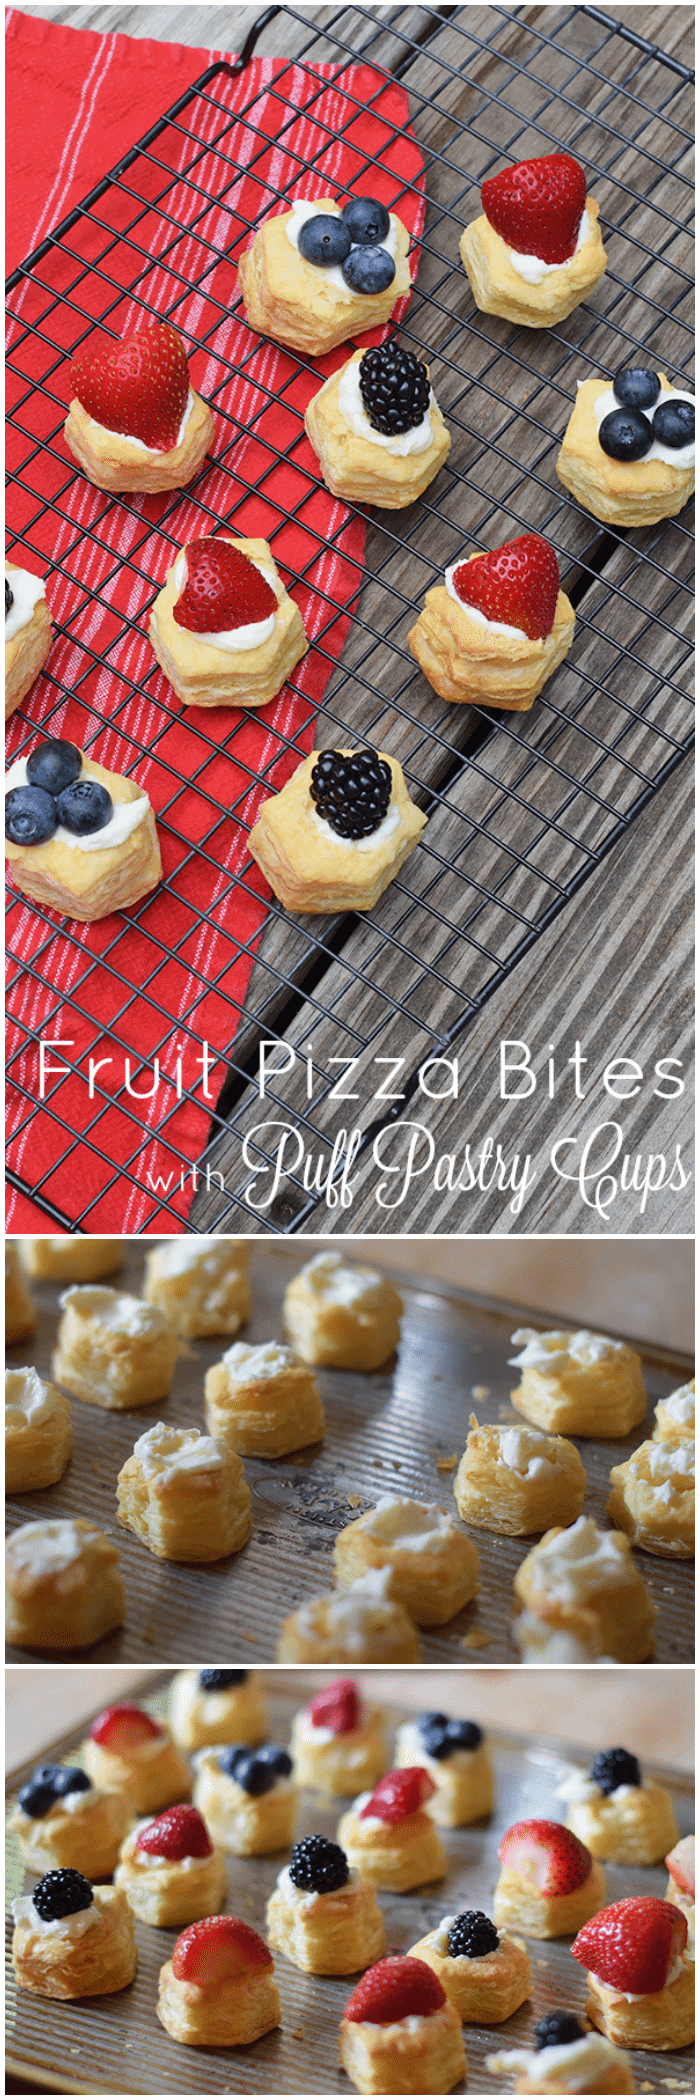
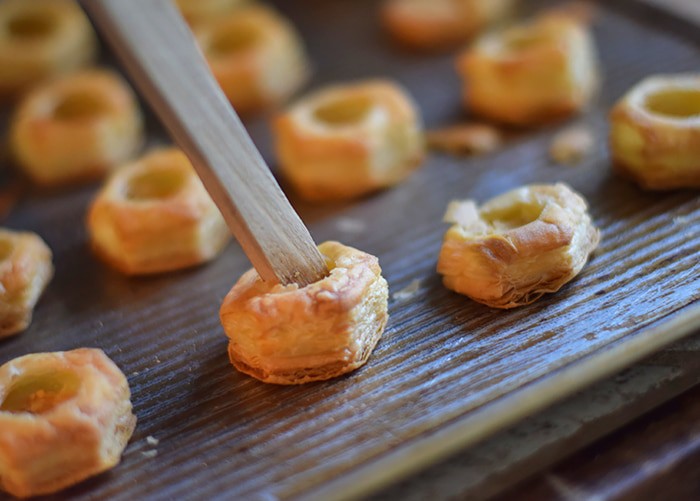
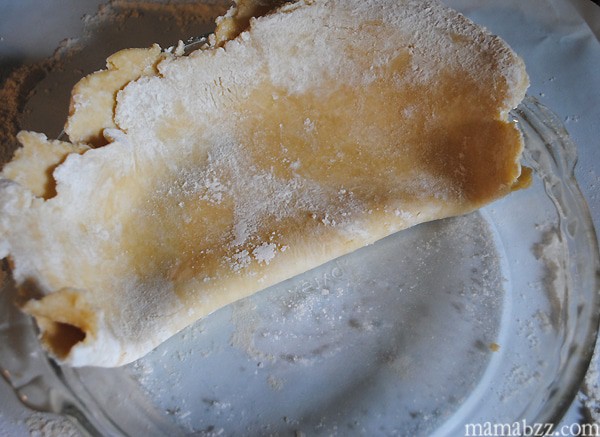
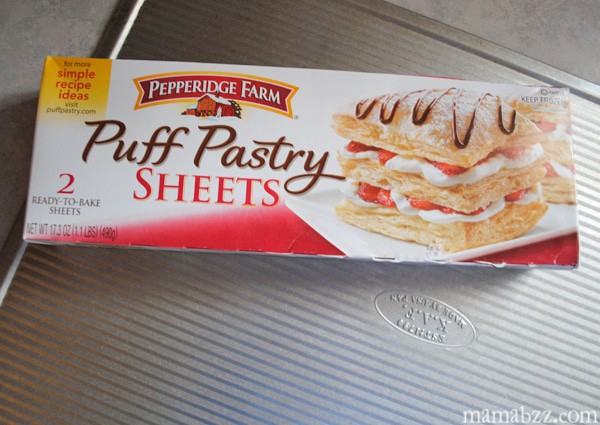 Place pastry sheet on a baking sheet, and bake according to package directions, until golden brown.
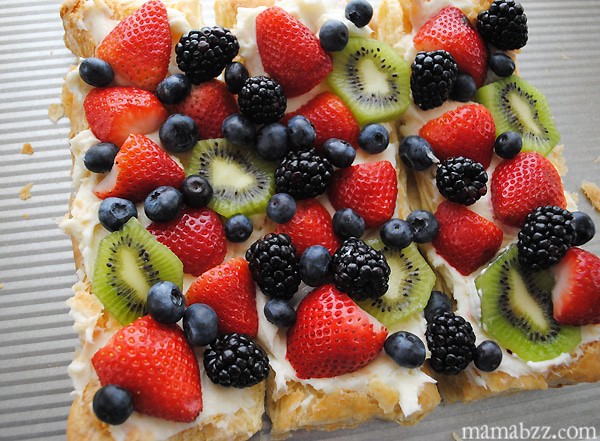
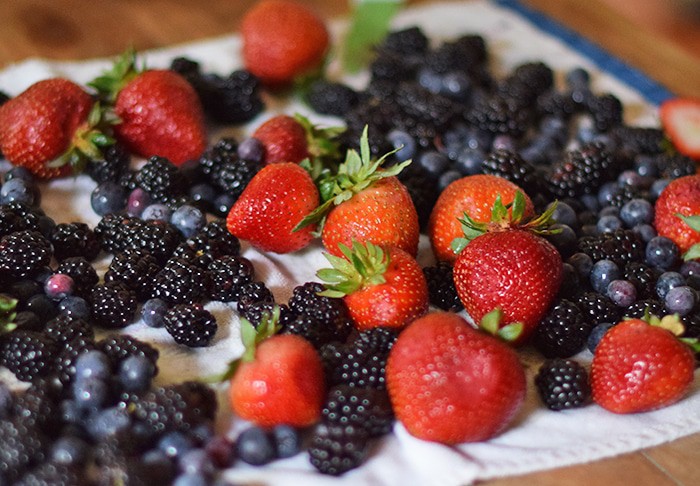
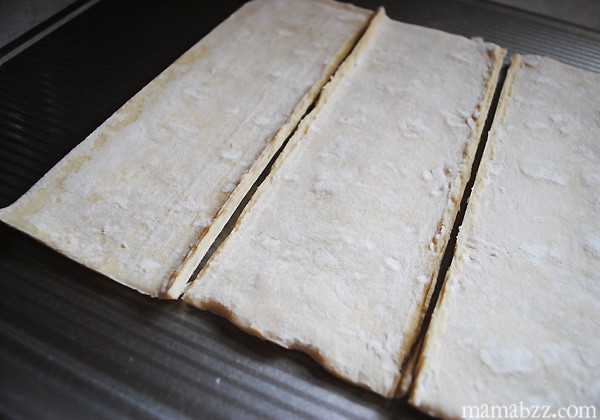 While that’s baking, wash and prepare all your fruit; I like to let mine soak in a vinegar/water mixture.
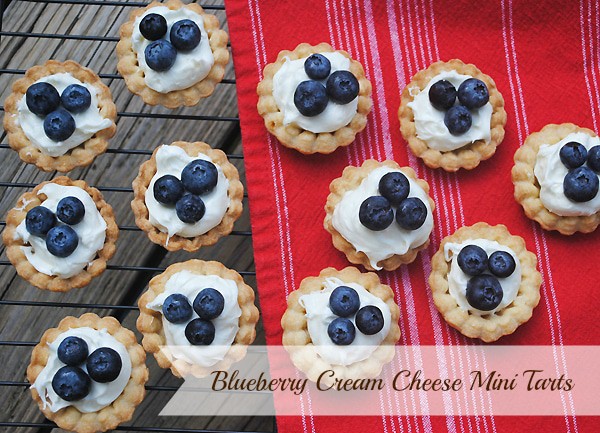
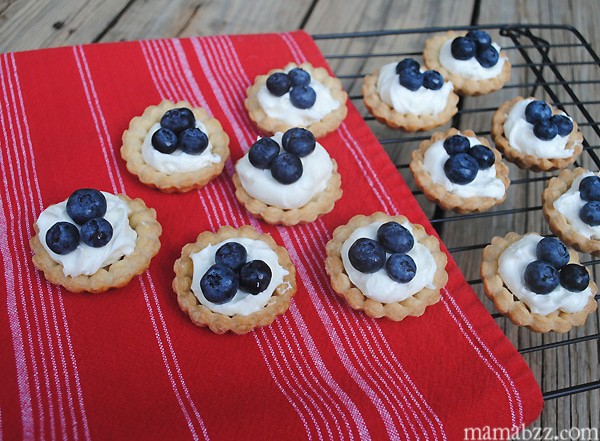
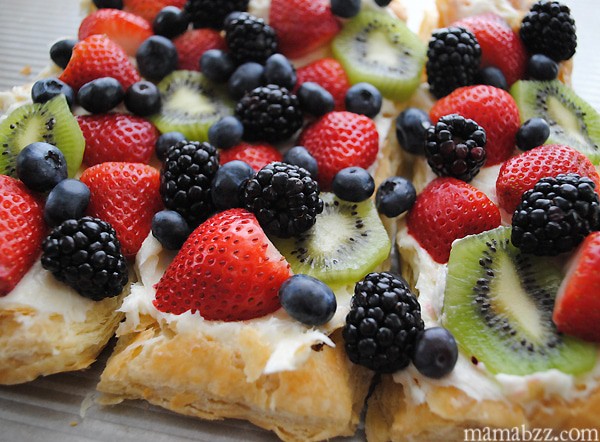
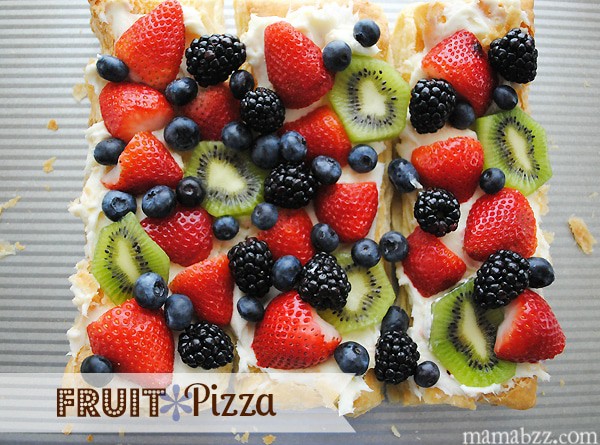
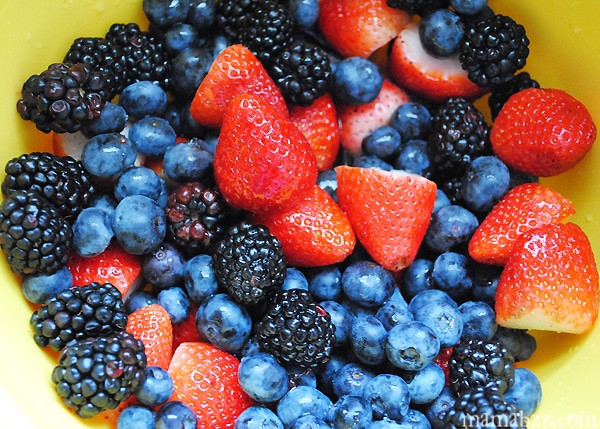 We use blueberries, strawberries, blackberries, and kiwi.
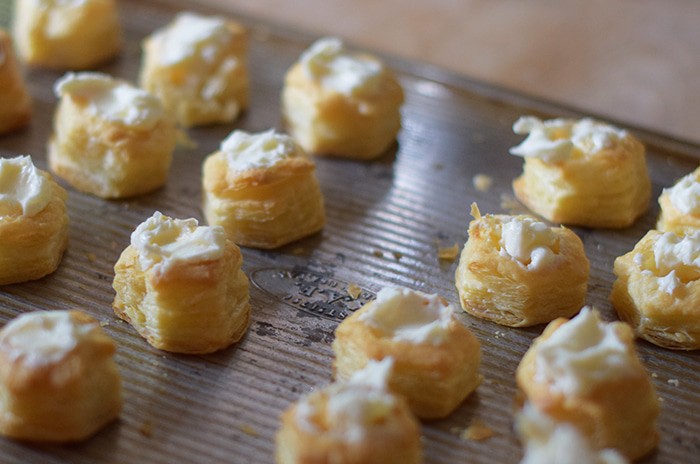
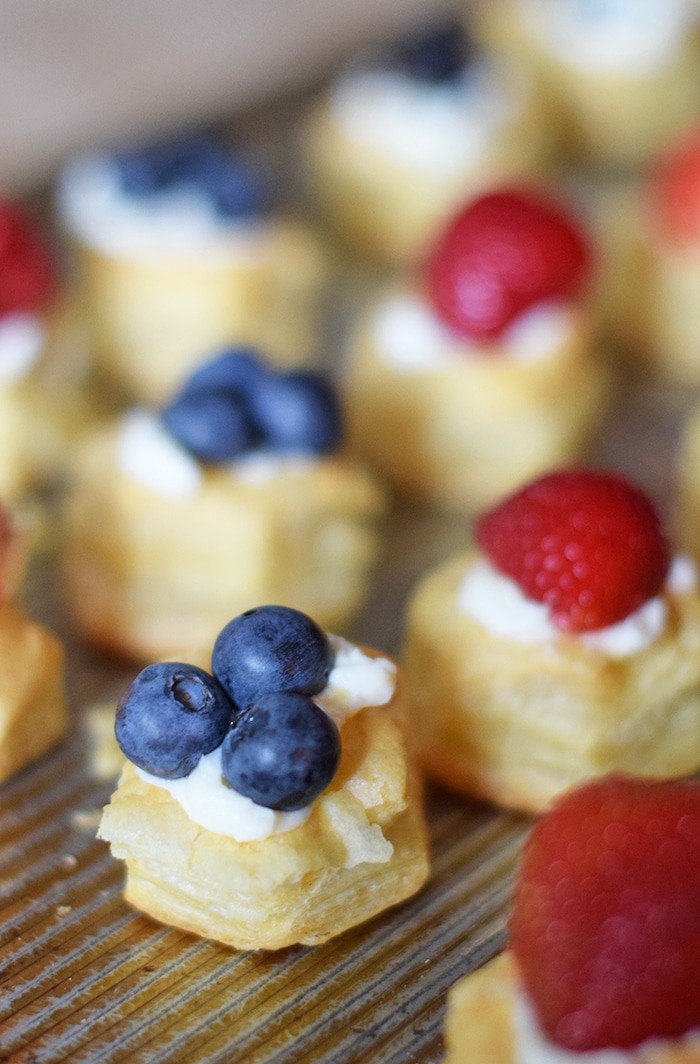
 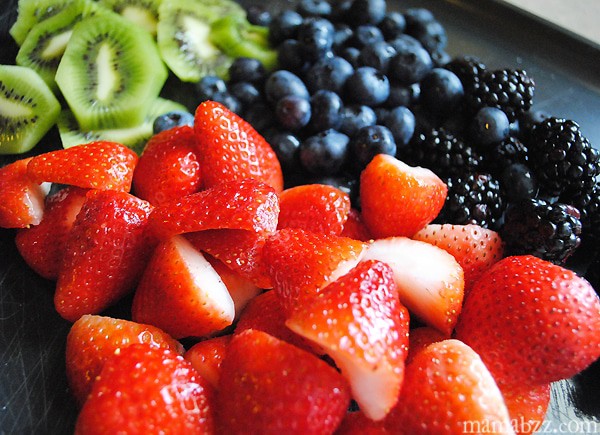 Mix cream cheese and powdered sugar together.
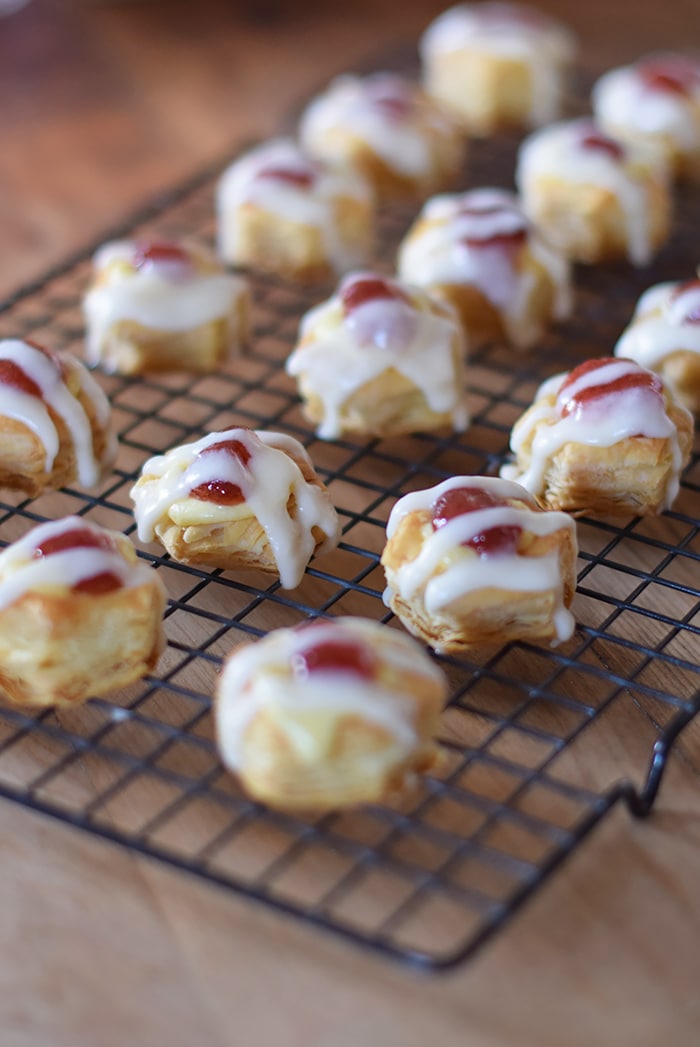
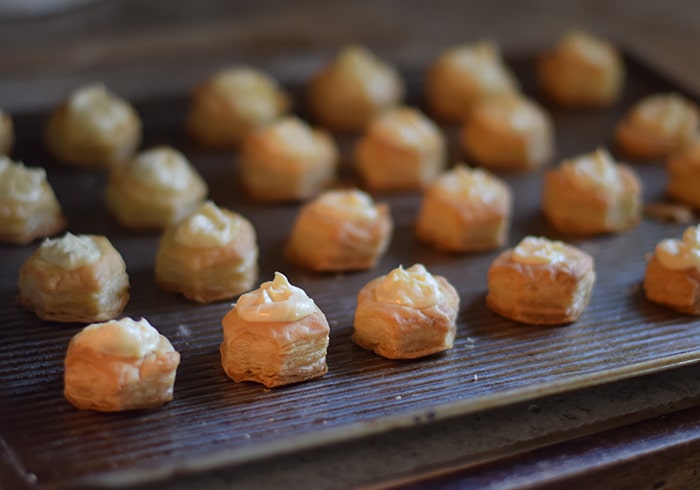
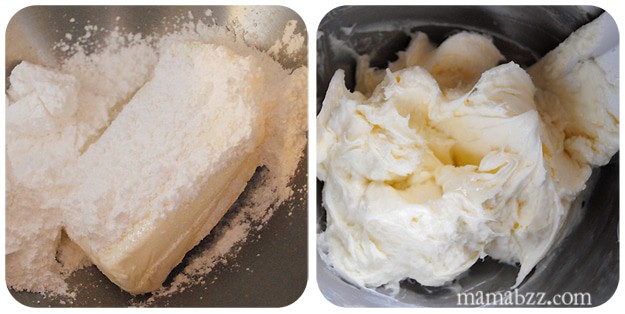 Once puff pastry has fully baked and cooled, spread cream cheese mixture onto puff pastry; this is tricky, because the pastry is very flaky.
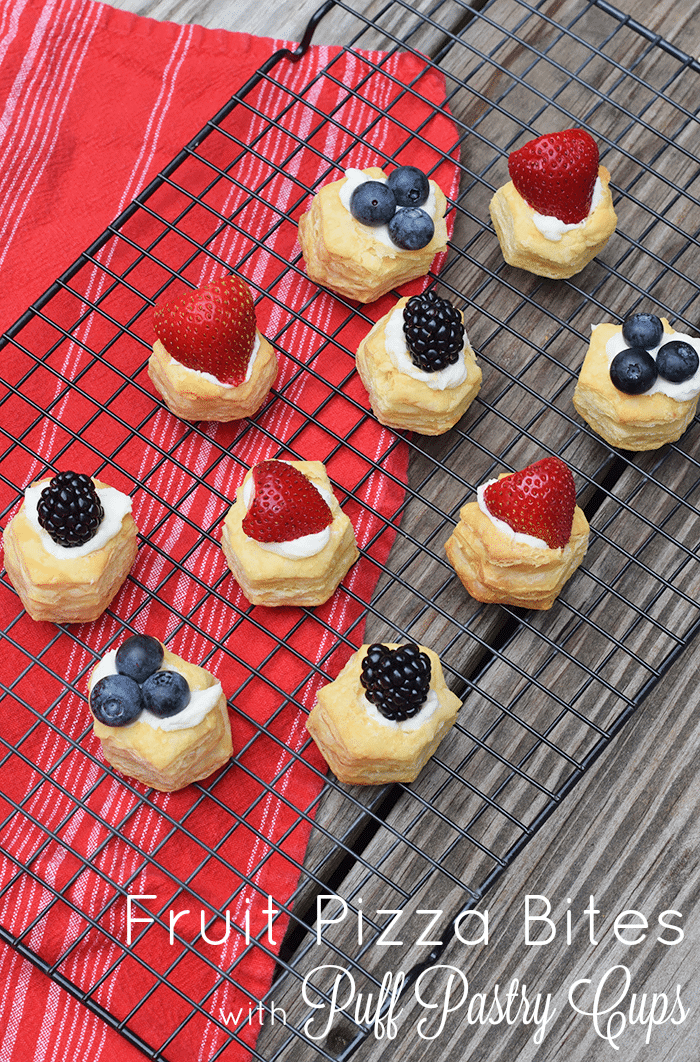
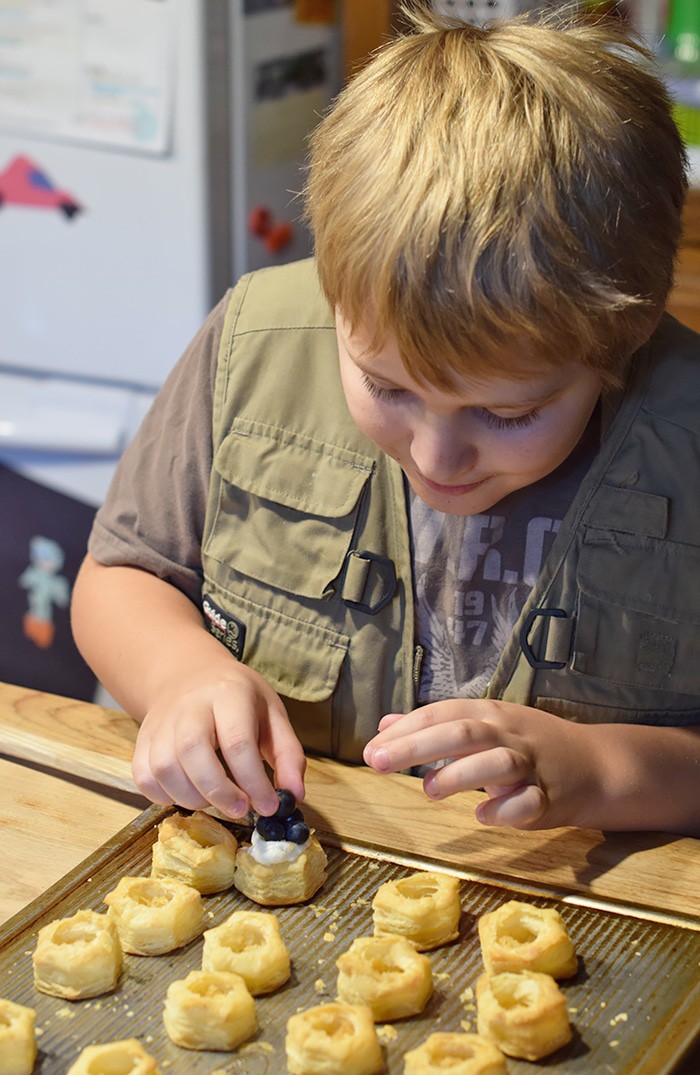
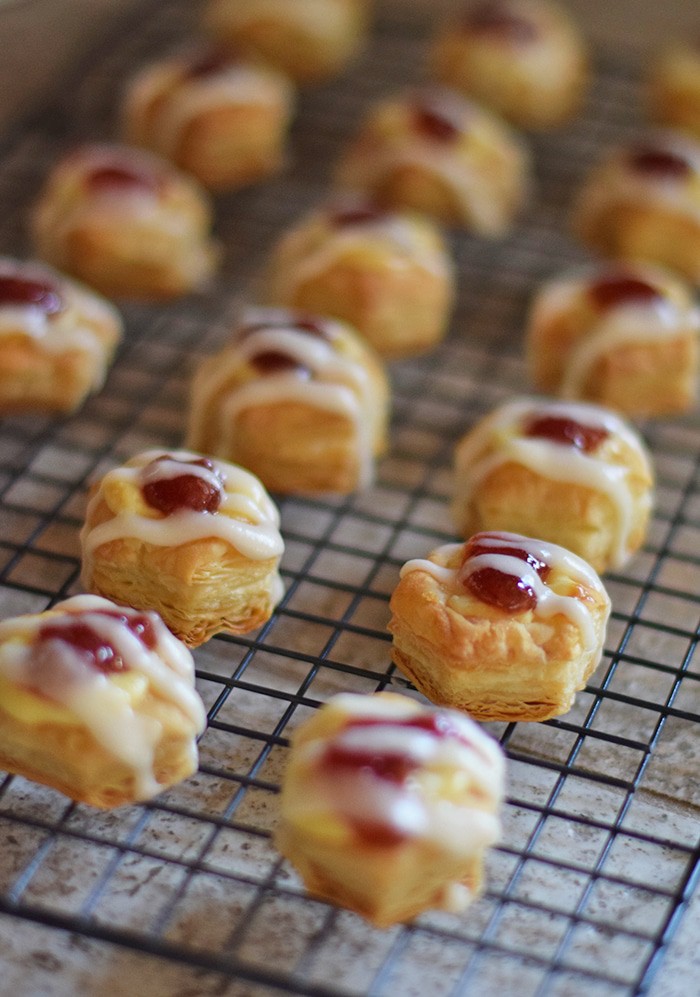
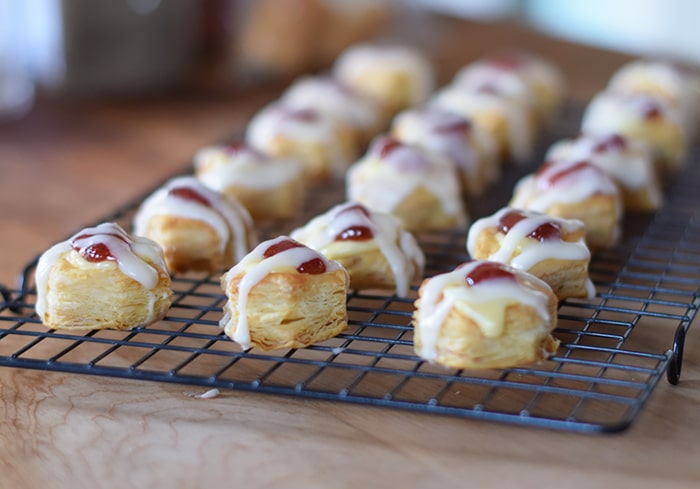
 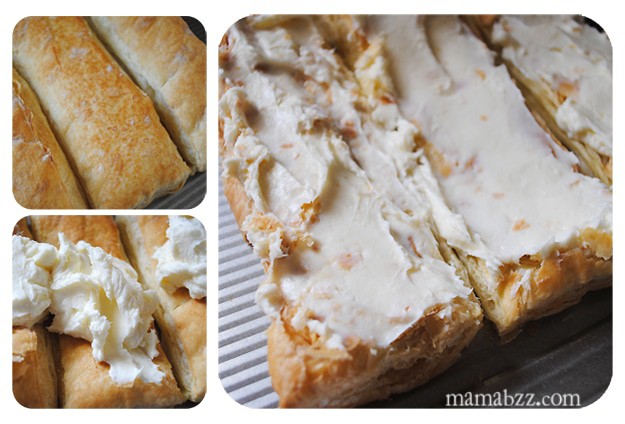 Finally, just add fruit, as desired. Add as much fruit as your family prefers. We like to pile ours up. The more colorful, the better.