How to make the best homemade mulling spice recipe in 10 minutes or less. Use this simple and versatile spice mix in all your favorite holiday drinks, in festive seasonal decorations, or as the ultimate gift in a jar for all your family and friends!
This fragrant spice mix is so warm and comforting on a cold fall or winter day. I use it to make my favorite slow cooker mulled apple cider recipe, filling our house with the sweet, rich aroma of fall spices. This never fails to put everyone in the holiday spirit!

I like to keep as many seasonings, spices and mixes on hand as possible, like apple pie spice, pumpkin pie spice and homemade hot chocolate mix. The great thing about this mulling spice recipe is that you can customize it fully to your preference in flavor. Sometimes it can even save a little bit of money!
What Is Mulling Spice?
Mulling spices are a traditional holiday spice mixture used in many hot beverages, like mulled apple cider and mulled wine. You can buy pre-packaged mulling spices in the grocery store, but I prefer to make my own.
Ingredients & Substitutions Notes
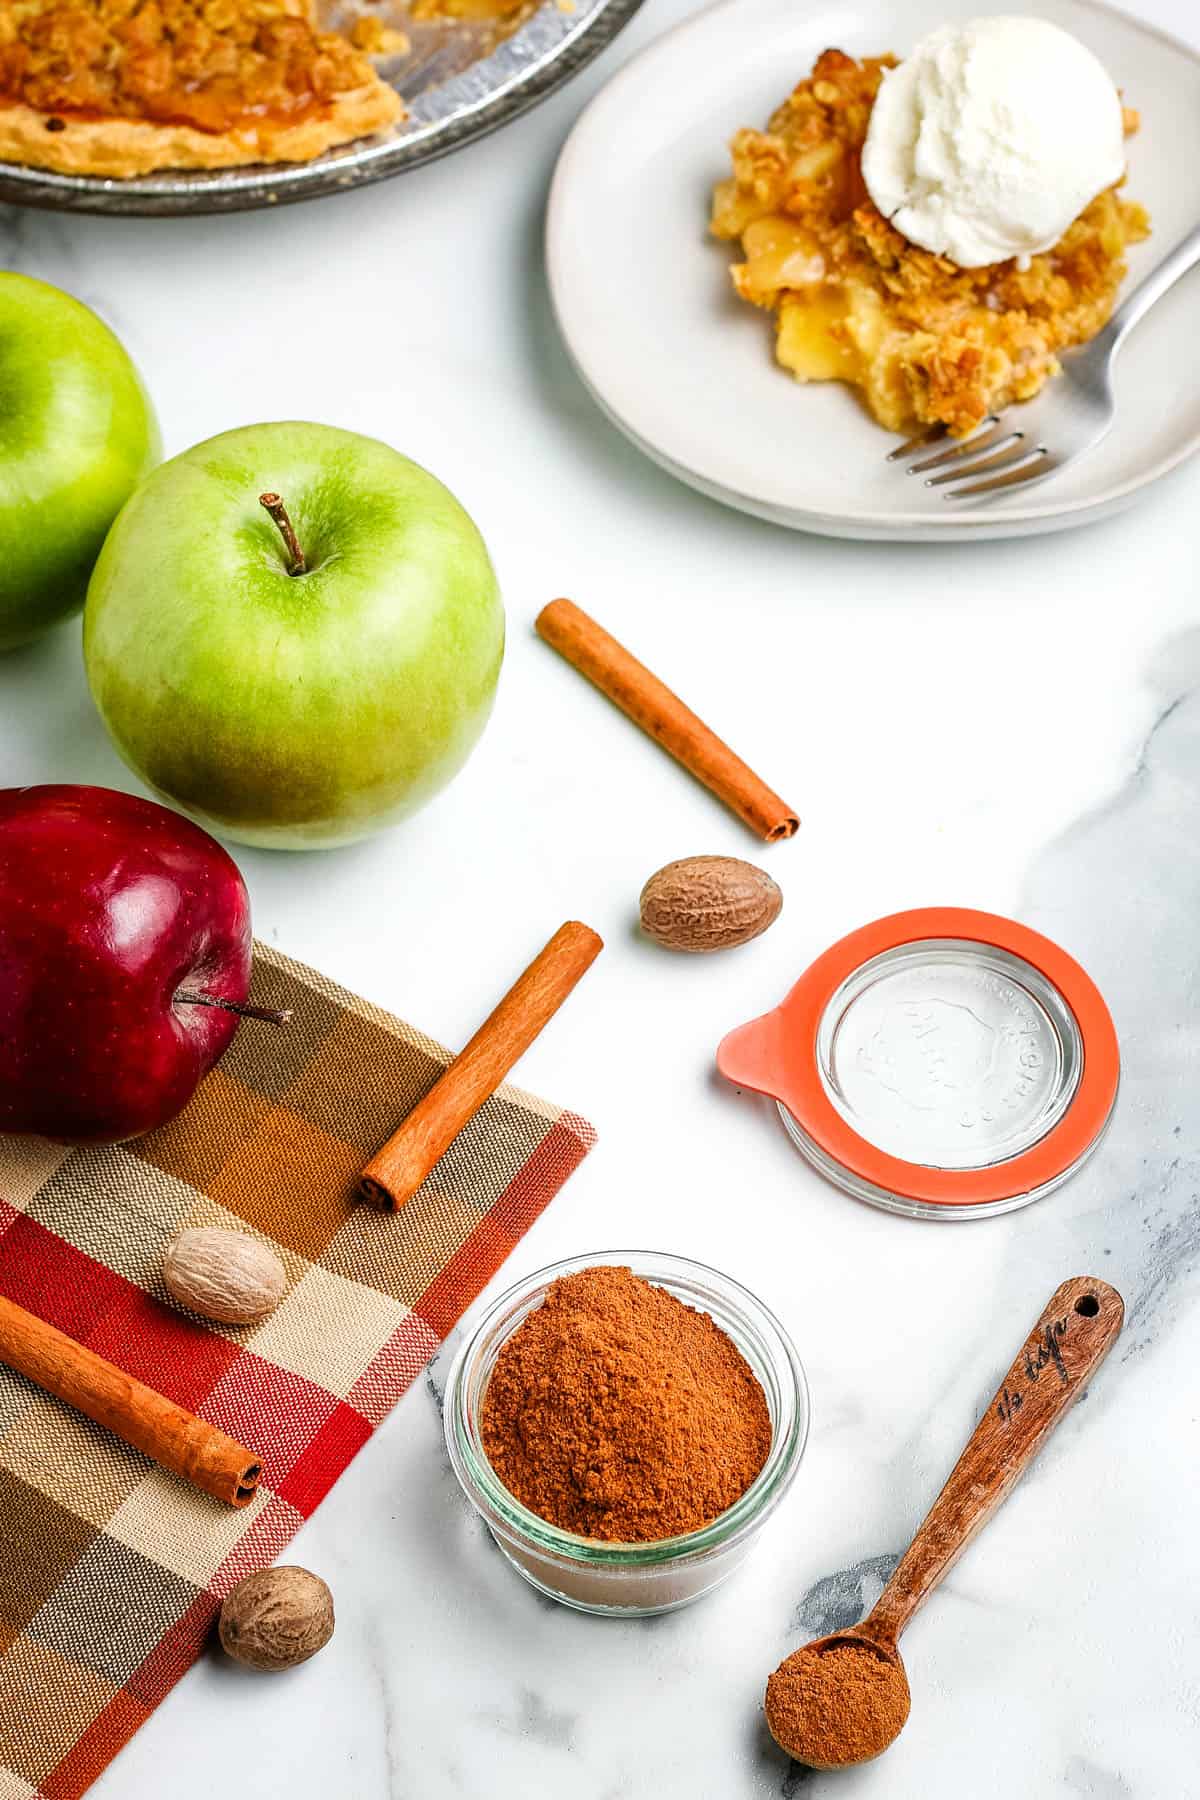
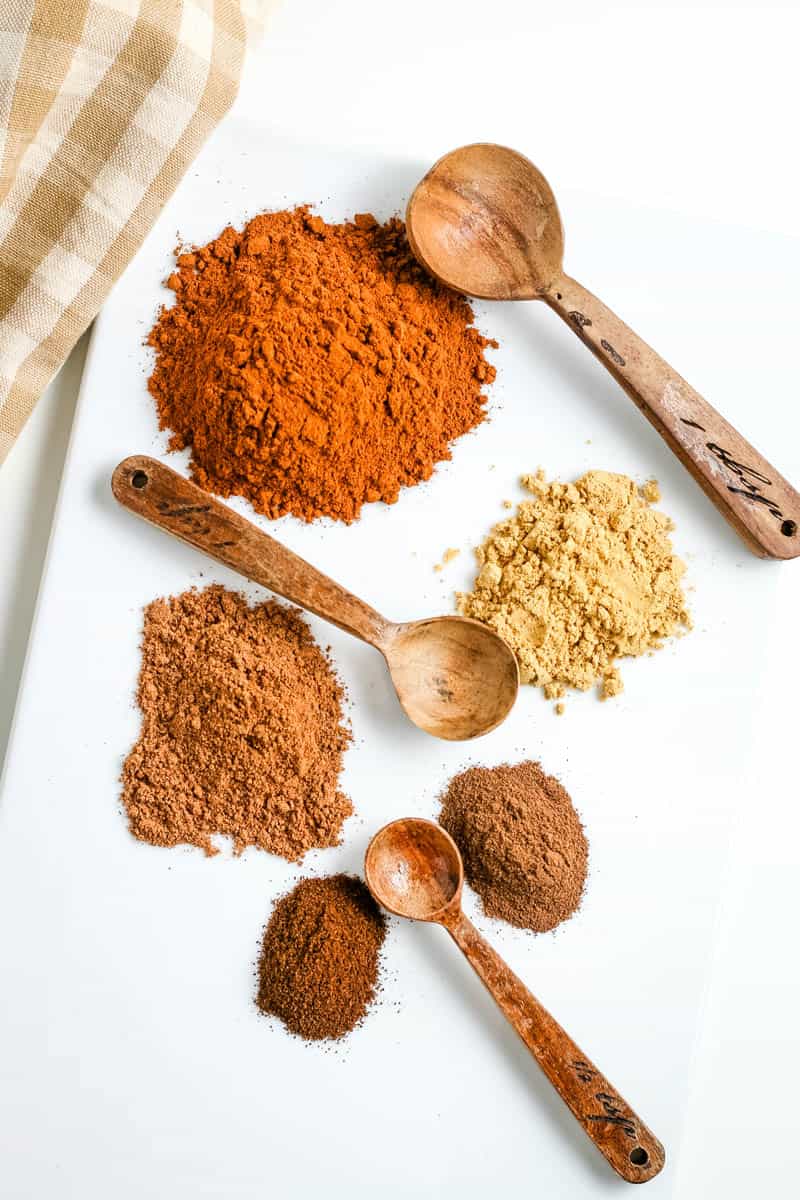
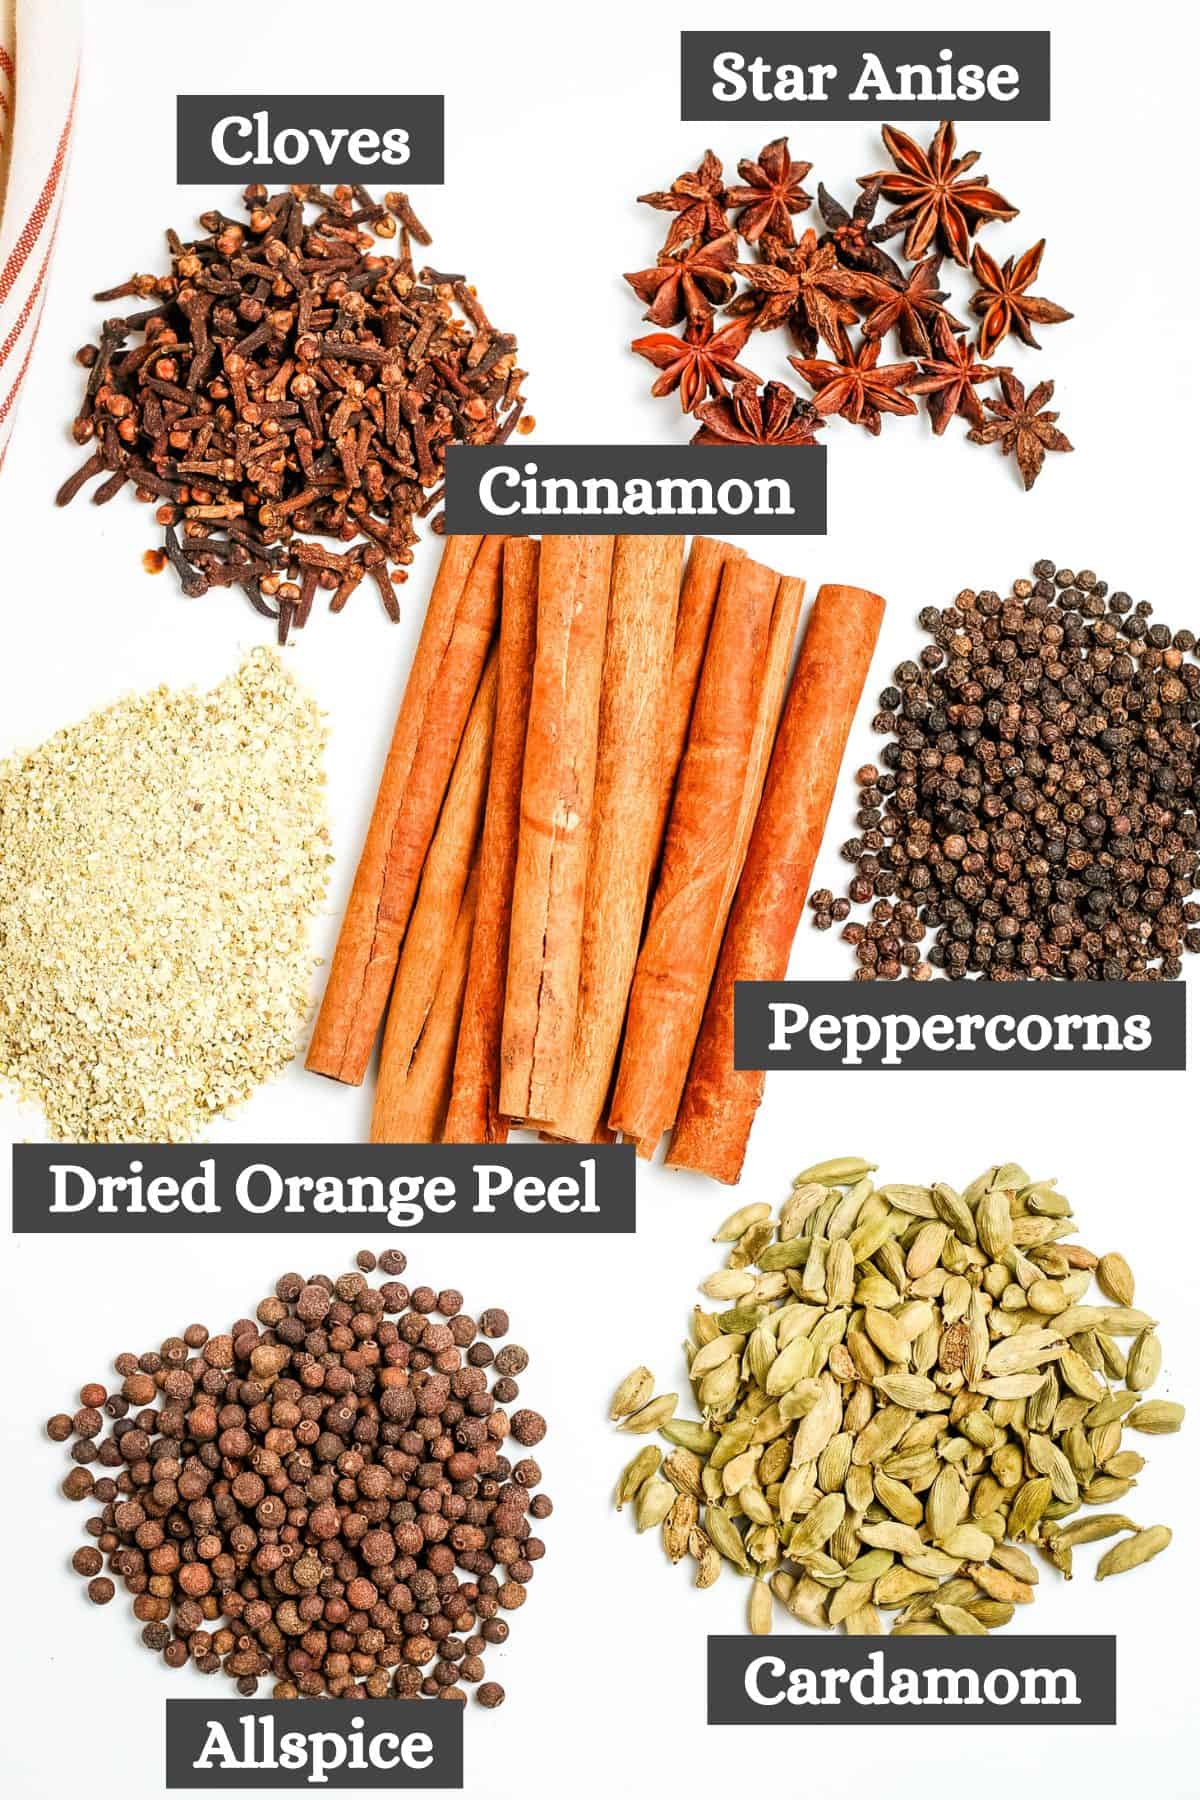
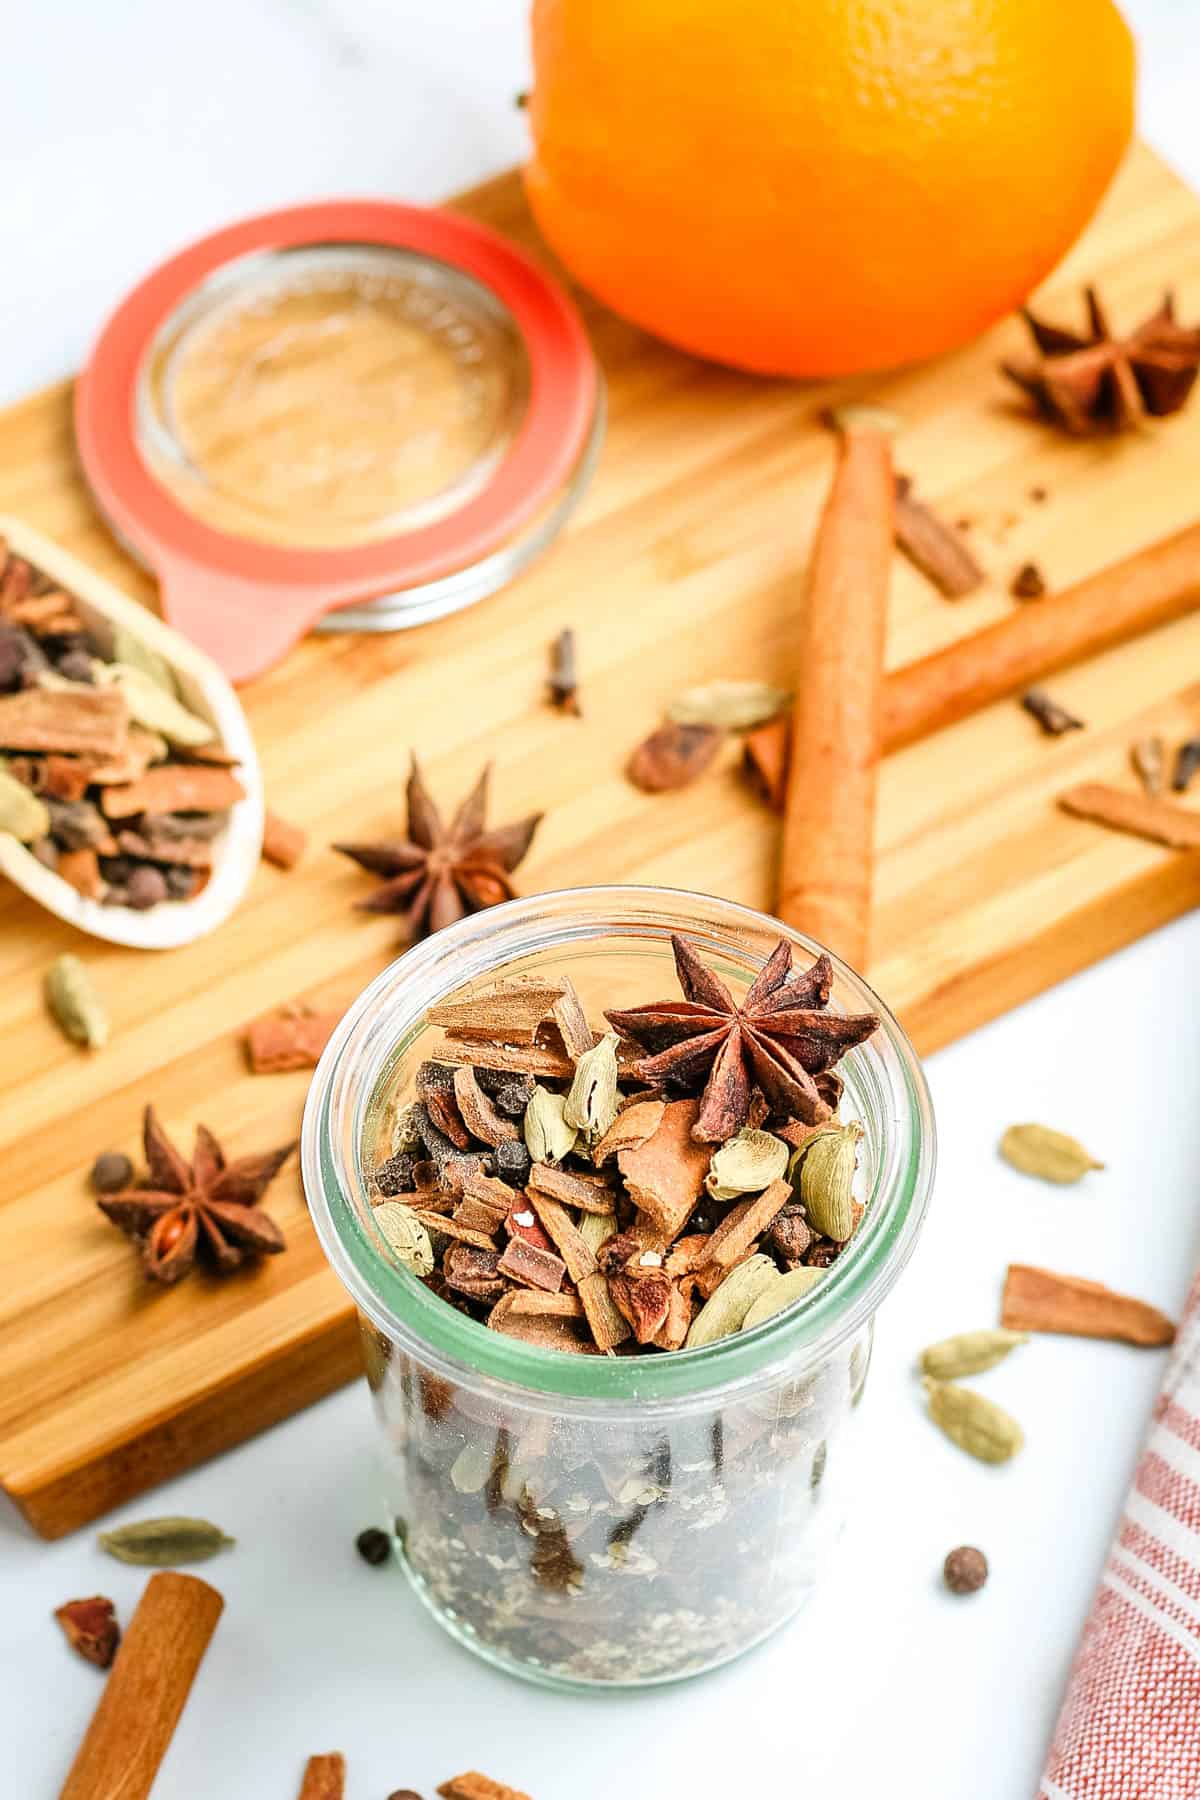
- Cinnamon, Cloves, Star Anise, Cardamom & Allspice – I use whole cinnamon sticks, cloves, star anise, cardamom pods and allspice berries for this mulling spice mix. Remember to use whole spices for this recipe, as any pre-ground spices will not work.
- Dried Orange Peel – You can find dried orange peel at most big-box grocery stores and health food stores. Alternatively, you can also learn how to make your own dried orange peels.
- Black Peppercorns – Finally, this recipe calls for whole black peppercorns. Remember, no pre-ground spices allowed!
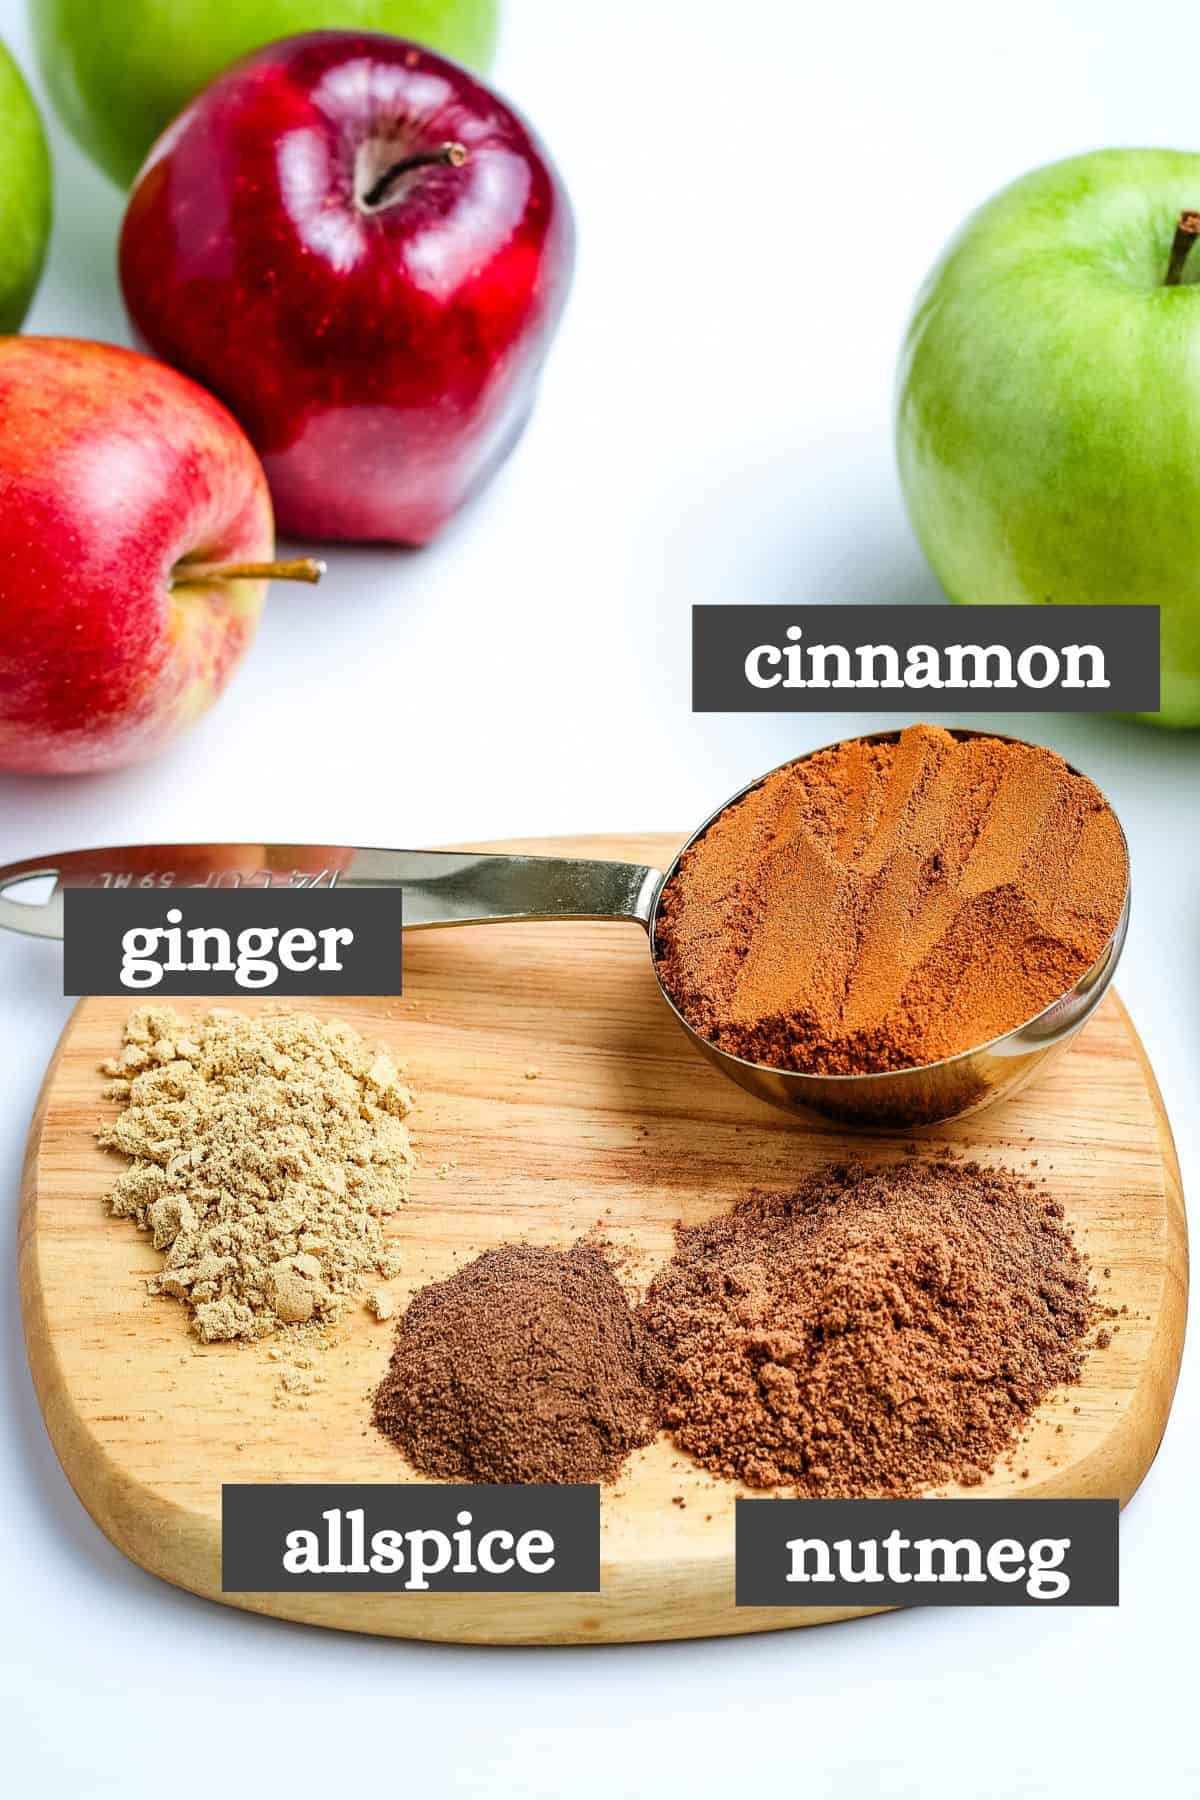
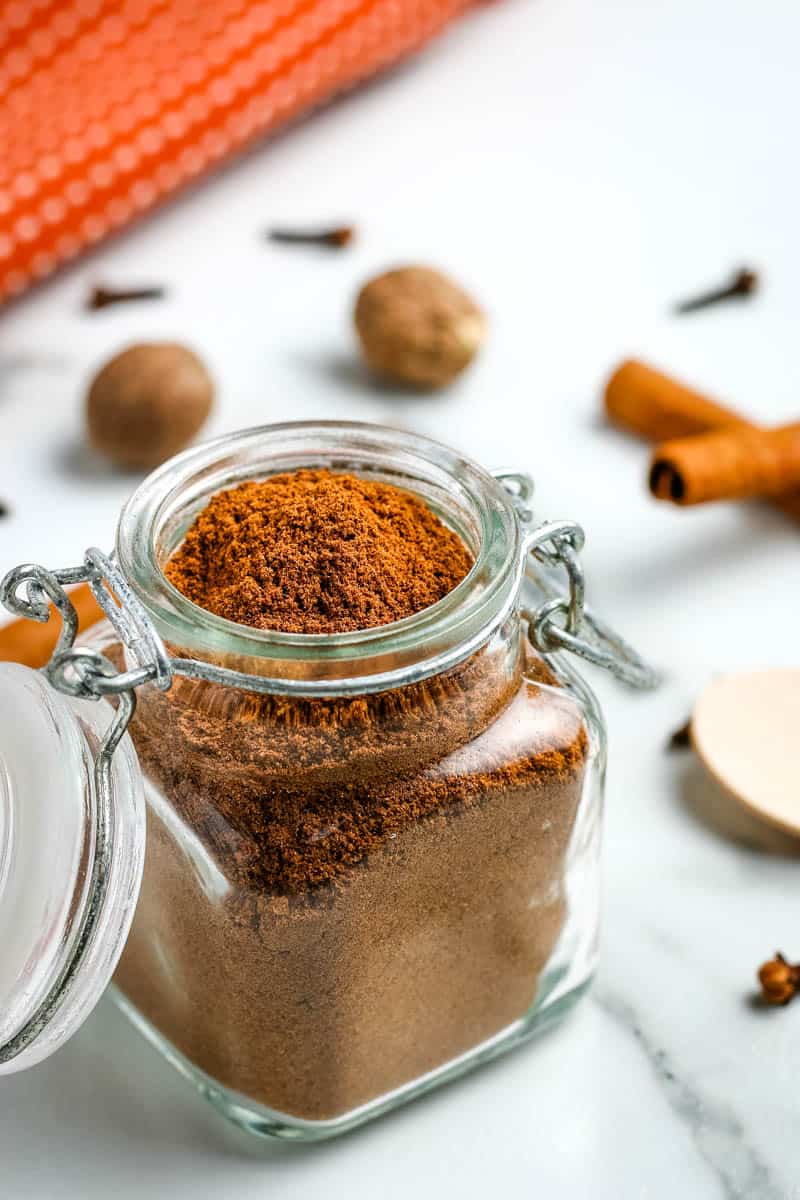
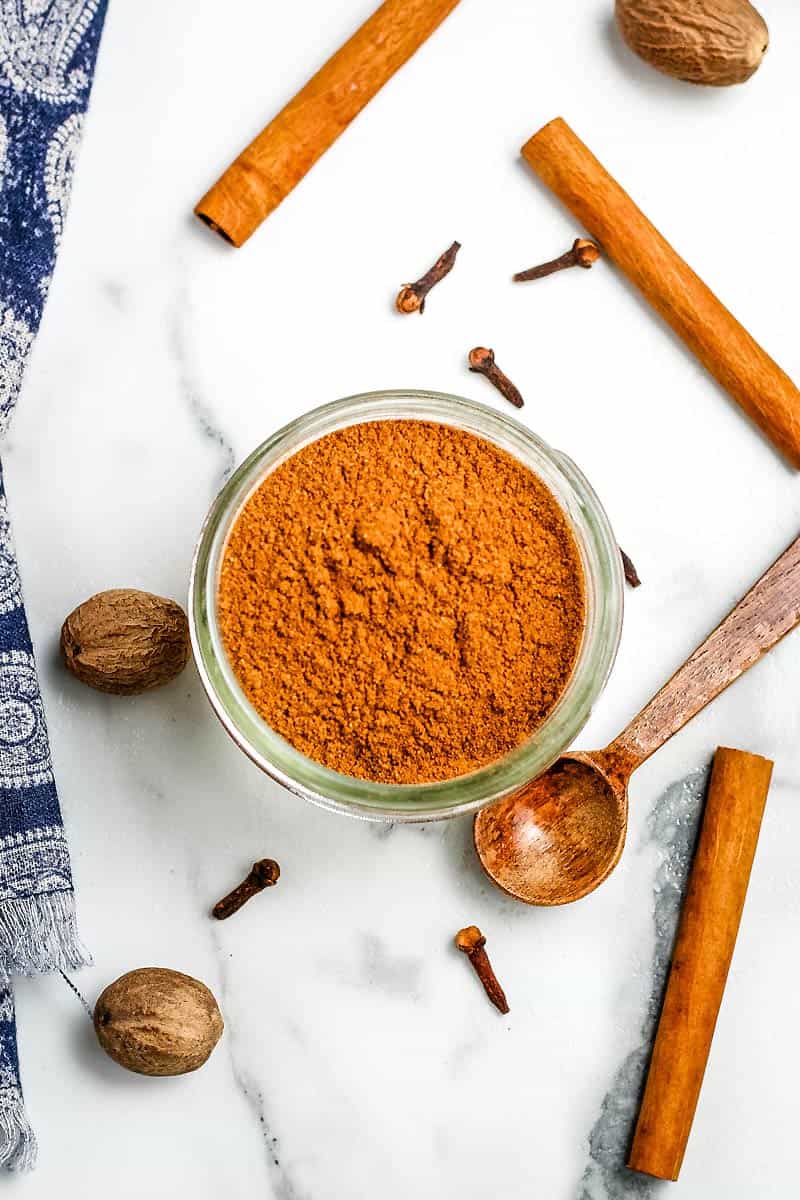
- Optional Add-Ins & Variations – In addition to what this recipe calls for, you can also add dried cranberries, dried apples, raisins, mace or nutmeg. Be creative!
DIY Mulling Spice Recipe
First I’ll show you how to make the mulled spice mix, and then I’ll show you how to make the best mulled apple cider with homemade mulling spice.
How to Make Mulling Spice Recipe
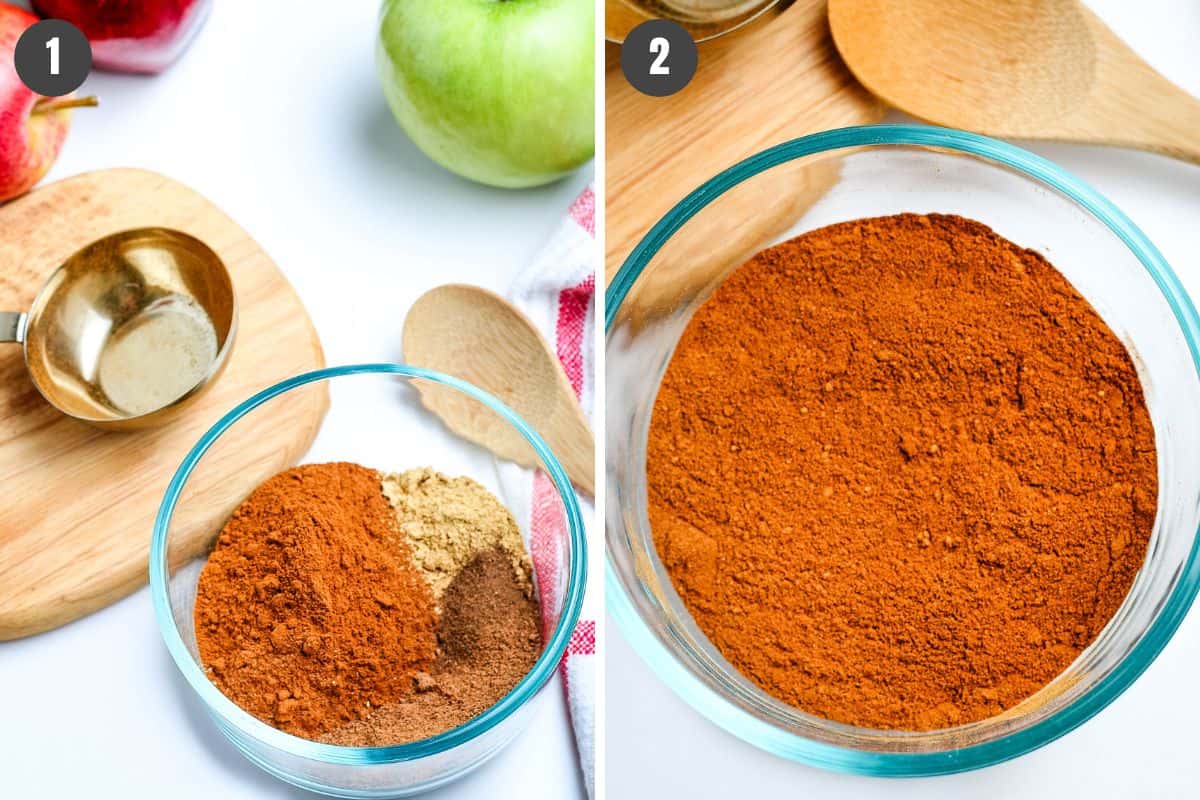
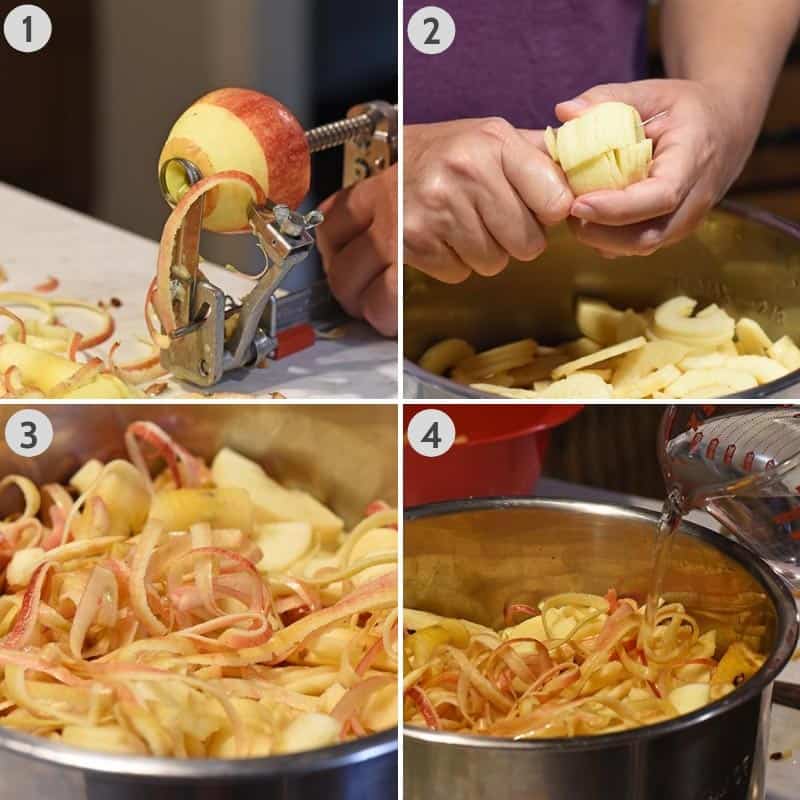
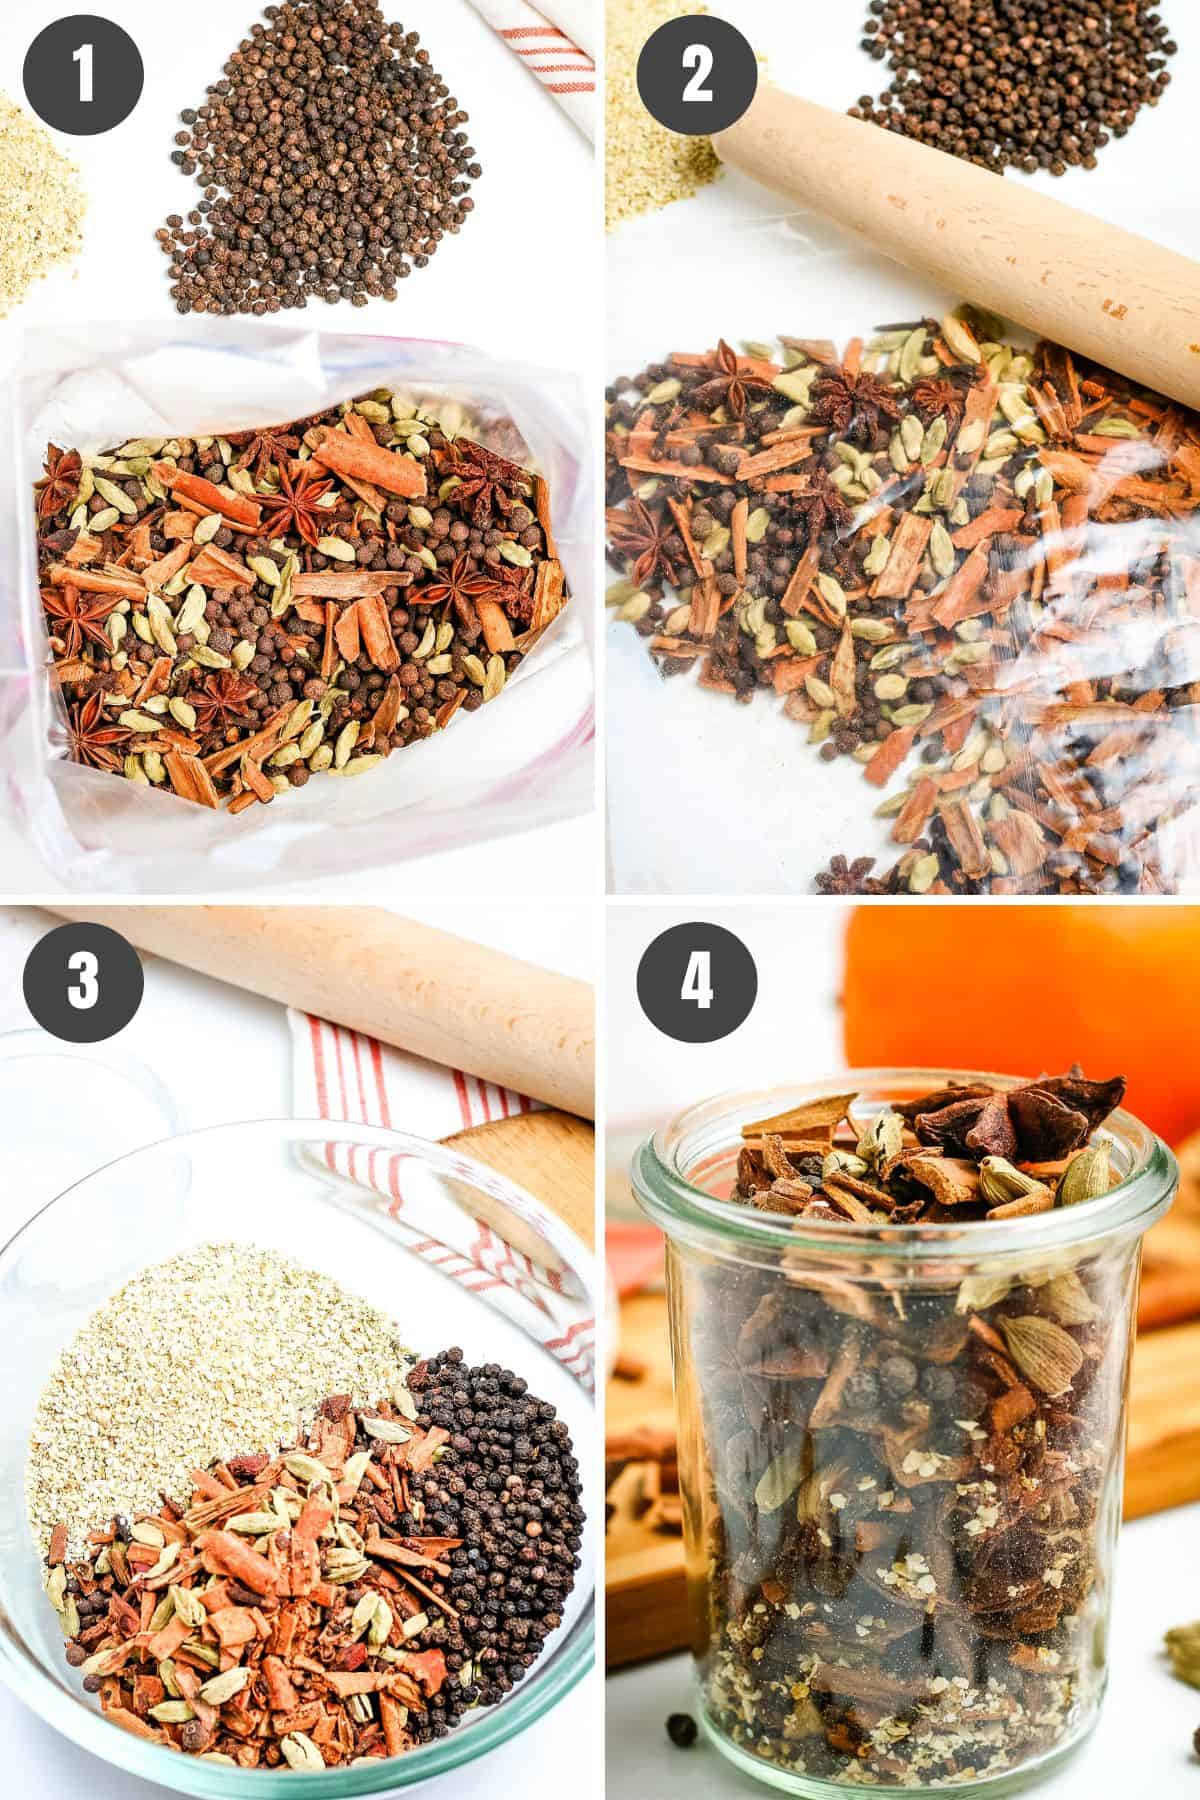
- Start by placing the cinnamon sticks, whole cloves, star anise pods, cardamom pods, and allspice berries in a large resealable bag.
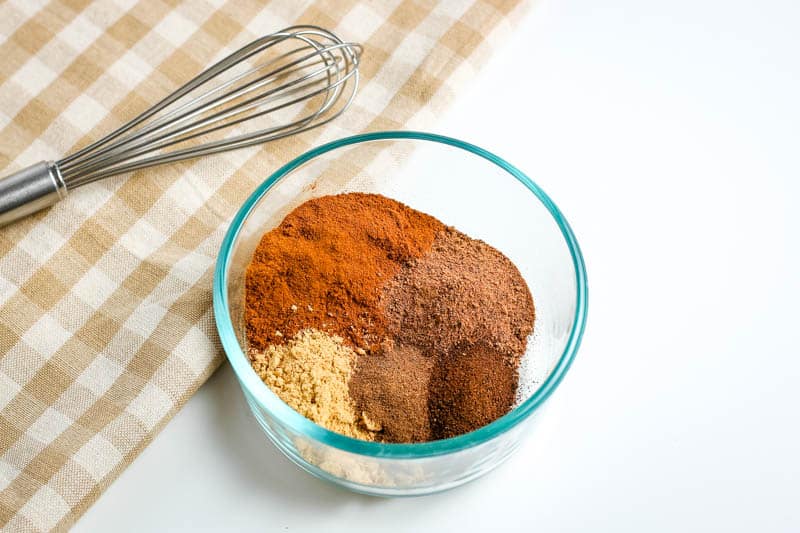
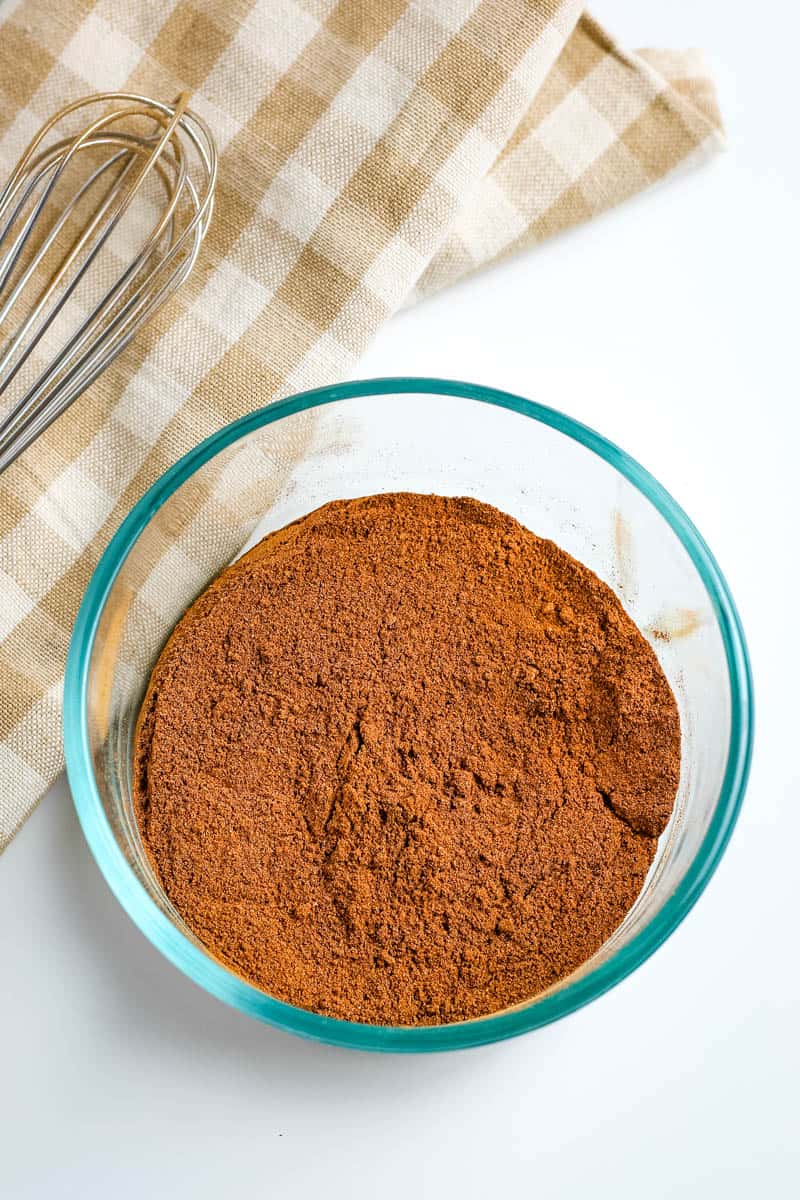
- Next, close the bag and crush the spices by beating them with a rolling pin. Then add the whole peppercorns and dried orange peels, tossing everything together to mix well.
- Finally, add the dried orange peel and black peppercorns to the mulling spice mixture in a large mixing bowl. Toss everything together to mix well.
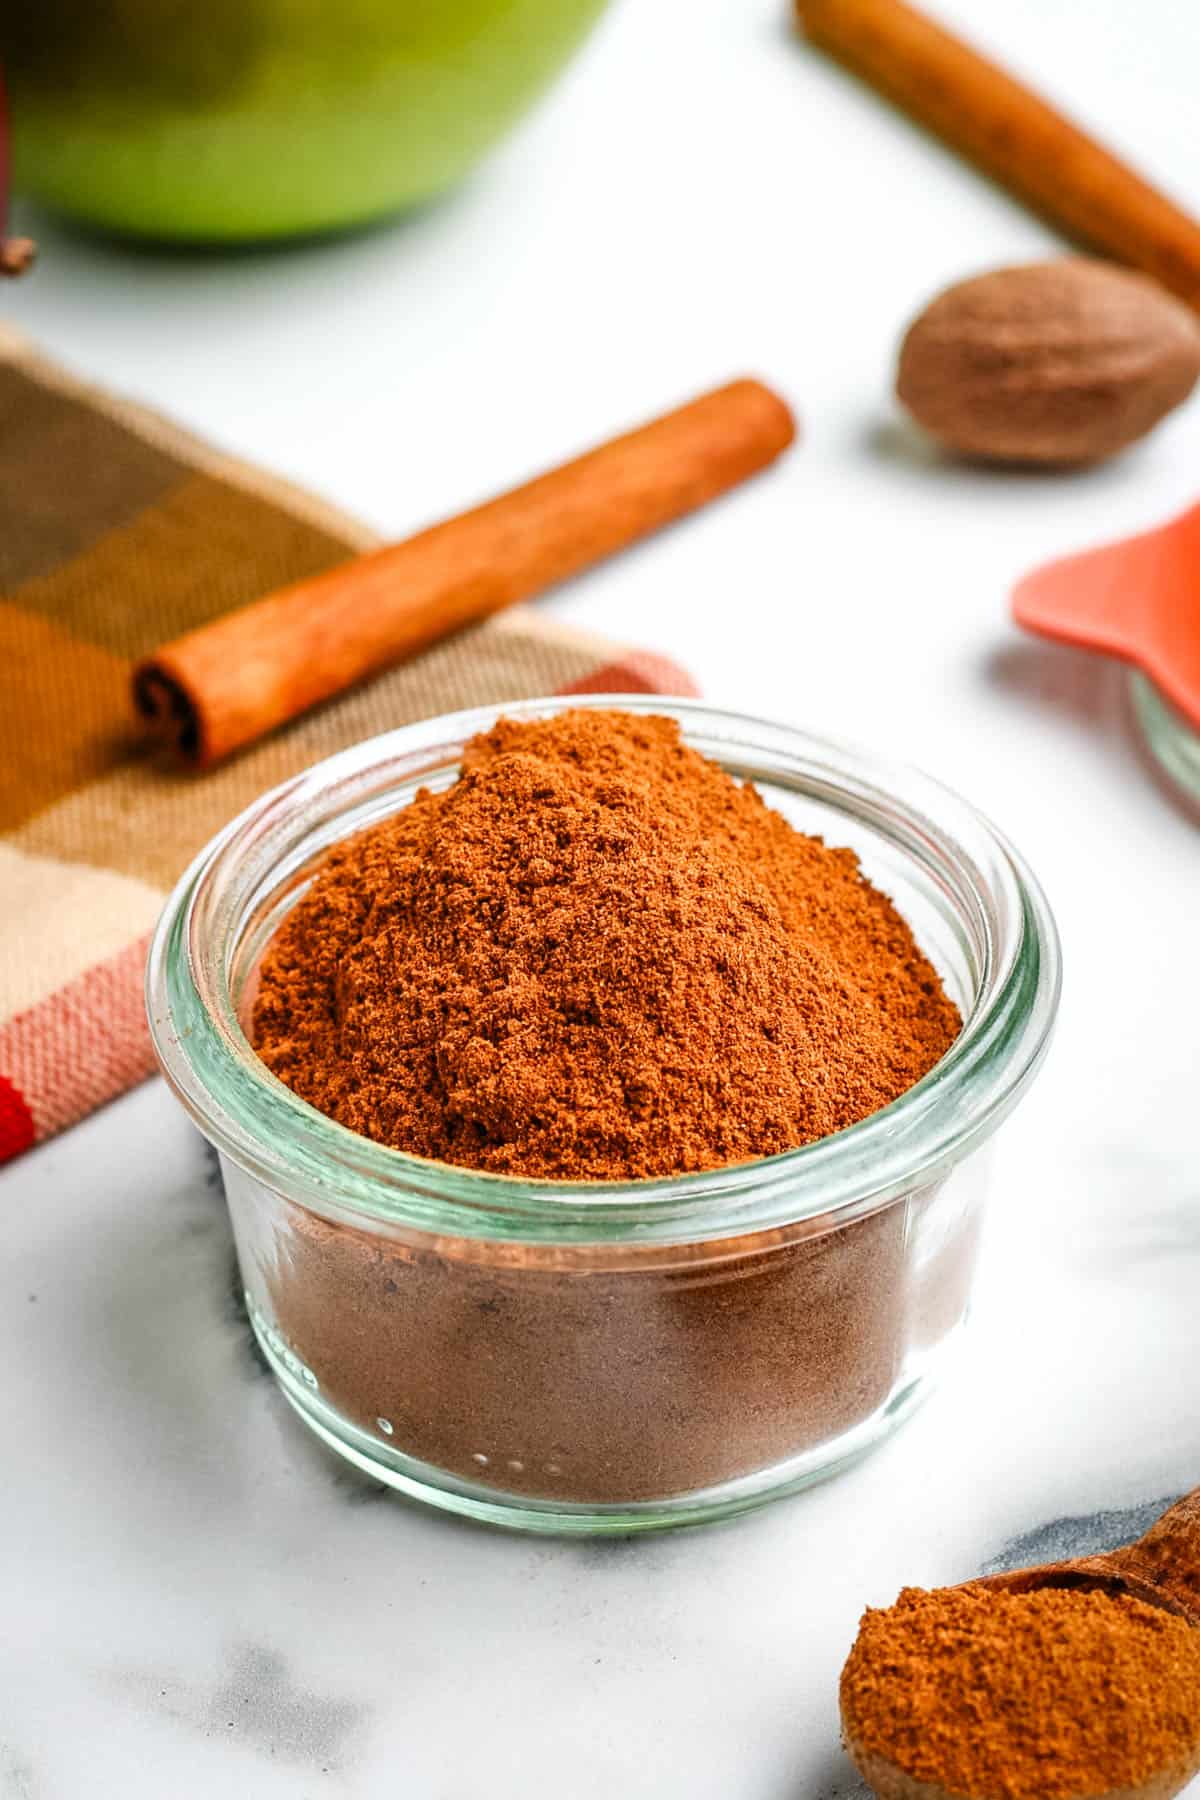
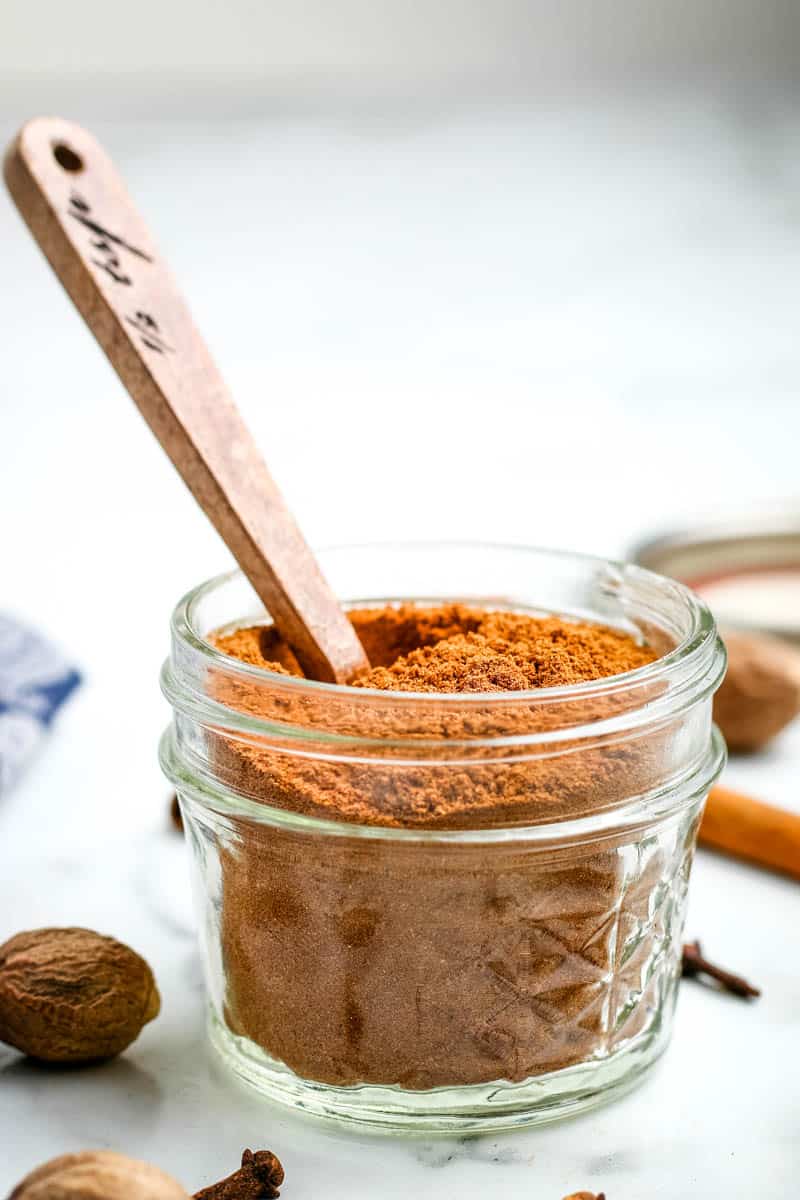
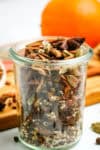
- Transfer your mulling spice recipe to an airtight container. Mulling spices will typically last up to 1 year in a cool, dark environment. I just store mine in the spice cabinet.
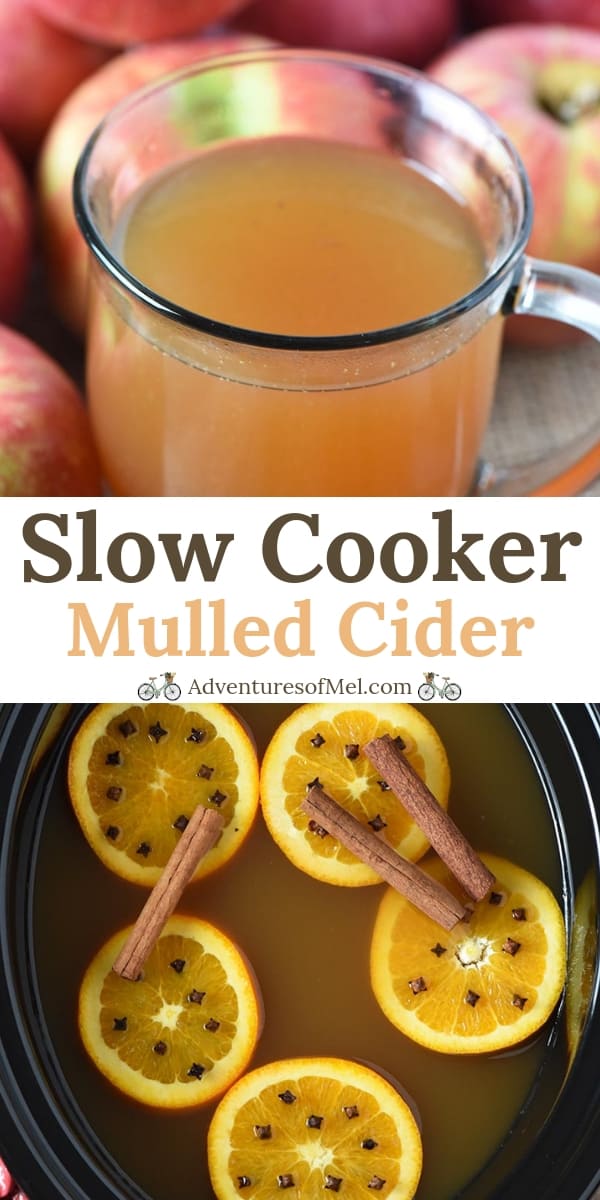
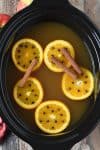
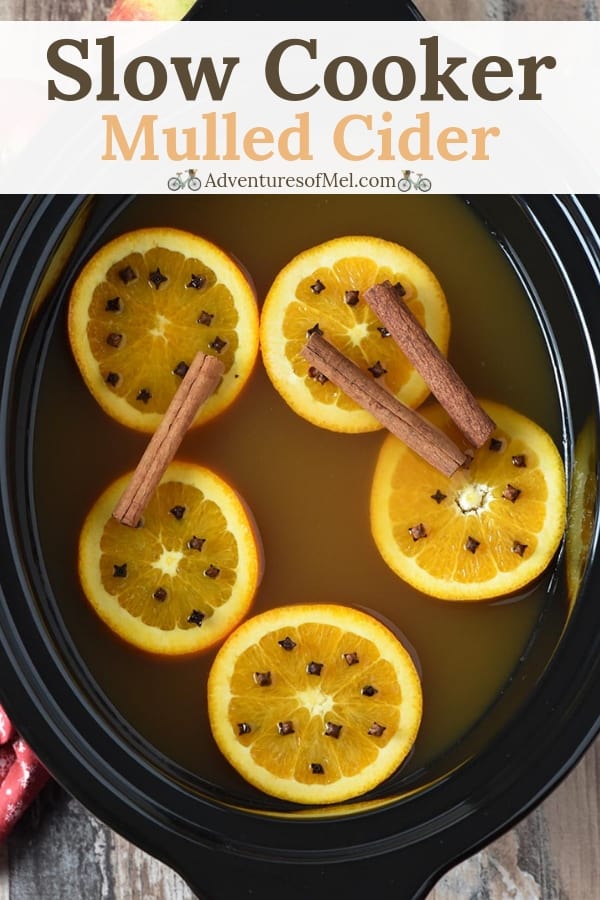
How to Make Mulled Apple Cider
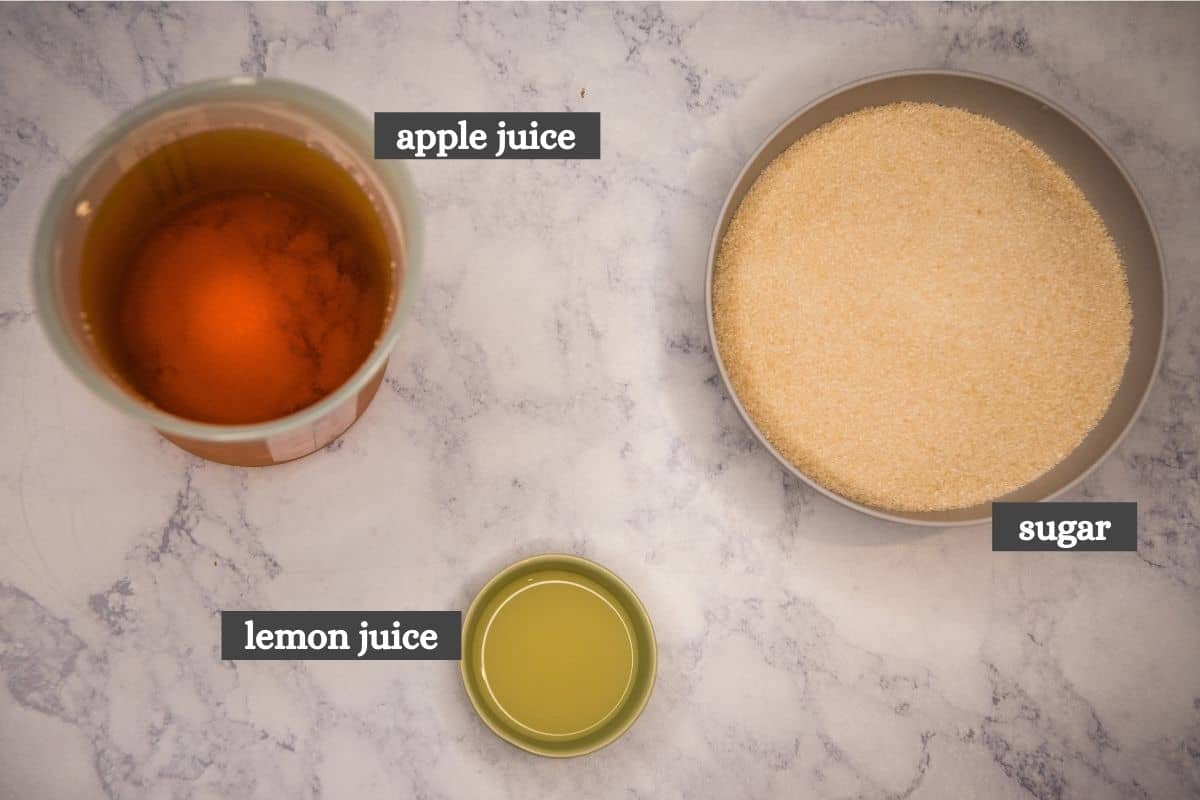
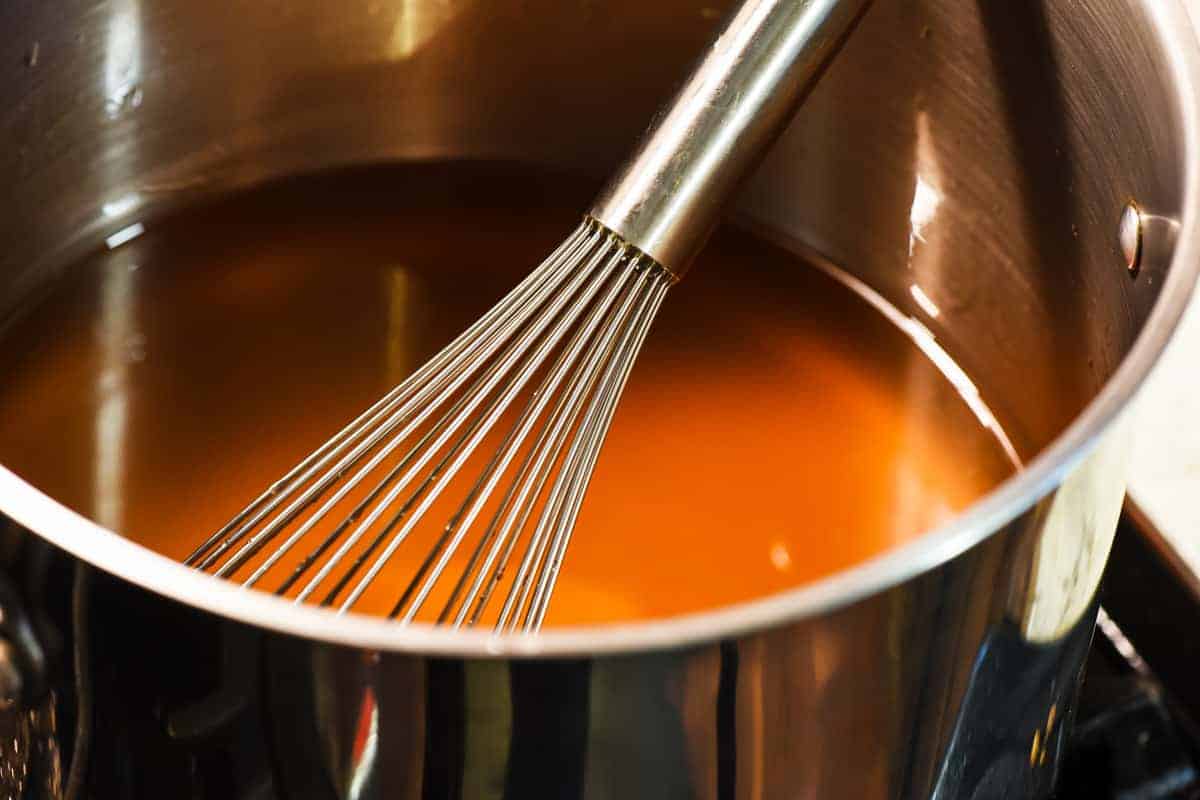
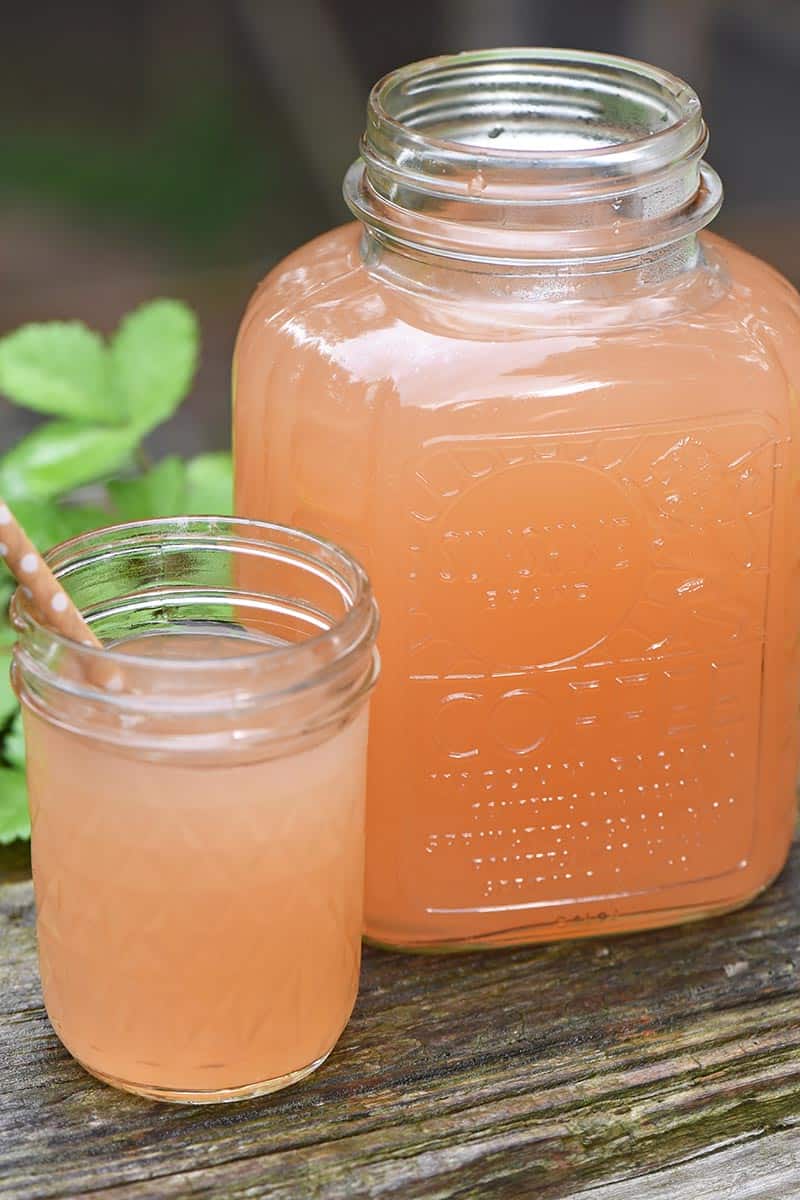
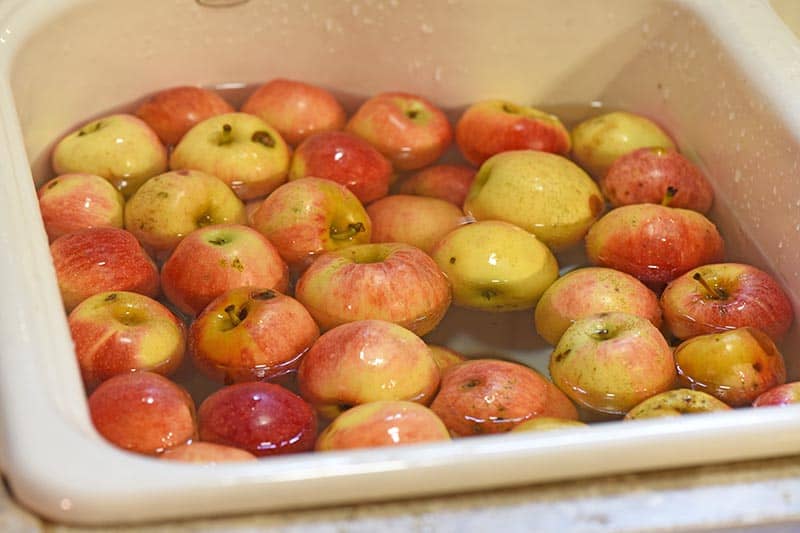
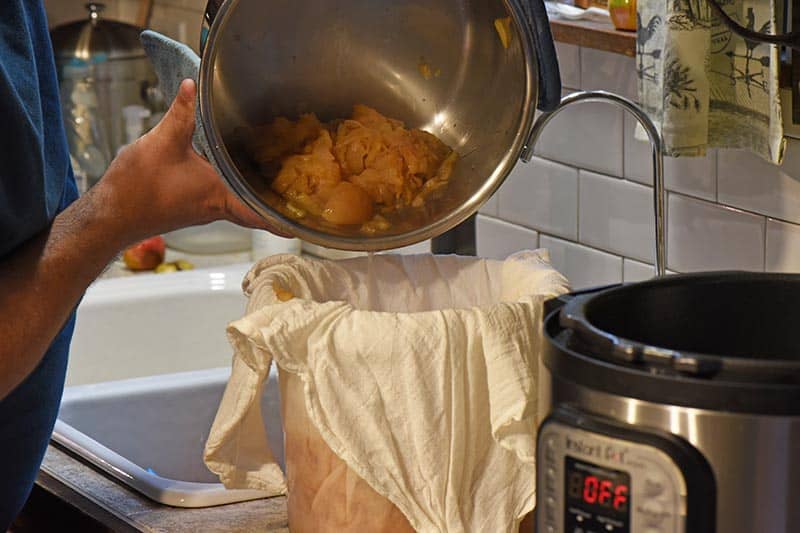
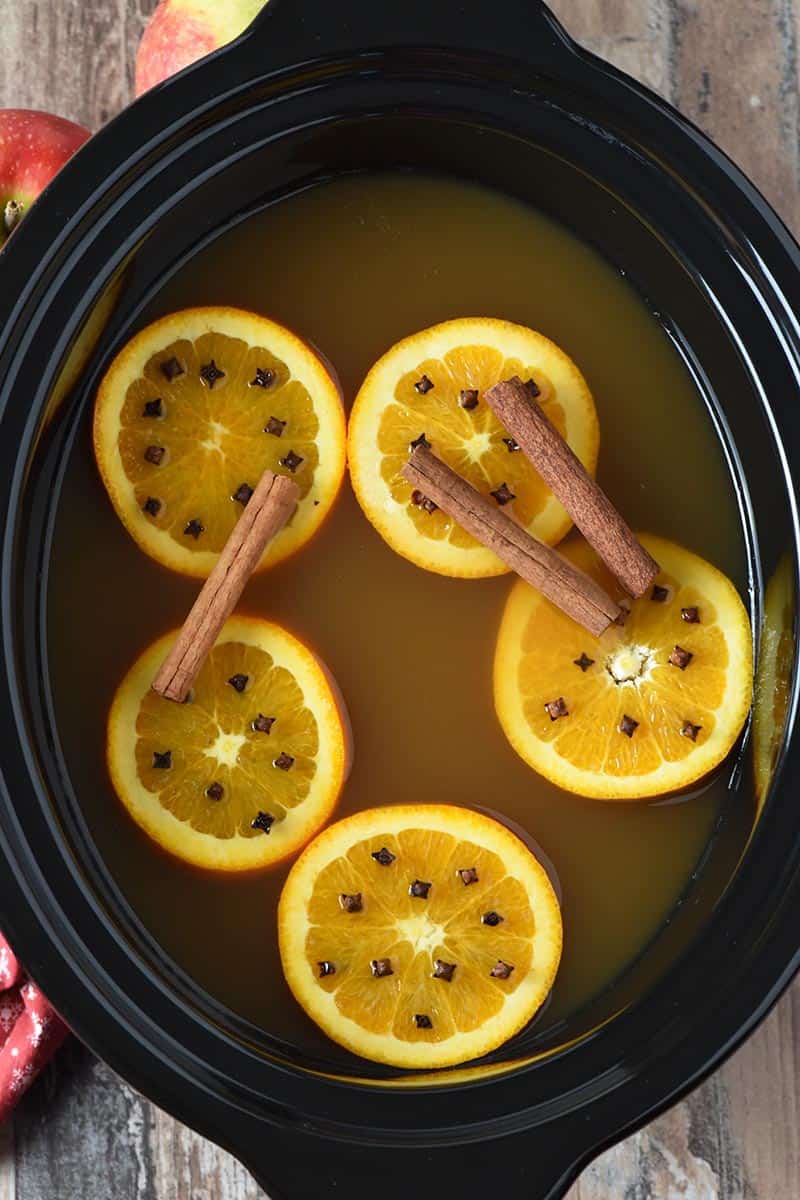
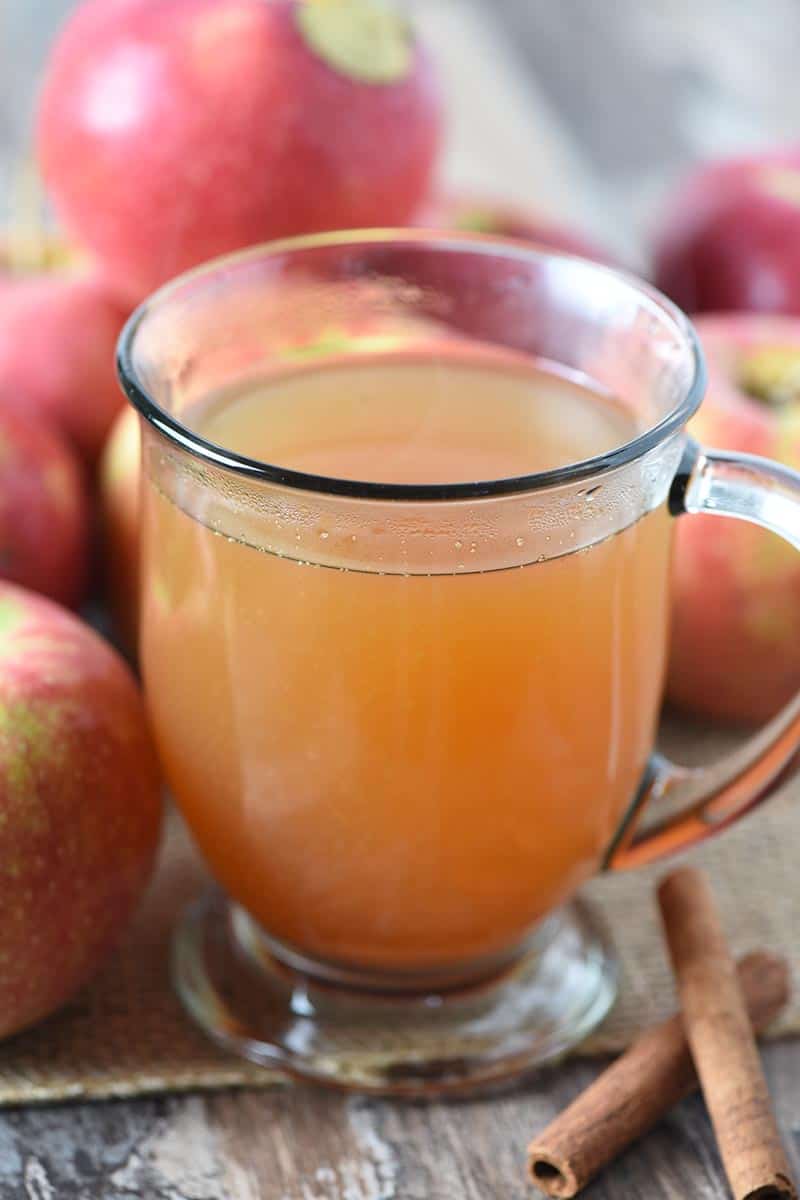
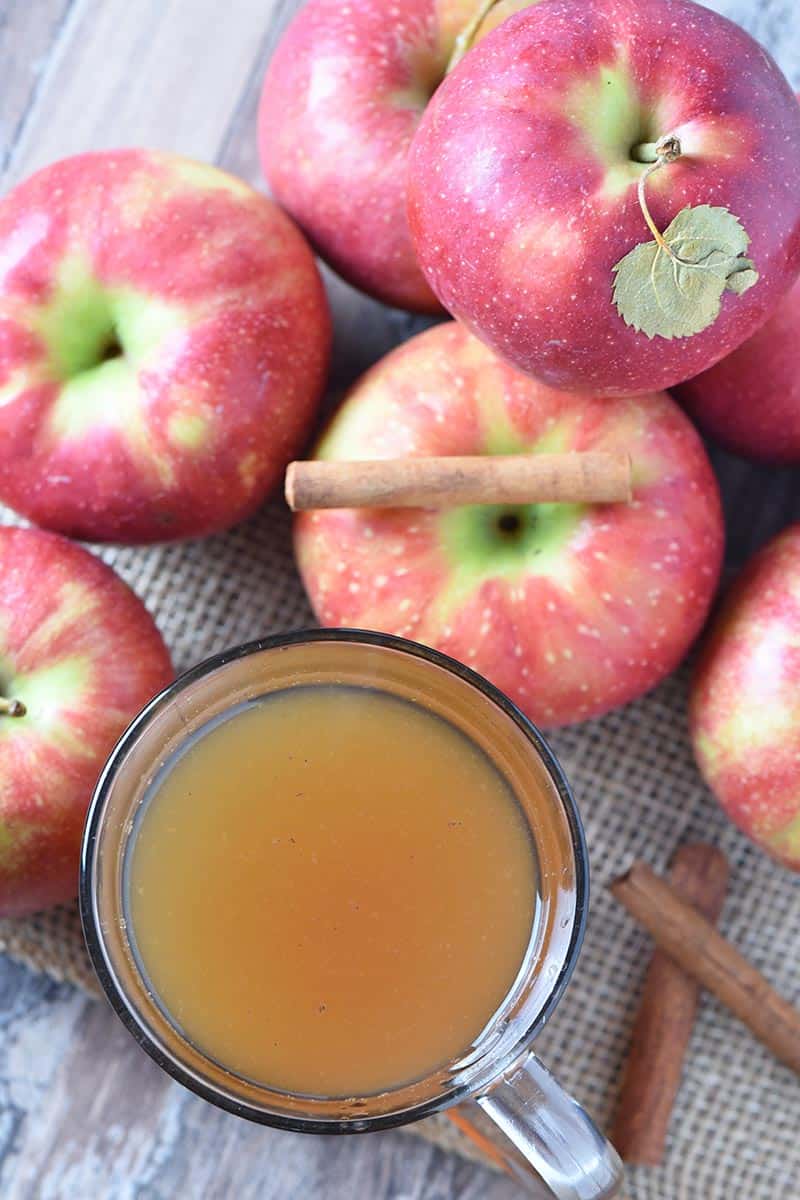
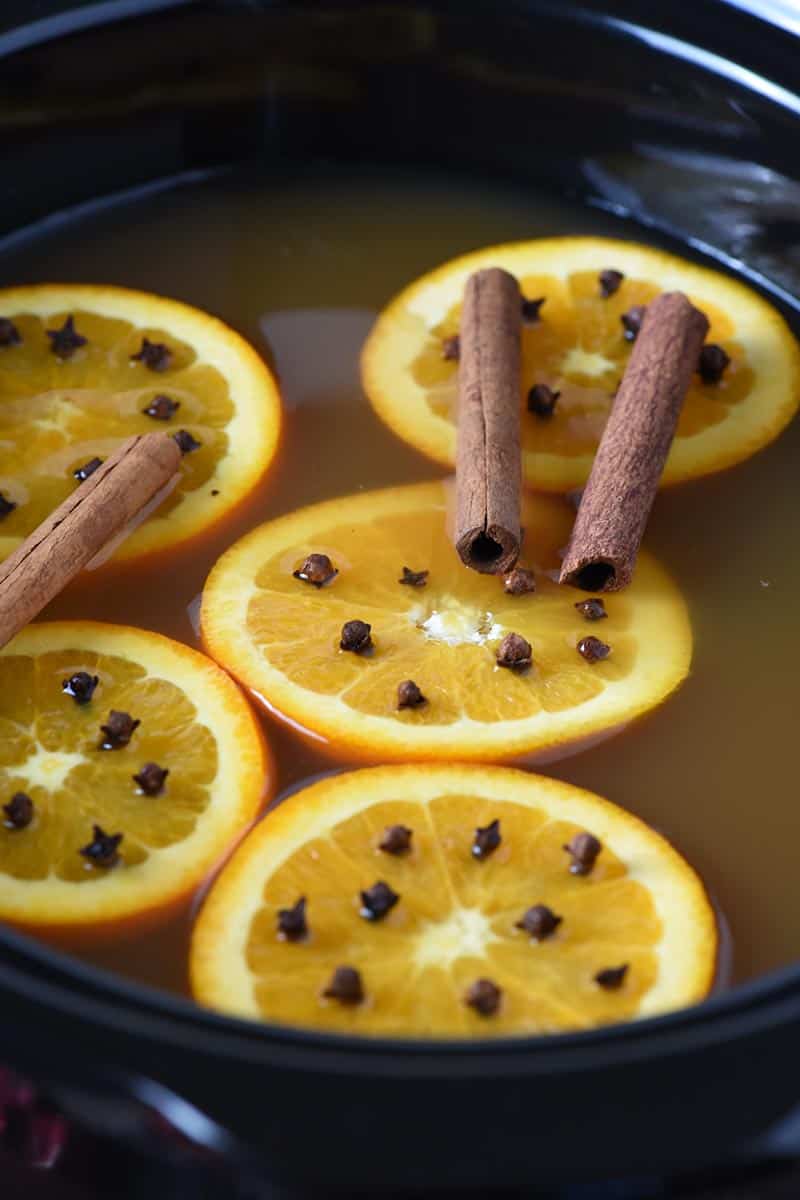
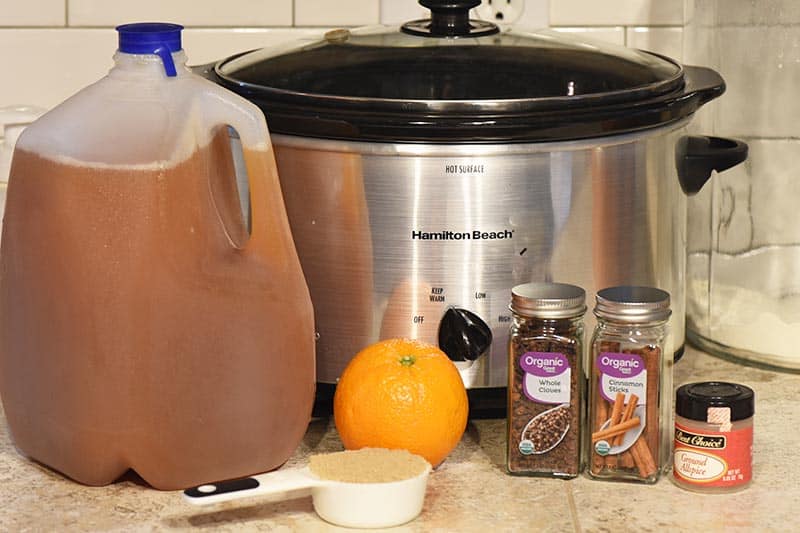
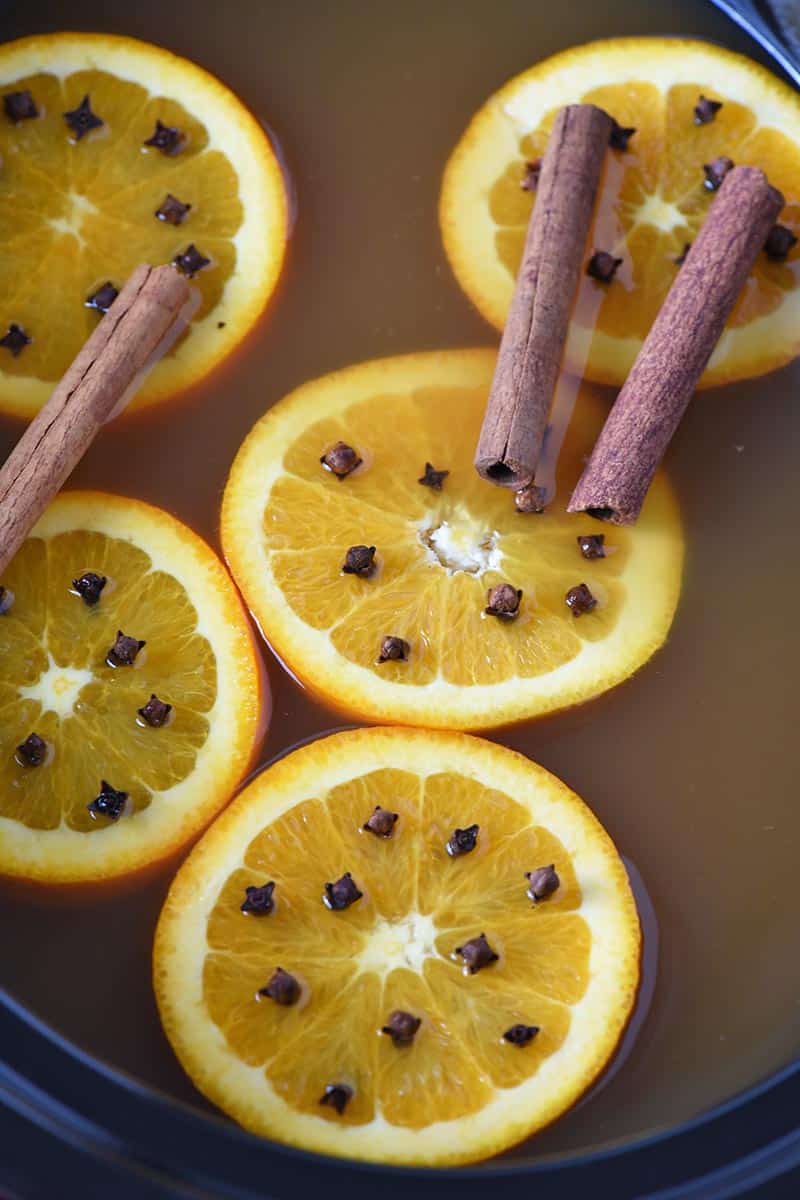
To make mulled apple cider using homemade mulling spice, add 2 tablespoons of mulling spice for every 1/2 gallon of raw, unfiltered apple cider in a medium saucepan. Heat this mixture over a medium-low heat on the stovetop until it just starts to boil. Then turn it down to low and let simmer for about 20-30 more minutes for best flavor.
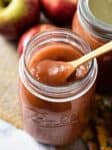
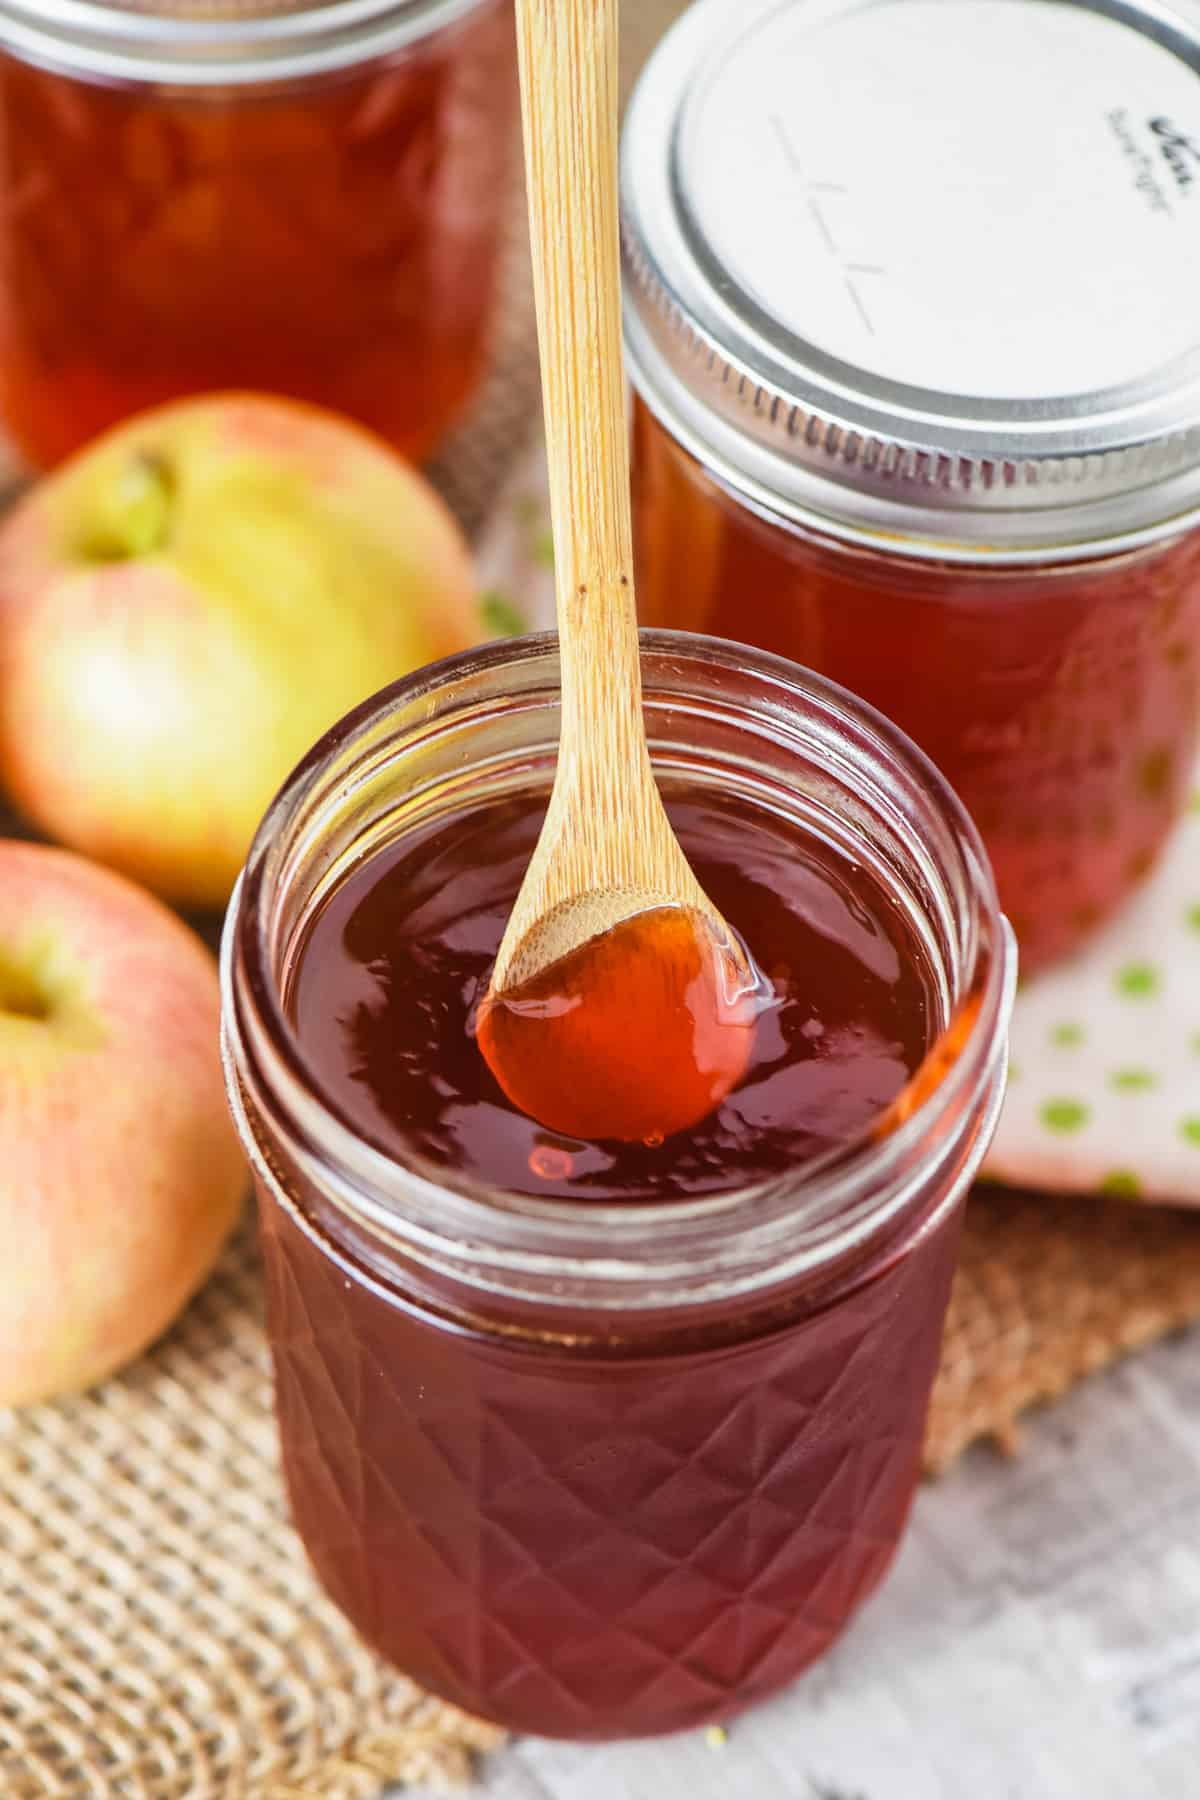
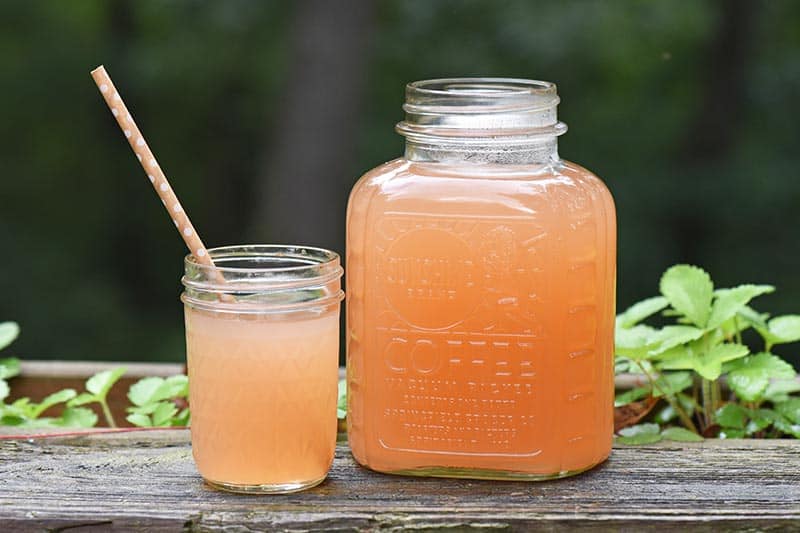
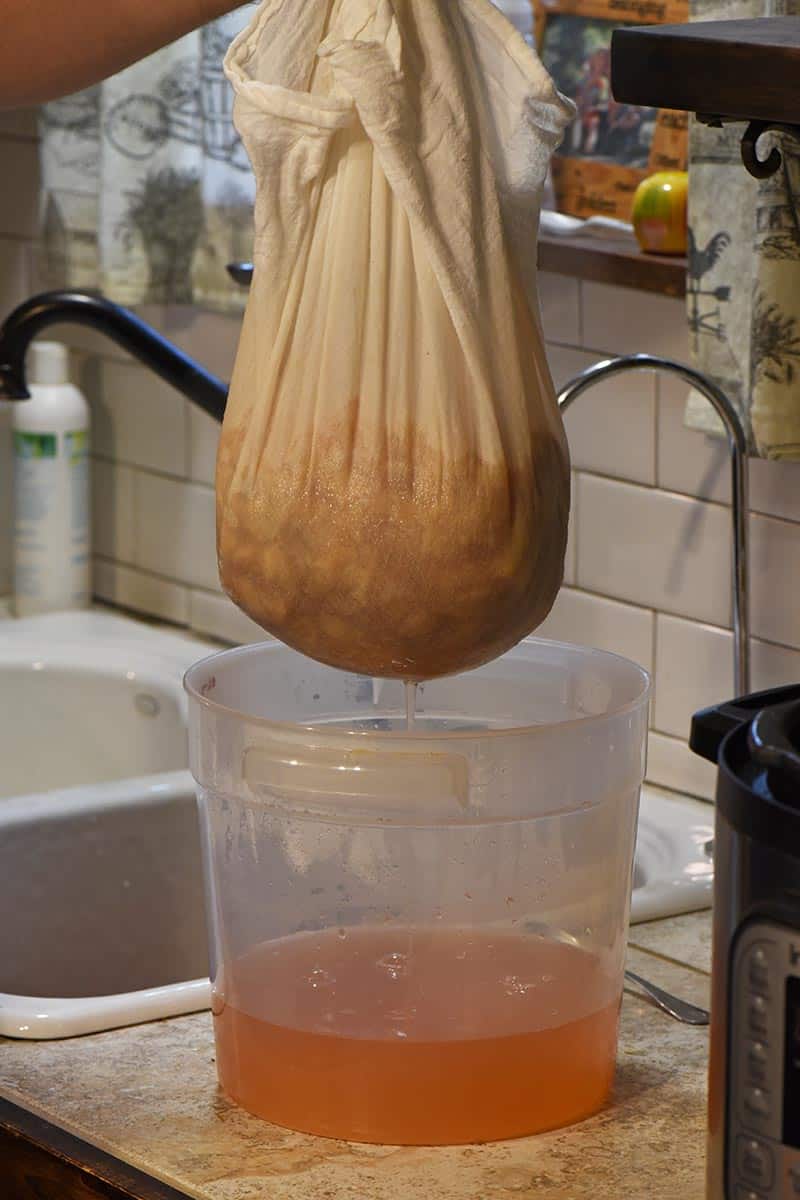
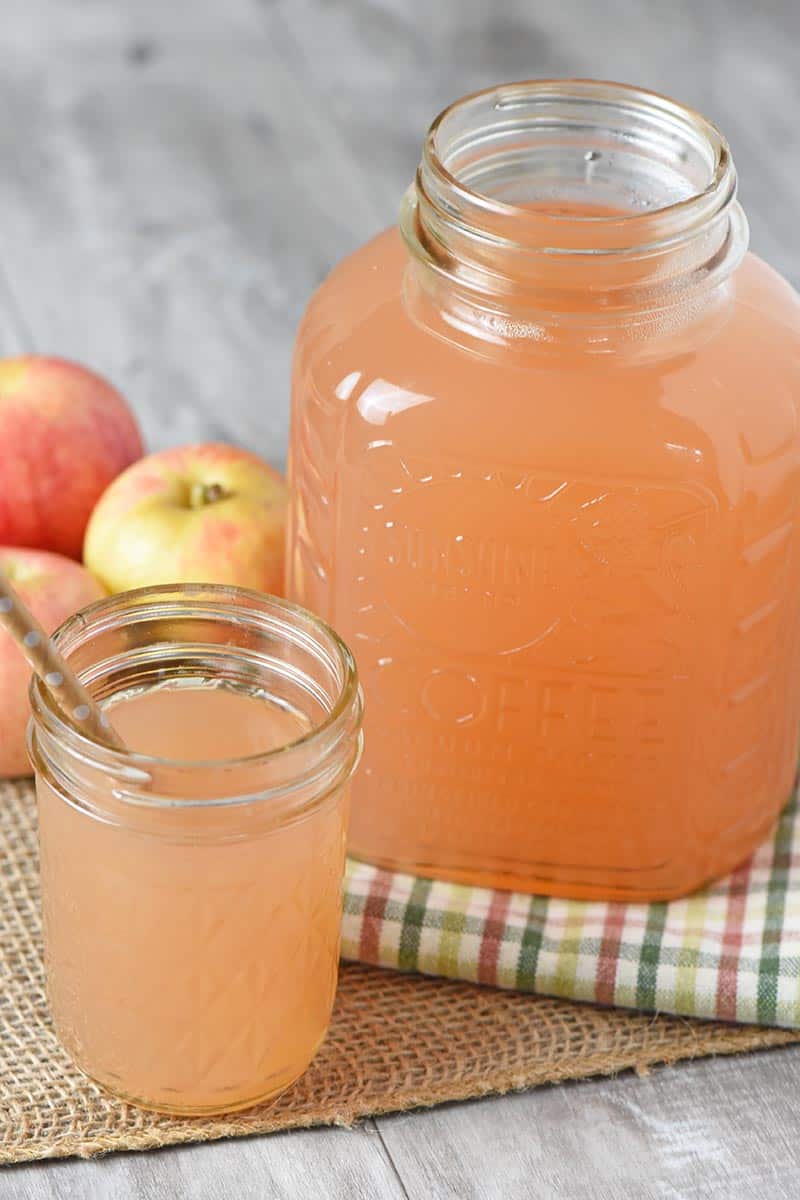
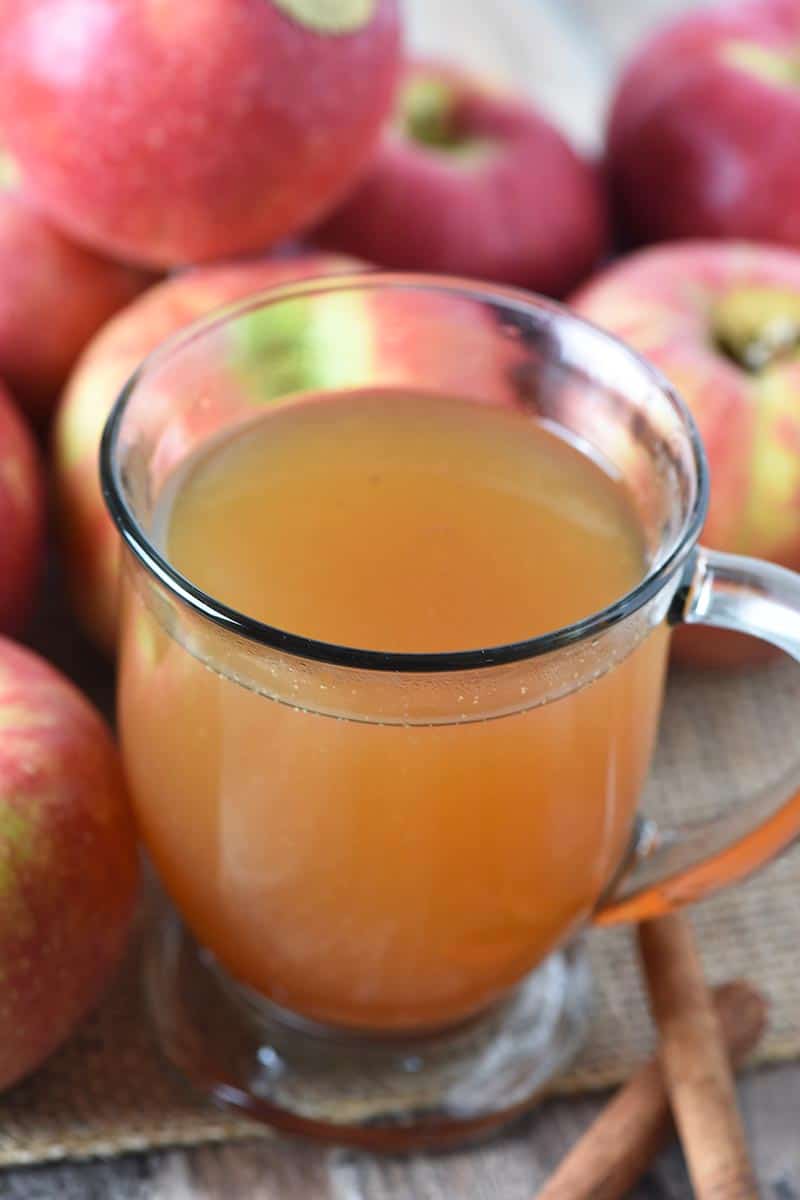
Once simmered, remove your mulled cider from the heat. Run the liquid through a fine-mesh sieve to strain out all crushed spices. You can serve your mulled apple cider hot with a fresh slice of lemon and a whole cinnamon stick.

Alternatively, you can also use apple juice instead of apple cider to make mulled apple juice. Follow the instructions just the same as if you were making mulled cider. This is especially good served cold!
Expert Tips and Recipe FAQ’s
Mulling spices don’t necessarily go bad, but they do lose their flavor over time. They should keep up to 6 months in an airtight container in a cool and dark environment, like the kitchen cabinet. I recommend making a large batch at the beginning of fall to last all winter long!
Most spices and spice mixes will lose their flavor after being exposed to below-freezing temperatures for extended periods of time. Thankfully mulling spices store for a long time at room temperature, so freezing is neither necessary nor desirable.
What Else Can I Make With Mulling Spices?
There’s so much that you can do with mulling spices! Here are a few ideas…
- As I mentioned earlier, mulled wine is another really popular holiday drink, and it’s really easy to make.
- Infuse the liquid for your homemade hot chocolate to make the best spiced hot chocolate recipe! I think they’d be really good in my raspberry hot chocolate recipe…
- You can use mulling spices to make the best spiced cranberry sauce for Thanksgiving or Christmas dinner. Just boil them ahead of time in the water that is called for in the recipe, and then strain the spices out before using the water to make the sauce.
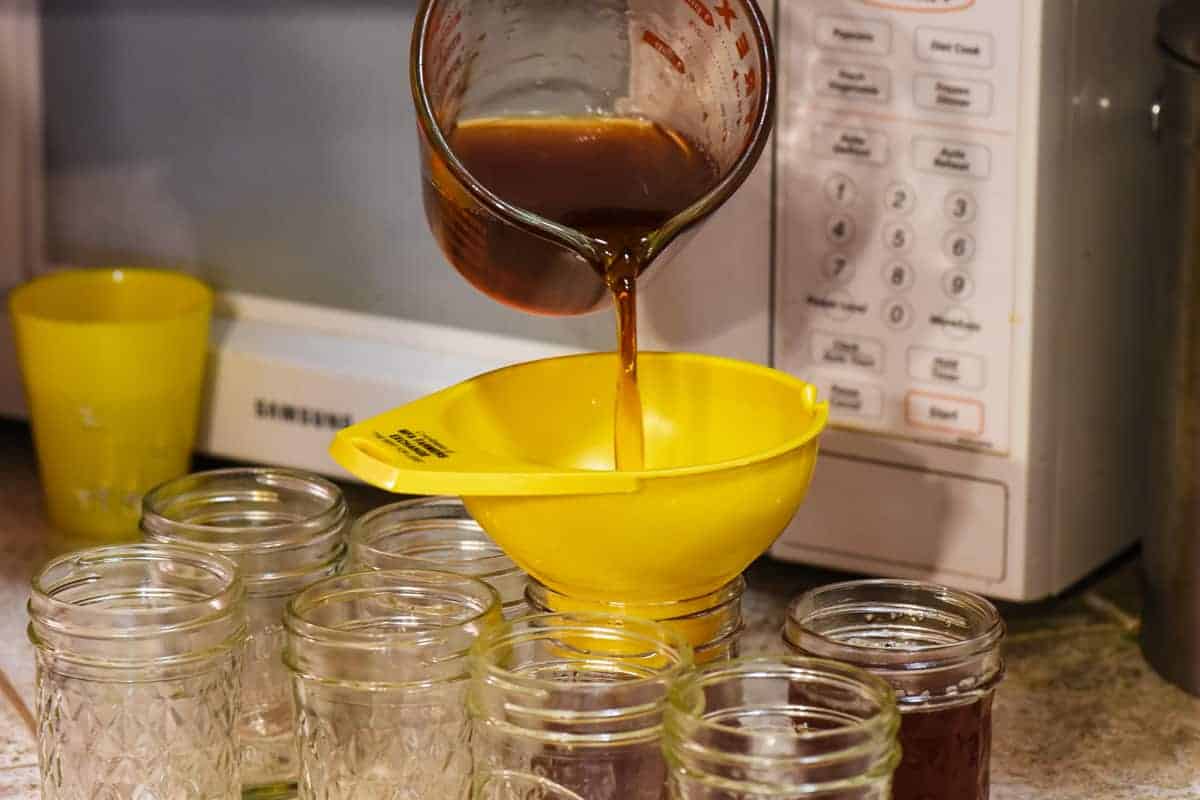
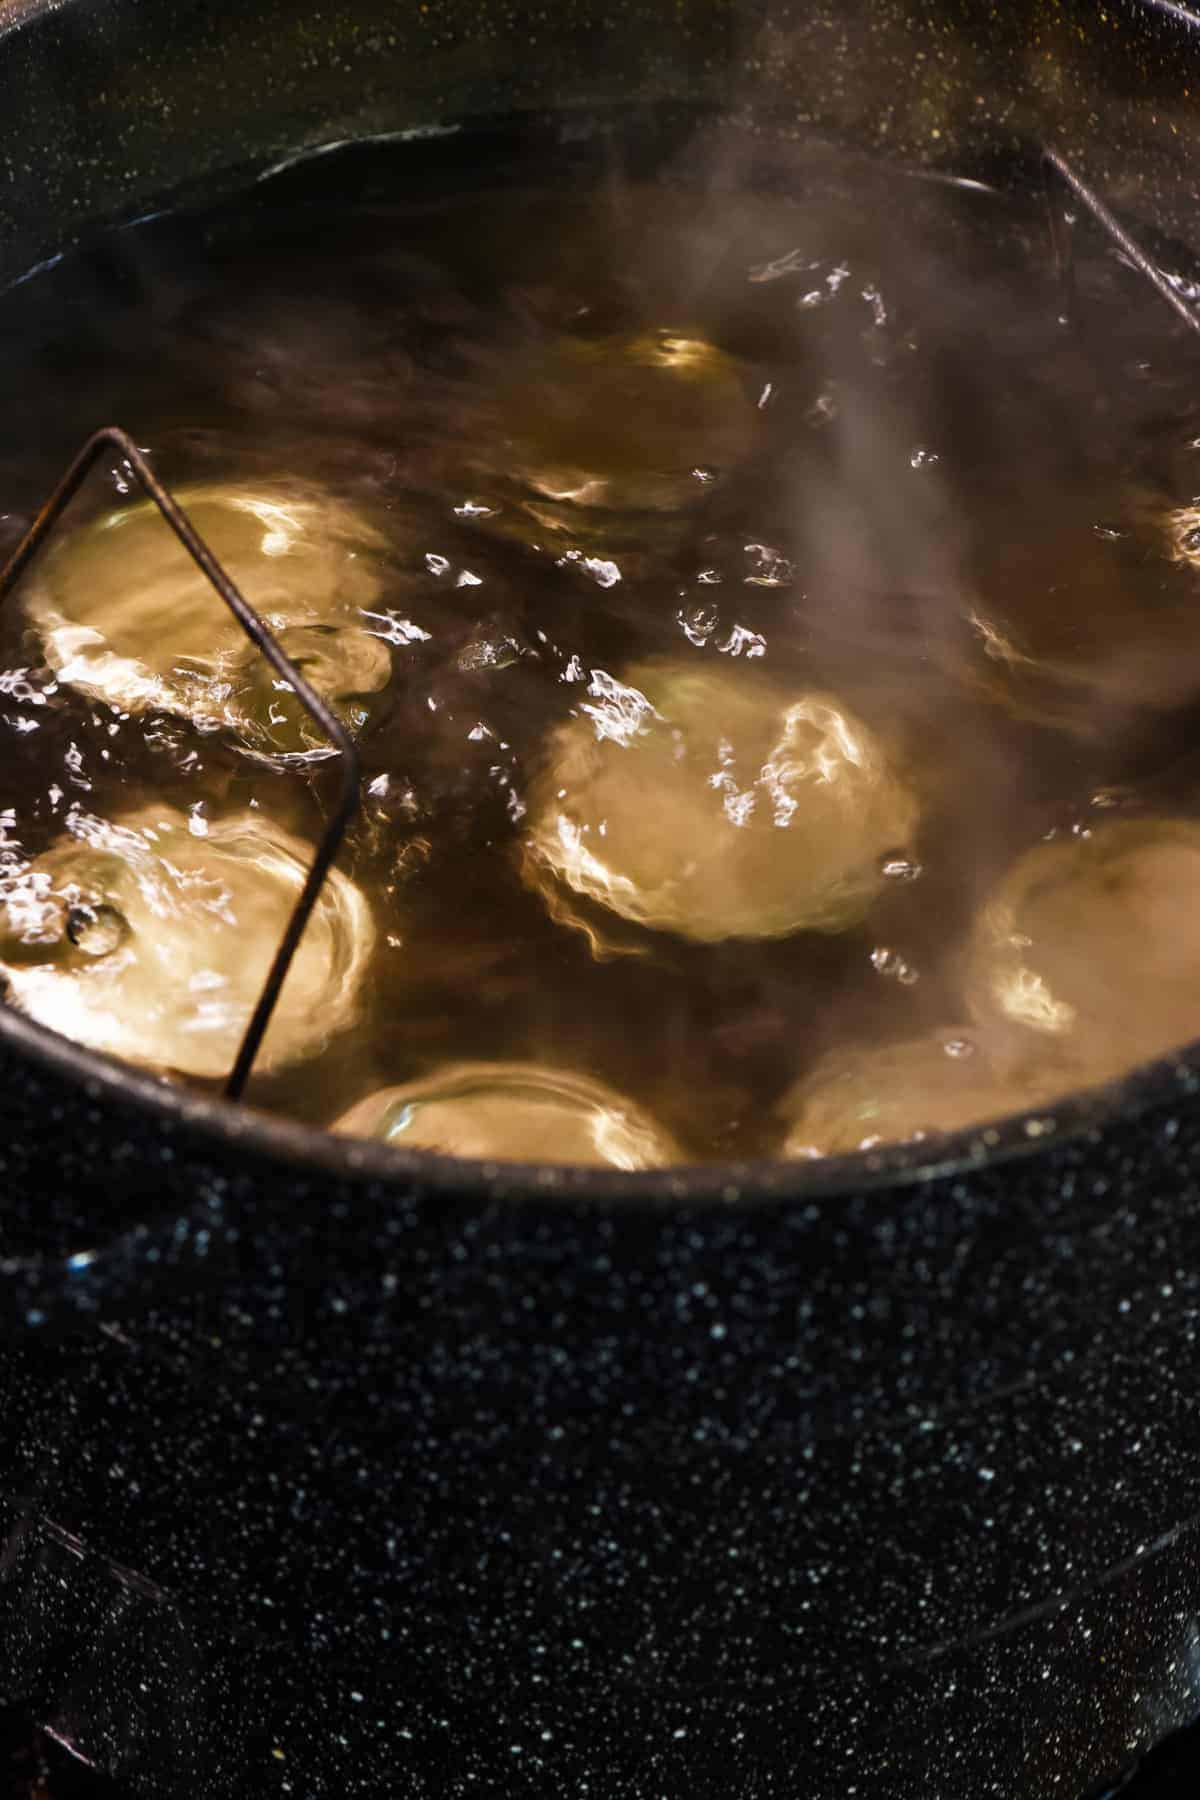
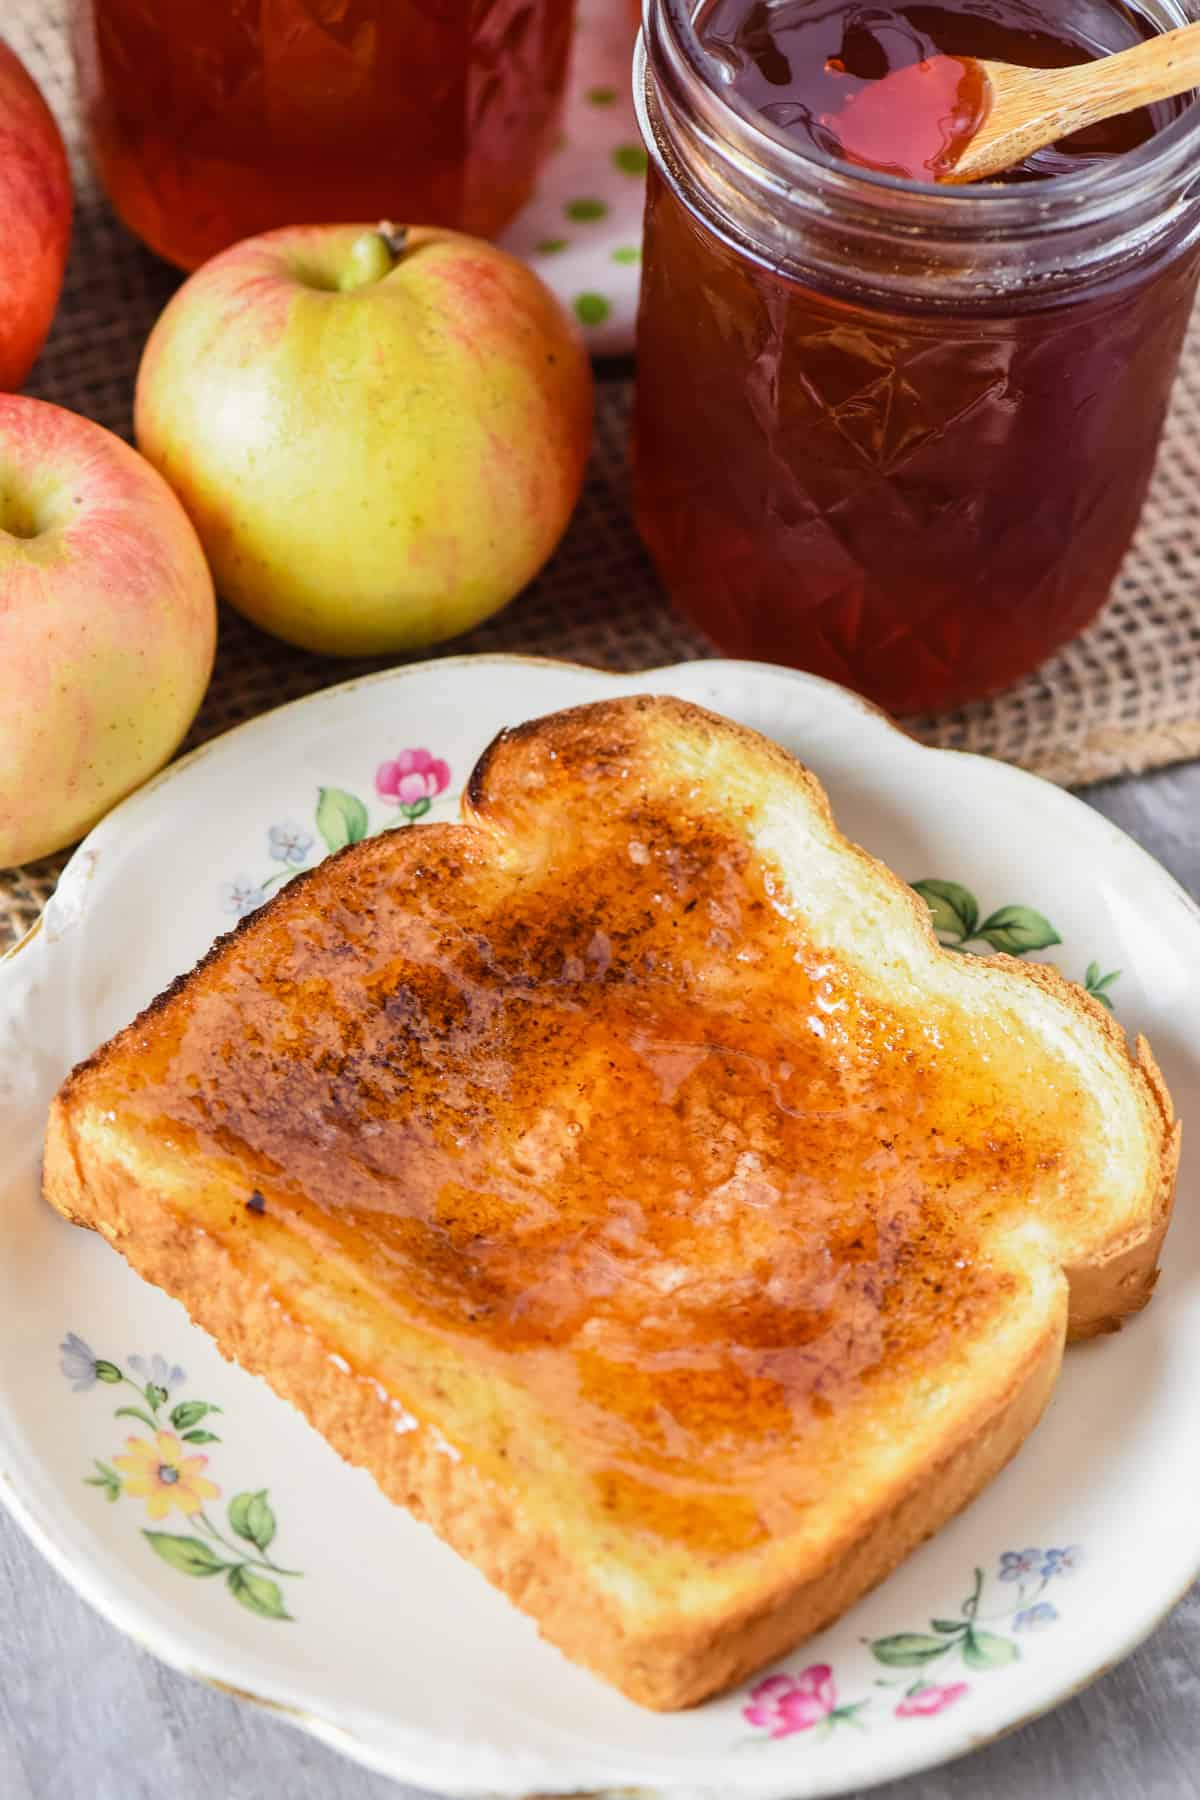
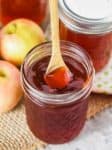
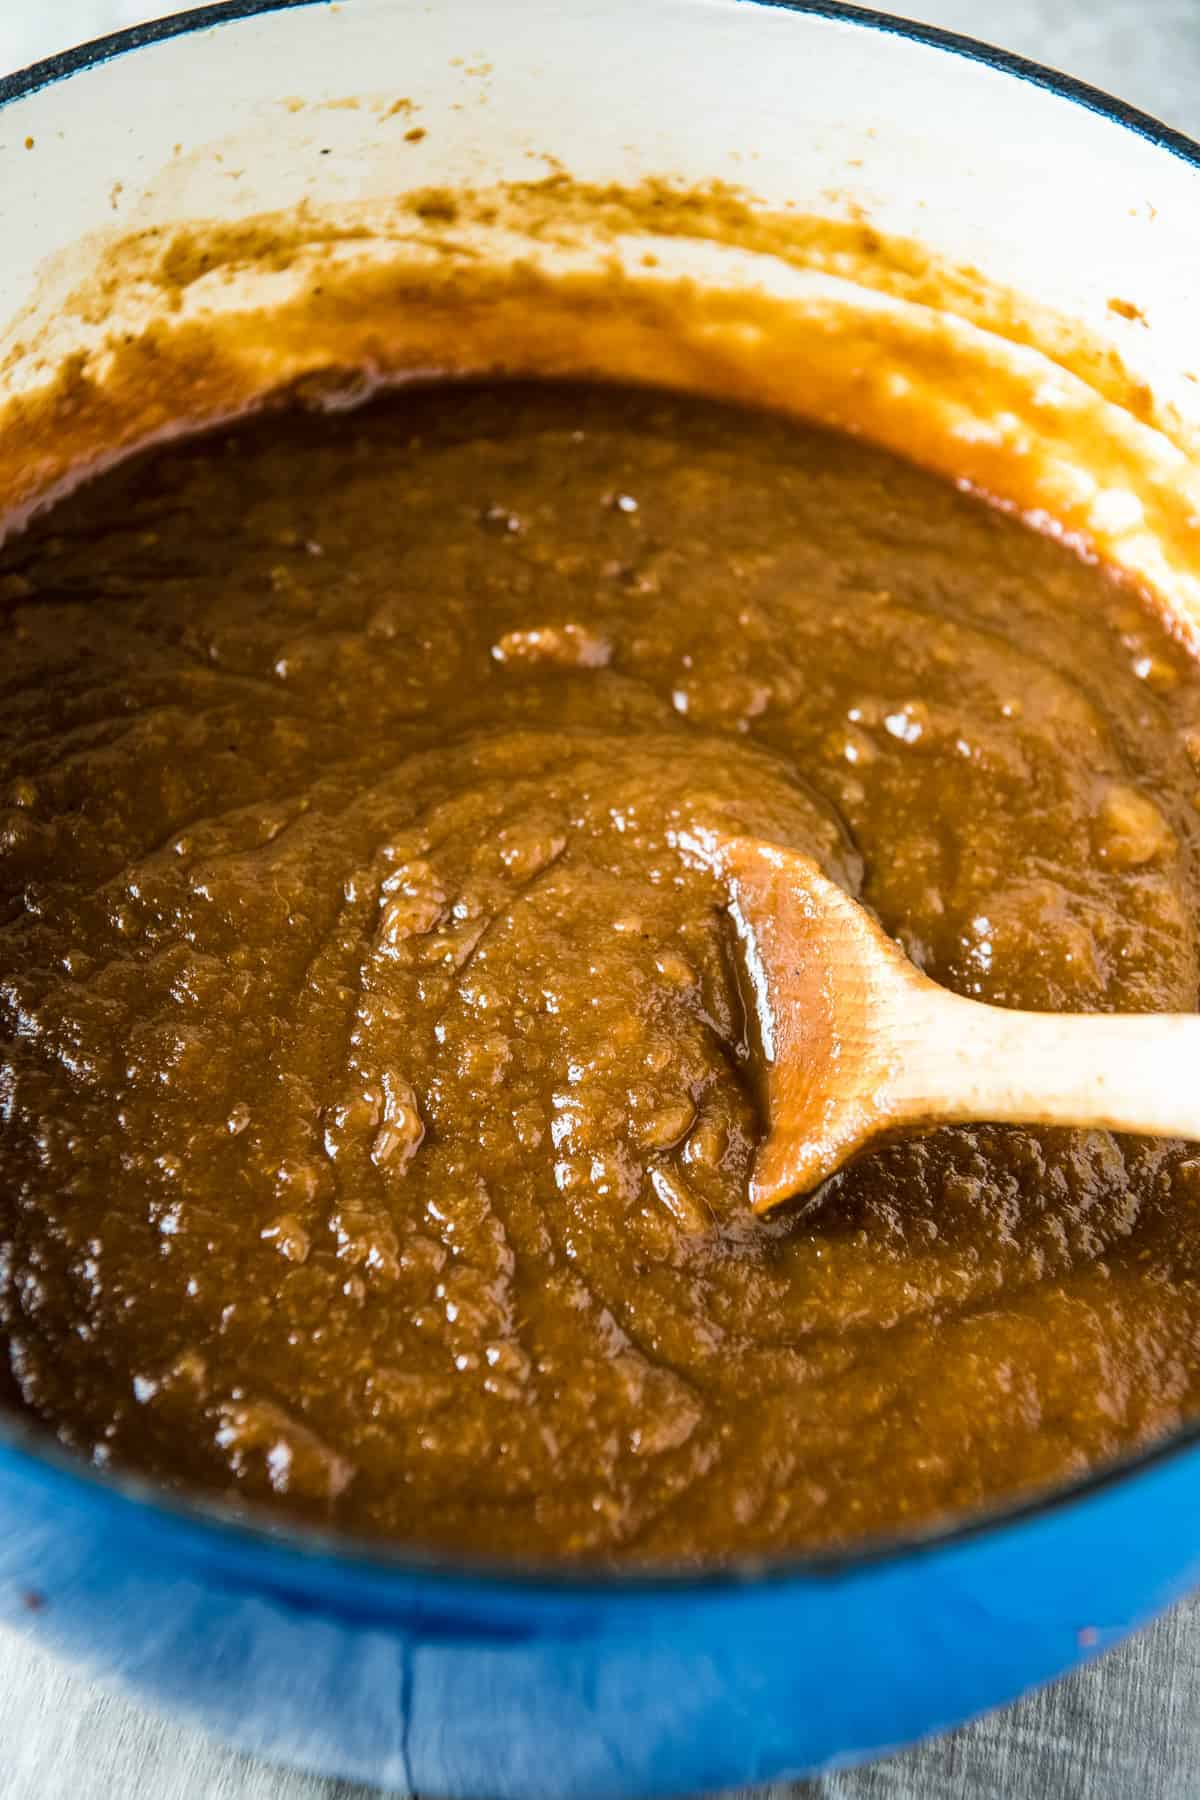
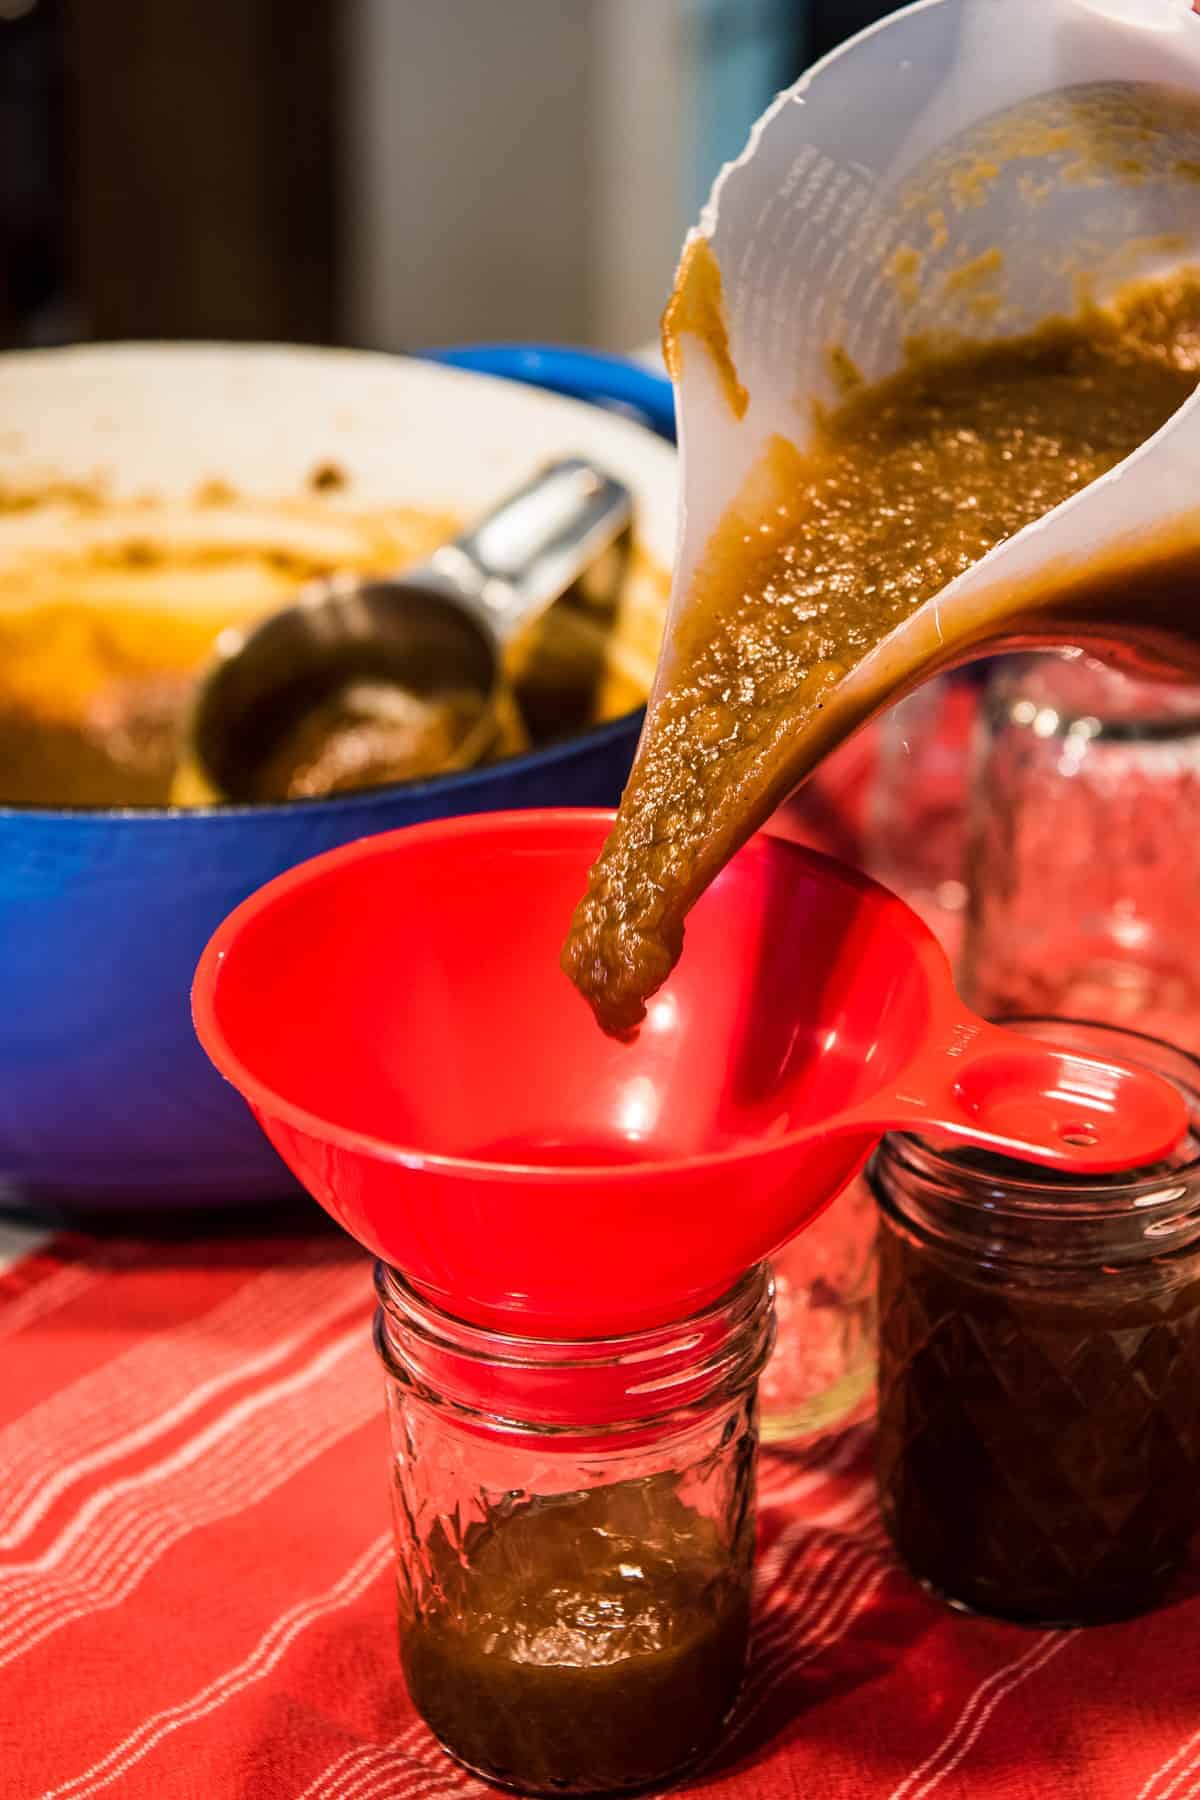
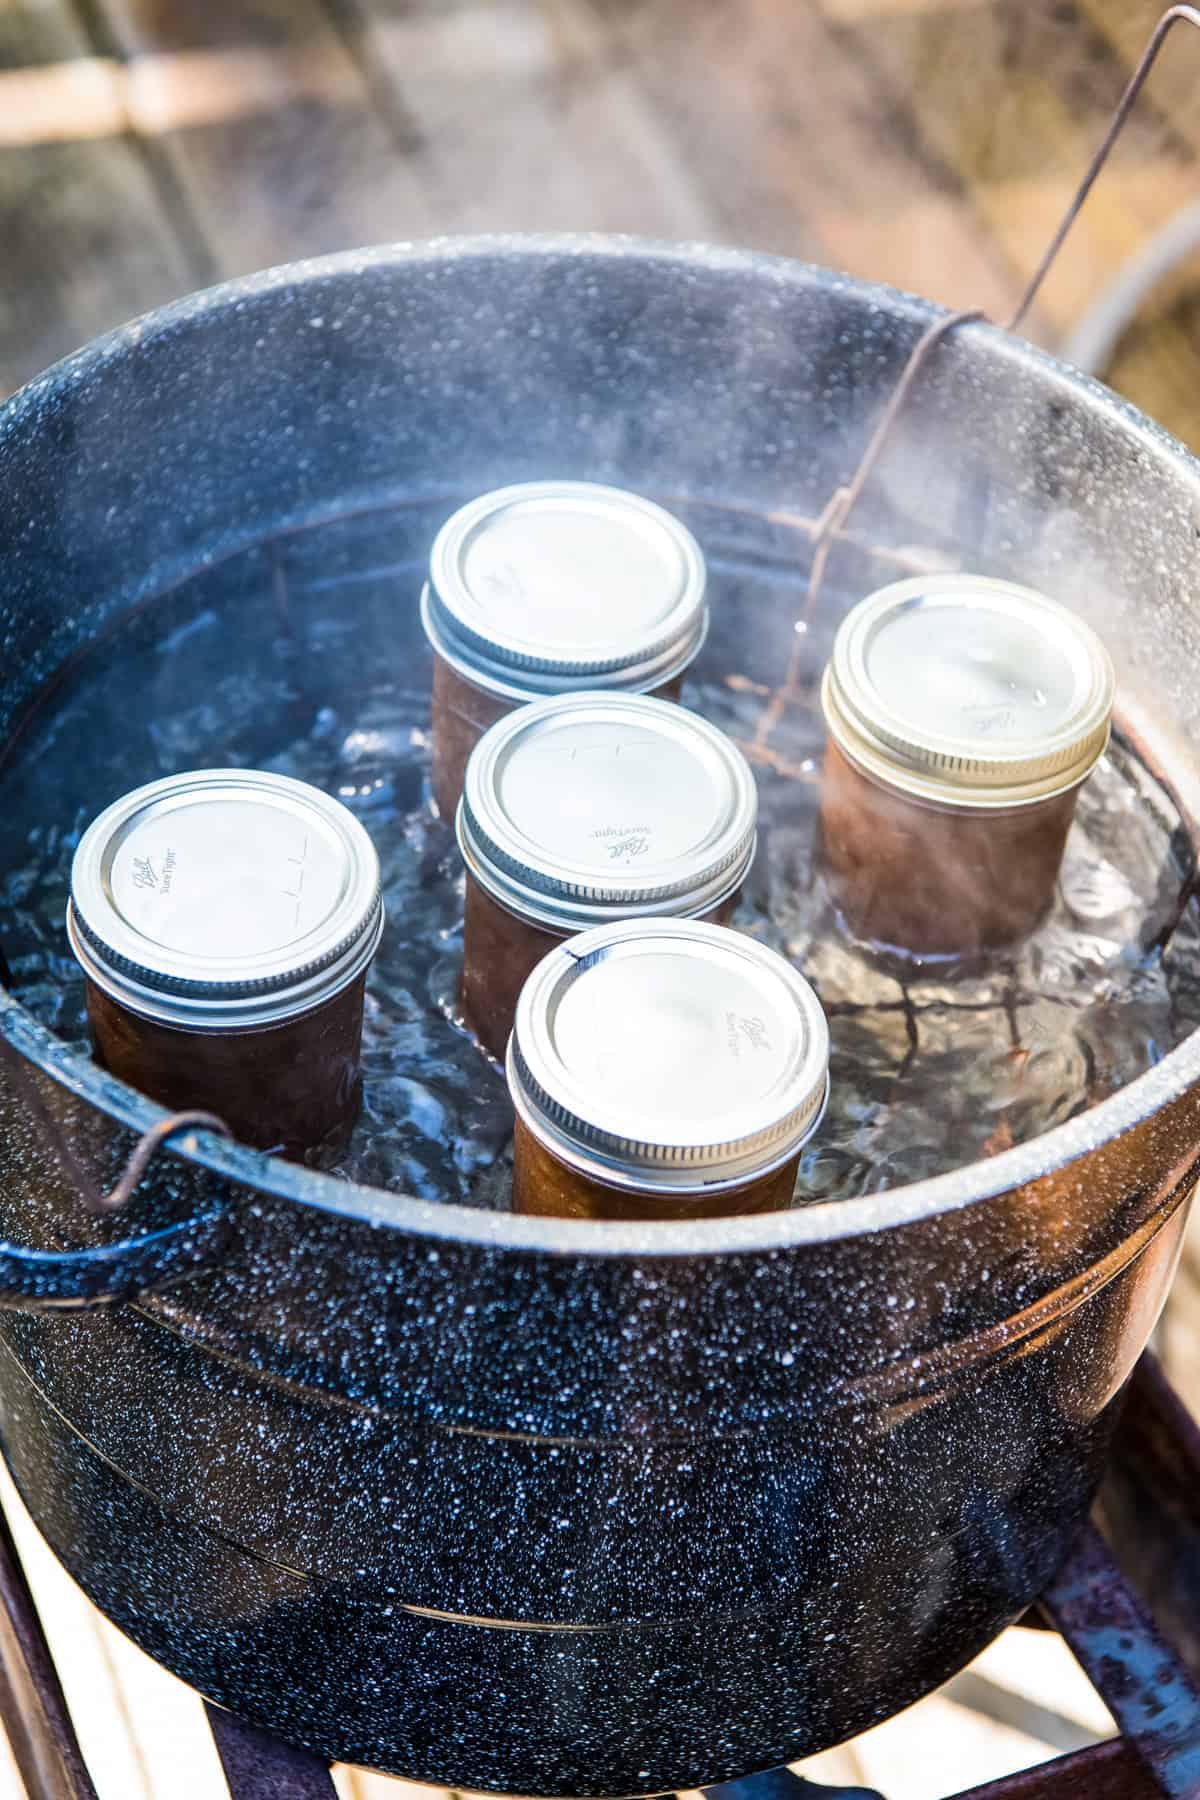
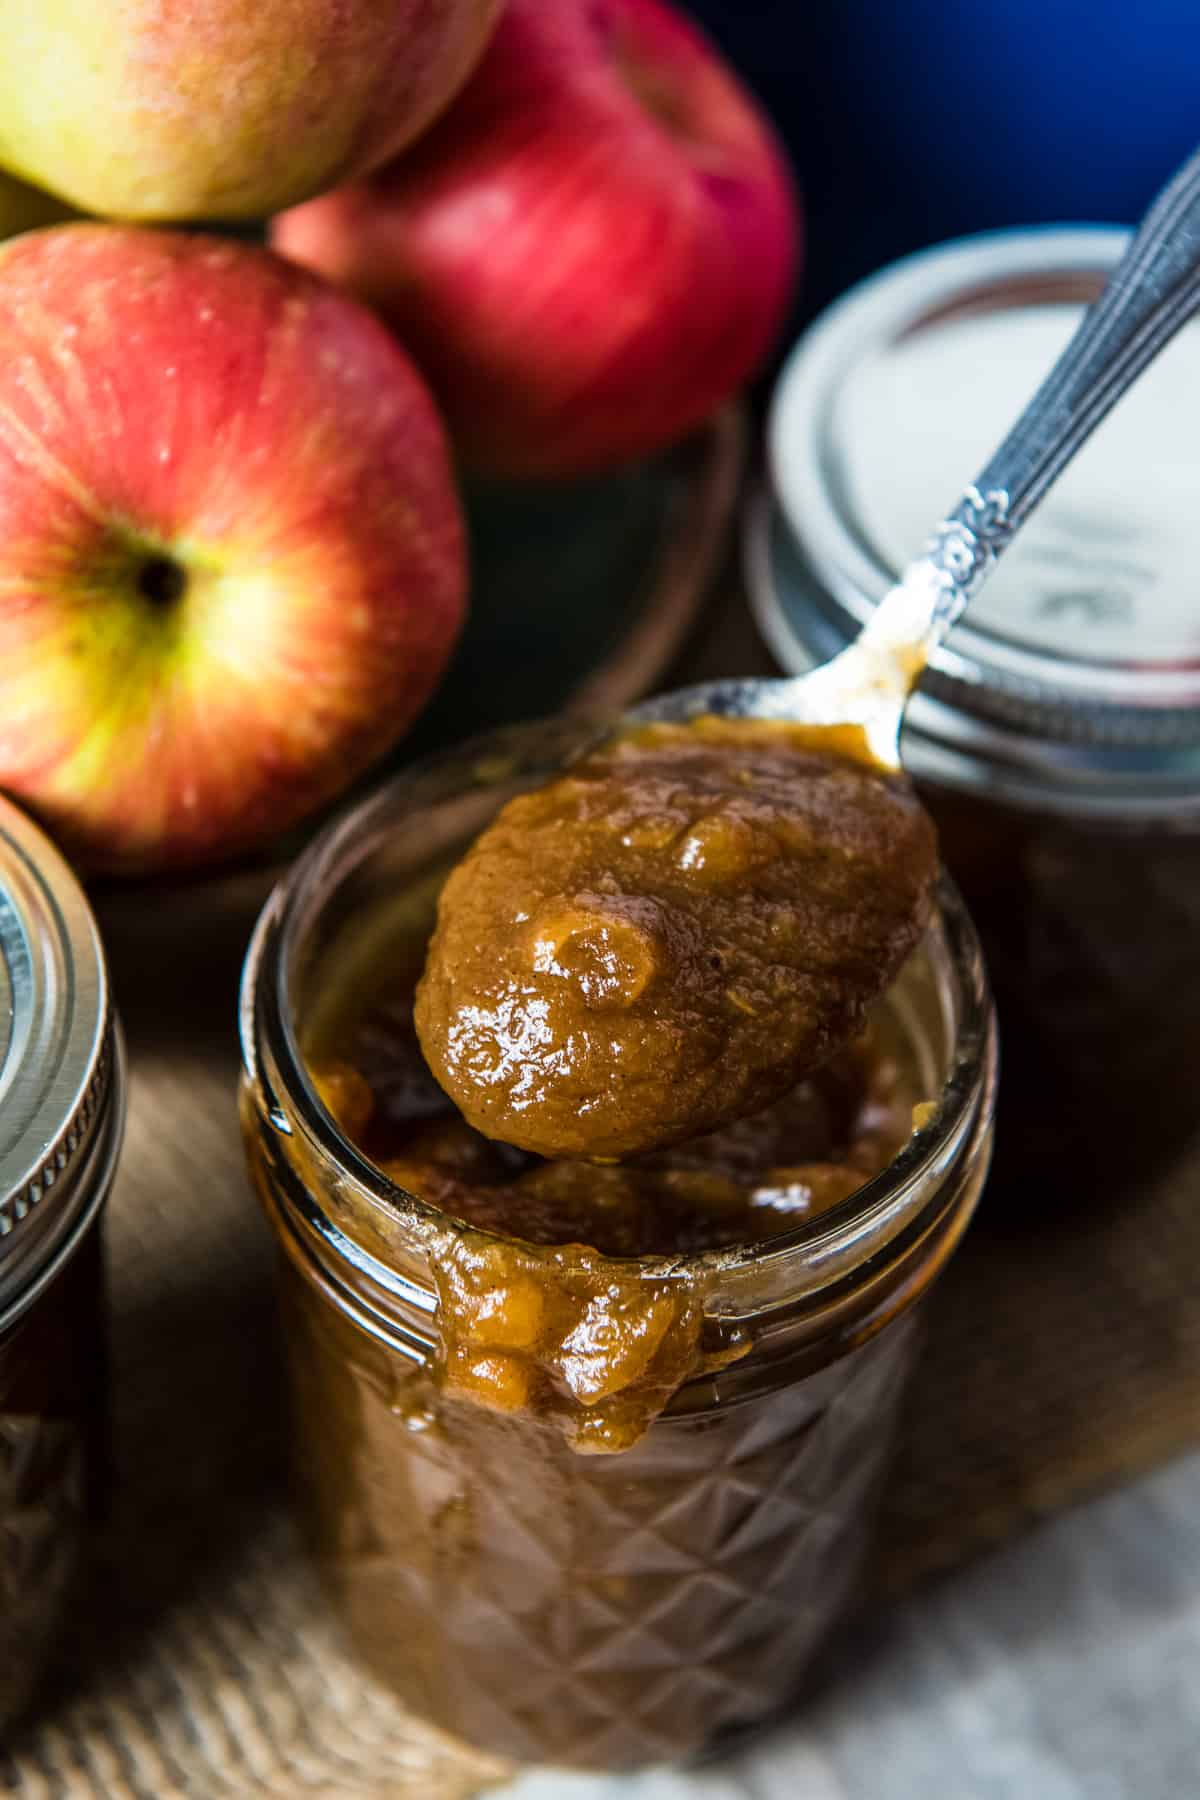
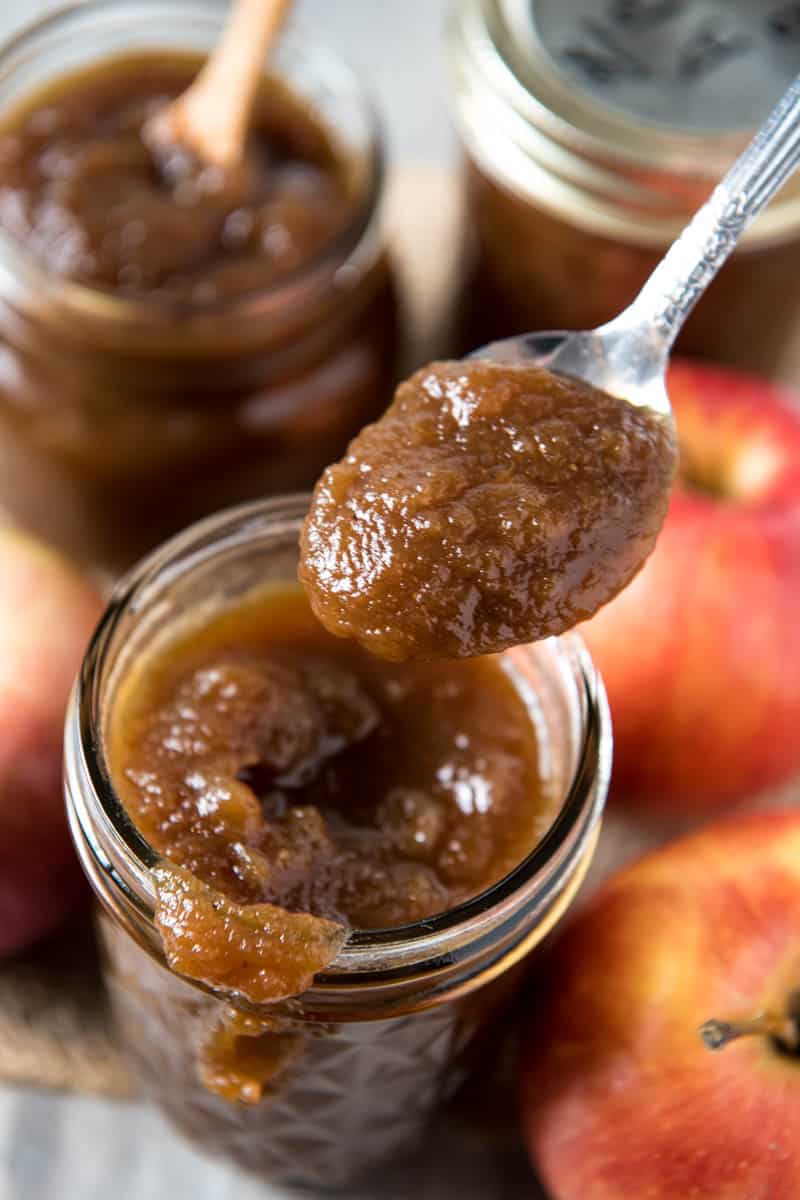
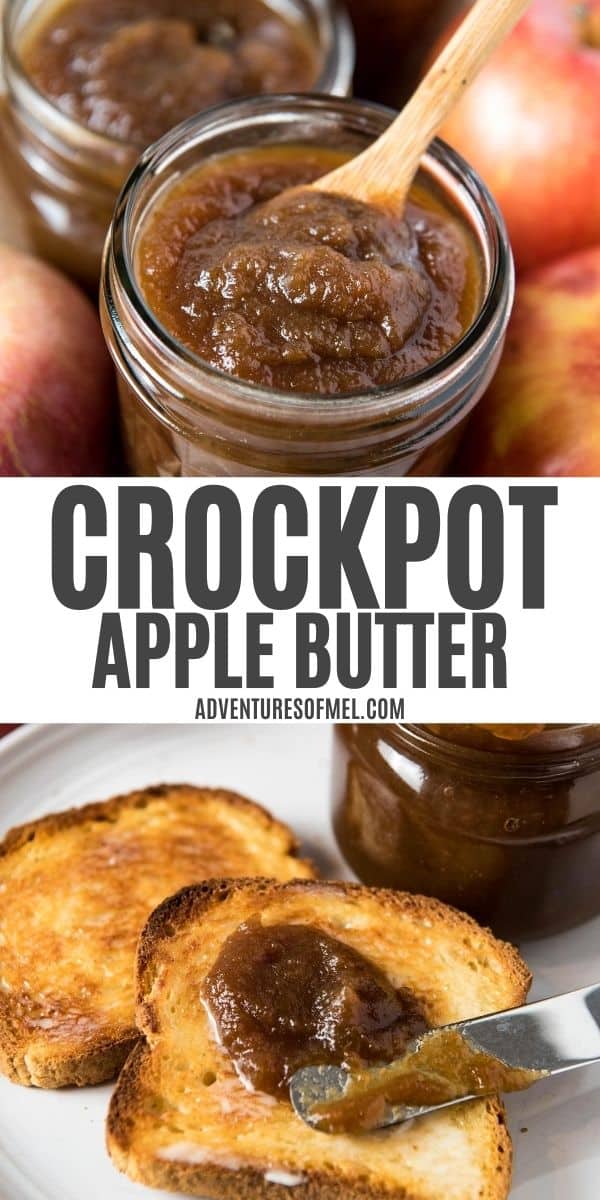
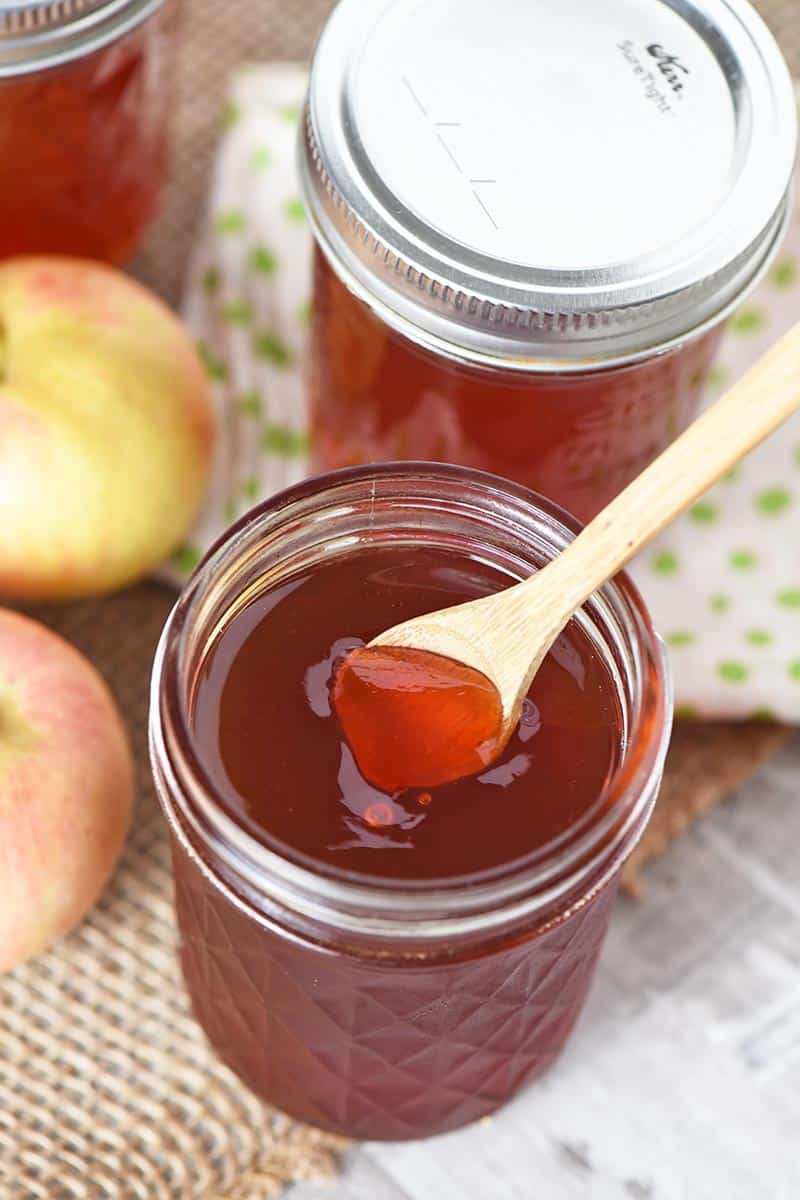
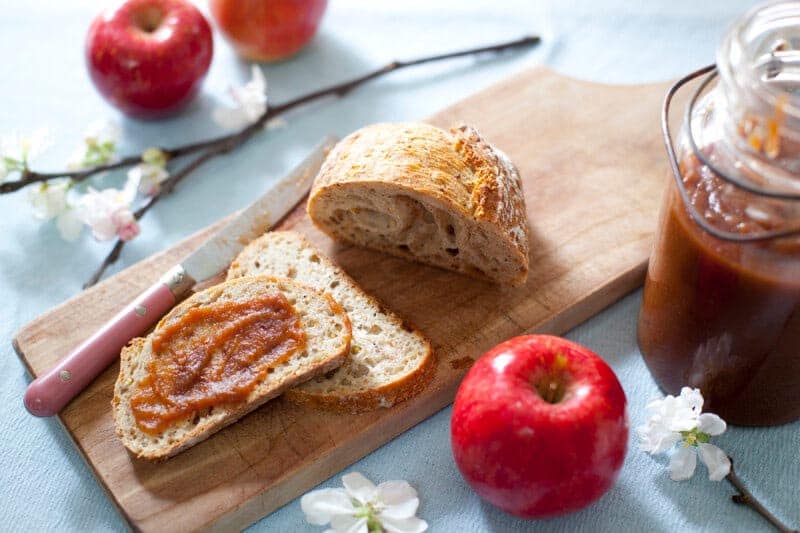
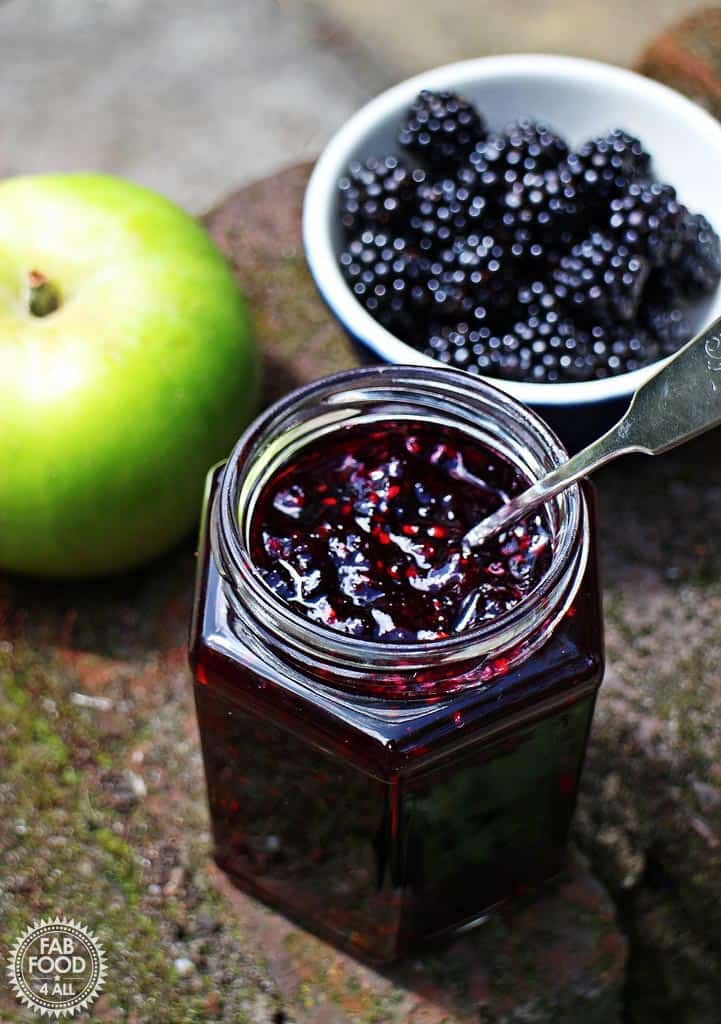
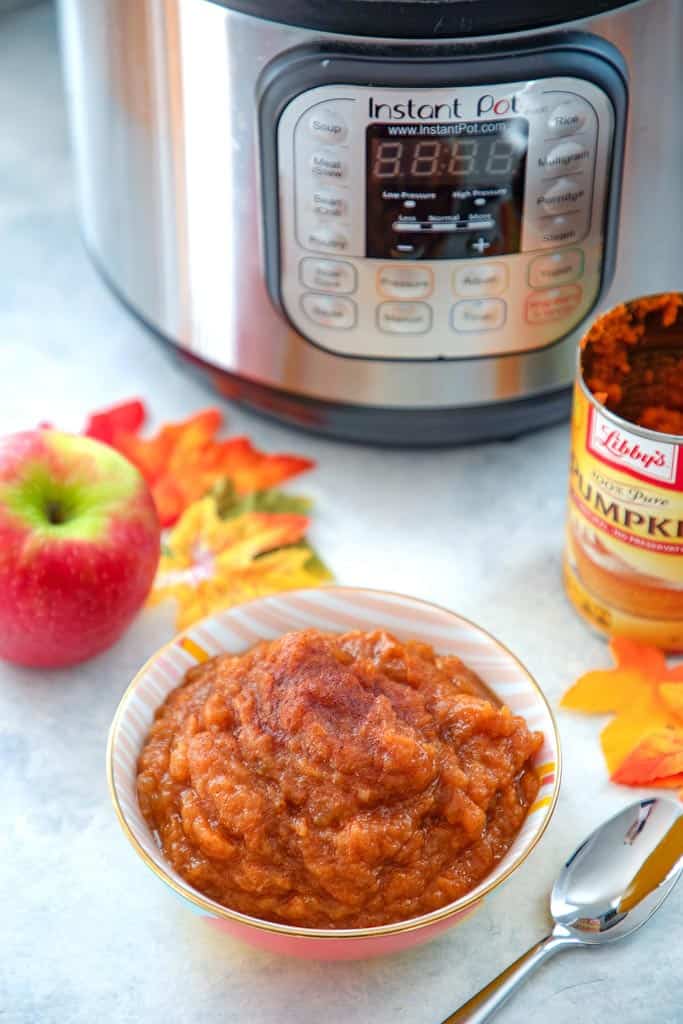
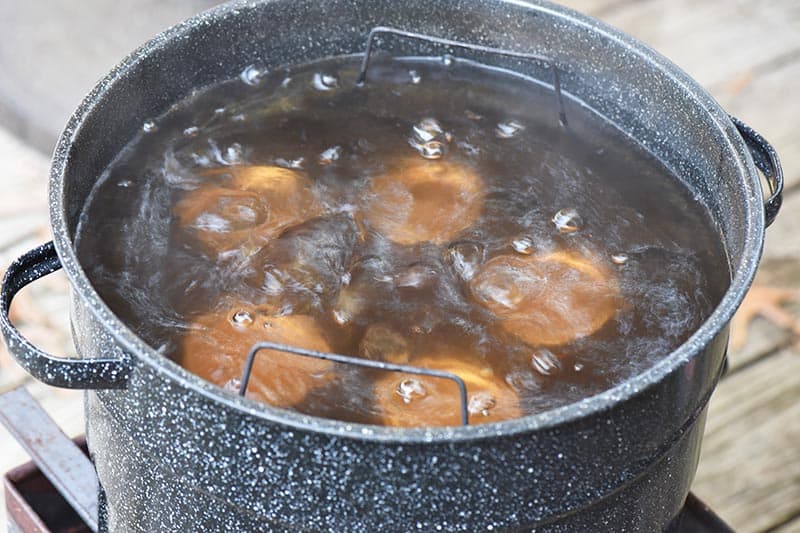
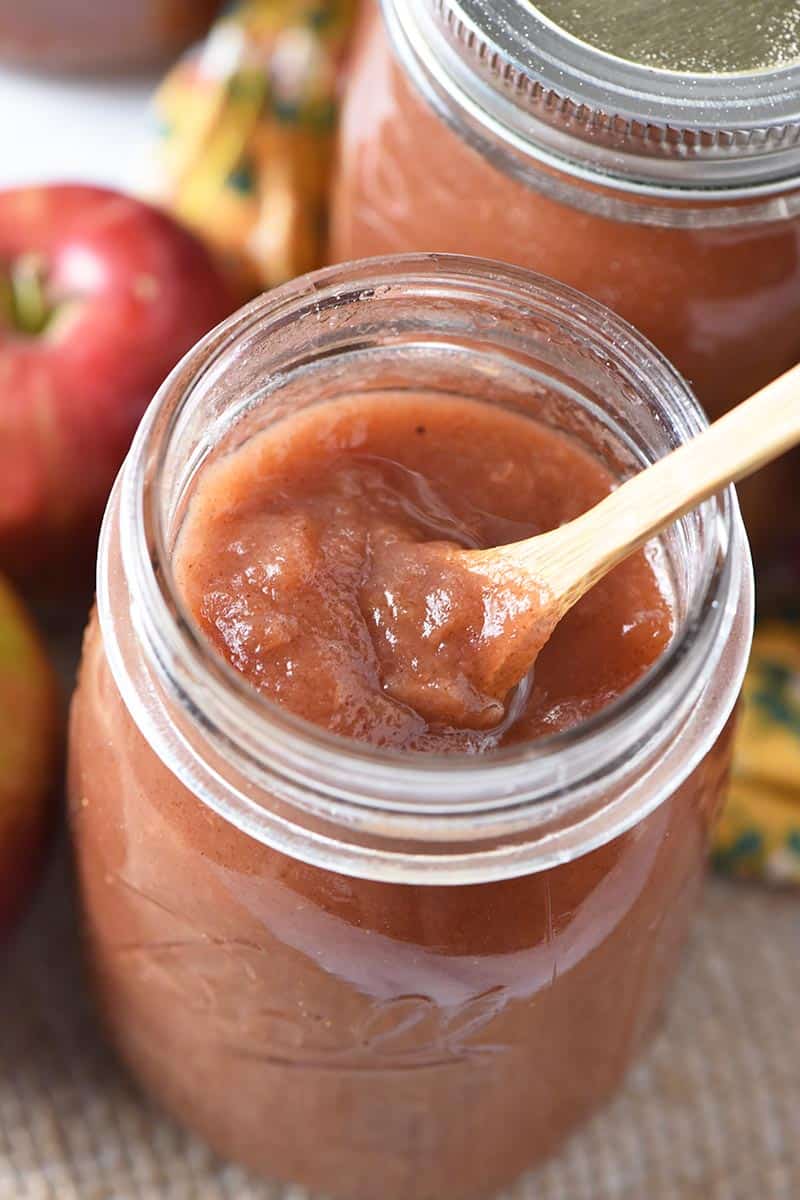
- You can add them to any jam or jelly. I’m thinking applesauce, apple jelly, stovetop apple butter (or Instant Pot apple butter and CrockPot apple butter), blackberry jam, peach jam and even strawberry jam. You can also infuse strawberry sauce or raspberry sauce!
- Although I don’t recommend freezing most spices, you can mix your mulling spices with water and then freeze them in an ice cube tray. Pop out the ice cubes, and drop them into any drink all winter long, like this sparkling non-alcoholic party drink for New Year’s Eve!
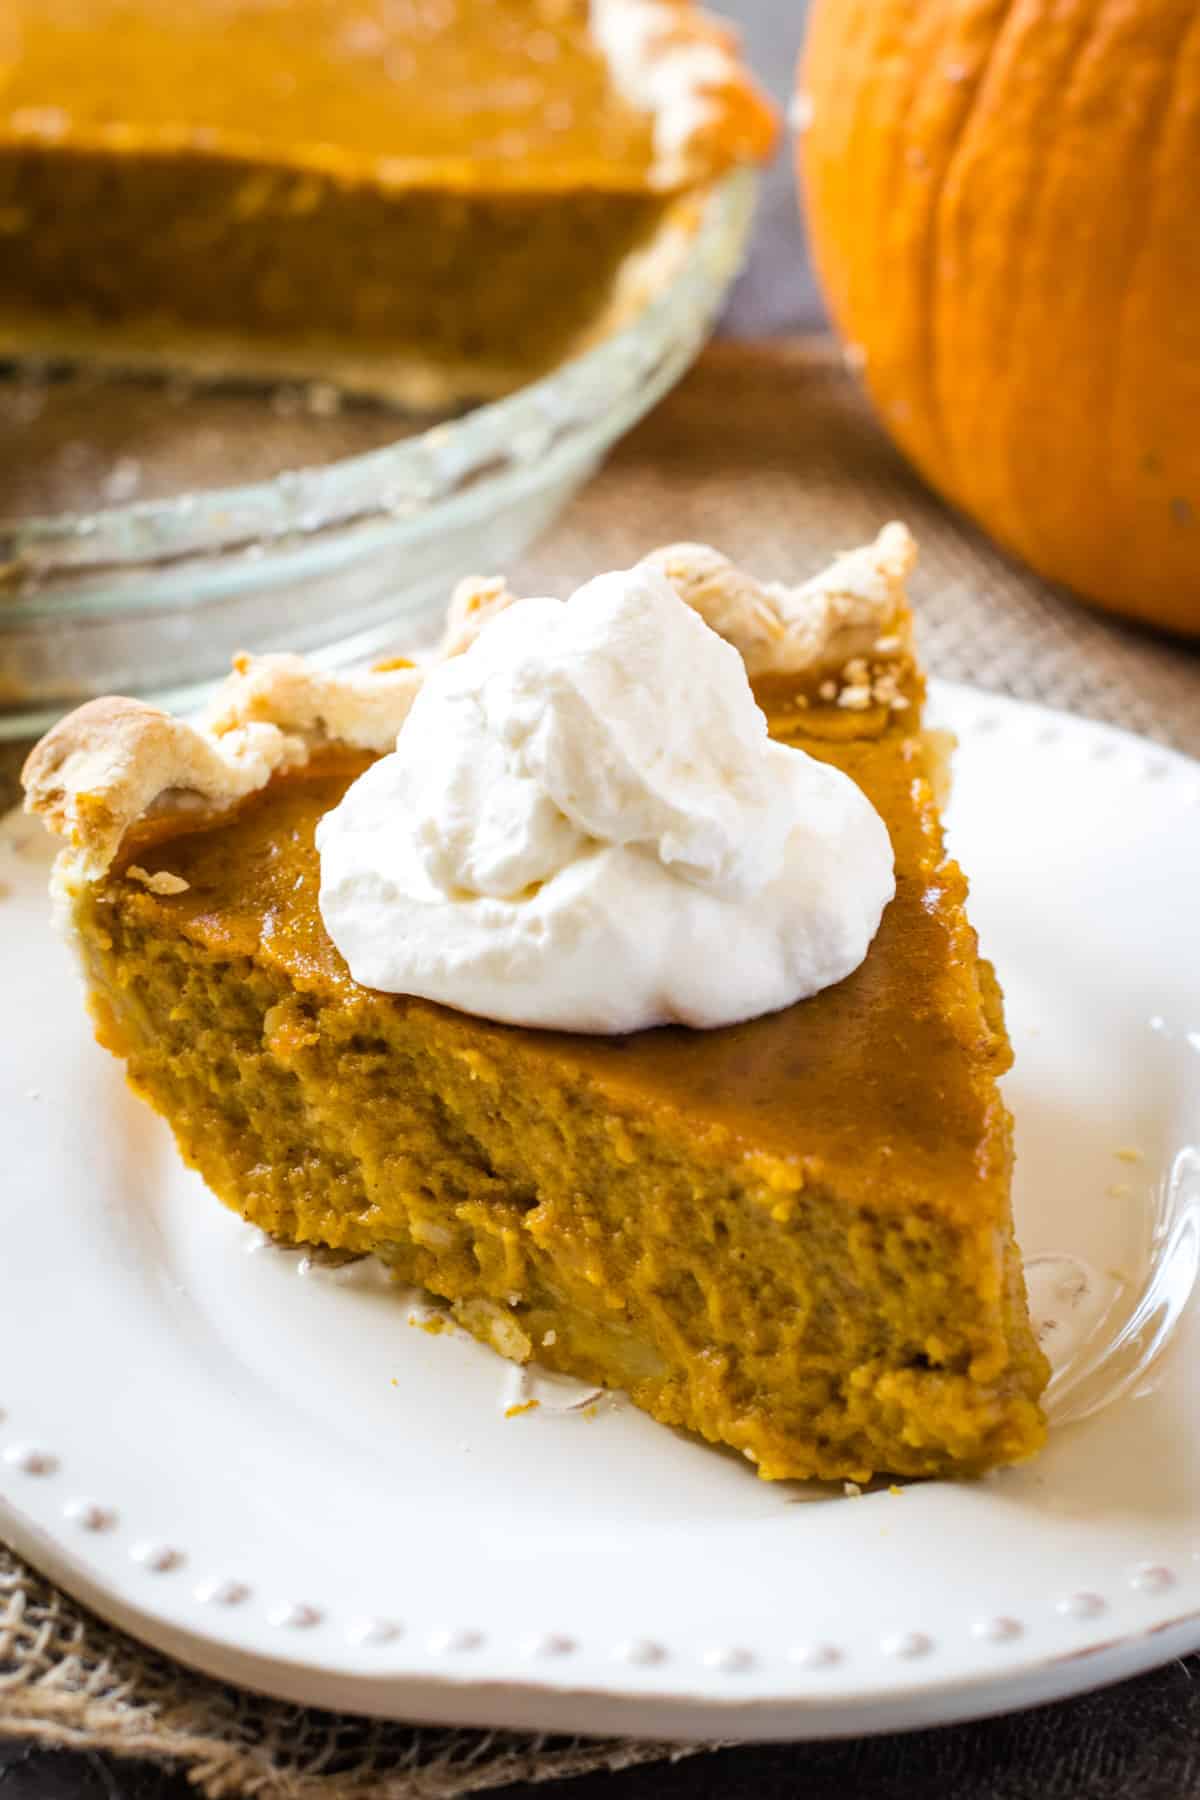
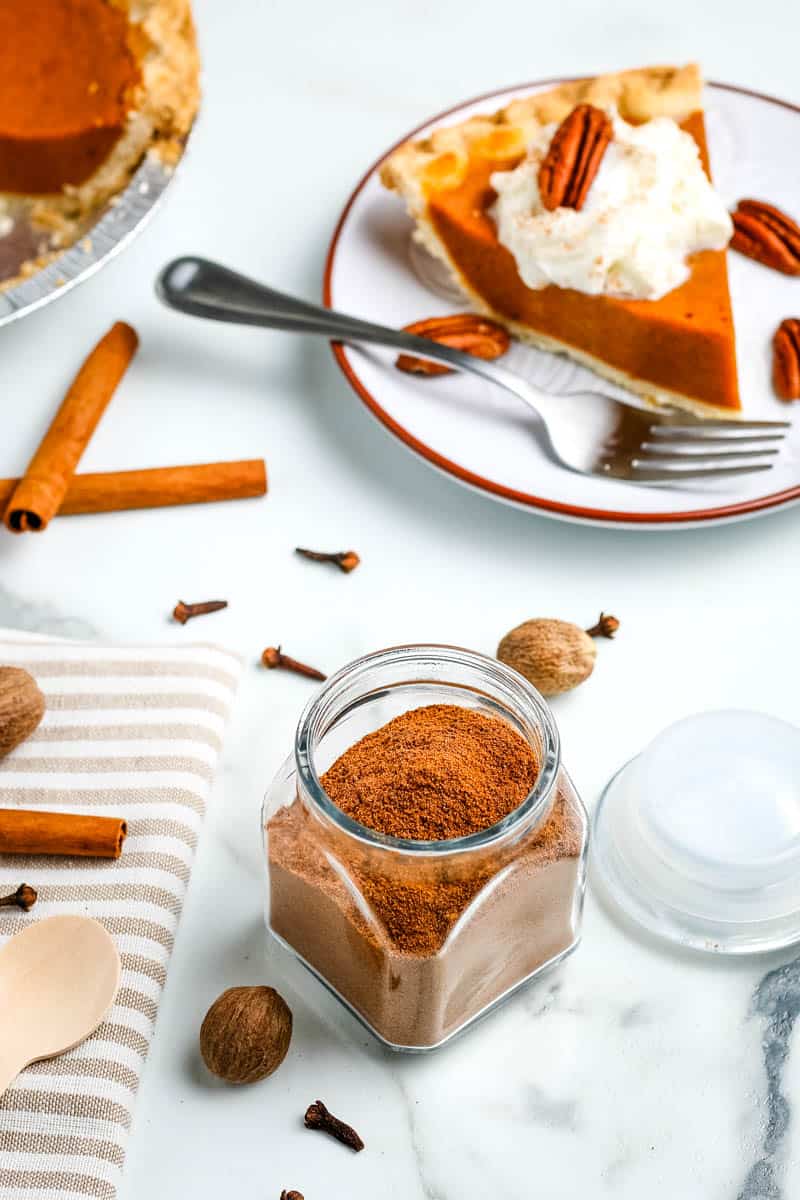
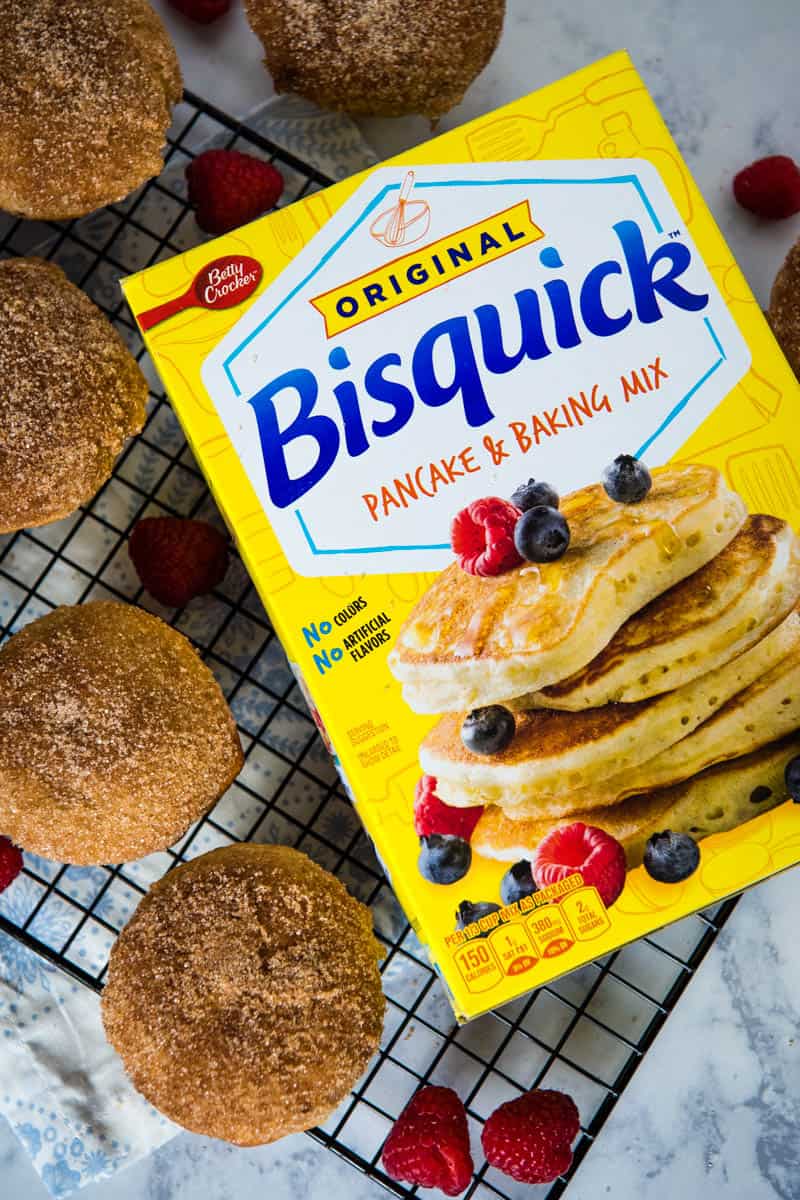
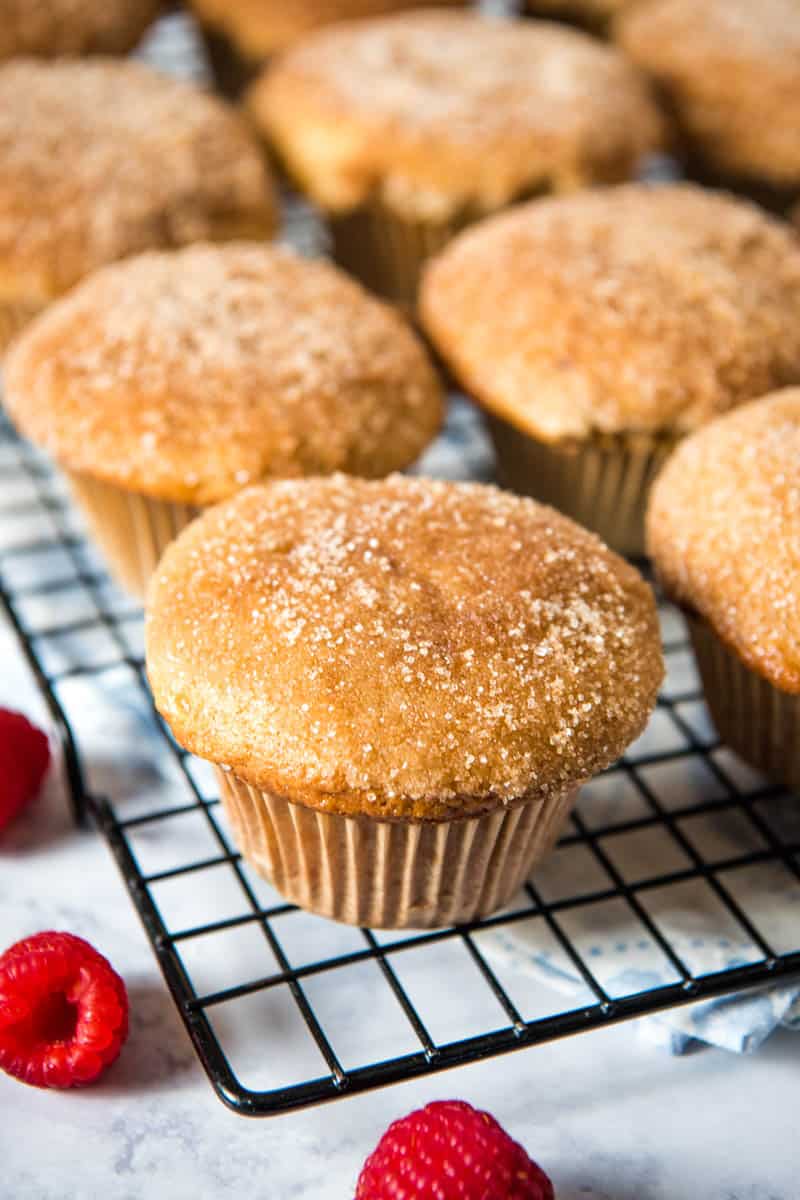
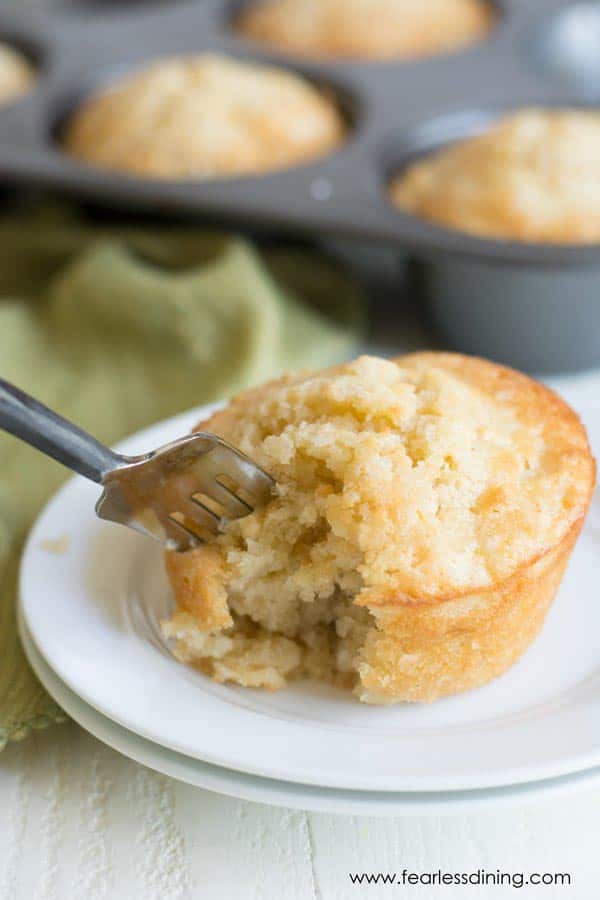
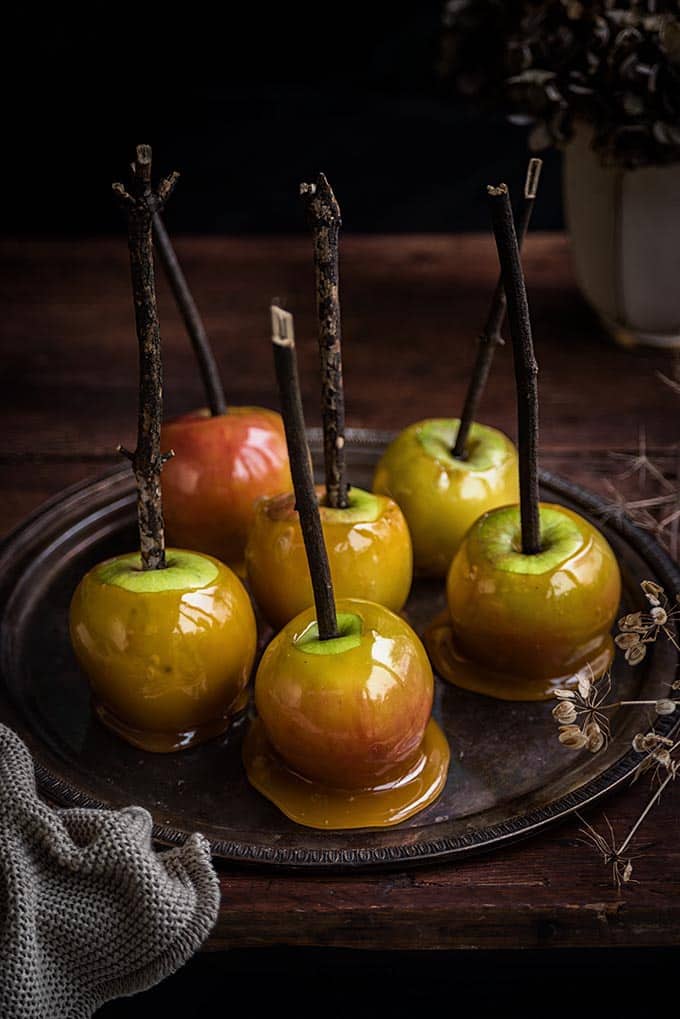
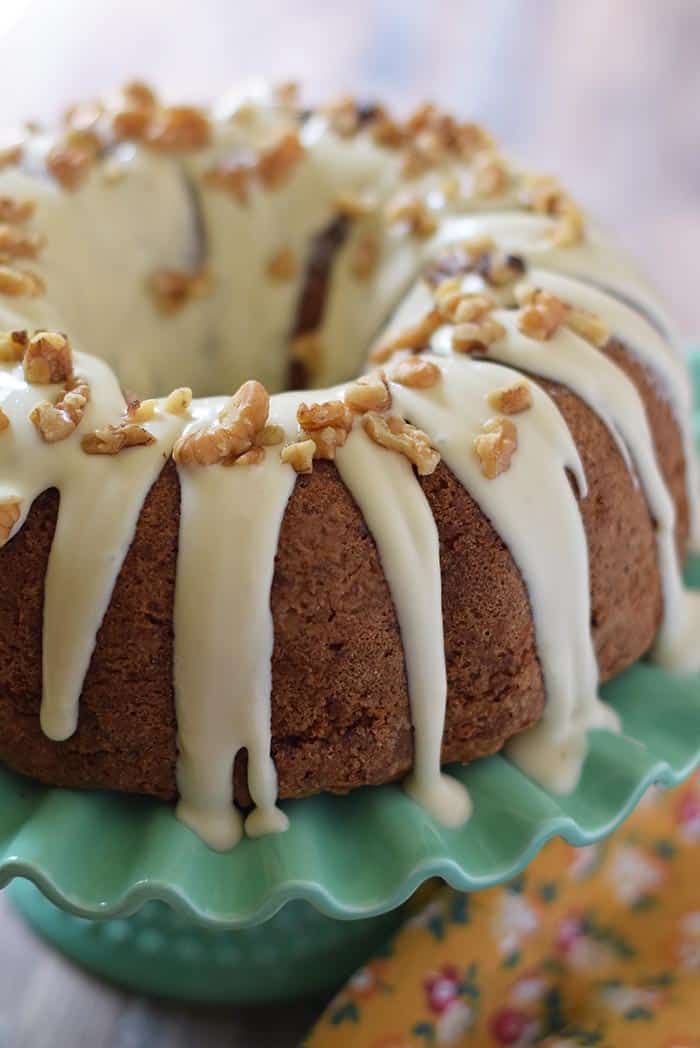
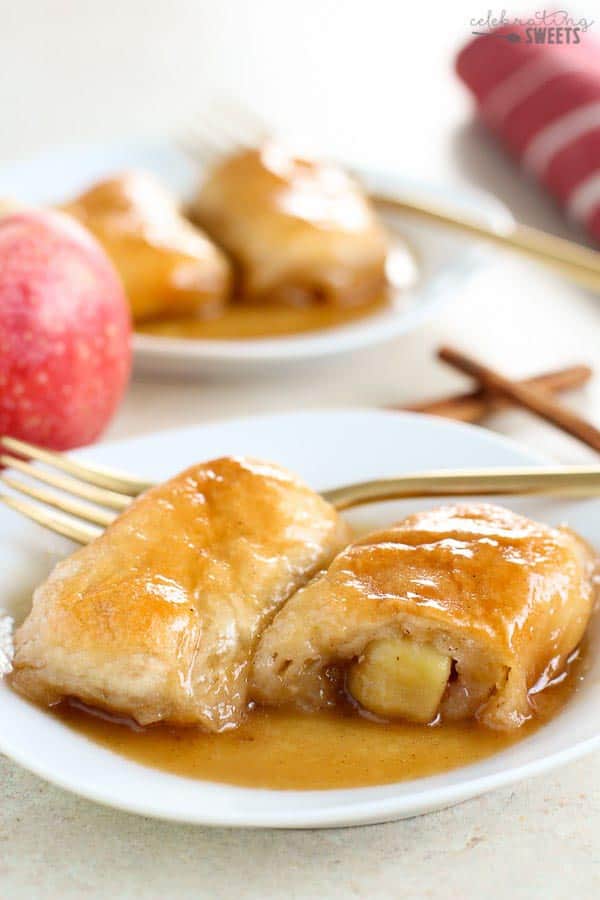
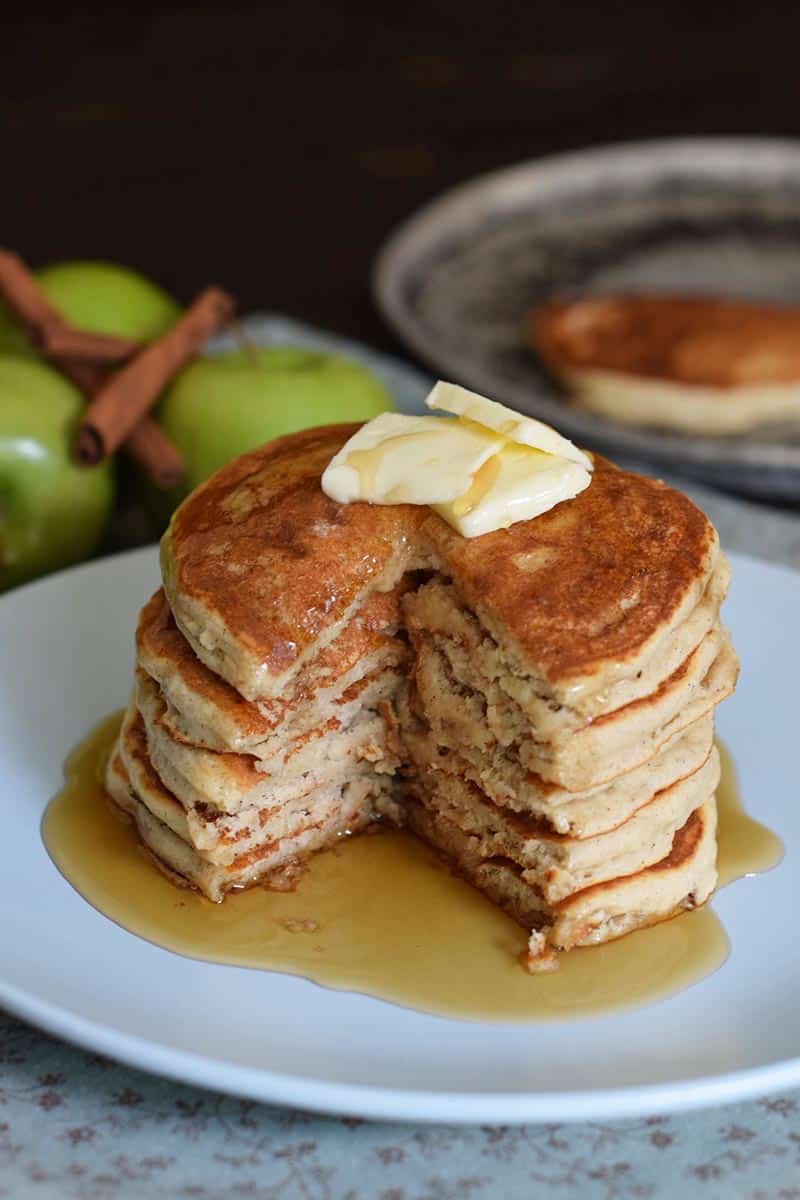
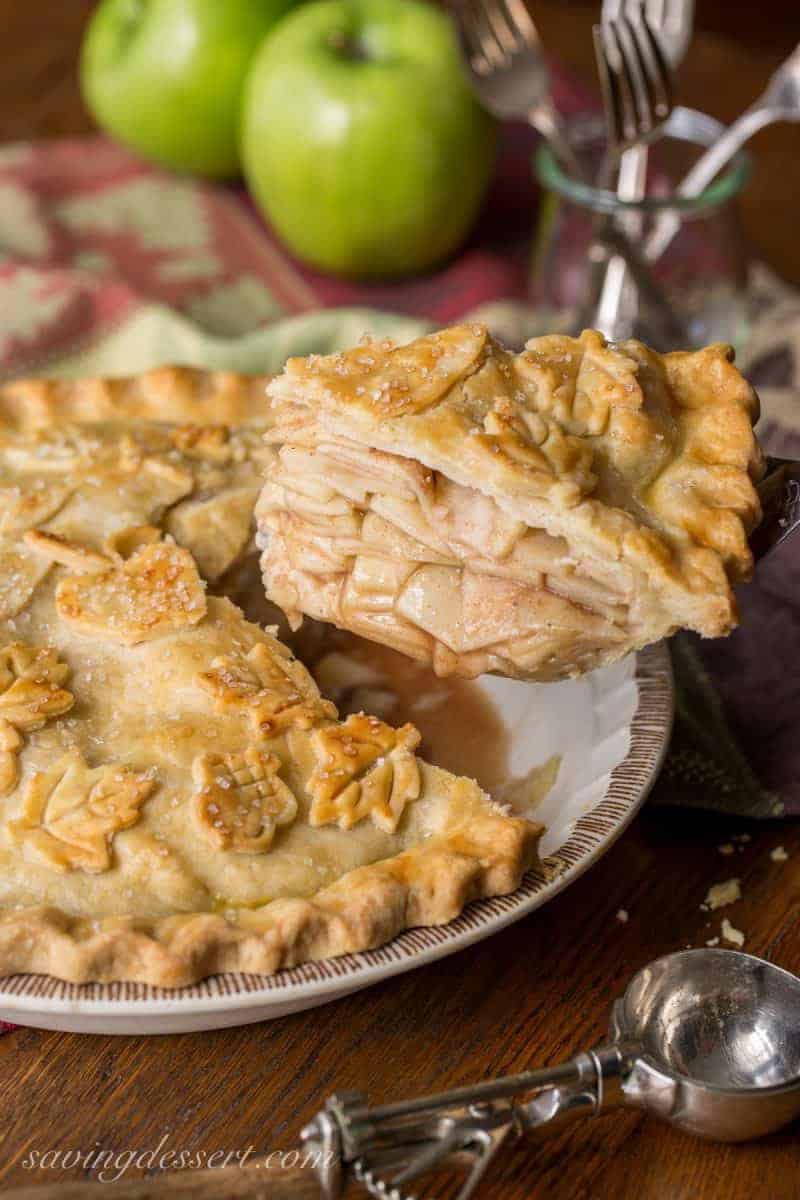
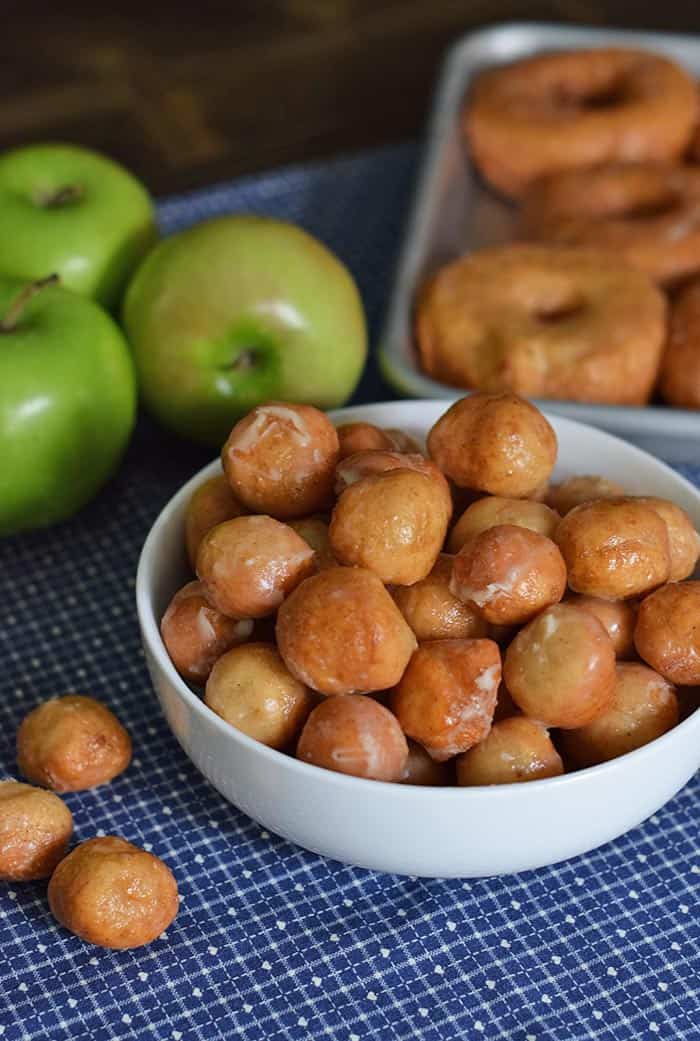
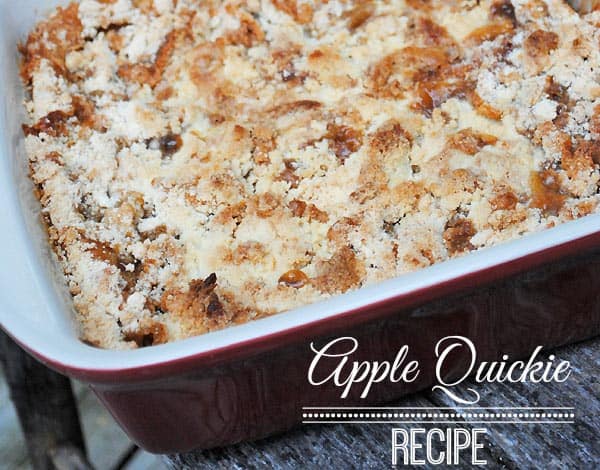
- Grind them and add to just about any baked goods, like old-fashioned pumpkin pie, southern sweet potato pie, pumpkin gooey butter cake, apple crumb pie, this easy apple crumble, Bisquick cinnamon muffins, French toast casserole (or CrockPot French toast casserole), pumpkin rolls, pumpkin bread, pumpkin spice sugar cookies, cinnamon rolls, classic pecan pie, pumpkin spice cheesecake, apple bundt cake, caramel apple donut holes, apple cinnamon buttermilk pancakes, cinnamon French toast, pumpkin pear spice cake, carrot cake, caramel pear crumble muffins, cinnamon stuffed pears, cinnamon streusel coffee cake, this gingerbread loaf recipe, gingerbread cookies, chocolate whoopie pies, butter almond snowball cookies, and the list could go on!
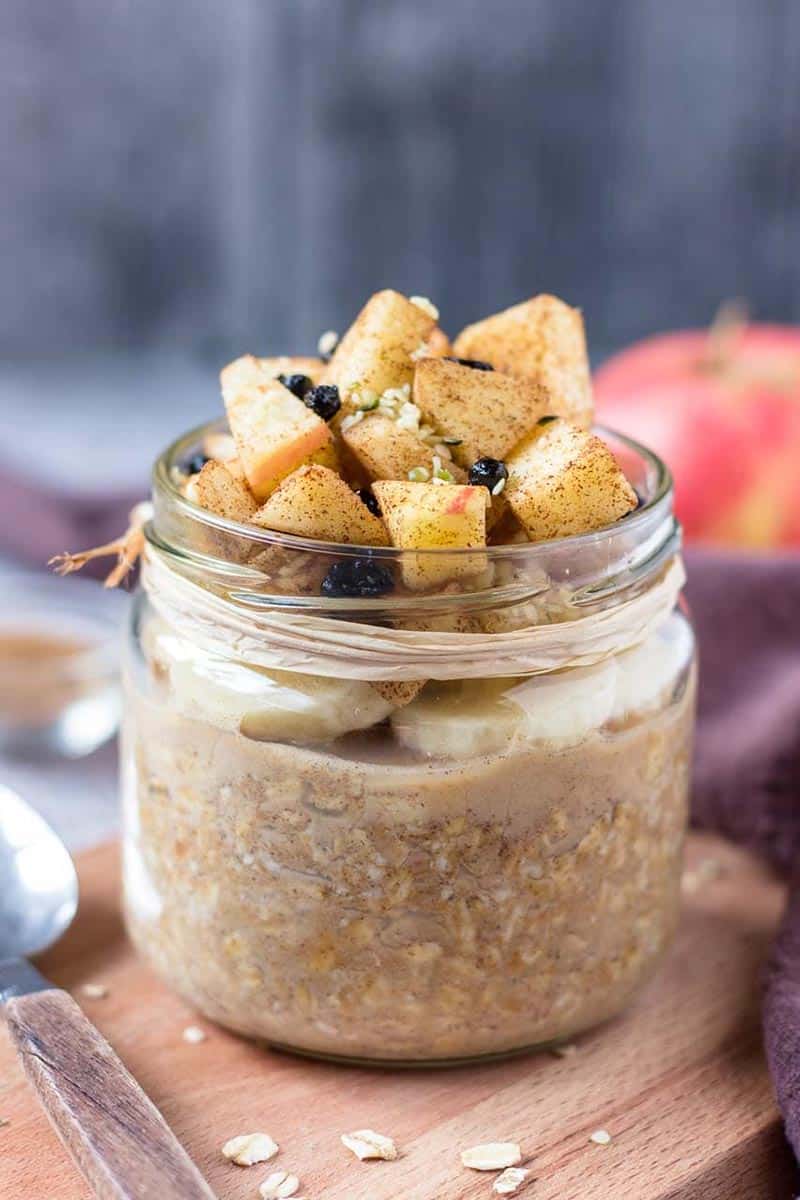
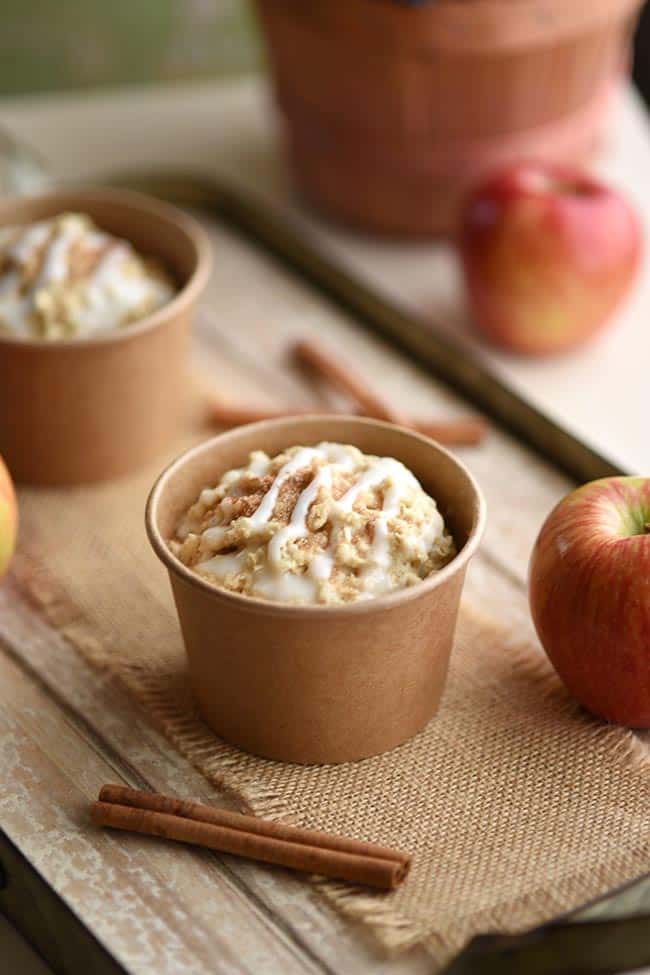
- Last but not least, use your mulling spice to make the best spiced oatmeal for breakfast!
If you try this recipe, why not leave a star rating in the recipe card right below and/or a review in the comment section further down the page? I always appreciate your feedback. You can also follow me on Pinterest, Facebook, Instagram, and YouTube. And subscribe to my email list too!
Mulling Spice Recipe
Make the best homemade mulling spice recipe in 10 minutes or less. Simple and versatile spice mix for your favorite holiday drinks!
- Large Resealable Bag
- Rolling Pin
- Large Mixing Bowl
- Airtight Container
- 3 ounces Cinnamon Sticks
- 1/4 cup Whole Cloves
- 1/4 cup Star Anise Pods
- 1/3 cup Cardamom Pods
- 1/4 cup Allspice Berries
- 1/3 cup Dried Orange Peel
- 1/4 cup Black Peppercorns
Mulling Spice Recipe
Start by placing the cinnamon sticks, whole cloves, star anise pods, cardamom pods and allspice berries in a large resealable bag.
Next, close the bag and crush the spices by beating them with a rolling pin.
Finally, add the dried orange peel and black peppercorns to the mulling spice mixture in a large mixing bowl, and toss everything together to mix well.
Transfer your mulling spice recipe to an airtight container or spice jar. Mulling spices will typically last up to 6 months in a cool, dark environment. I just store mine in the spice cabinet.
How to Make Mulled Cider With Mulling Spice
Start by adding 2 tablespoons of mulling spice for every 1/2 gallon of raw, unfiltered apple cider in a medium saucepan.
Heat this mixture over a medium-low heat on the stovetop until it just starts to boil. Then turn it down to low and let simmer for about 20-30 more minutes for best flavor.
Once simmered, remove your mulled cider from the heat. Run the liquid through a fine-mesh sieve to strain out all of the crushed spices.
That's it! Serve your mulled apple cider hot with a fresh slice of lemon and a whole cinnamon stick.
Do mulling spices go bad?
Mulling spices don’t necessarily go bad, but they do lose their flavor over time. They should keep up to 6 months in an airtight container in a cool and dark environment, like the kitchen cabinet. I recommend making a large batch at the beginning of fall to last all winter long!