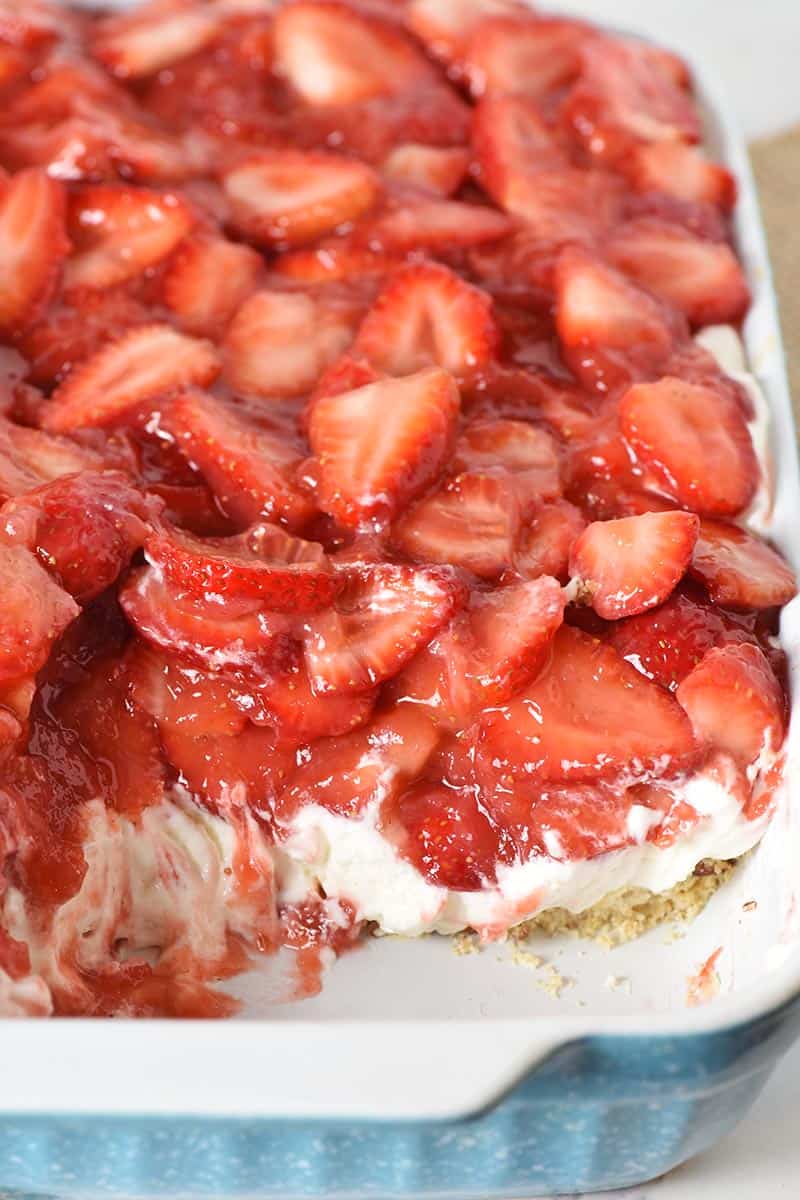
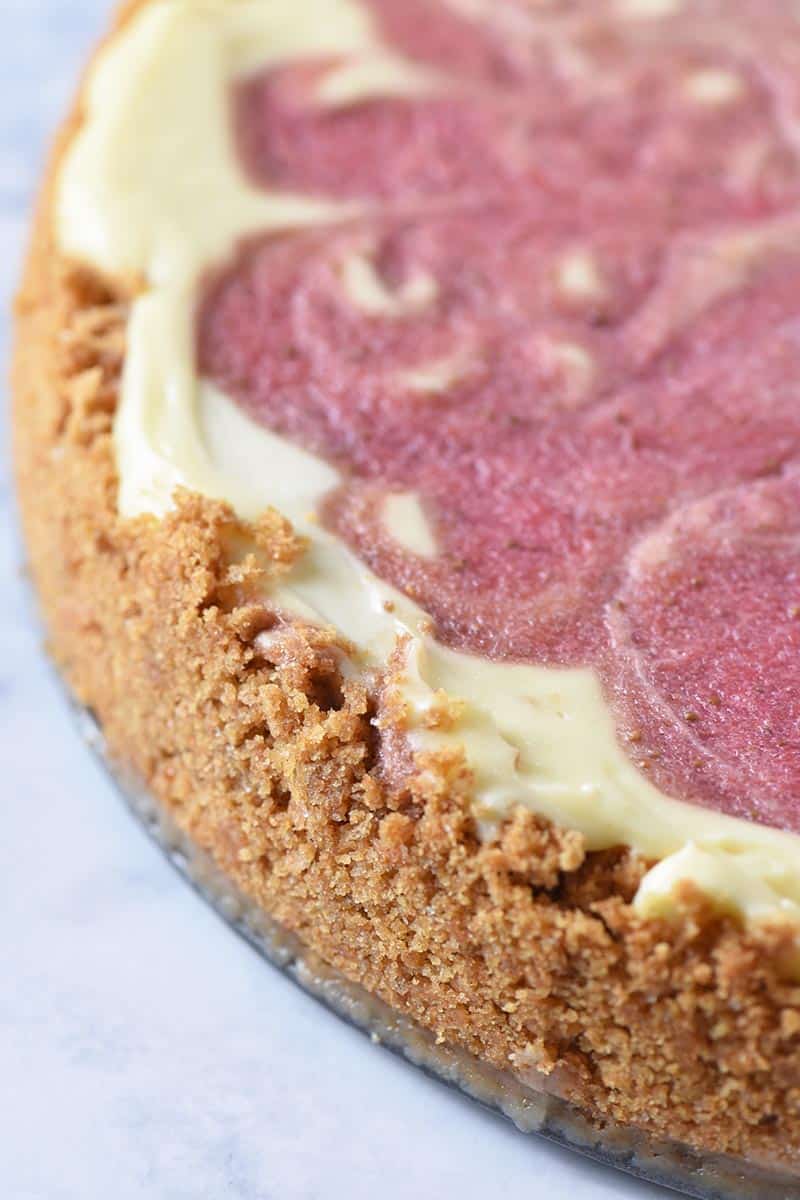
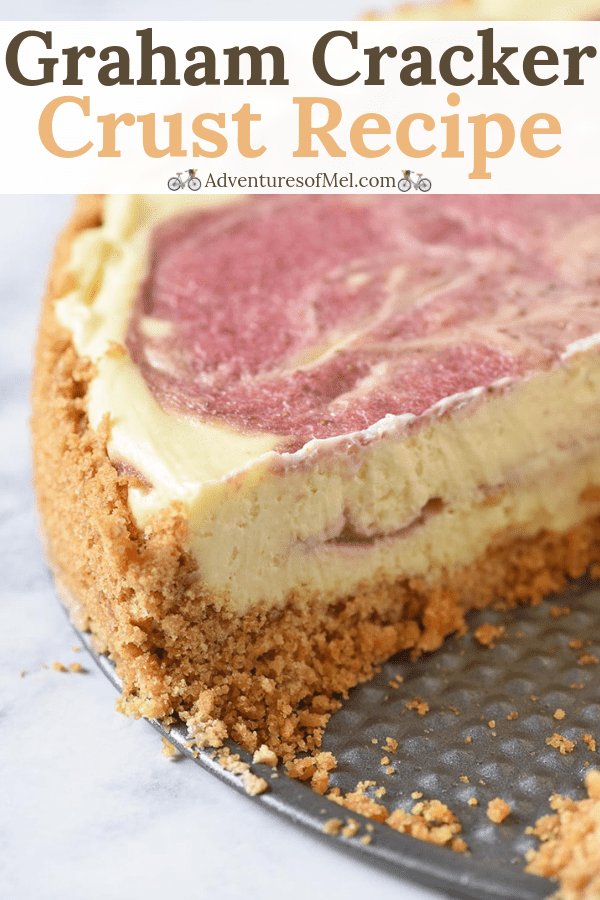
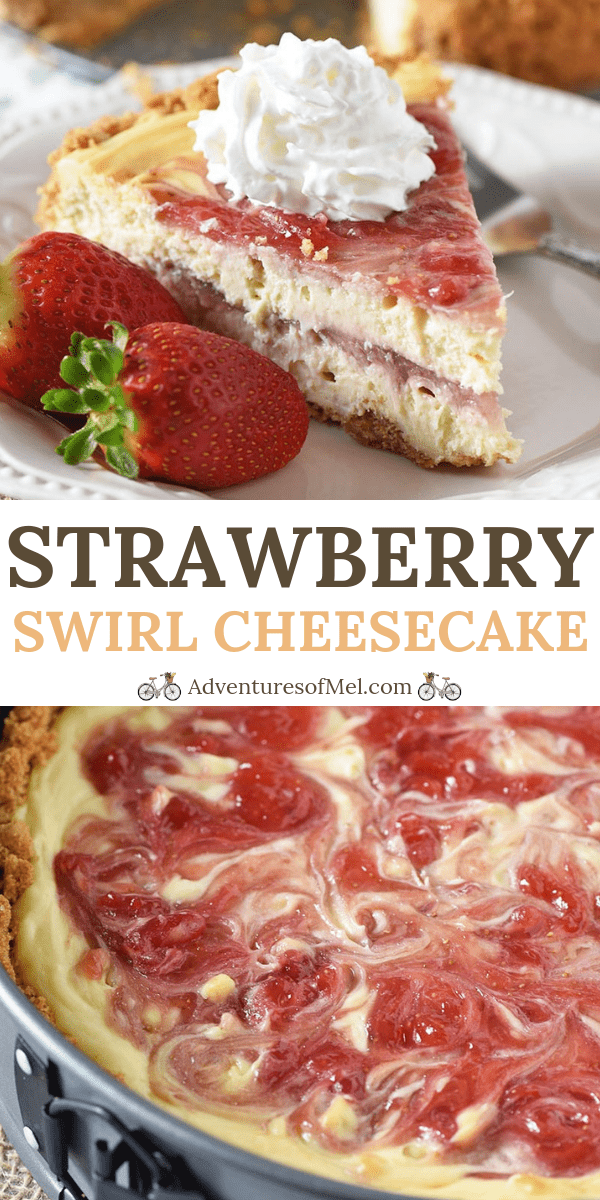
How to make the most delicious strawberry swirl cheesecake recipe, with a graham cracker crust, creamy homemade filling, and fresh strawberries.
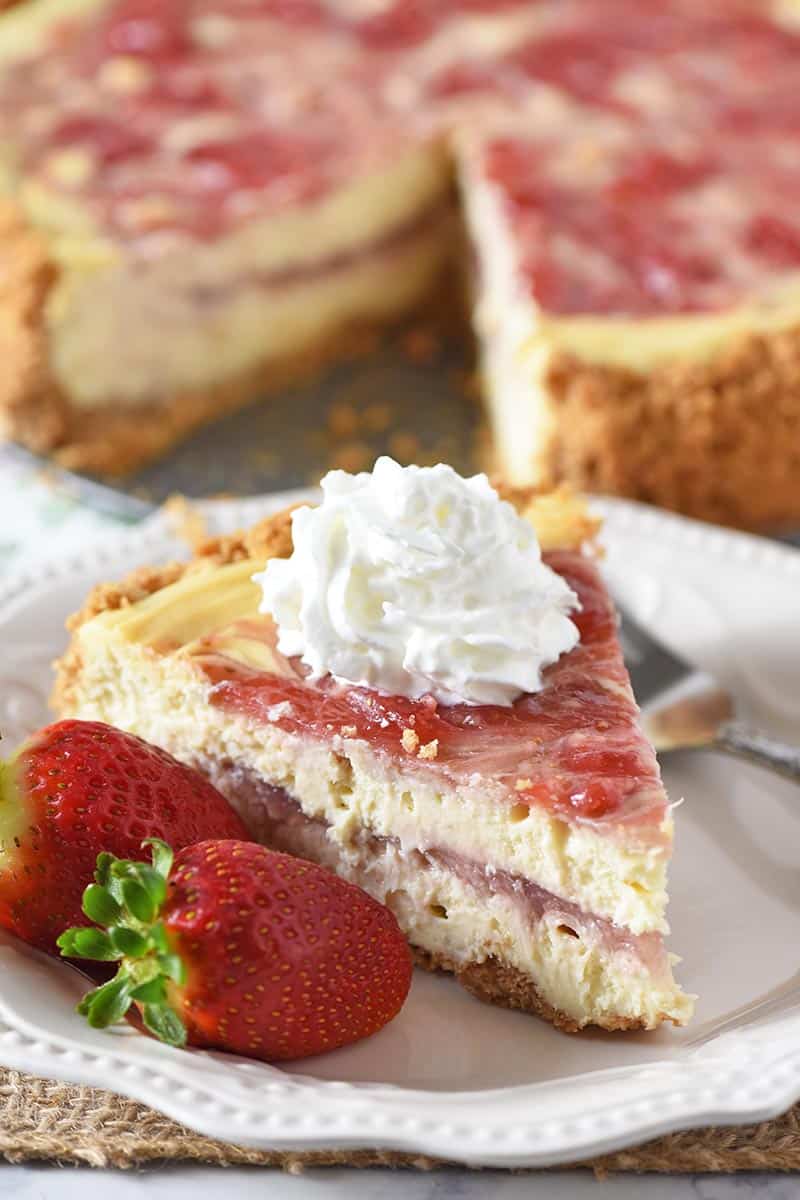
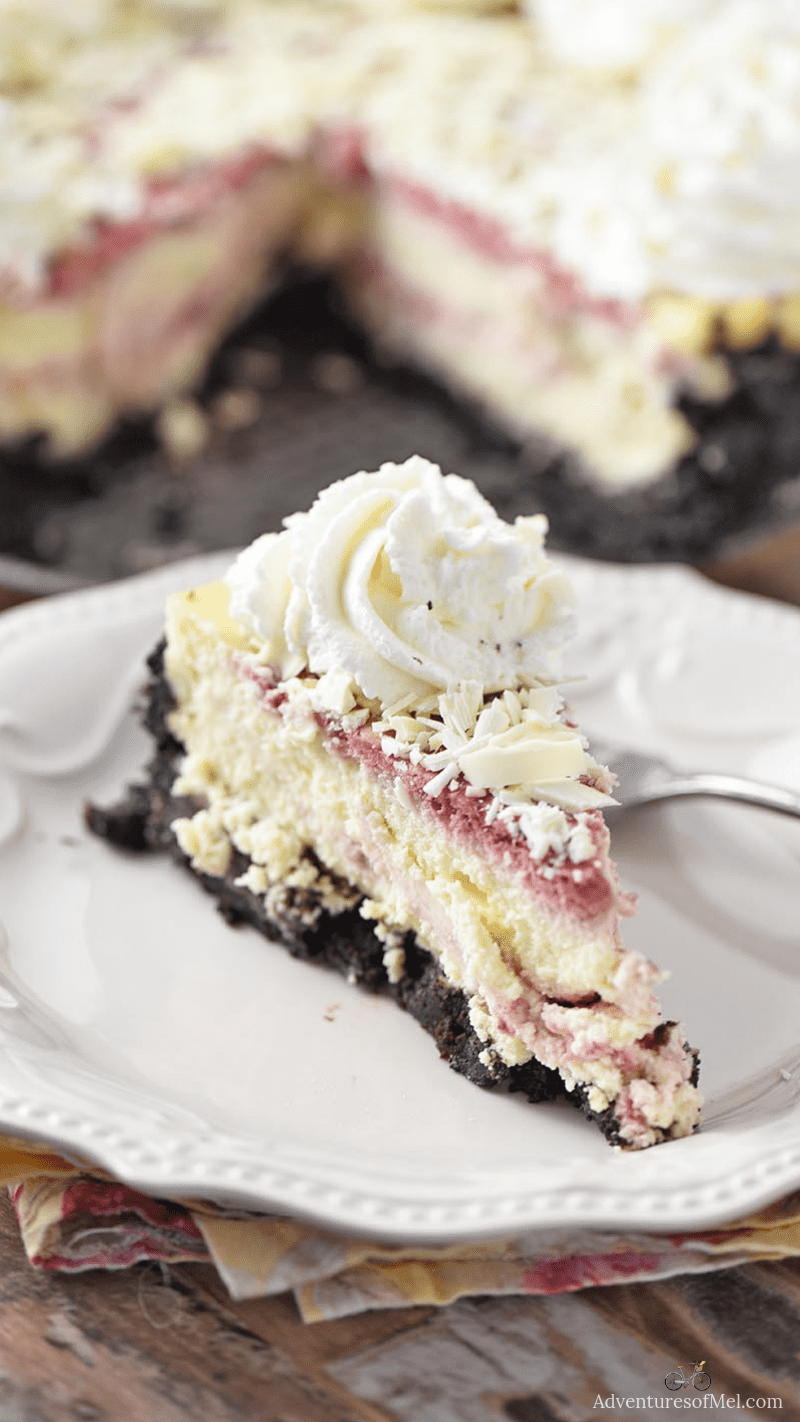
One of my favorite desserts is strawberry cheesecake. Make that a strawberry swirl cheesecake with a fresh strawberry sauce or strawberry jam swirled into the cheesecake filling, and it’s definitely a dessert to behold.
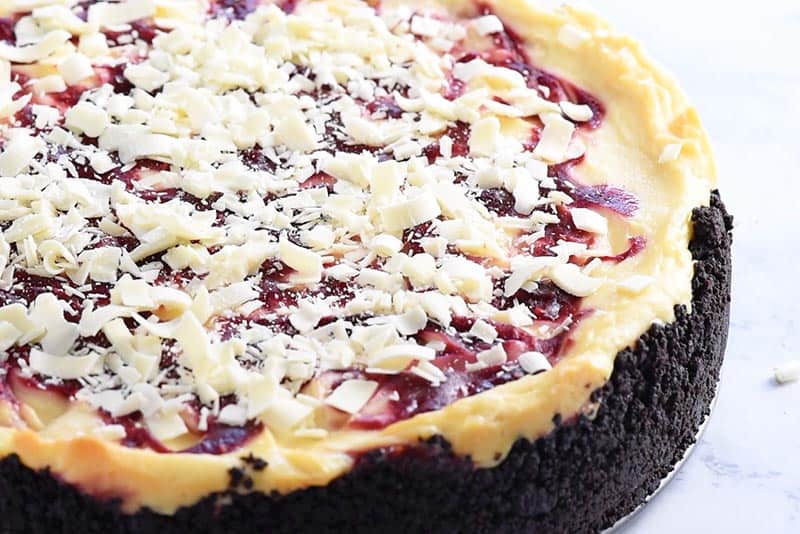
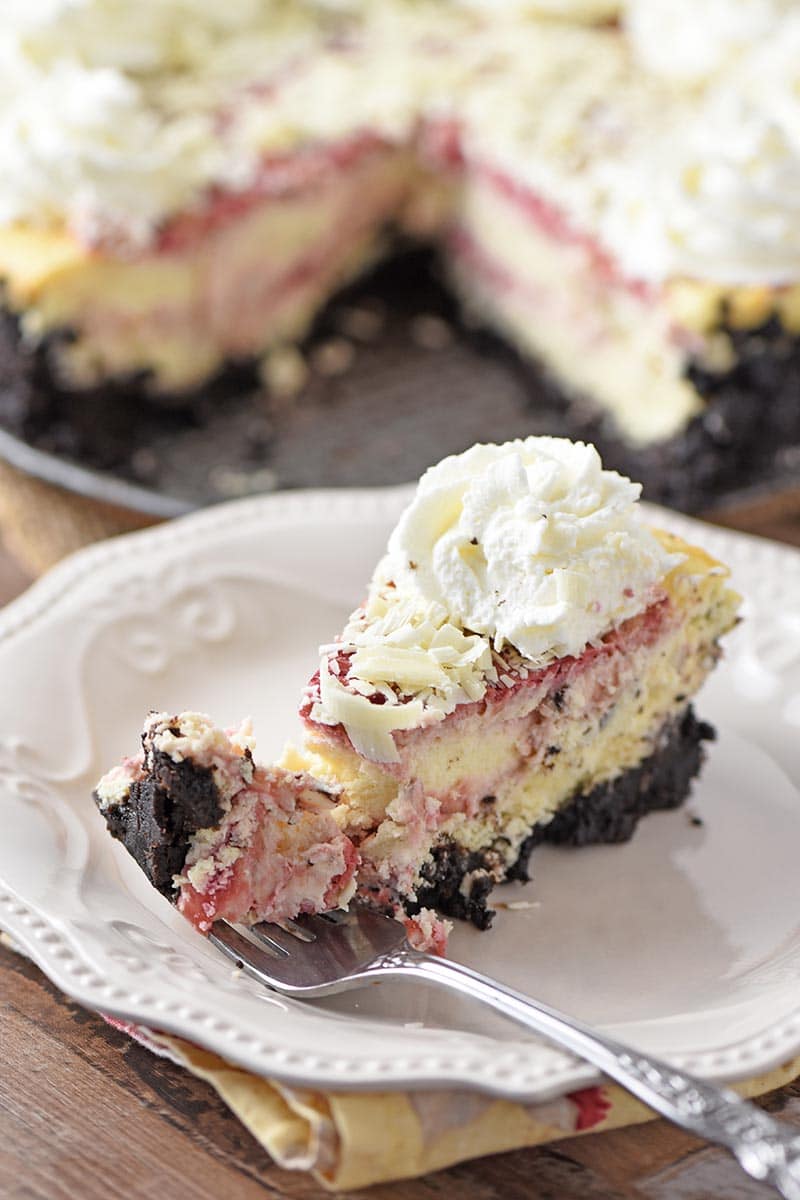
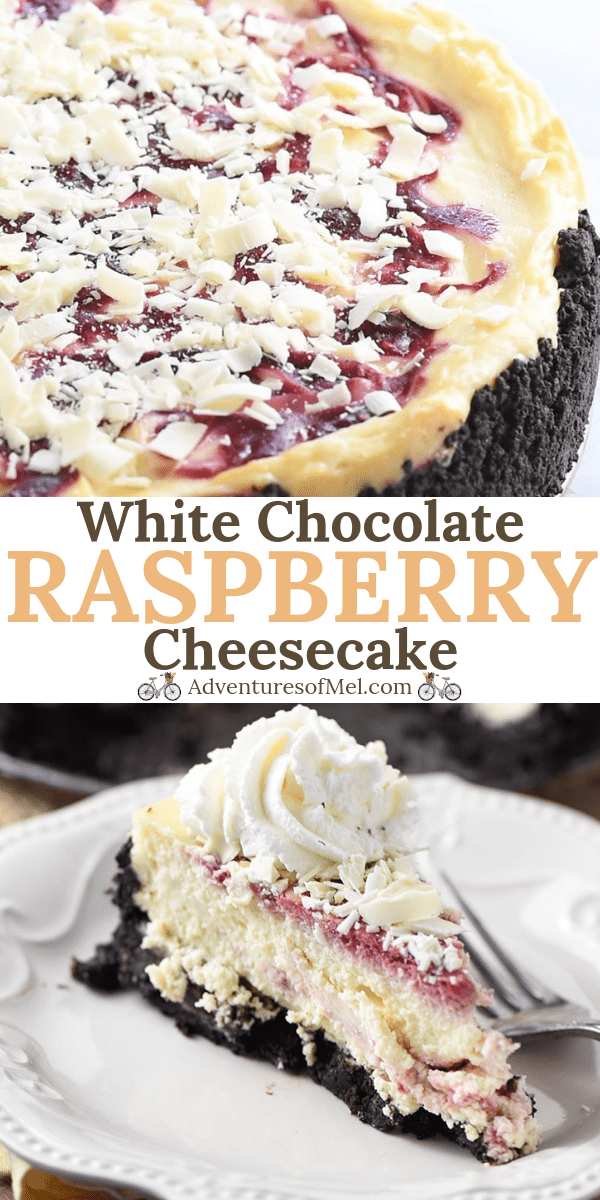
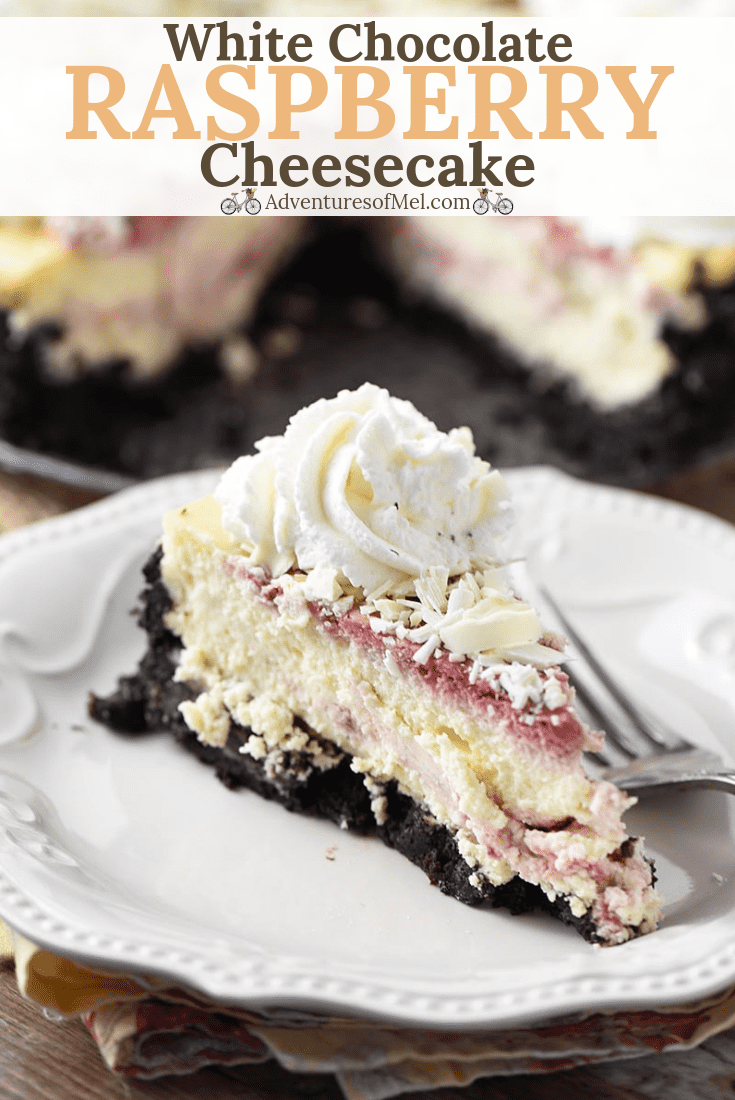
While white chocolate raspberry cheesecake is my absolute favorite cheesecake, this cheesecake recipe is definitely right up there with it.
While there are a few steps (mainly the swirling and the cooling process), it’s a fairly easy cheesecake to make. And I like that it doesn’t require a ton of ingredients.
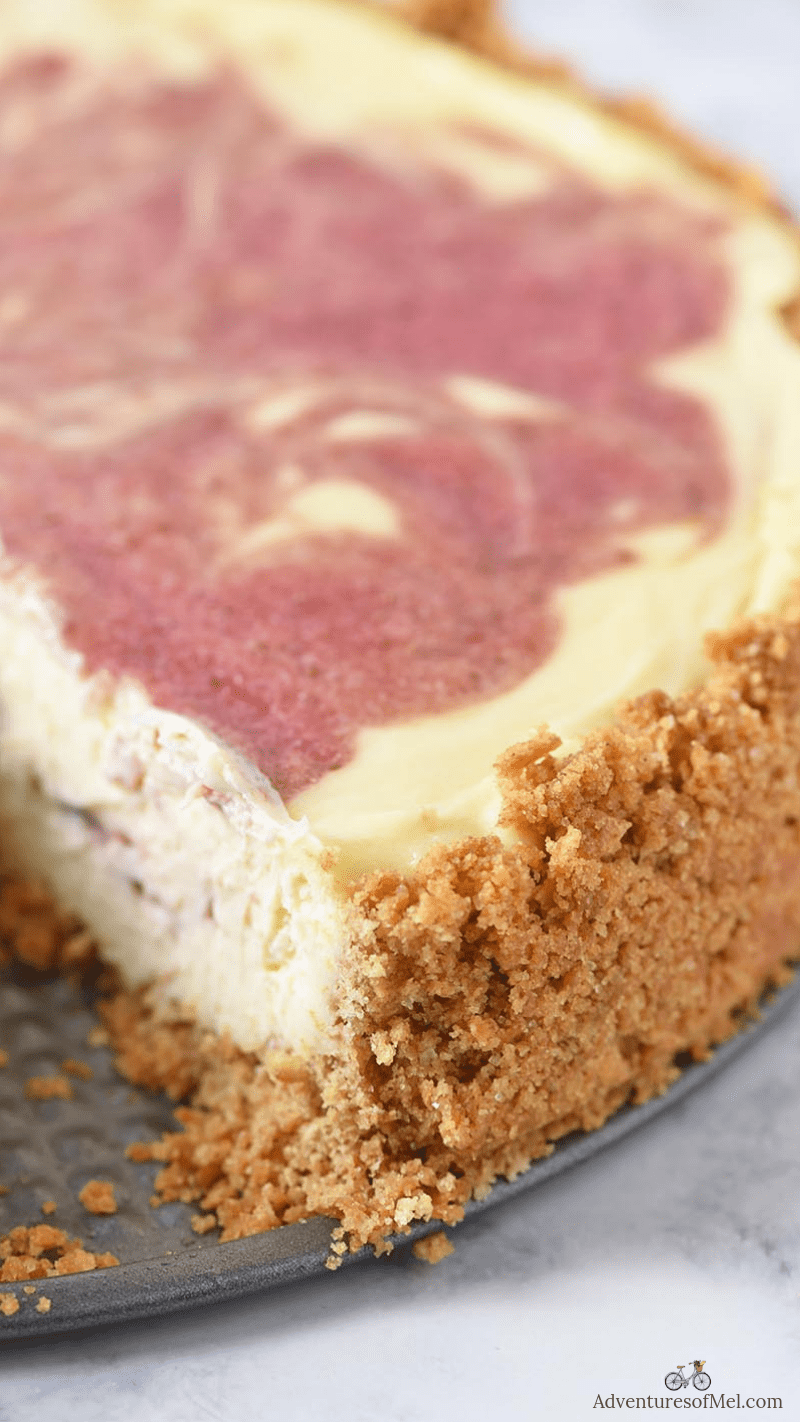
Now you can definitely make this cheesecake without any strawberry swirl and just serve it with fresh strawberries or the separate strawberry sauce. But the swirl really adds an oomph to this very yummy dessert.
Looking for more cheesecake recipes? You may also enjoy pumpkin spice cheesecake (made in the Instant Pot) and no bake lemon cheesecake.
WHERE CAN I FIND THE STRAWBERRY SWIRL CHEESECAKE RECIPE?
If you’d rather skip all of my cooking tips, important cooking info for this recipe, and similar recipe ideas – and get straight to the delicious strawberry cheesecake recipe – just scroll down to the bottom, where you’ll find a printable recipe card.
Tips for How to Make Strawberry Cheesecake
Before I send you willy-nilly to the recipe card, I’ll give you a few tips regarding the crust, the creamy filling, and how to make a really flavorful, delicious strawberry sauce to swirl into your cheesecake.
Let’s Talk about the Crust First
The crust really is the foundation for your dessert. So you wanna make it good.
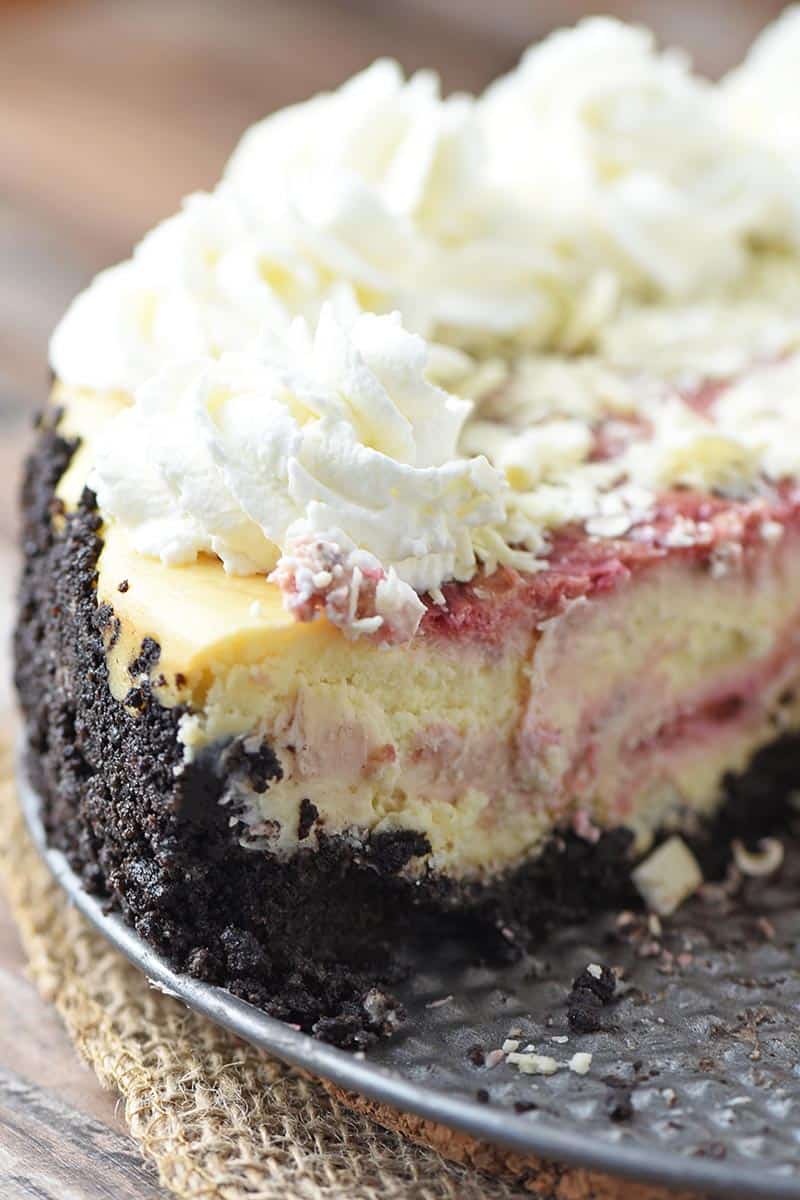
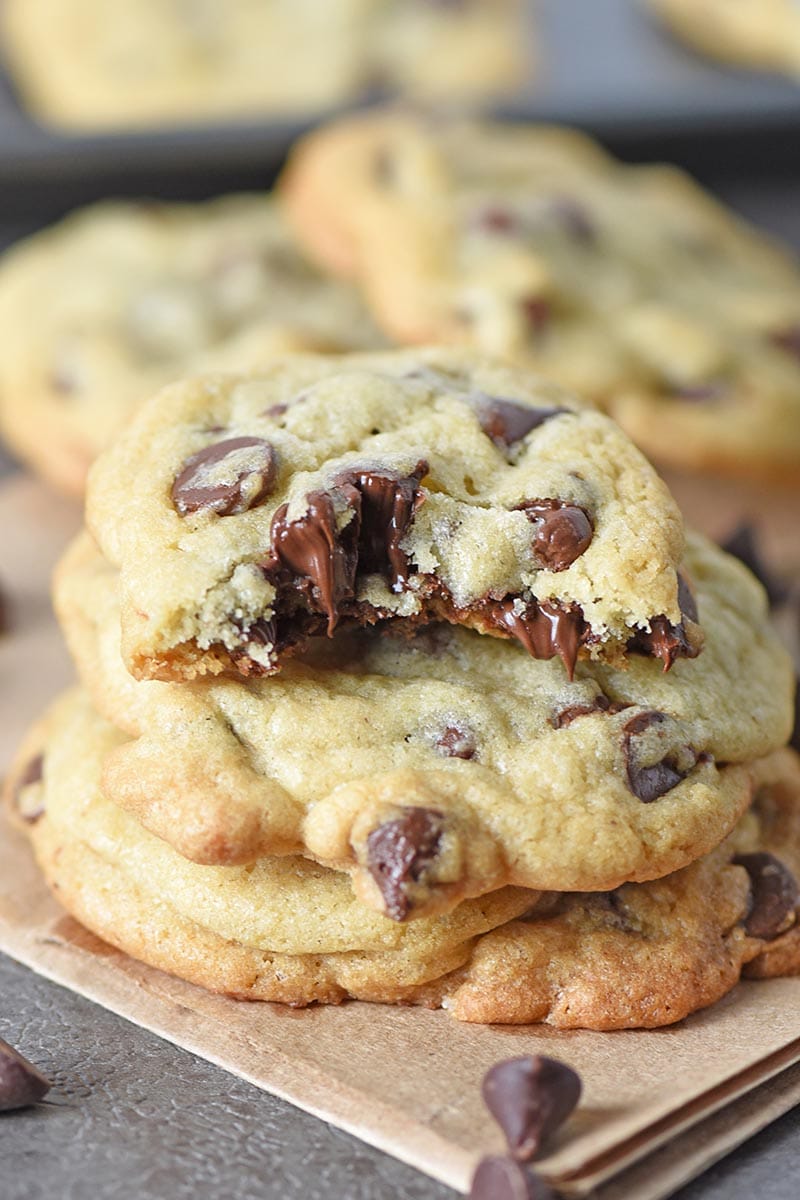
My boys actually love a chocolate cookie crust for cheesecake, and I do too. It would probably pair really well with a strawberry cheesecake.
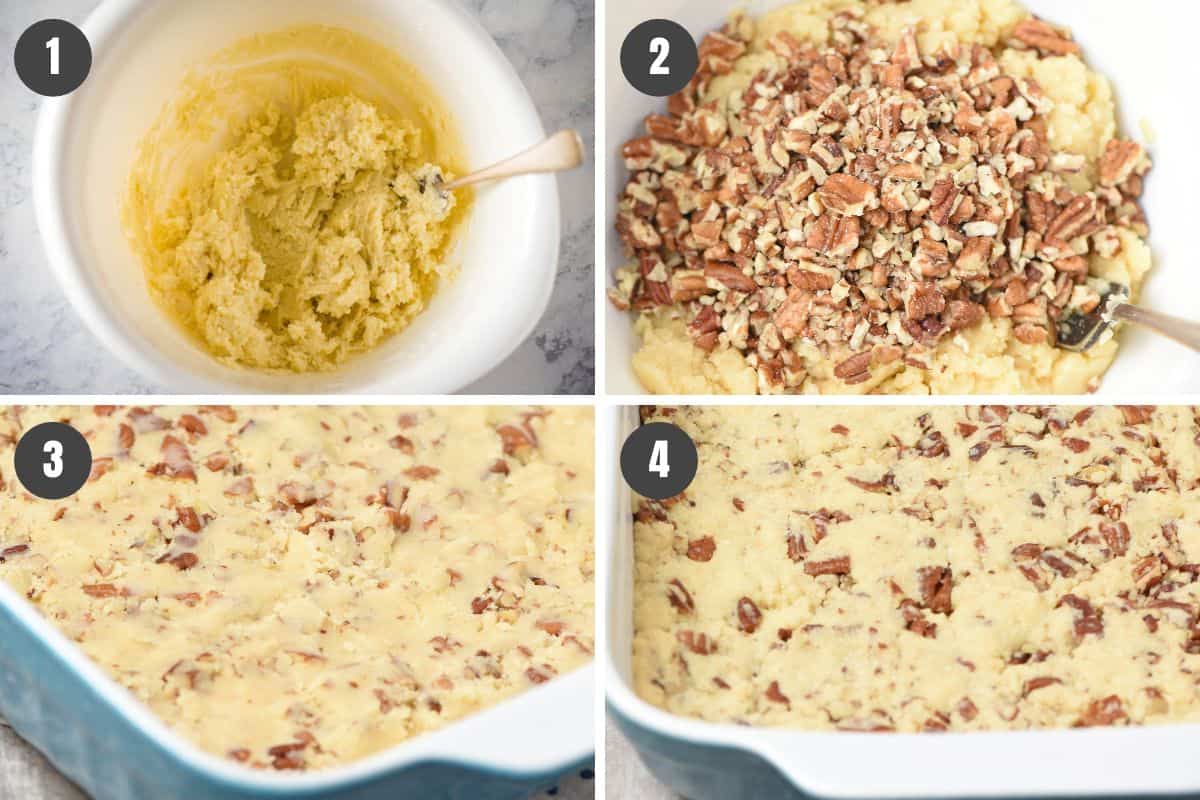
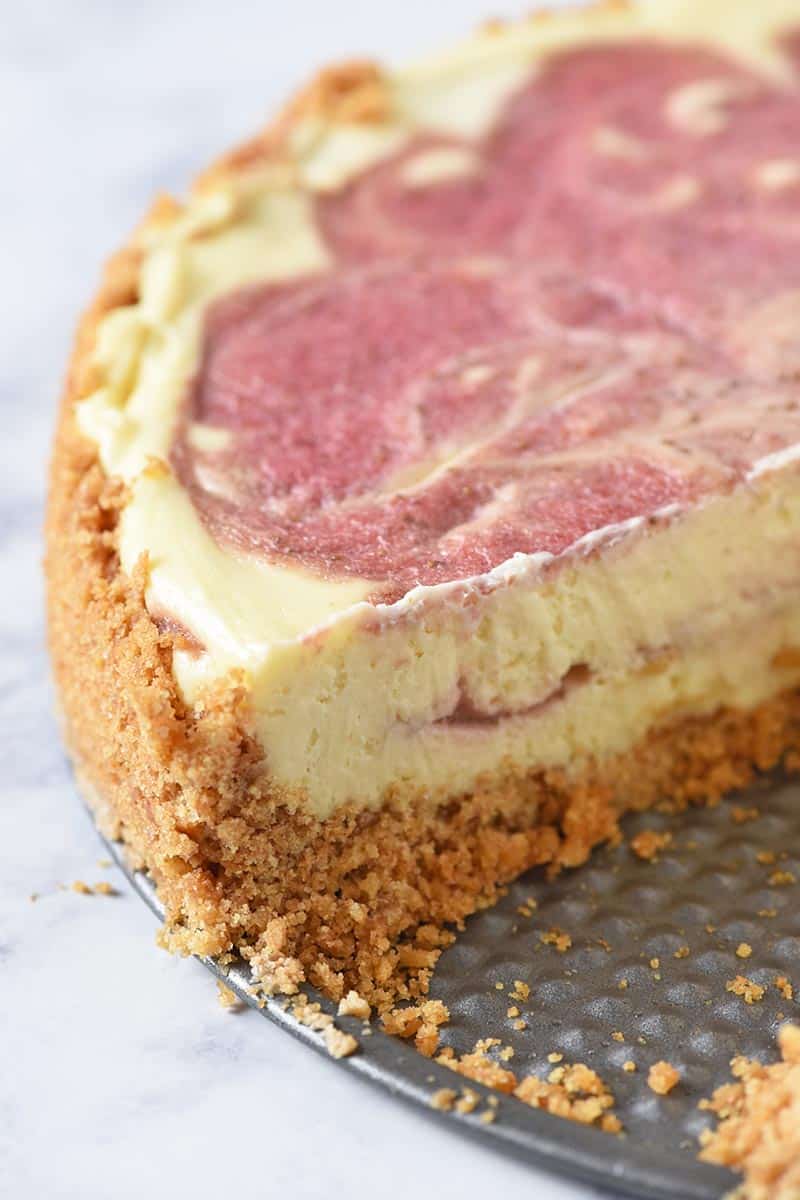
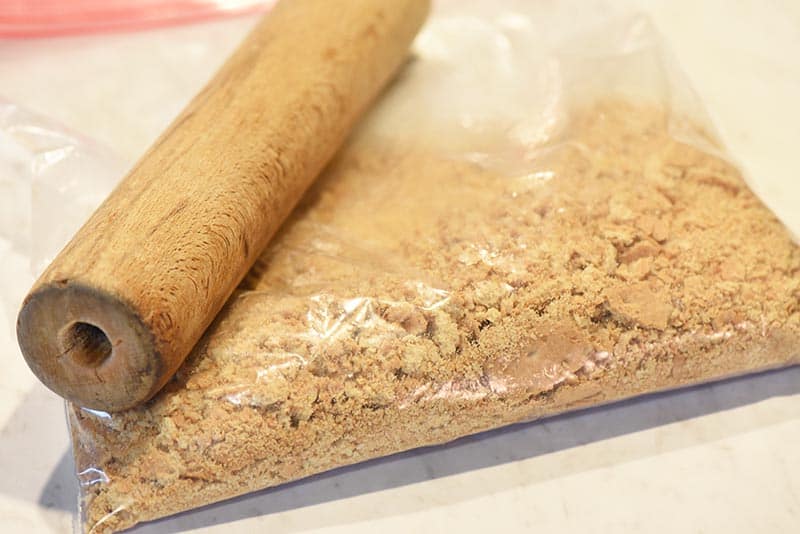
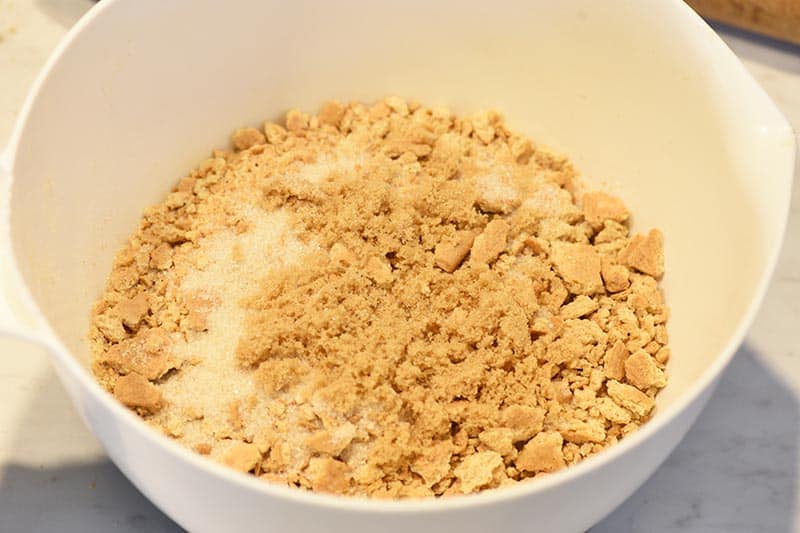
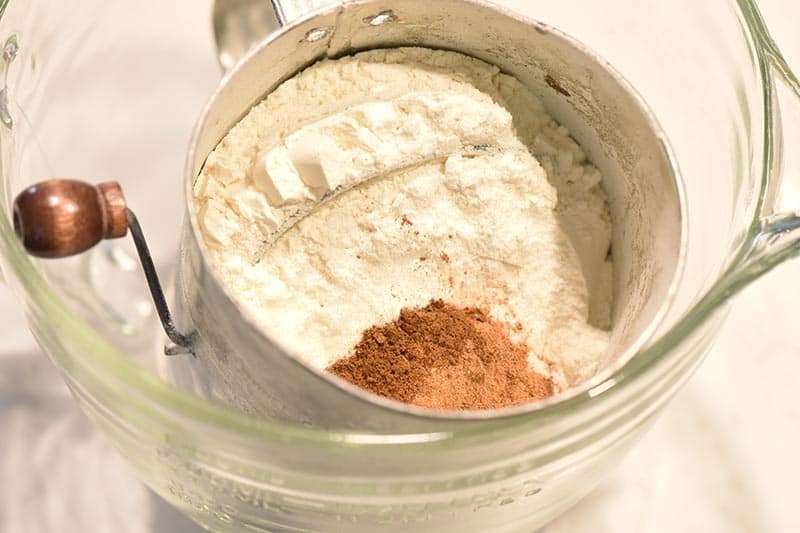
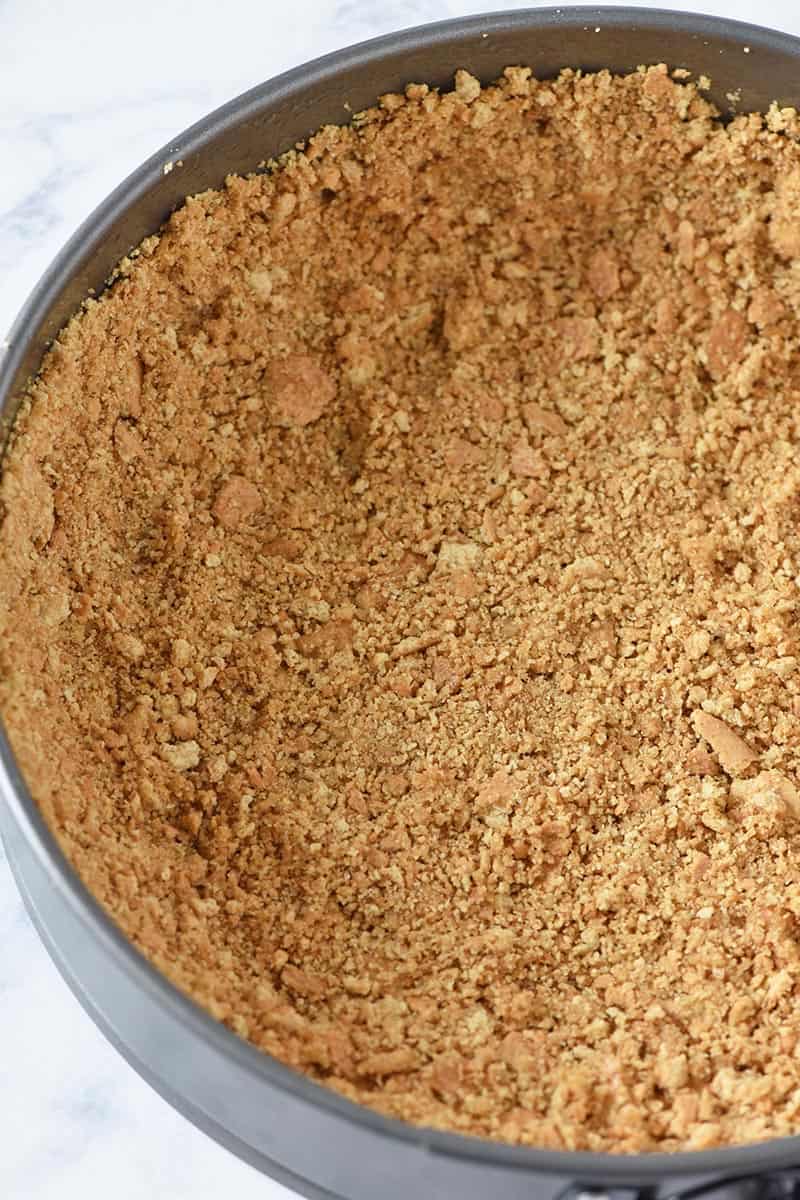
But this time, I decided to make a graham cracker crust. It’s easy, you just press it into your pan, and then you bake it for about 10 minutes.
A graham cracker crust is the more traditional cheesecake crust. But you could always use other alternatives, like vanilla sandwich cookies, Nilla Wafers, Pecan Sandies, even gluten-free graham crackers for a gluten-free crust.
What Kind of Cream Cheese Should I Use?
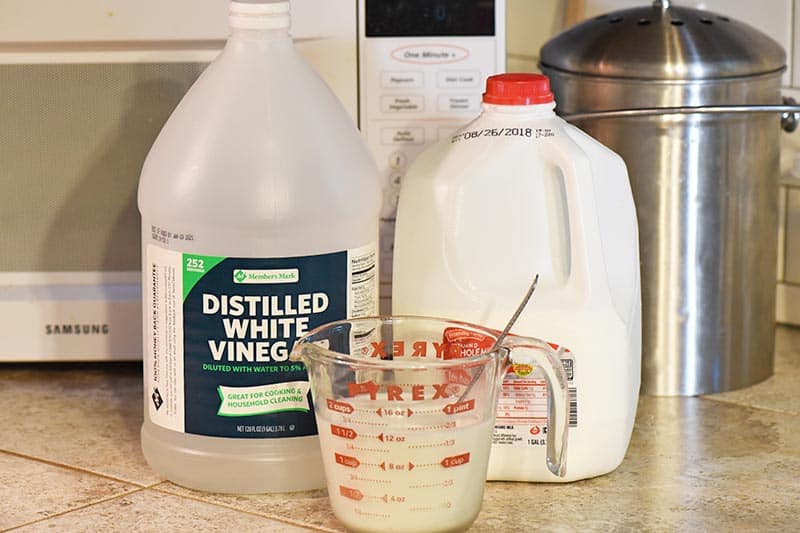
While you can use low fat cream cheese, I’ve had the best luck with full fat cream cheese. Also, full fat cream cheese doesn’t necessarily have all the additives they add in when they remove things from the cheese to make it “lite.”
You really want a creamy cheesecake filling, so never settle but always go for full fat.
When it comes to brands, I’ve had great success with brands like Philadelphia, Great Value, and Aldi’s Happy Farms.
Tips for How to Make the Strawberry Sauce for Cheesecake
While I have another strawberry sauce that’s not quite as sweet, it works better for a topping more than a swirl.
One thing I’ve learned in developing this recipe is that strawberries are really temperamental, and it can be hard to get a really flavorful strawberry taste when you bake them.
A few tips for making your strawberry sauce for cheesecake, especially a swirl cheesecake…
- Use fresh strawberries over frozen. Frozen strawberries add a lot of water that you just don’t want, and they’re not quite as flavorful as fresh either.
- Make sure you use good strawberries that really pack the flavor. The fresher the better, though I’ve found some really good ones at our grocery store lately.
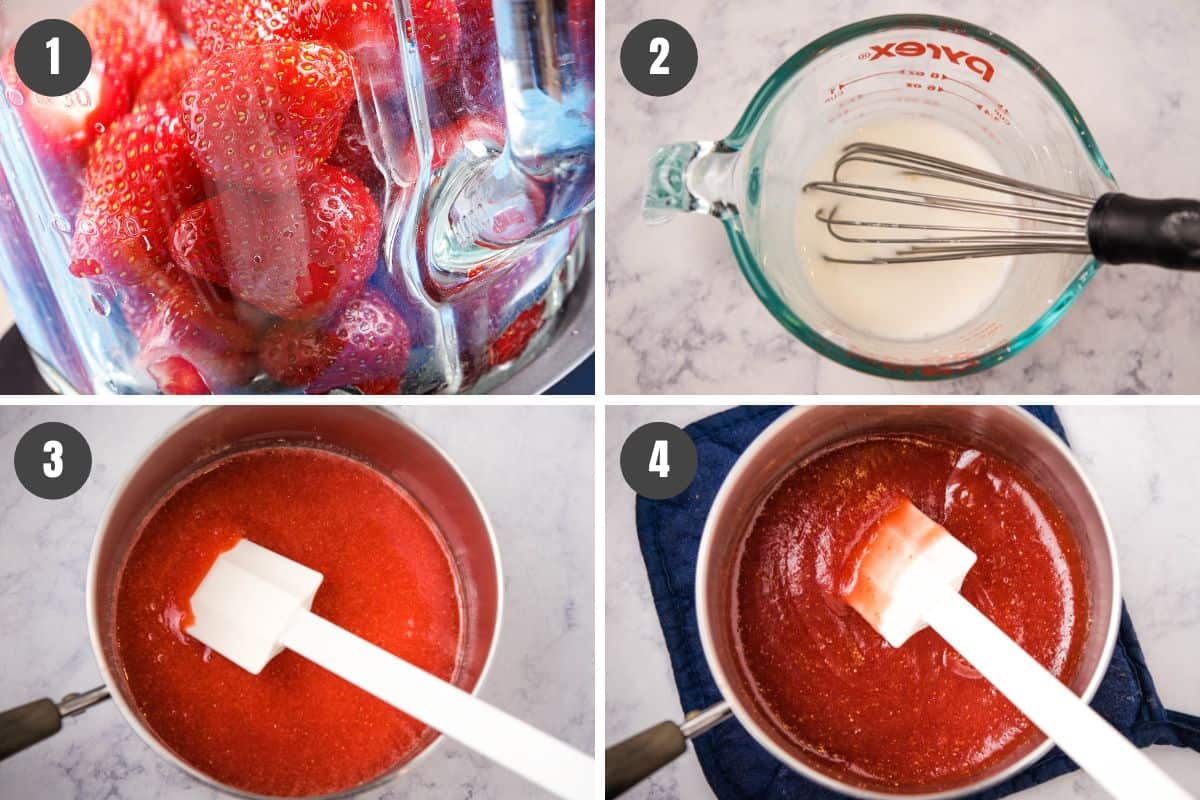
- When you’re making a swirl, you’ll need strawberry purée. So use a blender to purée those berries up really well.
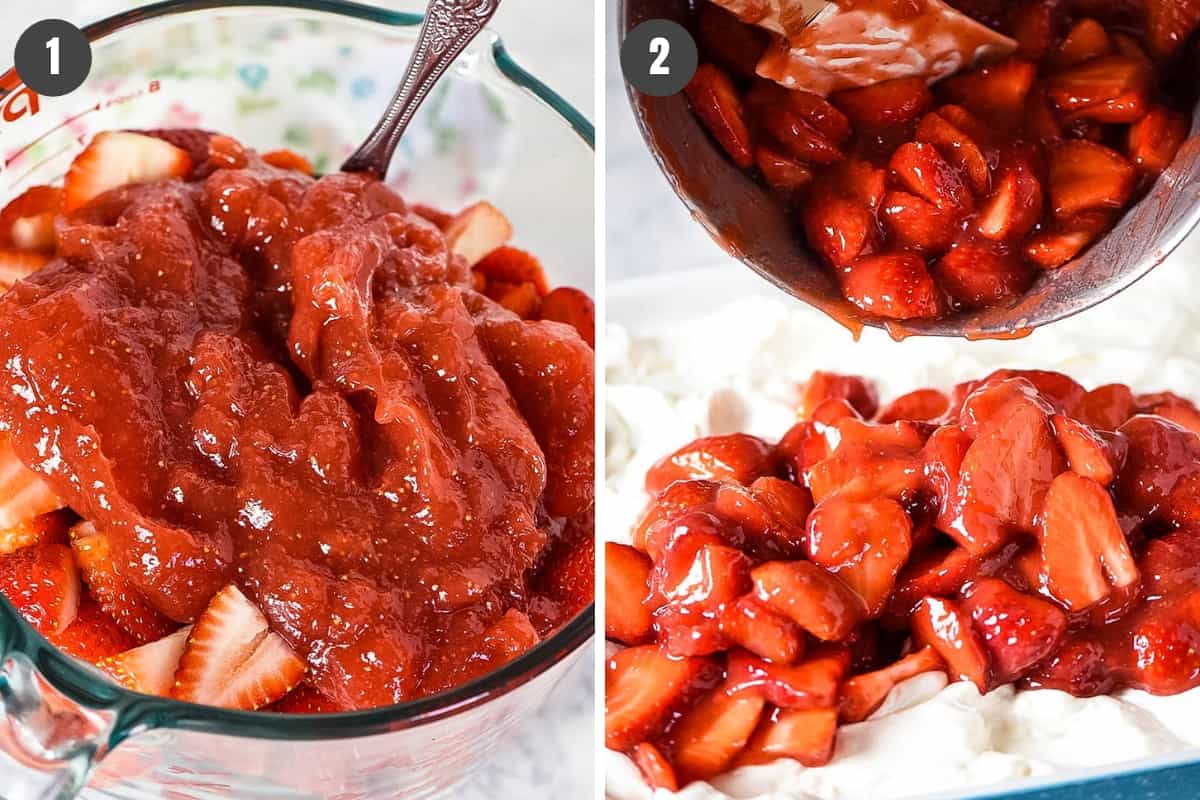
- You’ll need to bring all of your ingredients to a boil and then cook for an additional 3 to 5 minutes, or until the mixture begins to thicken up and turns a beautiful red color.
Now you can avoid making a strawberry sauce altogether and just use strawberry jam. But there’s something about this sauce that really makes the cheesecake.
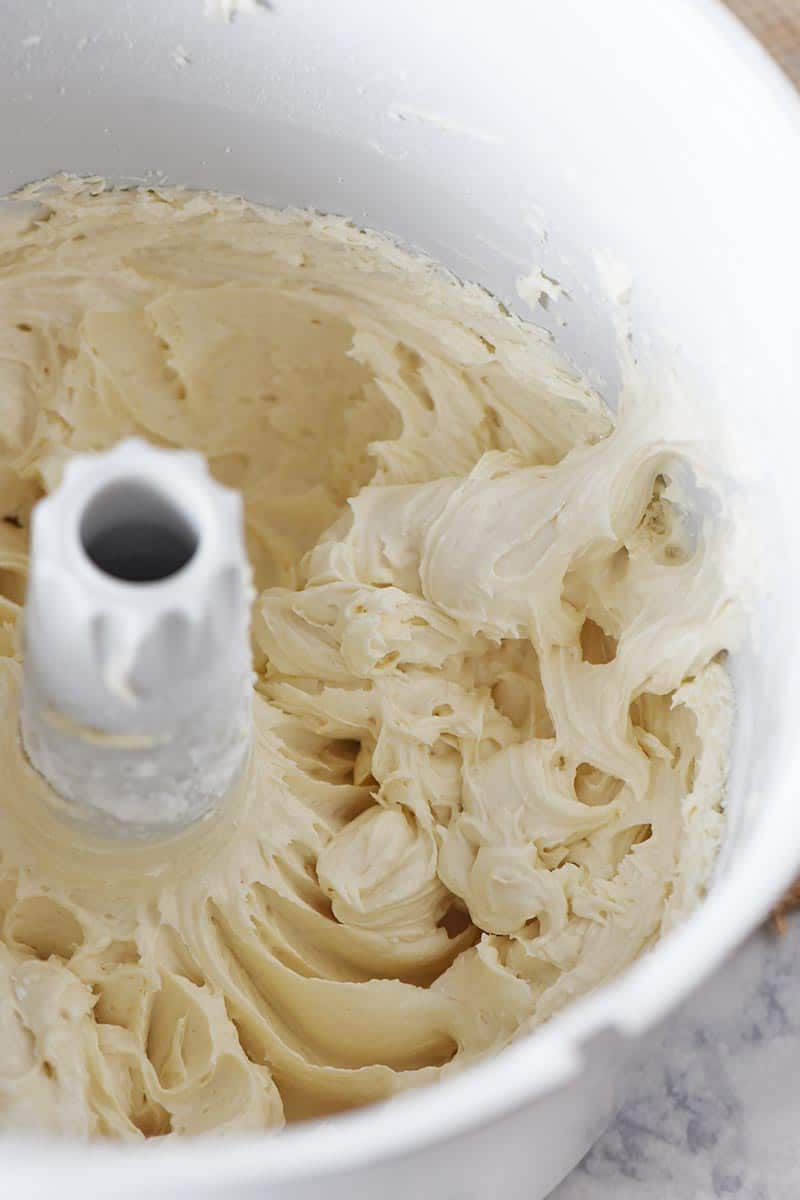
Tips for How to Make the Cheesecake Filling

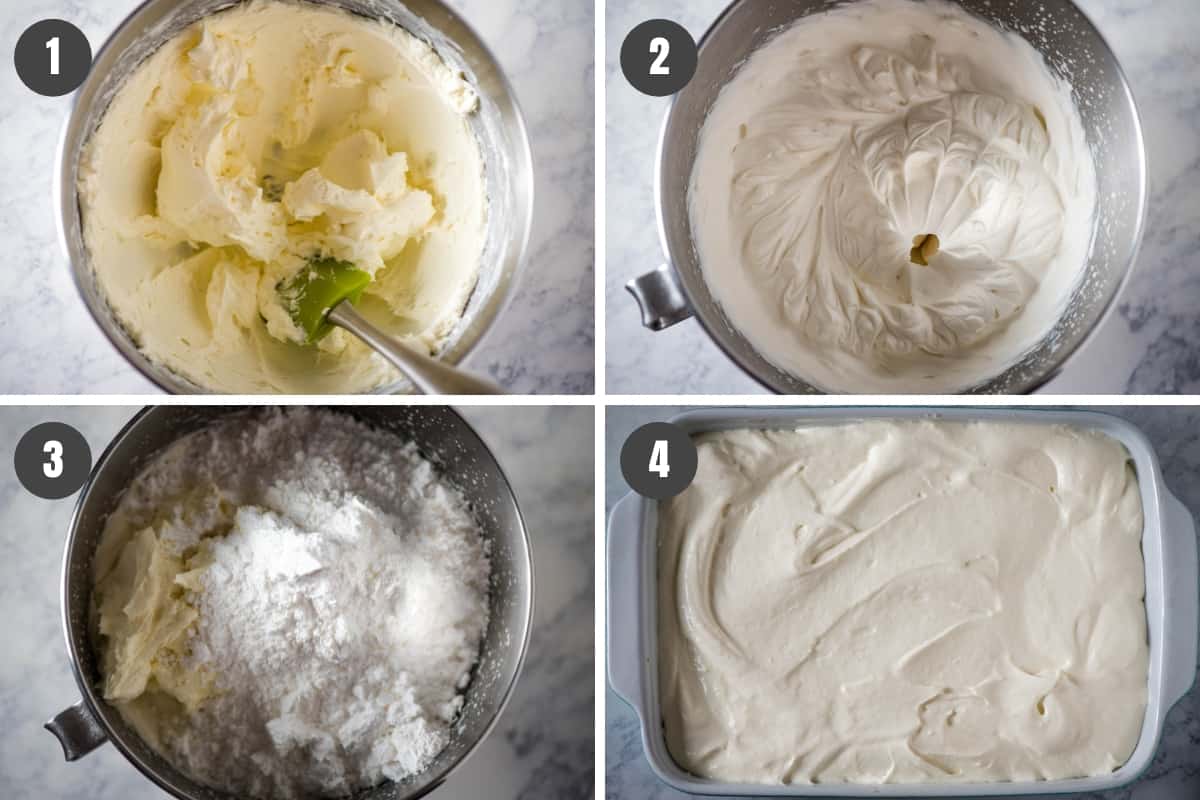
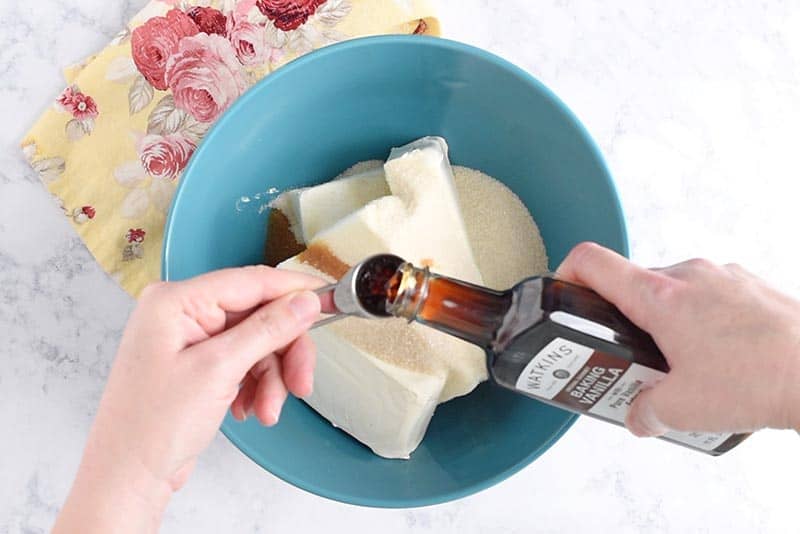
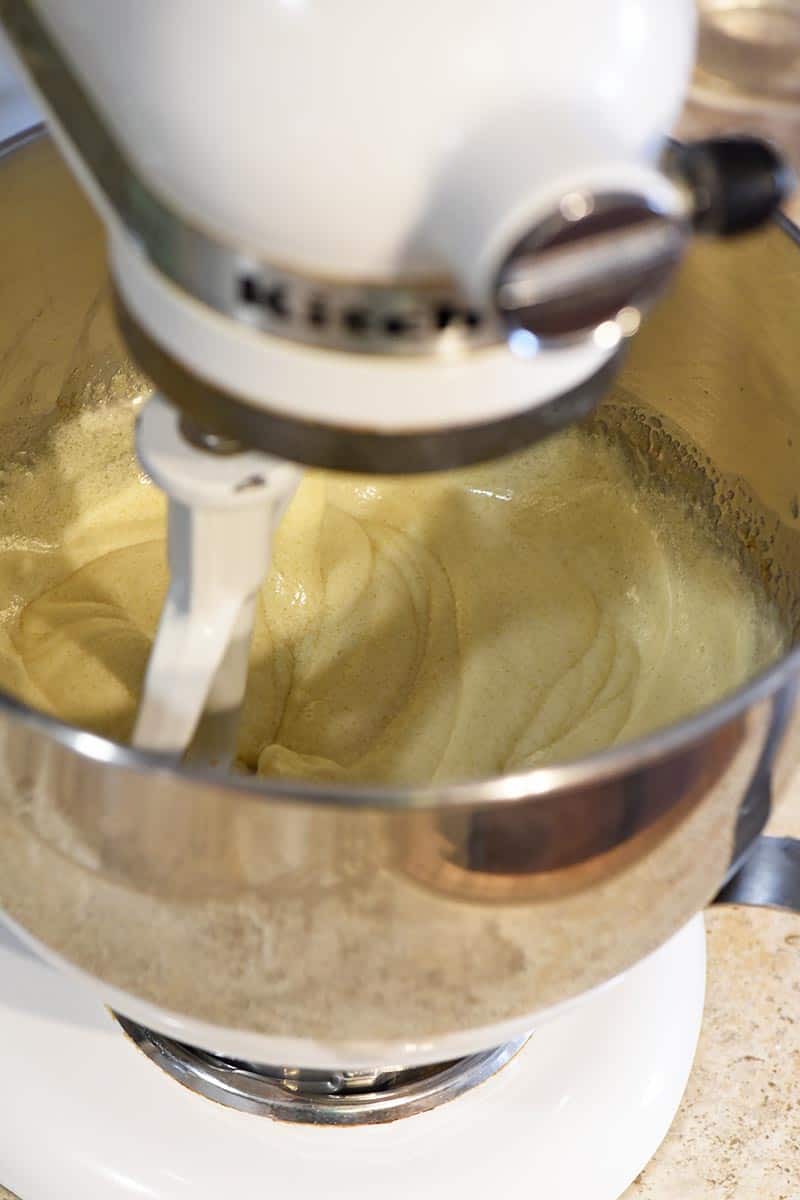
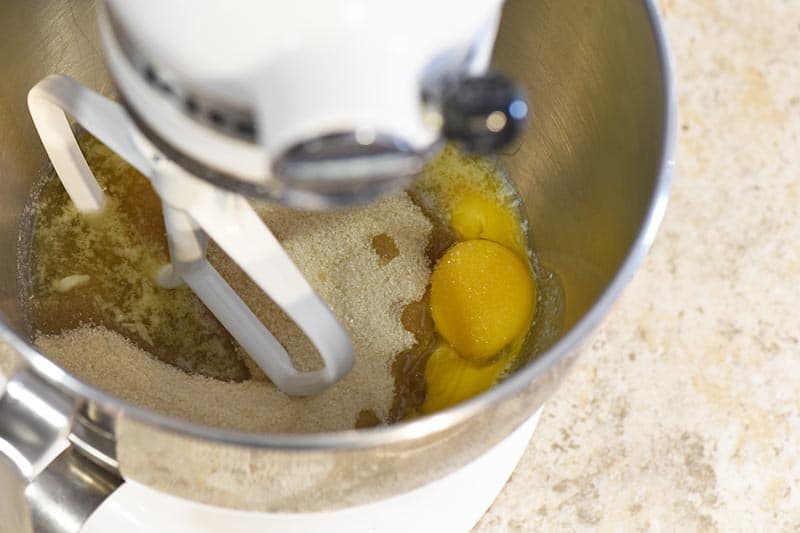
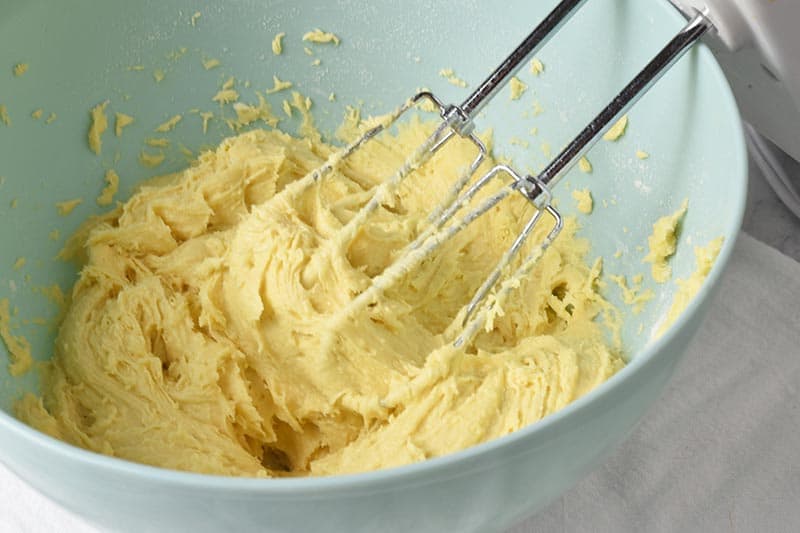
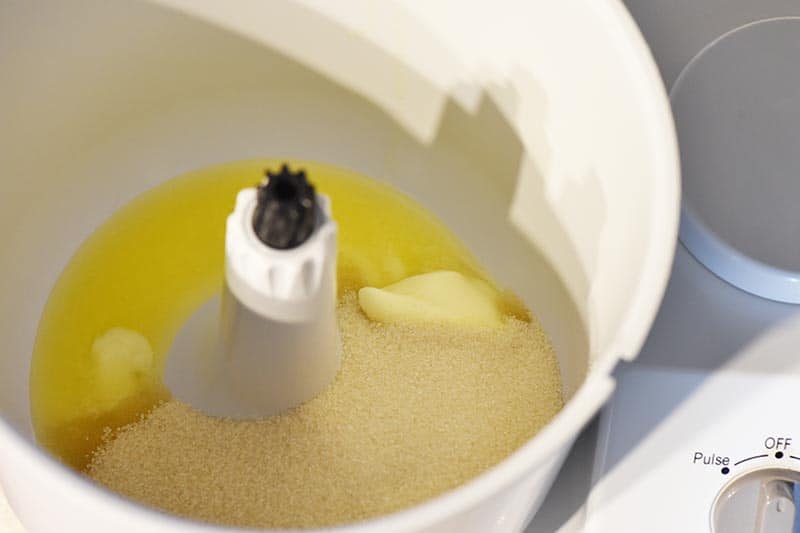
- Using a mixer, mix together the softened cream cheese, pure cane sugar, vanilla extract, and almond extract.
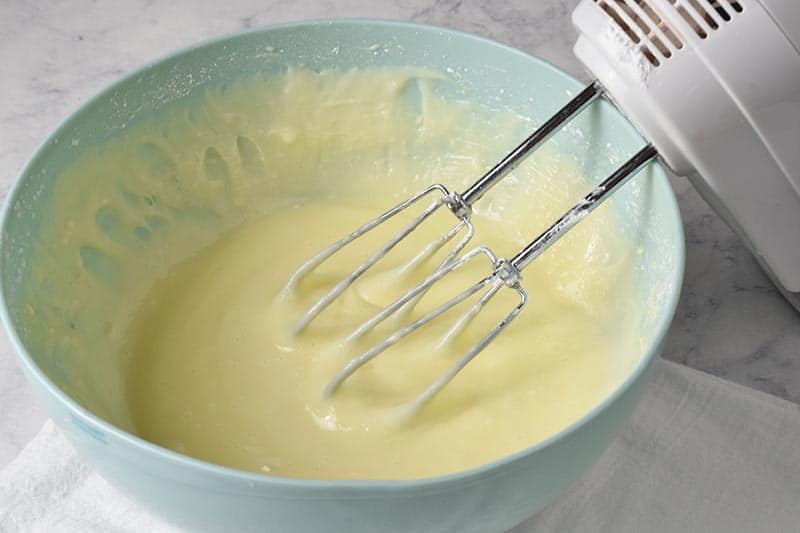
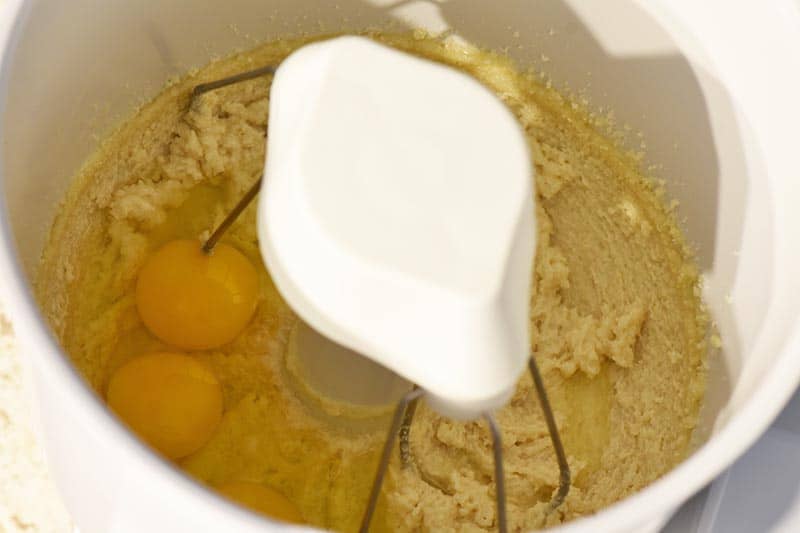
- Using an egg separator, separate the egg yolks from the whites, and add the yolks into the mixture, mixing well.
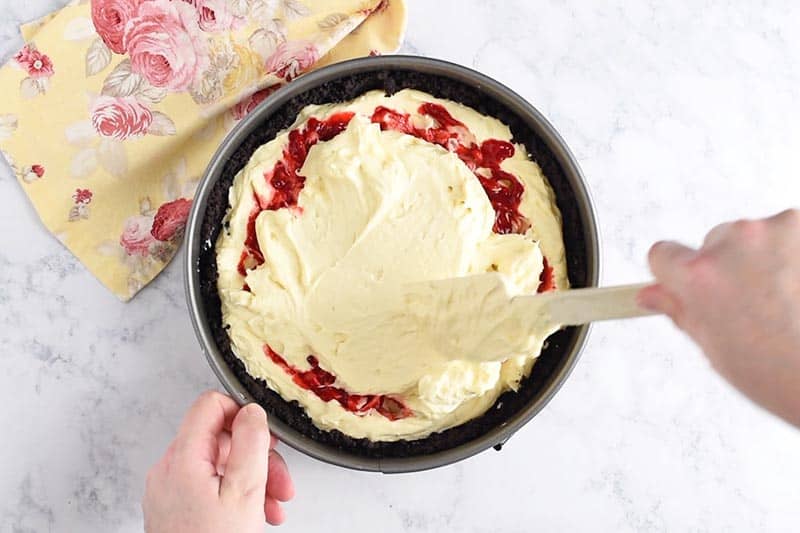
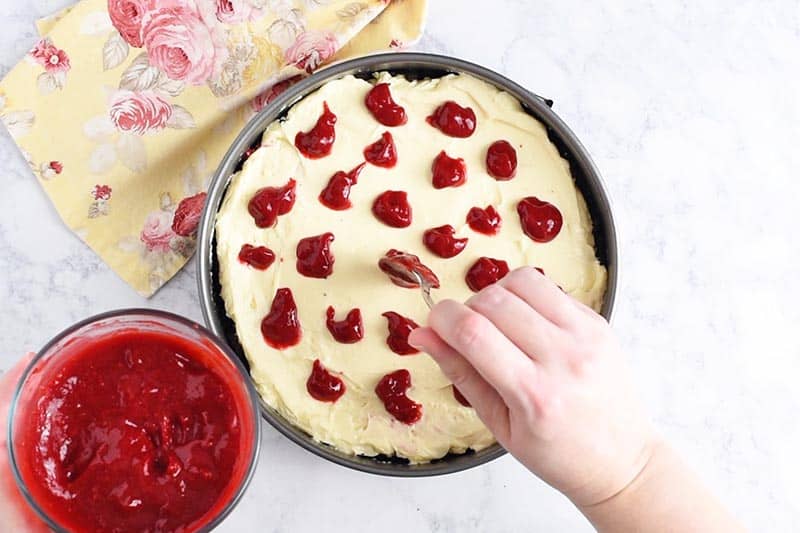
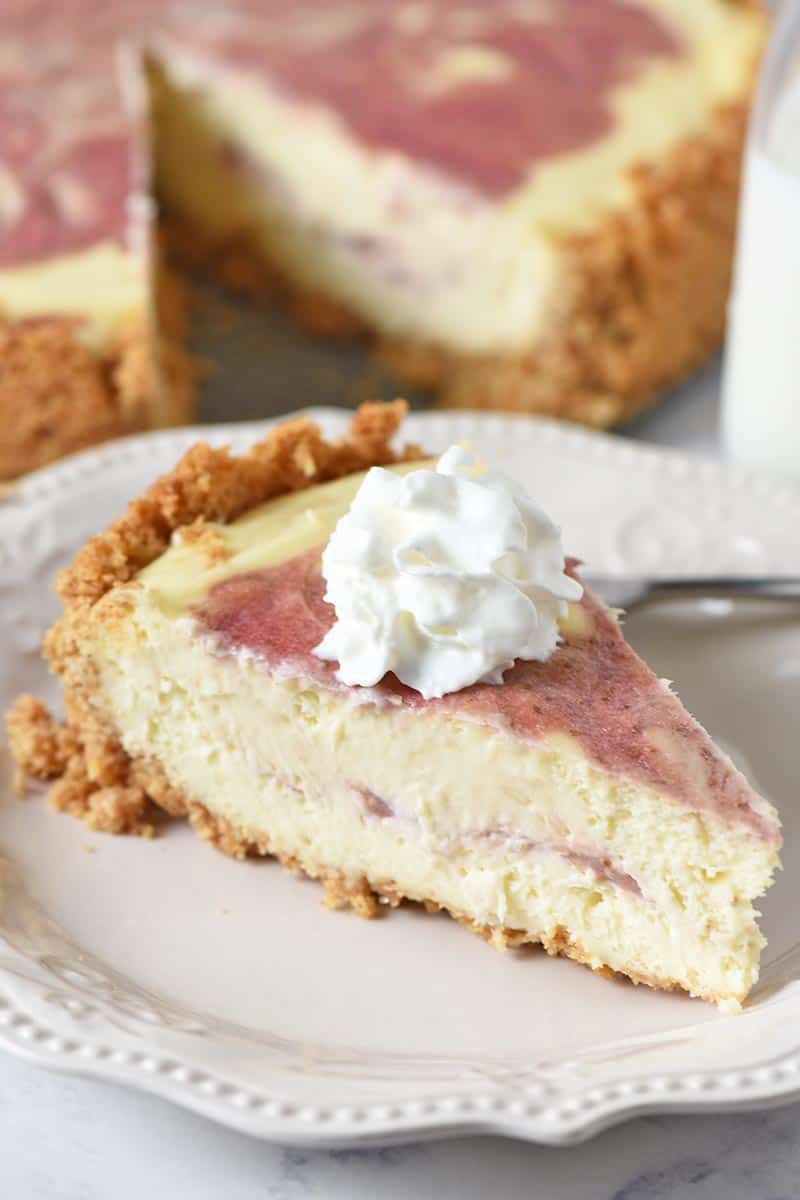
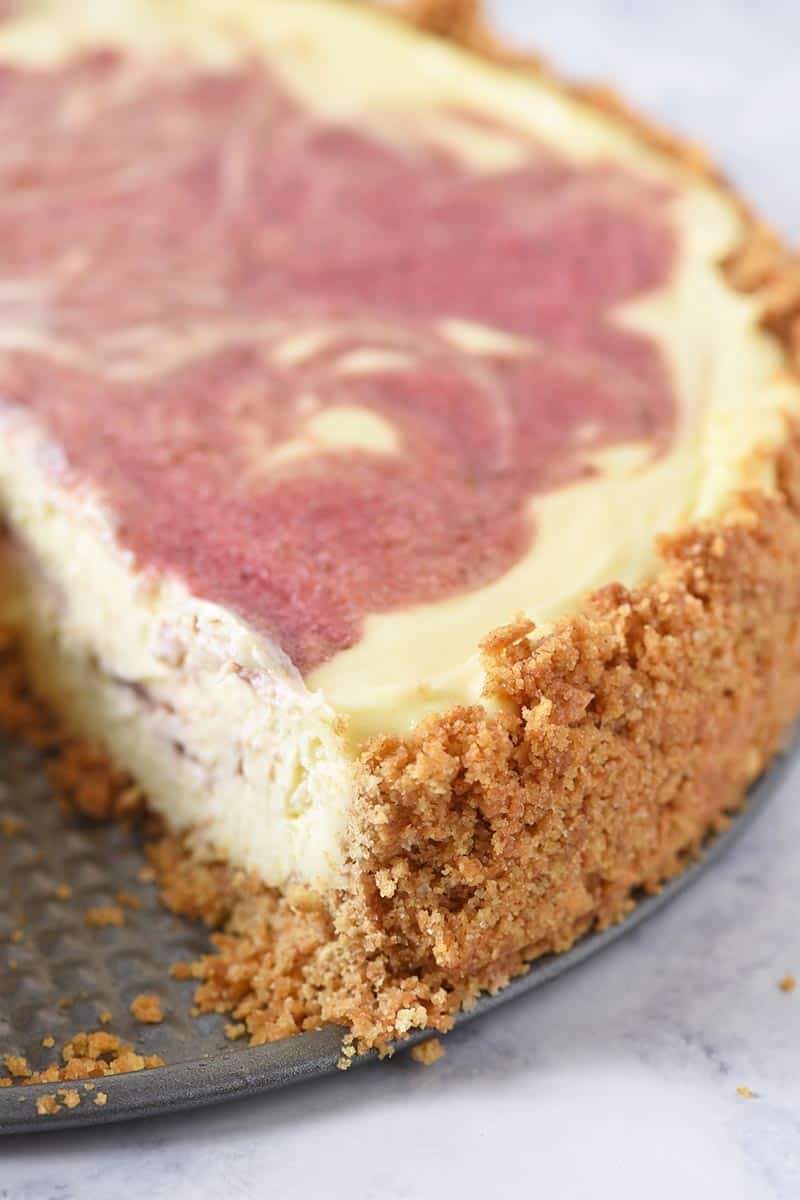
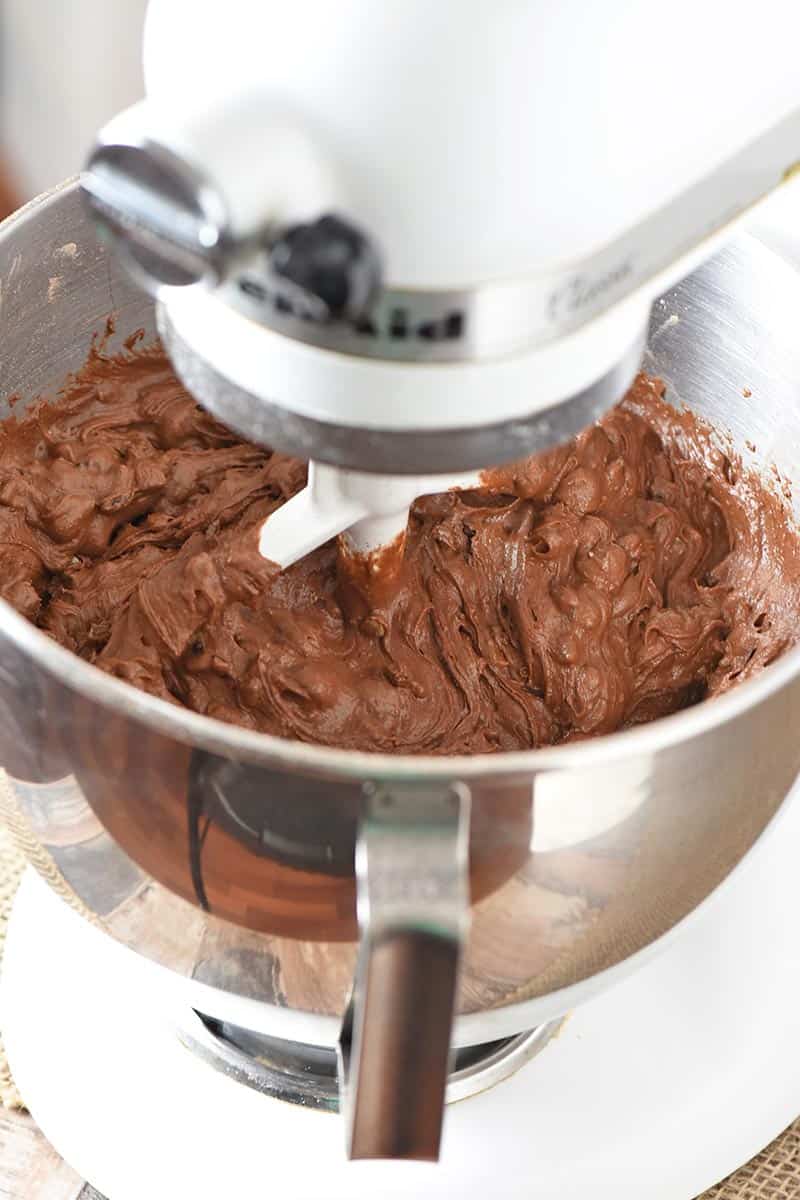
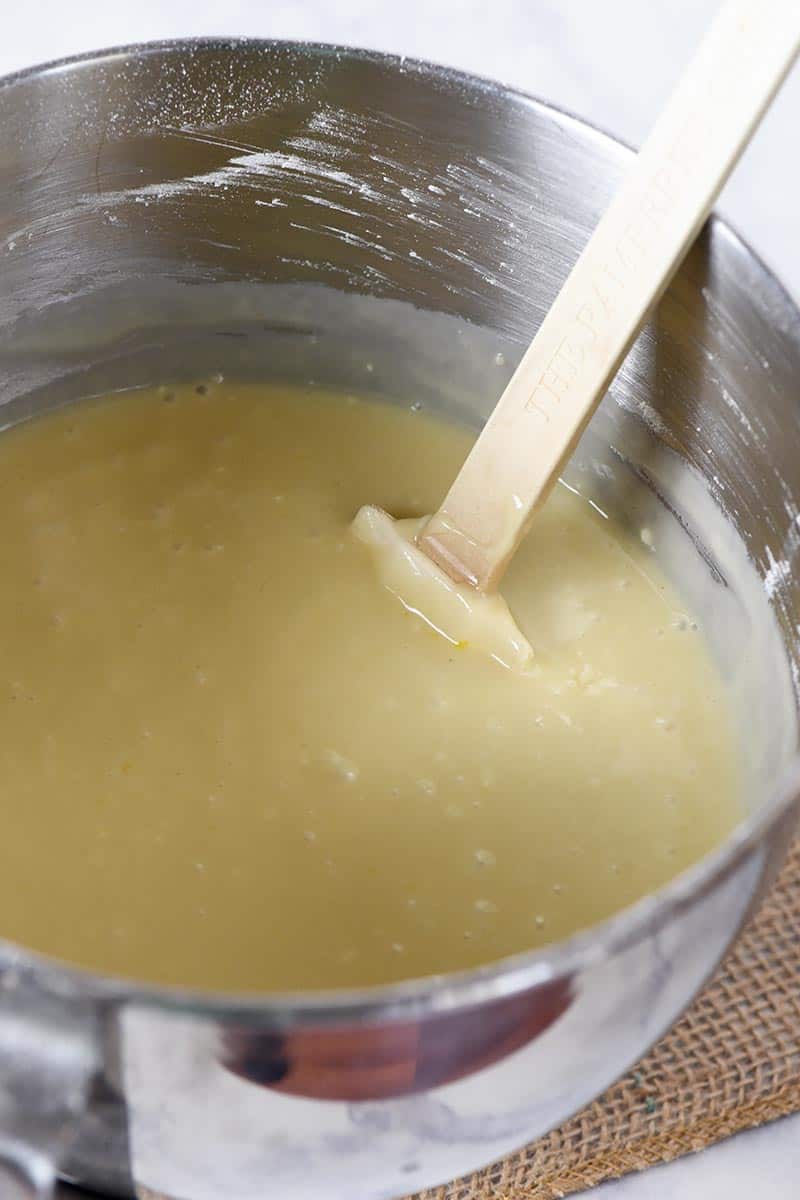
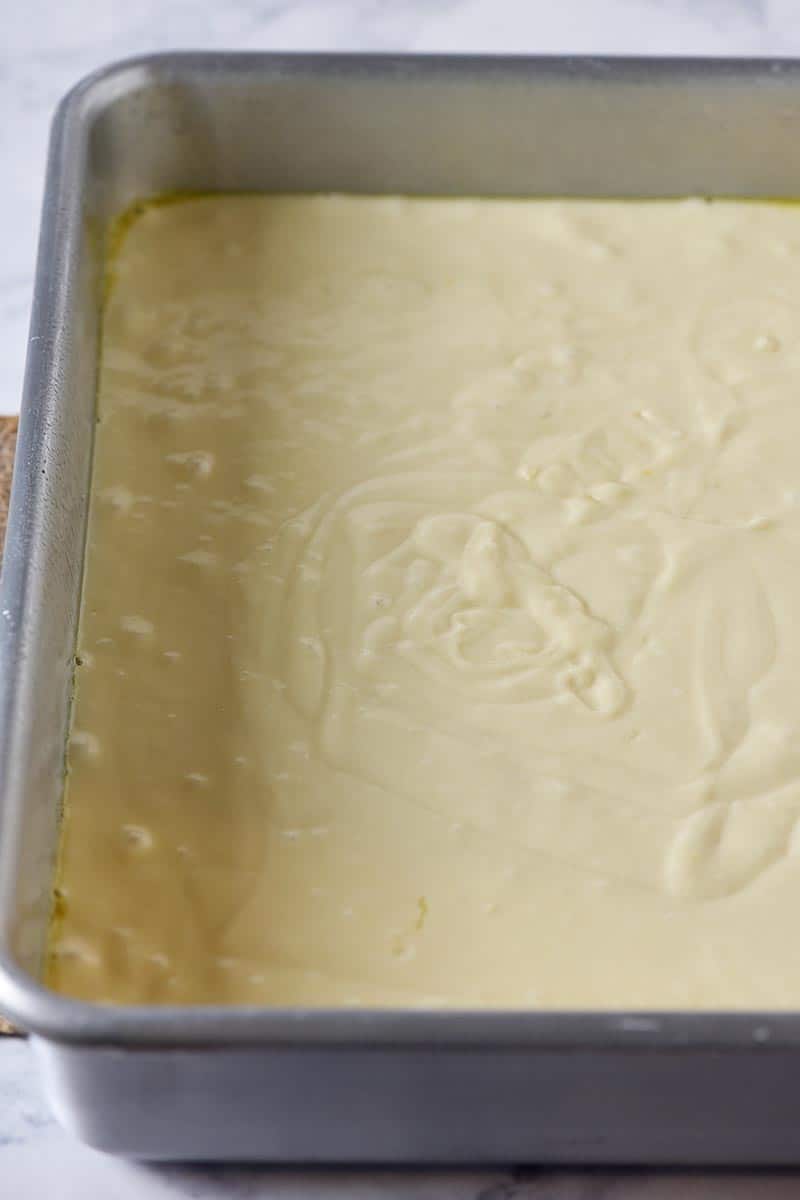
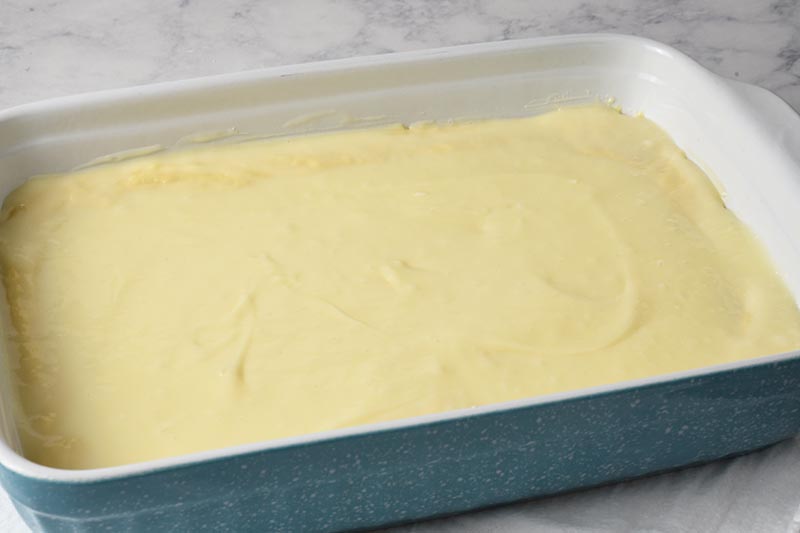
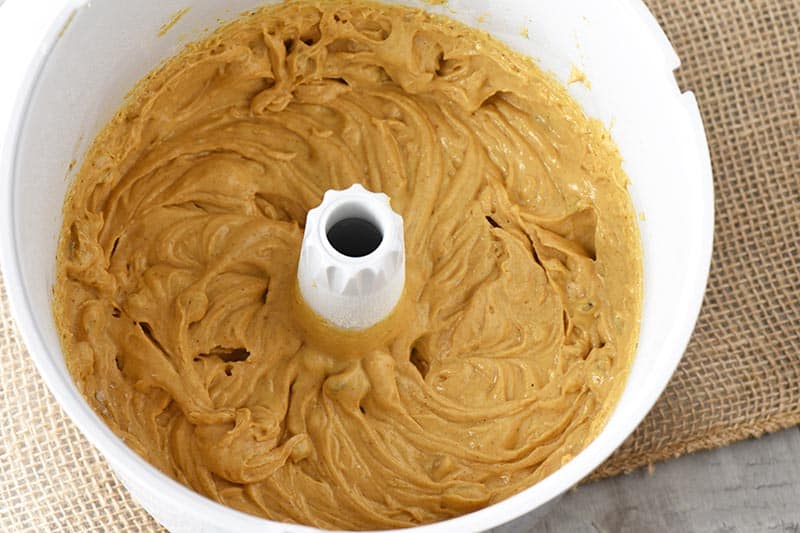
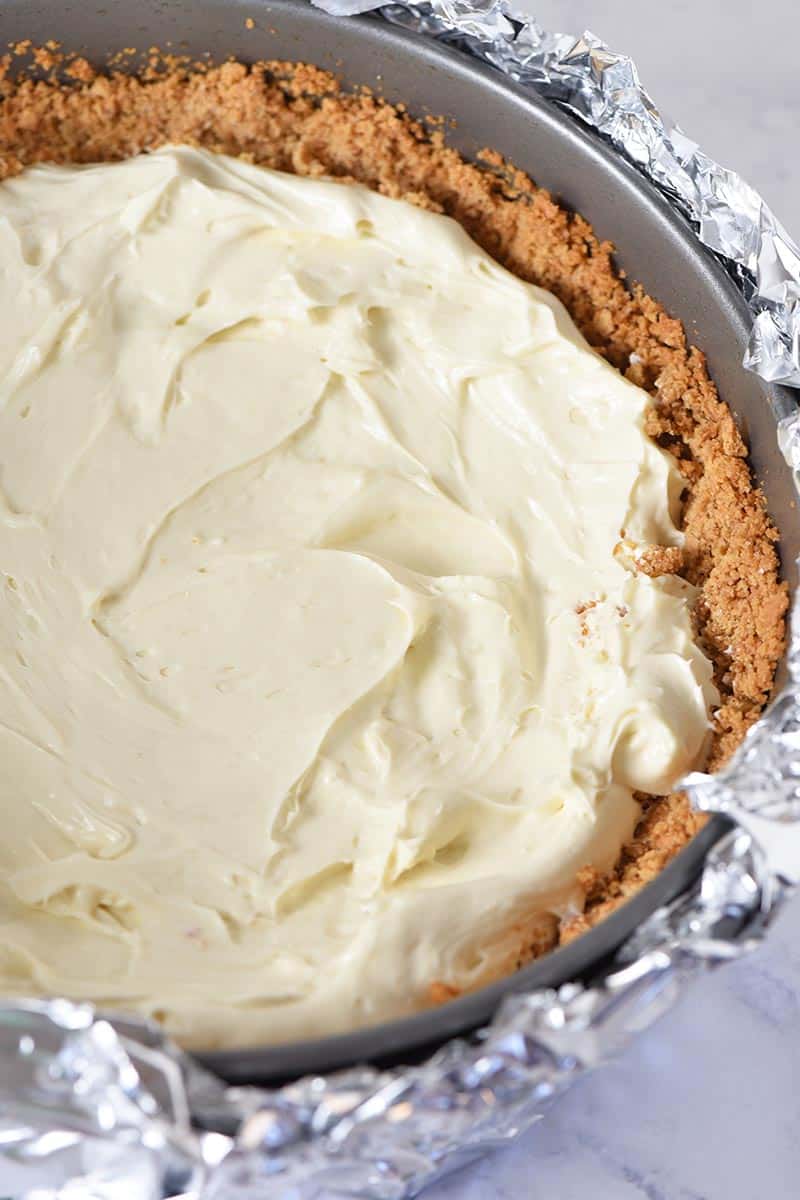
- When your filling is creamy and smooth, pour half the filling into your crust.
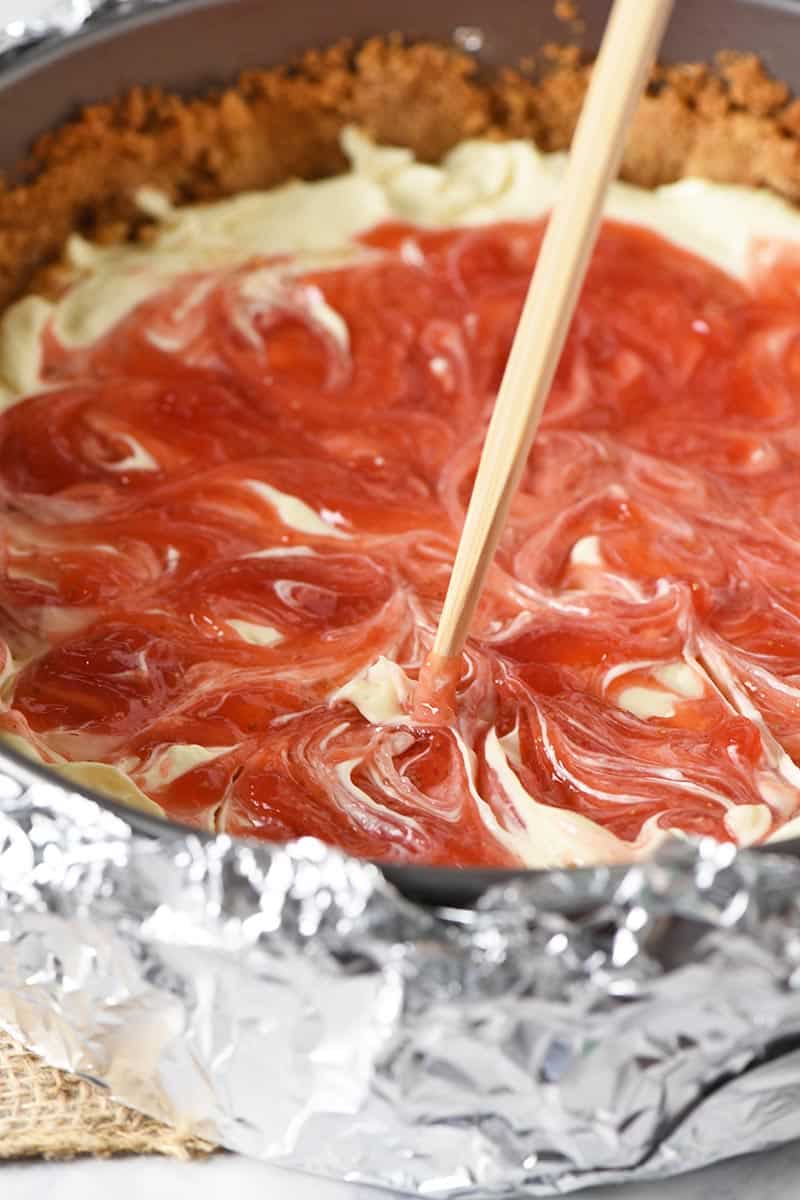
- Spoon about 1/4 cup strawberry sauce on top of the filling, adding small dollops of sauce here and there.
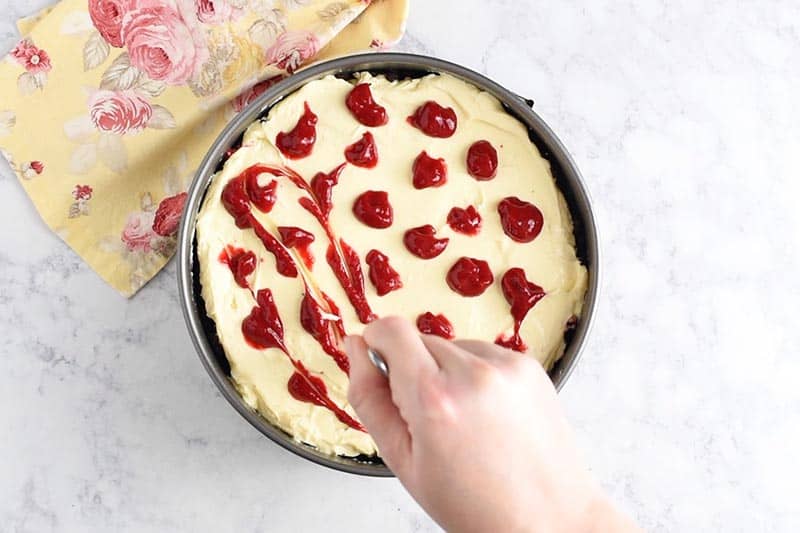
- Swirl the sauce into the filling with a table knife or wooden skewer.
- Pour the rest of the filling on.
- Add another 1/4 cup strawberry sauce, adding small dollops of sauce here and there all around the top of the filling.
- Again, swirl the sauce into the filling with a table knife or wooden skewer.
- Bake, cool, and chill according to the recipe instructions in the recipe card below.
Using the Water Bath Method While Baking
The Kitchn has an excellent tutorial with really helpful tips for how to make the perfect cheesecake. In fact, that’s where I learned how to use the water bath method for making a cheesecake even more creamy.
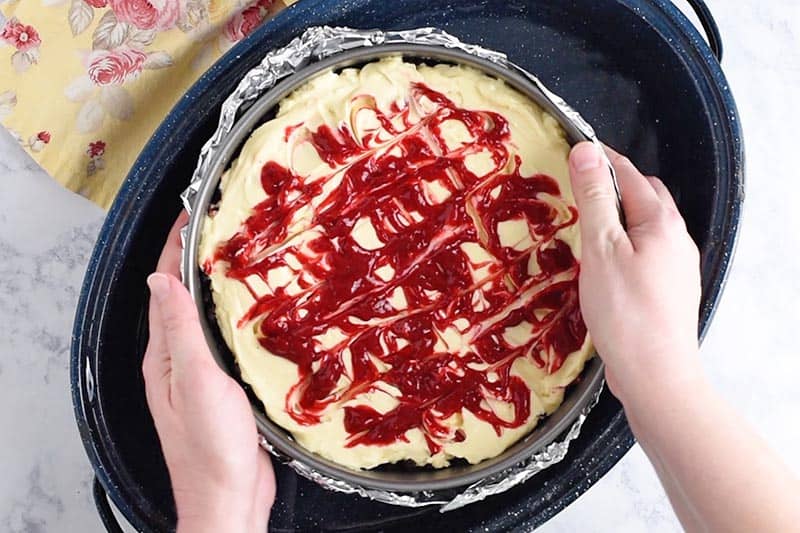
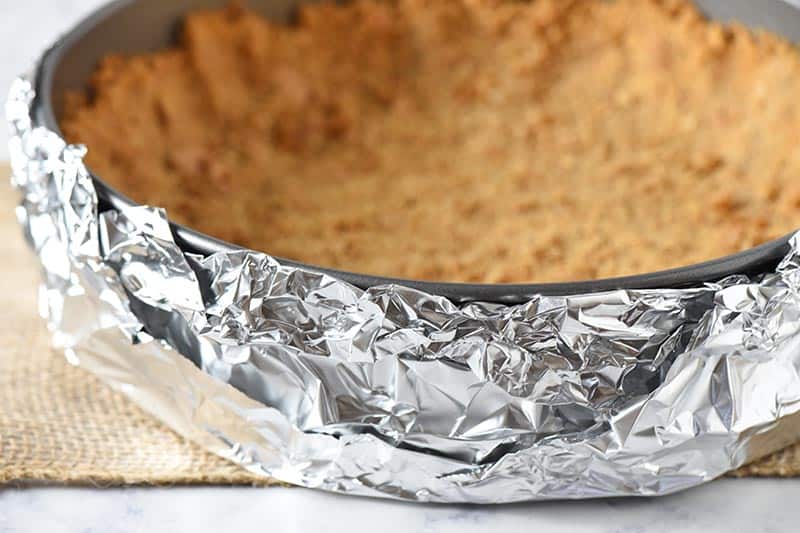
Before you bake your cheesecake, wrap the outside of a 9-inch springform pan with a good layer of aluminum foil, with foil extending over sides from the bottom of your pan. Maybe even add a couple layers, to help keep water from getting to your cheesecake.
Then place the pan down in a roasting pan with at least an inch of water in it. I use a turkey roasting pan.
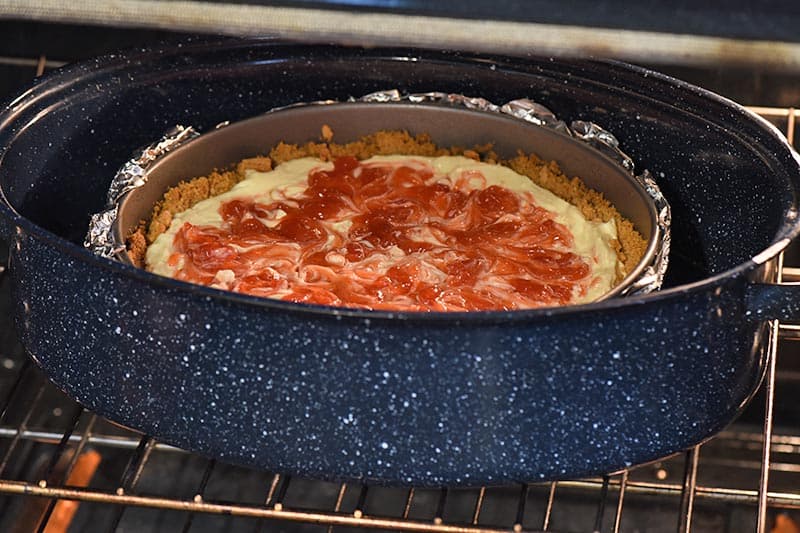
This provides a steam bath environment for your cheesecake as it bakes and keeps it very moist.
What Causes Cheesecake to Crack, and How Can I Prevent That?
So this is a problem with any kind of cheesecake and some kinds of pies, like pumpkin pie, sweet potato pie, etc.
The water bath method will help with this, as it will keep the cheesecake from drying out.
Essentially, that’s what causes it to crack, is when it dries out. It can happen when it’s baked too long and sometimes even when it’s cooled too quickly.
That said, when cheesecake is done, it should be set around the edge but still a little jiggly in the middle. The center is almost set but not quite set.

More Strawberry Recipes You’ll Enjoy
- Strawberry Delight No Bake Dessert
- Scrumptious Strawberry Cream Pie
- Old Fashioned Strawberry Shortcake
Can Strawberry Swirl Cheesecake Be Frozen?
As long as you use a full fat cream cheese, cheesecake should freeze well.
Just make sure you cool the cheesecake first. Then chill it.
Once it’s chilled, you can wrap it up with a layer or two of plastic wrap and then a layer of foil.
According to Eat By Date, cheesecake shelf life is up to 6 to 8 months in the freezer.
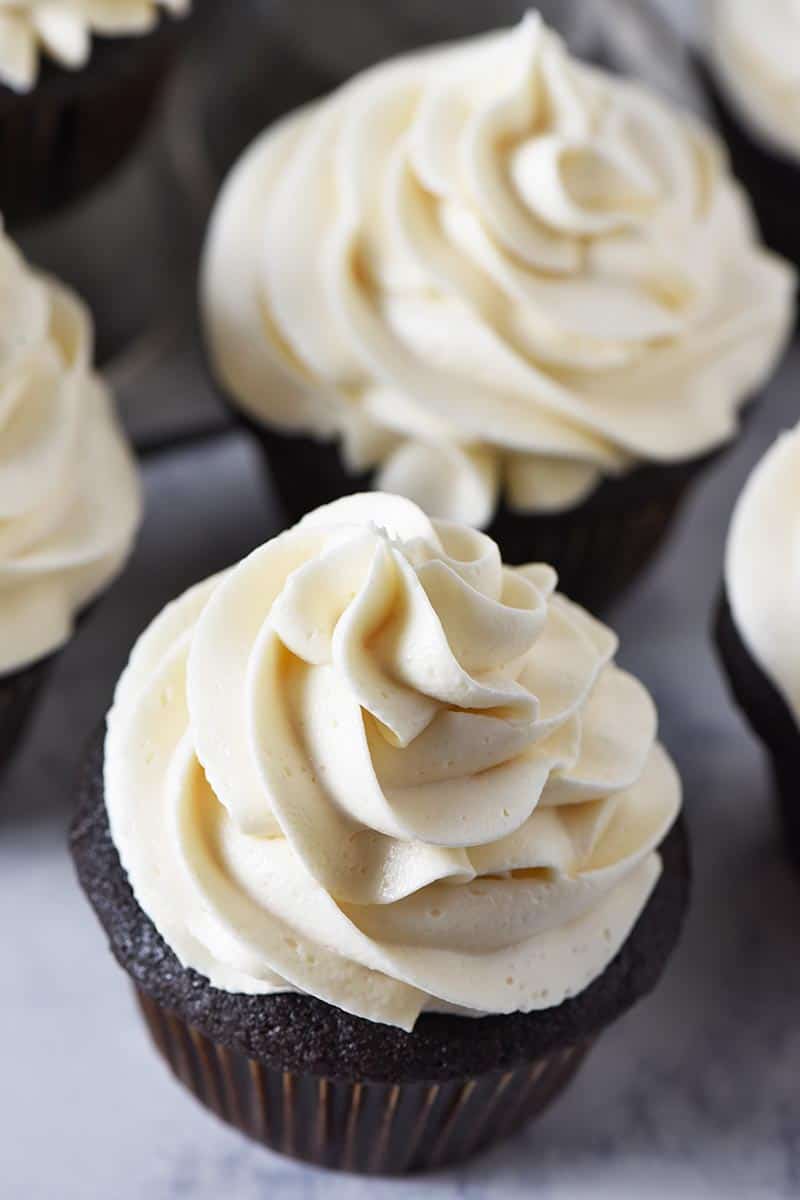
What to Serve with Strawberry Cheesecake
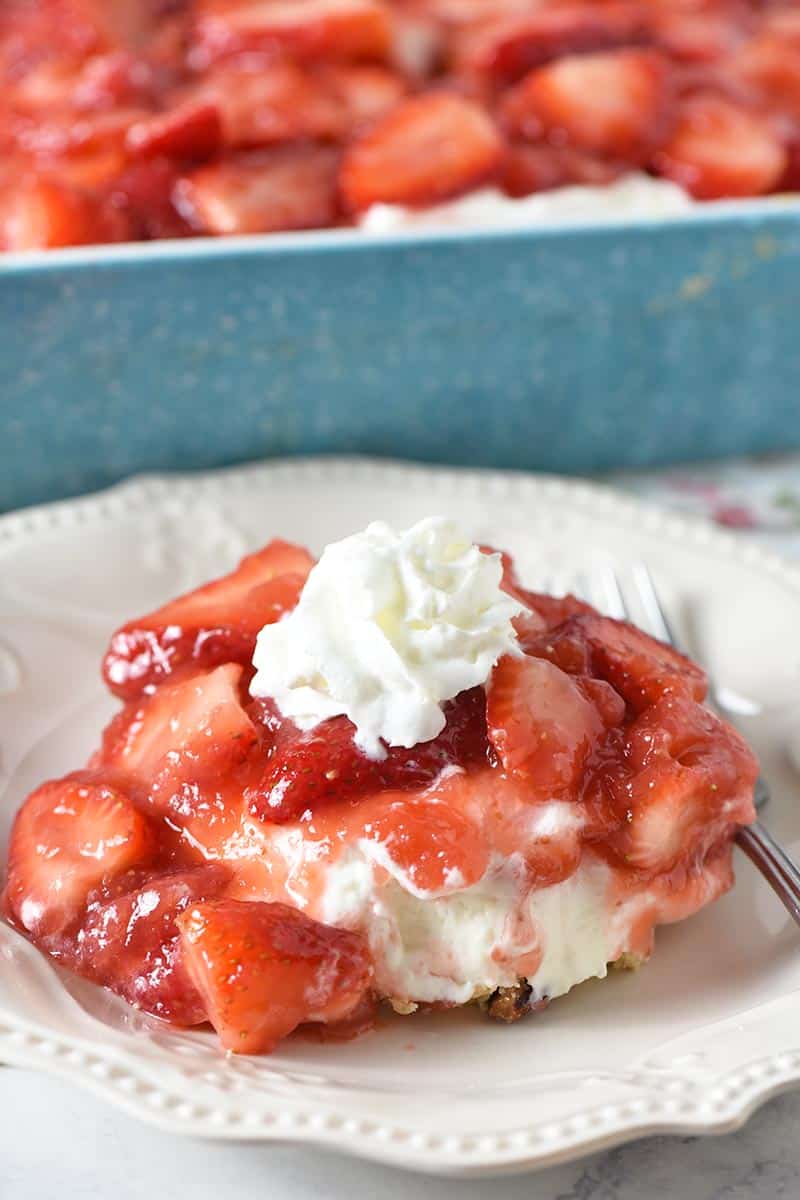
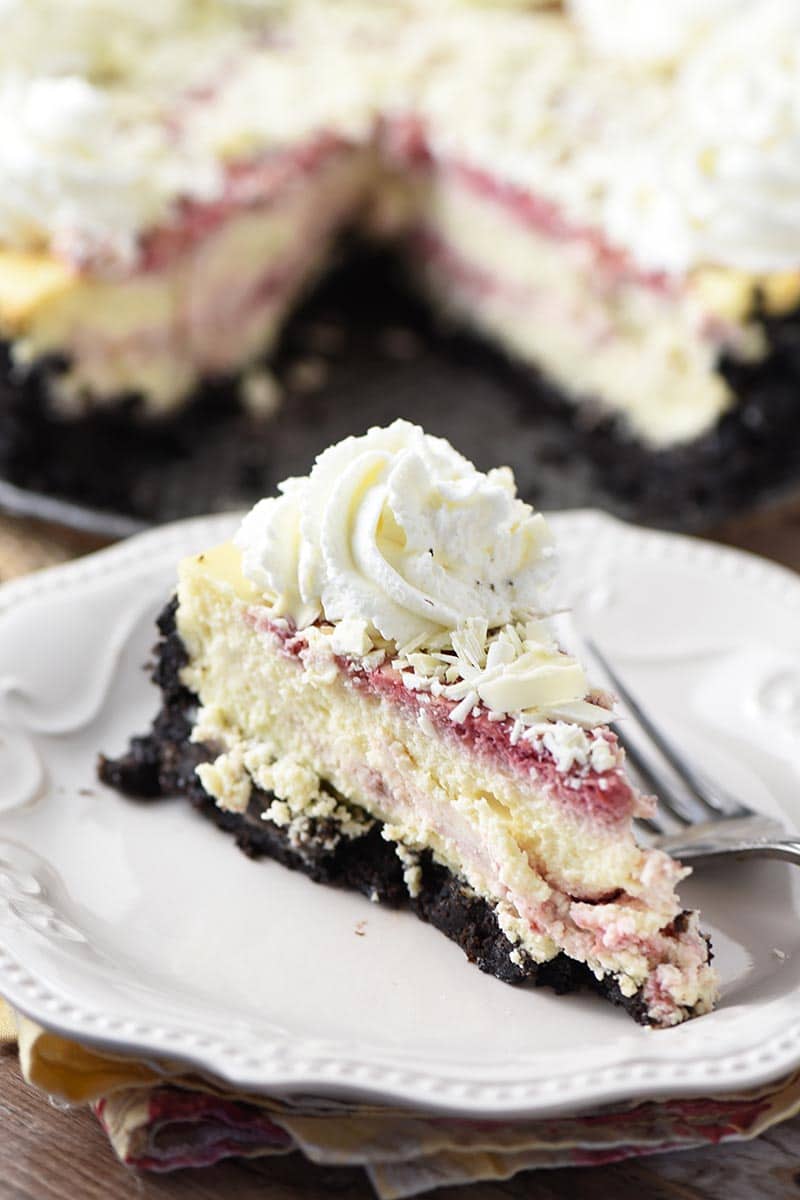
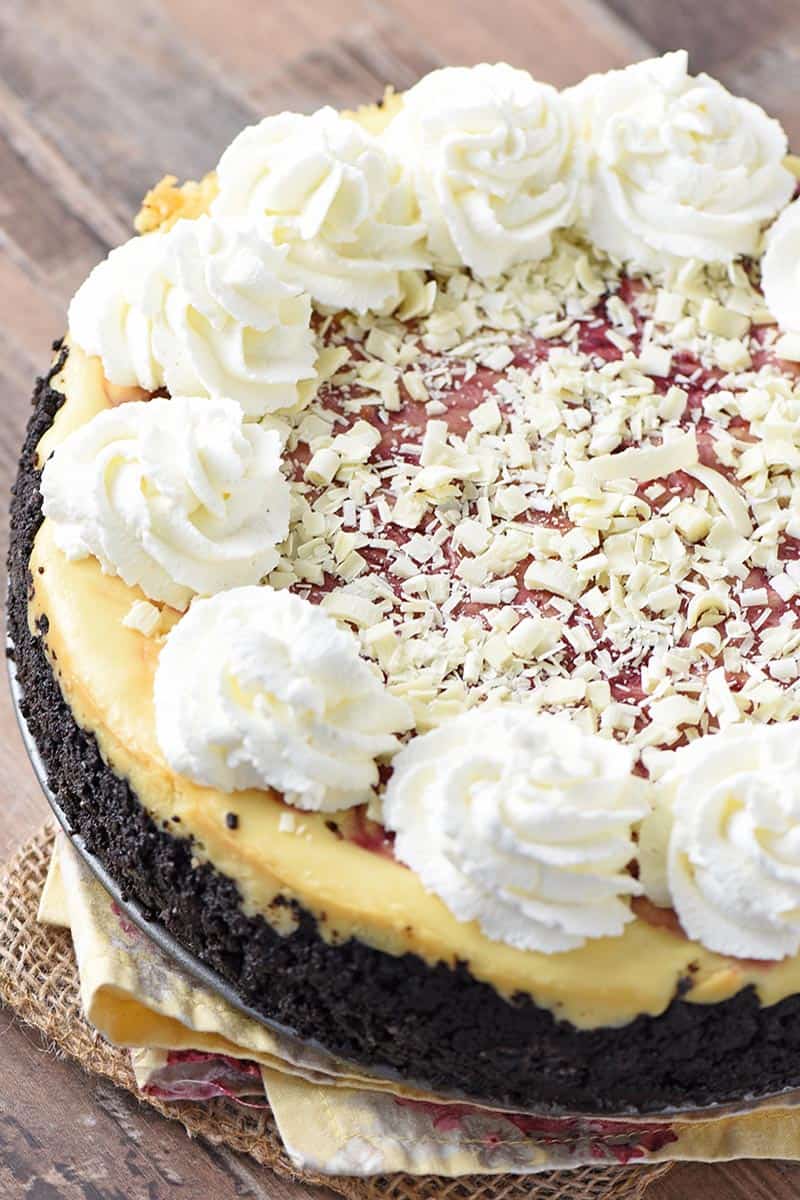
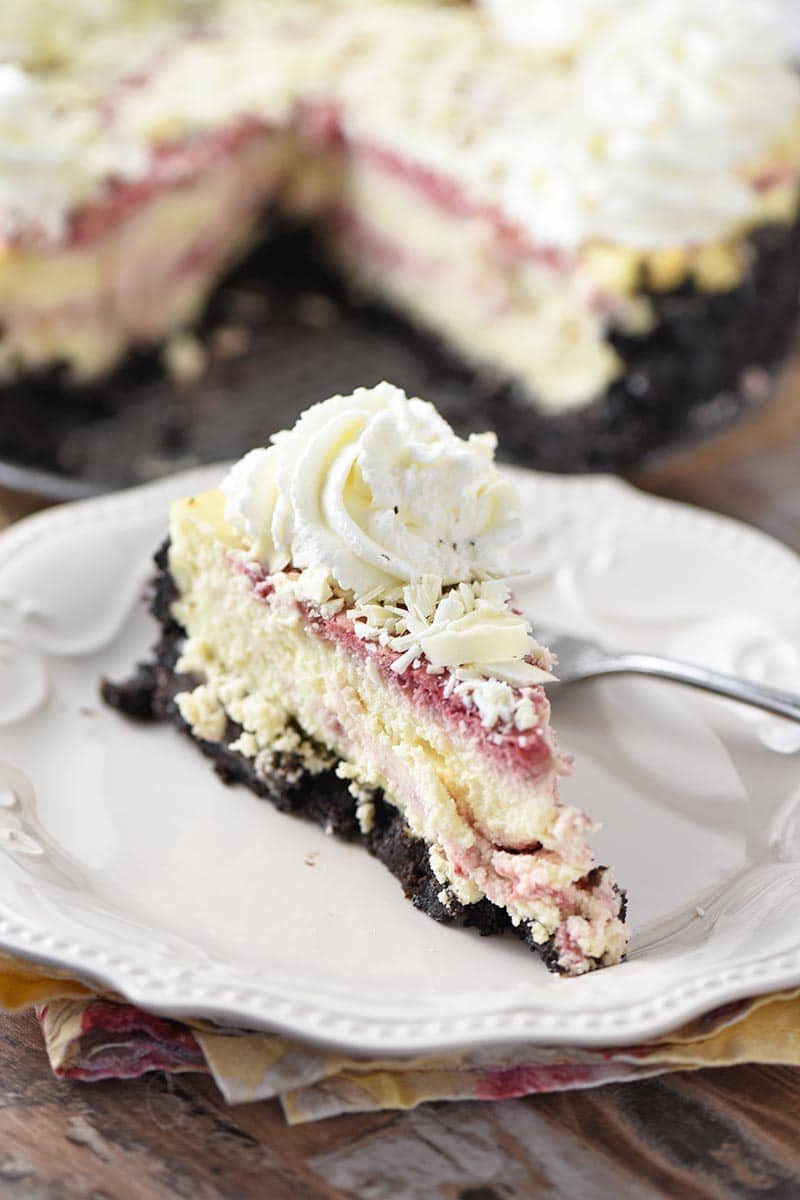
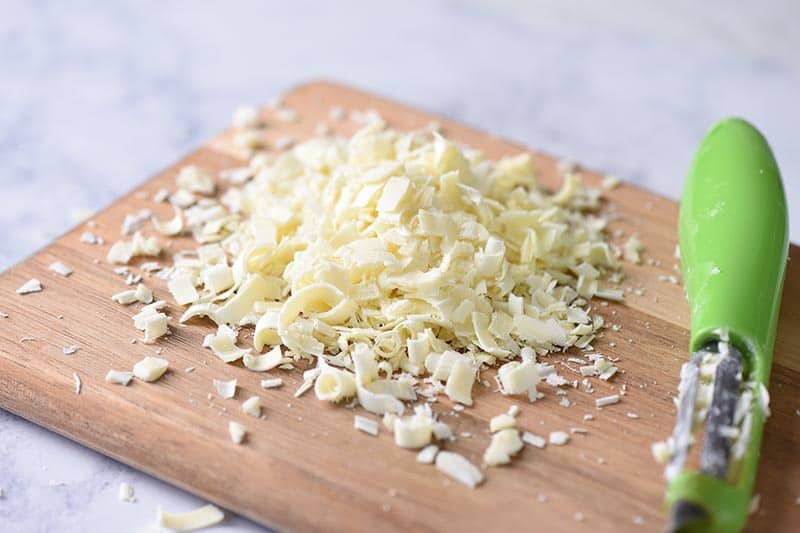
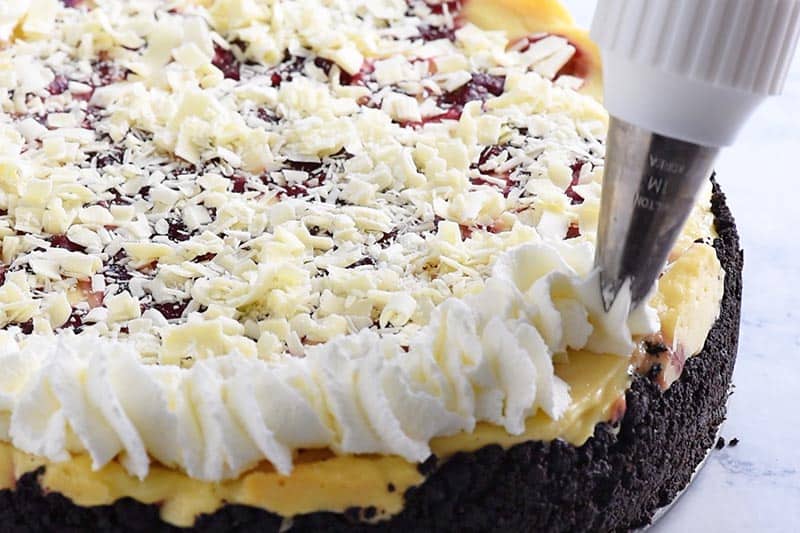
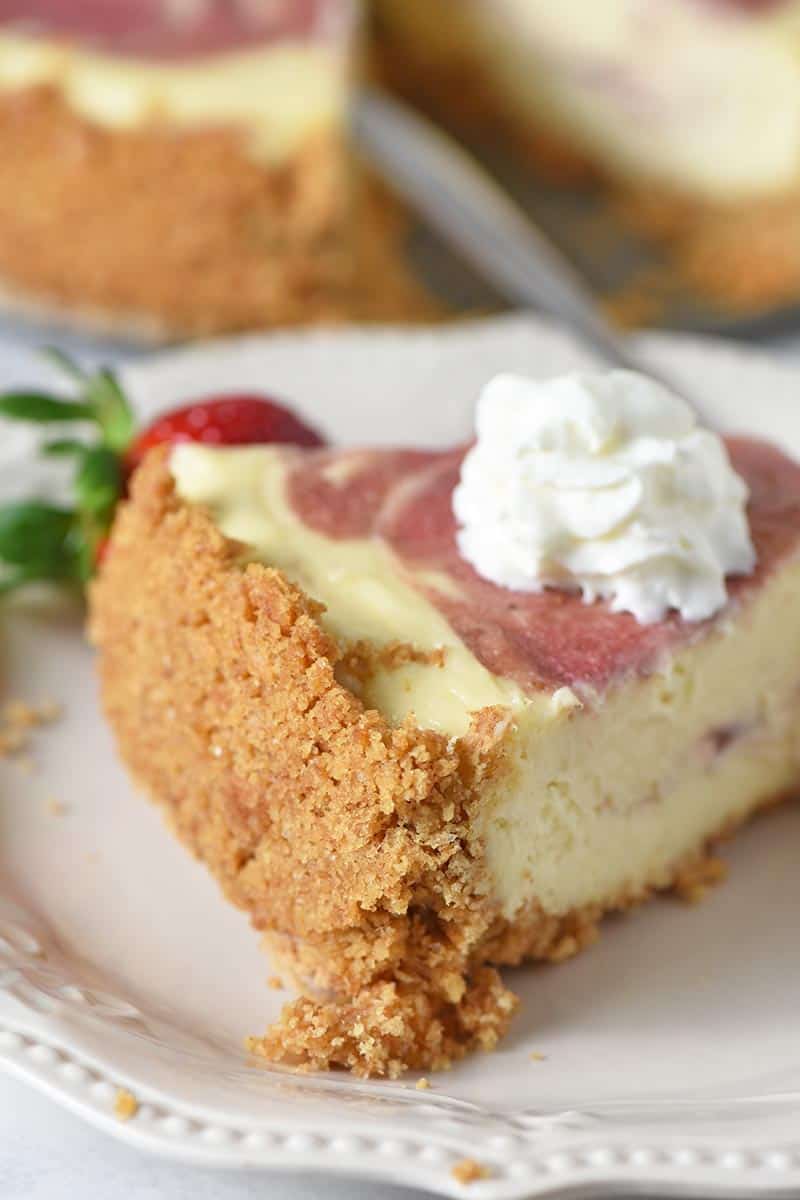
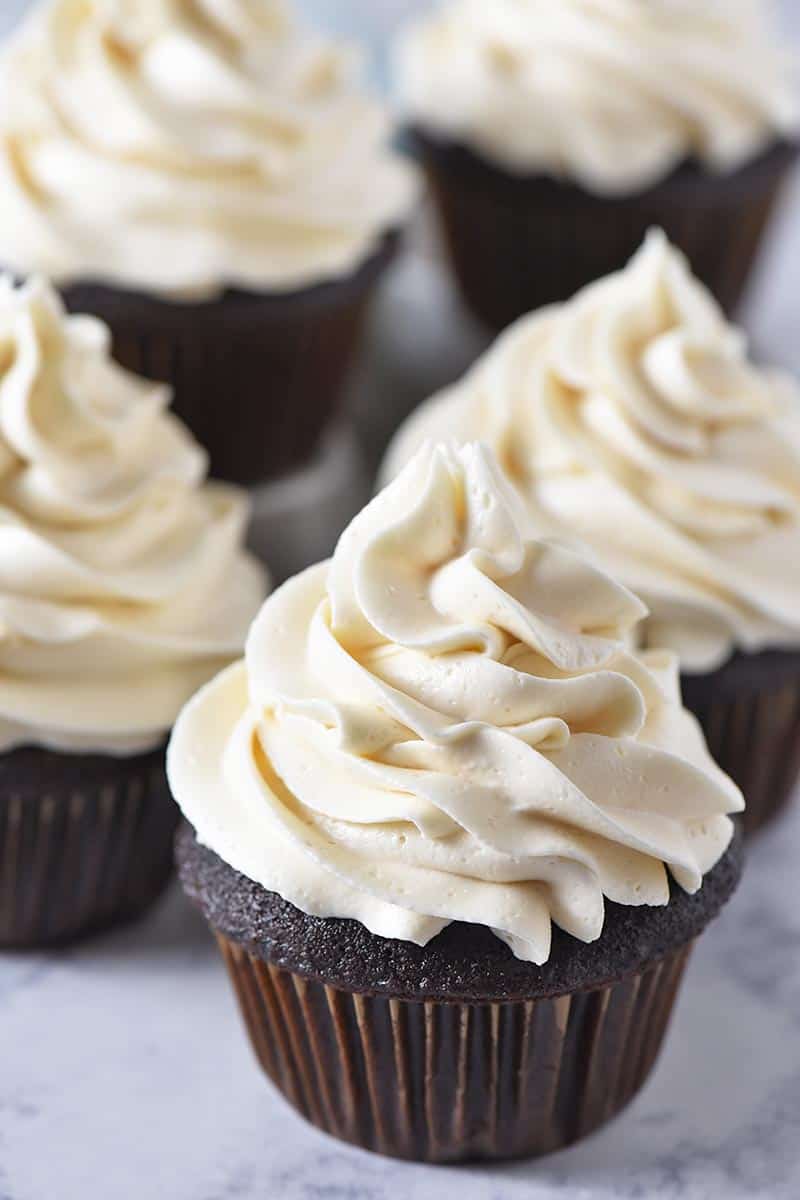
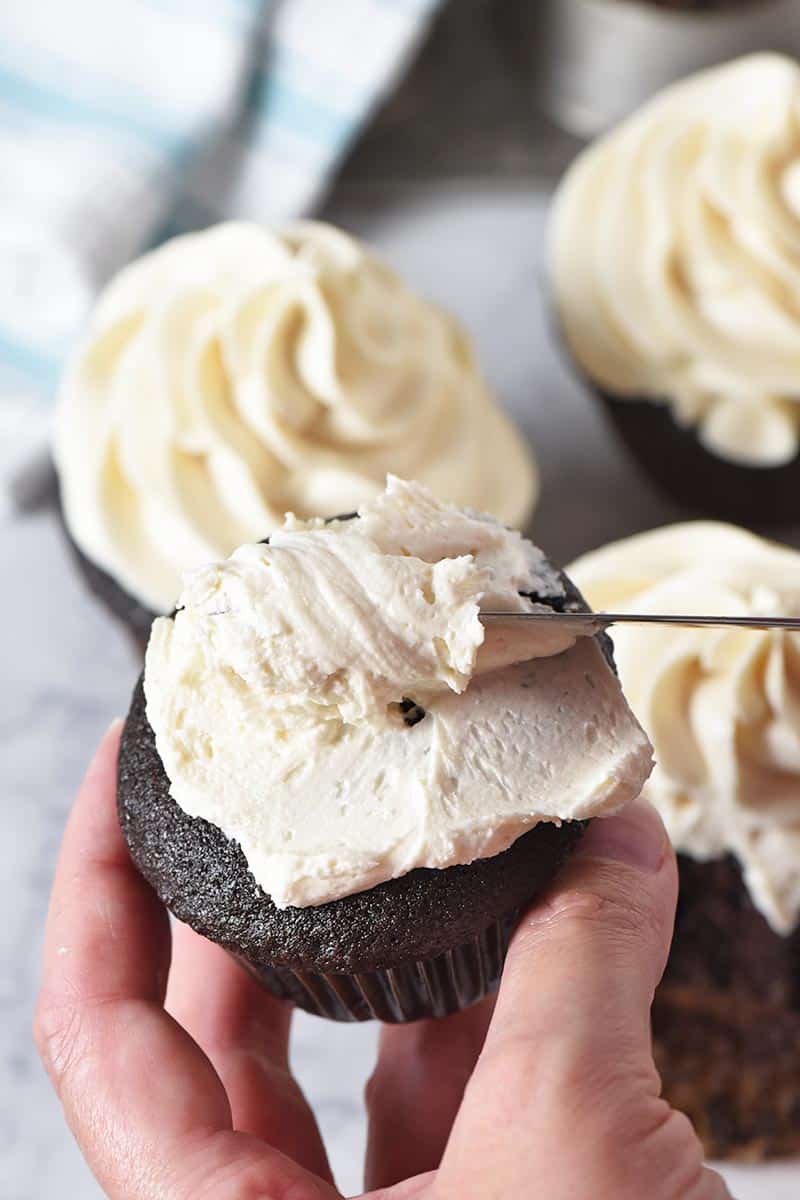
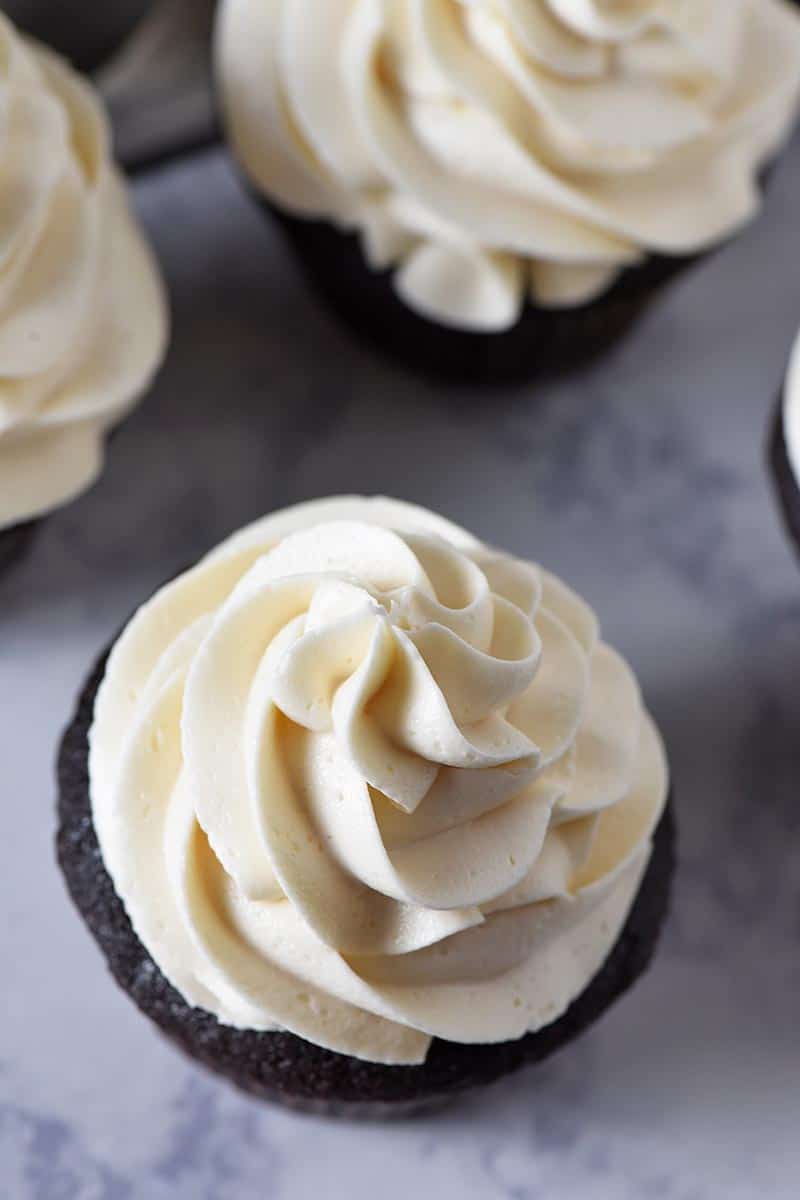
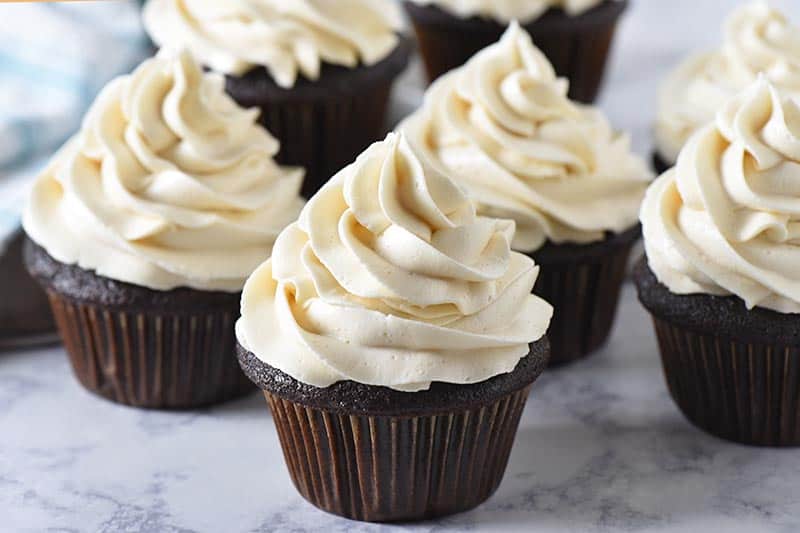
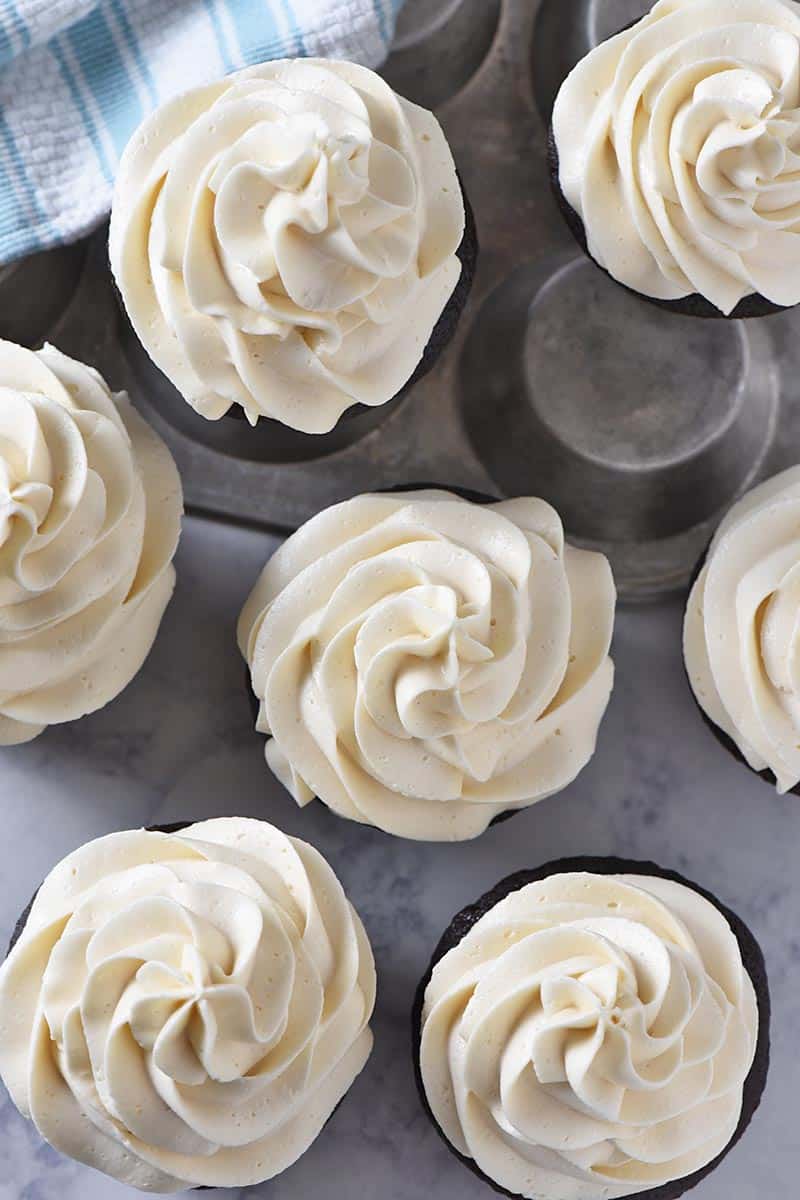
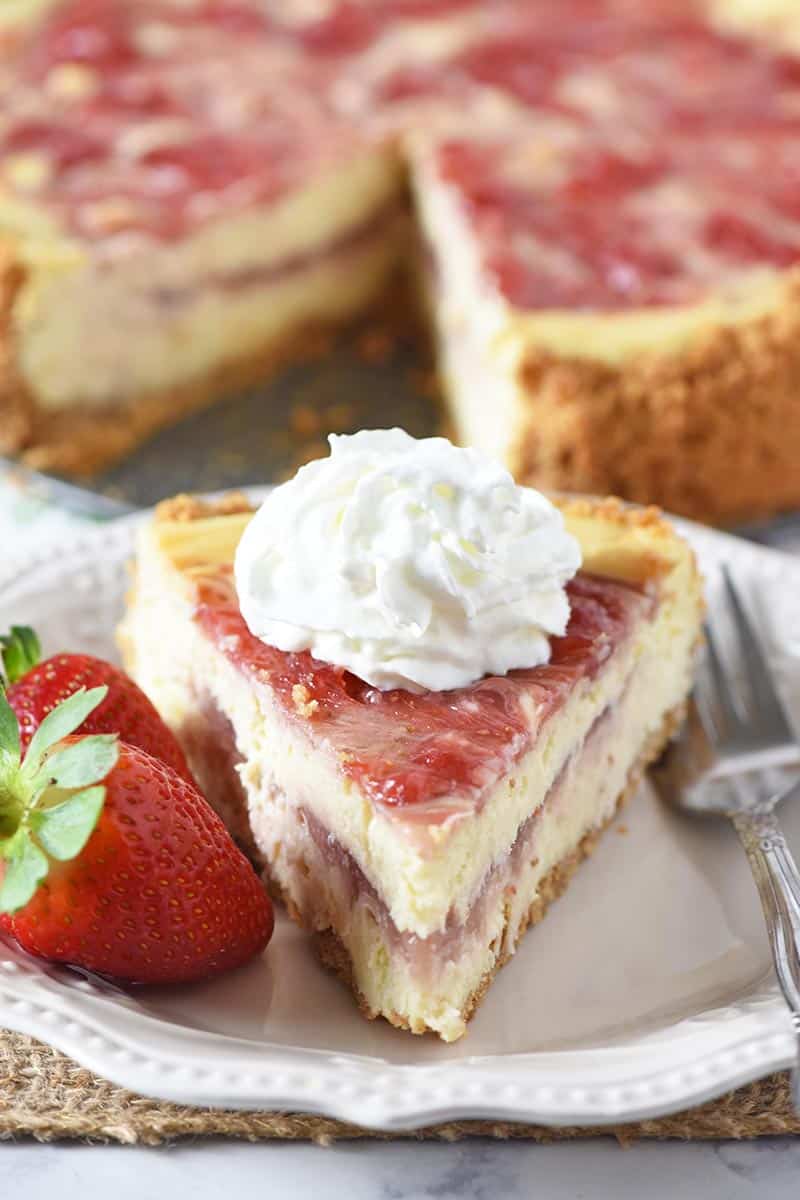
You can either swirl on a little canned whipped cream, or make homemade whipped cream and use a decorating bag and large tip (I used Tip 1M) to swirl it on.
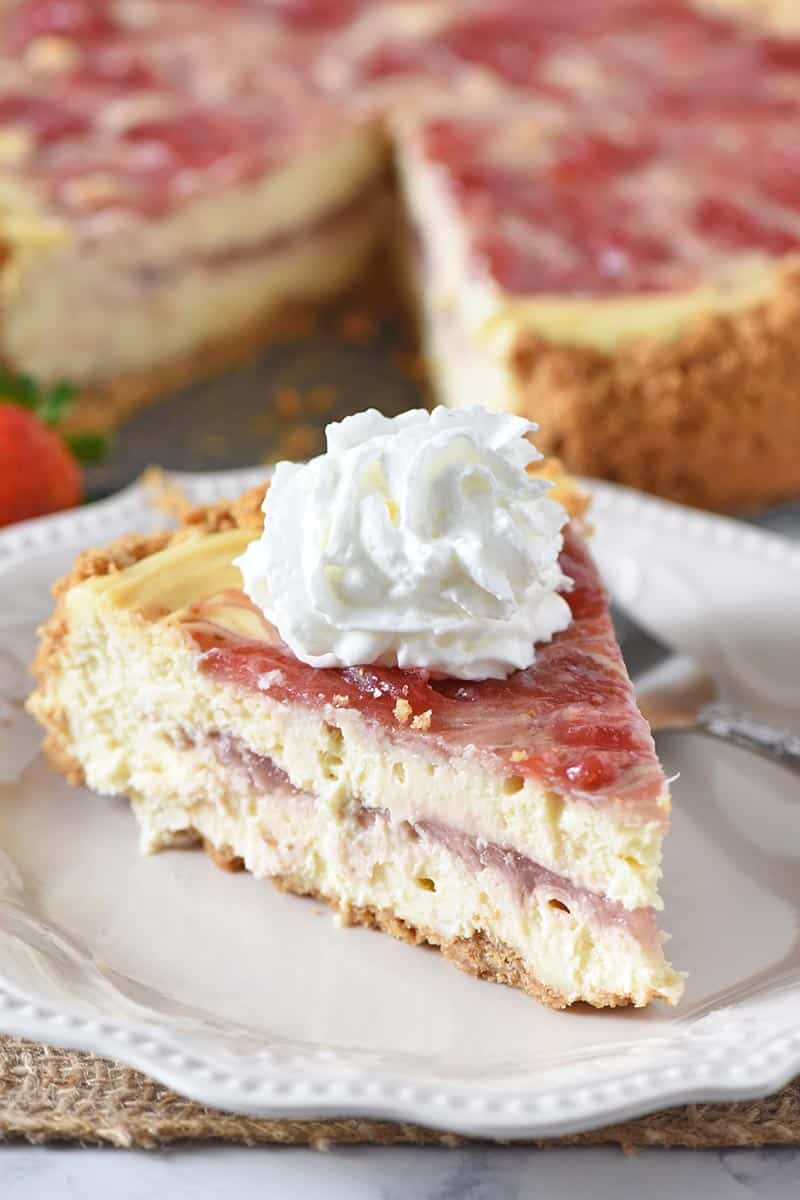
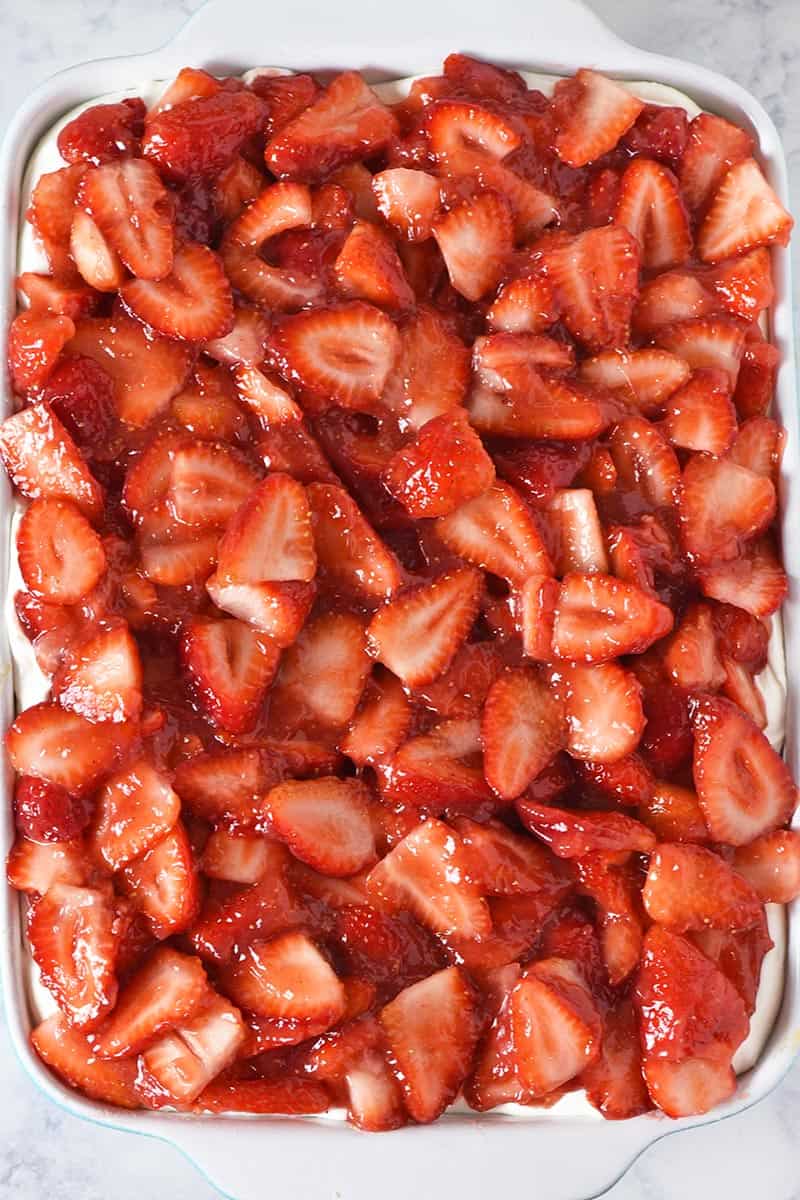
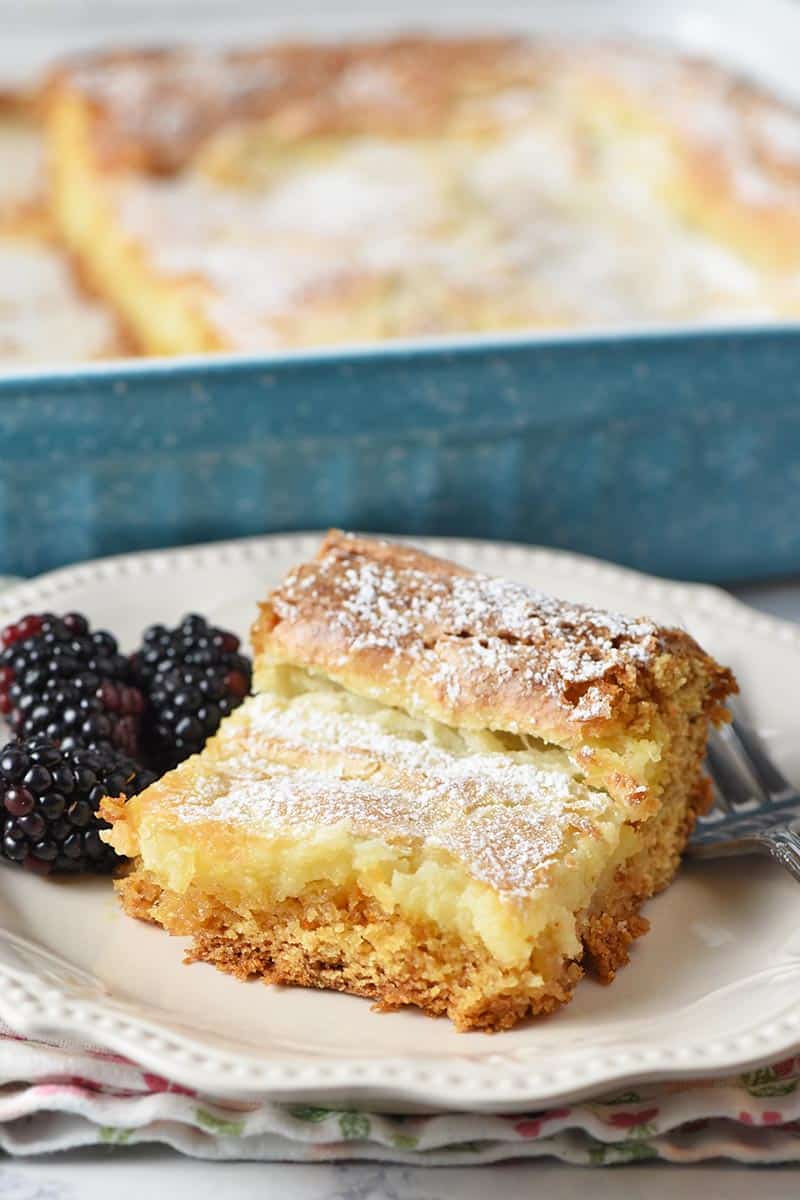
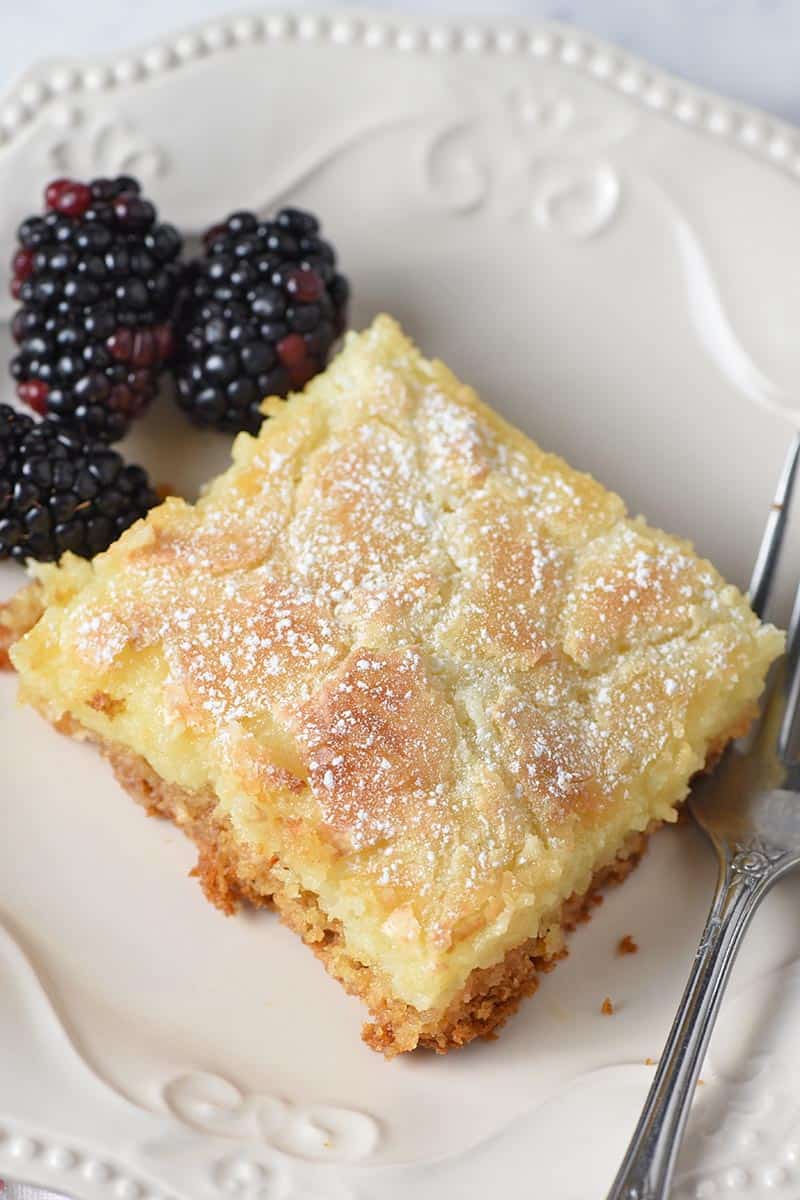
And, of course, you can serve it with fresh strawberries.
Kitchen Tools You’ll Need to Make This Dessert:
9″ Springform Pan – This kind of pan is necessary for cheesecake, so you can easily remove the sides of the pan when serving.
Aluminum Foil – To prevent water from getting into your cheesecake while baking, you can wrap the outside of your pan with foil.
Medium to Large Saucepan and Spatula
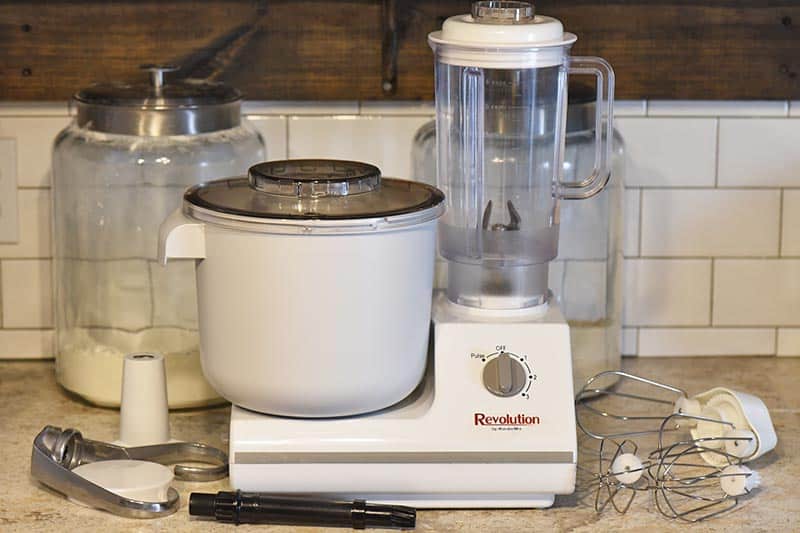
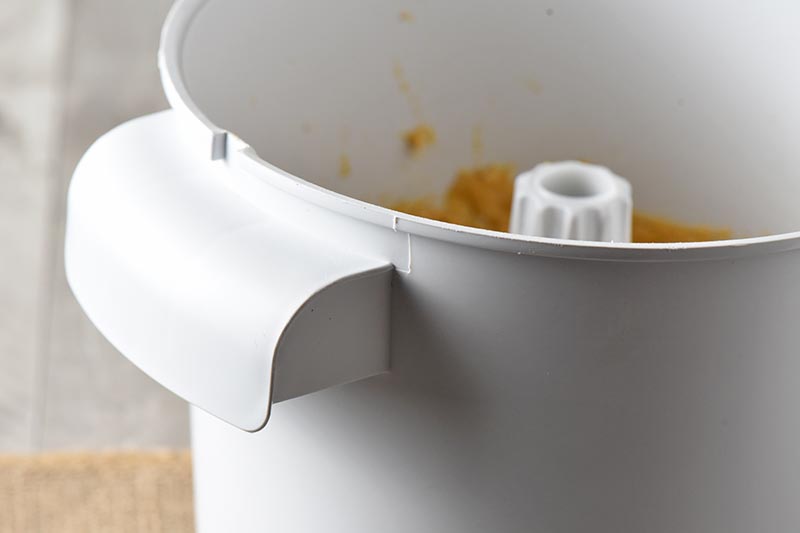
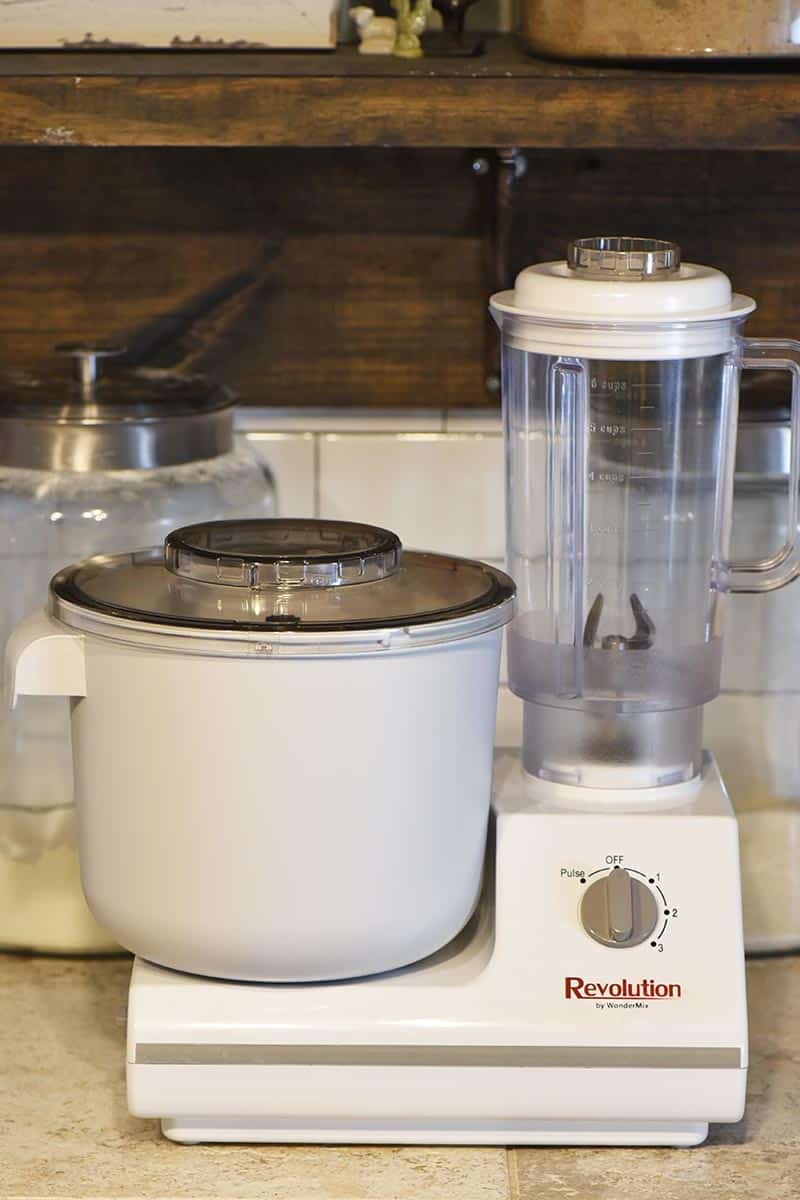
Stand Mixer or Hand Mixer – This will ensure a smooth cheesecake filling.
Egg Separator – Easily separate the yolks from the egg whites.
Roasting Pan – Add about an inch or so of water in the roasting pan; then place the springform pan inside the roasting pan for baking.
Get the printable recipe!
If you love this strawberry swirl cheesecake recipe as much as I do, please write a 5 star review, and help me share the recipe on Facebook and Pinterest! If you make the recipe, be sure to share that you tried it on Pinterest. I love when readers share feedback!
CONNECT WITH ADVENTURES OF MEL!
Be sure to follow me on social, so you never miss a post!
Facebook | Pinterest | YouTube | Instagram | Twitter
Sign up to receive my newsletter, filled with delicious recipes and outdoor travel adventures, in your inbox:
Fresh Strawberry Swirl Cheesecake
How to make the most delicious strawberry swirl cheesecake recipe, with a graham cracker crust, creamy homemade filling, and fresh strawberries.
- 1 graham cracker crust
Strawberry Sauce:
- 1/2 cup strawberry purée
- 6 tablespoons pure cane sugar
- 1 1/4 tablespoons corn starch
- 1/8 cup water
Cheesecake Filling:
- 32 ounces cream cheese
- 3/4 cup pure cane sugar
- 2 teaspoons vanilla extract
- 1/2 teaspoon almond extract
- 4 large egg yolks
- Make your graham cracker crust in a 9″ springform pan (sprayed with cooking spray). You’ll want it ready to go after the cheesecake batter is all mixed up.
- Line the outside of the springform pan with aluminum foil; this will keep water from getting into your cheesecake during baking.
- Whisk together the corn starch and water in a small glass measuring cup.
- Add the corn starch mixture together with the sugar in a medium to large saucepan.
- Mix in the strawberry purée.
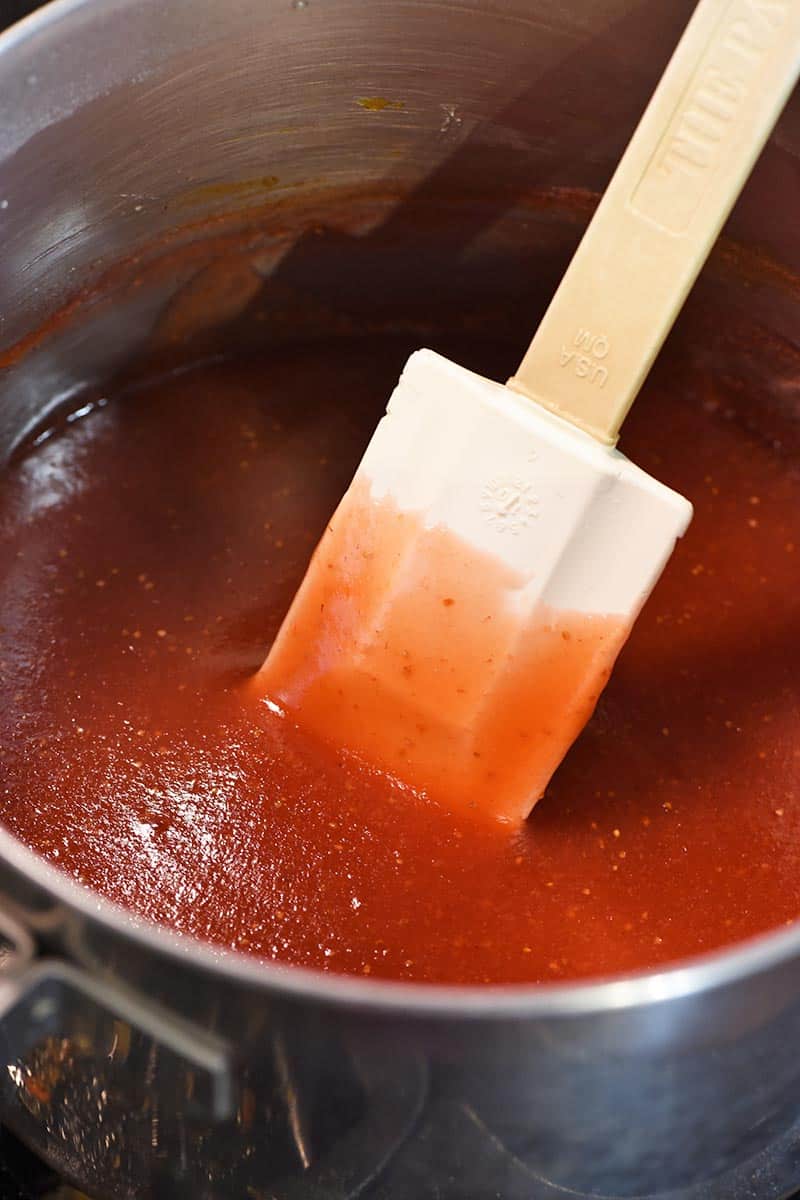
- Bring the mixture to a boil on low to medium heat, constantly stirring with a spatula to avoid scorching.
- Once the mixture boils, cook it for 3 to 5 more minutes, or until it thickens and turns a deep red.
- Remove the strawberry sauce from the heat, and allow it to cool.*
- Meanwhile, pre-heat the oven to 325°.
- Using a mixer, mix together the softened cream cheese, sugar, vanilla extract, and almond extract.
- Using an egg separator, separate the egg yolks from the whites, and add the yolks into the mixture, mixing well.
- When your filling is creamy and smooth, pour half of it into your crust.
- Spoon about 1/4 cup strawberry sauce on top of the filling, adding small dollops of sauce here and there.
- Swirl the sauce into the filling with a table knife or wooden skewer.
- Pour the rest of the filling on, and add another 1/4 cup strawberry sauce, adding small dollops of sauce here and there all around the top of the filling.
- Again, swirl the sauce into the filling with a table knife or wooden skewer.
- Place the cheesecake-filled springform pan in a roasting pan that has an inch or so of water in the bottom.
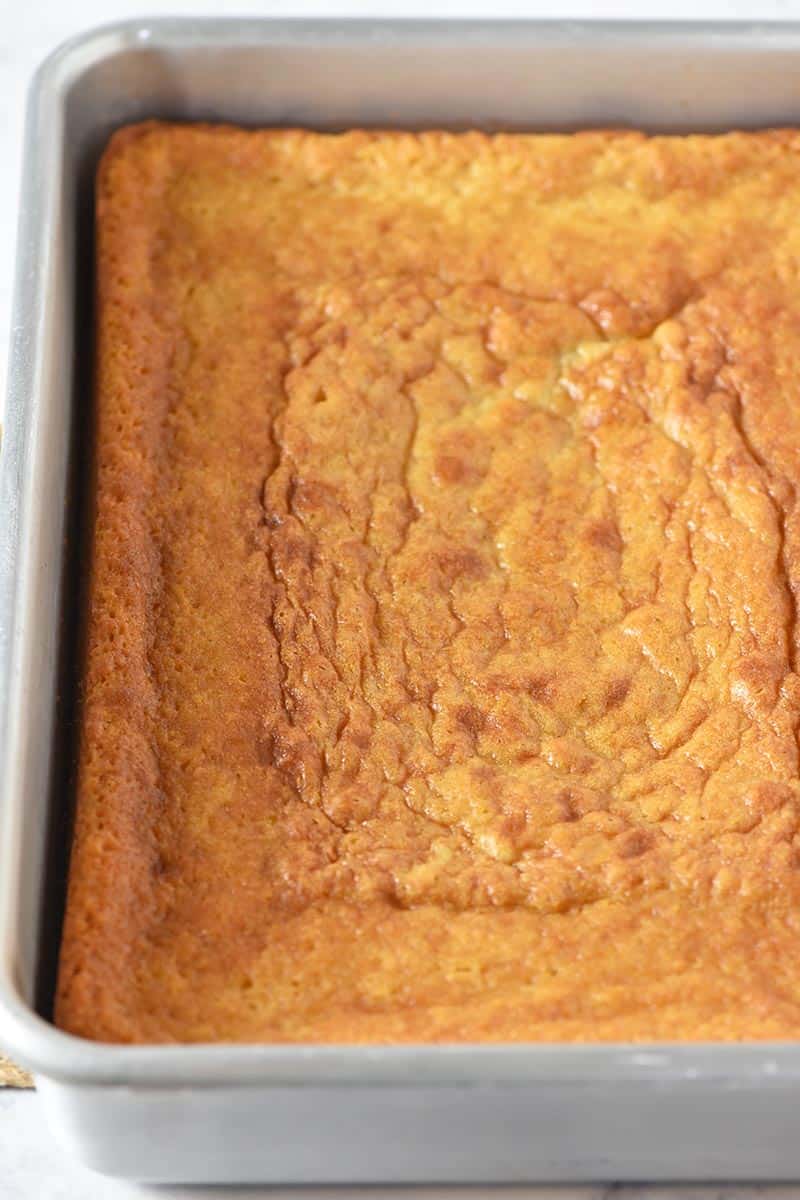
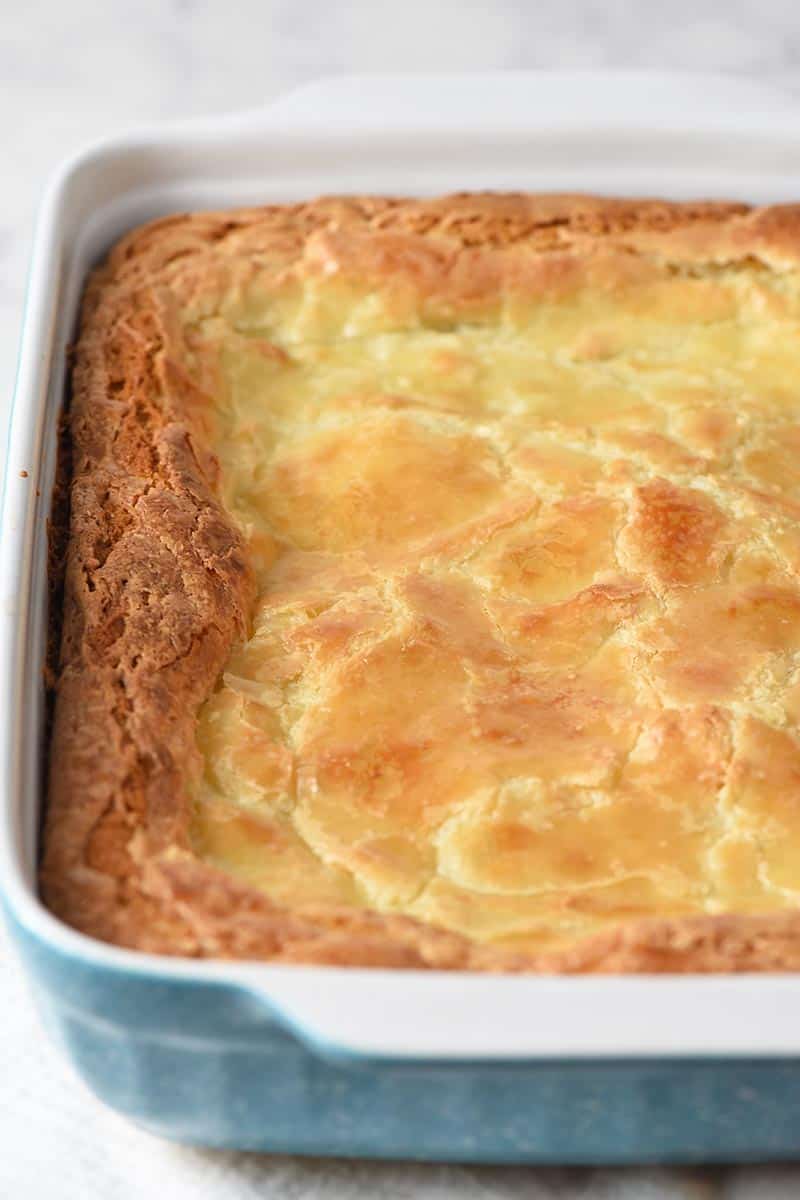
- Place the whole pan into the oven, and bake at 325° for about 1 hour and 20 minutes or until the cheesecake is cooked through.**
- Leave the cheesecake in the oven, and turn the oven off. Allow it to cool in the oven, with the oven door open, for about 30 to 45 minutes. You want a slow cooling process, in order to avoid cracks.
- Now you can remove your cheesecake from the oven and allow it to cool completely.
- Once your cheesecake has completely cooled at room temperature, cover and place it in the refrigerator, and allow it to chill overnight.
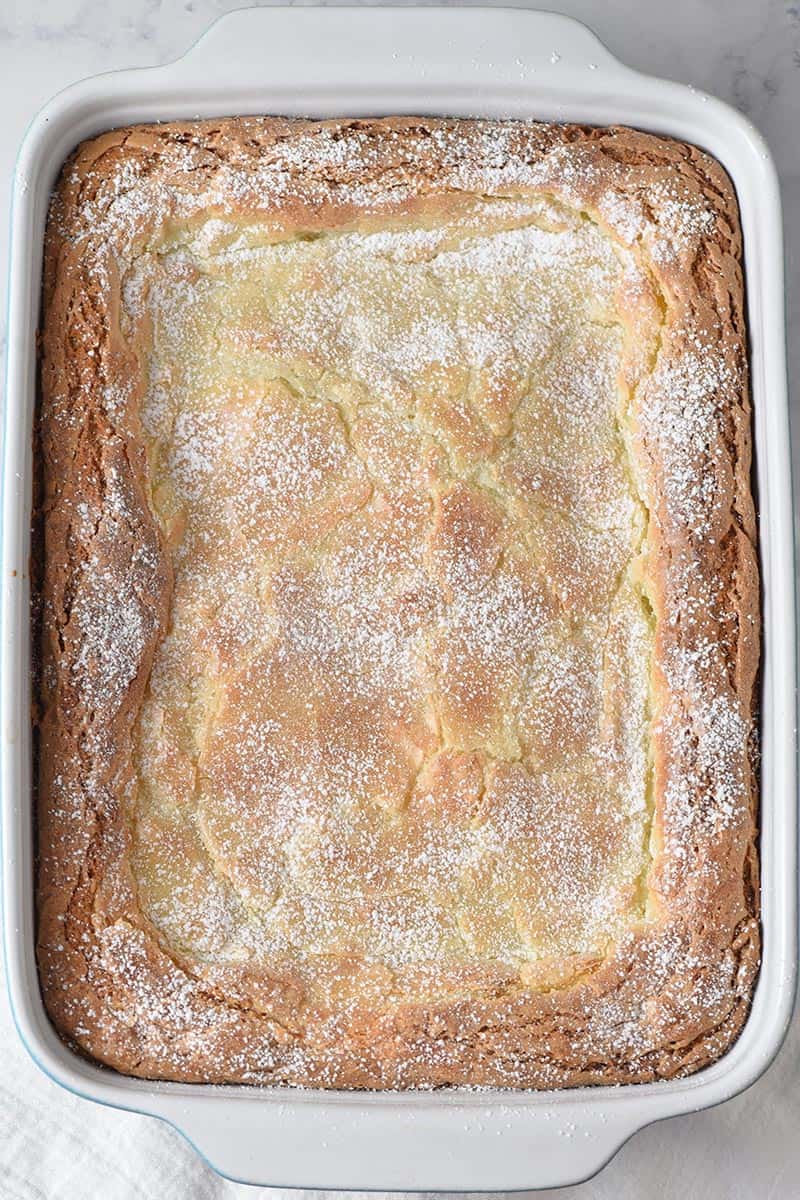
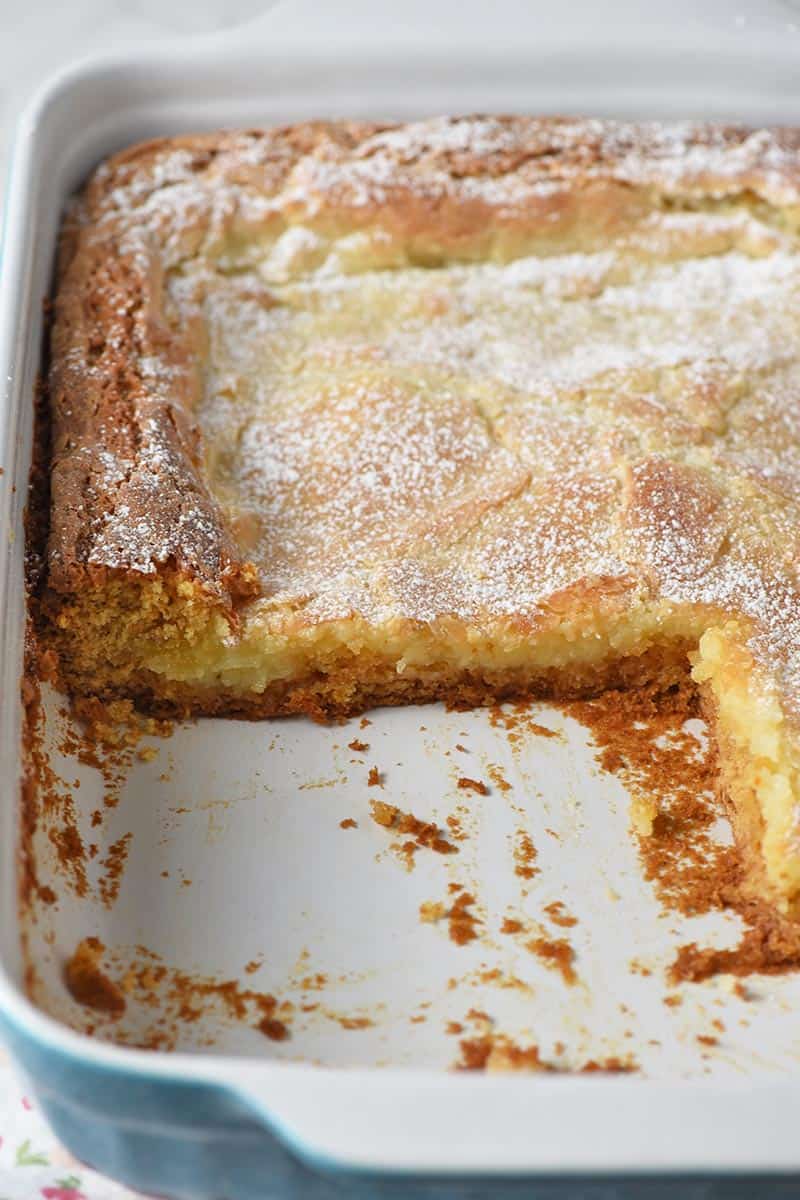
- When you’re ready to serve it, just release the springform pan, slice it up, and serve with whipped cream and fresh strawberries.
*I like to put my strawberry sauce in the freezer while I go about mixing up my cheesecake filling. About 30 minutes in the freezer (with occasional stirring) will cool it enough that you can finish making the dessert.
**The cheesecake should be firm around the edge and a little jiggly in the middle when it’s done. The center should be almost set but not quite set.