Have you ever been to Ferrara Bakery in Little Italy in New York City? They have the most delicious fruit tarts.
I’ve always wanted to try making these, and a couple weeks ago, I finally did.
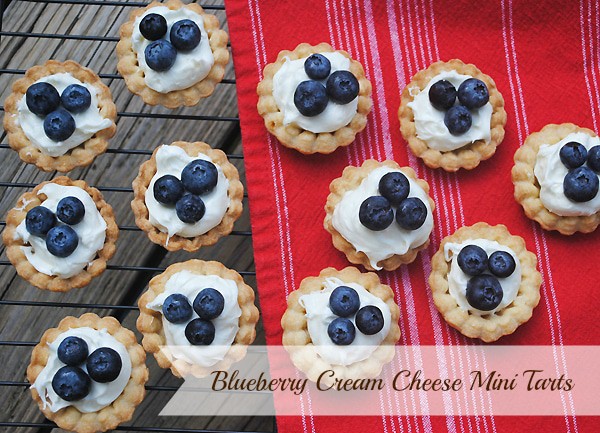
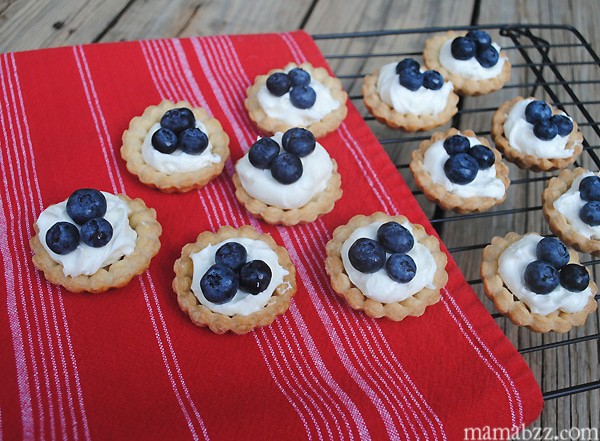
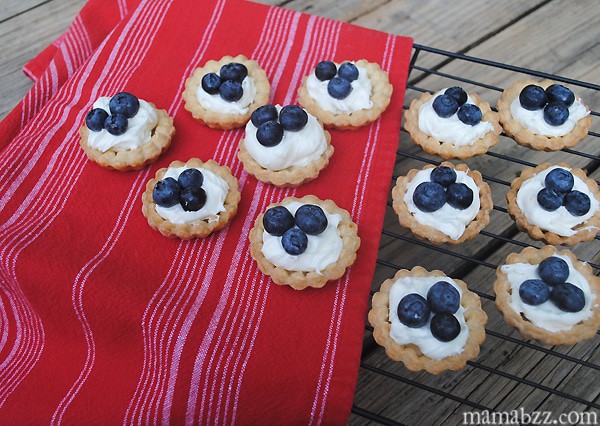
I made blueberry mini tarts with a sweet cream cheese filling. Below is a printable recipe, without photos, for your convenience.
We’d found a Tartlet Baking Set while browsing around at our local Williams Sonoma store. The box my baking set came in had a recipe for Mini Tarts on the back; I ended up only using and slightly adapting the crust portion of the recipe, since this was my first time making tarts.
You could really use any pie crust recipe you like for tarts, though this crust had a bit of sugar added, so it added to the sweetness of the tarts.
If you like pecans, you can add a little crunch to your crust with a super easy pecan nut pie crust.

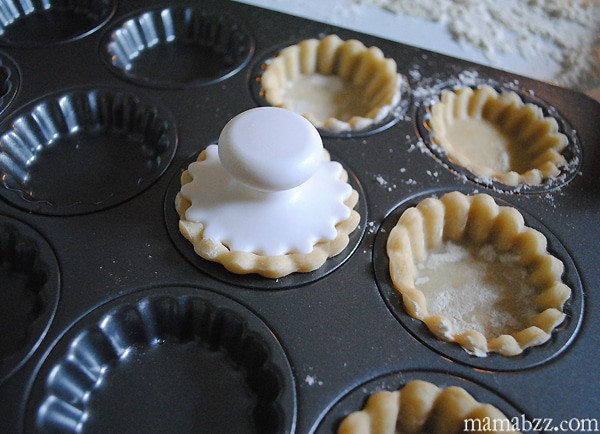
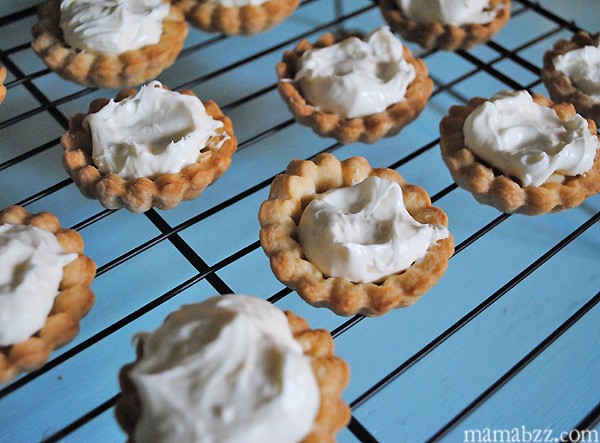


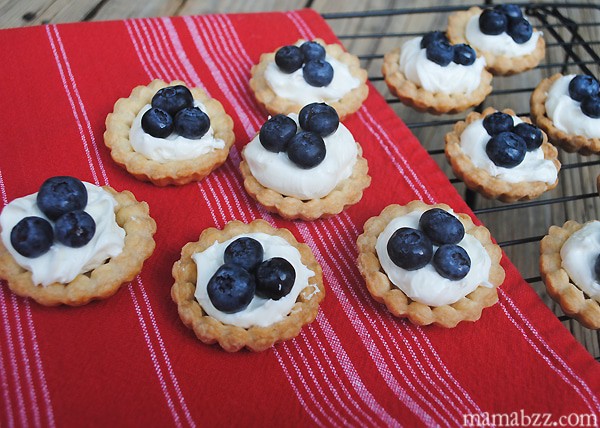
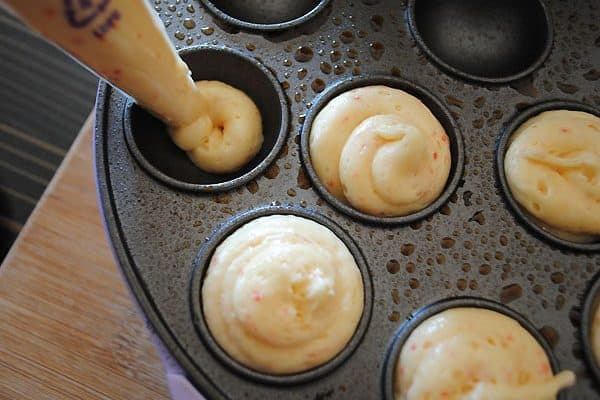
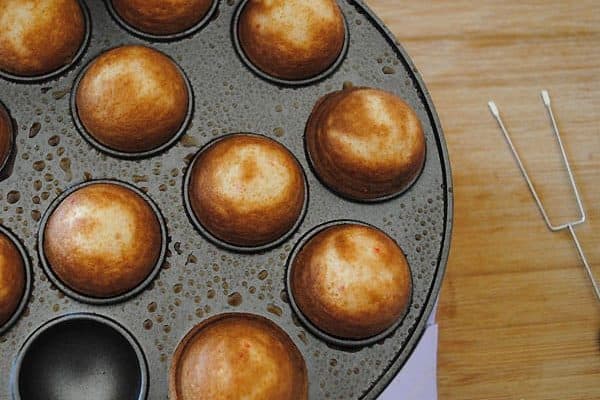
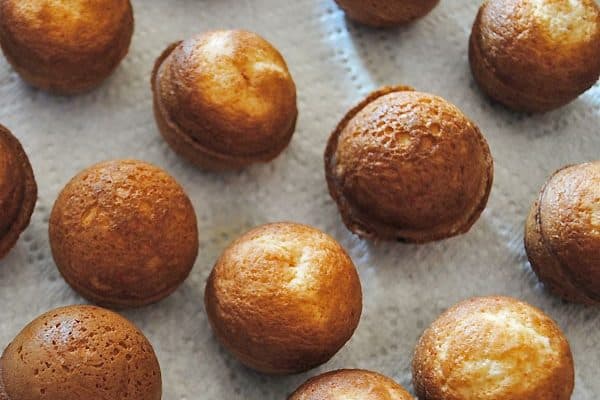
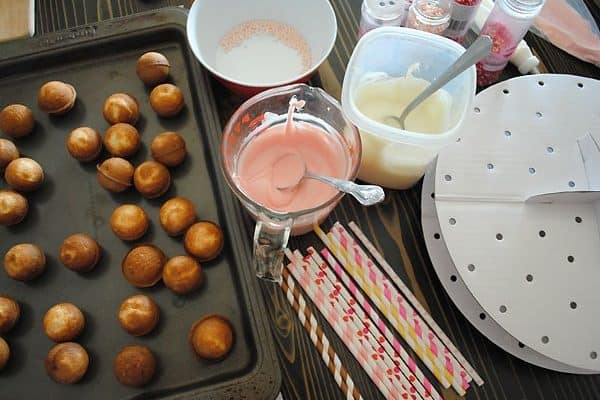
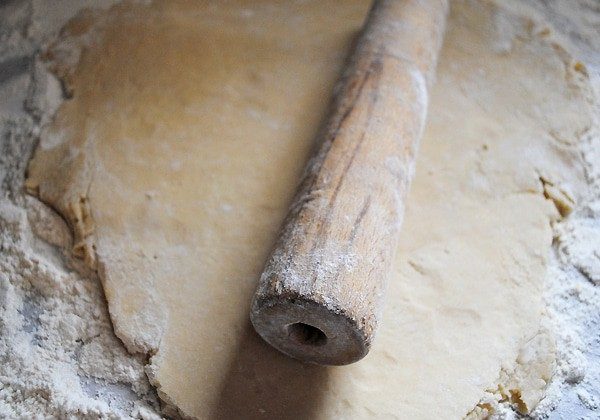
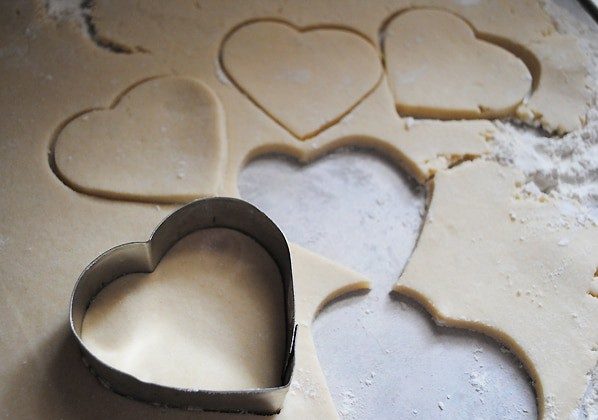
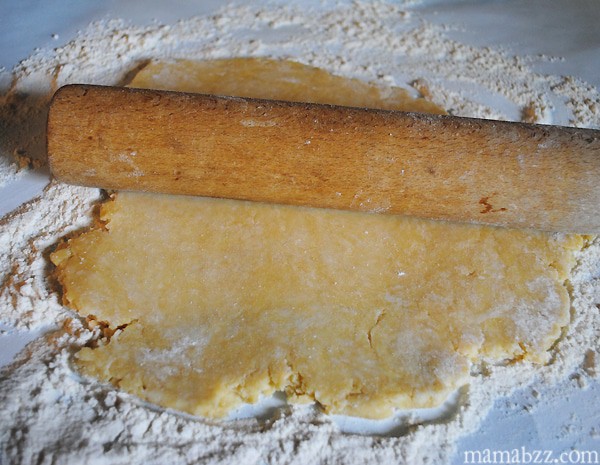
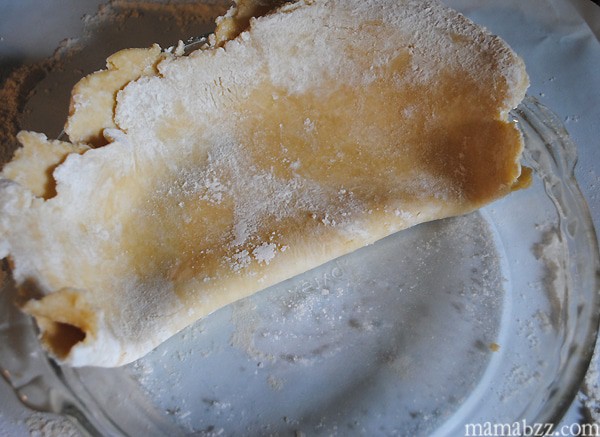
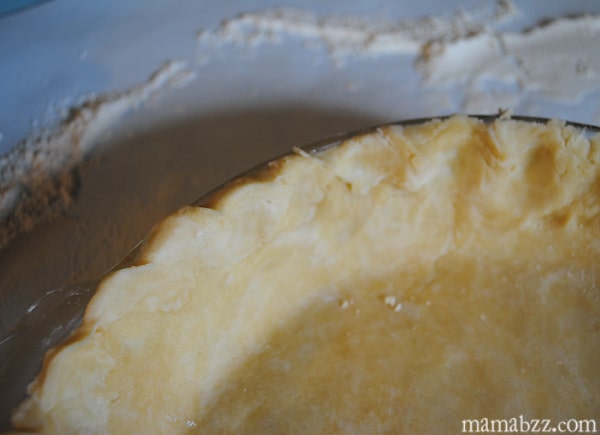
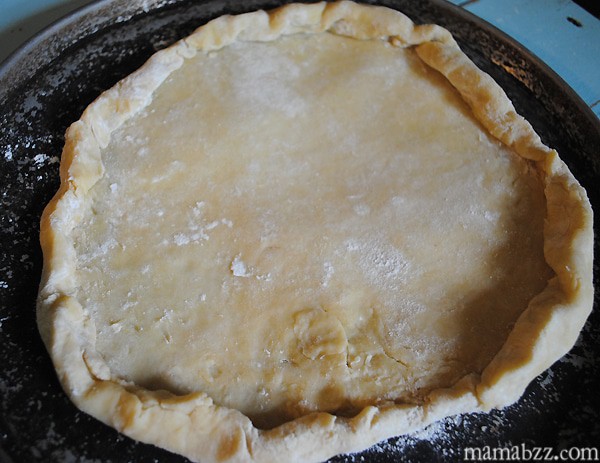
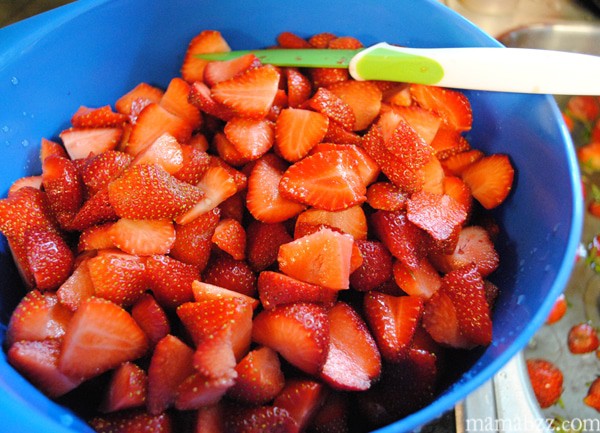
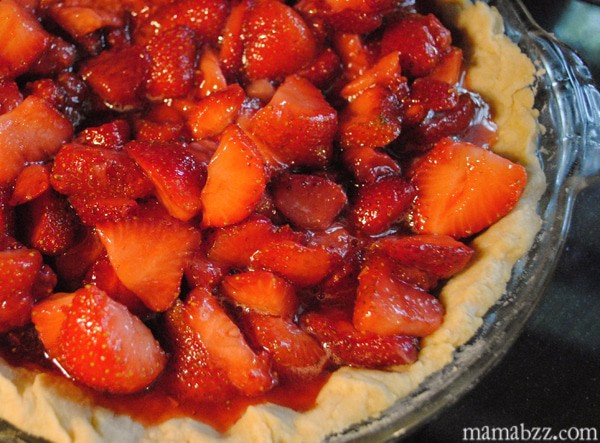
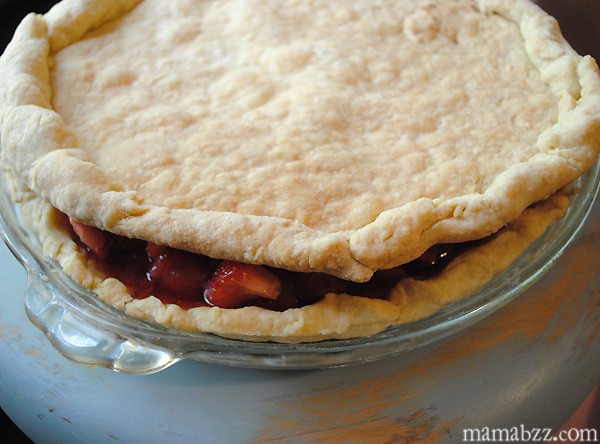
Here are the steps for making these delicious mini desserts. The first step is to make your crust and then refrigerate for at least 2 hours. After the crust has chilled, roll out the dough, and use the tart cutter to cut out tarts, just like you’d do if you were making sugar cookies. Place each cutout tart over the center of a well in the baking pan. Using the tamper, press the cutout into the well until the tart shell comes just up over the sides of the well. Repeat with each tart.Once all the tart wells have been filled, bake the tarts at 350° for about 12 minutes. Turn the pan 180° in the oven, and bake an additional 10 minutes, or until tarts turn a nice golden brown. When removed from the oven, let the pan cool on a wire rack for about 10 minutes, and then remove the tarts. Once the tarts are completely cooled, fill with your favorite filling. I used a sweet cream cheese filling (recipe below) and added blueberries on top. You can even use an easy homemade blueberry pie filling. Really, any type of fruit can make a tart absolutely delicious! These are bite-sized desserts that make an excellent dish for potlucks, barbecues, teas, showers or parties, and more. Enjoy!
Looking for more no bake pastry and pie recipes?
- Blueberry Yum Yum Recipe
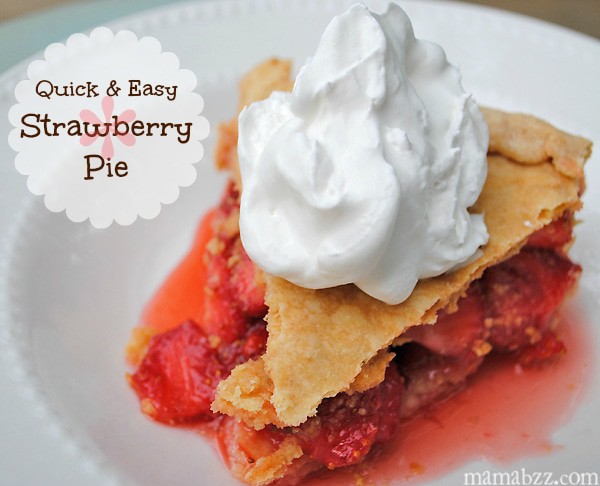
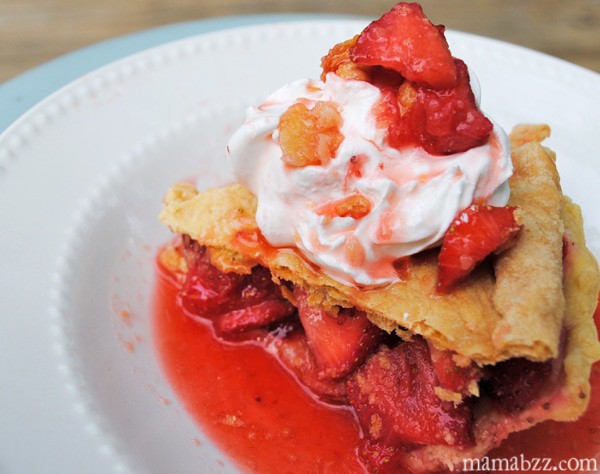
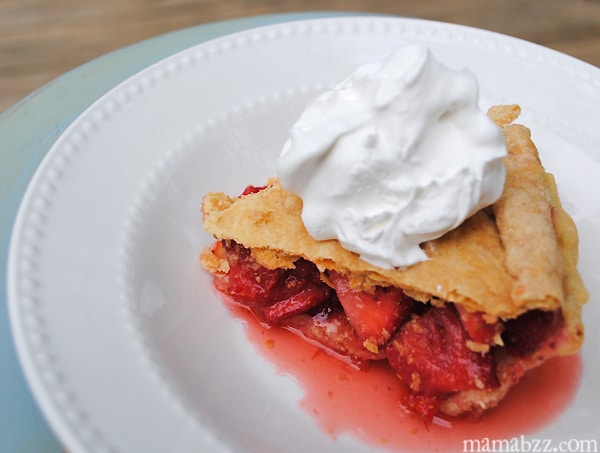
- Strawberry Cream Pie
- Easiest Strawberry Pie You’ll Ever Make
- Fruit Pizza Cookies
- Fruit Pizza Bites
- Fruit Pizza with Puff Pastry
- Blueberry Cream Pie Recipe
Blueberry Cream Cheese Mini Tarts

Bite-sized desserts with a sweet cream cheese filling topped with fresh blueberries.
Crust:
- 2 1/2 cups all-purpose flour
- 2 tablespoons sugar
- 2 teaspoons salt
- 16 tablespoons salted butter (cold and cut into 1/4-inch pieces)
- 6-8 tablespoons ice water
Filling:
- 8 ounces cream cheese
- 4 ounces Cool Whip
- 2 cups powdered sugar
- 1 1/2 cups blueberries
- Mix together flour, sugar, and salt. Add in butter, until the mixture resembles coarse meal; it may be necessary to use a pastry blender to mix the butter in well. Add ice water, and mix well. Divide dough in half, and round each shape. Wrap with plastic wrap, and place in refrigerator to cool for at least 2 hours.
- Remove dough from refrigerator, and let stand for about 5 minutes. Pre-heat oven to 350°. Place one part of dough onto a lightly floured surface, and roll out with a rolling pin, until it reaches a thickness of about 1/16 inch. Using the tart cutter, cut out each tart shape. Place cutouts to the side for now, and repeat process with all remaining dough.
- Center each tart cutout over one of the wells in the baking pan. Using the tamper, press cutout into the well until tart shell comes just up over the sides of the well. Repeat with each tart.
- Bake tarts for 12 minutes; then turn pan 180° in the oven. Bake an additional 10 minutes, or until tarts turn a nice golden brown. Remove from oven, and let pan cool on wire rack for about 10 minutes. Then remove tarts from pan, and allow them to finish cooling completely.
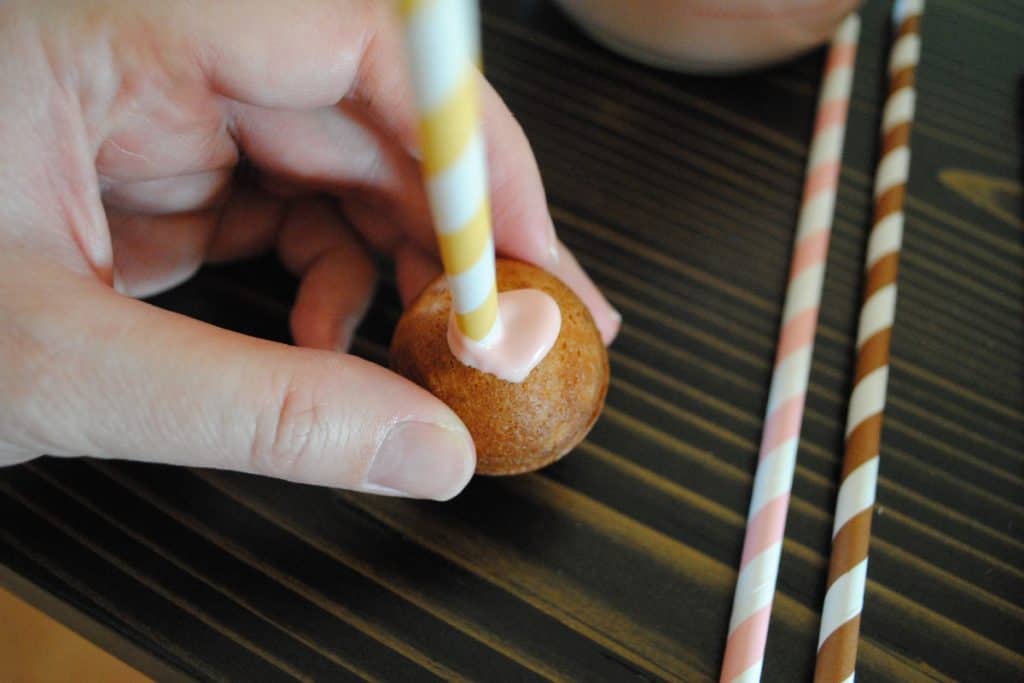
- Mix cream cheese, Cool Whip, and powdered sugar together, until smooth and creamy. Add about 1 tbsp filling to each cooled tart. Top with blueberries or whatever type of fruit you desire.
- Serve and enjoy! Be sure to refrigerate any uneaten tarts, as the filling does require refrigeration.

 Below, you’ll find a printable recipe, without photos, for your convenience.
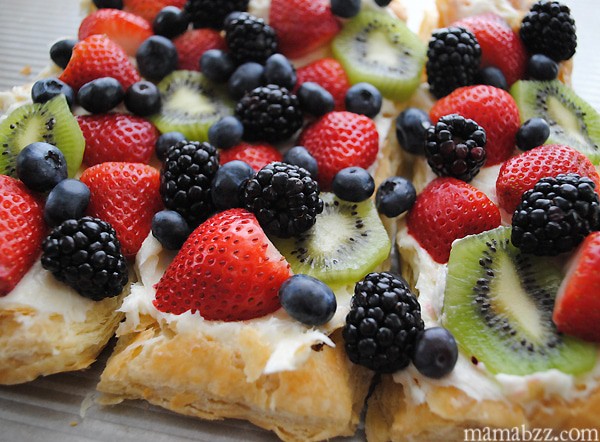
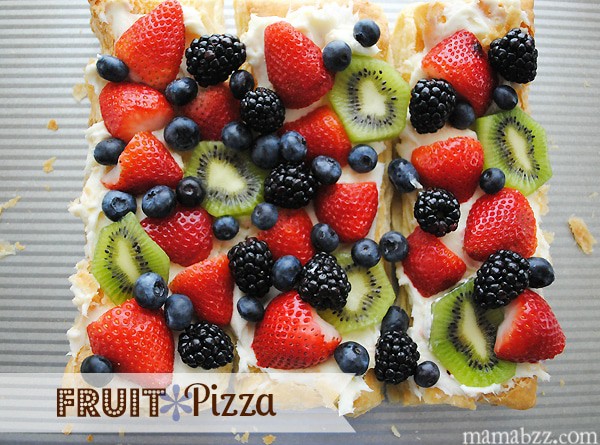
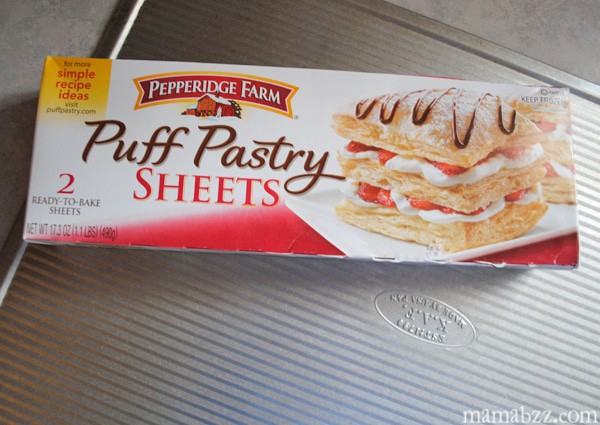 Place pastry sheet on a baking sheet, and bake according to package directions, until golden brown.
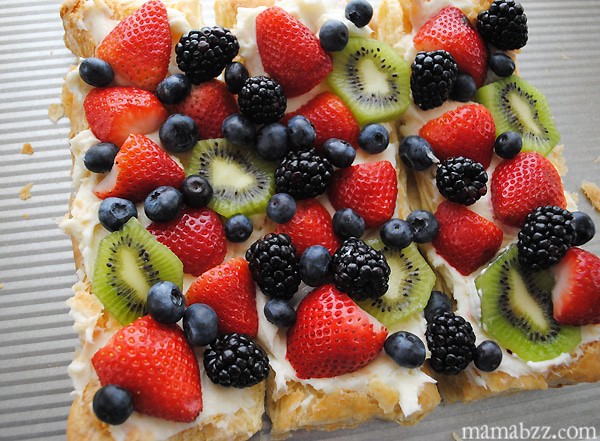
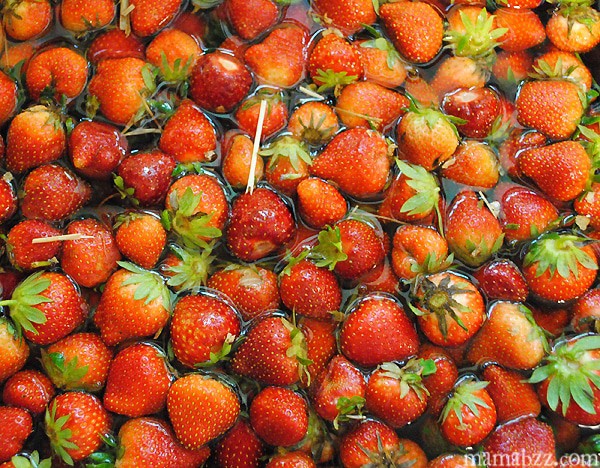
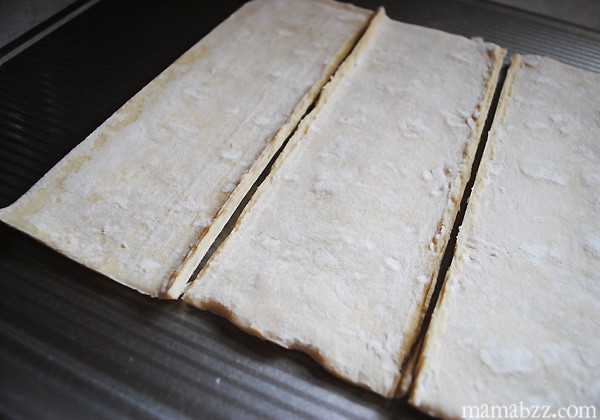 While that’s baking, wash and prepare all your fruit; I like to let mine soak in a vinegar/water mixture.
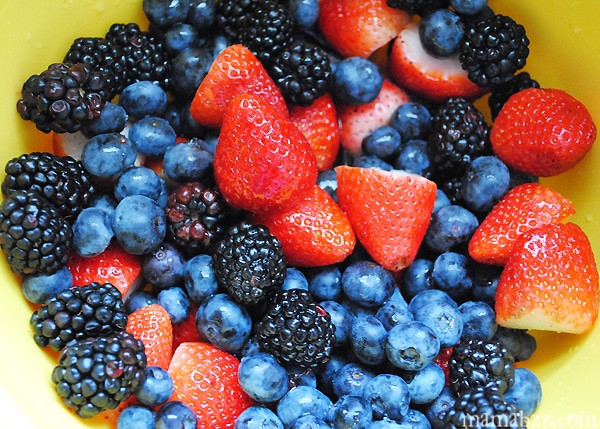 We use blueberries, strawberries, blackberries, and kiwi.
 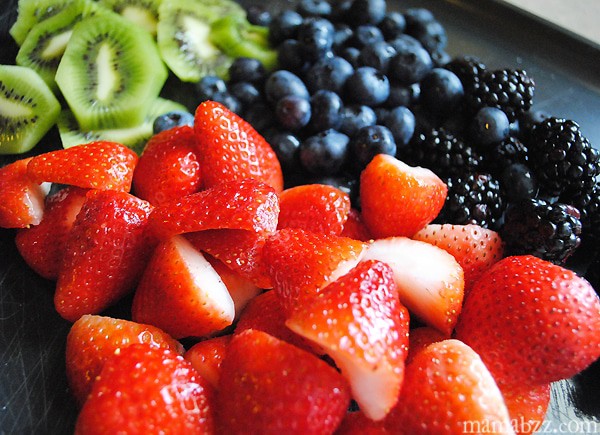 Mix cream cheese and powdered sugar together.
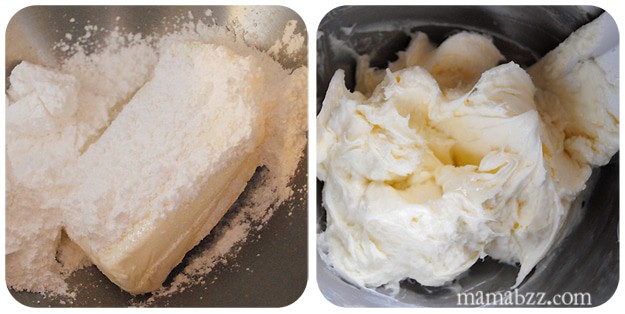 Once puff pastry has fully baked and cooled, spread cream cheese mixture onto puff pastry; this is tricky, because the pastry is very flaky.
 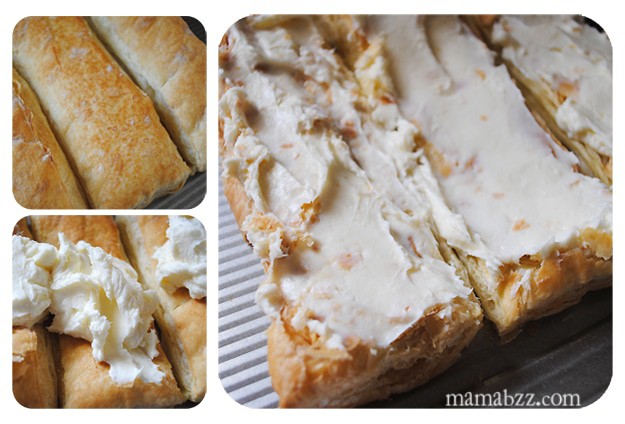 Finally, just add fruit, as desired. Add as much fruit as your family prefers. We like to pile ours up. The more colorful, the better.