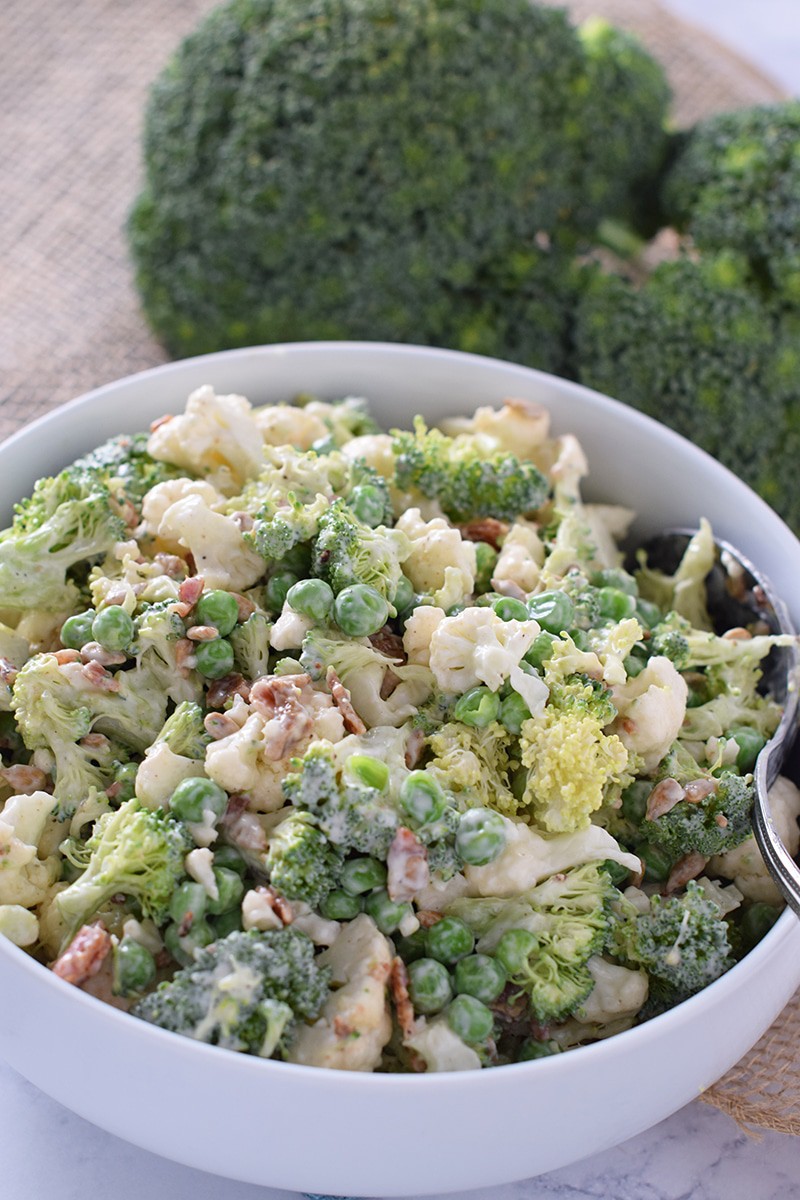
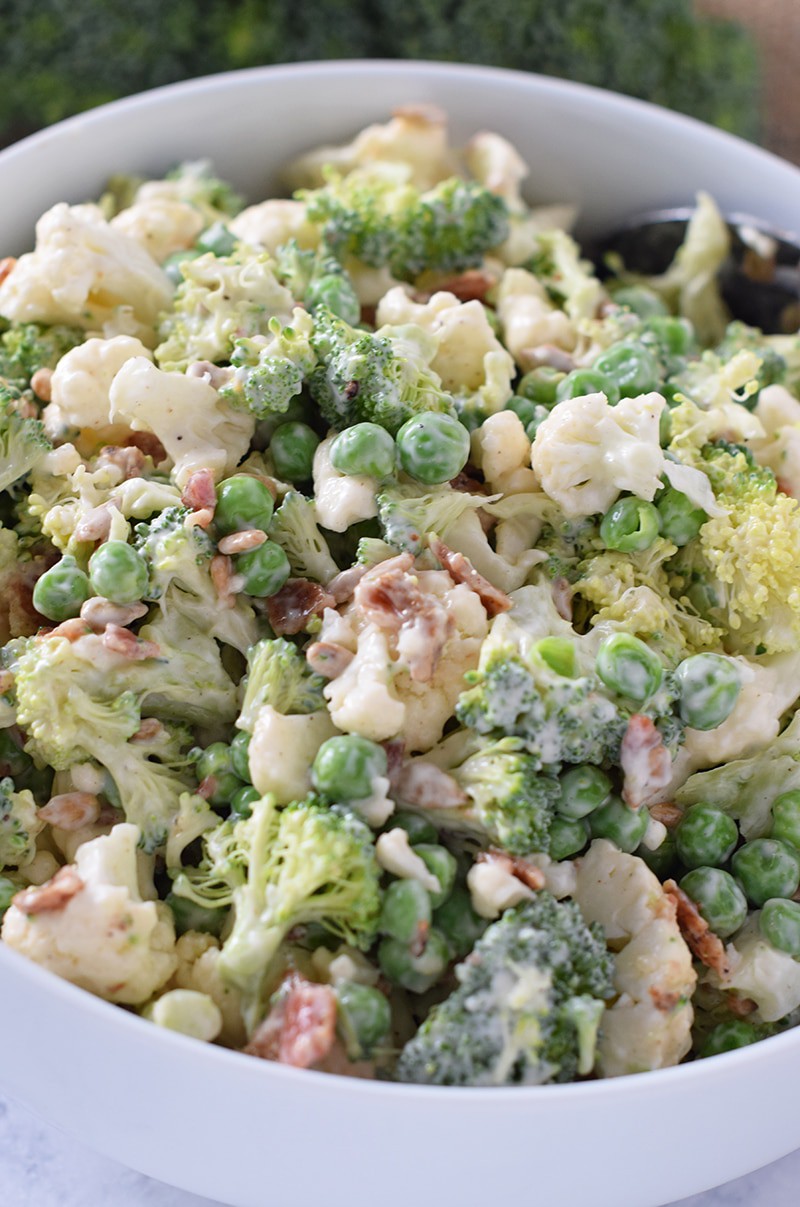
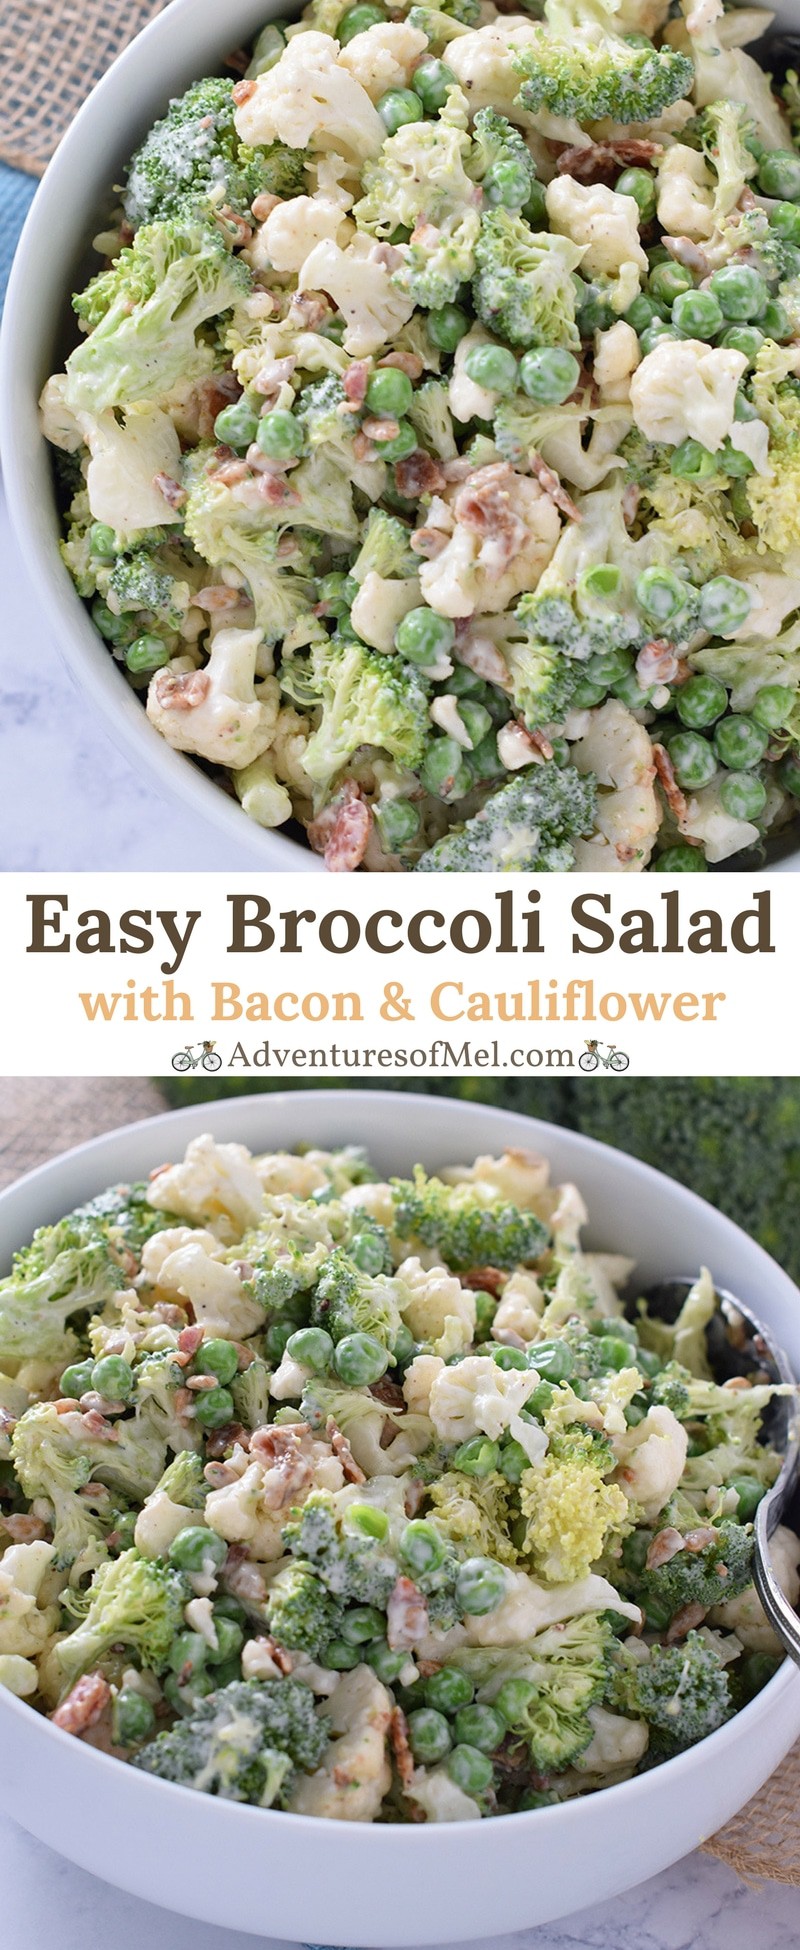
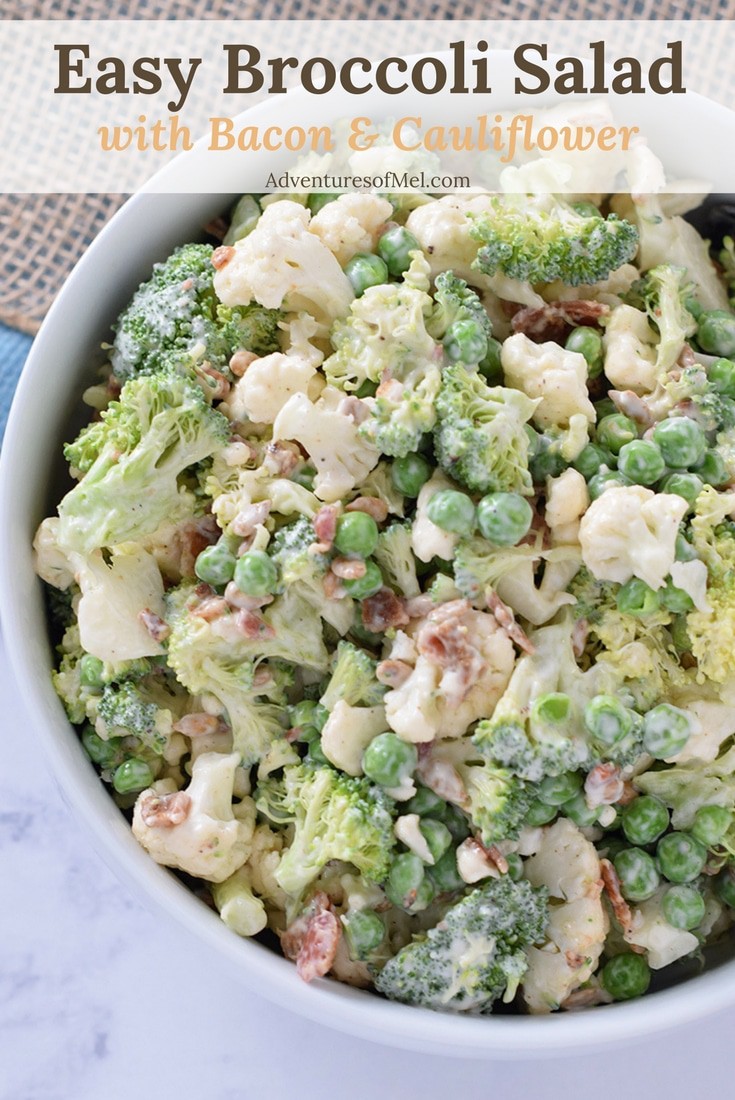
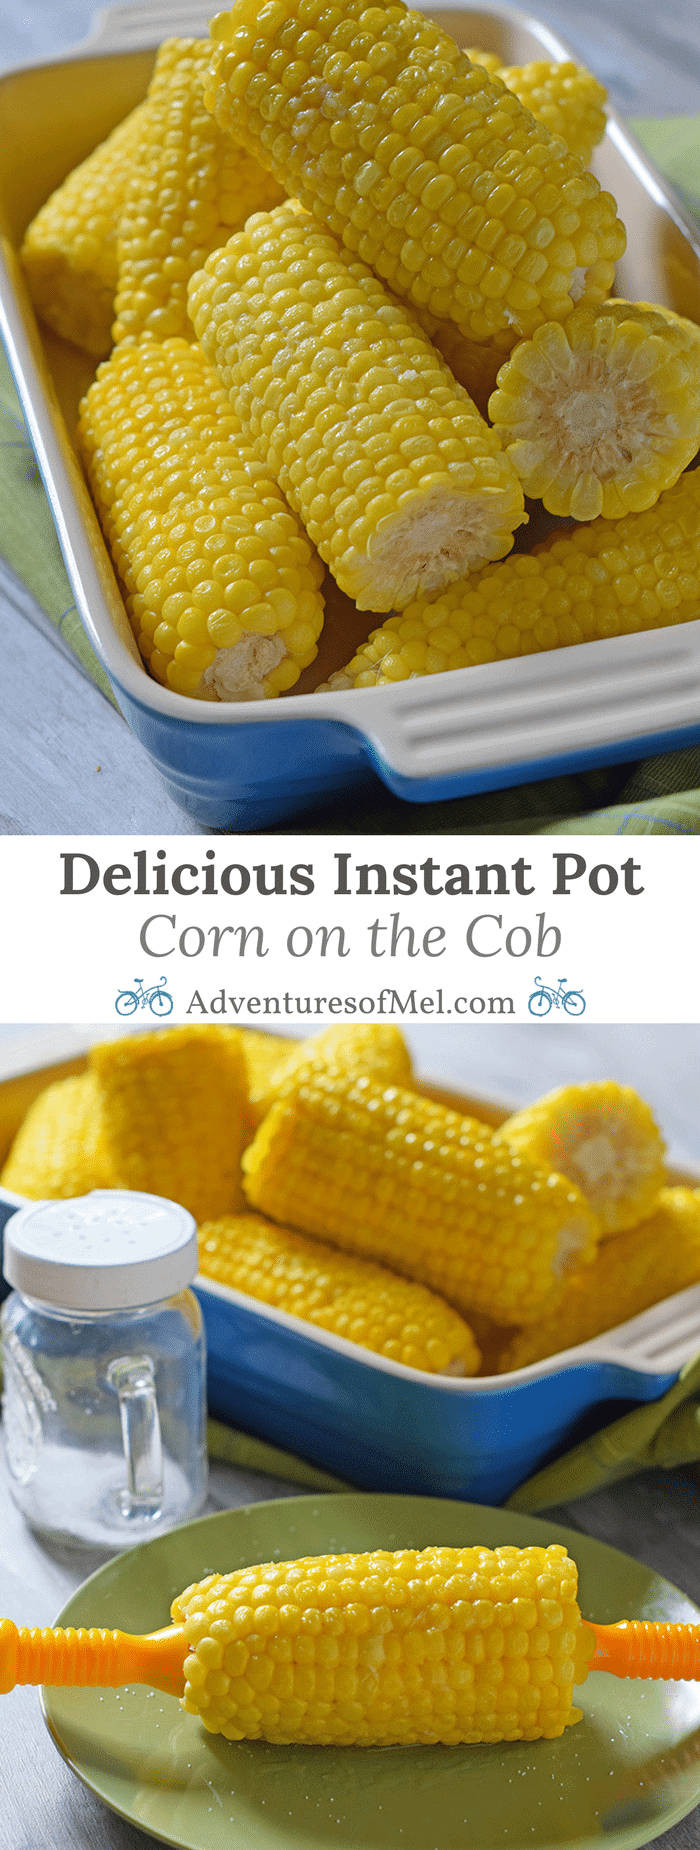
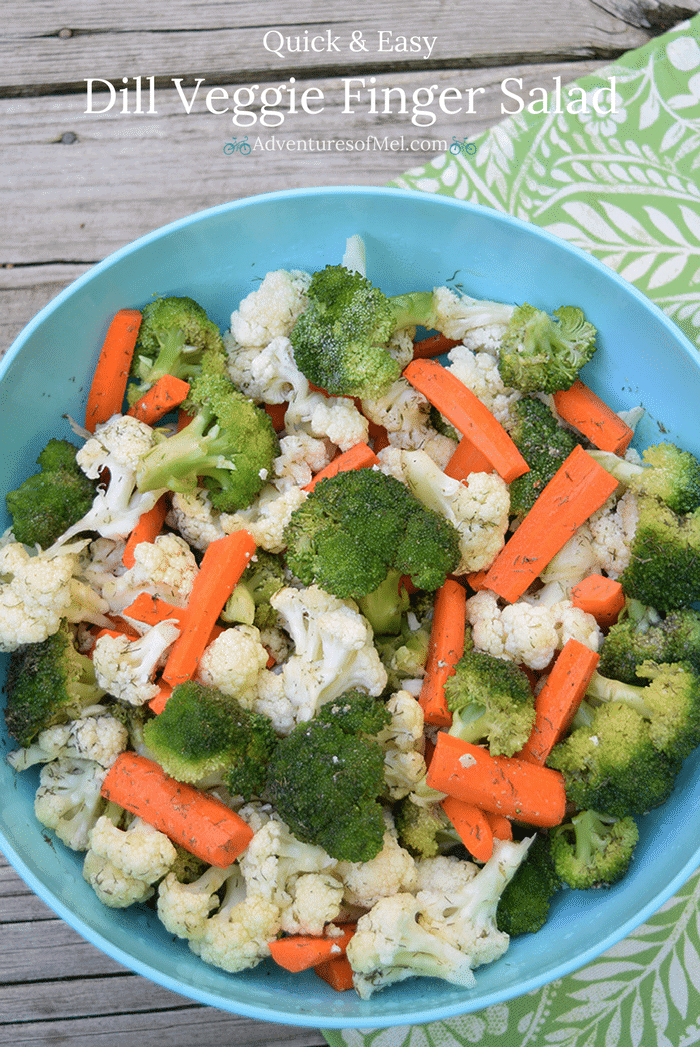
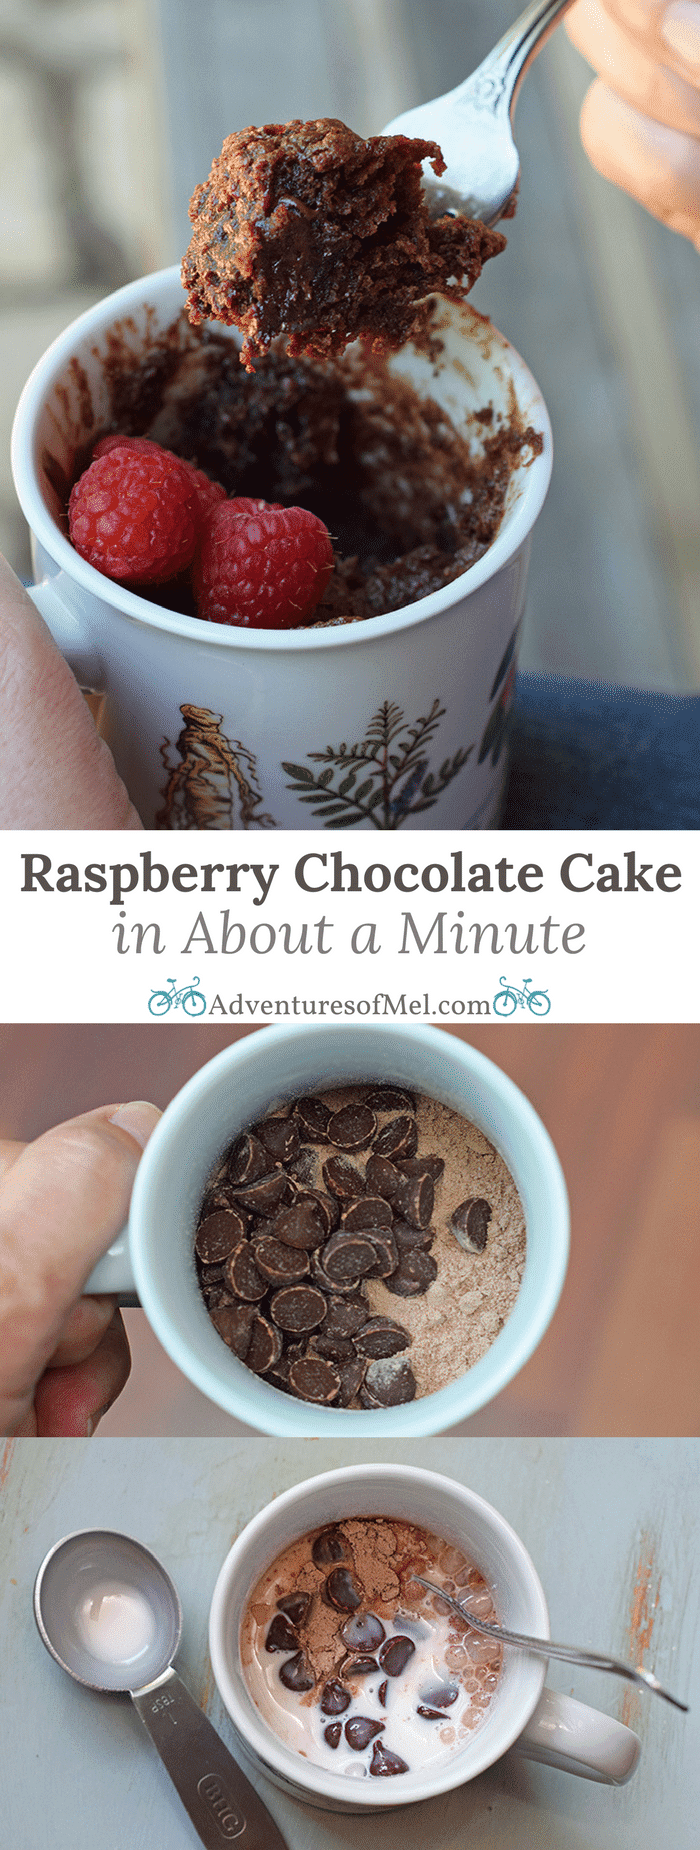
Easy Broccoli Salad with bacon, cauliflower, sunflower seeds, and peas. A staple side dish and salad recipe perfect for every family gathering.
Easy Broccoli Salad is and has always been one of my favorite salads at family gatherings and holiday celebrations. It’s creamy, delicious, and it doesn’t hurt that it’s filled to the gills with bacon.
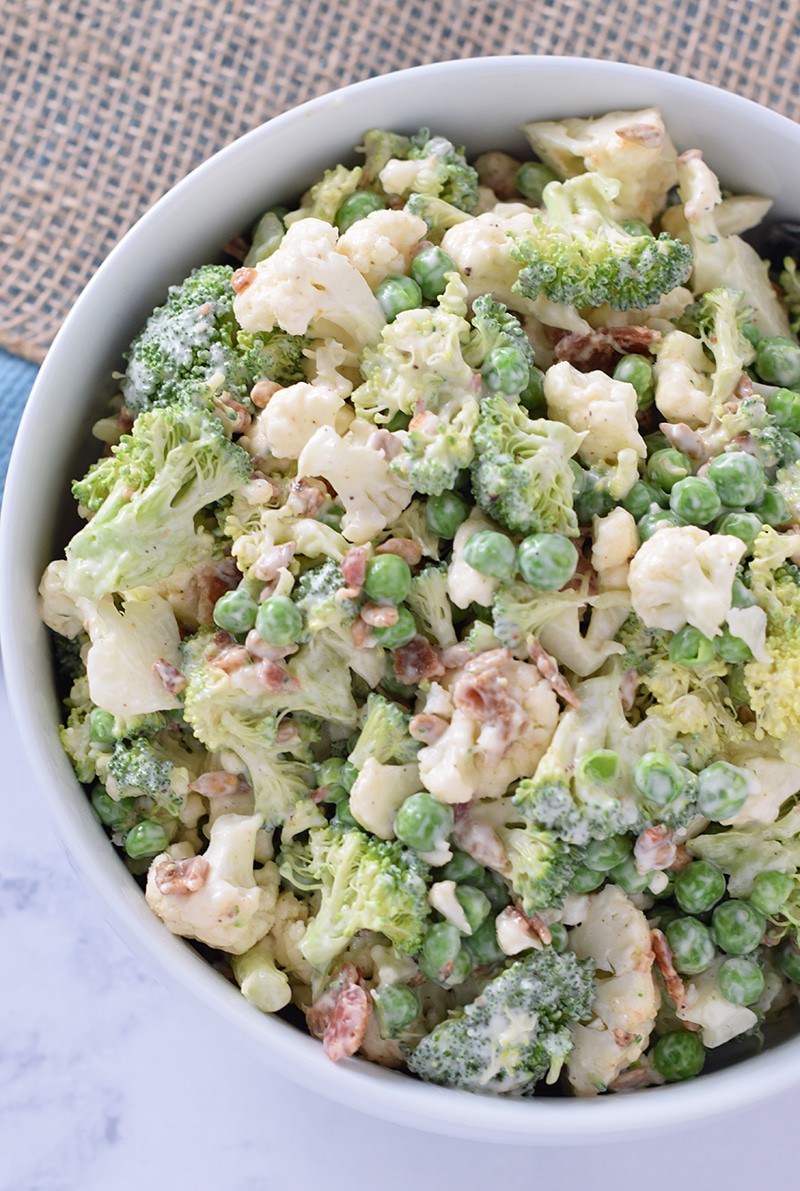
It’s also easy to make, requiring only a few ingredients, most of which we keep on hand anyway. And my boys love it… Have I mentioned it’s a great way to get kids to eat their vegetables and even love eating them? Even my toddler agrees that this is one of the best salads ever.
It’s one of those recipes that’s easily versatile… You can serve it at a big family get together (like Thanksgiving), or you can even serve it with an average weeknight meal like burgers, slow cooker sloppy joes, meatloaf muffins, roast beef Philly cheesesteaks, baked chicken legs, CrockPot pork roast or garlic parm chicken skewers.
Tips for how to make Easy Broccoli Salad
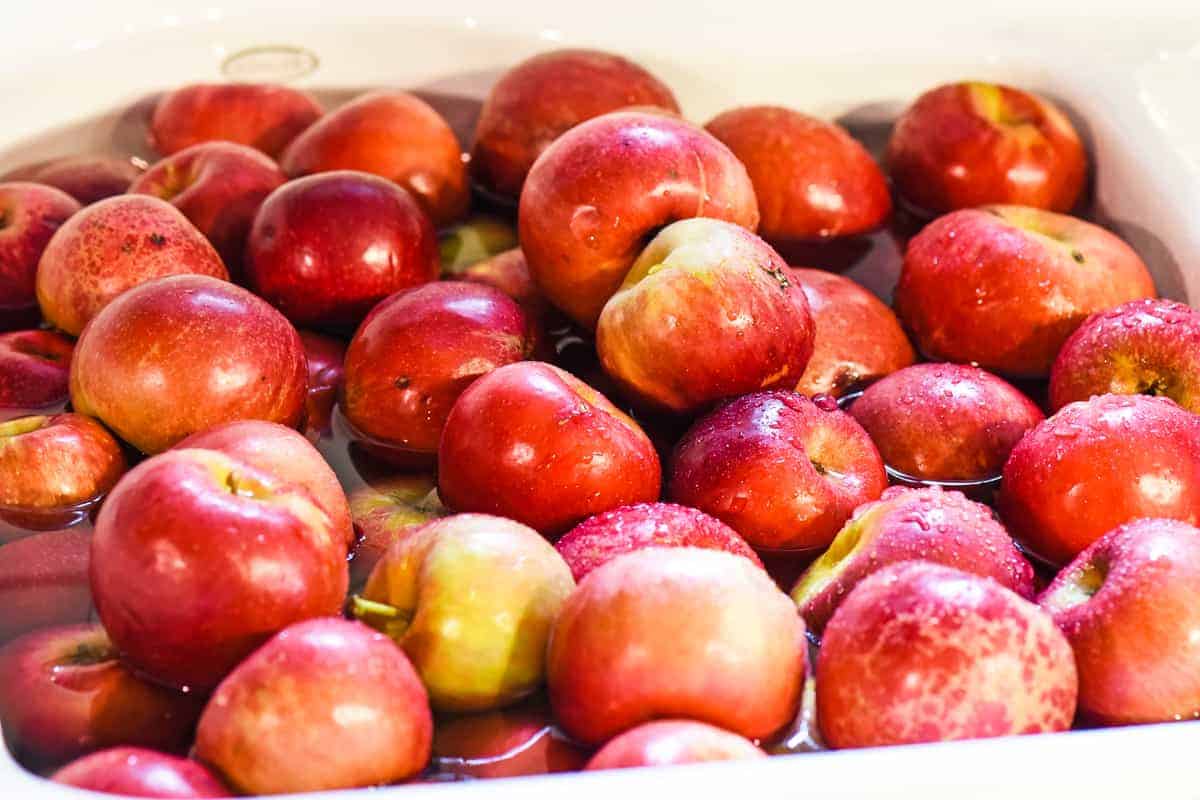
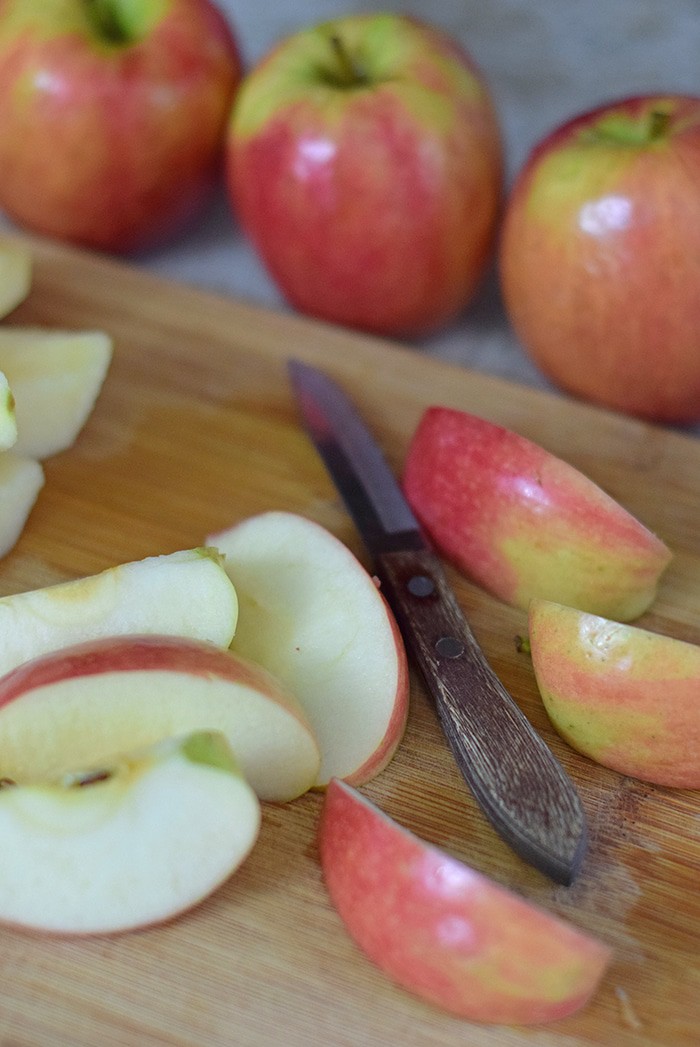
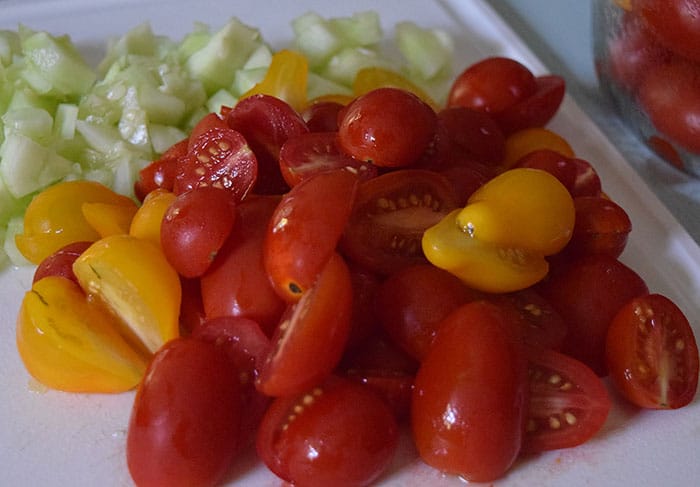
First things first, wash the broccoli and cauliflower. I like to get it soaking in a vinegar/water bath first thing.
Then cook the bacon.
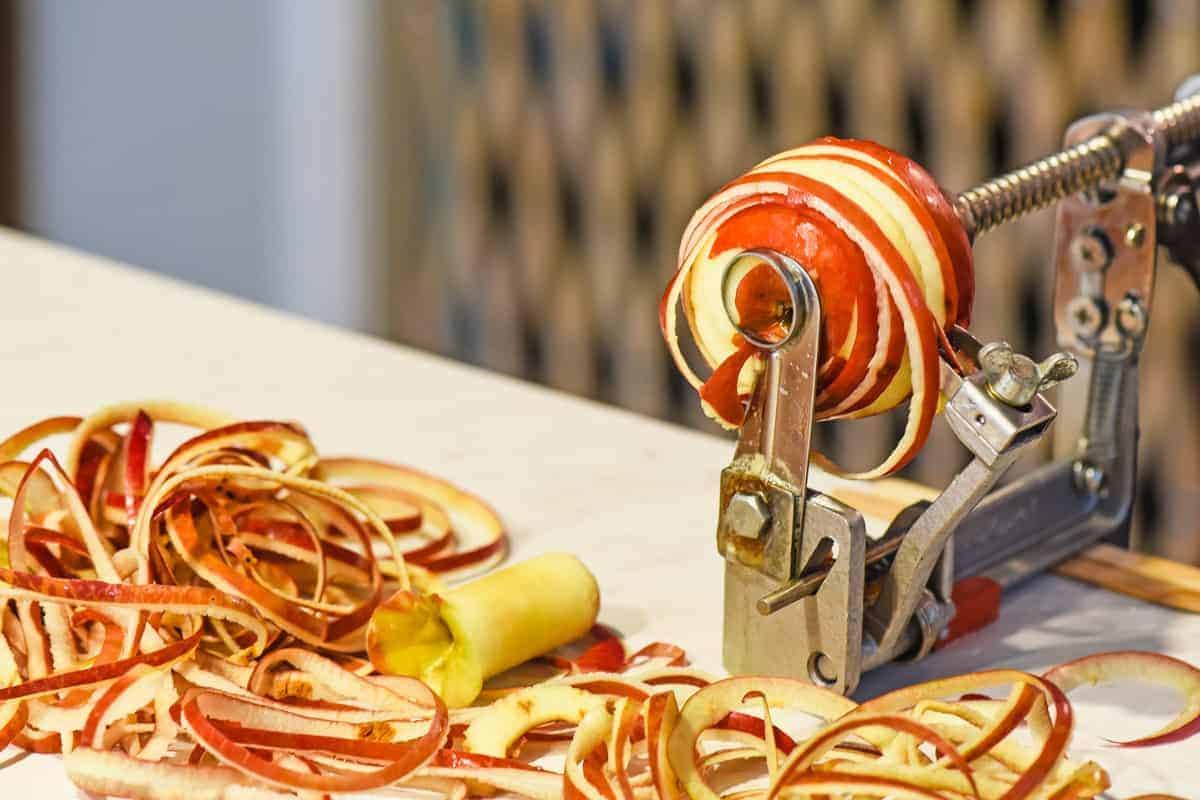
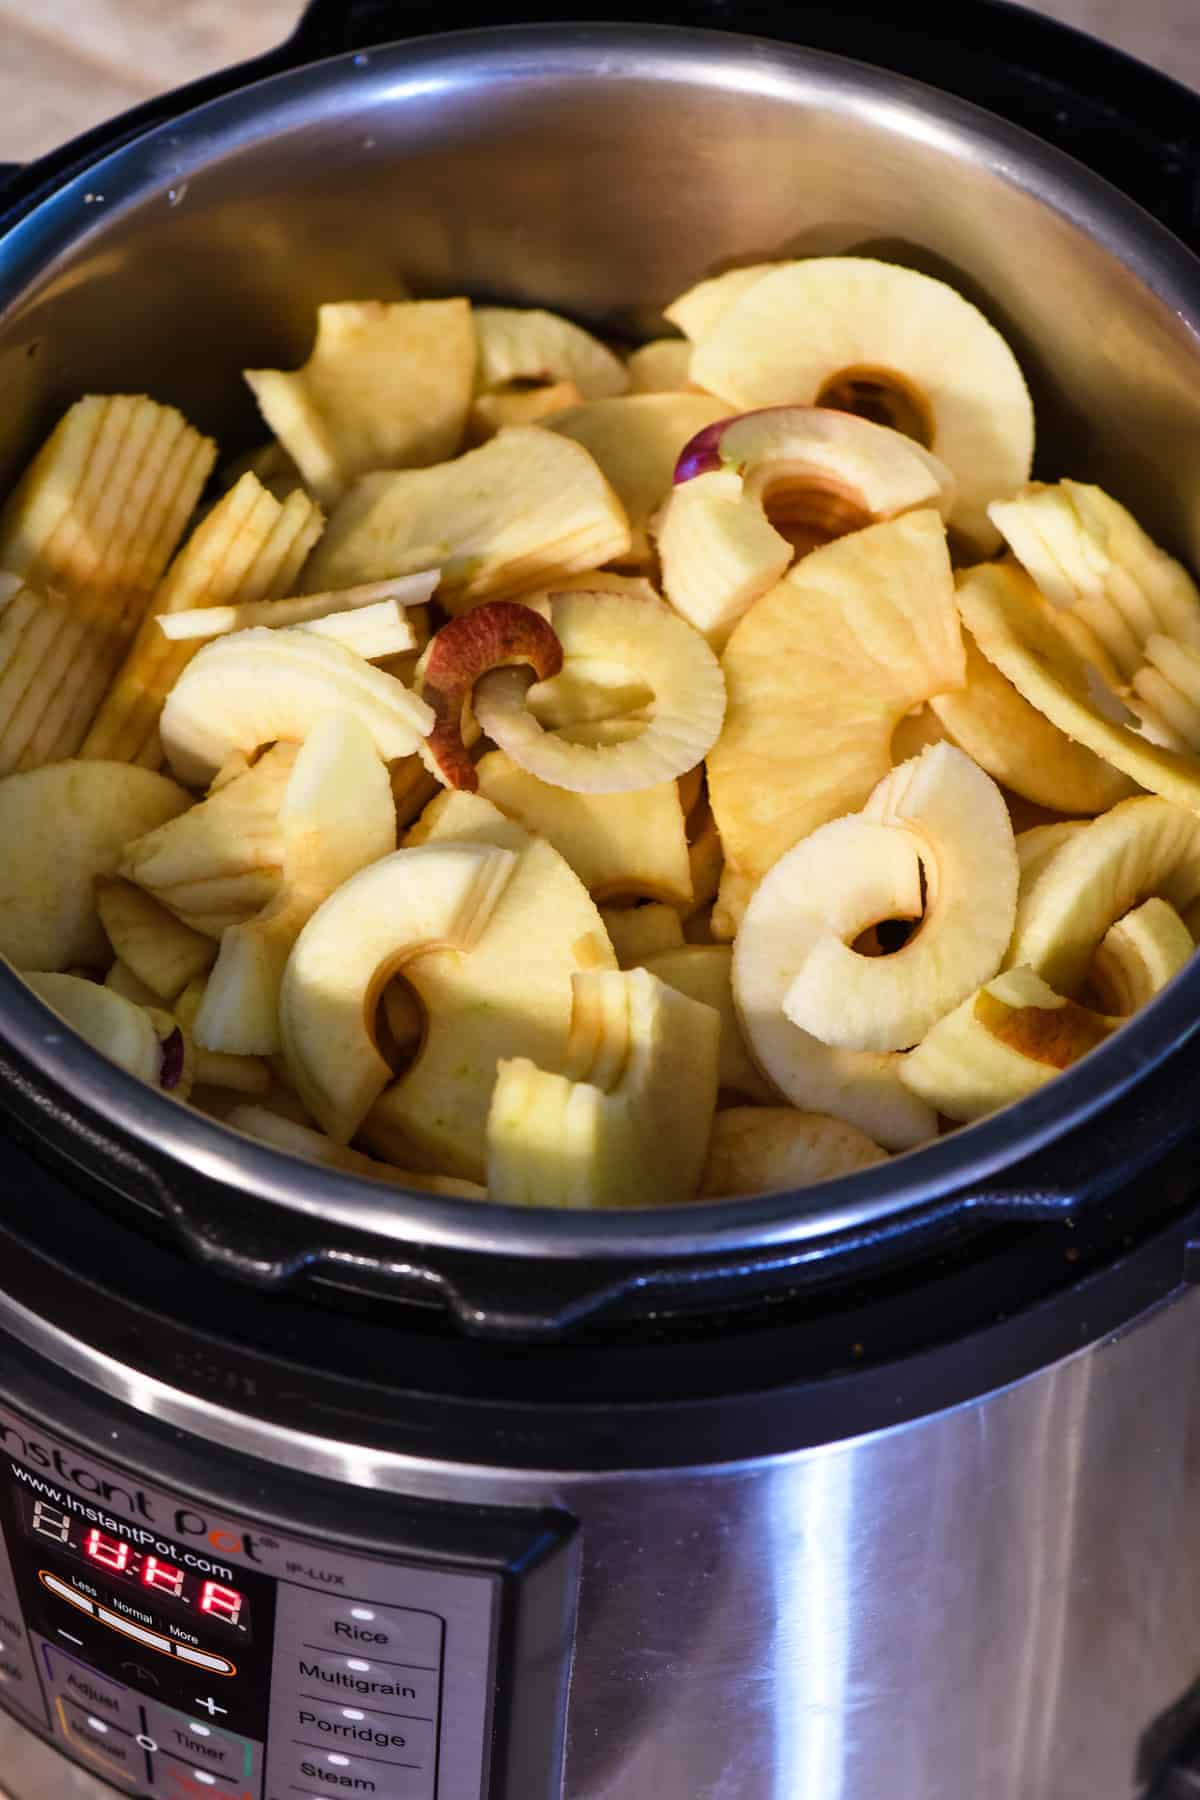
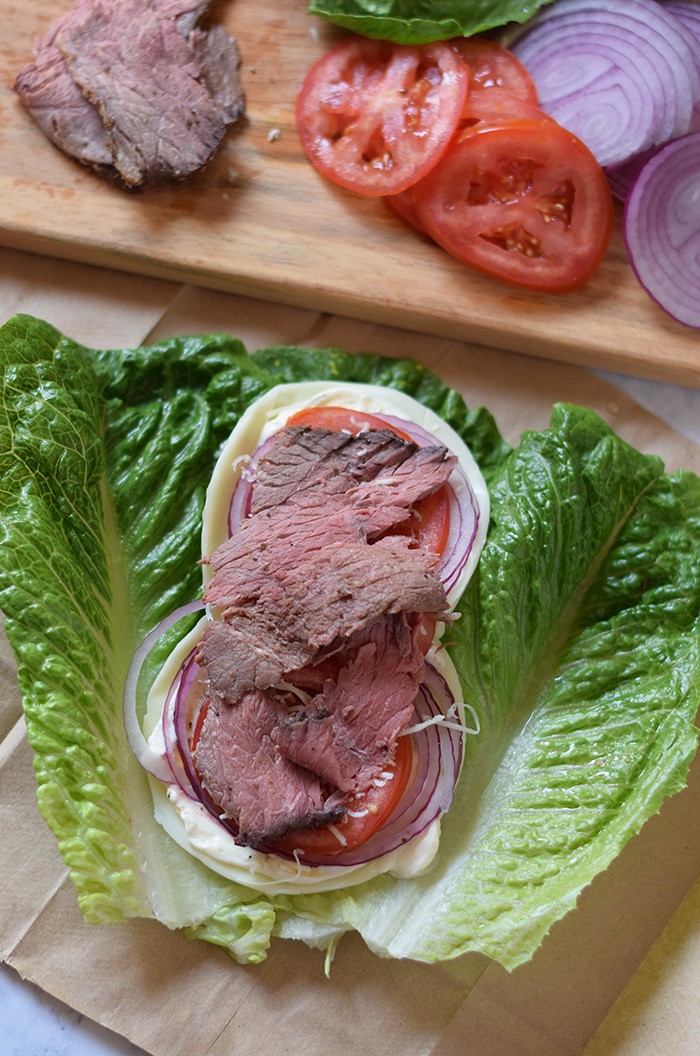
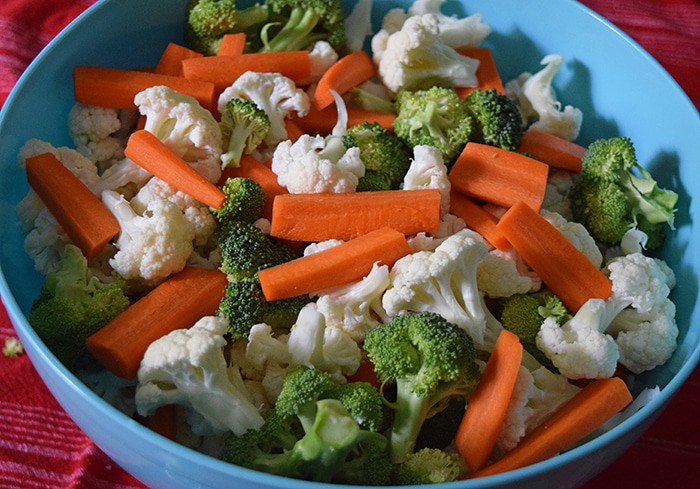
Rinse the broccoli and cauliflower and pat dry. Then chop it up in smaller pieces.
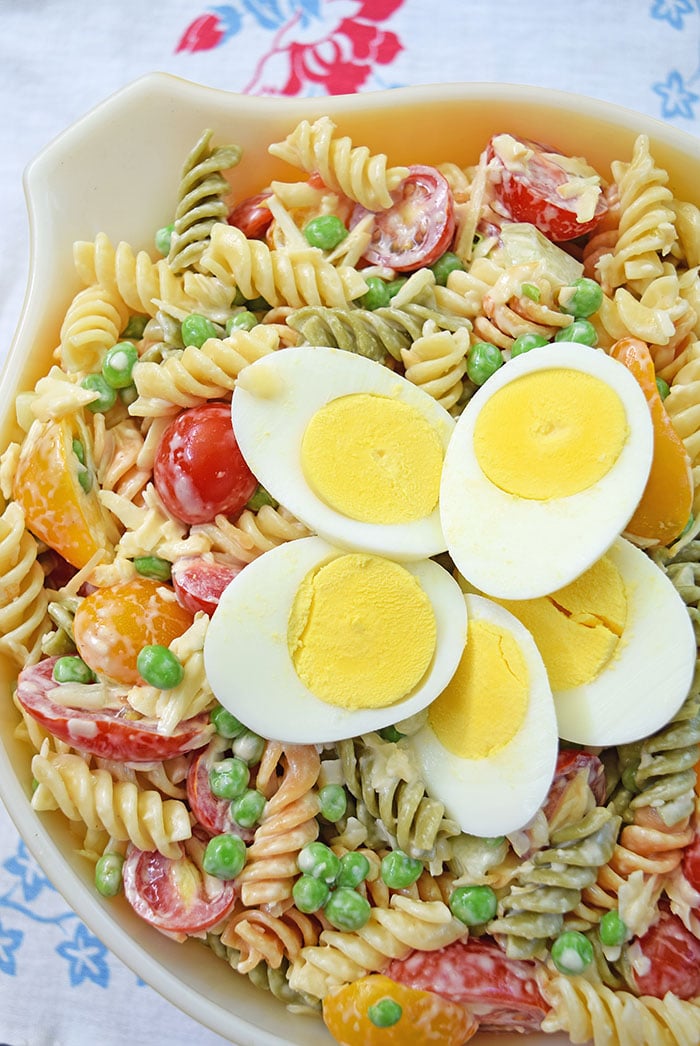
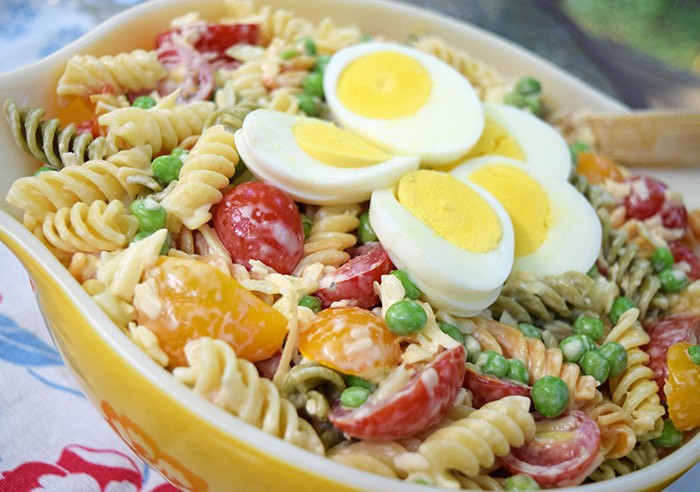
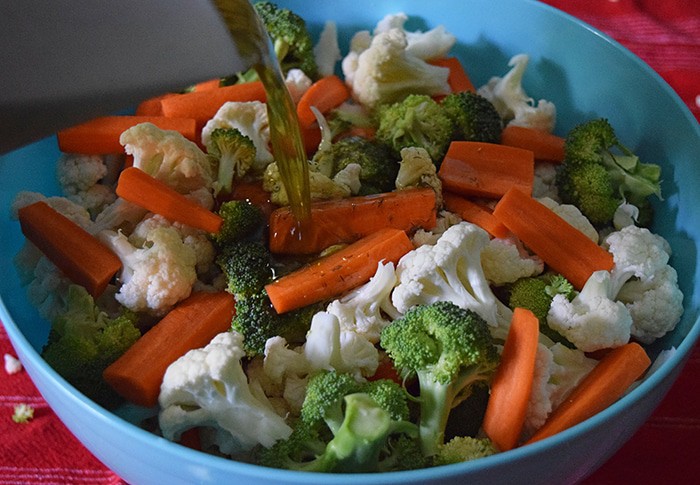
Add the chopped veggies to a large bowl, along with the peas, crumbled bacon, and sunflower seeds. Mix the Miracle Whip, Ranch dressing, and heavy whipping cream to form a dressing for the salad.
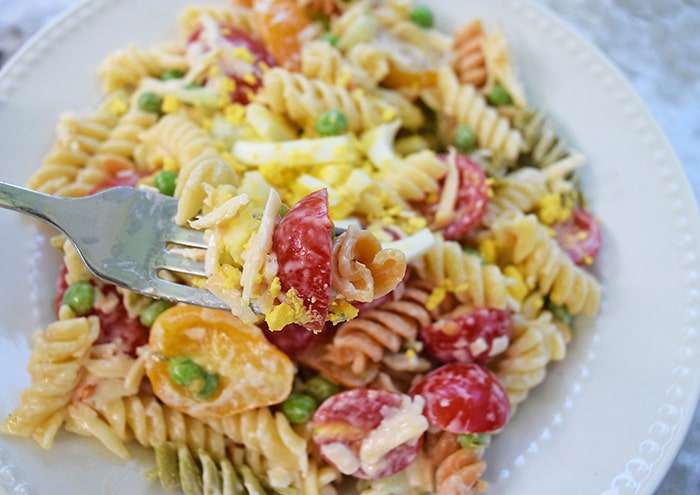
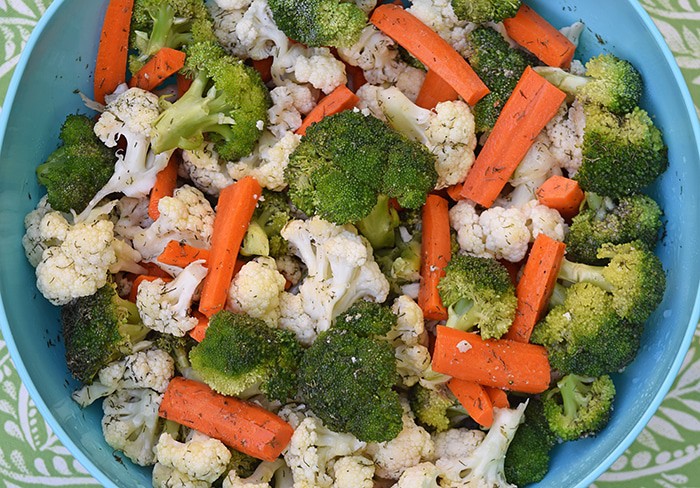
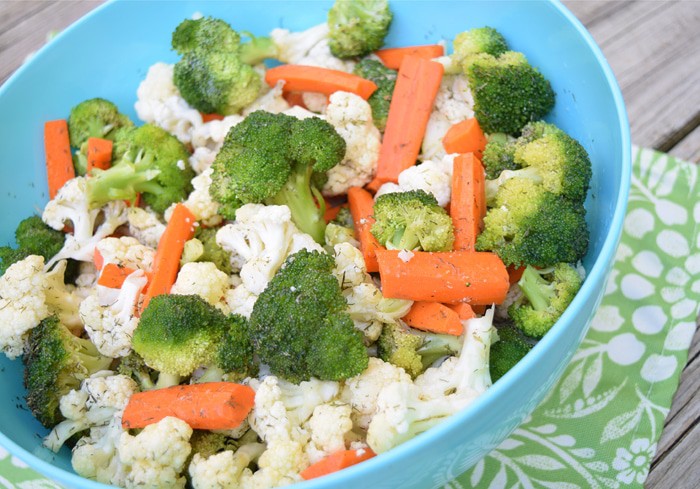
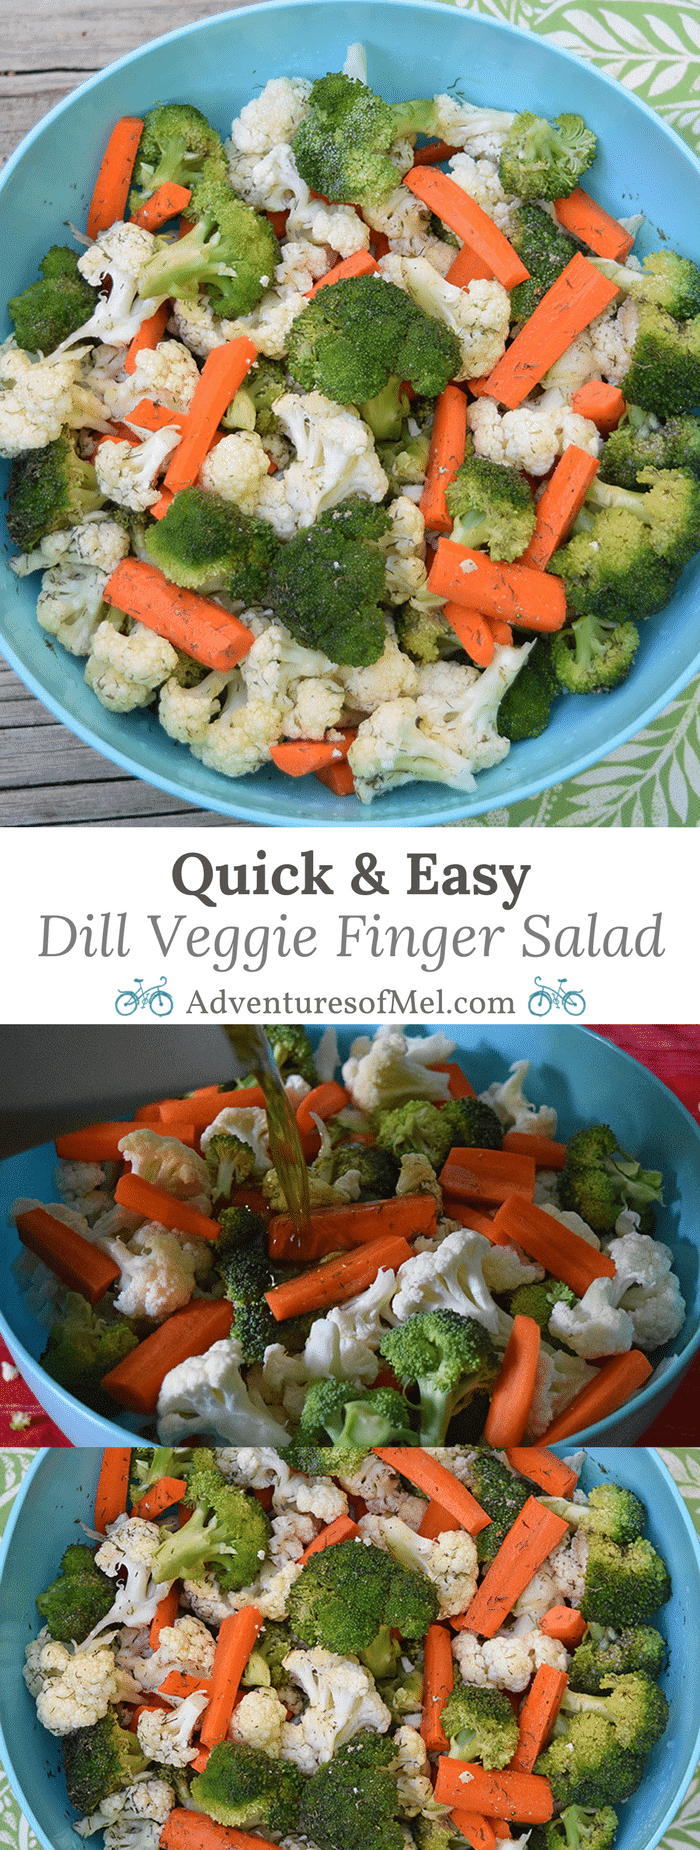
Pour the dressing over the salad, and mix it all up together.
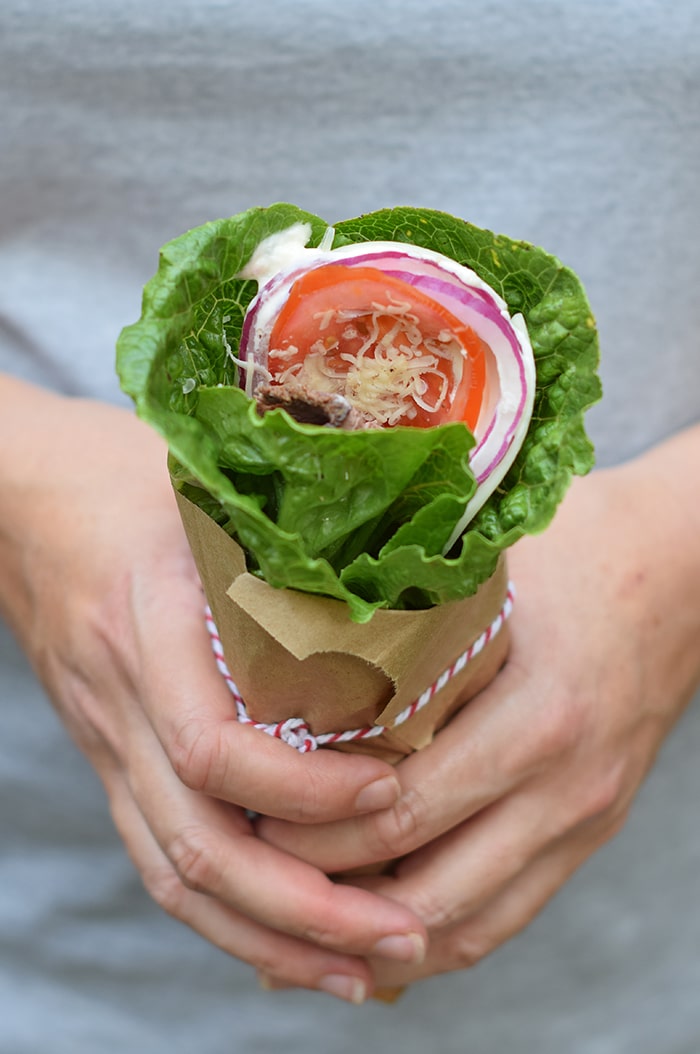
It’s ready to serve. If you’re not serving the salad right away, be sure to refrigerate it.
Alternative options for making broccoli salad
- You can add a little pizzazz with ingredients like red onions, shredded carrots, sliced grapes, raisins, dried cranberries, walnuts, pecans, etc.
- Add a little cheddar cheese. Better yet, make it smoked cheddar.
- Instead of Miracle Whip, you can use a mixture of mayo and red wine vinegar (or apple cider vinegar).
- If you’d rather not use mayo at all, you can use a vinegar-based dressing.
- Add fresh fruit, like apples or mandarin oranges.
Looking for more salad recipes? Here are a few you may enjoy.
39 Colorful Salads You Can Eat for Dinner
If you’re looking for holiday side dish recipes, you’ll find more options on my list of Best Thanksgiving Recipes for Your Holiday Menu. And I’ve put together a really comprehensive list of Easter dinner menu ideas too.
Tools you may need to make Easy Broccoli Salad
Cast Iron Skillet and Bacon Press – for cooking the bacon.
Cutting Board and Vegetable Cleaver – for chopping up veggies.
Large Salad Bowl – for mixing and serving the salad.
Glass Measuring Cup – for mixing up and pouring the dressing over the salad. I use mine for everything.
Want to actually see how to make Easy Broccoli Salad? Watch our video!
Print the recipe for Easy Broccoli Salad
Broccoli Salad with Bacon
Easy Broccoli Salad with bacon, cauliflower, sunflower seeds, and peas. A staple side dish and salad recipe perfect for every family gathering.
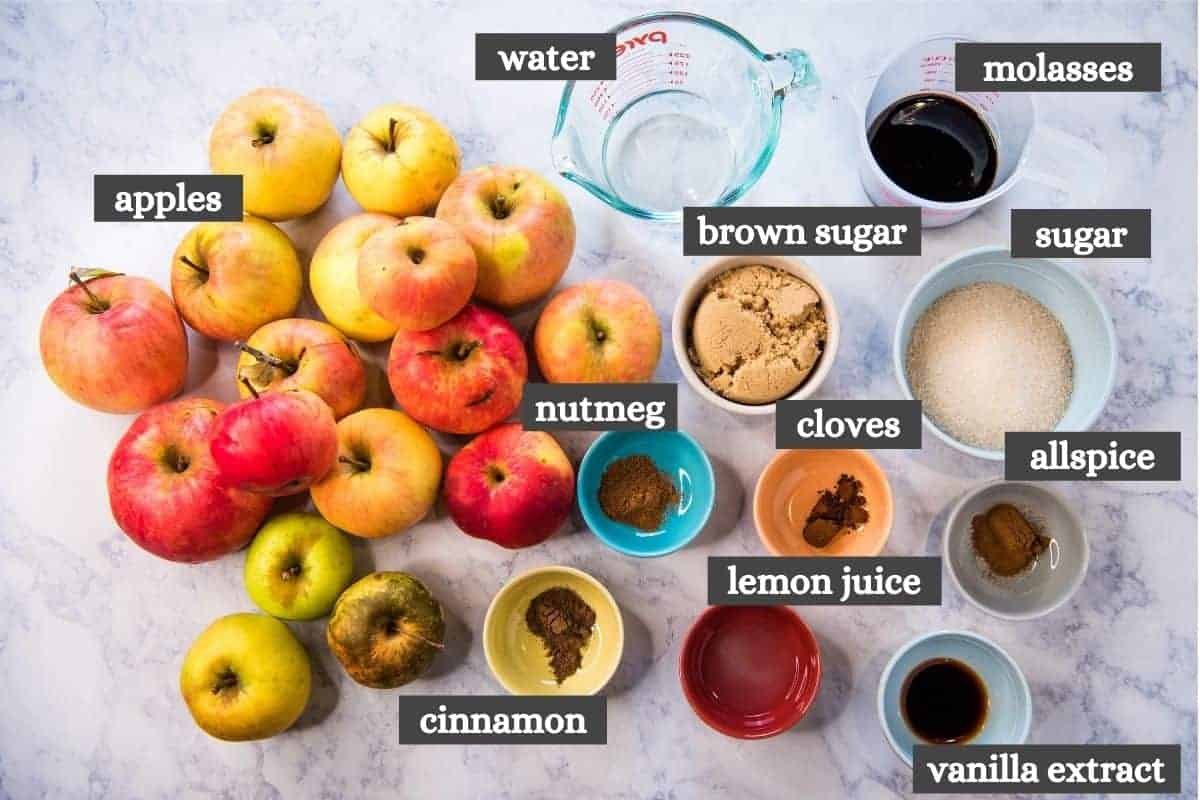
- 2 heads broccoli (chopped)
- 1 head cauliflower (chopped)
- 2 cups frozen peas (thawed and rinsed)
- 8 slices bacon (cooked, crumbled, and cooled)
- 1/4 cup shelled sunflower seeds
- 3/4 cup Miracle Whip
- 1/4 cup Ranch dressing
- 1/4 cup heavy whipping cream
Add the chopped veggies to a large bowl, along with the peas, bacon crumbles, and sunflower seeds.
In a separate bowl, mix the Miracle Whip, Ranch dressing, and heavy whipping cream to form a dressing for the salad.
- Pour the dressing over the salad, and mix it all up together.
Serve with dinner.
If you’re not serving the salad right away, be sure to refrigerate it.
Wanna save this recipe? Pin it for later!


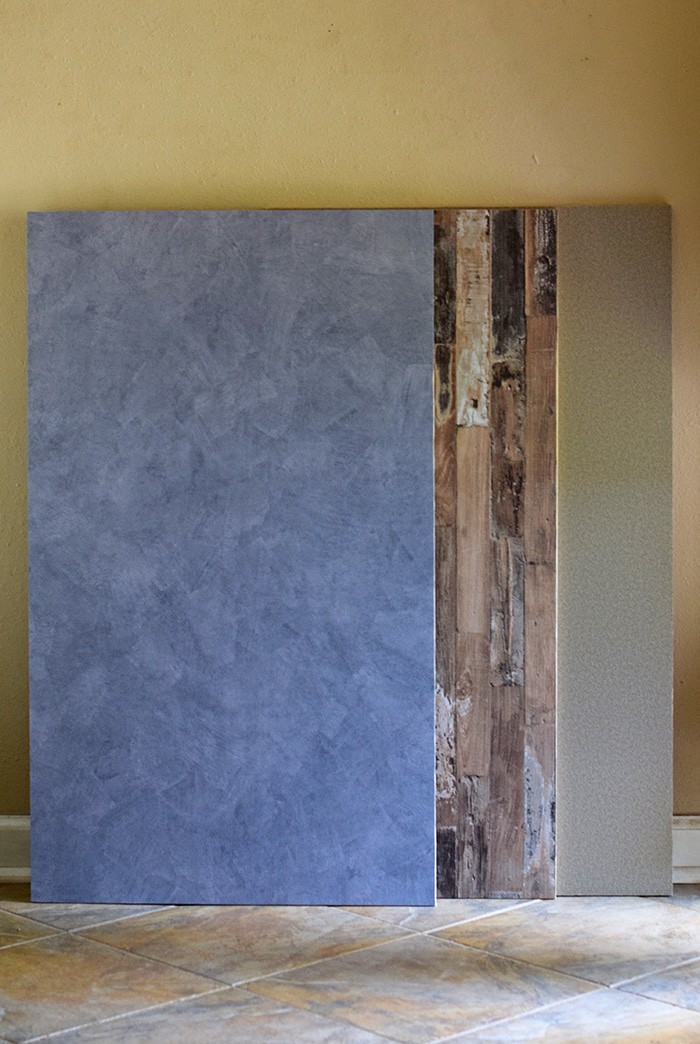
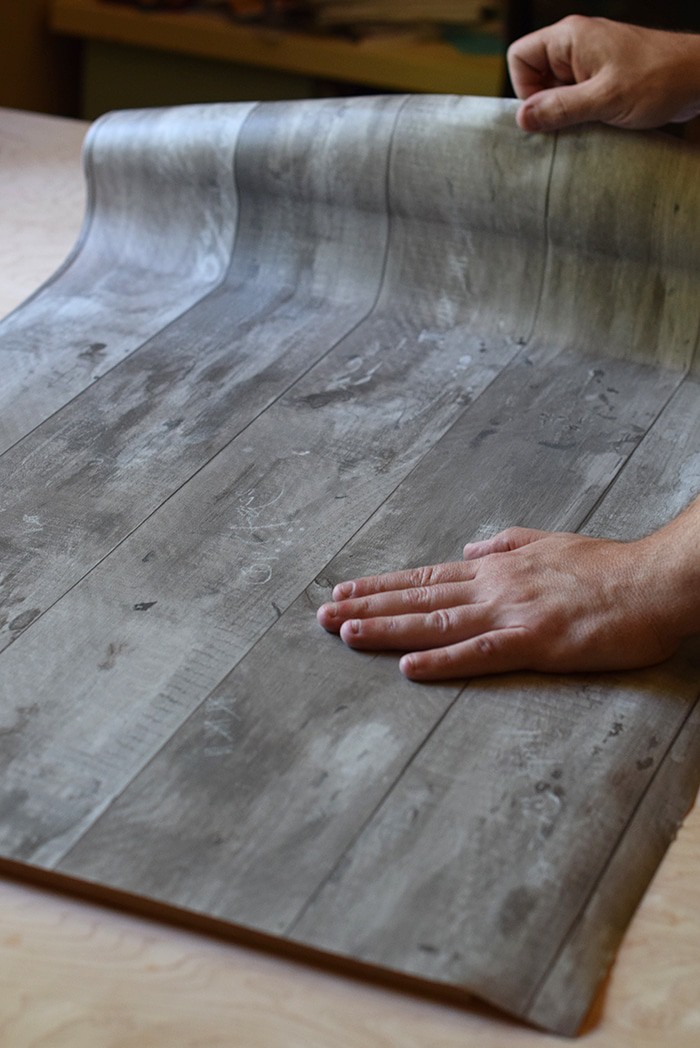 When you’re ready to apply, slowly peel back the paper from the adhesive and apply it to your board, making sure to smooth out any bubbles that may form. Keep smoothing as you go, peeling the backing until your adhesive is fully applied to your board. It may help to have two people working together.
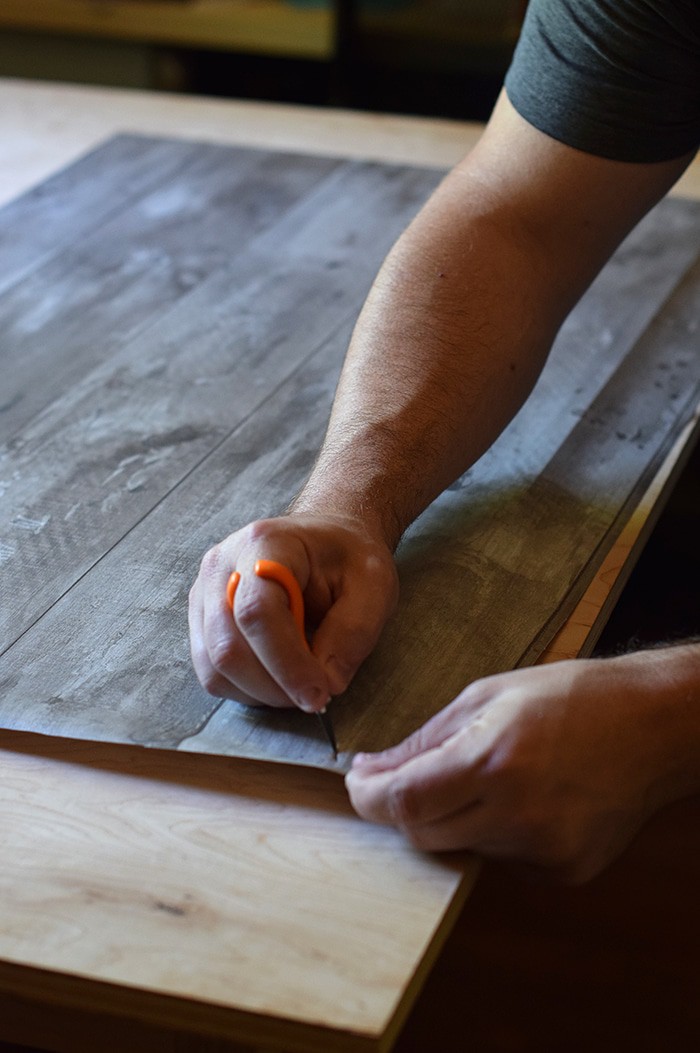 The last step is to cut off any excess edges with the craft knife. And that’s it!
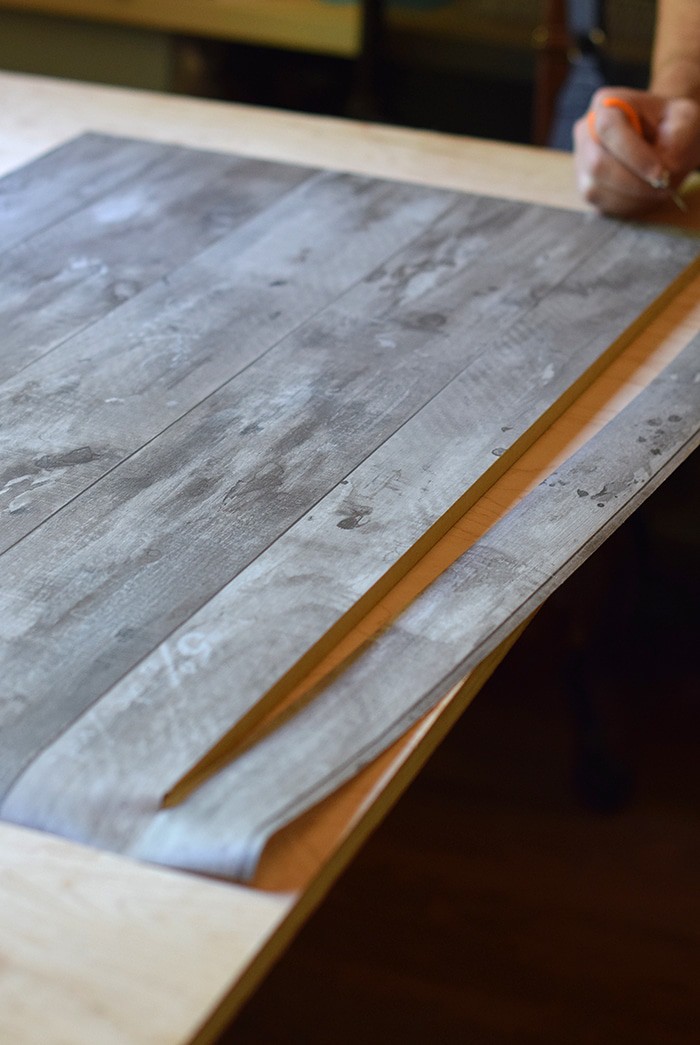
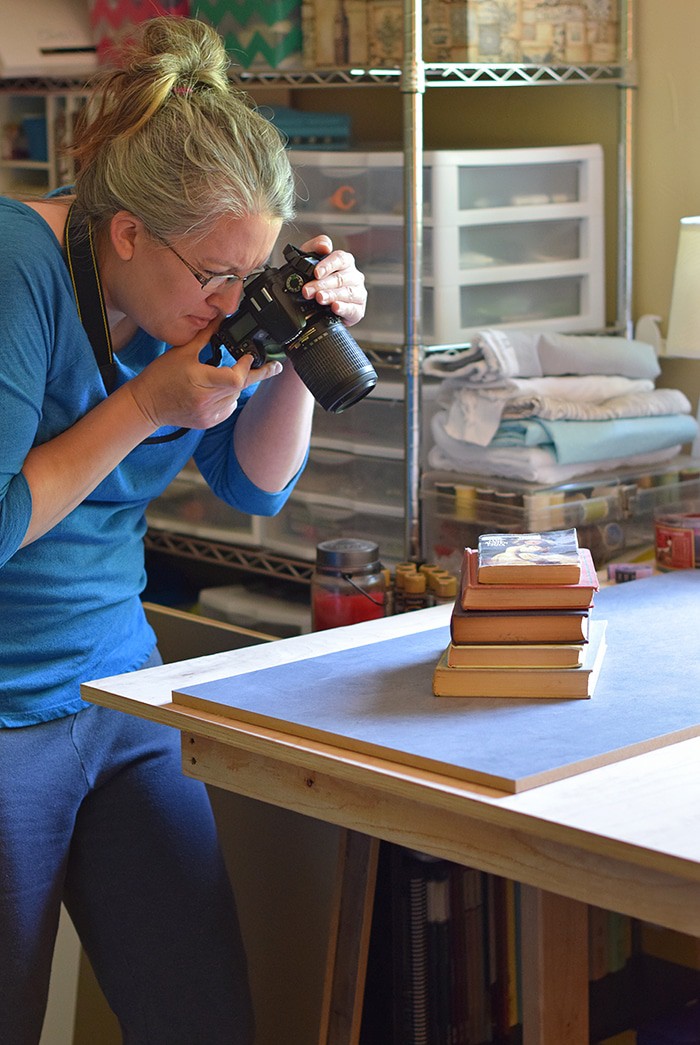
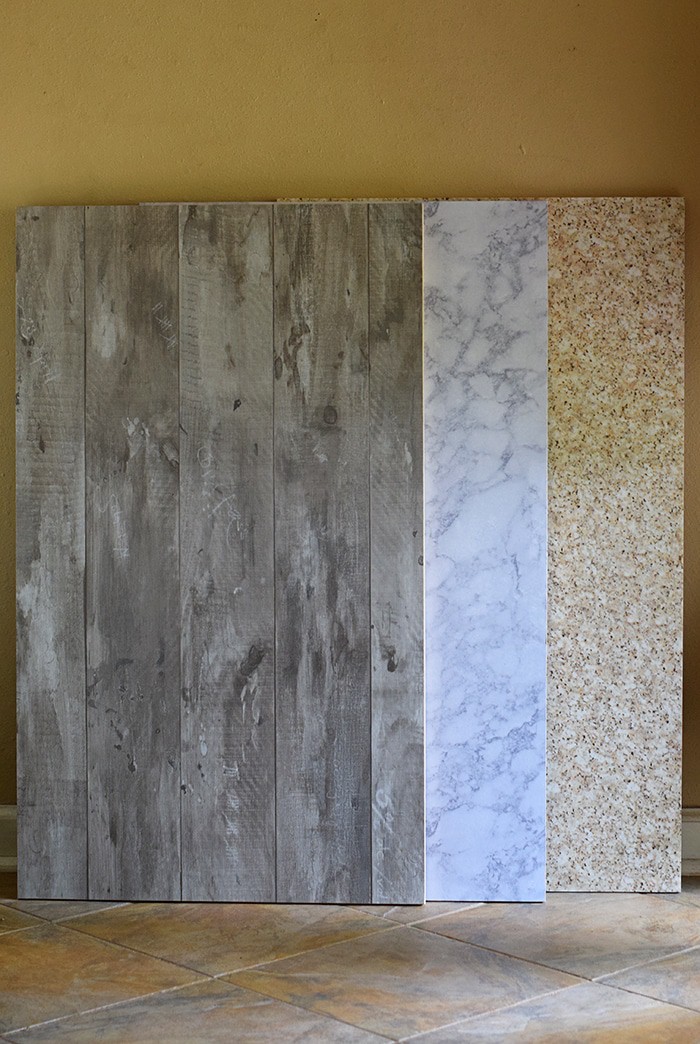 I chose to do this so I’d get more bang for my buck.