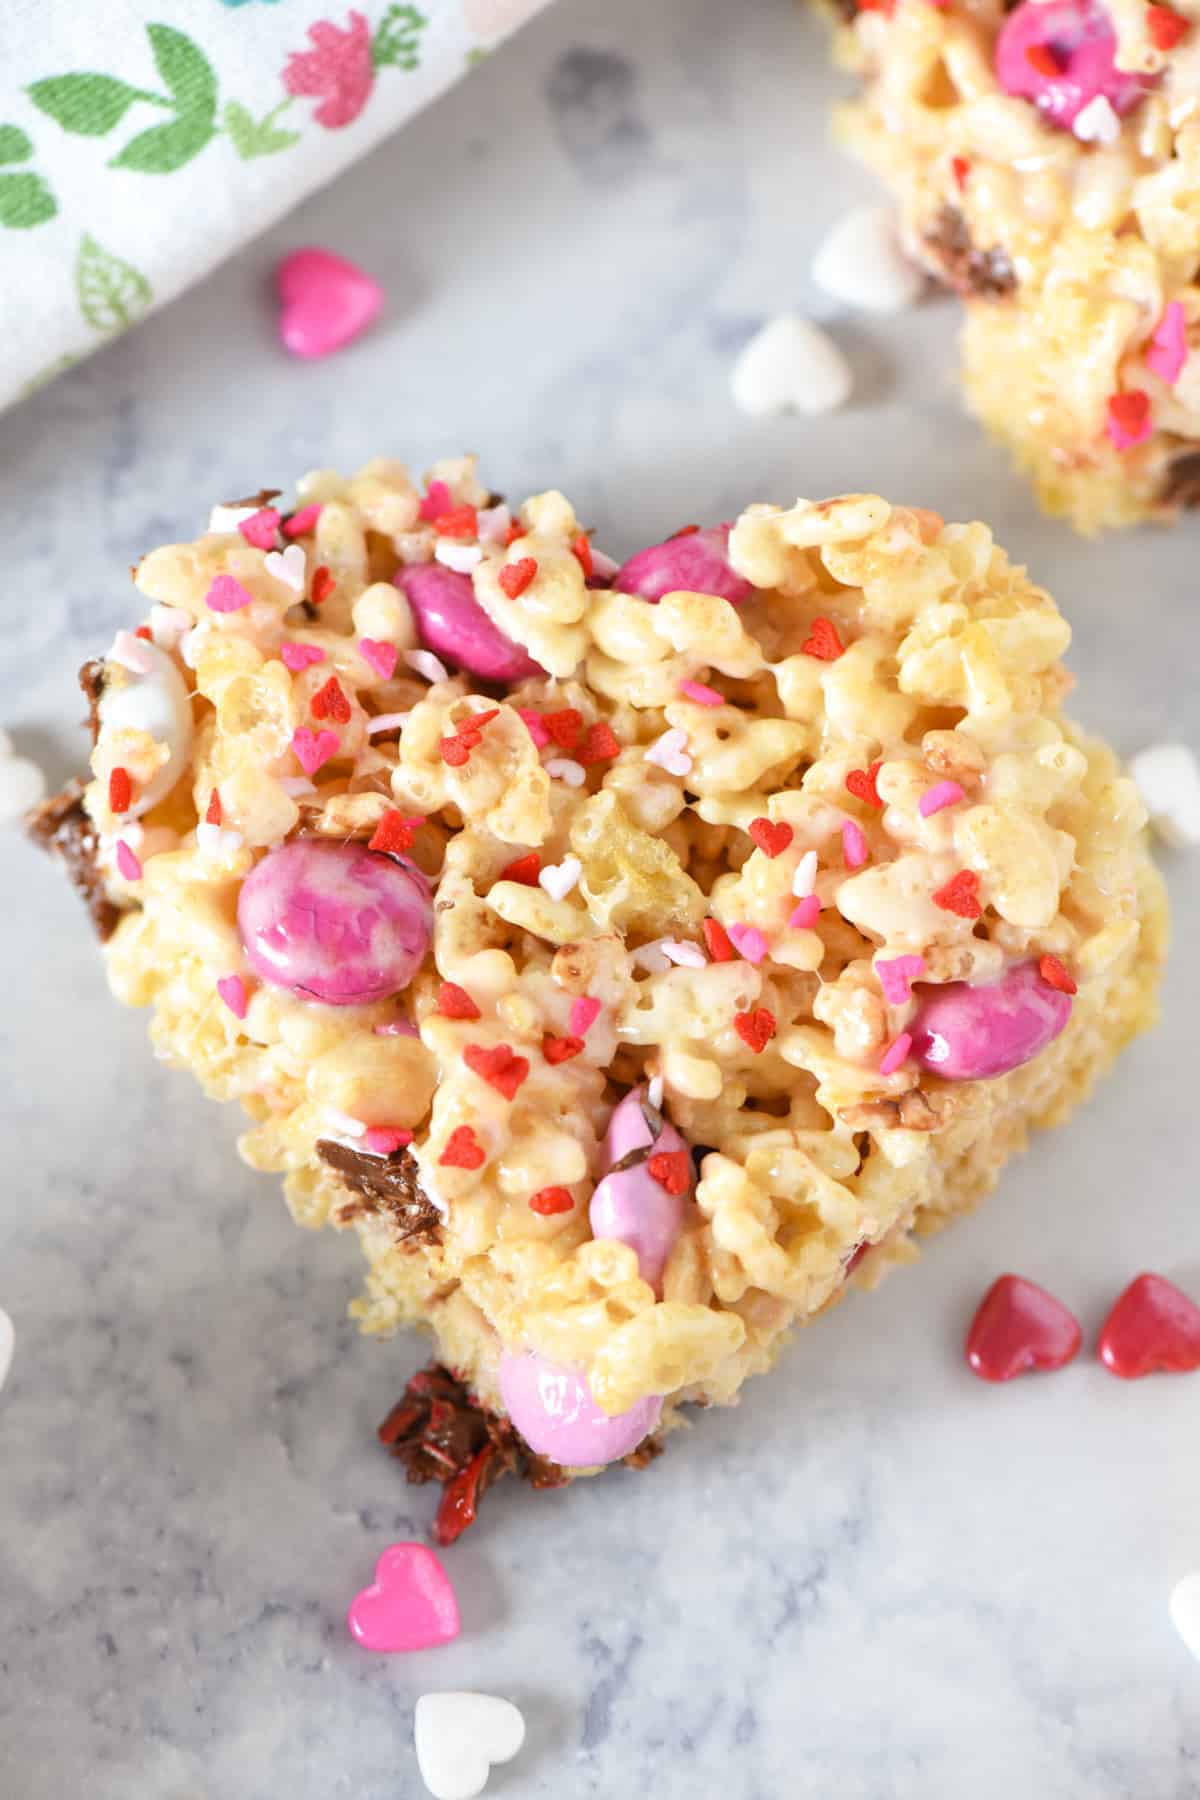
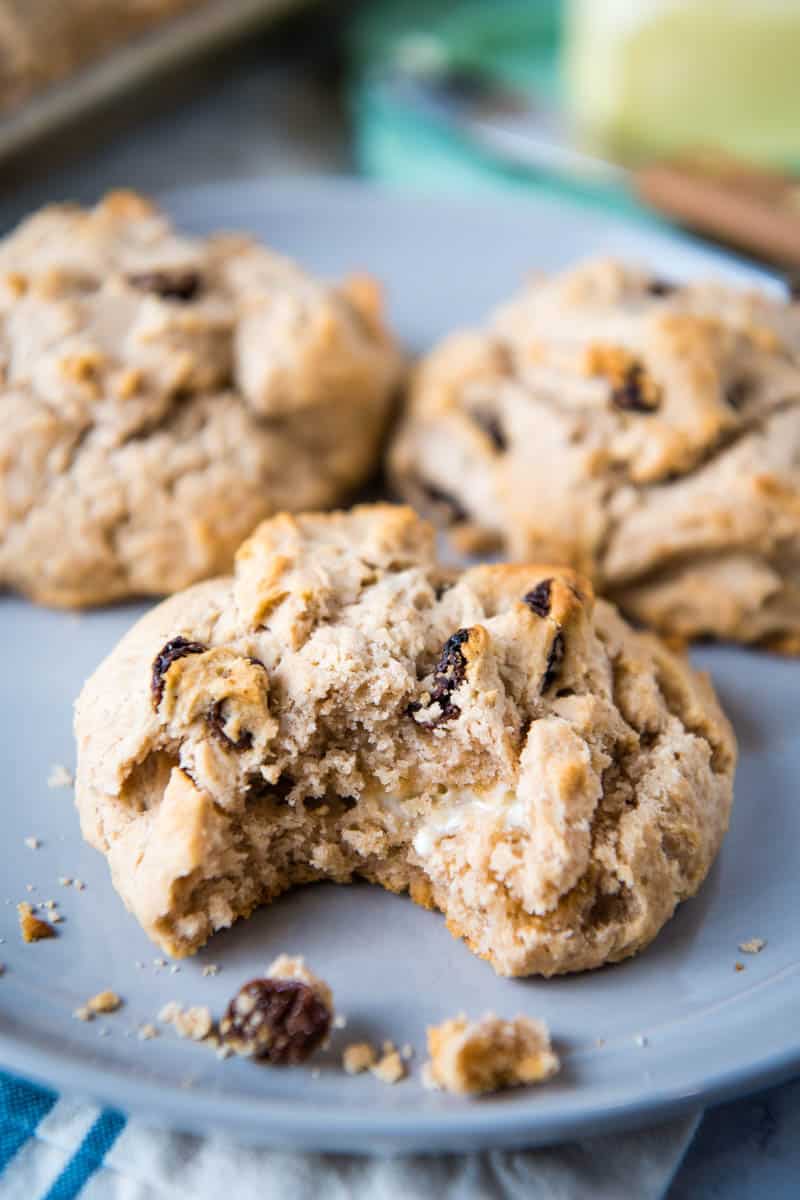
How to make perfectly soft and chewy hot chocolate cookies filled with rich hot chocolate mix, melt-in-your-mouth chocolate chips and gooey marshmallow bits. This is an easy and festive holiday treat that you can make in 15 minutes or less!
It’s no secret that my kids love a good cup of hot chocolate with chocolate chips. I’ve even started keeping us stocked up on homemade hot chocolate mix so that we never run out! That’s what I use to make these hot chocolate cookies. And let me tell you, these hot chocolate mix cookies are a must-have snack or dessert for the holidays!

A lot of people are surprised to find out that you can use hot chocolate mix in baking recipes. It’s an easy, budget-friendly way to add rich, chocolaty flavor to just about any dessert, and you can use any flavor you want! Even better, most hot chocolate mix already contains some sweetener, so you won’t have to add as much to this hot chocolate cookies recipe.

Ingredients & Substitutions Notes
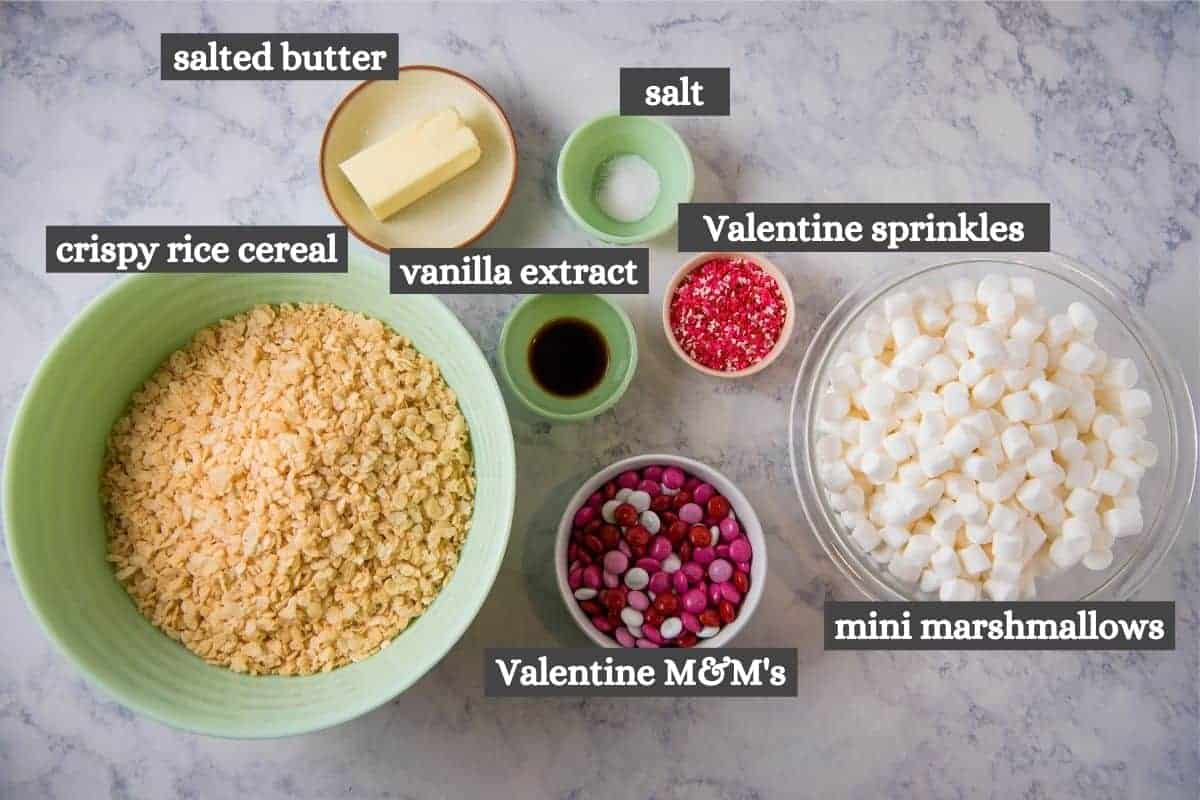
- All-Purpose Flour – Plain all-purpose flour makes the best hot chocolate cookies. You can also make gluten free hot chocolate mix cookies by using a quality cup for cup gluten free all-purpose flour instead. If you go this route, just be sure to check all of your other ingredient labels over to ensure that they are truly gluten free!
- Hot Chocolate Mix – I prefer homemade hot chocolate mix, but sometimes I’ll buy a big can of Swiss Miss for the sake of ease. You can buy quite a few different flavors at the grocery store, including dark chocolate, salted caramel, peppermint, pumpkin spice or even cinnamon toast crunch. Don’t be afraid to try something new!
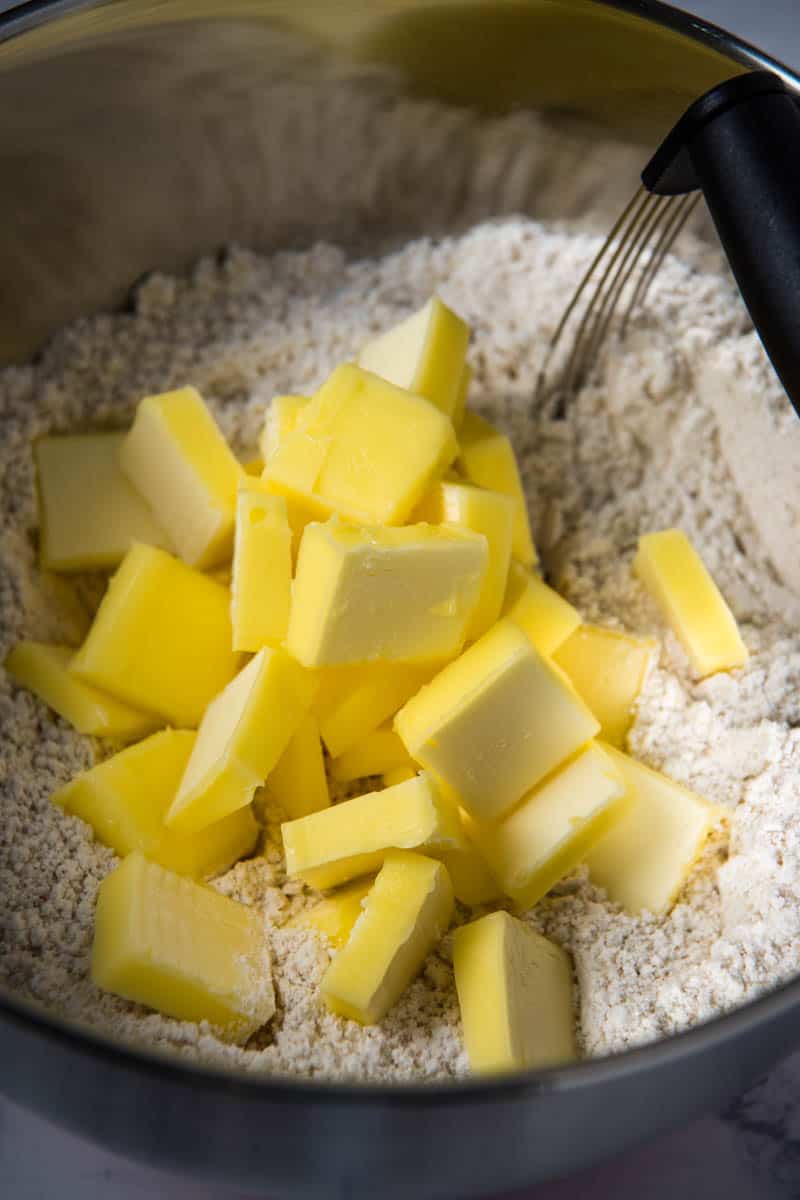
- Unsalted Butter – This recipe calls for unsalted butter, but you can also use salted butter in a pinch. If you use salted butter, I’d recommend dropping the extra salt entirely from this recipe to account for the extra salt in the salted butter.
- Brown Sugar – Thankfully there is already some sugar added to the hot chocolate mix, so you won’t need as much. That said, I do still like to add a touch of light brown sugar to my hot chocolate cookies.
- Vanilla Extract – You can use imitation vanilla, but I highly recommend using 100% pure vanilla extract for best flavor. Once you try it, you won’t go back!
- Chocolate Chips – You can use regular chocolate chips or mini chocolate chips. You can use milk chocolate chips, semi-sweet chocolate chips, dark chocolate chips or even white chocolate chips for a decorative touch! I just use whatever I have on hand.
- Marshmallow Bits – I really like the small footprint of these marshmallow bits. They add just the right amount of rich and gooey, melt-in-your-mouth marshmallow goodness in every bite! Although it won’t be quite the same, you can also use mini marshmallows if that’s all you have on hand.
How to Make Hot Chocolate Cookies Recipe
Before getting started, preheat your oven to 350ºF. Then line a cookie sheet with parchment paper or one of these reusable silicone baking mats.
Mixing Up the Batter
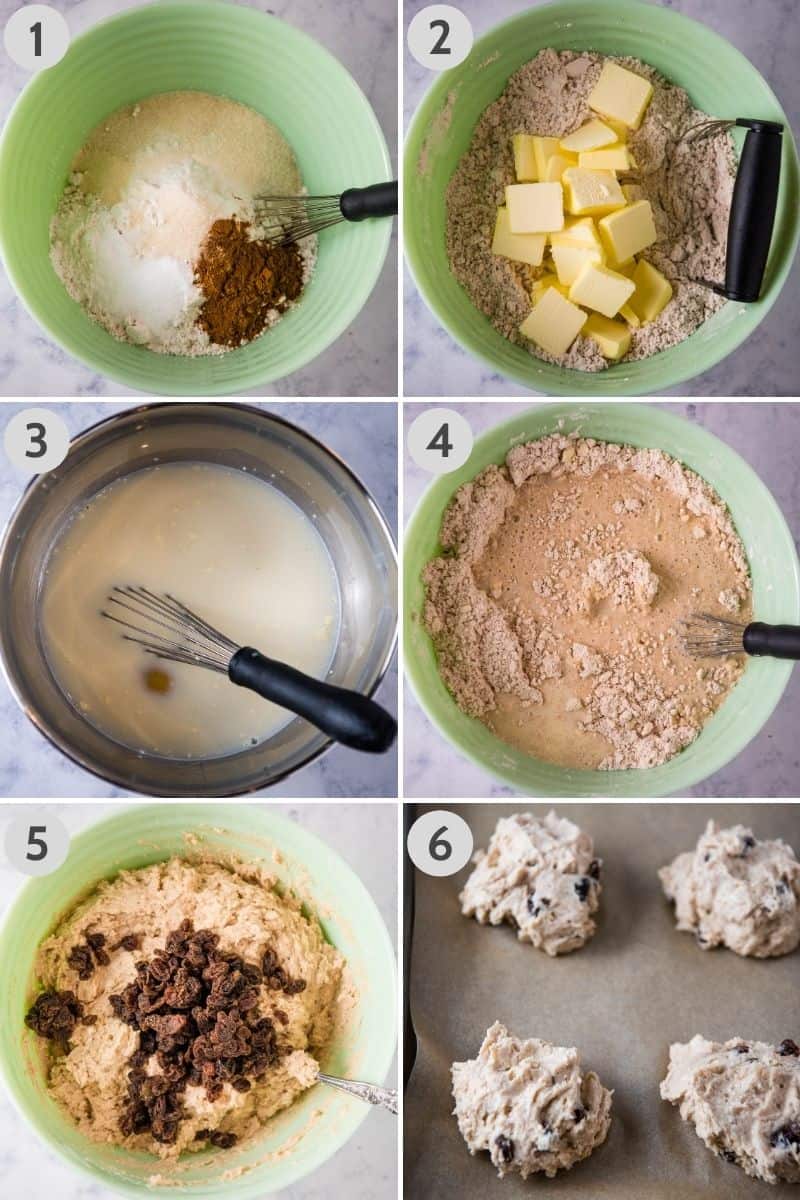
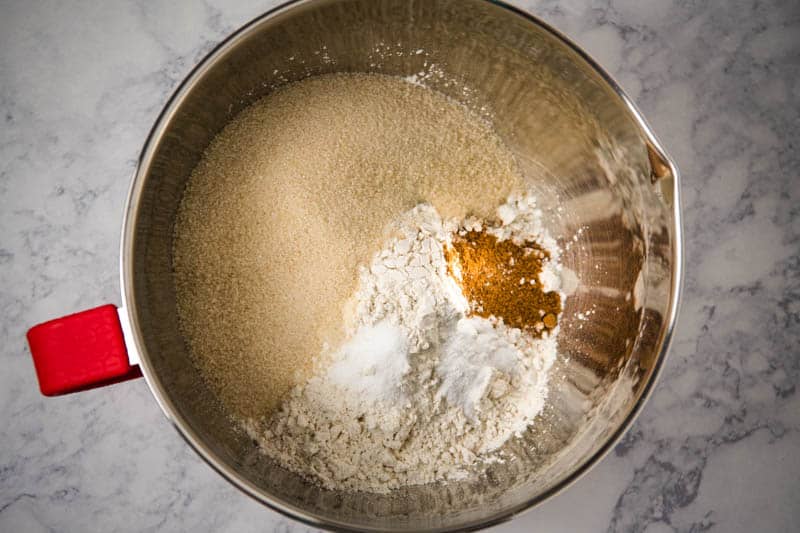
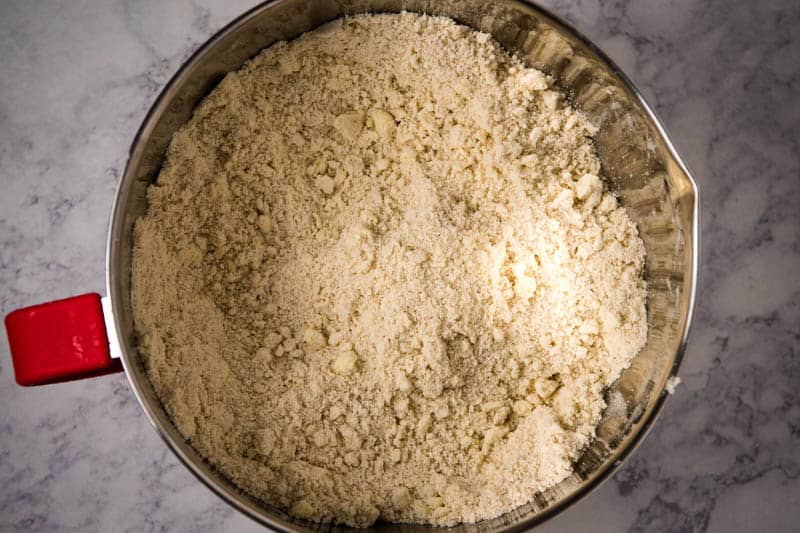
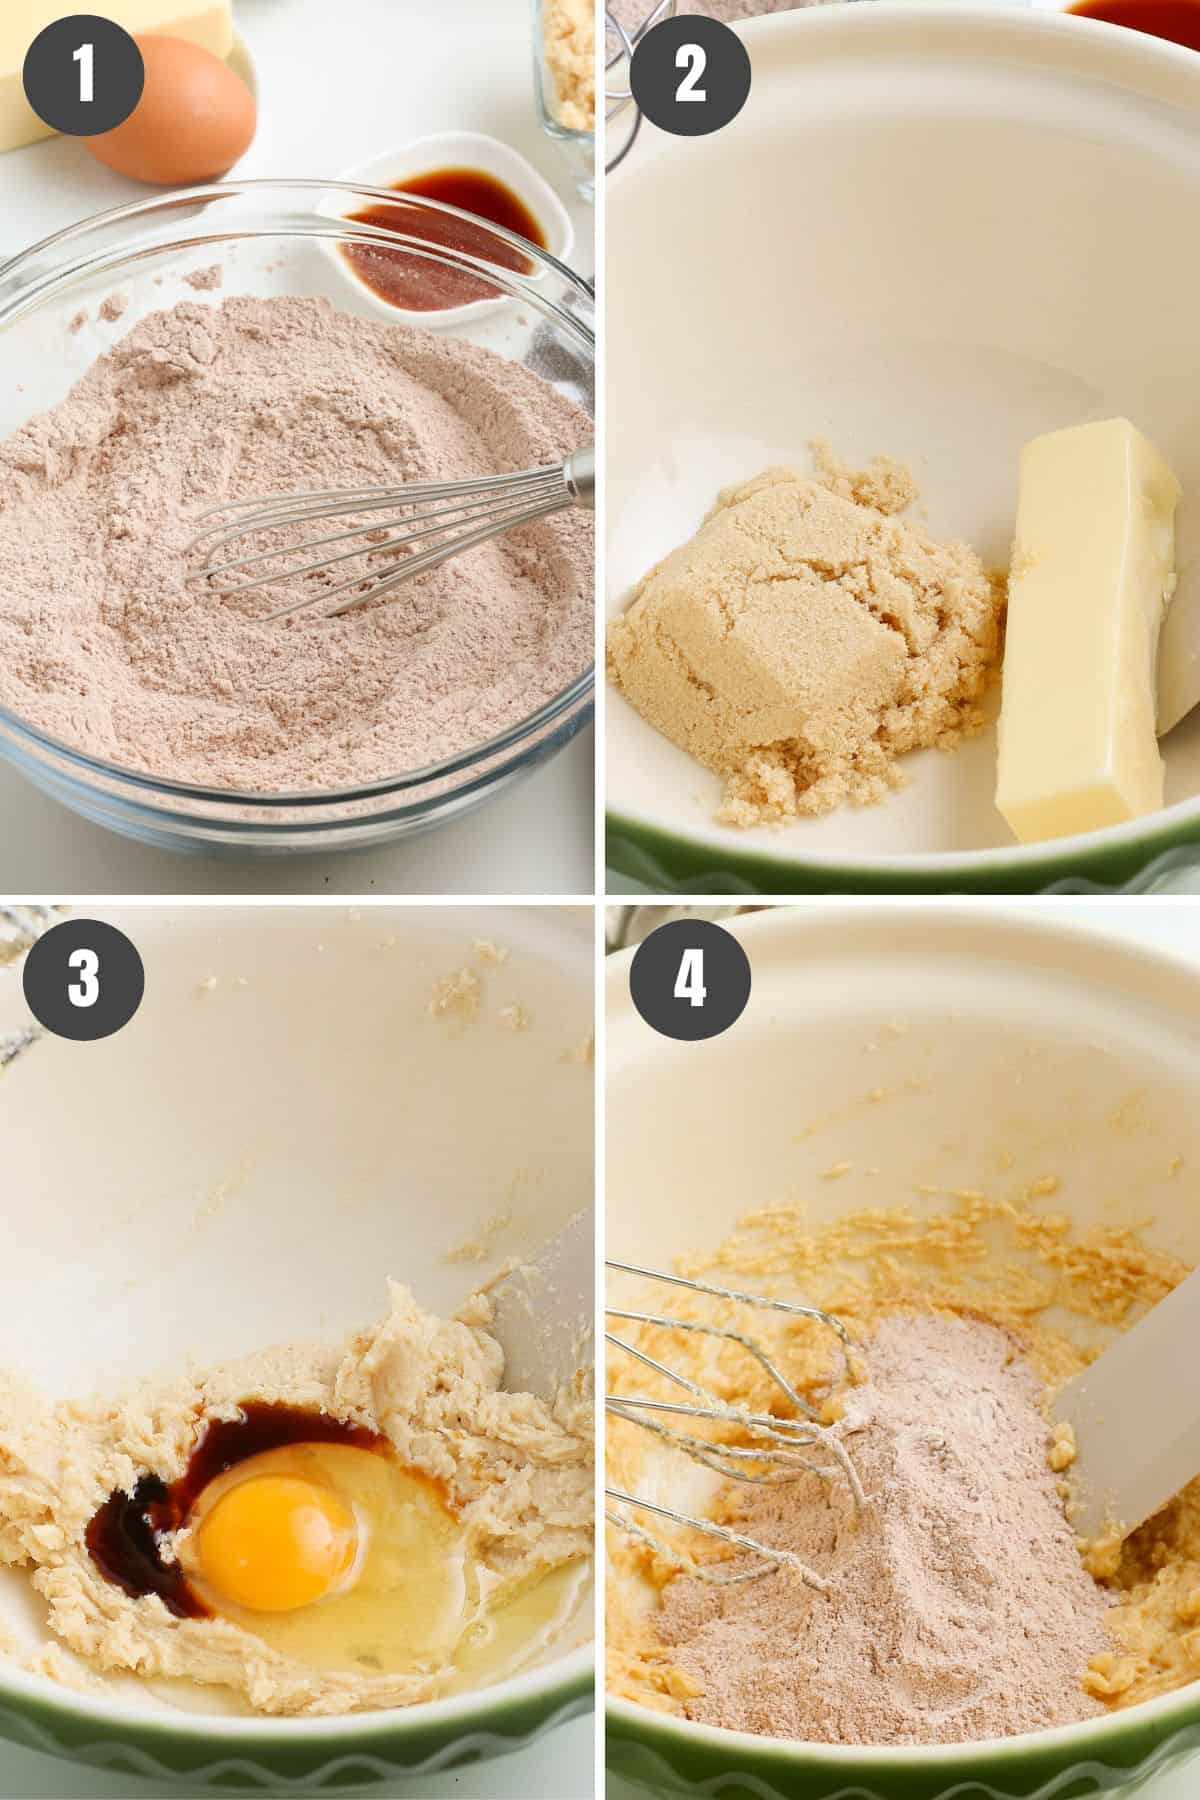
- Start by whisking together the flour, baking powder and hot chocolate mix in a medium mixing bowl.
- In a separate large mixing bowl, cream together the butter and brown sugar ’til well combined, light and fluffy.
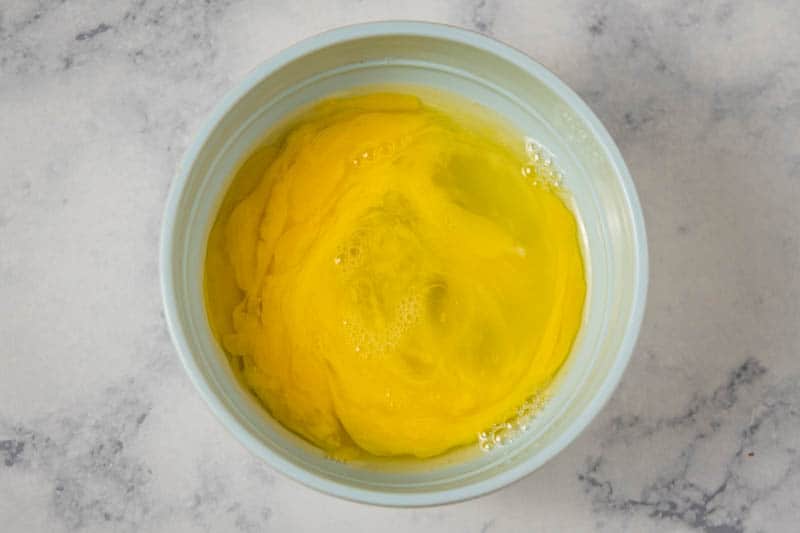
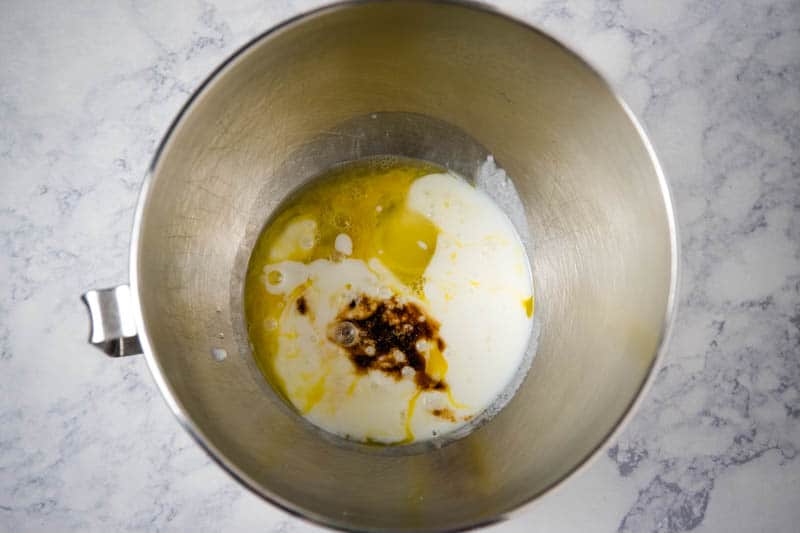
- Add an egg and the vanilla extract, beating into the mixture until well combined.
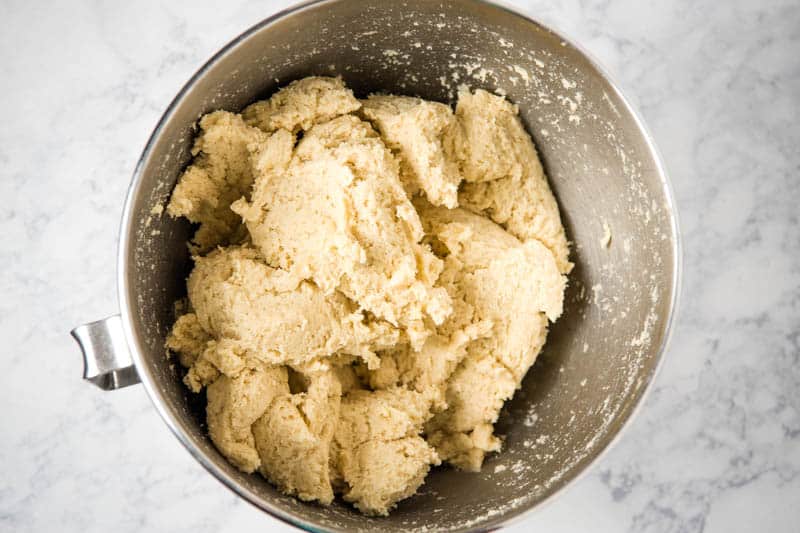
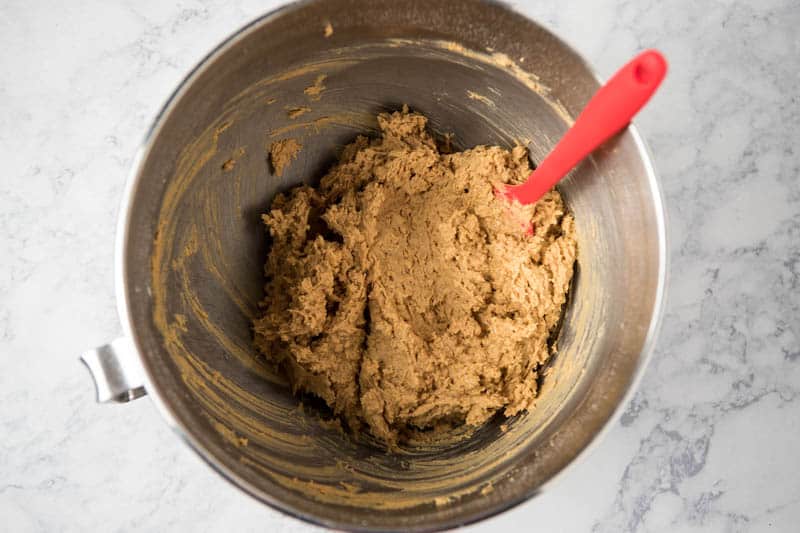
- Gradually add the dry mixture to the wet mixture, beating everything together ’til fully incorporated.
Making the Cookies
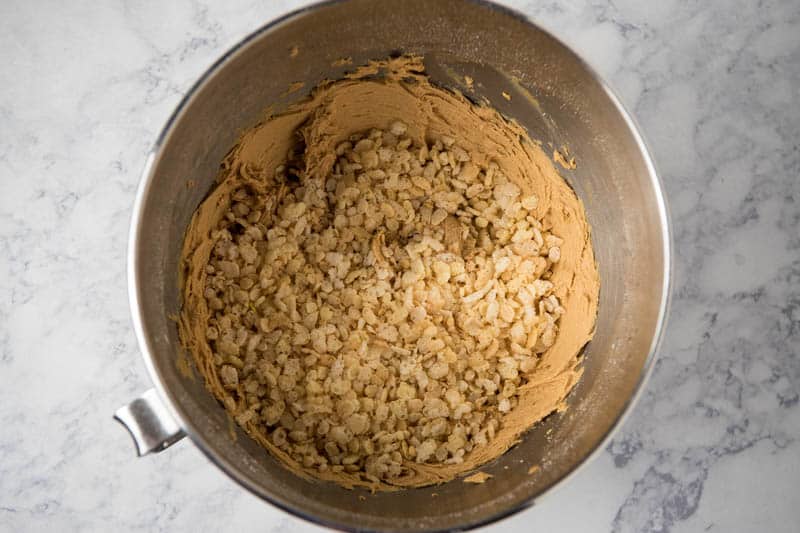
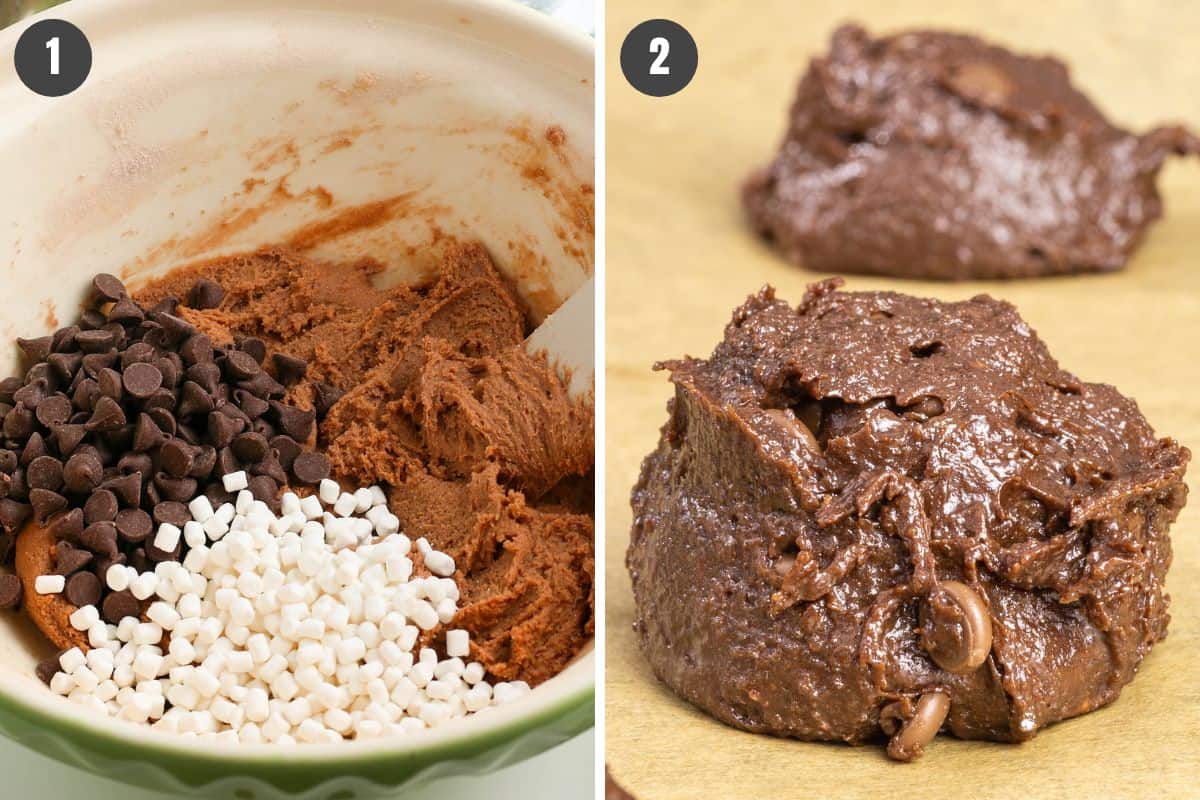
- Now you can add your chocolate chips and marshmallow bits, stirring with a rubber spatula ’til evenly dispersed throughout the cookie dough.
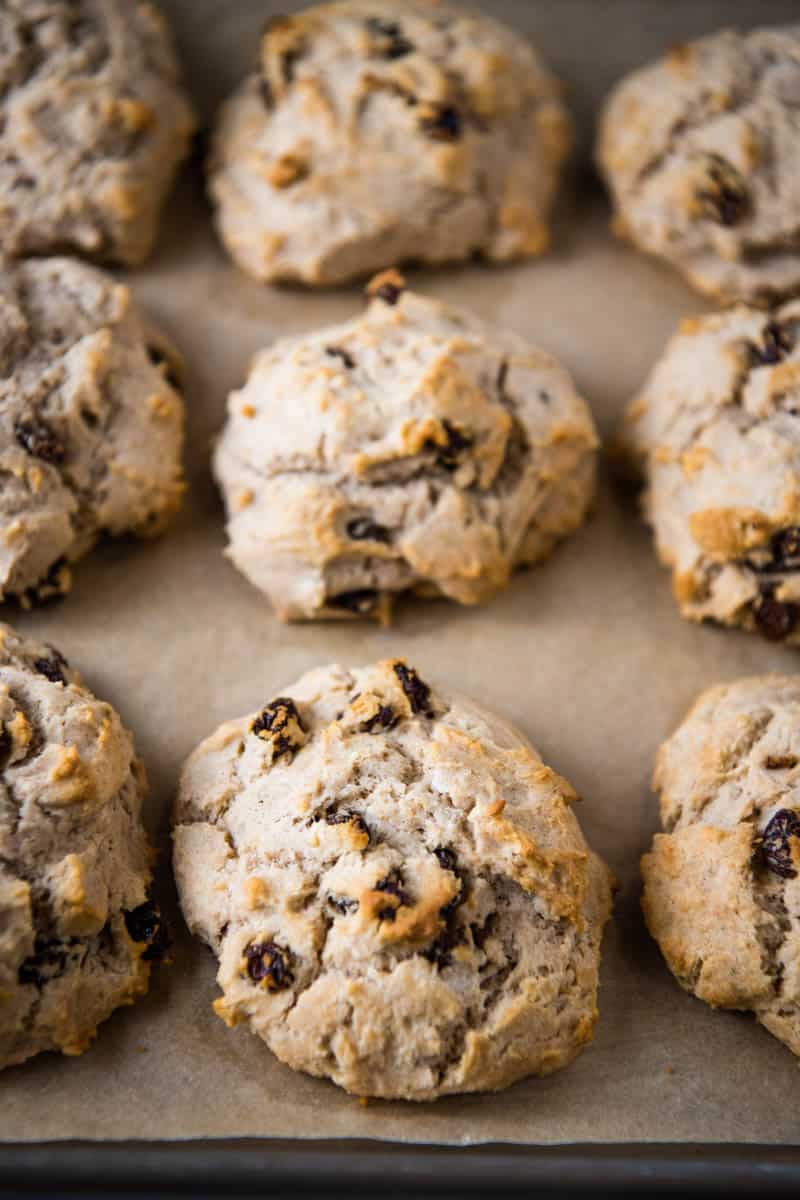
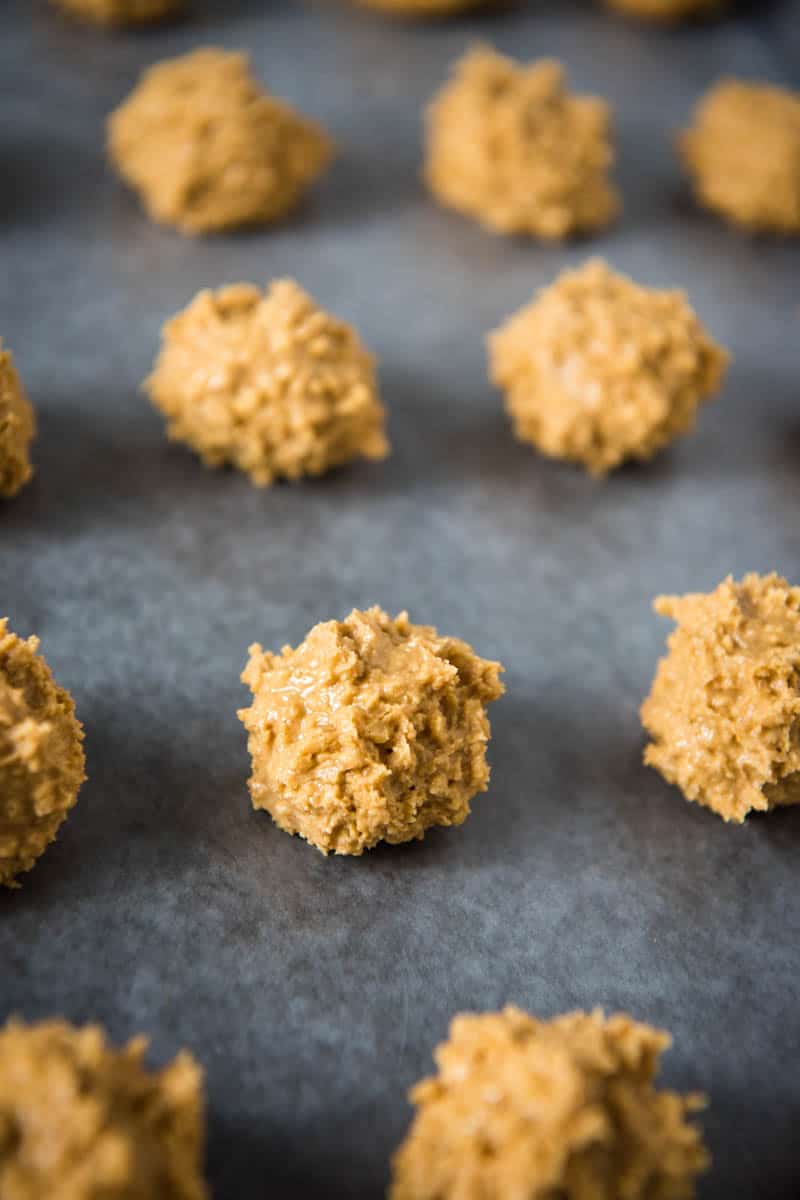
- Last but not least, use a cookie scoop or tablespoon to scoop the dough onto the baking sheet that you prepared in the first step.
How to Bake Hot Chocolate Cookies
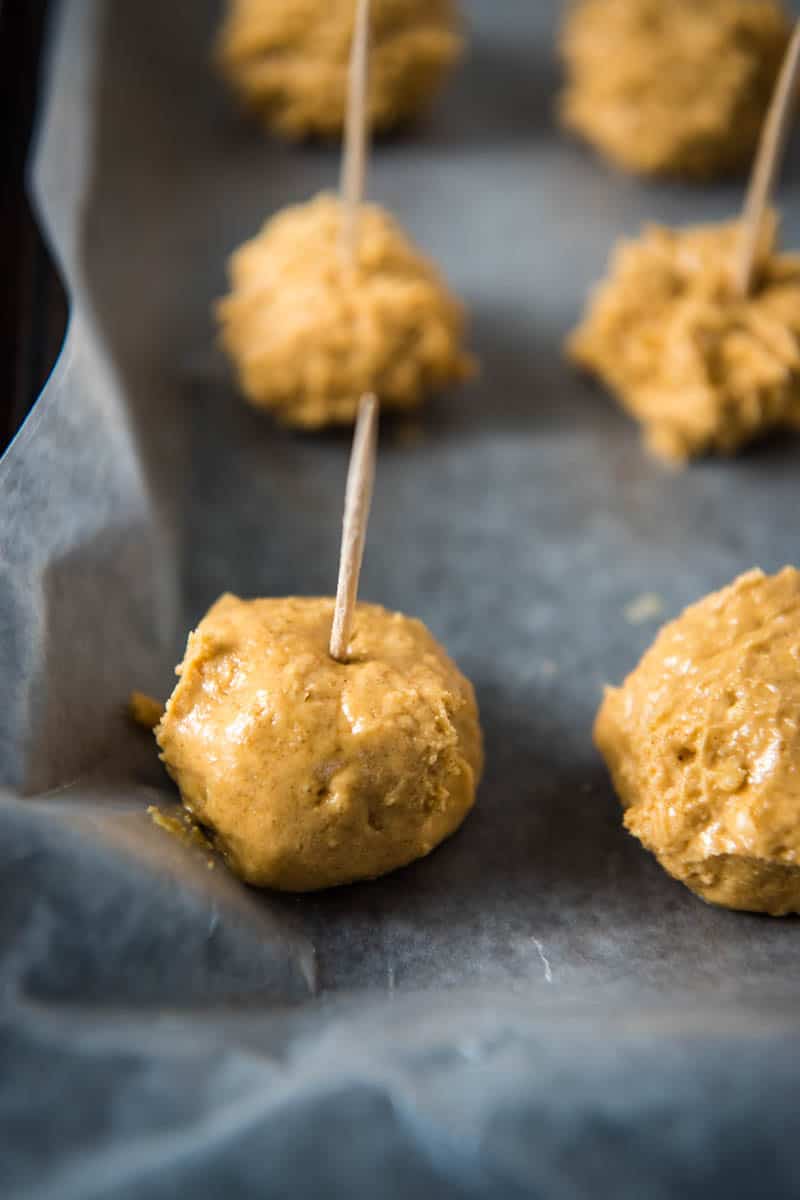
Bake your hot chocolate cookies at 350ºF for 8-10 minutes, or ’til a toothpick inserted into the center of one of the cookies comes out clean. Use a cookie spatula to transfer them to a wire cooling rack. Once cooled, serve and enjoy with a piping hot cup of coffee or tea!

Expert Tips and Recipe FAQ’s
Yes, you can use sugar free hot chocolate mix. If you’re wanting to make this recipe sugar free, I’d also recommend swapping out the brown sugar with a sugar free brown sugar substitute.
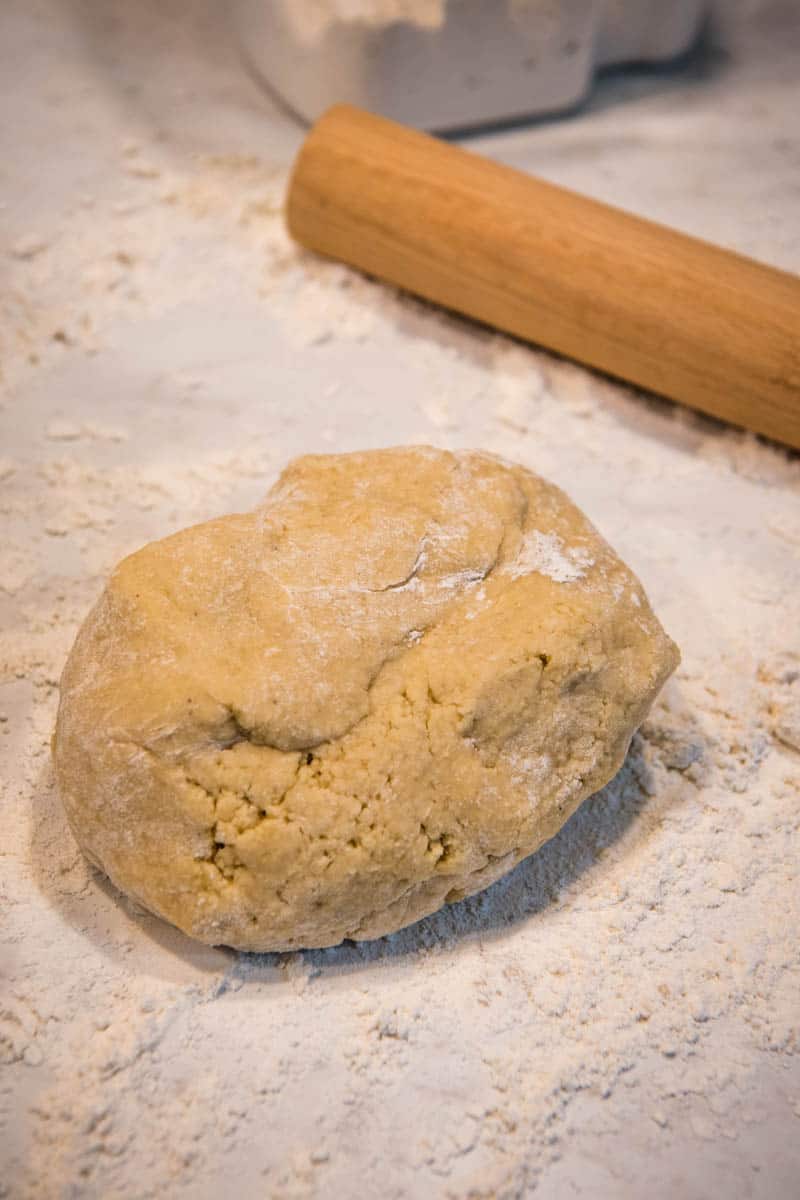
Yes, you can make hot chocolate cookies ahead of time. The best way to do this is to mix up your cookie dough, cover it with plastic wrap, and let it chill in the refrigerator for up to 2-3 days before dropping and baking your cookies. Some people actually prefer to chill their cookie dough ahead of time, as this can give the flour in the mixture time to “relax”, resulting in a softer, fluffier and more flavorful cookie.
Alternatively, you can also freeze your cookie dough. Mix everything up ahead of time, and then use a cookie scoop or tablespoon to drop the cookies onto a parchment paper lined baking sheet. Transfer the baking sheet to the freezer for around 30 minutes, or ’til the cookie dough balls are hard and frozen. Then move the frozen cookie dough balls to an airtight container or freezer bag and back into the freezer for up to 3 months. Whenever you’re ready to make your hot chocolate cookies, simply remove your frozen cookie dough balls from the freezer, and bake as instructed in the recipe card below, adding an extra 2-3 minutes to account for the colder starting temperature. With this method, you can whip up a batch of hot chocolate cookies in a matter of minutes!
I recommend storing leftover cookies in an airtight container at room temperature for up to 4-5 days. Add a slice of bread to the container with the cookies to keep them extra soft and moist for longer!
You can also freeze leftover hot chocolate cookies in an airtight container for up to 3 months. Warm them up for 1-2 minutes in the microwave, serve and enjoy straight from the freezer!
What Else Can I Add to Hot Chocolate Cookies?
- You can always add more candies to your hot chocolate marshmallow cookies. Think M&M Minis, Reese’s Pieces, crushed Butterfingers, crushed Snickers, peppermint baking chips, caramel bits, etc.
- If you love coffee, add a touch of mocha flavor with instant Espresso powder. It’s so good!
- I really like chopped walnuts or chopped pecans in my hot chocolate cookies. Just toss them into the cookie dough with the marshmallow bits and chocolate chips. Quick, easy and delicious!
- Still not satisfied? You can get super fancy by drizzling melted white chocolate chips over the top after baking!

More Easy Christmas Cookies Recipes
- Cut Out Sugar Cookies
- Mint Chocolate Crinkle Cookies
- Reindeer Thumbprint Cookies
- Gingerbread Cookies
- Christmas Light Cookies With M&M’s
- Butter Almond Snowball Christmas Cookies
- Chocolate Peanut Butter Ritz Cookies
- White Chocolate Cranberry Pistachio Cookies
If you try this recipe, why not leave a star rating in the recipe card right below and/or a review in the comment section further down the page? I always appreciate your feedback. You can also follow me on Pinterest, Facebook, Instagram, and YouTube. And subscribe to my email list too!
Hot Chocolate Cookies

Soft & chewy hot chocolate cookies with hot chocolate mix and gooey marshmallow bits. Easy holiday treat you can make in 15 minutes or less!
- Cookie Sheets
- Parchment Paper
- Whisk
- Medium Mixing Bowl
- Large Mixing Bowl
- Rubber Spatula
- Cookie Scoop
- Cookie Spatula
- 1 1/3 cups All-Purpose Flour
- 1 teaspoon Baking Powder
- 1/2 teaspoon Sea Salt
- 1/2 cup Hot Chocolate Mix
- 1/2 cup Unsalted Butter (softened)
- 1/2 cup Light Brown Sugar
- 1 Large Egg (room temperature)
- 1 teaspoon Vanilla Extract
- 1/2 cup Chocolate Chips
- 1/2 cup Marshmallow Bits
Before getting started, preheat your oven to 350ºF. Then line a cookie sheet with parchment paper or one of these reusable silicone baking mats.
Start by whisking together the flour, baking powder and hot chocolate mix in a medium mixing bowl.
In a separate large mixing bowl, cream together the butter and brown sugar 'til well combined, light and fluffy.
Then add an egg and the vanilla extract, beating into the mixture until well combined.
Gradually add the dry mixture to the wet mixture, beating everything together 'til fully incorporated.
Add the chocolate chips and marshmallow bits, stirring with a rubber spatula 'til evenly dispersed throughout the cookie dough.
Finally, use a cookie scoop or tablespoon to scoop the dough onto the baking sheet that you prepared in the first step.
Bake your hot chocolate cookies at 350ºF for 8-10 minutes, or 'til a toothpick inserted into the center of one of the cookies comes out clean.
Last but not least, use a cookie spatula to transfer them to a wire cooling rack. Once cooled, serve and enjoy with a piping hot cup of coffee or tea!
What’s the best way to store leftover hot chocolate mix cookies?
I recommend storing leftover cookies in an airtight container at room temperature for up to 4-5 days. You can also freeze leftover hot chocolate cookies in an airtight container for up to 3 months.