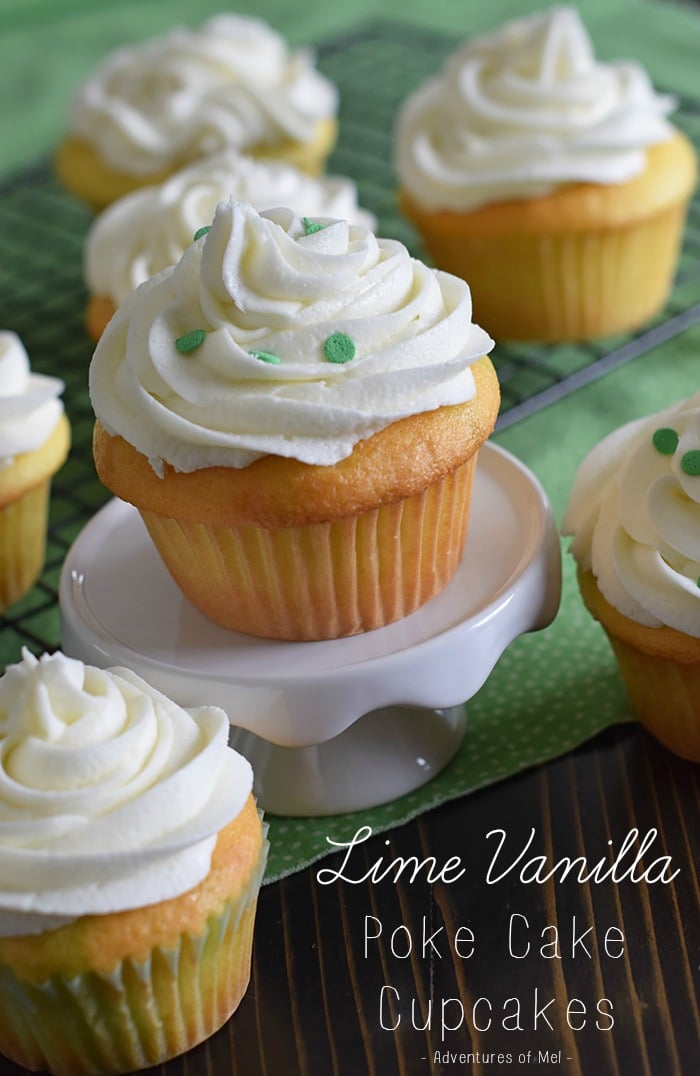
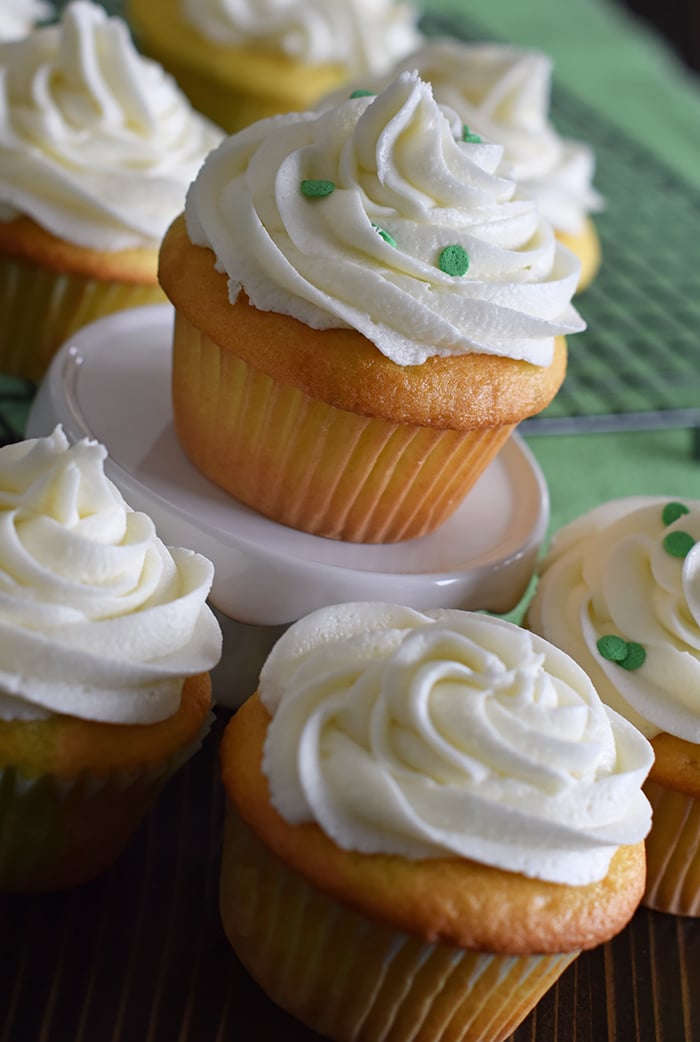
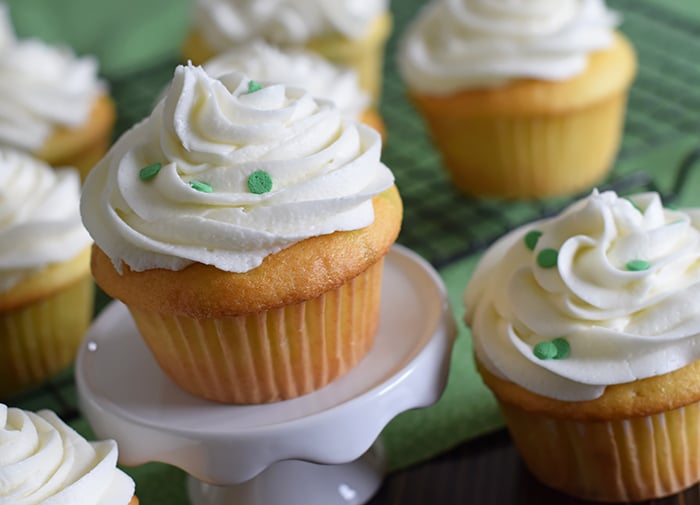
Learn how to make Lime Vanilla Poke Cake Cupcakes, kinda like Jello cake, with buttercream frosting. These scrumptious cupcakes bring just a hint of green for a festive St Patrick’s Day or any day really.
My mom used to make poke cake, or Jello cake as we called it, every spring and summer. It seemed to be one of her favorite things to make, and all of us loved when she made it, especially when she made lemon poke cake.
She’d pour cherry or strawberry Jello over the cake and top it off with whipped topping. Then she’d put it in the fridge and let it get ice cold. It was such a refreshing dessert and so scrumptious!
With her cake in mind, I decided to kinda take a different twist and make poke cake cupcakes. I think these may become a regular favorite, because even my non sweets loving husband loved these.
These cupcakes could be made any time of year with any flavor of Jello… though I did purposely use lime, so we could have green for St. Patrick’s Day. They’re super easy to make.
Looking for more cupcake recipes? You may also enjoy these moist and fluffy chocolate cupcakes.
I JUST WANT THE RECIPE! TAKE ME TO THE RECIPE FOR LIME VANILLA POKE CAKE CUPCAKES!
If you’d rather skip all of my cooking tips, important cooking info for this recipe, and similar recipe ideas – and get straight to the scrumptious lime vanilla poke cake cupcakes recipe – just scroll down to the bottom, where you’ll find a printable recipe card.
TIPS FOR HOW TO MAKE LIME VANILLA CUPCAKES
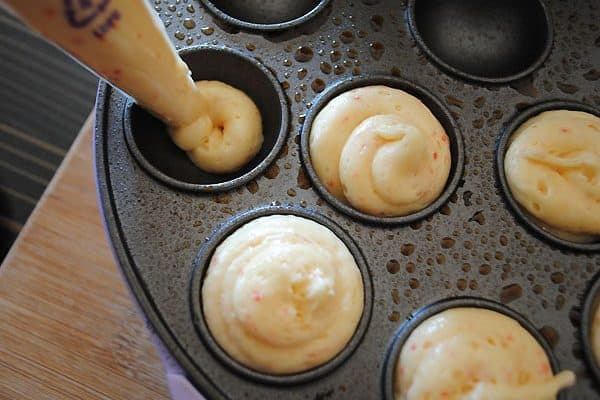
Yes, you can make these homemade, but using a cake mix just saves time; it’s quick and easy.
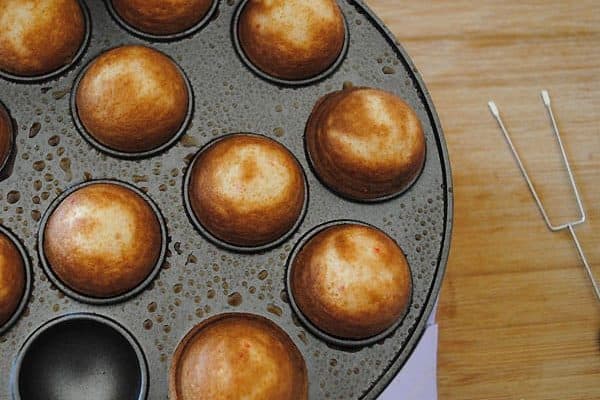
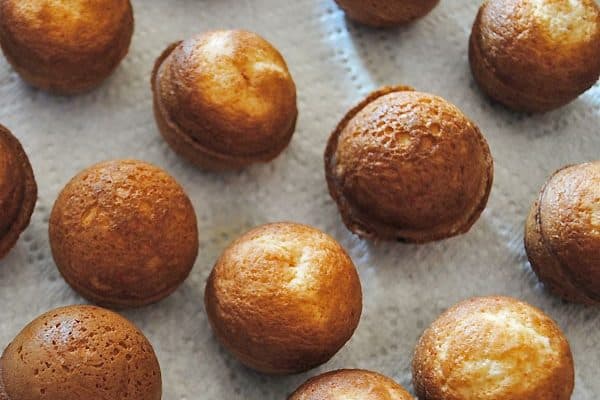
Once your cupcakes have baked, remove from the oven and let them sit for 10-15 minutes.
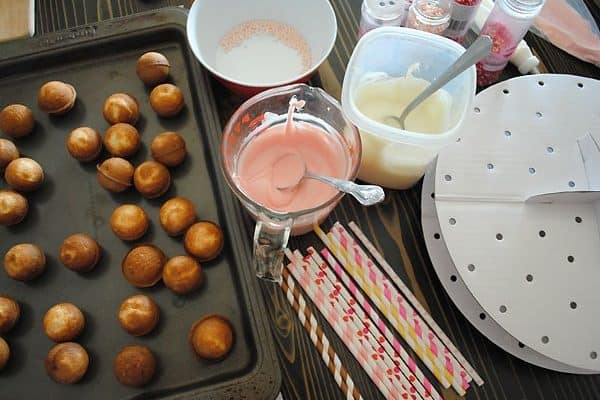
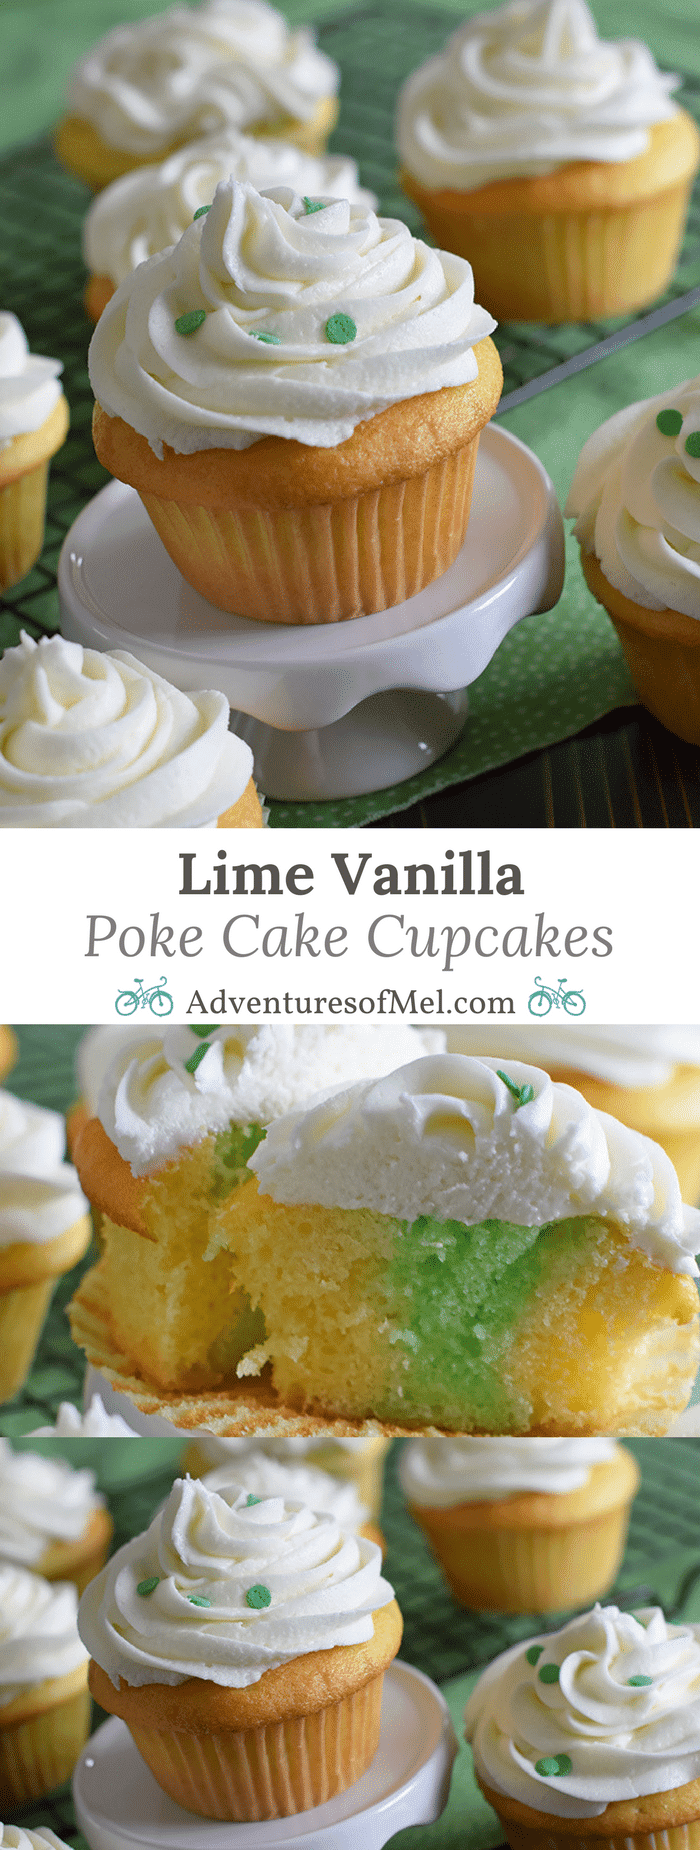
Then poke the middle of each cupcake with a fork just a few times. Add 3-4 small spoons of Jello over the middle of each cupcake, being careful not to let it run down the sides; it actually will soak into the cupcake if you’ve used a fork to poke holes in it.
It will give each cupcake a surprise green color in the middle, perfect for St. Patty’s Day.
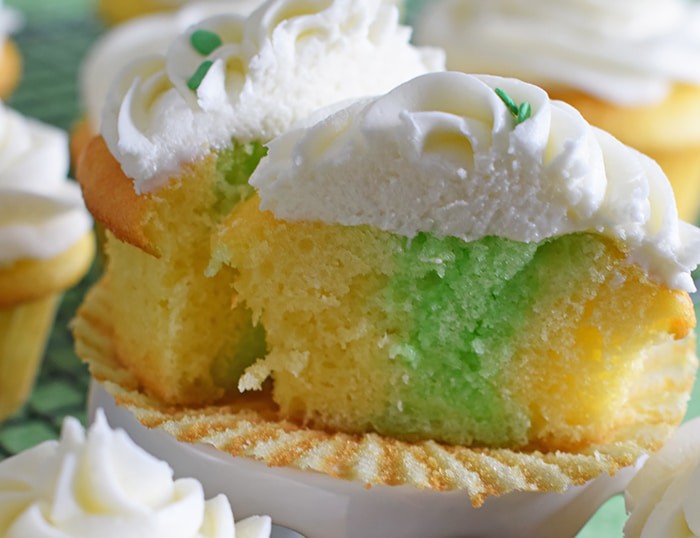
The lime combined with the vanilla is pretty yummy too.
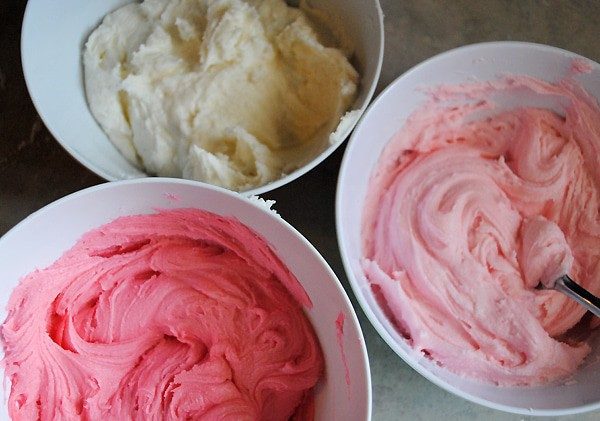
Finally, when the cupcakes have completely cooled, add the best buttercream frosting for a scrumptiously creamy dessert.
Once they’re frosted, chill them in the fridge.
When you’re ready for dessert, serve and enjoy!
LIME VANILLA POKE CAKE CUPCAKES RECIPE
If you love this lime vanilla poke cake cupcakes recipe as much as I do, please write a 5 star review, and help me share the recipe on Facebook and Pinterest!
CONNECT WITH ADVENTURES OF MEL!
Be sure to follow me on social, so you never miss a post!
Facebook | Pinterest | YouTube | Instagram | Twitter
Sign up to receive my newsletter, filled with delicious recipes and outdoor travel adventures, in your inbox:
Lime Vanilla Poke Cake Cupcakes

Learn how to make Lime Vanilla Poke Cake Cupcakes, kinda like Jello cake, with buttercream frosting. These scrumptious cupcakes bring just a hint of green for a festive St Patrick’s Day or any day really.
Poke Cake Cupcakes:
- 1 French Vanilla cake mix
- 1 cup water (boiling)
- 3 ounces Lime Jello
- 1/2 cup water (cold)
- 3 cups buttercream frosting
- Mix cake mix and bake according to package directions.
- When fully baked, remove from oven and let cool 15-20 minutes.
- Meanwhile, mix Jello with boiling water; then add cold water, mixing well.
- Poke top middle of each cupcake with fork, 4-5 times.
- Slowly pour 3-4 spoons of Jello mixture over middle of each cupcake, careful to not let it run over the sides.
- Allow cupcakes to finish cooling.
- Mix all ingredients for buttercream frosting.
- Top each cupcake with frosting.
- Chill cupcakes.
- Serve and enjoy!