Hungry for loaded nachos but don’t feel like going out? I’ve made mention before how much this family loves Tex-Mex, especially chicken tacos, beef tacos, and creamy chicken enchiladas.
Usually, when we’re going out to eat, we’re going for Mexican. Loaded nachos are a favorite all ’round, as is a nice snack of roasted red pepper hummus.
I’ve got a delicious recipe for you that will make you re-think ever using refried beans again.

Want a camping version of these chicken nachos? Try our campfire nachos recipe!
We had a crazy busy week last week. We had a week filled with doctor’s appointments, a midwife appointment, minor surgery for Dan, and more, not to mention homeschooling and work.
We’re trying to get as much done and meet as many commitments as we possibly can before this baby boy arrives. But by the time the end of the week arrived, we were all beat and needed something super easy to snack on, not to mention something fairly easy to eat for dinner.
As I mentioned, we love roasted red pepper hummus.
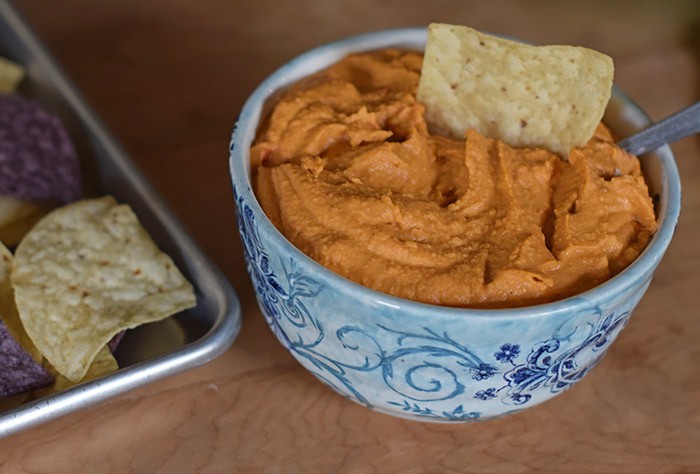
We’ll eat it with crackers, tortilla chips, pita bread… It’s a favorite snack around here but also tends to be a bit pricey, meaning we don’t always keep it on hand.
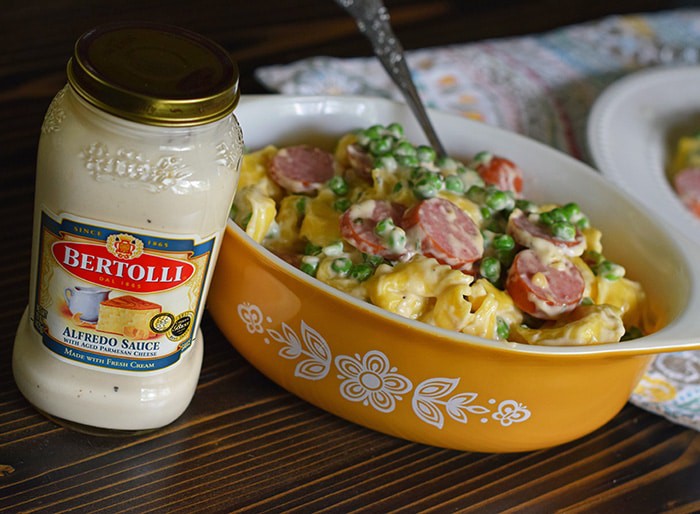
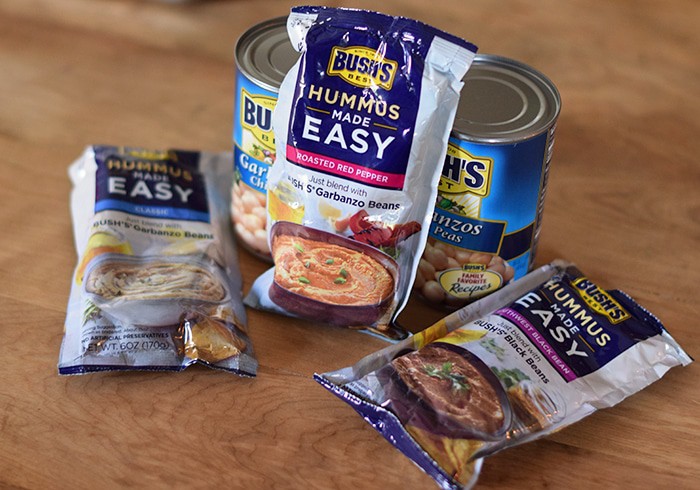
But that has changed since we’ve been introduced to Bush’s Hummus Made Easy. Available at Walmart in 3 delicious flavors (Classic, Roasted Red Pepper, and Southwest Black Bean), it’s also friendly to our budget.
Not only that, but it’s easily made in literally seconds, I kid you not.
All you need is a can of beans, the pouch of hummus, and a food processor or blender (I used my Ninja).
We chose to use Bush’s Garbanzos (or Chick Peas), which happened to be conveniently located right next to the Hummus Made Easy pouches in the store, to mix up a batch of Roasted Red Pepper Hummus Made Easy.
And you know what? In my opinion, it tastes better than the stuff that’s already pre-mixed and packaged in the deli. And it’s cheaper! Win win!
On top of that, it has no artificial preservatives, and it’s made with real ingredients like olive oil, tahini, roasted red bell peppers, and spices.
Even more importantly, it meets my official taste tester’s seal of approval.

I really like how versatile it is. There are a ton of recipes on the Hummus Made Easy site, and when I saw a recipe for a 7 layer dip and perused Pinterest just a bit for even more inspiration, I knew I wanted to make some sort of nachos, leading me to the idea of Loaded Nachos, only without refried beans and made with hummus instead.
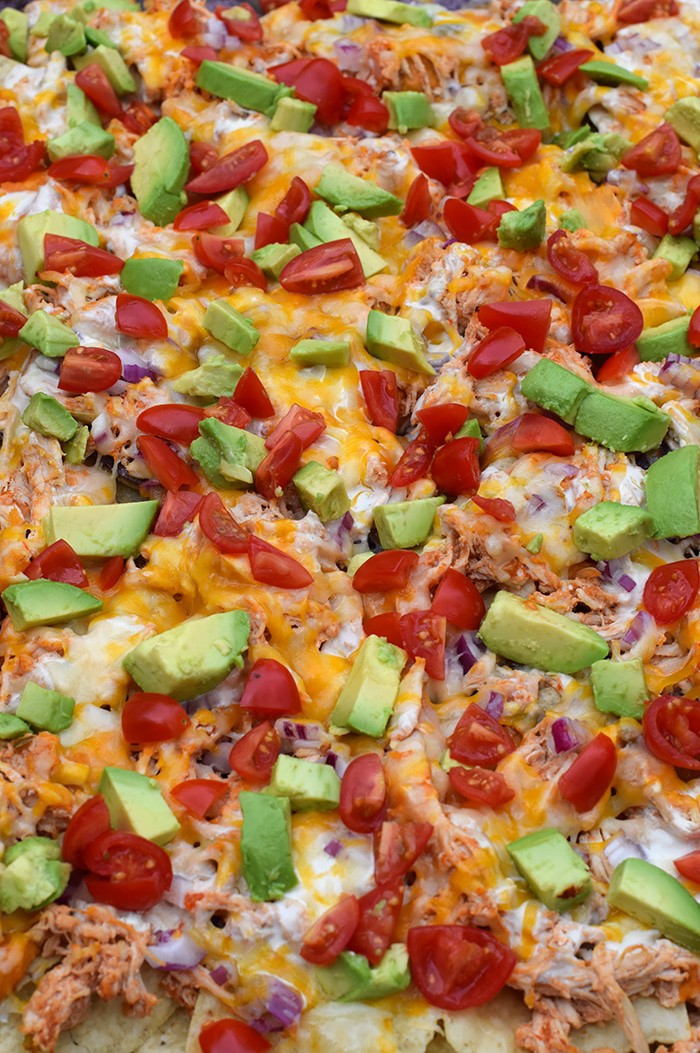
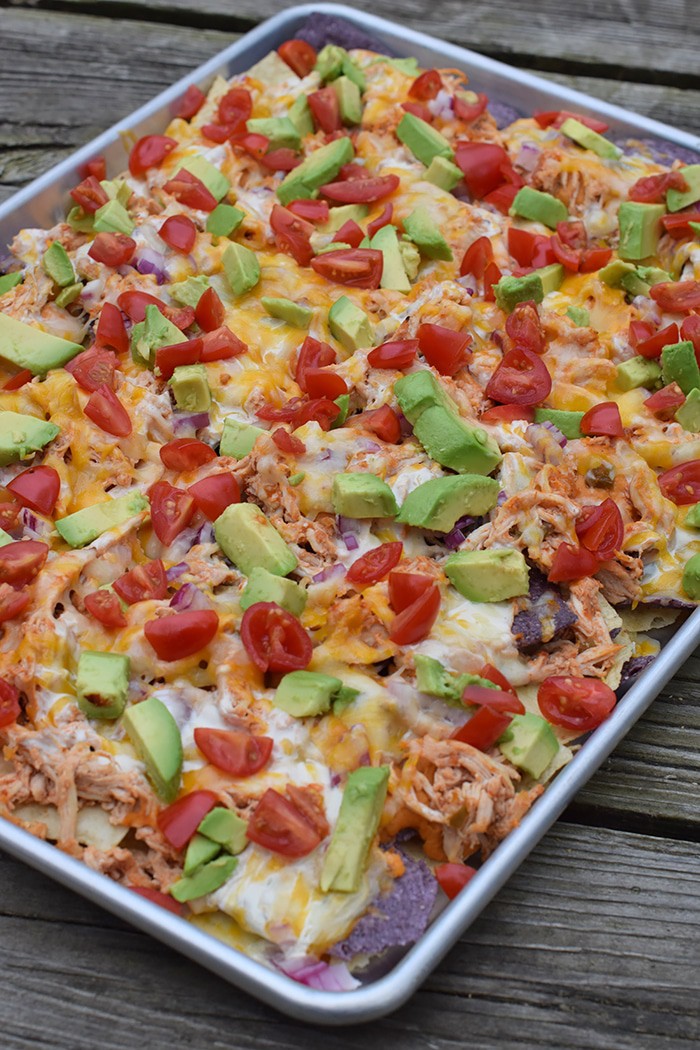
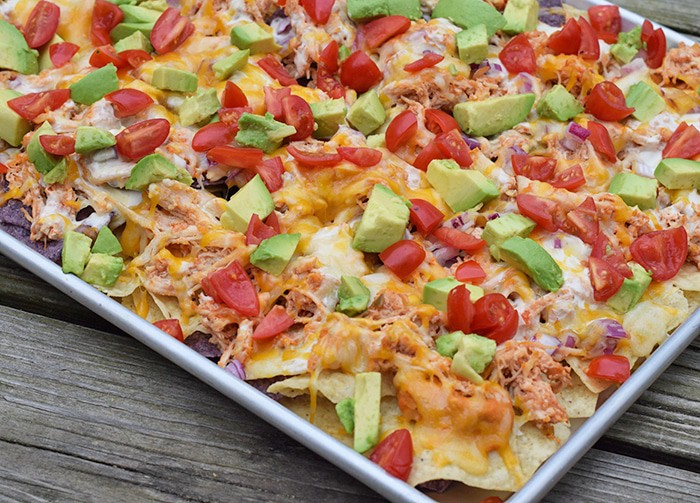
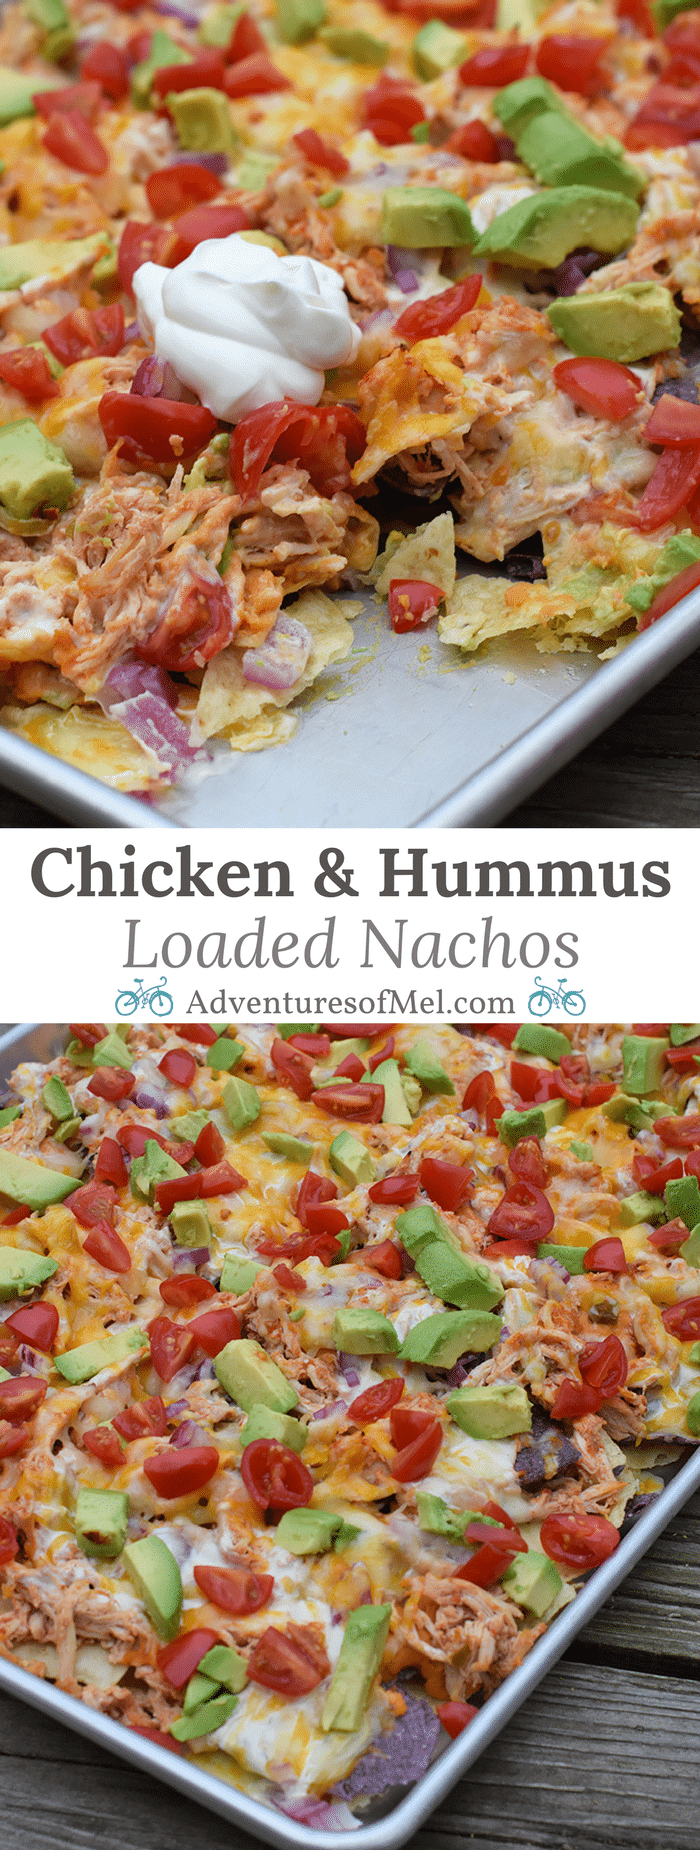
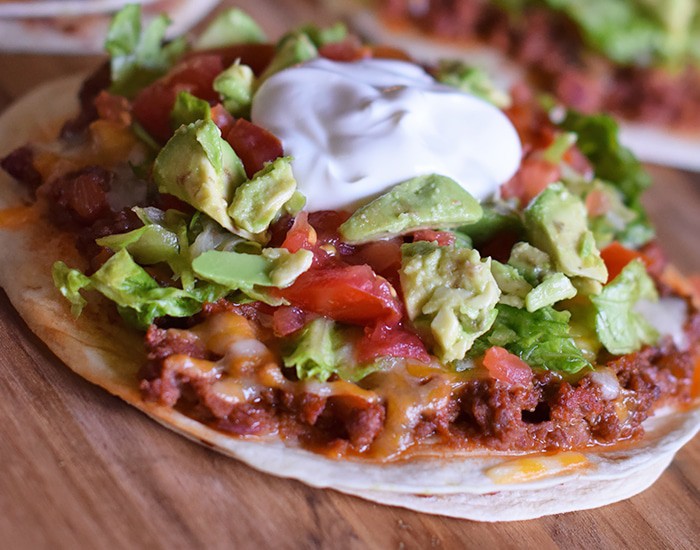
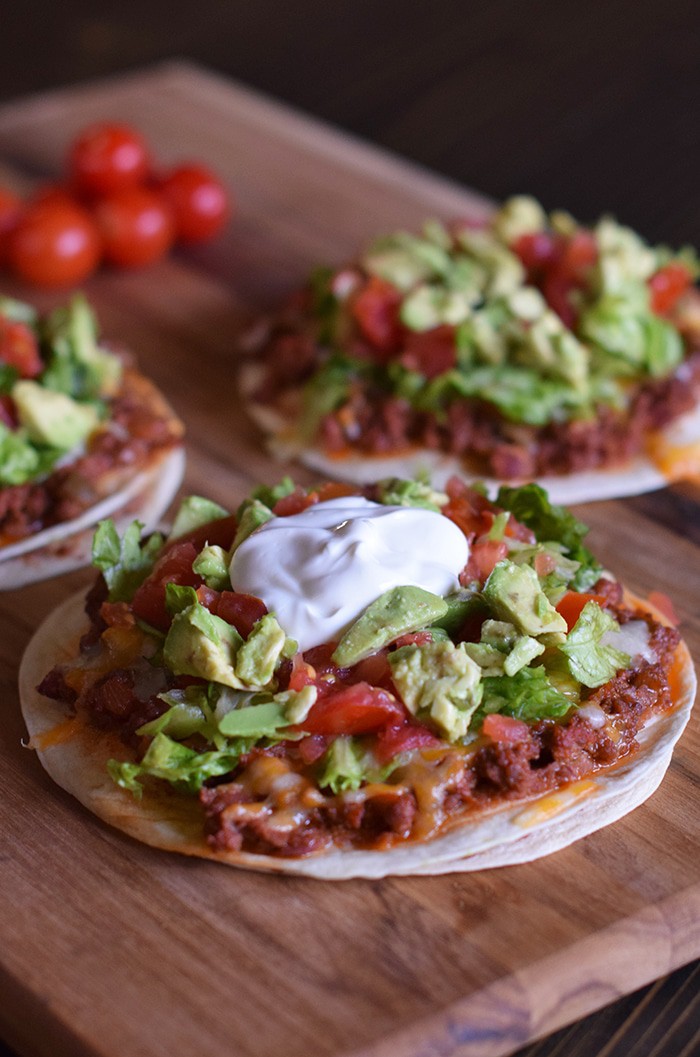
Honestly, these nachos are all about the layering. You have a layer of tortilla chips, dollops of hummus…

… then a layer of delicious Instant Pot Taco Chicken, white queso, a bit of lime juice and red onion, cheese, tomatoes, and avocado. Mmmm…
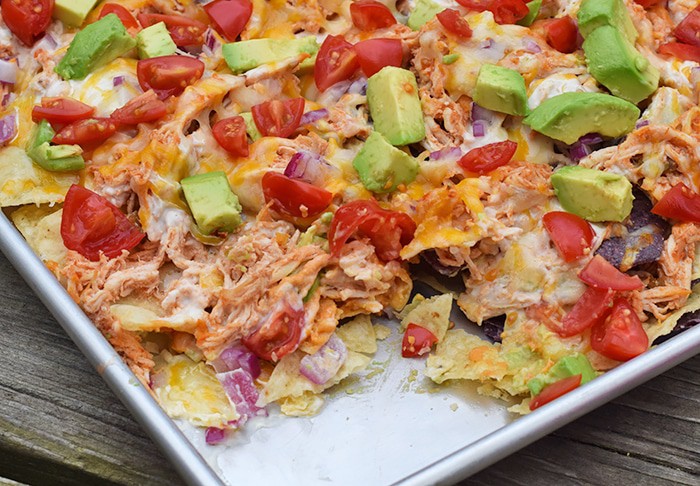
That layer of Roasted Red Pepper Hummus Made Easy makes all the difference in the world. It adds a flavor that you just can’t get otherwise.
These nachos were the most flavorful nachos I’ve ever made; they were far from your typical, boring nachos.
Just thinking about it is making me crave them all over again. Pregnancy cravings are no joke.
Looking for more delicious appetizer and snack recipes?
- Barbecue Chicken Cream Cheese Dip
- Simple Fruit Salsa Recipe
- Chili Cheese Fries in a Cast Iron Skillet
- Taco Bites
- Garlic Parmesan Chicken Skewers
- Bacon Cheddar BBQ Ranch Dip
- Snowman Pimento Cheese Ball
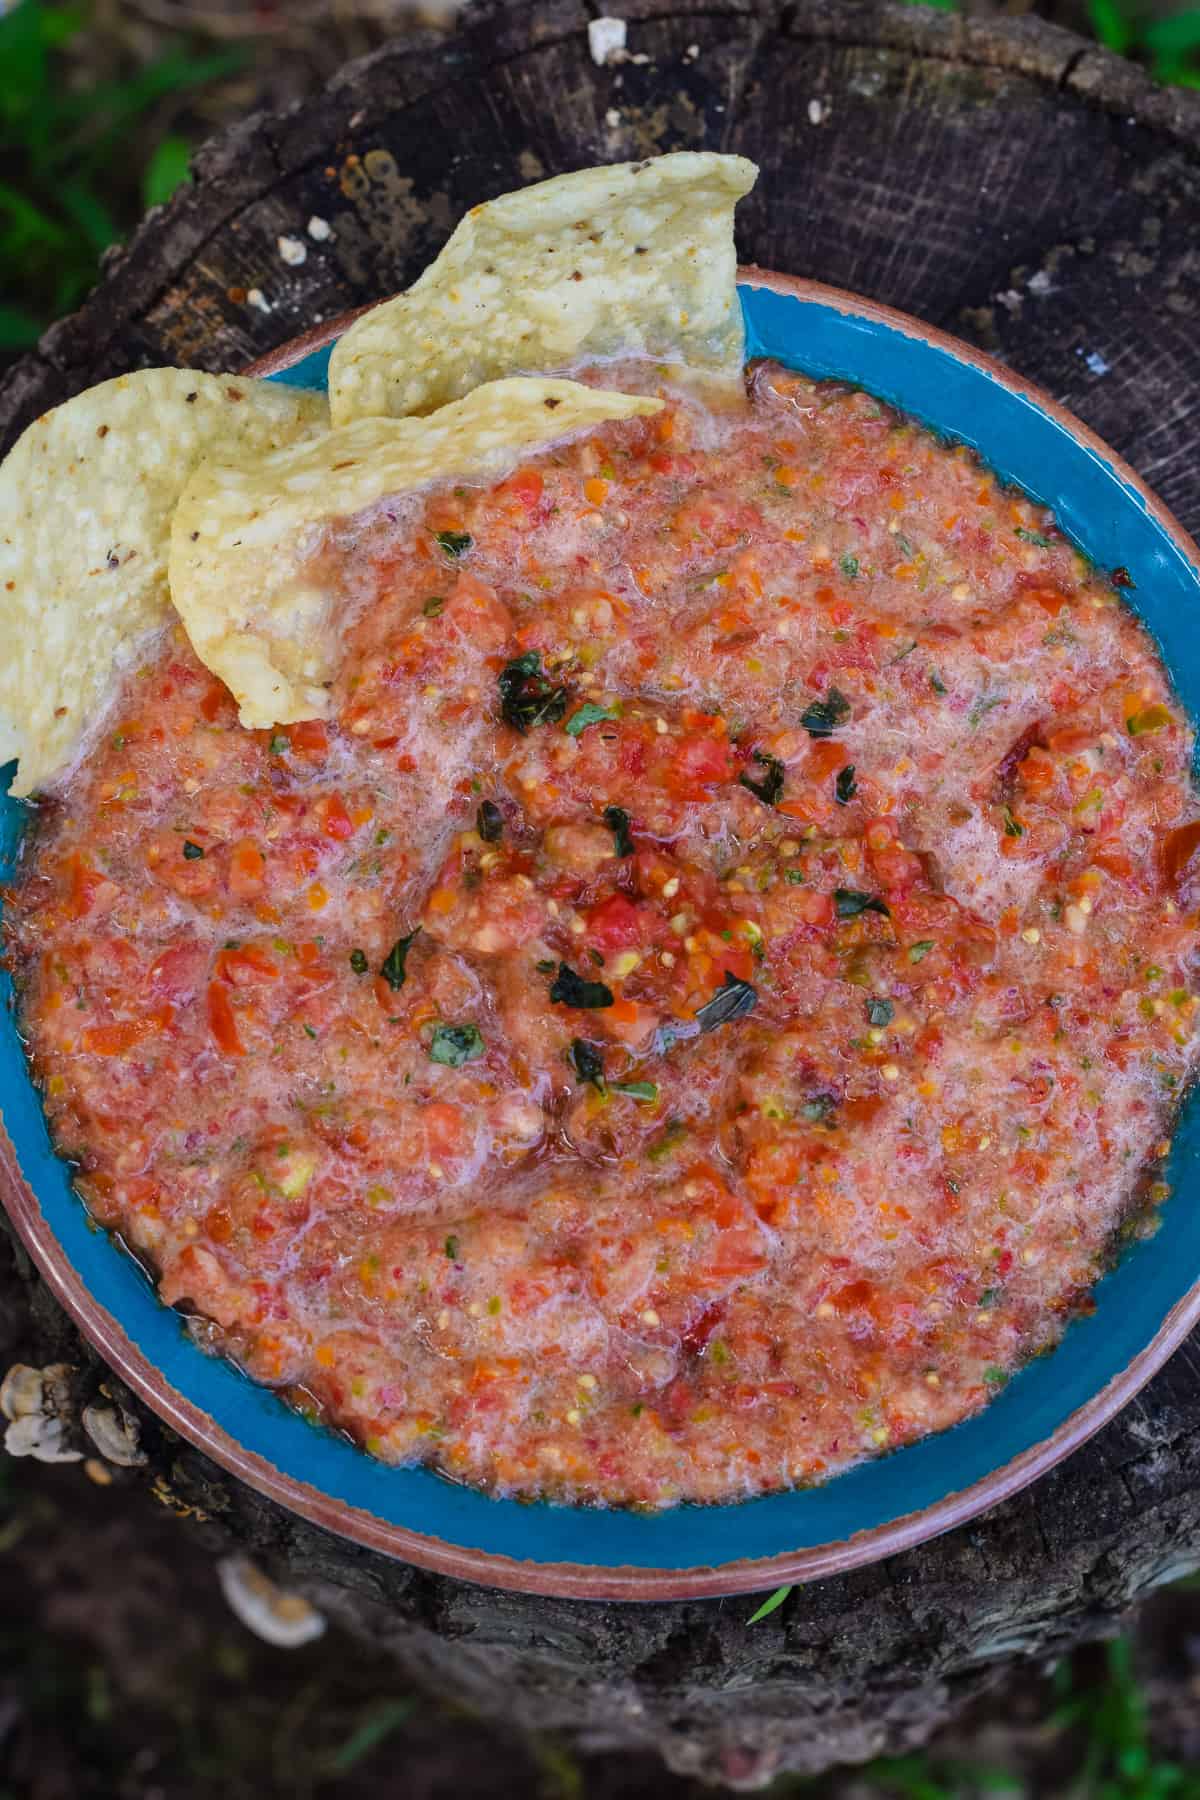
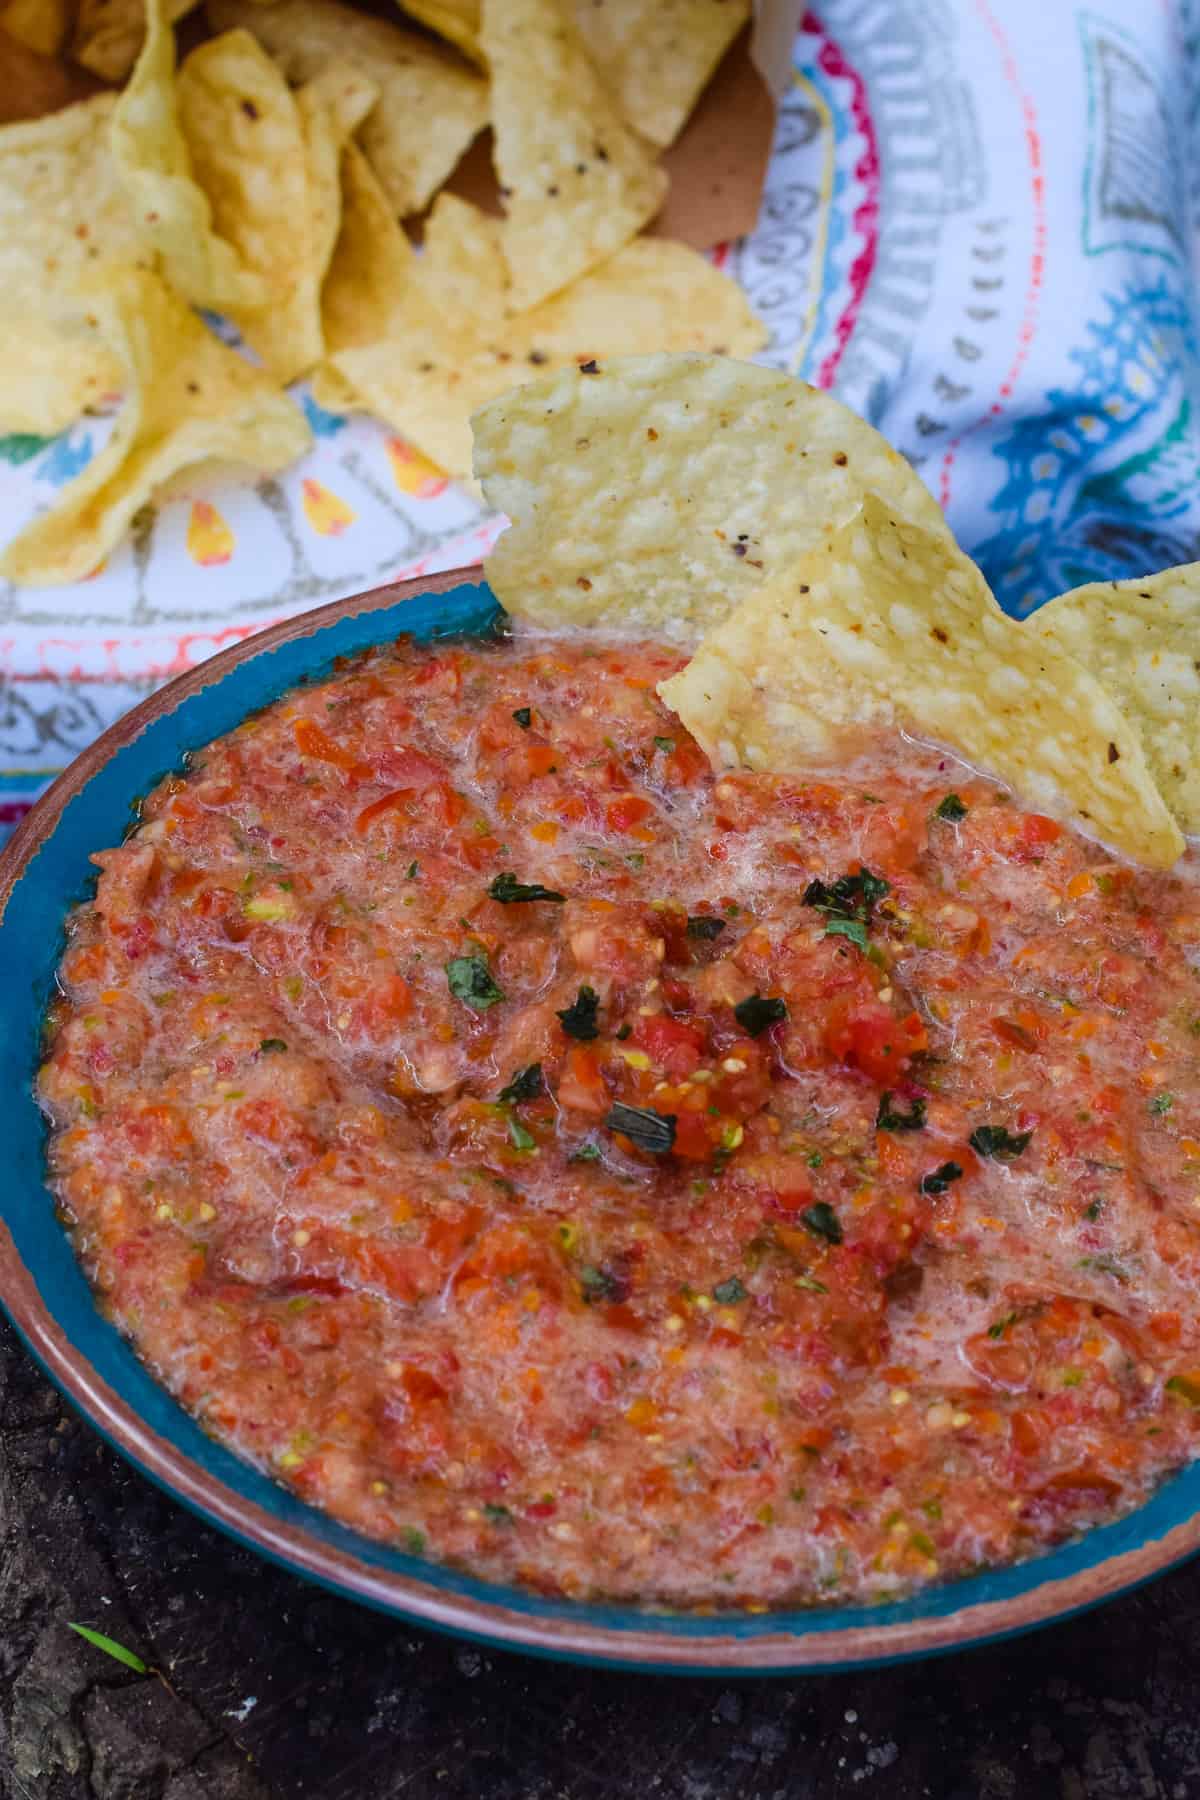
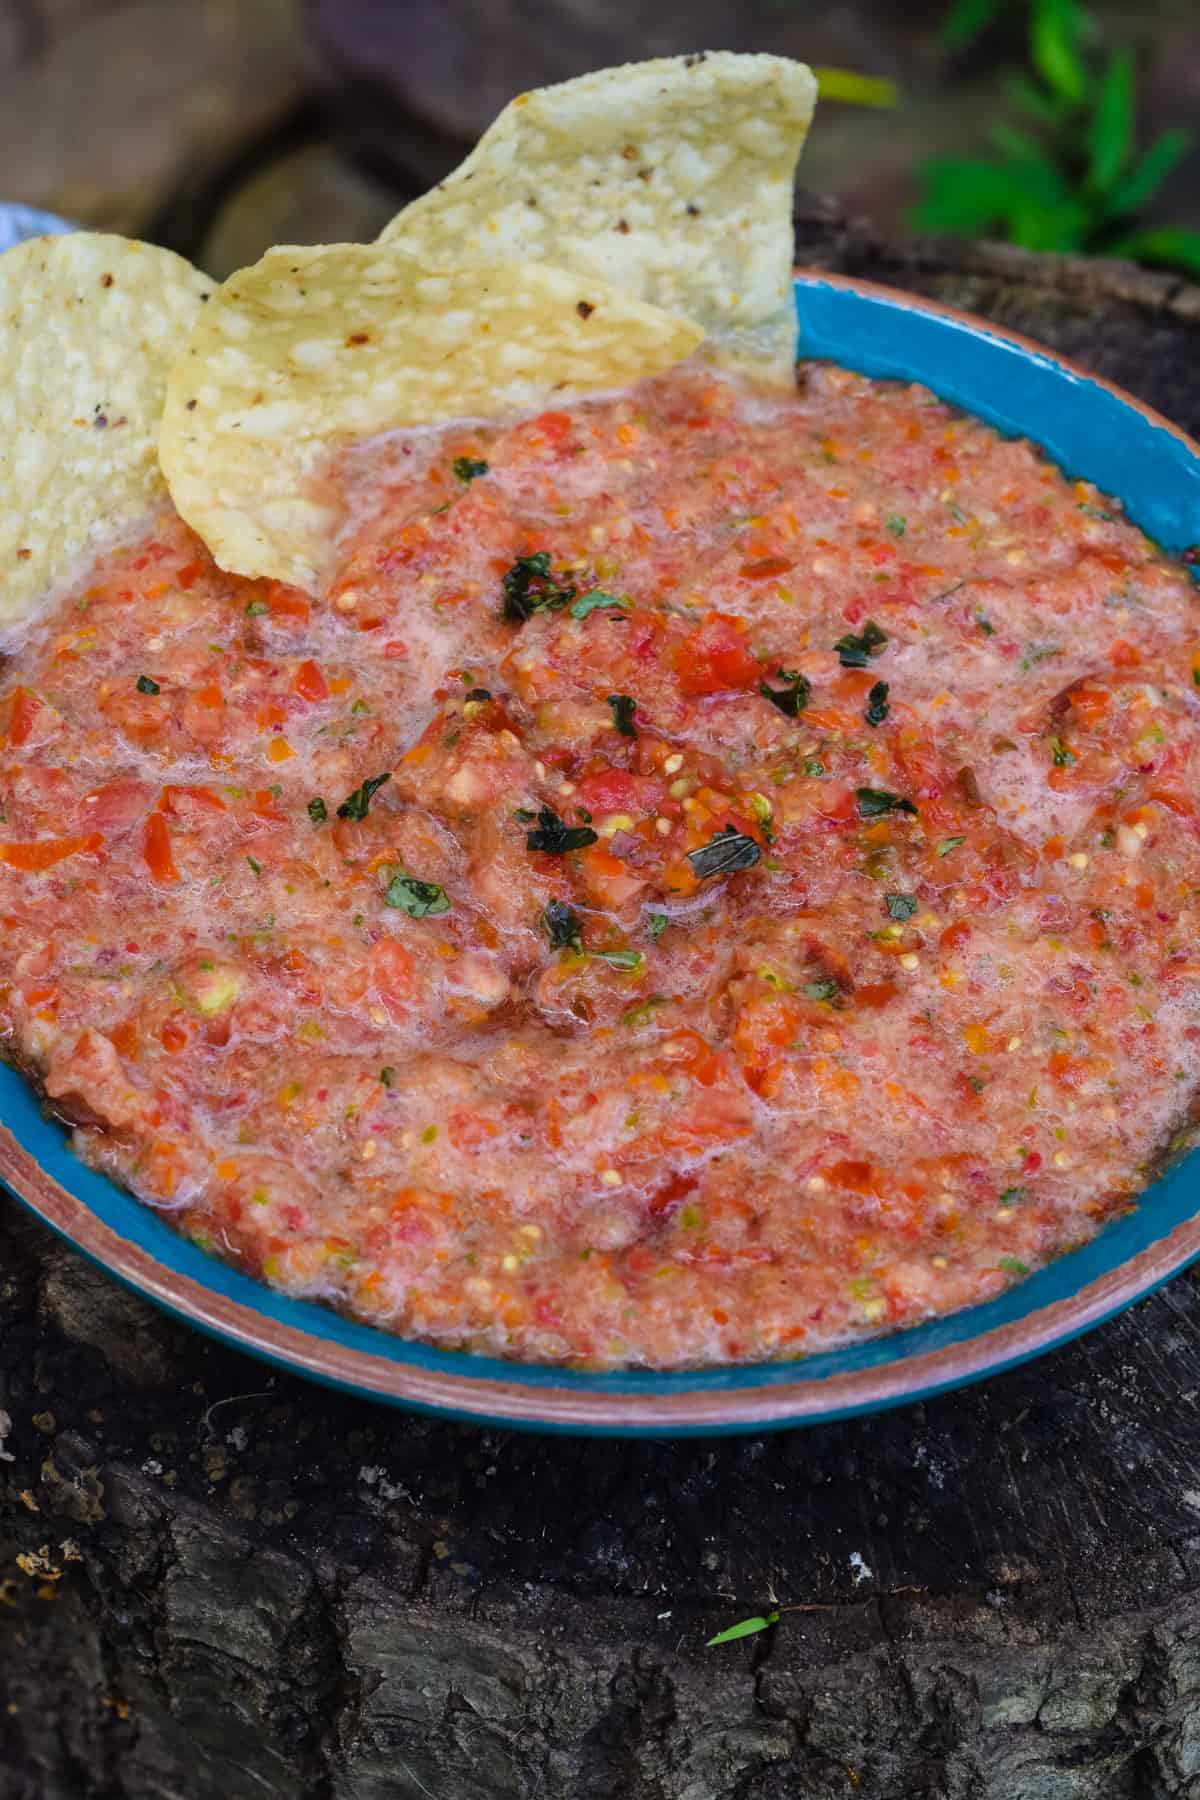
- Salsa with basil
- Mango Peach Salsa Recipe
Below, you’ll find the printable recipe. Enjoy!
Chicken and Hummus Loaded Nachos in a Sheet Pan

Make the most flavorful loaded nachos with chicken and roasted red pepper hummus, along with other favorite ingredients like cheese, tomatoes, avocado, and more.
- Blue and white tortilla chips
- 1 pouch Bush’s Roasted Red Pepper Hummus Made Easy
- 1 can Bush’s Garbanzos
- 2 chicken breasts (cooked and shredded)
- 1/2 cup Picante
- 1 lime (just a squeeze of juice)
- 1/2 cup white queso
- 1/2 medium red onion (minced)
- 4 oz. cheddar (shredded)
- 4 oz. Colby Jack (shredded)
- Tomatoes
- Avocado
- Sour cream
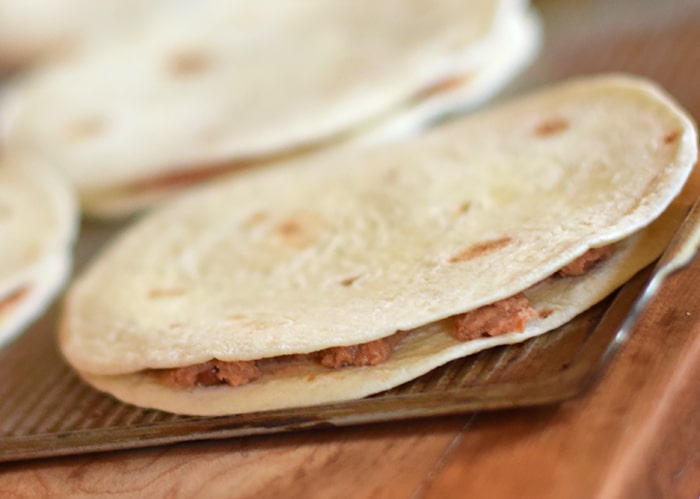
- Mix Bush’s Hummus Made Easy and Garbanzos, according to package directions.
- Layer a generous amount of blue and white tortilla chips on bottom of sheet pan.
- Add dollops of hummus around on top of tortilla chips.
- Mix cooked, shredded chicken with Picante and spread around on top as a third layer.
- Squeeze lime juice all around on chicken.
- Spoon white queso all around on nachos.
- Scatter minced red onion as yet another layer.
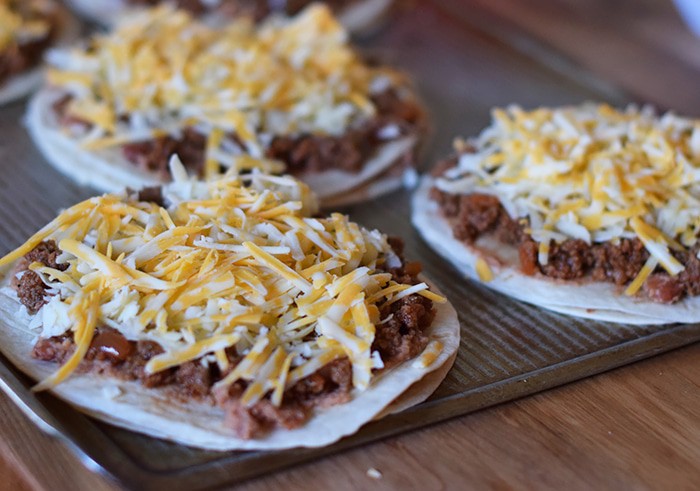
- Add shredded cheeses, spreading evenly across nachos.
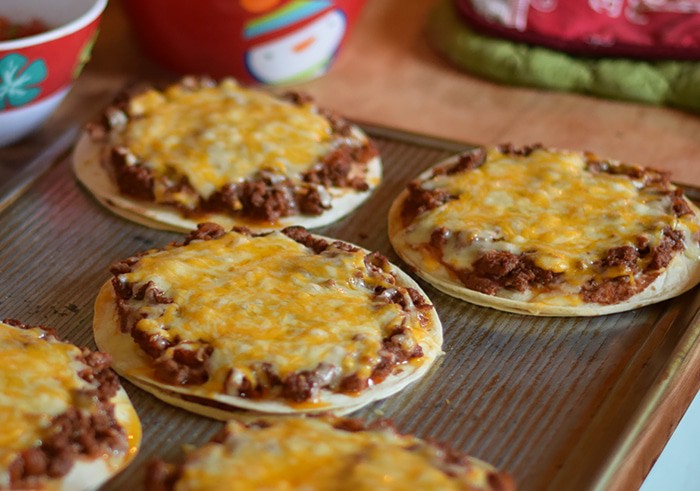
- Bake at 325° for about 10 minutes, maybe a little longer if cheese isn’t melted.
- Remove from oven and add your favorite toppings, like tomatoes, avocado, sour cream, and salsa.
- Serve and enjoy!
- Note: These nachos can also be refrigerated and later warmed back up in the oven; if warmed in the oven, it brings the crunchiness of the nachos right back. Yum!
Can’t make the nachos just yet? Go ahead and pin them for later! They’ll be waiting when the craving hits.
Also, note that you can follow the hashtag #HummusMadeEasy on social media for even more ideas, recipes, and inspiration surrounding Bush’s Hummus Made Easy.


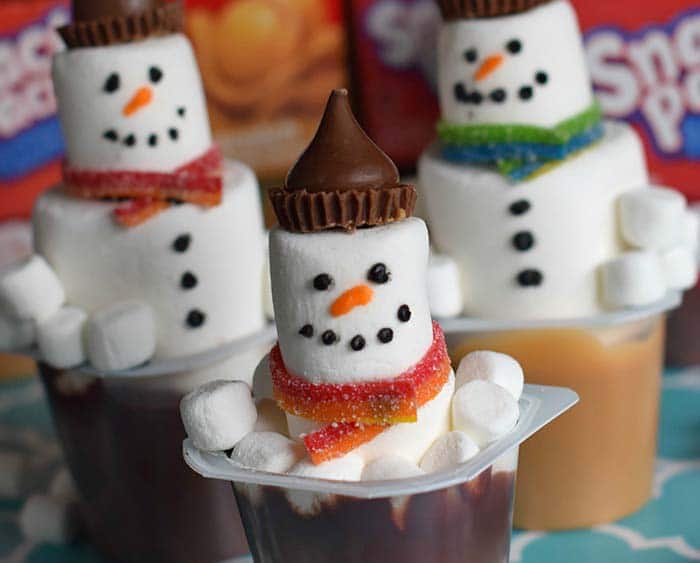
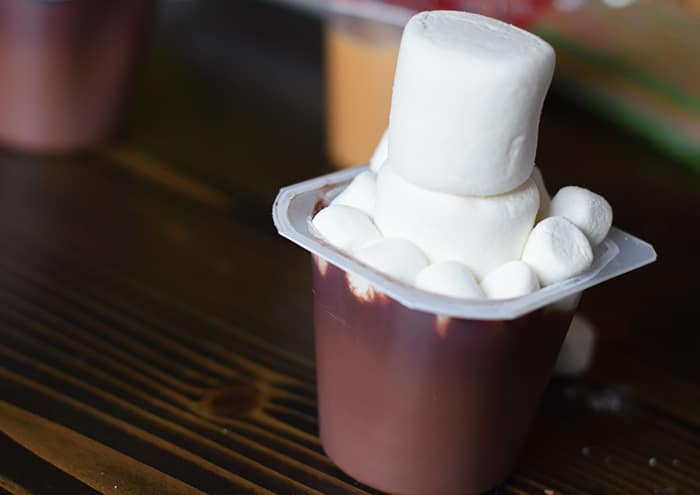
 Then add the marshmallow, pressing onto frosting.
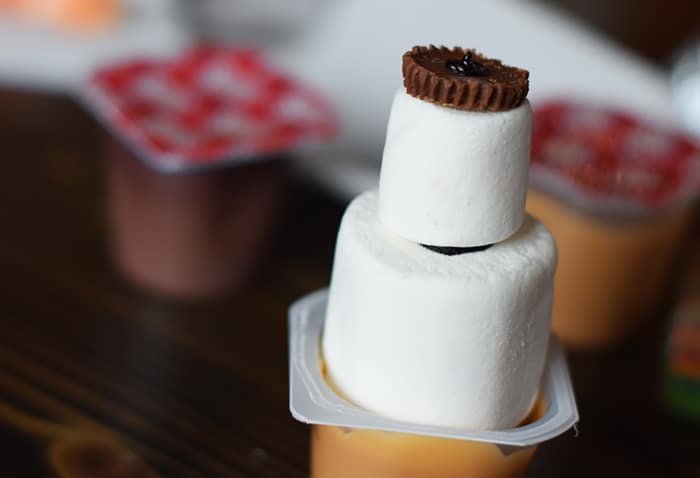
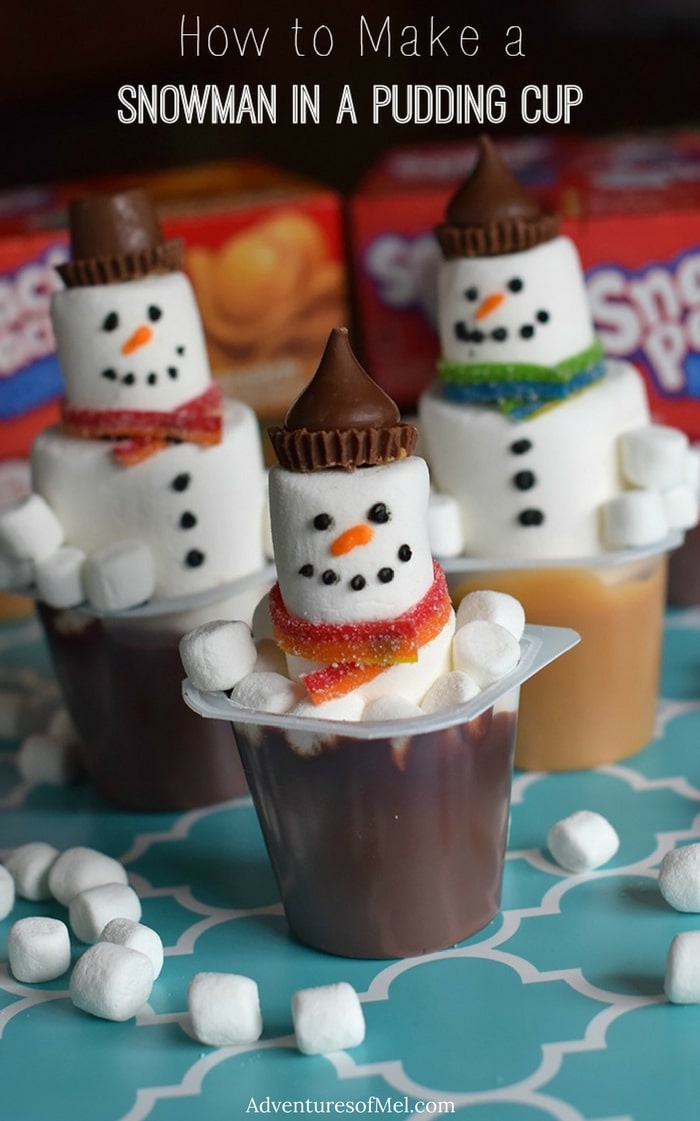
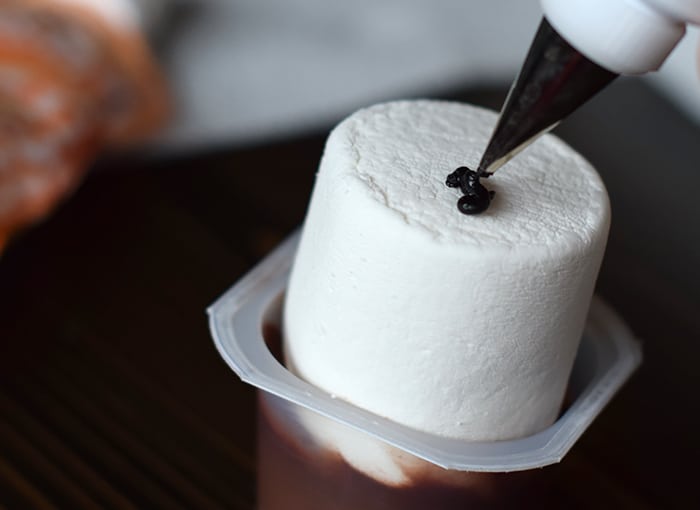
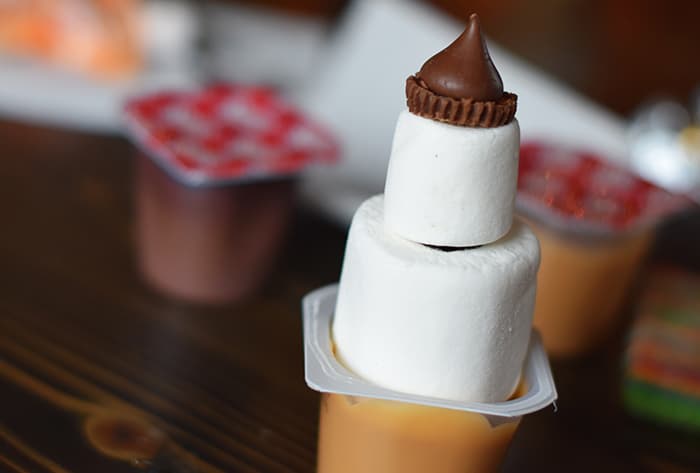 Use black frosting for coal eyes and a smile; orange frosting works well for a carrot nose. Add a scarf, using fruit rope or candy rope, with a dot of frosting to hold the scarf together. Black frosting makes cute little buttons down your snowman’s front.
 Jaden even added things like earmuffs (with mini marshmallows) and a tie to his snowmen.
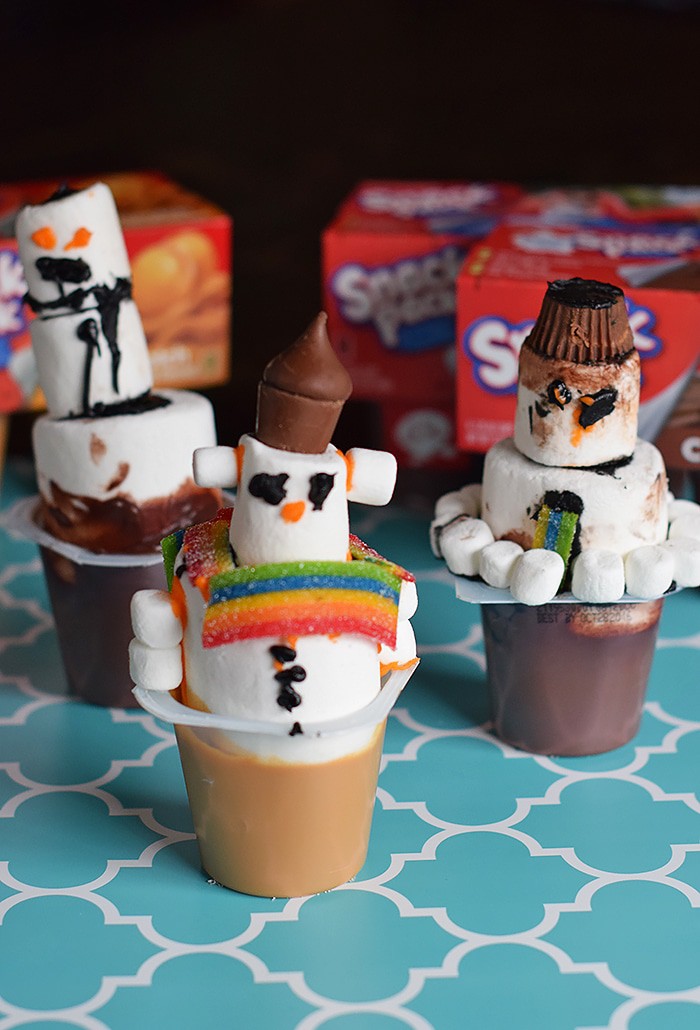
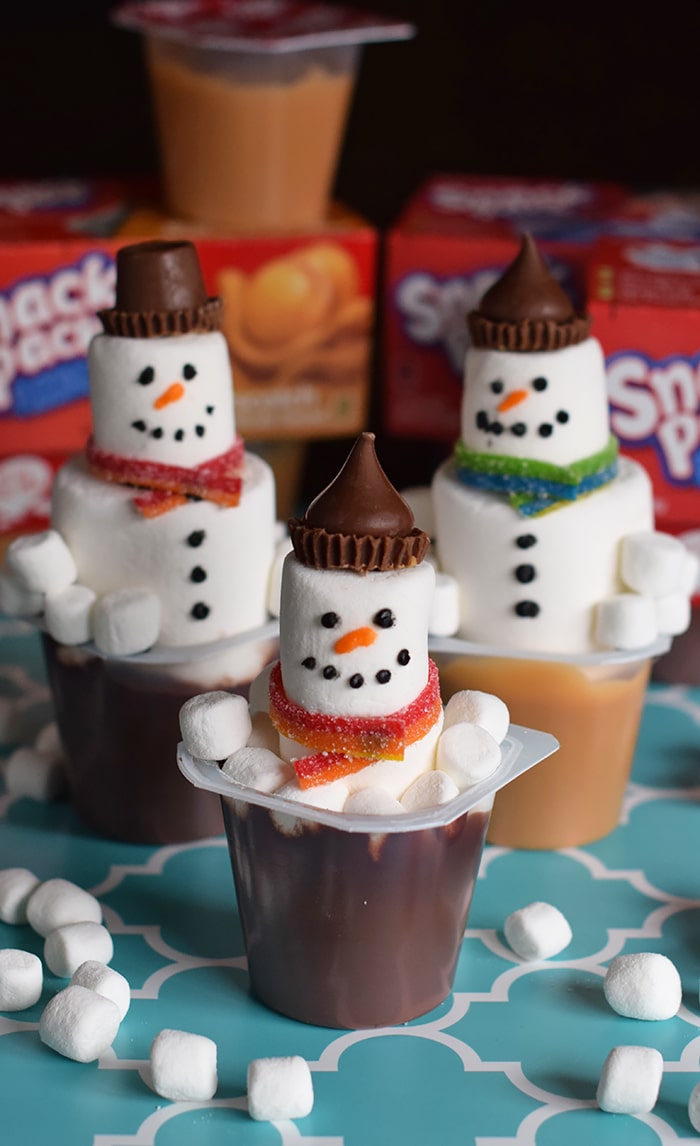
 Isn’t that what it’s all about? Spending time together, just enjoying the moment and making a fun memory that will last a lifetime. Oh and, of course, eating the results of your work when finished. Eating as you go can be quite fun too!
 This winter, take a moment to slow down and enjoy a tasty and fun treat with the kids. Snack Pack® comes in a variety of flavors and offers endless mix-in opportunities the kids can help prepare. Each serving of Snack Pack is fortified with as much calcium as an 8-oz glass of milk,* so you can feel good about serving your kids Snack Pack. For mix-in inspiration, visit Snack Pack on Pinterest (