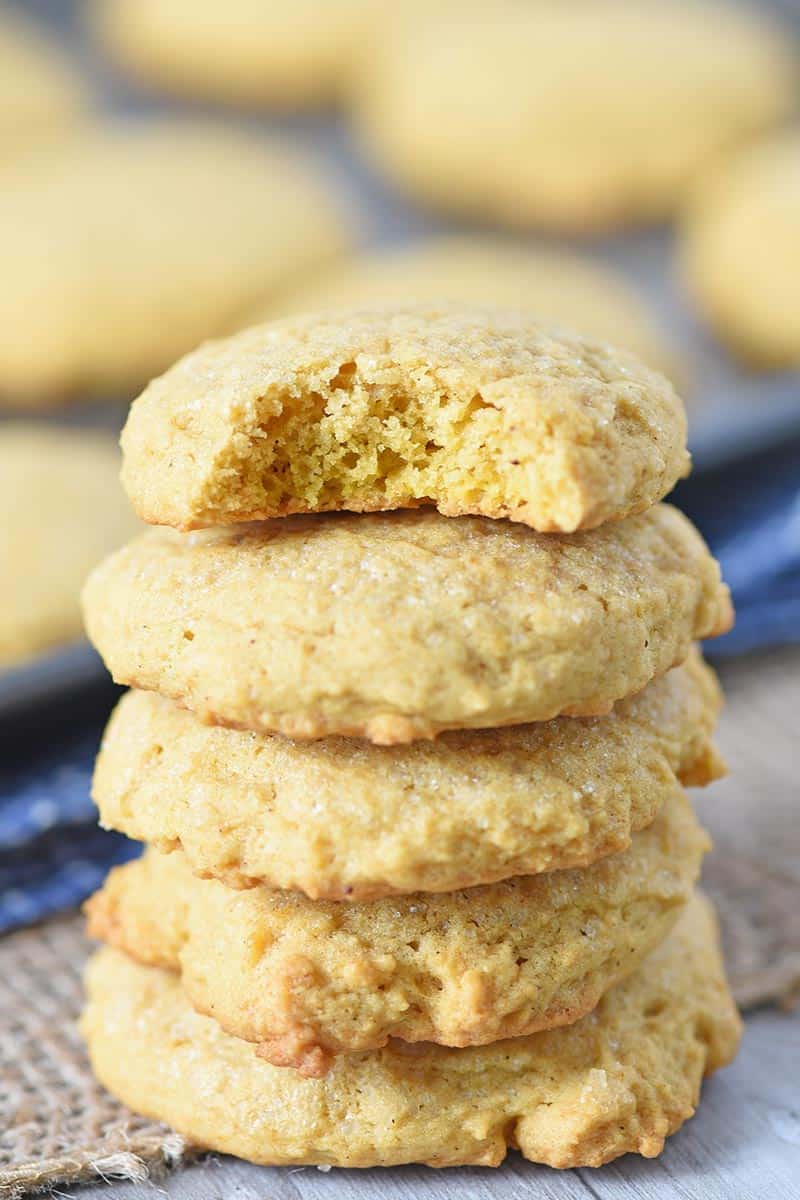
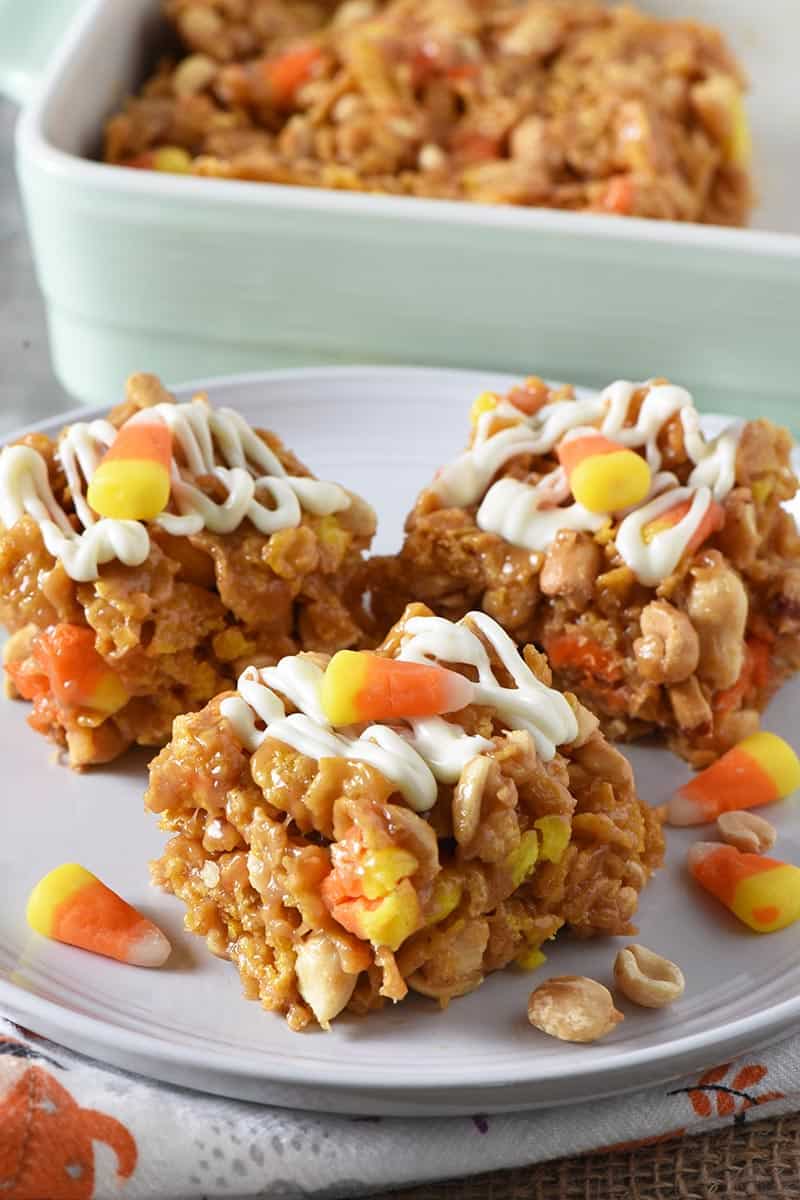
Mix up a batch of Corn Flake bars with peanut butter, marshmallows, peanuts, and candy corn. Quick and easy treats you can make in a jiffy; they make the best Halloween treats for kids!
If you love candy corn and peanuts, peanut butter cereal bars are another really yummy treat with that same sweet and salty flavor. They’re also chewy, which I don’t know why, but I love chewy when it comes to sweets.
There are a few reasons why I love this recipe and why I love to make them in the fall.
Why You’ll Love These Treats As Much As I Do
- They’re no bake. I mean, who doesn’t love a good no bake snack, especially during one of the busiest seasons of the year?
- Like my favorite chocolate-y granola bars, these no bake snacks are super easy to make.
- They’ll fit the bill for both fall and Halloween festivities.
- You can easily add a little pizzazz by drizzling a little chocolate or white chocolate on top.
- They’re a fun snack to make with kids.
- They make a great snack to take on outdoor adventures together, like kayaking the Jacks Fork or hiking with your family.
Ingredient Notes
- Corn Flakes – You can use any brand of corn flakes you prefer. You can even try making these treats with other types of cereal, like Cheerios, Rice Krispies, etc. The texture will be quite a bit different, but it’s really up to you to decide what texture you want for your cereal bars.
- Peanuts – I’d recommend using dry roasted or cocktail peanuts for the best flavor.
- Candy corn – If you want to make these candy corn bars at other times of the year, you might pick up a few extra bags so you have them on hand.
- Creamy peanut butter – Yes, you can use crunchy peanut butter instead; it’ll just add a little more crunch to your treats.
- Light corn syrup
- White chocolate melts – You can use melts or white chocolate chips. Either one will work.
You’ll find a complete ingredient list with measurements in the recipe card below.
How to Make Corn Flake Bars
There are only a few steps to making these no bake easy desserts. Before you get started, be sure to grease an 8×8 baking dish with cooking spray.
Then mix up the treats…
- Start by mixing together the cereal, peanuts, and candy corn in a large mixing bowl. That way you’re ready to go after you’ve cooked your sticky syrup mixture.

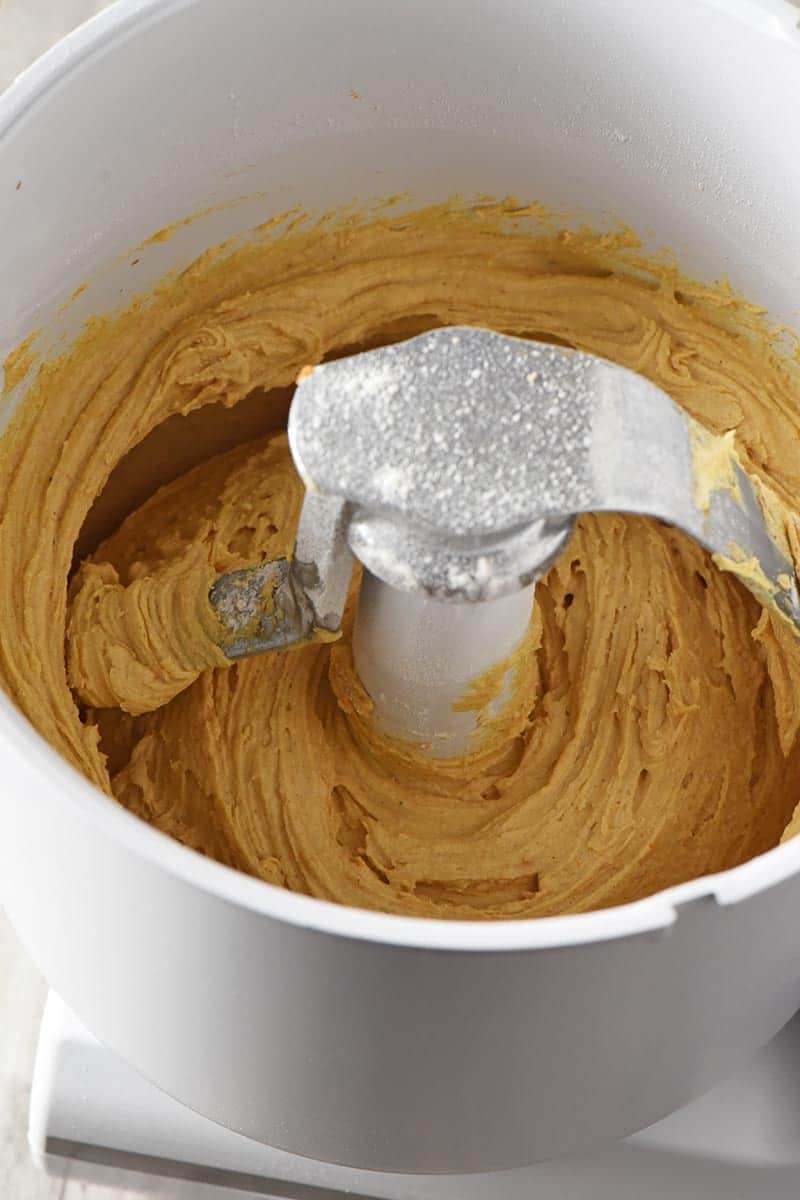
- Melt together the peanut butter and corn syrup in a saucepan on the stove, constantly stirring to keep it from scorching on the bottom of the pan. Cook for about 5 to 10 minutes. The peanut butter and corn syrup will melt together and form more of a syrupy liquid.
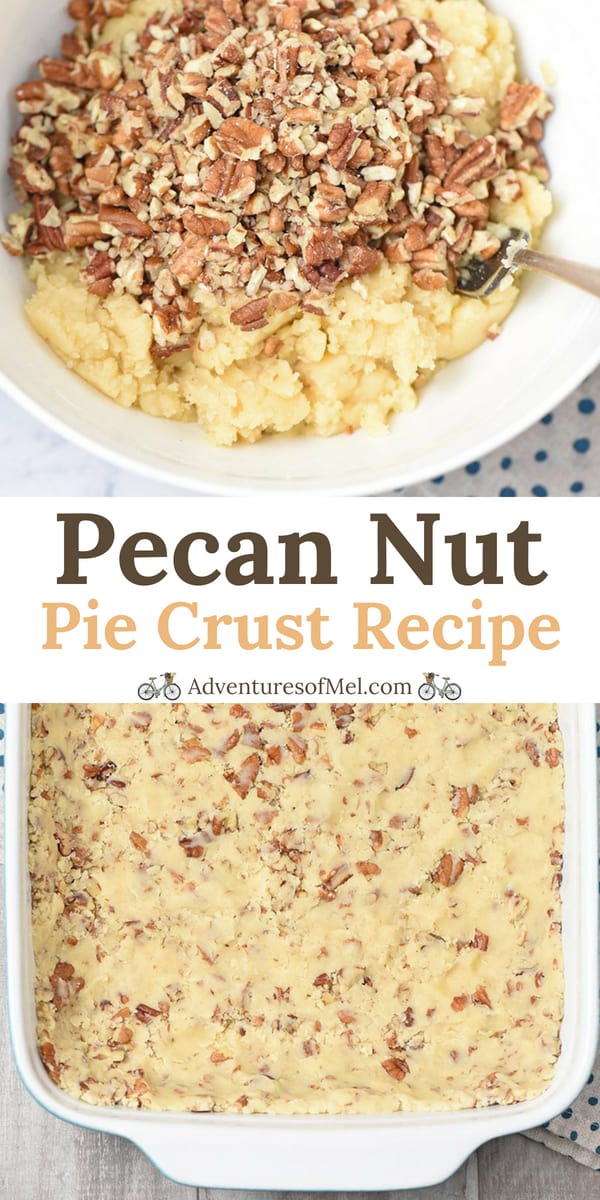
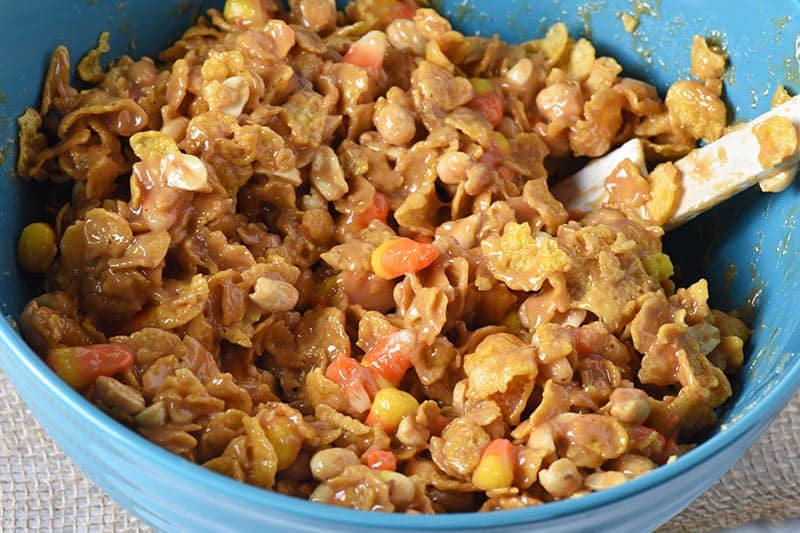
- Remove the peanut butter mixture from the stove, give it a good stir, and pour it over the cereal mixture.
- Stir everything together really well, making sure all of your cereal, peanuts, and candy corn are coated with the peanut butter syrup.
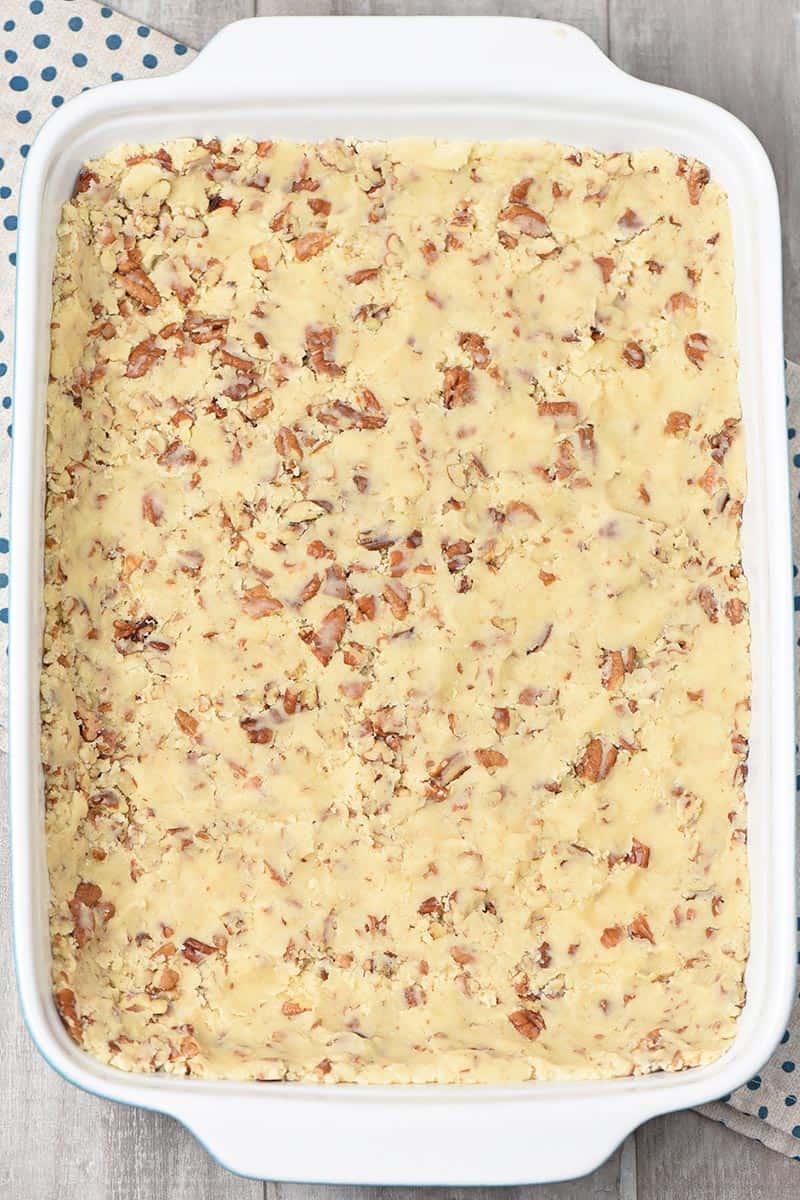
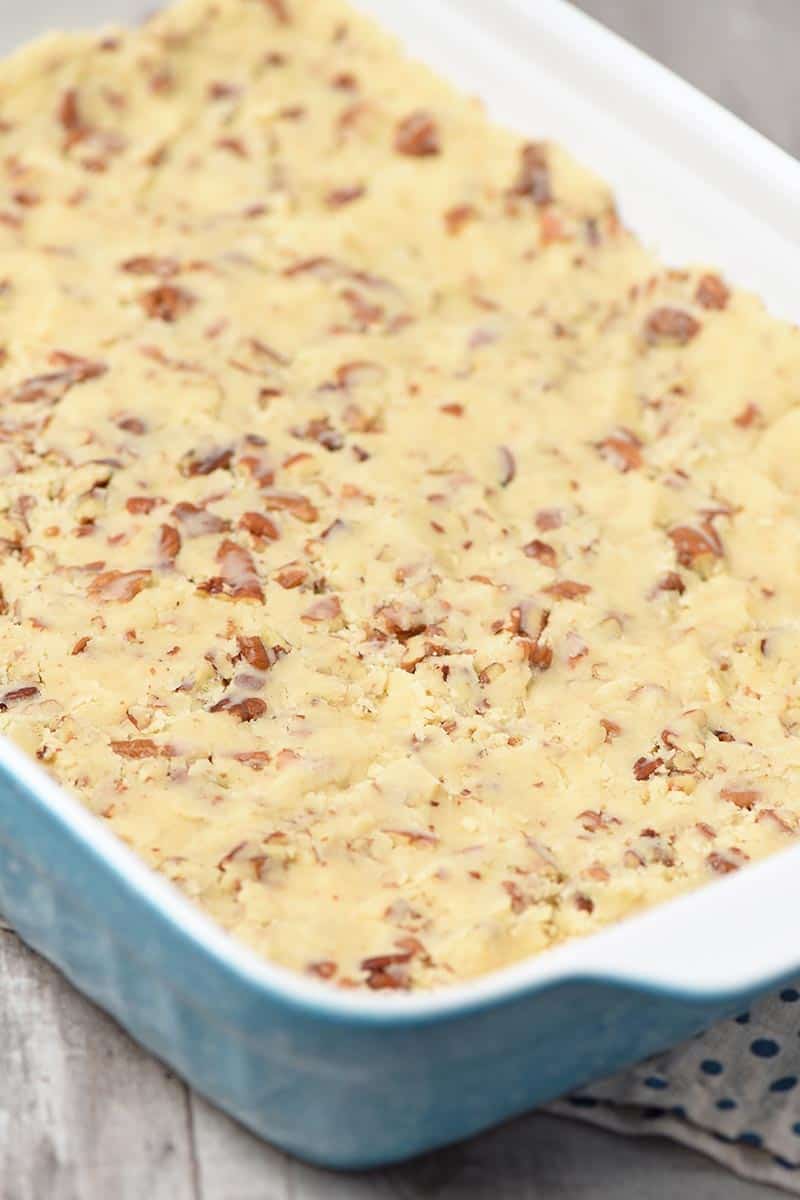
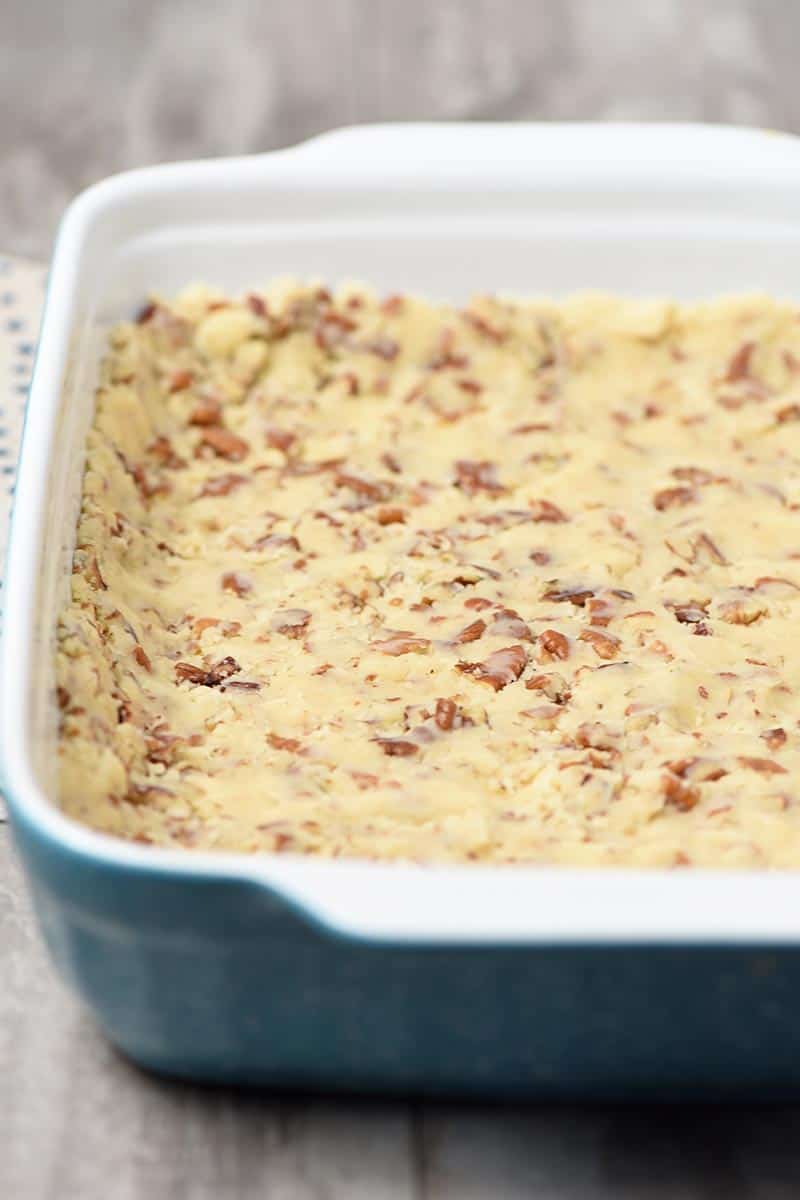
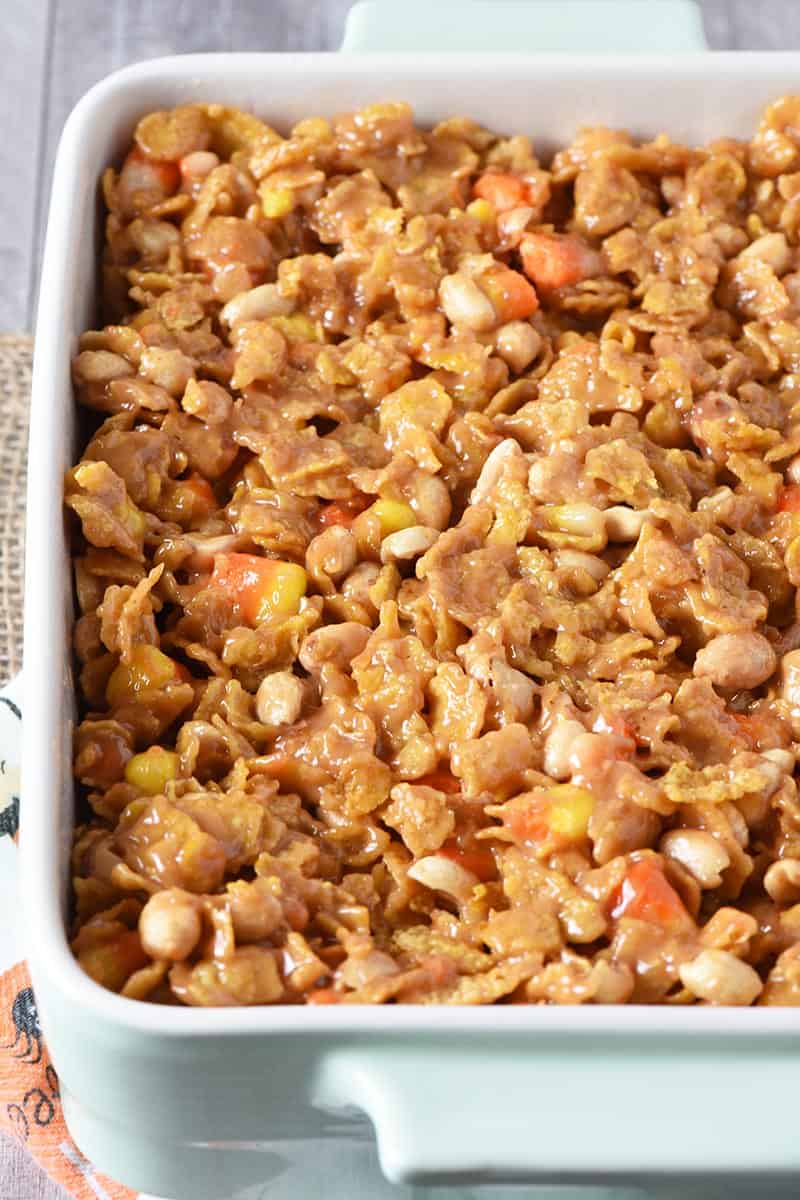
- Put the mixture into the greased dish, and pat it down really well. Allow your pan of no bake snacks to cool… You can even put it in the fridge if you’d like it to cool quicker.
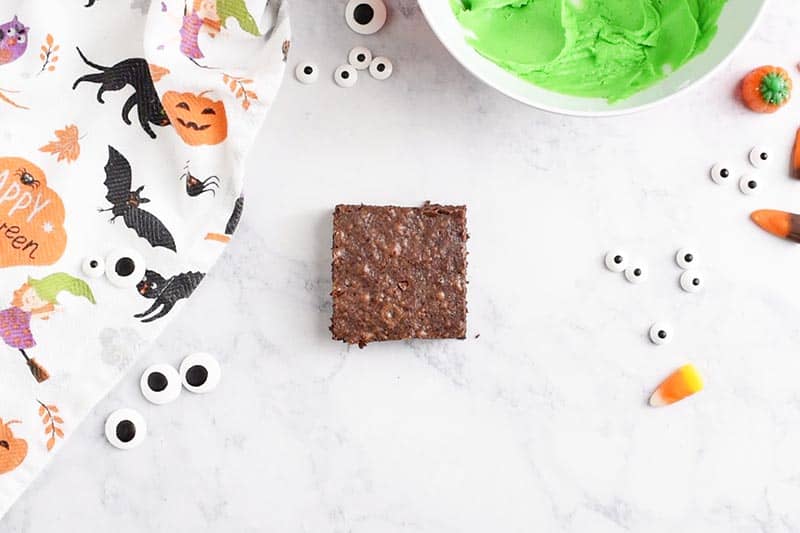
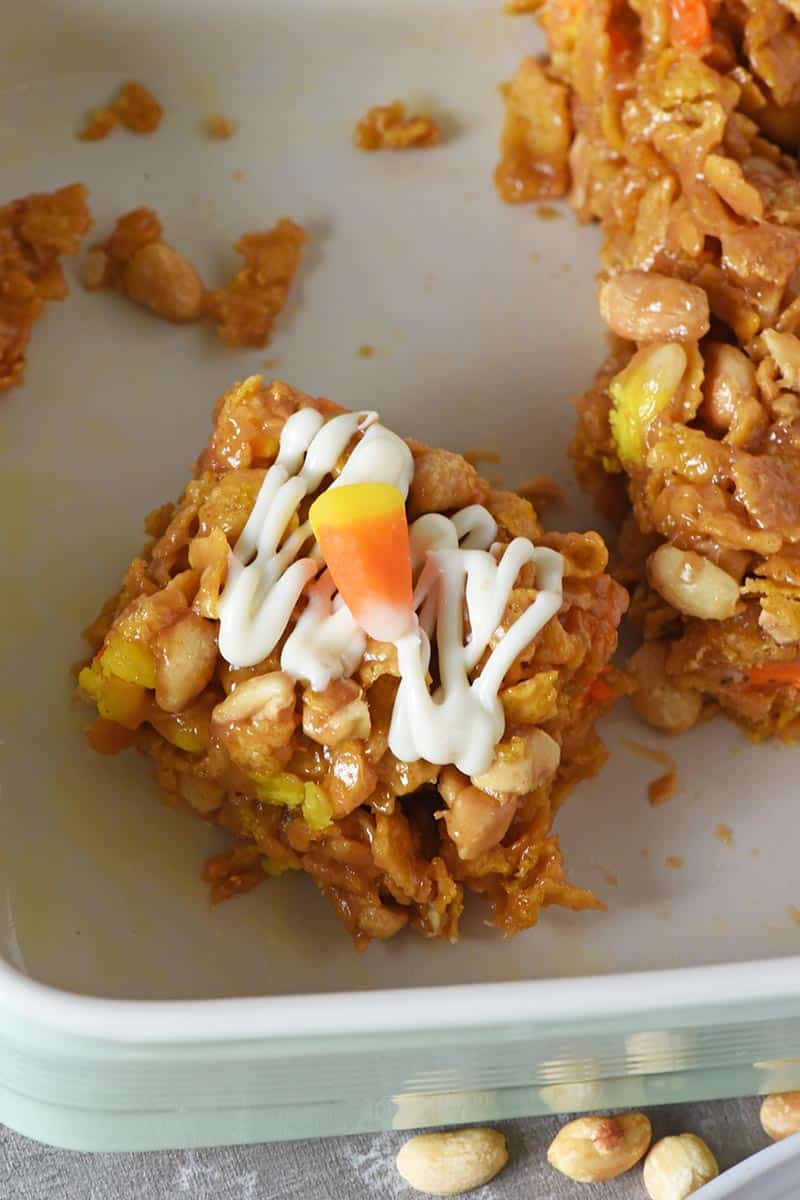
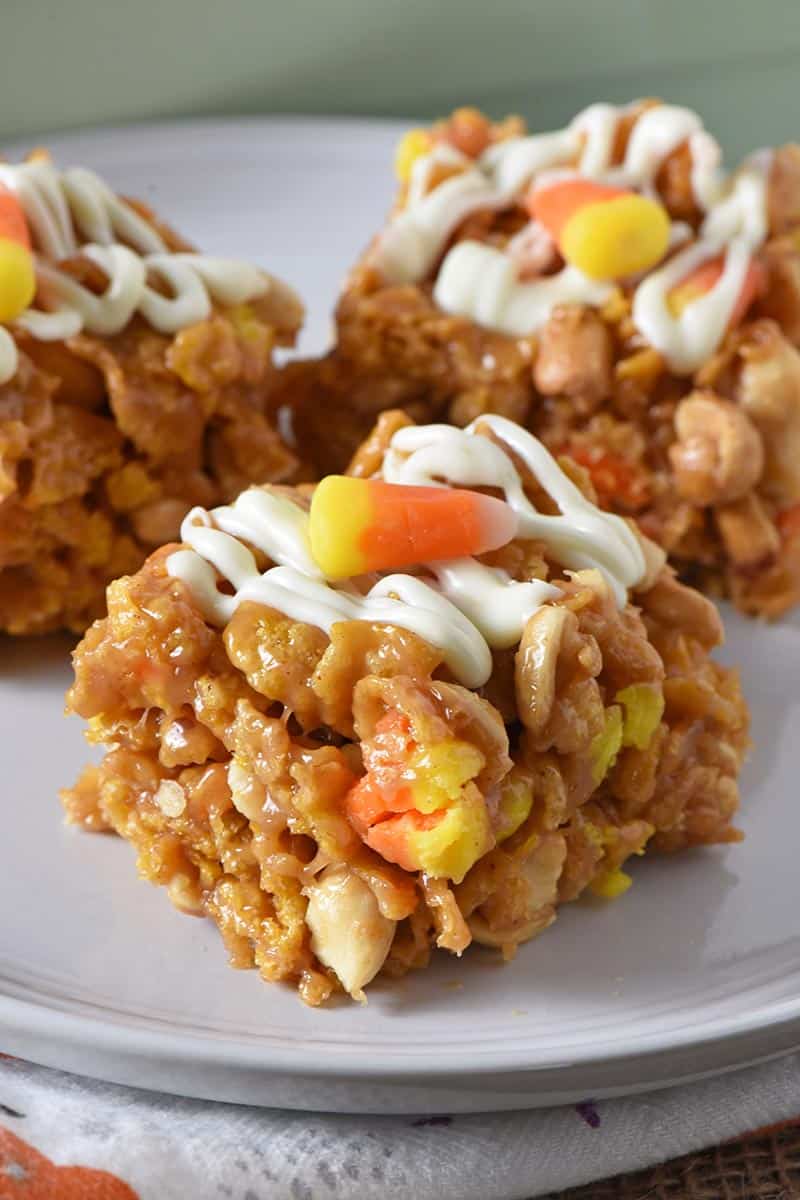
- Once the bars have cooled, go ahead and slice them into approximately 9 bars. Then drizzle with melted white chocolate, and decorate the top with candy corn!
I actually drizzled white chocolate on our no bake cereal bars because I love how it complements the flavors of both the peanuts and the candy corn. It’s so delicious!
Expert Tips and Recipe FAQ’s
Yes, you can melt together the peanut butter and corn syrup in a microwave-safe bowl in the microwave. Just cook the mixture on High in 15-second increments, stirring after every cooking cycle, ’til everything is melted. The peanut butter and corn syrup will eventually melt together and form a syrupy liquid.
They shouldn’t be falling apart, but it might be that your cereal bars weren’t pressed down into the pan as firmly as they needed to be. You want to press them firmly enough to compact the treats but not so much that it causes the treats to be completely dense. It’s kind of a balance. It’ll also help to cool the treats before you try to eat them; warm cereal bars tend to fall apart easier.
Store them in an airtight container at room temperature. You can also freeze them if you want to make them ahead; just be sure to place them in an airtight container or bag, so they don’t get freezer burn.
More Quick and Easy Treat Recipes:
- Easy Rice Krispie treats
- Fruity Pebbles Treats
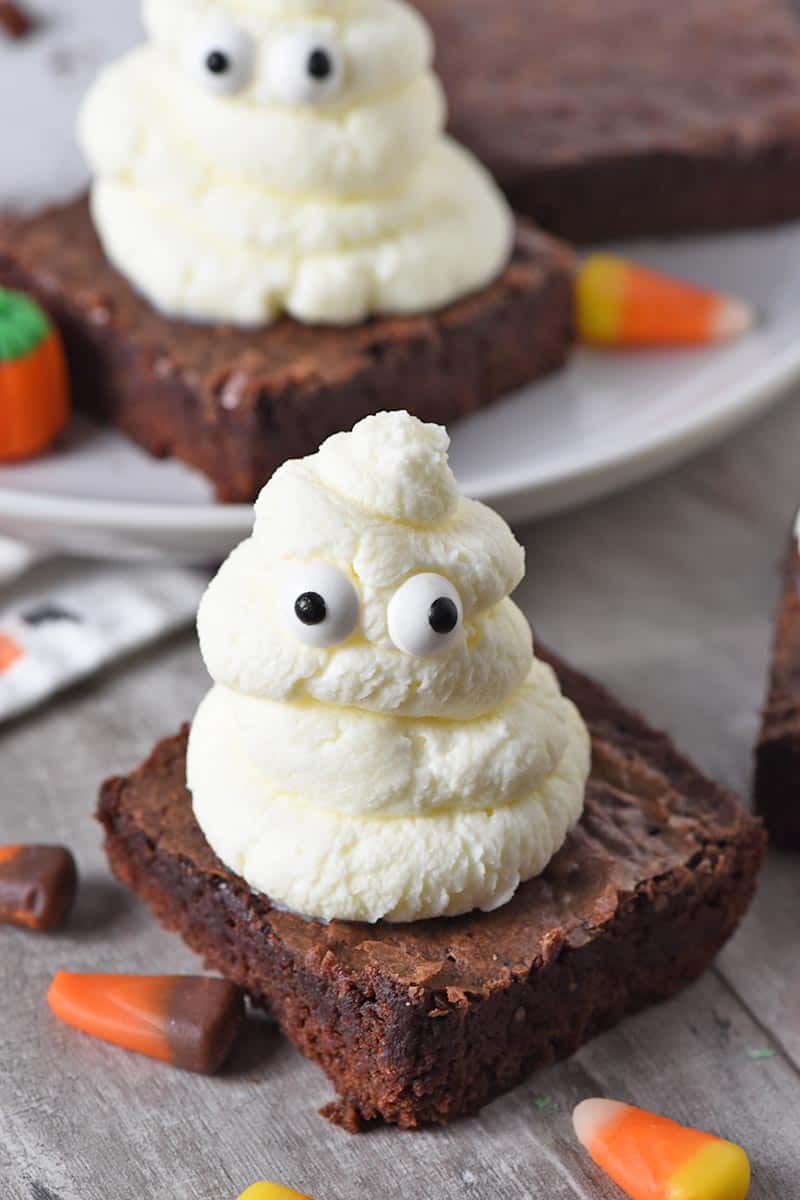
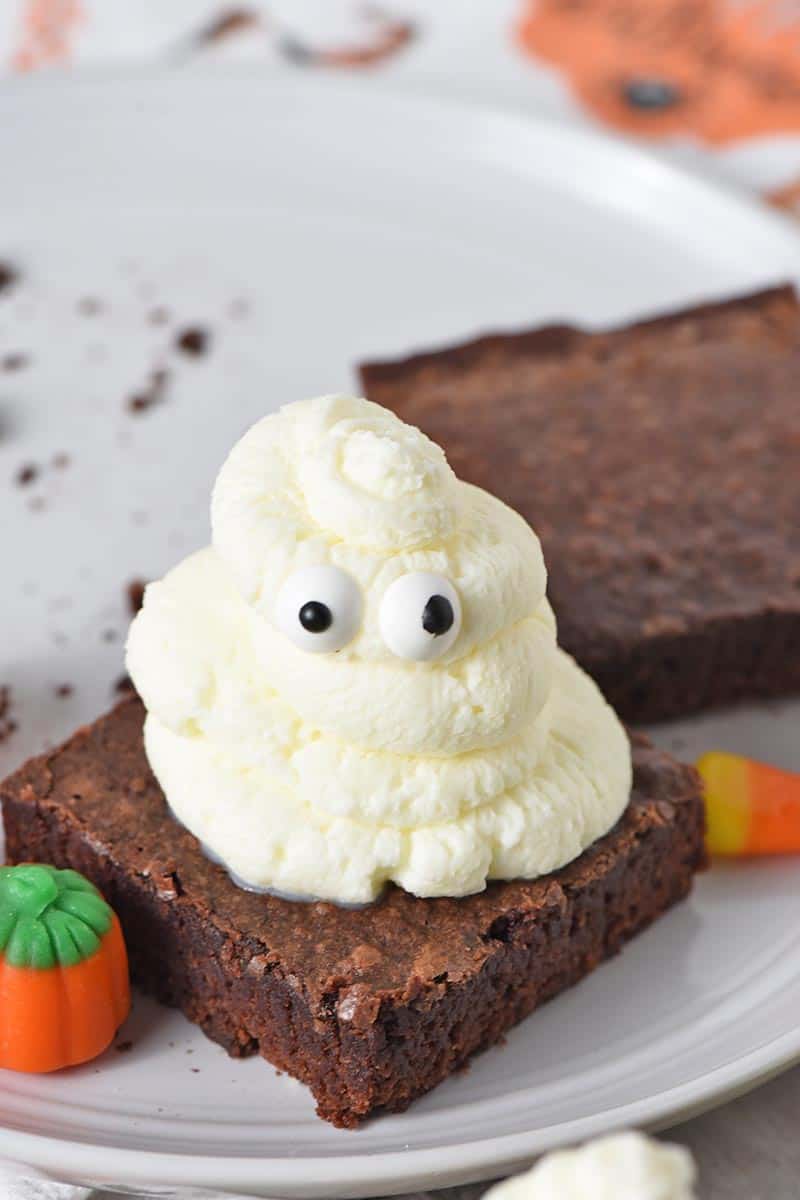
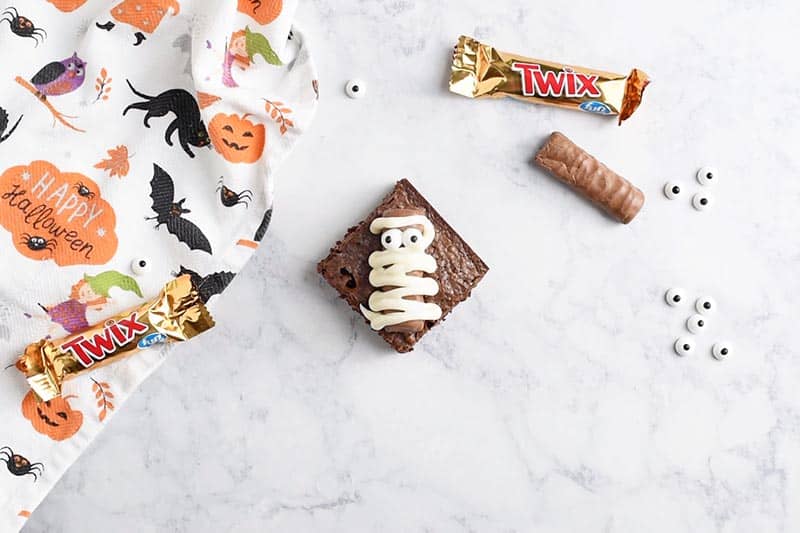
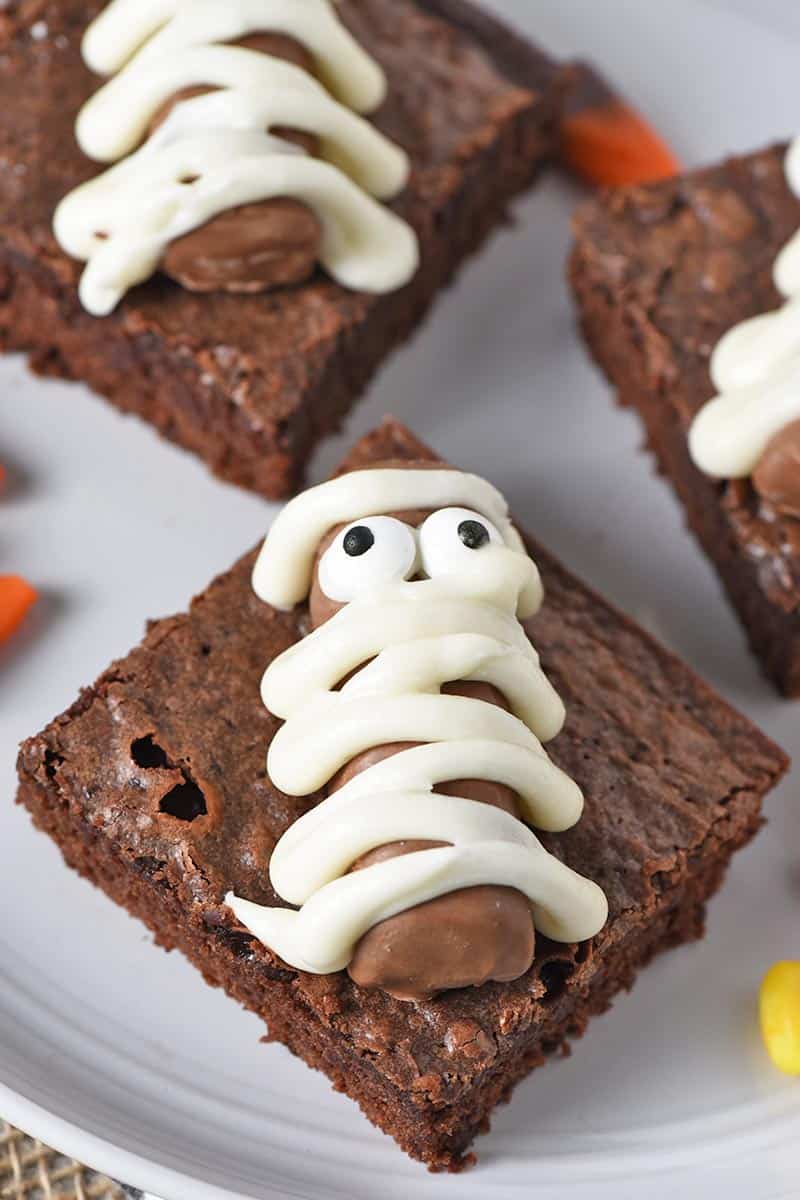
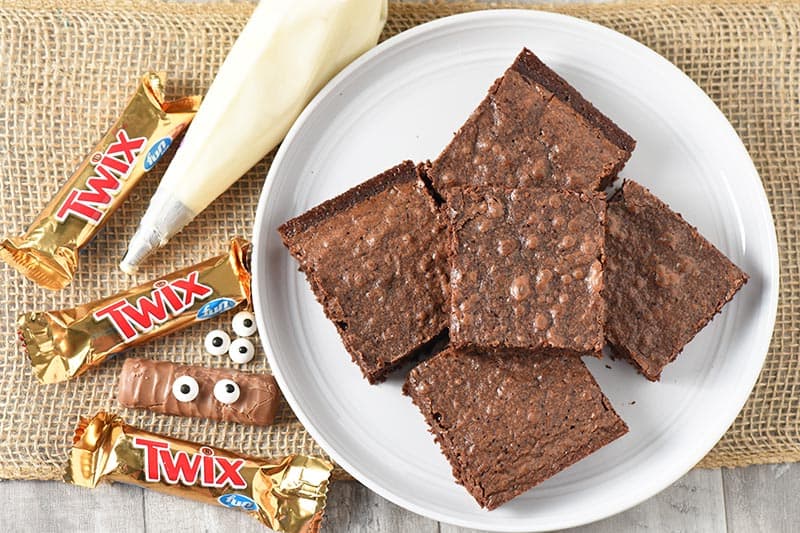
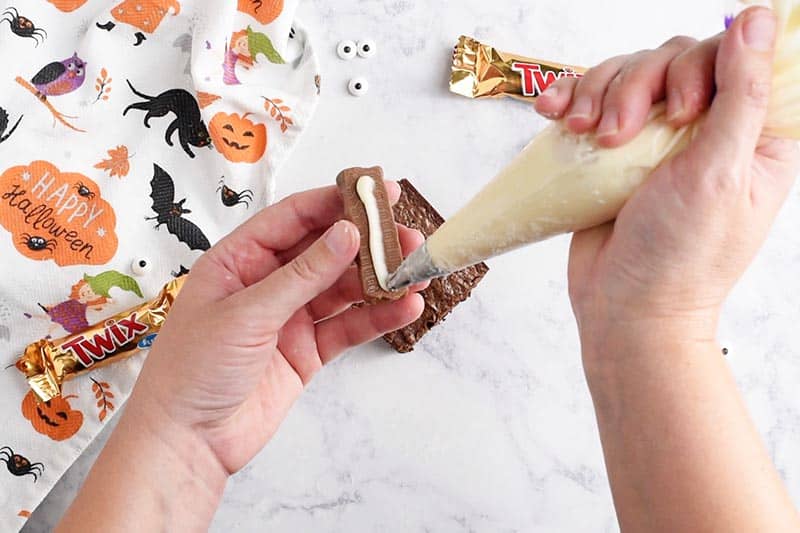
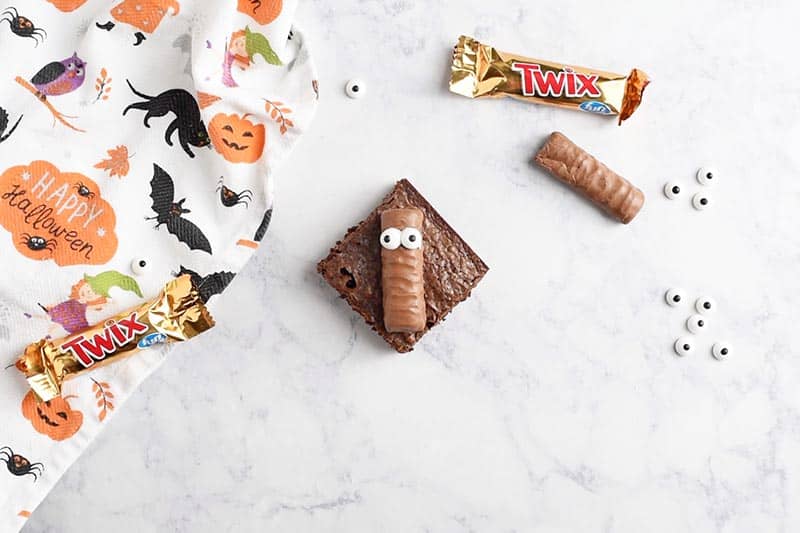
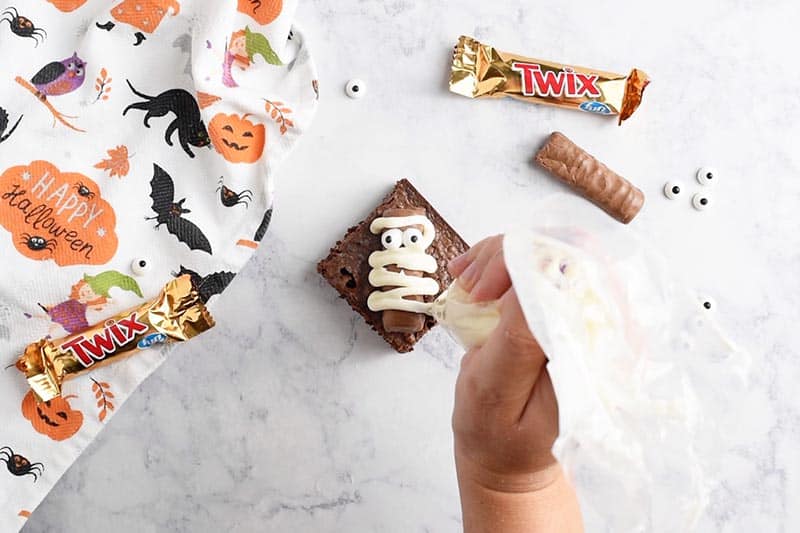
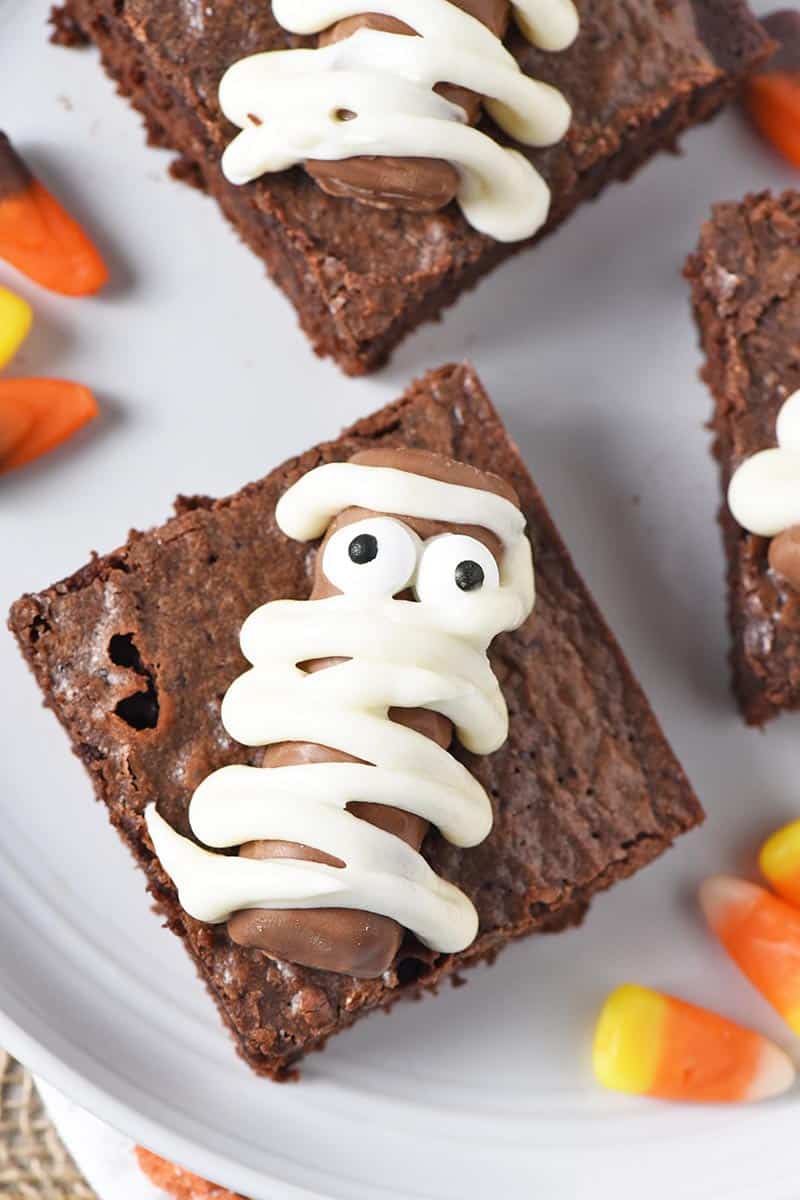
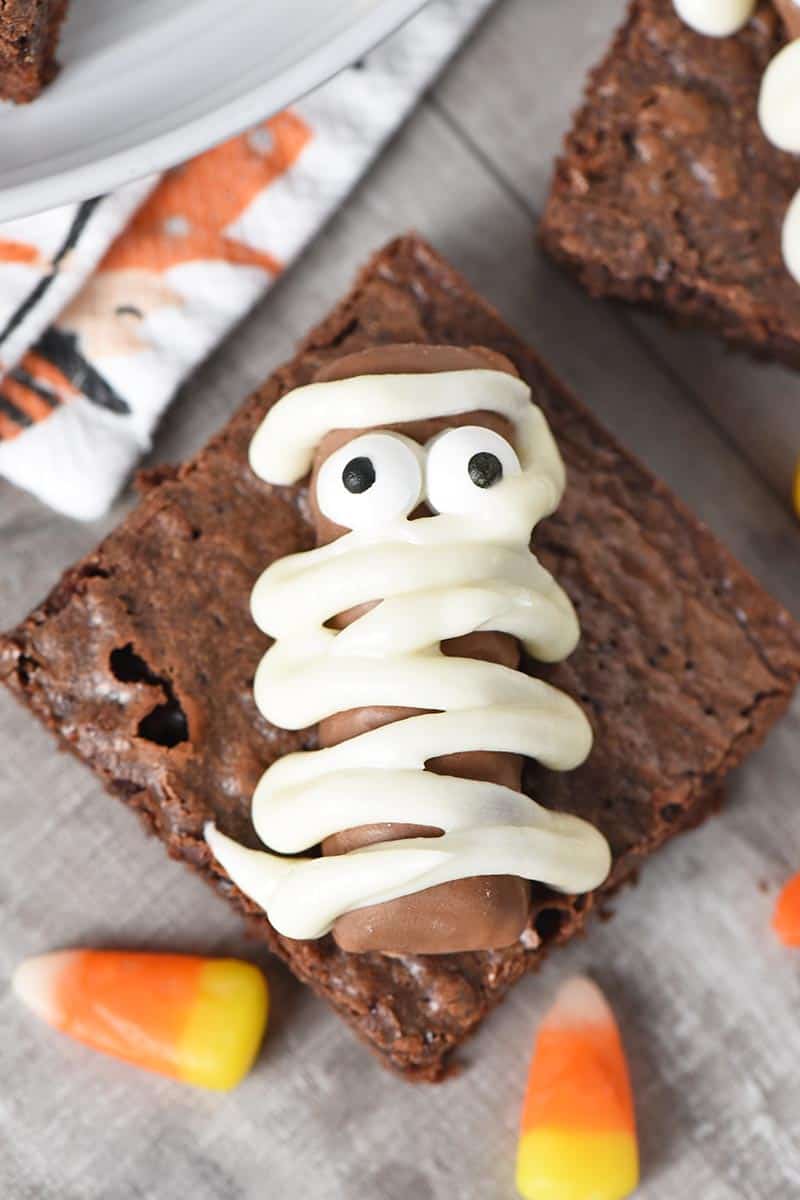
- Mummy Halloween brownies
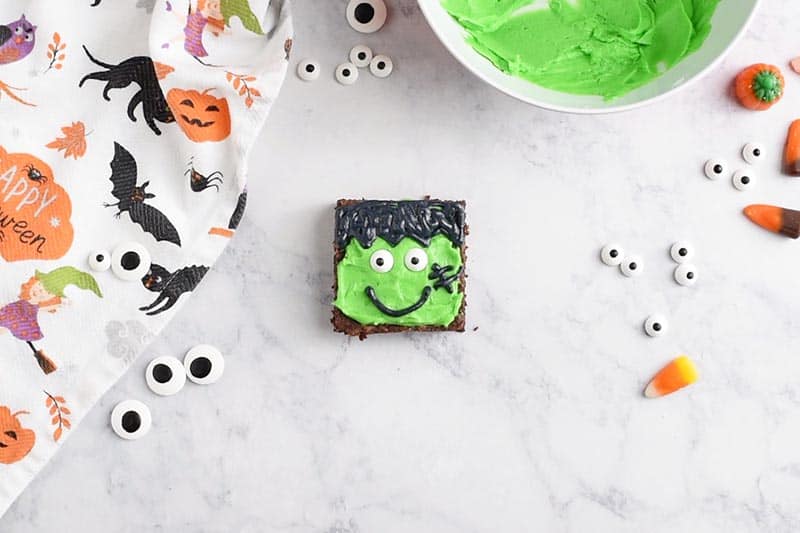
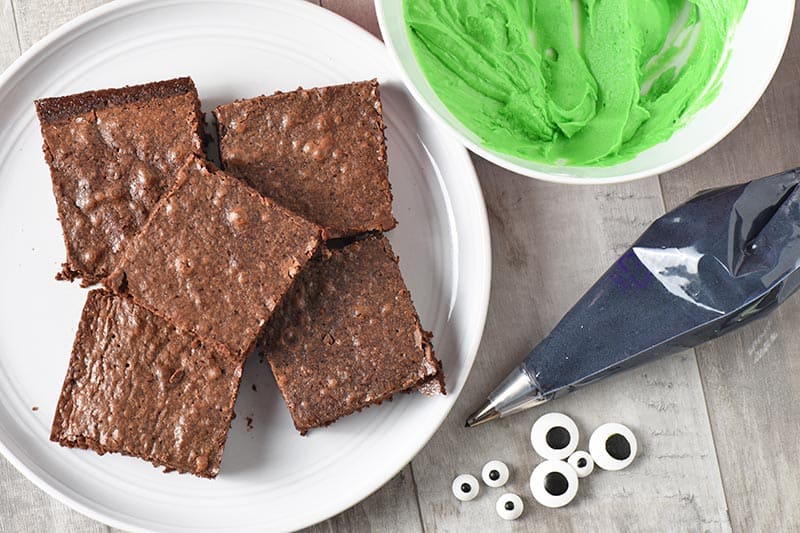
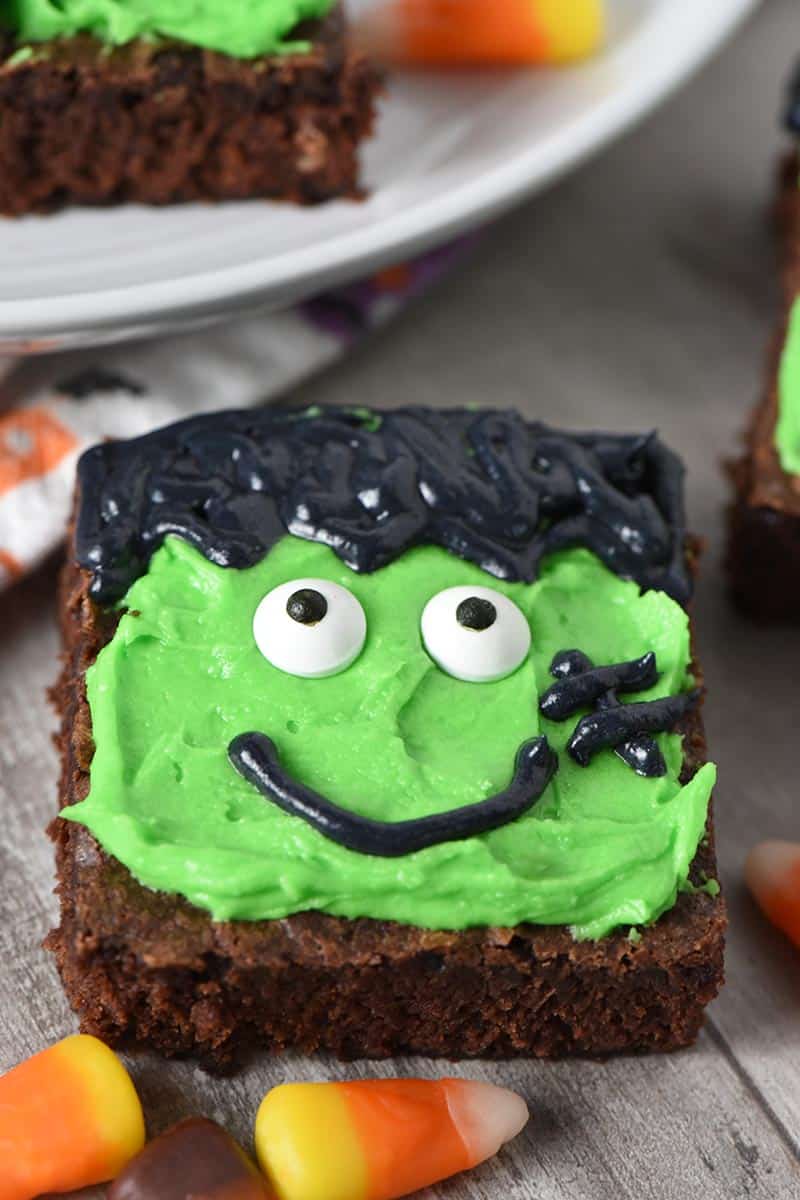
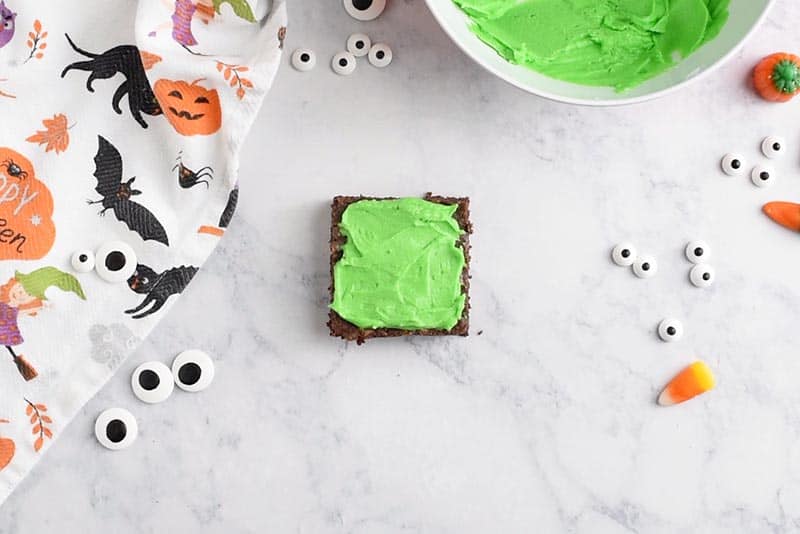
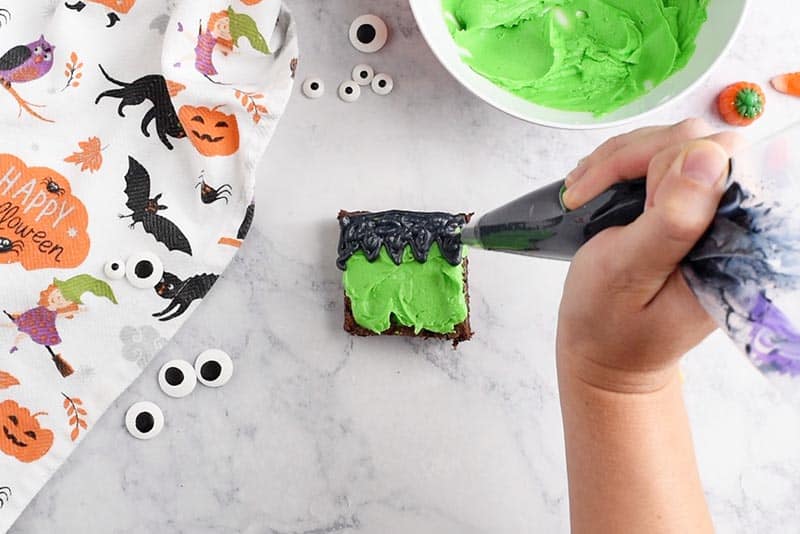
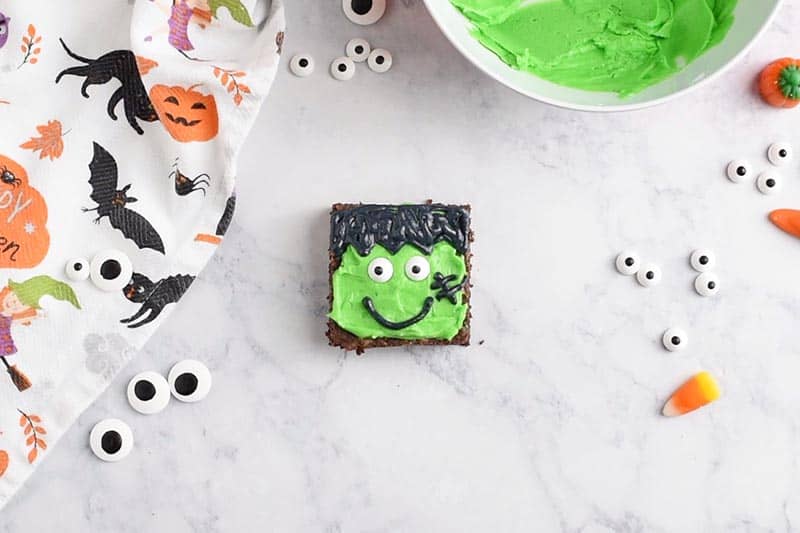
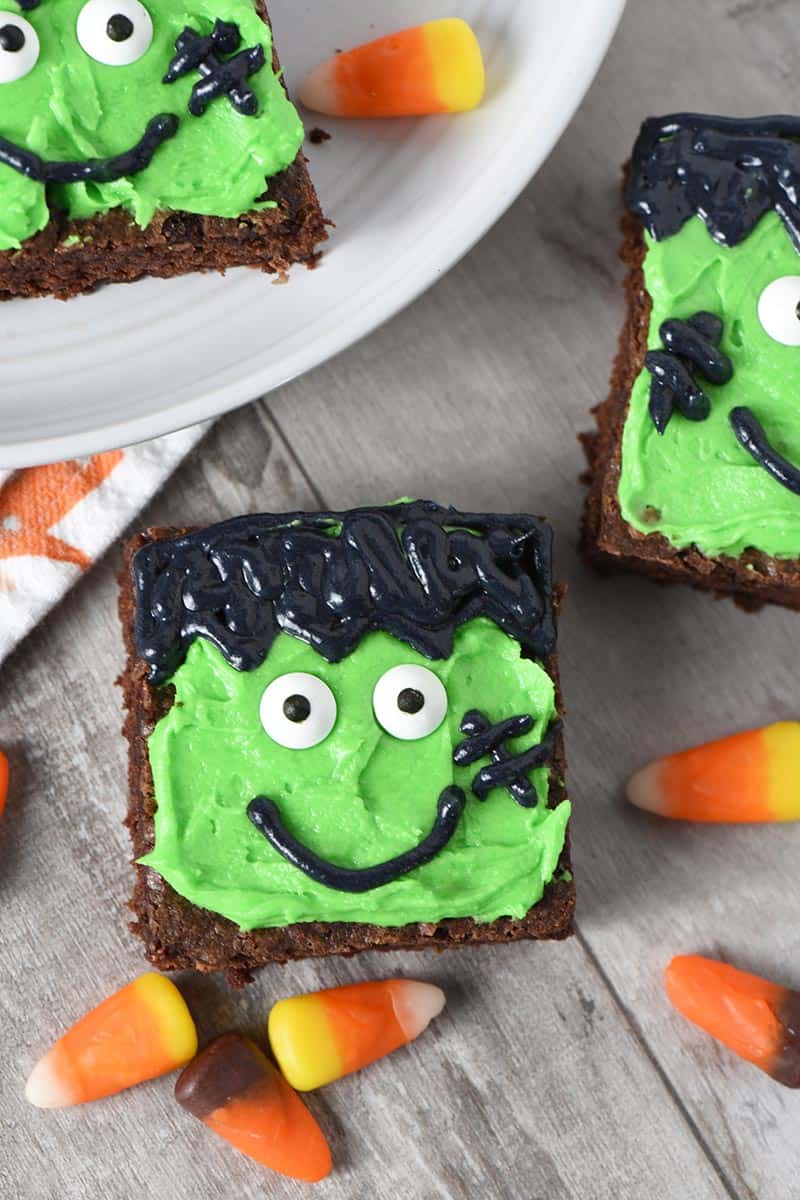
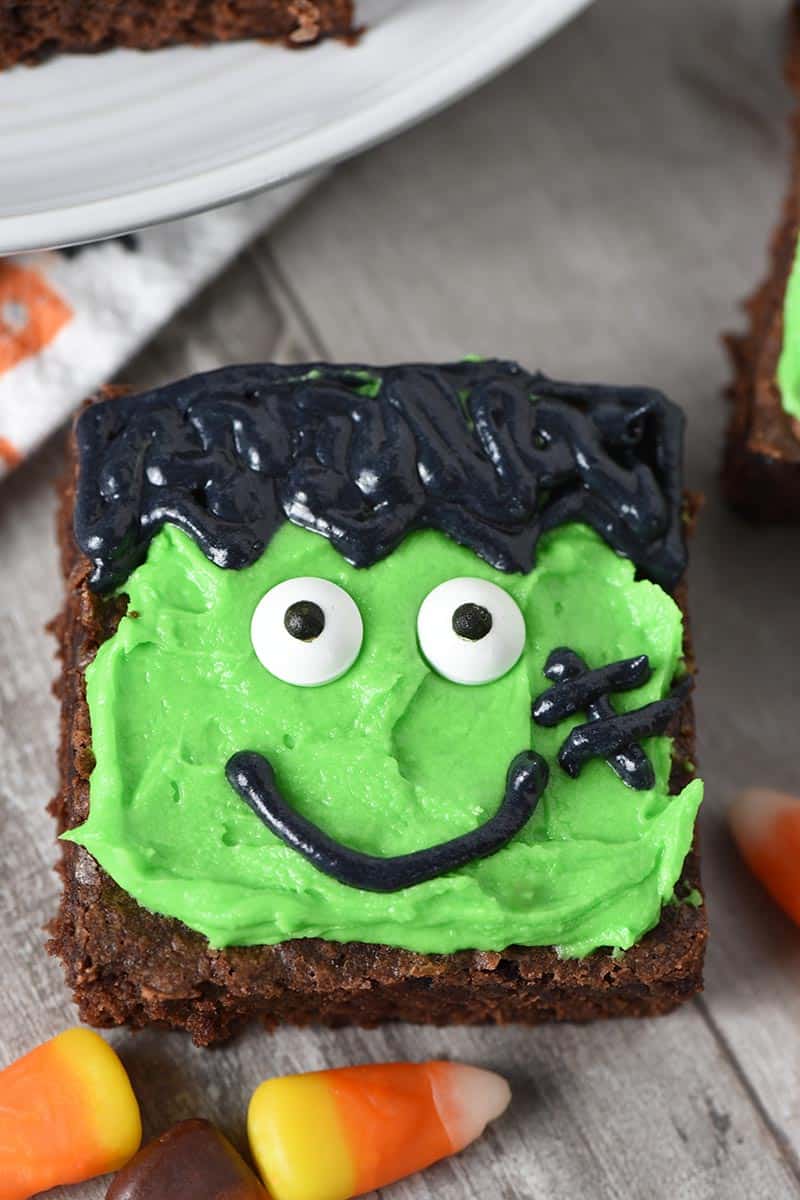
- Halloween Frankenstein brownies
- Ghost Halloween brownies
More easy last minute ideas –>> 20+ Halloween movie night snacks – including Halloween brownies, party punch, cookies, no bake desserts, treats on a stick, Halloween cupcakes, and more!
If you try this recipe, why not leave a star rating in the recipe card right below and/or a review in the comment section further down the page? I always appreciate your feedback. You can also follow me on Pinterest, Facebook, Instagram, and YouTube. And subscribe to my email list too!
Peanut Butter Corn Flake Bars

Mix up a batch of Corn Flake bars with peanut butter, marshmallows, peanuts, and candy corn. Quick and easy treats you can make in a jiffy!
- Large Mixing Bowl
- Small Saucepan
- 8×8 Baking Pan
- 4 cups Corn Flakes cereal
- 1 cup peanuts
- 1 cup candy corn
- 1 cup creamy peanut butter
- 1 cup light corn syrup
- 1 cup white chocolate melts ((or white chocolate chips))
Grease an 8"x8" baking pan with cooking spray.
In a large mixing bowl, mix together the cereal, peanuts, and candy corn.
In a small saucepan over low to medium heat on the stovetop, melt the peanut butter and corn syrup, constantly stirring to keep it from scorching on the bottom of the pan.
Cook for about 5 to 10 minutes, constantly stirring. The peanut butter and corn syrup will melt together and form more of a syrupy liquid.
- Remove the peanut butter mixture from the stove, give it a good stir, and pour it over the cereal mixture.
Stir everything together really well, making sure all of the cereal, peanuts, and candy corn are coated with the peanut butter syrup.
Spread the mixture in the greased dish, and firmly pat it evenly into the pan.
Allow the treats to cool. Then slice the bars for serving.
Drizzle the top of each bar with melted white chocolate, and add a piece of candy corn for decoration.
*You can use either white chocolate or regular/dark chocolate for a drizzle. I actually drizzled white chocolate on our no bake cereal bars because I love how it complements the flavors of both the peanuts and the candy corn. It’s so delicious!
Can I make these in the microwave?
Yes, you can melt together the peanut butter and corn syrup in a microwave-safe bowl in the microwave. Just cook the mixture on High in 15-second increments, stirring after every cooking cycle, ’til everything is melted. The peanut butter and corn syrup will eventually melt together and form a syrupy liquid.
How should I store them?
Store them in an airtight container at room temperature. You can also freeze them if you want to make them ahead; just be sure to place them in an airtight container or bag, so they don’t get freezer burn.