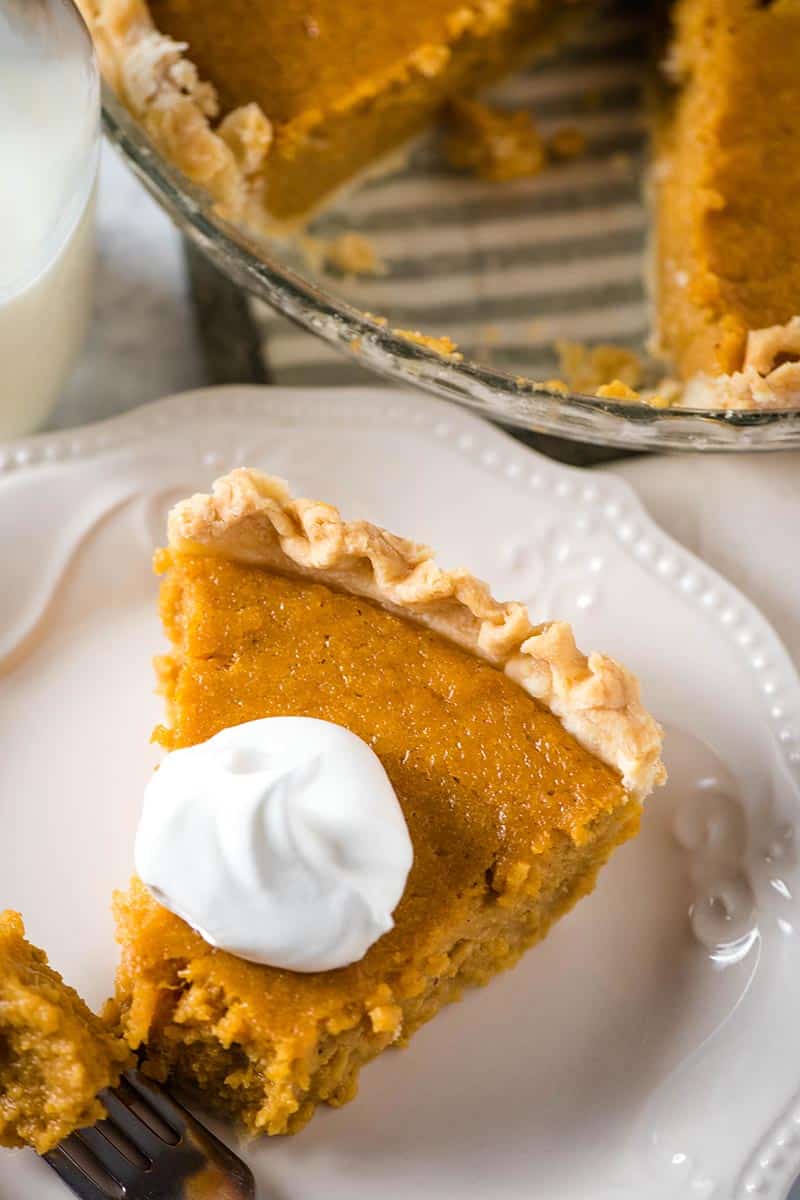
Bake the perfect pie crust with a golden brown edge. How to keep pie crust from burning with 3 easy ways to protect the edges of the crust. Follow these tips, and you’ll make the most beautiful pie crust ever.
There’s nothing better than a good pie. In fact, I think my favorite flavor is this yummy chocolate meringue pie, or maybe even this caramel custard pie.
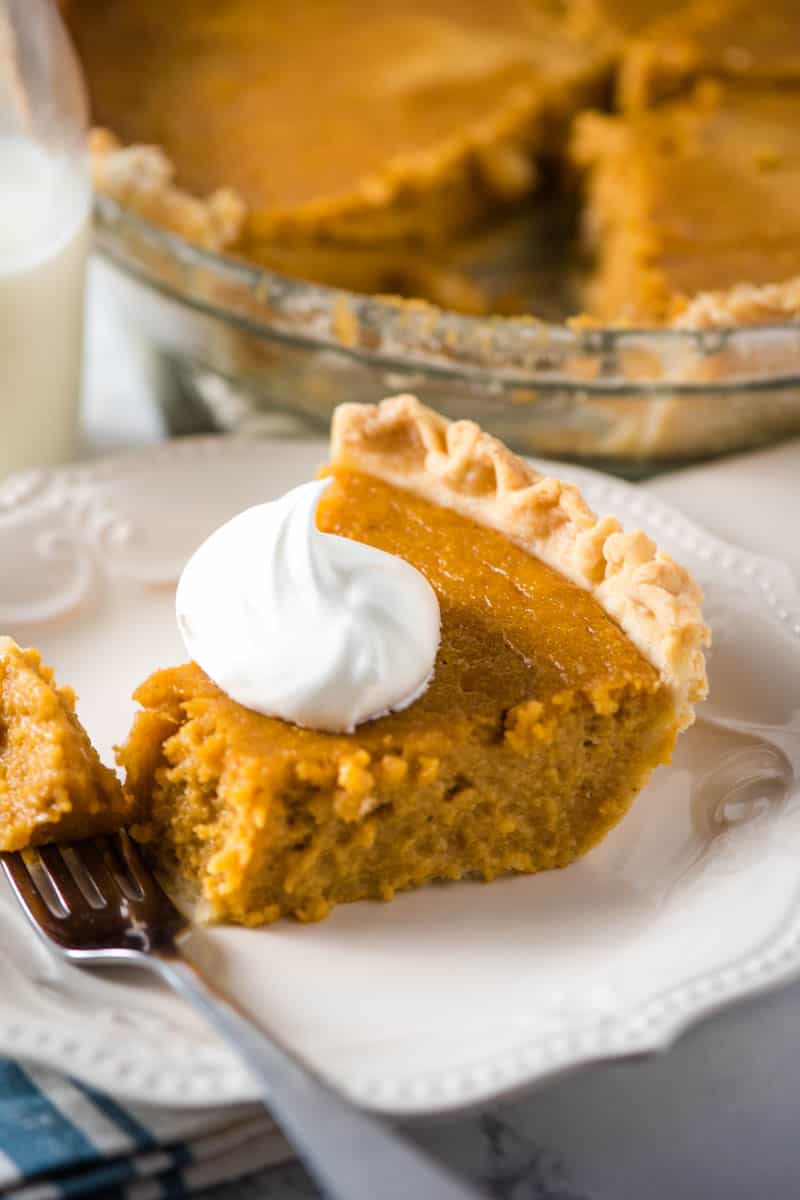
That said, a pie is only as good as its crust, which is why I can’t stand burnt pie crust edges; it just makes for a nasty pie crust, and it’s what every baker dreads. For years, I struggled with burnt, shriveled up pie crusts that pulverized to the touch, yet the filling was only barely cooked.
That is why I’ve dedicated so much time to developing a reliable, no fail pie crust recipe with butter, as well as a no-roll pie crust. In fact, it can even be made gluten-free!
After years of trial and error, I’ve finally started to figure out how to bake the perfect pie crust. By perfect pie crust, I mean a pie crust that is not only perfectly golden brown, but it is also wonderfully flaky and tender to the touch. A good pie crust should sorta melt in your mouth, and most agree that it is the best part of the pie!
Pie Crust 101 – What is Pie Crust
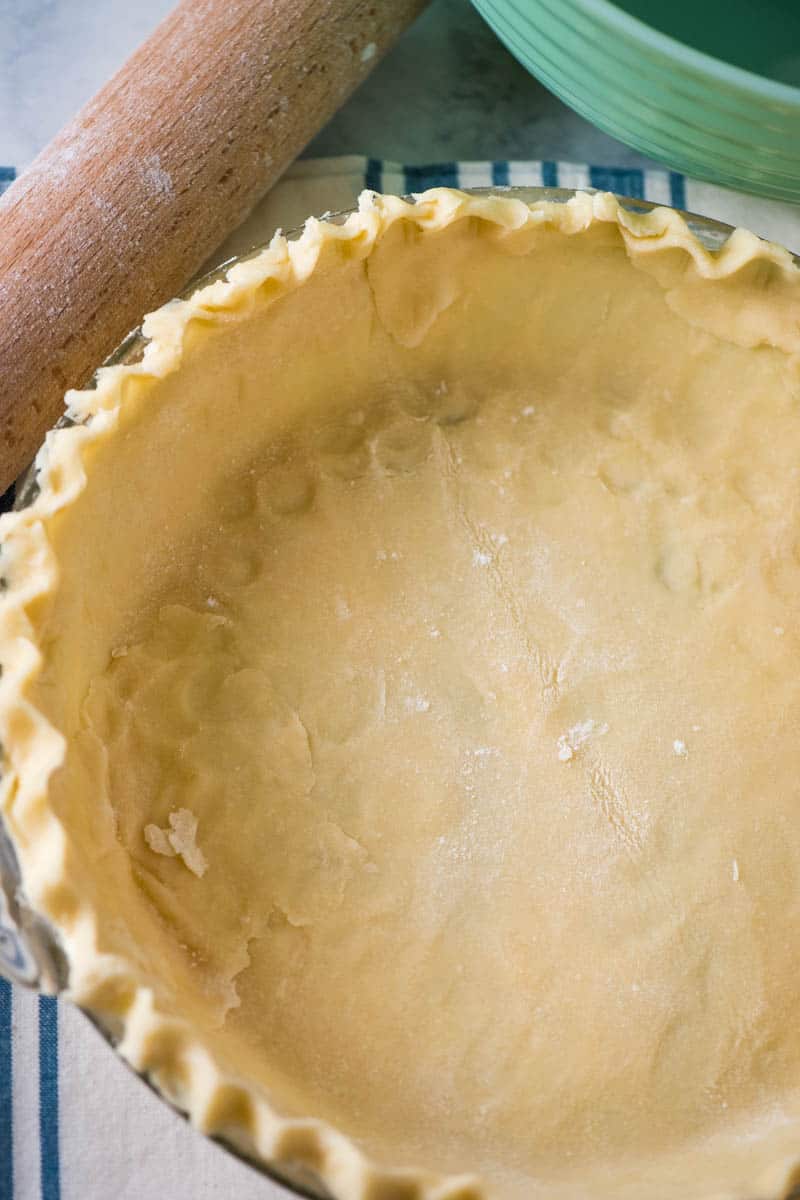
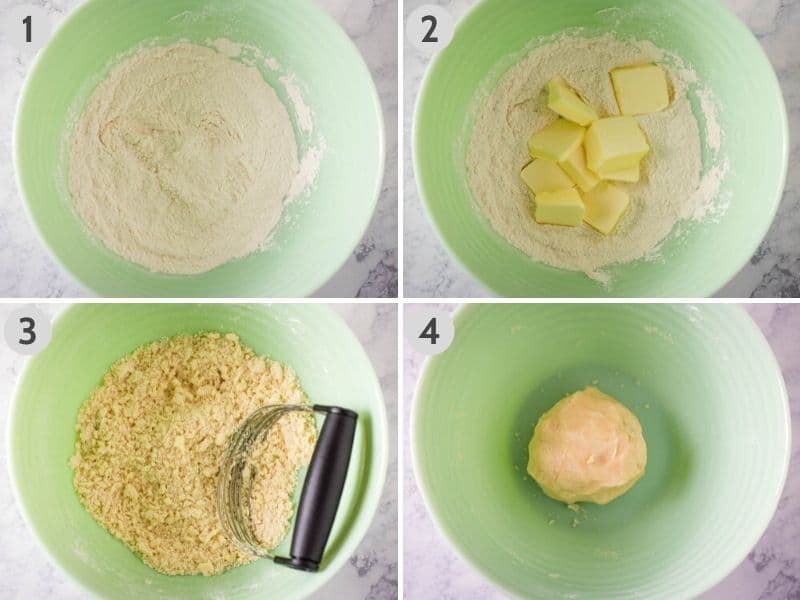
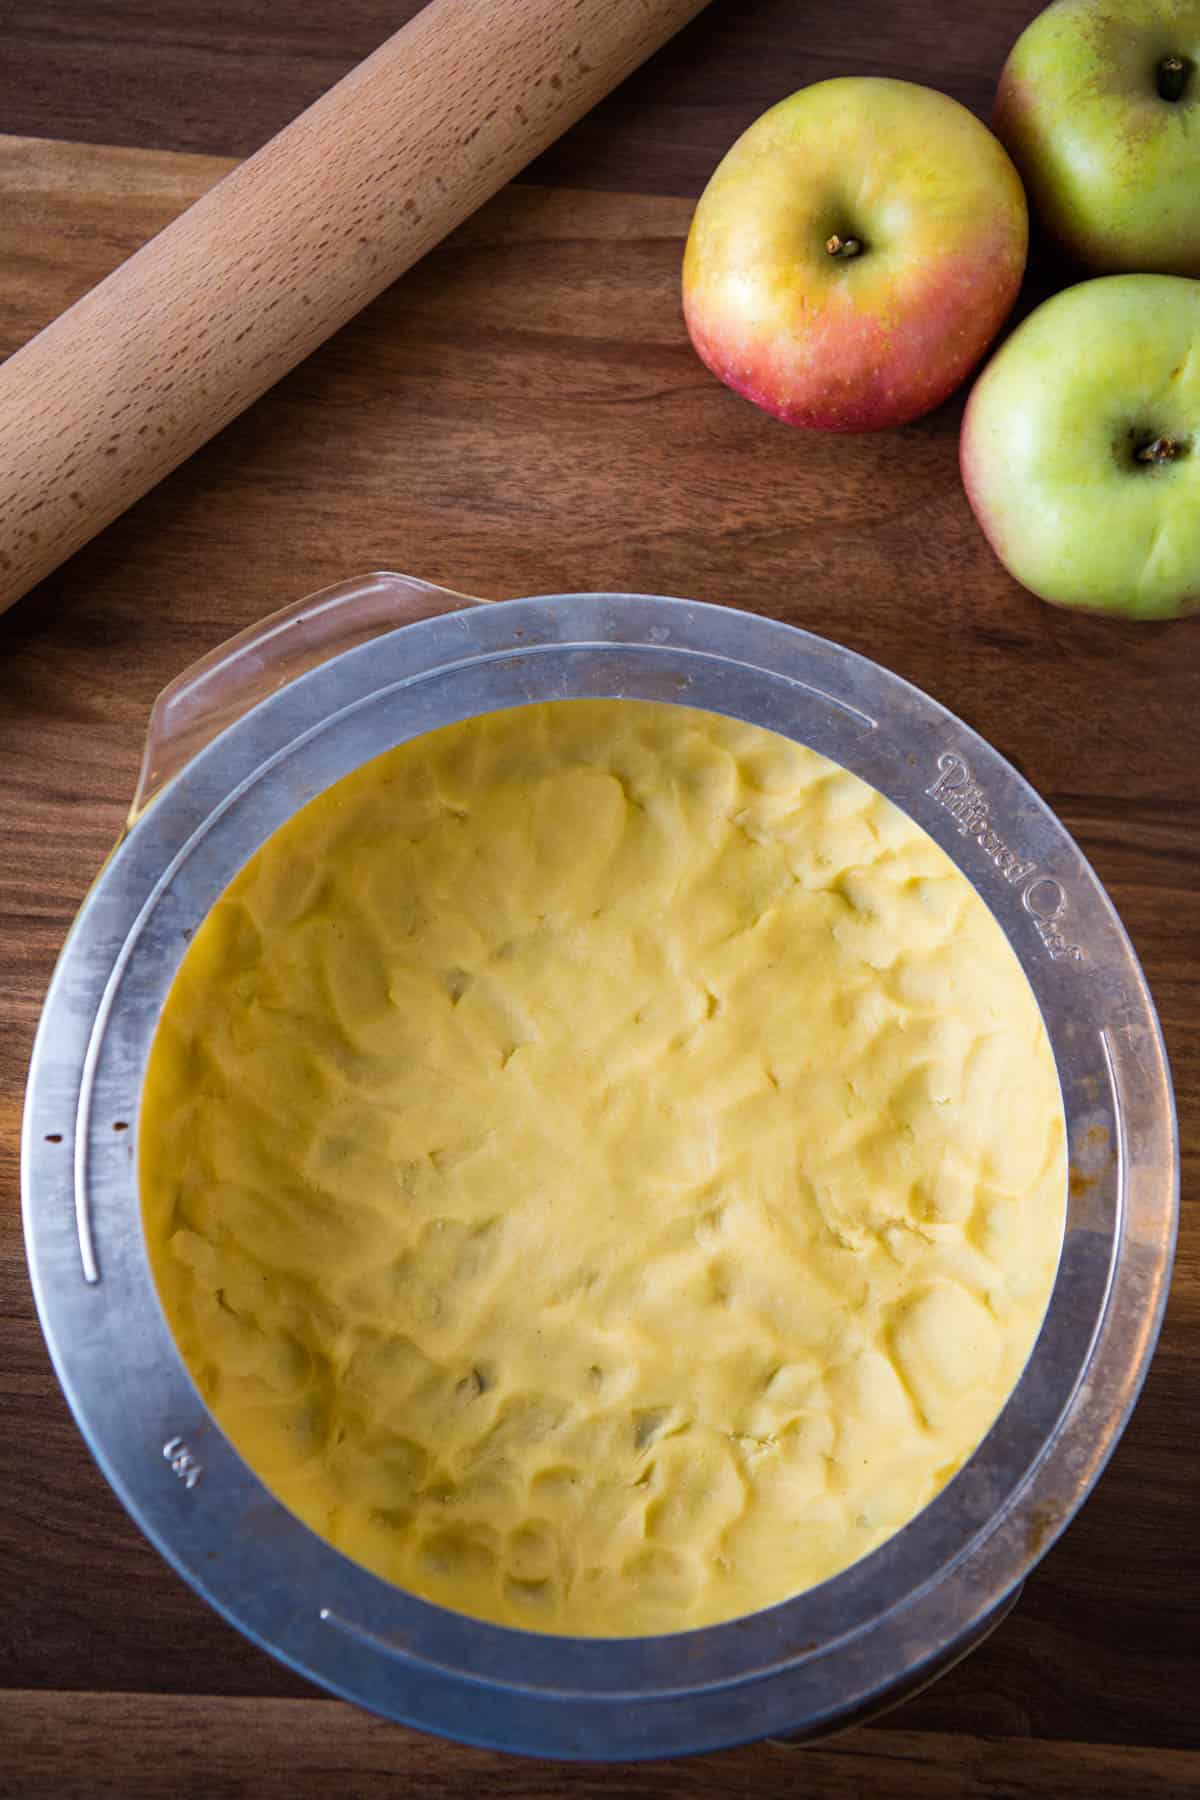
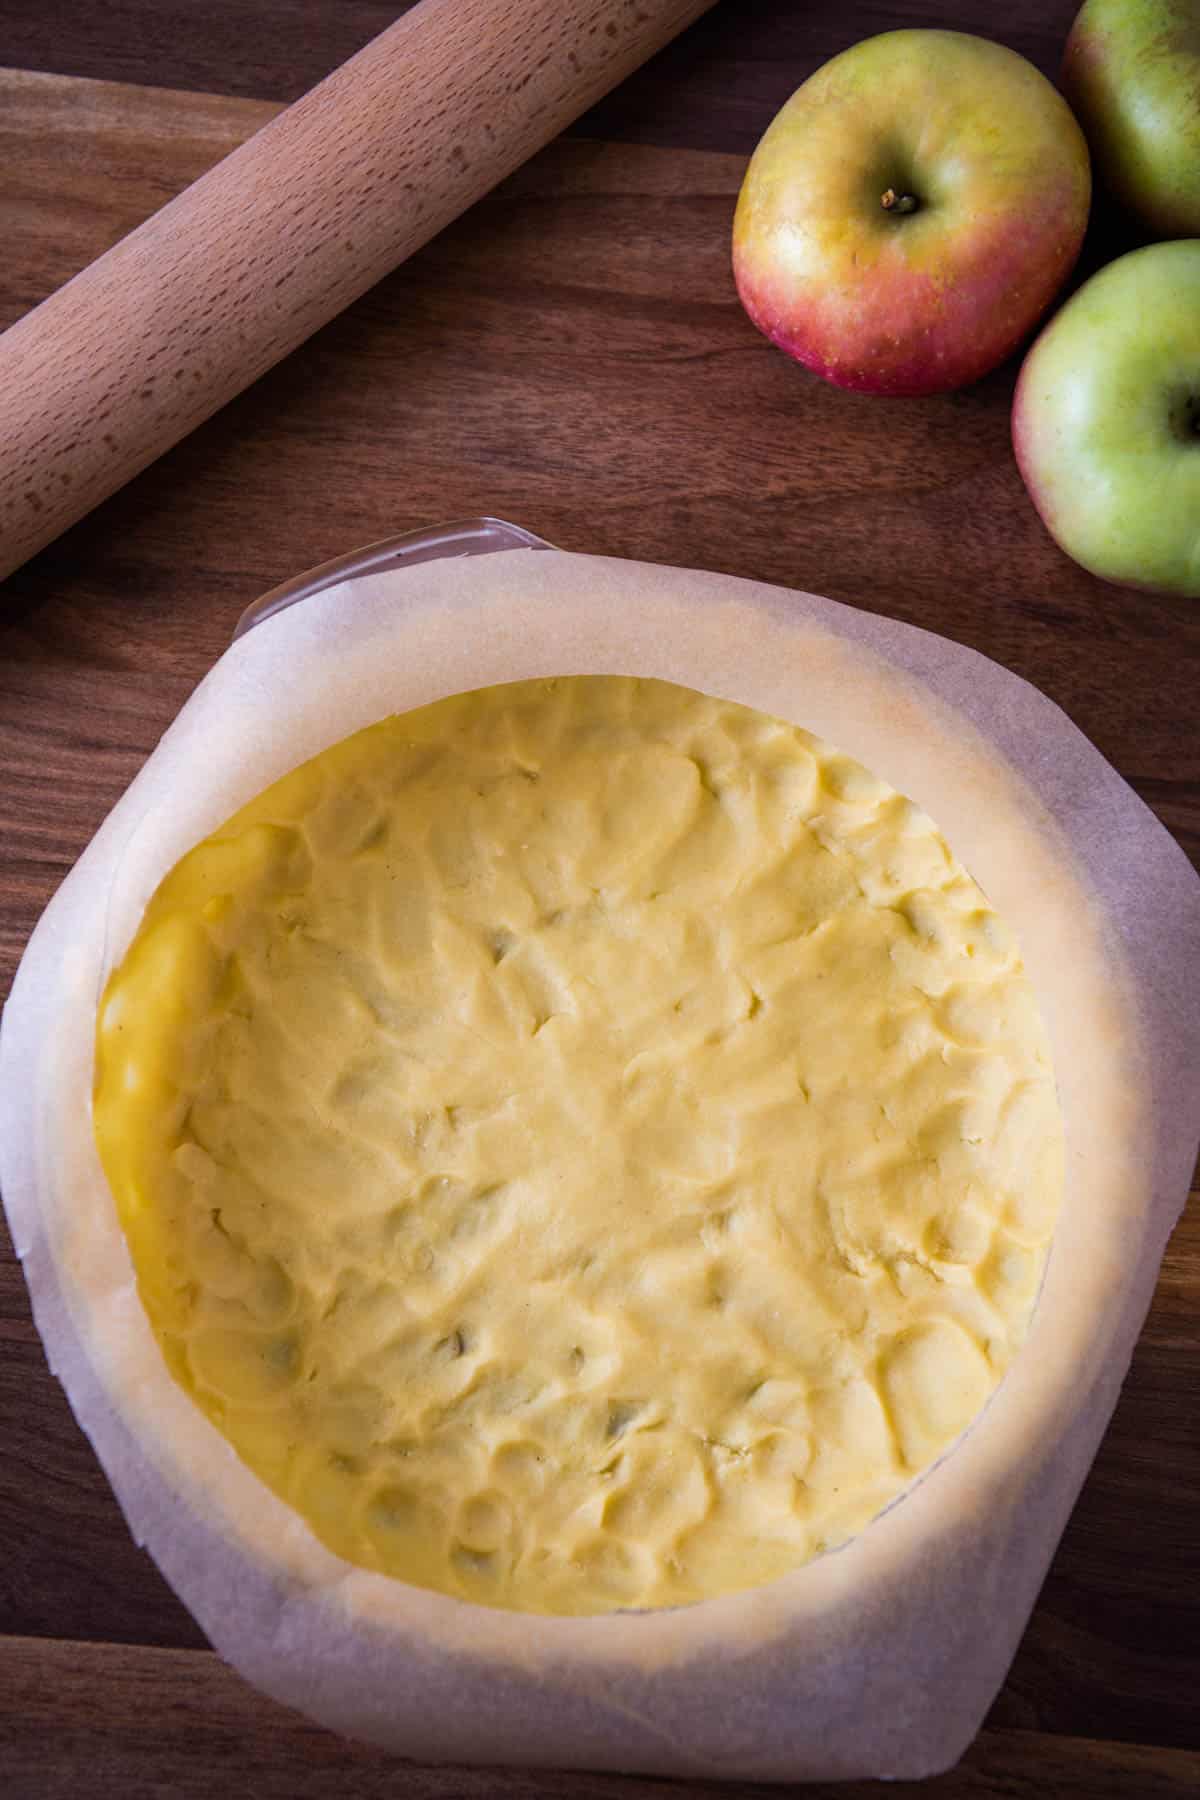
Pie crust is the outer pastry shell of a pie that holds the filling and other ingredients. Pie crust usually consists of 4 ingredients– flour, water, salt and some sort of fat, usually butter or vegetable shortening.
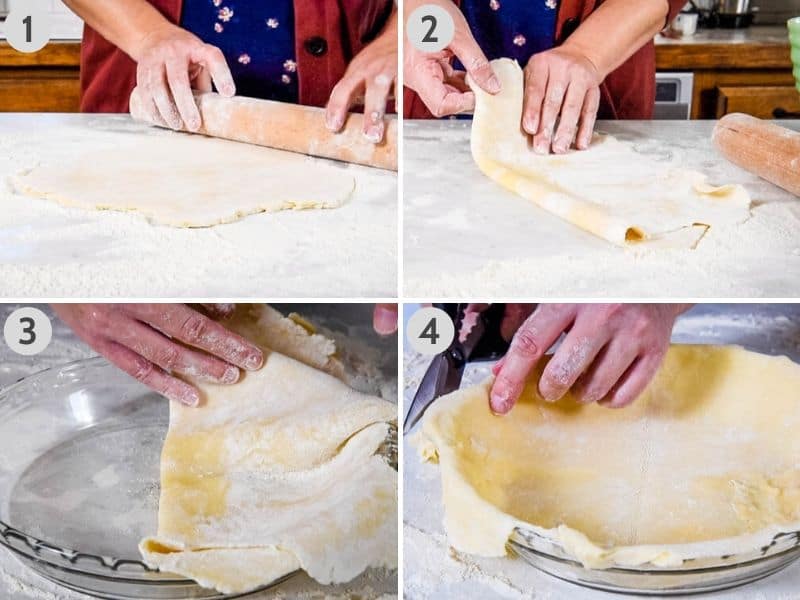
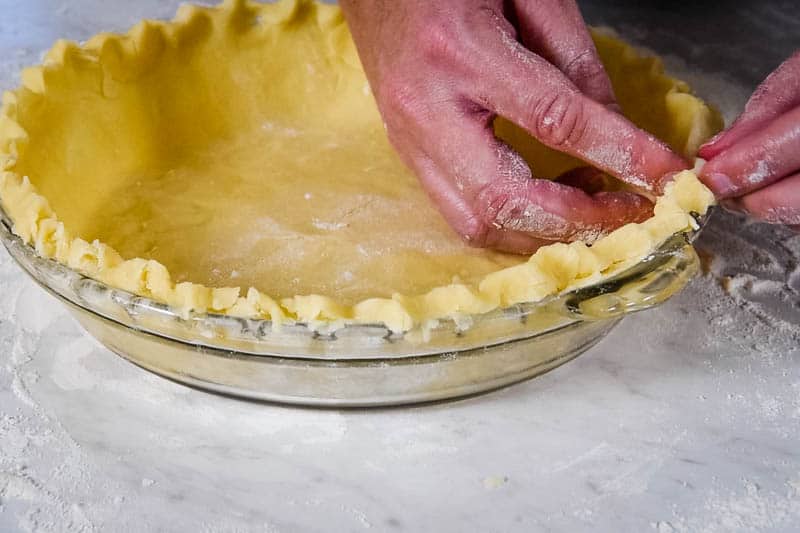
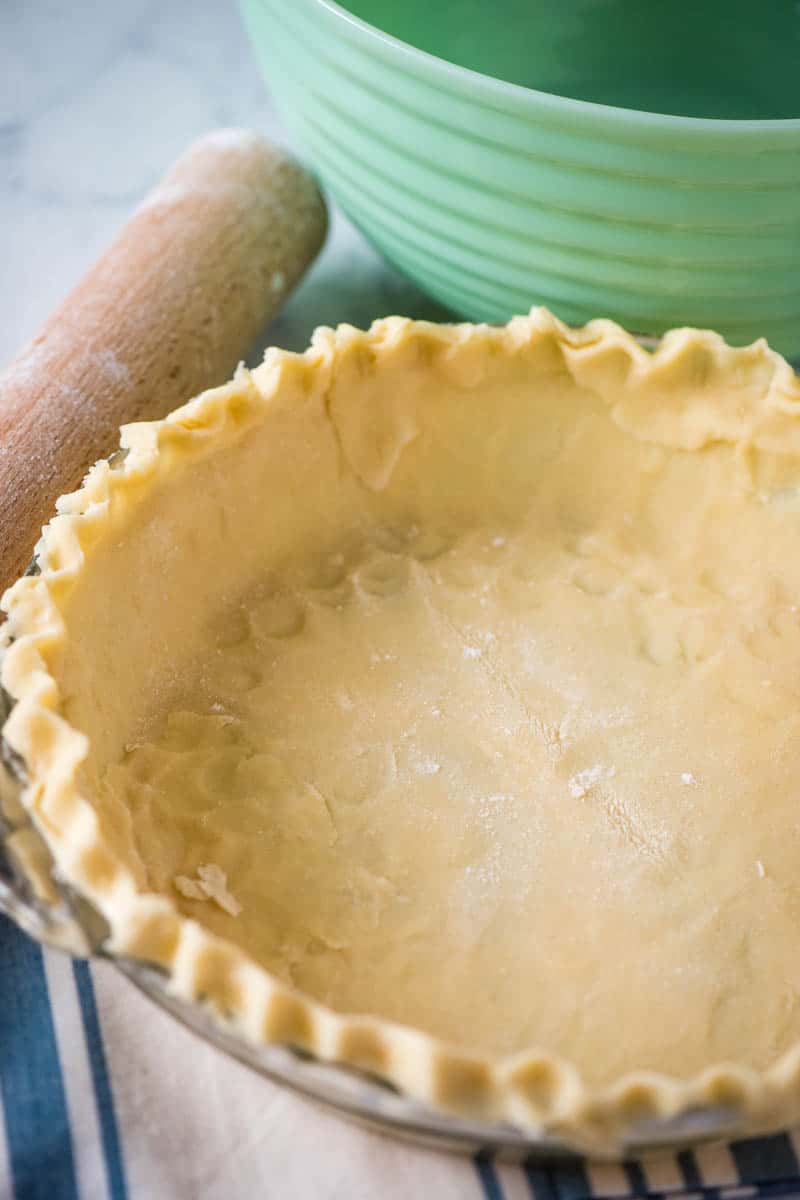
The resulting pie dough is rolled out to the shape of the pie dish; it is then laid and set into the pie plate, and excess overhang is trimmed off.
There Are 3 Types of Pie Crust
- A single pie crust only has a bottom crust in which the filling resides. Some single crust pies use toppings, such as a meringue pie topping, whipped cream, or fresh fruit.
- A double crust pie requires a top crust that is laid over top of the pie filling as a covering. The edges of a double crust are crimped together, and vent holes are cut into the top to allow excess moisture to escape, which ultimately prevents soggy insides.
- Other double crust pies may use a lattice pie crust, where the top crust dough is cut into lattice-like strips that are layered under and over each other in a way that resembles a basket weave appearance, then baked. The narrow spaces in between not only allow the filling to bubble up through, but they also act as natural steam vents. This How to Lattice Pie Crust tutorial is a good example of the basket-weave method.
Selecting the Right Pie Plate
There are 3 types of pie dishes, or pie plates…
- Glass pie plate
- Ceramic pie dish
- Metal pie pan
I tend to prefer glass or ceramic because they give a more consistent, even bake. With a glass pie dish, you can see the sides and the bottom of your pie and tell how much it’s browning.
Size can also affect the balance between how quickly your crust bakes vs. how quickly the filling bakes. Typically, you’ll want a pie plate that’s no larger than 9.5″.
Which one I choose just depends on what I’m baking and how large a pie dish I need for the pie I’m making.
How to Keep Pie Crust from Burning – 3 Methods
Whether you want to learn how to keep pie crust from burning without foil, or with foil, here are 3 easy ways to protect the edges of your pie.
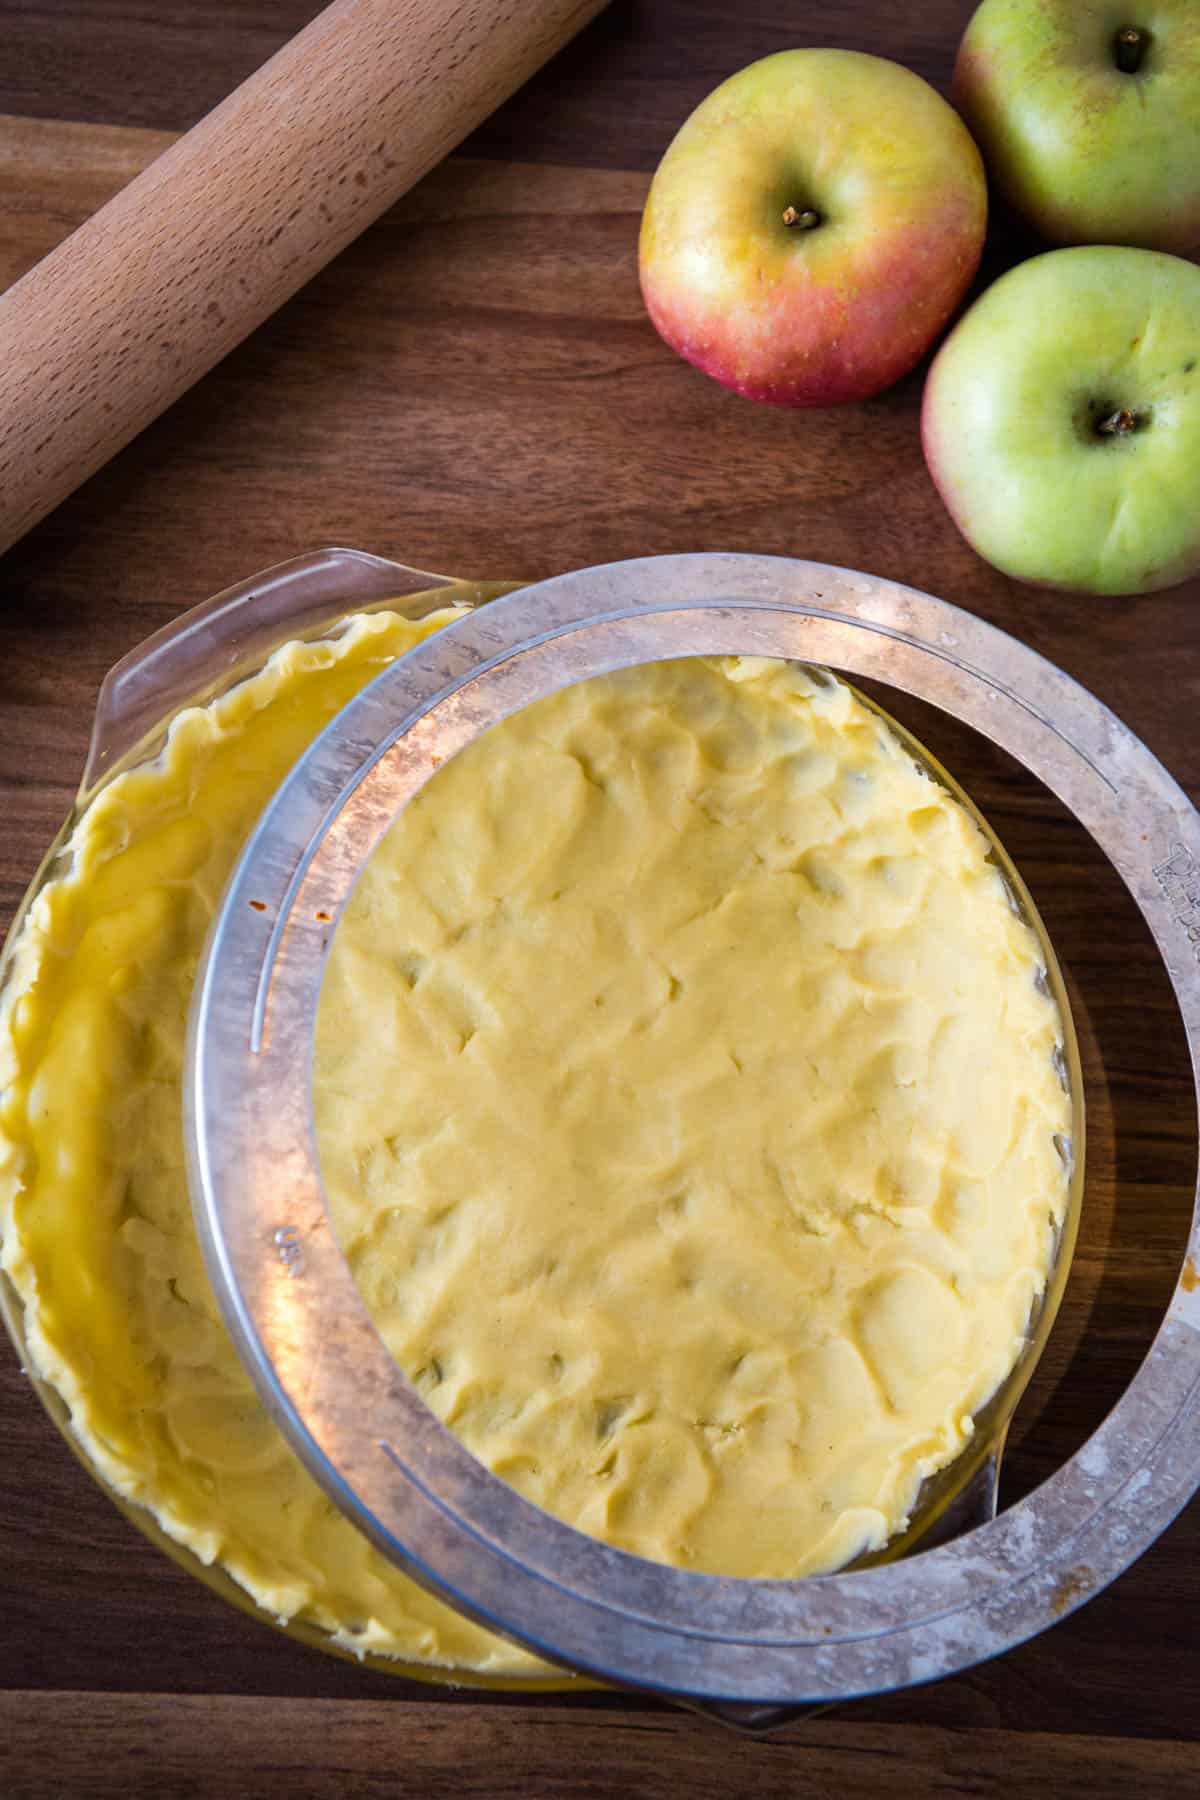
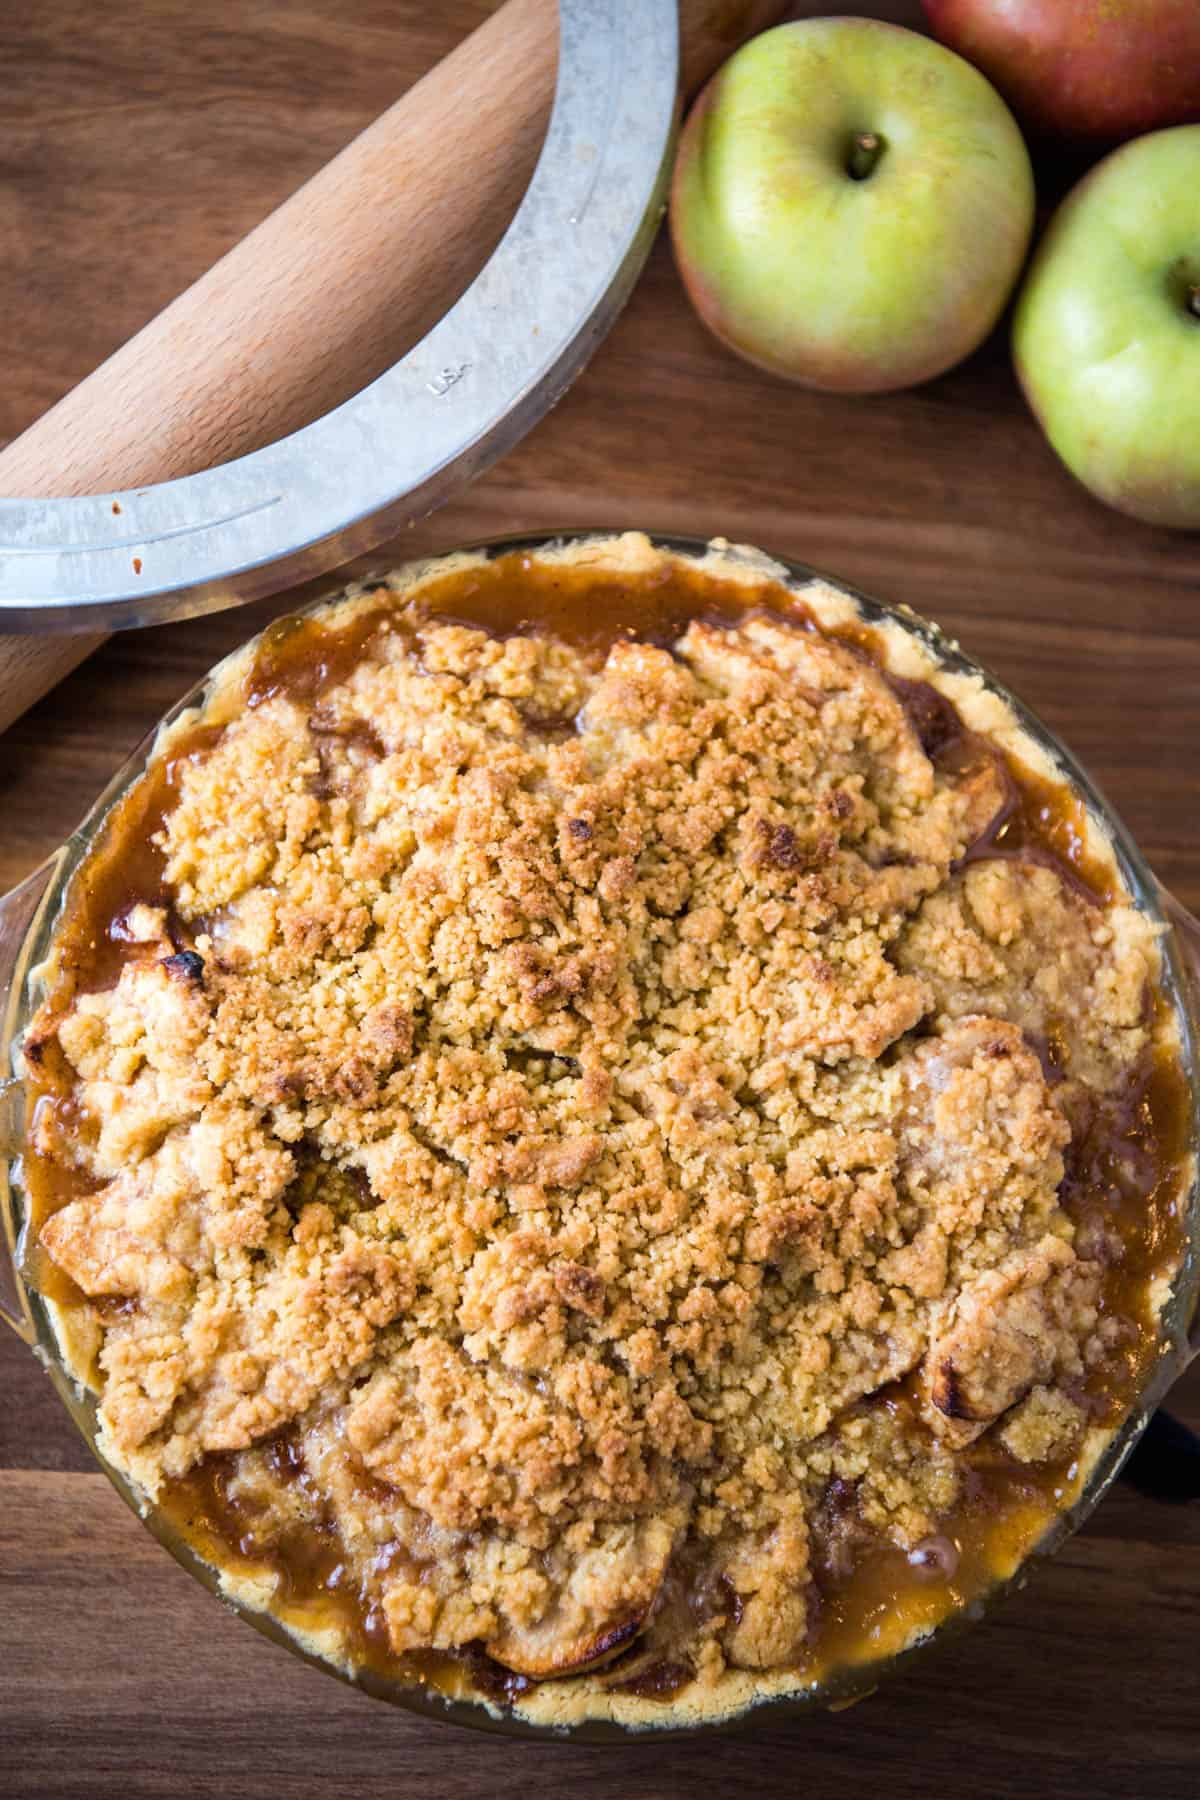
1. Buy a Pie Shield or Pie Crust Protector
Using a pie shield or pie crust cover on the edge of the pan is the best way to keep from burning your pie crust. You lay a pie shield over the outer edges of the pie crust, so that it’ll reflect the heat and prevent premature browning.
If you don’t feel like making a homemade pie shield and you want to keep your crust from burning without foil, there’s no shame in buying a pie shield you can use time and time again.
I highly recommend finding an adjustable pie shield, like this adjustable aluminum pie shield or even this adjustable silicone pie crust shield. Both of these shields are a big upgrade from homemade pie shields.
I actually have an old Pampered Chef pie shield I bought years ago, and it’s been my old faithful anytime I make a pie. While it’s not adjustable, it still gets the job done and protects the edge of a pie crust very well, not to mention it’s easy to store with all my pie plates.

2. Make an Aluminum Foil Pie Shield or Foil Protector
Of course, if you’re like me, the thought of another kitchen gadget cluttering up the cabinets and counters is enough to drive you nuts! Fortunately, you can make your own pie shield using aluminum foil.
How to Make an Aluminum Shield
Heavy-duty foil works best for this method.
- Before baking the pie, start by cutting out 2-3 strips of aluminum foil (8-12 inches long and 2-3 inches wide).
- Fold each strip lengthwise, so each strip is doubled.
- Then wrap each strip around the edge of your pie crust, laying the foil on top of the edge and folding it down tight against the top of the pie plate both inside and out. It usually takes about 3 strips to cover the entire edge around.
You can also cut a square or circle out of a piece of foil just slightly larger than your pie plate, and cut a round circle of foil that you can then wrap around the edge of the crust.
You can simplify the entire process by watching this awesome video with a great pie shield hack. She makes it look so easy, and really, it is!
3. Parchment Paper Pie Shield
To keep pie crust from burning without foil…
- The first step is to tear off a large sheet of parchment paper that is slightly larger than the pie dish.
- Next, gently lay your pie dish over the parchment paper and trace its outline.
- Then fold and cut the parchment paper square the same way you would an aluminum foil pie shield, leaving the traced side up for cutting.
- Unfold the parchment paper and lay it over the pie crust, cutting any excess off from the outside edges of the parchment paper. Bake just as you would with the aluminum foil pie shield.
Other Things That’ll Help Prevent Burnt Pie Crust
Bake the Pie at the Correct Temperature
Although this is not usually the sole cause of a burnt pie crust, baking the pie at a higher temperature will cause premature browning of the crust before the center of the pie, the pie filling, or the rest of the pie has had a chance to cook. Always use the recommended oven temperature, or correct temperature, for whatever recipe you’re making.
Watch for Oven Hot Spots, Rack Placement, Etc.
Many ovens are either inefficient or inconsistent when it comes to heating. This can create hot spots throughout the oven, causing one side of the pie crust to brown faster than the other.
If your oven is like this, try rotating the pie halfway through the bake, which promotes even browning in these types of ovens. Some extreme cases may even require swapping racks halfway through the bake.
Expert Tips and FAQ’s
Let’s start with a few burning questions, no pun intended.
The outer edges of most pie crusts are thin and easily burnt, and it’s pretty common for them to brown long before the rest of the pie has finished baking. This can happen in both single and double crust pies, although the top of a double crust will not usually burn unless the oven temperature is too high. Although this can be a real challenge, there are many precautions that can be taken to prevent your pie crust edges from burning, hence the tips above.
The easiest way to keep your pie crust from burning is by buying a pie shield or creating your own pie shield out of aluminum foil. Pie shields are laid over the outer edges of the pie, which deflects heat and prevents premature browning of the pie crust. Most people have at least a roll or two of aluminum foil in their cabinets, which is why this method works so conveniently.
Aluminum foil is very heat resistant and perfectly oven-safe. Most oven manufacturers recommend using it to line baking sheets and pans, to cover foods and dishes, and as reusable foil dishes for baking food; this includes covering a pie crust! However, do not place it on the oven floor or directly on the oven rack, which can not only impede airflow and reflect excess heat to your pie crust, but it can also stick to the oven surfaces, causing permanent damage. It is also not recommended for use when baking especially acidic foods.
Perfect Pie Recipes to Make with Pie Crust
Now that you know how to keep pie crust from burning, try your hand at one of these yummy homemade pie recipes…
- Grandma’s old-fashioned pumpkin pie
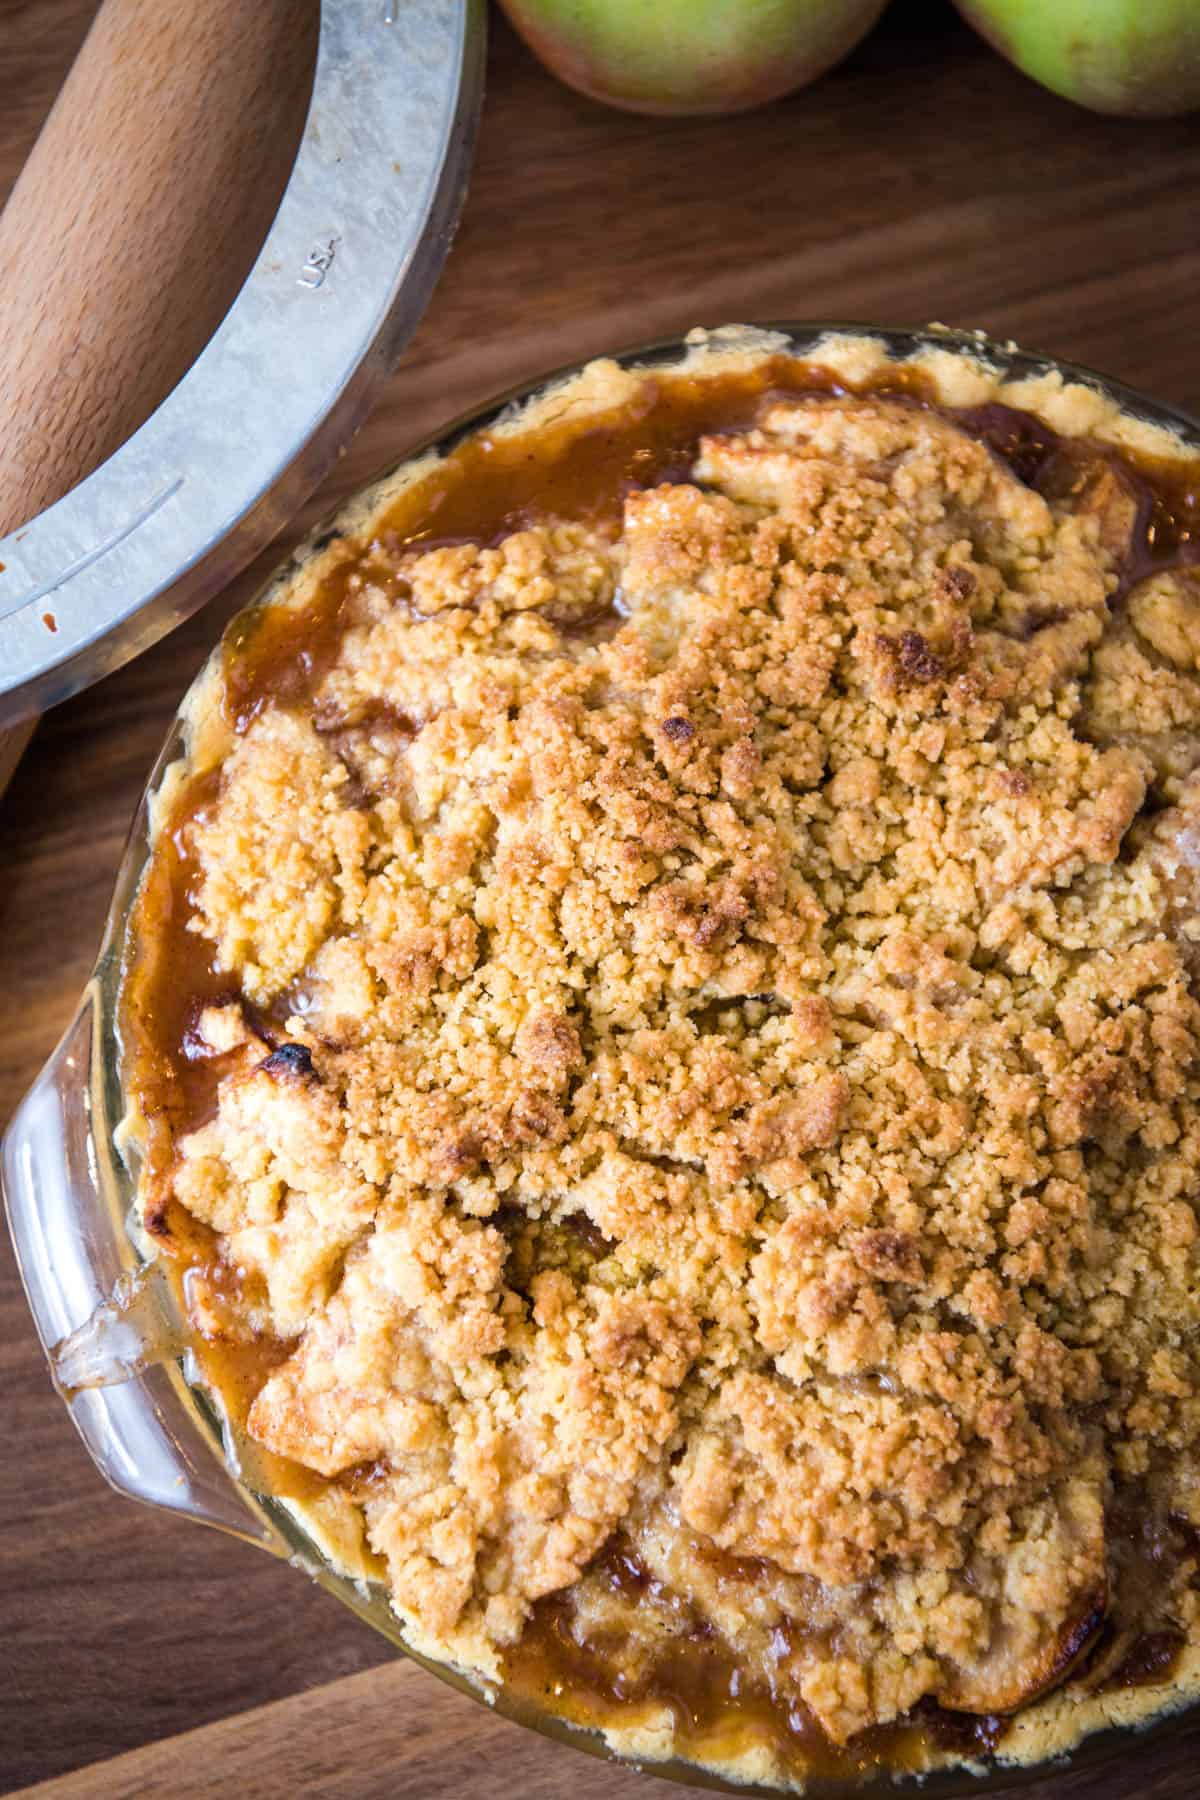
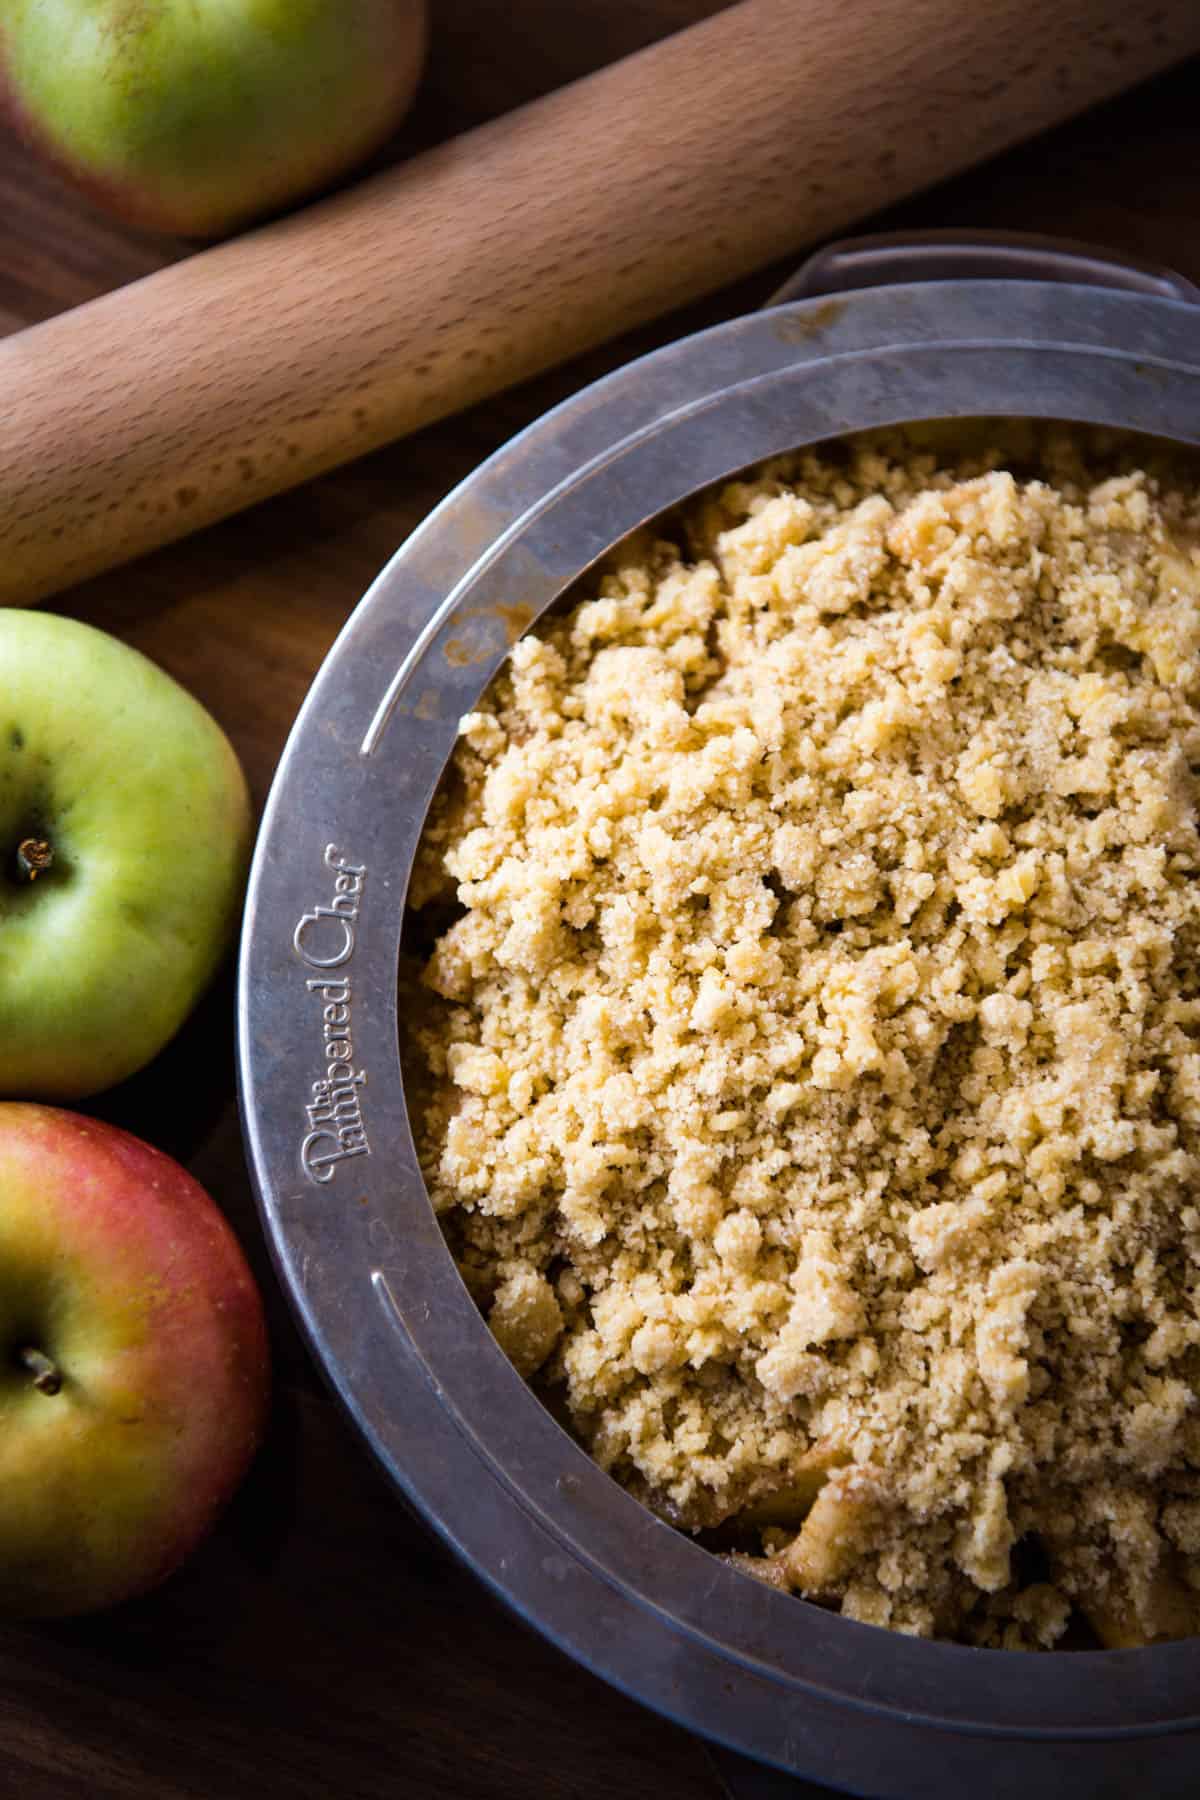
- Dutch apple crumb pie
- Southern sweet potato pie recipe
- Classic pecan pie recipe
- Blueberry cream cheese pie
- Strawberry cream cheese pie
- Easiest strawberry pie you’ll ever make
- Fresh strawberry pie (Marie Callender’s Copycat)
- Cheesy Mexican meat pie
I always appreciate your feedback. Be sure to leave a comment, and follow me on Pinterest, Facebook, Instagram, and YouTube. You can subscribe to my email list too.
How to Keep Pie Crust from Burning

Bake the perfect pie crust with a golden brown edge. How to keep pie crust from burning with 3 easy ways to protect the edges of the crust.
- Adjustable Pie Shield
- Adjustable Silicone Pie Shield
- Pampered Chef Pie Shield
- Aluminum Foil
- Parchment Paper
- 1 pie shield
- 3 strips aluminum foil
- 1 piece parchment paper
1. Buy a Pie Shield or Pie Crust Protector
Lay a pie shield over the outer edges of the pie crust, so that it'll reflect the heat and prevent premature browning.
2. Make an Aluminum Foil Pie Shield or Foil Protector
Before baking the pie, start by cutting out 2-3 strips of aluminum foil (8-12 inches long and 2-3 inches wide).
Fold each strip lengthwise, so each strip is doubled.
Then wrap each strip around the edge of your pie crust, laying the foil on top of the edge and folding it down tight against the top of the pie plate both inside and out. It usually takes about 3 strips to cover the entire edge around.*
3. Make a Parchment Paper Pie Shield
The first step is to tear off a large sheet of parchment paper that is slightly larger than the pie dish.
Next, gently lay your pie dish over the parchment paper and trace its outline.
Then fold and cut the parchment paper square the same way you would an aluminum foil pie shield, leaving the traced side up for cutting.
Unfold the parchment paper and lay it over the pie crust, cutting any excess off from the outside edges of the parchment paper. Bake just as you would with the aluminum foil pie shield.
*You can also cut a square or circle out of a piece of foi just slightly larger than your pie plate, and cut a round circle of foil that you can then wrap around the edge of the crust.