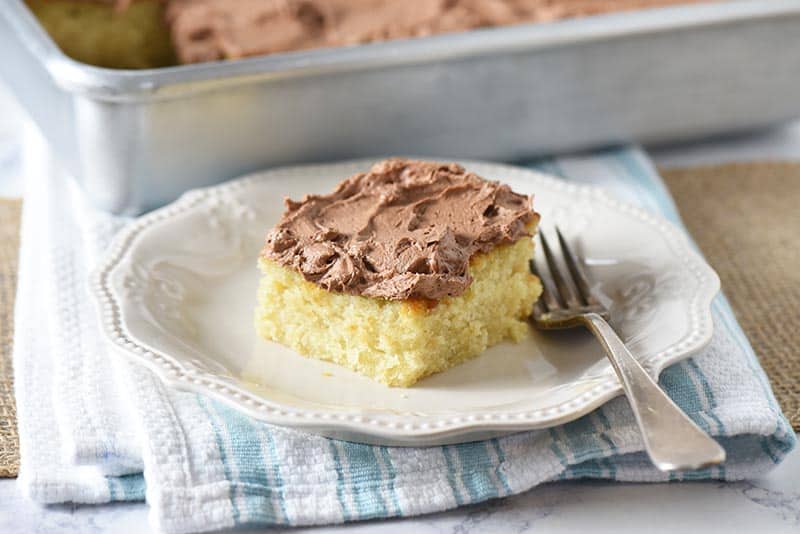
Make festive red, white, and blue 4th of July cupcakes, easy to decorate for a patriotic party or celebration. Fluffy cupcakes with buttercream frosting are fun for all ages, and delicious too!
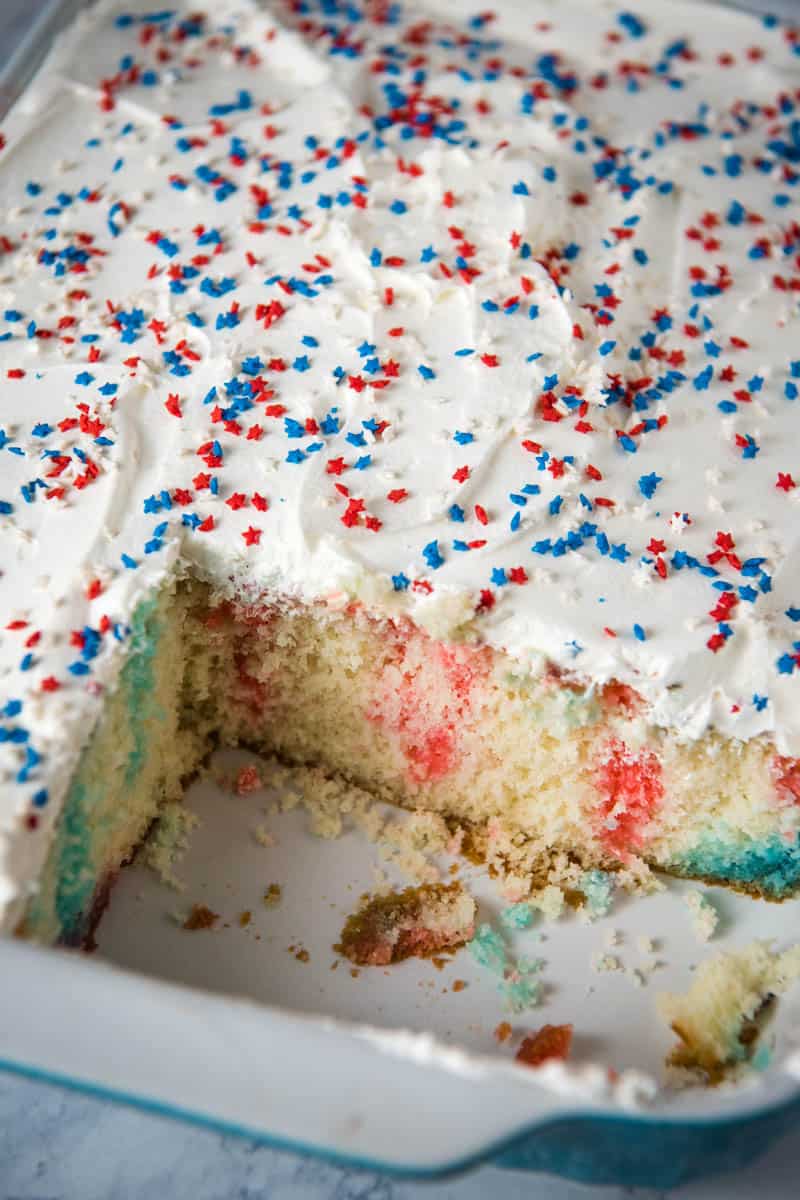
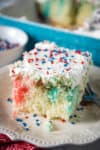
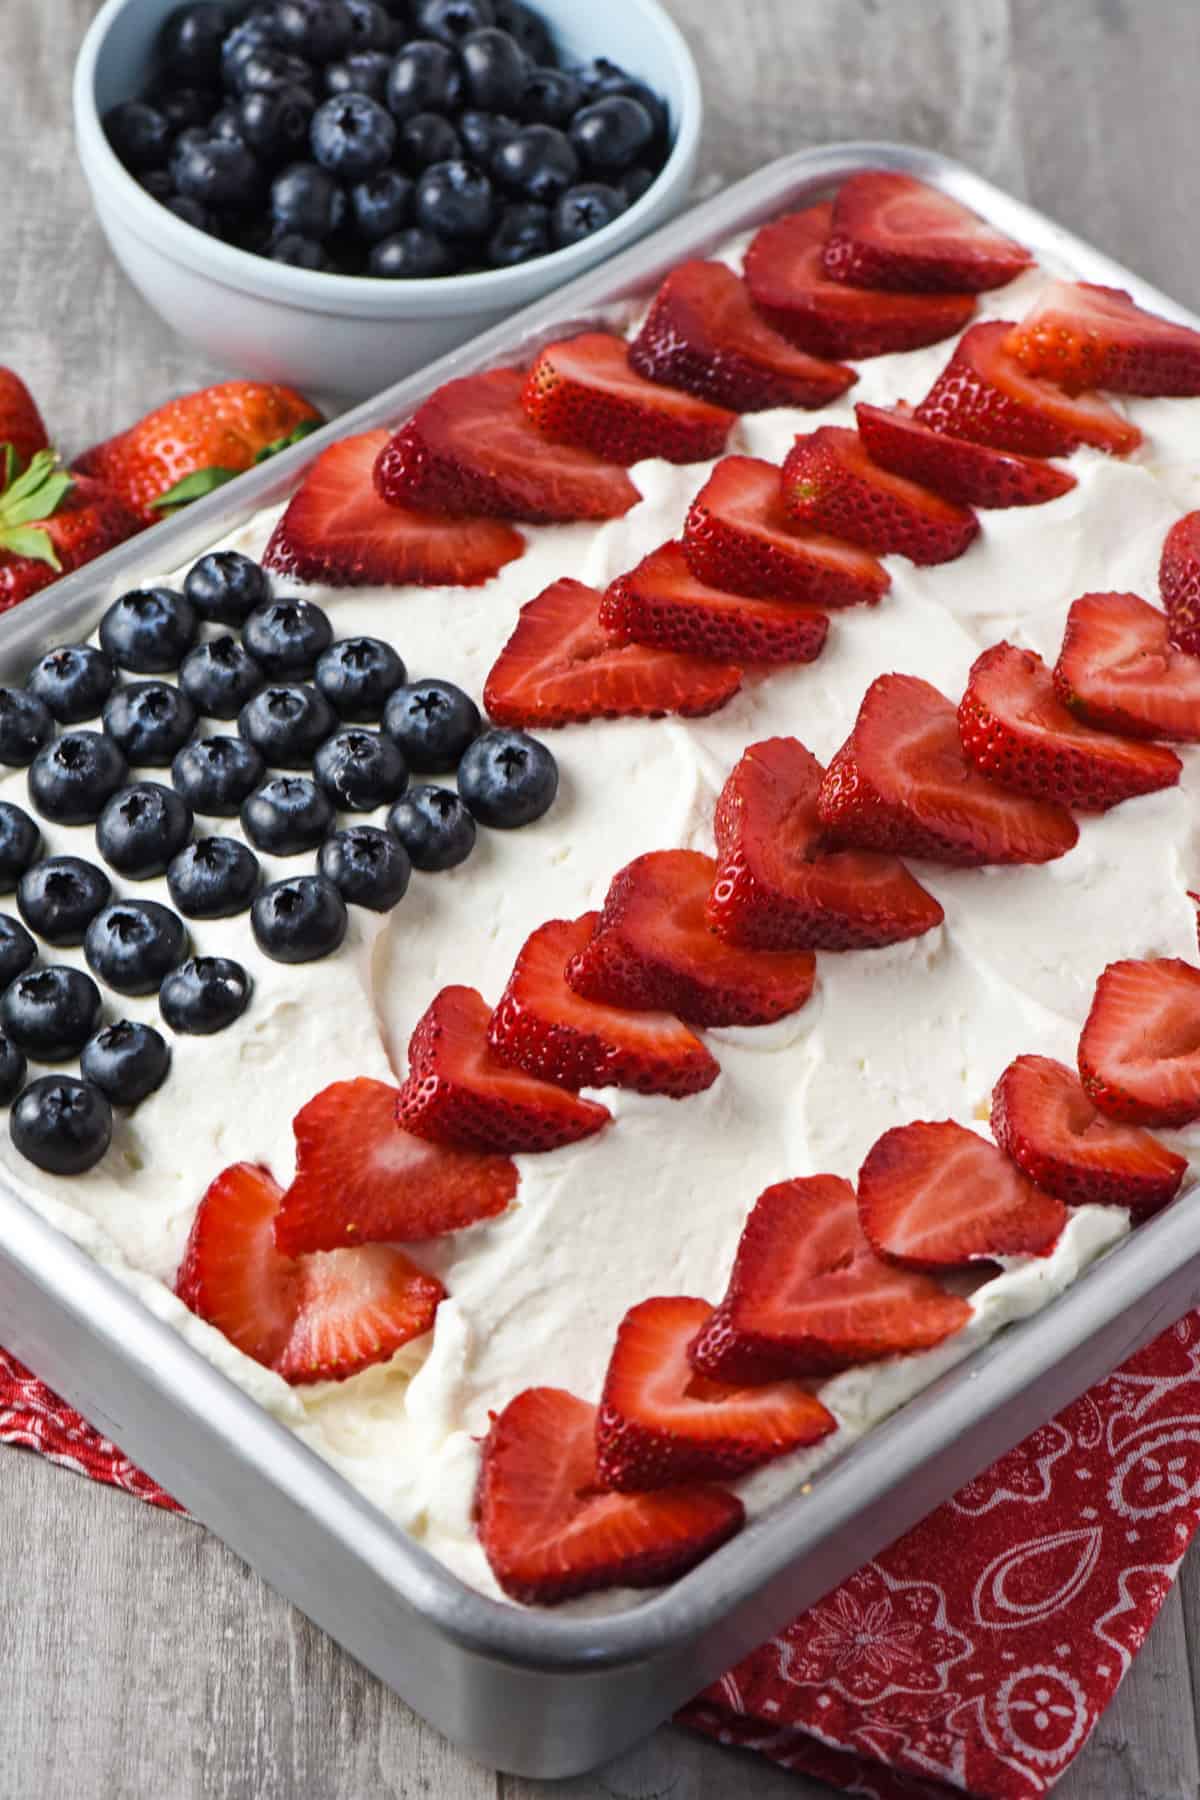
Whether you’re hosting a July 4th celebration this Independence Day, or want to celebrate your favorite veteran, patriotic cupcakes, like my favorite red, white, and blue poke cake, are an easy way to do just that.
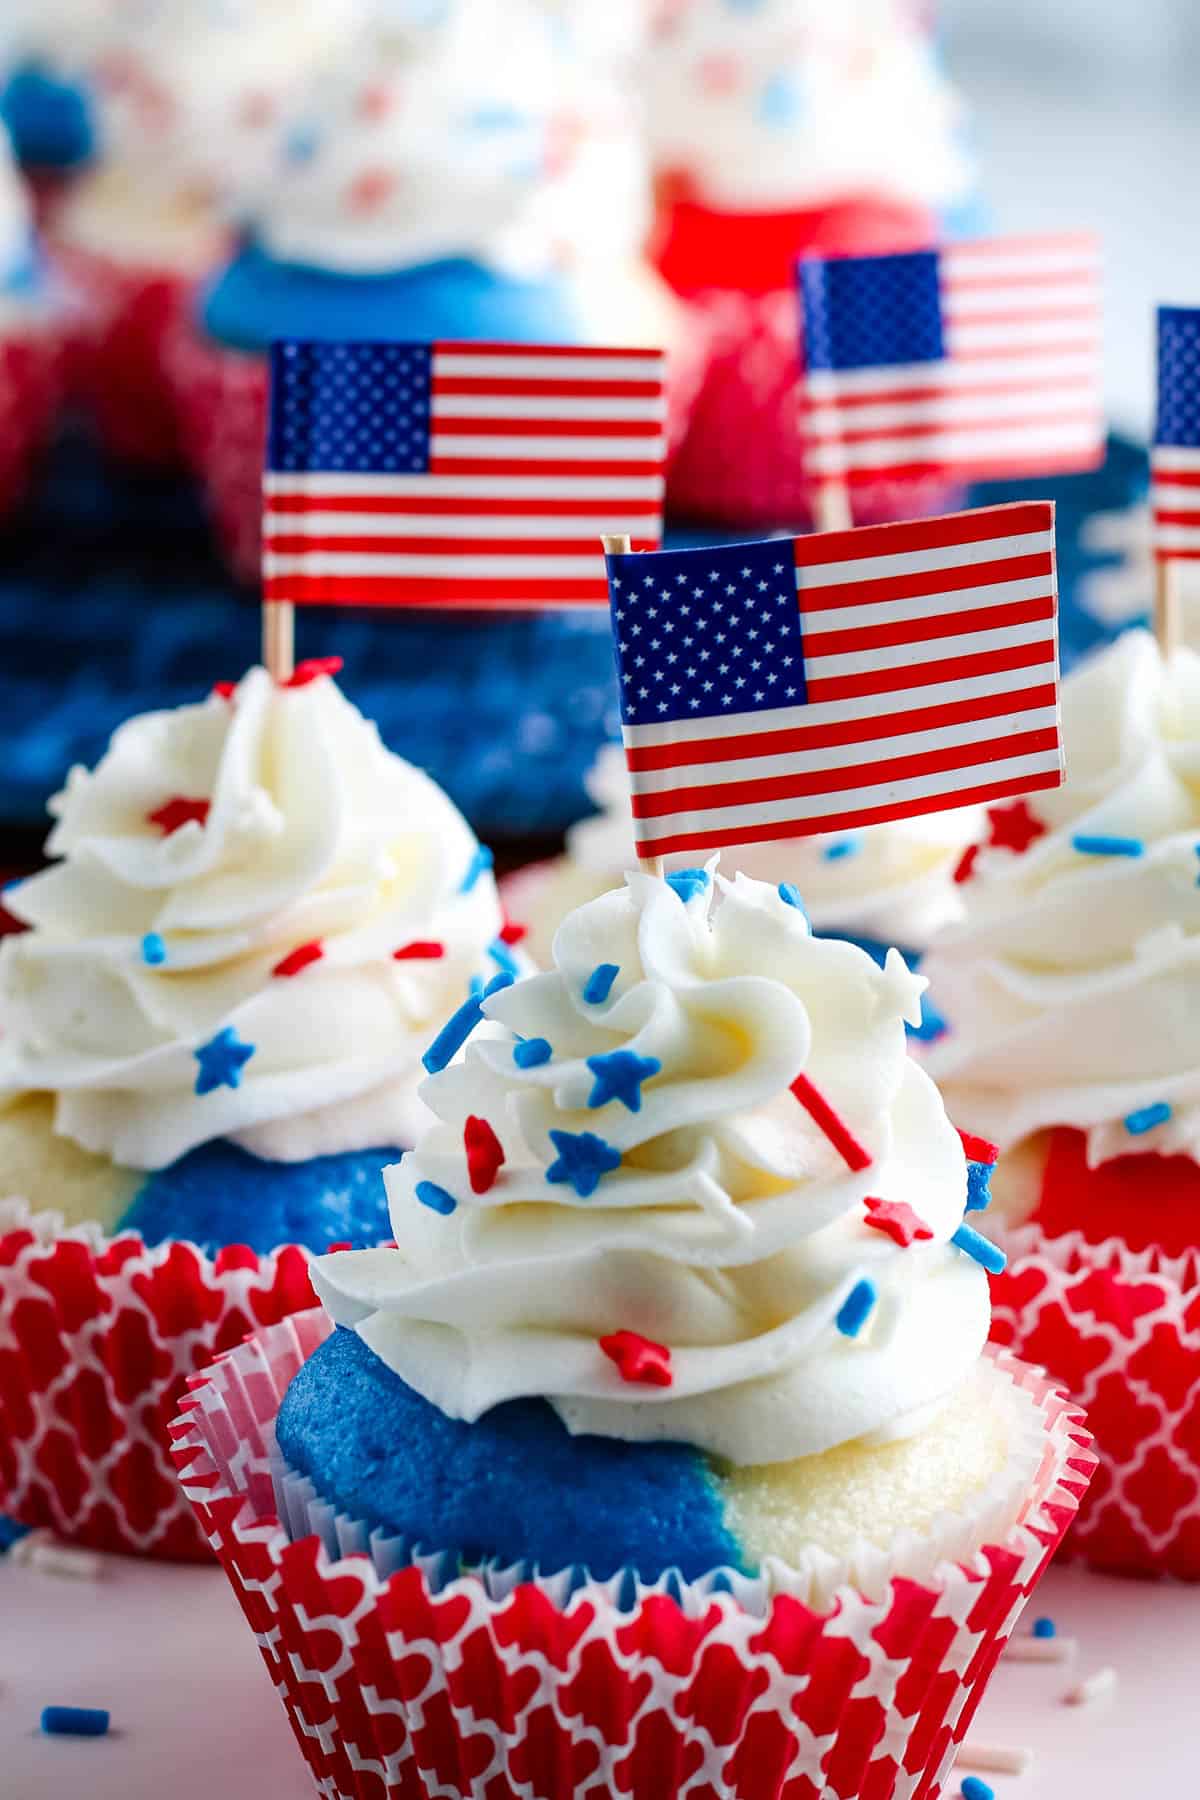
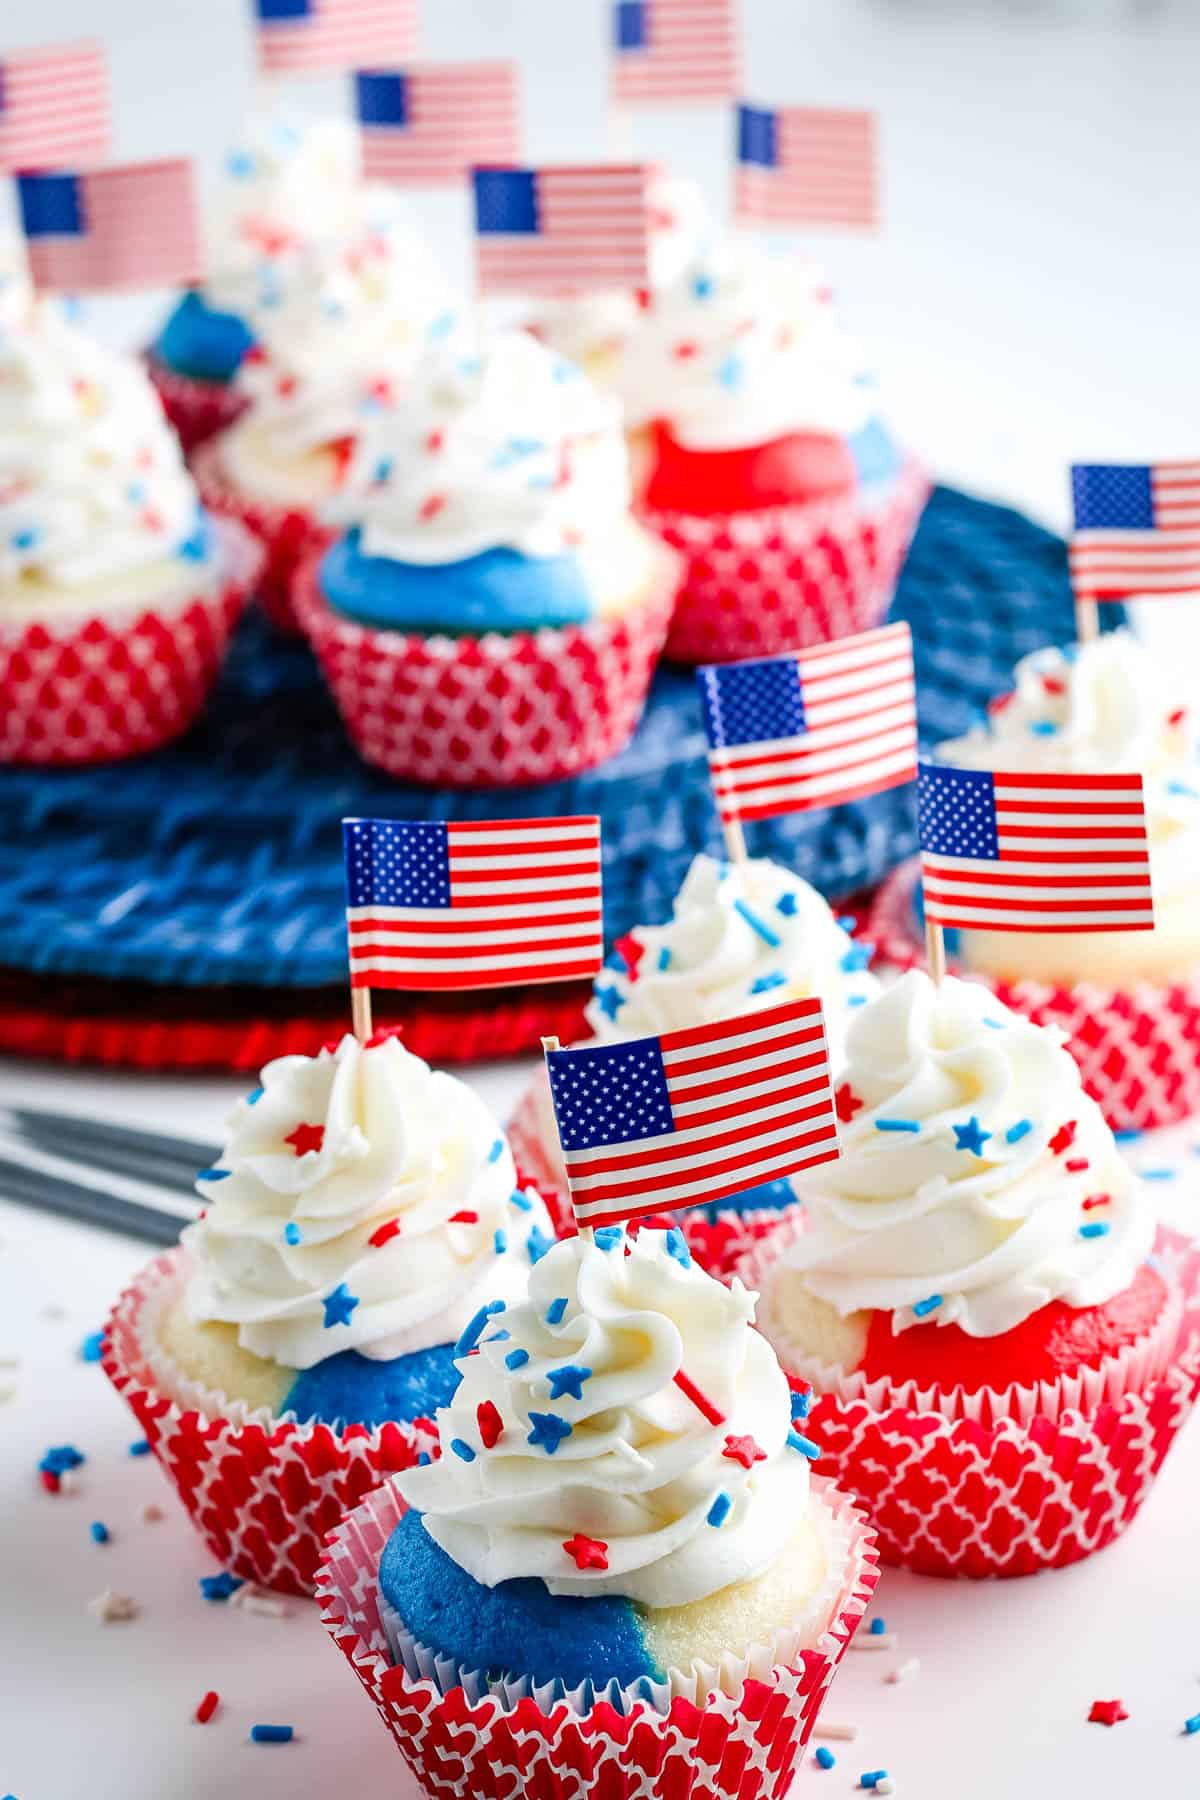
With red, white, and blue cupcakes, a little buttercream frosting, and maybe some sprinkles or tiny American flags, you’ve got the makings of a very easy patriotic red, white, and blue dessert your party guests will love.
Ingredients and Substitutions Notes:
Before you make these fourth of July cupcakes, you’ll need to gather just a few simple ingredients…
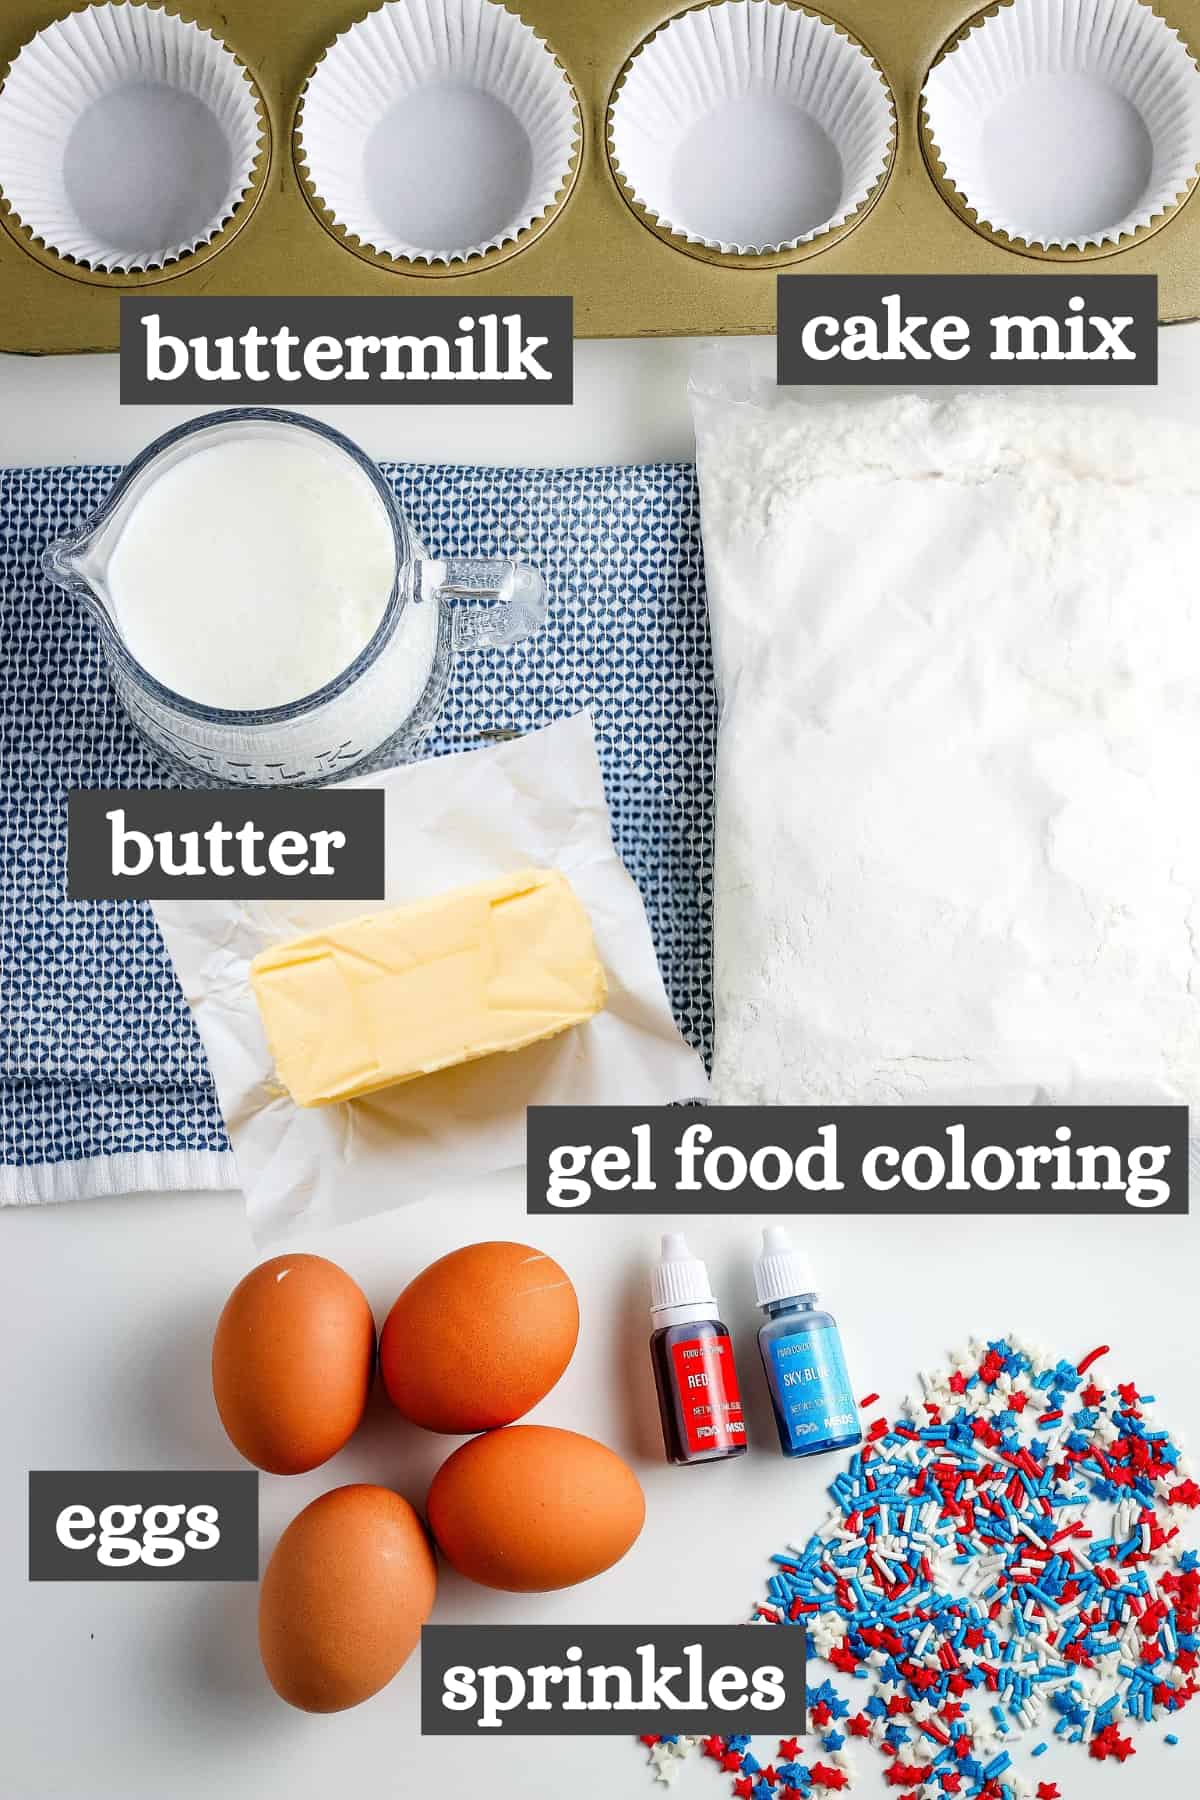
- White Cake Mix – Box cake mix just makes the entire process easier. If you want to make homemade cupcakes, you can always make gluten-free vanilla cupcakes, though you may want to swap whole eggs for egg whites, so your cupcakes are not as yellow. Also, if you want to make gluten-free 4th of July cupcakes, use a gluten-free cake mix (and check your other ingredients, as well, to make sure everything is indeed gluten-free).
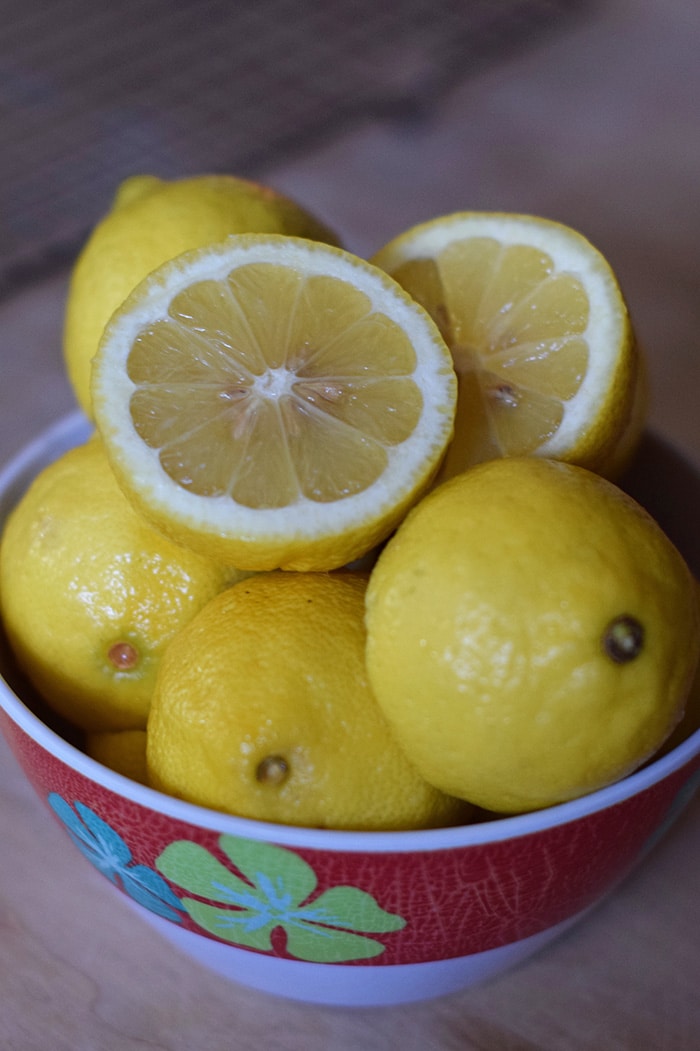
- Egg Whites – While you can use whole eggs, using just egg whites will help ensure your cake is white and not yellow; egg whites also give a very fluffy texture to cake and cupcakes. Since we’re coloring the batter, we want to start with white cake batter if at all possible. If needed, use an egg separator to separate the yolks from the whites; and make sure eggs are room temperature.
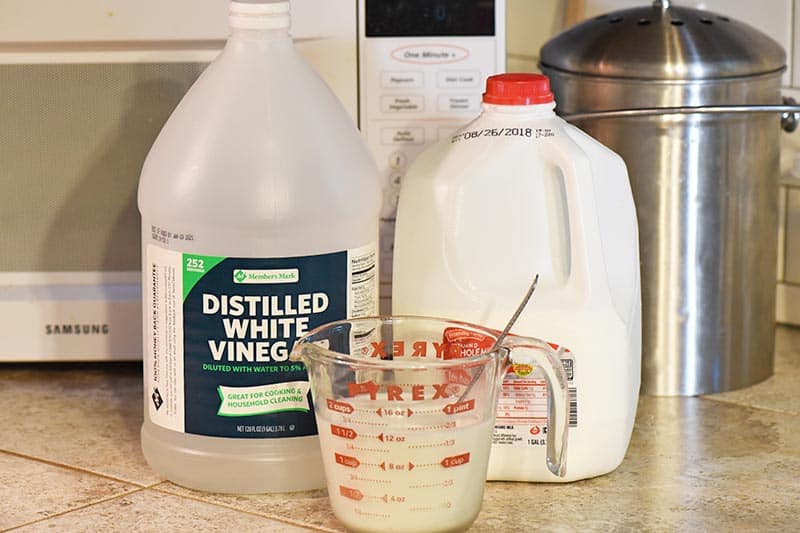
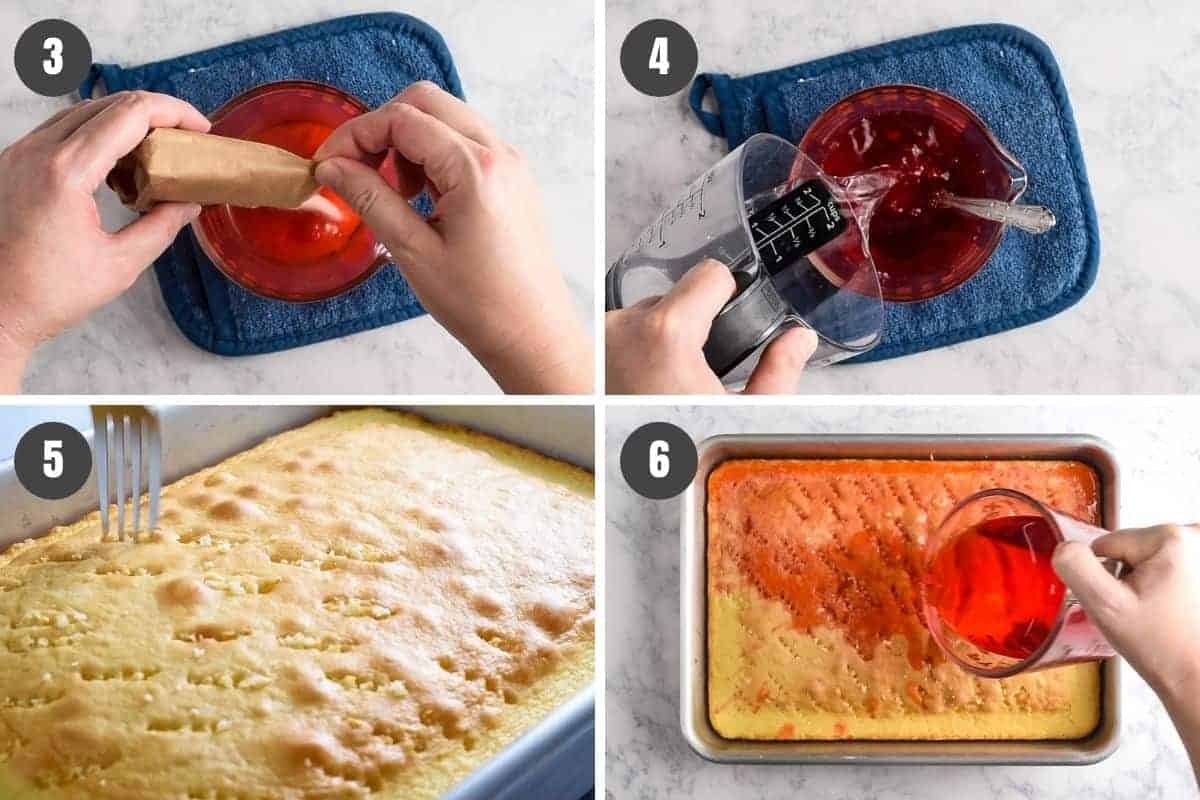
- Buttermilk – If you don’t have buttermilk on hand, my momma taught me this trick to make buttermilk or soured milk, and it works just fine for these cookies. You’ll need white vinegar and milk, about a tablespoon of vinegar for every cup of milk. This recipe calls for 1 cup buttermilk, so you’d need to add about 1 tablespoon of white vinegar to the milk to sour it. Step 1: To make sure you have the right amount of liquid, add the vinegar into a liquid measuring cup first. Step 2: Then add the milk to the desired level or measurement. Step 3: Stir it and let sit for 5 to 10 minutes. And that’s it! Before you know it, your milk will be perfectly soured just like buttermilk.
- Butter – I just use salted butter we make from our Guernsey cows. Now, you can sub canola oil using a 1:1 ratio; but in my experience, good ole butter makes a much better cake.
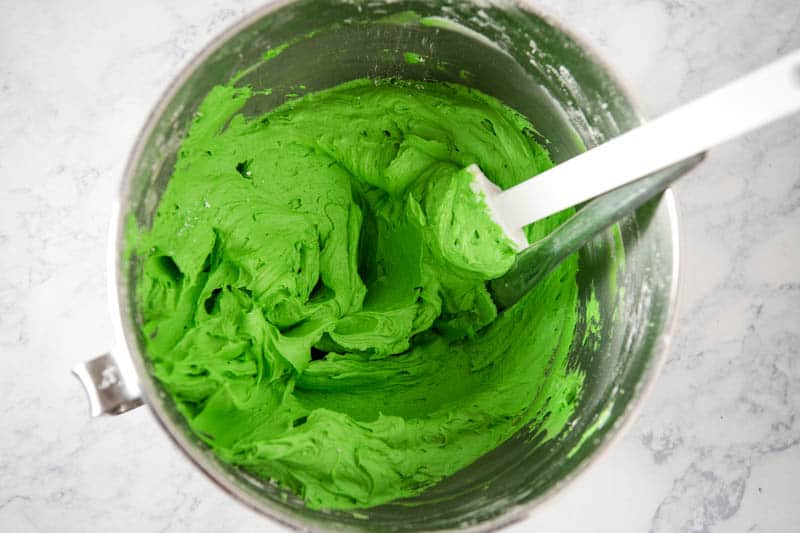
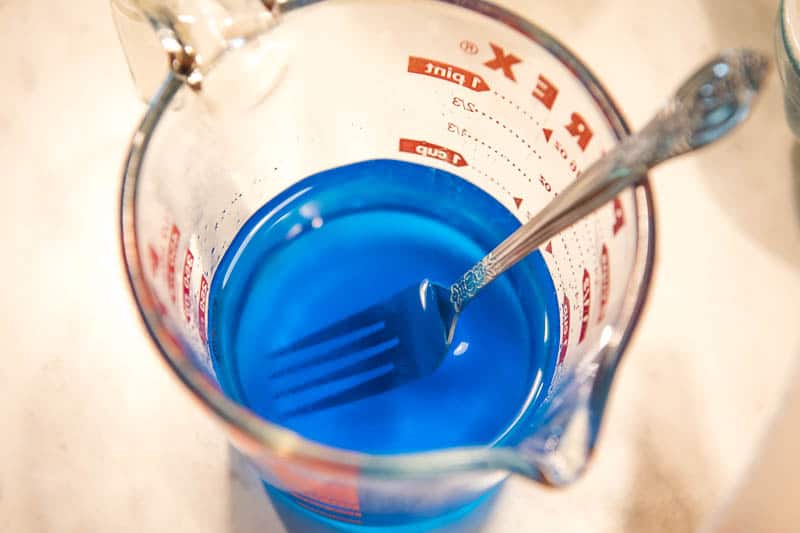
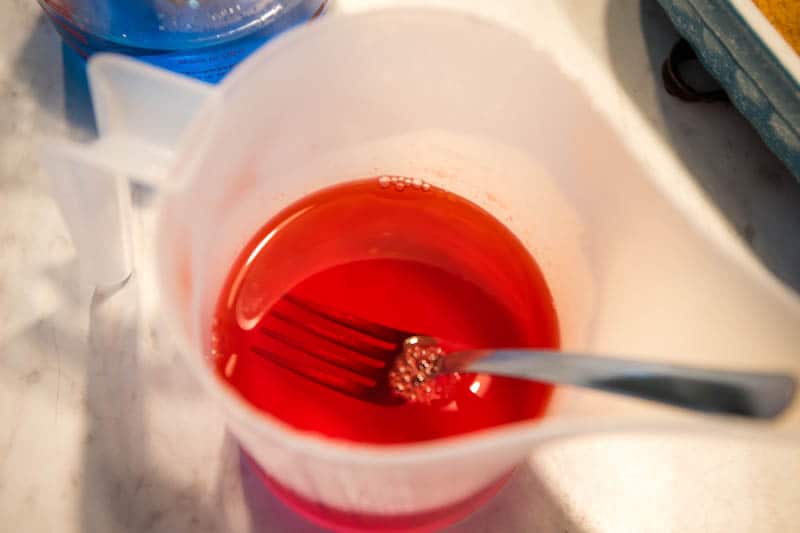
- Red Gel Food Coloring and Blue Gel Food Coloring – The reason I recommend gel food coloring is because you’ll get a much brighter color than you will with liquid food coloring. You’ll want a bright red food coloring and a royal blue color.
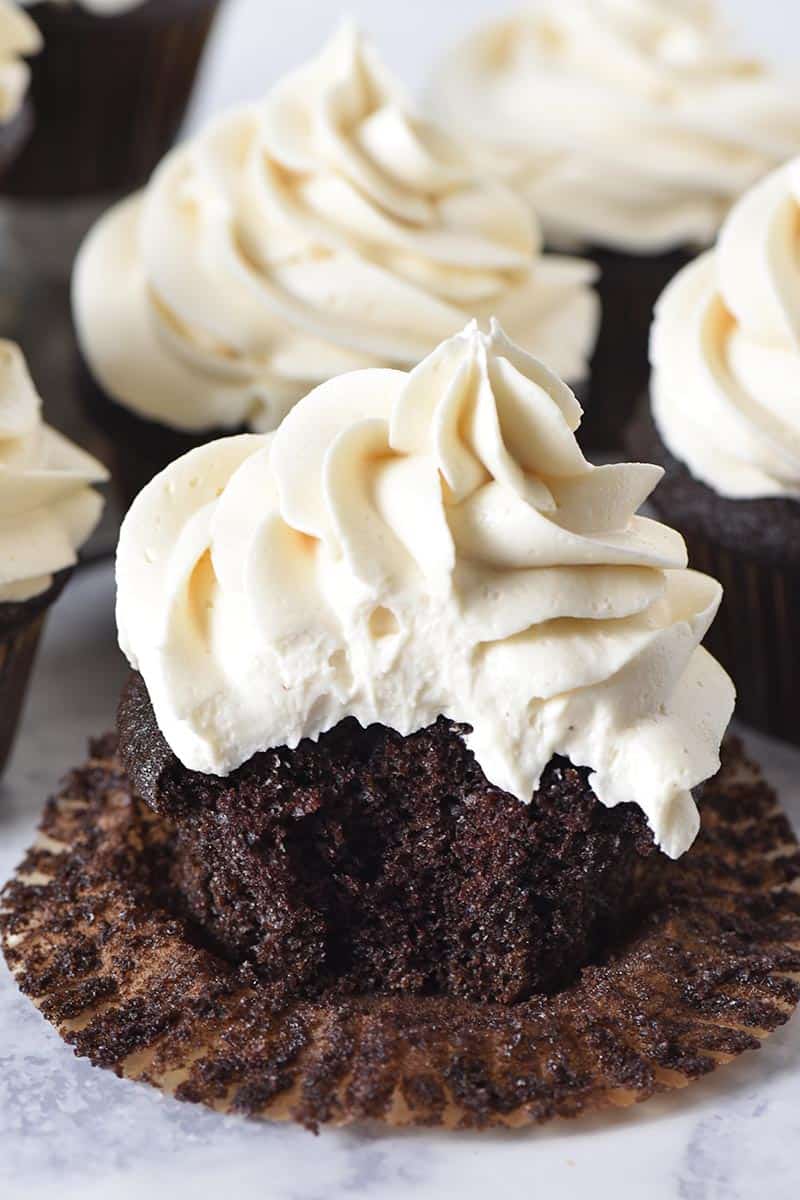
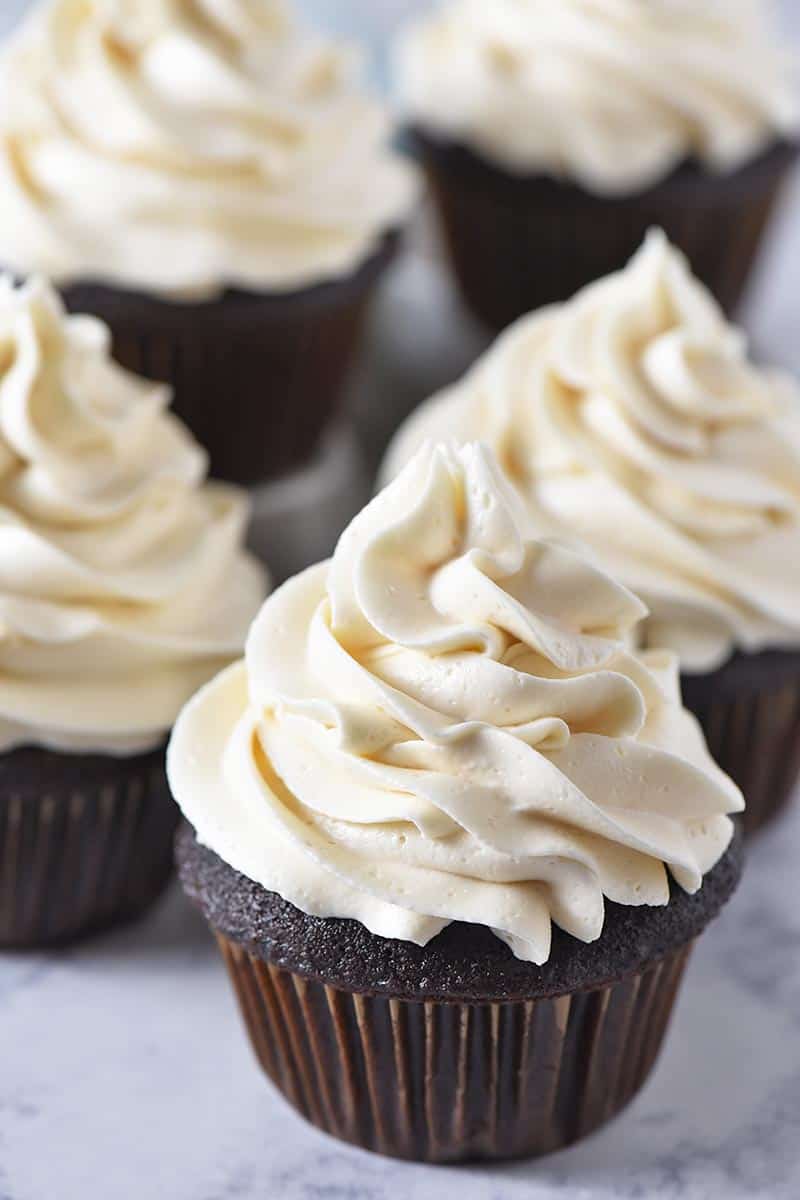
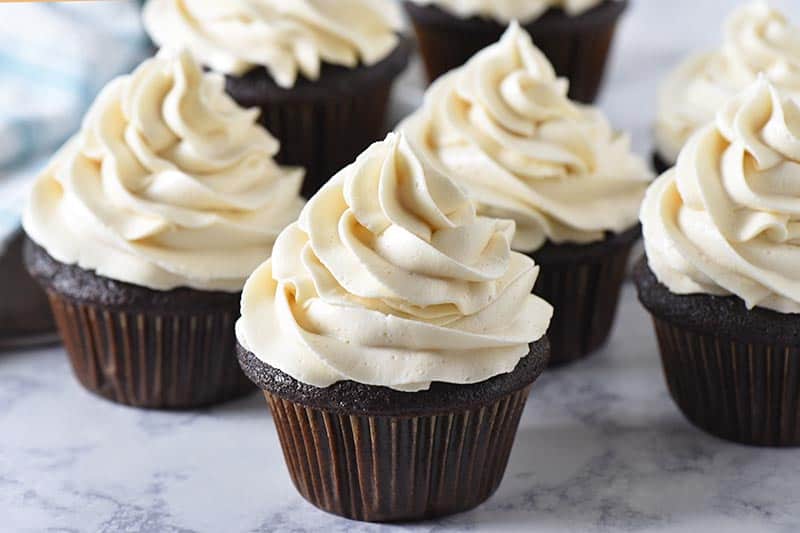
- Buttercream Frosting – You can either buy this at the store, or make it homemade. For homemade buttercream, you’ll need butter, vanilla extract, almond extract, heavy whipping cream, and powdered sugar.
- Sprinkles and Decorations – Patriotic red, white, and blue sprinkles are always fun to add; and of course, don’t forget tiny American flag cupcake toppers.
You’ll also need a few supplies for making July 4th cupcakes…
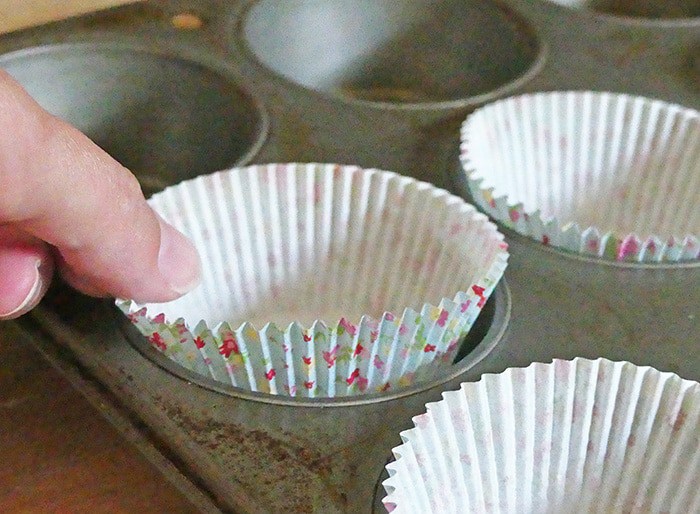
- Cupcake Liners – use 4th of July cupcake liners or festive patriotic cupcake liners in a cupcake pan.
- Disposable Decorator Bags – If you don’t want to purchase pastry bags, you can always snip the corner off a gallon-size Ziploc bag, and use separate bags for both the batter and the frosting.
- Cake Tip – While the type of decorating tip depends on what kind of swirl you want with your icing, I recommend Wilton Tip 2A for a smooth swirl, and Tip 2D or Tip 1M for a more flower or star shaped swirl.
How to Make 4th of July Cupcakes
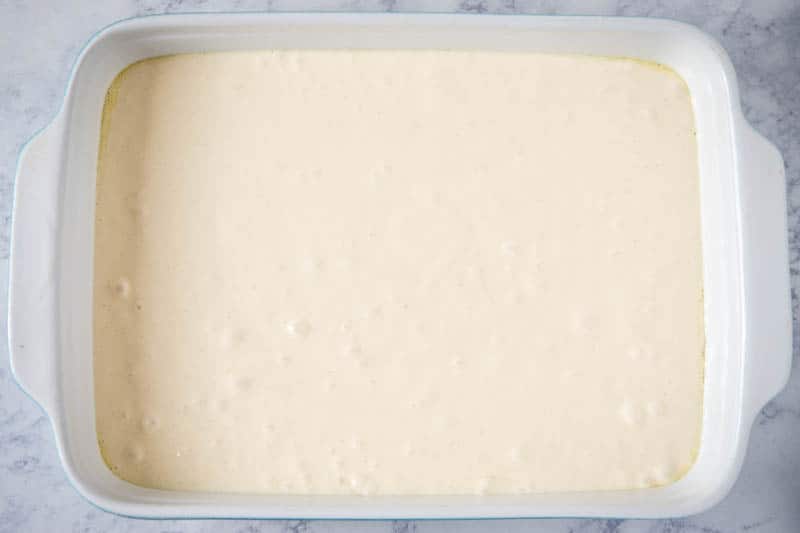
Before you begin to mix the batter for these easy 4th of July cupcakes, pre-heat your oven to 350° F, and add 4th of July cupcake liners to muffin tins. This recipe will make anywhere from 18-24 cupcakes.
Mix the Cupcake Batter
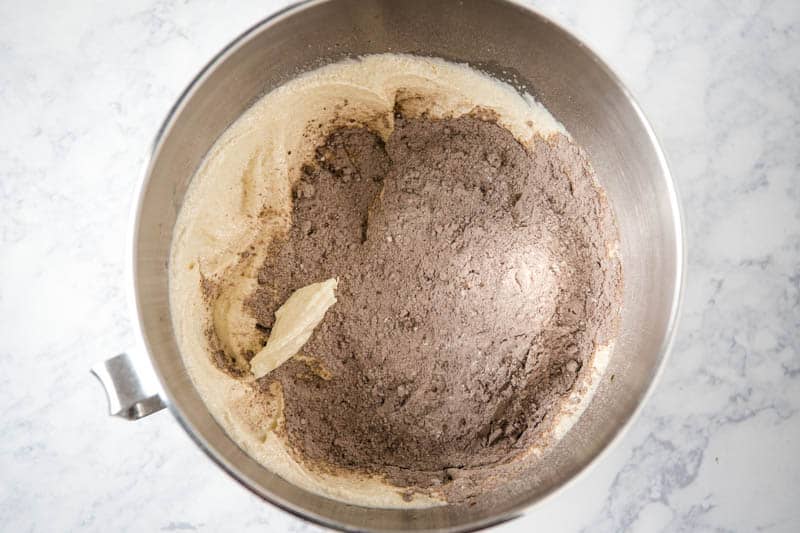
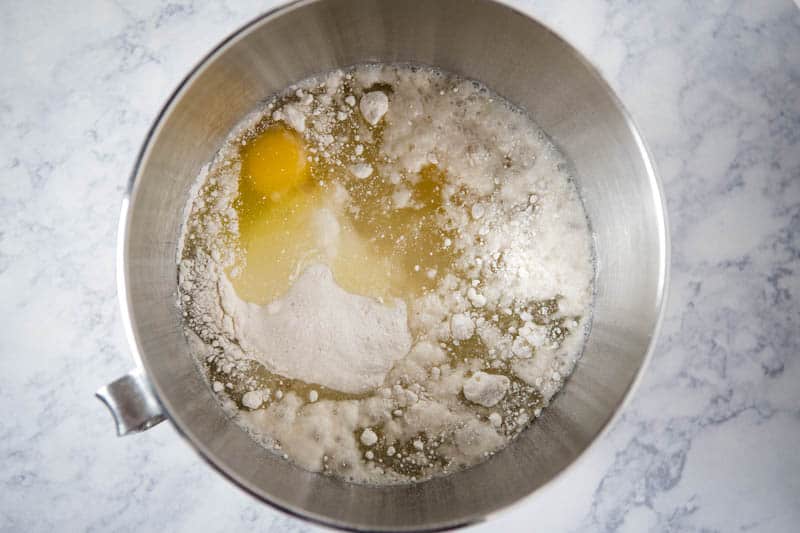
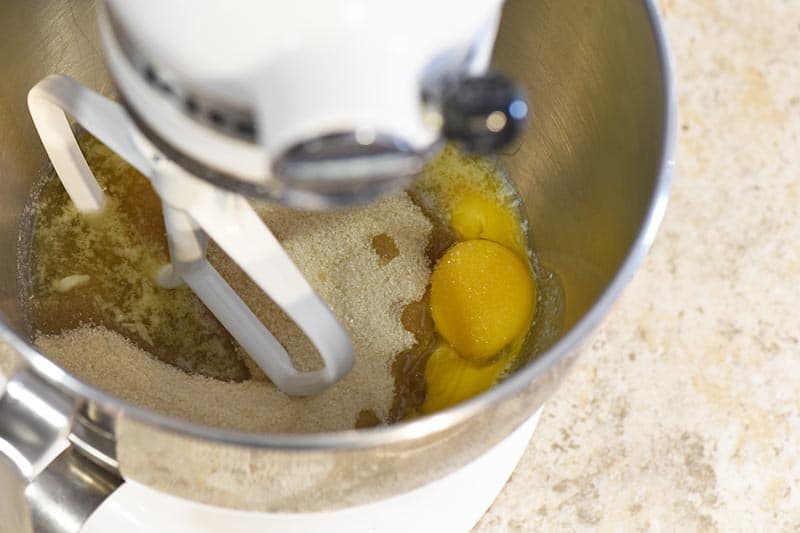
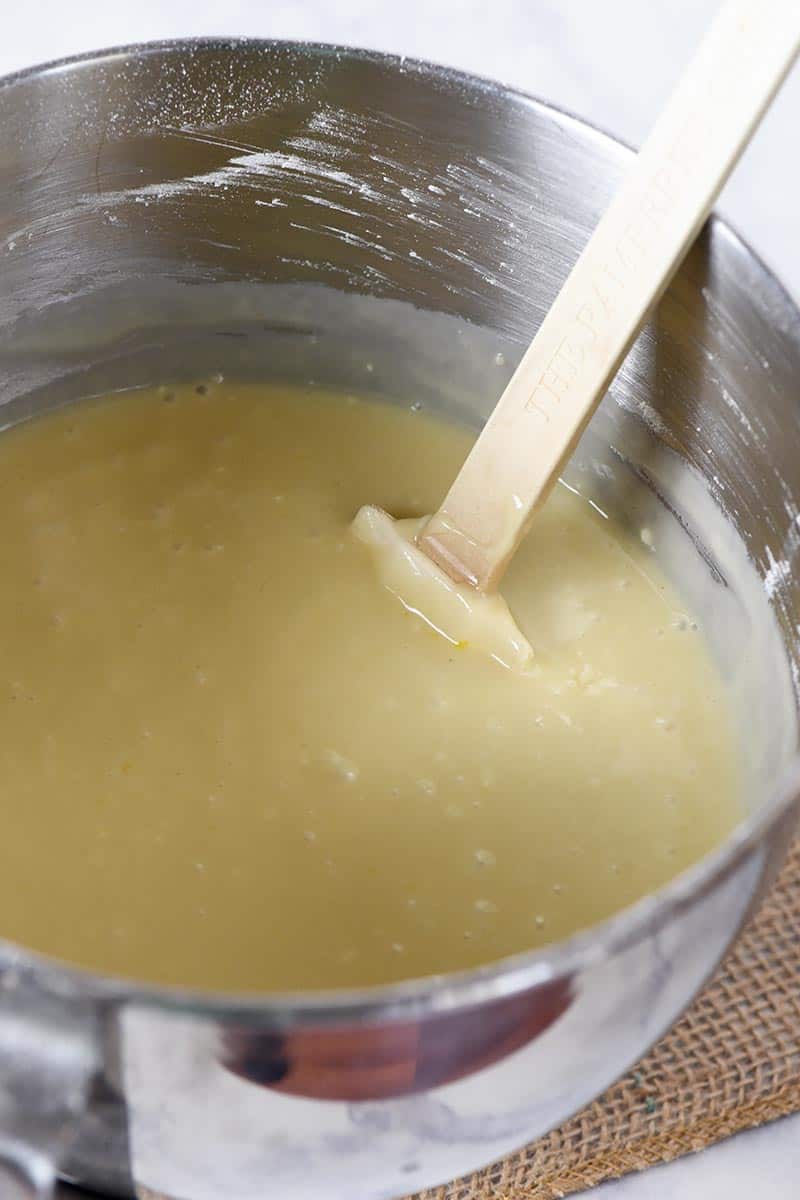
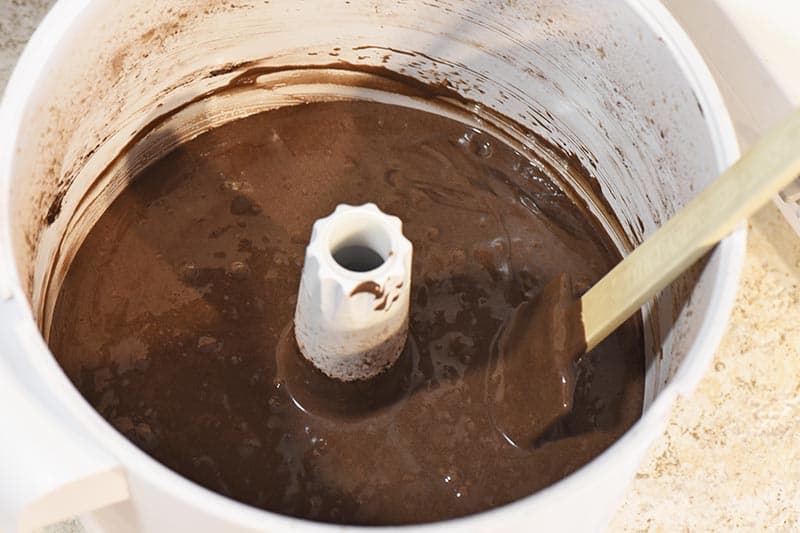
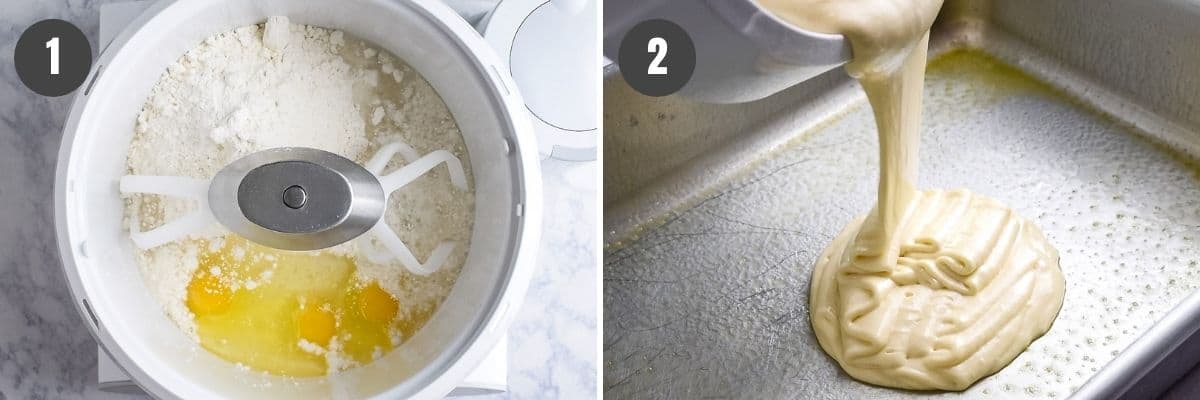
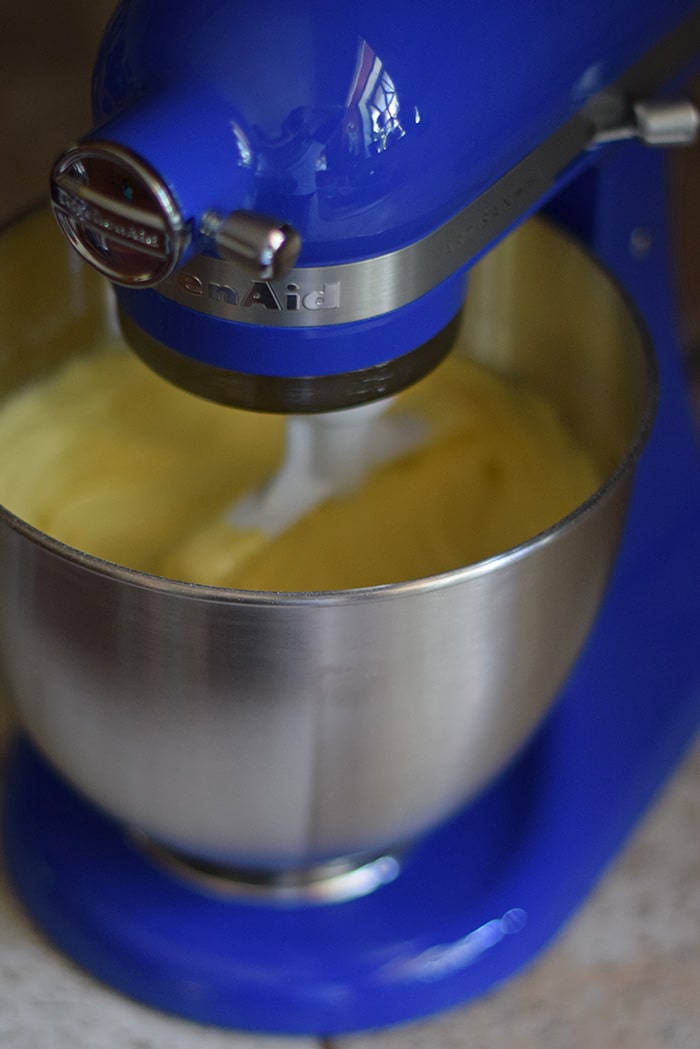
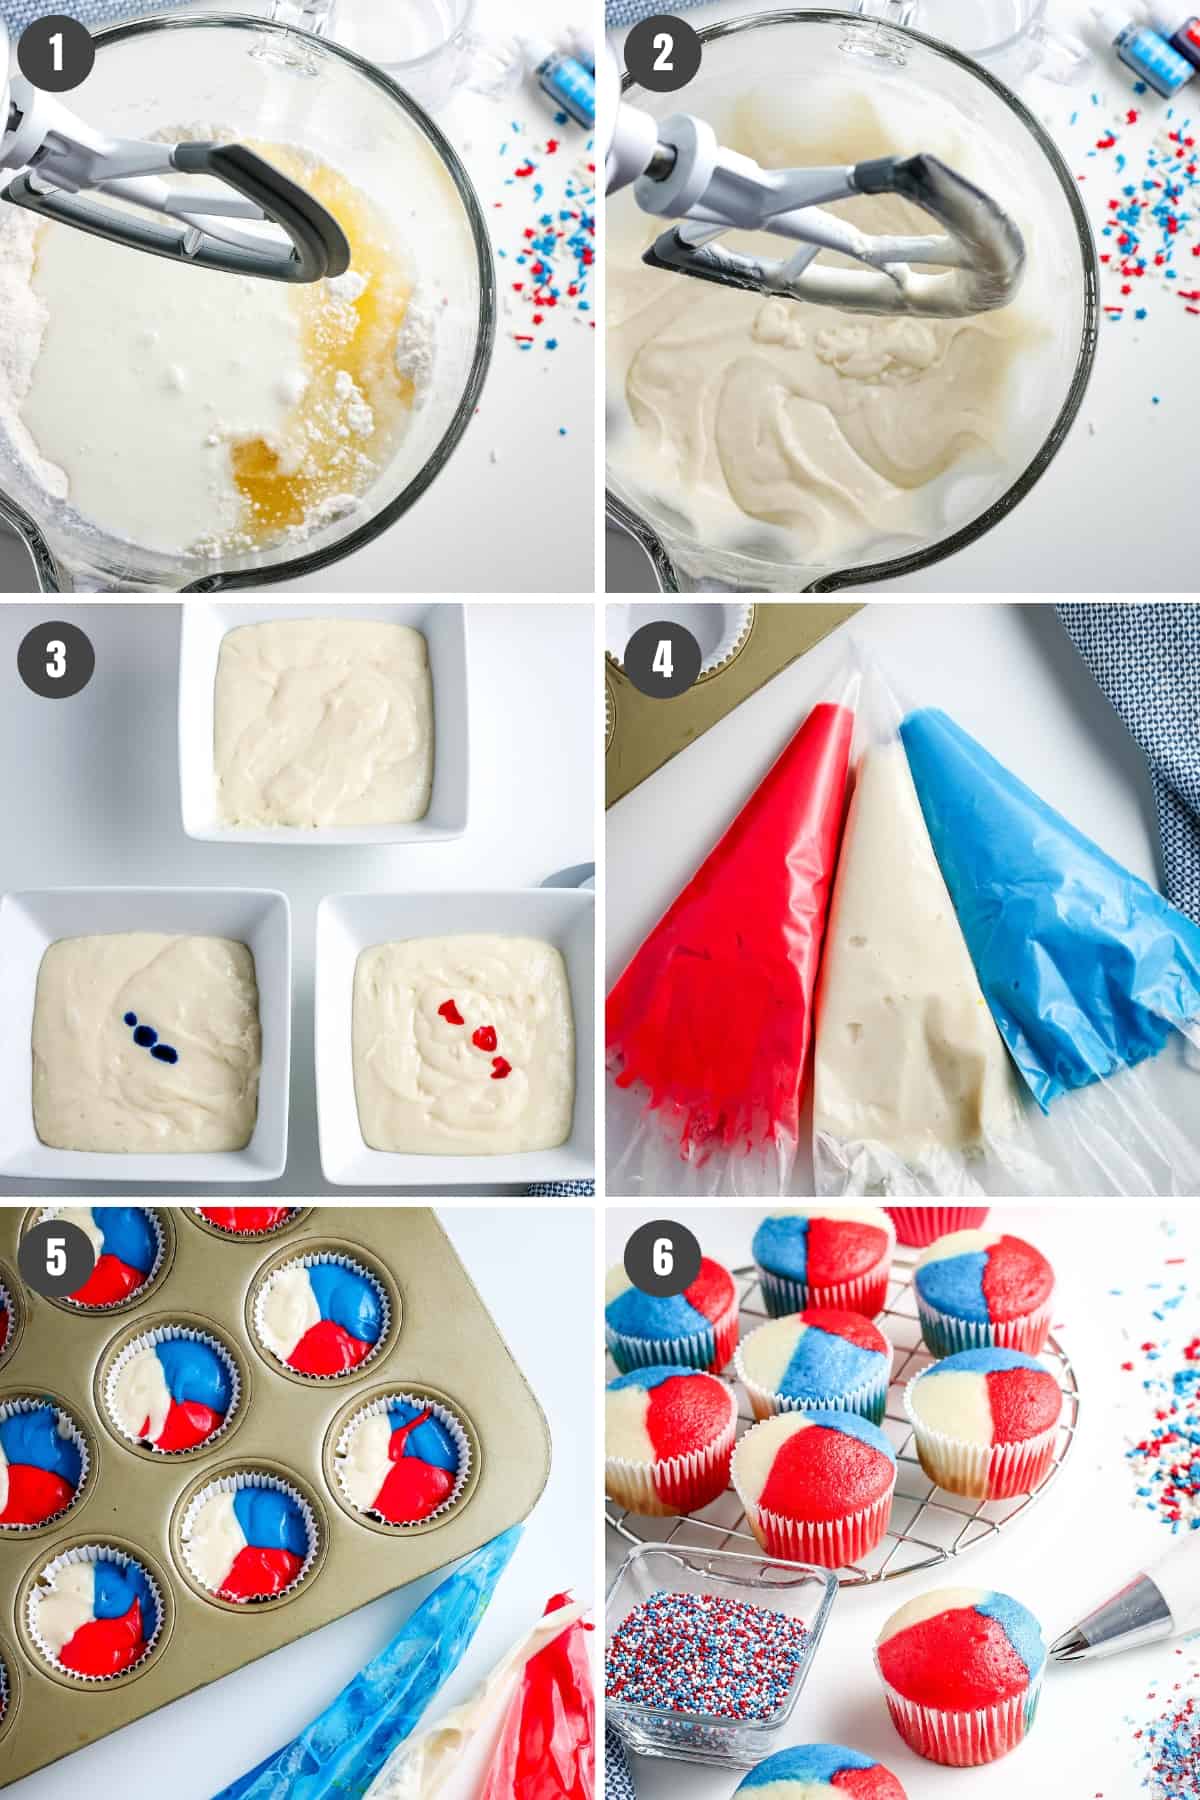
- Add the cake mix, egg whites, buttermilk, and softened butter to a large bowl.
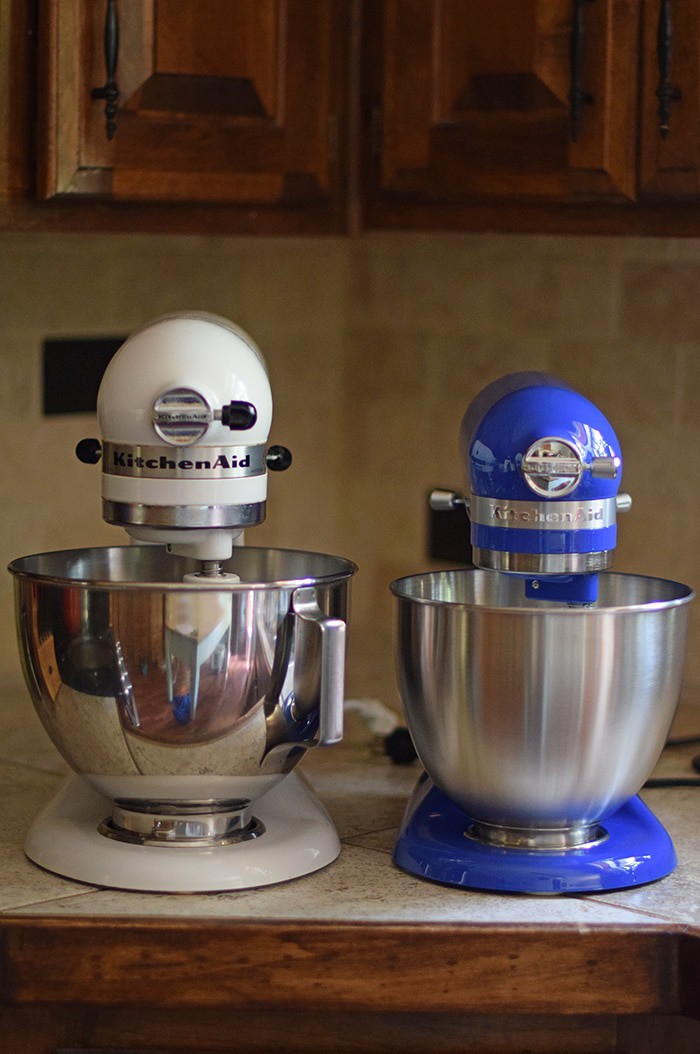
- Mix everything together using an electric mixer, ’til the batter is completely smooth.
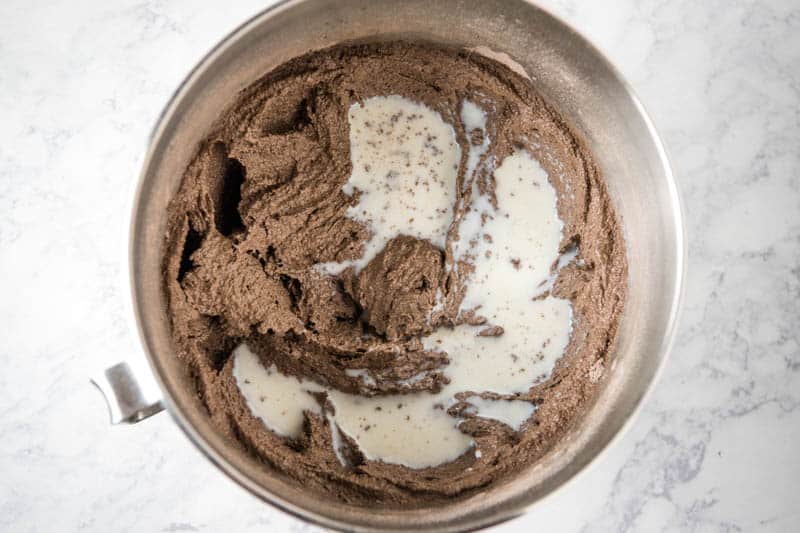
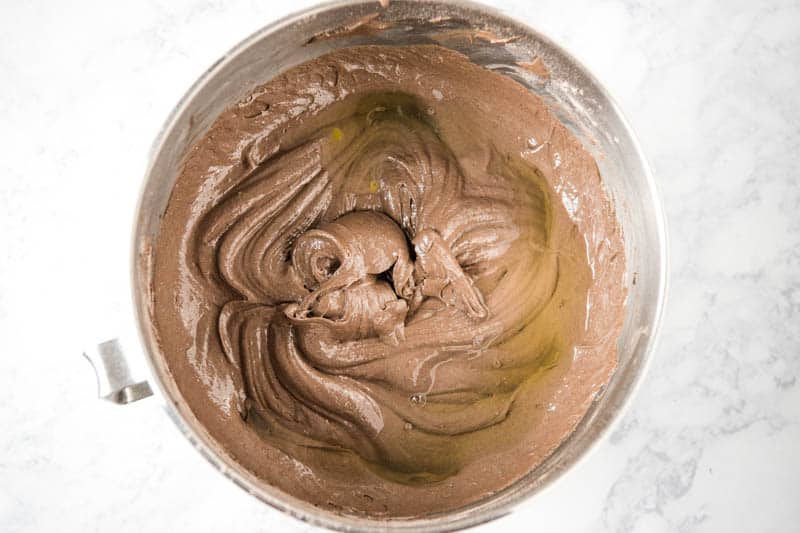
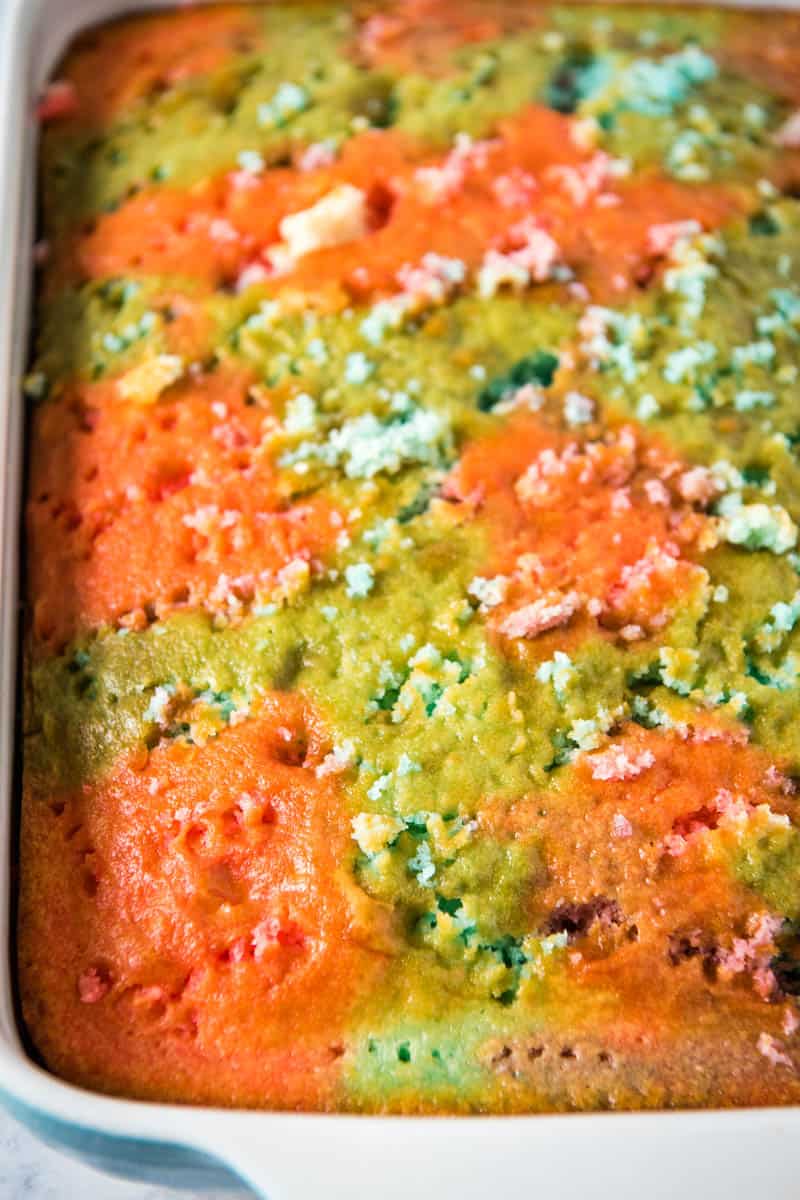
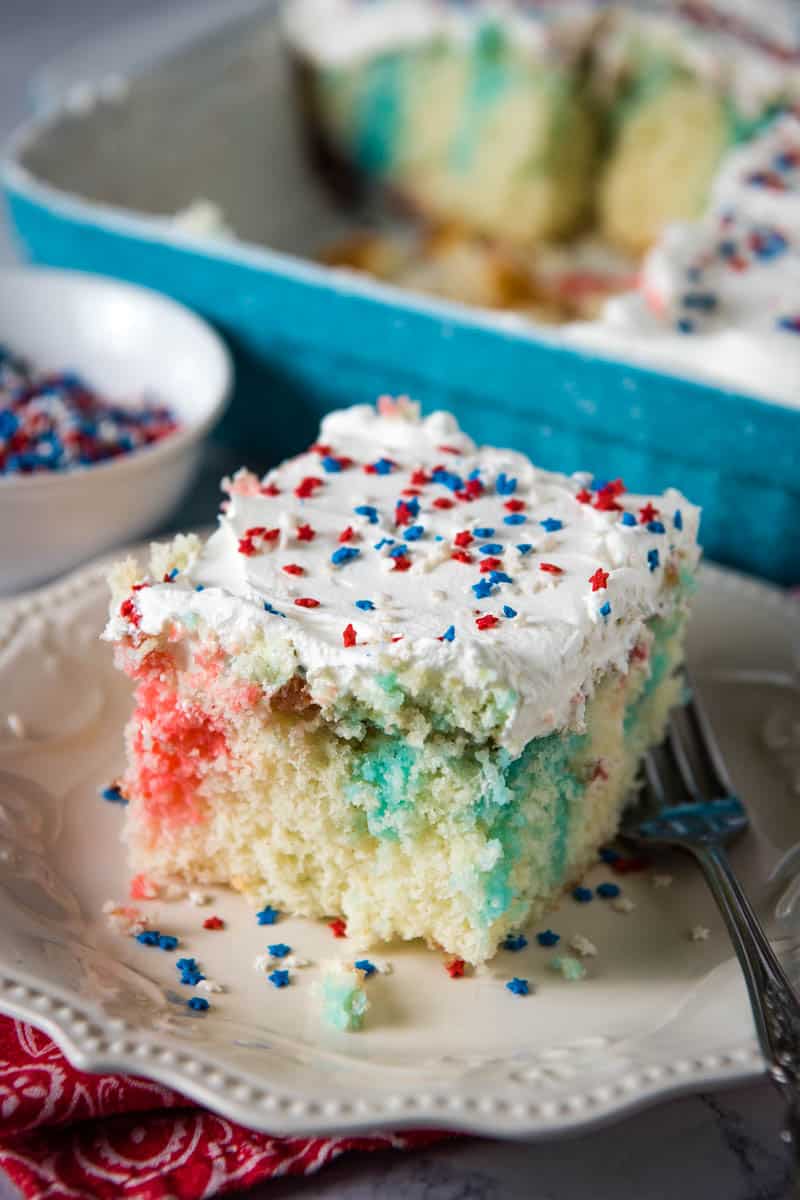
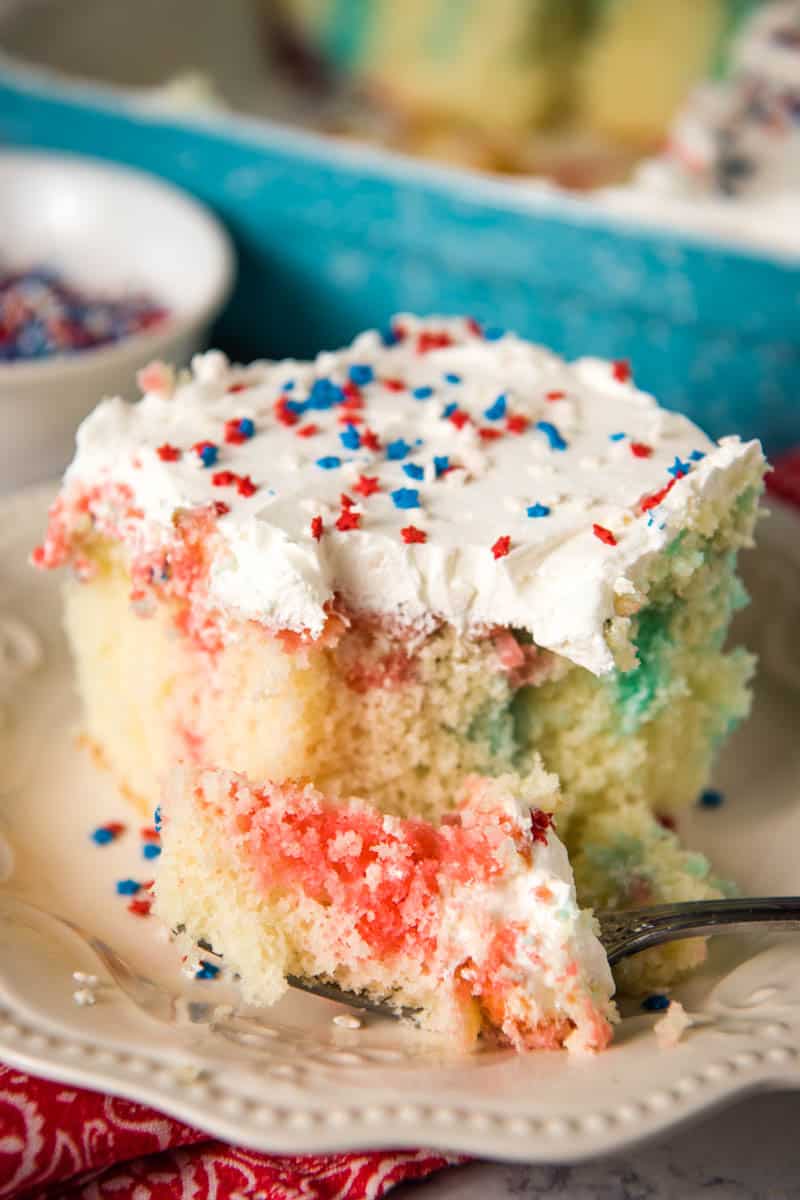
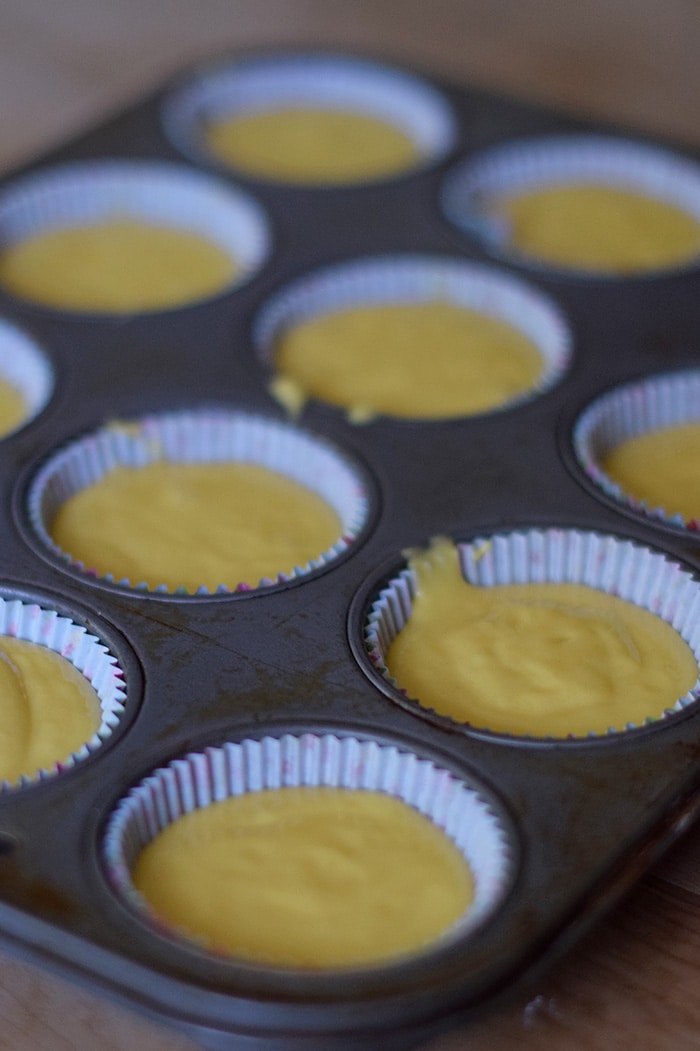
- Divide batter into 3 small bowls (you should have about 1 1/4 cups of batter in each bowl; then add red coloring to one bowl of batter, and blue coloring to another bowl of batter, leaving one bowl with white batter.
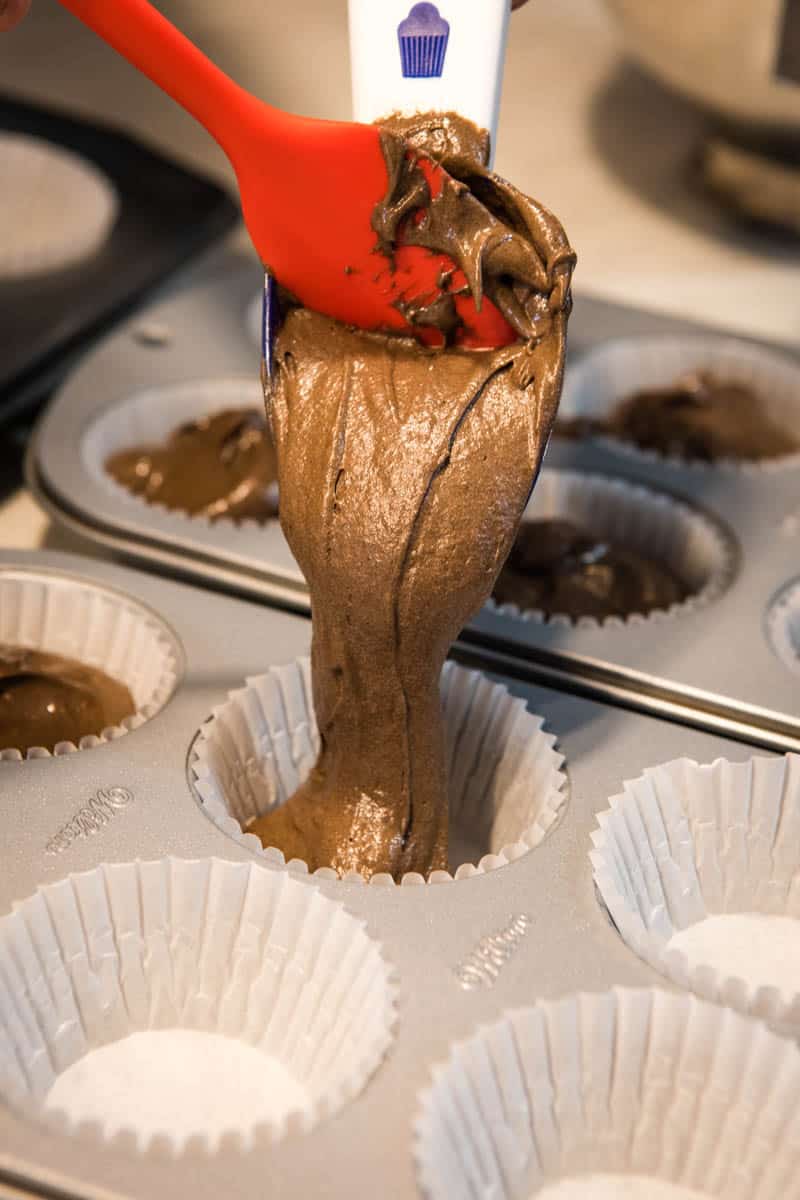
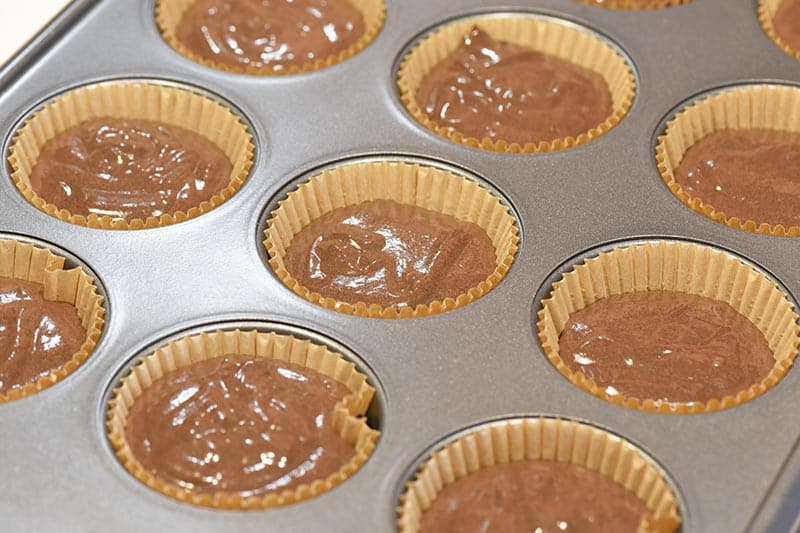
- Transfer the cake batter to disposable decorator bags to make it easier to fill the cupcake liners.
- Squeeze equal amounts of each color of batter into the cupcake liners in each muffin cup. Tip: It’s easier if you have another person helping you squeeze the batter at the same time into the liners.
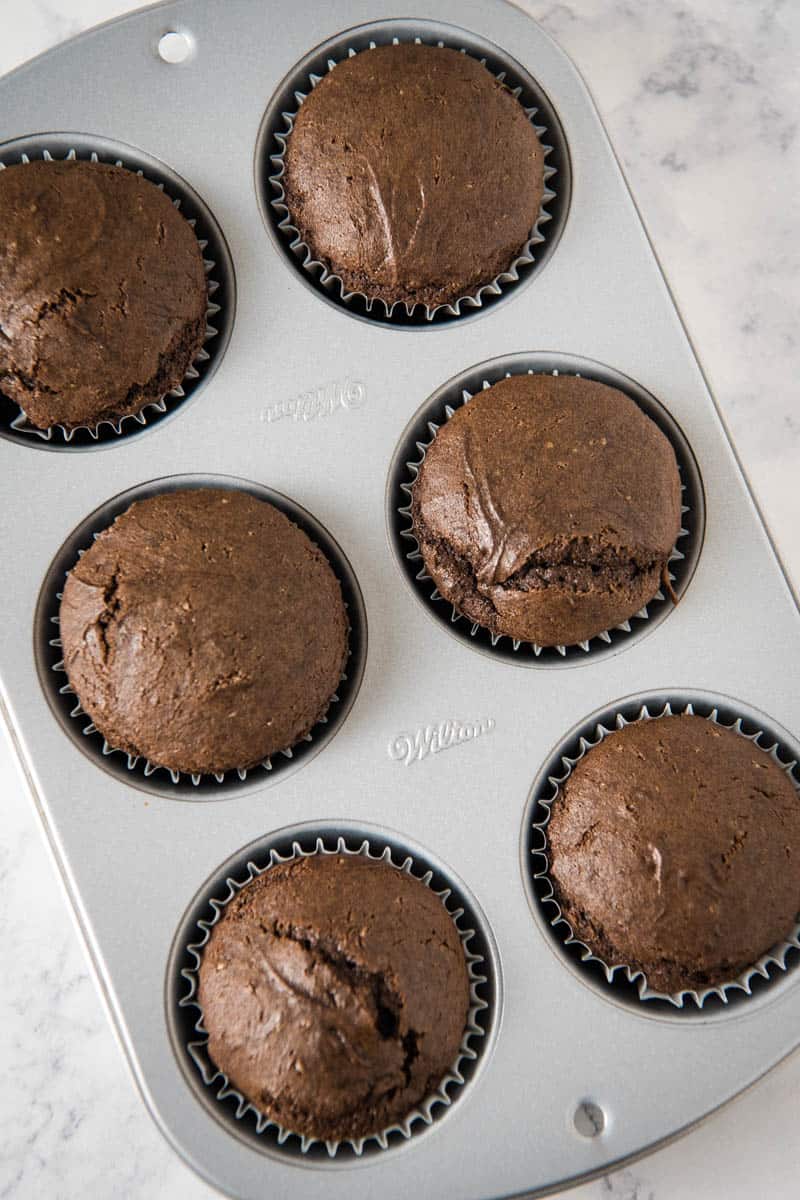
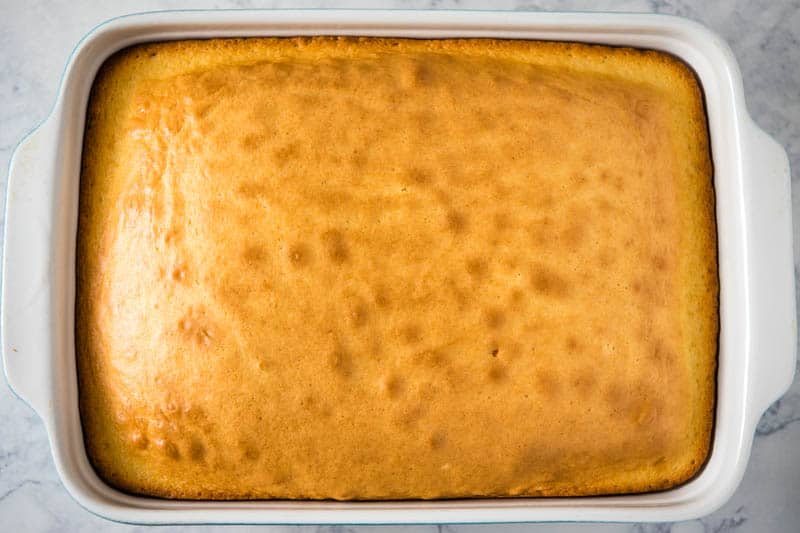
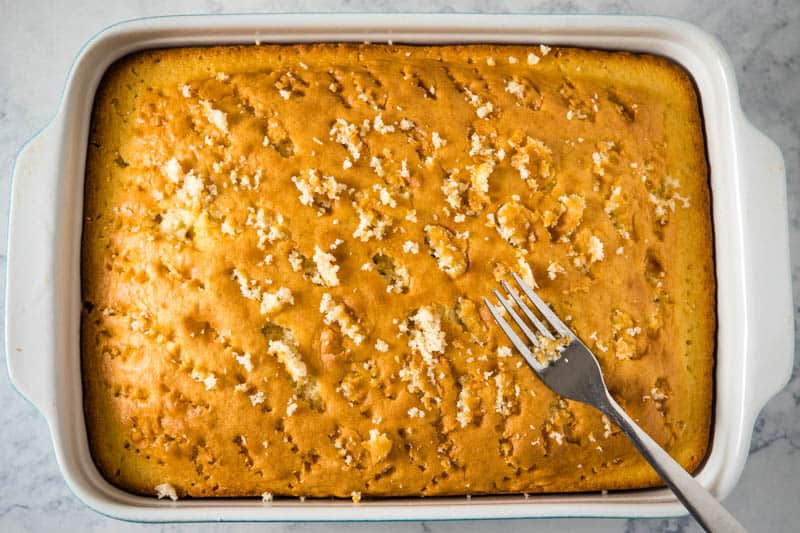
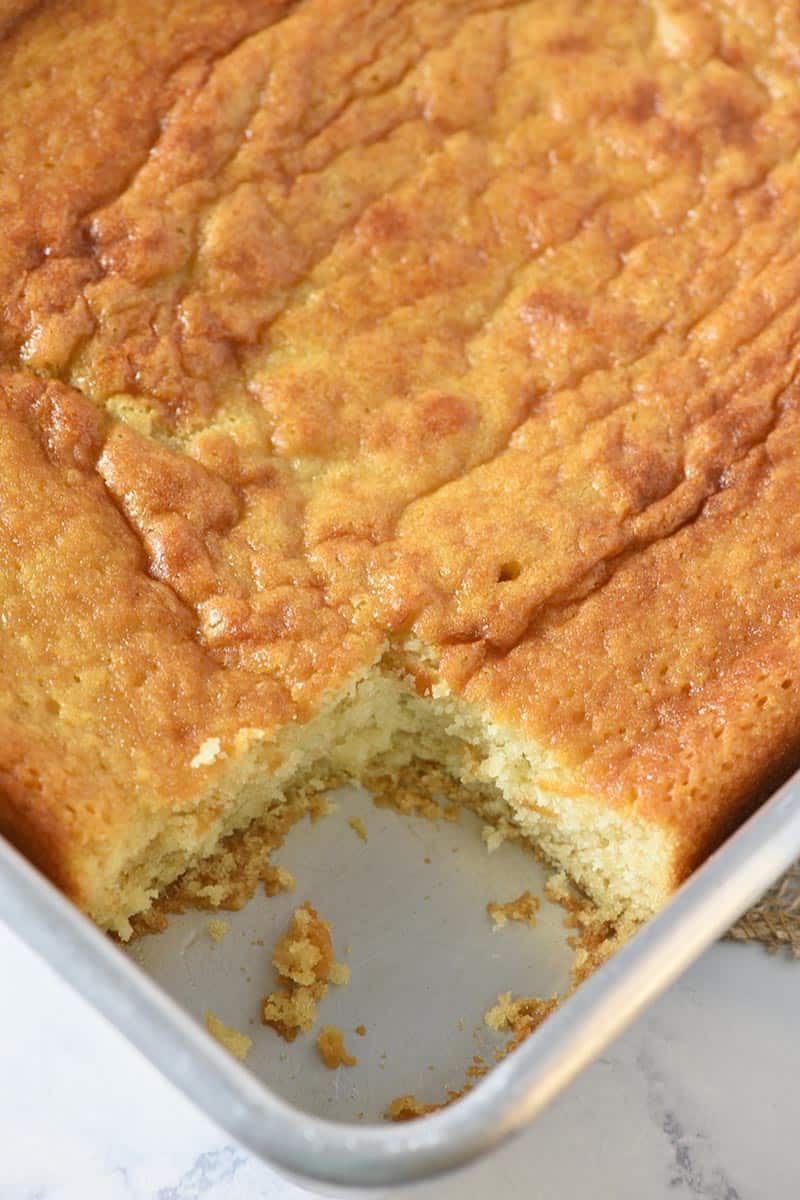
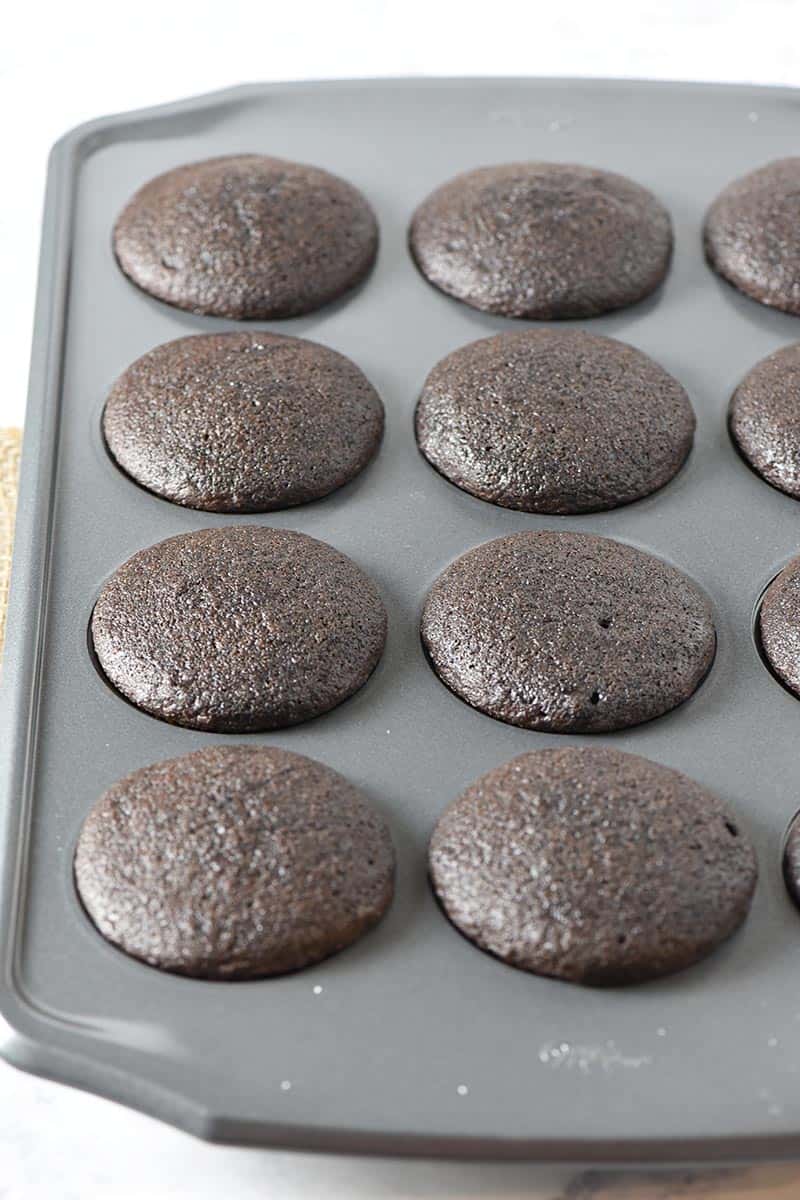
- Bake the cupcakes at 350° F for about 12-14 minutes, or until a toothpick inserted in the center comes out clean. Then cool completely on a wire rack.
Make Buttercream Frosting
Again, you can buy frosting already made, or you can make it homemade.
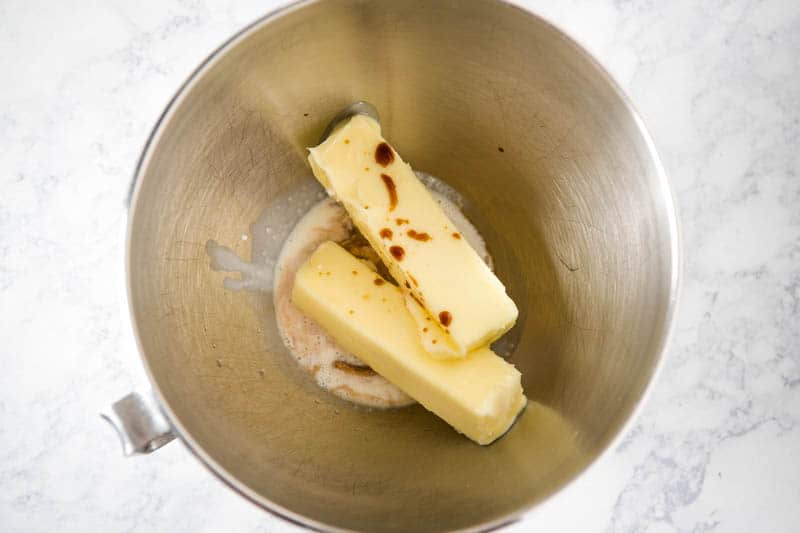
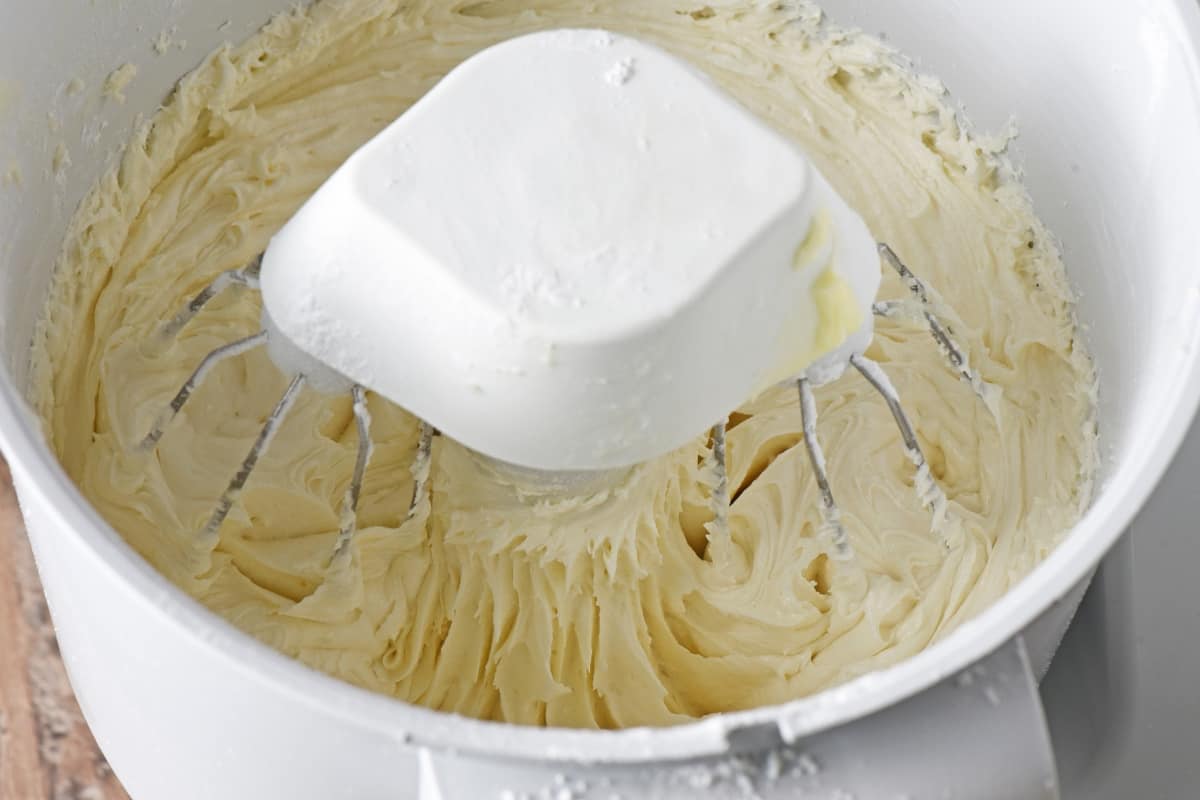
- In a large mixing bowl, mix together the softened butter, vanilla extract, almond extract, and heavy whipping cream.
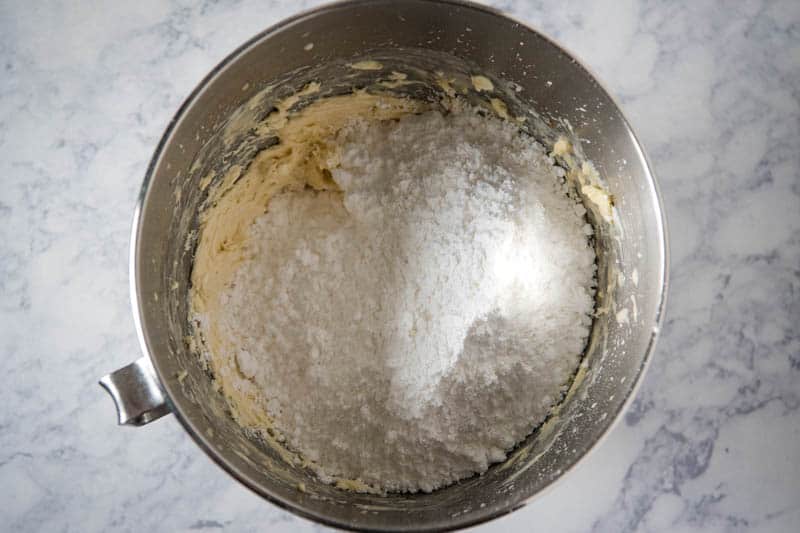
- Add in the powdered sugar, mixing everything together for 2-3 minutes, or ’til the frosting is smooth.
How to Decorate Patriotic Cupcakes
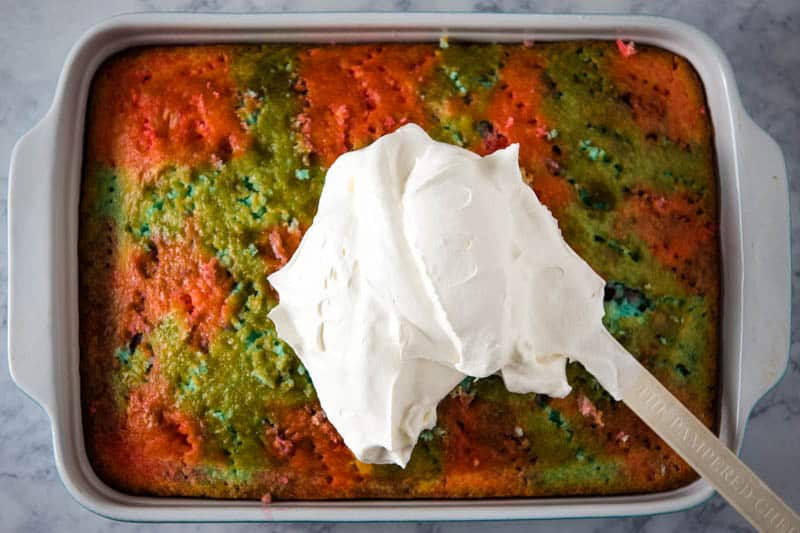
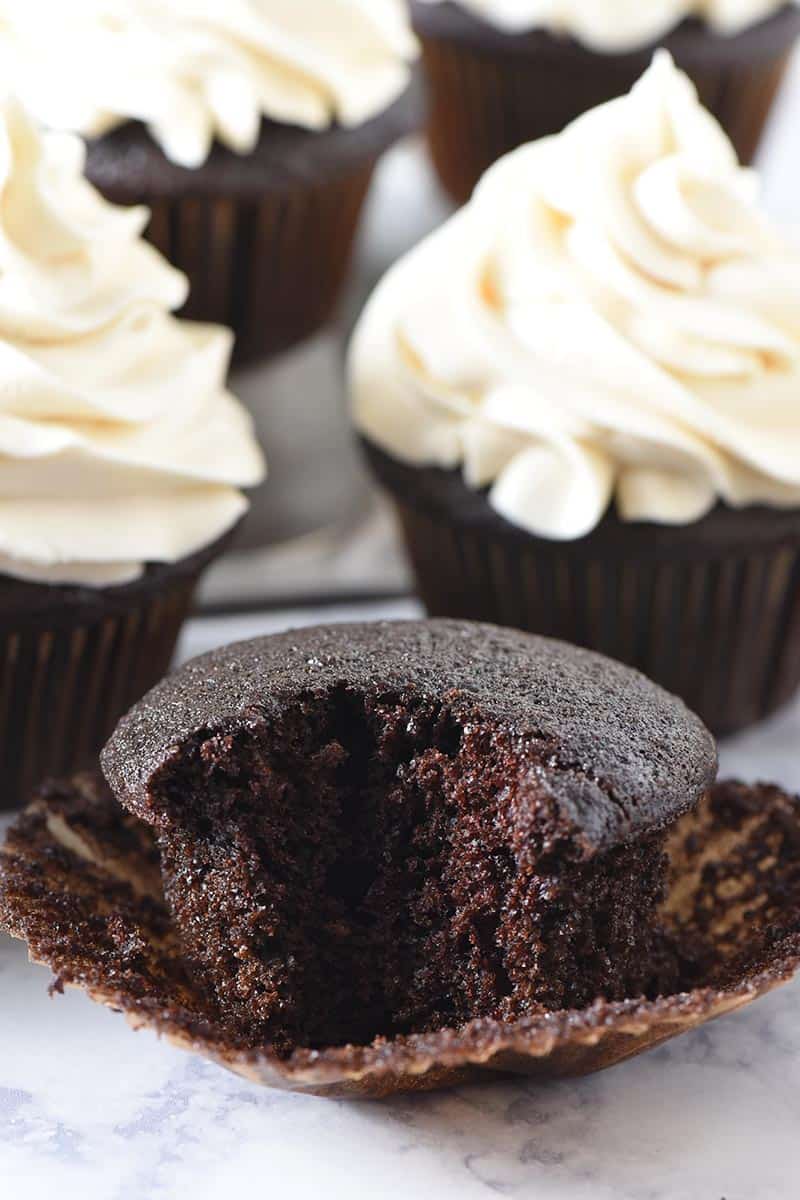
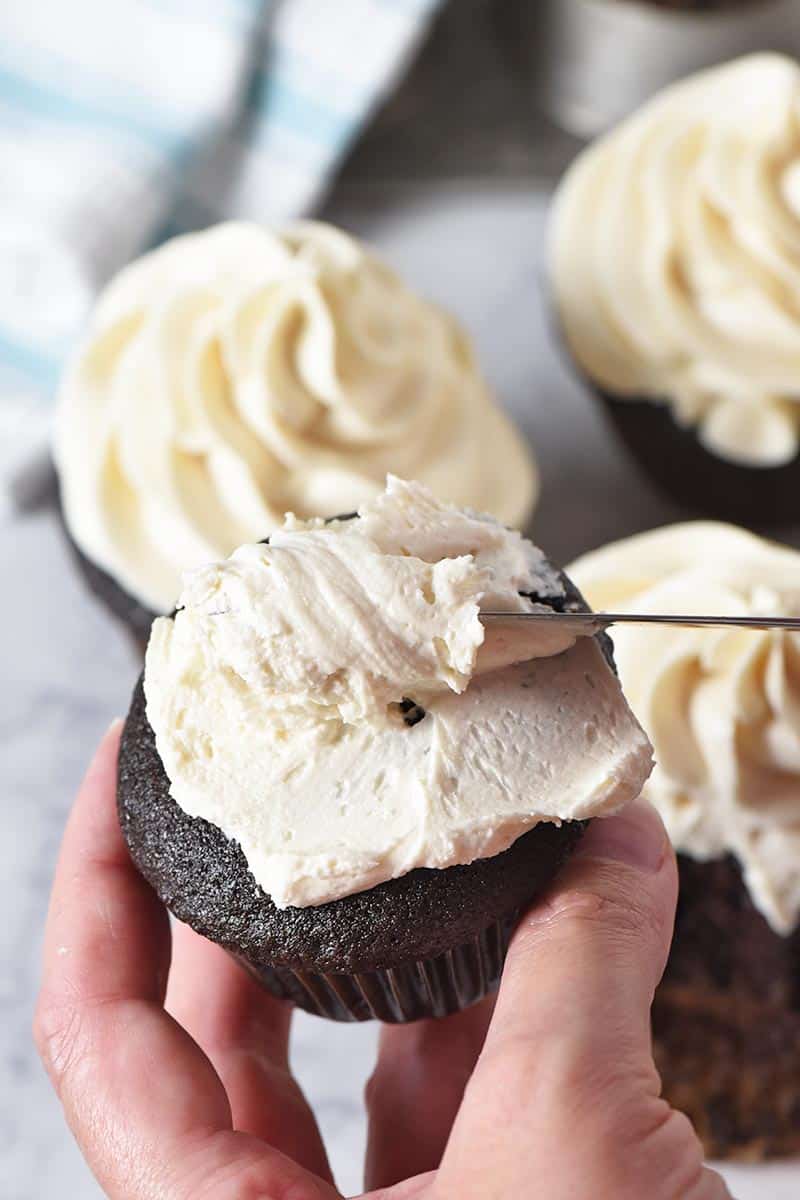
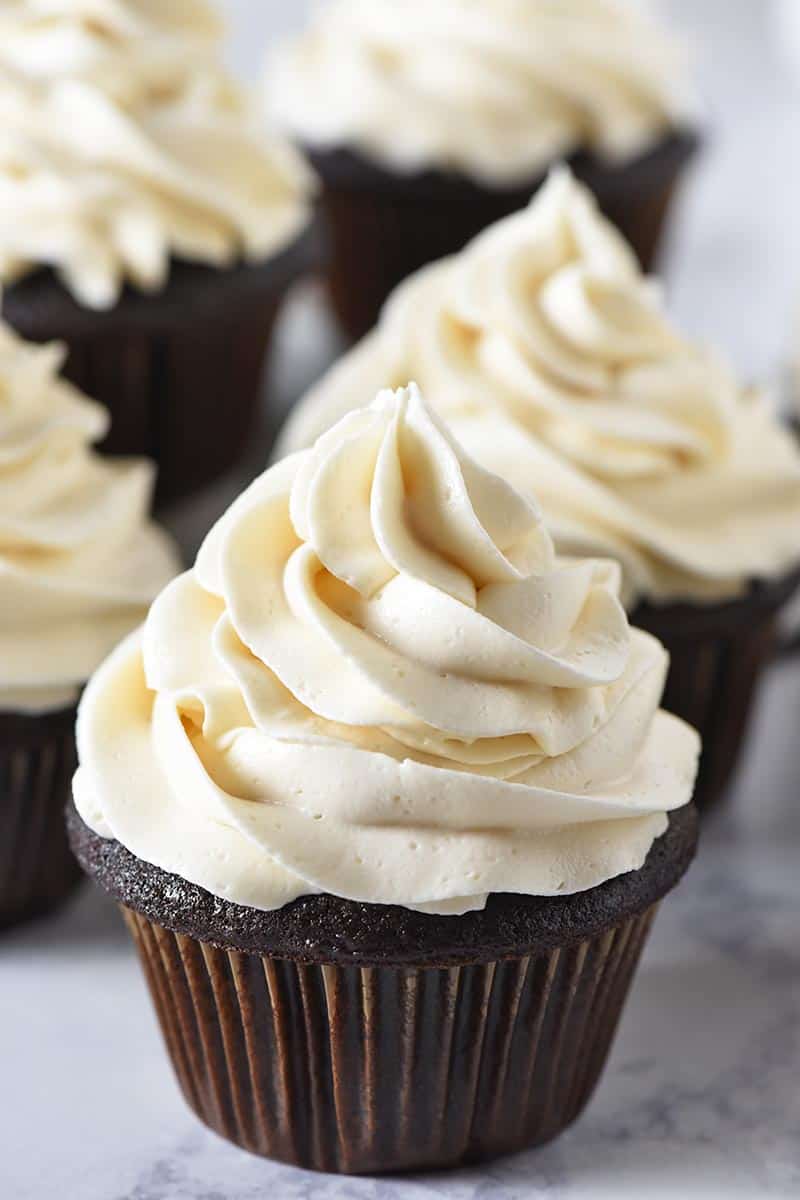
- Using a piping bag, pipe the frosting onto the top of each cupcake. Wilton has a great tutorial on how to pipe a cupcake swirl.
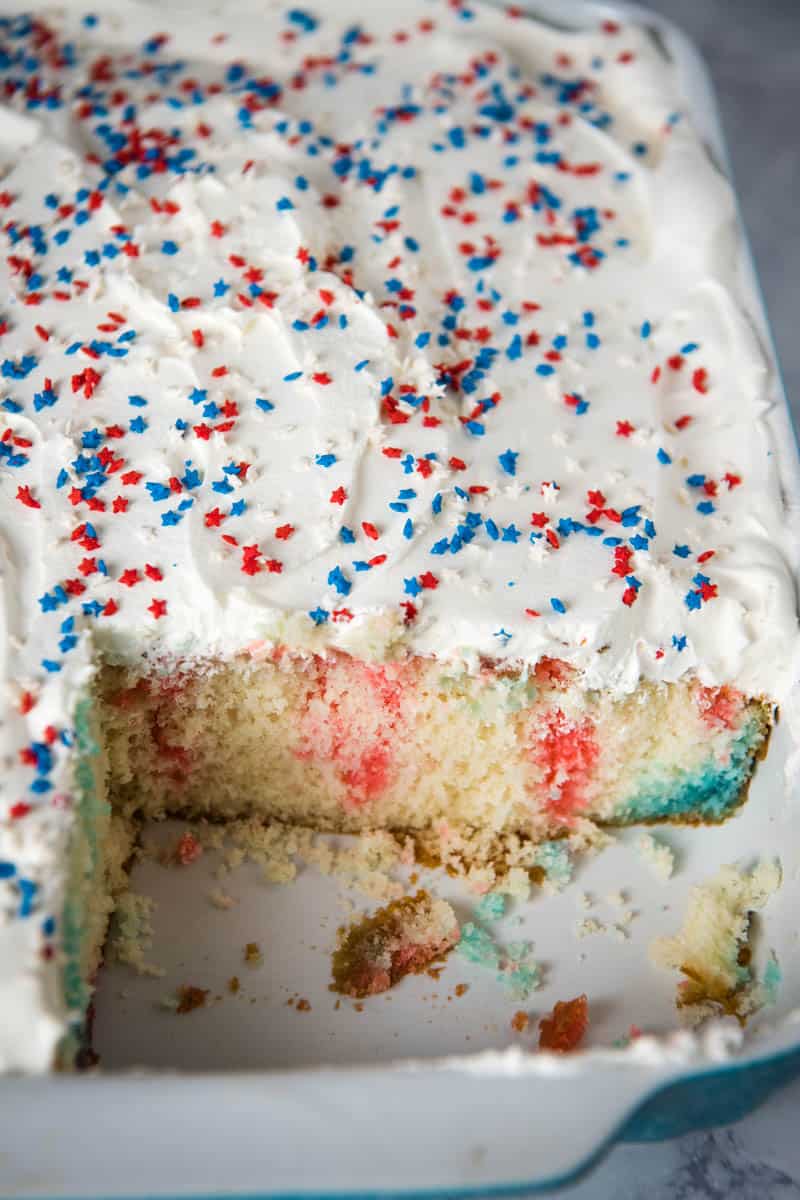
- Add sprinkles on top of the frosting.
- Then if you want, stick a tiny flag topper in the top of each cupcake.
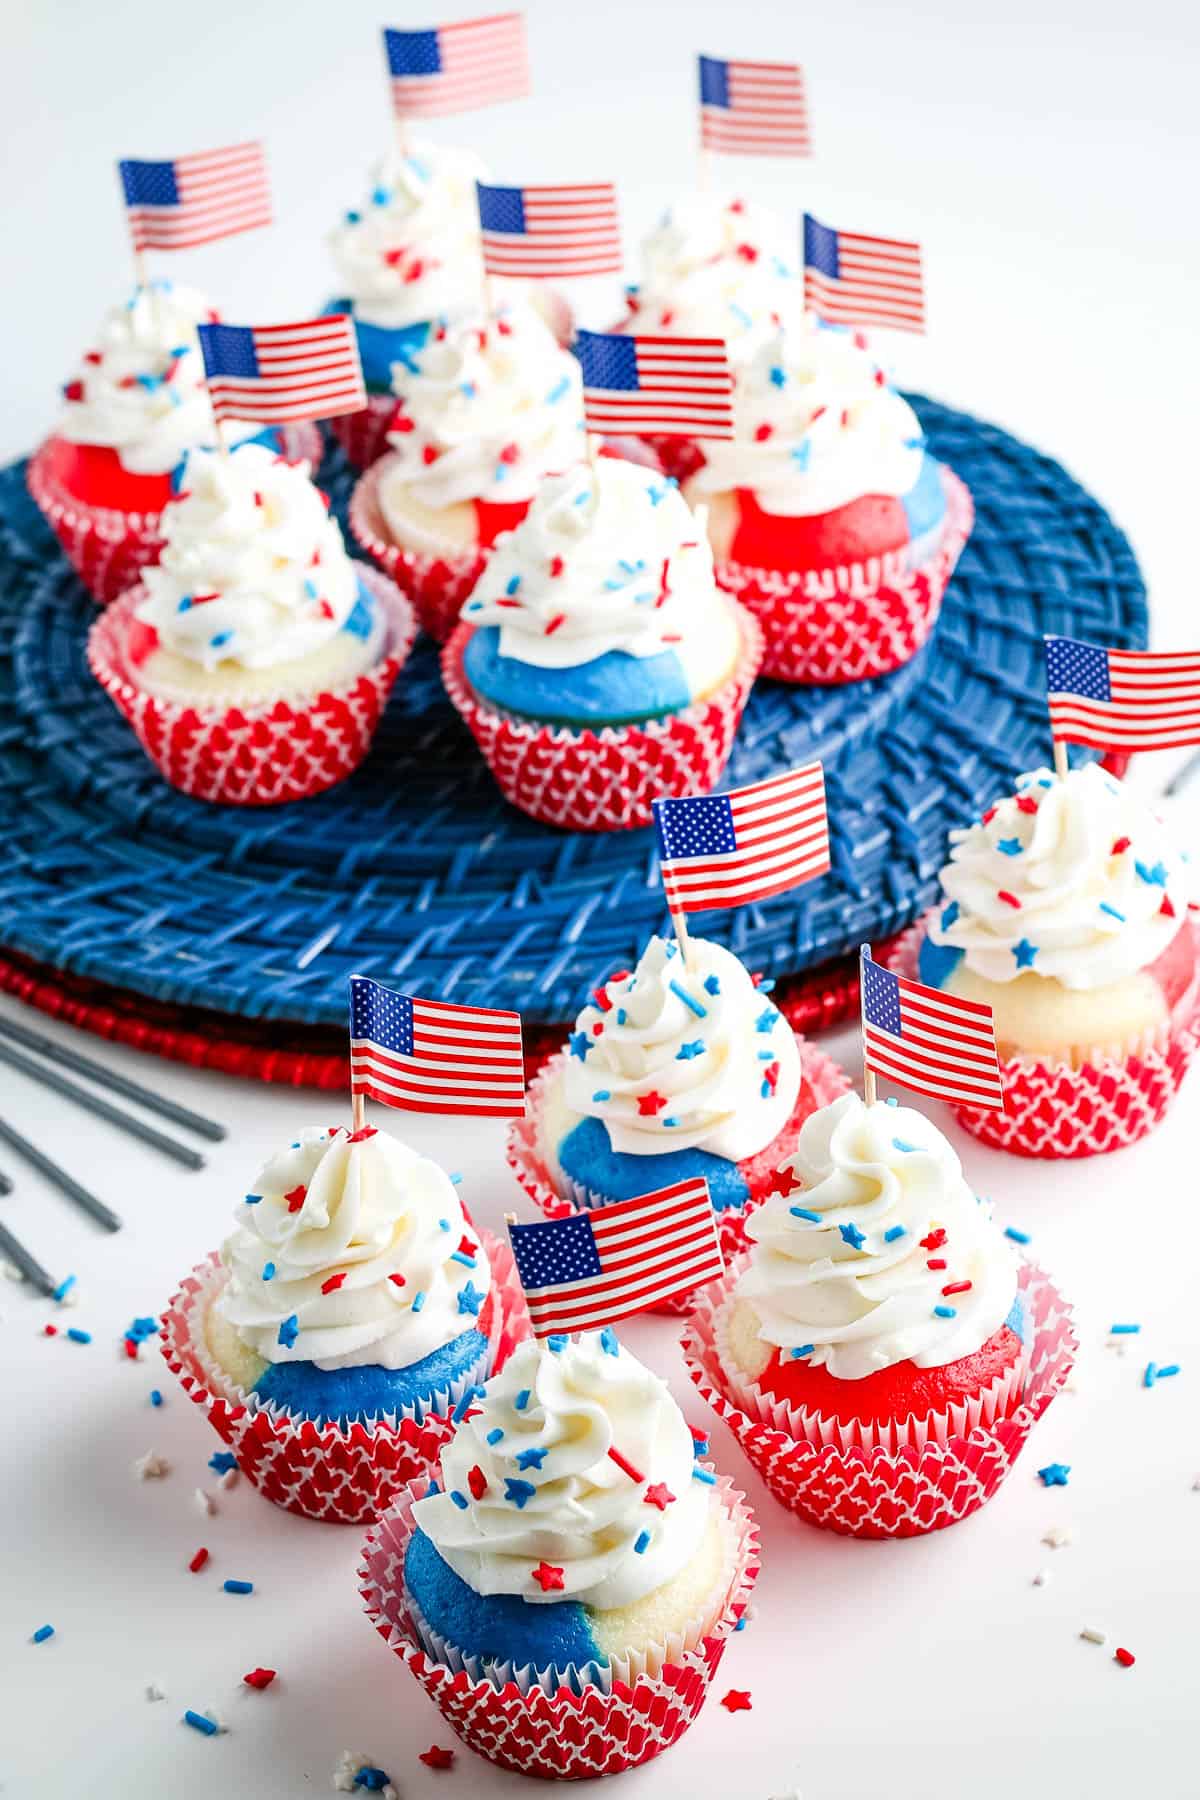
And that’s it! You’ve got the best 4th of July cupcakes around!
Expert Tips and Recipe FAQ’s
While you can make the cupcakes a day in advance, I don’t recommend making the frosting ’til the day you plan to decorate the cupcakes and serve them.
Since these cupcakes do have a buttercream frosting, you need to store them in an airtight container in the refrigerator.
Cupcakes, yes, you can freeze the cupcakes. Frosting, no, I wouldn’t freeze the frosting, because it will likely change the texture of the frosting to do so.
I recommend using a cupcake carrier. This is the easiest way to get these festive treats from your kitchen to any patriotic holiday celebration.
Let’s Talk Recipe Variations
Oh the fun you can have swapping out colors for different occasions! These cupcakes are easy to switch up for any occasion or celebration, not just Independence Day, Memorial Day, or Veterans Day. Here are a few ideas…
- Christmas – Use red and green instead of red and blue when coloring the batter.
- Valentine’s Day – Use red, pink, and white batter.
- St. Patrick’s Day – Use rainbow colors. Just separate the batter into smaller amounts, and use more colors.
- Easter – Use soft pastels, like sunshine yellow, mint green, robin egg blue, pink, etc.
- Graduation – Use school colors!
- Sports Teams – Use your favorite sports team’s colors!
- Halloween – Use black, purple, green, and orange.
- Baby Showers – Now these might be especially fun for a gender reveal party, but use pink or blue!
- Use cream cheese frosting instead of buttercream.
- Another fun idea… Make mini cupcakes instead of regular sized cupcakes.
More 4th of July Recipes
- Red, white, and blue popsicles
- Jello flag cake
- Homemade strawberry ice cream
- Gluten-free ice cream sandwiches
If you try this recipe, why not leave a star rating in the recipe card right below and/or a review in the comment section further down the page? I always appreciate your feedback. You can also follow me on Pinterest, Facebook, Instagram, and YouTube. And subscribe to my email list too!
Patriotic 4th of July Cupcakes

Make festive red, white, and blue 4th of July cupcakes, easy to decorate for a patriotic party or celebration. Fun and delicious!
- Mixer
- Egg Separator
- Muffin Tin
- 4th of July Cupcake Liners
- Decorator Bags
- American Flag Cupcake Toppers
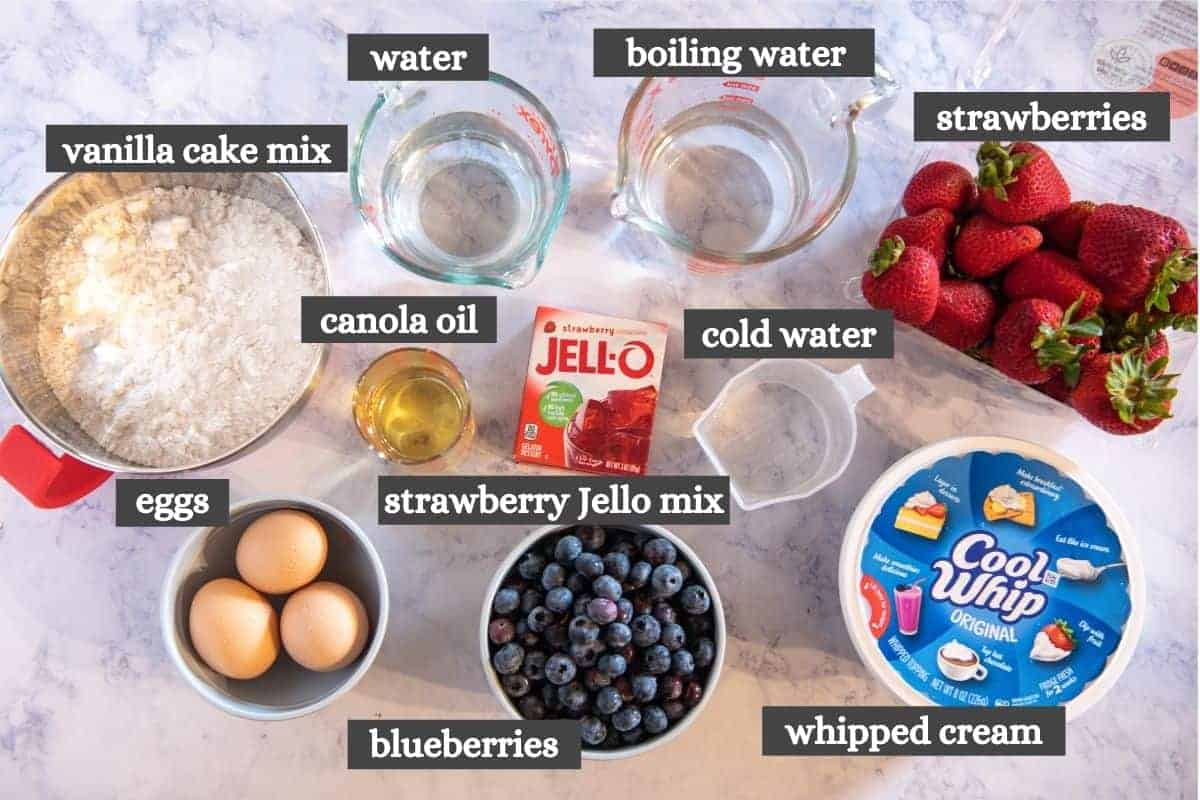
Cupcakes:
- 15.25 ounces white cake mix
- 4 large egg whites (room temperature)
- 1 cup buttermilk
- 1/3 cup salted butter (softened)
- 1/4 teaspoon red gel food coloring (*)
- 1/4 teaspoon blue gel food coloring (*)
Buttercream Frosting:
- 1 cup salted butter (softened)
- 1 teaspoon vanilla extract
- 1 teaspoon almond extract
- 3 tablespoons heavy whipping cream
- 4 cups powdered sugar
Decorations:
- 1/2 cup patriotic sprinkles (and tiny flag toppers)
Cupcakes:
Pre-heat your oven to 350° F, and add patriotic cupcake liners to muffin tins.
Add the cake mix, egg whites, buttermilk, and softened butter to a large bowl.
Mix everything together, 'til the batter is completely smooth.
Divide the batter into 3 small bowls (you should have about 1 1/4 cups of batter in each bowl; then add red coloring to one bowl of batter, and blue coloring to another bowl of batter, leaving one bowl with white batter.
Transfer the cake batter to disposable decorator bags* to make it easier to fill the cupcake liners.
Squeeze equal amounts of each color of batter into the cupcake liners.*
Bake the cupcakes at 350° F for about 12-14 minutes, or until a toothpick inserted in the center comes out clean. Then cool completely on a wire rack.
Buttercream Frosting:
In a large bowl, mix together the softened butter, vanilla extract, almond extract, and heavy whipping cream.
Add in the powdered sugar, mixing everything together for 2-3 minutes, or 'til the frosting is smooth.
Decorate Patriotic Cupcakes:
Pipe the frosting onto the top of each cupcake.
Add sprinkles on top of the frosting.
Then if you want, stick a tiny flag topper in the top of each cupcake.
*Gel Food Coloring – You may need less than 1/4 teaspoon. Start with less, and work your way up.
*Disposable Decorator Bags – If you don’t want to purchase decorator bags, you can always snip the corner off a gallon-size Ziploc bag, and use separate bags for both the batter and the frosting. You really don’t even need to buy cake tips… Just squeeze the frosting out the tip of the bag and swirl.
*Tip: It’s easier if you have another person helping you squeeze the batter at the same time into the liners.
How should leftover cupcakes be stored?
Since these cupcakes do have buttercream frosting, you need to store them in an airtight container in the refrigerator.