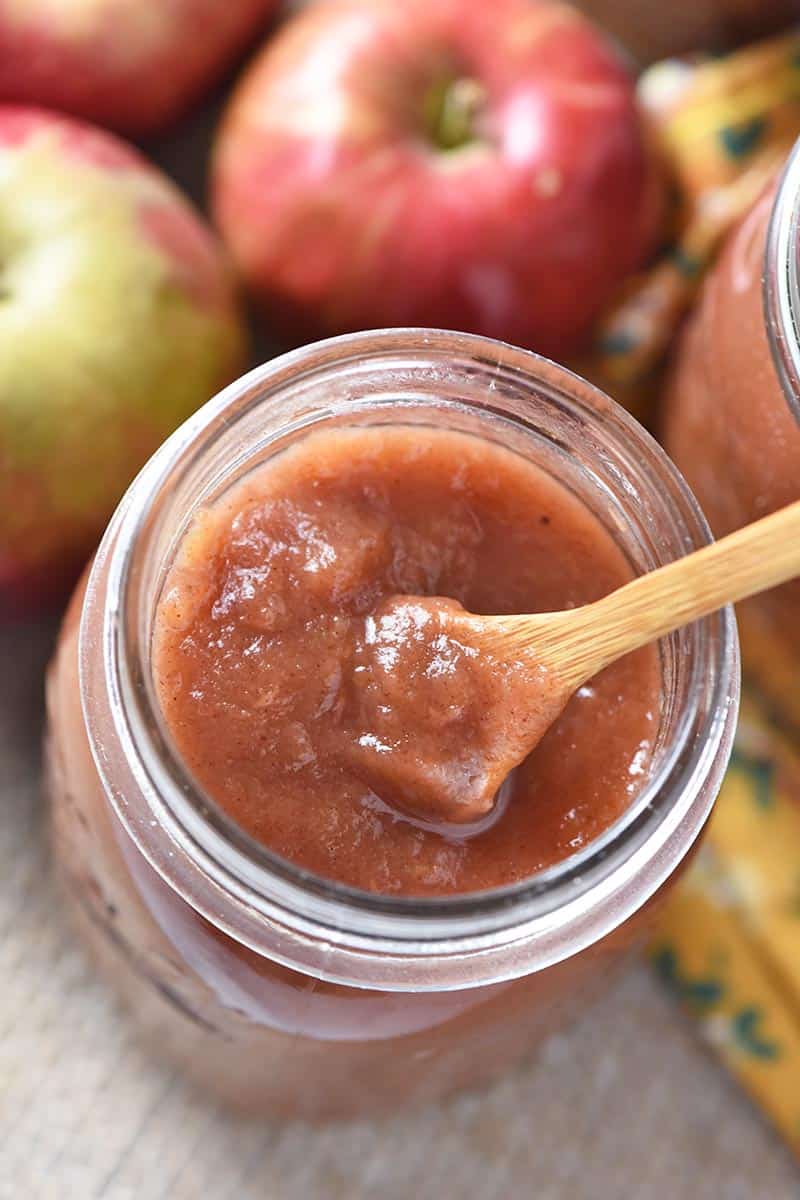
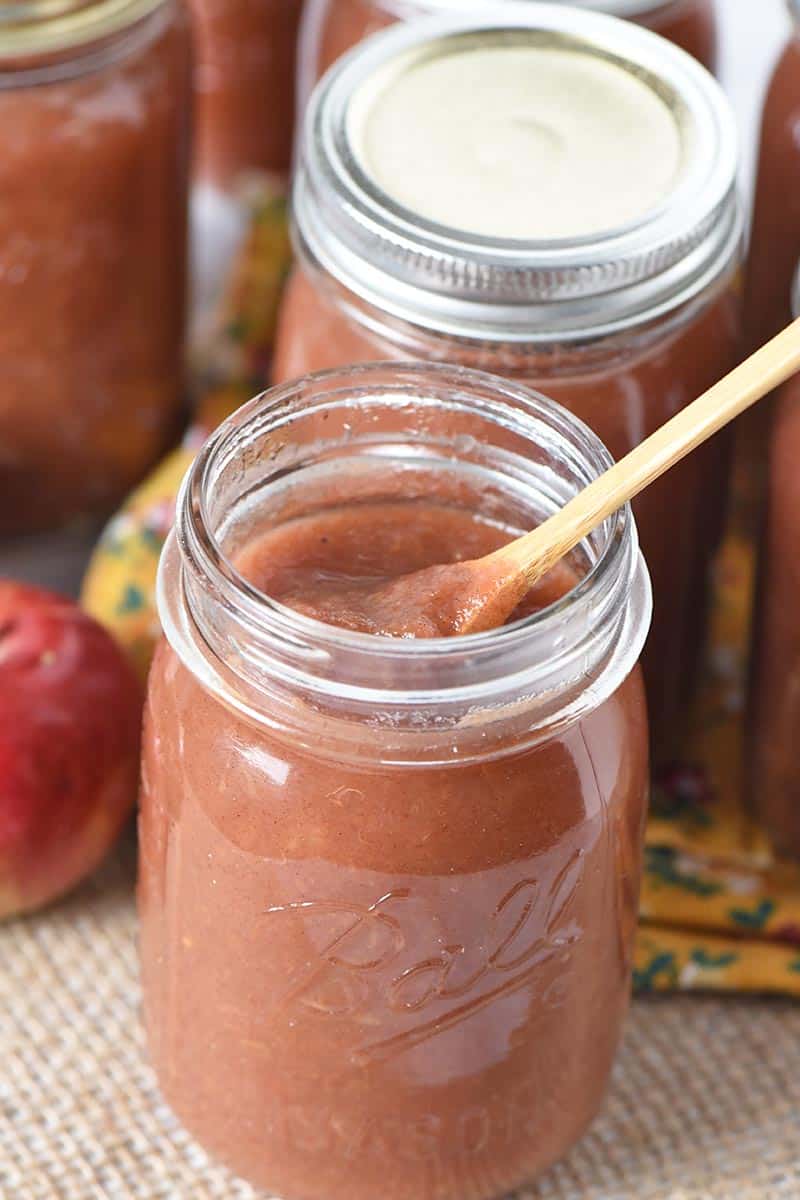
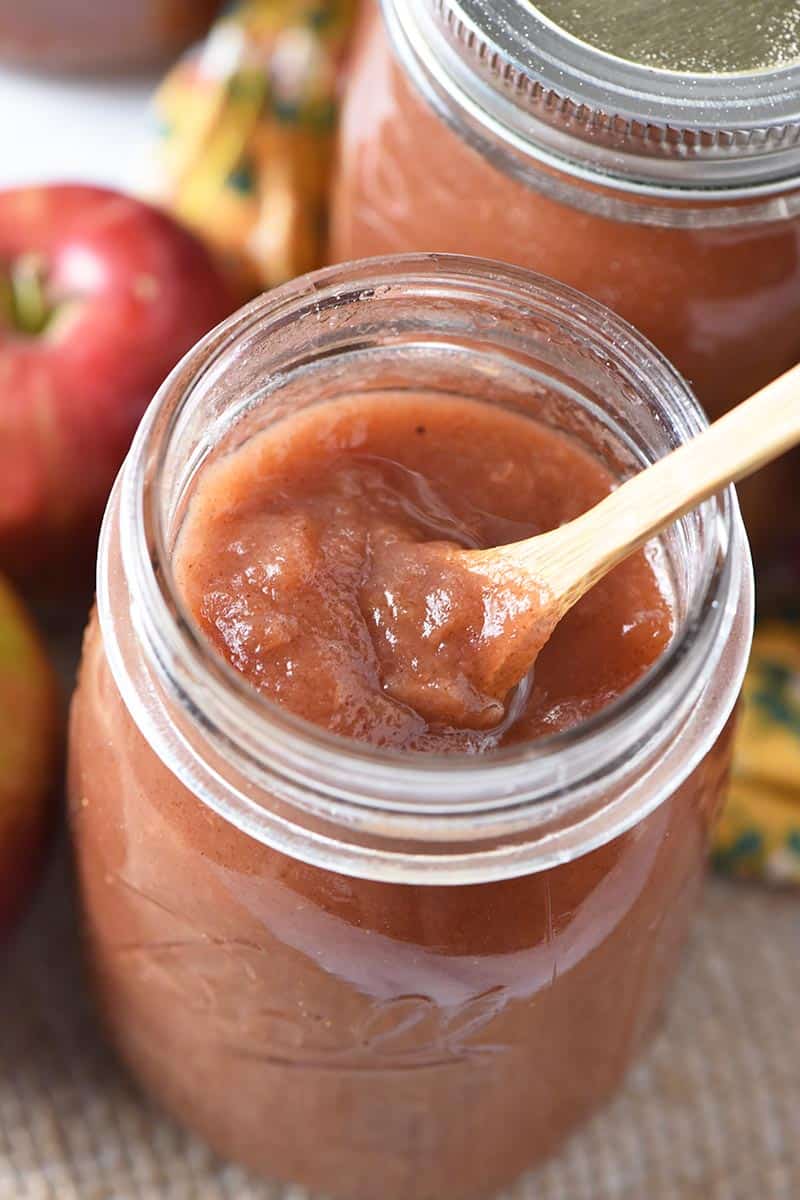
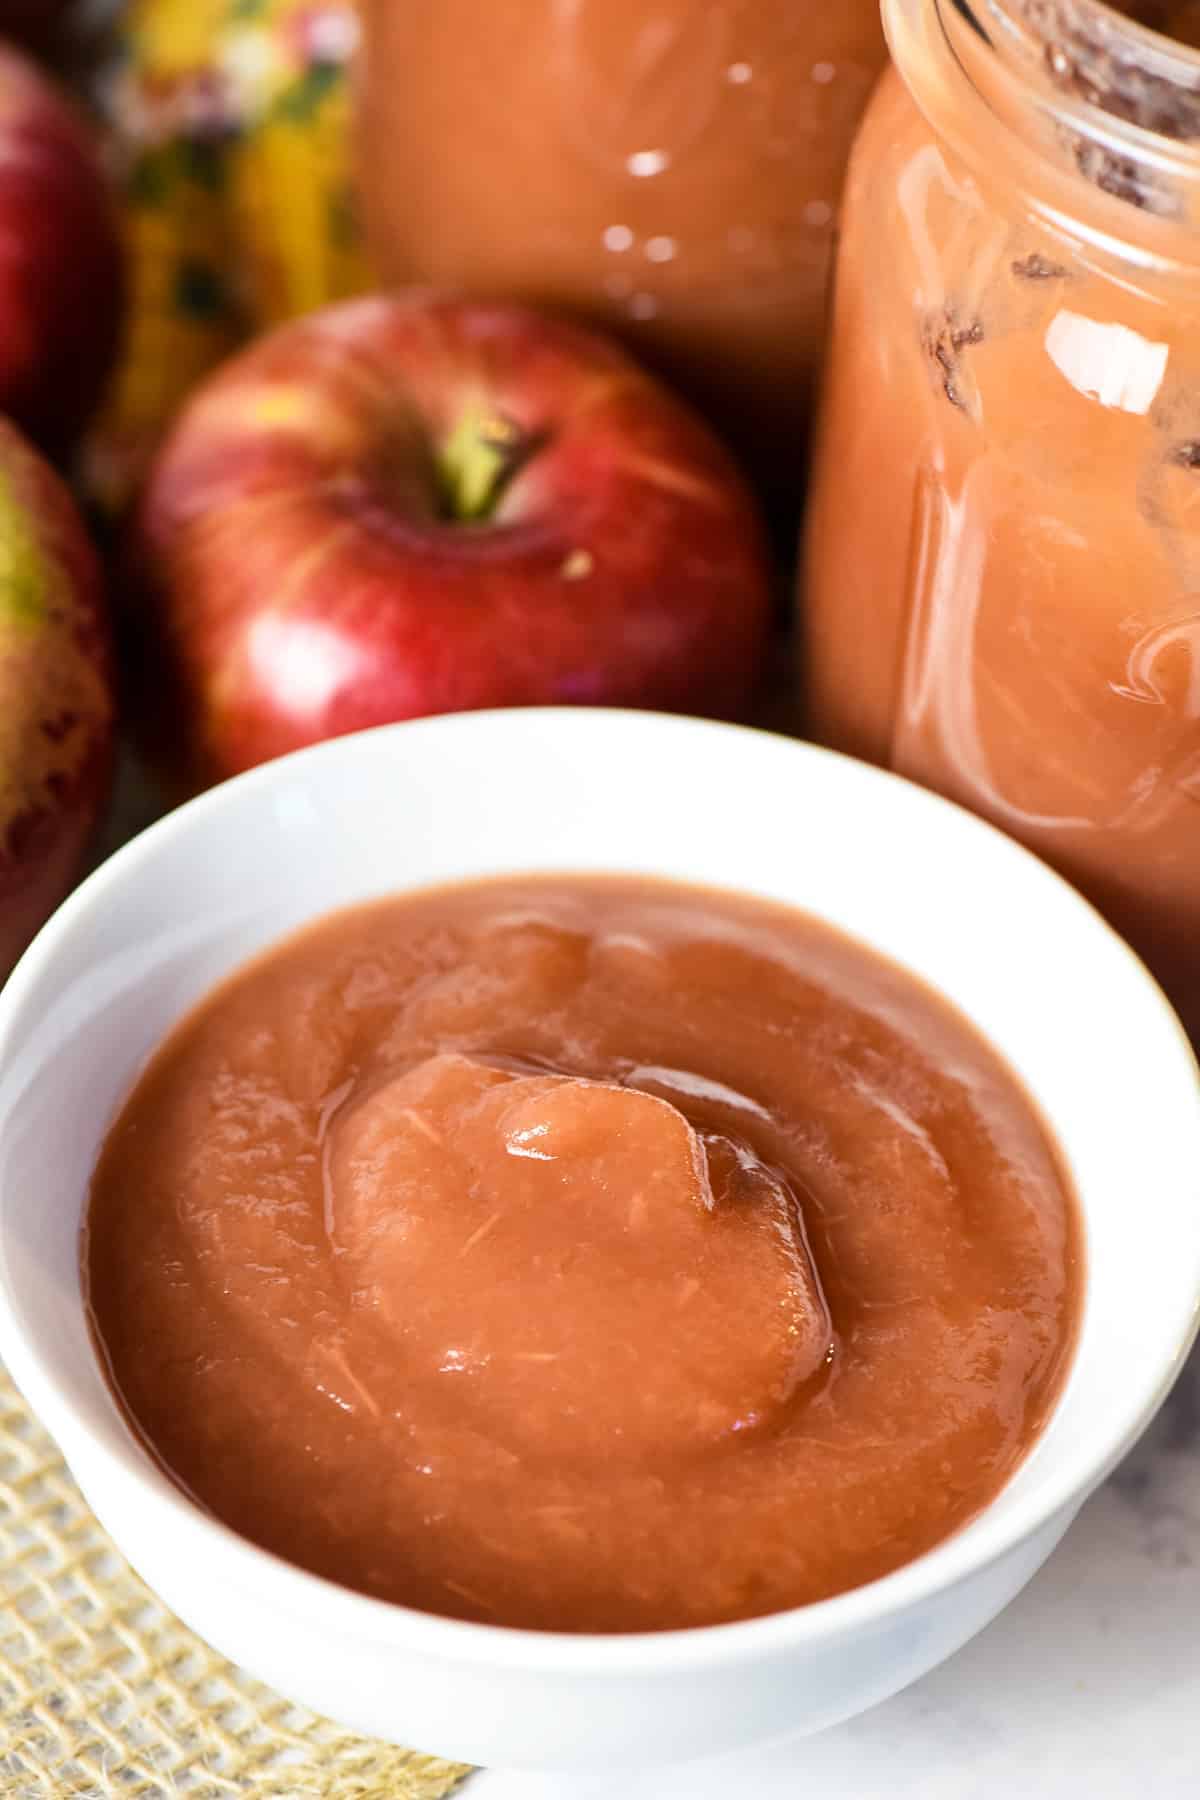
Now it’s easier than ever to make homemade applesauce with an electric pressure cooker. This Instant Pot applesauce (with skins) has no added sugar, and it’s ready to eat in 15 minutes.
The fact that it’s pressure cooked takes the work out of making applesauce because you don’t have to stand in front of a hot stove. Instead, just load everything up in the Instant Pot, push a couple buttons, and let it do the work for you.

My boys love both applesauce and Instapot apple butter, and we eat quite a bit of it throughout the year. I especially like to keep it on hand for times when we’re sick; in a way, it’s a sort of comfort food too.
It’s quite fulfilling to fill your pantry up with homemade canned foods that your family will actually eat. And when it’s easy to do, it’s a win win.
Why Make This Recipe?
I think you’ll love this no-peel applesauce because it’s…
- Easy to make – Pressure cooker applesauce is made with 3 ingredients, and you just put everything in the Instant Pot and let it cook. That means no need to stand in front of the stove and stir; you can walk away and let the pressure cooker do the work.
- No peeling required – While you do need to core and slice the apples up, there’s no need to peel off the skins, unless you just want to.
- Budget-friendly – Let’s face it, good applesauce can be more expensive at the store. And it just doesn’t taste as good as homemade. You can make 5 to 6 pints of applesauce for less than $10, depending on the cost of your apples.
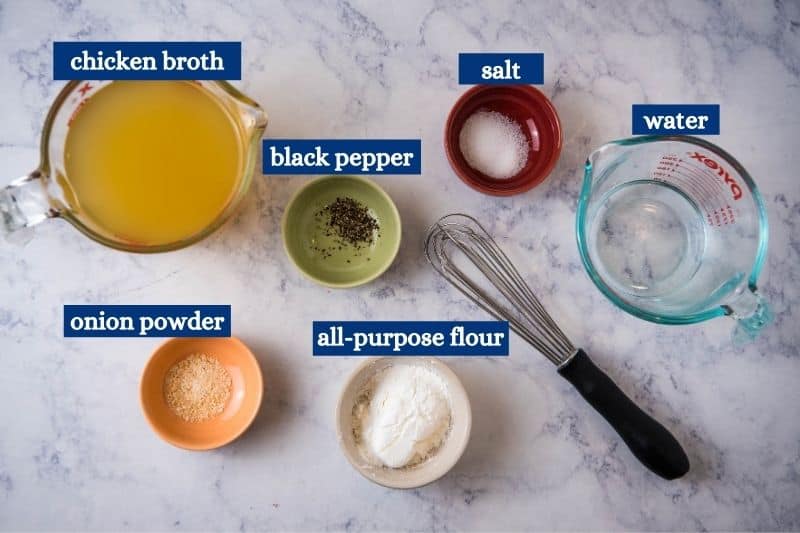
Ingredient Notes
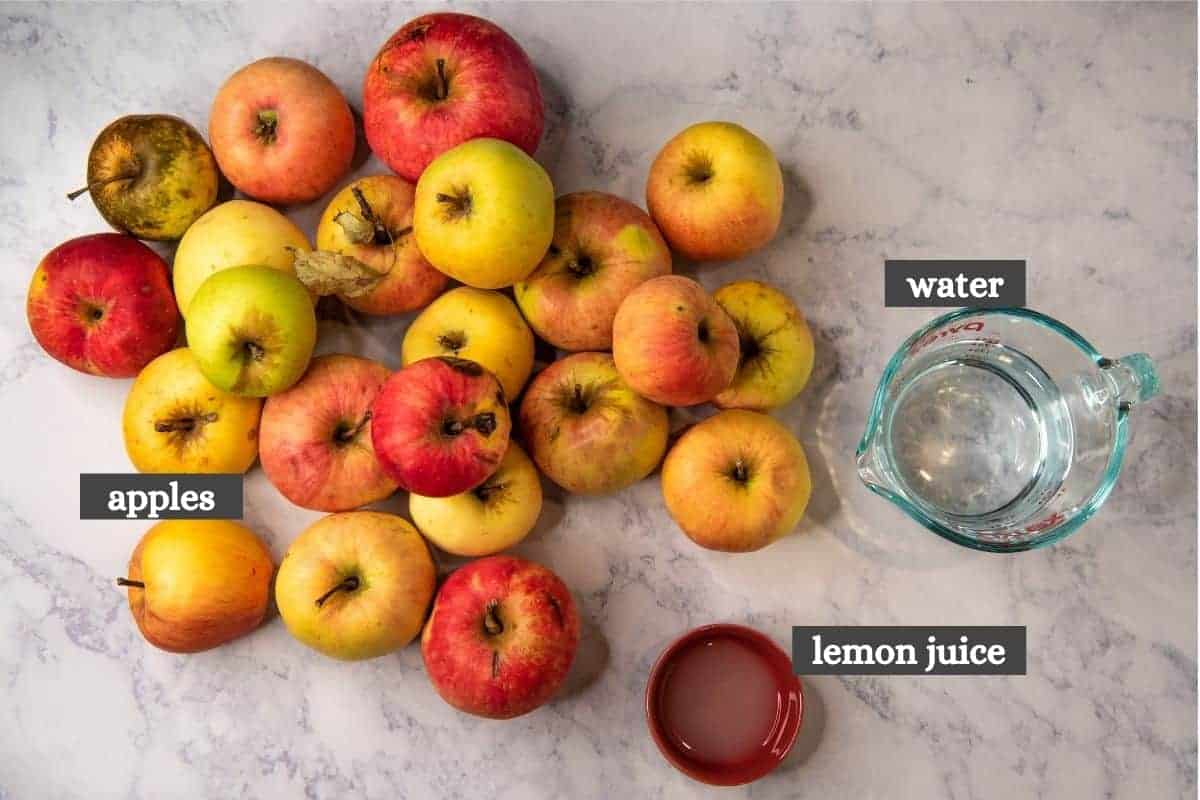
The ingredients you need are simple, and you may already have them on hand.
A bit of advice… I’m very partial to canning applesauce in the fall because it’s usually pretty easy to find seconds at a local orchard or farmer’s market. Buying seconds means you can buy a HUGE box of less-than-perfect apples for a lot less than normal cost, which is going to save you a ton of money.
- Apples – When it comes to picking the type of apples you should use, I recommend apples that are both sweet and tart; I don’t add any sugar, so I want the unsweetened applesauce to taste really good. Some of the best apples for making applesauce include Jonathan, Jonagold, Braeburn, McIntosh, Winesap, Rome, Golden Delicious, Cortland, Fuji, Gala, and Ambrosia.
- Lemon juice – I like to use a fresh lemon juice, either straight from a lemon or my favorite shortcut, Minute Maid lemon juice you can find in the freezer section of some grocery stores; I’ve been able to find it at my local Walmart. There are multiple reasons for adding lemon juice to applesauce, but it’s usually to help preserve or protect the color of your apples over time (making your applesauce stay pretty), and/or to make the applesauce more acidic for home canning. Wind fallen apples (including seconds) can have a lower acidity and a higher mold/bacteria count than umblemished apples.
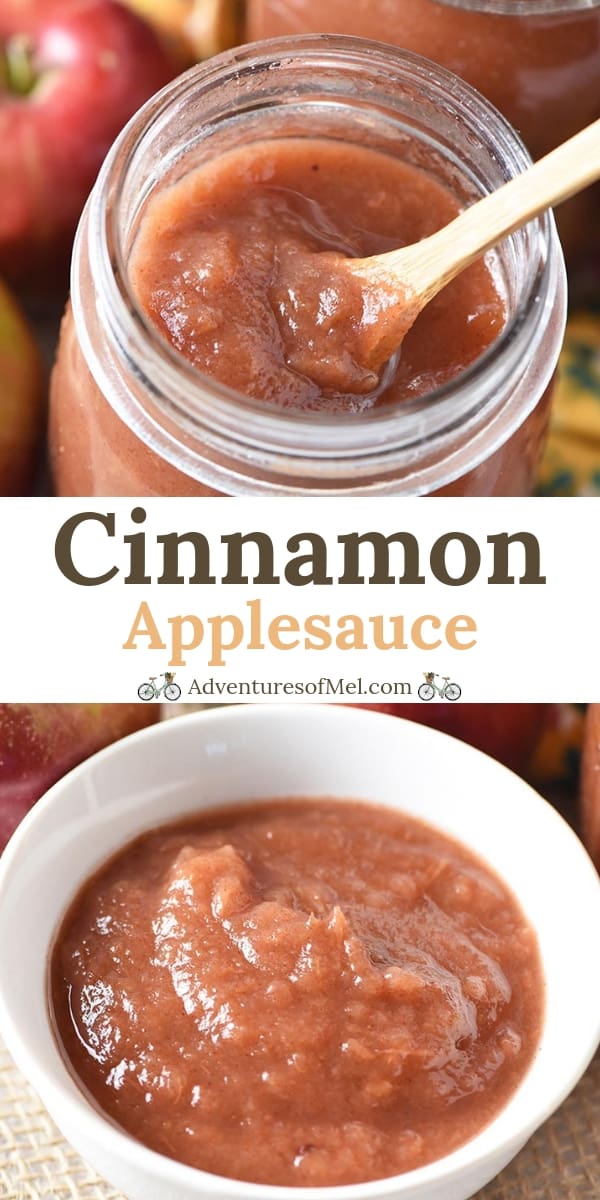
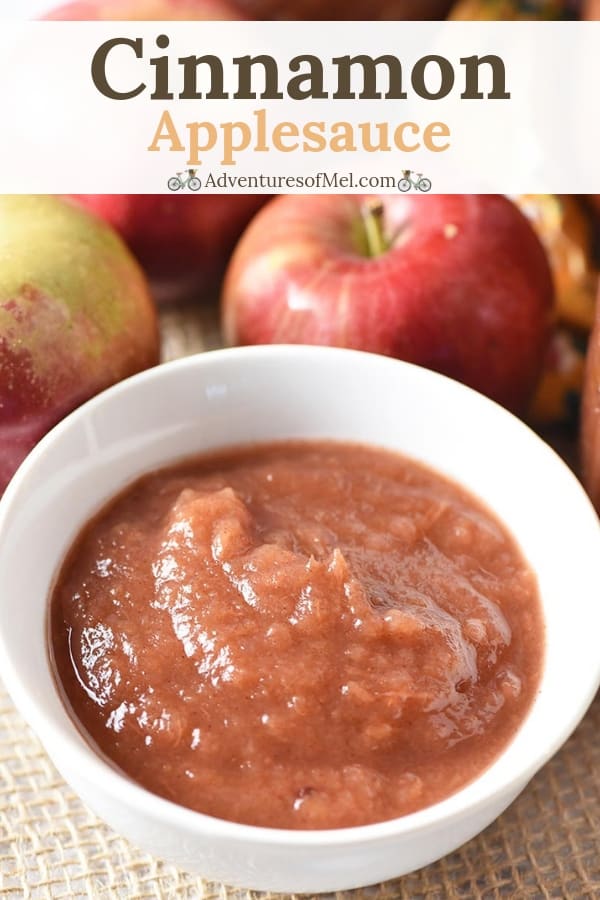
If you are one who loves to add the flavor of cinnamon to your sauce, you may also love my recipe for cinnamon applesauce.
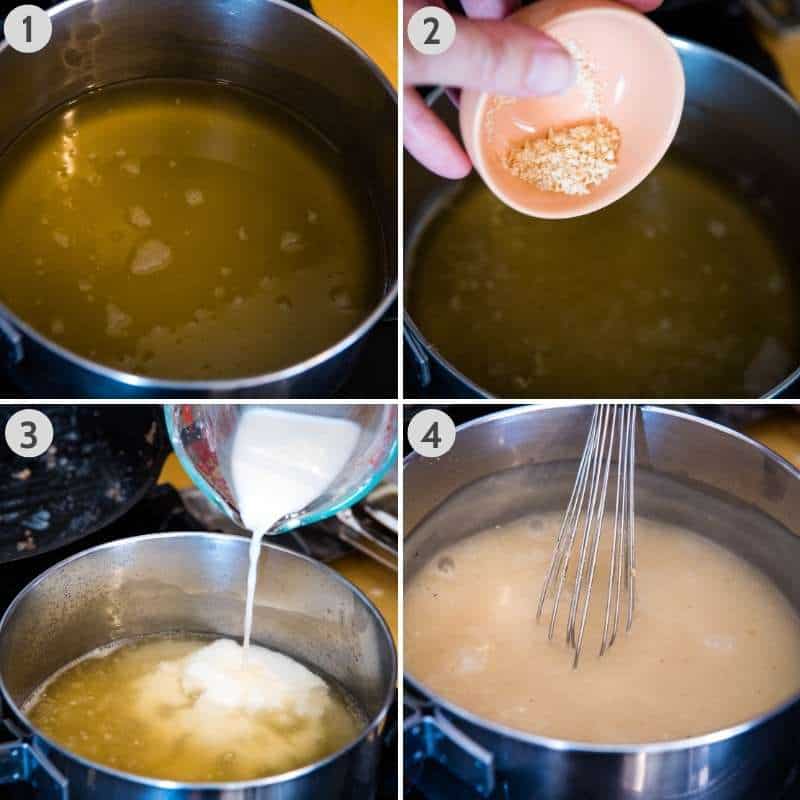
How to Make Instant Pot Applesauce
You can make applesauce from the leftover apple mush you have left behind when you make fresh apple juice. But if you’re not making apple juice, here’s how to make a fresh batch of sauce in your pressure cooker.
Keep in mind, you can make this recipe in any brand of electric pressure cooker you have, including the Instant Pot, Ninja Foodi, or Power Pressure Cooker XL.
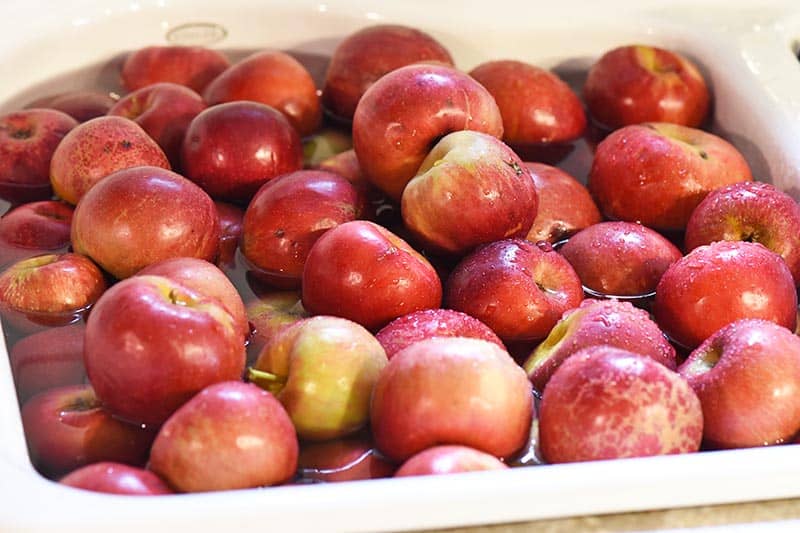
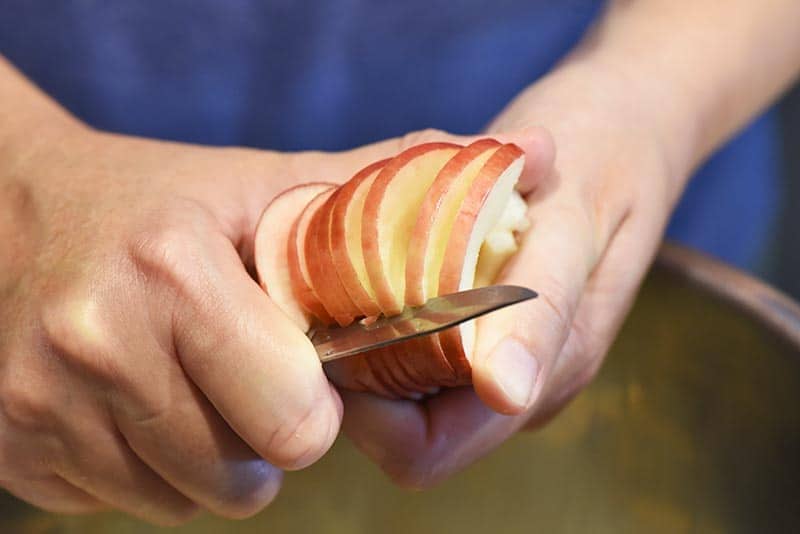
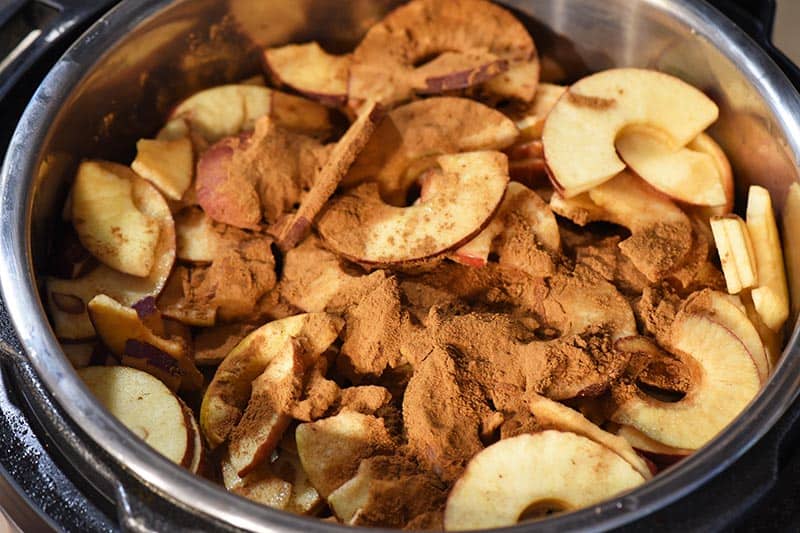
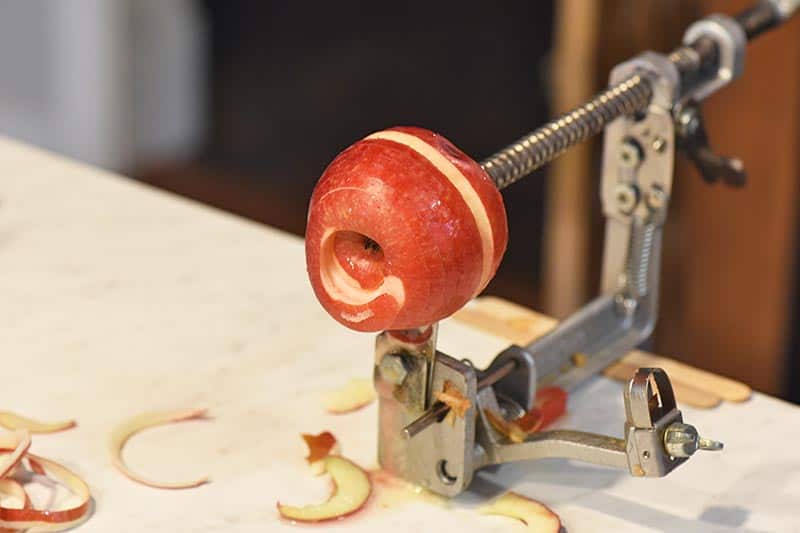
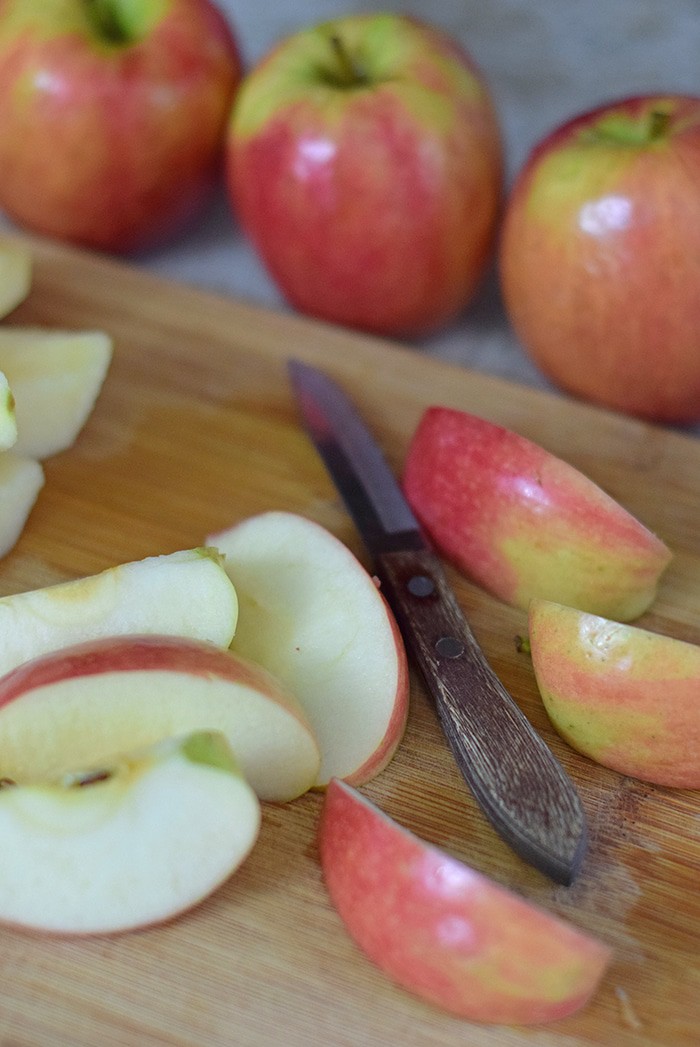
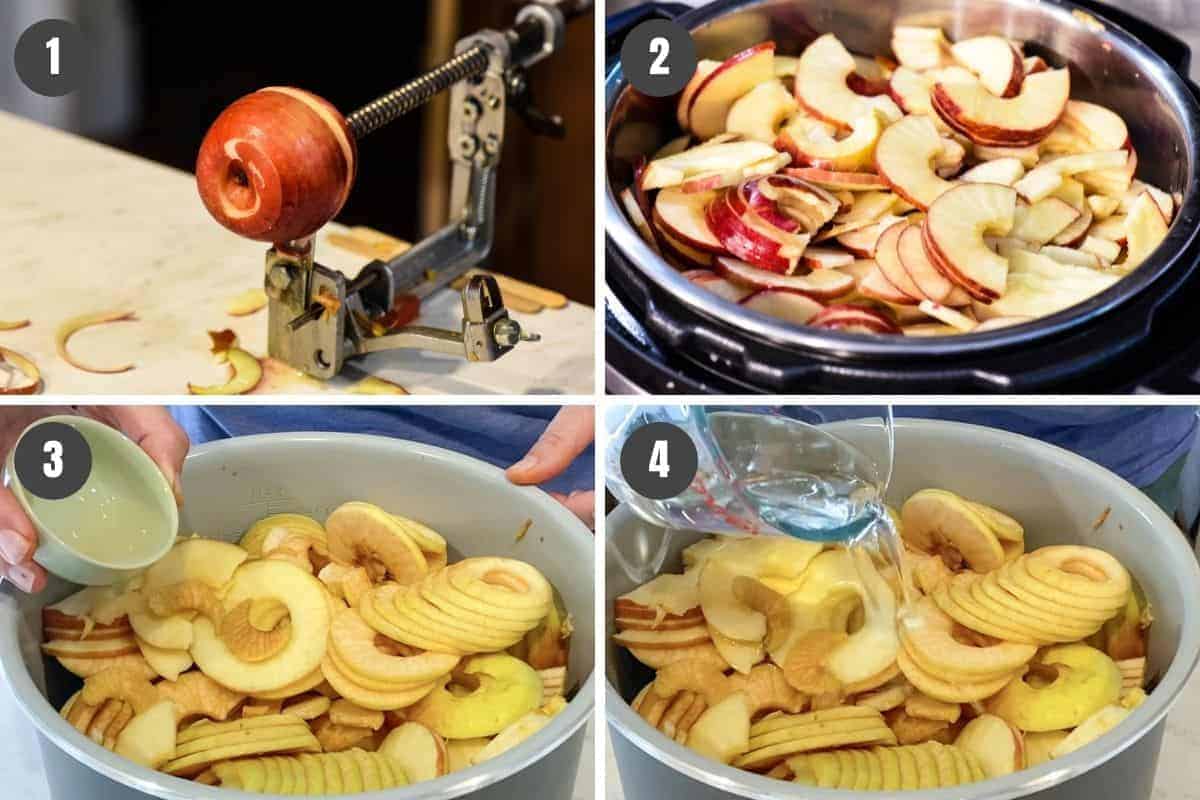
- Wash, core, and slice the apples; I use my Johnny apple peeler to core and slice all at once. Cut out any bad spots, as well.
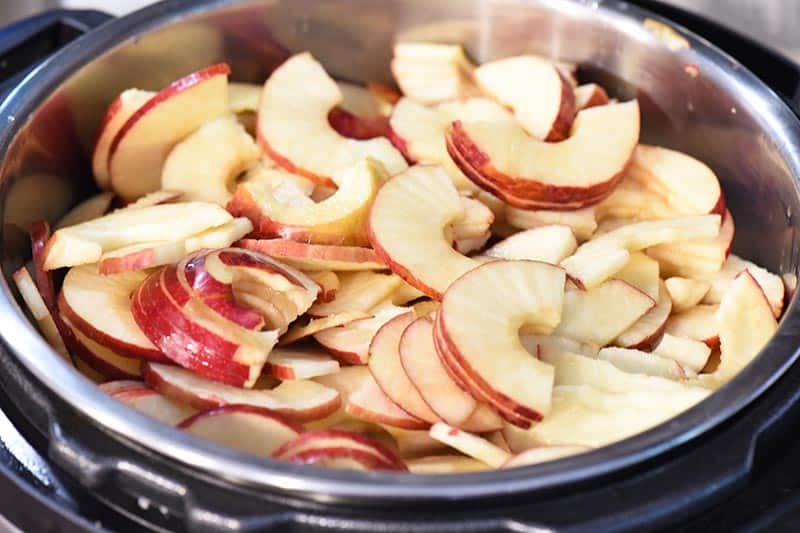
- Put the sliced apples in your Instant Pot.
- Sprinkle lemon juice over the apples.
- Then add water to the apples, as well. If you want to mix everything together, you can; but there’s no need to until after it all cooks.
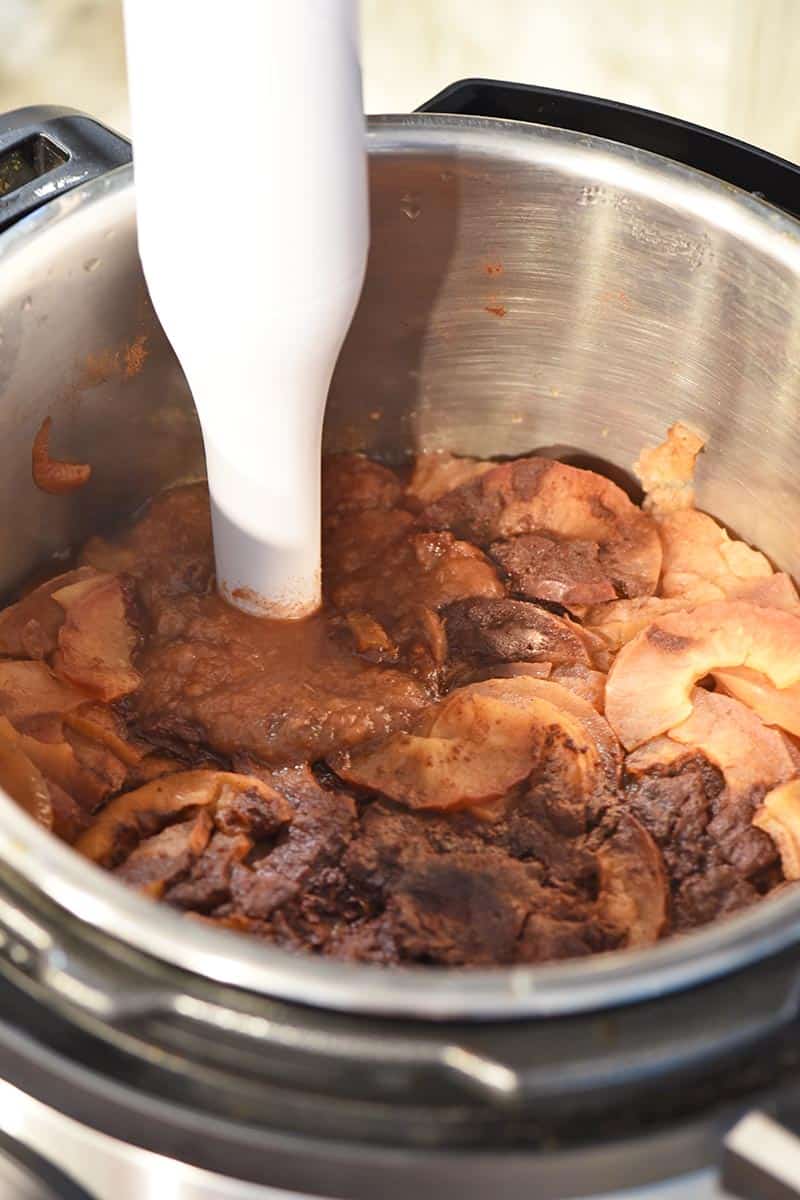
- Put the lid in place on the Instant Pot. Press Manual or Pressure Cook for 10 minutes. When it’s finished cooking, allow the pressure cooker to do a natural release.
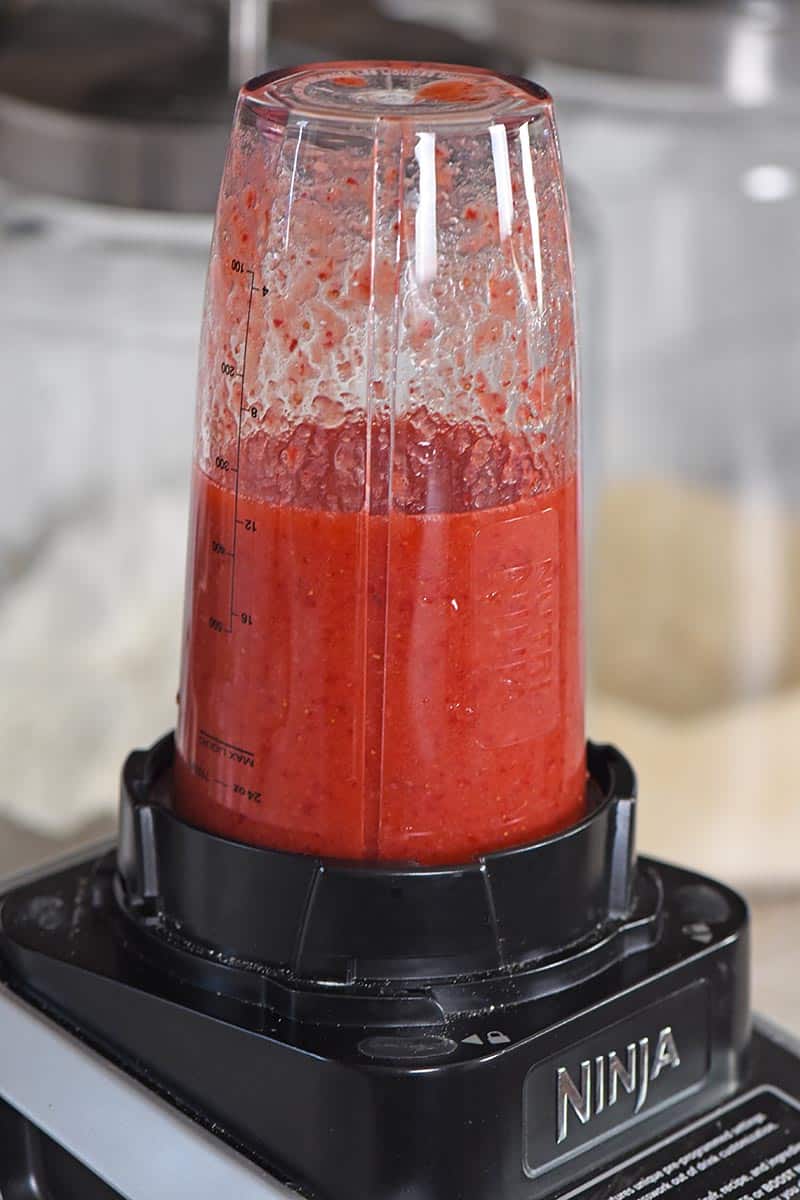
- Purée the mixture with an immersion blender, standing blender, or food mill; or if you want a chunky applesauce, you can mash the apples with a potato masher. It’s up to you how you prefer the texture and consistency.

Freezing Instructions:
My mom used to freeze a LOT of the applesauce she made when we were kids growing up. She’d keep freezer safe plastic containers just for storing things like her homemade applesauce.
- When your applesauce has cooked, allow it to cool to room temperature.
- Then just ladle or pour it into freezer safe containers that seal; leave 1/2 inch headroom at the top, to allow for expansion as it freezes.
- Label the containers, and place them in the freezer.
Frozen applesauce should keep for about a year.
Canning Instructions:
I prefer water bath canning applesauce.
- While your applesauce is cooking, wash pint jars in hot soapy water, rinse, and keep warm. We like to place ours on a baking sheet in a lower temp oven to stay hot.
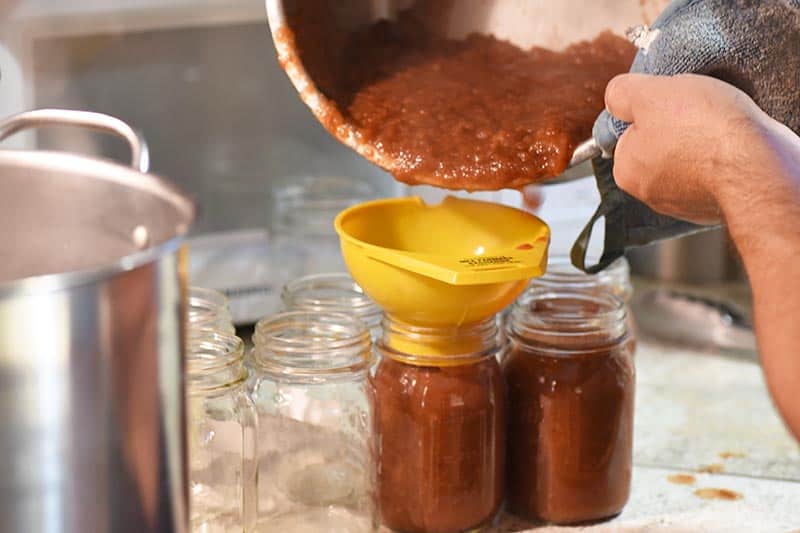
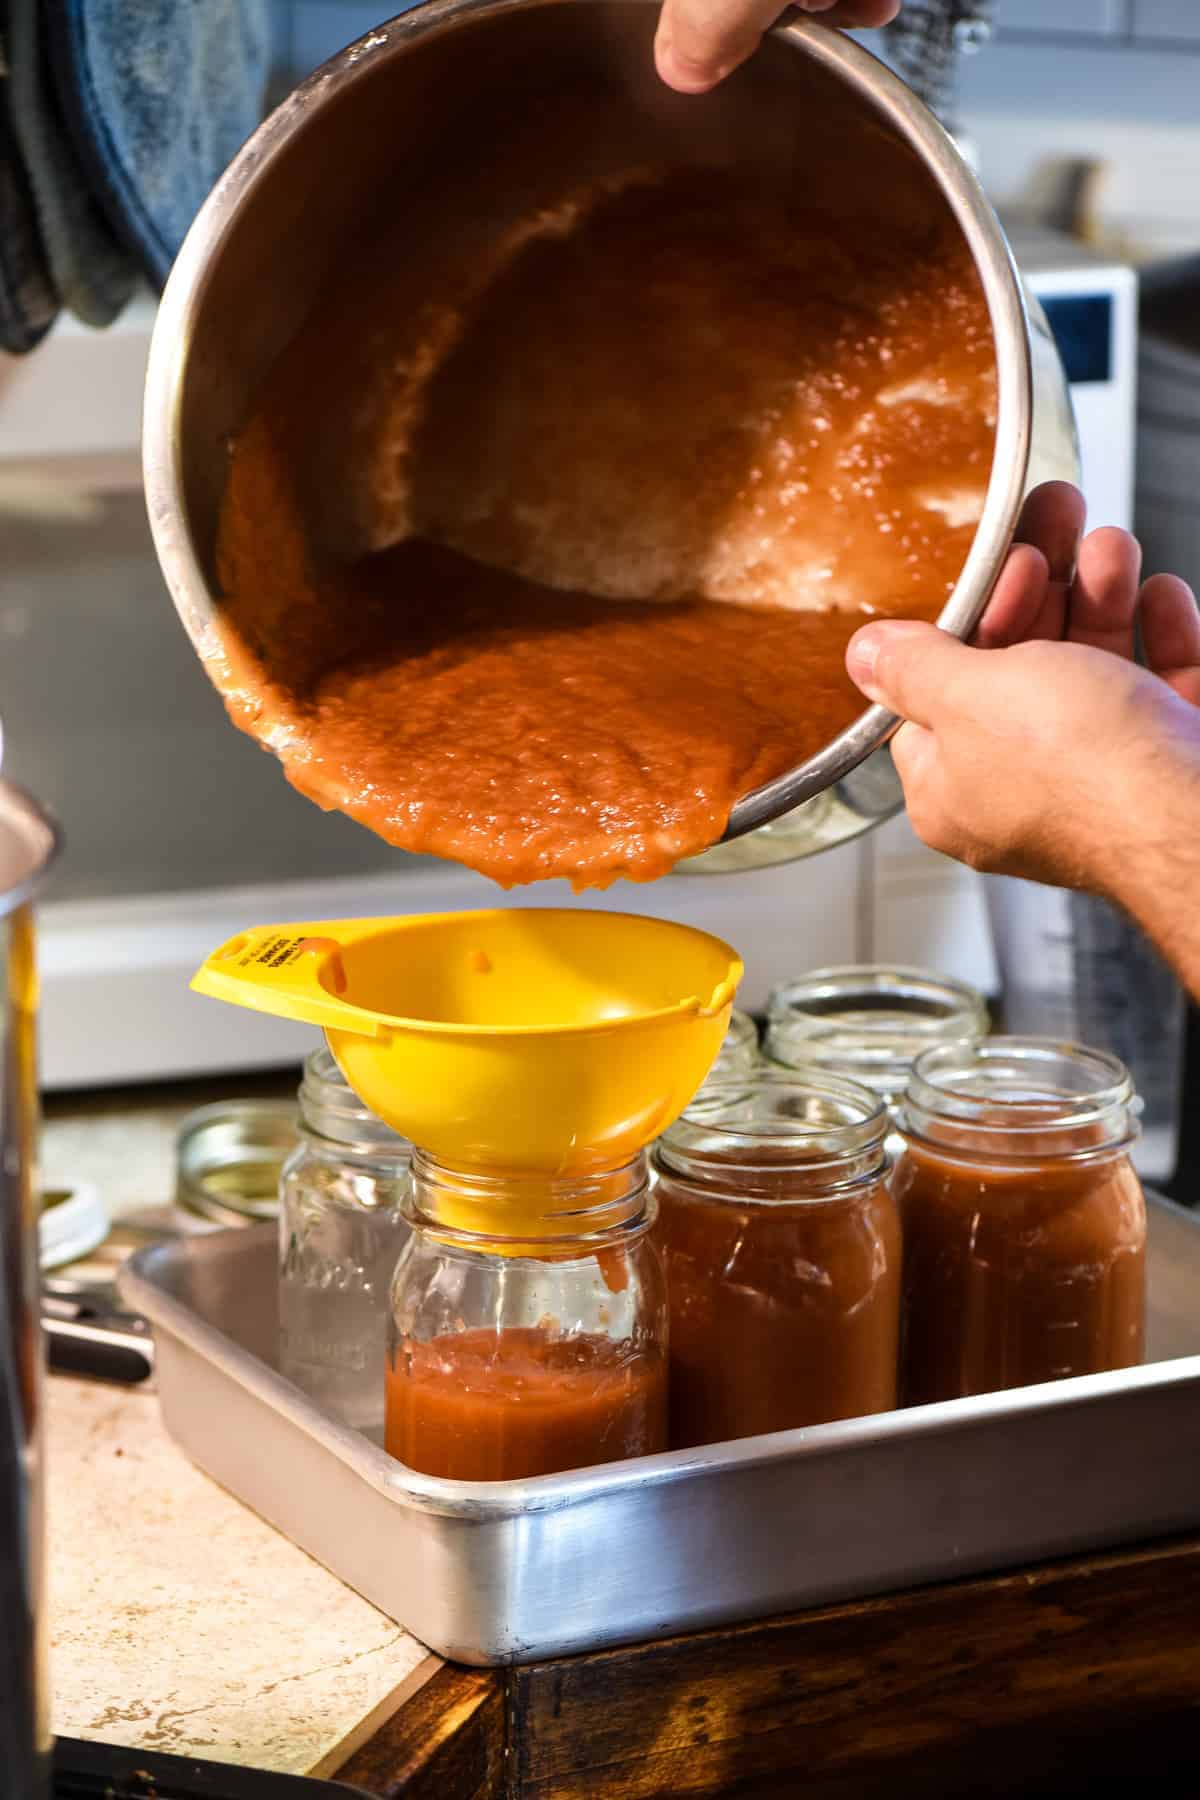
- Once you’ve mashed up your sauce, promptly ladle or pour it into the hot jars you prepared ahead of time. Be sure to leave about a 1/2-inch gap at the top of each jar.
- Wipe the rim of each jar with a wet towel or rag, place the lid on, and tighten the band.
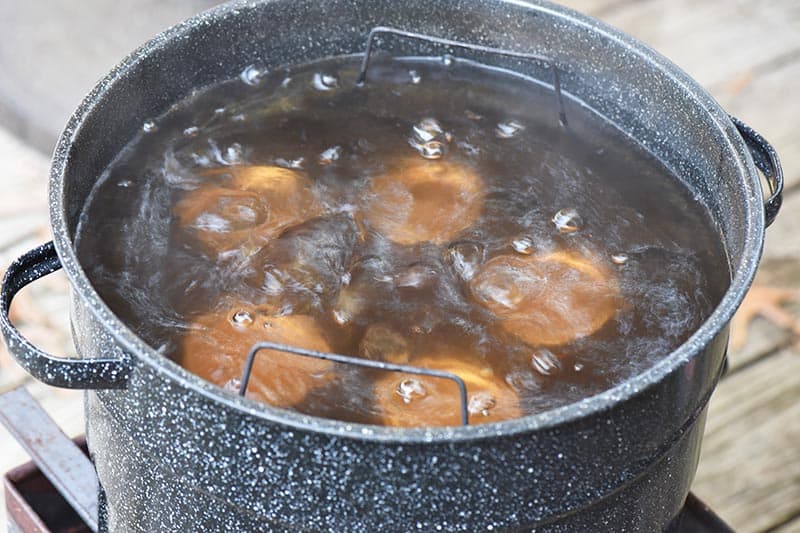
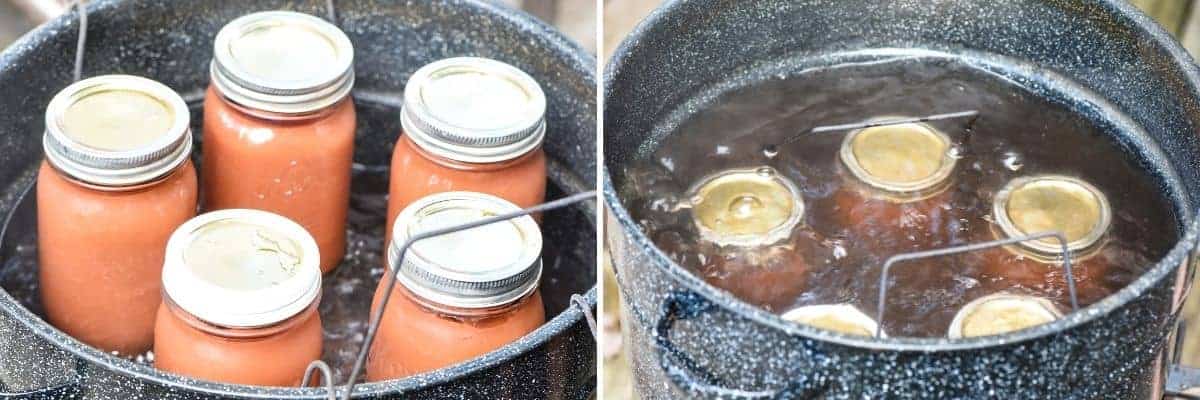
- Then place the hot jars down in a boiling hot water bath canner with 1-2 inches of water over the jars, and process those jars in the hot water bath for about 20 minutes.
Home canned applesauce should last at least 1 year. If you choose to can applesauce, Ball has wonderful Canning Guides to guide you through the process. You can also consult the Ball Blue Book Guide to Preserving.
Expert Tips and Recipe FAQ’s
Yes, actually, you can; and overcooking it will lose a lot of the flavor. That’s why making it in the Instant Pot is better because it cooks for a set amount of time with no guesswork, and pressure cooking is a wonderful way to preserve the flavors of whatever food you’re cooking.
If you’re not freezing or canning your applesauce, it should be kept in the refrigerator. It’ll keep in the fridge for about 5 to 7 days.
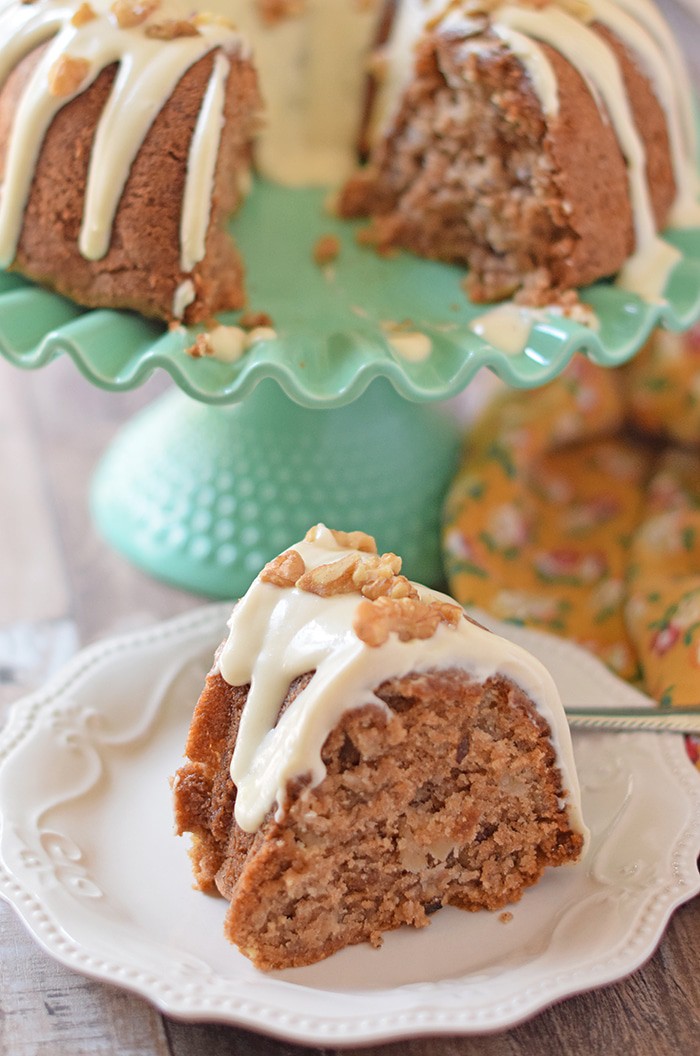
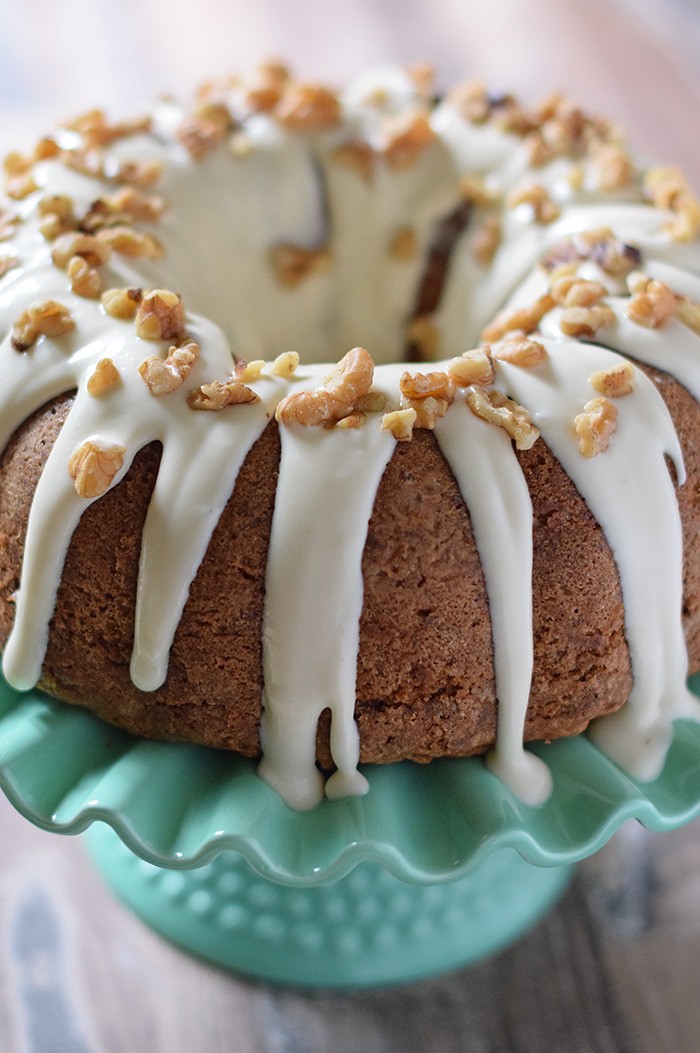
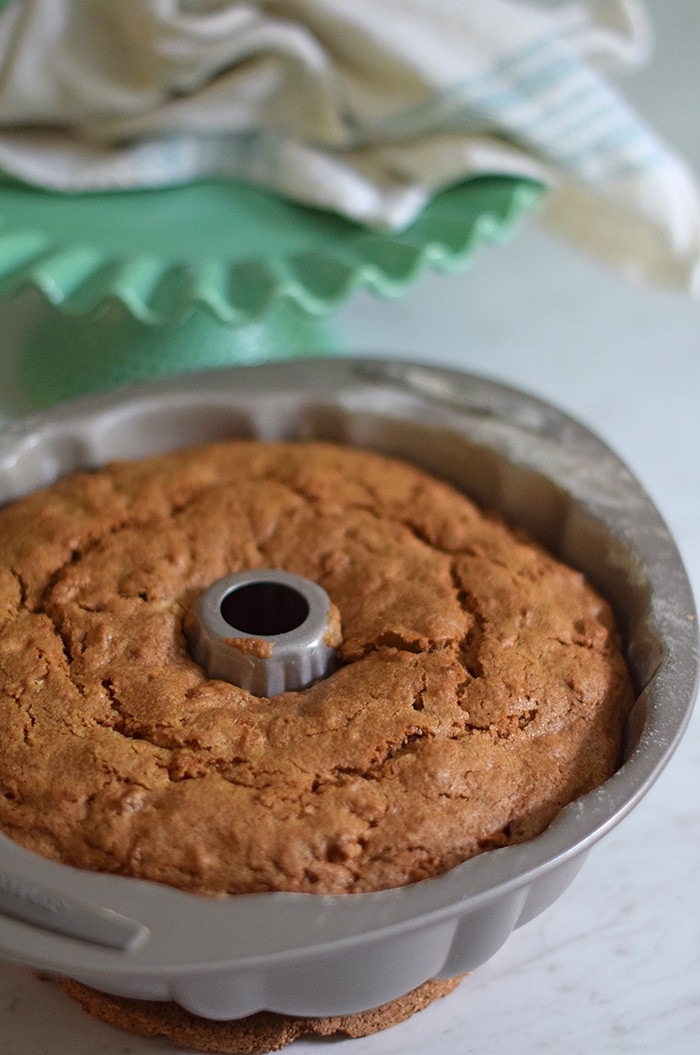
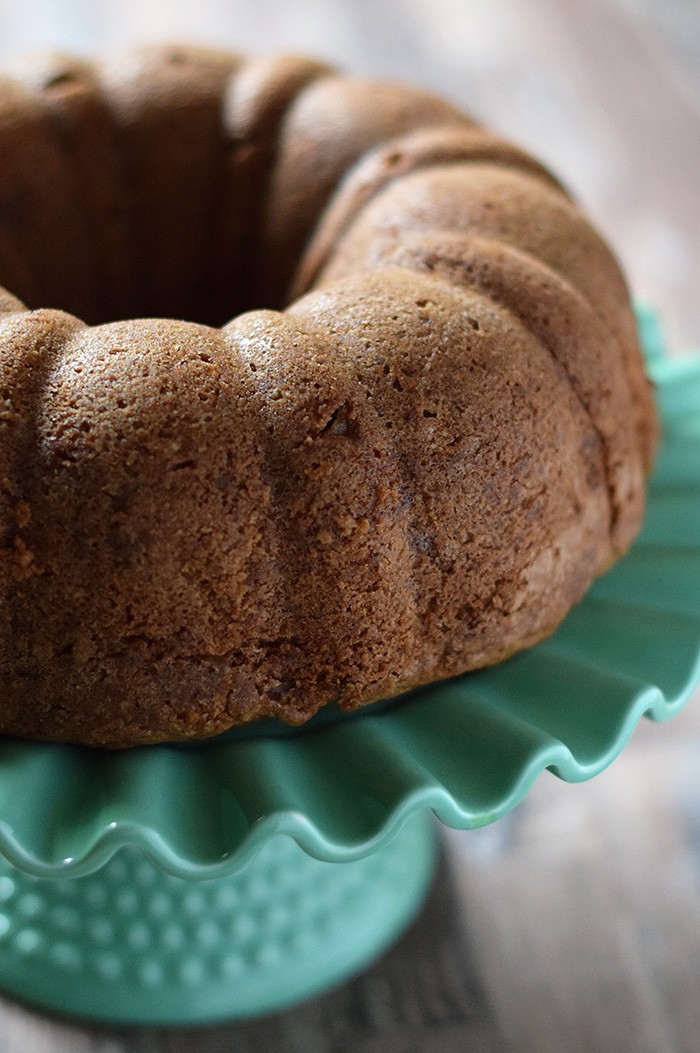
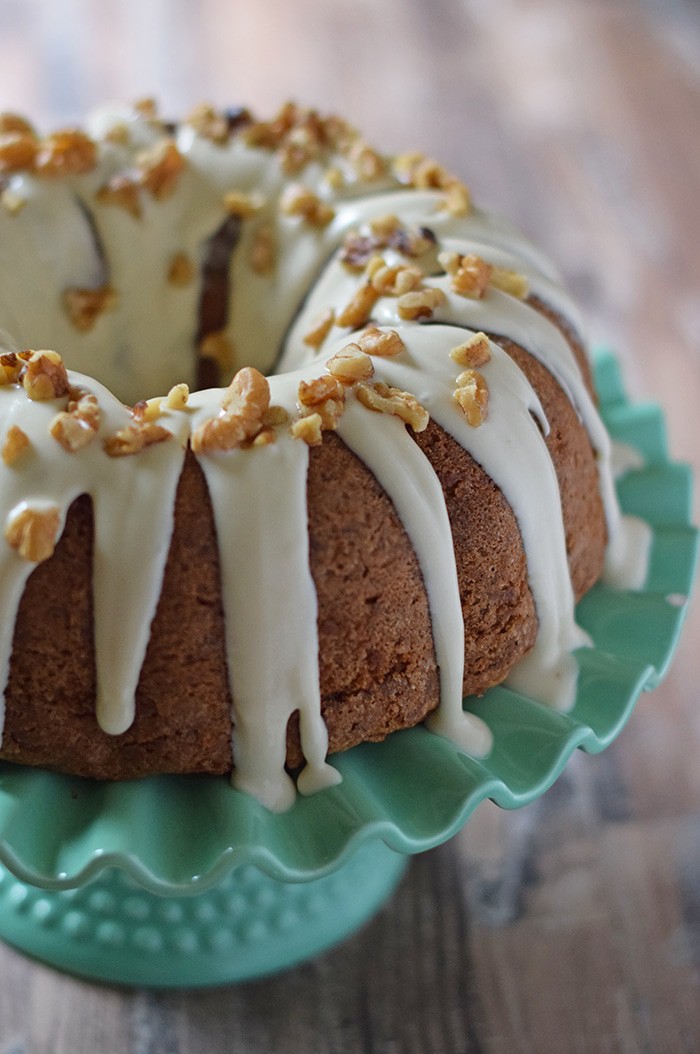
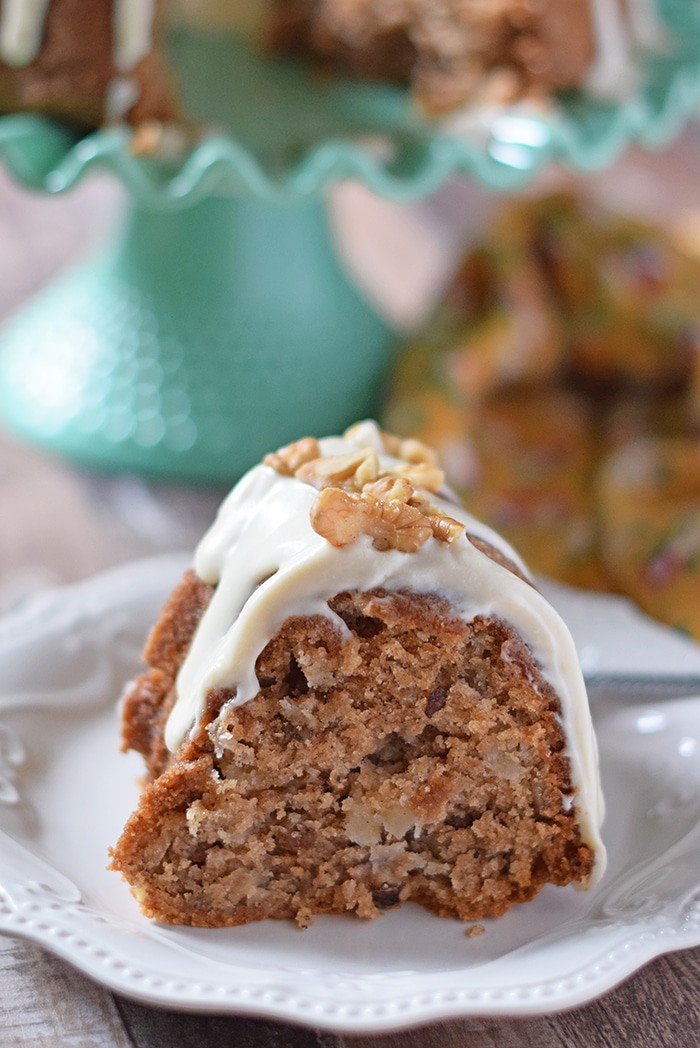
We love to eat applesauce on buttered toast. It’s also delicious on pancakes, especially apple cinnamon pancakes. You can enjoy it with oatmeal, cottage cheese, and pork chops. And you can use it when you’re baking… For example, you can use it to make apple bundt cake; or you can sometimes use it as a substitute for egg, butter, oil, or sugar, depending on the recipe. Momables shares an ingredient substitution list for baking that explains how to sub applesauce in; and Craftsy has a really good explanation, as well, as to how and when to substitute applesauce for certain ingredients when you’re baking.
More Recipes for Fresh Apples:
- Apple jelly without pectin
- Easy CrockPot apple butter
- Apple butter recipe, stovetop version
- Apple crumb pie
- Cinnamon baked apples
- 50 mouthwatering apple recipes
You can also learn how to use your Instant Pot with our Instant Pot Quick Start Guide, filled with practical tips, Instant Pot recipes, accessory ideas, and more!
You’ll find a longer recipe tutorial in the Instant Pot applesauce recipe card below.
If you try this recipe, why not leave a star rating in the recipe card right below and/or a review in the comment section further down the page? I always appreciate your feedback. You can also follow me on Pinterest, Facebook, Instagram, and YouTube. And subscribe to my email list too!
Instant Pot Applesauce
How to make the best homemade Instant Pot applesauce with skins and no added sugar. Easy pressure cooker recipe, ready to eat in 30 minutes or less.
- Instant Pot
- Ninja Foodi
- Johnny apple peeler
- Immersion blender
- Pint jars
- Hot Water Bath Canner
- Canning Funnel
- Jar Lifter
- 6 pounds apples (unpeeled)
- 2 teaspoons lemon juice
- 1 cup water
Wash, core, and slice the apples; I use my Johnny apple peeler to core and slice all at once. Cut out any bad spots, as well.
- Put the sliced apples in your Instant Pot.
Sprinkle lemon juice over the apples.
Then add water to the apples, as well. If you want to mix everything together, you can; but there’s no need to until after it all cooks.
Put the lid in place on the Instant Pot. Press Manual or Pressure Cook for 10 minutes. When it’s finished cooking, allow the pressure cooker to do a natural release.
Purée the mixture with an immersion blender, standing blender, or food mill; or if you want a chunky applesauce, you can mash the apples with a potato masher. It’s up to you how you prefer the texture and consistency.
If you're not freezing or canning your applesauce, it should be kept in the refrigerator. It'll keep in the fridge for about 5 to 7 days.
Freezing Instructions:
When your applesauce has cooked, allow it to cool to room temperature.
Then just ladle or pour it into freezer safe containers that seal; leave 1/2 inch headroom at the top, to allow for expansion as it freezes.
Label the containers, and place them in the freezer.
Canning Instructions:
While your applesauce is cooking, wash pint jars in hot soapy water, rinse, and keep warm. We like to place ours on a baking sheet in a lower temp oven to stay hot.
Once you've mashed up your sauce, promptly ladle or pour it into the hot jars. Be sure to leave about a 1/2-inch gap at the top of each jar.
Wipe the rim of each jar with a wet towel or rag, place the lid on, and tighten the band.
Then place the hot jars in a boiling hot water bath canner with 1-2 inches of water over the jars, and process those jars in the hot water bath for about 20 minutes.
Allow your jars to rest for at least 24 hours, but be sure to check every lid to make sure it's sealed shortly after canning.
Before moving to the pantry, write what it is and the year on the lid, so you know when you made it.
*When it comes to picking the type of apples you should use, I recommend apples that are both sweet and tart; I don’t add any sugar, so I want the unsweetened applesauce to taste really good. Some of the best apples for making applesauce include Jonathan, Jonagold, Braeburn, McIntosh, Winesap, Rome, Golden Delicious, Cortland, Fuji, Gala, and Ambrosia.