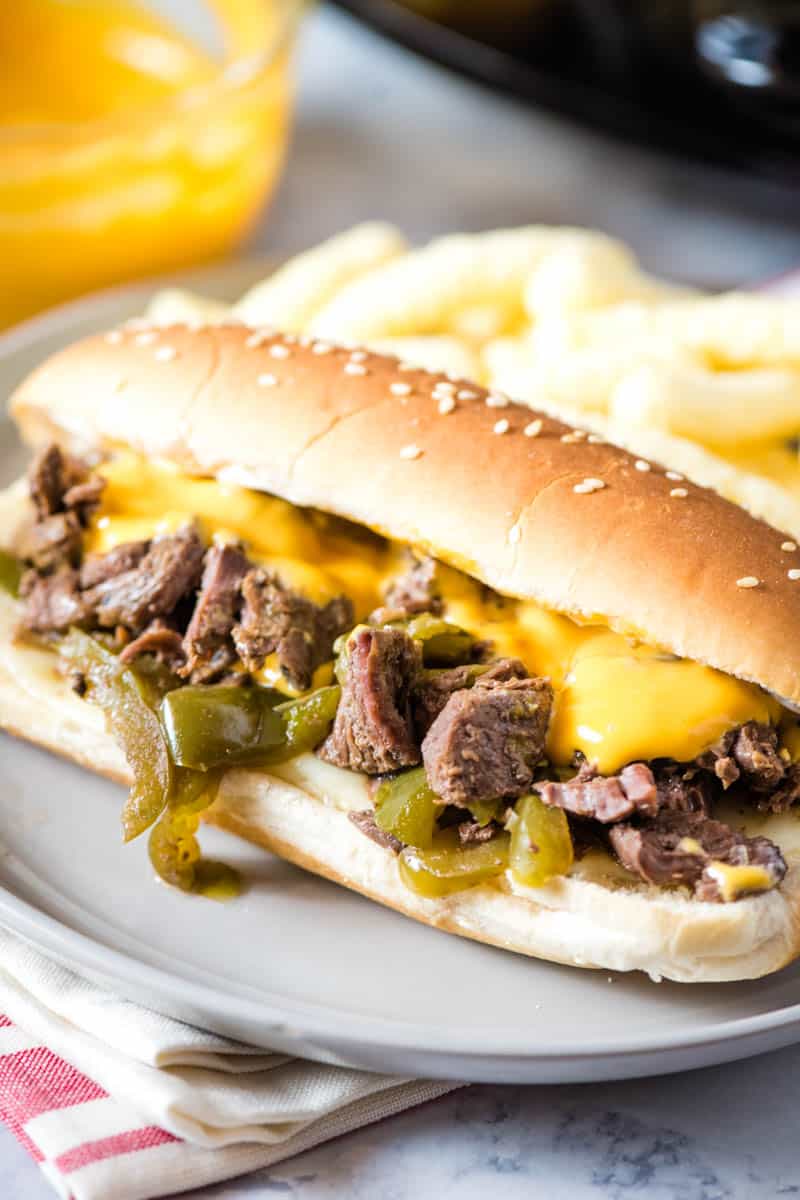
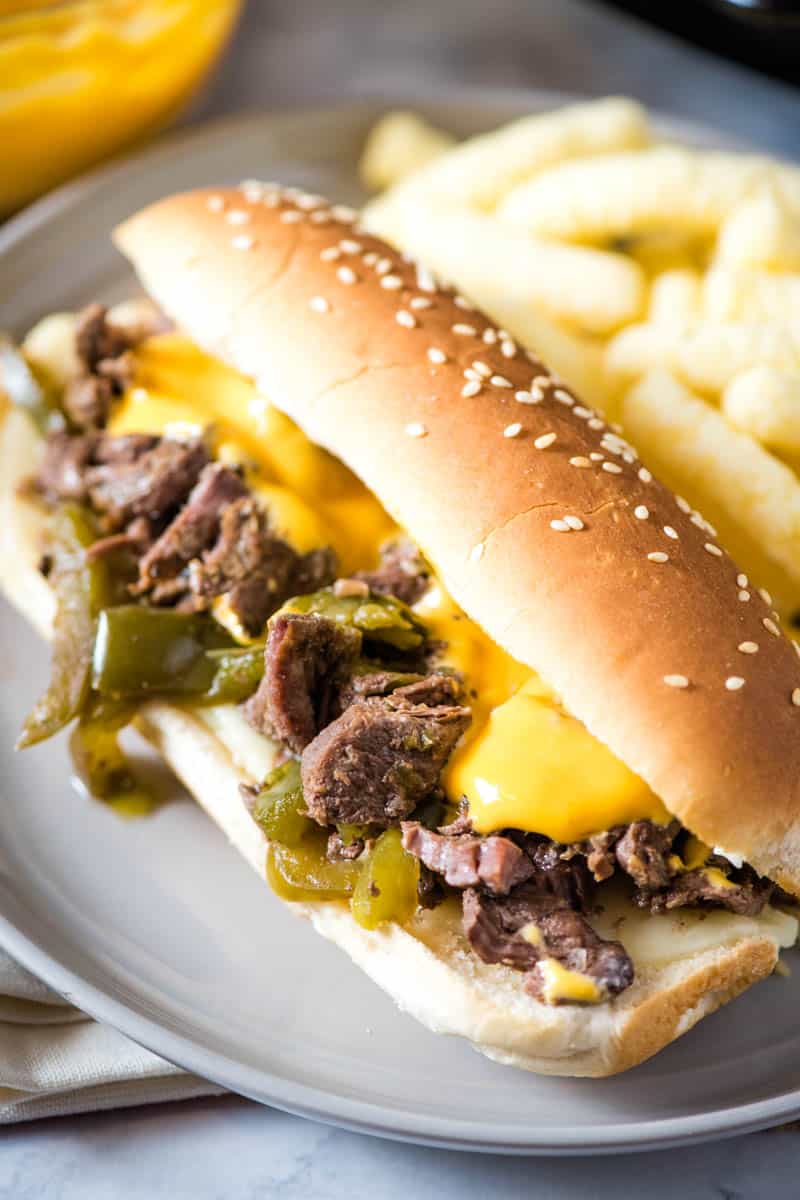
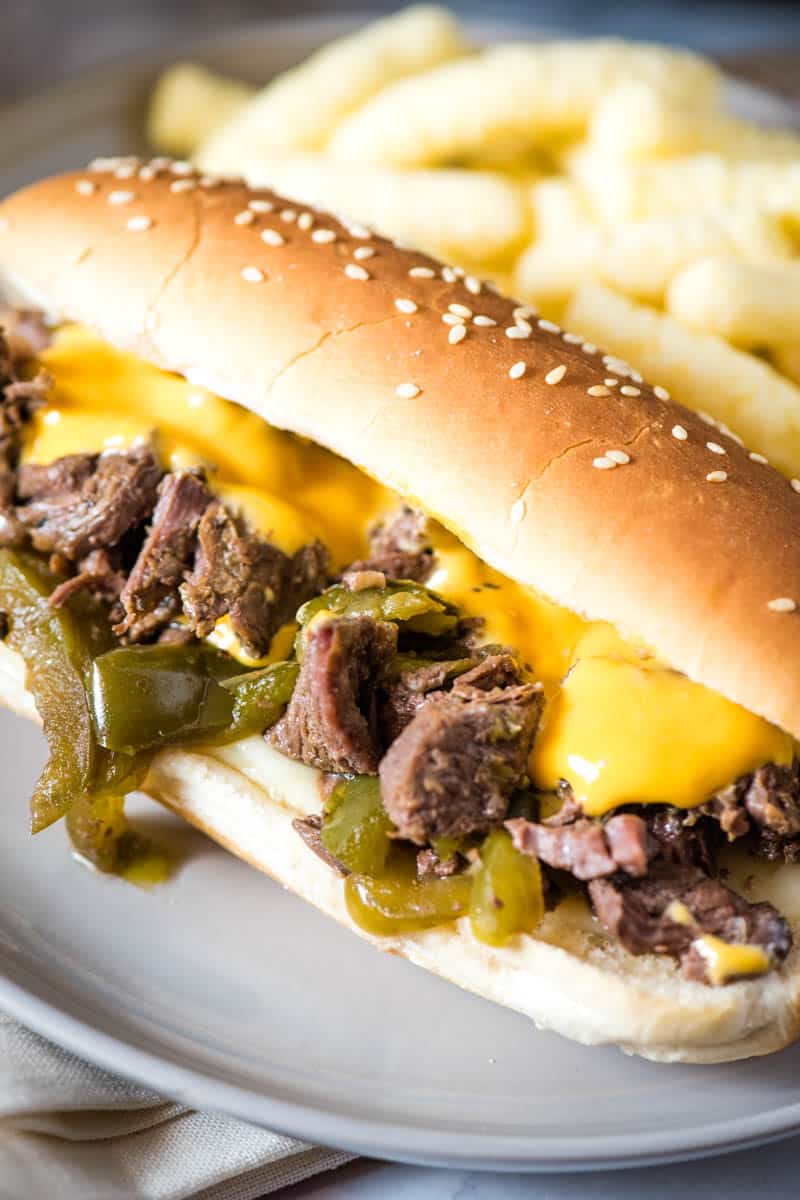
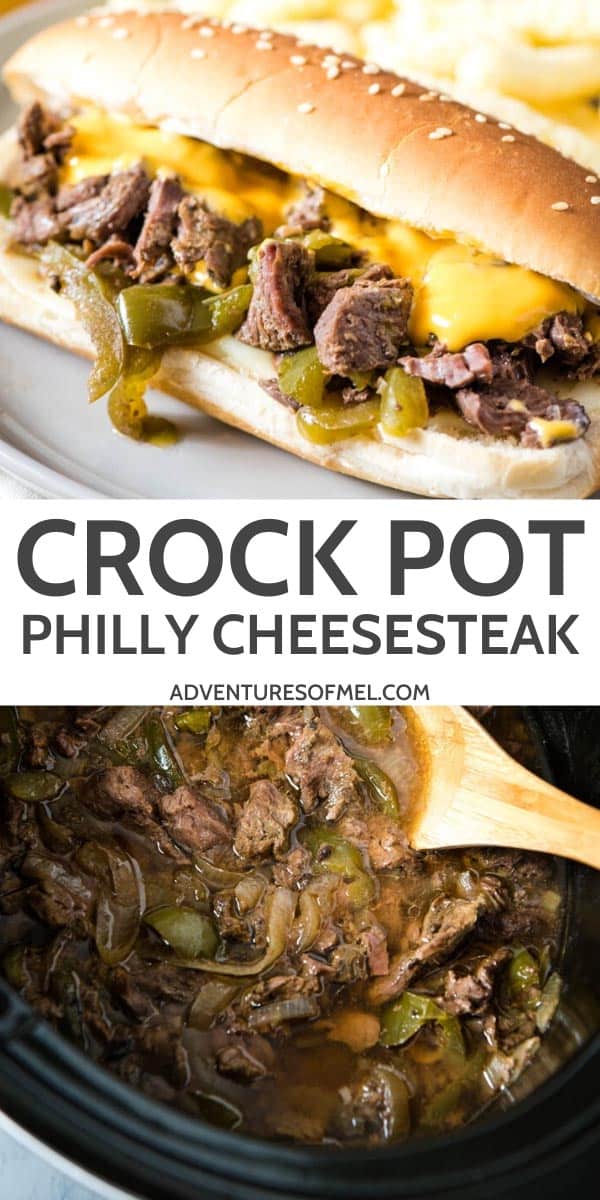
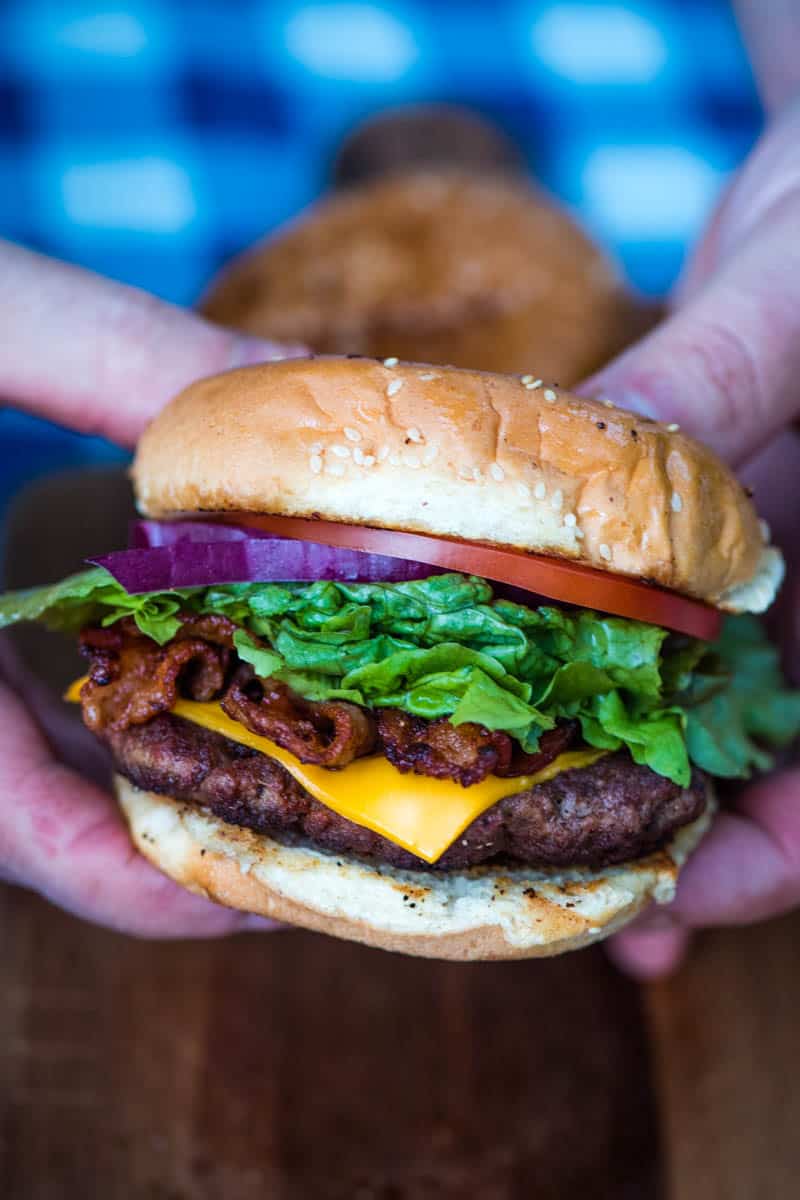
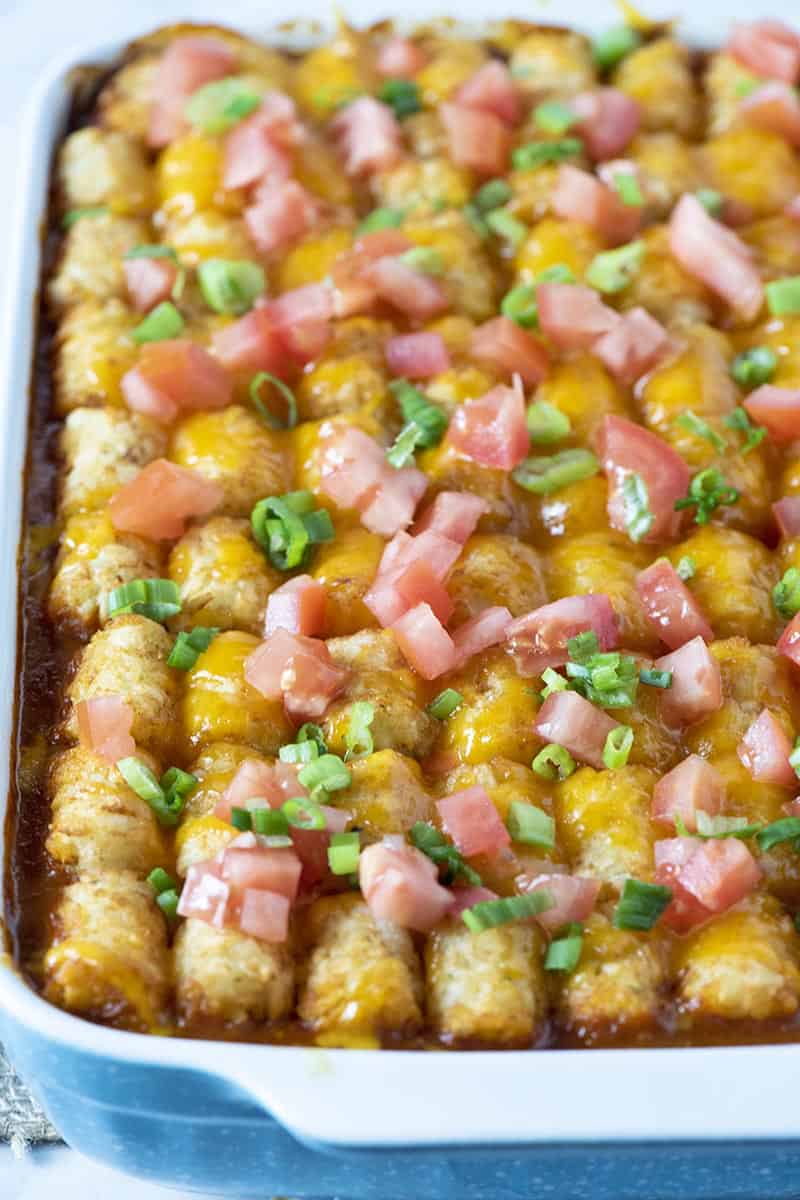
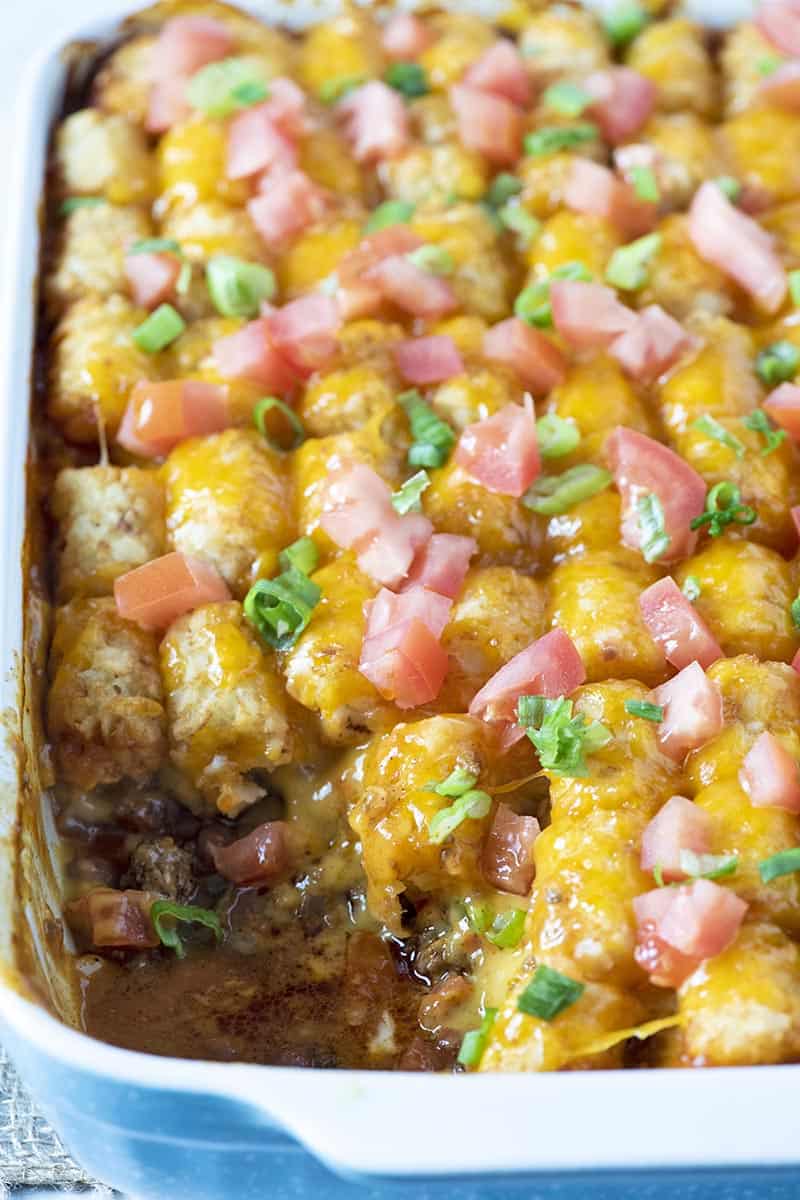
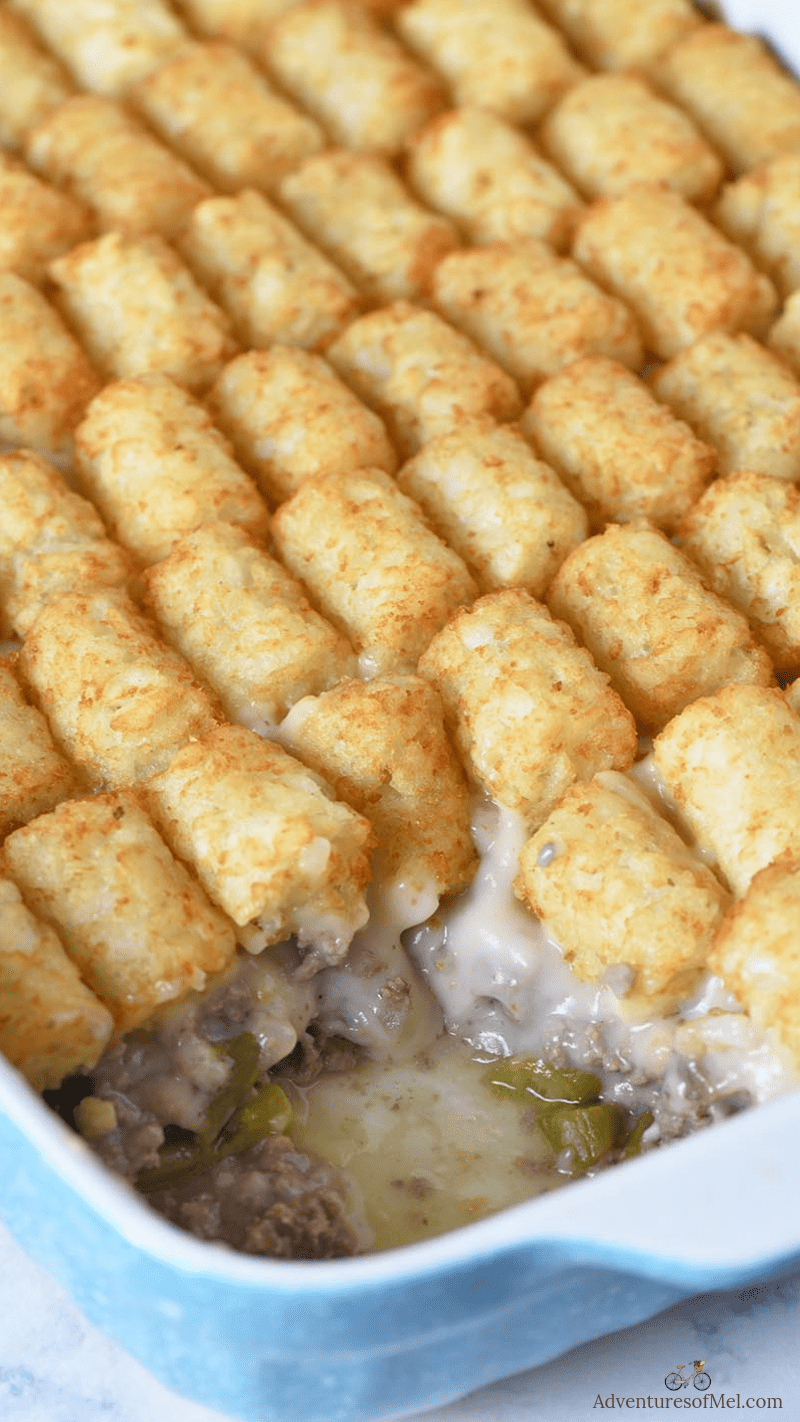
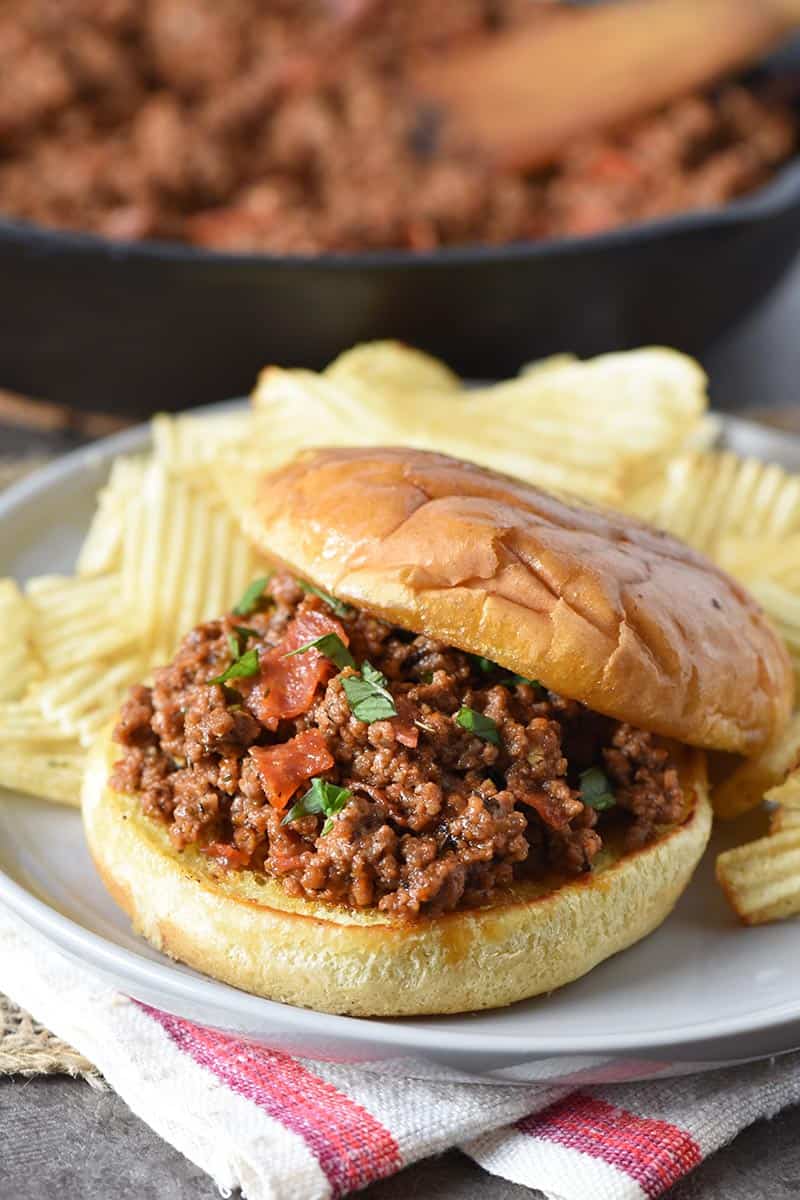
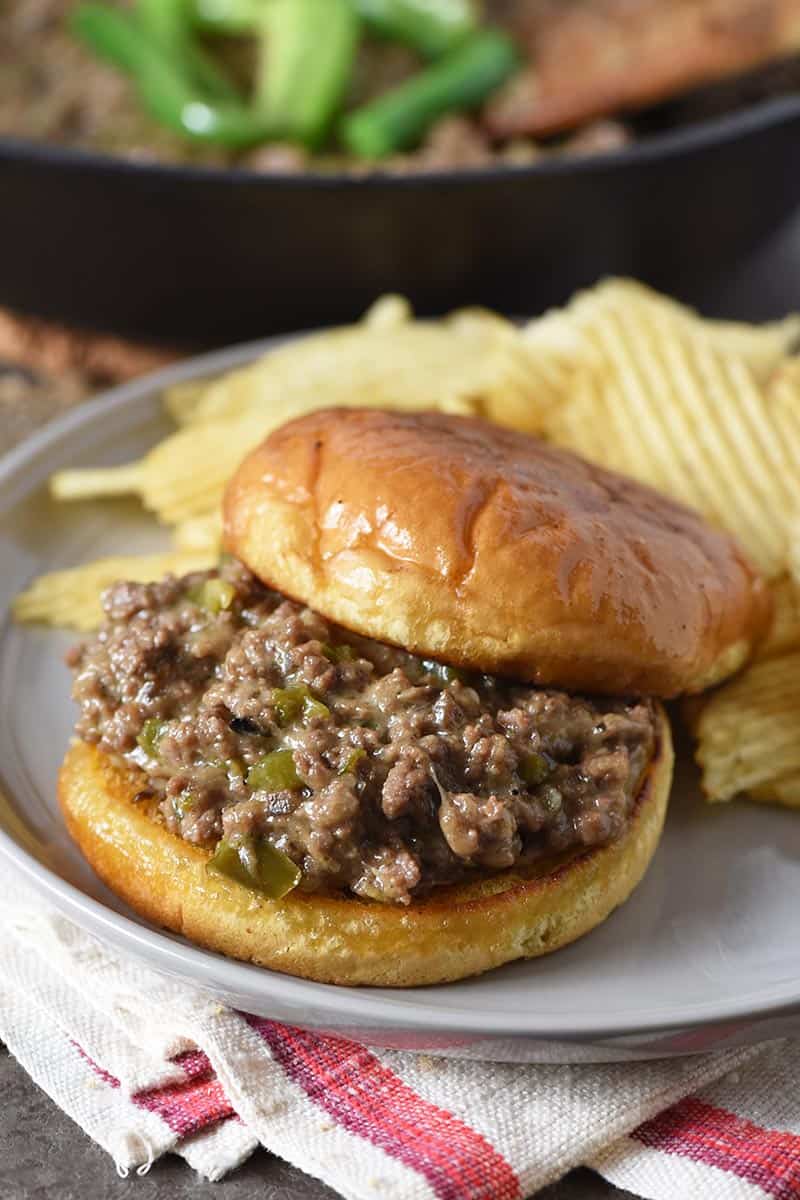
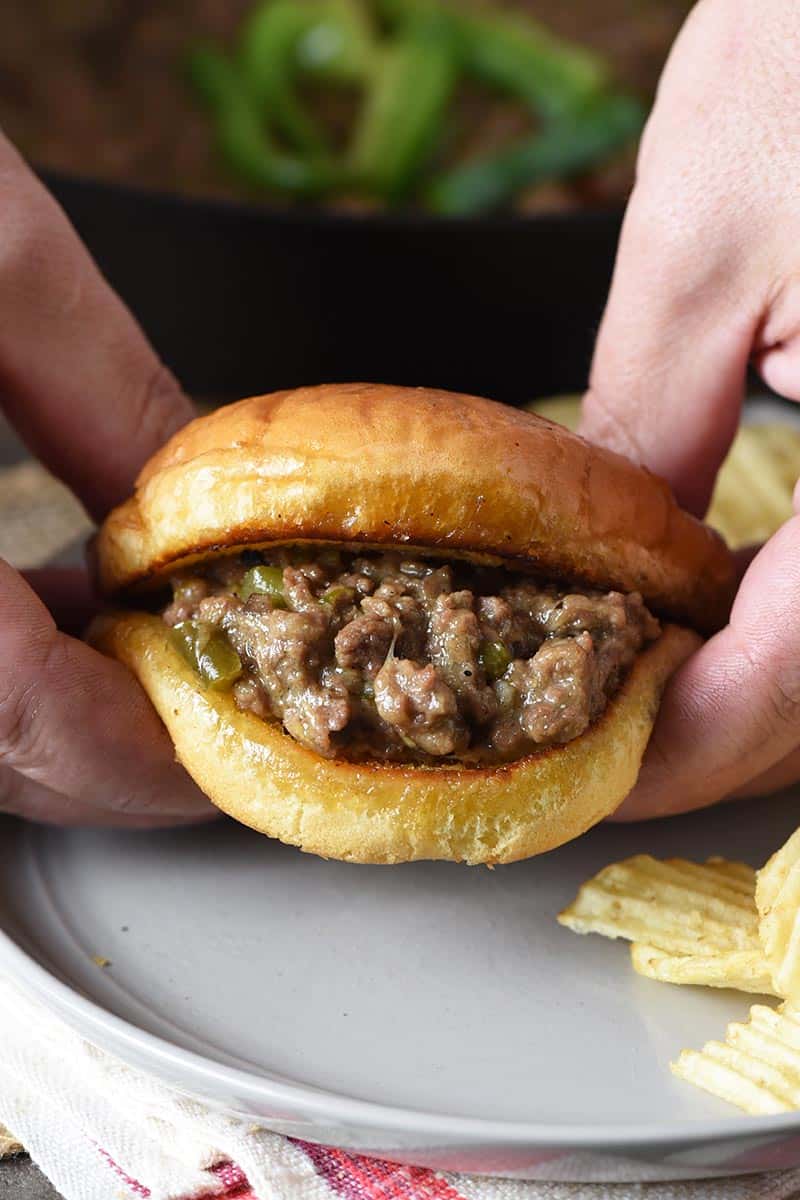
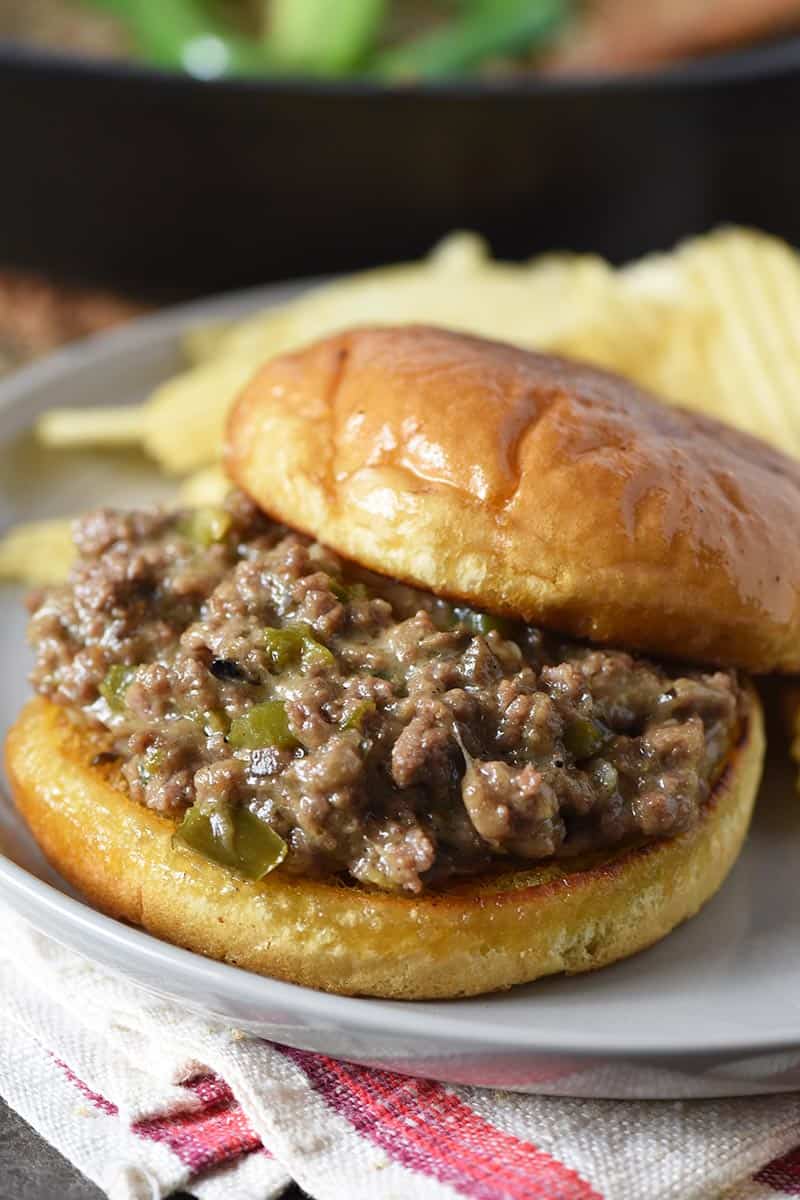
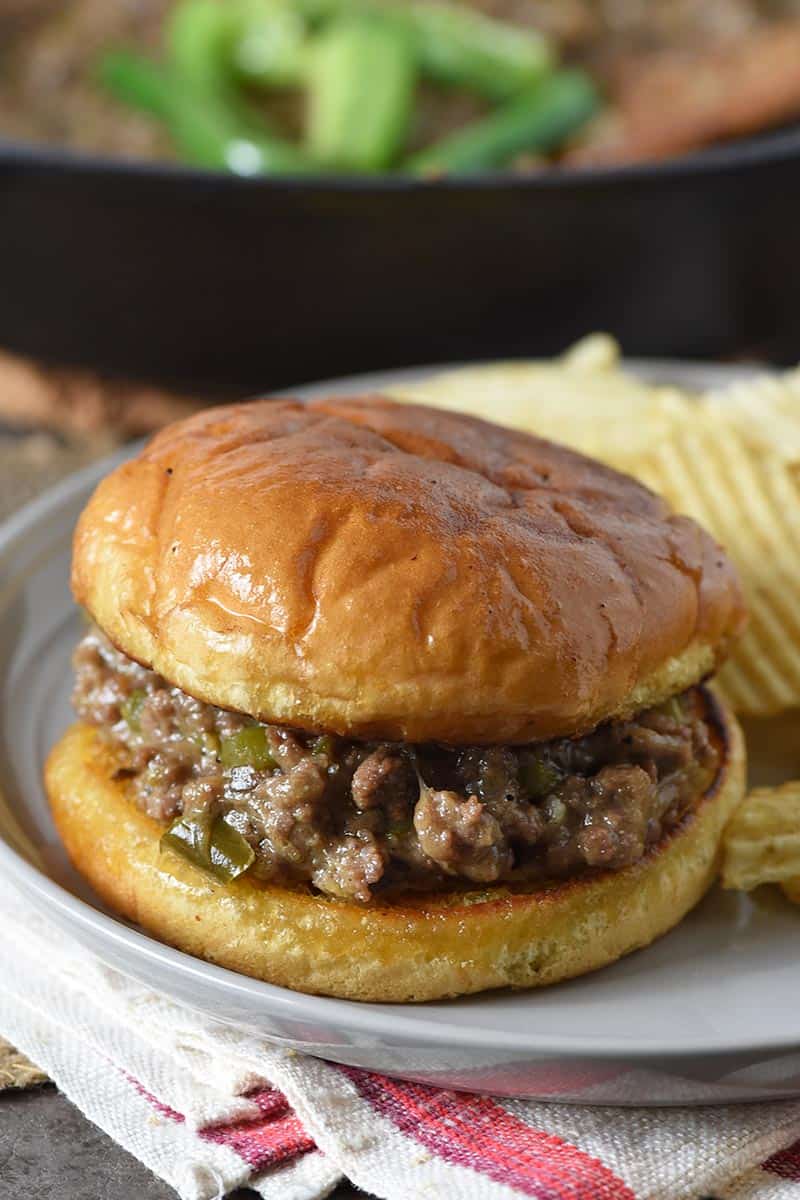
Make the best Philly cheesesteak sliders on Hawaiian rolls, packed with steak, onion, sliced peppers, and your choice of provolone or Cheez Whiz. It’s the perfect recipe for a party crowd!
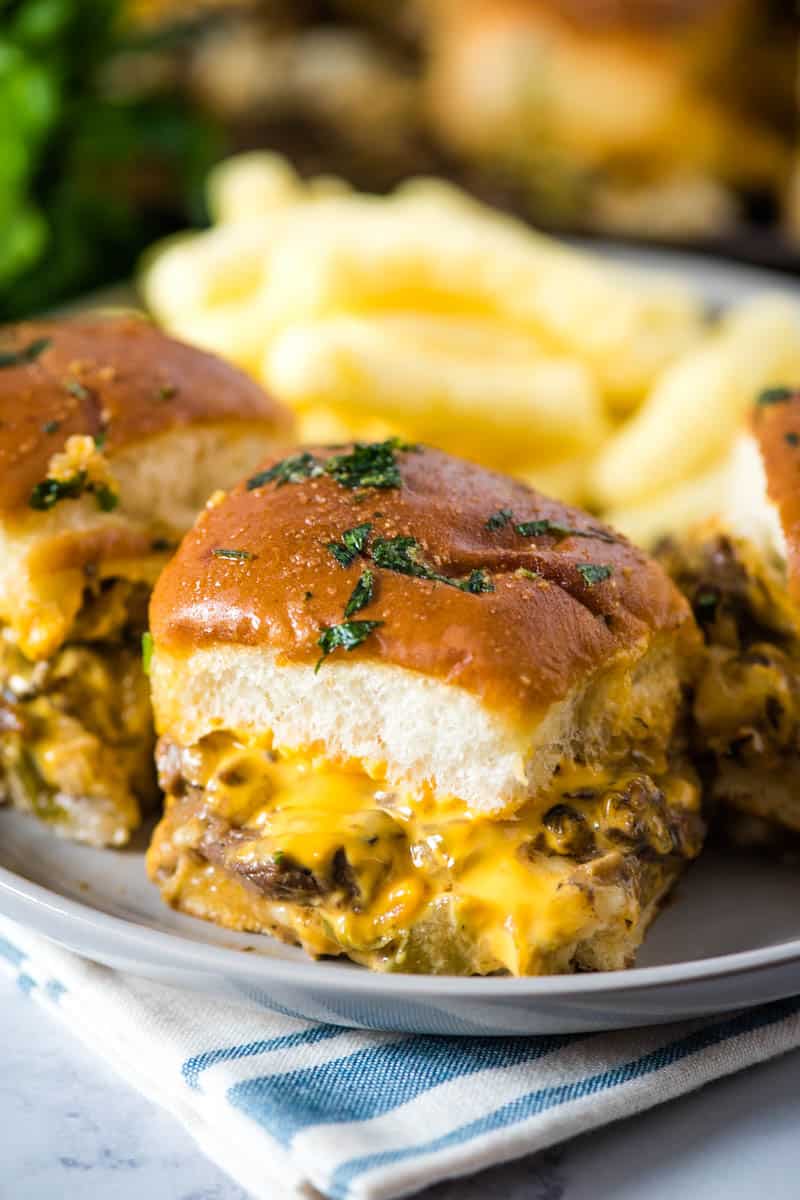
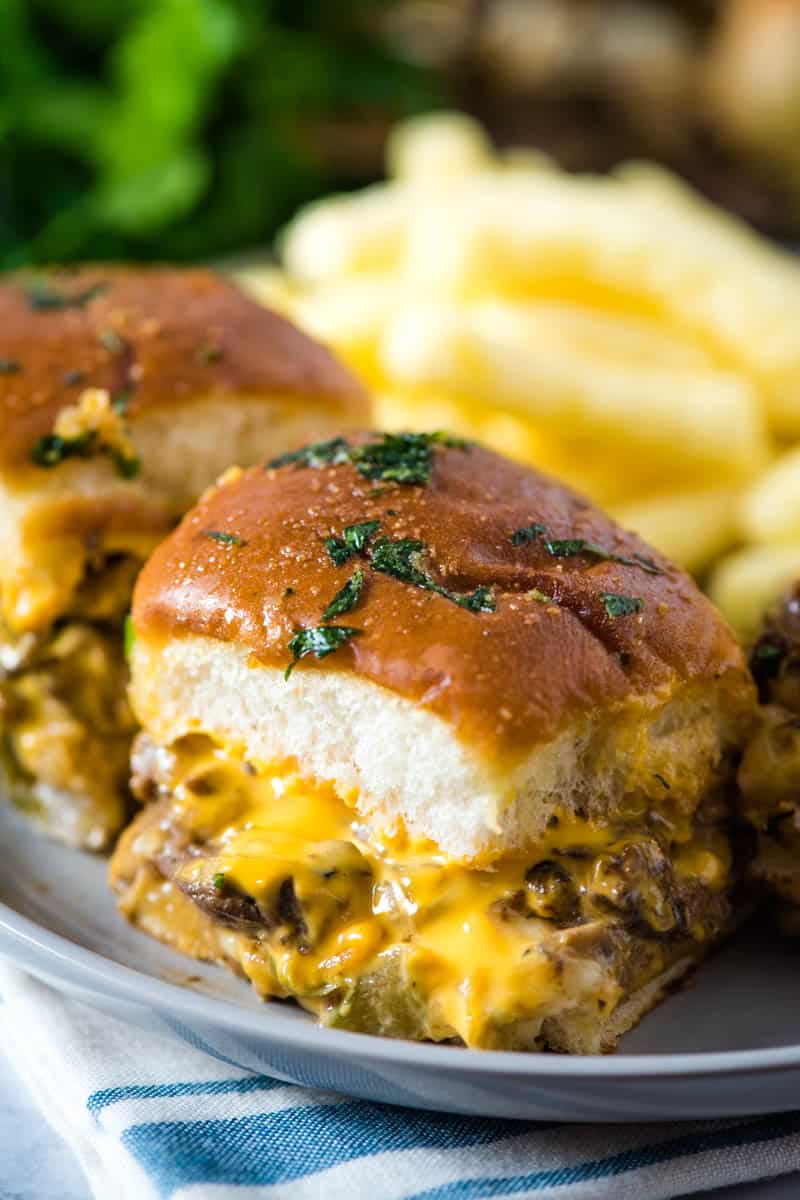
Whether you need a really delicious appetizer or an actual meal, these Philly cheese sliders are the bomb. They’re ooey gooey with melted cheese, the steak is packed with flavor from ingredients like smoked paprika (my new favorite seasoning), and the onions and green peppers have a slightly crispy texture.

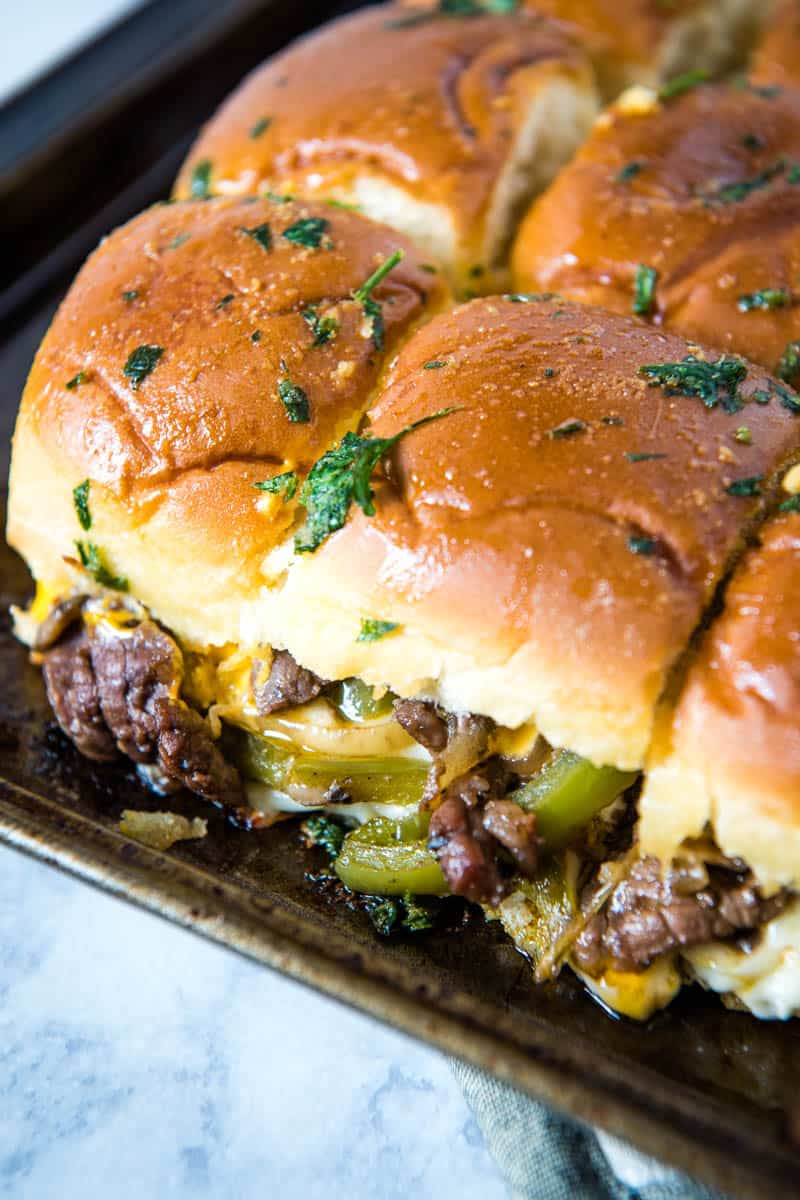
Not to mention the tops of the rolls are brushed with garlic butter and Italian parsley. Steak and cheese sliders on Hawaiian Rolls are good all by themselves; but when you add the garlic butter… I wish I could put into words how delicious these little sandwiches really are.
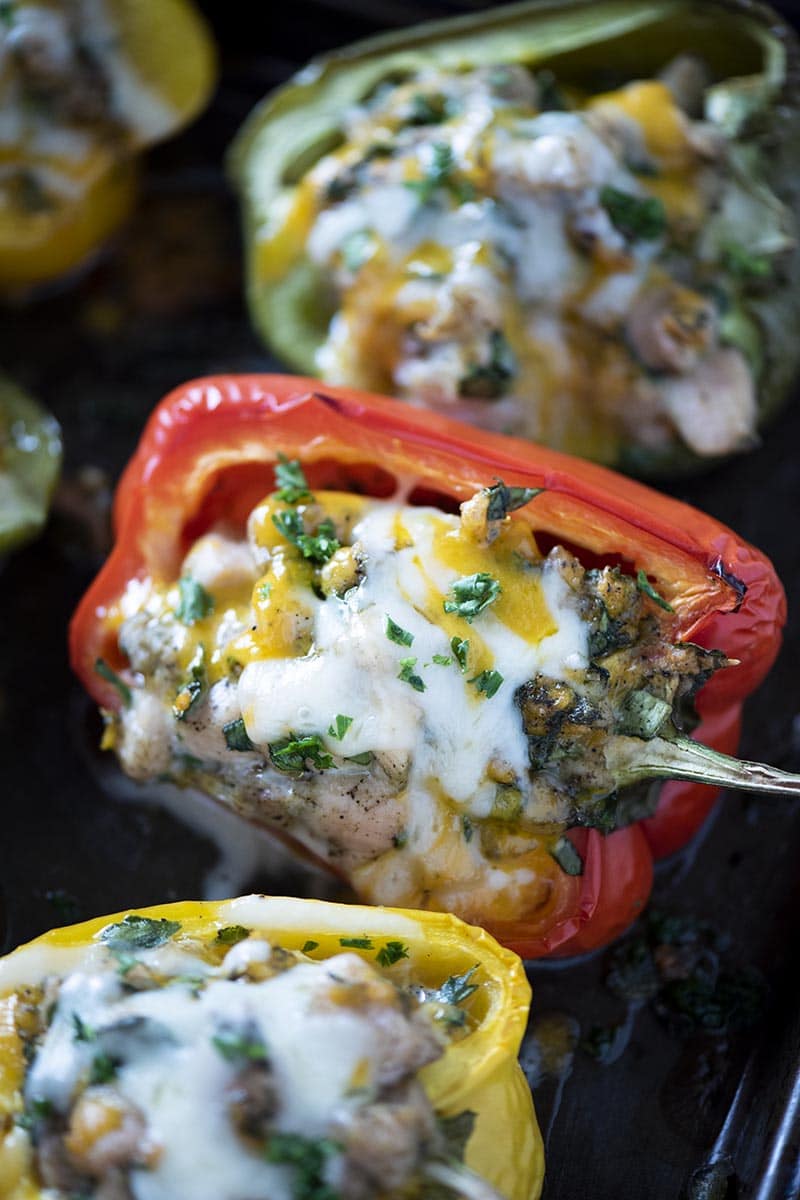
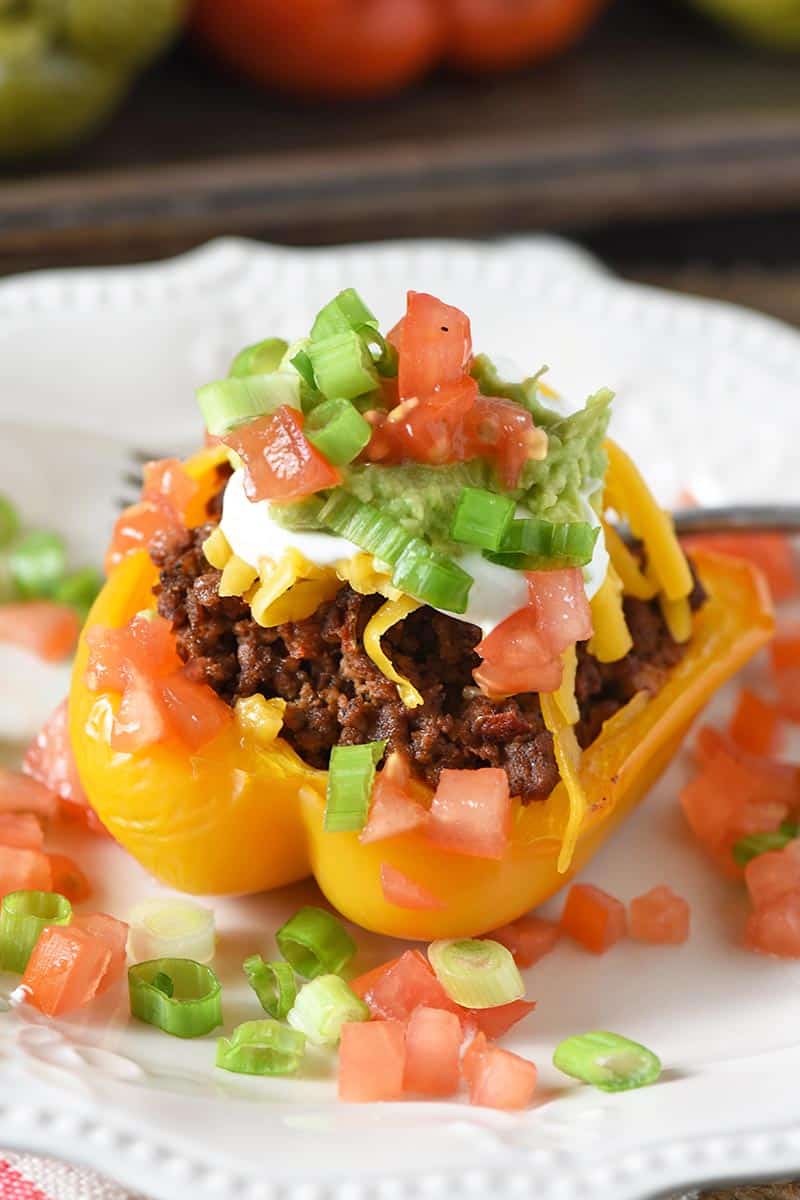
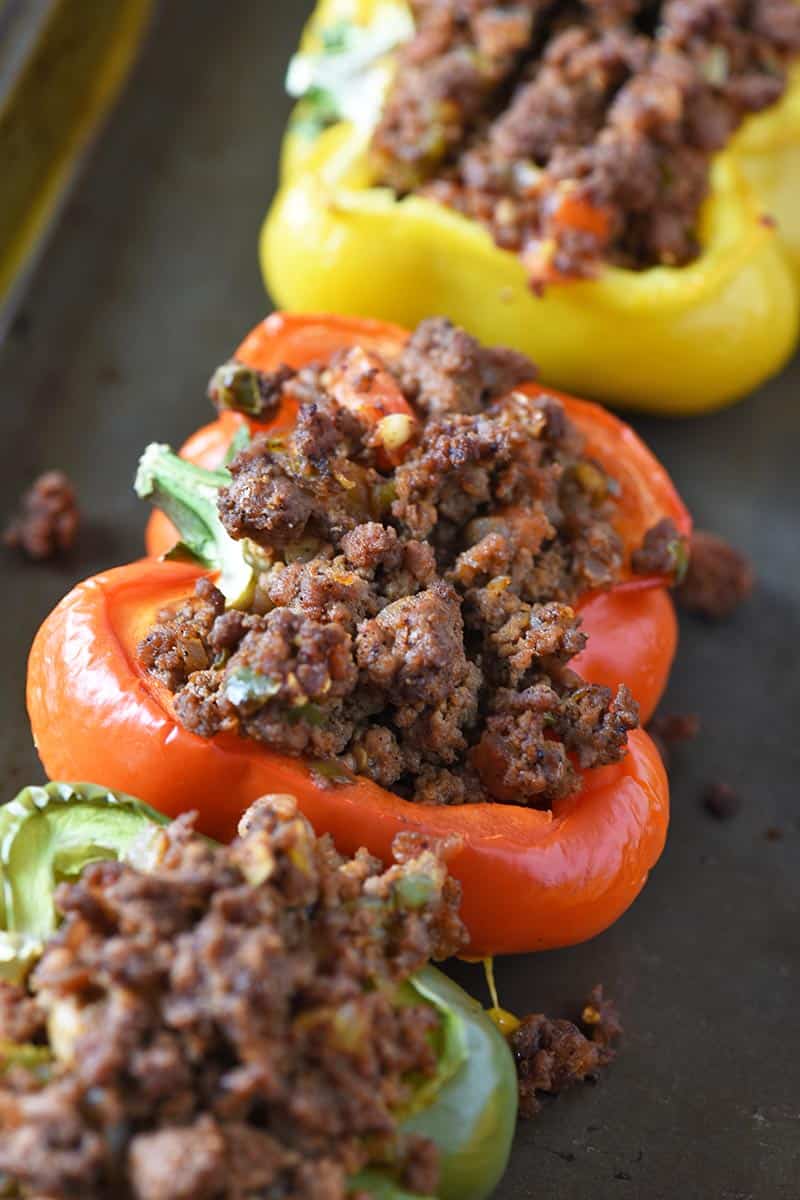
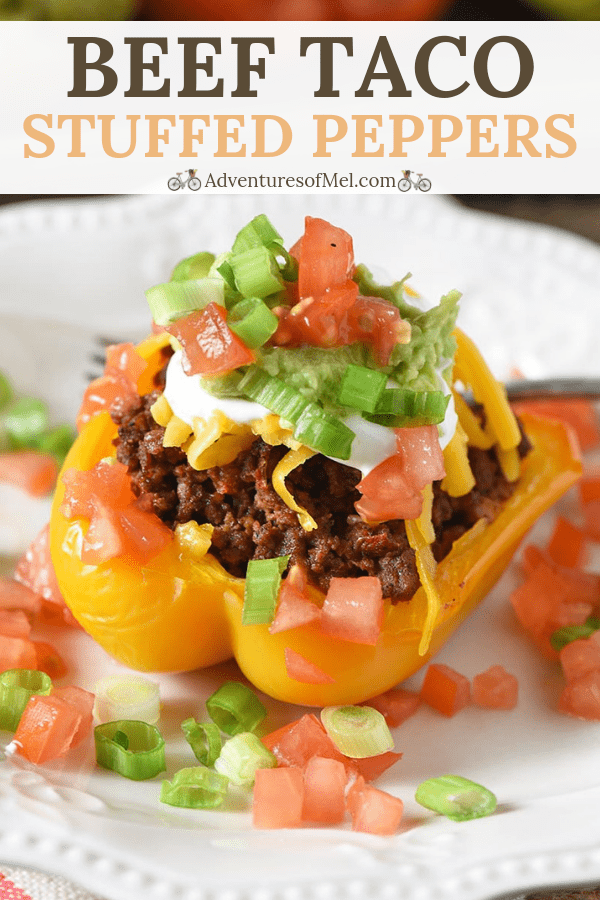
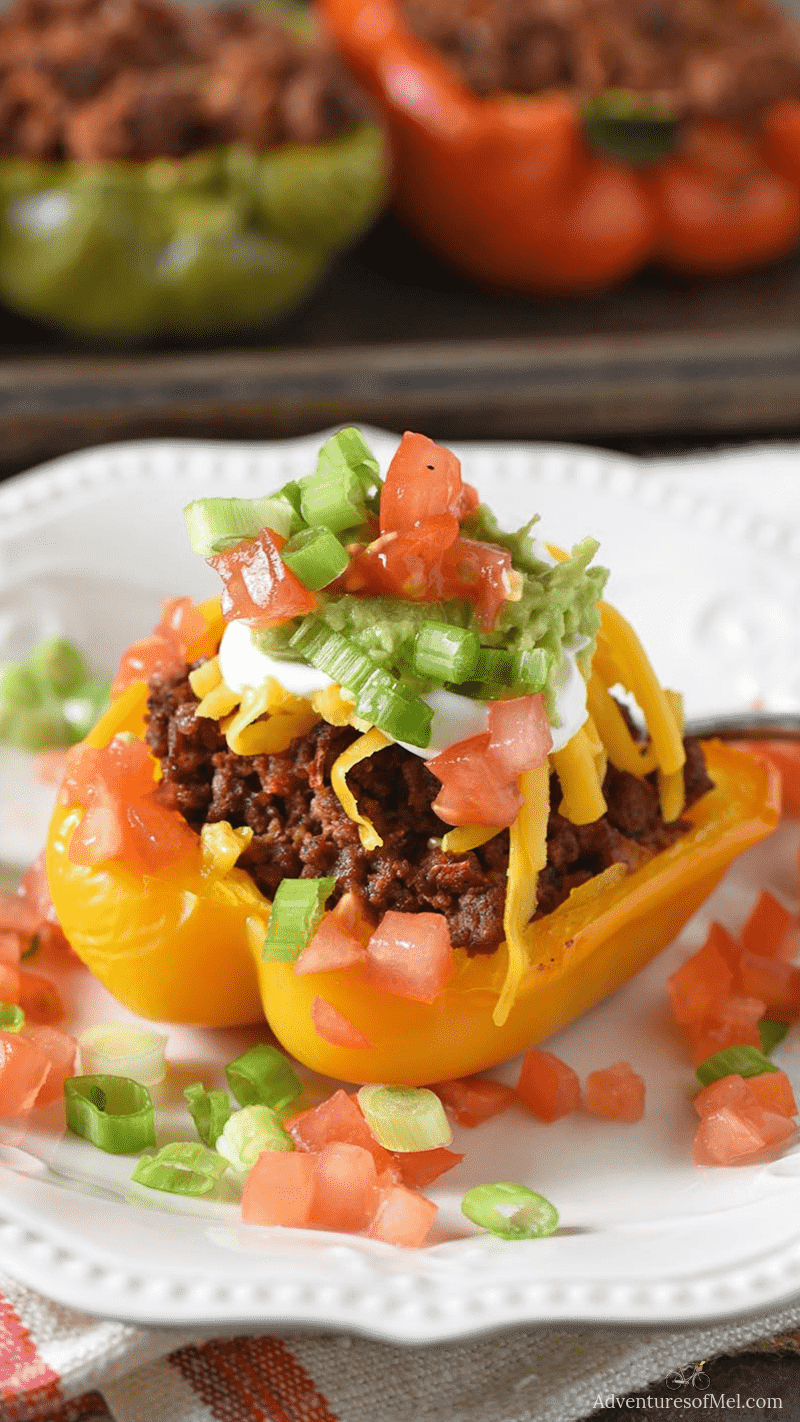
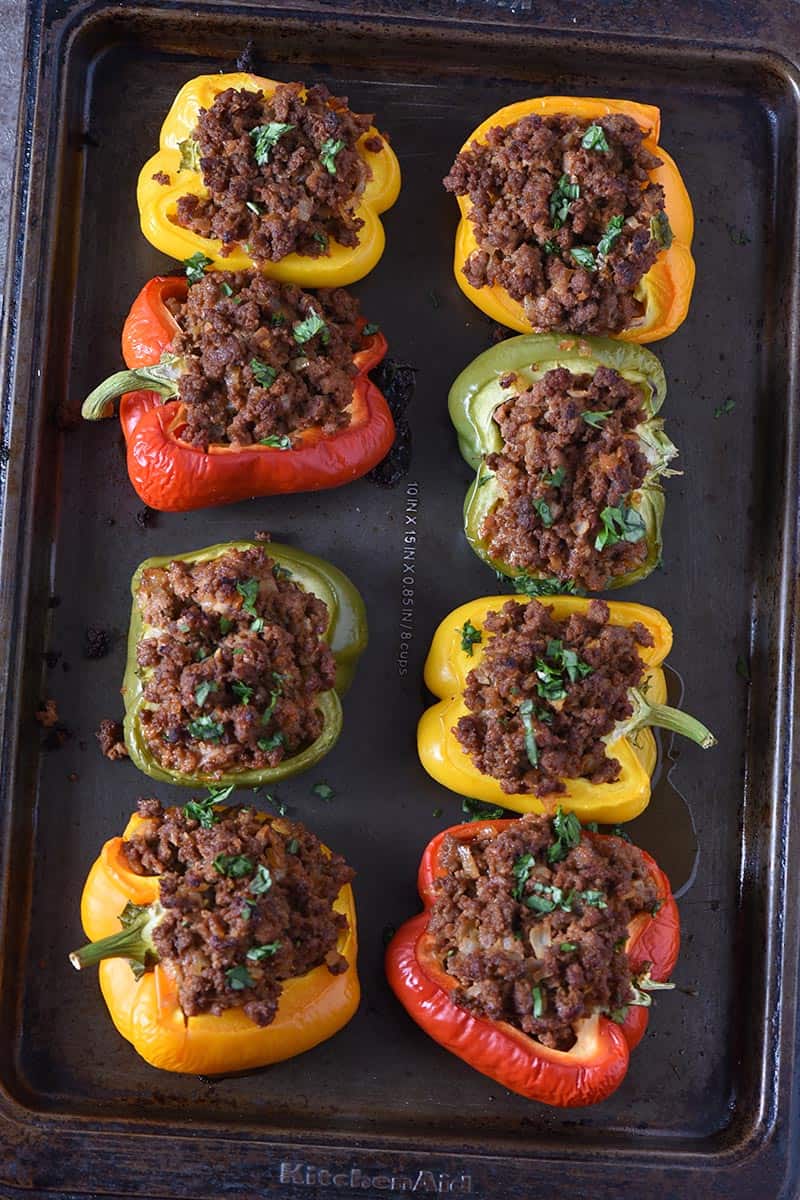
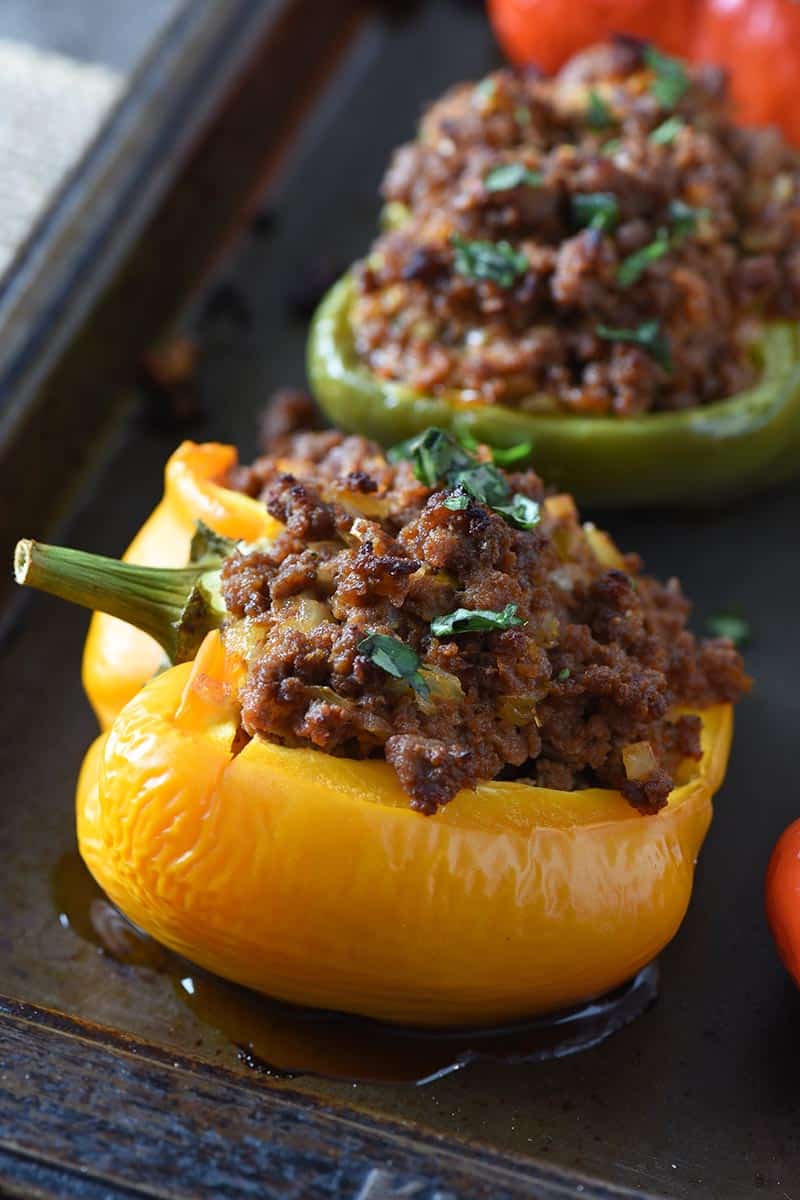
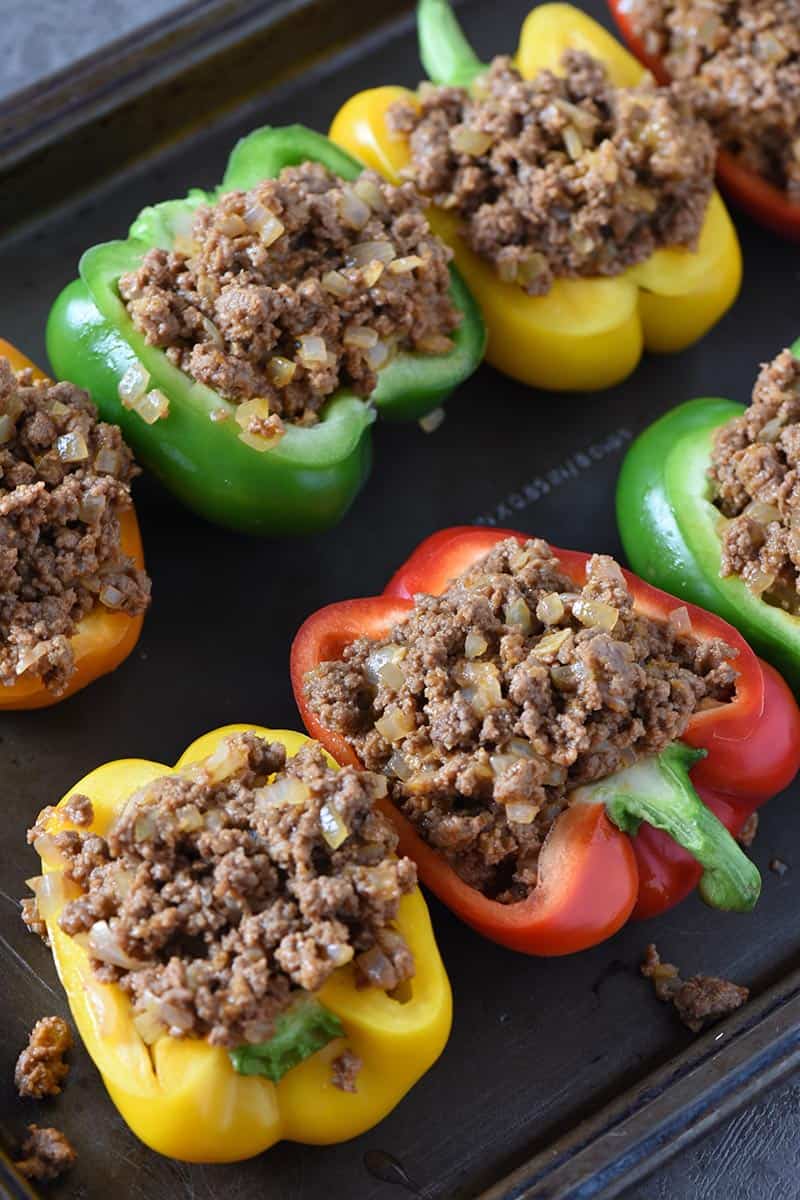
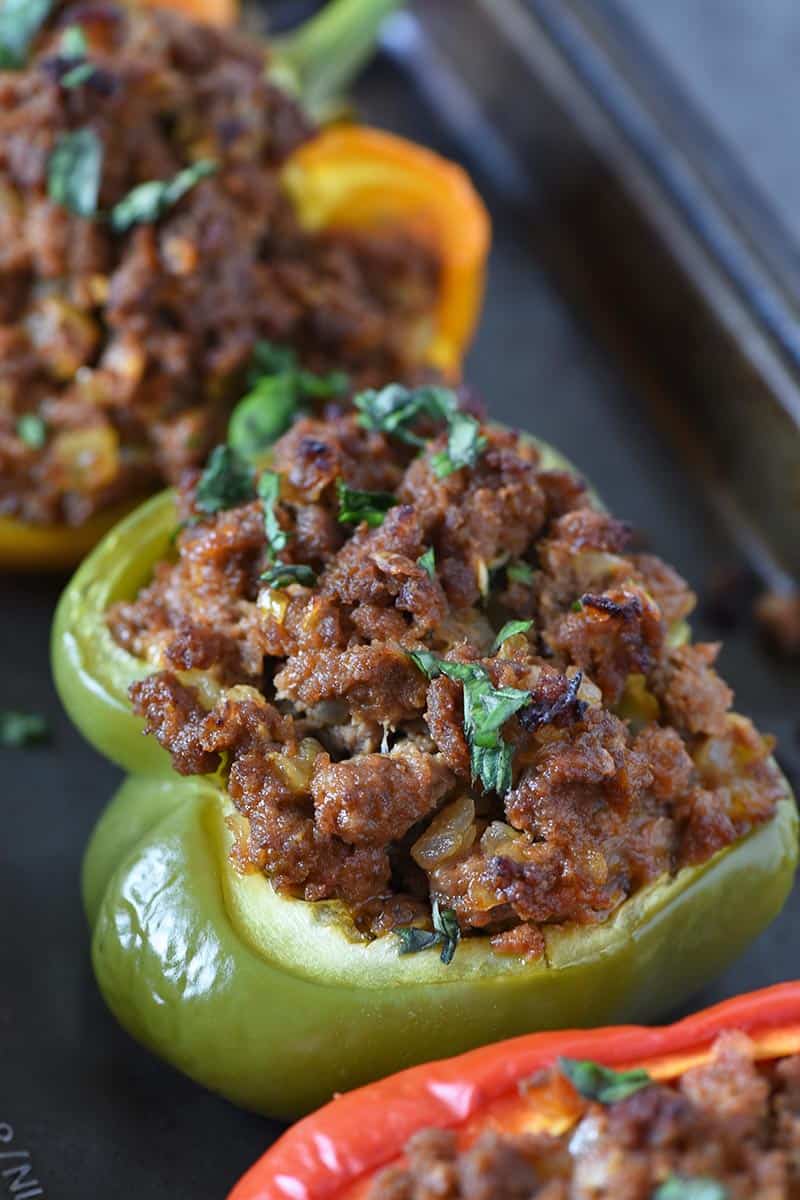
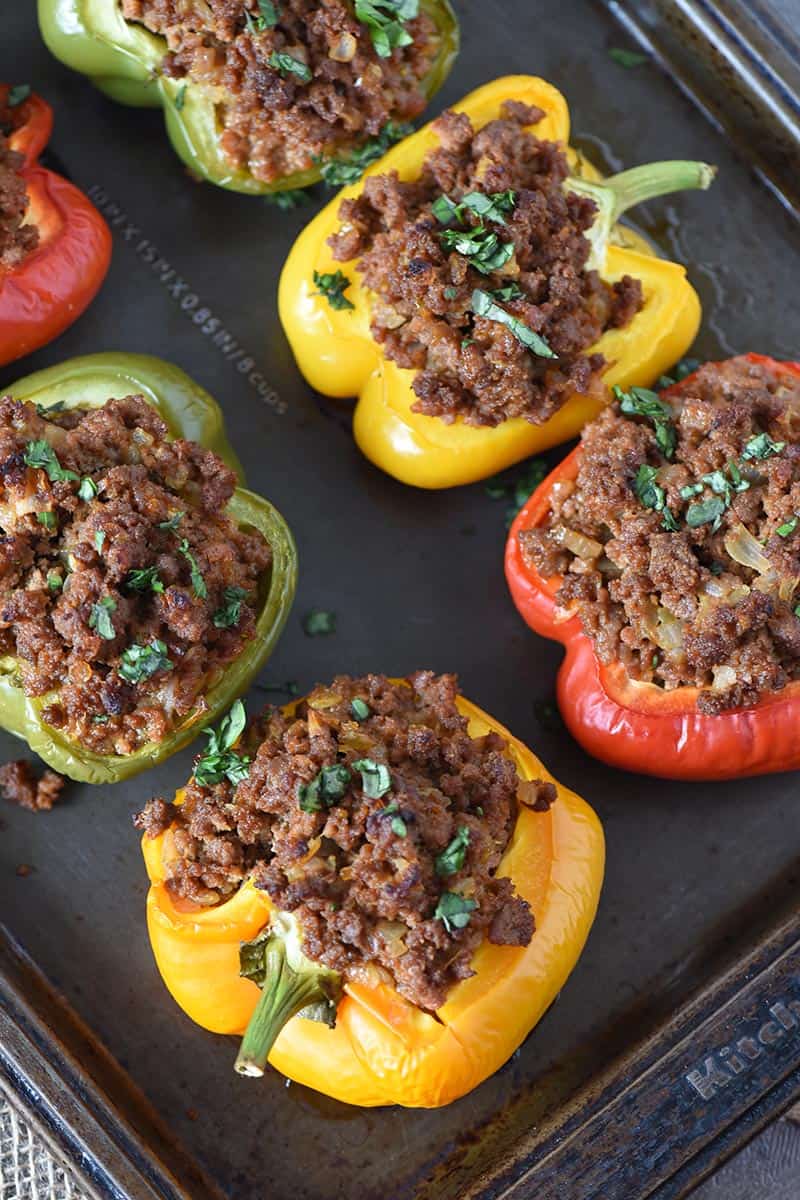
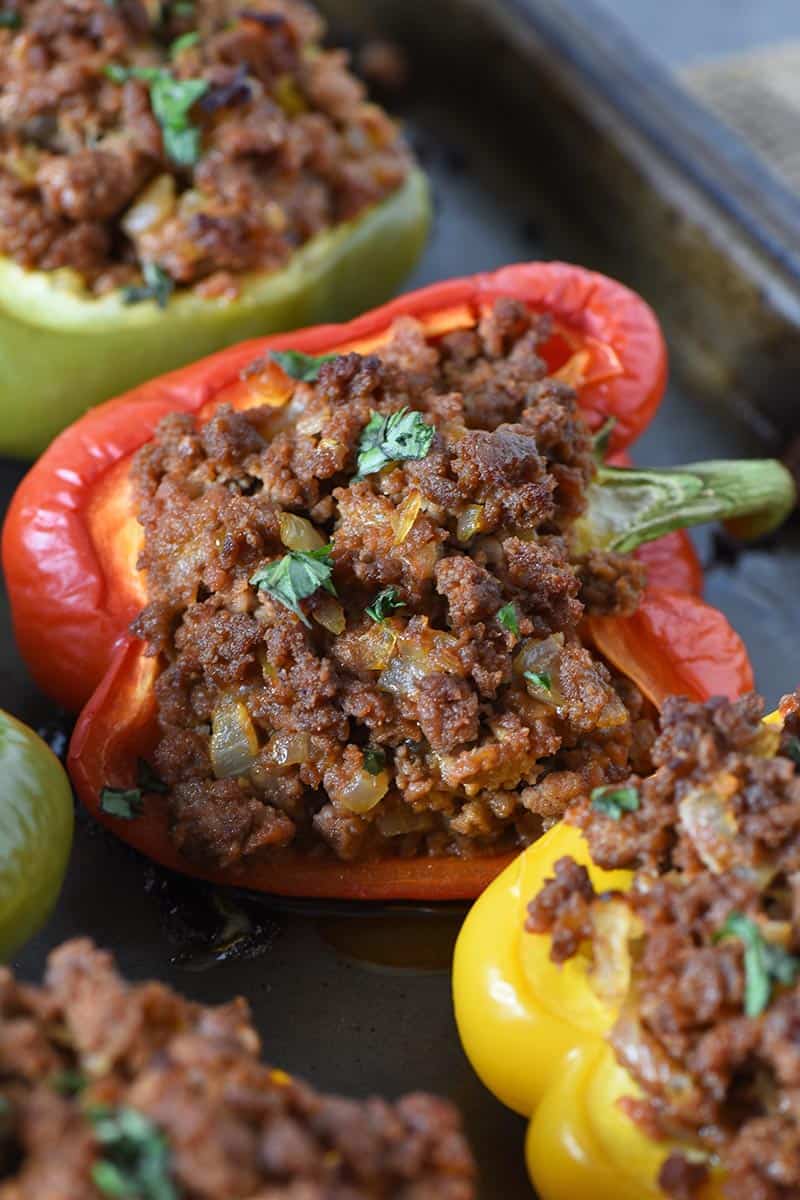
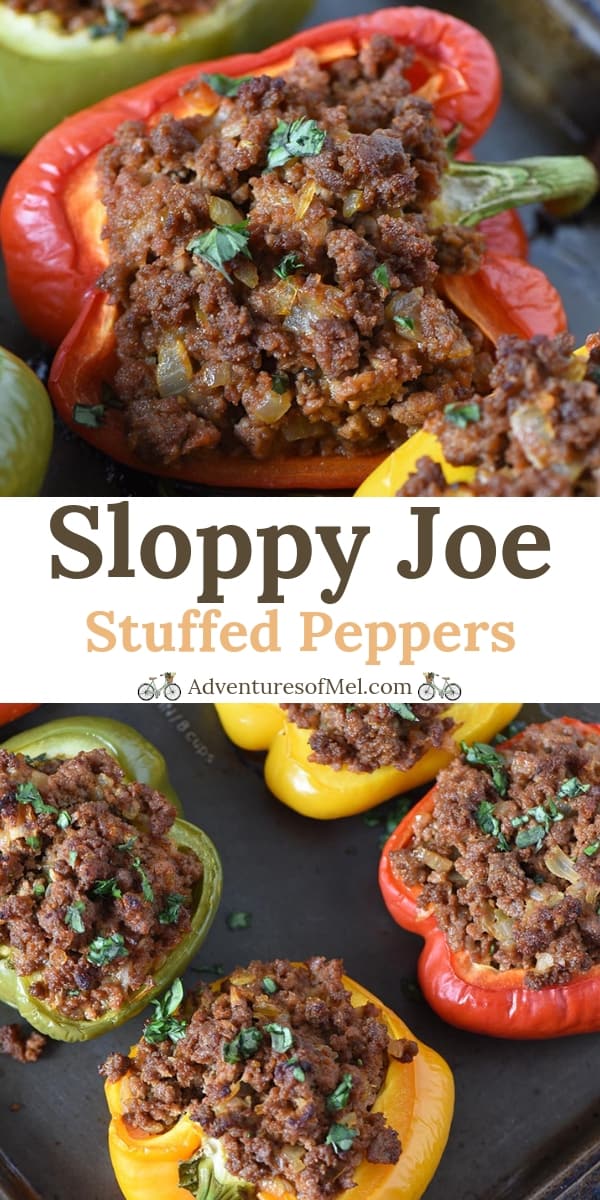
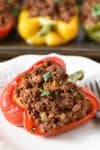
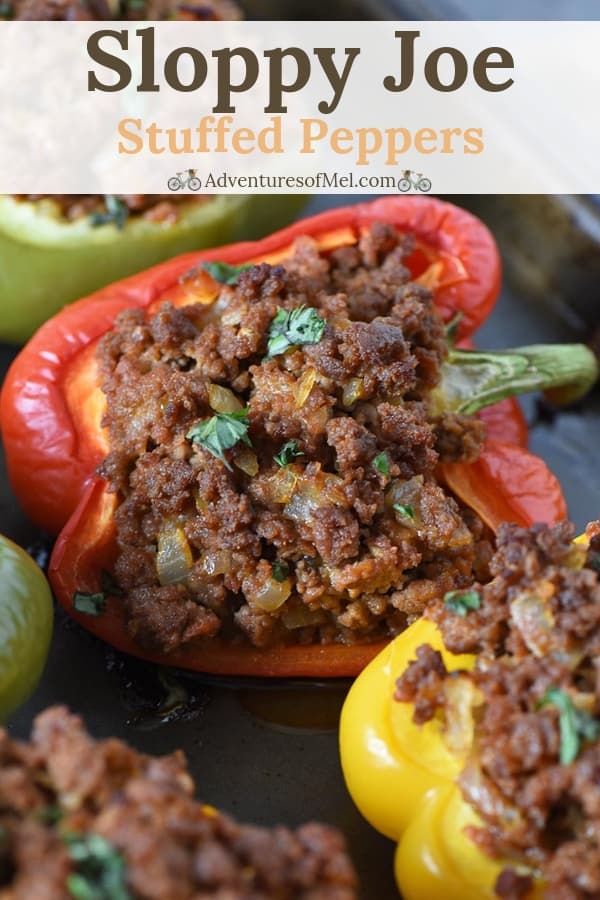
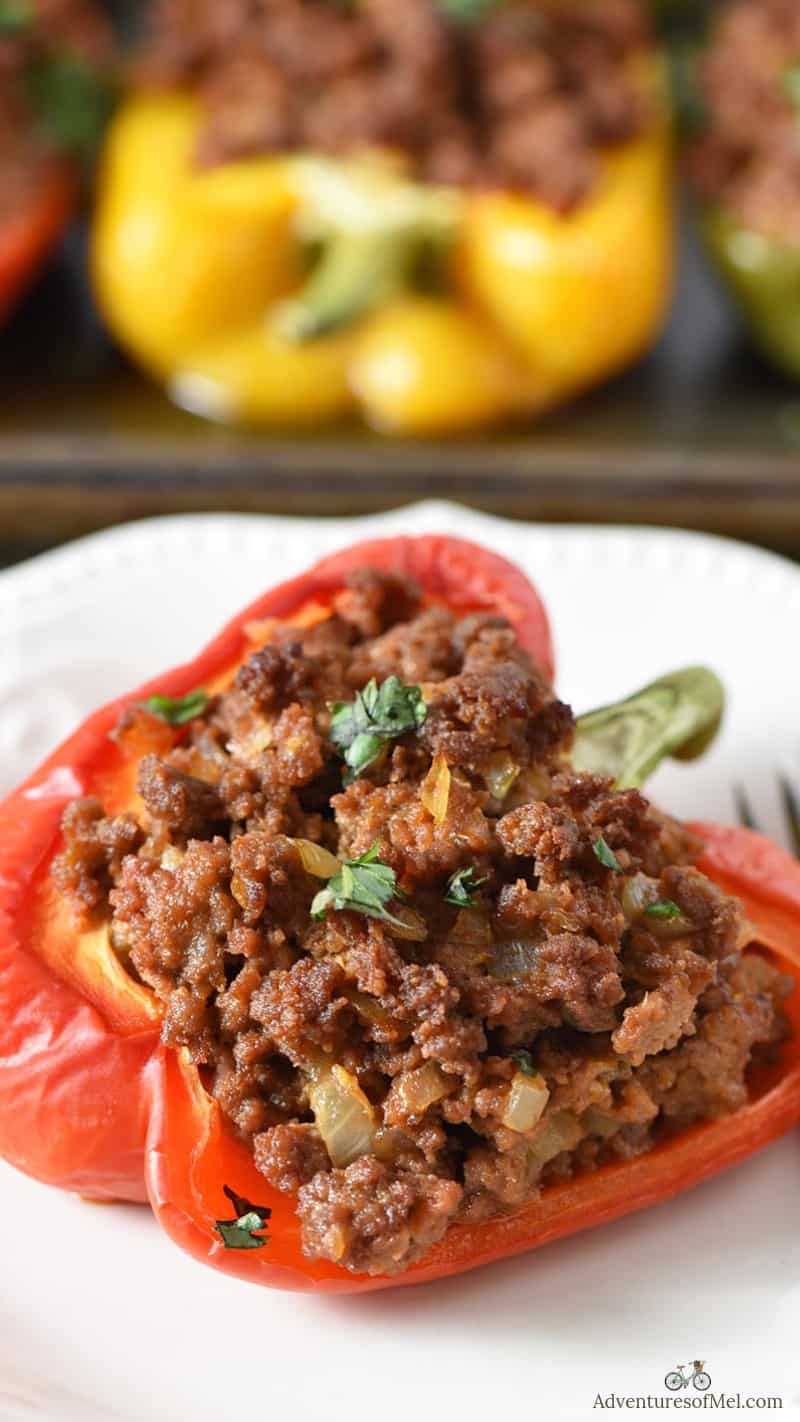
If it’s a slightly healthier alternative you want, cheesesteak stuffed peppers made with ground beef are the recipe for you.
Why You’ll Love Philly Steak Sliders
- The meat mixture is the same as my regular homemade Philly cheesesteak, except I’ve added smoked paprika. It gives a little kick to the sliders, and I’ll never make cheesesteaks without it, ever again.
- Just like my Crock Pot Philly cheesesteak, these cheese steak sliders are perfect for a Game Day crowd, holiday guests, or a party spread.
- They’re really easy to make. Just cook the meat mixture, layer the sandwiches, and pop them in the oven.
Ingredients and Substitutions Notes:
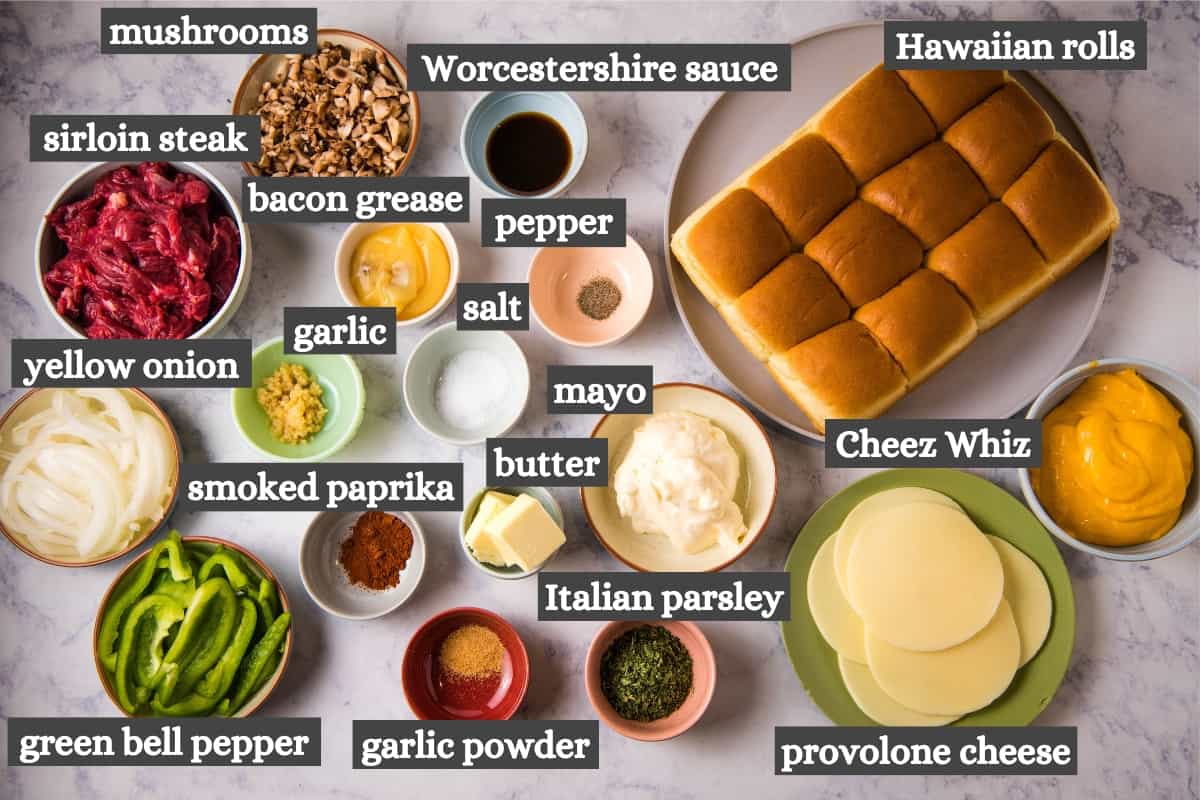
To make this easy Philly cheesesteak sliders recipe, you’ll need a few ingredients…
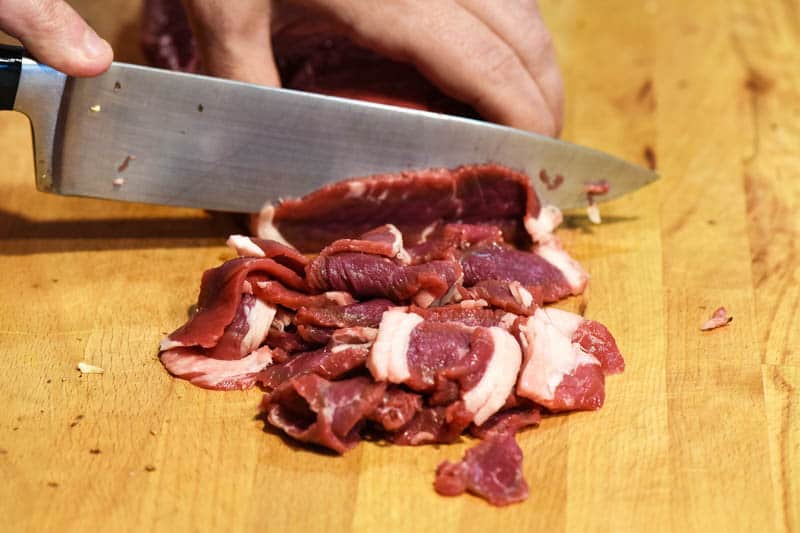
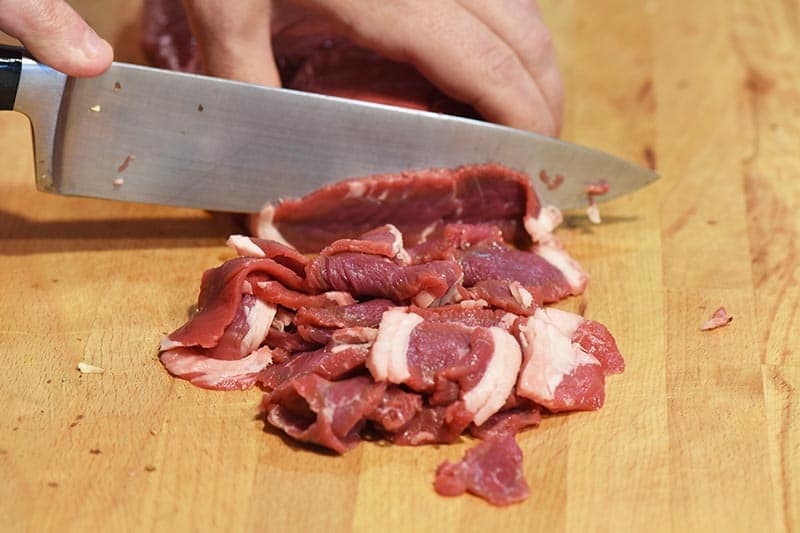
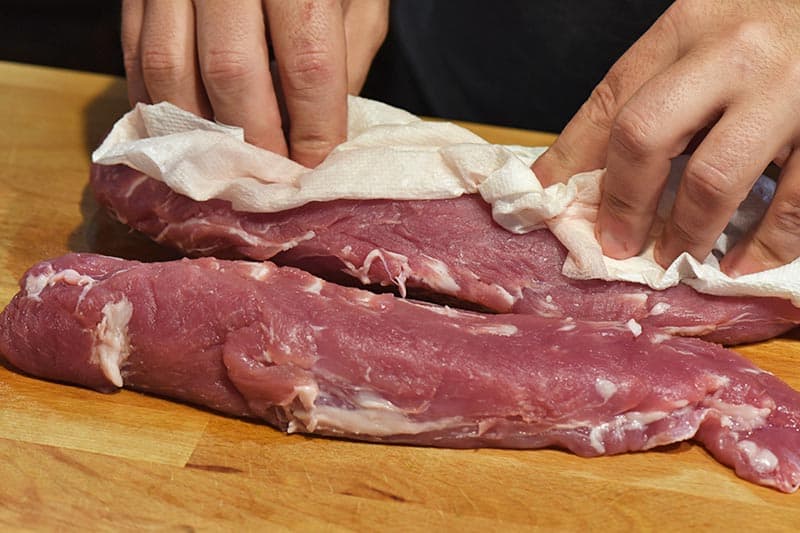
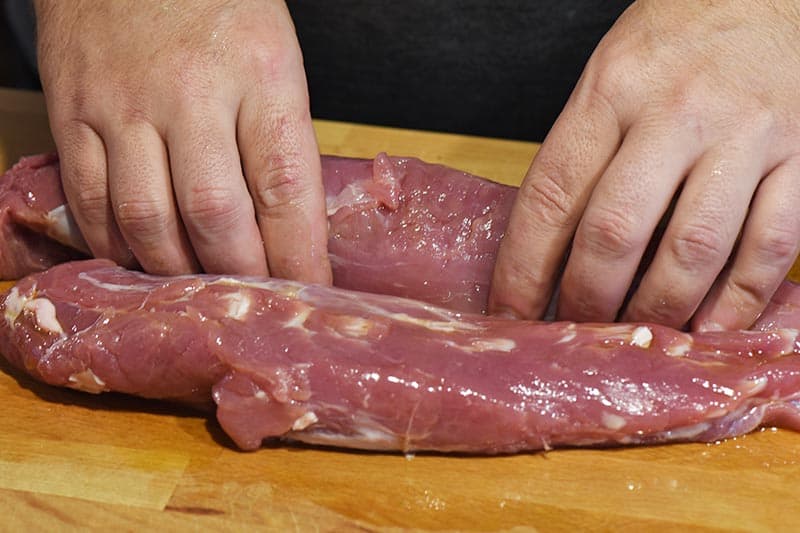
- Sirloin Steak – When it comes to the best meat for a cheesesteak, most people will recommend ribeye steak; but ribeye steak is usually really expensive. Others recommend top round steak. My butcher has always recommended sirloin steak, sliced thinly, for a more affordable option. Sirloin has just enough fat to give the meat a lot of flavor and to make the meat quite tender when cooked. Two things to look for when buying Philly cheese steak meat… 1) You need to be able to slice it thinly, almost like shaved steak. And 2) It needs to be tender, not tough; fat is a good thing for both flavor and tenderness.
- Garlic Cloves – Or you can do like me and just buy already minced garlic in the produce section at the grocery store.
- Yellow Onion – I like to use an onion that isn’t sweet, partially because it’s a bit healthier, but also because we get enough sweetness from the bell peppers. Yellow onion helps give a little kick. As an alternative, for more caramelized onions on your sliders, you’d just use a sweet onion; then cook the onions over a lower heat.
- Fresh Mushrooms – You can use canned mushrooms, if you prefer.
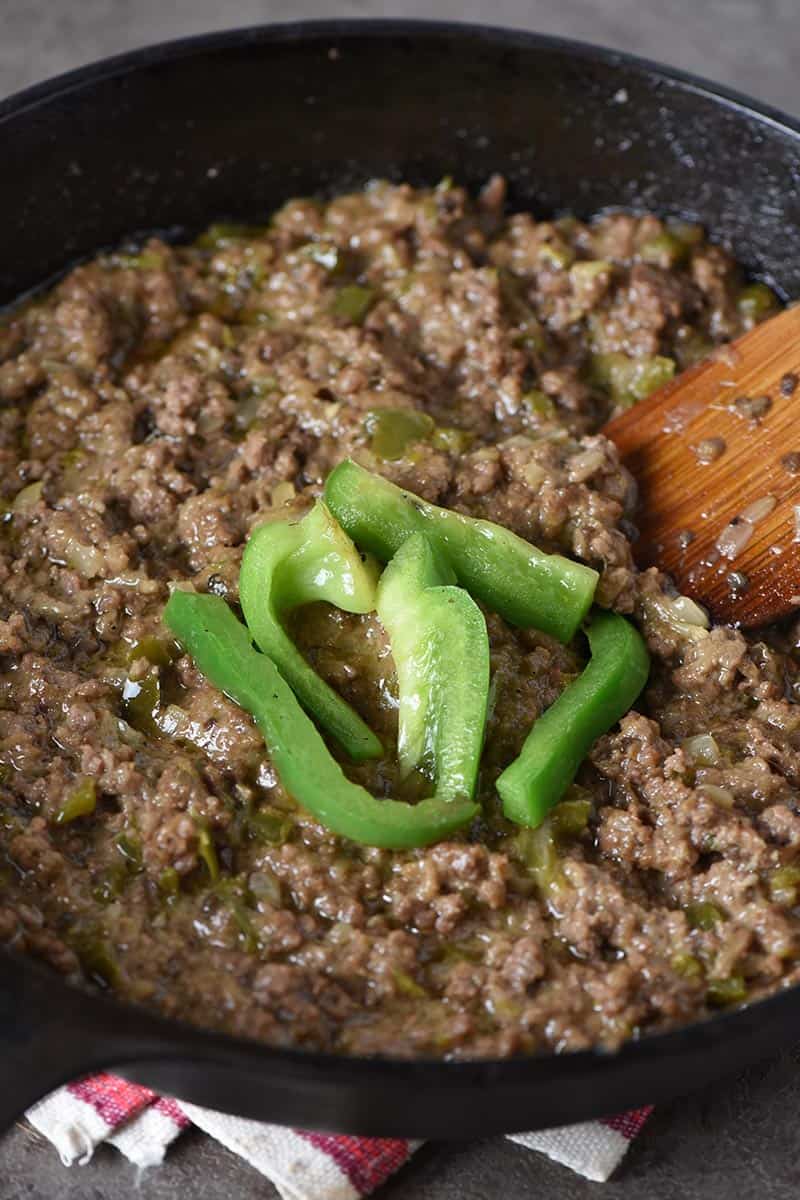
- Green Bell Pepper – I’ve had a lot of comments from people who say it isn’t a real cheesesteak if it has bell pepper. Thing is, I never claimed this was an authentic cheesesteak. I just enjoy the flavor and deliciousness that bell peppers give to the steak mixture.
- Smoked paprika – This is my “not so secret” ingredient. Man this spice gives a flavor kick like no other. It really does make a difference.
- Worcestershire Sauce
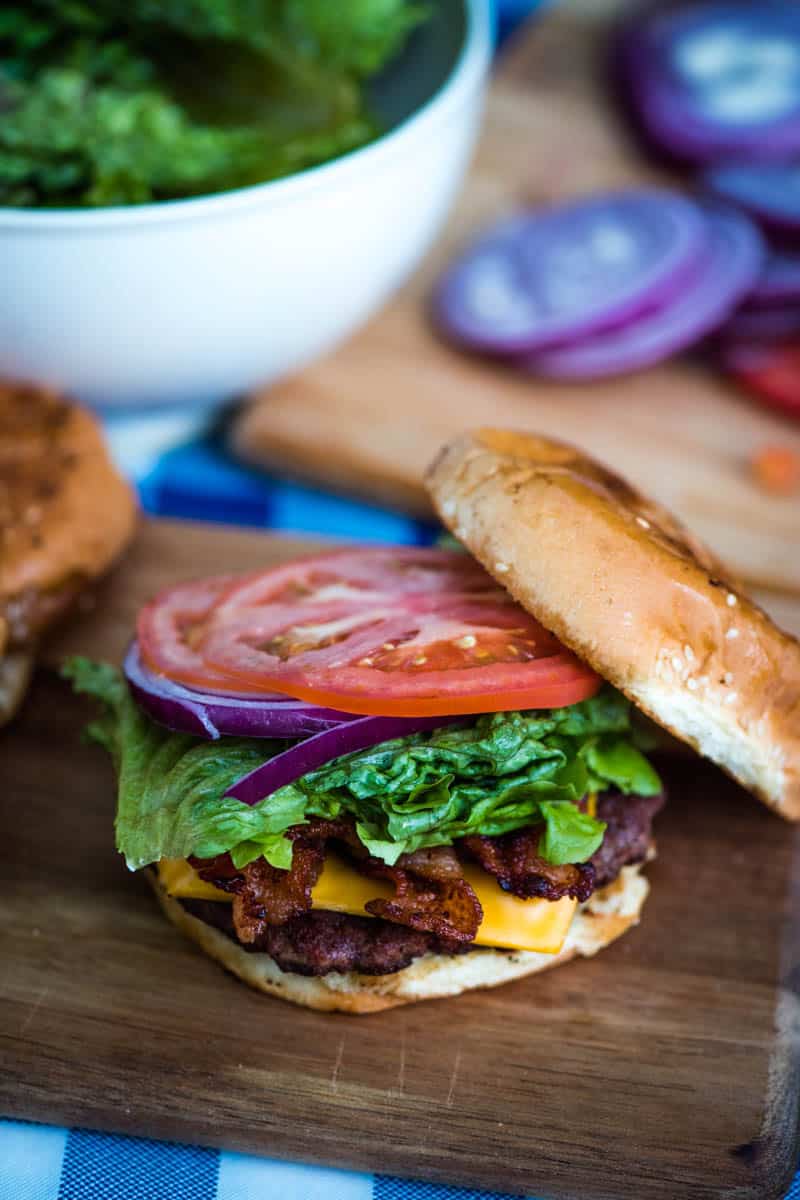
- Hawaiian Rolls – You can use King’s Hawaiian Rolls or generic, or better yet, homemade Hawaiian Rolls for slider rolls! You also have other options, like homemade dinner rolls, brioche slider buns, regular slider buns, potato slider buns, or gluten-free dinner rolls. I find Hawaiian sweet rolls to make the best mini sandwiches.
- Mayo – When layering the sandwiches, be sure to use real mayo, not that other salad dressing. That other salad dressing has its place, but that place is not the cheesesteak slider.
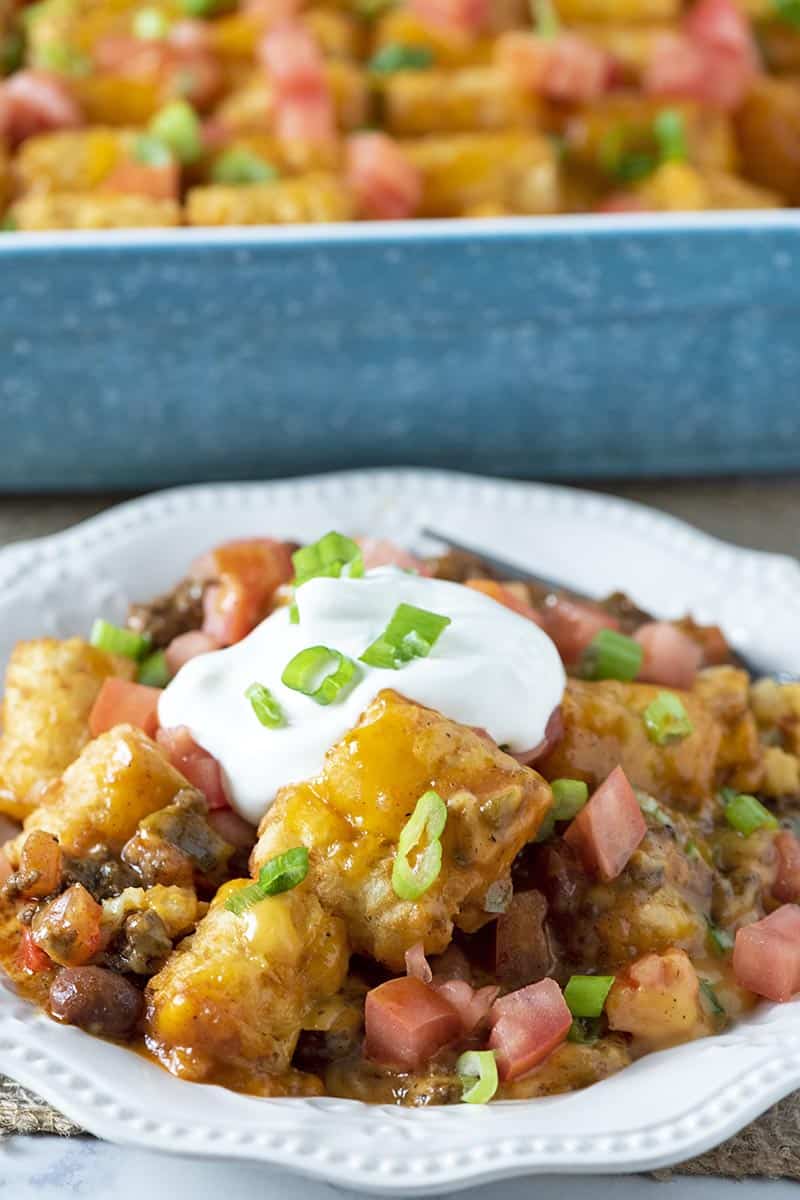
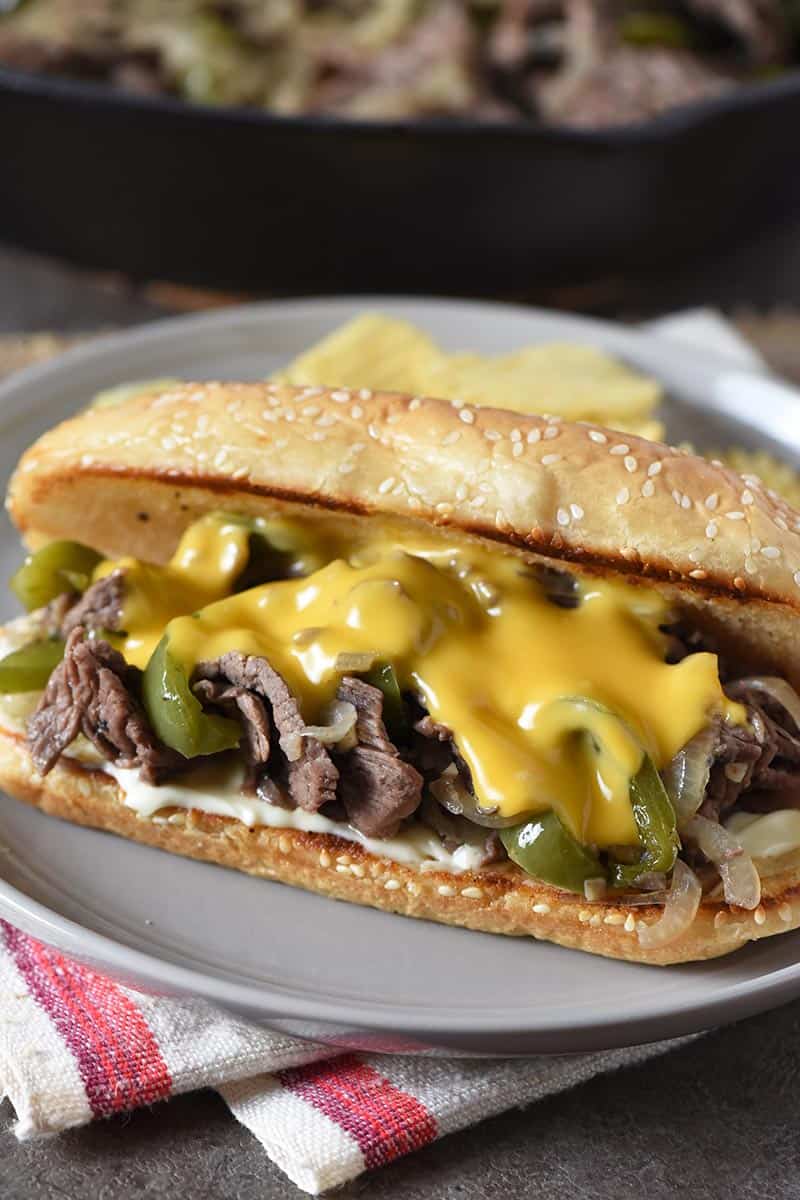
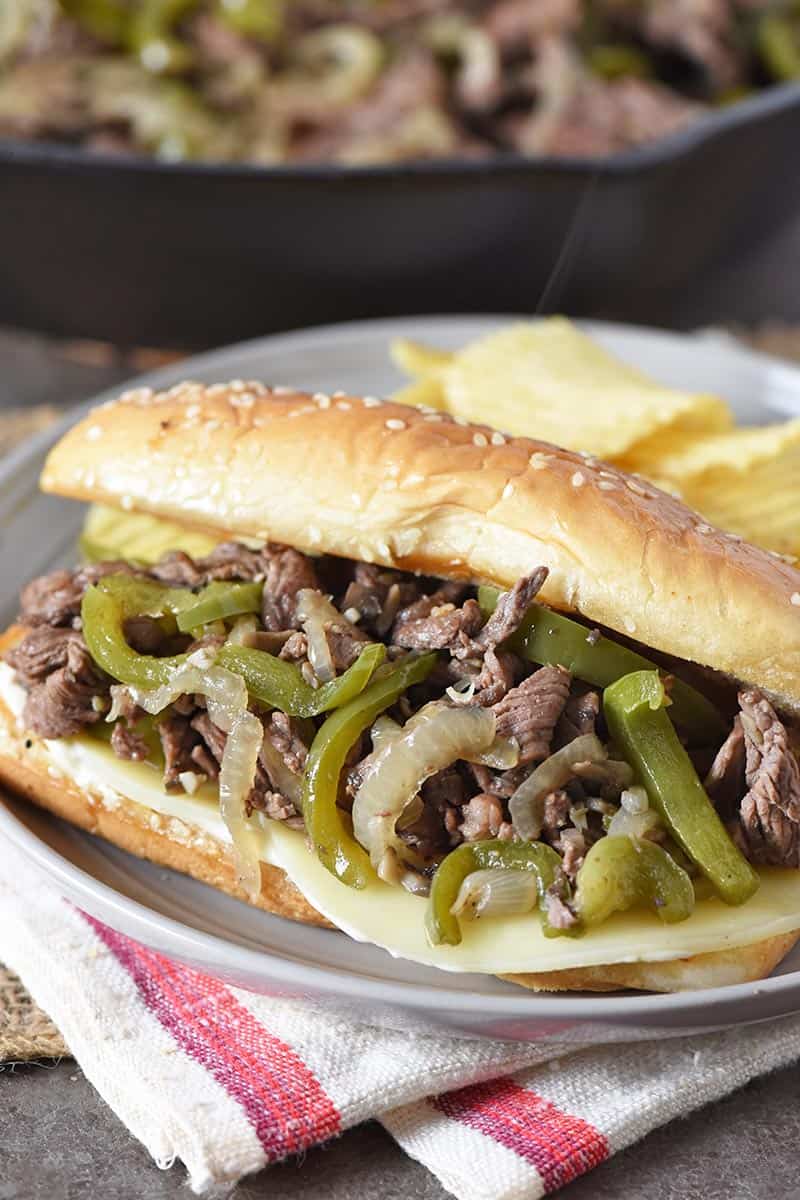
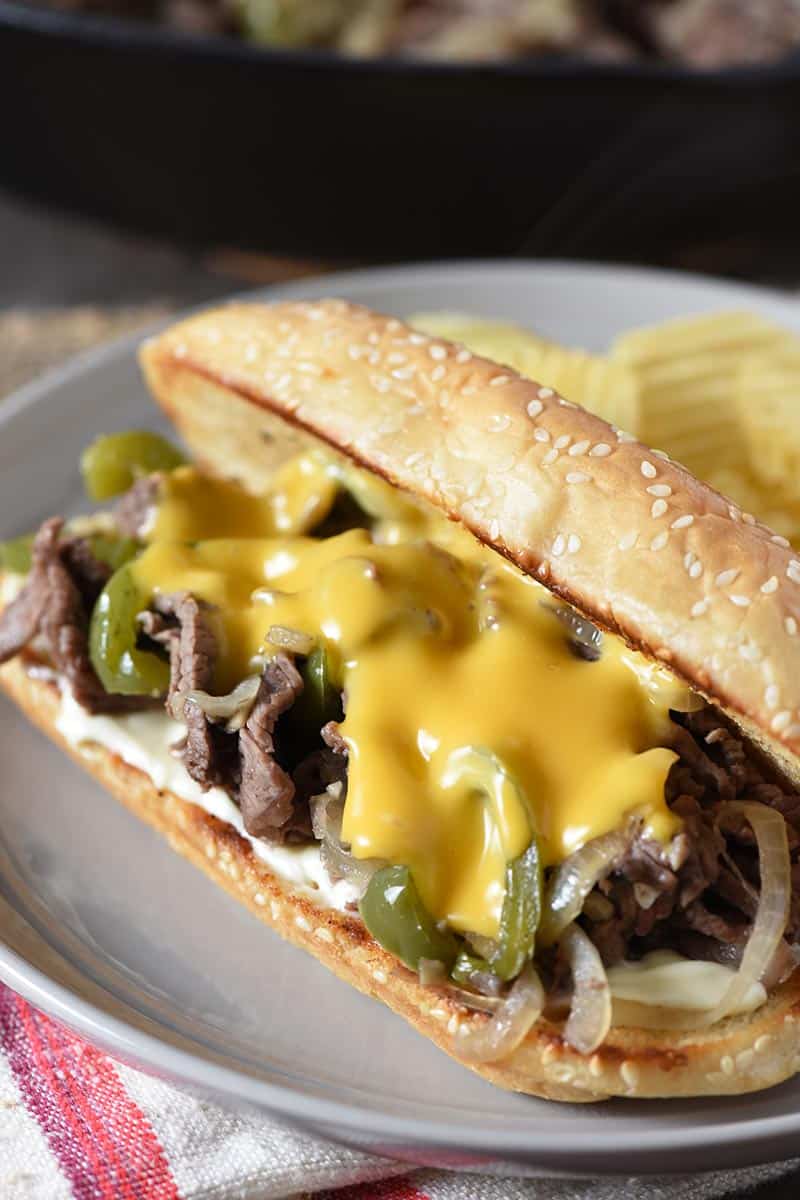
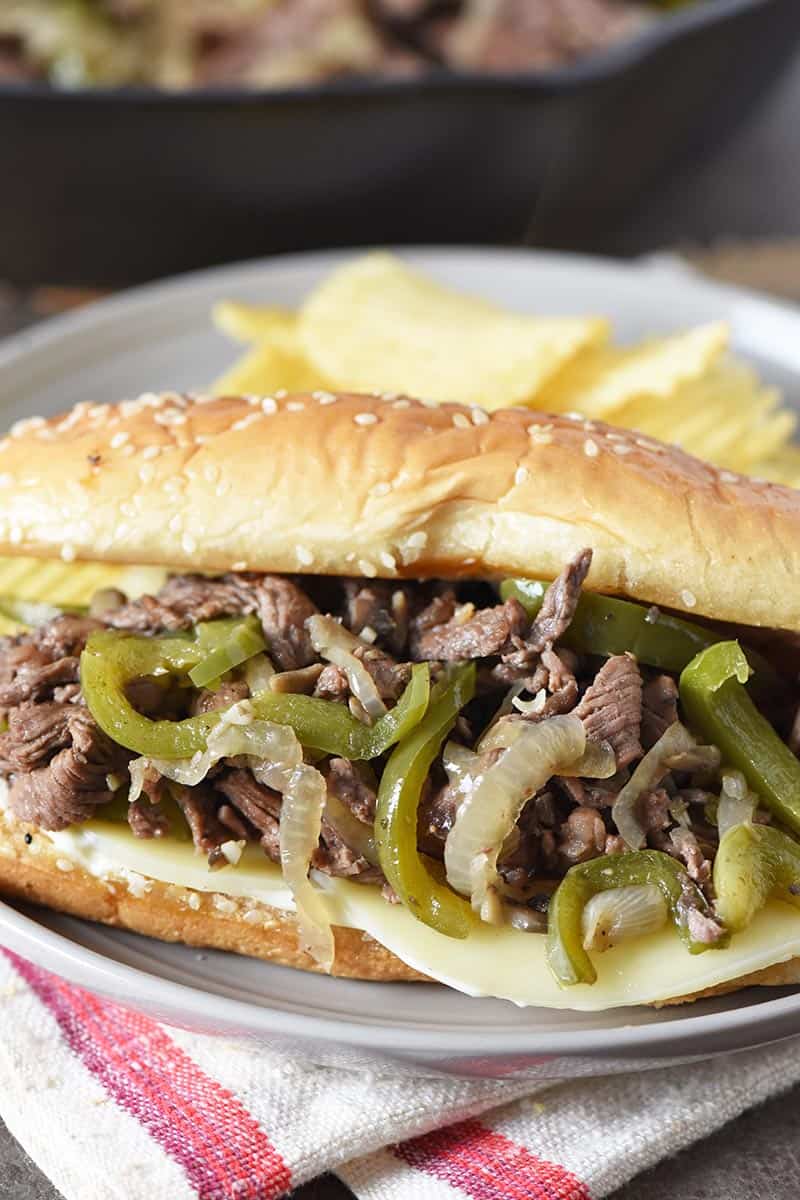
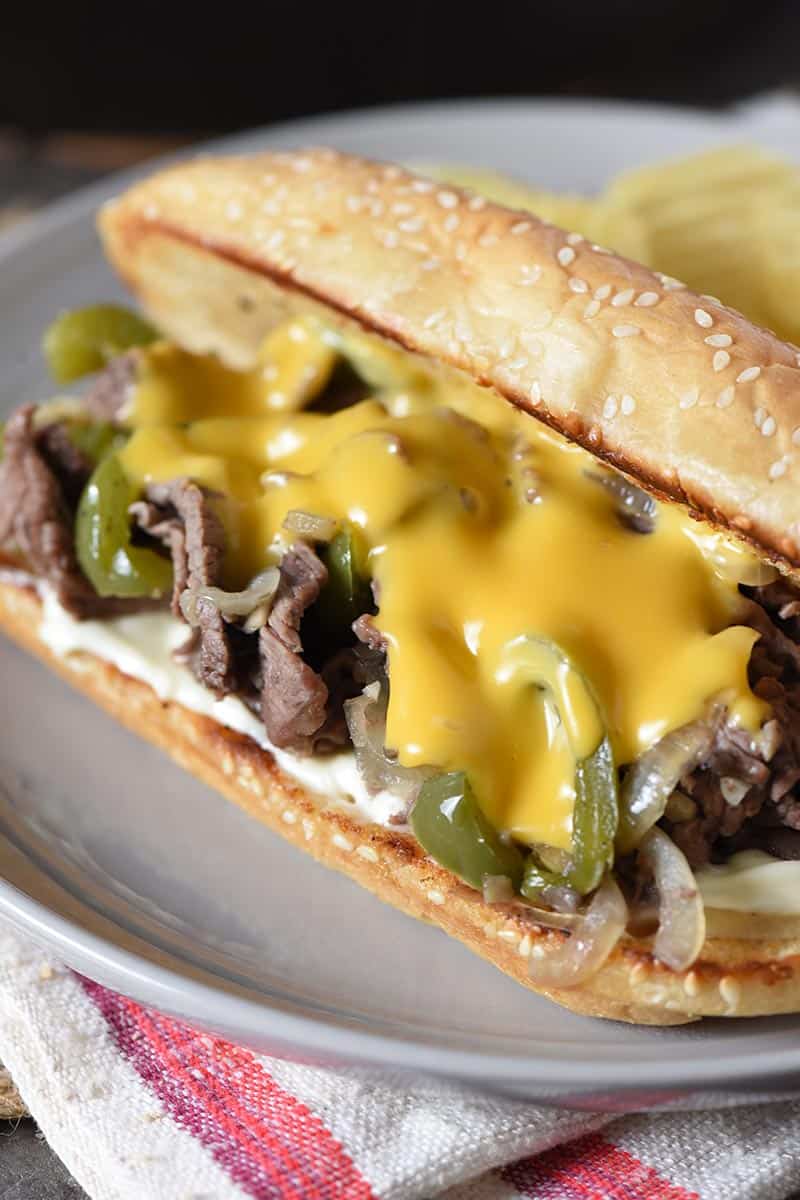
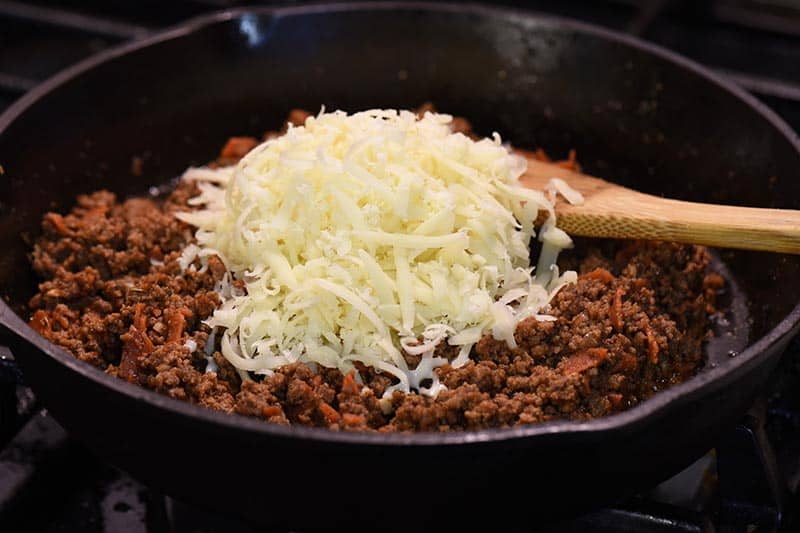
- Provolone cheese and/or Cheez Whiz – I leave the choice to you; if it were up to me, I’d do both. When it comes to the best cheese for cheesesteaks, opinion really varies, and it really is a debate if you research it. The traditional consensus says either Cheez Whiz or provolone. Some even say American cheese pairs well with the provolone. While I love provolone, Cheese Whiz won my taste buds over. However, it’s up for debate in our house too because a couple of my guys really love provolone.So I live on the wild side and use both. I add the provolone on the bottom layer of the rolls, and then add Cheez Whiz to the top of the meat mixture.
- Salted Butter, Roasted Garlic Powder, and Fresh Italian Parsley – All of which will be brushed on the tops of the buns before baking.

How to Make Philly Cheesesteak Sliders
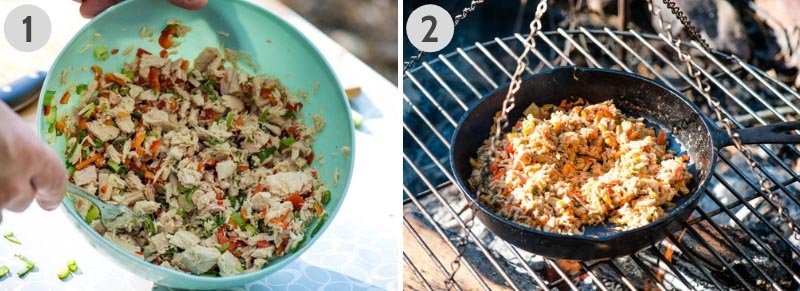
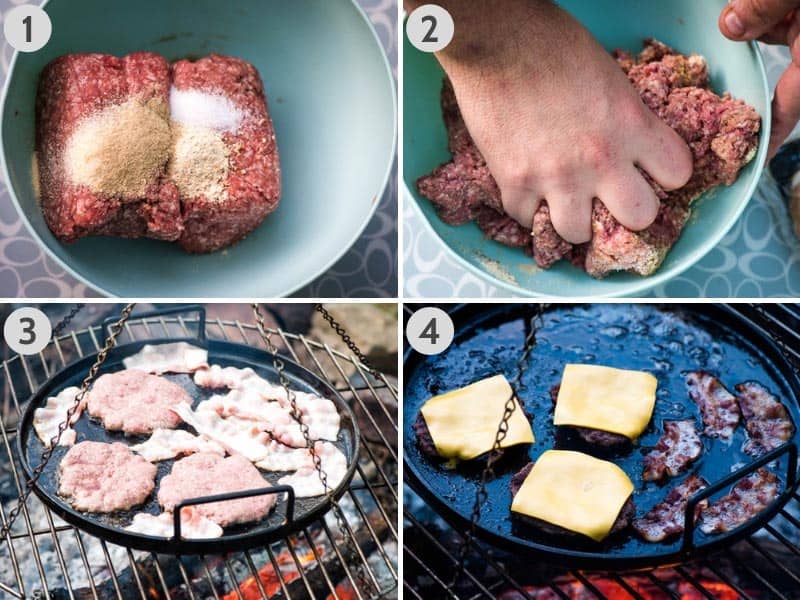
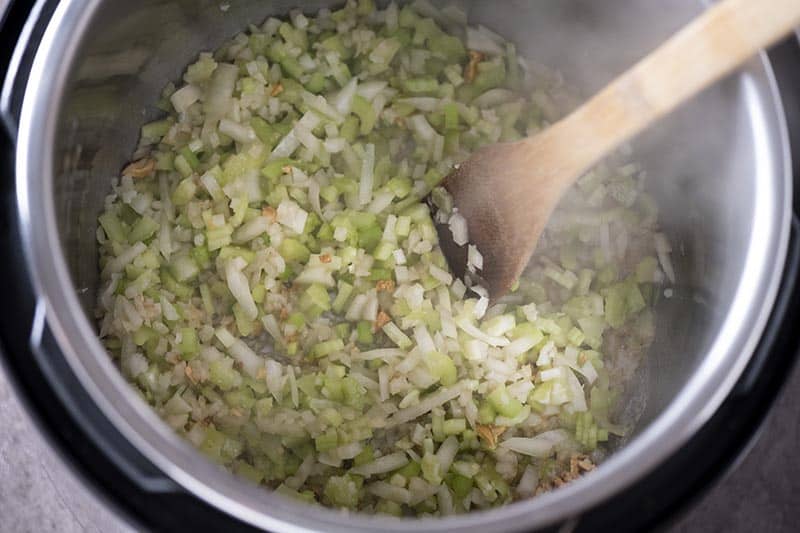
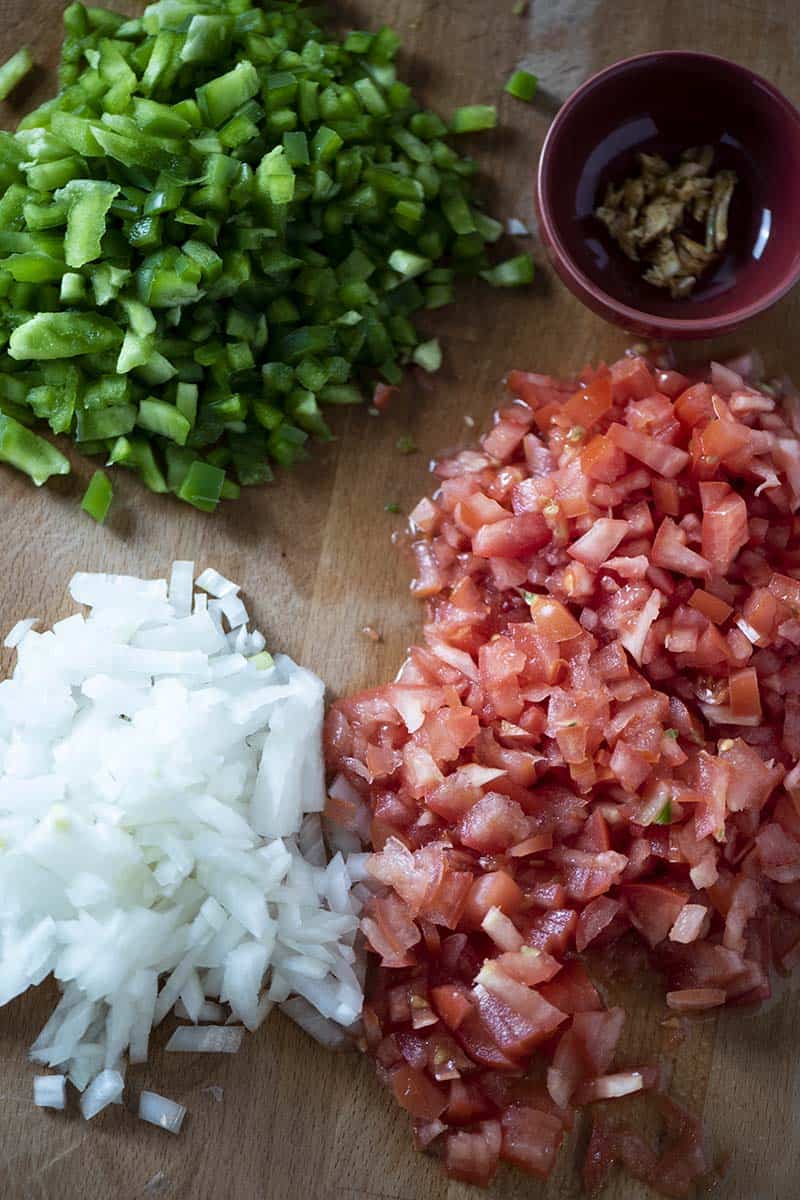
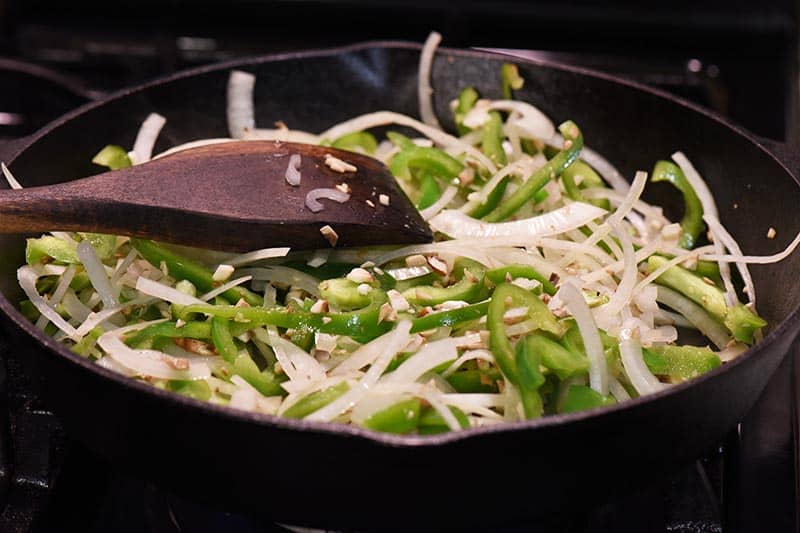
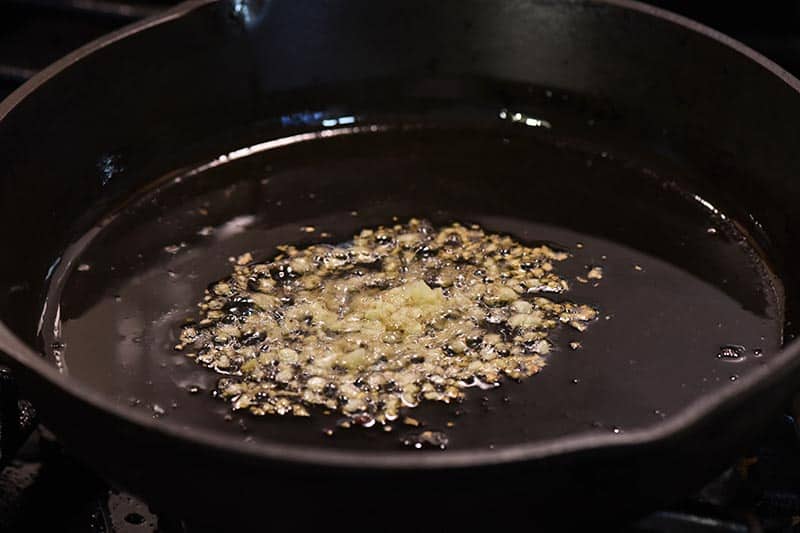
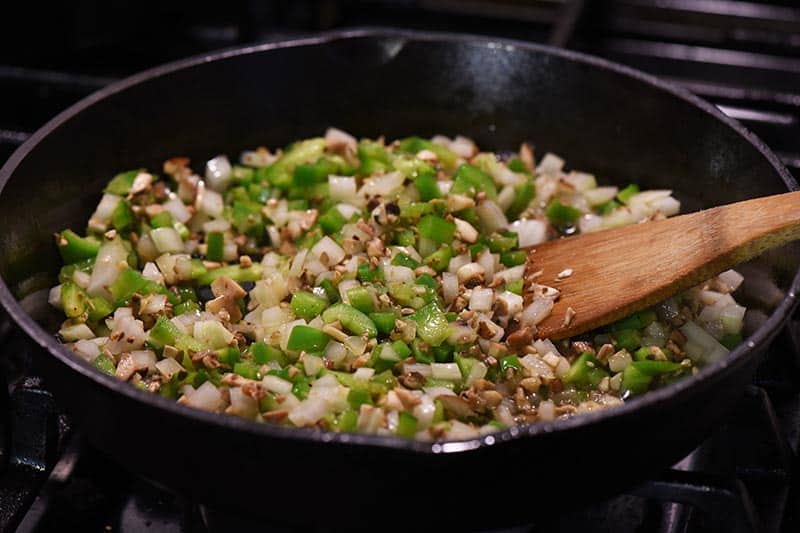
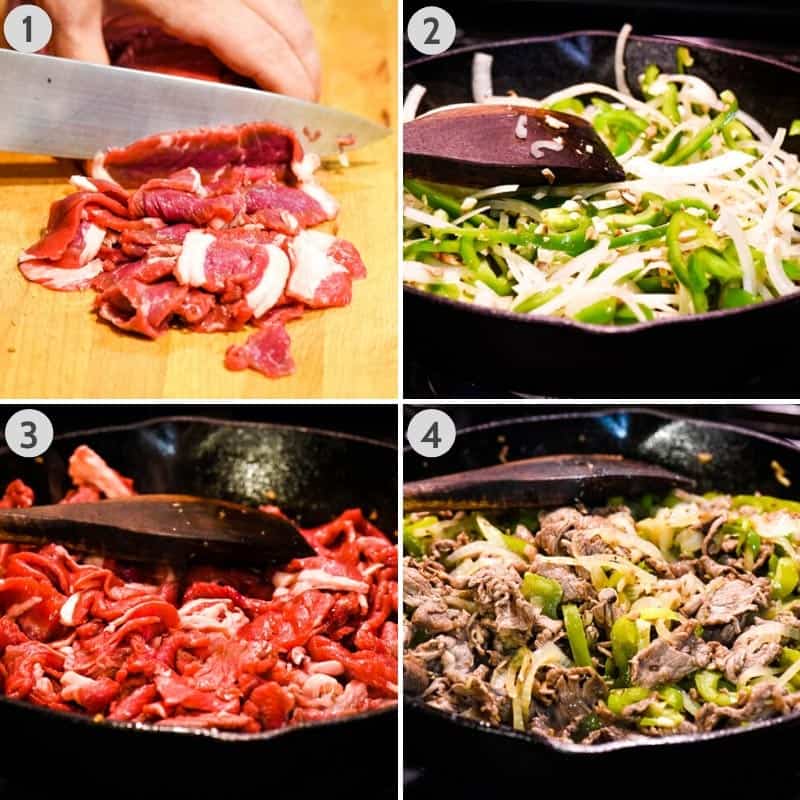
Your first steps are to prepare the garlic, onion, mushrooms, and bell pepper. Garlic and mushrooms need to be minced; onion and peppers need to be sliced.
If you’re not sure how to cut a pepper into strips, I’ve got you covered.
How to Thinly Slice the Meat and Start the Cooking Process
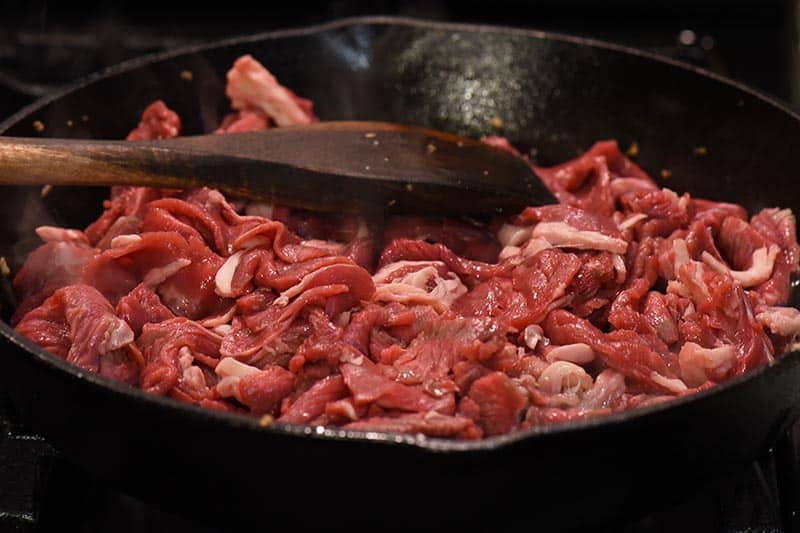
- Slice the steak as thin as possible, slicing it against the grain (to retain tenderness) into thin slices for cooking. Be sure to leave as much of the fat as possible on the meat. Fat gives meat flavor, especially during the cooking process.
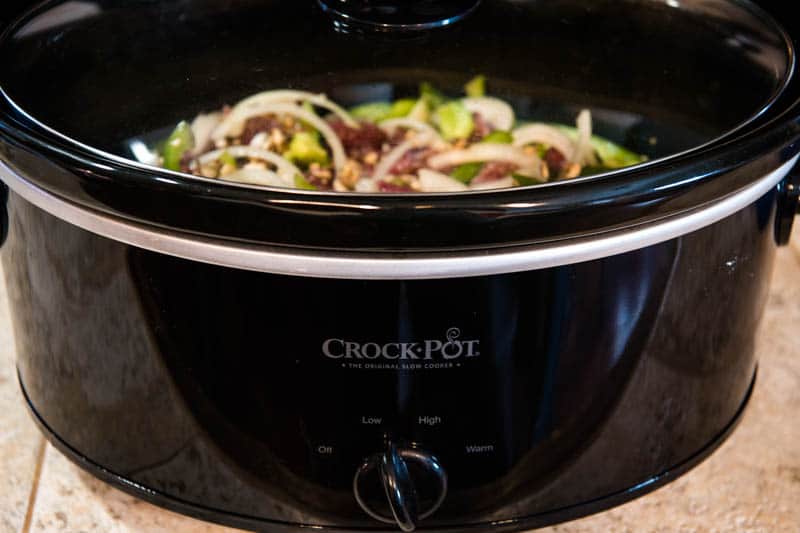
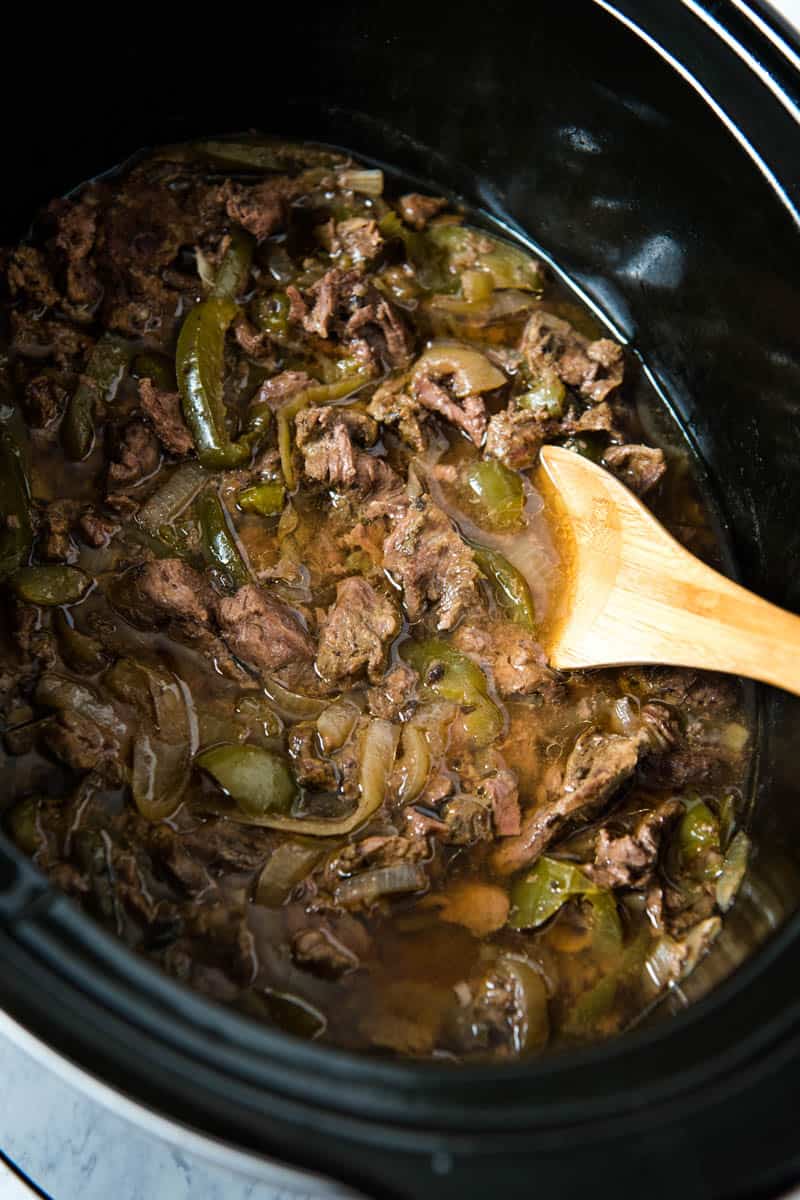
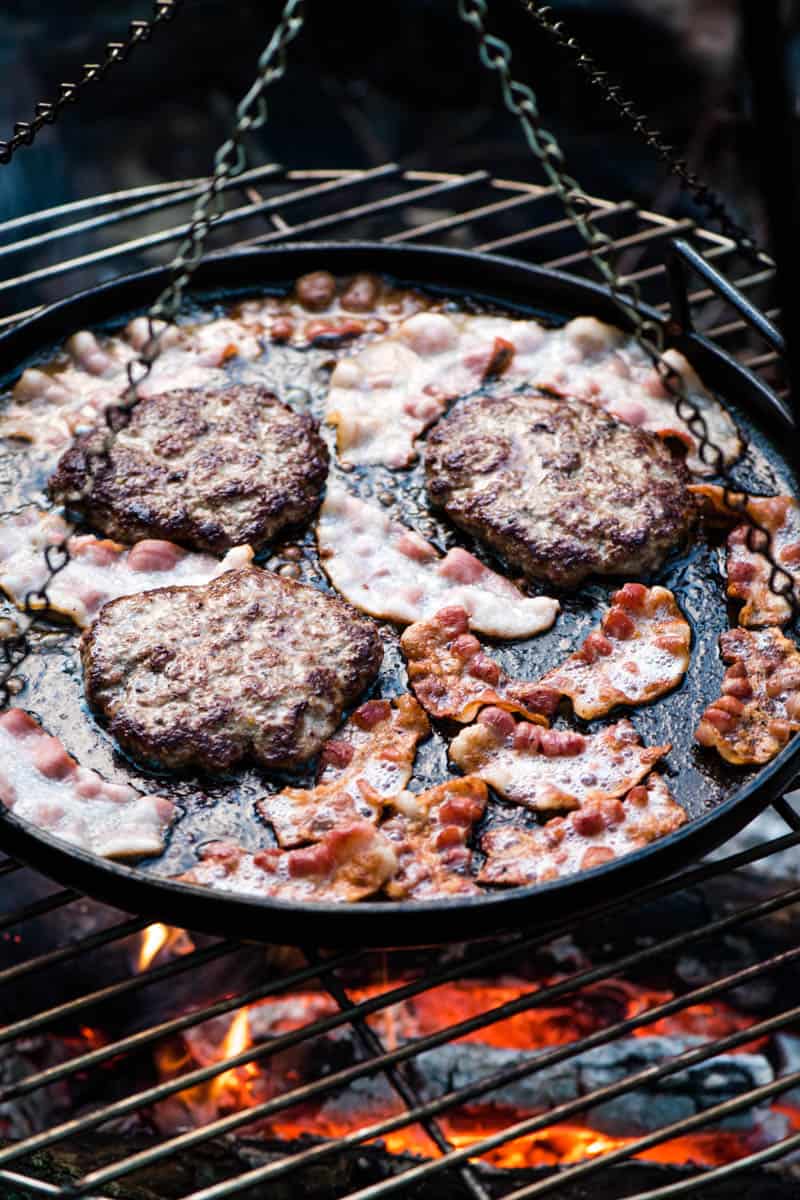
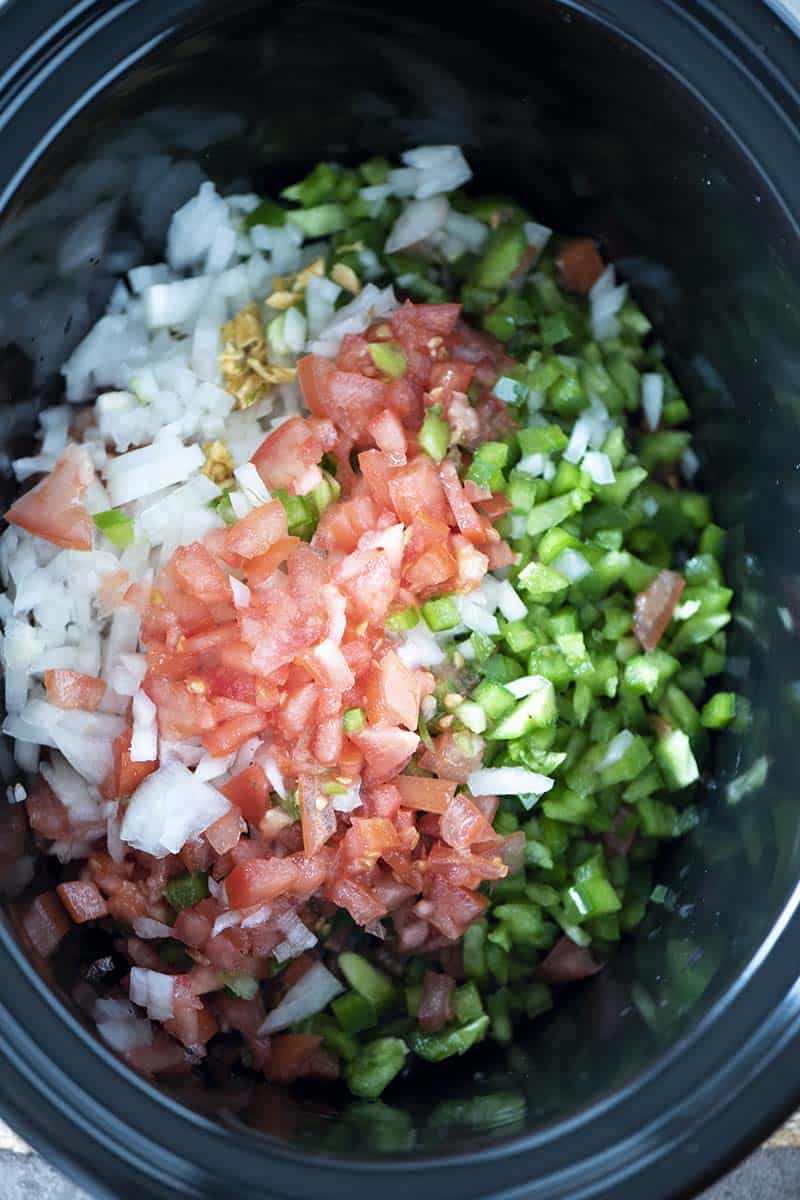
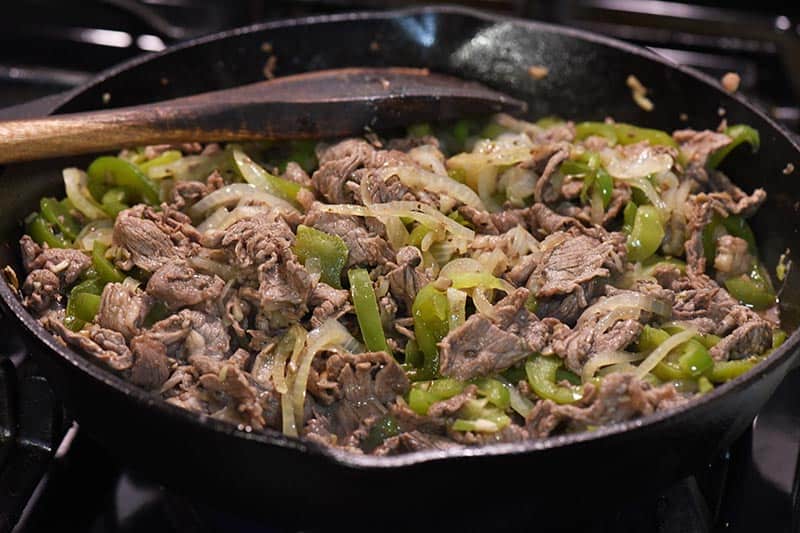
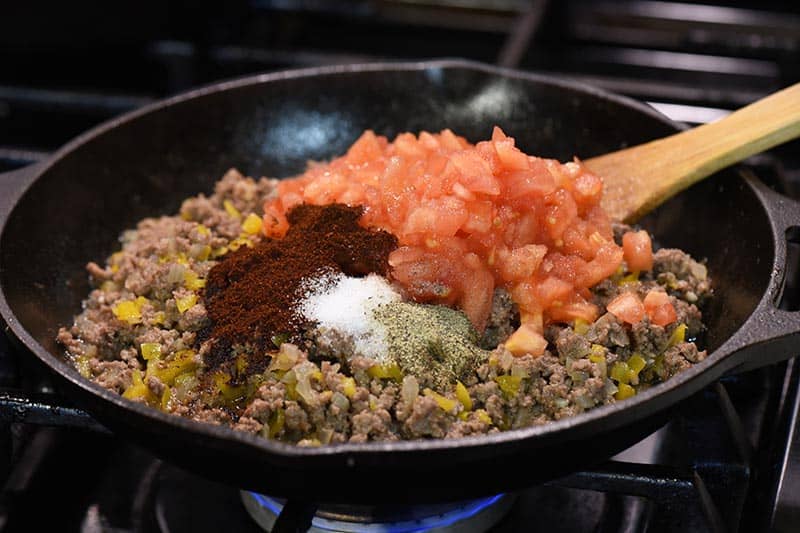
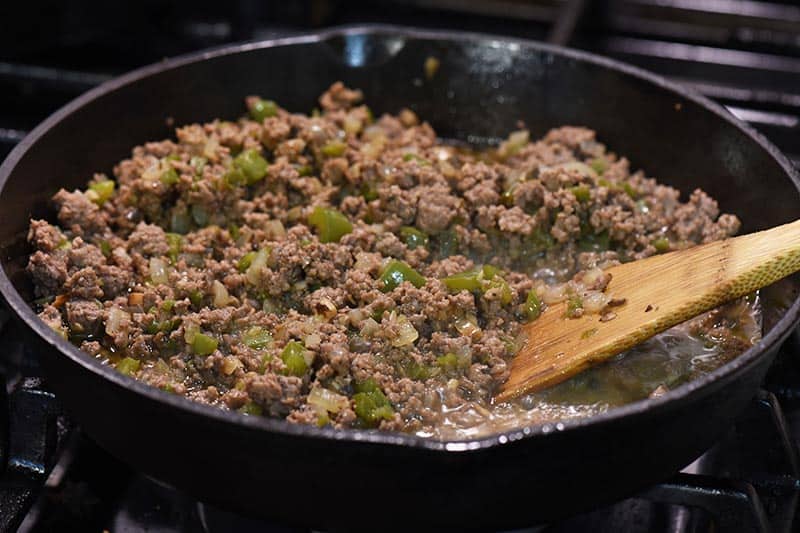
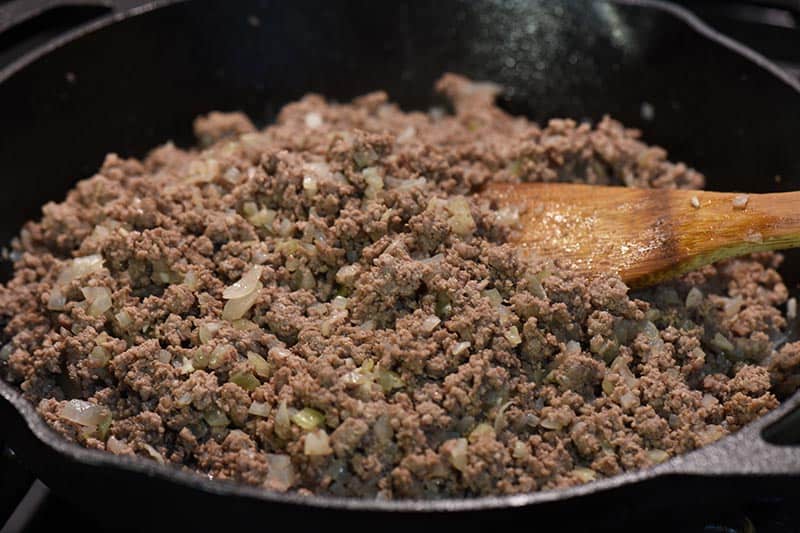
- Heat bacon grease or olive oil in a large skillet, and sauté the garlic, onion, mushrooms, and bell pepper over medium-high heat for about 10 minutes, or ’til softened. Then set aside.
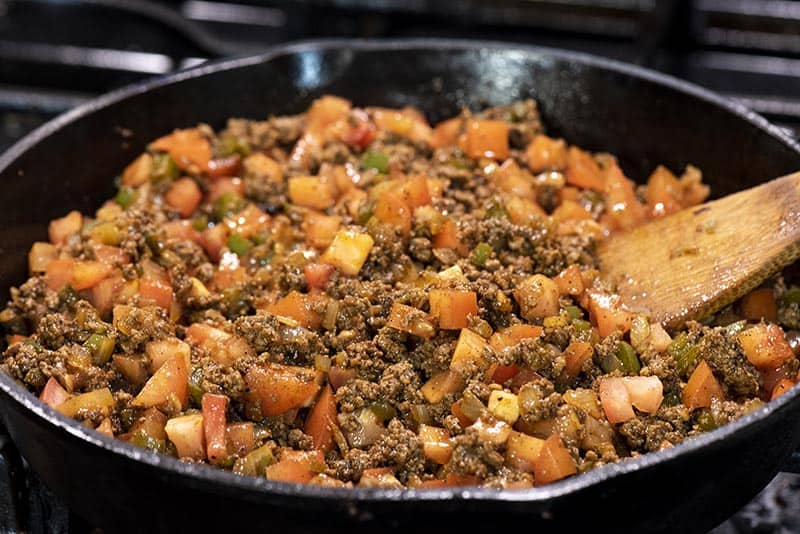
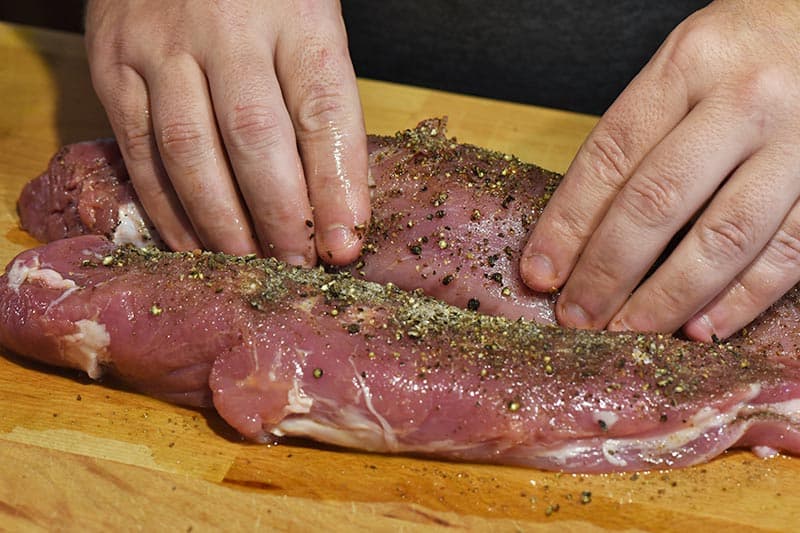
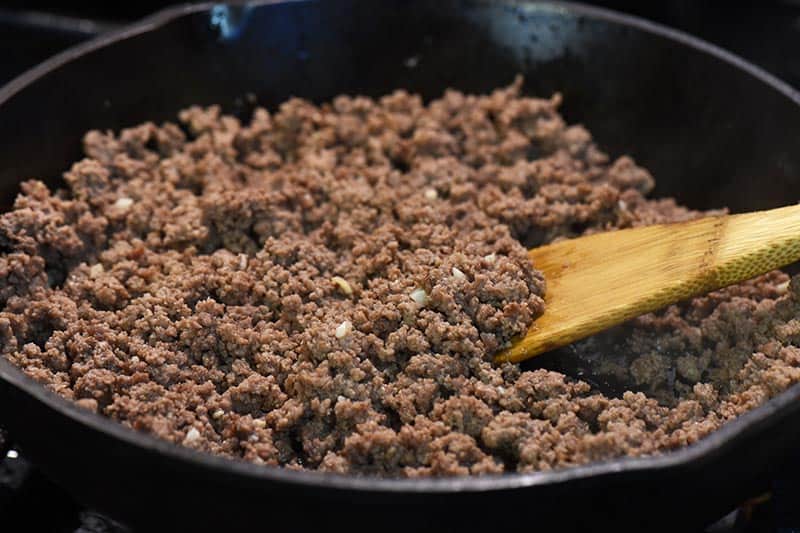
- Add the steak, salt, pepper, smoked paprika, and Worcestershire sauce to the skillet. Cook over low to medium heat until the meat is almost done.
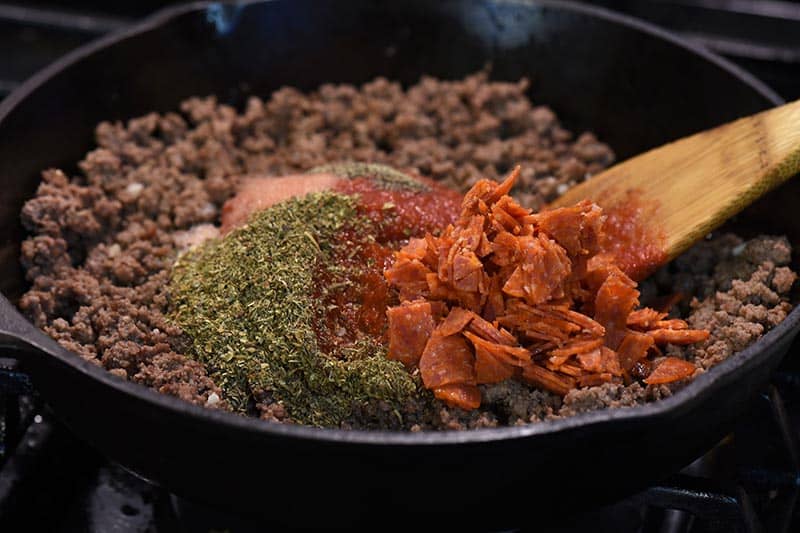
- At this point, add the veggies back in with the meat, stir, and simmer ’til fully cooked.
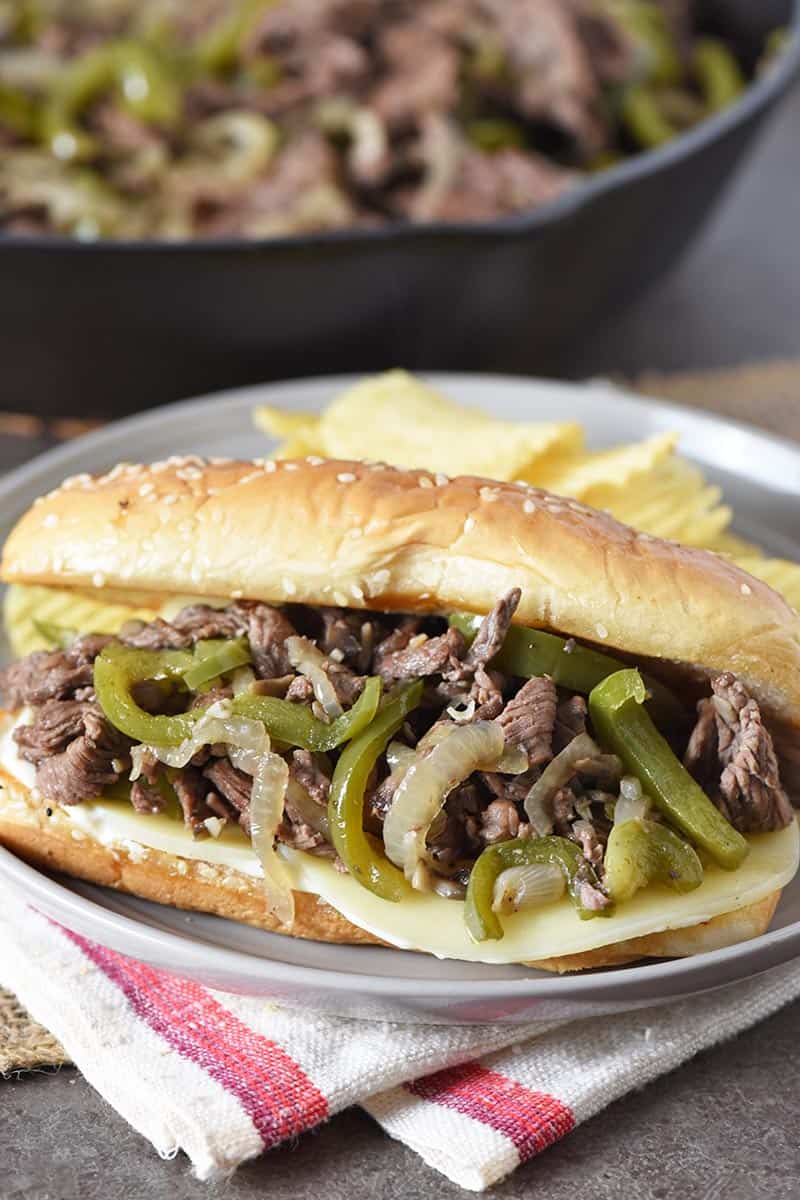
How to Layer Cheesesteak Sliders on Hawaiian Rolls
Now for the fun part… Layering your mini cheesesteak sandwiches and baking them.
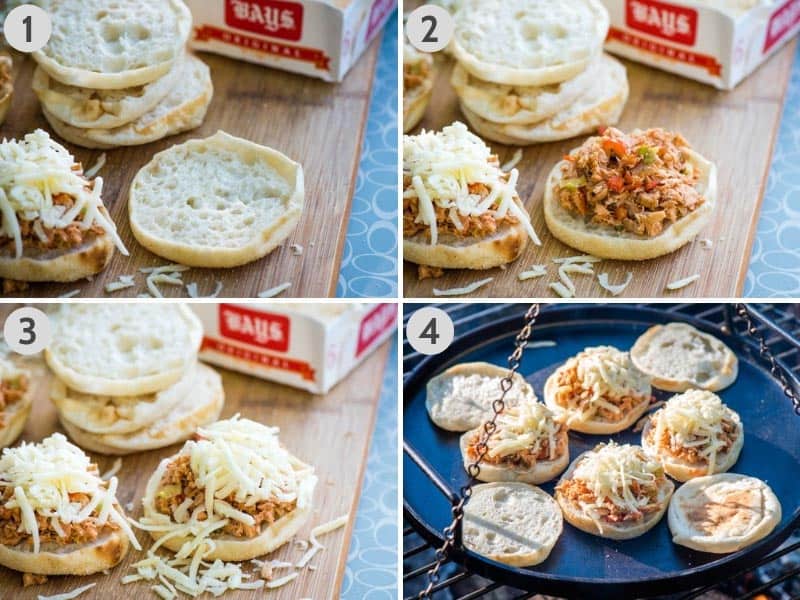
Before you get started, slice the Hawaiian Rolls in half, as a whole. You’ll have the top layer of the rolls, and then a bottom layer.
- Place the bottom layer of the rolls in a greased baking dish or baking sheet, and spread the bottoms of the rolls with mayo.
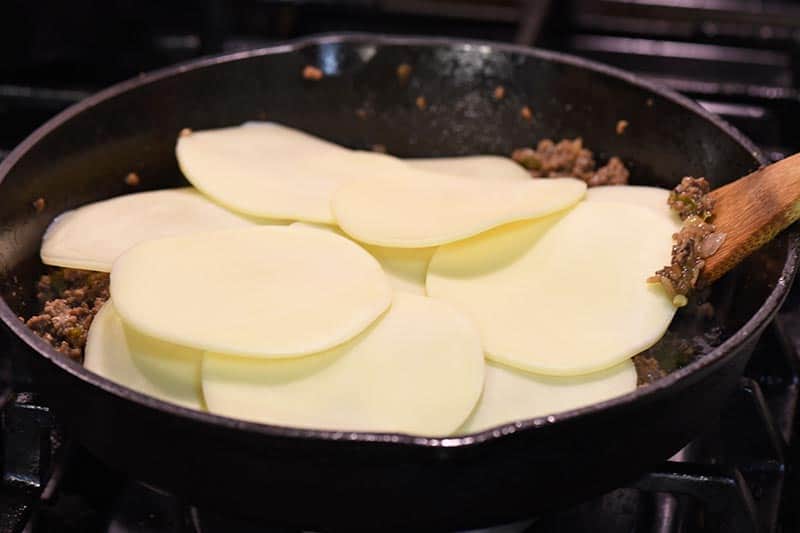
- Add a layer of provolone cheese.
- Now add a layer of meat and vegetables. Tongs work great for this. Go ahead and pile up the meat and veggies, no skimping allowed.
- Add a dollop of Cheez Whiz to every single slider.
- Now add the top layer of the rolls.
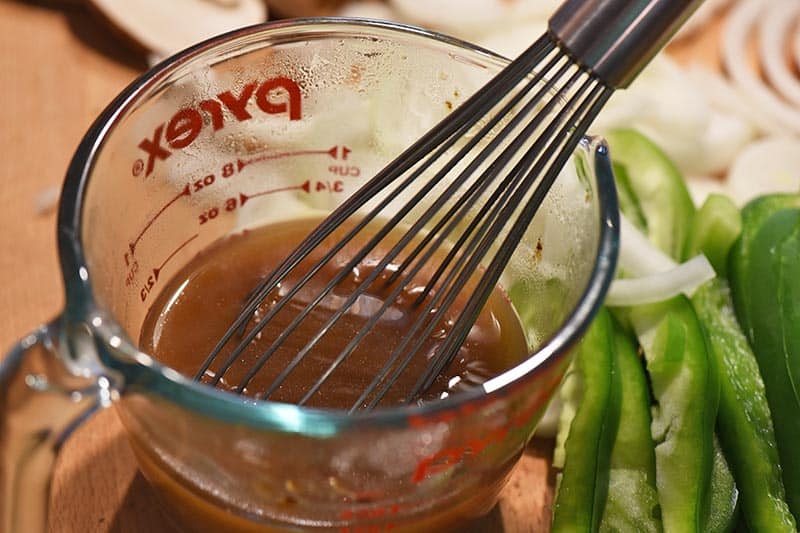
- Mix together the melted butter, roasted garlic powder, and minced parsley in a small bowl; then brush the top of the rolls with the garlic butter mixture, and sprinkle with extra Italian parsley if desired.

How to Bake Steak and Cheese Sliders
- Cover with aluminum foil to keep your rolls from browning too quickly, and bake at 350° F for about 10 to 15 minutes, or ’til the cheese is melted.
- Then uncover and bake an additional 5 to 10 minutes or so.
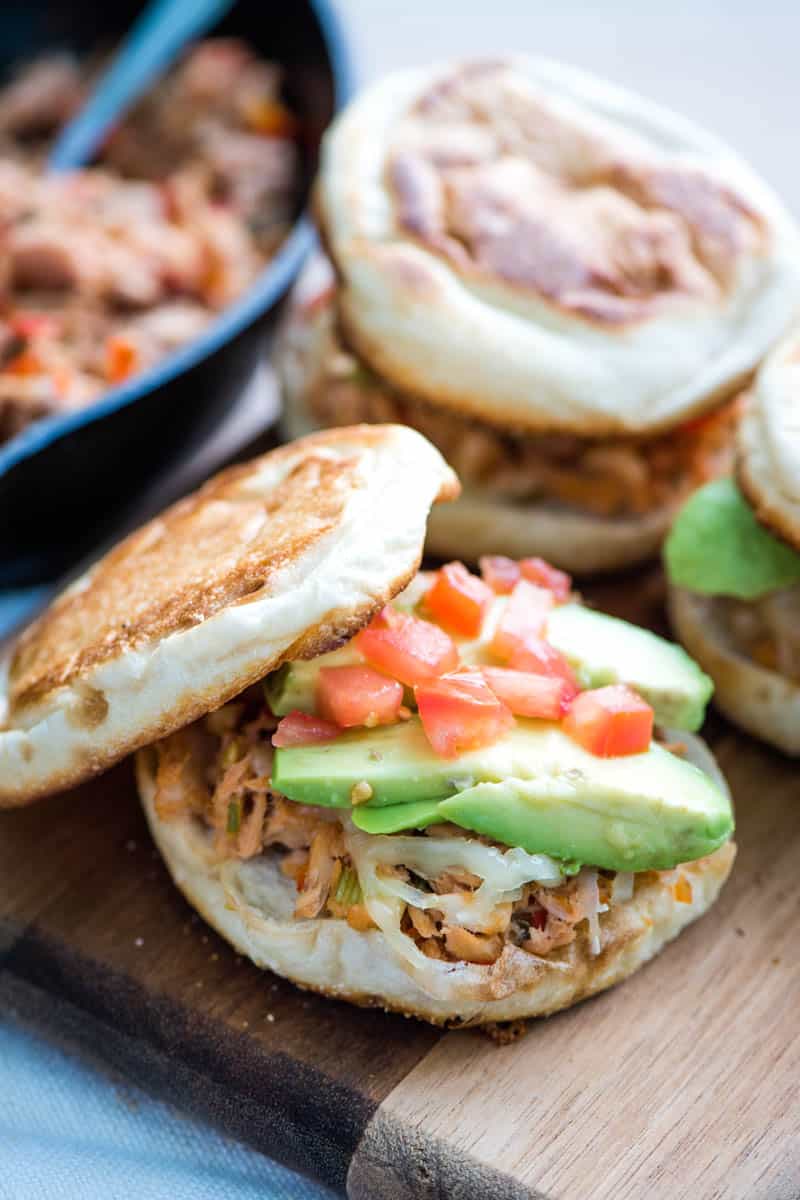
And that’s it. Oh my gosh, they are so good! My mouth is watering just thinking about these wonderful beef Philly cheesesteak sliders.
Expert Tips and Recipe FAQ’s
Yes and no. You can totally cook the meat and vegetables and have your meat mixture ready to go. Just store it in the fridge in an airtight container until you’re ready to use it. Then when you’re ready to make your sliders, all you need to do is assemble the sandwiches and bake them. Reason you want to wait to assemble your sandwiches, is you don’t really want them sitting, soaking up all that moisture into the rolls for that long. It will make them a soggy, yucky mess.
Leftover sandwiches should be stored in an airtight container in the fridge. Keep in mind, they may get a bit soggy sitting in the fridge, but they should still be edible for 2-3 days.
Again… You can totally cook the meat and vegetables, then freeze the meat mixture in an airtight container that’s also freezer-safe. You can also freeze the rolls, but separately. Then when you’re ready to make your sliders, all you need to do is get everything out ahead of time to thaw; then assemble the sandwiches and bake them. This will prevent soggy sliders.
What’s a Good Side to Serve with Steak Sliders?
There are quite a few delicious sides you can serve with sliders. We usually eat cheese steaks with fresh veggies, chips, and/or fruit.
They pair really well with steak fries or chili cheese fries, French fries, onion rings, tater tots, pasta salad, broccoli cauliflower salad, this vegetable finger salad, and even corn on the cob.
More Party Favorites Everyone Will Love
If you love these steak sliders, you’ll love these other party foods too…
- Chili cheese dip
- Italian cauliflower meatballs
- Meatloaf Muffins
- Crispy salmon patties
- Sausage stuffed pastry bites
- BBQ chicken dip
- CrockPot Sloppy Joes
If you try this recipe, why not leave a star rating in the recipe card right below and/or a review in the comment section further down the page? I always appreciate your feedback. You can also follow me on Pinterest, Facebook, Instagram, and YouTube. And subscribe to my email list too!
Philly Cheesesteak Sliders

Best Philly cheesesteak sliders on Hawaiian rolls, packed with steak, onion, sliced peppers, and your choice of provolone or Cheez Whiz!
- Cutting Board
- Chef's Knife
- Large Skillet
- Baking Sheet
- Tongs
- Pastry Brush
- 1 pound sirloin steak (thinly sliced)
- 2 tablespoons bacon grease (or olive oil)
- 1 clove garlic (minced)
- 1/2 medium yellow onion (sliced)
- 2 ounces fresh mushrooms (minced)
- 1/2 large green bell pepper (sliced)
- 1/2 teaspoon sea salt
- 1/8 teaspoon ground black pepper
- 1/2 teaspoon smoked paprika
- 1 tablespoon Worcestershire sauce
- 12 Hawaiian Rolls
- 1/3 cup mayonnaise
- 6 slices provolone cheese
- 3/4 cup Cheez Whiz
Garlic Butter:
- 3 tablespoons salted butter (melted)
- 1/4 teaspoon roasted garlic powder
- 1 tablespoon Italian parsley (minced)
- Prepare the garlic, onion, mushrooms, and bell pepper. Garlic and mushrooms need to be minced; onion and peppers need to be sliced.
Pre-heat the oven to 350° F.
- Slice the steak as thin as possible, slicing it against the grain (to retain tenderness) into thin strips for cooking. Be sure to leave as much of the fat as possible on the meat. Fat gives meat flavor, especially during the cooking process.
Heat bacon grease or olive oil in a large skillet, and sauté the garlic, onion, mushrooms, and bell pepper over medium-high heat for about 10 minutes, or 'til softened. Then set aside.
Add the steak, salt, pepper, smoked paprika, and Worcestershire sauce to the skillet. Cook over low to medium heat until the meat is almost done.
- At this point, add the veggies back in with the meat, stir, and simmer ’til fully cooked.
- Slice the Hawaiian Rolls in half, as a whole. You’ll have the top layer of the rolls, and then a bottom layer.
Place the bottom layer of the rolls in a greased baking dish or baking sheet.
- Spread the bottoms of the rolls with mayo.
- Add a layer of provolone cheese.
Now add a layer of meat and vegetables. Tongs work great for this. Go ahead and pile up the meat and veggies, no skimping allowed.
- Add a dollop of Cheez Whiz to every single slider.
Now add the top layer of rolls.
In a separate small bowl or glass measuring cup, mix together the melted butter, roasted garlic powder, and minced parsley.
Brush the tops of the rolls with the garlic butter mixture, and sprinkle with extra Italian parsley if desired.
Cover with aluminum foil to keep your rolls from browning too quickly, and bake at 350° F for about 10 to 15 minutes, or 'til the cheese is melted.
Then uncover and bake an additional 5 to 10 minutes or so.
And that's it! Serve while warm and enjoy!
Two things to look for when buying Philly cheese steak meat…
- You need to be able to slice it thinly.
- It needs to be tender, not tough, and fat is a good thing for both flavor and tenderness.
*While I prefer fresh mushrooms, you can also use canned mushrooms.
Can I Make This Recipe Ahead of Time?
Yes and no. You can totally cook the meat and vegetables and have your meat mixture ready to go. Just store it in the fridge in an airtight container until you’re ready to use it. Then when you’re ready to make your sliders, all you need to do is assemble the sandwiches and bake them. Reason you want to wait to assemble your sandwiches, is you don’t really want them sitting, soaking up all that moisture into the rolls for that long. It will make them a soggy, yucky mess.