How to make juicy and flavorful garlic parmesan chicken skewers in the oven that are perfectly tender with a crisp, crunchy bite on the outside. Easy weeknight dinner recipe that you can make to feed a crowd in 30 minutes or less with simple, budget-friendly ingredients.
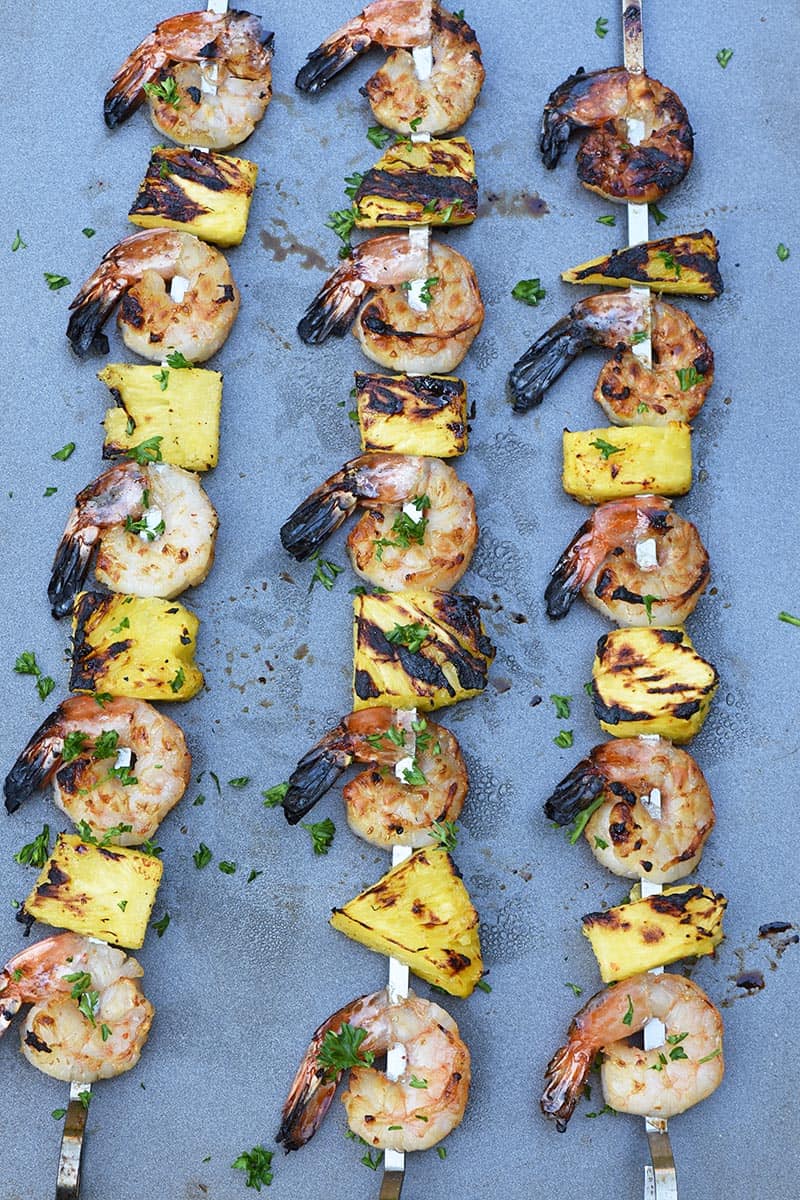
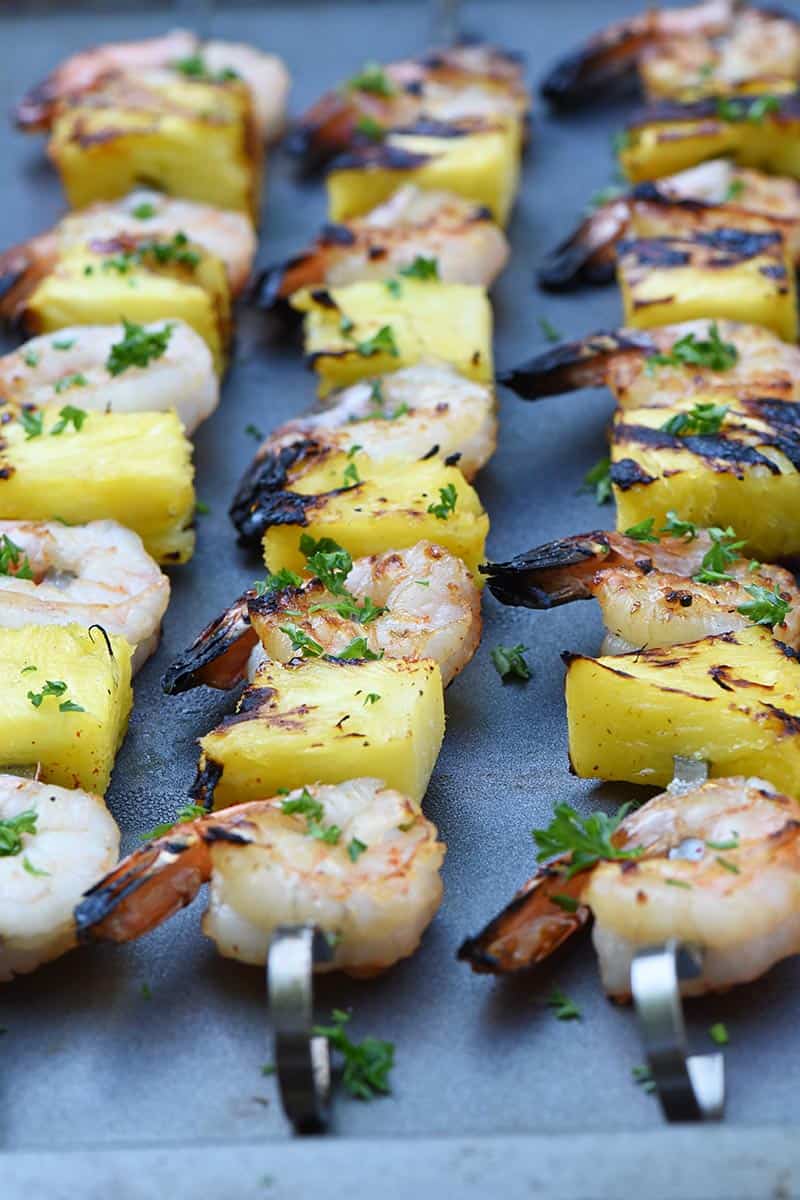
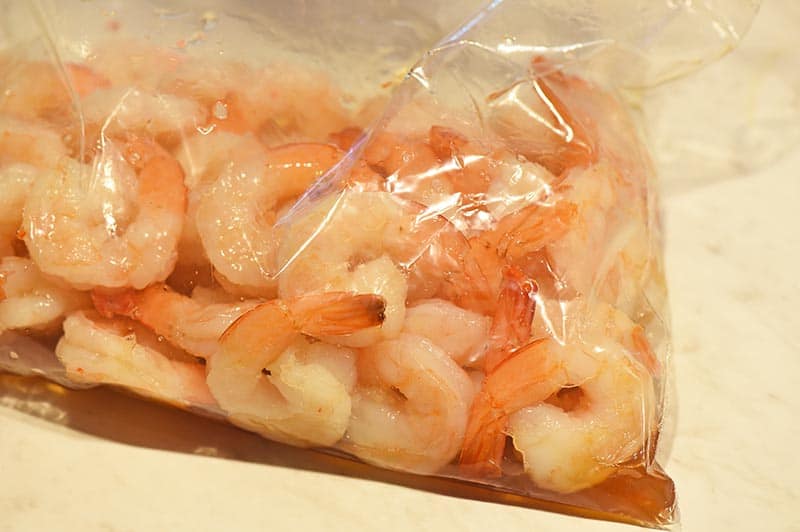
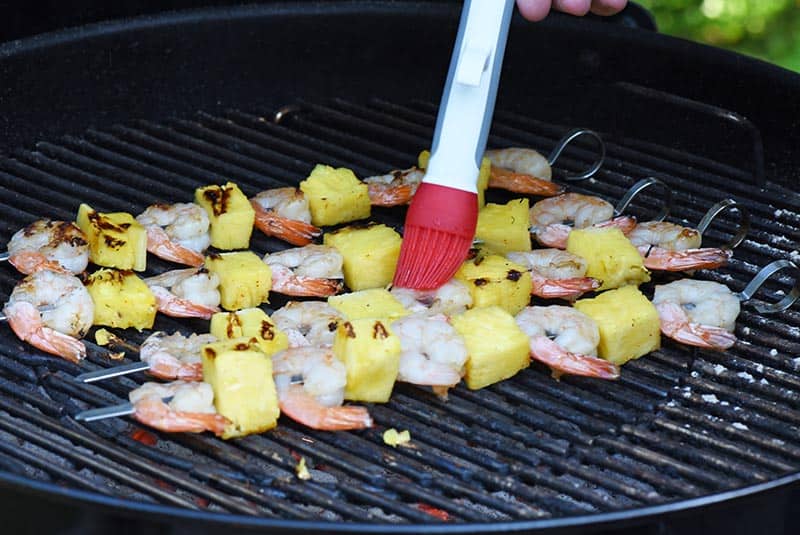
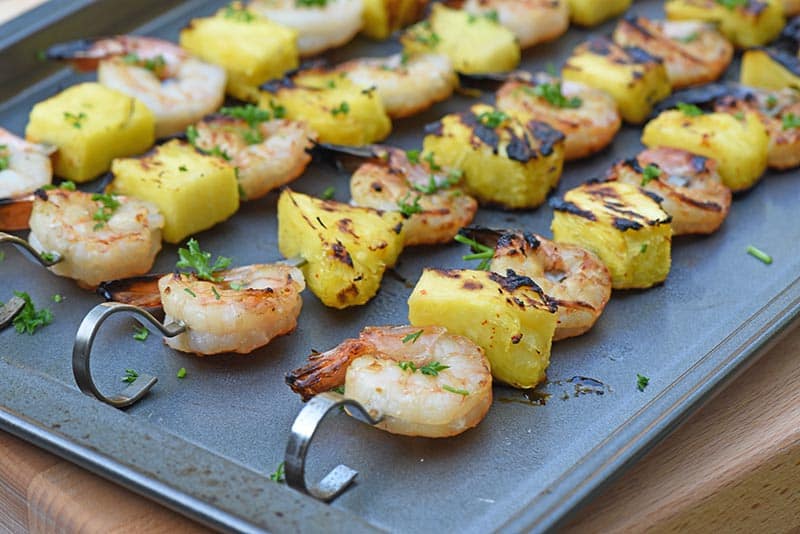
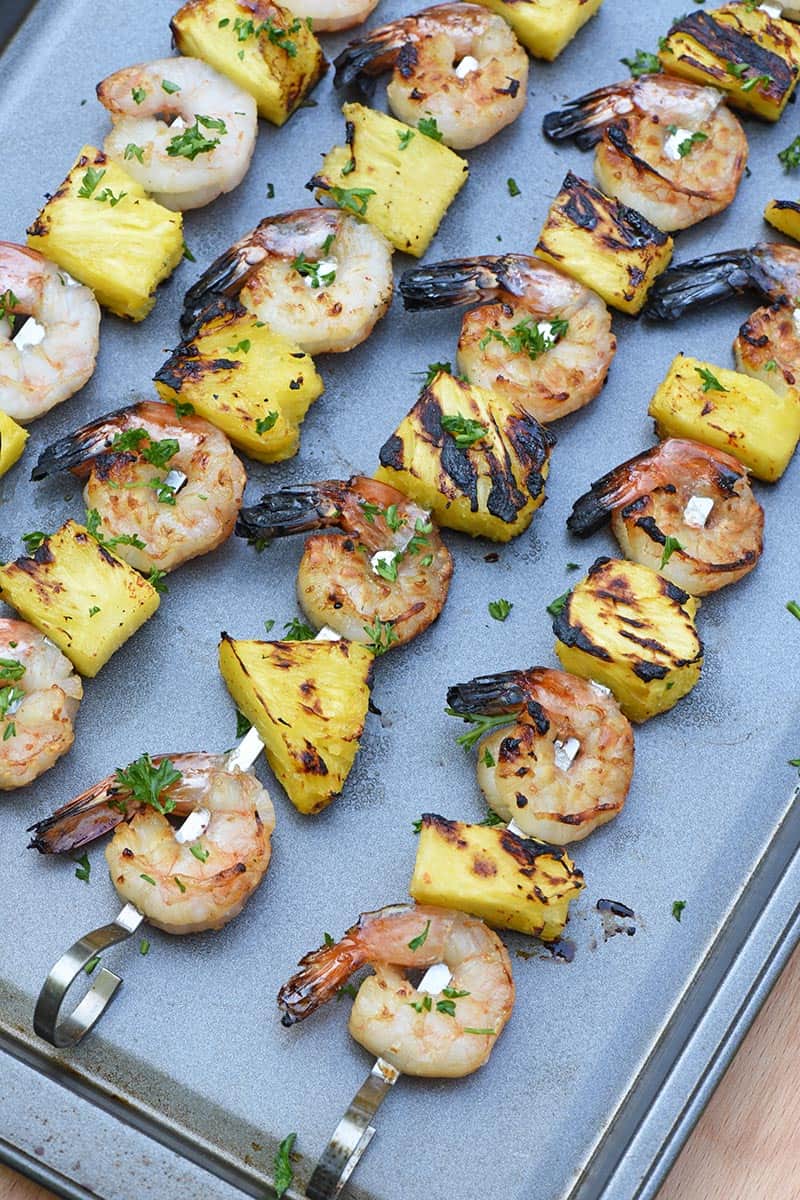
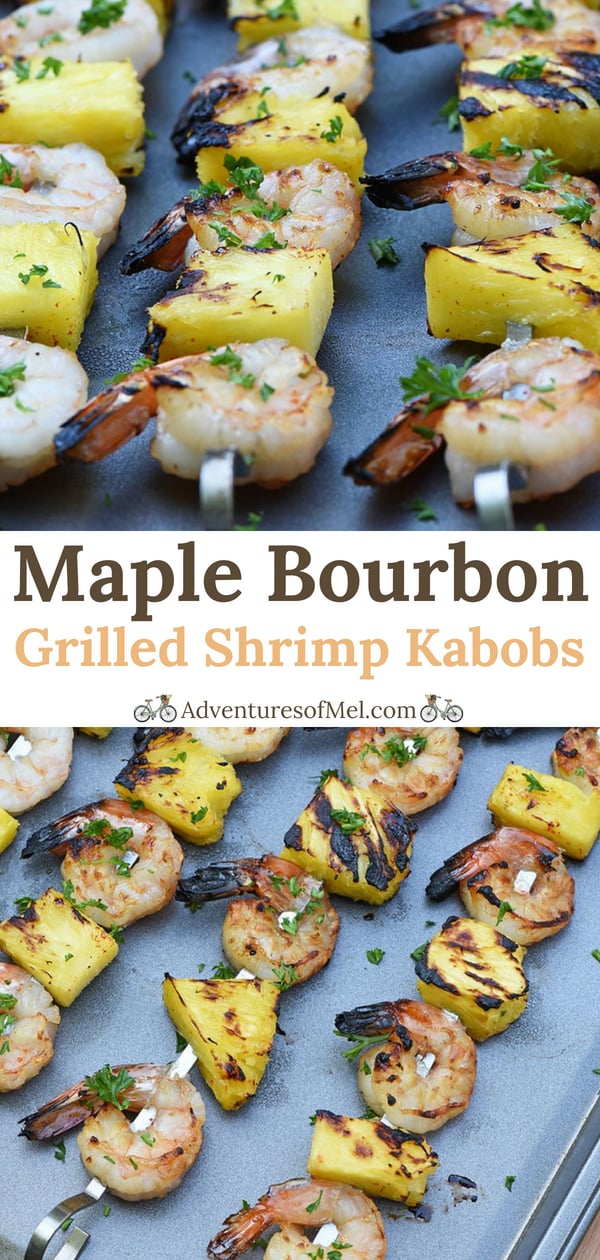
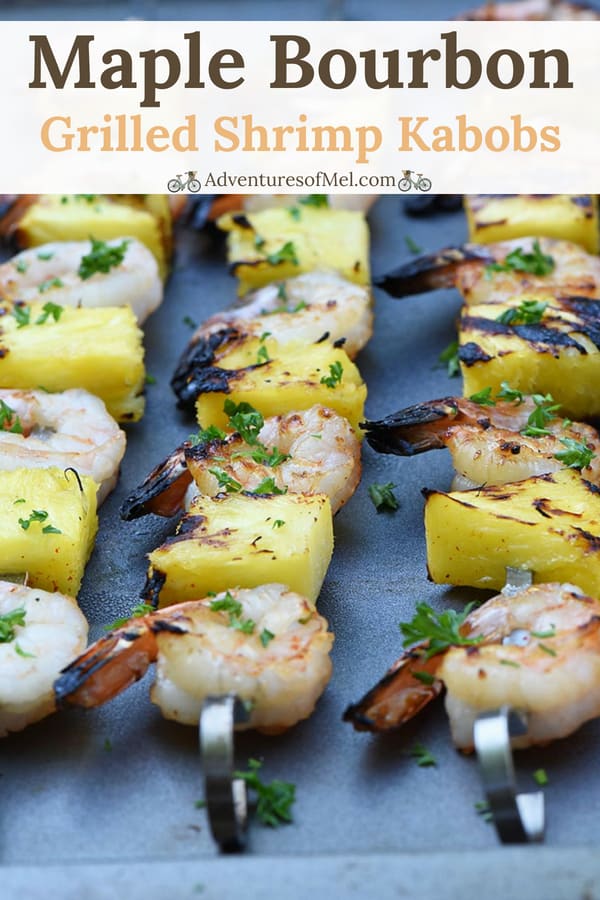
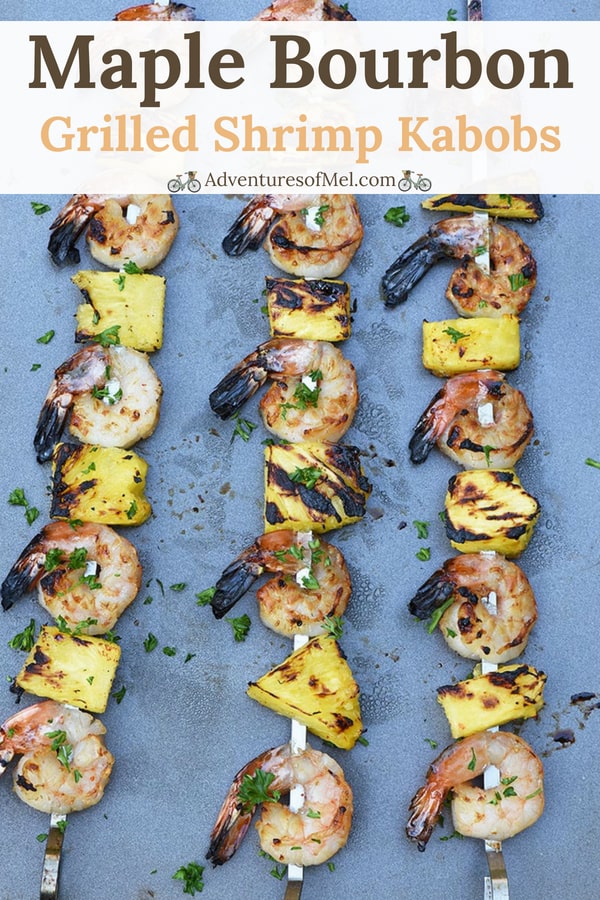
If you like baked chicken drumsticks, you’ll love these easy garlic parmesan kabobs. They’re so easy to make, and you can make them out of just about anything. My family loves maple bourbon marinated grilled shrimp kabobs, and sometimes we even make fruit kabobs!

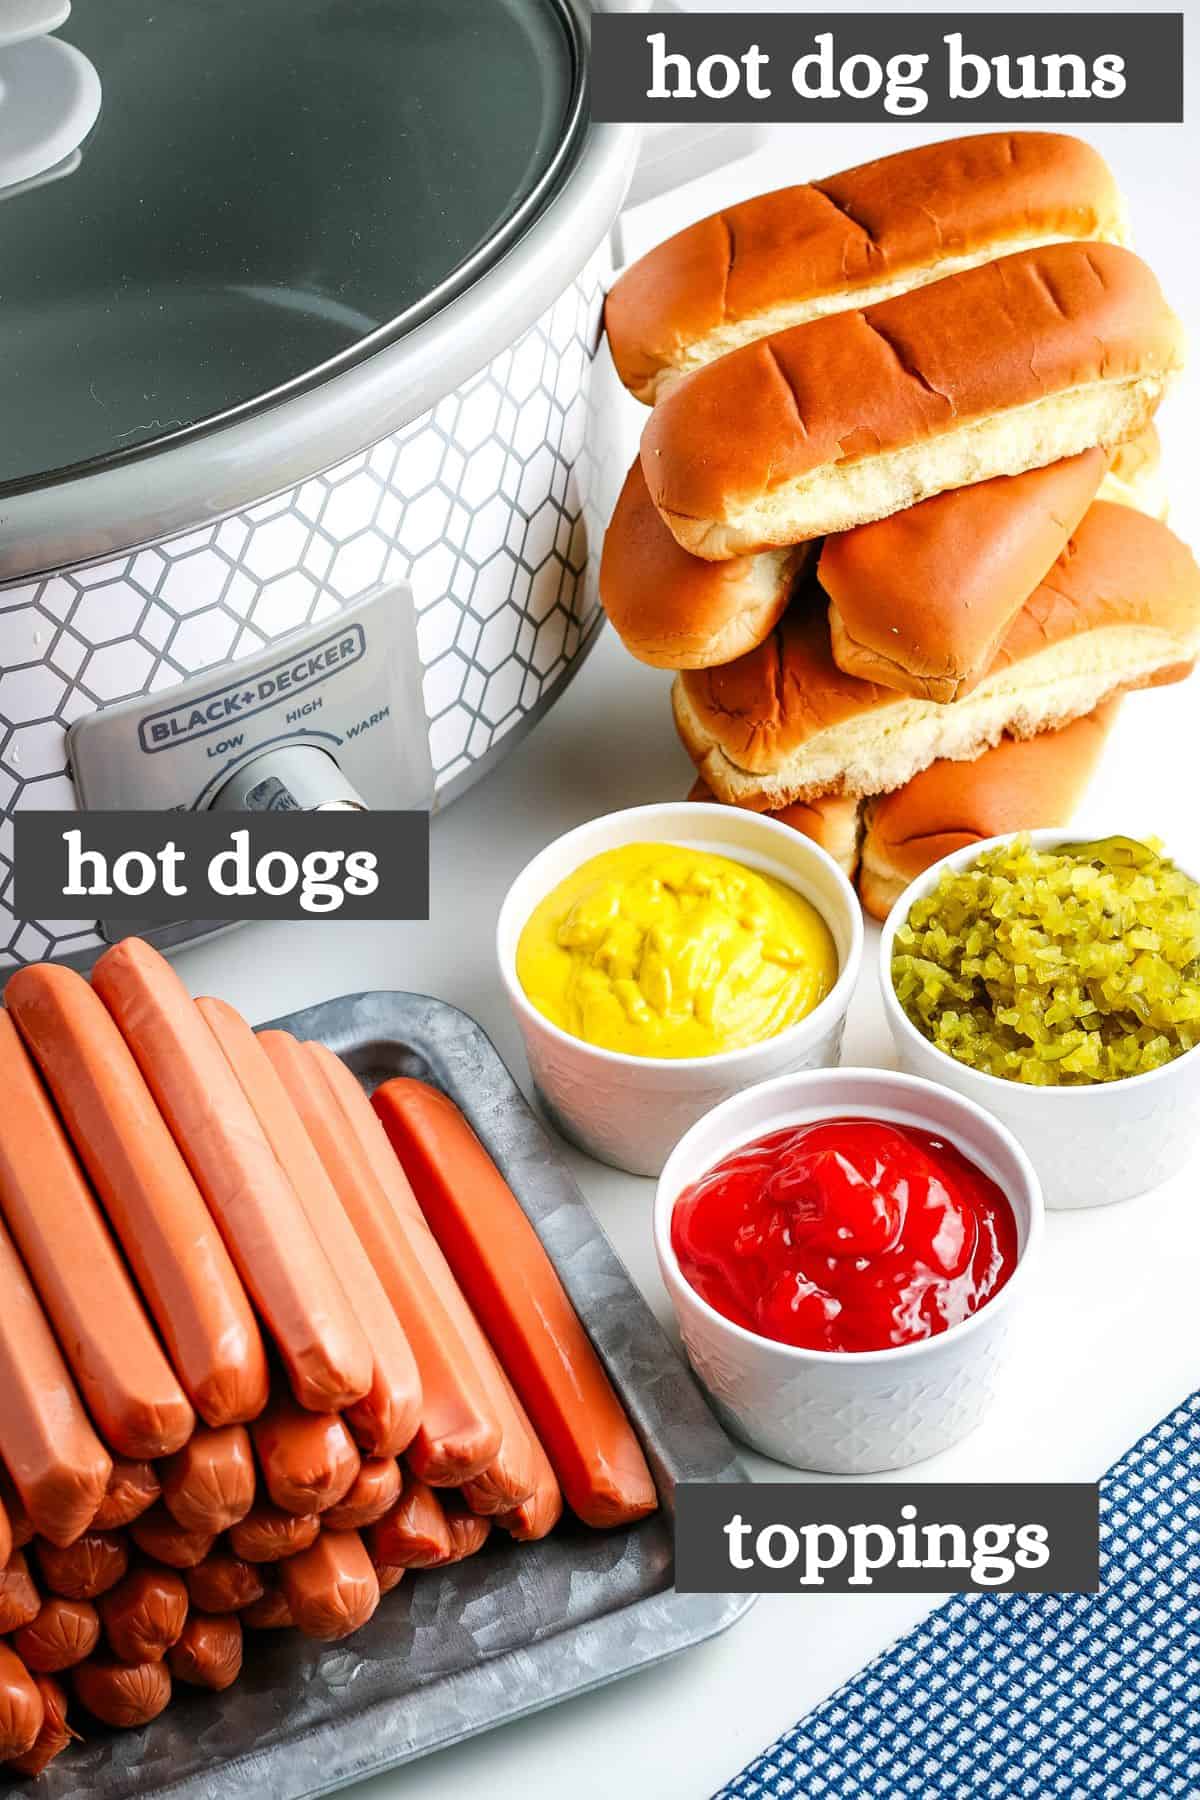
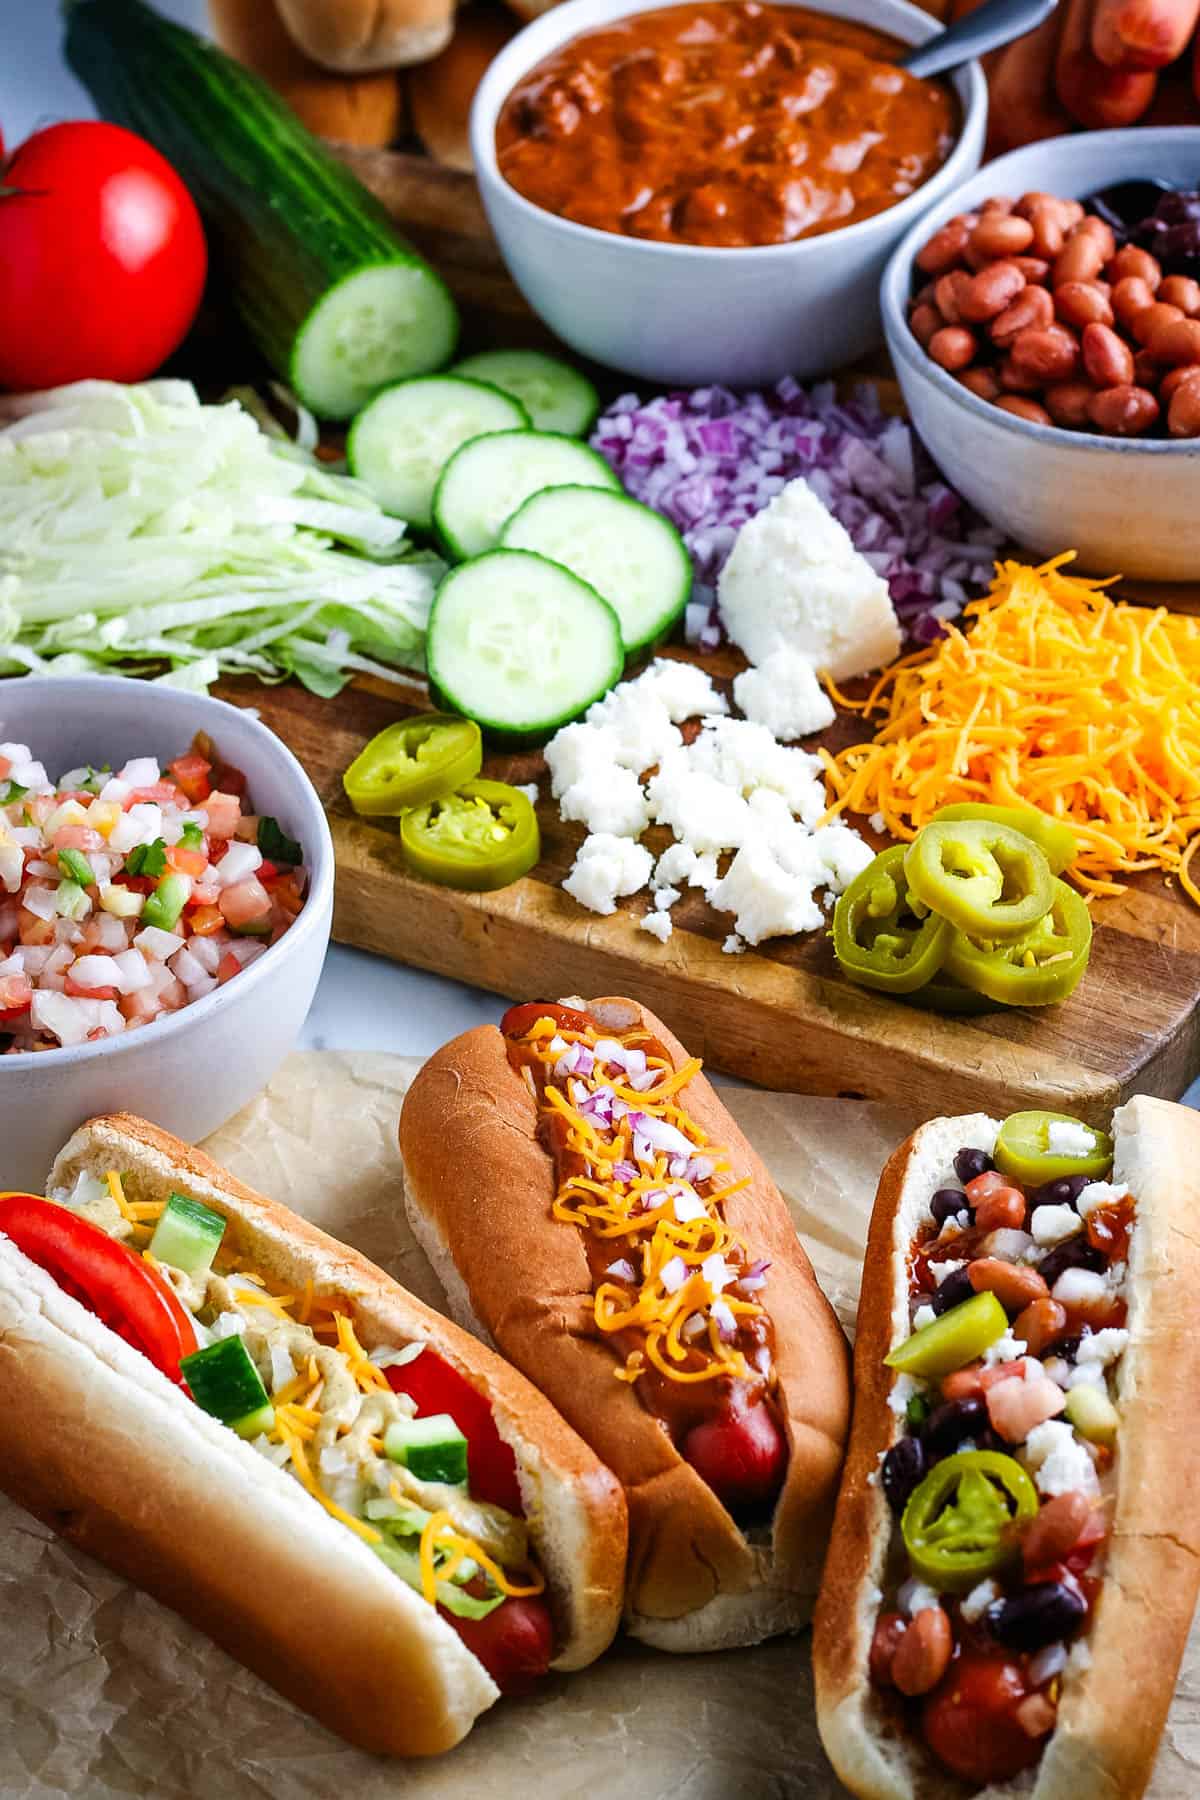
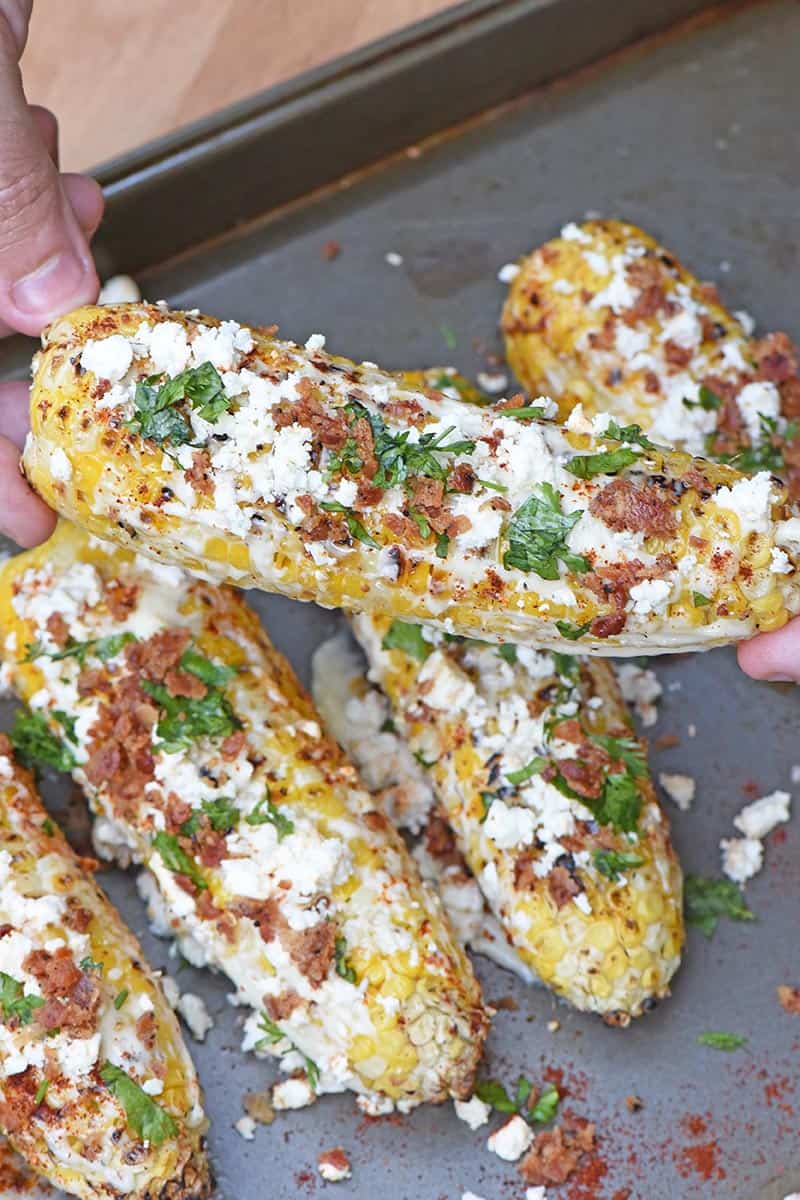
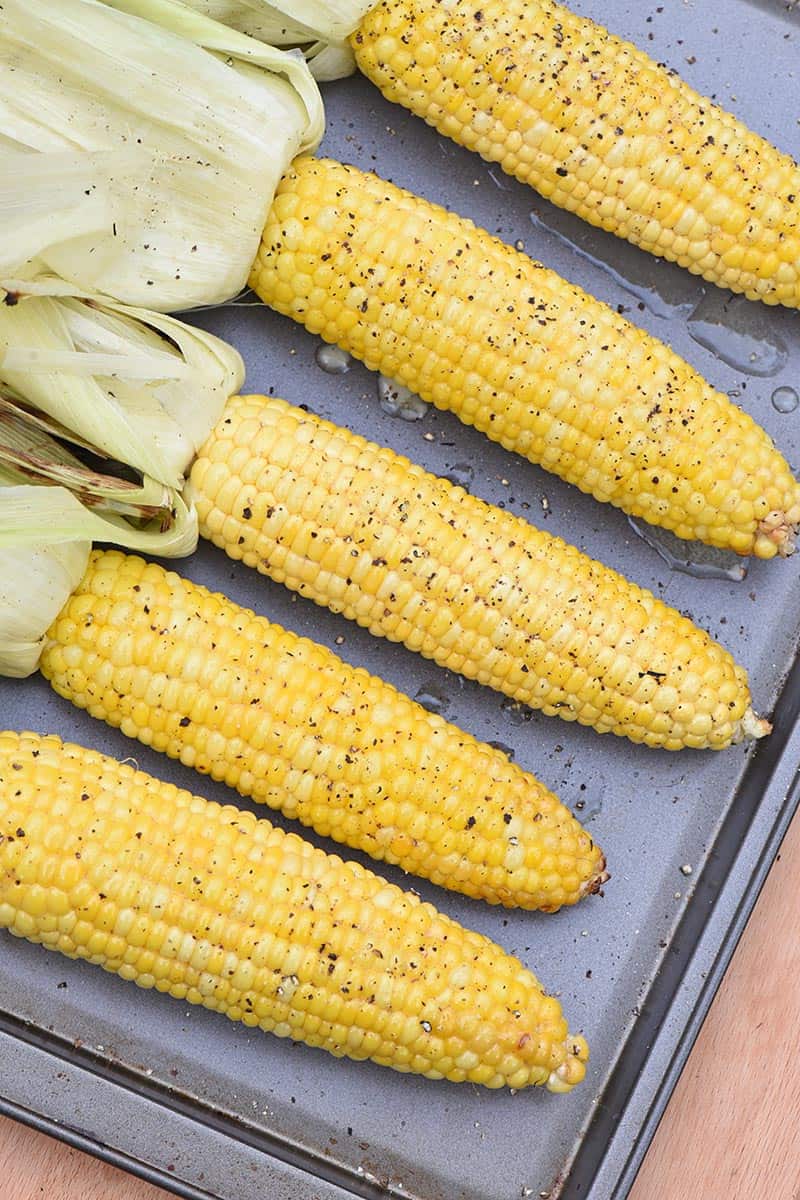
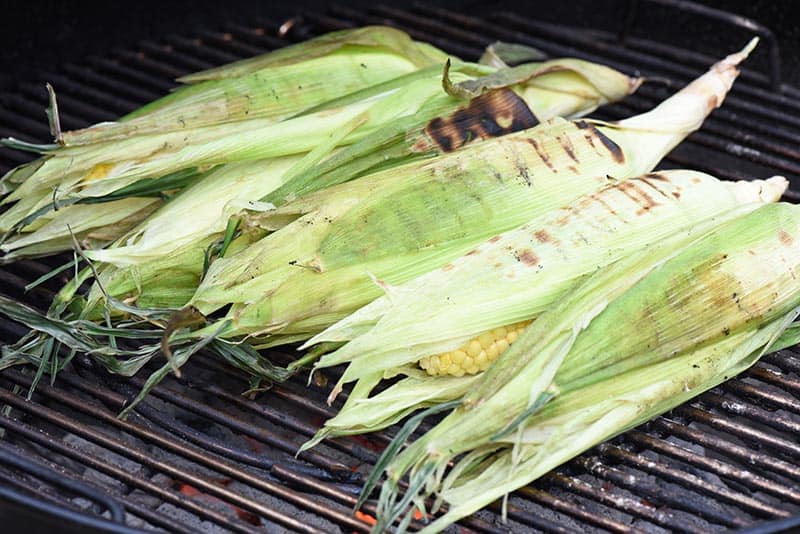
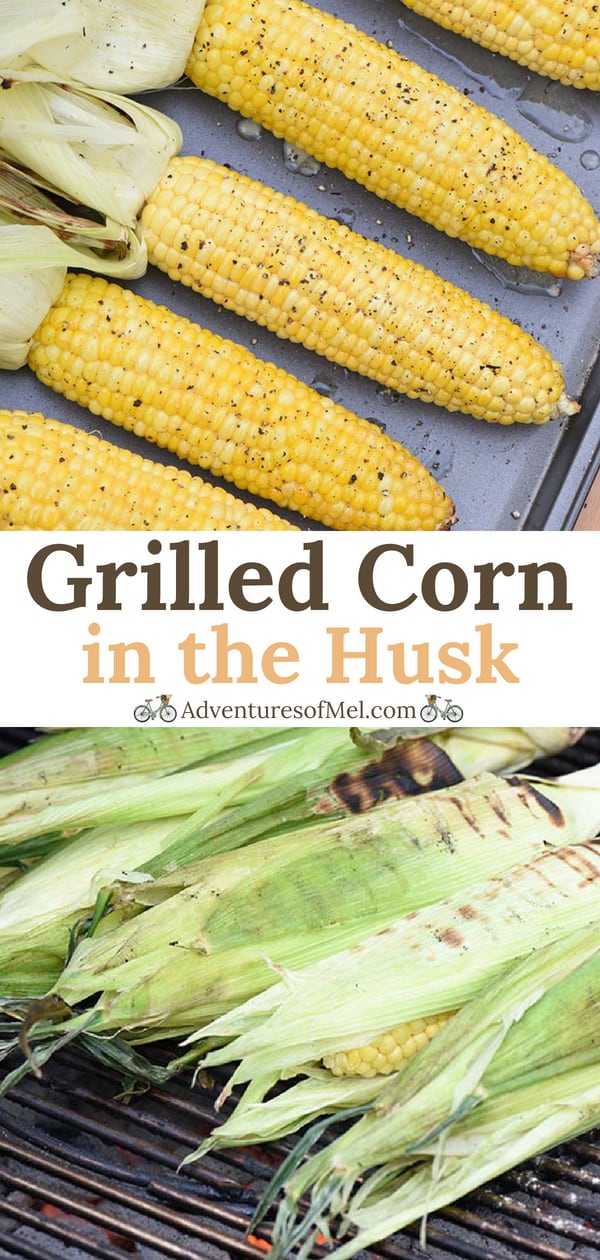
I think these garlic parmesan chicken skewers will be a great addition to my summertime recipe repertoire. I can’t think of a better appetizer to serve up alongside CrockPot hot dogs, homemade bacon cheeseburgers, and corn on the cob.
Why I Know You’ll Love This Recipe
- It’s quick and easy. You can make these garlic parmesan kabobs in 30 minutes or less, and this recipe uses simple, budget-friendly ingredients.
- I’ll show you how to bake chicken skewers in the oven, but you can also cook them in the air fryer or even on the grill.
- These garlic parmesan chicken skewers are tender and juicy with a perfectly crisp, crunchy bite on the outside. This is a truly mouthwatering dish.
- They’re full of cheesy garlic flavor, and the savory goodness of parmesan cheese makes this the best appetizer to feed a crowd.
- This recipe is perfect for all of your summertime parties and events, including backyard BBQ’s, Memorial Day and even the 4th of July.
- The best part is that you can prep your garlic parmesan chicken skewers ahead of time with a flavorful marinade, and store them up in the fridge until you’re ready to bake. This is great if you’re making your kabobs alongside other dishes to feed a lot of people.
Ingredients & Substitutions Notes
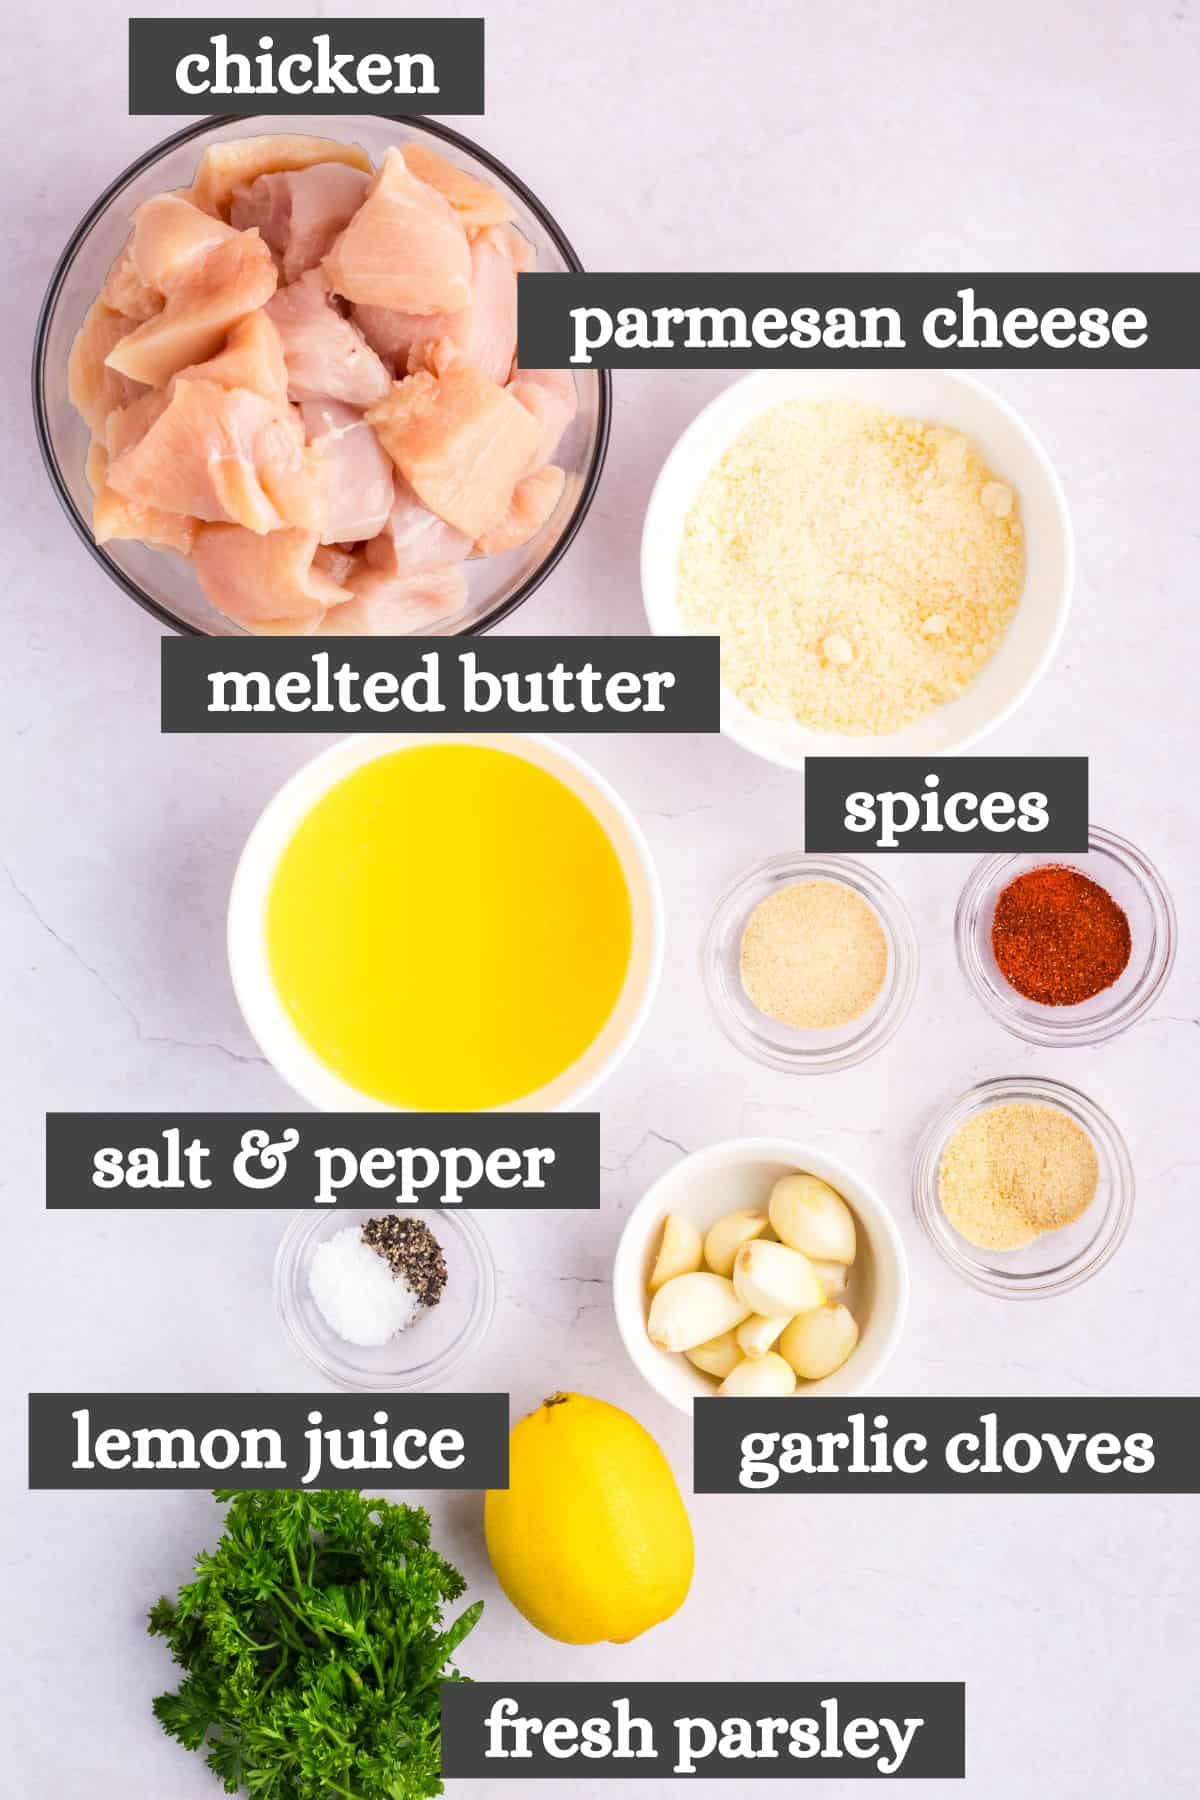
- Chicken – I prefer to use boneless skinless chicken thighs because they are more tender and flavorful due to the higher fat content. That said, boneless skinless chicken breasts will work just fine too.
- Butter – You’ll need to melt unsalted butter for this recipe.
- Parsley – I recommend using chopped fresh parsley for the best flavor, but you can also use dried parsley if that’s all you have on hand. If you go this route, a good rule of thumb is to use about 1/3 of the amount of dried parsley as you would fresh parsley.
- Parmesan Cheese – You’ll want grated parmesan cheese for this recipe.
- Garlic – Fresh, minced garlic cloves are always best. Sometimes I cheat and buy already minced garlic from the store. The richness of garlic adds a lot of flavor to this recipe.
- Lemon Juice – You can squeeze your lemon juice from fresh lemons, but I just use bottled lemon juice from the store.
- Kosher Salt – It’s important that you use a coarse kosher salt to make this recipe. Kosher salt is usually best when you’re mixing up any kind of seasoning, because it has a uniformly large crystal size that distributes much more evenly throughout the other spices.
- Spices – Don’t be fooled by the spices; these garlic parmesan chicken skewers aren’t spicy at all! But you will need some garlic powder, paprika, onion powder and ground black pepper for this recipe.
How to Make Garlic Parmesan Chicken Skewers
If you’re using wooden or bamboo skewers, I recommend placing them in water to soak about 20 minutes before getting started with this recipe; this just helps the chicken to slide on easier later on. If you’re using metal skewers, you can skip this step.
Set your oven to preheat to 400ºF, and line 2 13×9 baking sheets with parchment paper. Let’s get started…
Assembling Your Chicken Skewers
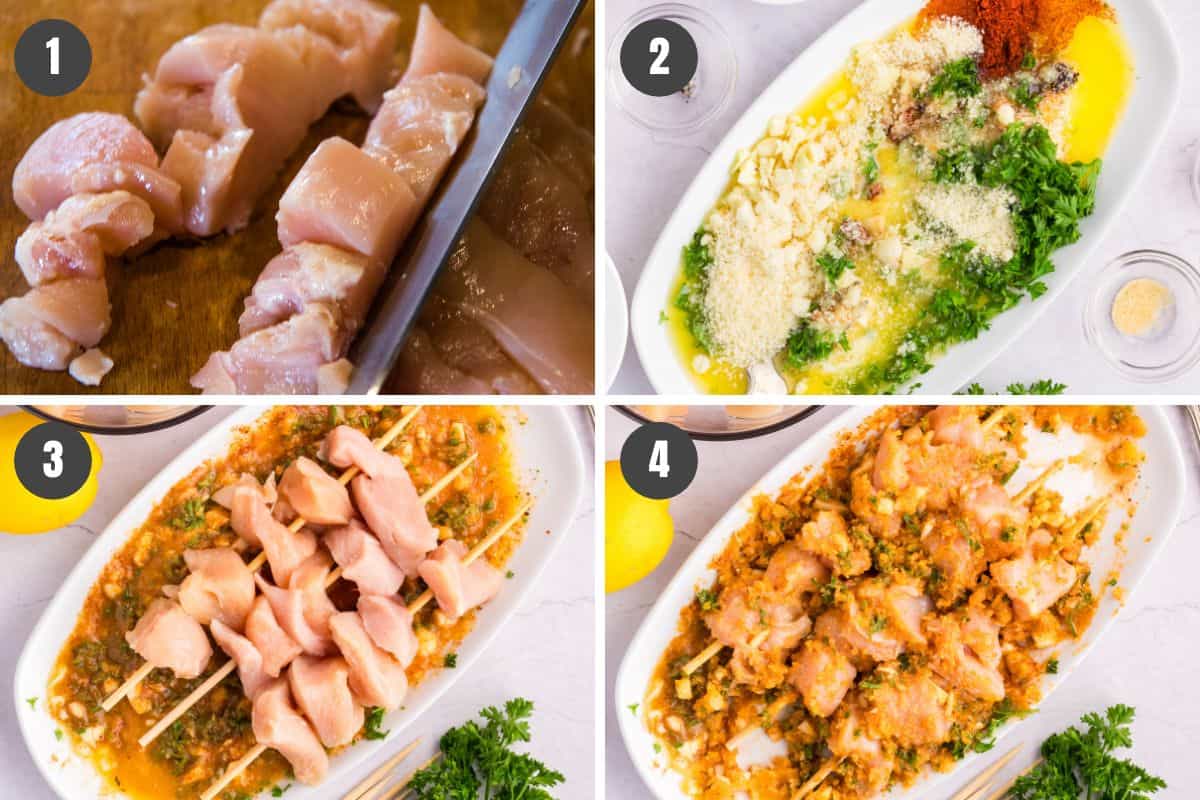
- Start by using a large knife to slice your chicken into roughly 1-inch pieces on a large cutting board. Set aside.
- In a large bowl, whisk together the melted butter, chopped parsley, grated parmesan cheese, minced garlic cloves, lemon juice, kosher salt, garlic powder, paprika, onion powder, and ground black pepper until well combined.
- Place the cubed chicken onto the skewers and transfer to the butter sauce. Keep a little room between each piece of chicken so they will cook evenly.
- With clean hands rub the butter mixture over the chicken before transferring to your parchment paper-lined baking sheets. I like to use a large, deep dish rectangular platter for this step.
Alternatively, if you’re looking to make this recipe ahead of time, you could mix up the cubed chicken and the butter mixture together in a large mixing bowl. Then cover your bowl with plastic wrap and transfer into the refrigerator to marinate for a few hours or even overnight.
When you’re ready to bake, simply slide your marinated chicken onto the skewers and put them in the oven. You’ll have the most delectable garlic parmesan chicken skewers.
How to Bake Garlic Parmesan Chicken Skewers
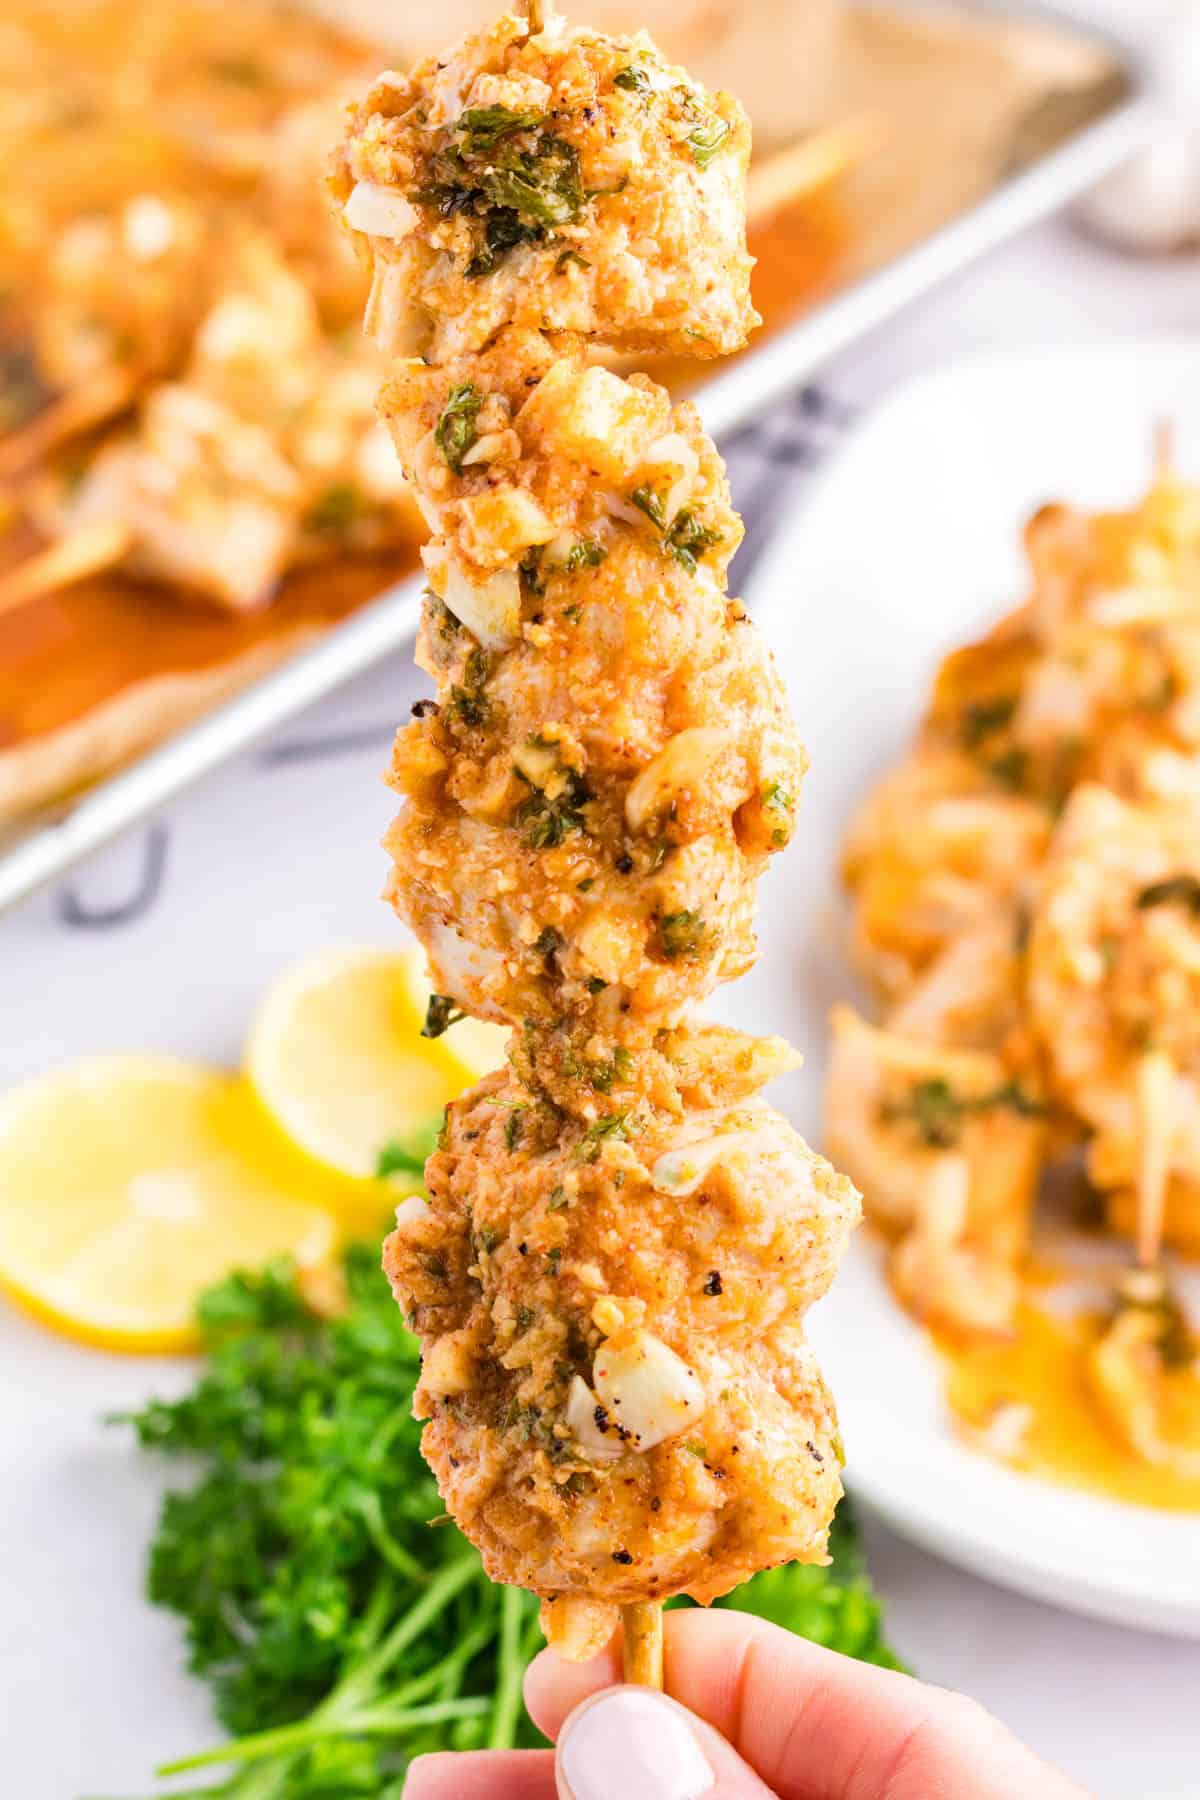
- Once your chicken skewers are well coated and placed onto the baking sheets, bake them in the oven at 400ºF for about 5 minutes, ’til golden brown.
- After 5 minutes has passed, use a pair of tongs to flip your chicken skewers, and let them bake on the other side for an additional 5 minutes of cooking time.
- Once the juices on the baking sheet run clear and the internal temperature of the chicken pieces reads 165ºF with a meat thermometer, you can pull your garlic parmesan chicken skewers out of the oven and serve!

If you’ve never made chicken kebobs before, you may be somewhat perplexed as to how to eat them! Don’t worry, it’s easier than you think. The best way to do this is by eating the chicken right off the skewer, or you can use a fork to slide them off onto a plate before serving.
I like to serve my chicken skewers topped off with a fresh batch of mango peach salsa, and my kids love this fruit salsa recipe!
What to Serve with Garlic Parmesan Chicken Skewers
Not sure what to serve with your chicken skewers? Here are a few ideas that come to mind…
- Garlic parmesan chicken skewers go great with a side of homemade steak cut fries or even homemade chili cheese fries.
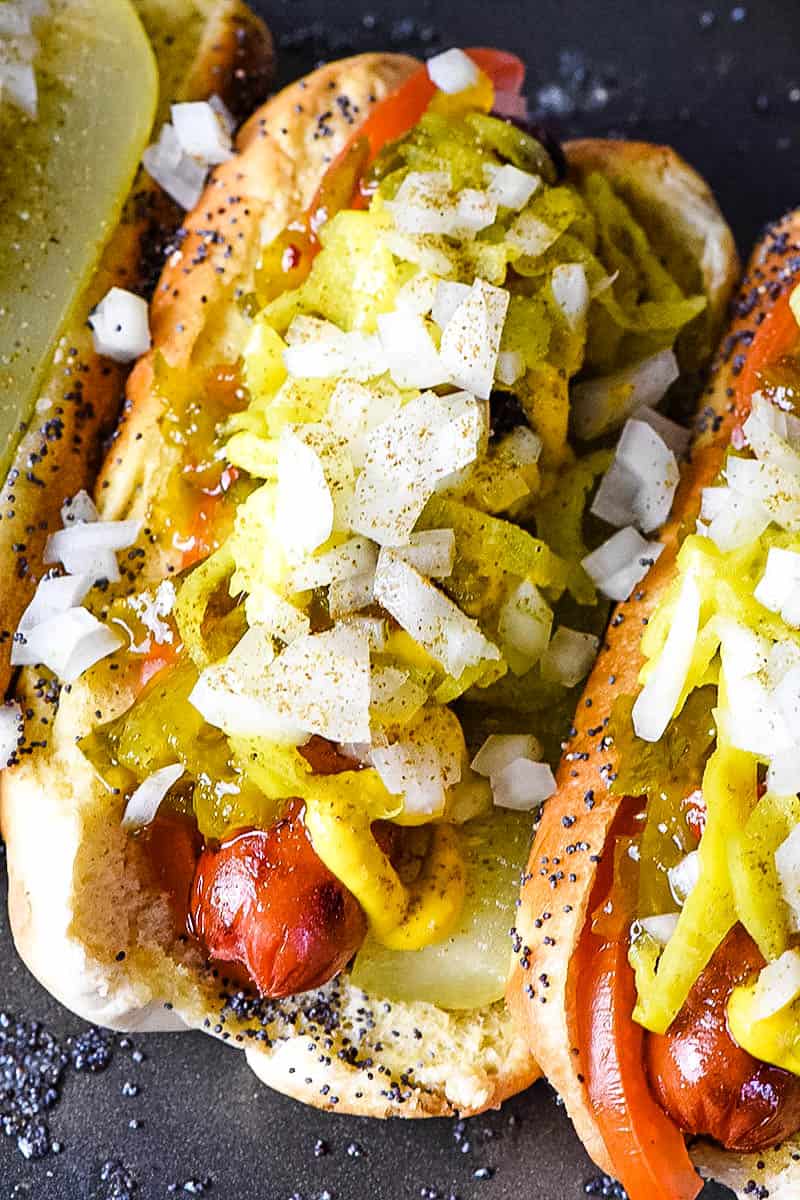
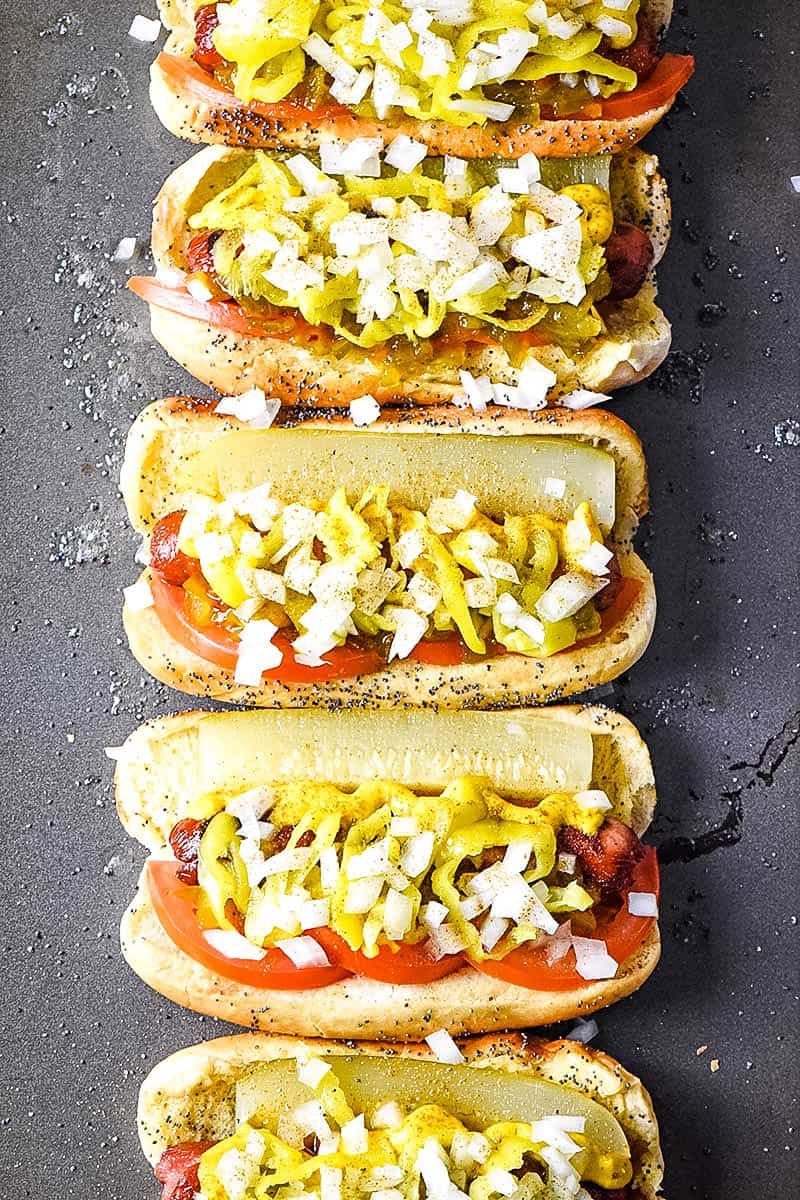
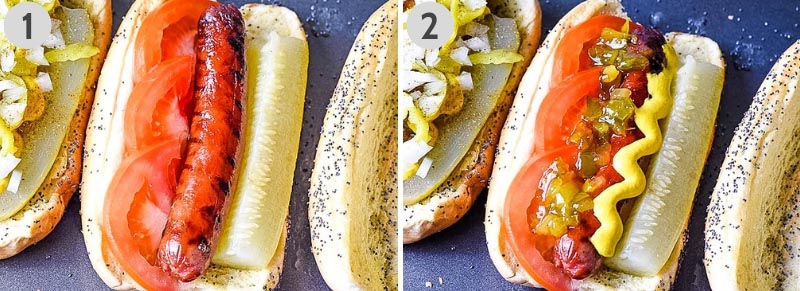
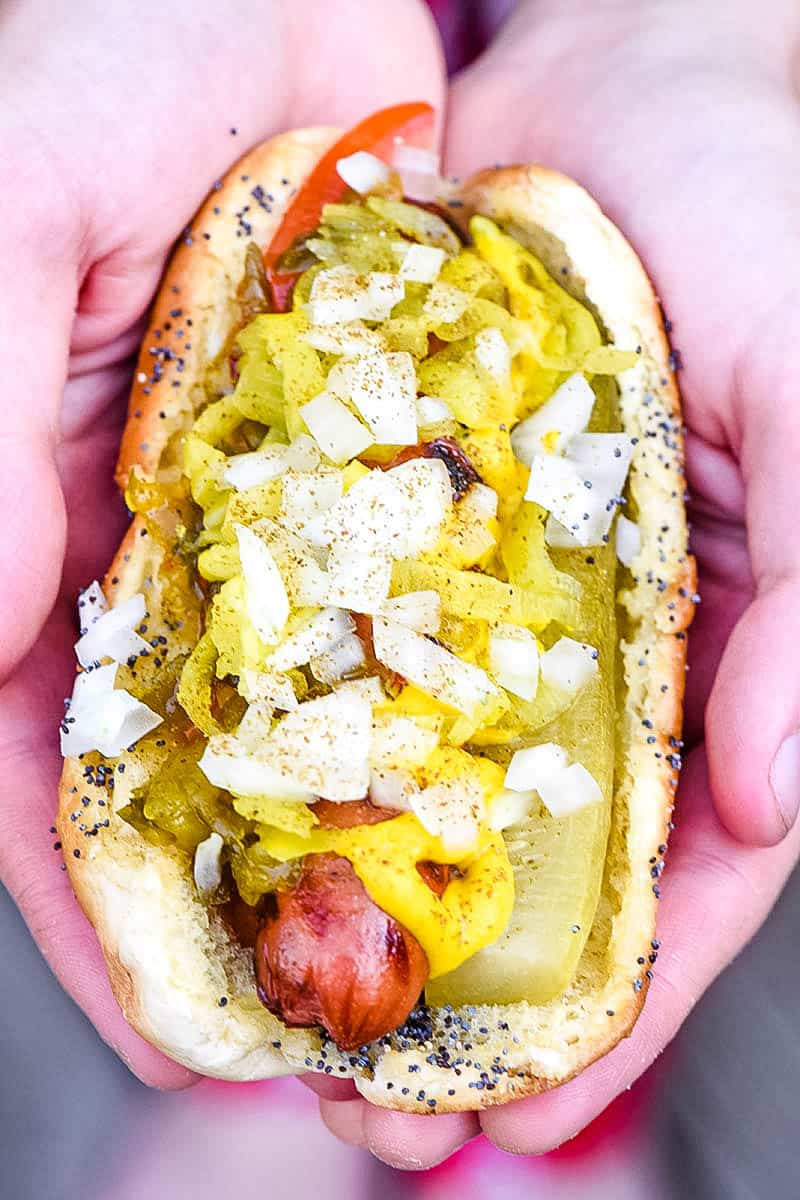
- I can’t think of a better or easier appetizer to serve up with loaded Chicago hot dogs!
- You can’t go wrong with chicken fried rice or pork fried rice. This is a classic side dish that makes a complete meal out of just about any kabob recipe.
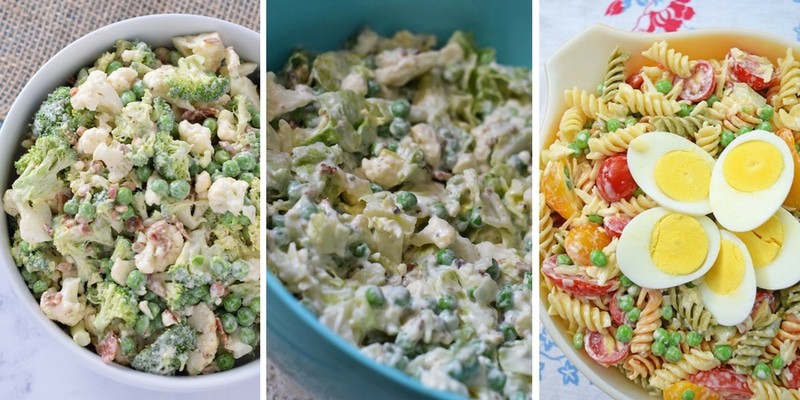
- Make an easy layered salad with a creamy homemade dressing to go along with your chicken kabobs. Alternatively, you can also serve them with this easy broccoli salad, a dill veggie finger salad or even this 30 minute pasta salad with cucumbers and tomatoes!
- If you’re feeding a crowd, you may consider putting together a fun mashed potato bar or even a baked potato bar from scratch.
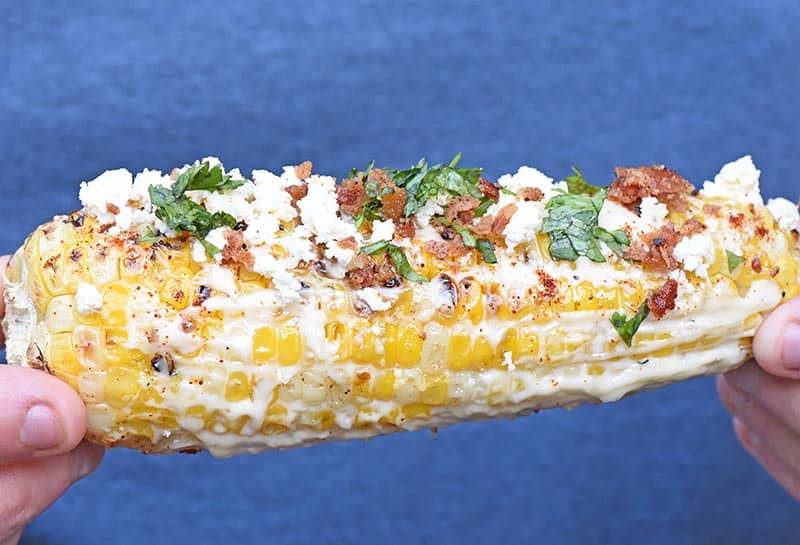
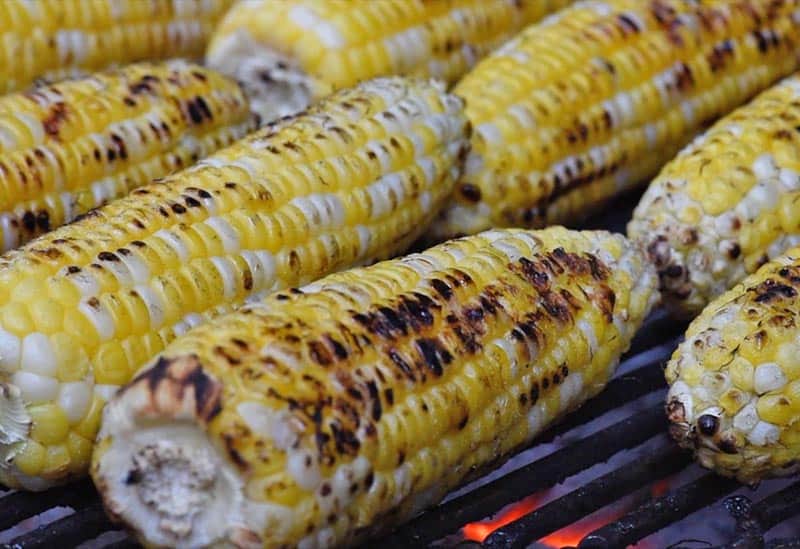
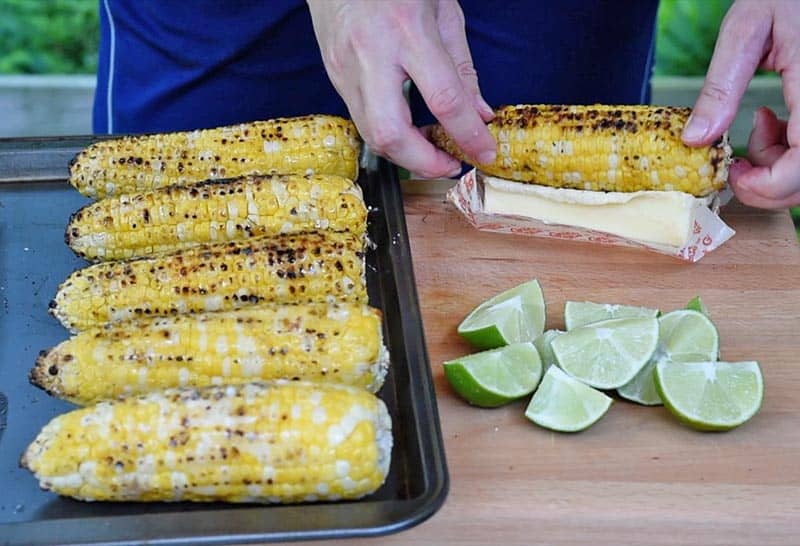
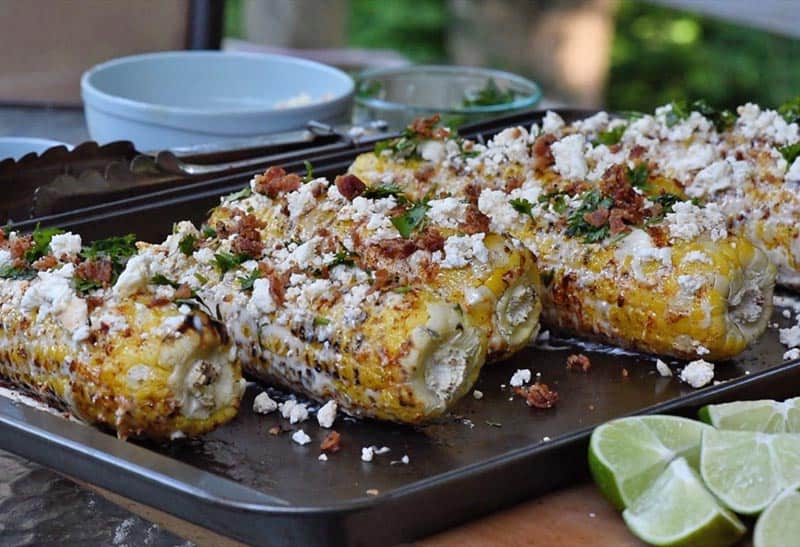
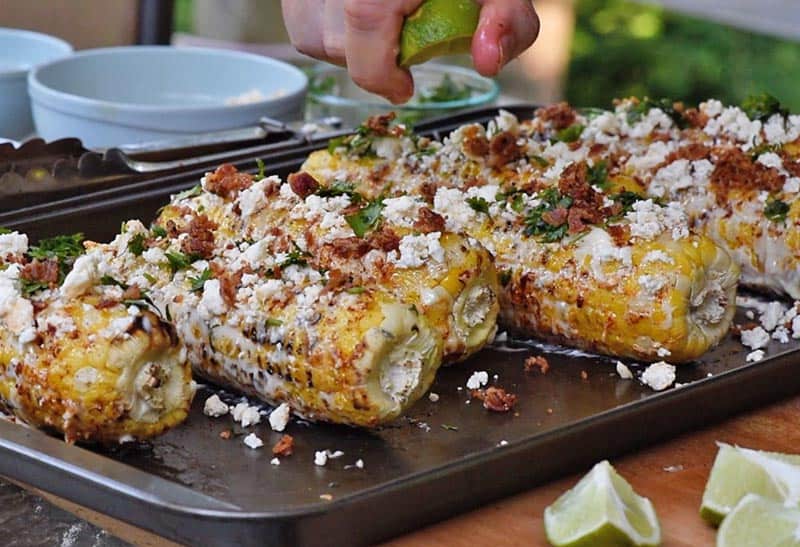
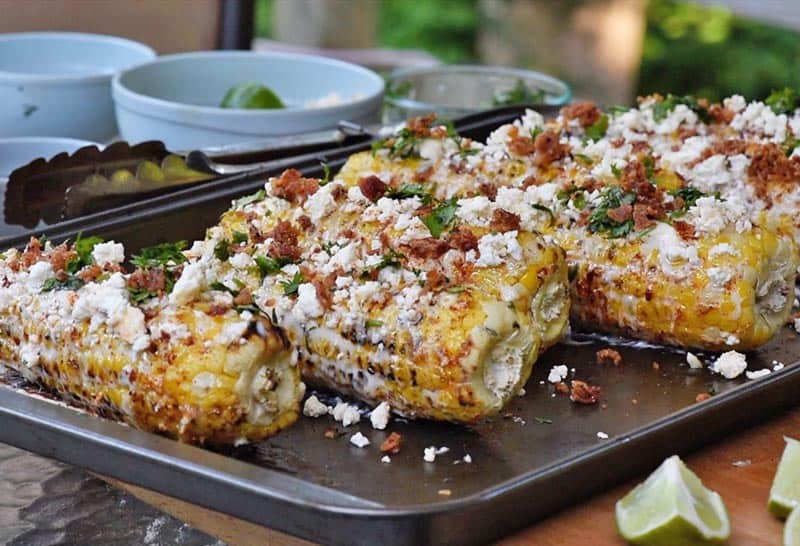
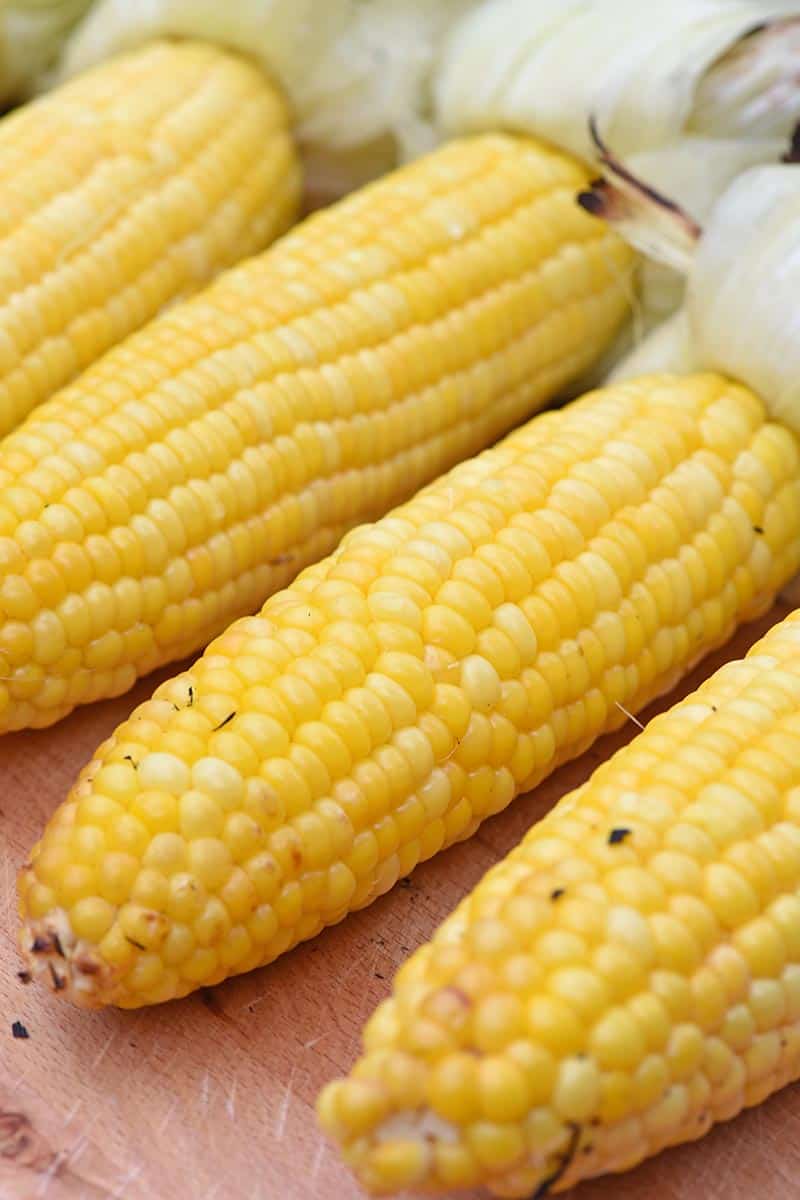
- I know I mentioned corn on the cob earlier on in the post, but have you ever eaten Mexican corn on the cob with bacon? You’ll never eat sweet corn the same again!
- These loaded hummus chicken nachos would make a great appetizer to go along with your garlic parm chicken skewers. They’re easy to make, and you can double or triple the recipe to feed a lot of people.
- My family LOVES pizza. Parmesan garlic chicken skewers make the perfect appetizer to serve alongside our favorite hamburger pizza or Hawaiian pizza.
Expert Tips and Recipe FAQ’s
Yes, you can cook garlic parmesan chicken skewers in the air fryer. Line your air fryer basket with a piece of parchment paper, and then transfer your prepped chicken skewers to the basket. Cook at 400ºF for about 5 minutes. Flip your skewers and cook for another 5 minutes, or until the internal temperature of the chicken reaches 165ºF with a meat thermometer.
Yes, you can also cook your chicken kabobs on any kind of grill. You’ll want to preheat your grill to a medium-high heat, and then cook your chicken skewers for about 5 minutes on each side, or until the internal temperature reaches 165ºF. Serve and enjoy!
You probably overcooked them. Remember, you only have to cook your chicken until the internal temperature reaches 165ºF. If you cook them any longer than this, the chicken will dry out and become tough and chewy. That said, chicken thighs have more fat than chicken breasts, so the thighs will be more forgiving if you accidentally overcook your skewers.
Leftover chicken skewers are best stored in an airtight container or zip-loc bag in the refrigerator for up to 5 days. Reheat your chicken skewers at 350ºF on a large baking sheet in the oven ’til warm.

Recipe Variations
Here are a few fun ideas as to how you can make garlic parmesan chicken skewers even more interesting…
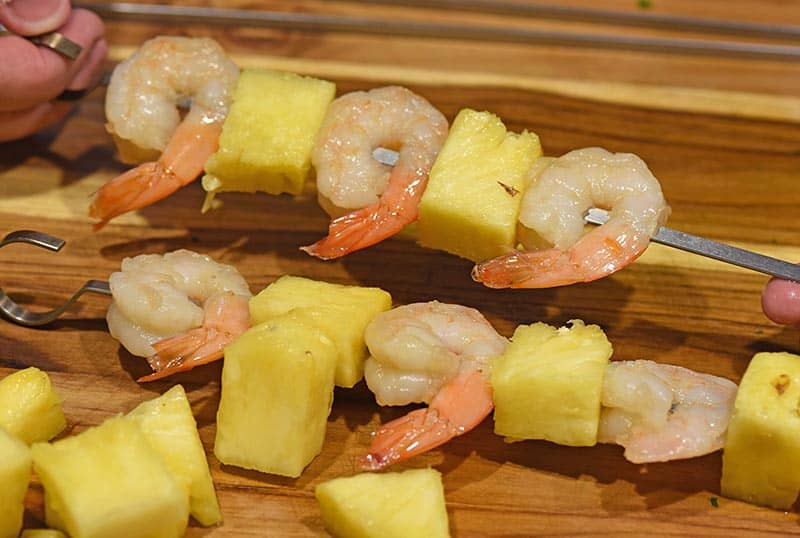
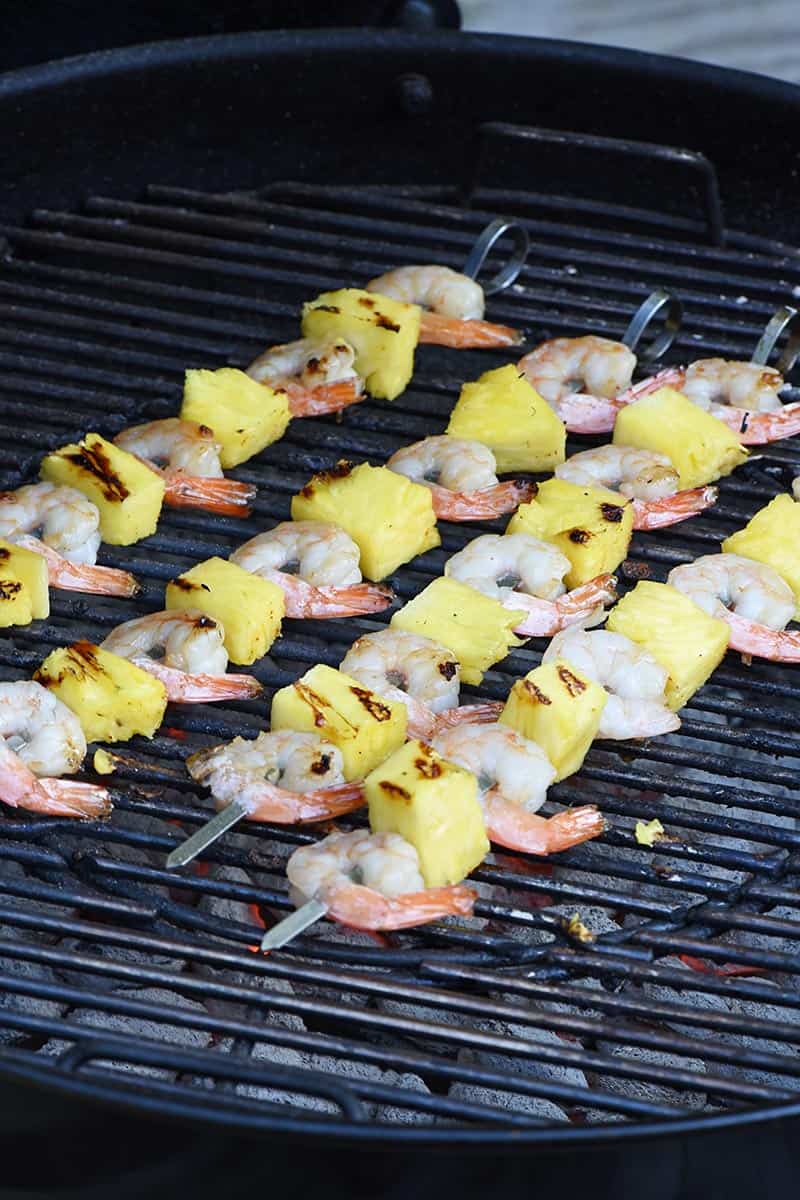
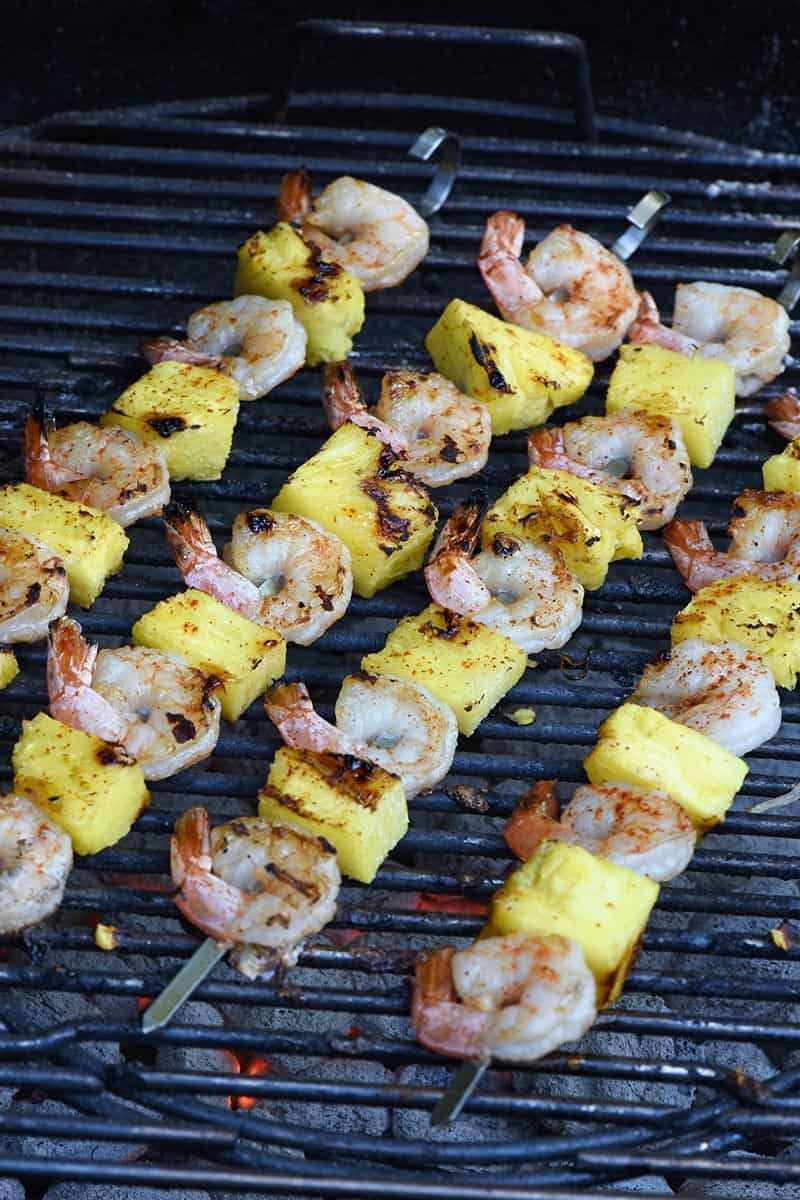
- Believe it or not, you can cook a lot more than just meat on a skewer. Chunked bell peppers, red onion, cherry tomatoes, sliced zucchini and even pineapple chunks come to mind.
- As I stated in the instructions above, you can always marinate your chicken with the butter mixture in an airtight container or zip-loc bag for a few hours or overnight. This will result in a richer, more complex flavor that everyone can appreciate.
- Try adding a three-fingered pinch of dry ranch seasoning and bacon crumbles to the butter mixture to make the best bacon ranch garlic parmesan chicken skewers!
If you try this recipe, why not leave a star rating in the recipe card right below and/or a review in the comment section further down the page? I always appreciate your feedback. You can also follow me on Pinterest, Facebook, Instagram, and YouTube. And subscribe to my email list too!
Garlic Parmesan Chicken Skewers

How to make the best ever garlic parmesan chicken skewers in the oven. Easy weeknight dinner recipe that you can make in 30 minutes or less!
- Skewers
- 13×9 Baking Sheets
- Parchment Paper
- Large Knife
- Large Cutting Board
- Large Mixing Bowl
- Whisk
- Tongs
- Meat Thermometer
- 2 pounds Boneless Skinless Chicken Thighs
- 1/2 cup Unsalted Butter (melted)
- 1/2 cup Fresh Parsley (chopped)
- 1/2 cup Parmesan Cheese (grated)
- 10 Garlic Cloves (minced)
- 1 tablespoon Lemon Juice
- 1/8 teaspoon Coarse Kosher Salt
- 1 1/2 teaspoons Garlic Powder
- 1 teaspoon Paprika
- 1 teaspoon Onion Powder
- 1/2 teaspoon Ground Black Pepper
Before getting started, preheat your oven to 400ºF, and line 2 13×9 baking sheets with parchment paper.*
Start by using a large knife to slice your chicken into roughly 1-inch cubes on a large cutting board. Set aside.
In a large bowl, whisk together the butter, parsley, parmesan cheese, minced garlic, lemon juice, salt, garlic powder, paprika, onion powder, and ground black pepper until well combined.
Slide the cubed chicken onto the skewers and transfer to the butter mixture. Keep a little room between each piece of chicken so they will cook evenly.
With clean hands rub the butter mixture over the chicken before transferring to your parchment paper-lined baking sheets.
Once your chicken skewers are well coated and placed onto the baking sheets, bake them in the oven at 400ºF for about 5 minutes, 'til golden brown
After 5 minutes has passed, use a pair of tongs to flip your chicken skewers, and let them bake on the other side for an additional 5 minutes.
Once the juices on the baking sheet run clear and the internal temperature of the chicken reads 165ºF with a meat thermometer, you can pull your garlic parmesan chicken skewers out of the oven.
Serve and enjoy!
*If you’re using wooden skewers, I recommend placing them in water to soak about 20 minutes before getting started with this recipe; this just helps the chicken to slide on easier later on.
How should I store leftovers garlic parmesan chicken skewers?
Leftover chicken skewers are best stored in an airtight container or zip-loc bag in the refrigerator for up to 5 days. Reheat your chicken skewers at 350ºF on a large baking sheet in the oven ’til warm.