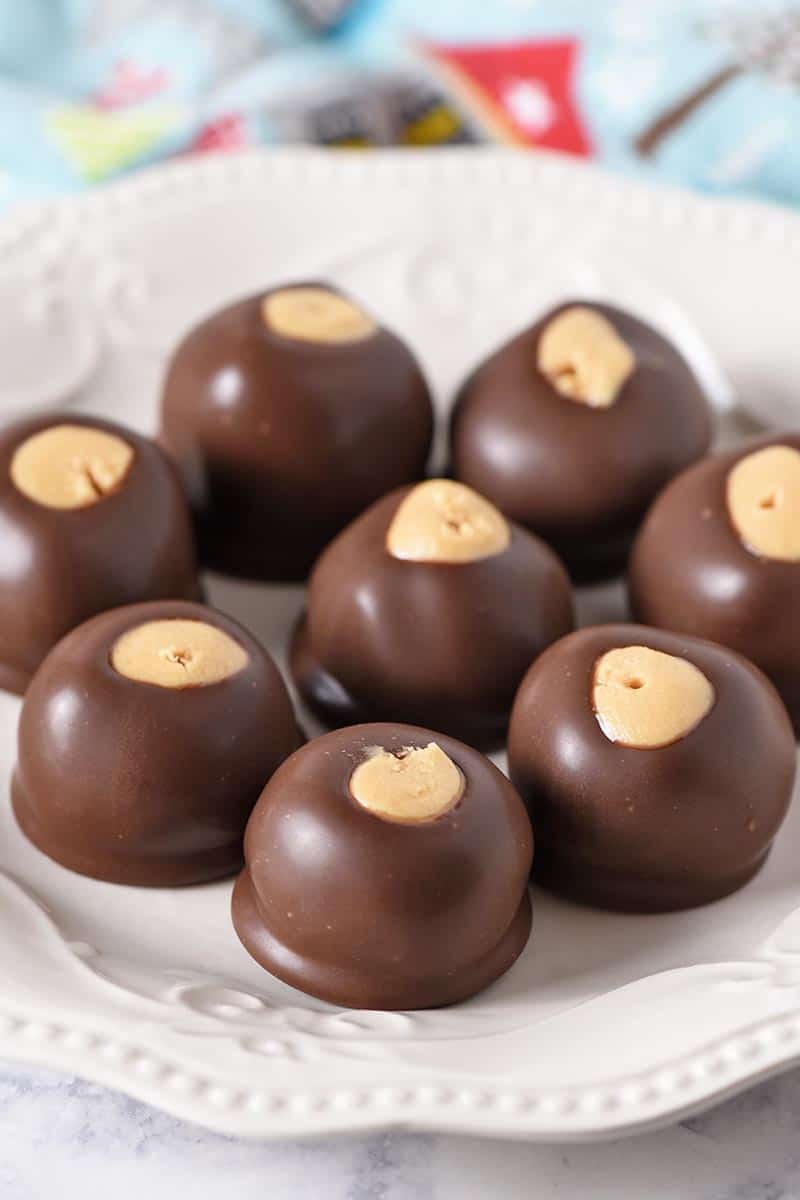
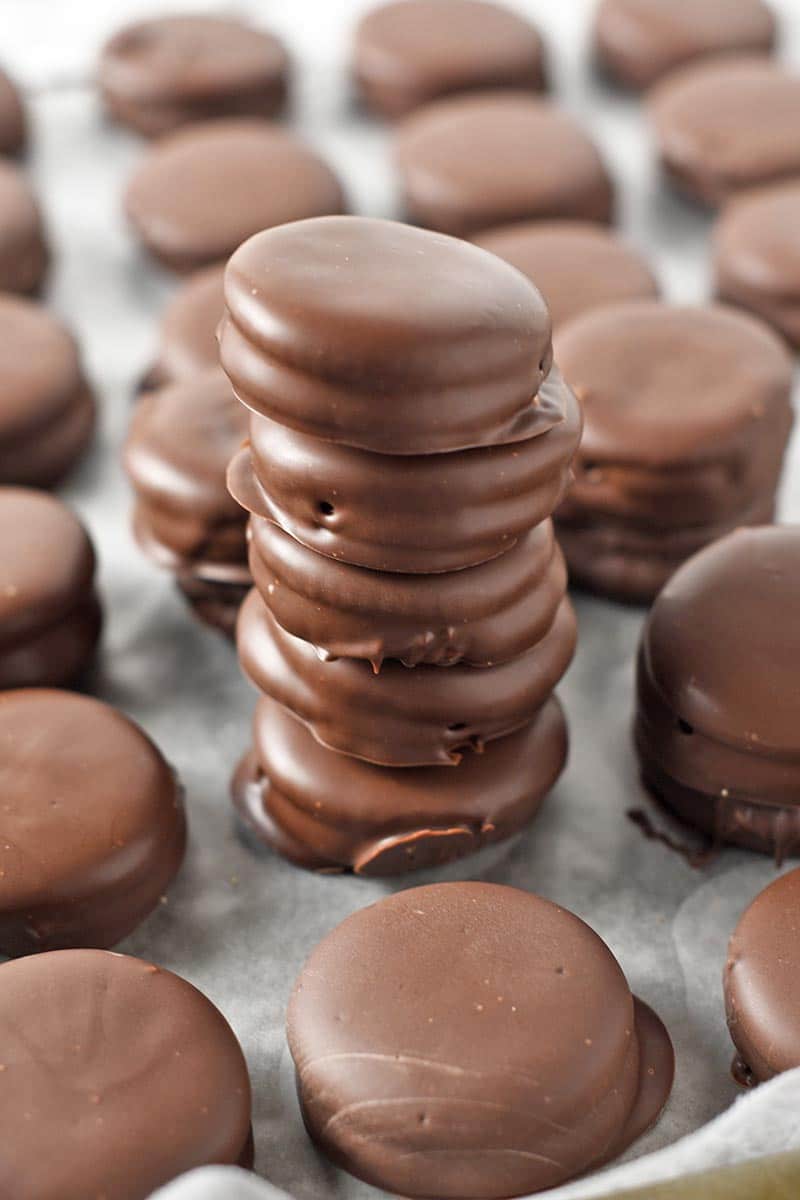
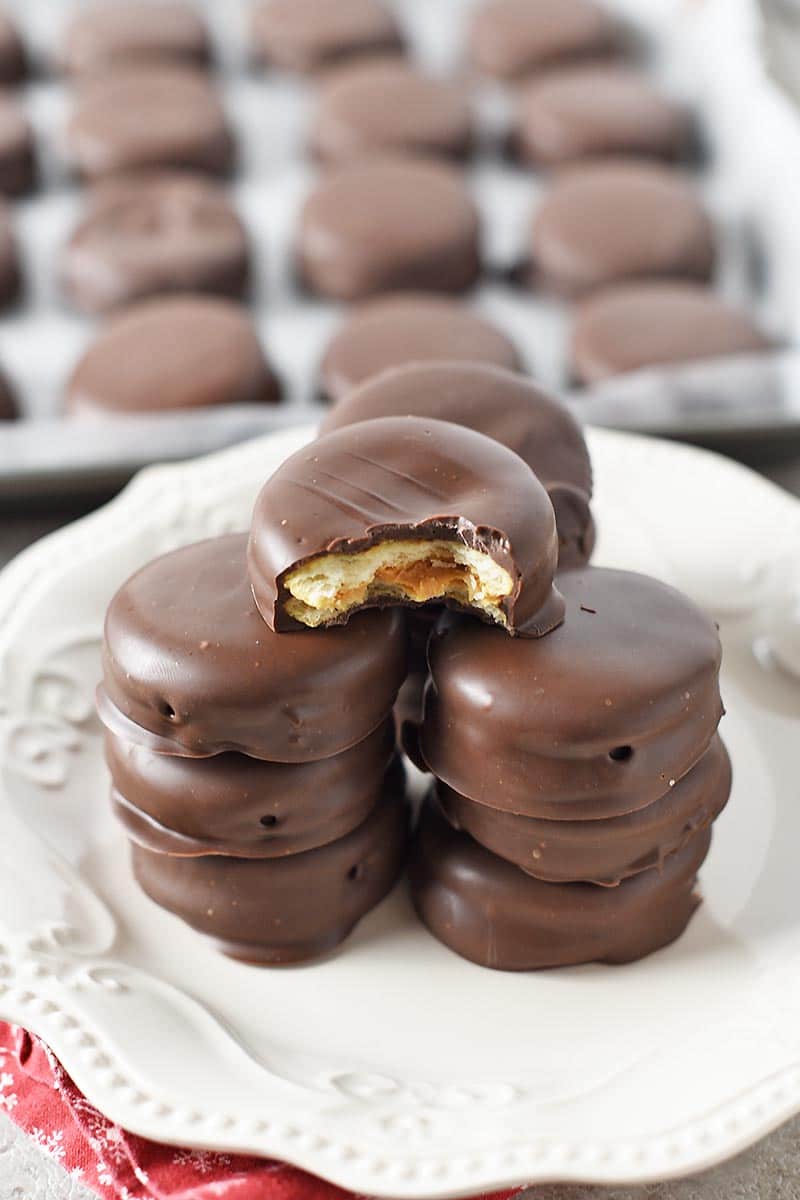
Make chocolate covered Ritz crackers with peanut butter in a jiffy. Quick and easy no bake recipe, only 3 ingredients, and they’re the perfect bite-sized candy for the holidays, family gatherings, parties, and celebrations!
Ritz cookies are another one of our favorite treats during the holiday season, and I’ve made them for years. My family can’t go a Christmas without making peanut butter Ritz crackers and rice crispy peanut butter balls; they make great Valentine’s Day and Easter candies too.
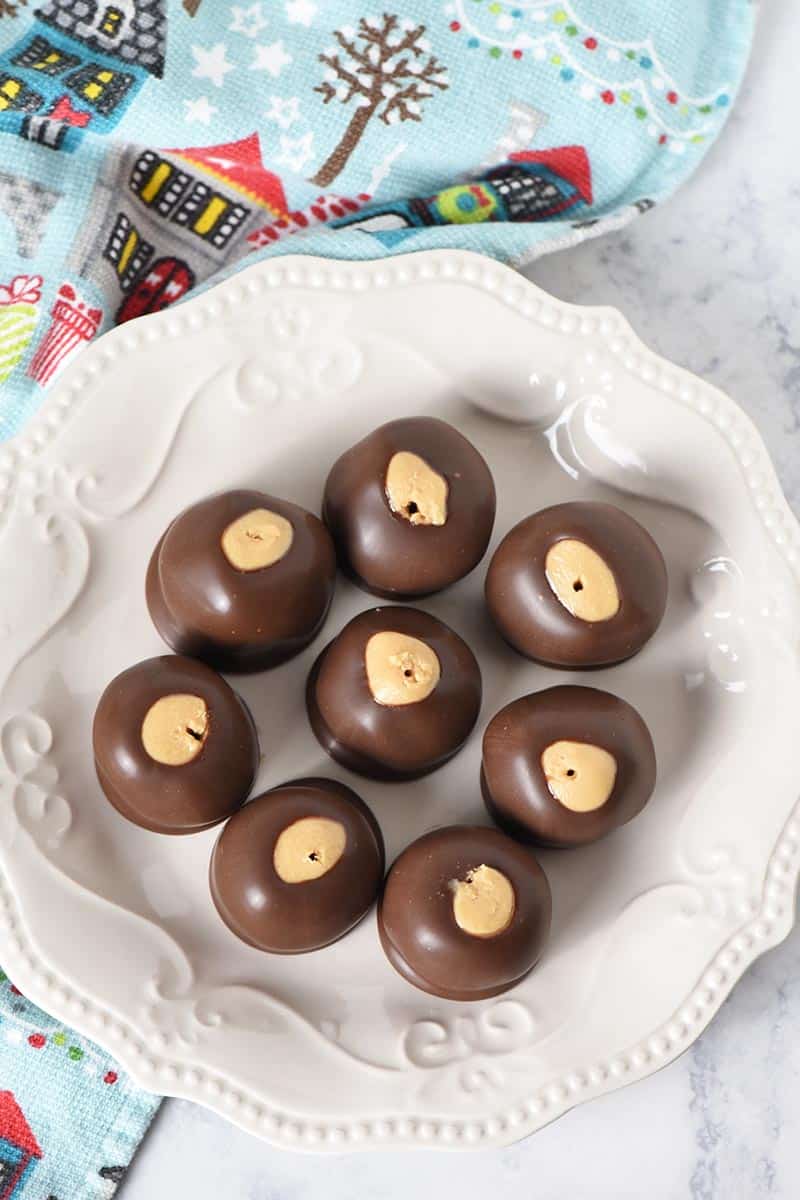
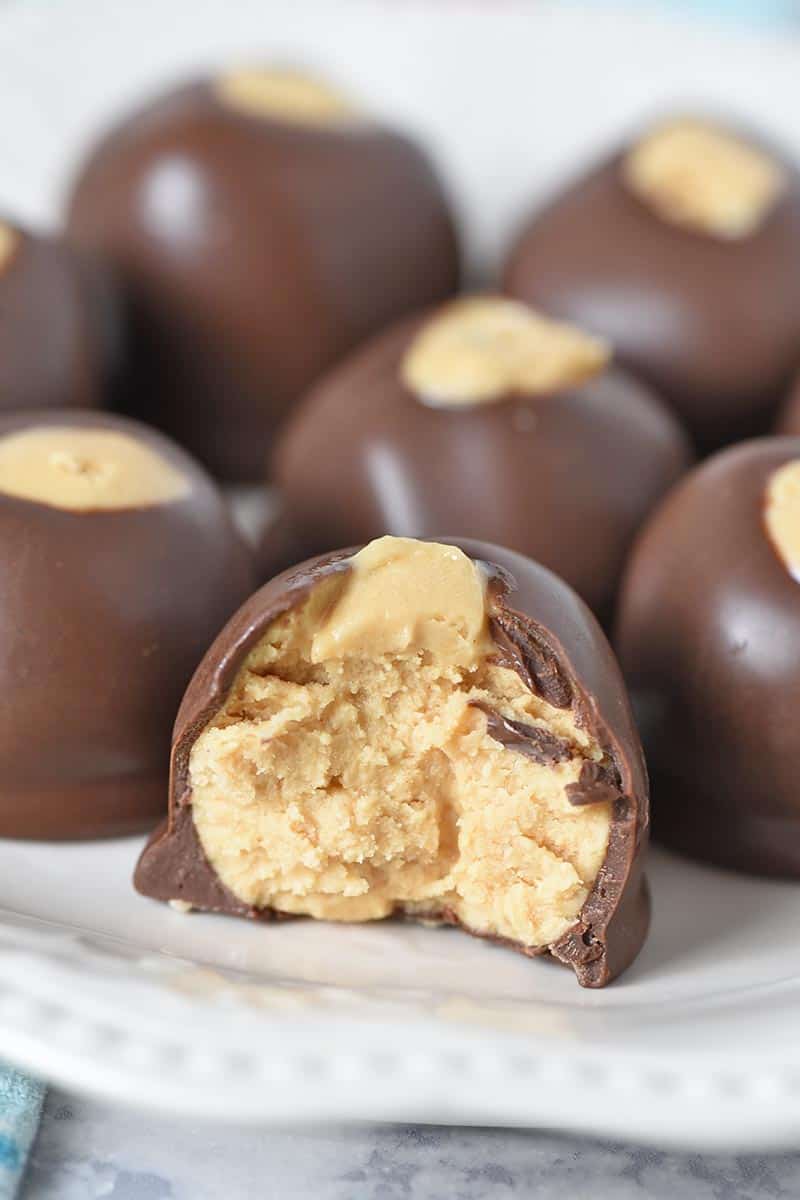
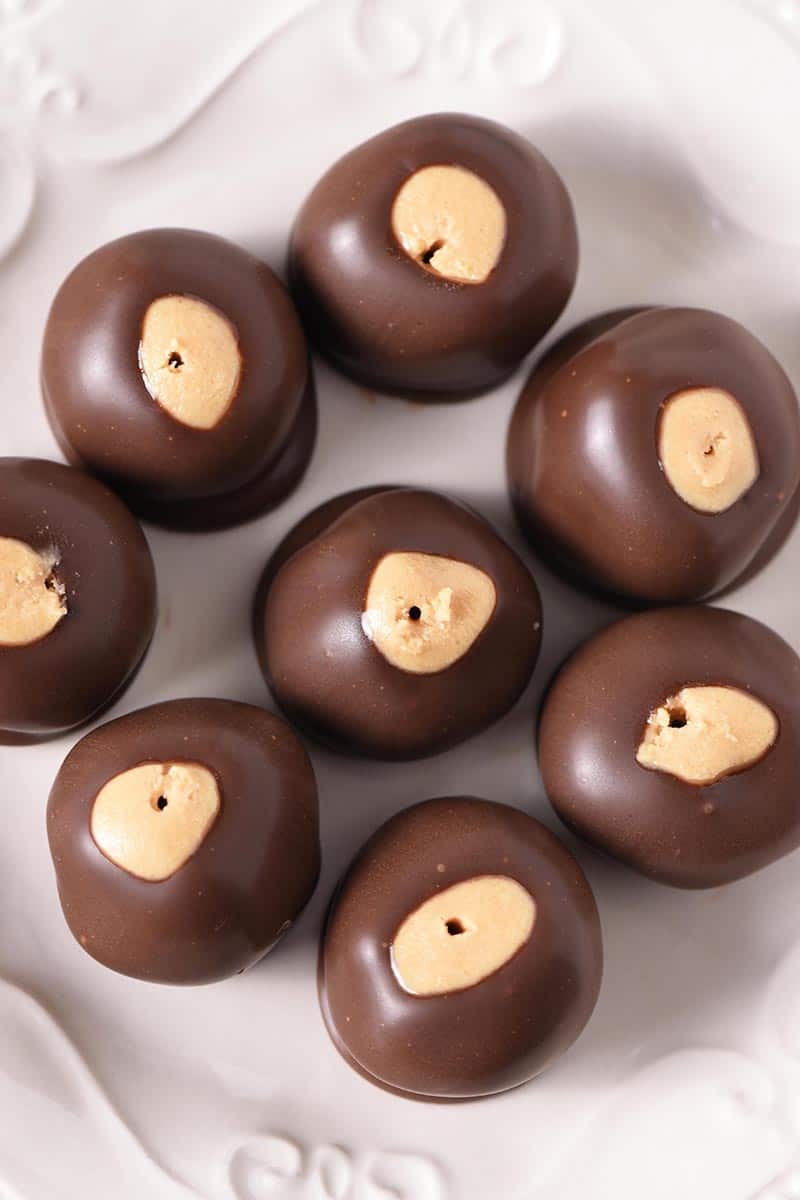
Every single Christmas when I was a kid, my mom would make chocolate covered Ritz crackers with peanut butter, along with this easy buckeye recipe.
I remember we’d store these crunchy little Ritz cracker peanut butter cups in the stairwell of our old farmhouse because there was no heat and they’d stay nice and chilled there. My bedroom was at the top of said stairwell, so of course, I’d help myself as I climbed past on the way to my room.
So Many Reasons to Love This Christmas Candy
- Chocolate Ritz crackers are so easy to make! And they’re no bake cookies, so they’re quick too! It’s super easy to make a double batch or triple batch of these delicious goodies.
- You need a grand total of 3 ingredients to make them, unless you want to get creative and add extras, like festive sprinkles or sea salt flakes. But they’re delicious just the way they are.
- I mean, if you think about it, what goes together better than chocolate and peanut butter?
- As a sweet and salty treat, they’re the best of both worlds. You get a sweet snack, while at the same time, a salty snack. Yum!
- They’re the perfect no bake treat for celebrations, holidays, and special occasions. They make an especially festive holiday cookie tray.
- Along with a cold glass of milk, they make the perfect yummy treats for Santa.
If you’re looking for more homemade candy, you may enjoy making chocolate peanut butter bars, homemade chocolate covered cherries, and chocolate covered almond coconut trees.
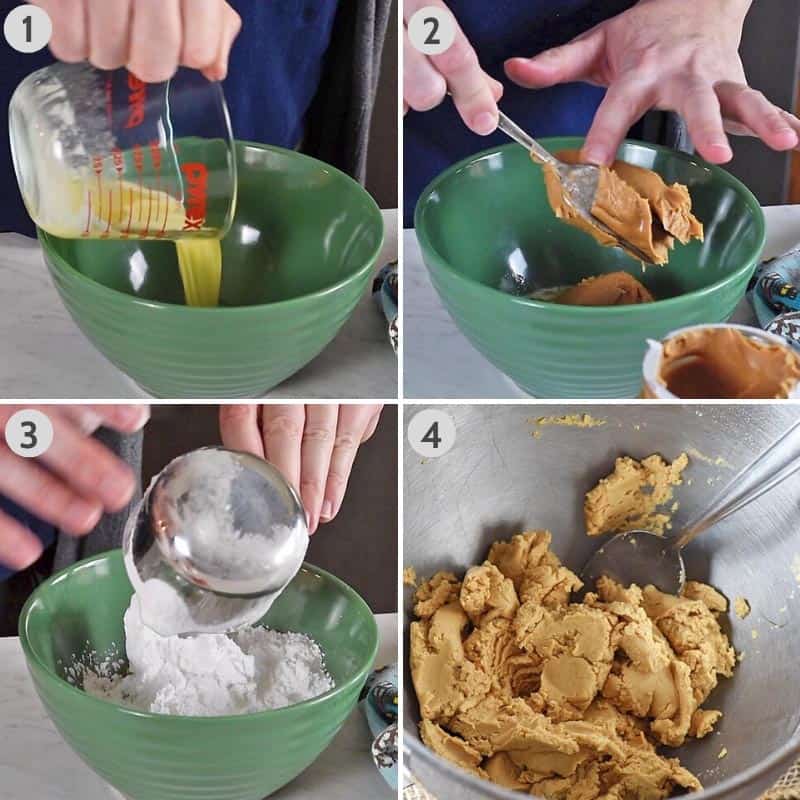
Ingredients and Substitutions Notes
You just need 3 simple ingredients to make Ritz cracker cookies dipped in chocolate…
- Ritz Crackers – If you want to make these little Ritz cookies gluten-free, you can use these crackers instead.
- Creamy Peanut Butter – I prefer Skippy Natural Creamy. And I LOVE using honey peanut butter too.
- Chocolate Melting Wafers – You can also use semi-sweet chocolate chips, chocolate baking bars, or almond bark.
How to Make Chocolate Covered Ritz Crackers with Peanut Butter
First things first, you’ll need to prep by placing a sheet of wax paper or parchment paper on a cookie sheet. Then…
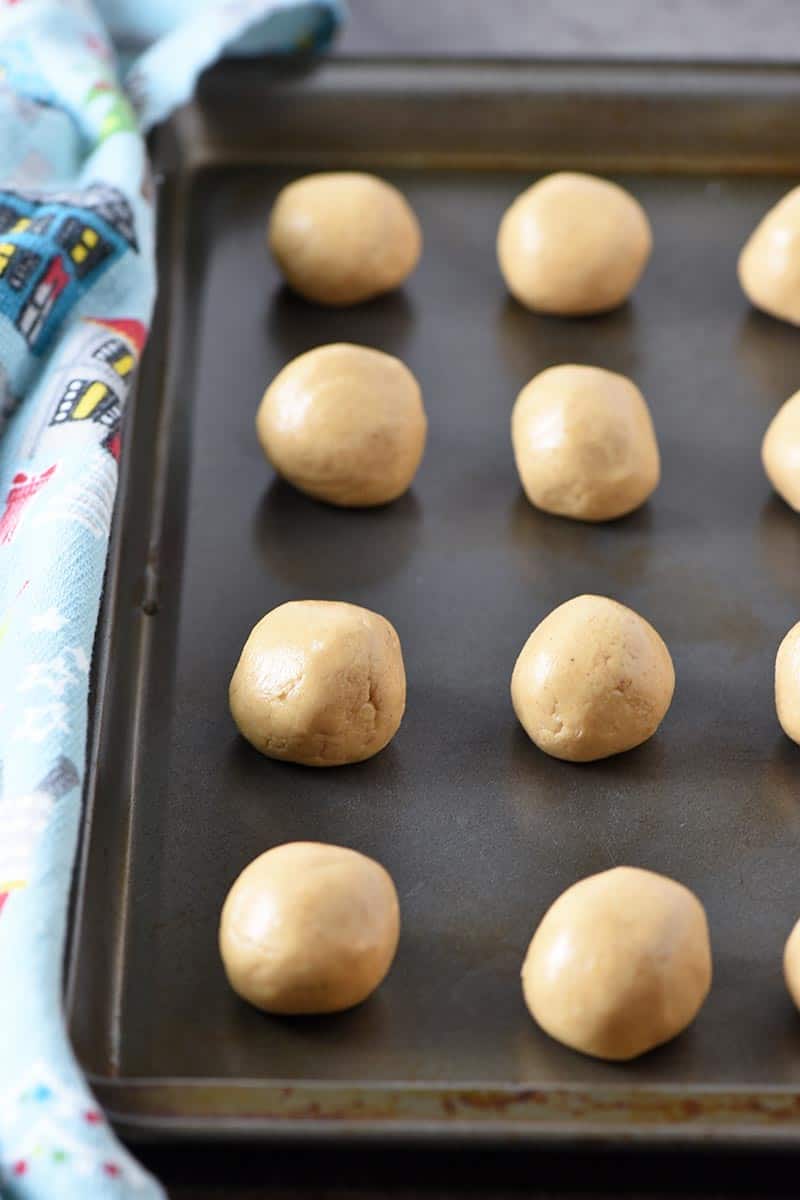
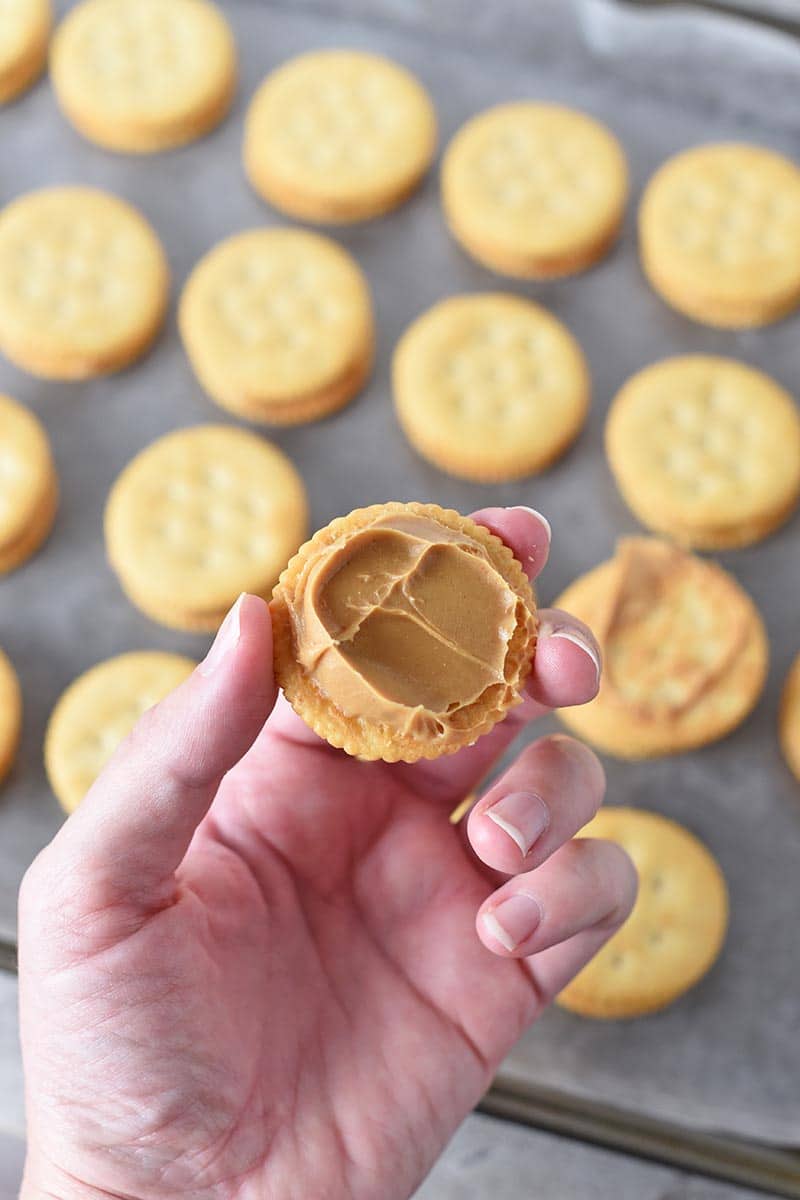
- Use a knife to spread peanut butter between 2 Ritz Crackers, sandwiching the peanut butter crackers together.
- Set each sandwich cookie on the wax paper covered baking sheet, in preparation for dipping.
How to Prep Chocolate for Dipping
You’ll need melted chocolate that’s ready to go. Depending on the chocolate you decide to use, you can melt it a few different ways:
- Melt it using a double boiler on the stove – The double boiler method is basically a pan inside of another pan with boiling water in the bottom pan. It allows for more even melting without burning, and it also keeps the chocolate warm for dipping.
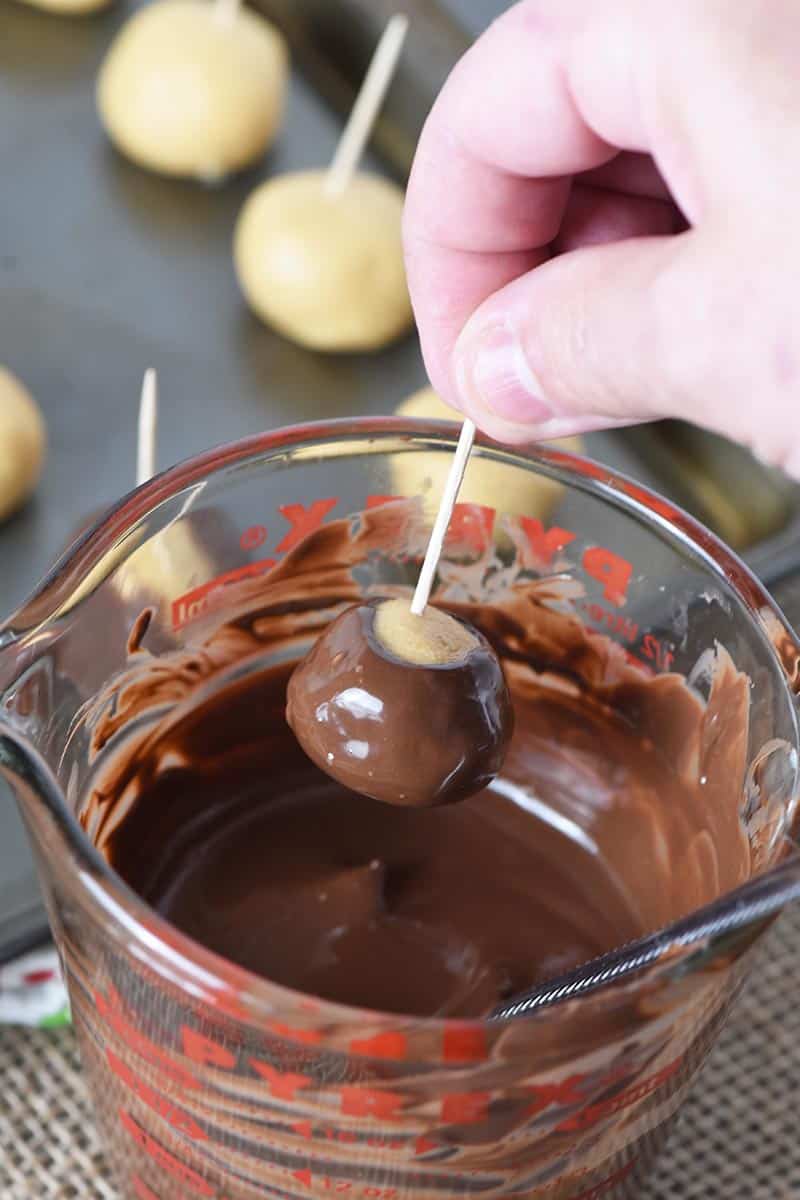
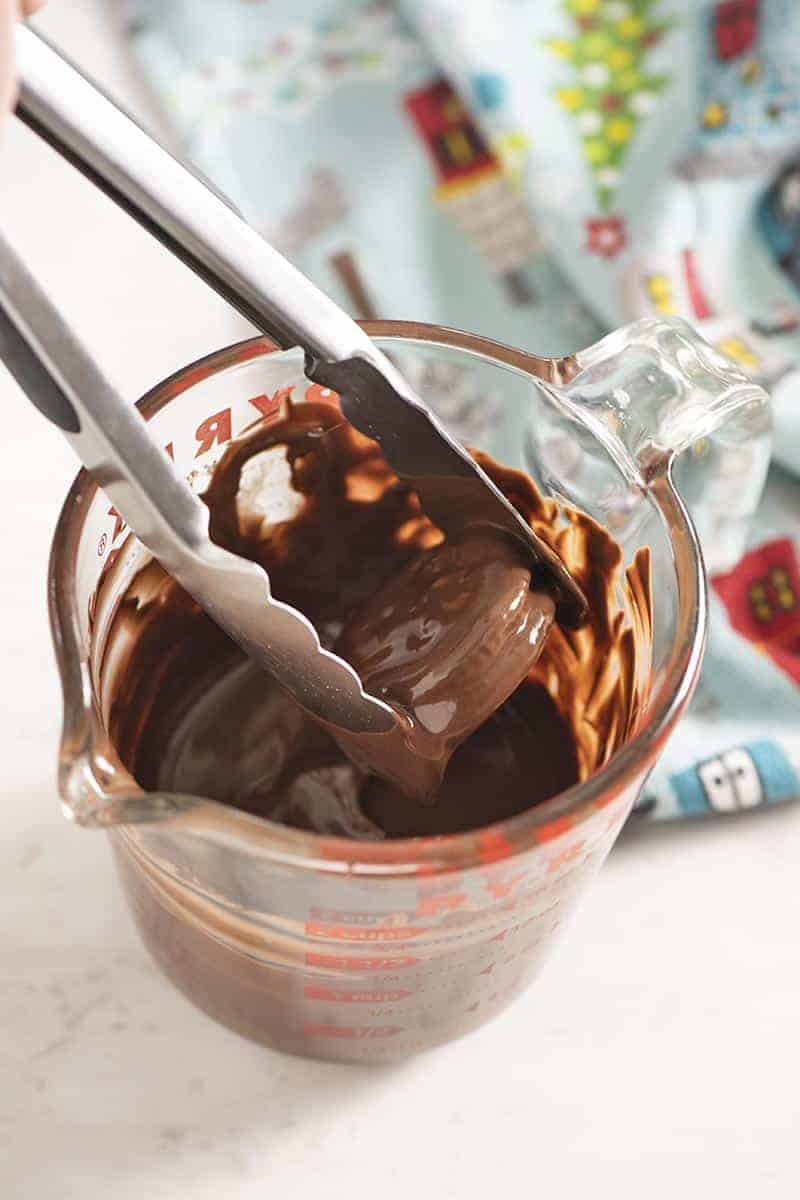
- Melt it in the microwave using a microwave-safe bowl or Pyrex measuring cup – This is usually the route I go. I like to use my glass measuring cup for melting the chocolate wafers in the microwave, according to package directions, usually in 15 to 30 second intervals, stirring after each increment ’til the chocolate is melted. The depth of my measuring cup makes dipping a lot easier
- Or enlist the help of your family, and use a fondue pot for dipping.
Also, depending on the type of chocolate used (chocolate almond bark, candy melts, or chocolate chips), some people like to use shortening or paraffin wax, adding it into their chocolate as it melts. This allows for a thinner coat and stretches the chocolate a little further. If you use a good quality chocolate, you likely won’t need that extra step.
I started using Ghirardelli Dark Melting Wafers a few years ago, and I love them so much better than almond bark. They’re so much easier to work with, and they have fantastic flavor.
How to Dip Chocolate Peanut Butter Ritz Crackers
- Once the chocolate is melted, dip each cracker sandwich in the melted chocolate, using the forks or tongs.
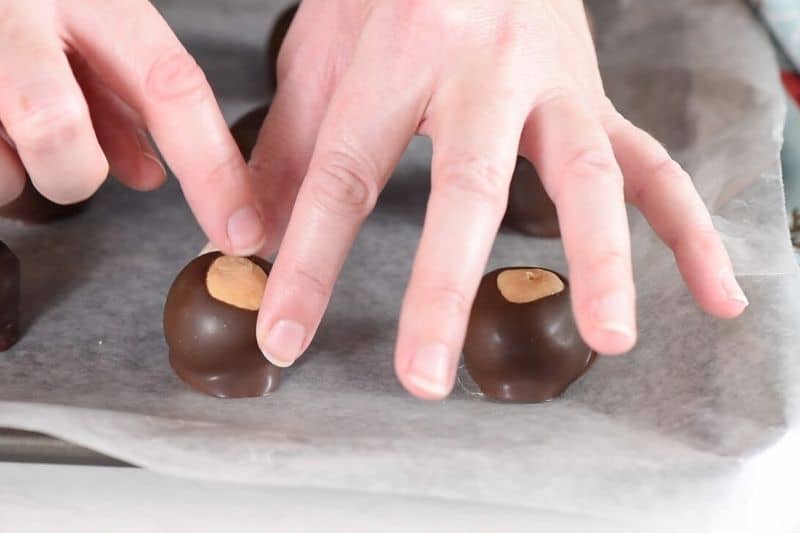
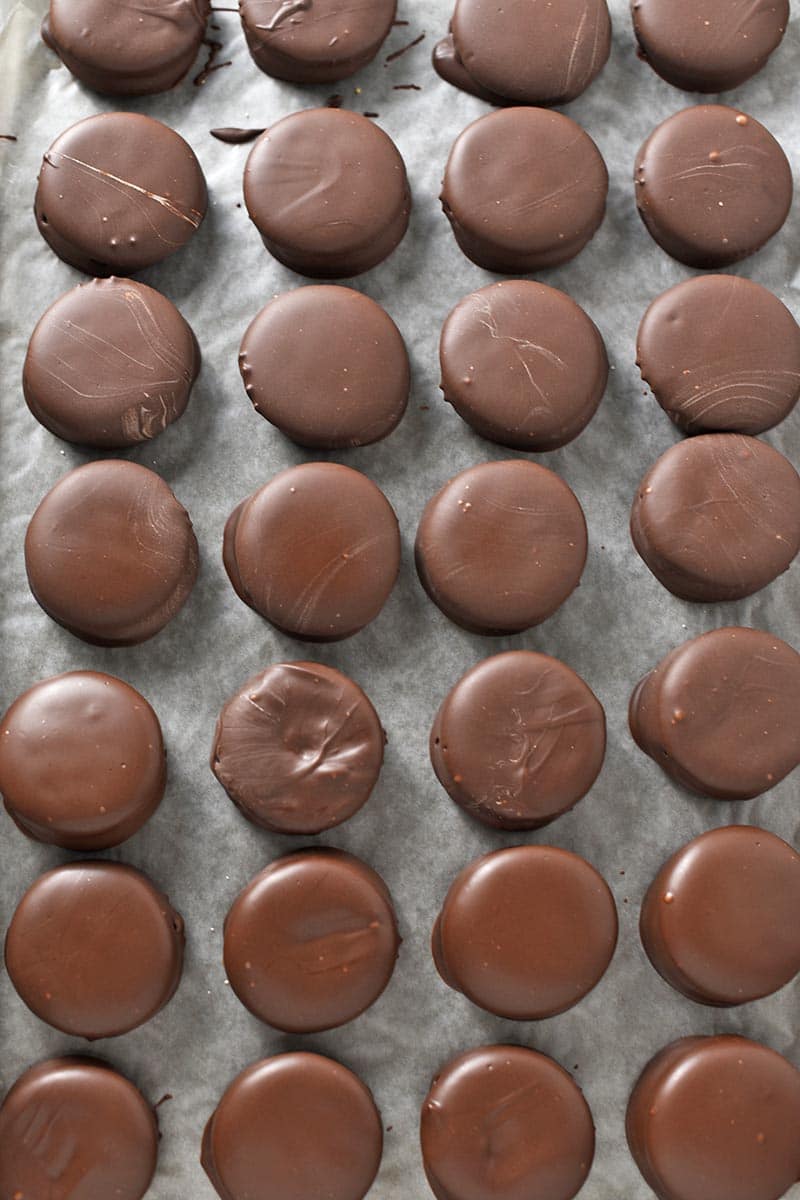
- Shake off any excess chocolate before placing the chocolate peanut butter Ritz cracker cookies back on the wax paper covered sheet pan to dry.
- When all your crackers have been dipped, chill them in the freezer for about 15 to 20 minutes. Remove them from the freezer and place them in an airtight container or festive Christmas tin (lined with wax paper) in the fridge.
Expert Tips and Recipe FAQ’s
Store in an airtight container in the fridge. They can be kept out at room temperature, but they won’t keep as long as they will if you keep them in the fridge or freezer. Kept chilled, they’ll last up to 2 weeks.
Yes, you can! Just be sure to keep them in an airtight container in between layers of wax paper, to avoid freezer burn.
Of course! You can use almond butter, cashew butter, etc.
Alternative Recipe Variations for Ritz Cookies
- Use marshmallow fluff instead of peanut butter in between the crackers.
- Add a layer of marshmallow fluff, along with peanut butter, for an even creamier treat.
- Use crunchy peanut butter instead of creamy, especially if you like a crunchier treat. Or use a different nut butter, like almond butter, cashew butter, etc.
- Double or triple the layers on your cracker sandwiches, using more crackers and more peanut butter for a triple layer treat.
- Instead of dipping in chocolate, dip the cracker sandwiches in melted white chocolate chips, melted butterscotch chips, milk chocolate, peanut butter chips, mint chocolate chips, etc. The sky’s the limit.
- Drizzle the dipped crackers with white chocolate or dark chocolate. Or double dip, dipping half of each cracker in chocolate and half in white chocolate… You get the idea.
- Add sprinkles, sea salt flakes, or festive sugar on top of each of your Ritz crackers dipped in chocolate, before the chocolate hardens.
More Holiday Dessert Recipes
If you love this Ritz cracker cookies recipe as much as I do, you’ll love these recipes too…
- You and your family will really enjoy candy cane bark.
- Did you know you can make hot chocolate cookies with hot cocoa mix?!
- And check out my list of favorite Christmas and Holiday Recipes!
- My friend Kelly at Eat Picks has a very yummy recipe for homemade Thin Mint cookies.
If you try this recipe, why not leave a star rating in the recipe card right below and/or a review in the comment section further down the page? I always appreciate your feedback. You can also follow me on Pinterest, Facebook, Instagram, and YouTube. And subscribe to my email list too!
Chocolate Covered Ritz Crackers with Peanut Butter

Make chocolate covered Ritz crackers with peanut butter in a jiffy. Quick and easy no bake recipe perfect for holidays and parties!
- Wax Paper
- Baking Sheet
- Double Boiler
- Pyrex Measuring Cup
- Candy Dipping Tools
- Festive Christmas Tins
- 3 sleeves Ritz Crackers
- 1 cup creamy peanut butter
- 20 ounces dark chocolate melting wafers ((or chocolate chips))
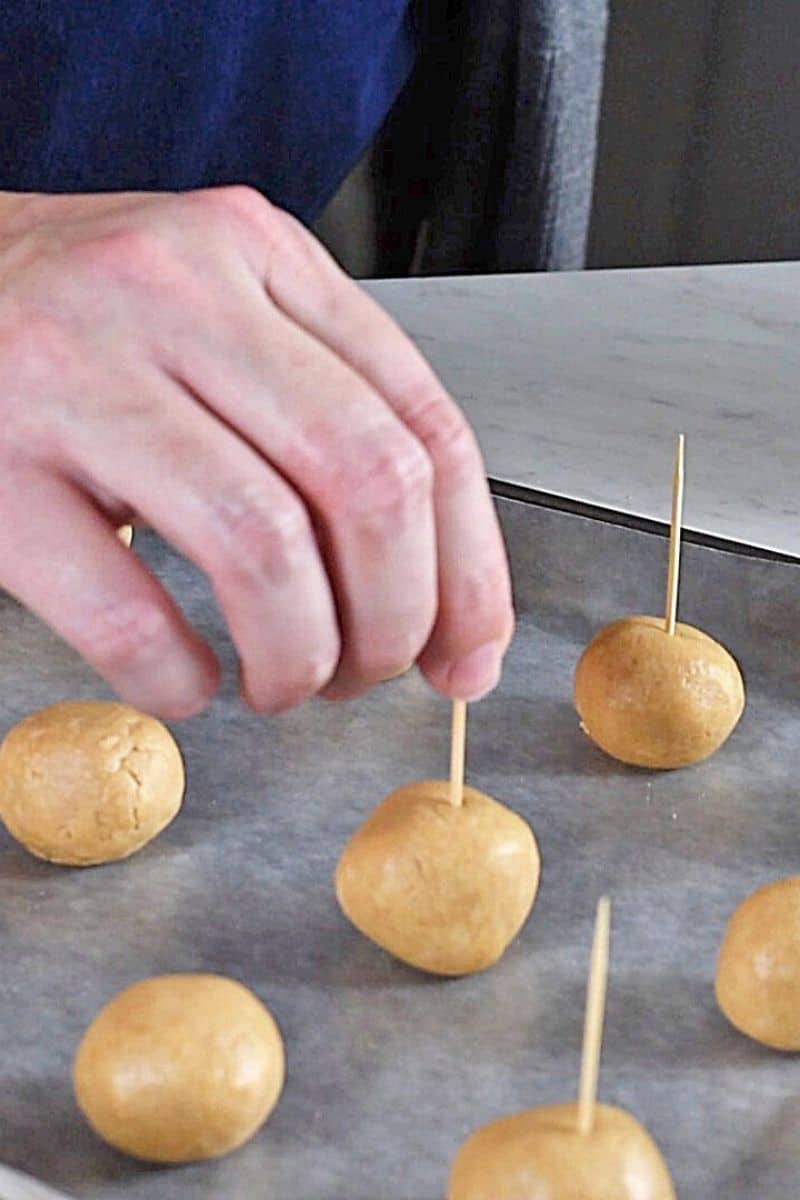
Line a baking sheet with wax paper.
Use a table knife to spread peanut butter between 2 Ritz Crackers, sandwiching the crackers together.
Set each sandwich cookie on the wax paper lined baking sheet, in preparation for dipping.
Add the chocolate to a microwave-safe measuring cup or bowl; and melt, starting at 30 seconds, then stirring every 15-20 seconds, 'til melted and smooth.
Using 2 forks or tongs, dip each cracker sandwich in the melted chocolate; shake any excess chocolate off before placing back on the wax paper to dry.
When all the crackers have been dipped, chill them in the freezer for about 15 to 20 minutes.
Remove them from the freezer, and place them in an airtight container. They're best stored in between layers of wax paper in an airtight container in the fridge for up to 2 weeks.
Depending on the type of chocolate used (chocolate almond bark, candy melts, or chocolate chips), some people like to use shortening or paraffin wax, adding it into their chocolate as it melts. This allows for a thinner coat and stretches the chocolate a little further. But if you use a good quality chocolate, you likely won’t need that extra step. I started using Ghirardelli Dark Melting Wafers a few years ago, and I love them so much better than almond bark. They’re so much easier to work with, and they have fantastic flavor.
You can also melt the chocolate using a double boiler on the stove. This is basically a pan inside of another pan with boiling water in the bottom pan. It allows for more even melting without burning, and it also keeps the chocolate warm for dipping.