Whip up a homemade Garfield costume for kids with minimal sewing and a dab of Garfield makeup. Anyone can make this easy DIY costume, supply list included; it’s especially perfect for Halloween!
Every year I say I’m going to make the boys’ costumes, and every year Halloween gets away from me, leaving us scrambling the night before.

Well, not this year, because we’ve been busy! Jaden kept changing his mind on what he wanted to be for Halloween. Finally, he decided on a Garfield Halloween costume.
I waited a few days before I started purchasing supplies, just in case he changed his mind again. Nope, Garfield it was.
This DIY Garfield costume is really pretty simple to make. In fact, why not make some Halloween treats to go along with your costume making? Like chewy monster cookies or Frankenstein brownies. Or better yet, Frankenstein Rice Krispie treats. Yum!
Why You’ll Love This Costume
- This costume is easy to make, and requires minimal supplies.
- It also requires minimal sewing for those who are sewing challenged.
- You can make this a Garfield baby costume, toddler costume, or adult costume. It works for anyone, any size, any age!
- It’s the perfect costume for Halloween, Garfield cosplay, theatrical productions, and more!

Supplies and Materials Notes:
You’ll need a few supplies and tools for this Garfield costume DIY…
- Orange footie pajamas with hood – That’s right, we’re making a Garfield onesie. Again, while I’m focused on making this for a child, you can buy the right size for anyone and apply the same instructions to that size costume.
- Matching (or near-matching) orange fleece fabric – Try to find the same color as the pajamas you get.
- Large roll black Duck Tape and Mini roll black duct tape
- Small piece poster board
- Quilt batting
- Orange thread
- 1-in. thick foam – enough for 2 ears
- Foil pan & trick or treat bucket
- Glue sticks
- Costume makeup
Tools You’ll Need:
How to Make a Garfield Costume DIY
When making this costume, we decided to make the Garfield portion of the footie pajamas a temporary thing. Jaden wanted to use them as jammies after Halloween.
So we used Duck Tape for the stripes and tacked the ears and tail on. That way, everything will be easy to remove when Halloween is over.
Just a Few Important Notes:
It’s a good idea to wash the pajamas before you start crafting. That way they’re clean and ready to be decorated.
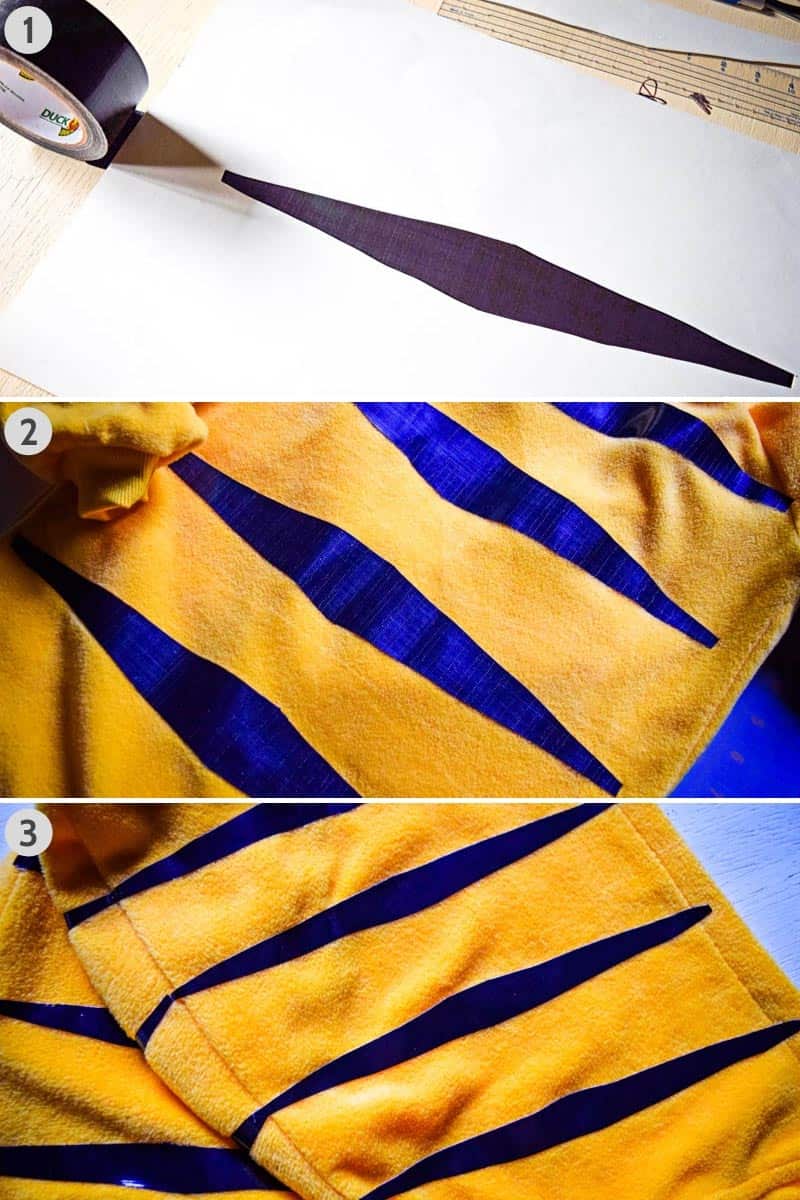
You’ll also need to make a template for the stripes on Garfield’s back. I looked at various images of Garfield on Google and decided to go with 4 stripes.
Making a template out of a smaller piece of poster board makes cutting the Duck Tape stripes so much easier and more efficient. The size of the stripes will depend on the size costume you’re making.
Make the Stripes:
- Roll out a piece of Duck Tape, place your template over the Duck Tape, and use a craft knife to cut the shape out of the Duck Tape.
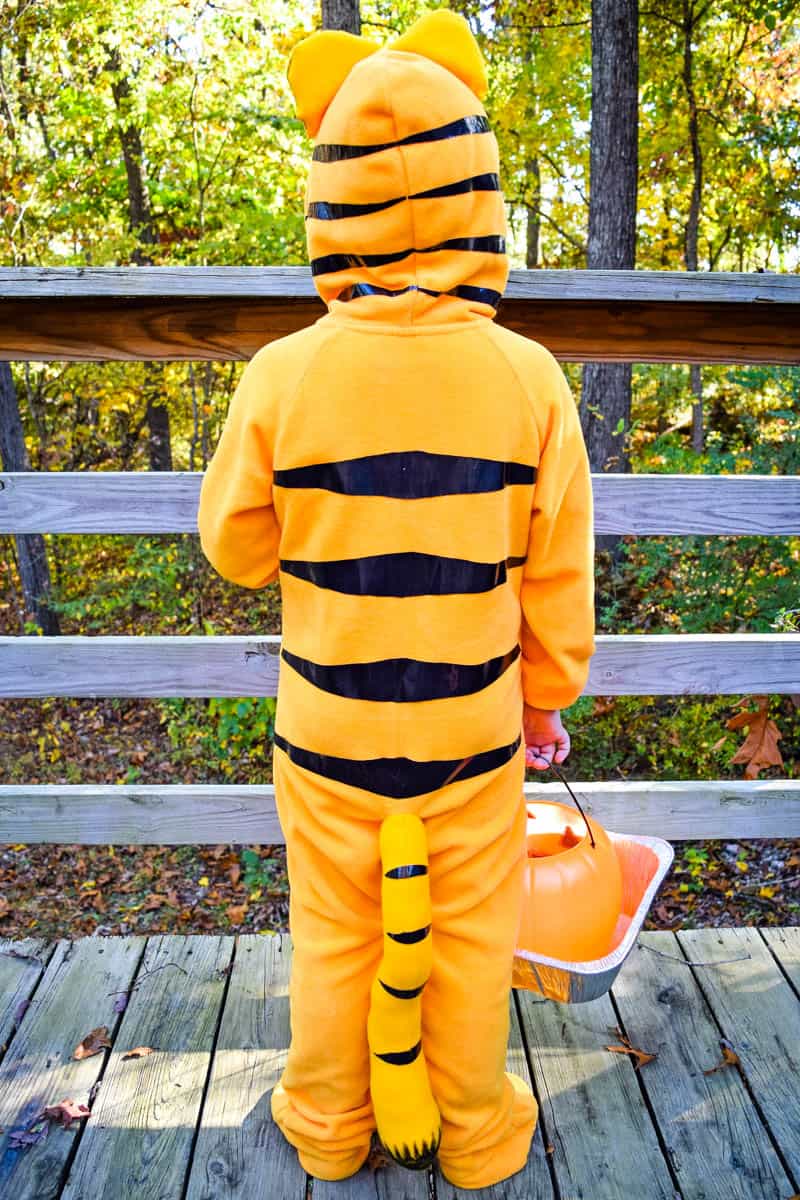
- Then apply each stripe to the back of the footie pajamas.
- After placing the larger stripes, mark where you want to place the ears. Then cut a smaller stripe template for stripes that go up the hood of the pajamas, and cut the stripes. Place each stripe up the left side of the hoodie, matching in place with the stripes on the right side of the hoodie. I placed 4 stripes on each side of the hood.
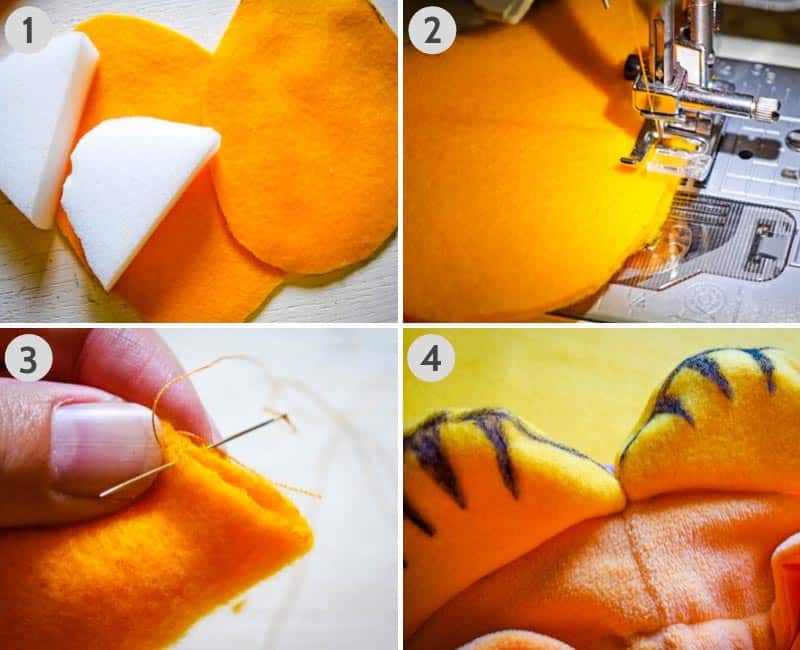
Now for the Garfield Ears:
- Begin by cutting 2 small semi-circles out of the 1-in. thick foam. Place the semi-circles on the extra fleece fabric, and draw an oval around the shapes, leaving about 1 inch extra for the hem.
- For each ear, fold the oval shaped fabric in half, and sew around the edges, leaving 2-3 inches open for stuffing with the foam shape. Then turn the ears right side out and stuff with the foam shapes.
- After stuffing, close up the ear with a needle and thread.
- Tack the ears to the top of the hood where you’d previously marked for the ears to go. Using an image of Garfield as your guide, color in stripes and outline the ears with a black “Stained by Sharpie” fabric marker.
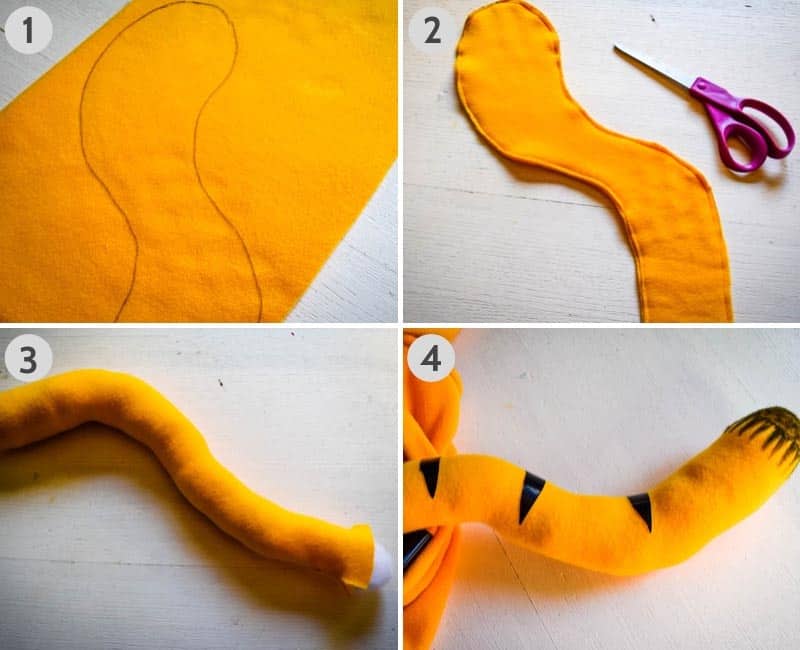
And Finally, Garfield’s Tail:
My husband, Dan, actually came up with this tail shape for me; he’s more of an artist than I am when it comes to designing/drawing. It turned out awesome!
- Fold more of the extra fleece fabric in half, and draw your shape, making sure to draw the tail large enough for the hem.
- Cut the tail out of the folded fleece, cutting both pieces of fabric. Then sew it together.
- Once the tail pieces are sewn together, it’s time to turn the tail right side out and stuff it with quilt batting. Make sure the tail is full to the gills with quilt batting. Once it’s full of batting, tack the tail to the back side of the costume.
- Cut 4 more stripes out of the Duck Tape. 2 stripes will be very small, and 2 stripes will be more of a medium size. Place the stripes on the tail. Then, using an image of Garfield as your guide, color in the end of the tail with the fabric marker.
Add the Finishing Touches to Your Homemade Garfield Costume
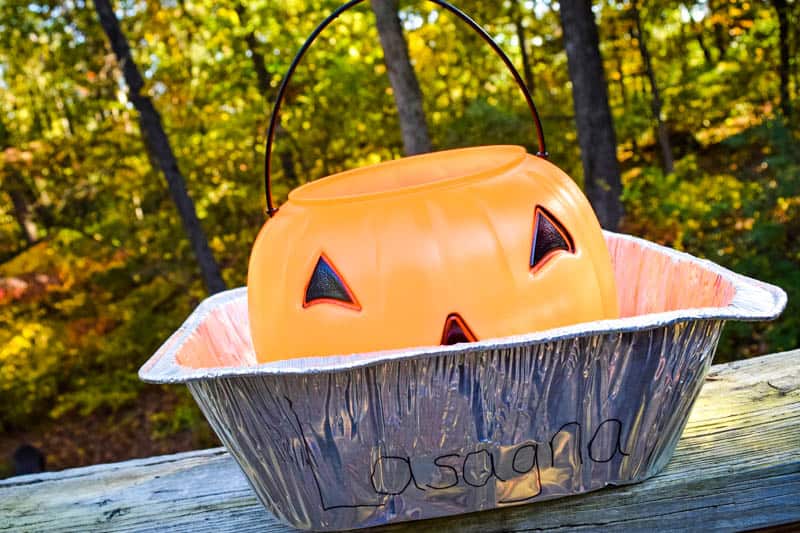
Finally, it’s time for the props.
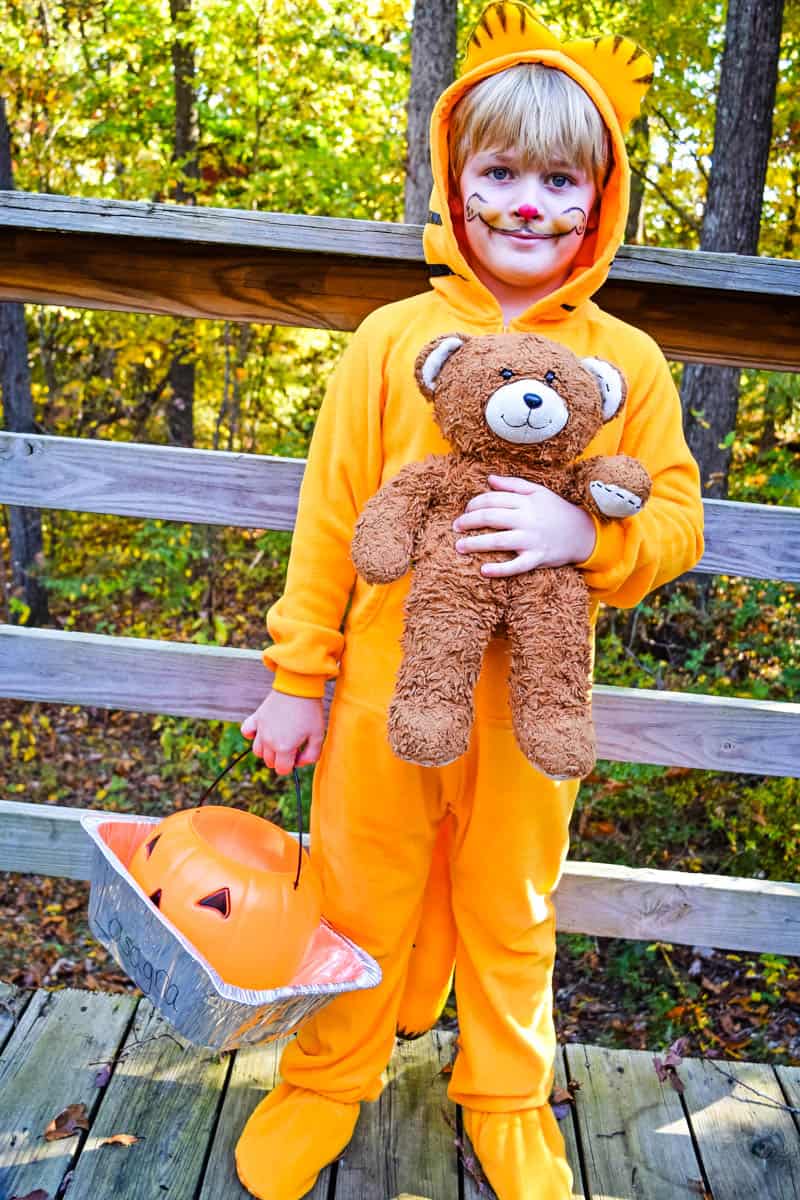
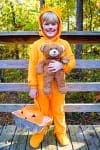
Garfield loves his lasagna, so I hot glued Jaden’s trick or treat pumpkin bucket inside a foil pan labeled ‘Lasagna’. Easy peasy!
And Jaden decided that he needed to also have Teddy with him (aka, Pooky), since Garfield loves his Pooky the Teddy Bear.
We needed a little Garfield makeup, so we added a little costume makeup for whiskers and such, and he was all set. So stinkin’ adorable, y’all!
And that’s all there is to it! Such an easy costume to make; all you need are a few supplies and a couple hours.
Garfield is in the house, yo! And Jaden is so excited for trick-or-treating this Halloween. Have to say, I’m pretty excited too!
More Halloween Costumes for Kids
- Transforming Optimus Prime Costume Template
- Wonder Woman Costume
- Super Mario Brothers Costume
- Transforming Bumblebee Costume Template
- Rainbow Unicorn Costume
If you love this Garfield outfit as much as we do, please write a 5 star review, and help me share the DIY on Facebook and Pinterest!
I always appreciate your feedback. Be sure to leave a comment, and follow me on Pinterest, Facebook, Instagram, and YouTube. You can subscribe to my email list too.
Garfield Costume DIY
Whip up a homemade Garfield costume for kids with minimal sewing and a dab of Garfield makeup. Easy DIY costume, supply list included.
- 1 craft knife
- 1 cutting mat
- 1 black “Stained by Sharpie” fabric marker
- Sewing machine
- 1 hand sewing needle
- Sewing scissors
- Hot glue gun
- 1 pair orange footie hooded pajamas*
- 1/2 yard matching fleece fabric
- 1 large roll black Duck Tape
- 1 mini roll black Duck Tape
- 1 piece poster board
- quilt batting
- orange thread
- 1 piece 1-inch thick foam
- 1 foil pan
- 1 trick or treat bucket
- costume makeup
- hot glue sticks
Roll out a piece of Duck Tape, place your template* over the Duck Tape, and use a craft knife to cut the shape out of the Duck Tape.
Then apply each stripe to the back of the footie pajamas.
- After placing the larger stripes, mark where you want to place the ears.
- Then cut a smaller stripe template for stripes that go up the hood of the pajamas, and cut out the stripes.
- Place each stripe up the left side of the hoodie, matching in place with stripes on the right side of the hoodie. I placed 4 stripes on each side of the hood.
Begin the ears by cutting 2 small semi-circles out of the 1-inch thick foam.
Place the semi-circles on the extra fleece fabric, and draw an oval around the shapes, leaving about 1 inch extra for the hem.
- For each ear, fold the oval shaped fabric in half, and sew around the edges, leaving 2-3 inches open for stuffing with the foam shape.
- Then turn the ears right side out and stuff with the foam shapes.
After stuffing, close up the ear with a needle and thread.
- Tack the ears to the top of the hood where you’d previously marked for the ears to go.
Using an image of Garfield as your guide, color in stripes and outline the ears with the fabric marker.
Fold more of the fleece fabric in half, and draw your shape, making sure to draw the tail large enough for the hem.
- Cut the tail out of the folded fleece, cutting both pieces of fabric. Then sew it together.
Once the tail pieces are sewn together, it’s time to turn the tail right side out and stuff it with quilt batting. Make sure the tail is full to the gills with quilt batting.
- Once it’s full of batting, tack the tail to the back side of the costume.
Cut 4 more stripes out of the Duck Tape. 2 stripes will be very small, and 2 stripes will be more of a medium size.
- Place the stripes on the tail.
Then, using an image of Garfield as your guide, color in the end of the tail with the fabric marker.
Hot glue a trick or treat pumpkin bucket inside a foil pan, labeled ‘Lasagna’.
Add a stuffed teddy bear for Pooky the Teddy Bear.
Use costume makeup to make Garfield makeup, including whiskers, a pink nose, and other Garfield facial features.
- And that’s it! Your costume is ready to go!
*Wash the pajamas before starting to craft the costume.
*You’ll need to make a template for the stripes on Garfield’s back. Making a template out of a smaller piece of poster board makes cutting the Duck Tape stripes so much easier and more efficient. The size of the stripes will depend on the size costume you’re making.


 If you want more info, you can find all of these movies on


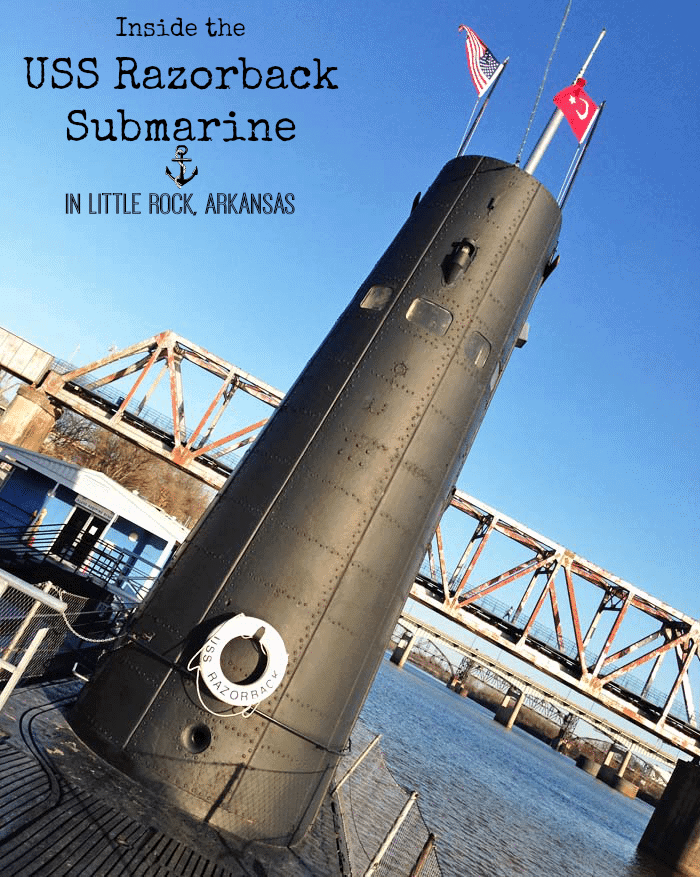
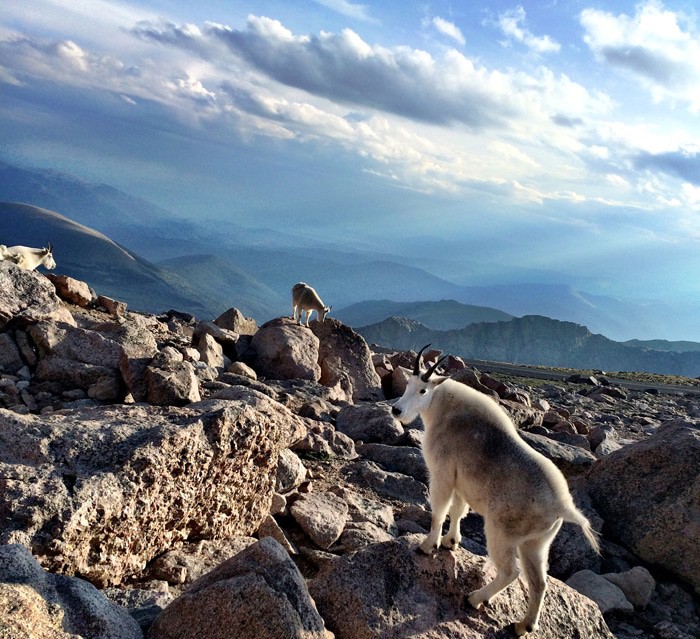
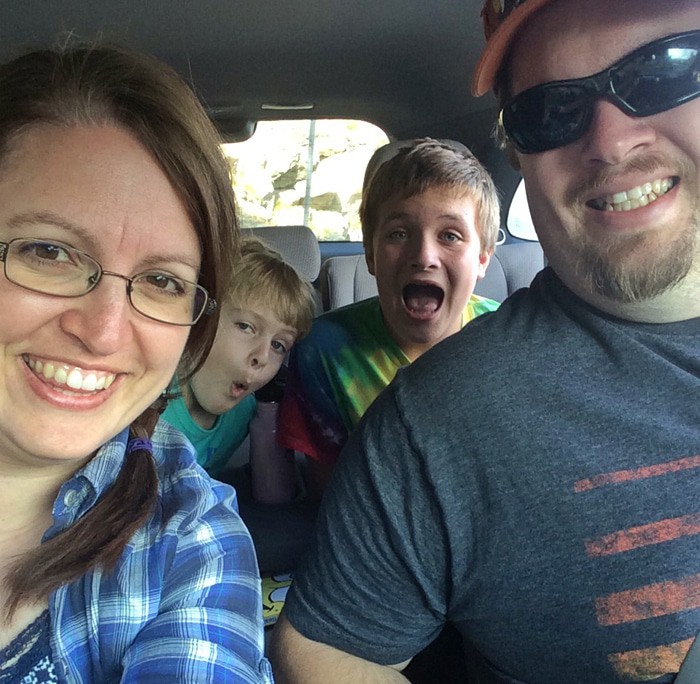
 It was one of those spur-of-the-moment roadside stops that we usually like to make when traveling together as a family. Of course, the boys were ecstatic and couldn’t wait to see and explore this awesome military installation right there in the Arkansas River.
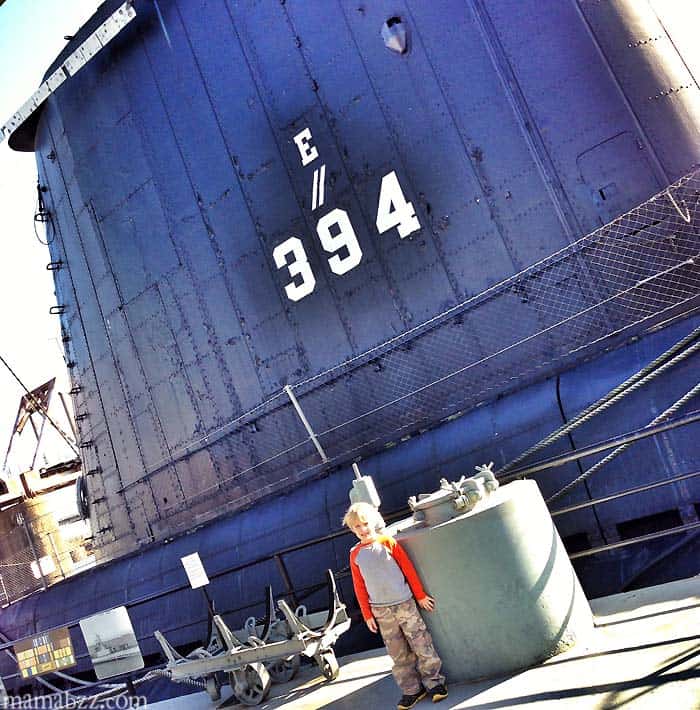
 Interesting fact: The USS Razorback was, in fact, not named after the famous Arkansas razorback, but rather the Razorback Whale. She was built at the Portsmouth Naval Shipyard in Kittery, Maine. She served in World War II and in Vietnam; she was also active during the Cold War.
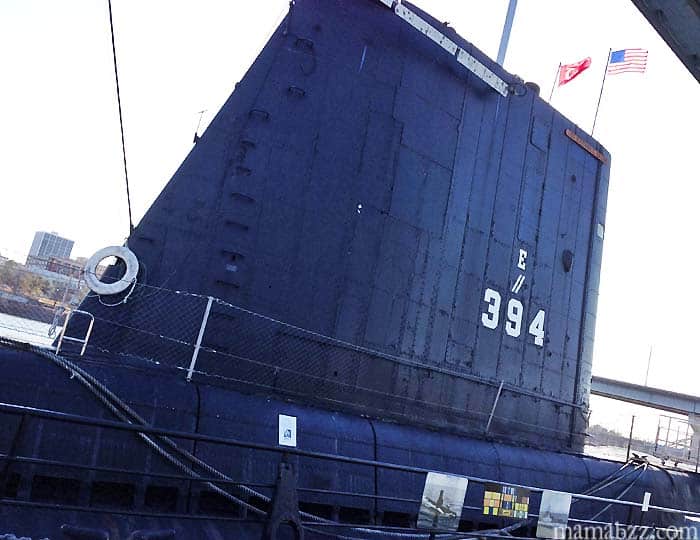 Visitors can tour the submarine, exploring both the outside and climbing down into the submarine to walk through from end to end. You can read more about her history on the museum’s website.
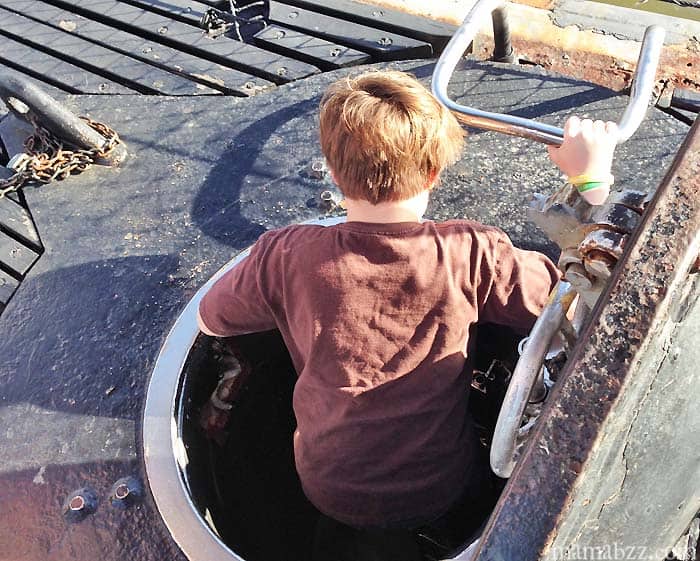 Space was tight, and as we got down in the bowels of this huge ship, I couldn’t imagine having to live like that for months at a time or longer. Amazing men, these sailors who volunteered to serve in submarines, because they weren’t forced into this; and only men served in submarines. Yes, the Navy paid them double the wages, but they raised their hand to serve in a sub. Bunks were tight, and just to give you a small picture, this was a top bunk that noone wanted, mainly because there was little space between the bunk and the vent, as you can see. Can you even tell there’s a bunk there?
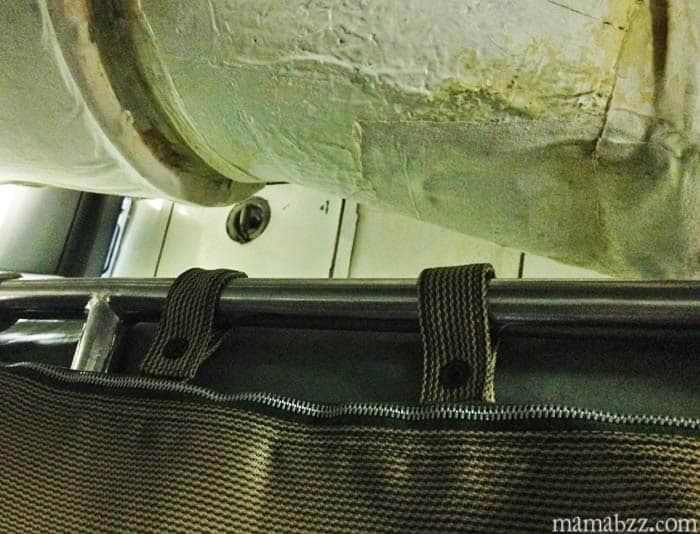 Men shared the bunks, taking triple shifts – meaning they worked one shift, slept another shift, and had “down time” the other shift. As one was rolling out of bed to go to work, another was rolling right into the same bunk to take his place. They called it hot racking.
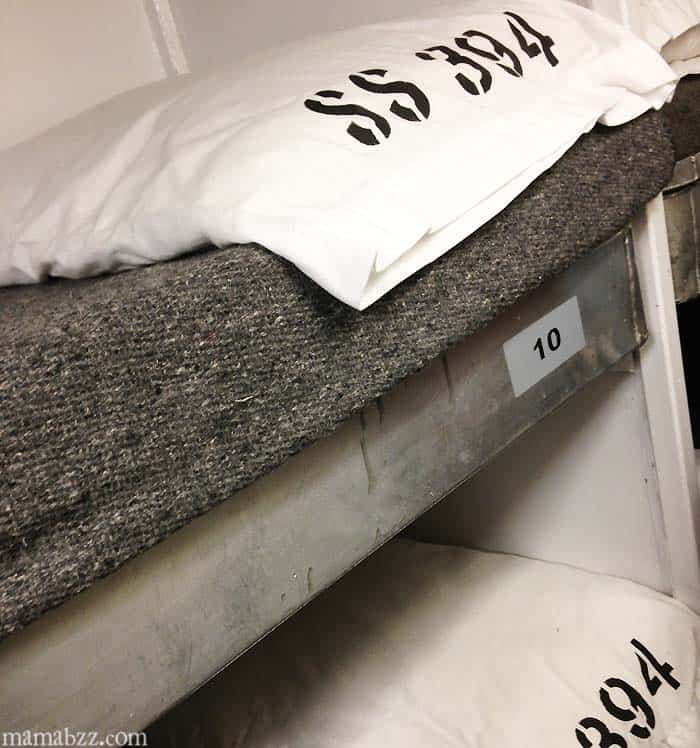
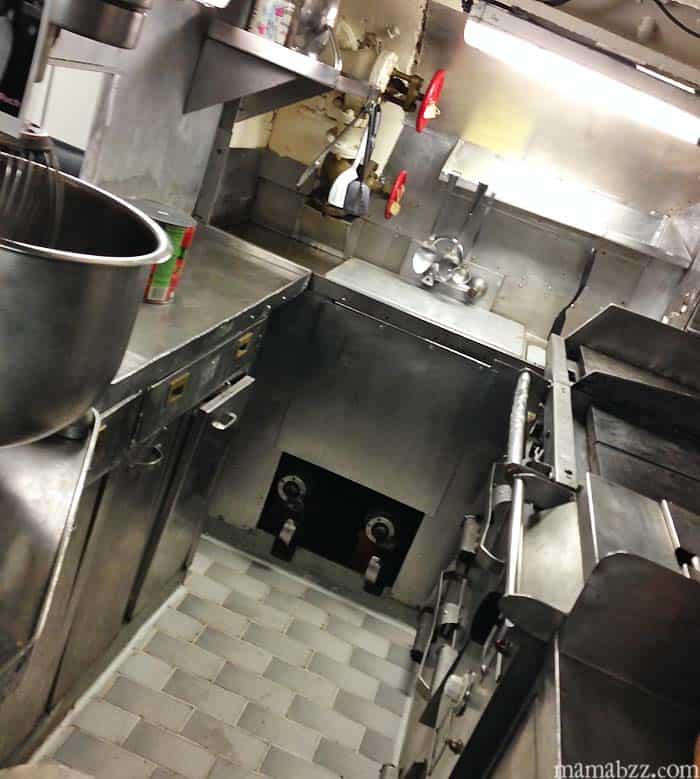 Food was stored wherever possible. The question was asked what would happen if someone died while out to sea. As a matter of fact, the body would be stored in the freezer, right along with the food. The freezer was actually below your feet in the mess hall; there was a ladder that went down to it in the mess hall floor.
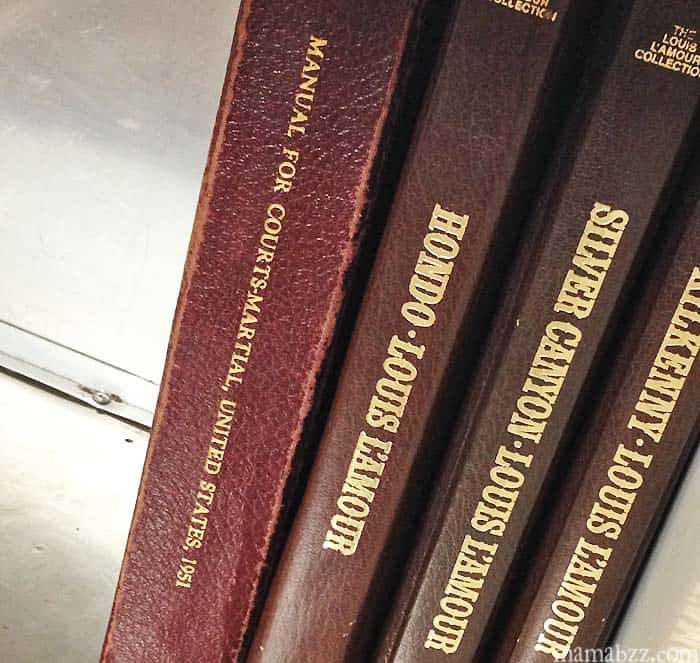 The Officers ate the same food but did have a separate kitchen and dishes; they actually used fine china.
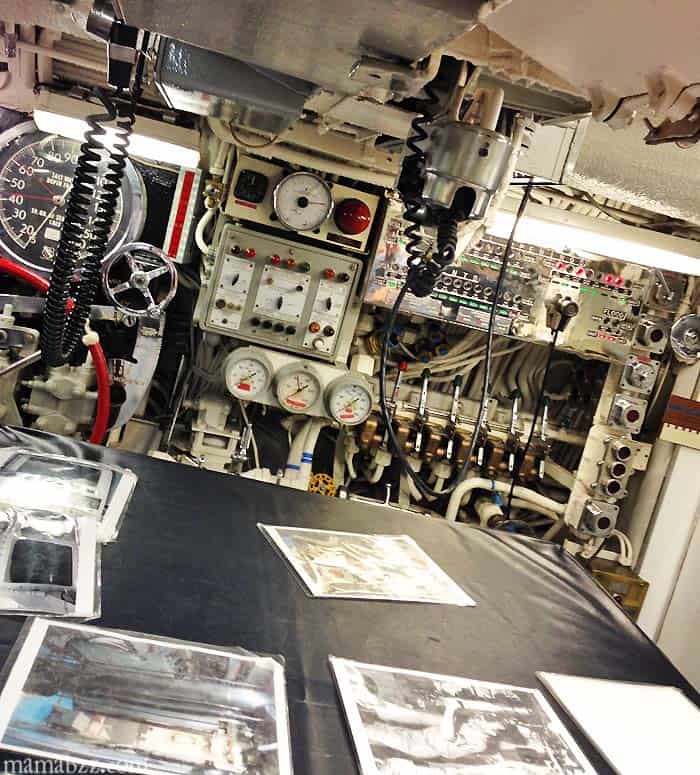
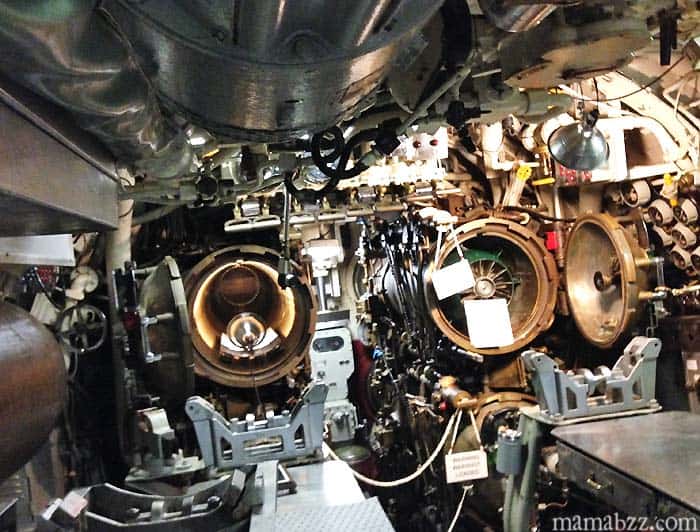 ….also with real torpedoes still in the sub, though not active torpedoes.
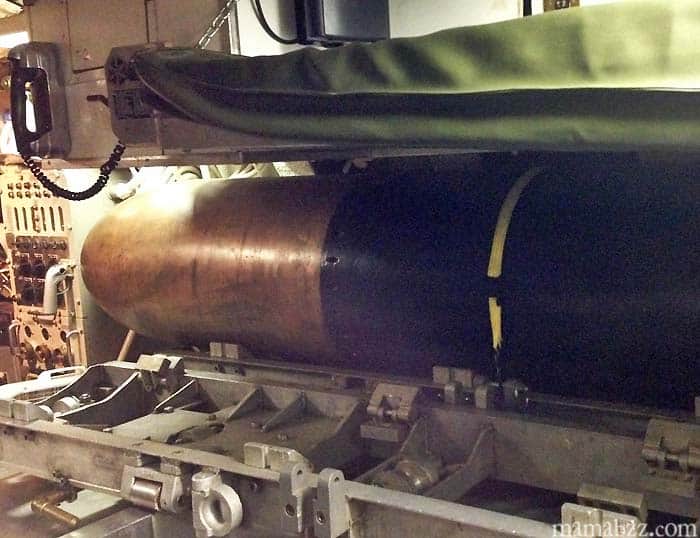 They were both asking questions throughout the tour; they just came alive with everything they were seeing and were soaking it all up.