Feed a crowd with the ultimate mashed potato bar at your next party, wedding, or celebration. How to create a crowd pleasing buffet with ideas for all sorts of delicious mashed potato toppings. It’ll be the talk of the party!
There are so many things you can do with a mashed potato bar; the choices for mashed potato bar toppings are endless. Pretty much anything you think up you can use.

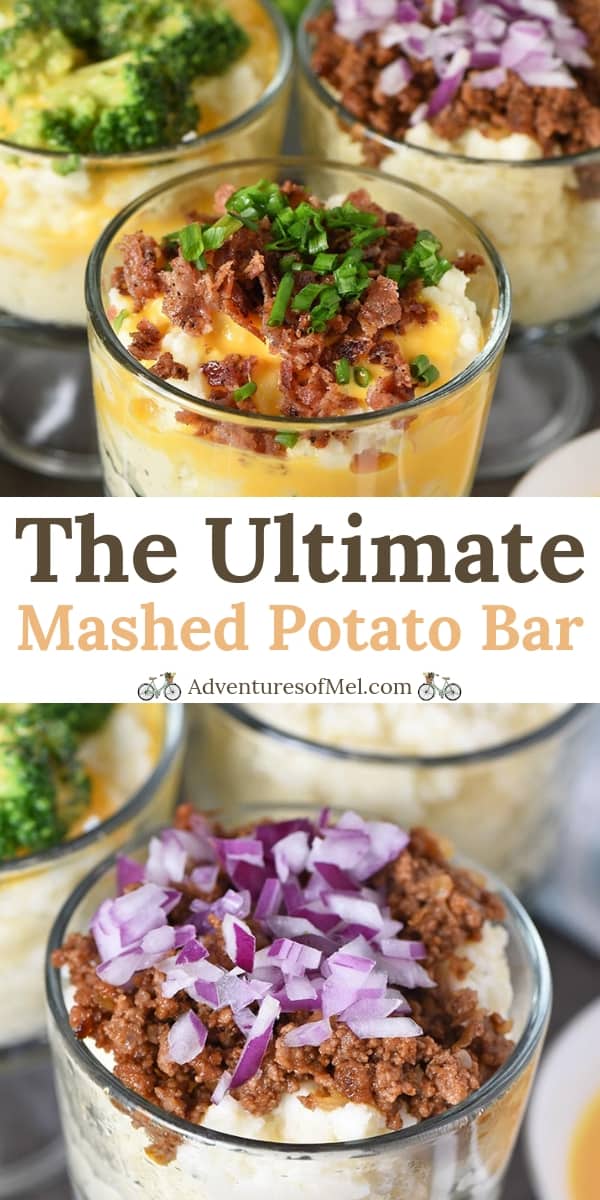
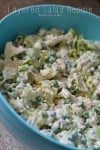
It’s the perfect appetizer idea, or side dish, for a wedding or party. I experienced my first mashed potato bar, or rather a mashtini bar, at a blogging conference; I’d never seen such a beautiful thing in all my life.
It was filled with all sorts of delicious mashed potato toppings, along with all sorts of potatoes, including purple mashed potatoes! The mashed potatoes themselves were served in martini glasses, and you could go right down the buffet line, adding any mashed potatoes toppings you wanted.
You talk about delicious and one of my favorite things ever. That was hands down the BEST food I’ve ever had at a conference. Comfort food at its best, and man, was it delicious.

Why Create a Mashed Potato Bar?
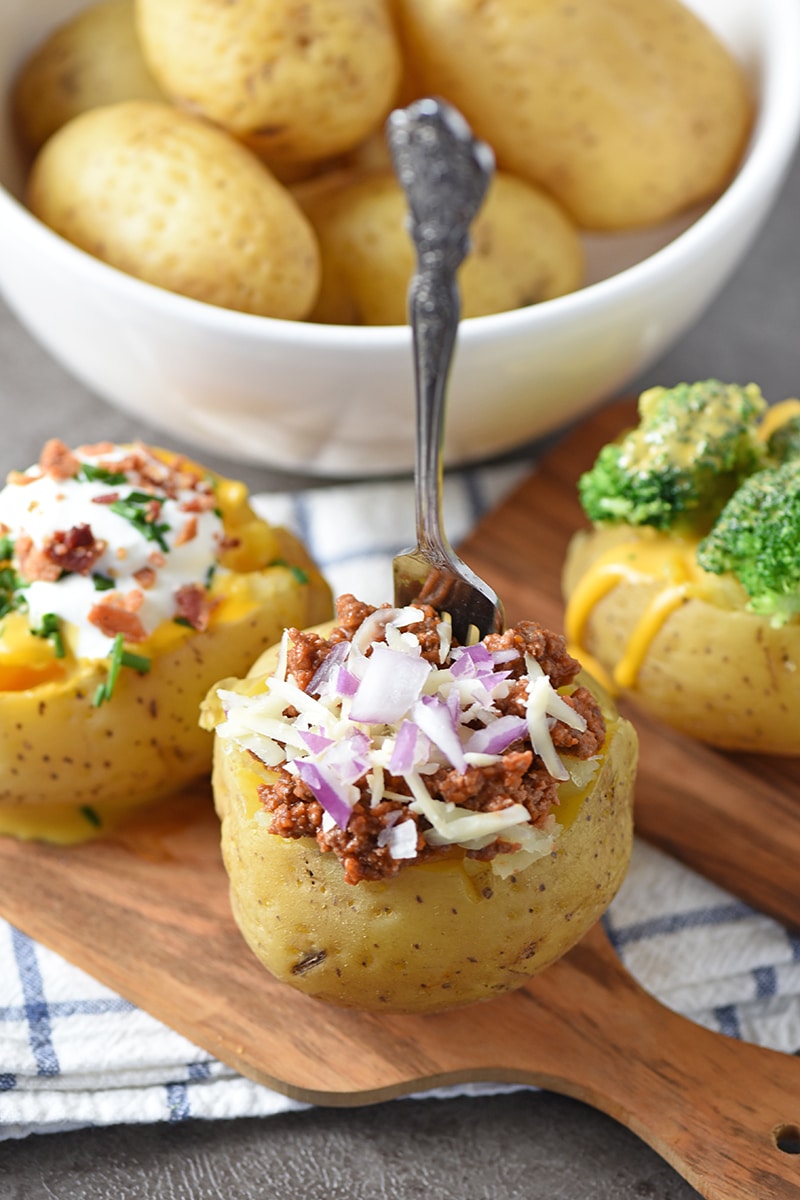
When I created my first baked potato bar, I thought it only appropriate to also create a mashed potato bar. Because who doesn’t love a loaded down cup of hot mashed potatoes smothered in cheese and bacon?
- A mashed potato bar wedding buffet will definitely be a great idea and a favorite with guests.
- A mash potato bar is also perfect for that big holiday family gathering, like Thanksgiving dinner, Christmas dinner, or Easter dinner.
- New Year’s is also a great time to put together a mashed potato martini bar. To save on cost, make a big batch of mashed potatoes, and have each guest bring their favorite toppings to add to the ones you provide. Then you get different perspectives, different ideas, and guests get to contribute their favorite topping idea to the mix.
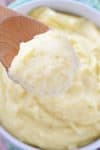
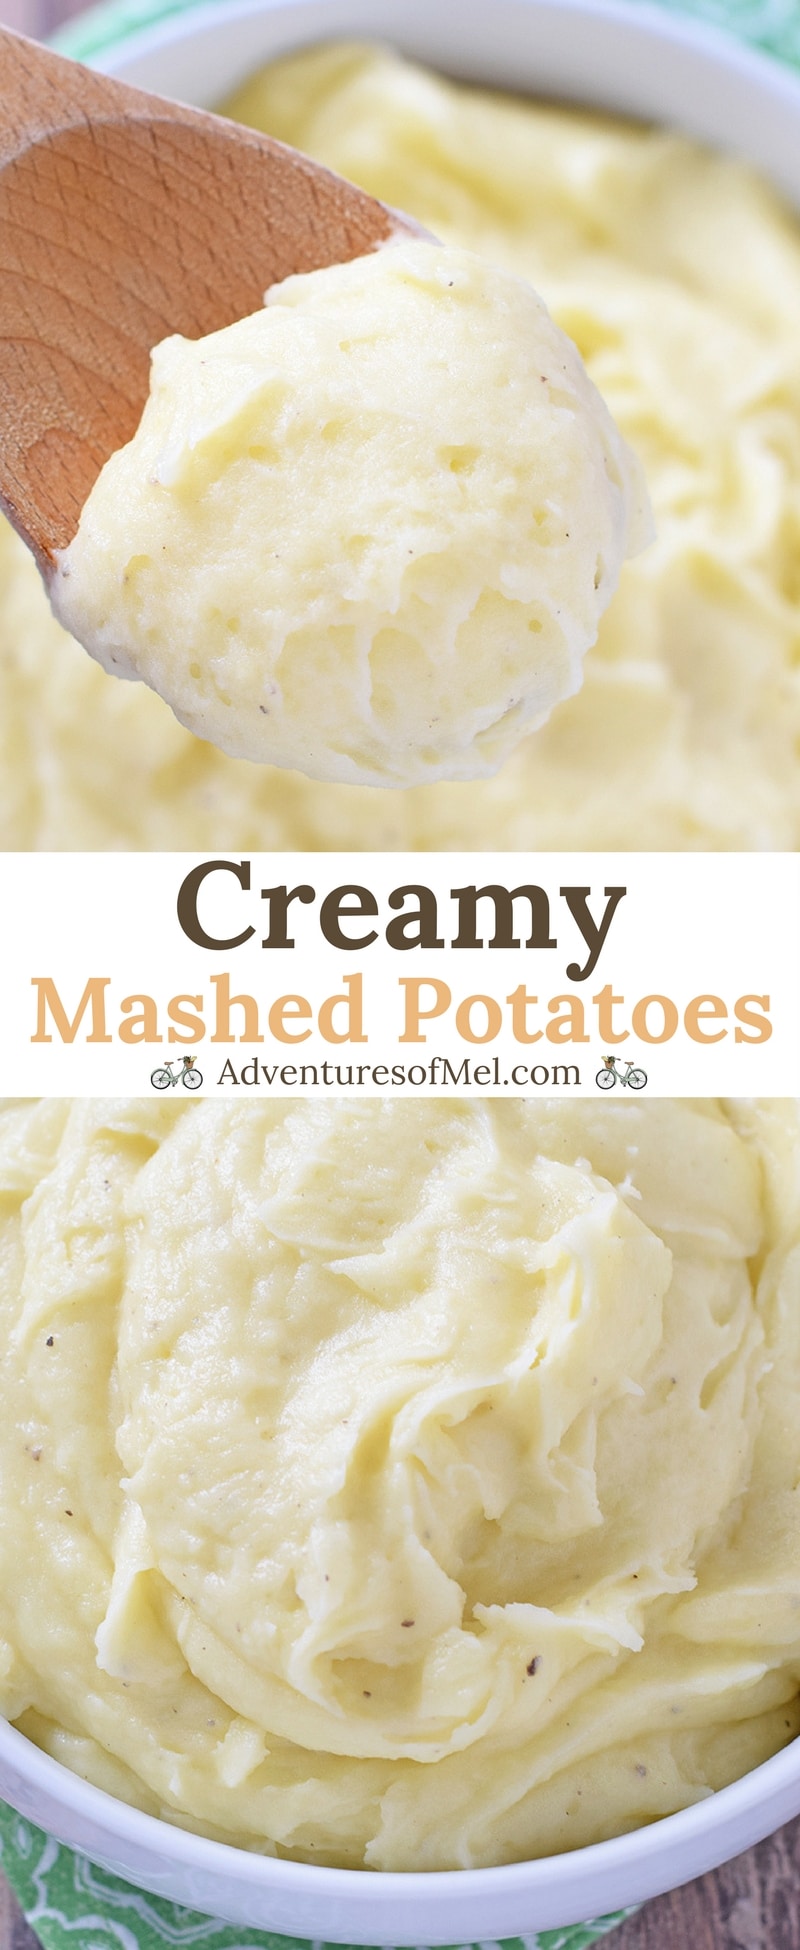
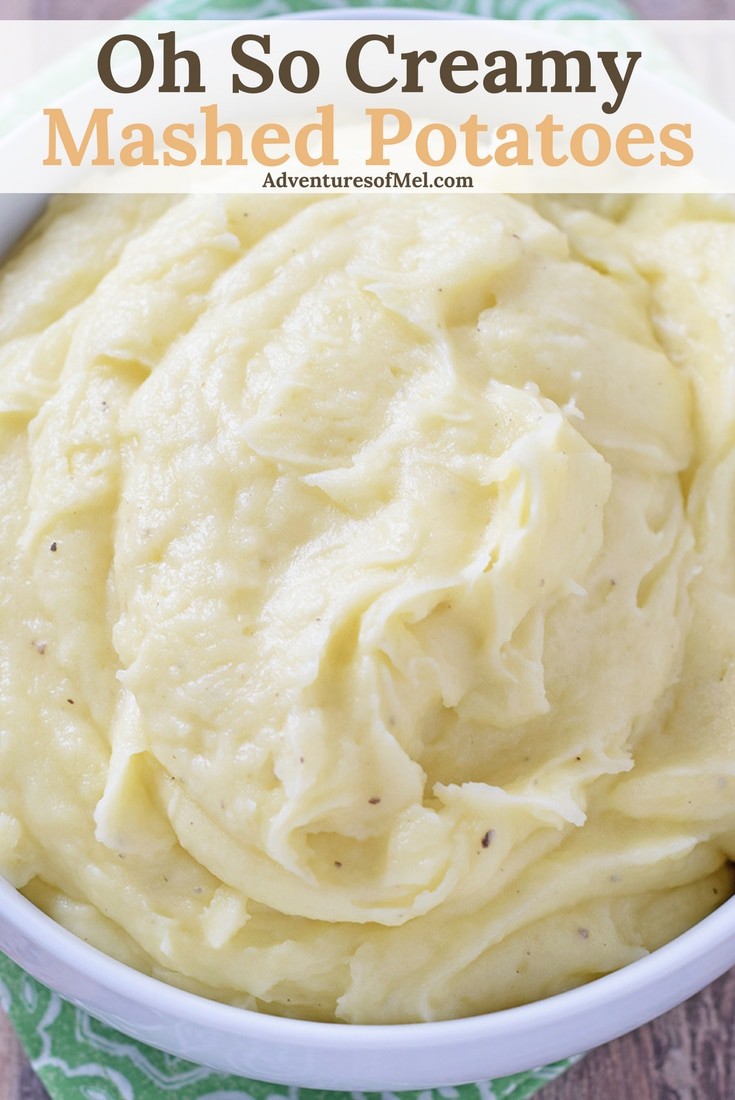
How to Make Mashed Potatoes
I’ve got you covered with this delicious and easy mashed potatoes recipe.
Ingredient Notes:
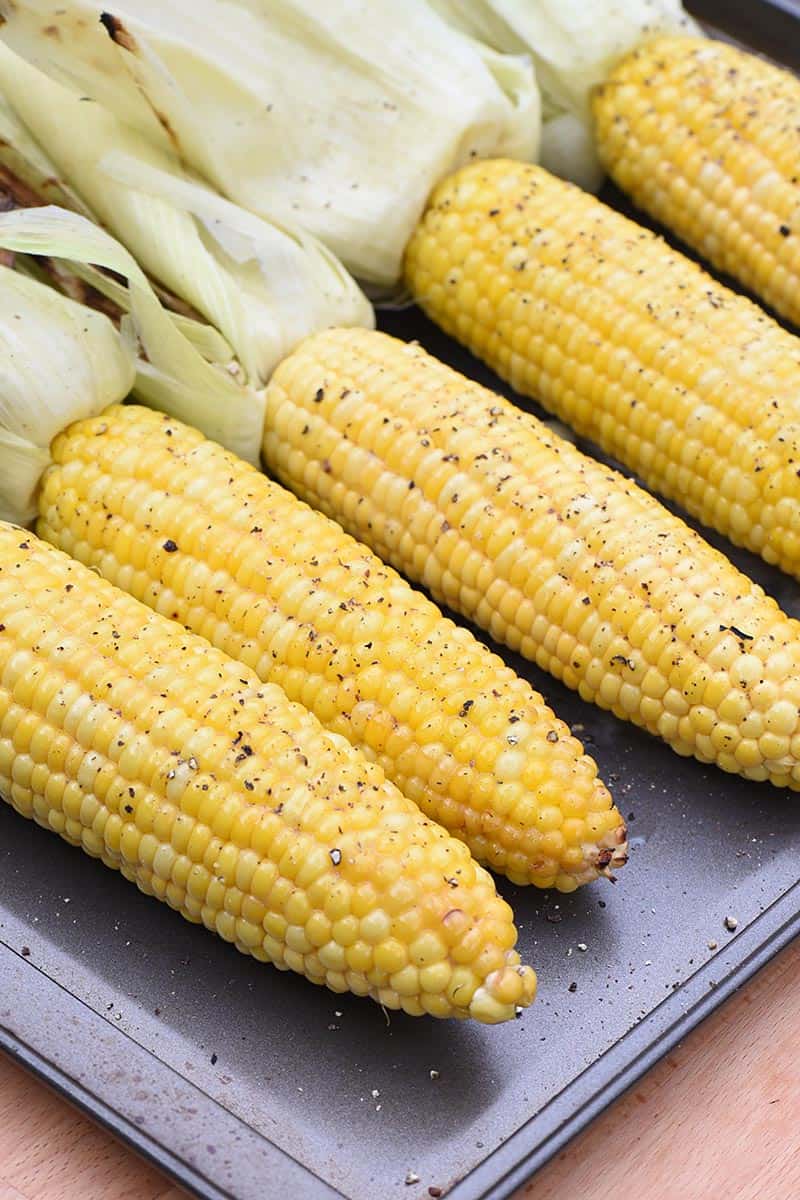
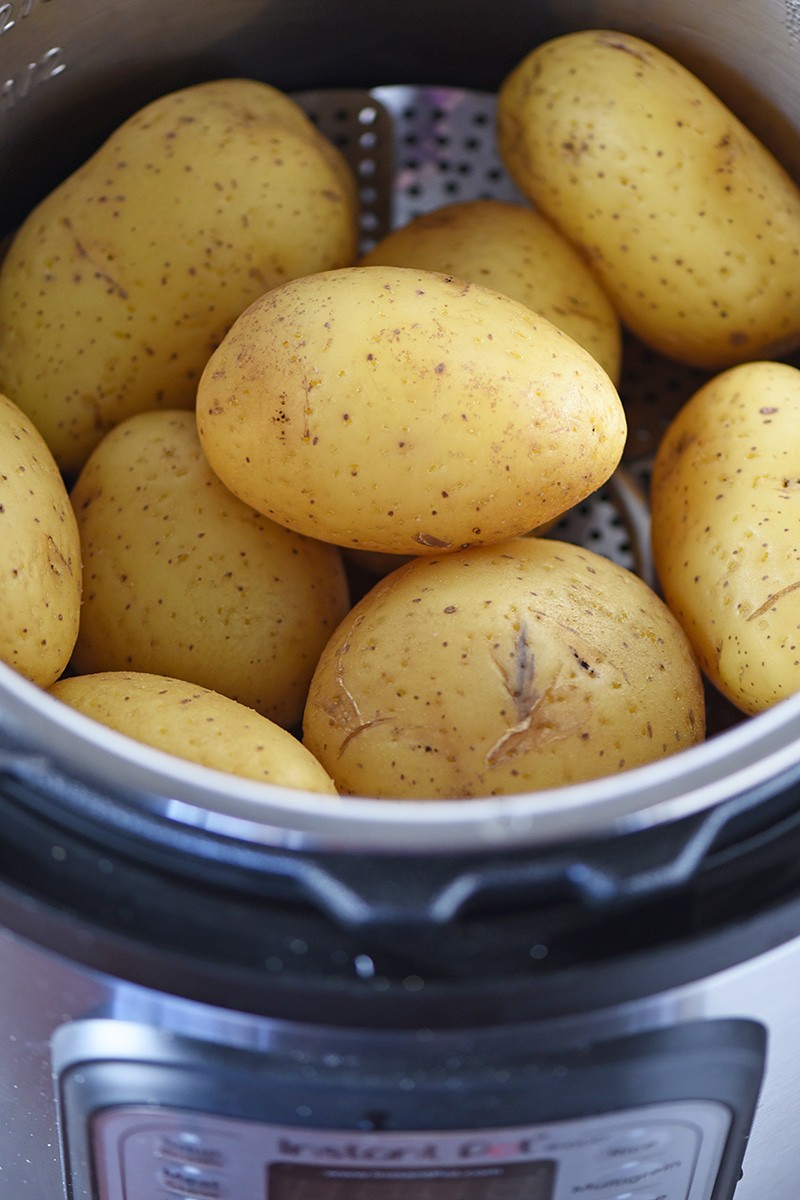
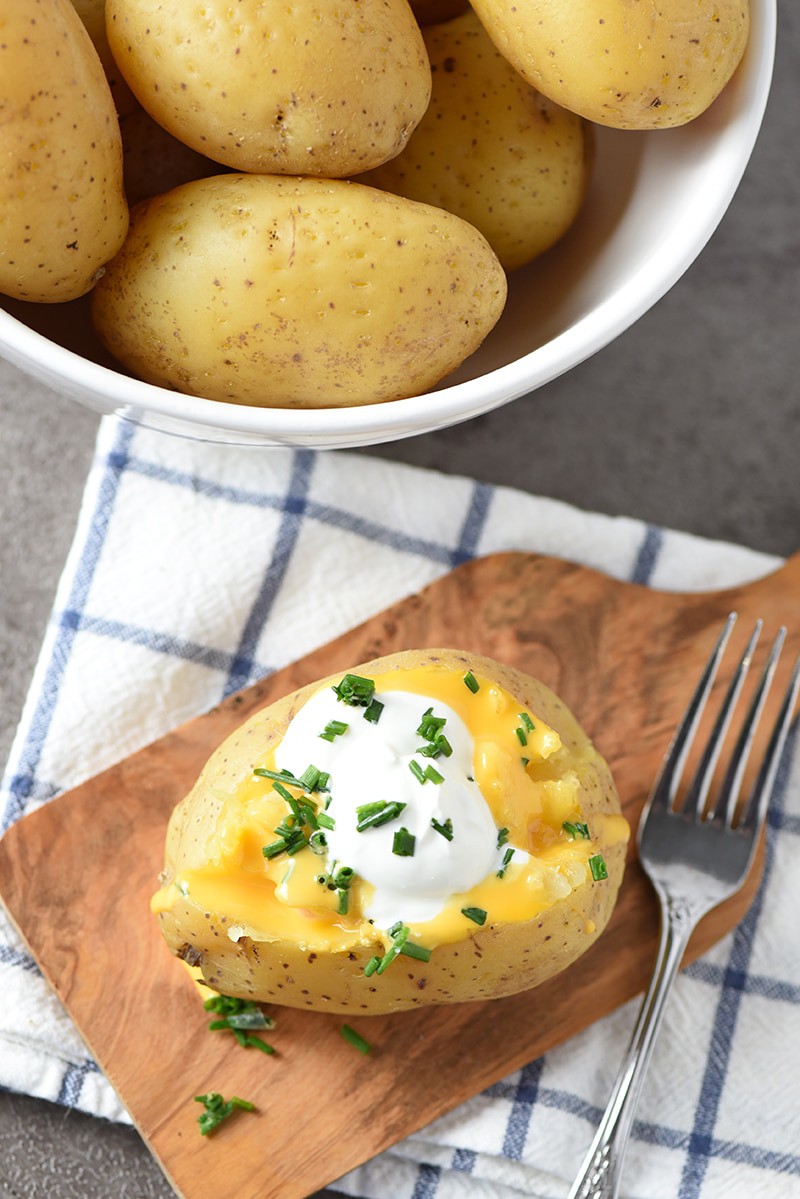
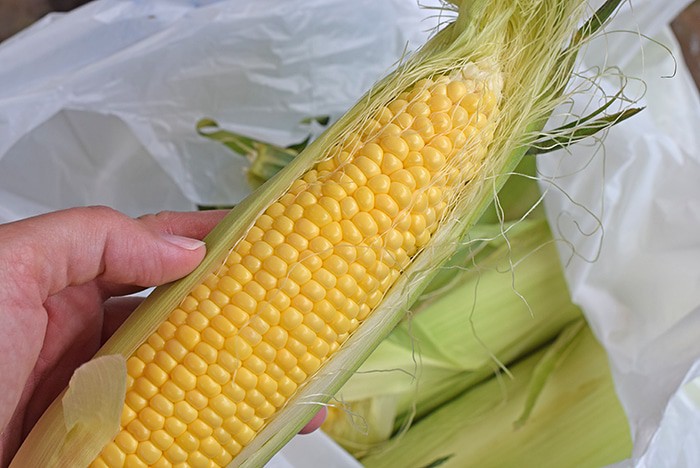
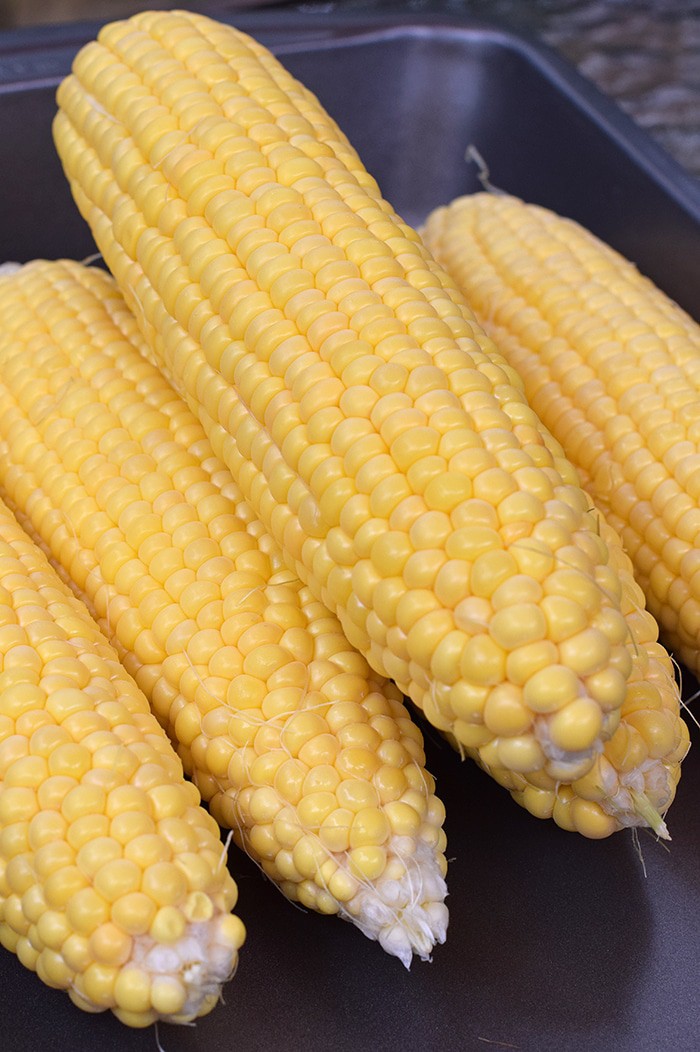
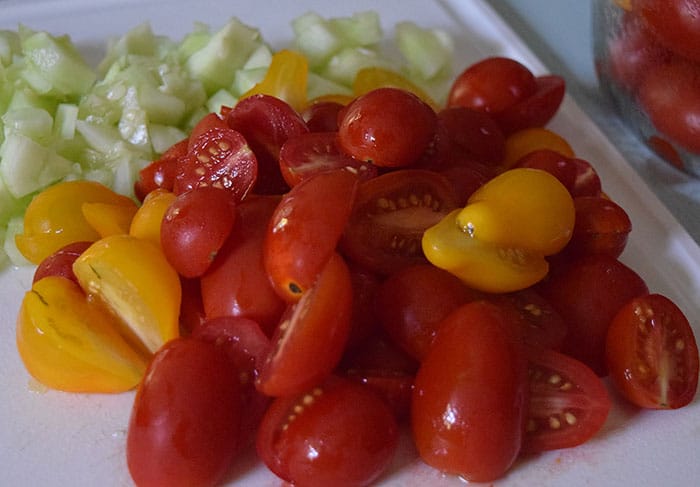
- Potatoes – I prefer to use yellow potatoes, but again, you can have fun with this and use all sorts of potatoes, including yellow, russet, red potatoes, even purple potatoes.
- Salted Butter – Don’t skimp on the butter; it gives the best flavor.
- Heavy Cream or Whole Milk – While you can use skim milk, you’ll get the best texture and flavor with whole milk or cream.
- Sea Salt and Black Pepper – for added flavor.
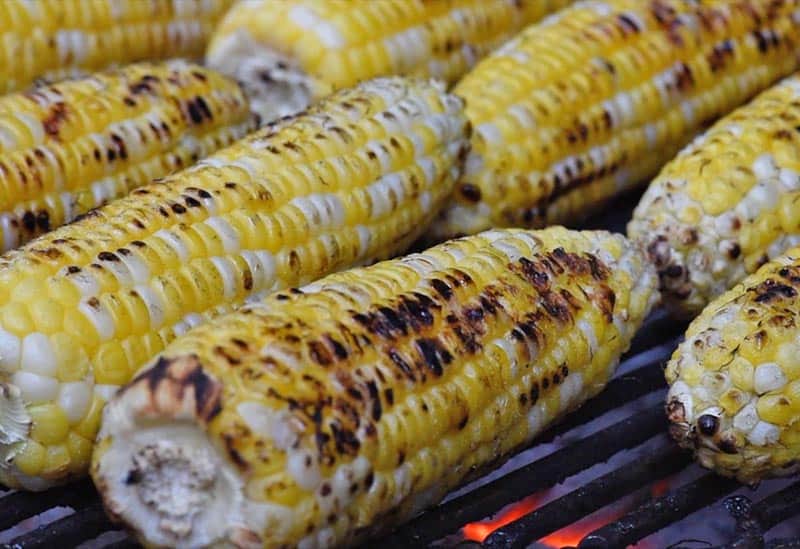
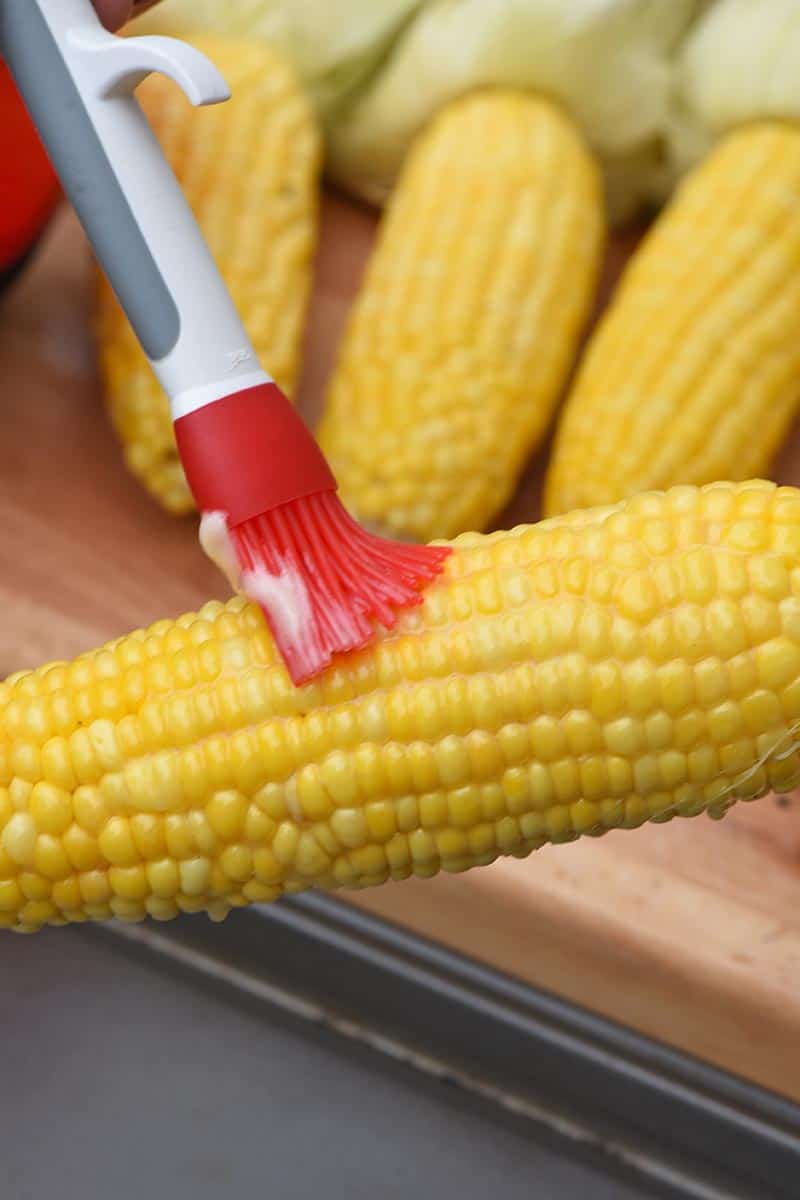
Steps for Making Stovetop Mashed Potatoes:
- Wash, peel, and chop the potatoes.
- Boil the potatoes in a large saucepan on the stove over low to medium heat, until they’re soft enough to easily jab with a fork, about 20-30 minutes.
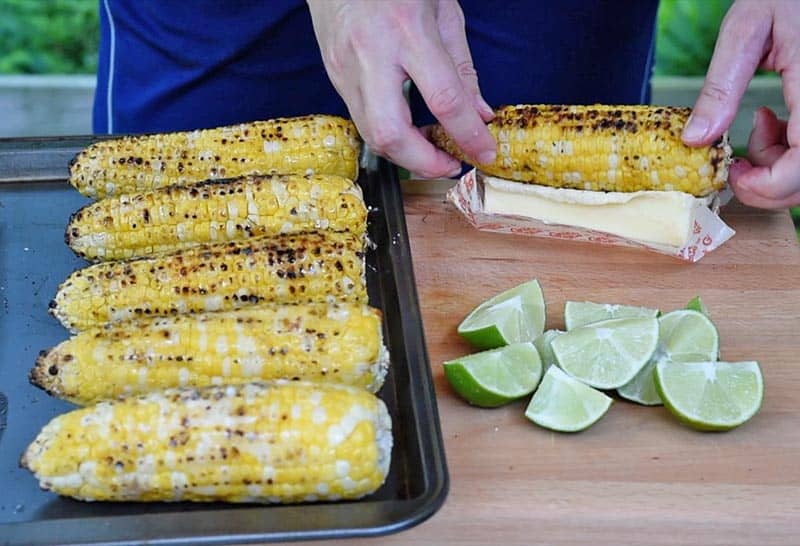
- Drain the water off the boiled potatoes, and leave them in the saucepan.
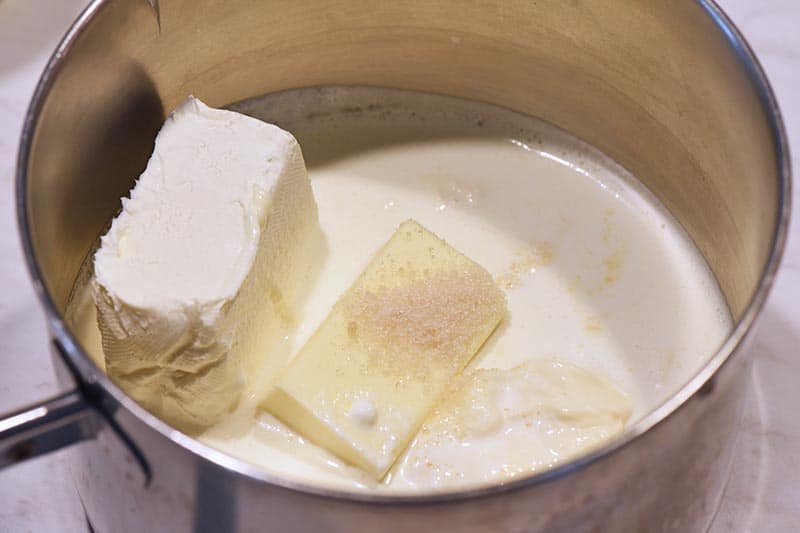
- Add the butter and heavy whipping cream to the potatoes.
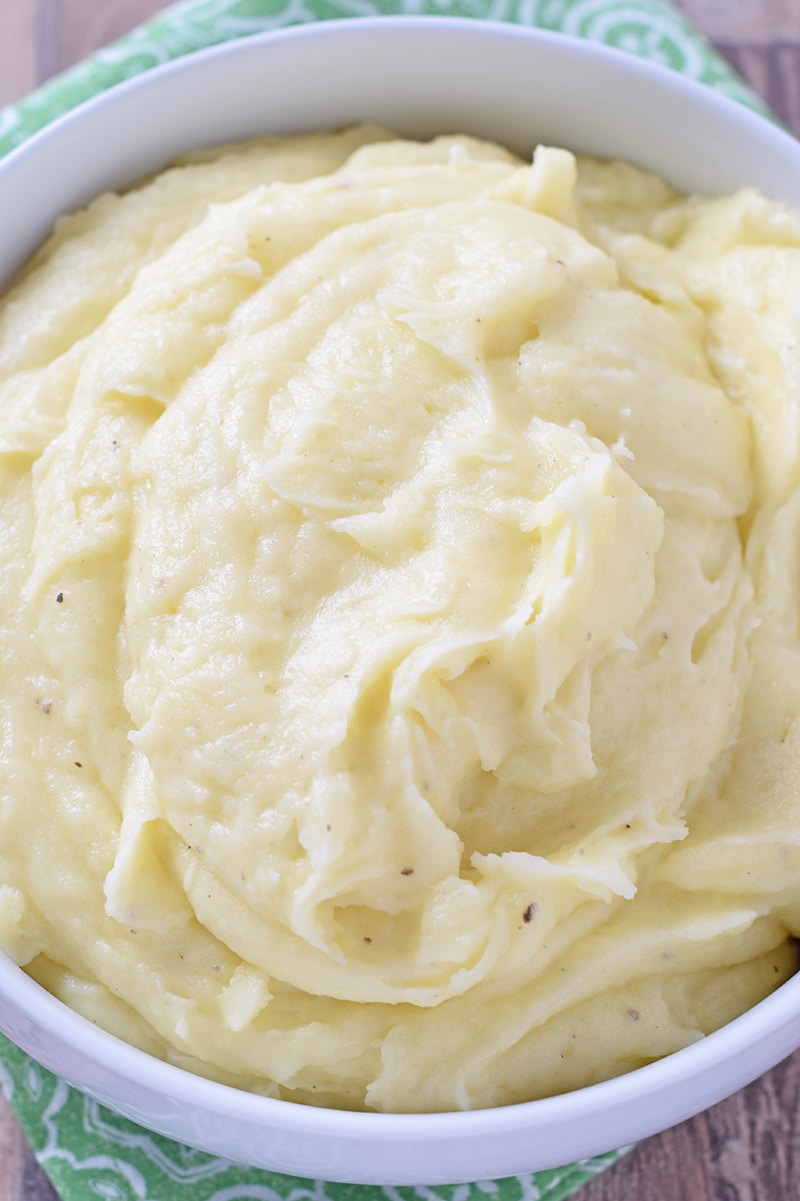
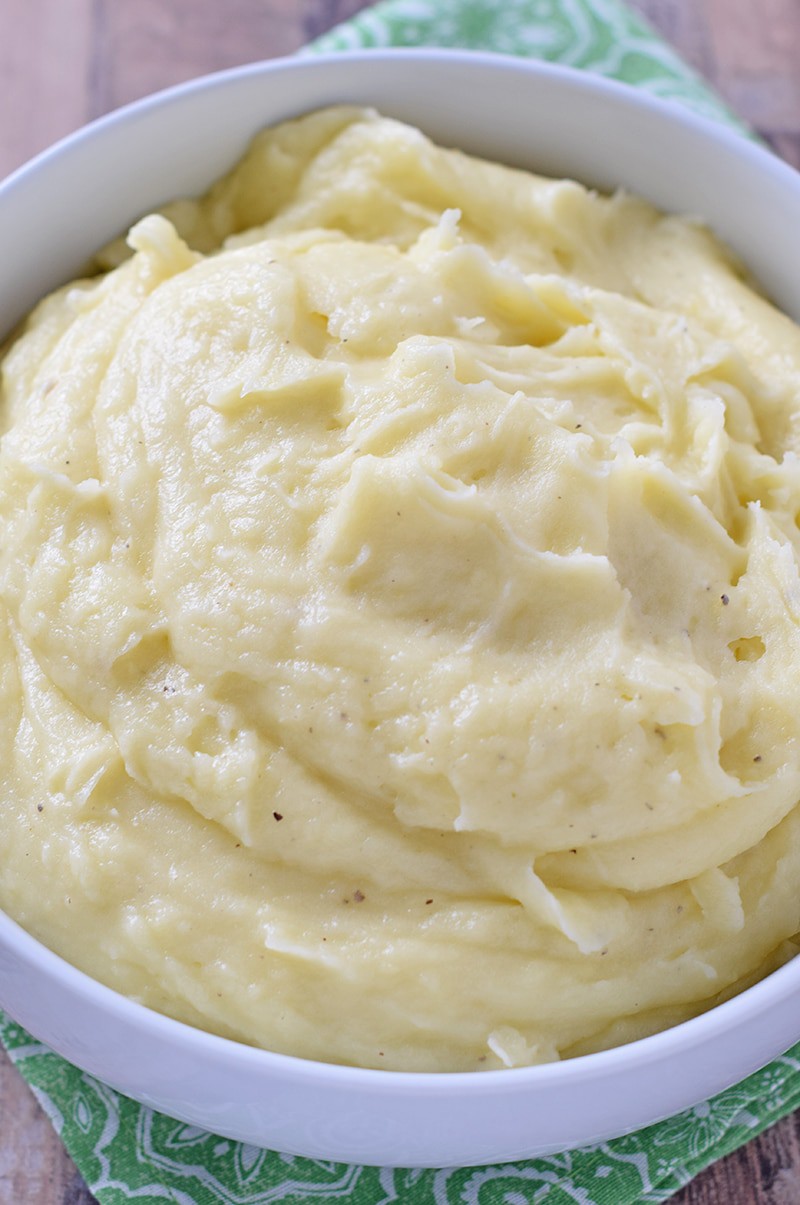
- Use a hand mixer to whip the potatoes, adding salt and pepper to taste. You can also use a potato masher if you don’t have a hand mixer; your potatoes may just be a little bit chunky.
- Once they’re whipped, they’re ready to serve.
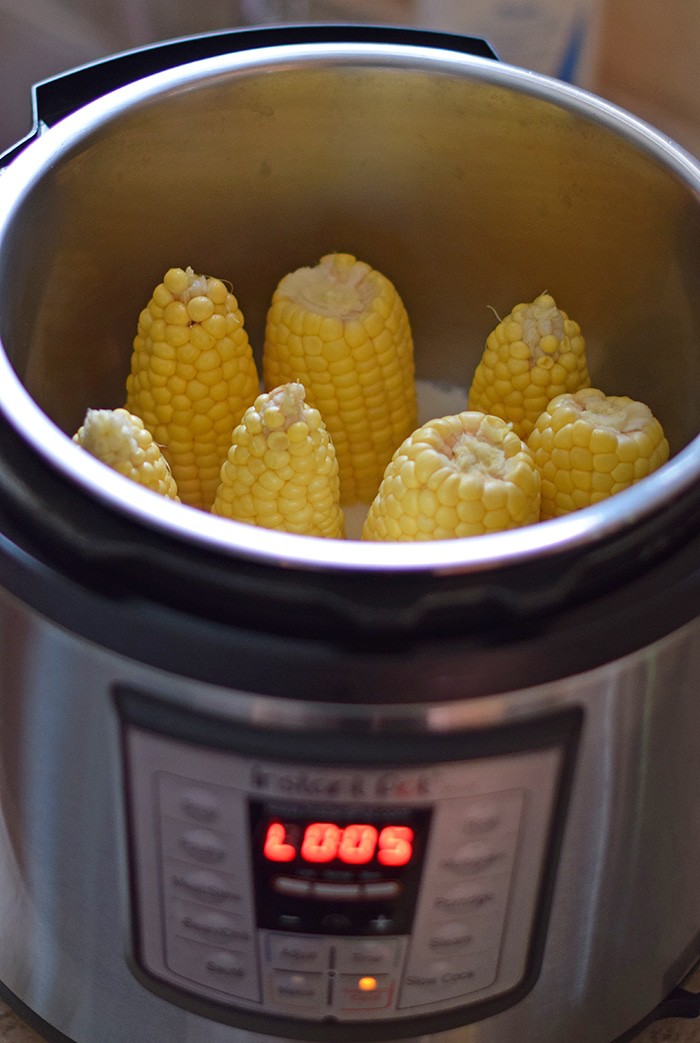
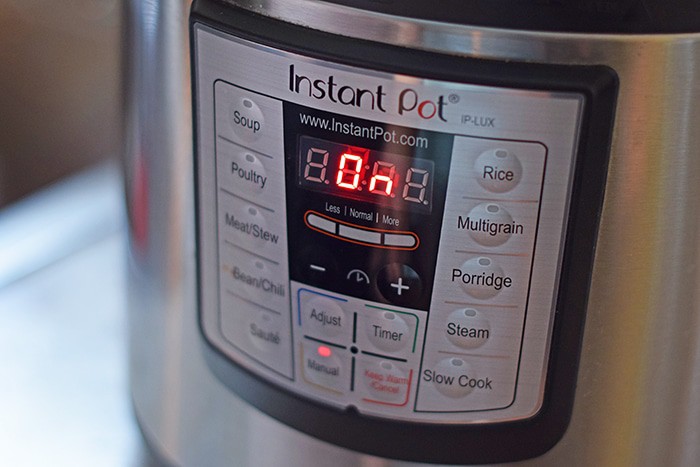
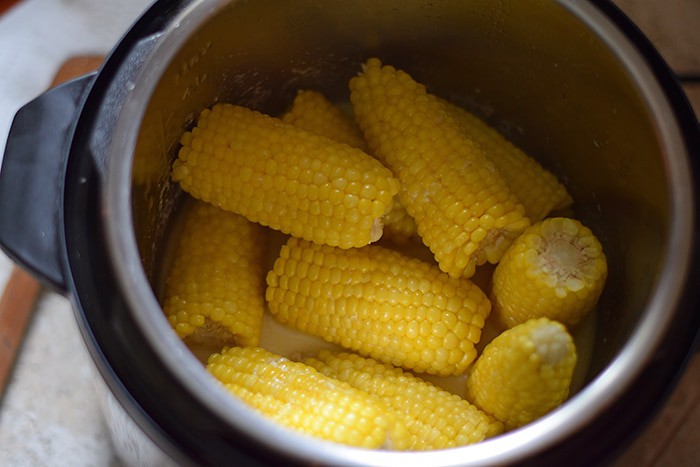
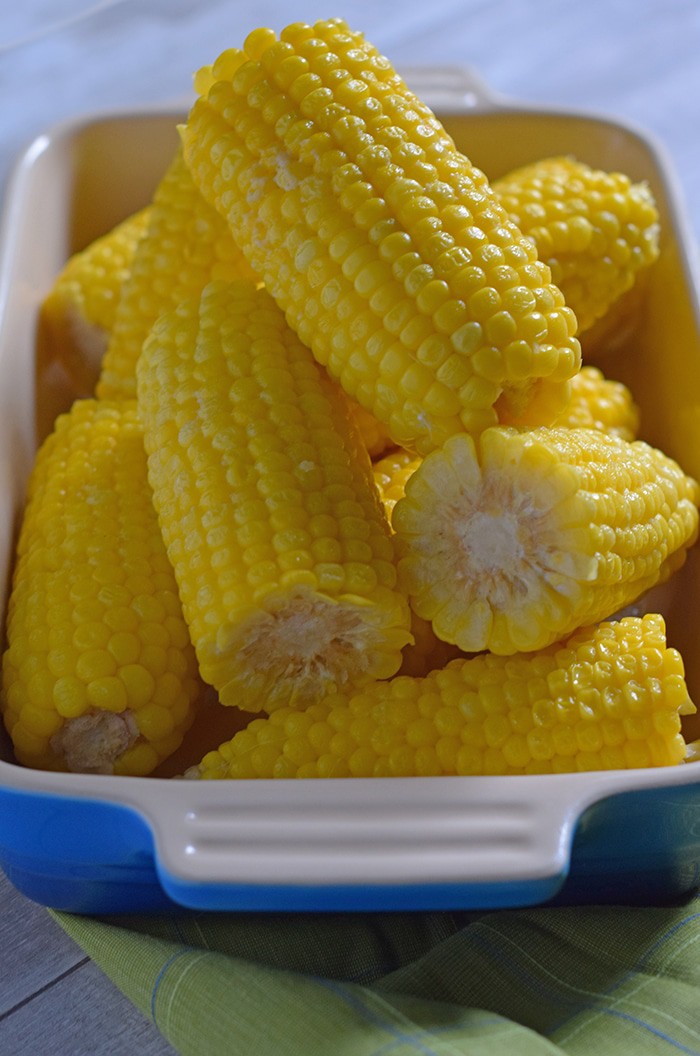
If you’d rather, you can make Instant Pot mashed potatoes instead.
How to Set up or Assemble a Mashed Potato Bar
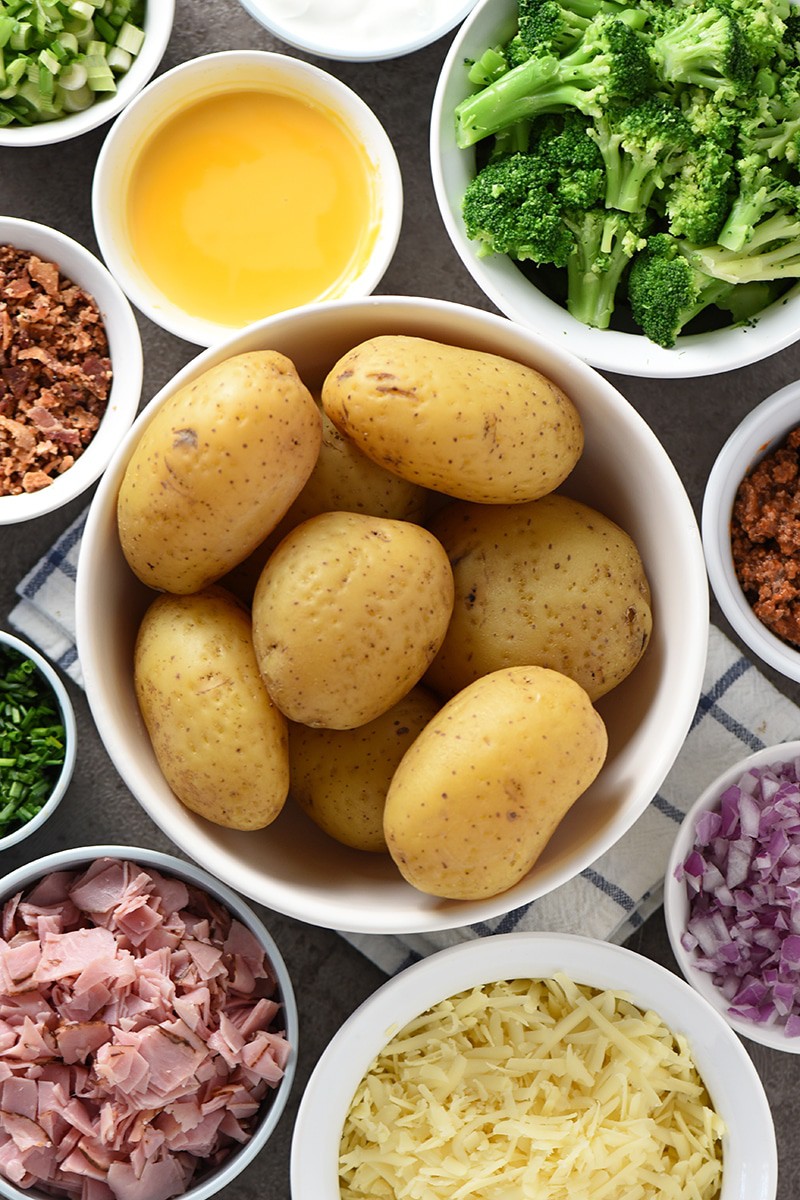
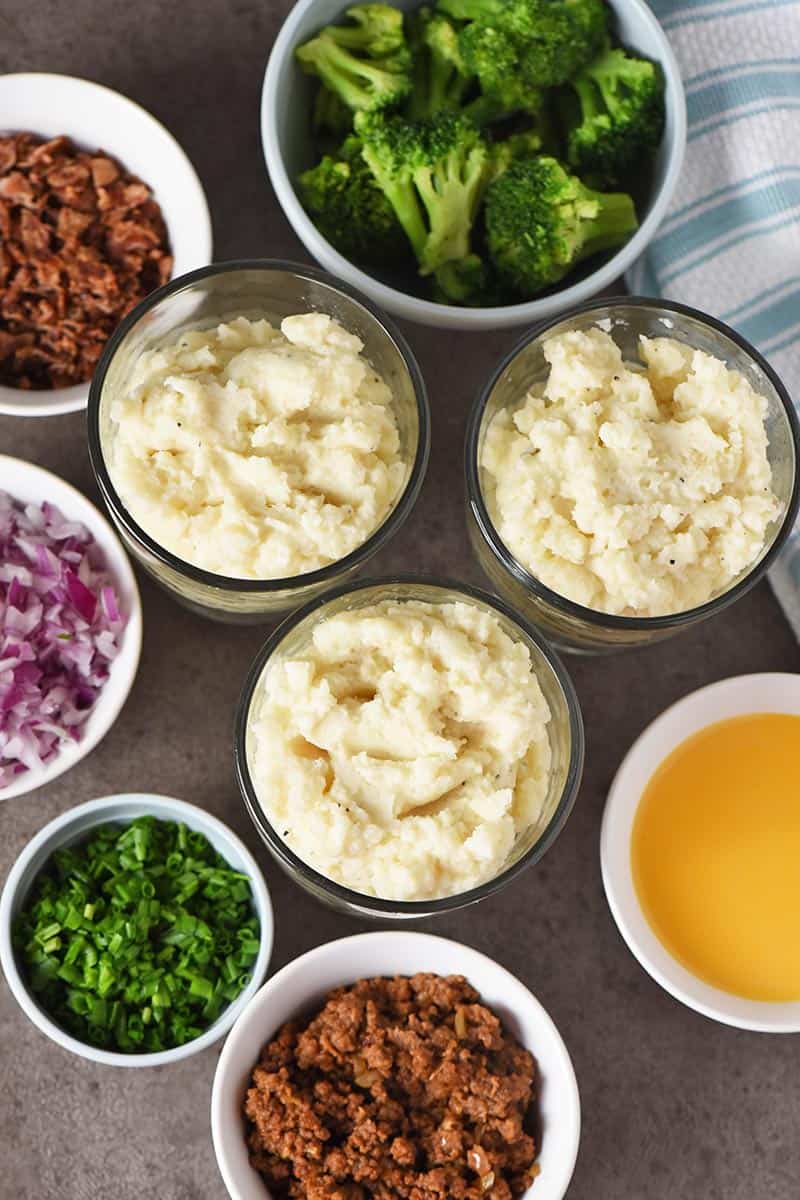
Gather your ingredients for your potato bar… You’ll need mashed potatoes and toppings. Your main work will be cooking the potatoes and prepping any toppings for your guests to choose from.
Whether you’re getting together with friends for game night, hosting a family dinner, or setting up a potluck, a mashed potatoes bar is the perfect way to feed and entertain your guests. And it really doesn’t take a whole lot of time and effort on your part.
Mash Potato Bar Ideas and Expert Tips
- If you’d rather use sweet potatoes over regular potatoes, you can make Instant Pot sweet potatoes.
- Prep the toppings, adding each topping to a separate dish or compartment for serving. Prepping may involve cooking, re-heating, or simply chopping.
- Set everything out buffet style, so your guests can create their very own delicious mashed potato creations.
- If you’re hosting a smaller gathering, try using a large charcuterie board with small bowls for a variety of toppings all around a large bowl of mashed potatoes.
- If you’re wondering how to keep the mashed potatoes warm without warmers, you can create a CrockPot mashed potato bar or Instant Pot mashed potato bar.
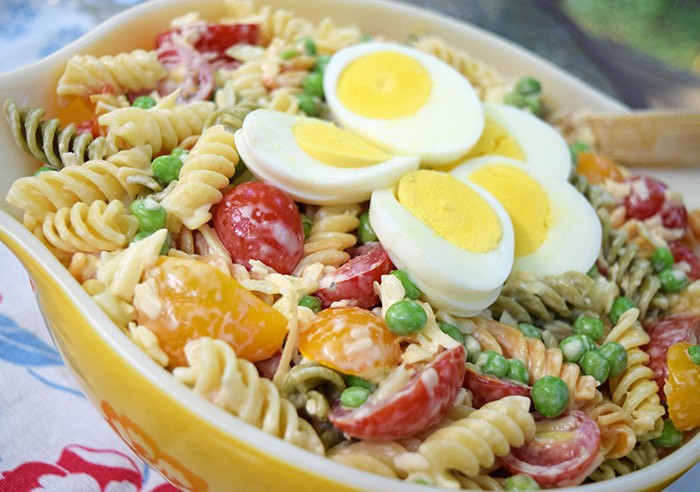
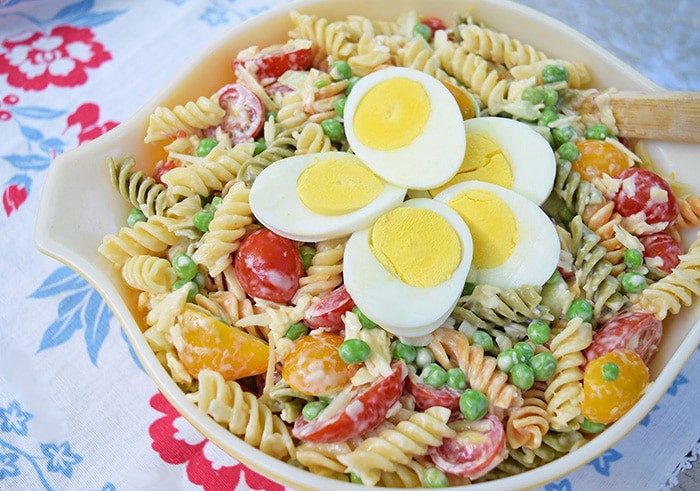
The Ultimate List of Mashed Potato Bar Toppings:
When it comes to what toppings are good on mashed potatoes, including what to put on mashed potatoes besides gravy, this list of toppings will answer that question in a most delicious way.
- Butter
- Salt and Pepper
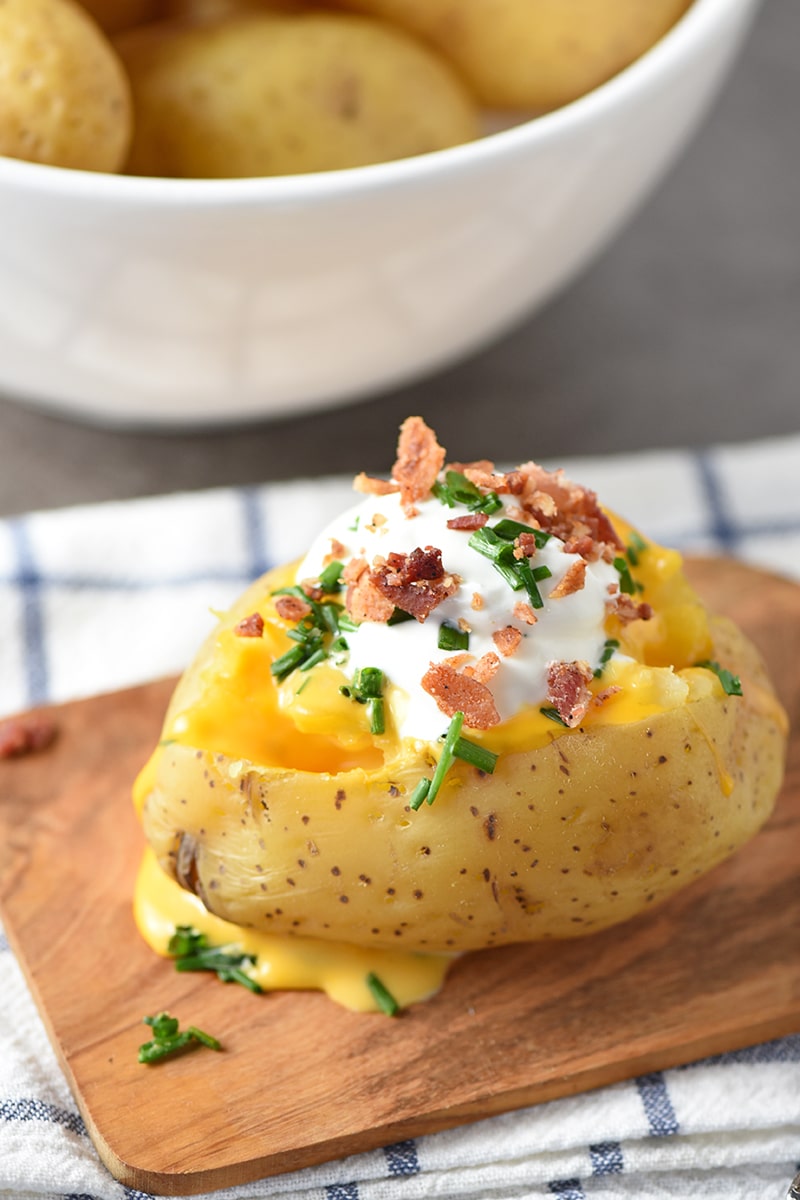
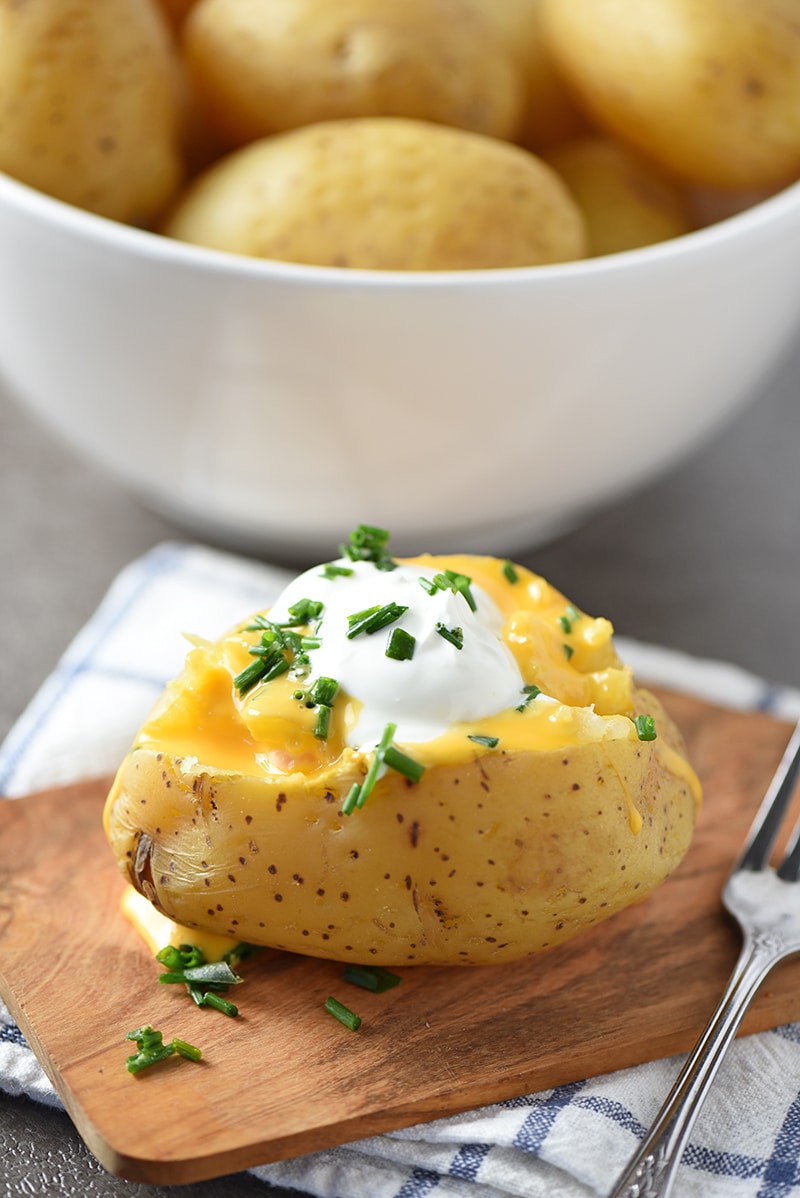
- Sour Cream or Greek Yogurt
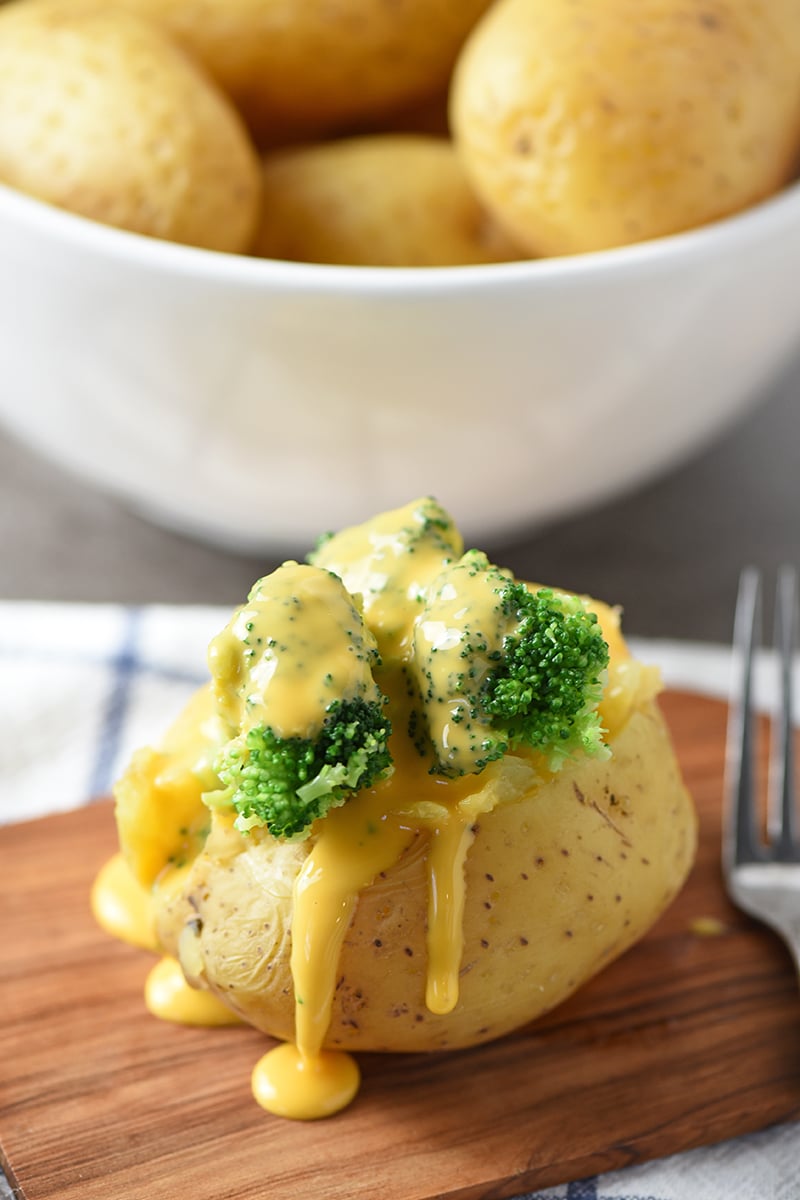
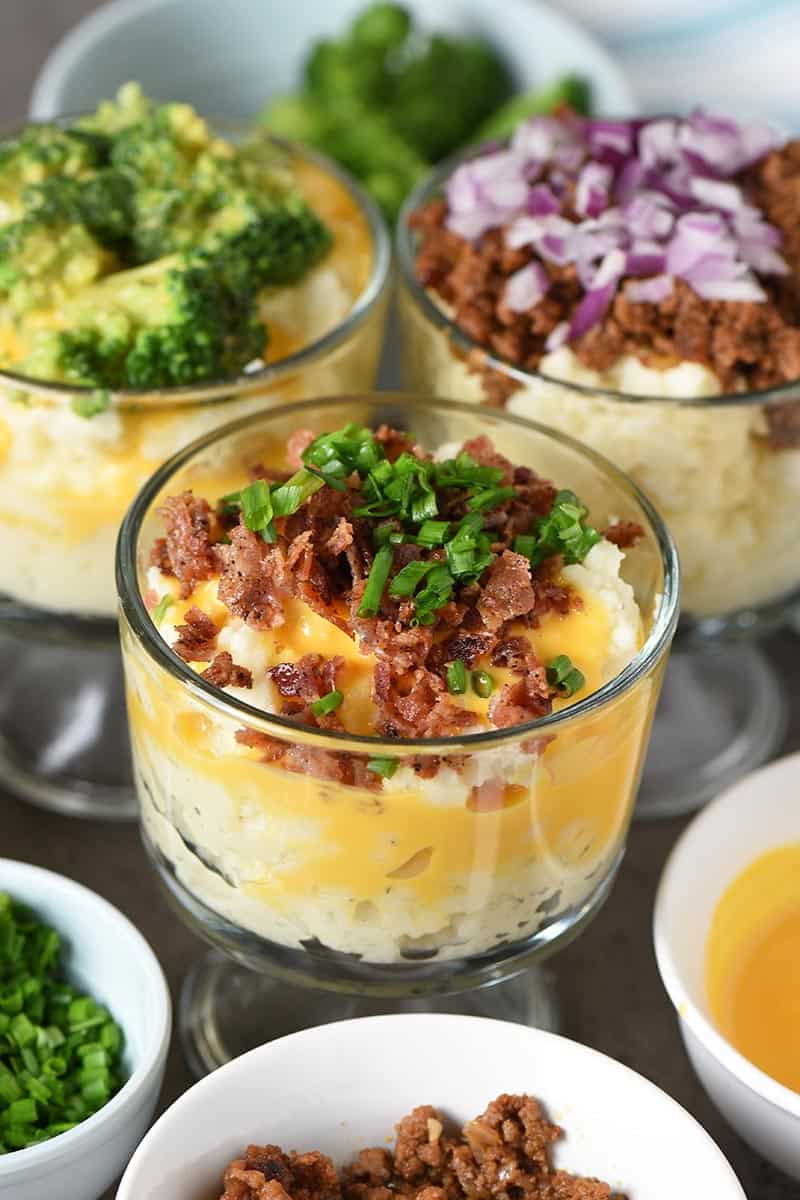
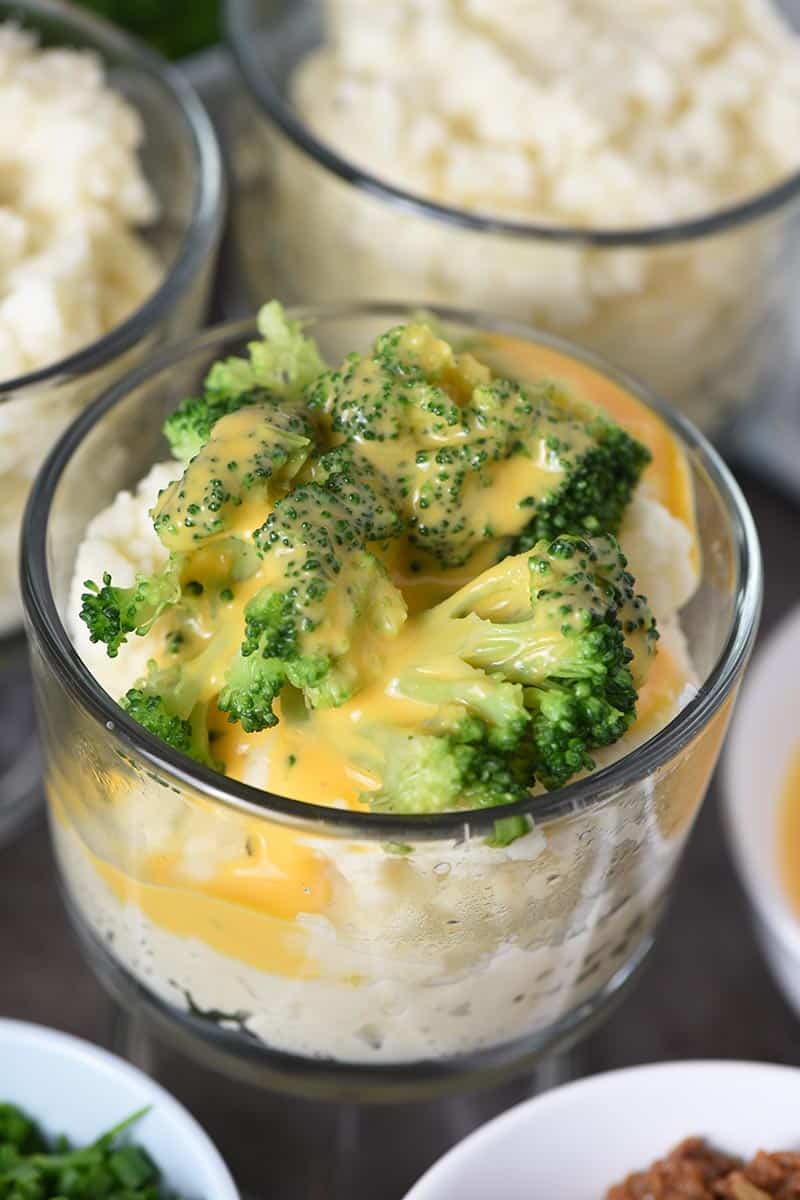
- Cheese Sauce
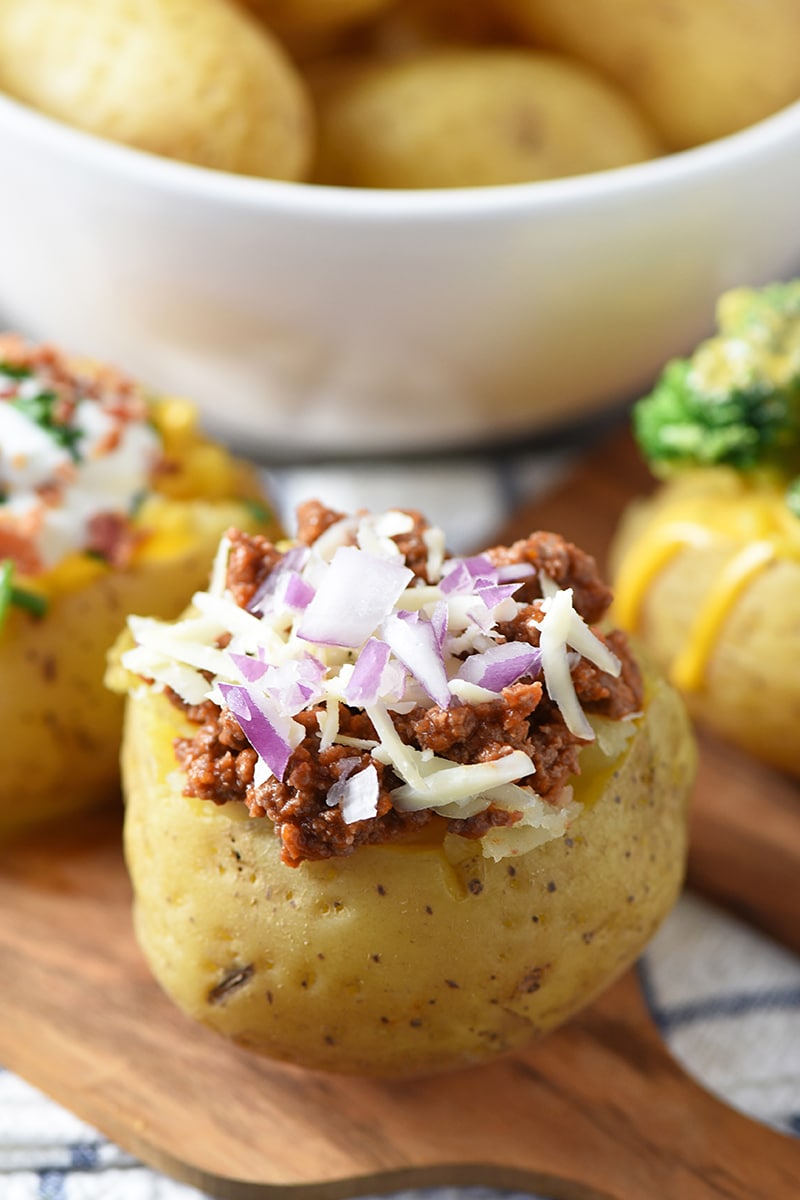
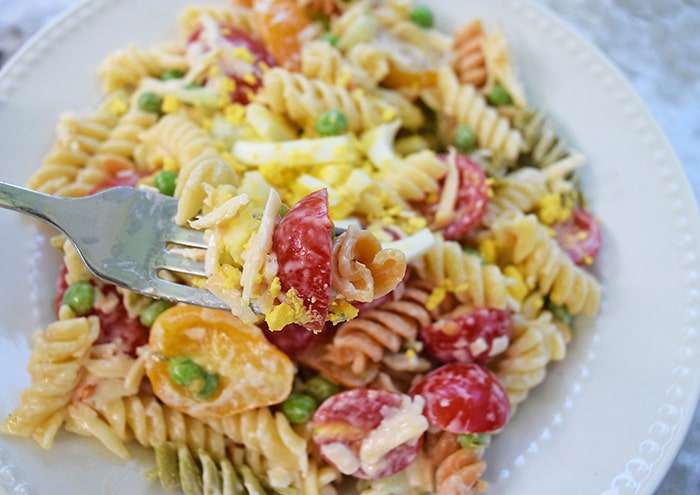
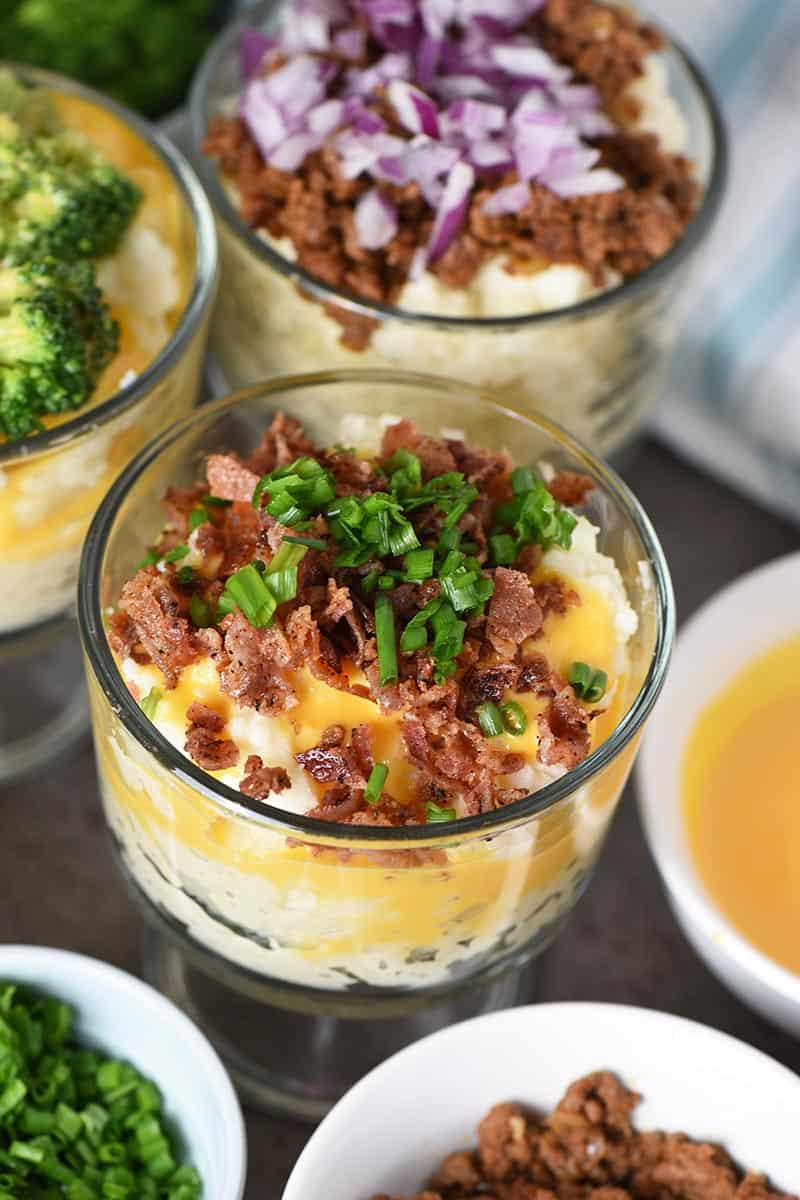
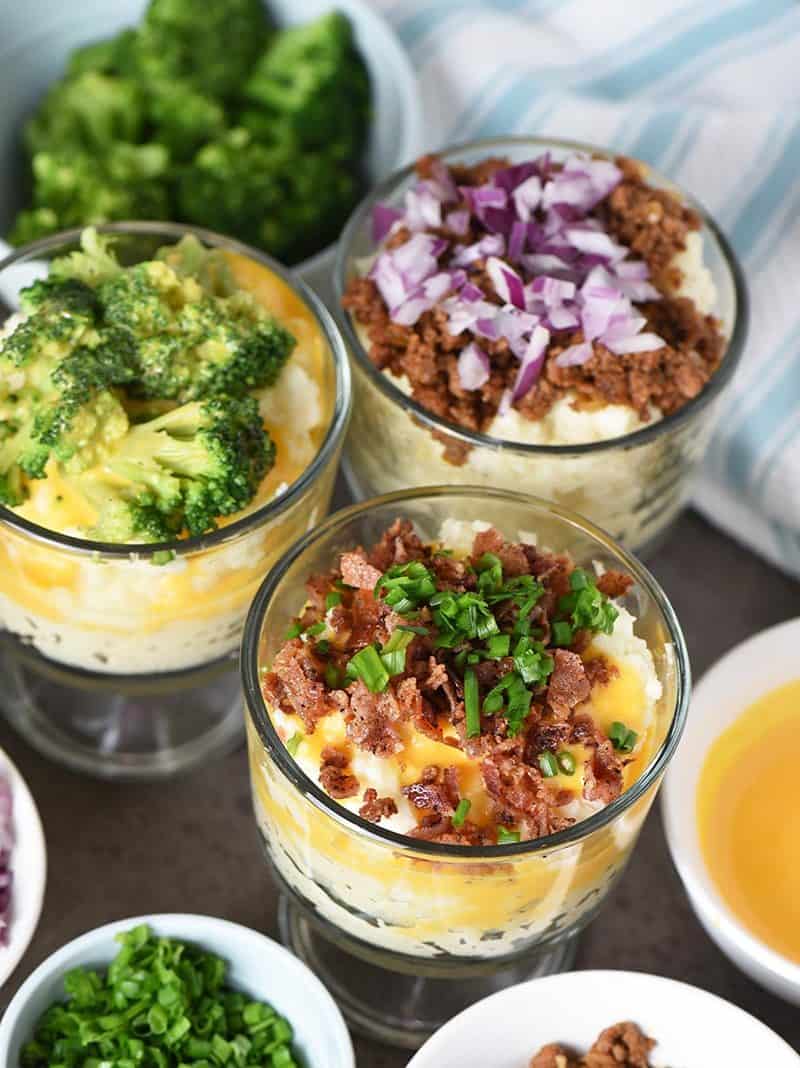
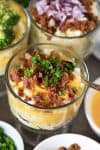
- Shredded Cheese – I recommend Extra Sharp Cheddar Cheese, Colby Jack, Monterey Jack, Pepper Jack, Smoked Cheddar, Mozzarella, etc.
- Onions – red onion, green onions, caramelized onions, etc.
- Chives
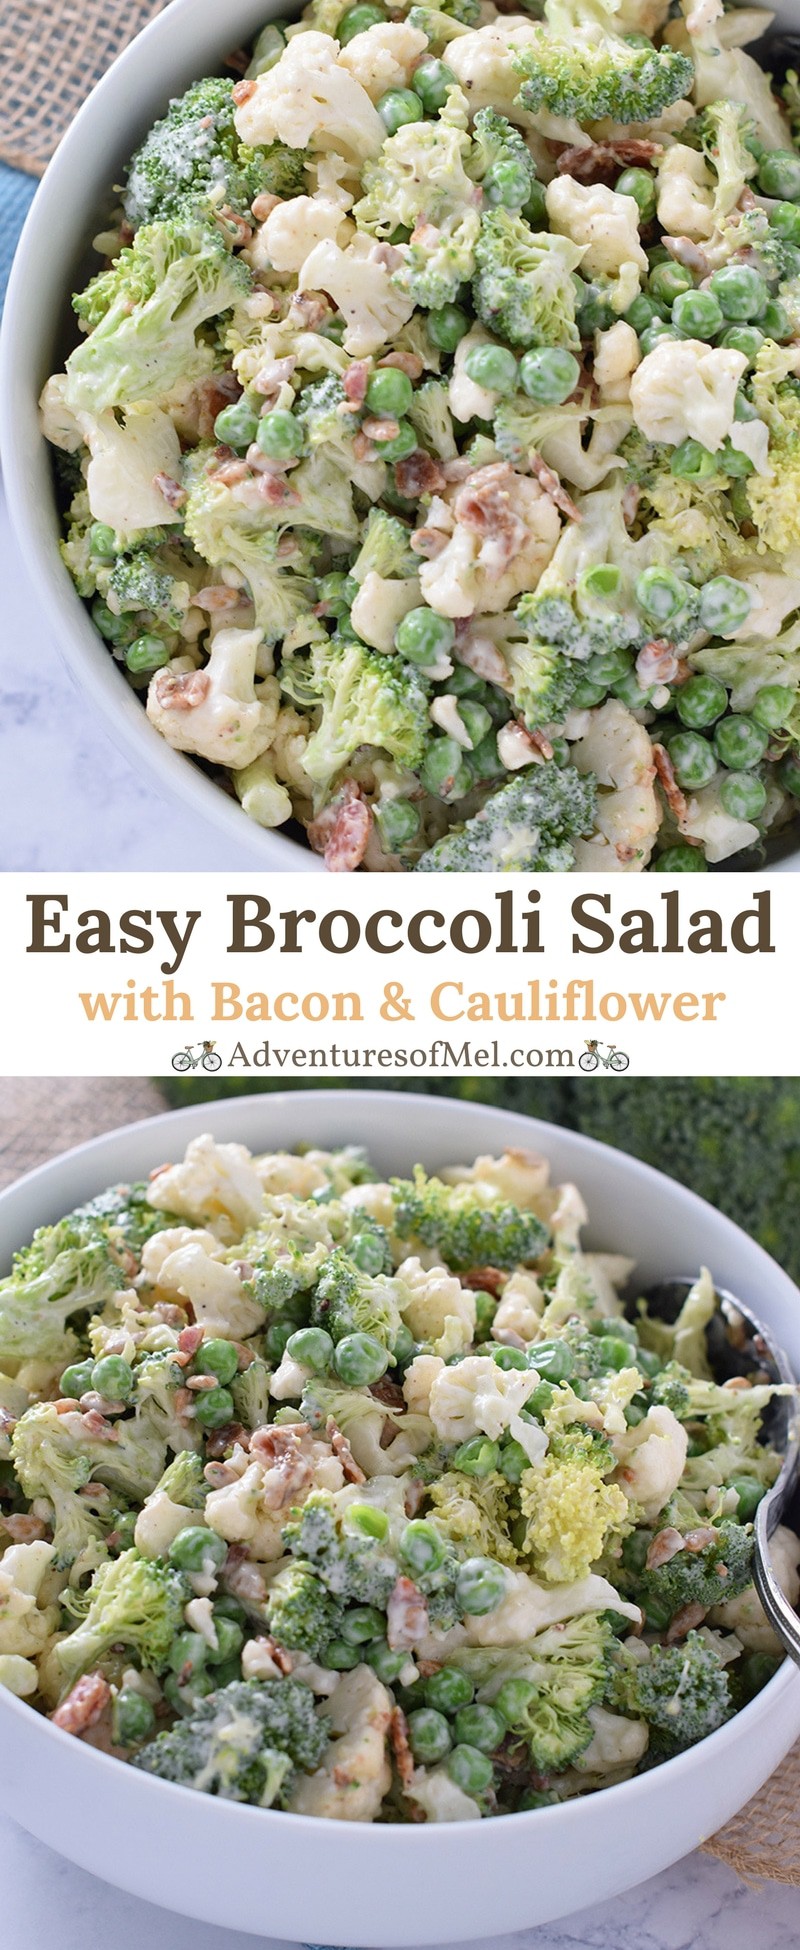
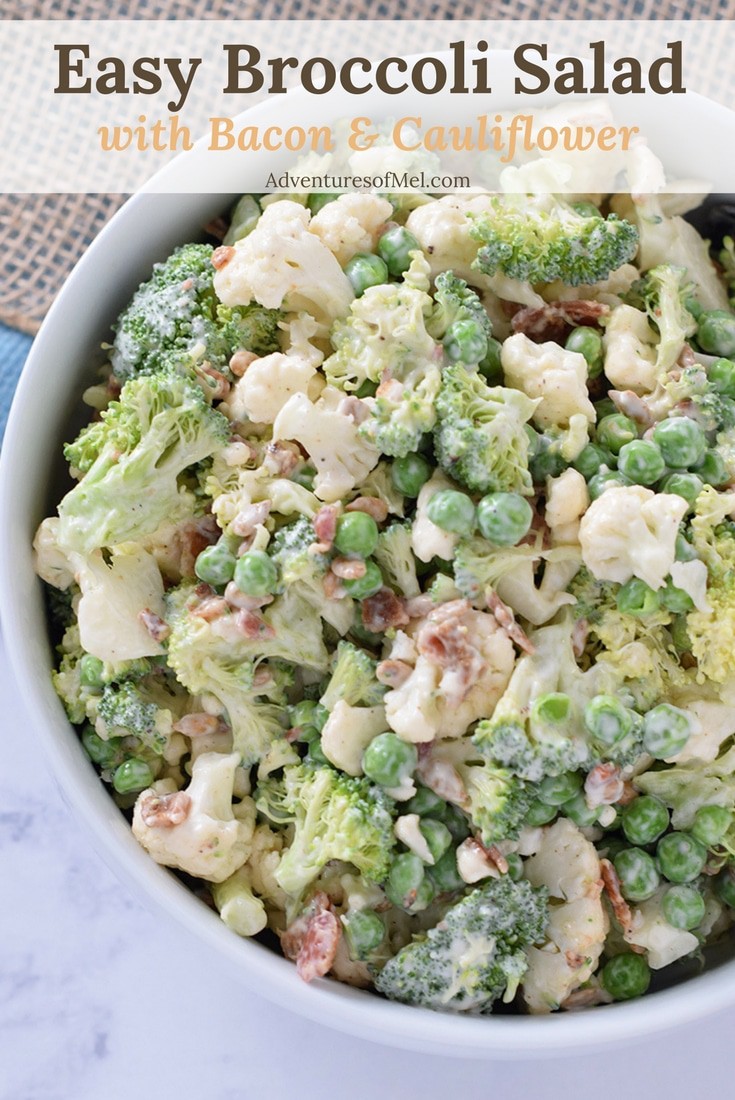
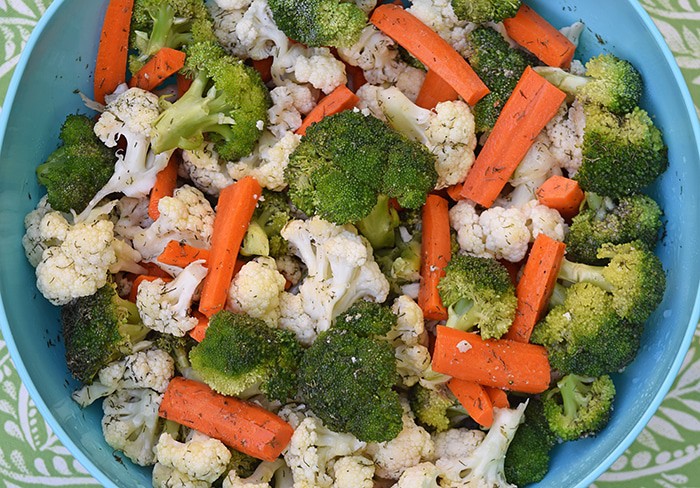
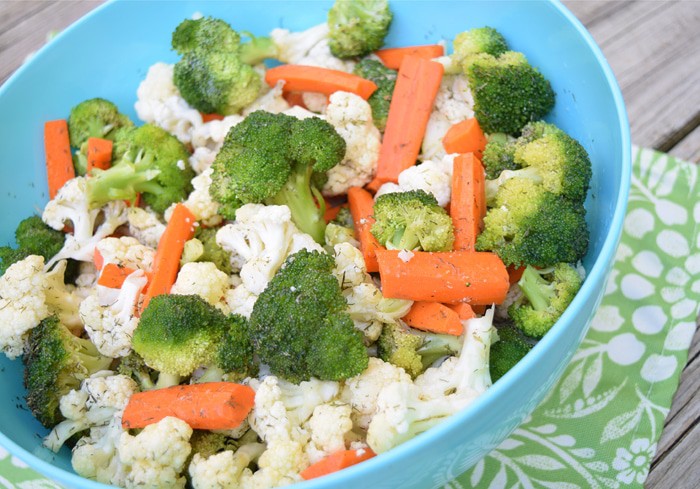
- Cooked Broccoli
- Cooked Cauliflower
- Chili
- Meat for Sloppy Joes or CrockPot Sloppy Joes
- Taco Meat – beef taco meat, taco chicken, etc.
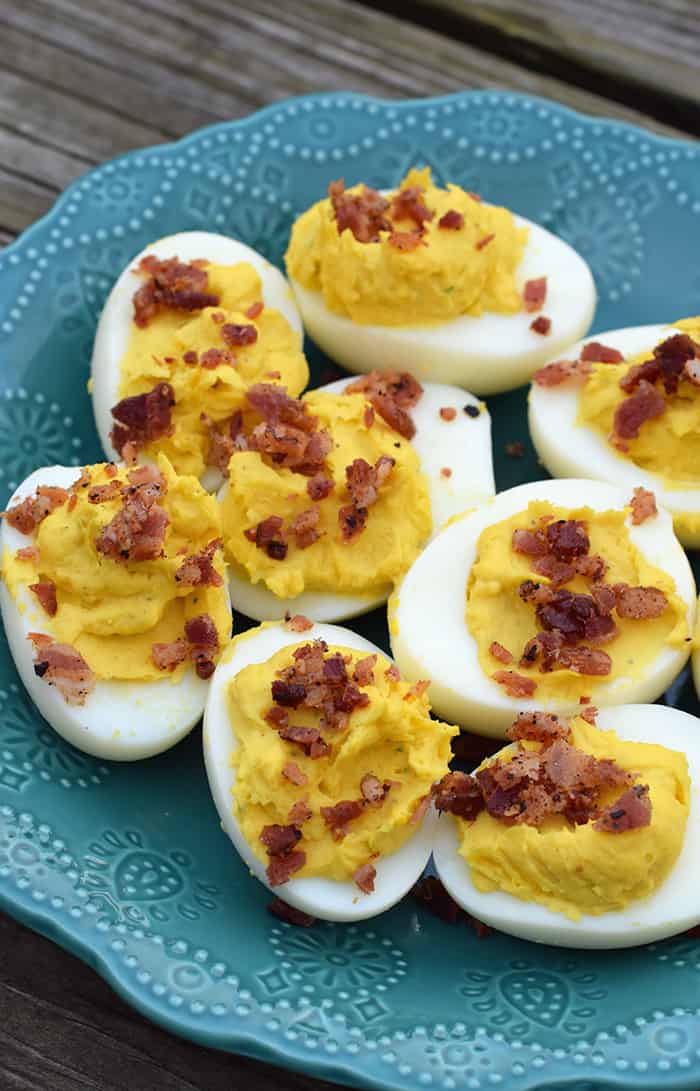
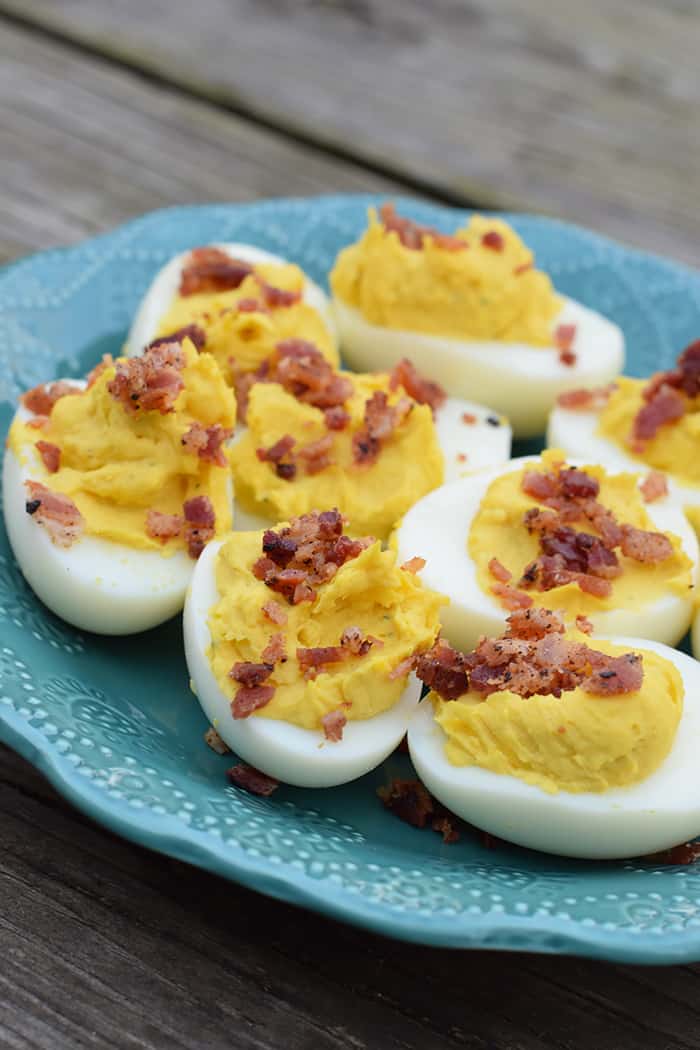
- Bacon or Bacon Bits
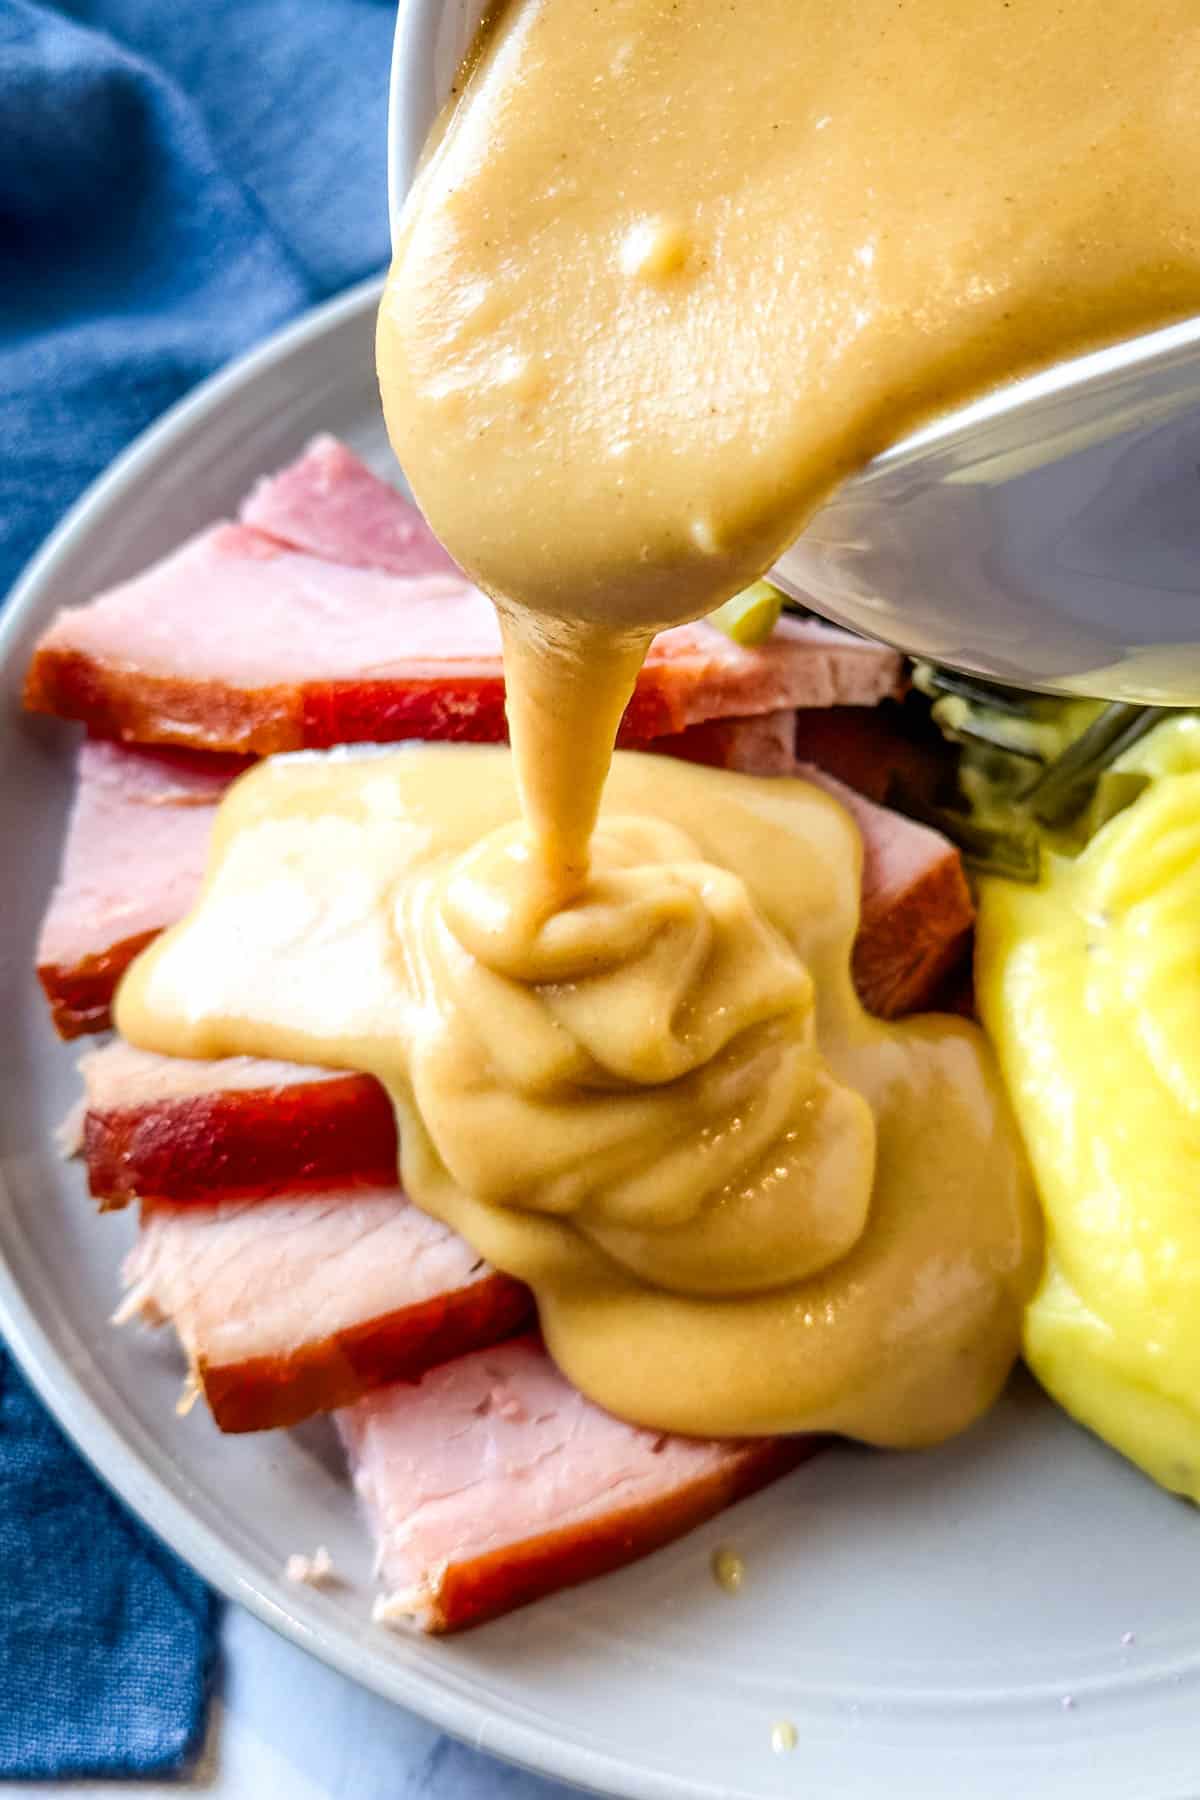
- Chopped Baked Ham or Pineapple Ham
- Pulled Pork
- Sausage
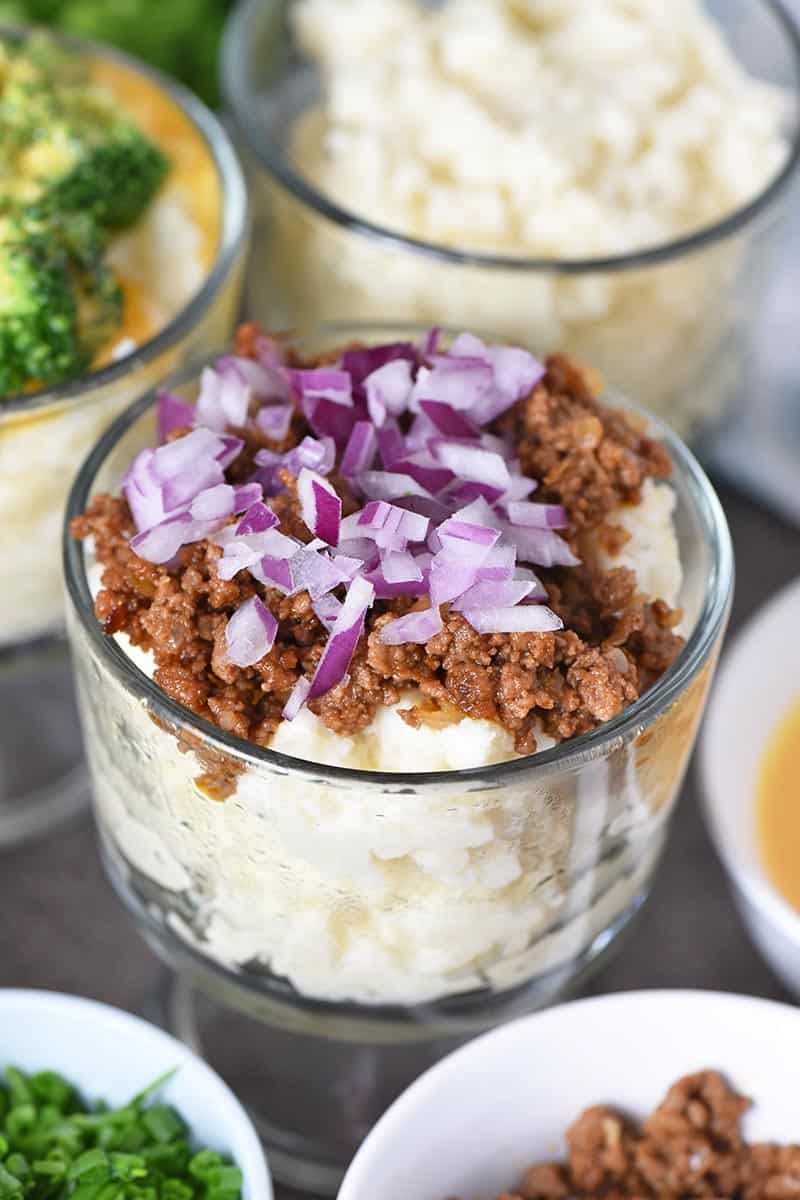
- Ground Beef
- Steak
- Cubed Pepperoni
- BBQ Sauce
- Ranch Dressing
- Pizza Sauce
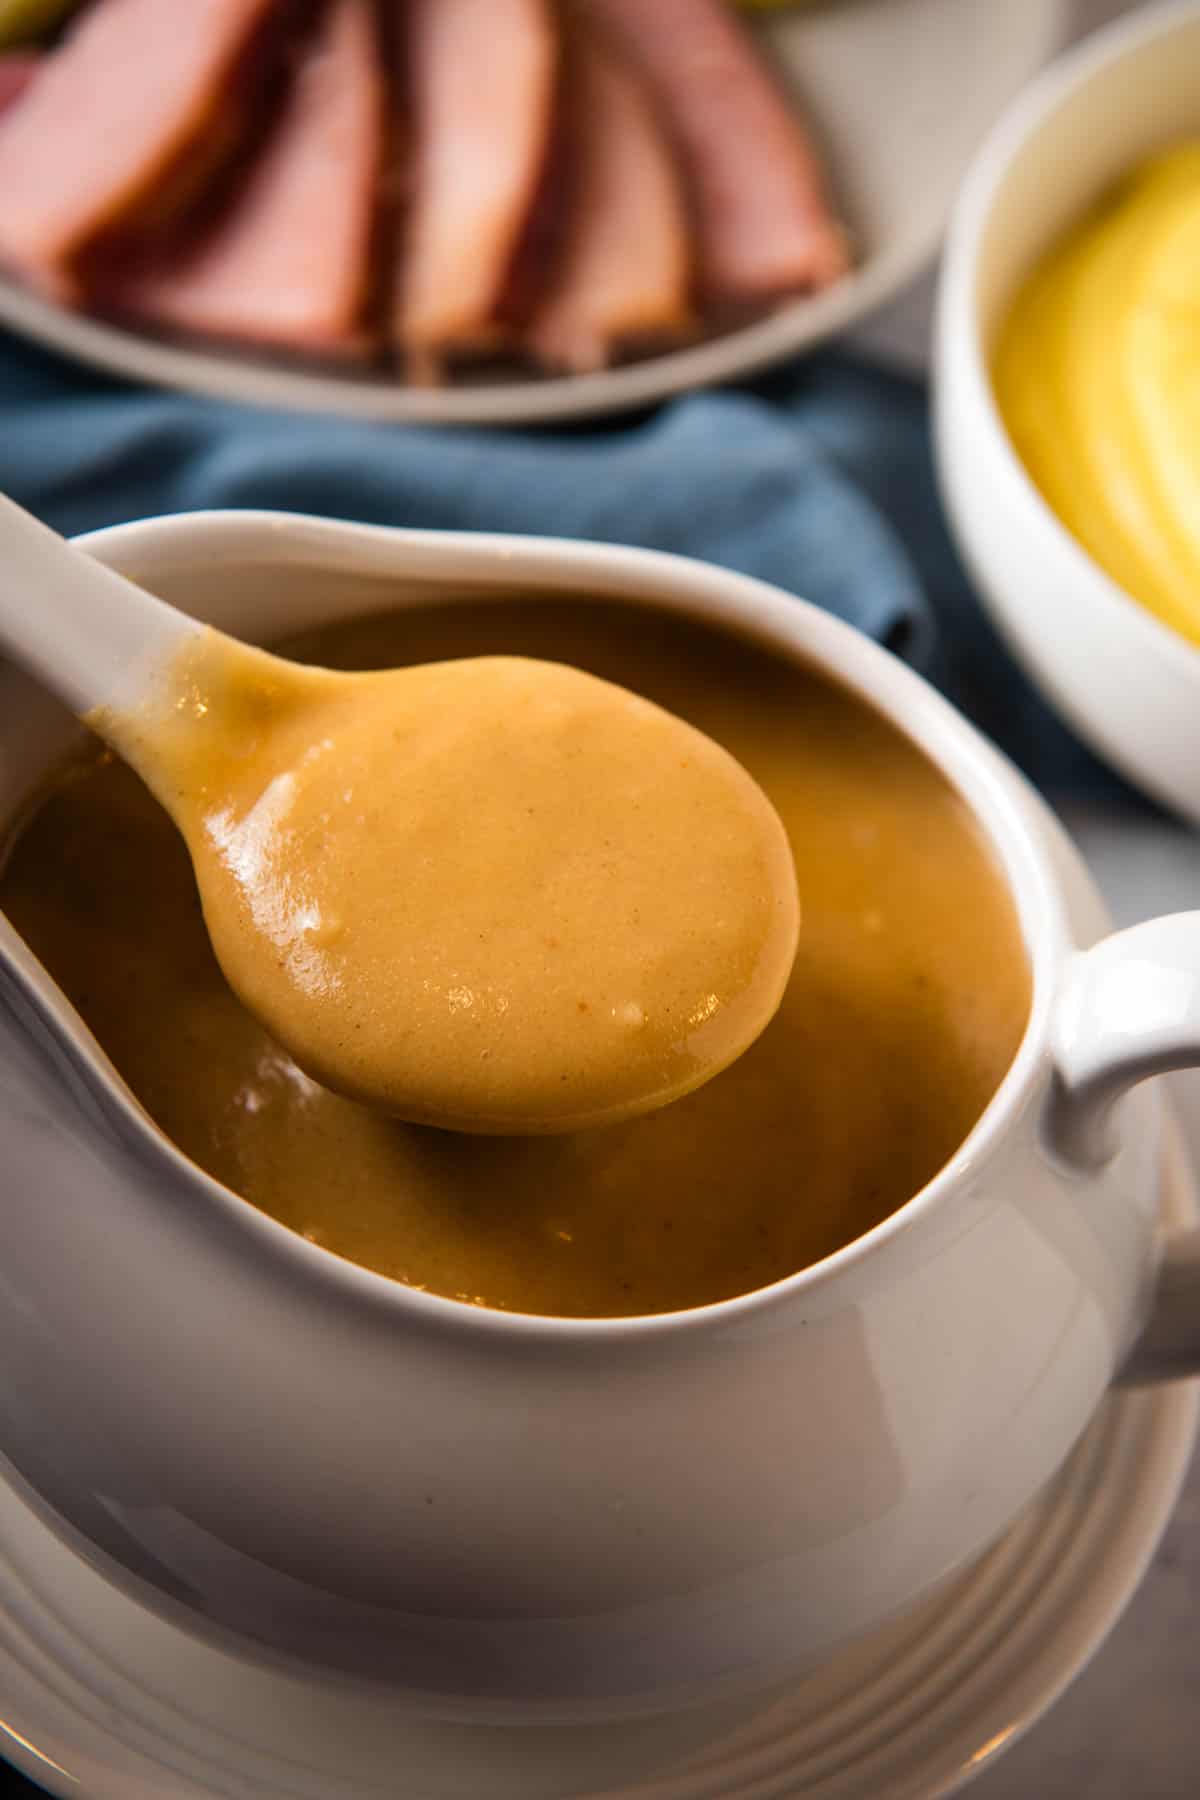
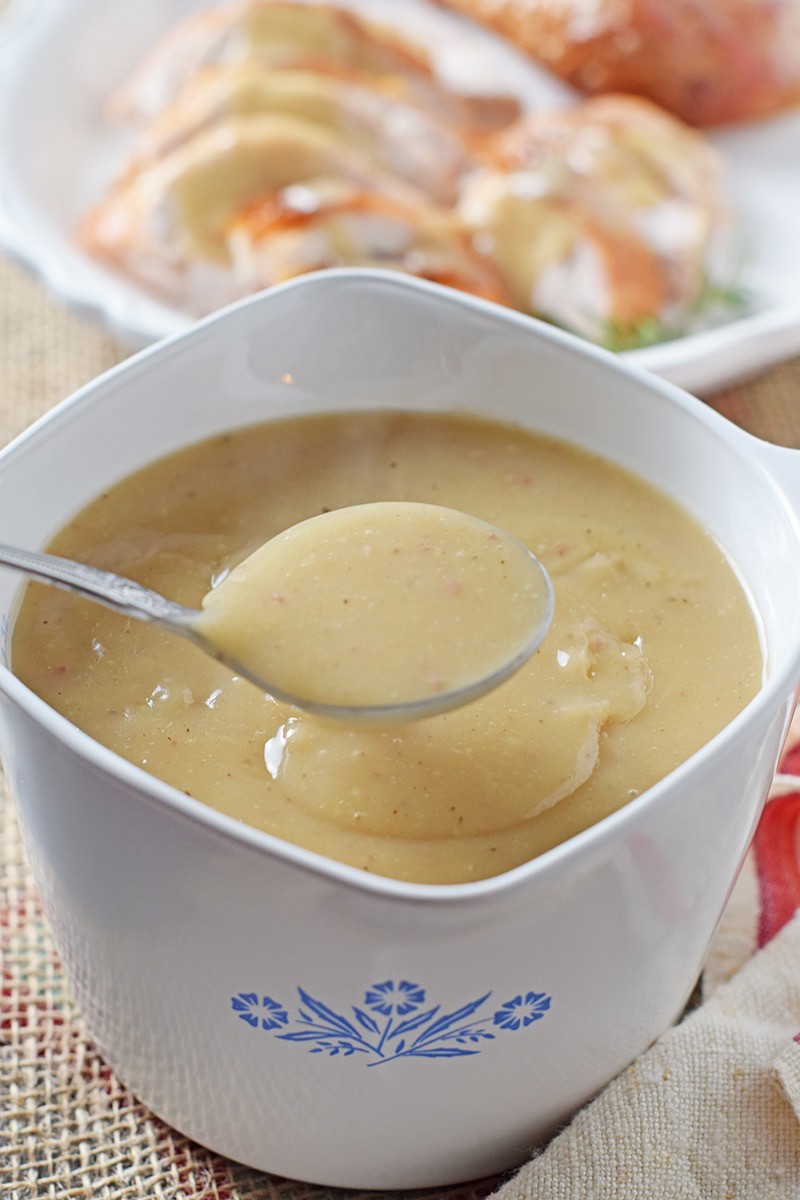
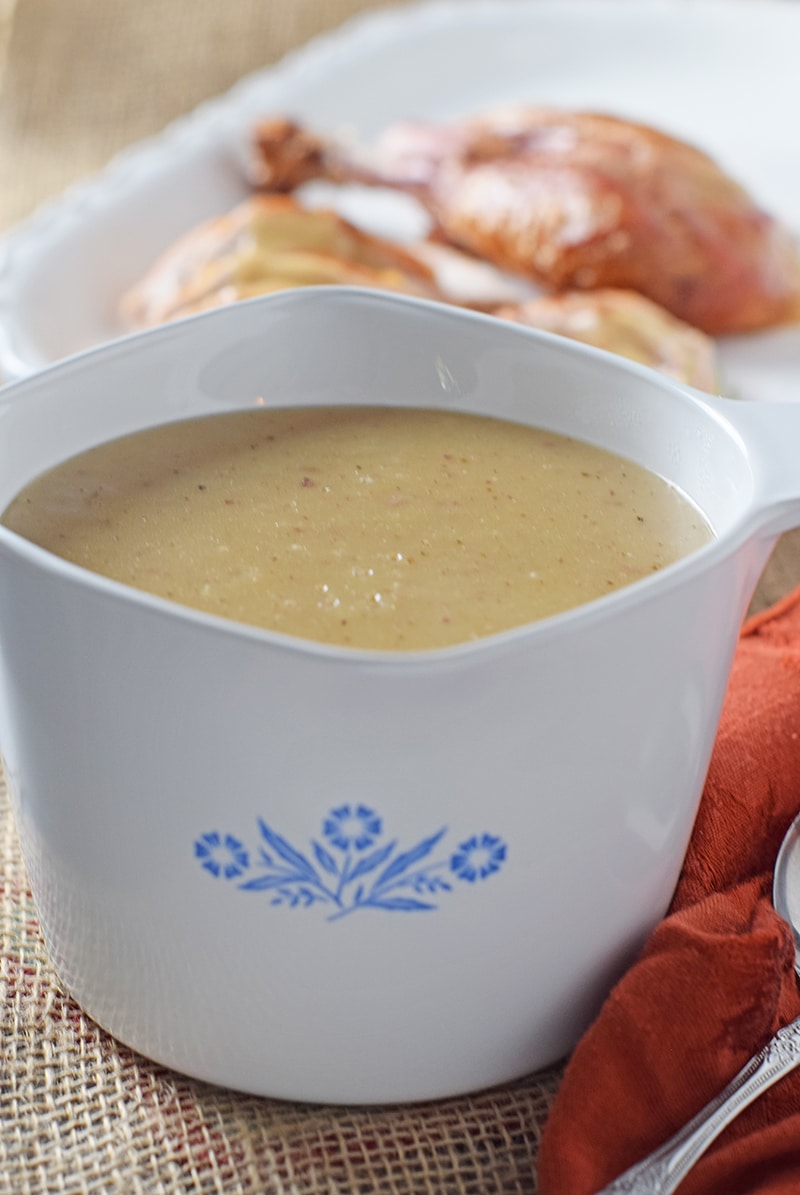
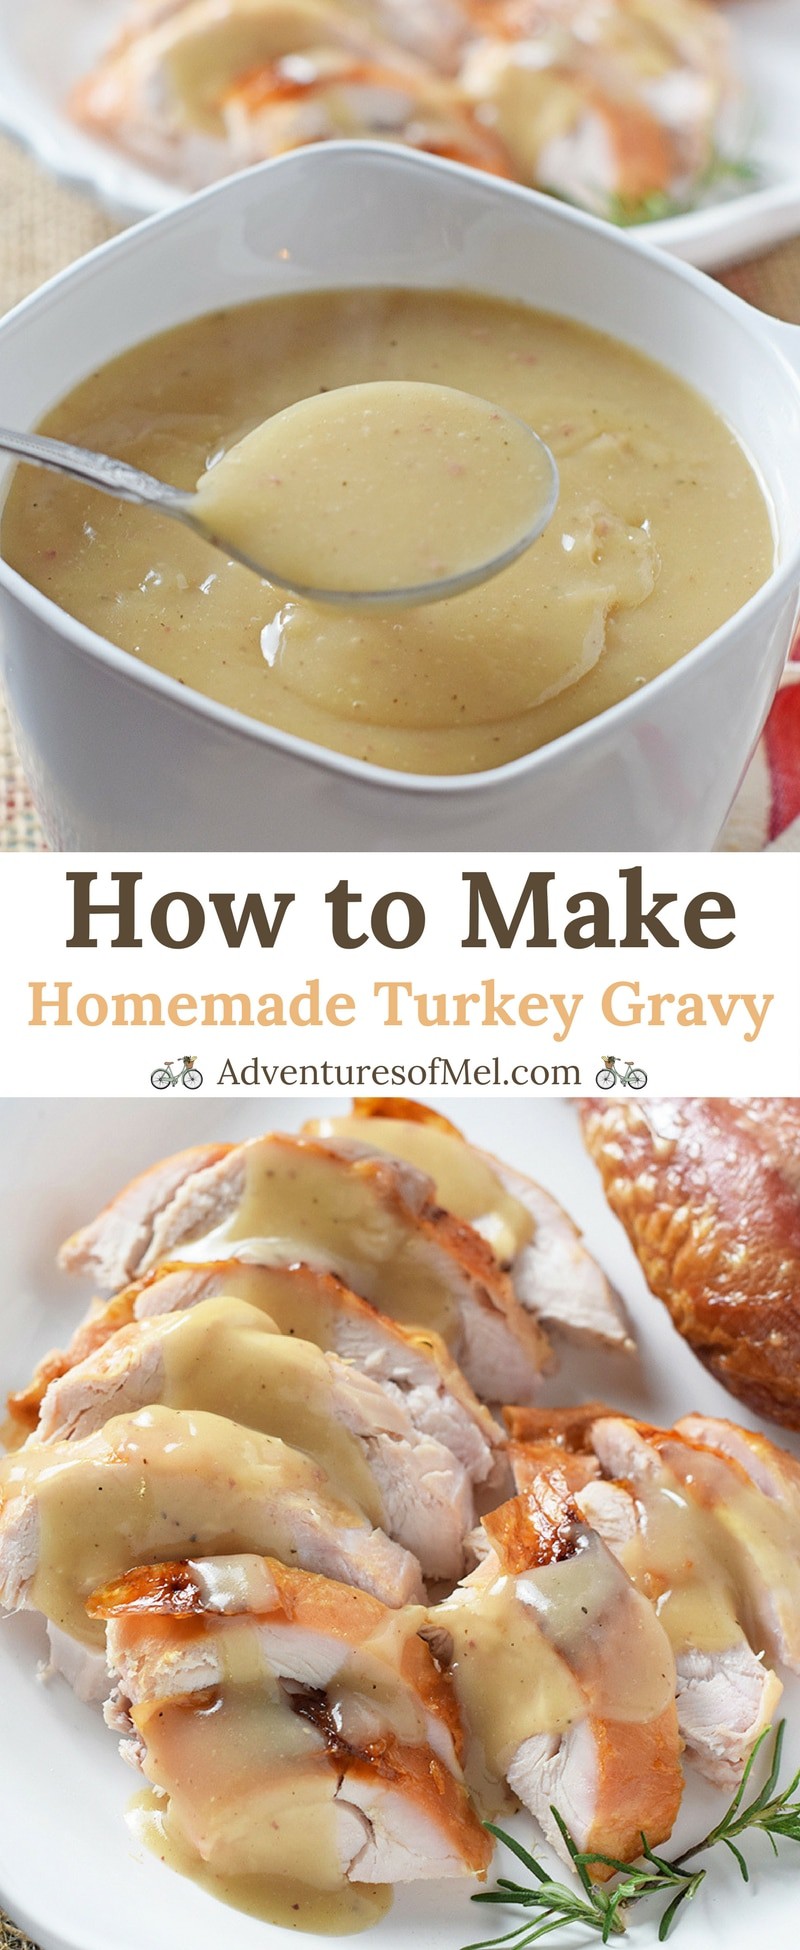
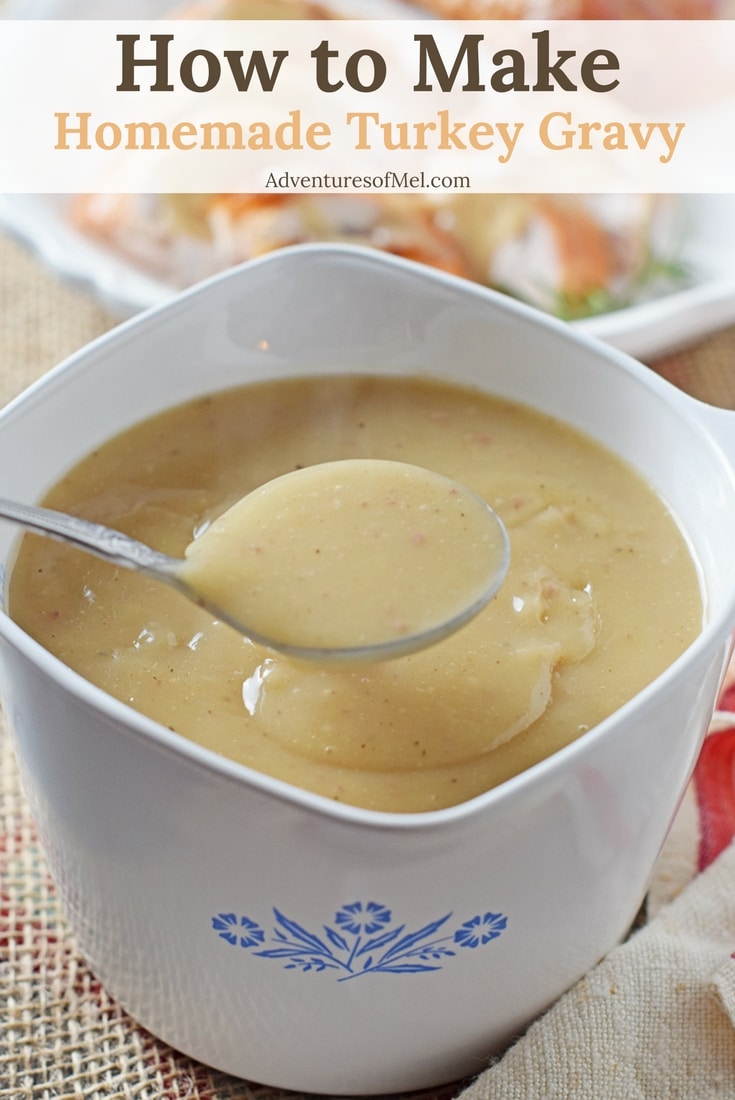
- Turkey Gravy
- Ham Gravy or any flavor gravy when you know how to make gravy with cornstarch
- Gravy with Chicken Broth
- Green Chiles or Hot Peppers
- Tomatoes
- Guacamole
- Salsa with basil
- Jalapeños
- Fire roasted green chiles
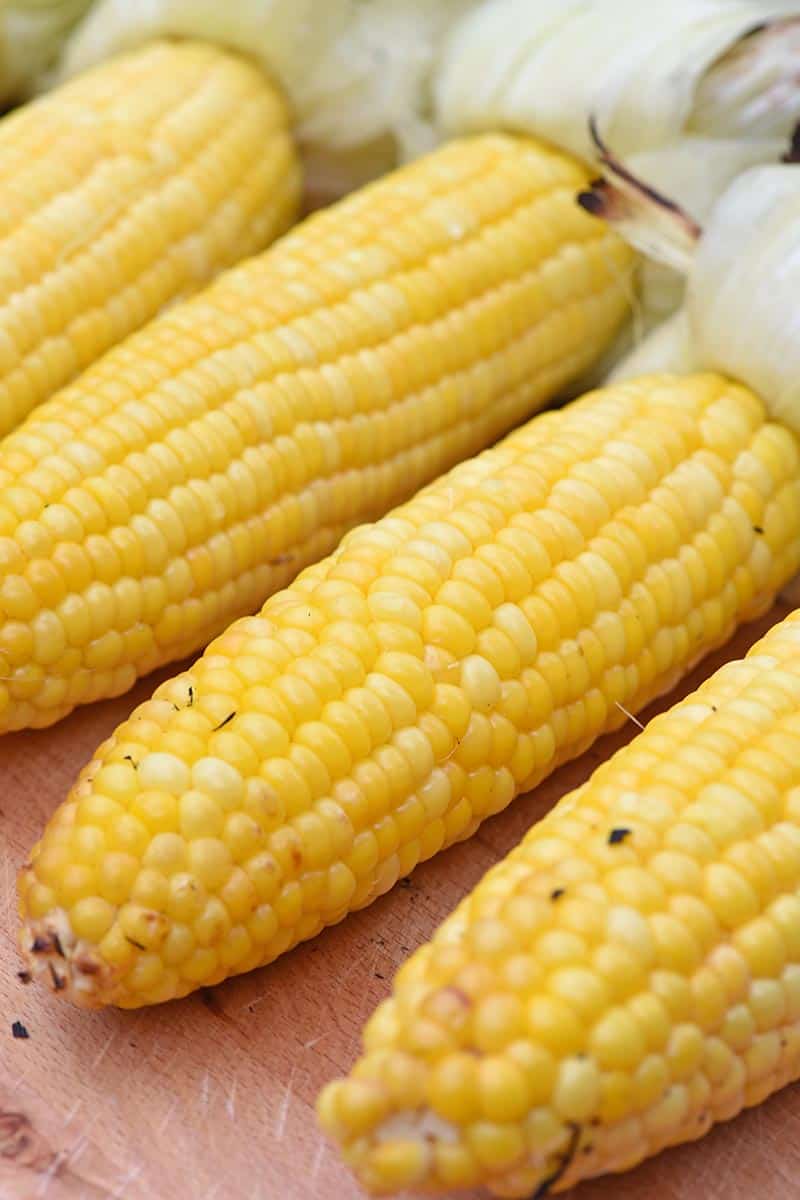
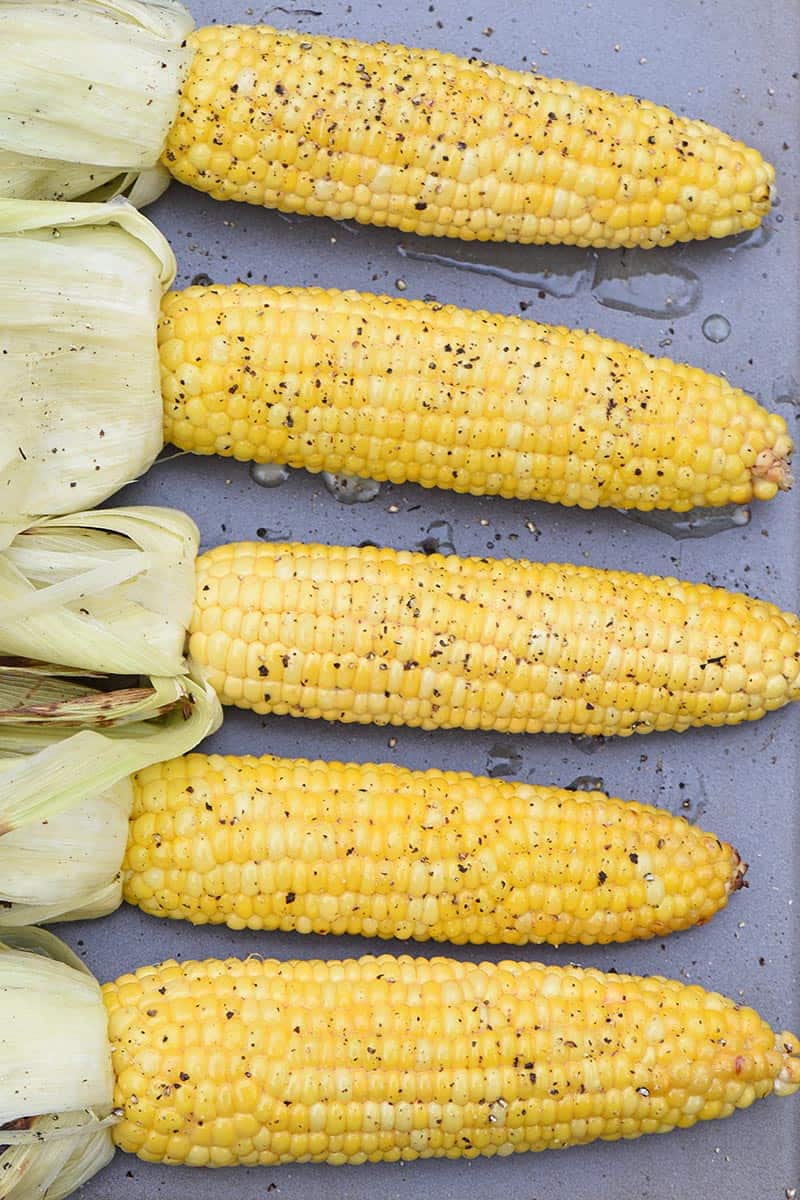
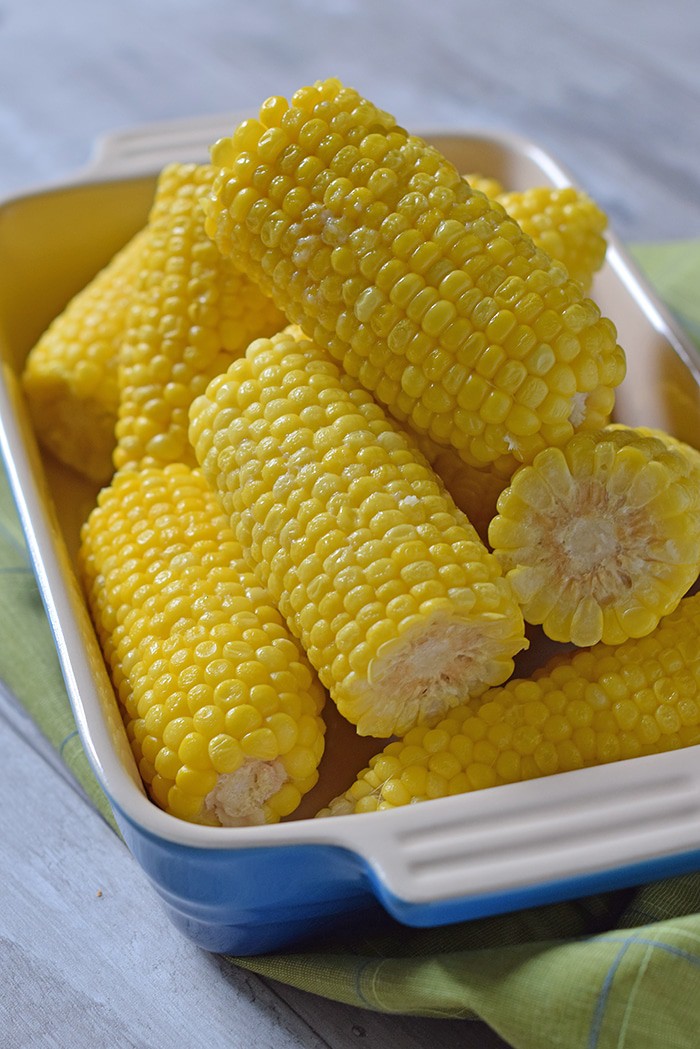
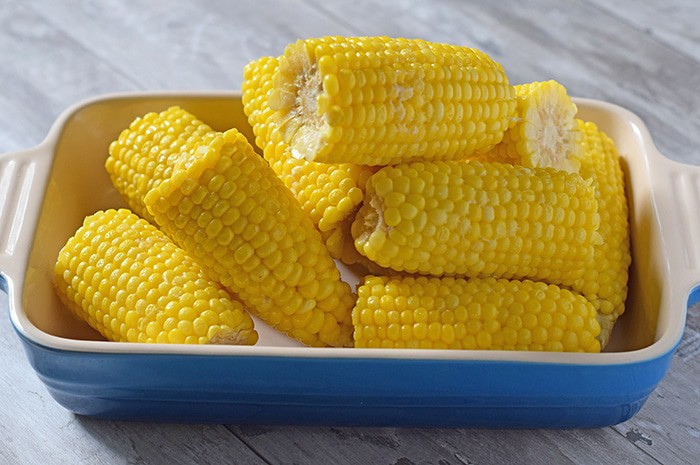
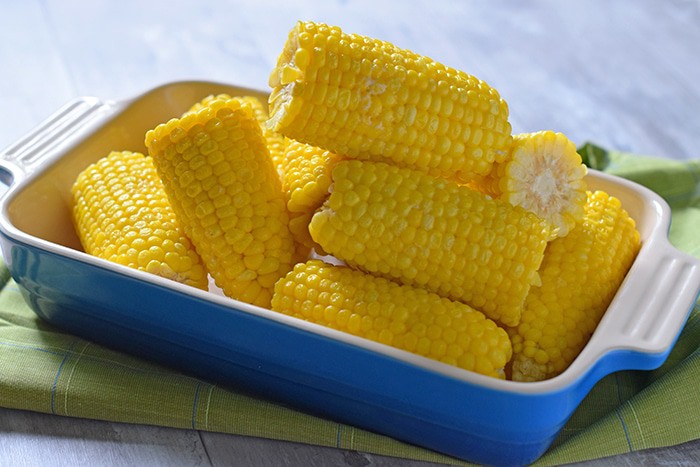
- Corn
- Peas
The sky’s the limit on ideas for a mashed potato buffet because there are so many toppings you can add to this list. But this is a great start.
Recipe FAQ’s
Really, this depends. For a small family gathering, if you make your own mashed potatoes and put together just a few simple toppings, you can get away with less than $20. If you’re creating a larger buffet for a large crowd, your cost will depend on how many ingredients and supplies are needed to feed said crowd.
While I do prefer yellow potatoes or Yukon Gold potatoes, you can use any kind of potatoes you prefer, including Russet potatoes, red potatoes, even purple potatoes if you can find them. I’ve also gone so far as to search for the best mashed potatoes near me, and I found Bob Evans mashed potatoes in my grocery store. If you really don’t want to make mashed potatoes, ready made potatoes could be just the thing.
Yes, you can. You can make mashed potatoes and prep most of the toppings 1-2 days ahead of time. You’ll just need to store everything in airtight containers in the fridge.
You can either use a buffet server and food warmer. Or you can keep the mashed potatoes in a Crock Pot or Instant Pot on the “Keep Warm” setting.
Definitely store leftovers in airtight containers in the refrigerator.
More Family Favorite Potato Recipes
If you love this mashed potato bar and think it’s as much fun as I do, you’ll love these recipes too…
- Easy Copycat KFC Famous Bowl
- Cheesy Hash Brown Casserole Recipe
- Scalloped Potatoes Recipe
- Instant Pot Baked Potatoes
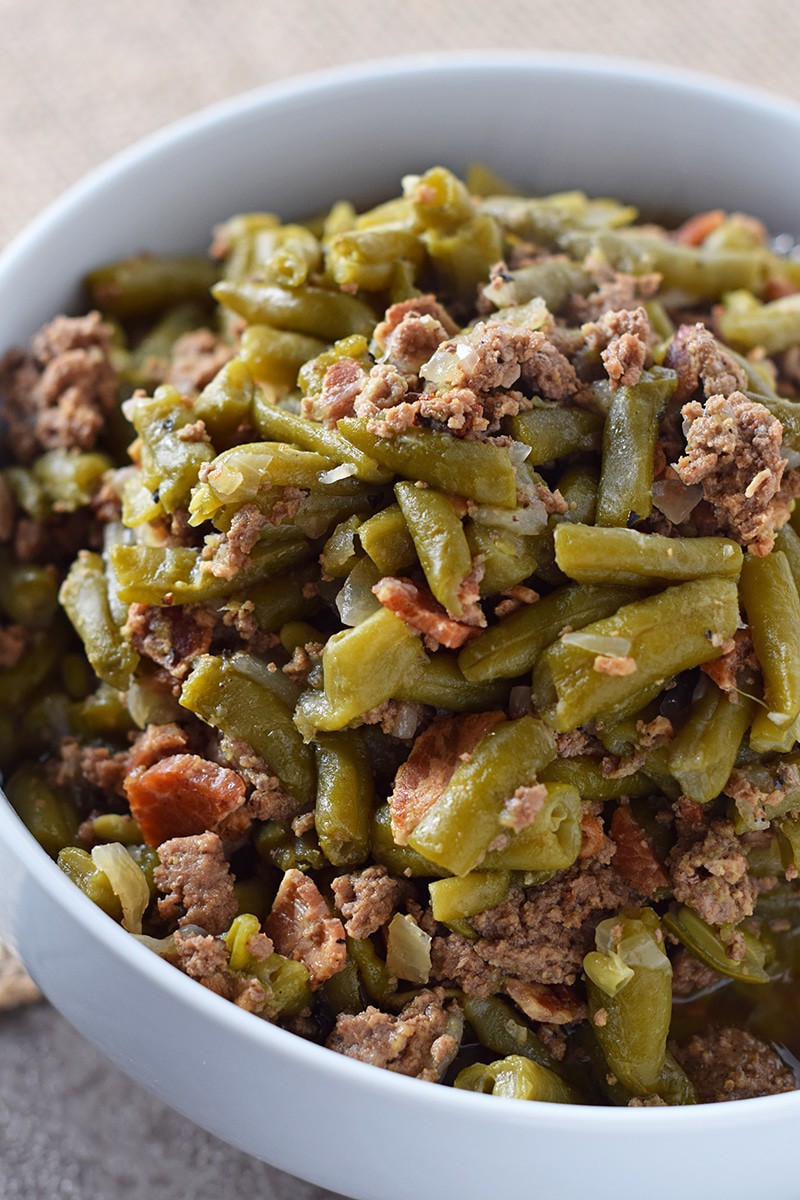
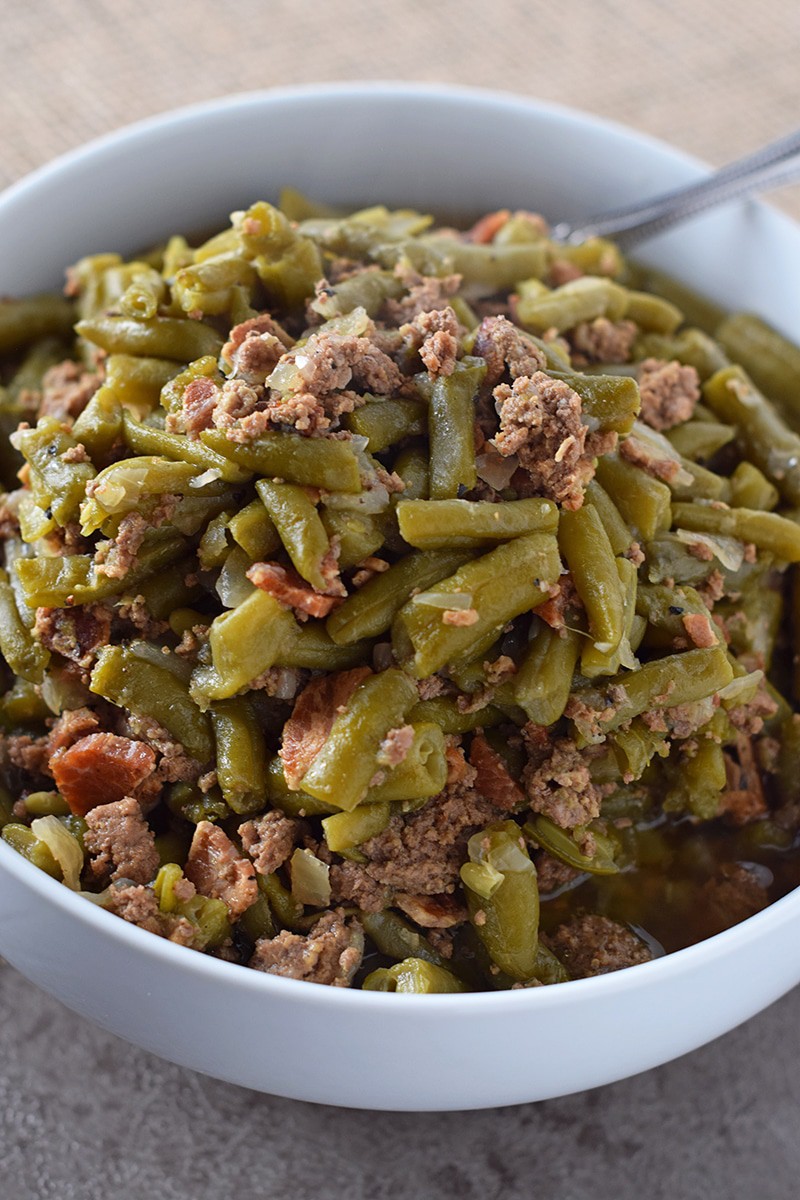
- Slow Cooker Green Beans, Potatoes, and Sausages
If you try this recipe, why not leave a star rating in the recipe card right below and/or a review in the comment section further down the page? I always appreciate your feedback. You can also follow me on Pinterest, Facebook, Instagram, and YouTube. And subscribe to my email list too!
The Ultimate Mashed Potato Bar
Feed a crowd with a mashed potato bar at your next party, wedding, or celebration. Ideas for all sorts of delicious toppings.
- Stockpot
- Hand Mixer
- Potato Masher
- Cutting Board
- Vegetable Cleaver
- Buffet Server and Food Warmer
- Serving Bowls
- Sectioned Serving Tray
- Mini Appetizer Cups
- Plastic Martini Glasses
Mashed Potatoes:
- 16 medium potatoes
- 12 tablespoons salted butter
- 4 tablespoons whole milk (or heavy cream)
- 2 teaspoons sea salt (to taste)
- 2 teaspoons ground black pepper (to taste)
Mashed Potato Bar Toppings:
- 1 1/2 cups salted butter
- 1/4 cup salt
- 1/4 cup ground black pepper
- 1 1/2 cups sour cream
- 3 cups cheese sauce
- 12 ounces extra sharp cheddar cheese (*shredded)
- 2 cups red onion (minced)
- 2 cups green onion (chopped)
- 2 cups chives (chopped)
- 6 cups broccoli (cooked)
- 6 cups sloppy joe meat
- 1 1/2 cups bacon (cooked and crumbled)
- 4 1/2 cups ham (chopped)
Mashed Potatoes:
Wash, peel, and chop the potatoes.
Boil the potatoes in a large saucepan on the stove, until they're soft enough to easily jab with a fork, about 20-30 minutes.
Drain the water off the boiled potatoes, and leave them in the saucepan.
Add the butter and heavy whipping cream to the potatoes.
Use a hand mixer to whip the potatoes, adding salt and pepper to taste. You can also use a potato masher if you don't have a hand mixer; your potatoes may just be a little bit chunky.
Once they're whipped, they're ready to serve.
Potato Bar Toppings:
Choose and prep your toppings*, adding each topping to a separate dish or compartment for serving. Prepping may involve cooking, re-heating, or simply chopping.
Set everything out buffet style*, so your guests can create their very own delicious baked potato creations.
* You can use any kind of shredded cheese you prefer. I recommend Extra Sharp Cheddar, Colby Jack, Monterey Jack, Pepper Jack, Smoked Cheddar, Mozzarella, etc.
*More mashed potato bar topping ideas include cooked cauliflower, chili, beef taco meat, taco chicken, pulled pork, sausage, ground beef, steak, bacon bits, cubed pepperoni, BBQ sauce, Ranch dressing, pizza sauce, turkey gravy, ham gravy, ham gravy with cornstarch, chicken stock gravy, tomatoes, guacamole, salsa, jalapeños, fire roasted green chiles, corn, peas, etc.
*You may need warmers to keep the mashed potatoes warm; you can also use a slow cooker or Crock pot. Otherwise, you may use a serving platter or serving bowls for toppings.