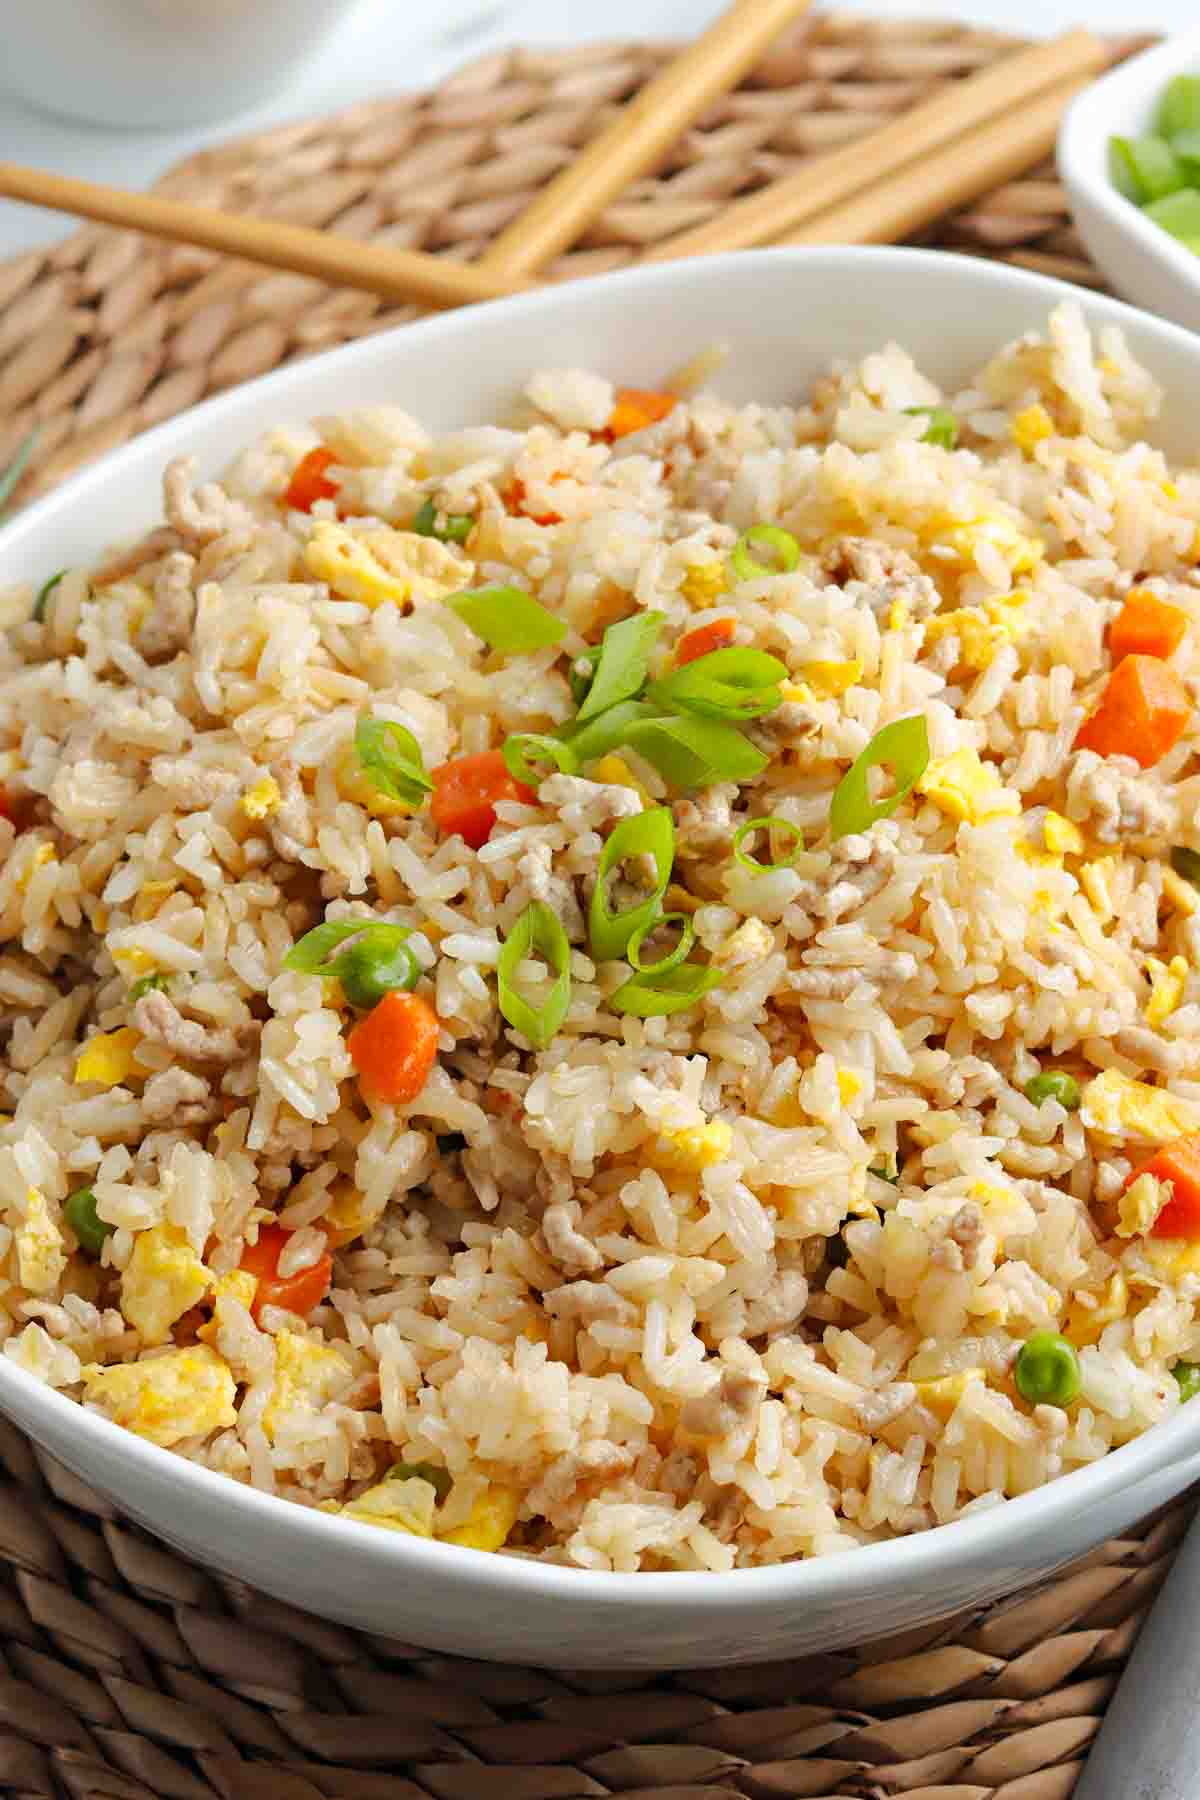
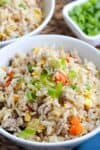
How to make the best Chinese pork fried rice recipe just like the restaurants make it with ground pork, eggs and leftover white rice. Quick and easy, classic homemade dinner that the whole family will love. Why spend money going out when you can make this budget-friendly recipe at home!
Chicken fried rice is one of my longtime favorite, go-to dinner recipes for a busy weeknight. In fact, we like it so much that we started making cauliflower chicken fried rice for a healthier, low-carb option that Dan can eat. And whenever we have leftover fried rice, I like to make these scrumptious chicken fried rice spring rolls!
As much as I love chicken fried rice, recently I had the pleasure of tasting authentic pork fried rice at a Chinese restaurant, and let me tell you, that fried rice was so good! Naturally, I set out to make my own ground pork fried rice recipe at home, and I think I’ve finally settled on this recipe. It’s quick, easy and absolutely delicious; what’s not to love?
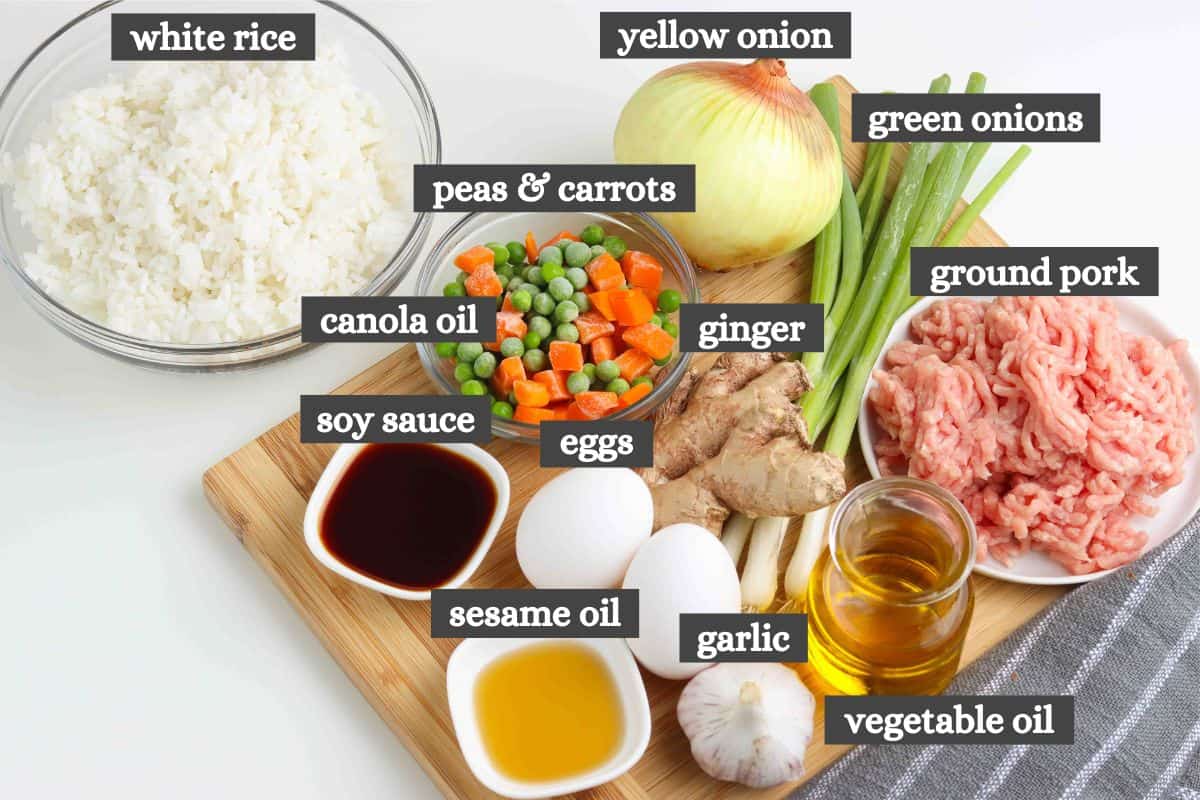
Ingredients & Substitutions Notes
- Vegetable Oil – The best fried rice is cooked fast and hot. I recommend using an oil with a high smoke point. Vegetable oil, canola oil and peanut oil all work exceptionally well!
- Eggs – I always make my ground pork fried rice with whole, slightly beaten eggs. Eggs add a rich flavor, and they work to bind everything together.
- Ground Pork – For the sake of ease, I usually just make my pork fried rice with ground pork. You can also use cubed pork loin, or you can make your own char siu for a more authentic Chinese pork fried rice.
- Veggies – You’ll need finely diced yellow onion, minced garlic, grated ginger, frozen peas and carrots, and a few green onions for this recipe. In addition, you can also add sliced bell peppers, diced mushrooms, shredded zucchini, sugar snap peas, green beans, baby corn, shredded cabbage, broccoli florets and cauliflower florets. Be creative!
- Cooked White Rice – Any long-grain white rice from the grocery store will work best for this recipe. I recommend cooking the rice ahead of time. We usually use the Instant Pot, but you can also just boil it on the stove. Once cooked, spread your rice out onto a cookie sheet and into the freezer for at least 30 minutes before making the recipe. This can help to dry out excess moisture, preventing that sticky, gooey mess that rice can become! Also, you can use brown rice, but it will change both the flavor and texture of the finished dish.
- Soy Sauce – Soy sauce contributes to an attractive dark color in the finished product. It also imparts a rich umami flavor and those sweet caramel notes that authentic Chinese fried rice is well known for!
- Sesame Oil – I use sesame oil as a finishing oil for my pork fried rice. Toss in a light coating of sesame oil before serving for a rich and nutty, toasted flavor that makes this dish taste like it’s straight from the restaurant!
How to Make Pork Fried Rice Recipe
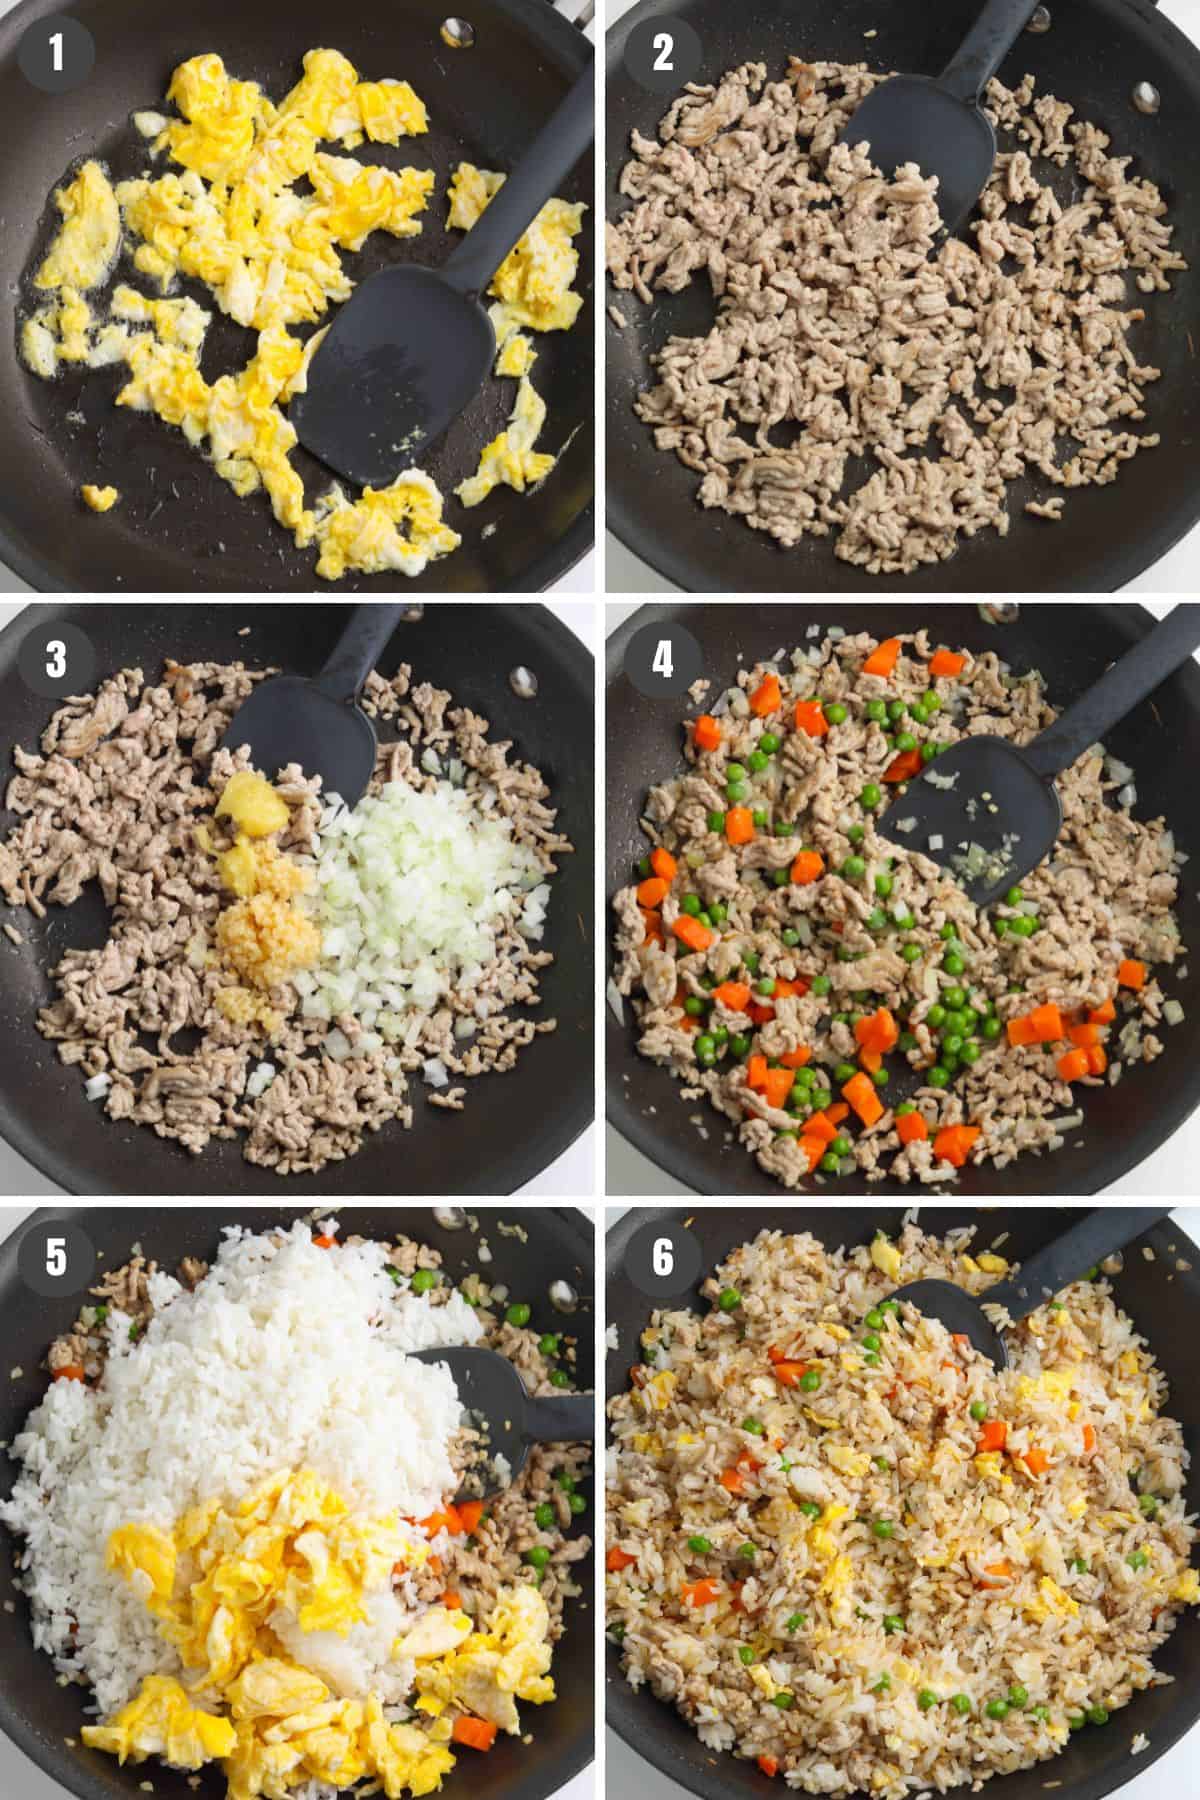
Before getting started, get the rice cooked and all of your veggies prepped. You’ll need to dice up the onion, mince the garlic, grate the ginger and thinly slice the scallions for this recipe. Then heat 1 tablespoon of vegetable oil in a large nonstick skillet or wok over medium-high heat.
How to Cook Fried Rice With Pork
- Once your skillet is hot enough, add the lightly beaten eggs and allow to cook slightly before scrambling into small pieces with a rubber spatula. Once fully cooked, remove your scrambled eggs from the pan.
- Preheat another tablespoon of vegetable oil in the skillet just as before, and then add the ground pork, stirring occasionally with a wooden spoon until the pork is completely cooked through and no pink remains.
- Next, add the onion, garlic and ginger, cooking until the onion is slightly soft and translucent.
- Stir in the frozen peas and carrots, cooking for another 1-2 minutes or ’til heated through.
- Now add the cooked rice and scrambled eggs to the meat mixture in the skillet. Cook for about 1-2 minutes, or ’til heated through.
- Finally, pull your pork fried rice off of the heat, and add the soy sauce and sesame oil. Stir to coat evenly. That’s it!
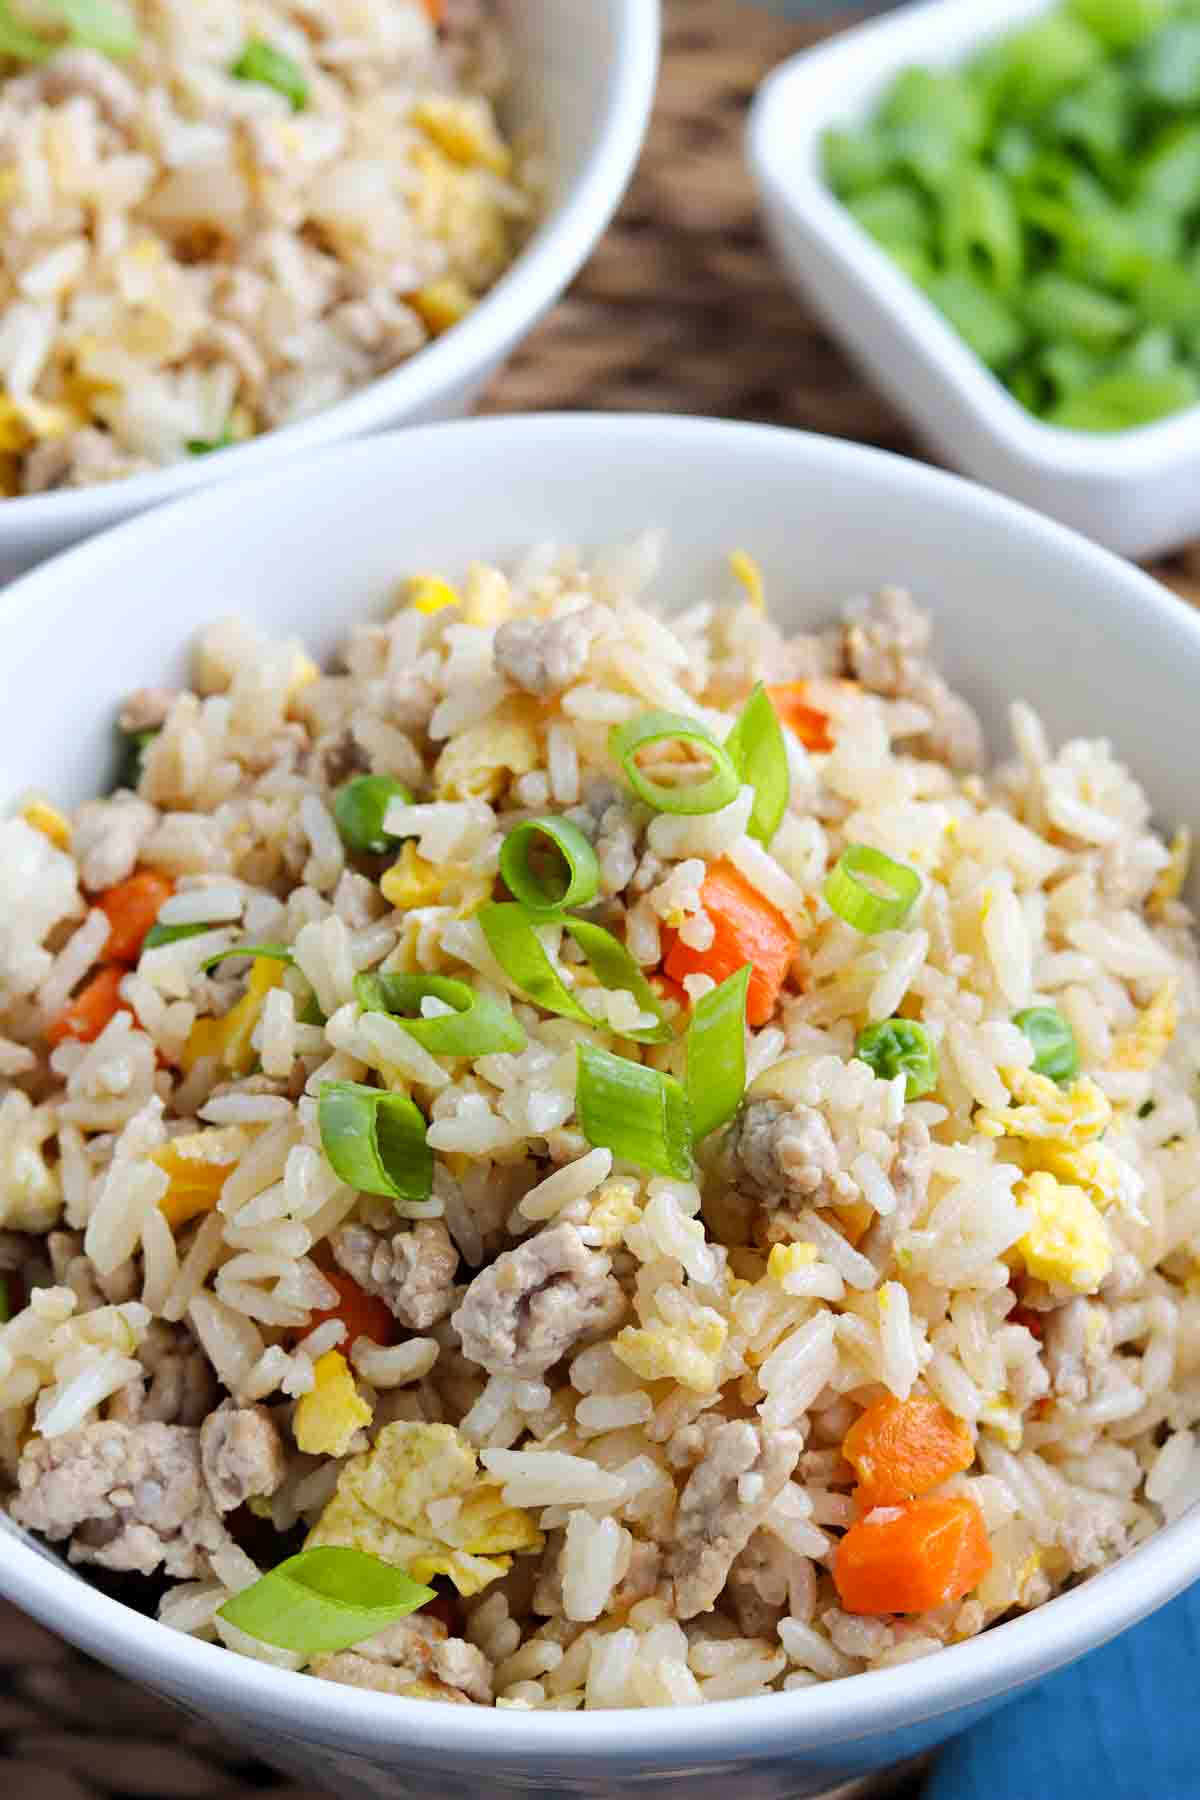
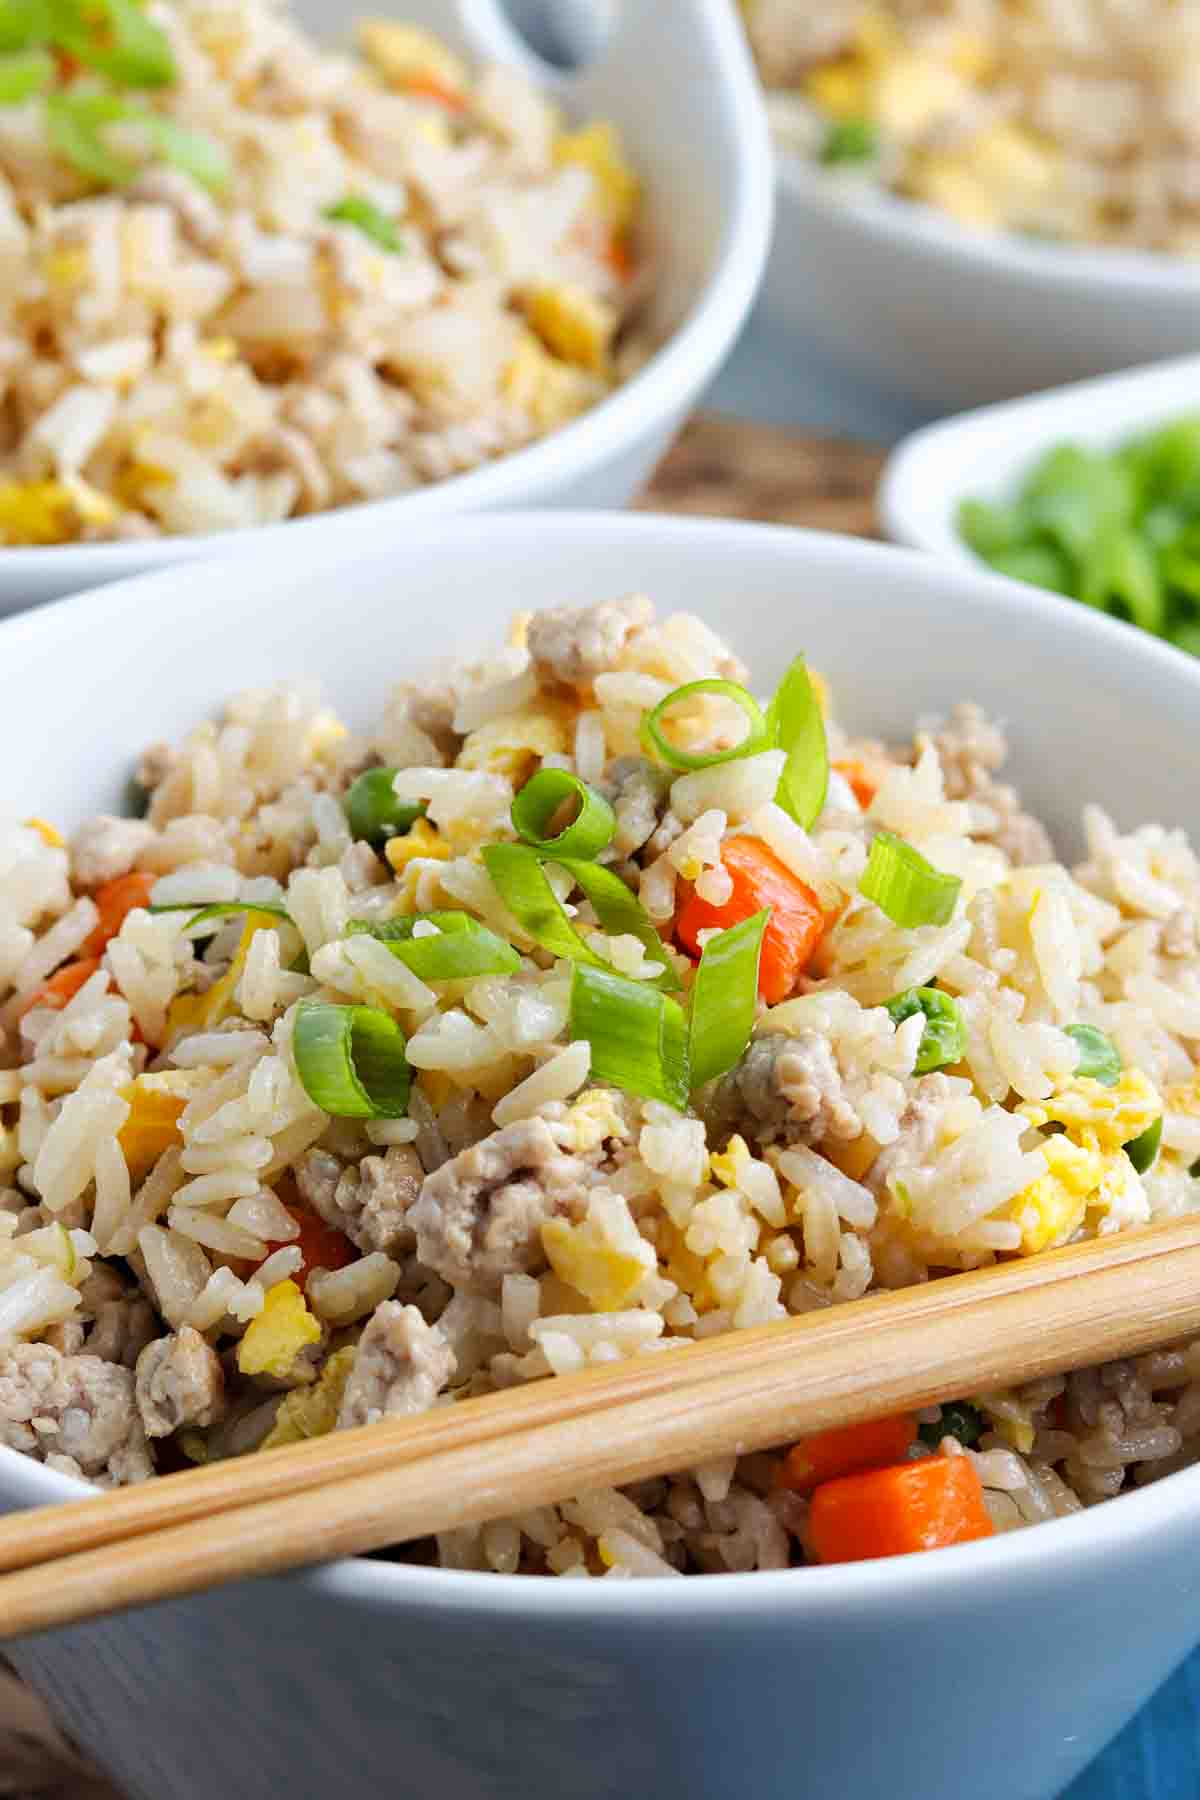
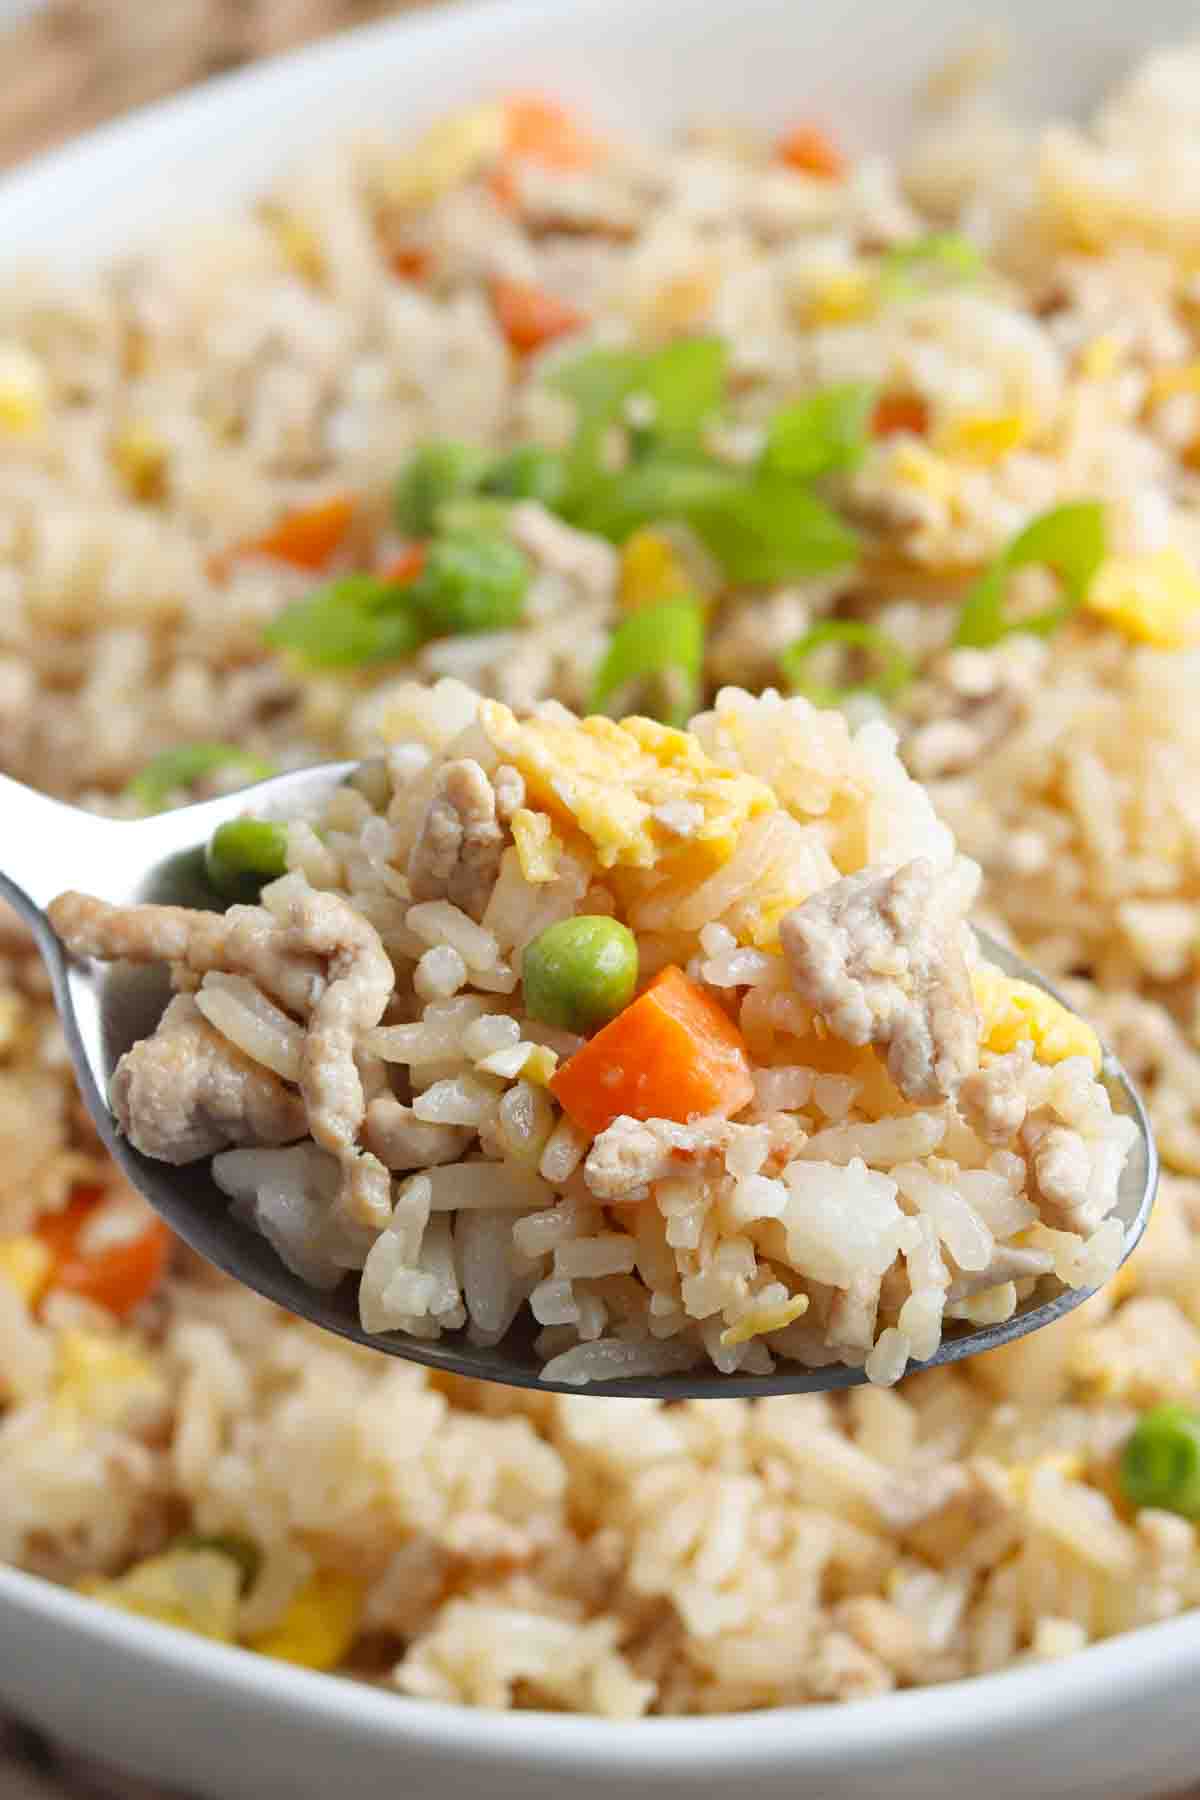
Serve your Chinese pork fried rice immediately. Optionally, I like to garnish mine with freshly chopped green onions. This recipe makes the most delicious fried rice, and it’s so easy to make!
What to Serve With Pork Fried Rice
Here are a few ideas as to what you can serve with your pork fried rice…
- Fried rice makes a great side dish for garlic parmesan chicken skewers or these maple bourbon marinated shrimp kabobs!
- I think this fried rice recipe would go really well with these grilled fish fillets!
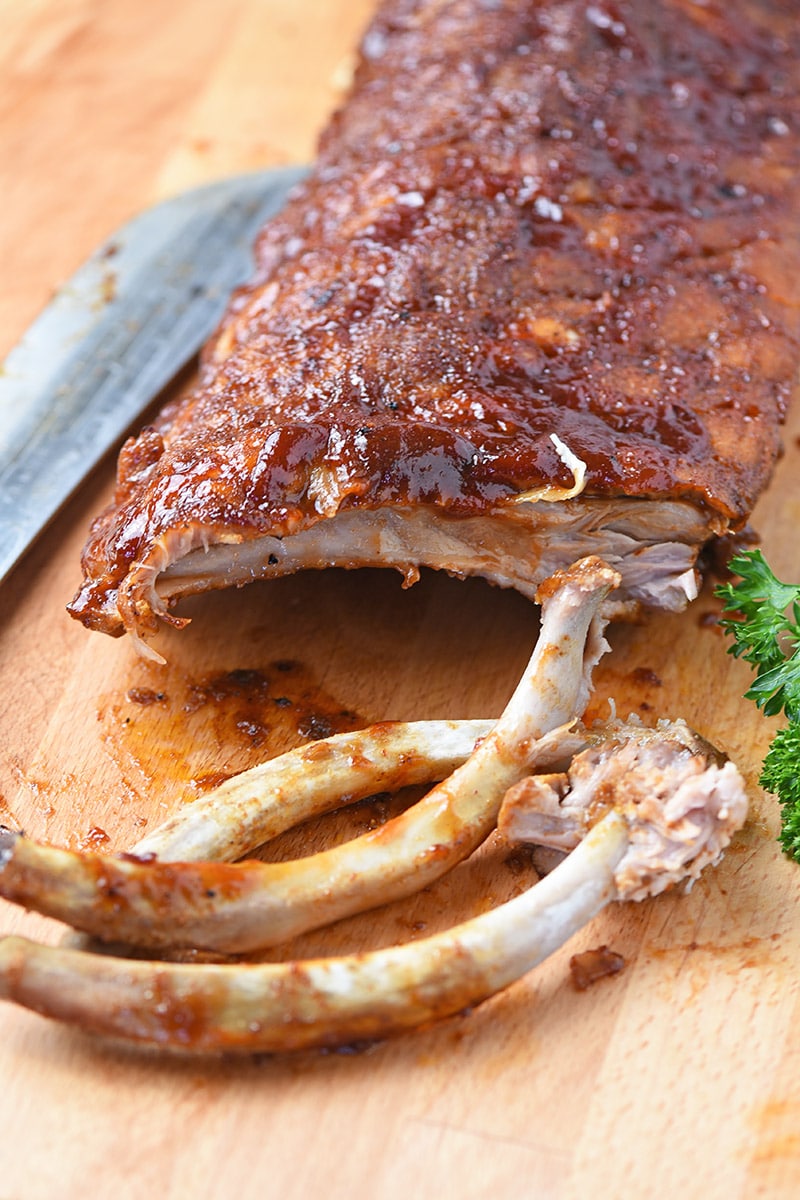
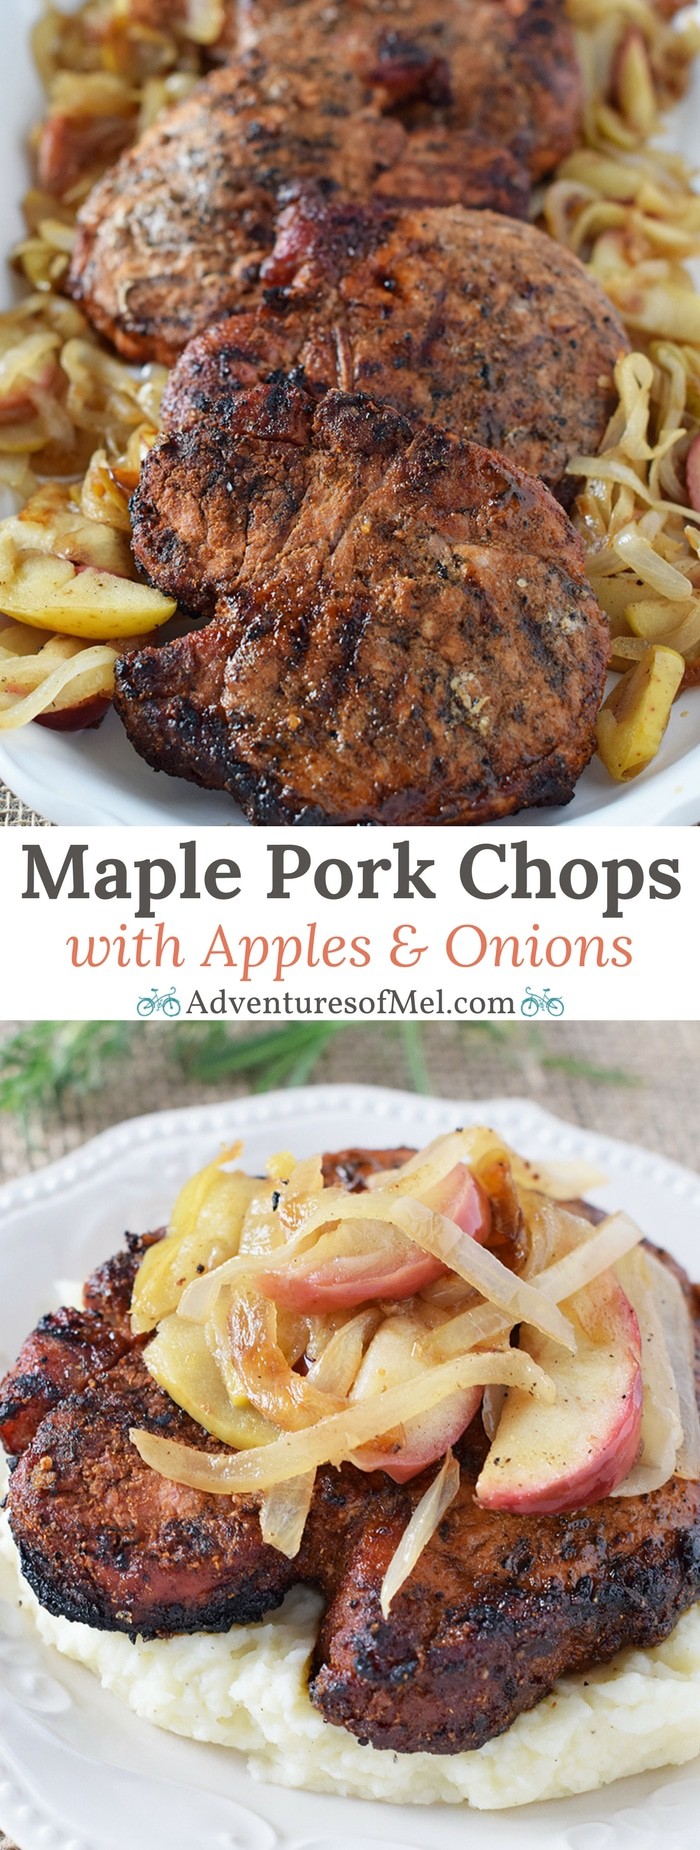
- Serve your Chinese fried rice with maple pork chops, pork tenderloin or even these sweet chili baby back ribs.
- These Asian chicken salad wonton cups make a great appetizer!
- Of course, you can’t go wrong with baked chicken drumsticks. Chicken and rice is a classic combination!
- Got leftover pork fried rice? Use it to make chicken and rice stuffed peppers!
Expert Tips and Recipe FAQ’s
1 cup dry rice equals about 3 cups cooked rice.
Although fried rice is best served immediately after cooking, you can store any leftovers in an airtight container in the refrigerator for up to 5 days. You can reheat it in the microwave, but I recommend heating it back up in a hot skillet with a little oil instead, the same way as you cooked it initially. This will help to sort of “crisp” it back up so that it doesn’t become wet and soggy.
Yes, you can freeze Chinese pork fried rice. Stored in an airtight container in the freezer, it should last up to 3 months. Be sure to let it thaw in the refrigerator overnight before you’re ready to use it. I recommend reheating fried rice that has been frozen in a hot skillet with a little bit of oil, just the same way as you cooked it initially. Because freezing damages the structure of the rice, fried rice that has been frozen will be more prone to becoming mushy and soggy in the microwave. This is why I recommend reheating it in the skillet to sort of “crisp” it back up.
Recipe Variations
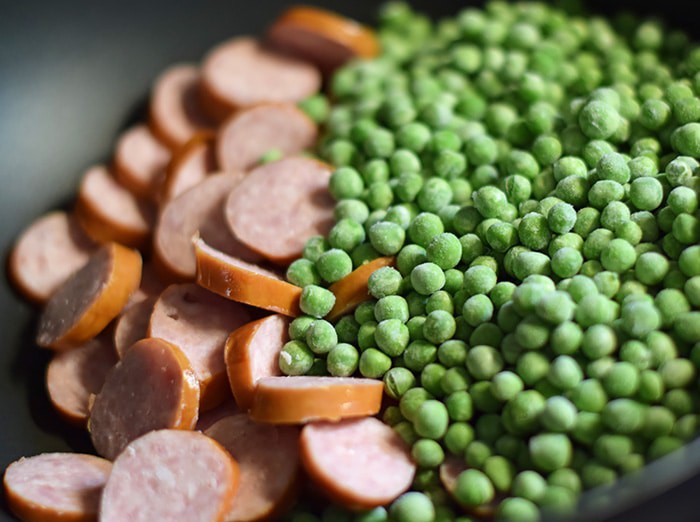
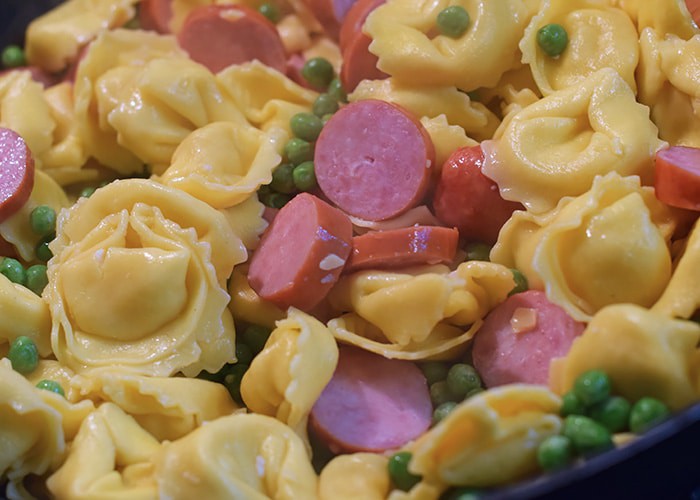
- You don’t have to make it with pork! Use chicken, beef, shrimp or even bacon. You can also add sausage, like in my Instant Pot sausage and rice recipe. If you don’t want any meat at all, tofu makes a great protein instead.
- As mentioned in the ingredients notes above, add more veggies! You can even add a pack of stir fry veggies from the frozen section at the grocery store in a pinch.
- Looking for a different flavor altogether? Try swapping out the soy sauce with oyster sauce. Oyster sauce is rich and savory with a touch of sweetness that you won’t find in any soy sauce. It also lacks the “fishy” flavor that can often accompany soy sauce, which is why many people actually prefer it.
- Make this a spicy pork fried rice by adding red pepper flakes or even sriracha sauce towards the end of the cooking process. You can also add hot peppers, like jalapeños and serrano peppers, or you can try adding this spicy red chili paste instead!
If you try this recipe, why not leave a star rating in the recipe card right below and/or a review in the comment section further down the page? I always appreciate your feedback. You can also follow me on Pinterest, Facebook, Instagram, and YouTube. And subscribe to my email list too!
Pork Fried Rice
Make the best Chinese pork fried rice recipe just like the restaurants make it. Quick & easy homemade dinner that the whole family will love!
- Large Nonstick Skillet
- Rubber Spatula
- Wooden Spoon
- 2 tablespoons Vegetable Oil (divided)
- 2 Large Eggs (lightly beaten)
- 8 ounces Ground Pork
- 1/2 cup Yellow Onion (finely diced)
- 1 tablespoon Garlic (minced)
- 1 teaspoon Fresh Ginger (minced)
- 3 cups White Rice (cooked)
- 1/2 cup Frozen Peas and Carrots
- 1 tablespoon Soy Sauce
- 1 teaspoon Sesame Oil
- 3 Green Onions (thinly sliced)
Start by heating 1 tablespoon of vegetable oil in a large nonstick skillet or wok over medium-high heat.
Once your skillet is hot enough, add the lightly beaten eggs and allow to cook slightly before scrambling into small pieces with a rubber spatula. Once fully cooked, remove your scrambled eggs from the pan.
Preheat another tablespoon of vegetable oil in the skillet just as before, and then add the ground pork, stirring occasionally with a wooden spoon until the pork is completely cooked through and no pink remains.
Next, add the onion, garlic and ginger, cooking until the onion is slightly soft and translucent.
Stir in the frozen peas and carrots, cooking for another 1-2 minutes or 'til heated through.
Now add the cooked rice and scrambled eggs to the meat mixture in the skillet. Cook for about 1-2 minutes, or 'til heated through.
Finally, pull your pork fried rice off of the heat, and add the soy sauce and sesame oil. Stir to coat evenly. That's it!
Serve and enjoy your pork fried rice immediately. Optionally, you can garnish the top with freshly chopped green onions!
How should I store leftover pork fried rice?
Although fried rice is best served immediately after cooking, you can store any leftovers in an airtight container in the refrigerator for up to 5 days. You can reheat it in the microwave, but I recommend heating it back up in a hot skillet with a little oil instead, the same way as you cooked it initially. This will help to sort of “crisp” it back up so that it doesn’t become wet and soggy.