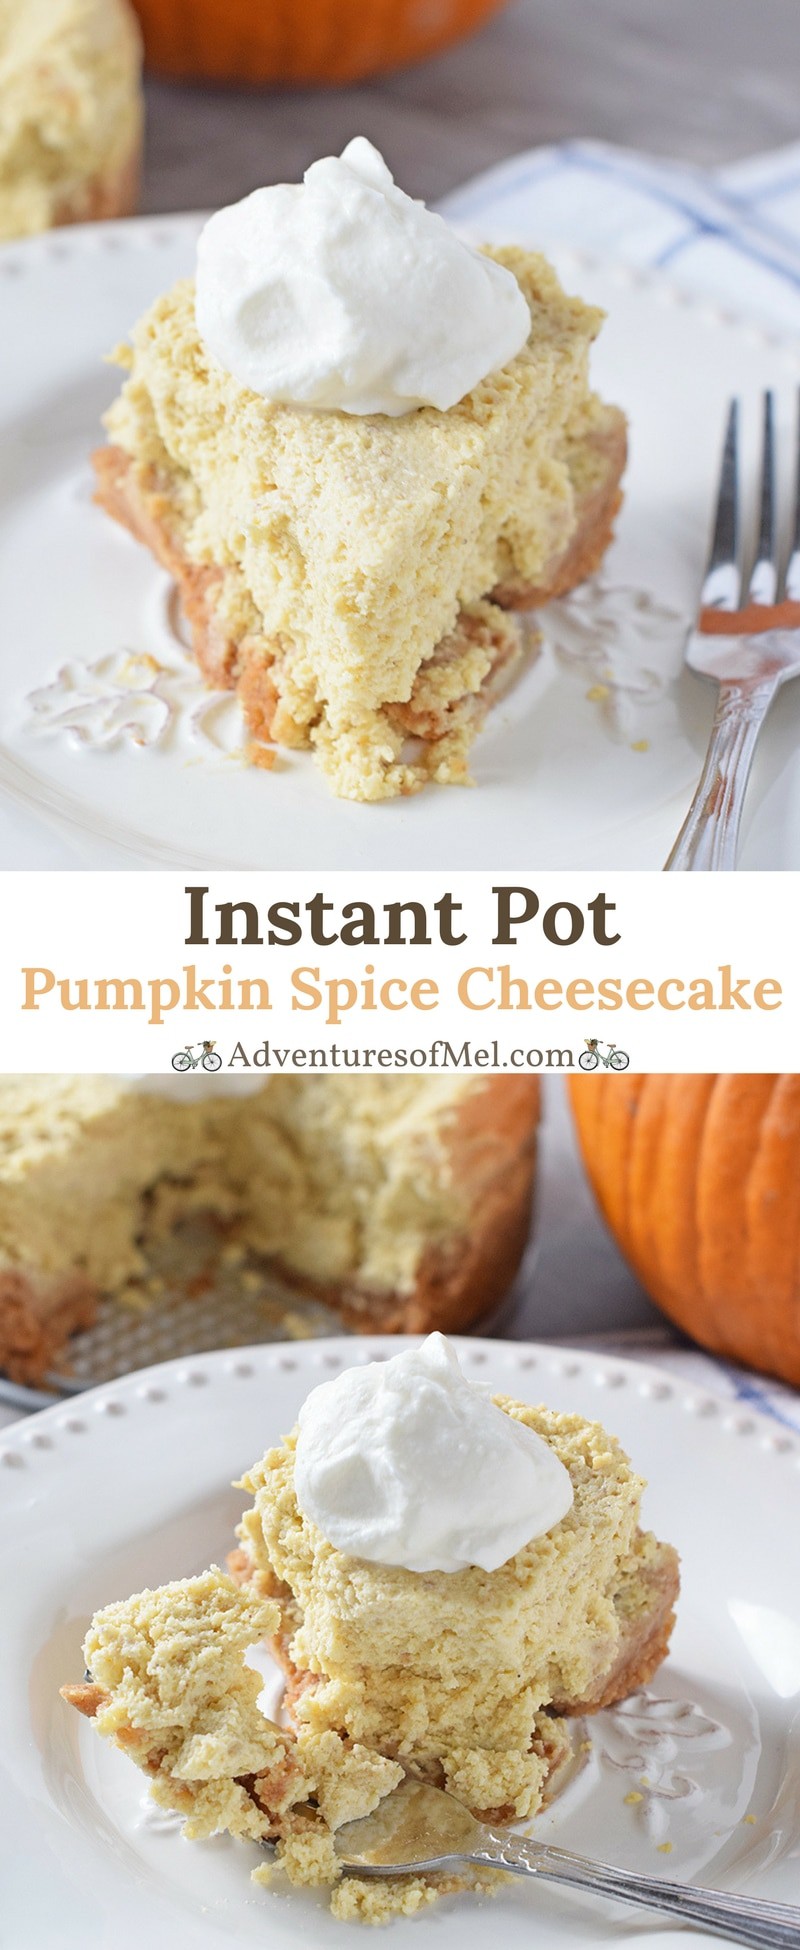
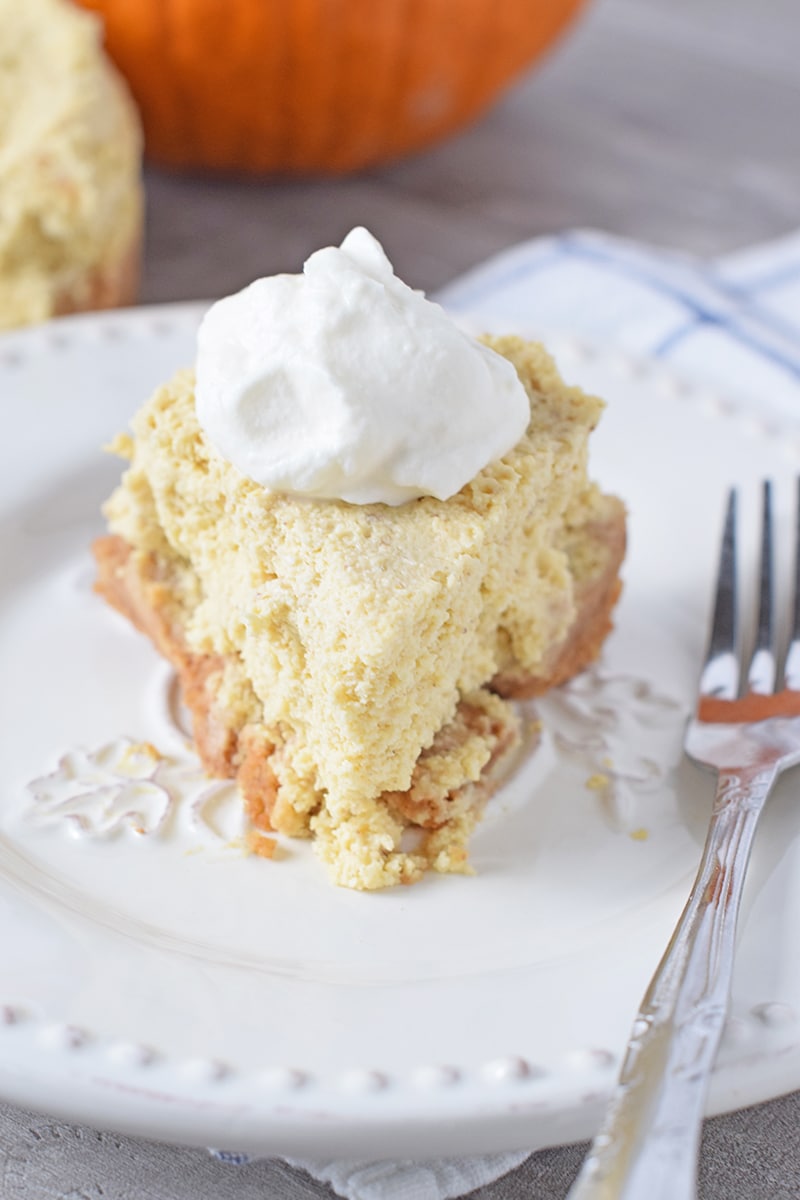
Instant Pot pumpkin spice cheesecake is an easy fall and holiday dessert recipe with a graham cracker crust, full of delicious fall flavors.
Pumpkin Cheesecake is one of those “to die for” desserts… Dessert that makes the taste buds tingle and satisfies those cravings for creamy delicious cheesecake.
I am a cheesecake fangirl. If I get to choose a dessert when we’re out to eat and cheesecake is on the menu, you can bet I’m ordering cheesecake. My favorite is white chocolate raspberry cheesecake, and I love strawberry swirl cheesecake too.
When you add pumpkin spice and all the flavors of fall to my favorite dessert… Well, I may just swoon.
When I first tried creating this recipe, my first attempt was somewhat of a fail. It turned out more like pumpkin spice pudding than pumpkin spice cheesecake. But I didn’t give up, and my second attempt won.
The fact that it’s made in the Instant Pot just adds an element of fun to the recipe. I LOVE cooking with my Instant Pot because the possibilities are truly endless.
Tips for Making Pumpkin Spice Cheesecake in the Instant Pot
This recipe creates enough filling for 2 smaller cheesecakes. If you have a larger Instant Pot (ours is smaller, a 6-quart), you could make 1 larger cheesecake with a larger graham cracker crust with this recipe.
- Crush the graham crackers, using a Ziploc bag and a rolling pin.
- Mix the graham crackers together with melted butter.
- Spray your springform pan with cooking spray; then press the mixture into the pan. Place in the freezer ’til you’re ready to add the filling.
- Mix together softened cream cheese, sugar, and brown sugar with a mixer.
- Add vanilla and almond extract, mixing well.
- Crack 1 whole egg and 1 egg yolk into the mixture.
- Add pumpkin puree, along with sour cream, mixing well.
- Make your own pumpkin pie spice, including cinnamon, ginger, cloves, and nutmeg.
- Finally, mix in a tablespoon of flour and the salt.
- Pour the cheesecake filling into your crust.
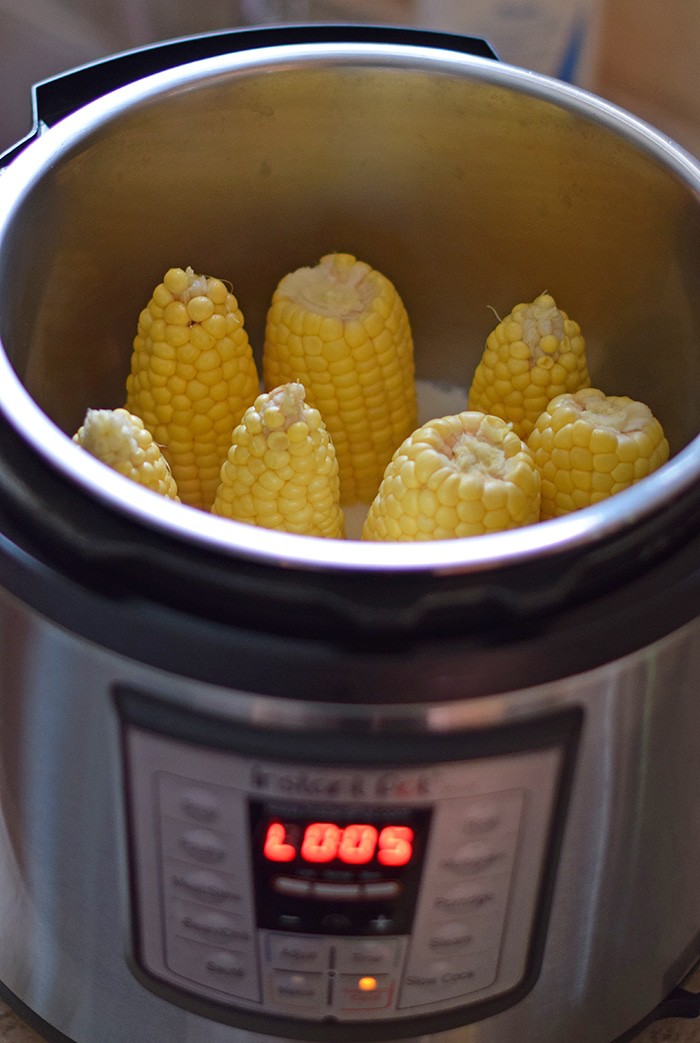
- Add 1 1/2 cups water to the bottom of your pressure cooker.
- Cover the cheesecake pan with foil, and place the pan inside your Instant Pot.
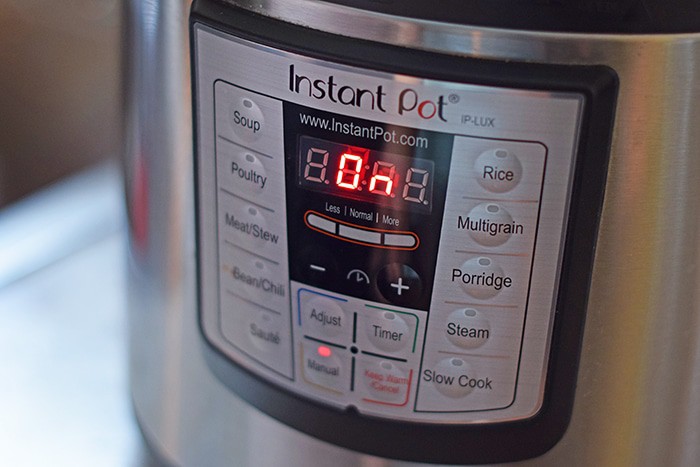
- Set to Manual and cook for 30 minutes.
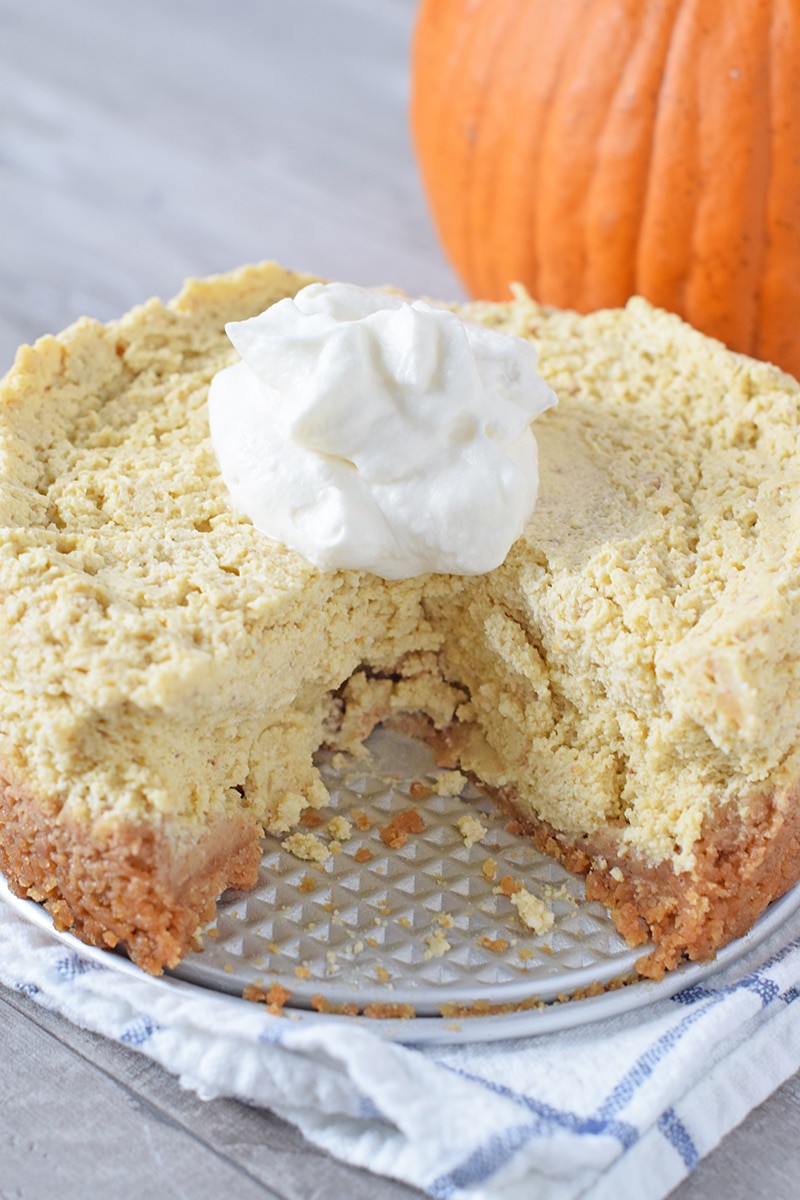
- When the Instant Pot is done and it’s naturally released, remove the cheesecake, keep covered, and place in the fridge for a few hours (or even overnight). Let it chill thoroughly.
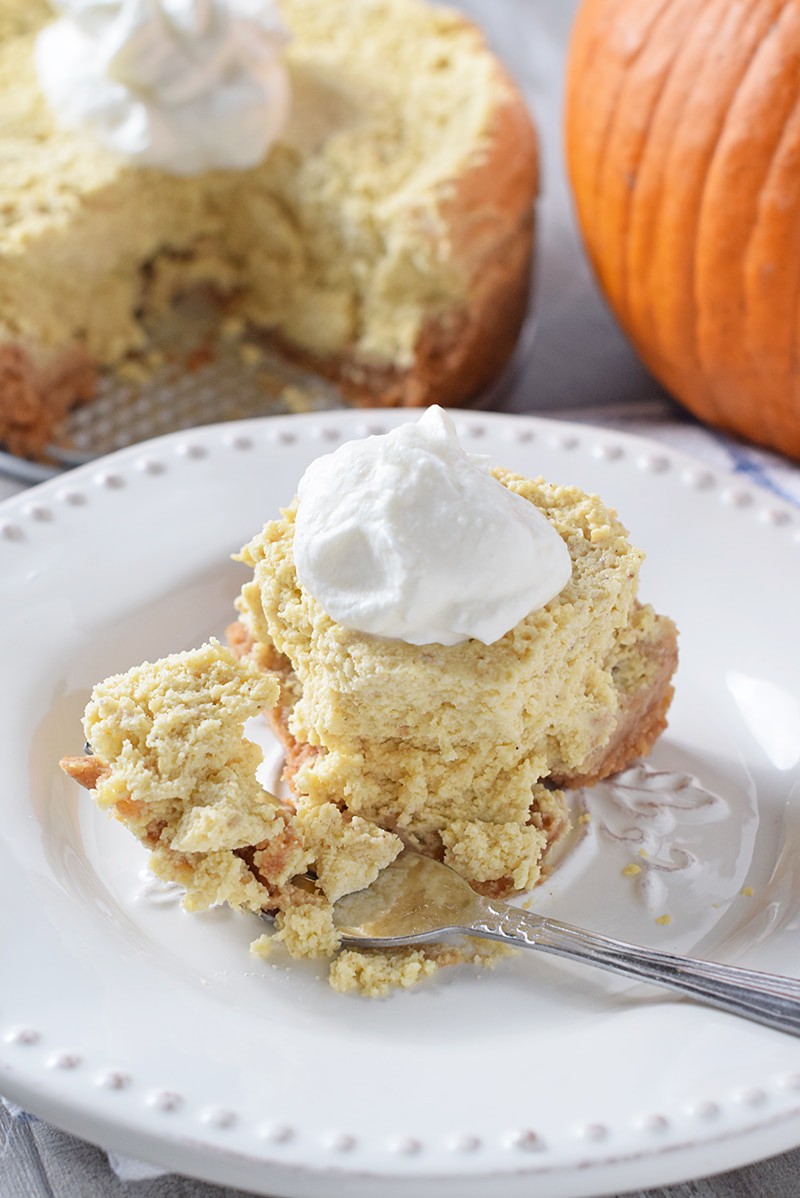
- Then it’s ready to serve. I suggest serving it with a li’l whipped cream.
Looking for more pumpkin recipes?
- Easy pumpkin Sugar Cookies
- Gluten-Free Pumpkin Muffins
- Deliciously Moist Pumpkin Bread Recipe
- Creamy No Bake Pumpkin Dessert
- Pumpkin Pear Spice Cake
- The Most Scrumptious Pumpkin Roll Ever
- Pumpkin gooey butter cake recipe
- Classic Pumpkin Pie from Scratch
Tools you may need to make Instant Pot Pumpkin Spice Cheesecake
Instant Pot – We have the 6-quart pot (without the yogurt function).
Rolling Pin – for crushing the graham crackers.
6-Inch Springform Pan – This size will easily fit down into the Instant Pot.
KitchenAid Stand Mixer – I use mine for pretty much everything I bake.
Vanilla Extract and Almond Extract – for added flavor in the cheesecake
Spices – You’ll need Cinnamon, Ginger, Cloves, and Nutmeg.
Want to see how to make Pumpkin Spice Cheesecake in the Instant Pot? Watch the video!
If you try this recipe, why not leave a star rating in the recipe card right below and/or a review in the comment section further down the page? I always appreciate your feedback. You can also follow me on Pinterest, Facebook, Instagram, and YouTube. And subscribe to my email list too!
Instant Pot Pumpkin Spice Cheesecake

Pumpkin Spice Cheesecake, made in the Instant Pot. Easy fall and holiday dessert recipe with a graham cracker crust, full of delicious fall flavors.
- 8 graham crackers
- 5 tablespoons salted butter (melted)
- 16 ounces cream cheese
- 1/4 cup cane sugar
- 1/4 cup light brown sugar
- 1 teaspoon vanilla extract
- 1/8 teaspoon almond extract
- 1 large egg
- 1 large egg yolk
- 1/2 cup pumpkin puree
- 2 tablespoons sour cream
- 1/4 teaspoon ground cinnamon
- 1/8 teaspoon ground ginger
- 1/8 teaspoon ground cloves
- 1/8 teaspoon ground nutmeg
- 1 tablespoon all-purpose flour
- 1/4 teaspoon salt
- Crush the graham crackers, using a Ziploc bag and a rolling pin.
- Mix the graham crackers together with the melted butter.
- Spray your springform pan with cooking spray; then press the mixture into the pan. Place in the freezer ’til you’re ready to add the filling.
- Mix together the softened cream cheese, sugar, and brown sugar with a mixer.
Add the vanilla and almond extract, mixing well.
- Add 1 whole egg and 1 egg yolk to the mixture.
- Add pumpkin puree, along with sour cream, mixing well.
Mix in the spices, including the cinnamon, ginger, cloves, and nutmeg.
- Finally, mix in a tablespoon of flour and the salt.
- Pour the cheesecake filling into your crust.
- Add 1 1/2 cups water to the bottom of your pressure cooker.
- Cover the cheesecake pan with foil, and place the pan inside your Instant Pot.
- Set to Manual and cook for 30 minutes.
When the Instant Pot is done and it's naturally released, allow it to cool completely.
Then cover the cheesecake and place it in the fridge to chill for at least 6 hours, or overnight.
Slice and serve. I suggest serving it with a li'l whipped cream on top.
*This recipe creates enough filling for 2 smaller cheesecakes. If you have a larger Instant Pot (ours is smaller, a 6-quart), you could make 1 larger cheesecake with this recipe; just add a few more graham crackers and a little more butter to the crust mixture.
More Cheesecake Recipes You May Enjoy:
Olive Garden White Chocolate Raspberry Cheesecake
Can’t wait to make this easy recipe? Pin it to save it!