How to make loaded chili cheese fries in a cast iron skillet with crispy homemade French fries and canned chili. Easy, budget-friendly recipe that makes the best Game Day or party appetizer, and you can make it in 30 minutes or less!
My kids love my homemade chili cheese dip, and it’s not hard to imagine that they also love chili cheese fries! Although I’ve made these crispy seasoned steak fries for years now, I’ve never actually made homemade chili cheese fries until now. Boy am I glad that I did!
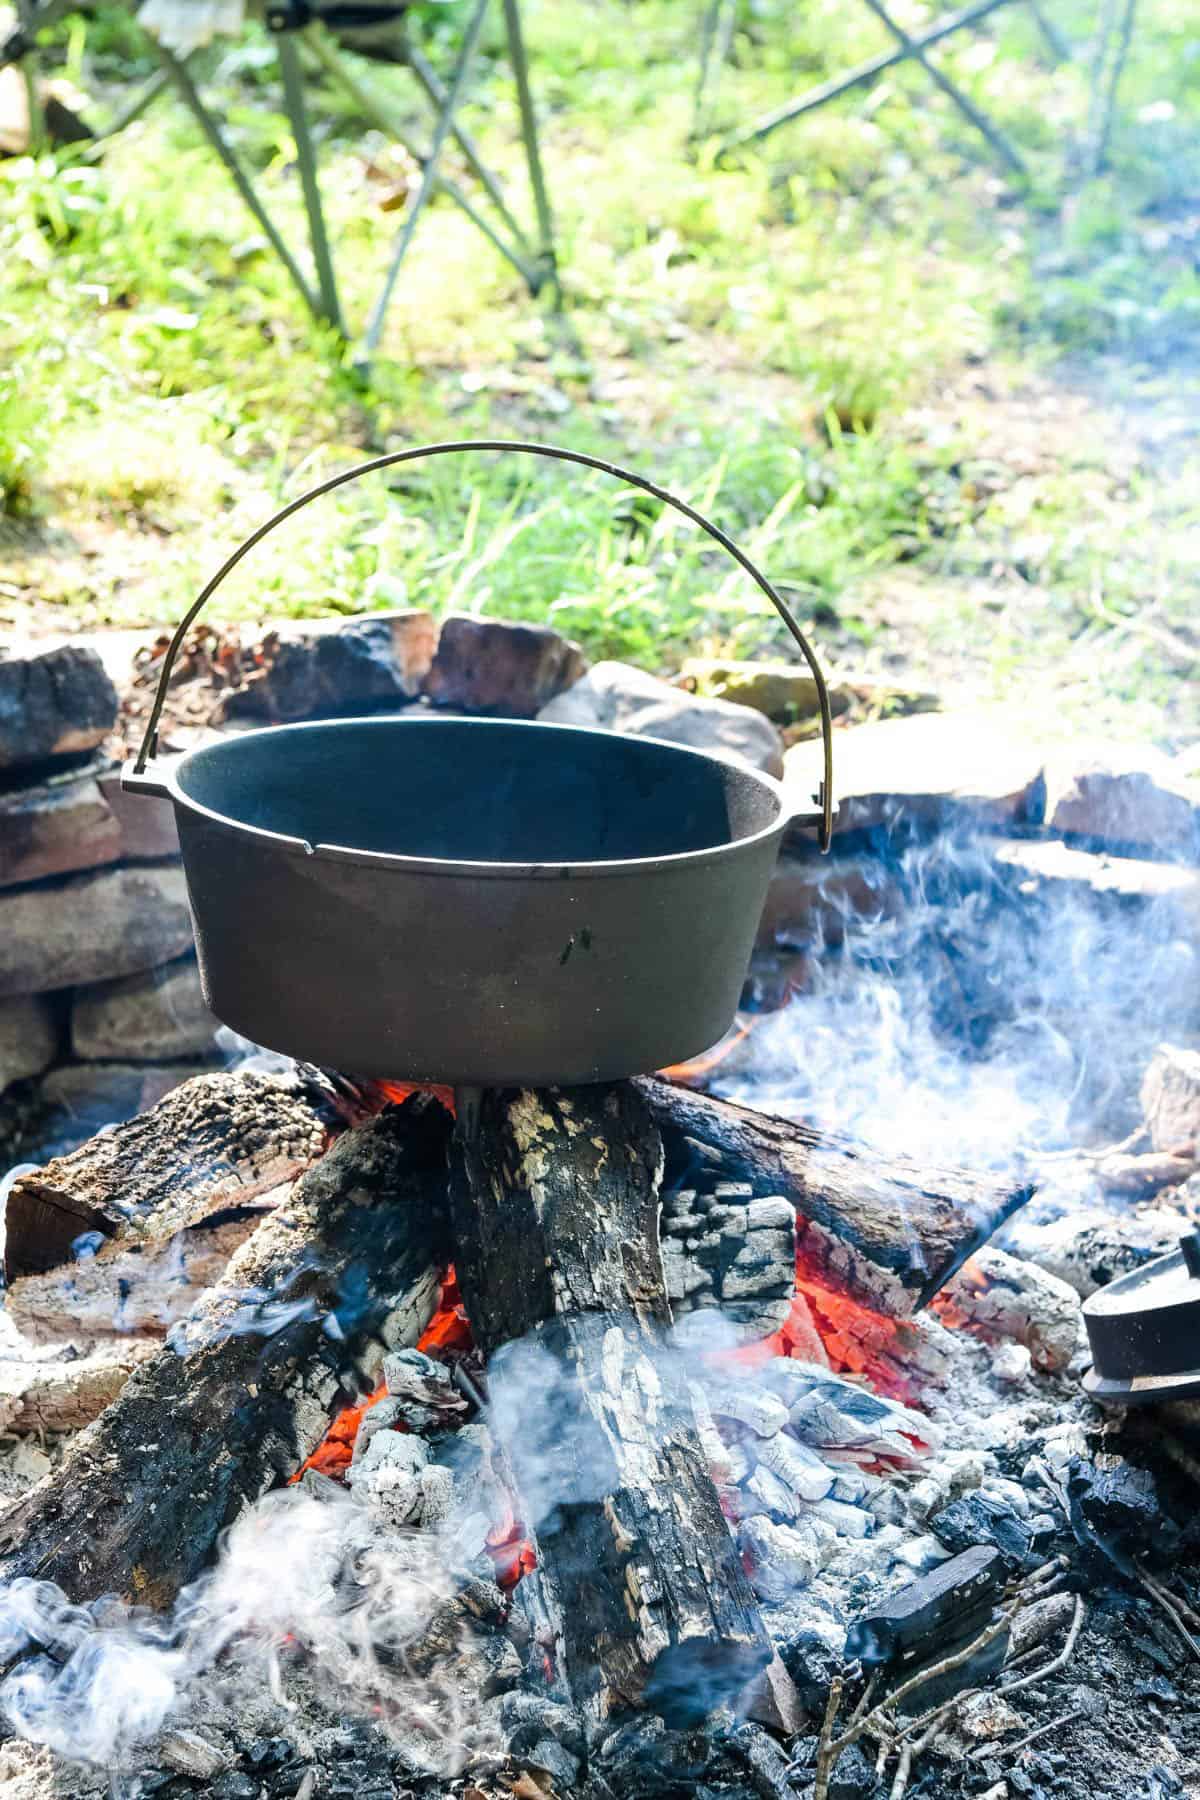
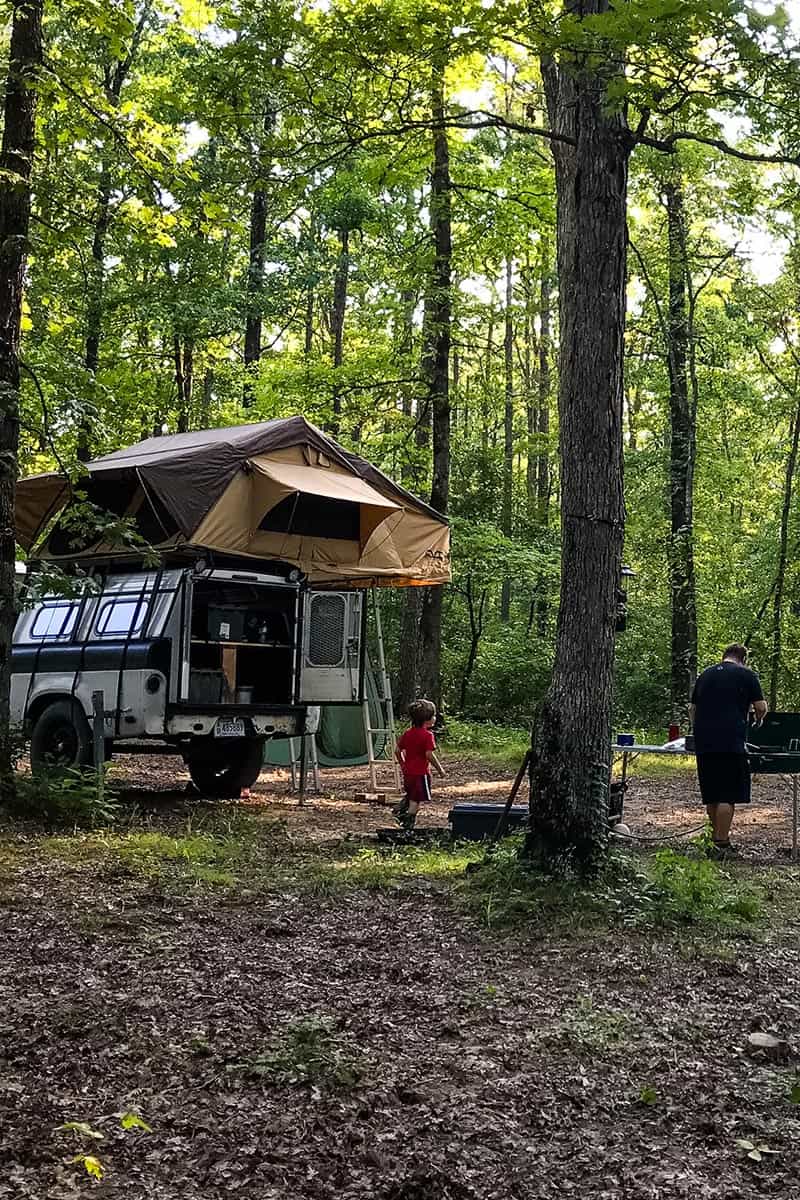
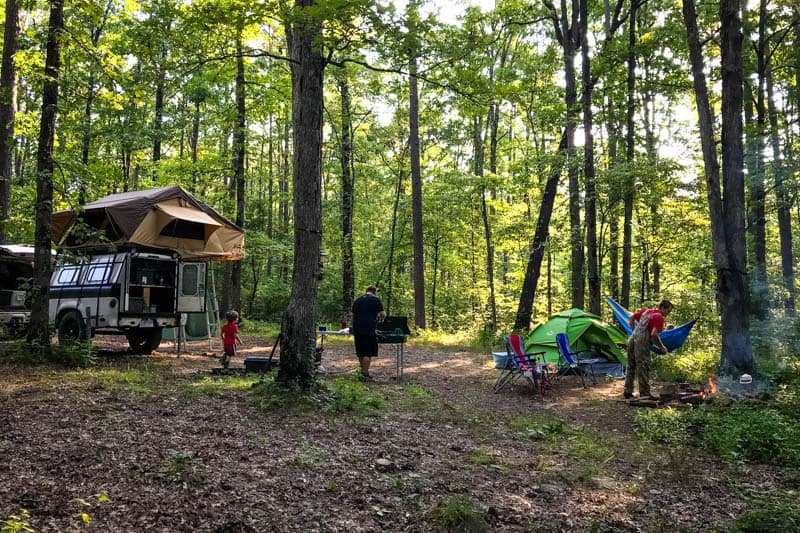
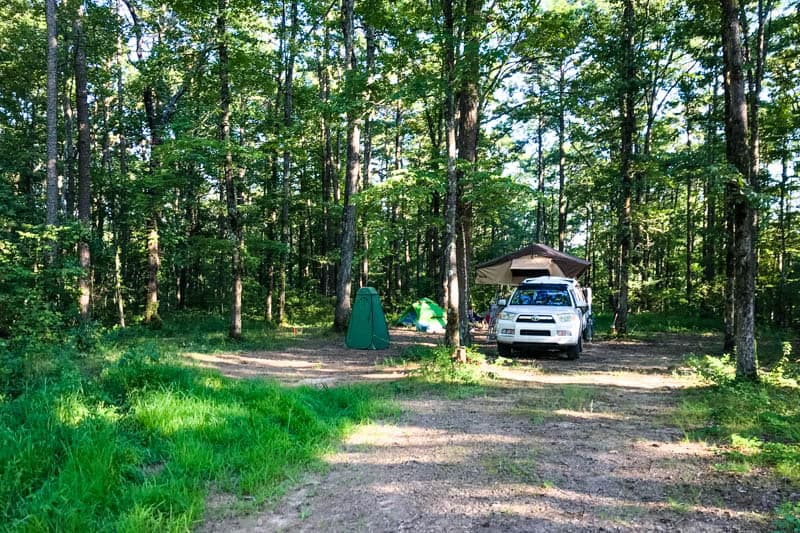
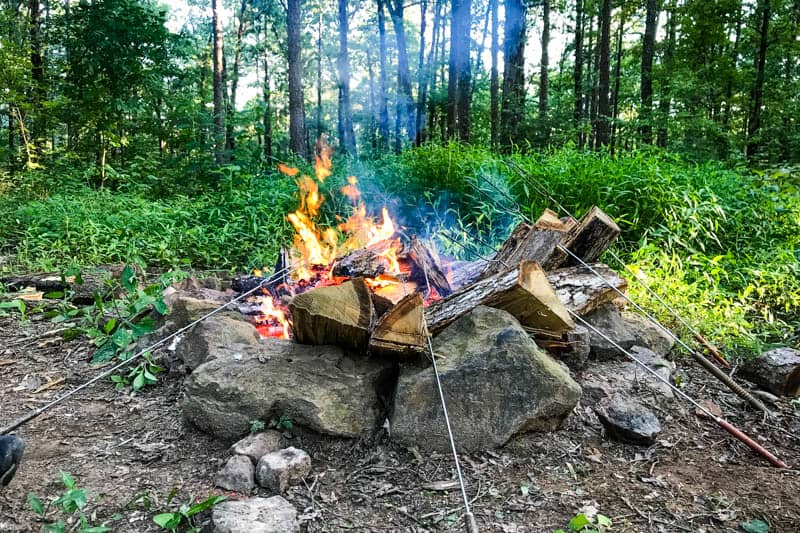
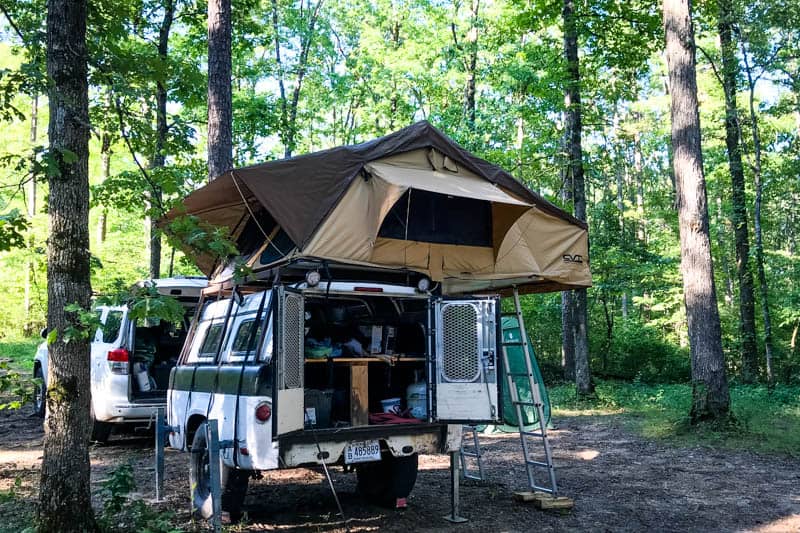
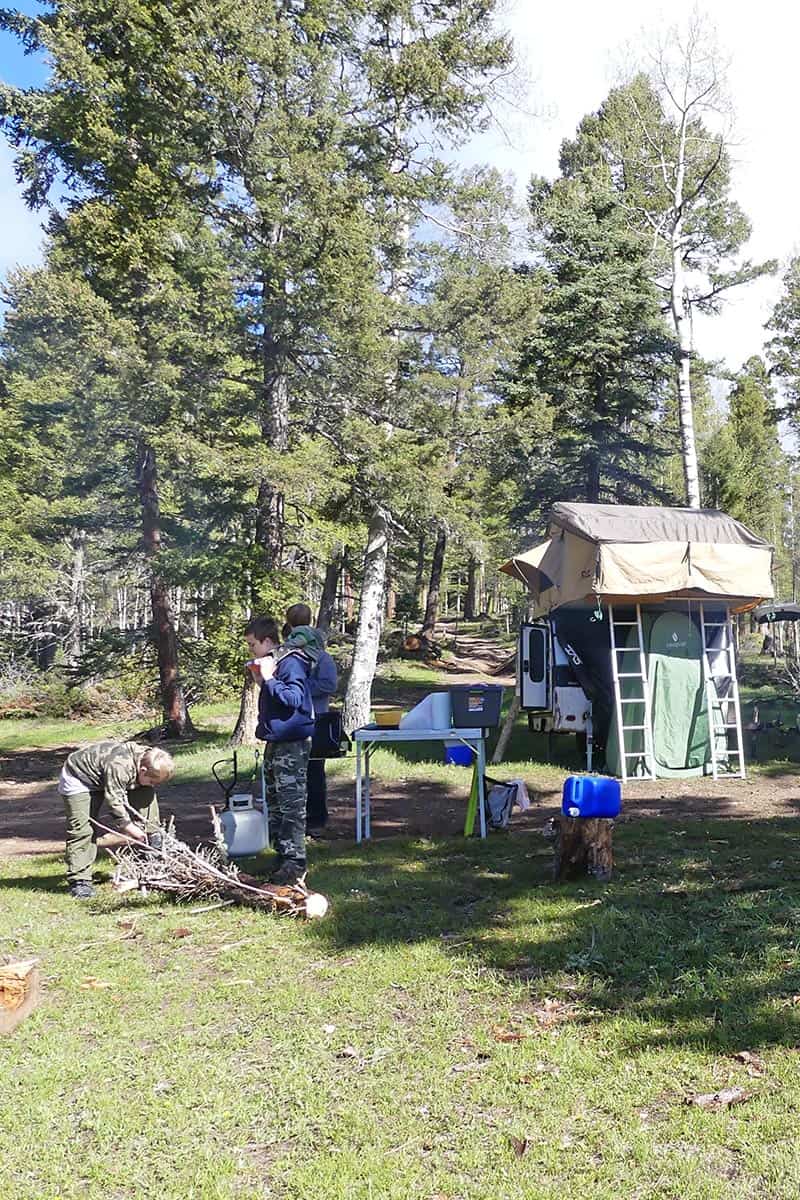
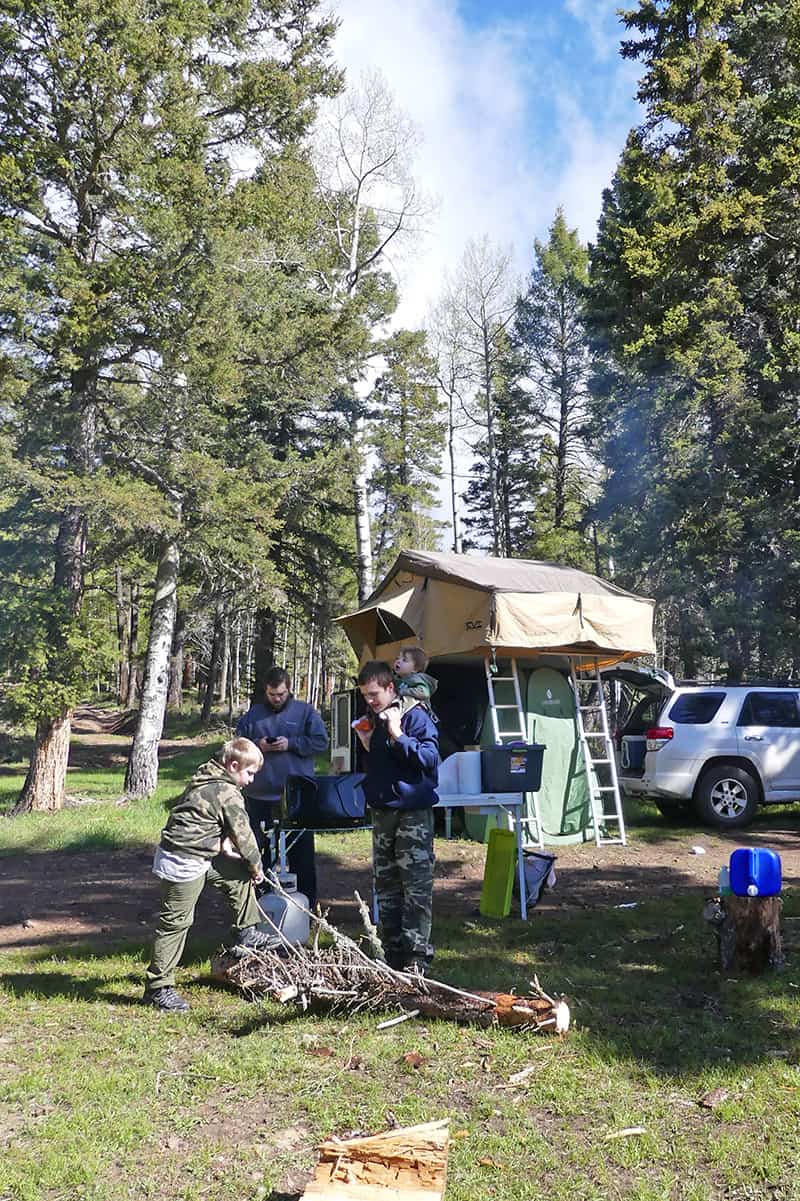
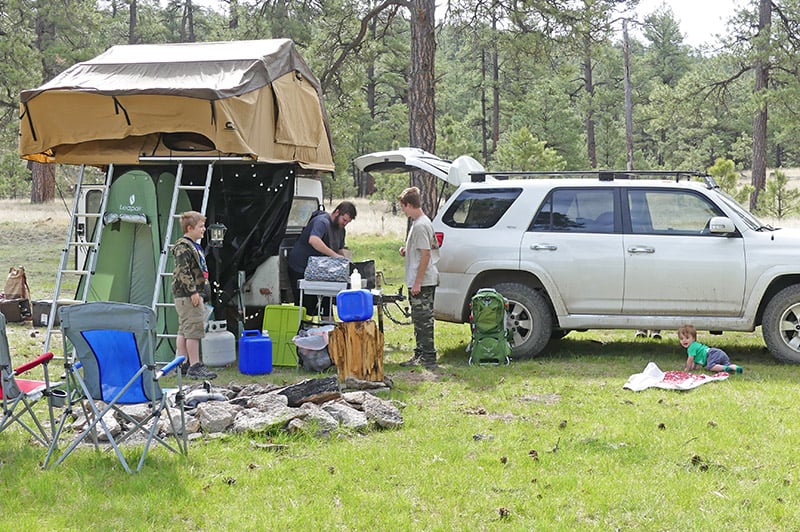
You can make this easy chili cheese fries recipe at home on the stovetop, but we love to make it in a cast iron skillet over the campfire. It makes such an easy meal when we’re out camping in the boonies, and the campfire gives it an even richer, smoky taste that is out of this world delicious!
If you are making this over the campfire, you may benefit from reading through my campfire cooking equipment guide. You may also want to skim through these 6 quick and easy tips for campfire cooking.
Why You’ll Definitely Want to Make This Recipe
- This recipe is easy to make with simple, budget friendly ingredients that you may already have in your pantry.
- Believe it or not, I usually make this easy recipe over the campfire, but you can also make it right at home in the oven.
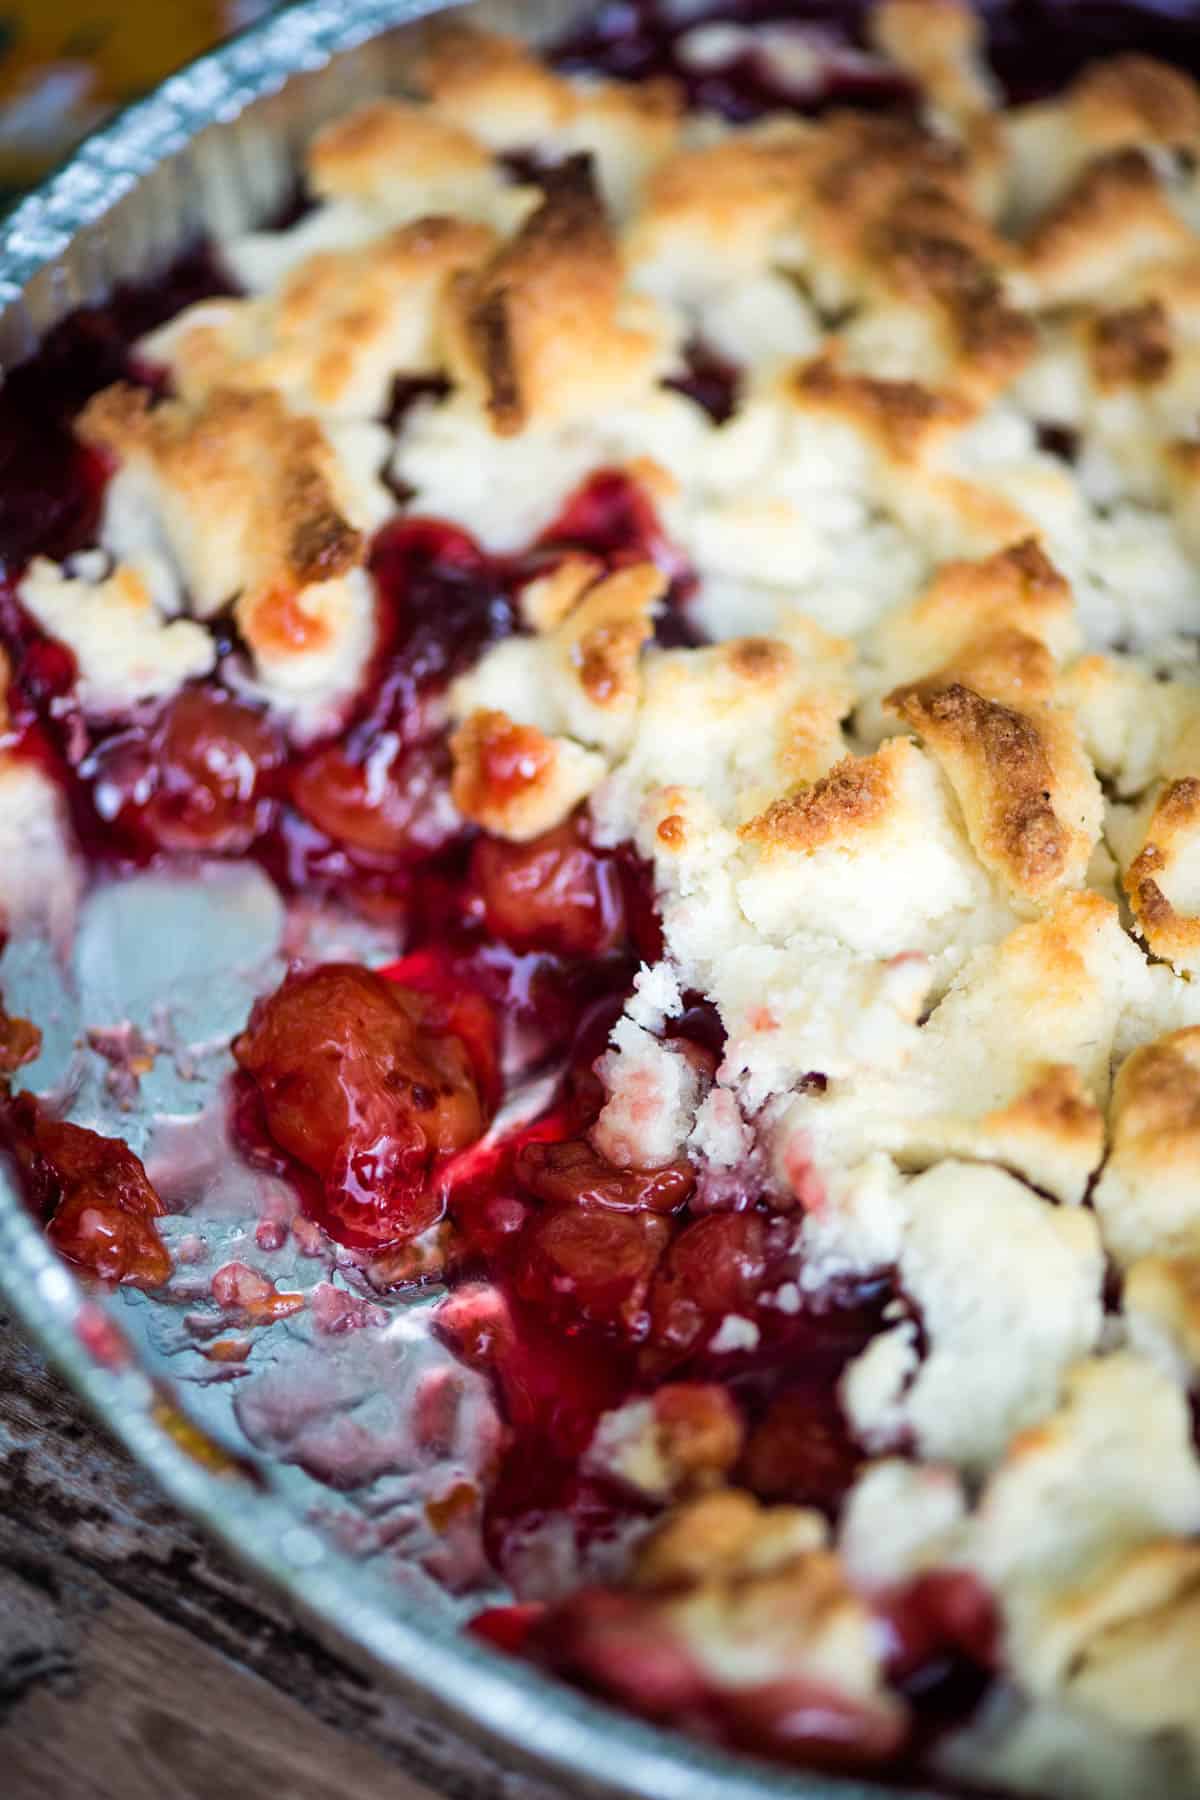
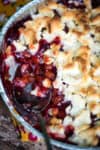
- Loaded chili cheese fries are the ultimate comfort food. They’re chock full of melty, cheesy goodness and a rich, smoky flavor that comes from the campfire.
- I use homemade crispy French fries for best flavor and texture, but you can also use frozen French fries from the store for the sake of ease.
- Chili cheese fries are the perfect Game Day or party appetizer. They also make a great movie night snack!
- This recipe is easily customizable with your favorite cheeses and toppings. It’s so simple and easy to swap out or add in ingredients based on your preferences.
Ingredients Notes & Substitutions
This recipe uses simple ingredients, so you may already have what you need…
- Russet Potatoes – I recommend using russet potatoes to make your own homemade fries. Russets are dense, and they’re much drier than most other potatoes. They also have a higher starch content, which is essential in making crispy fries. For the sake of ease, you can also use frozen French fries from the store. In fact, I’ve always wanting to make this recipe with waffle fries.
- Salt & Pepper – You’ll need a little bit of sea salt and black pepper to coat your homemade French fries before frying.
- Olive Oil – I use olive oil, but any frying oil will work. Other oils that come to mind include canola oil, vegetable oil, coconut oil or even peanut oil.
- Canned Chili – Since I make chili cheese fries over the campfire, I just use canned chili without beans from the store. You can also make my favorite chili recipe with chili powder and ground beef ahead of time for this recipe. And yes, you can use canned chili with beans if preferred.
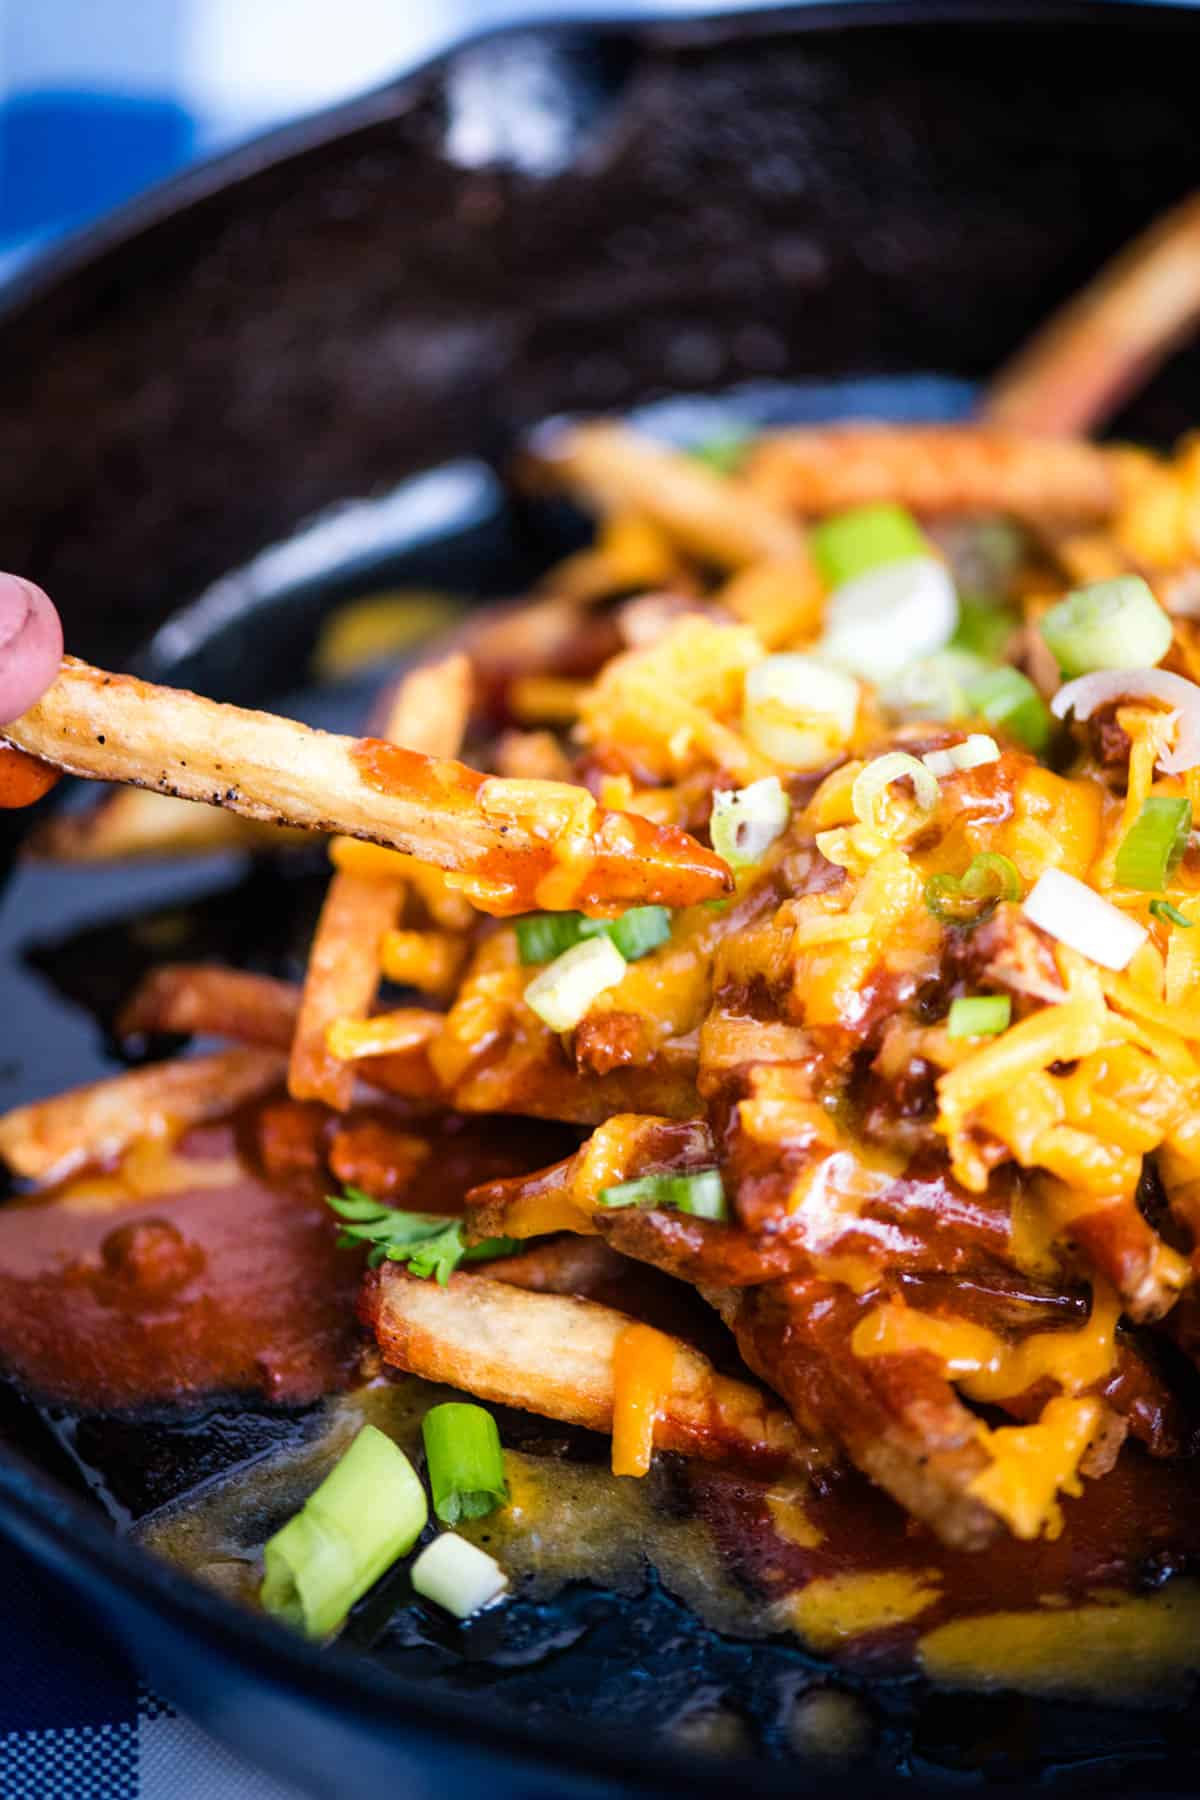
- Shredded Cheese – Although I use shredded cheddar cheese, pretty much any cheese will work. You might use Colby jack, mozzarella, pepper jack, Swiss, white cheddar or even a mixture of all of the above instead. You can even use cheese sauce for extra cheesy fries.
- Toppings – When it comes to toppings for chili cheese fries, the sky is the limit. I always use green onions, but you may also add bacon crumbles, black olives, sliced avocados, chopped peppers, chopped cilantro, minced red onion, crushed Fritos or even fresh homemade salsa over top of your fries. Be creative!
How to Make Chili Cheese Fries
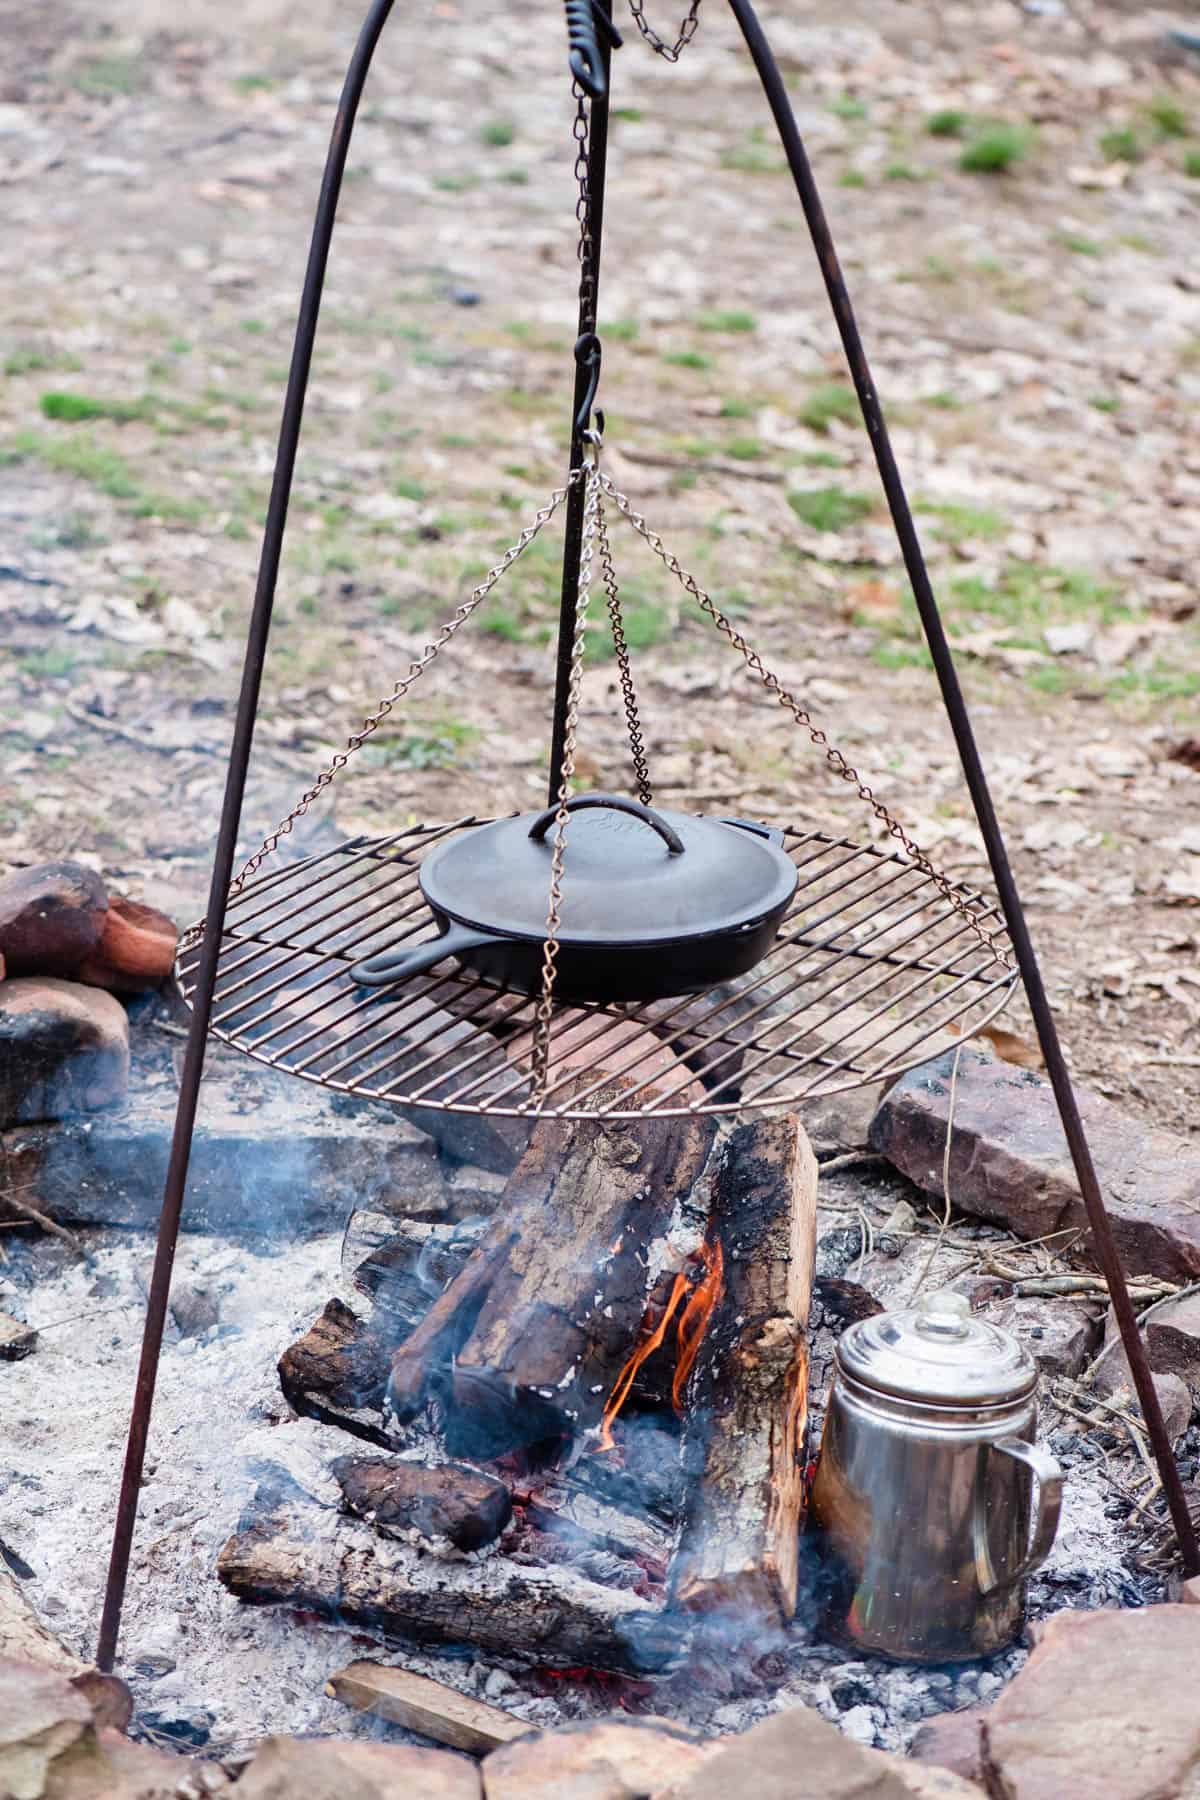
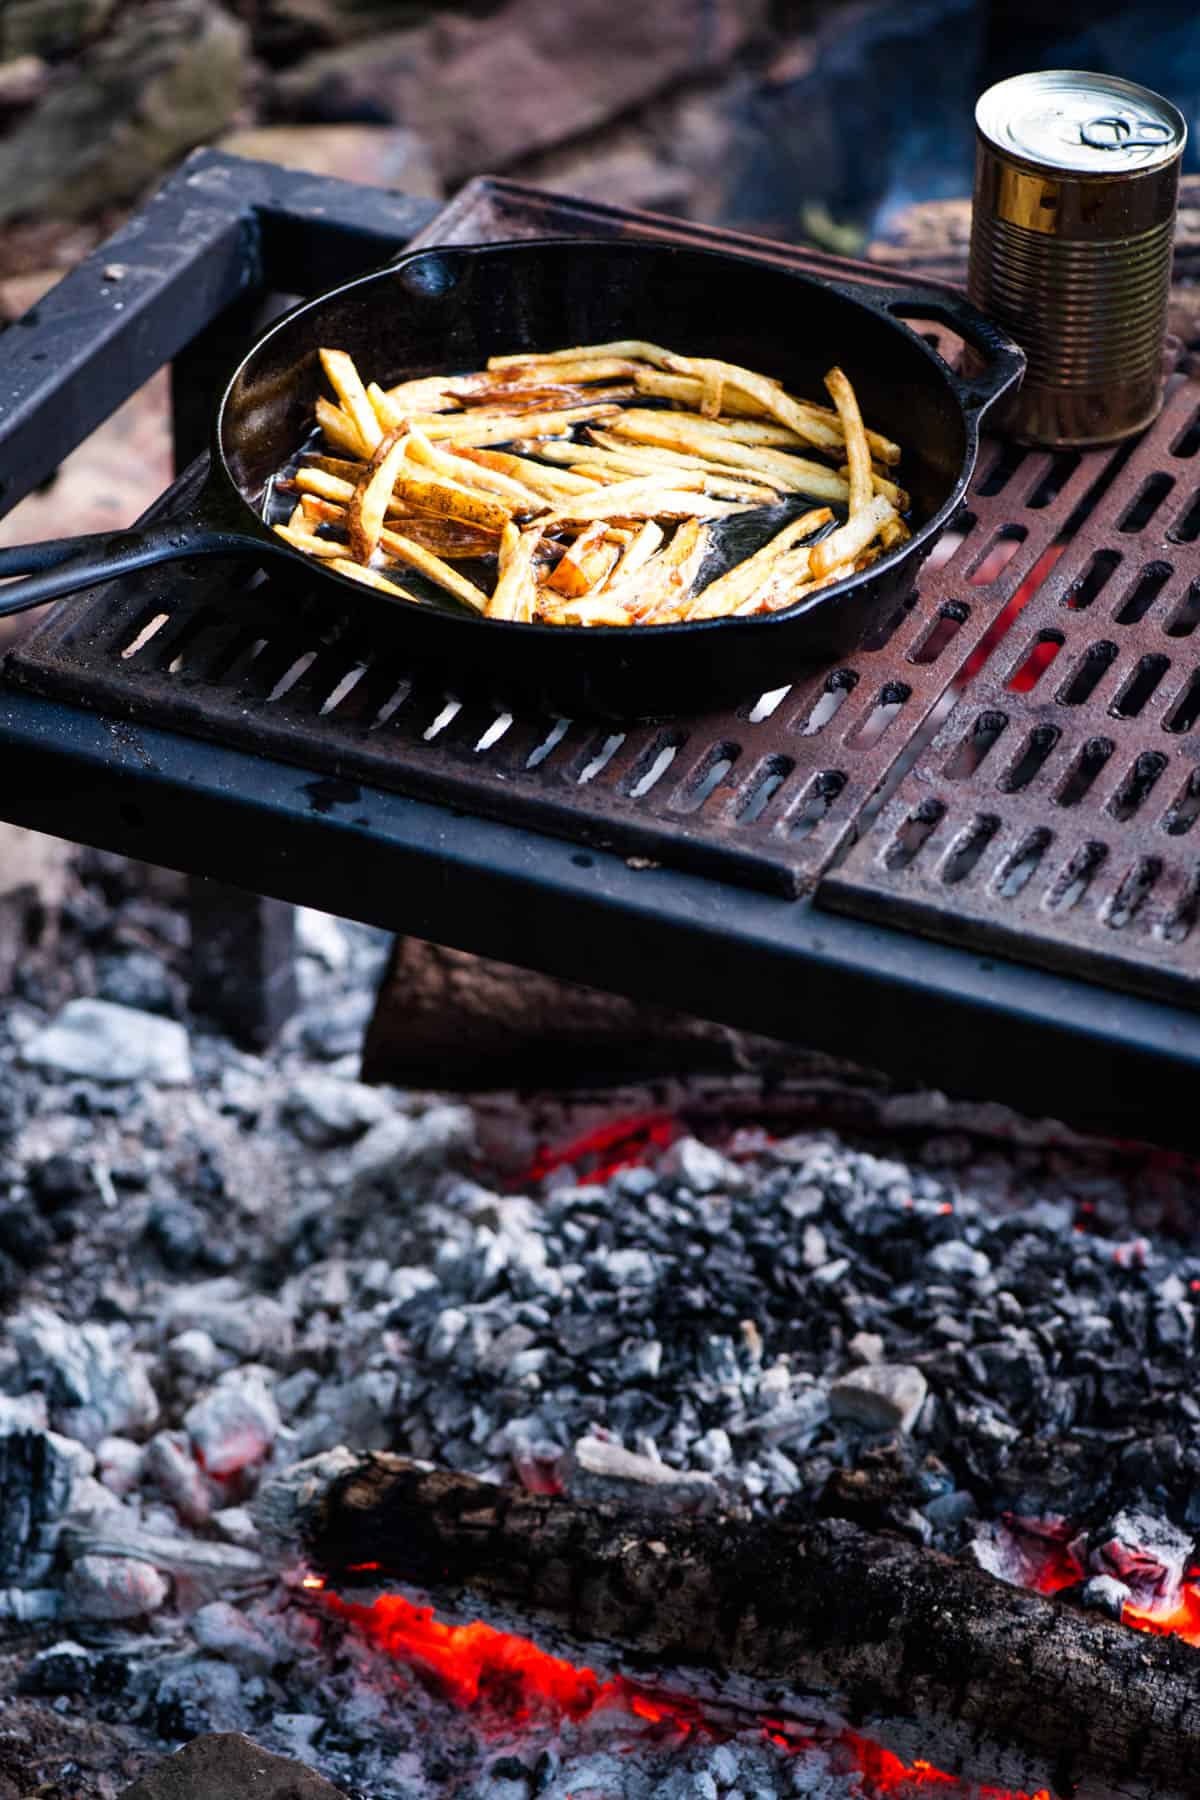
If you’re making campfire chili cheese fries, start by getting a good fire going. It’ll need to burn down to hot coals before you cook the French fries. You’ll probably also want to use a campfire grill to set a large cast iron skillet up over the hot coals.
Once the fire has burned down to hot coals, pour about 1/4 inch of oil in the large skillet, and set it on the campfire grill over top of the coals to pre-heat. You want your oil to reach 325º before adding the potatoes.
You may need to move the coals off to the side to keep the pan from getting too hot, rotating the skillet 90º every now and again to promote even heating. I like to keep a small camping shovel on hand to move the coals or add more hot coals as necessary.
If you’re making classic chili cheese fries at home in the oven, just pour about 1/4 inch of oil in a cast iron skillet and heat it over a medium-high flame on the stovetop. Again, you want your oil to reach right about 325ºF before adding the potatoes, so adjust the heat as necessary.
Prep the Potatoes
While waiting on your cast iron skillet to heat up, it’s time to get your potatoes prepped and seasoned.
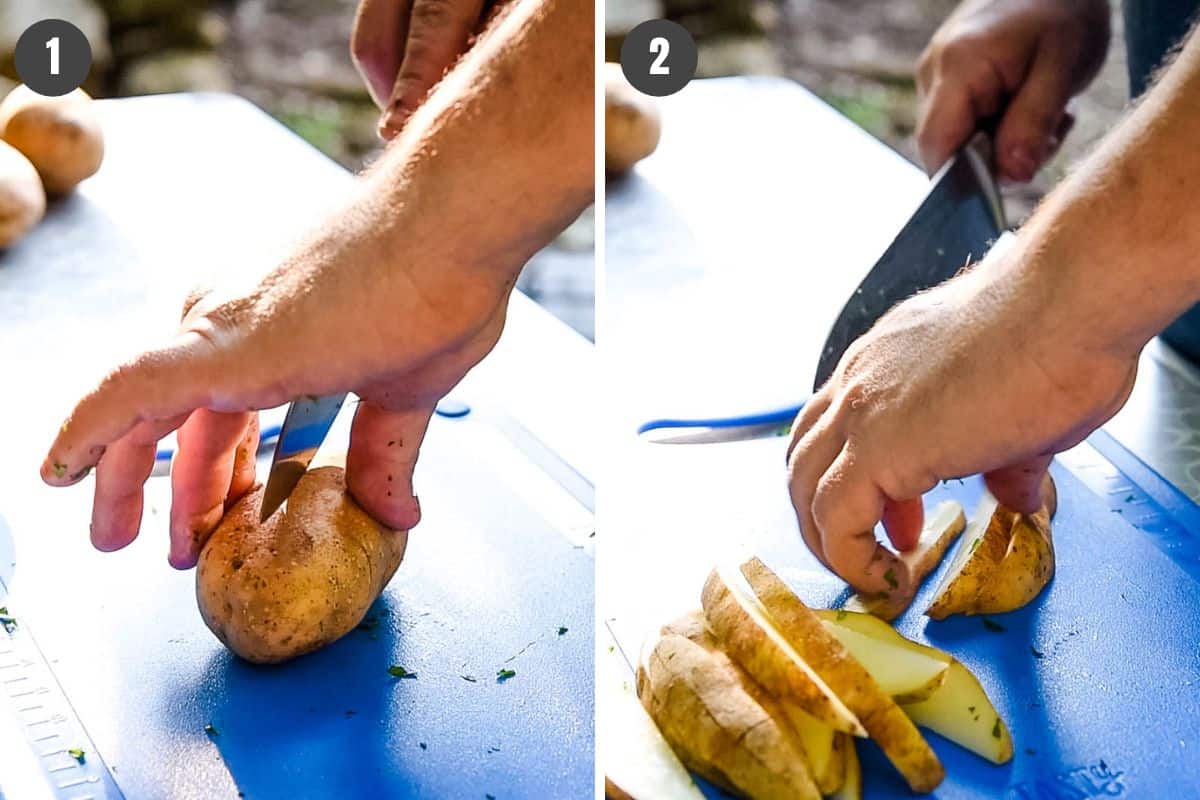
- Start by washing the potatoes, and use a small paring knife to cut out any bad spots.
- Next, cut use a large chef’s knife to cut your potatoes lengthwise into 1/4″ wide strips.
- Then cut each strip into uniformly-sized 1/4″ matchsticks, as shown in the picture below.
- Finally, toss the sliced potatoes with the pinch of salt, pepper and about 1 tablespoon of olive oil in a large bowl.
- Once everything is well-coated, it’s time to cook your French fries.
How to Make Crispy French Fries
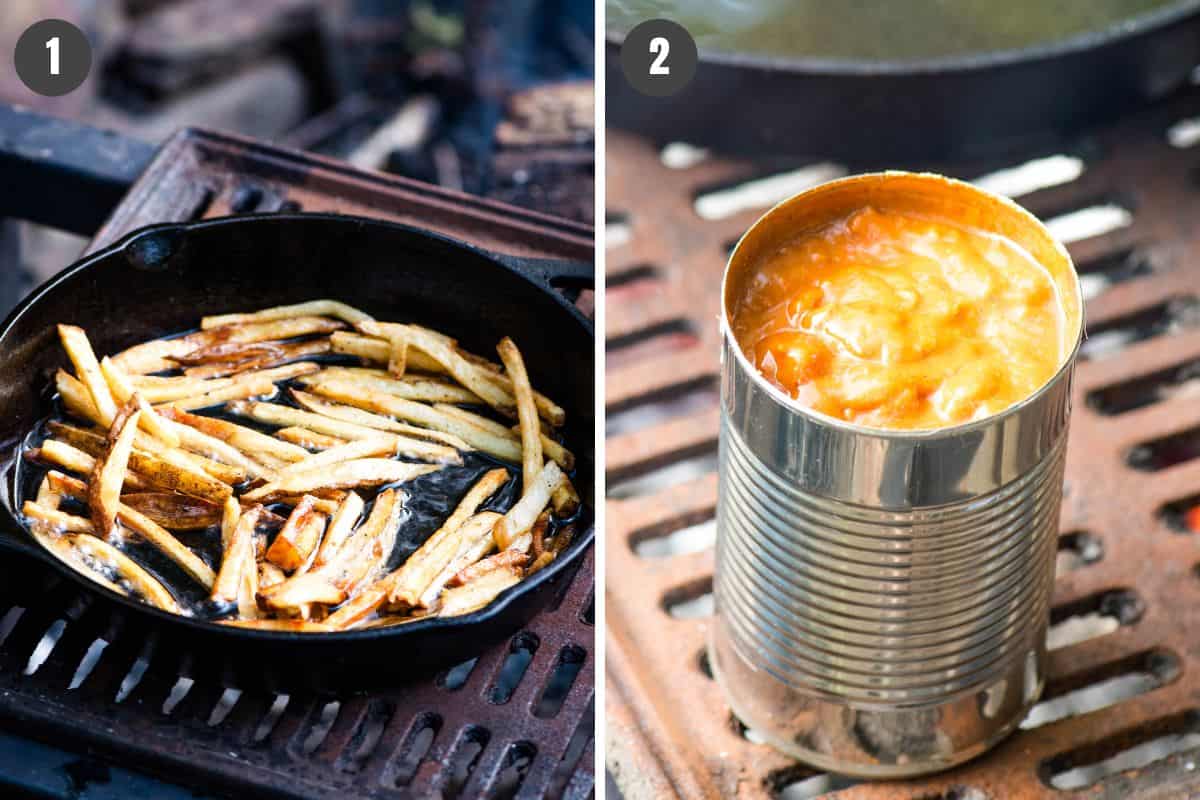
- As soon as your oil has reached 325ºF, drop the seasoned potato slices into the skillet, and cook them over a medium-high heat until crispy and tender, stirring often. This usually takes about 15-25 minutes.
- While your fries are cooking, pour the chili into a separate cast iron skillet and place it on the campfire grill to heat up, ’til hot and bubbly. I really like this small Dutch oven for this.
If you’re making this recipe at home, you can just heat the chili in a microwave-safe bowl on high setting in the microwave for a few minutes, until hot and bubbly. Alternatively, you can also heat it in a medium-size saucepan on medium heat on the stovetop for a few minutes.
How to Make Loaded Chili Cheese Fries
Once the fries are done cooking, you’ll need to drain the oil. However you do this, NEVER drain the oil near or over the fire. This will start a grease fire. Take your skillet away from the fire and drain the oil responsibly.
French fries are fully cooked when they’re crisp and tender. Drain the oil by holding the fries to the side of the skillet with a paper towel, while at the same time tipping the pan over to the opposite side as the grease flows right on out. Mop up any remaining oil with the same paper towel.
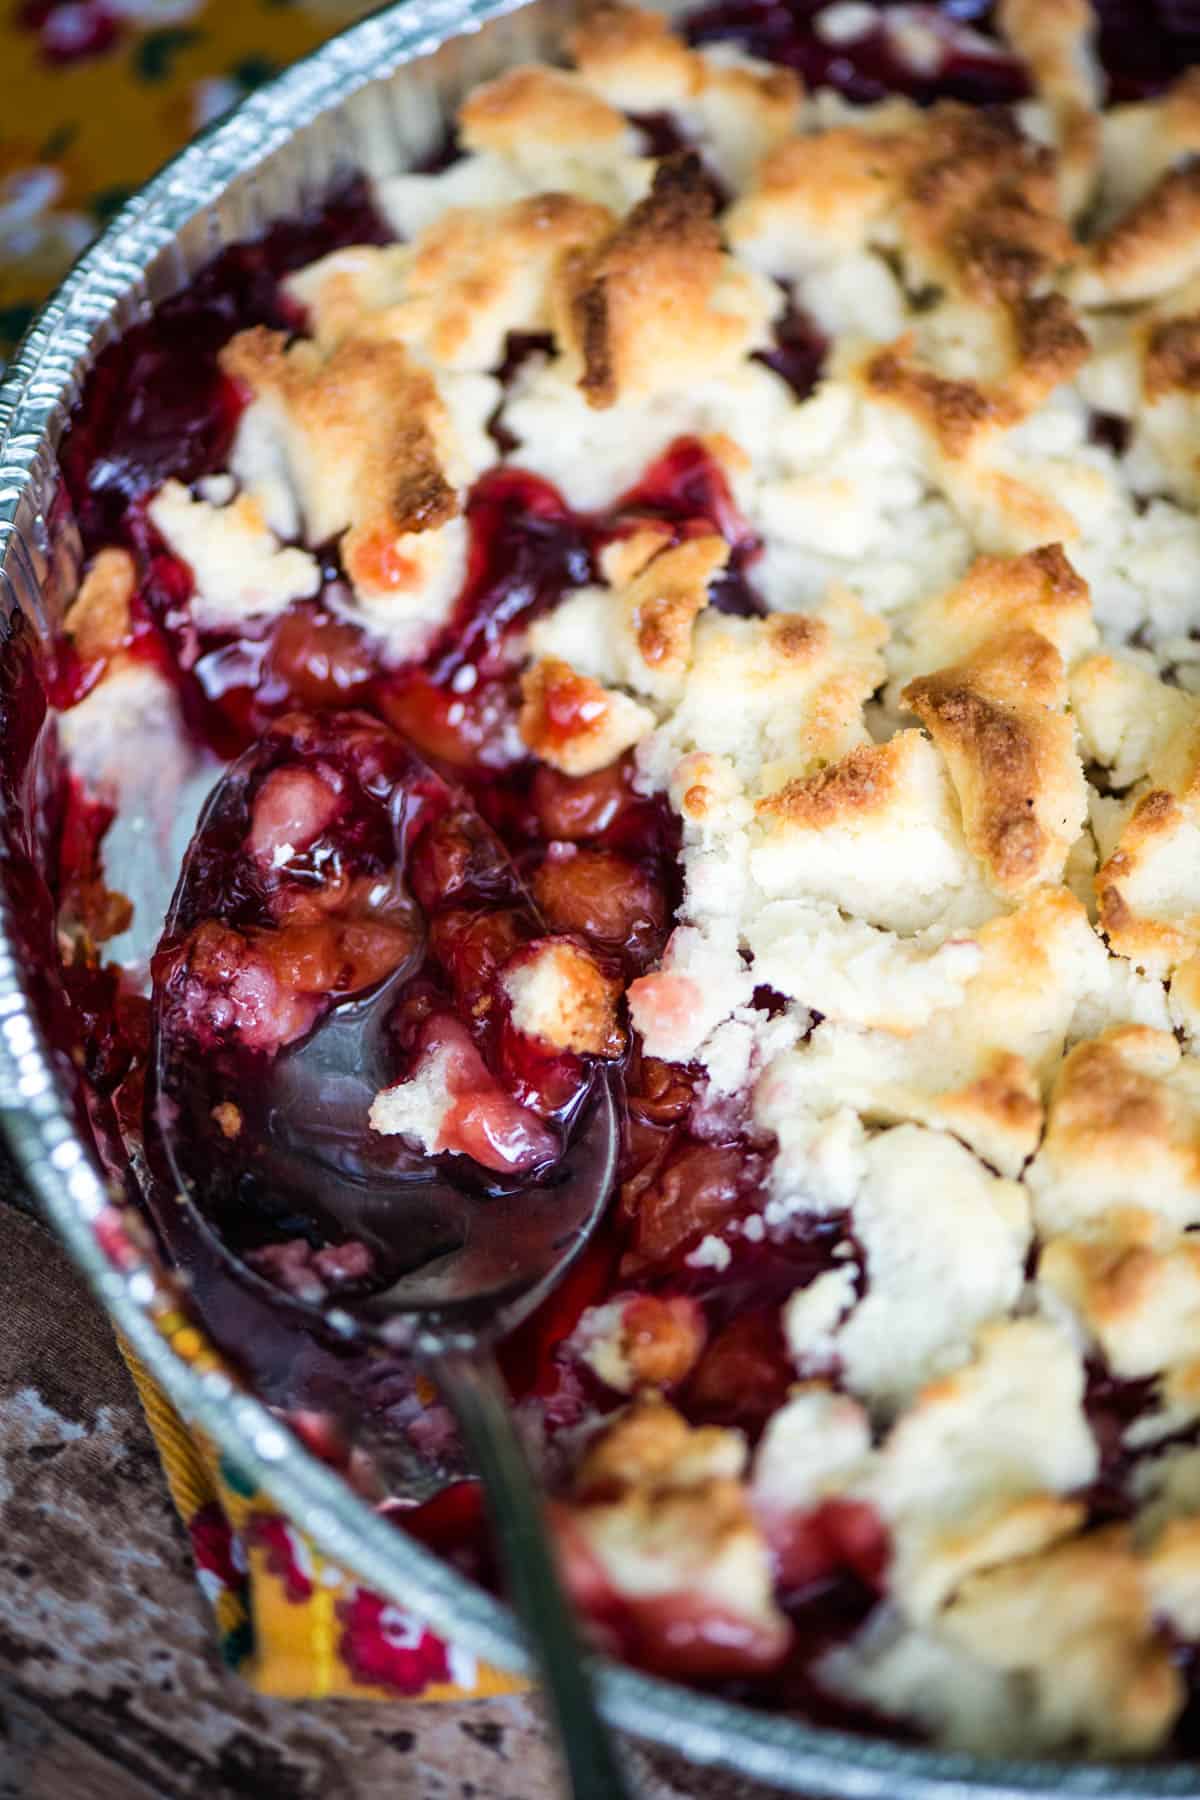
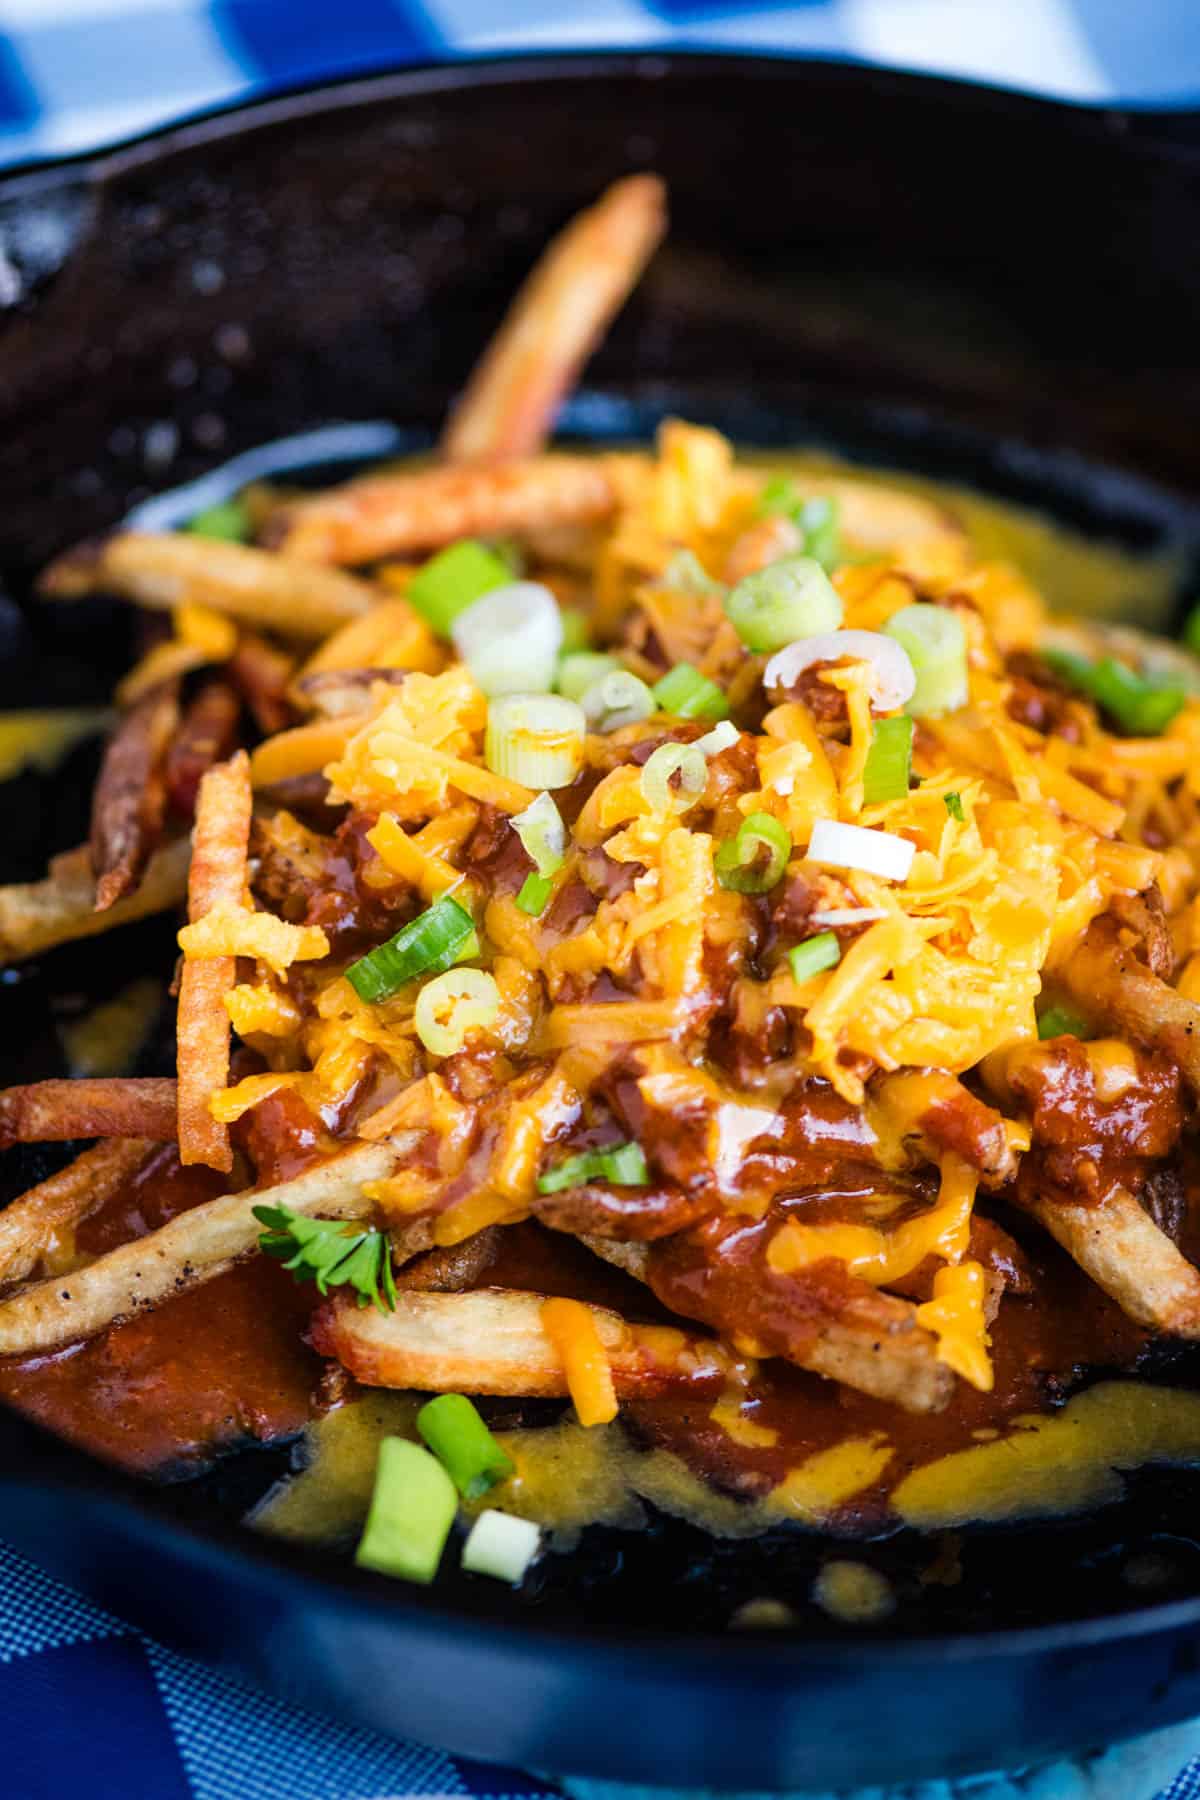
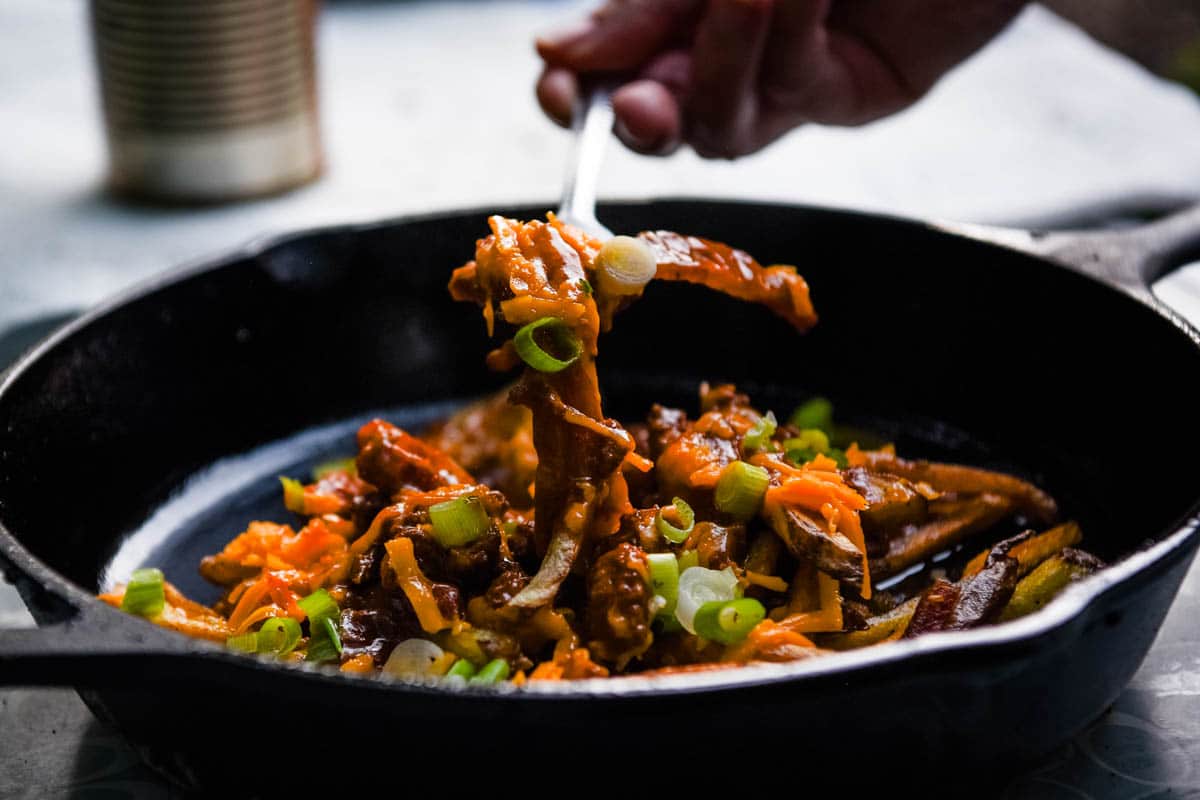
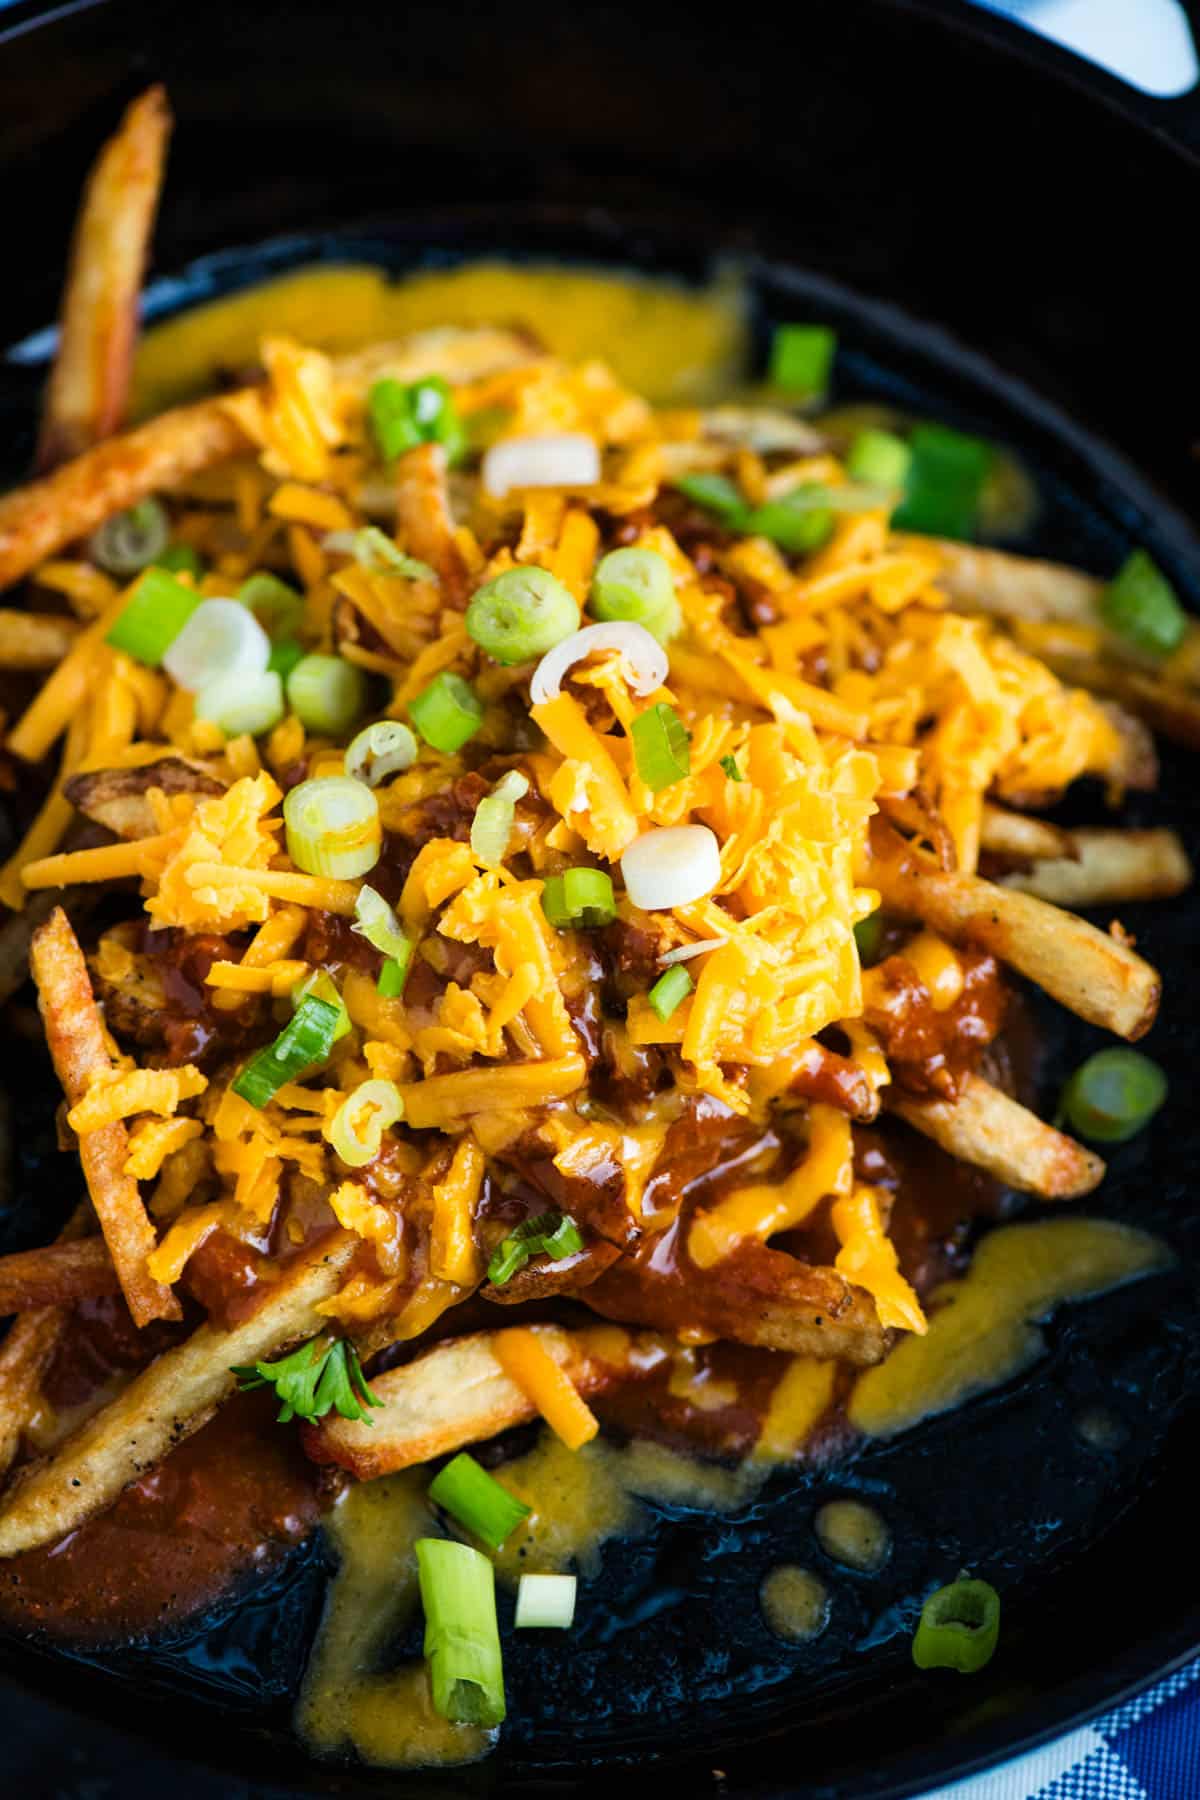
Finally, pour the hot chili over the golden brown fries. Generously sprinkle your favorite cheese over top of the chili fries, and then add the toppings over the melted cheese. I like to serve my chili cheese fries with a big dollop of sour cream on top!
What to Serve with Chili Cheese Fries
- Chili cheese fries make a perfect appetizer or side dish to serve alongside homemade bacon cheeseburgers or classic grilled Chicago hot dogs. If you’re looking to feed a crowd, you may want to check out my easy CrockPot hot dogs recipe.
- Serve them up alongside my favorite CrockPot sloppy joes!
- We love chili cheese fries with roast beef Philly cheesesteaks!
- They also make a great side for this Hamburger pizza, or even my favorite Hawaiian pizza.
- If you’re making these chili cheese fries as a Game Day appetizer, serve them up alongside these cheese and apple cracker snacks, dill pickle ham roll ups, bacon wrapped apples with cheese, or even these chicken dip pinwheels. Bonus points if you pair them with these delicious Philly cheesesteak sliders on Hawaiian rolls or these garlic parmesan chicken skewers!
- Another idea is to serve them alongside a mashed potato bar or even a baked potato bar.
- Of course, you can’t go wrong with chicken and hummus loaded nachos. If you’re making them over the campfire, check out my loaded campfire nachos recipe.
- If you’re looking for more appetizers, my family loves this creamy BBQ chicken dip, and we also like this bacon cheddar BBQ ranch dip.
- What about Instant Pot salmon or fried crappie? It’s like fish and chips, but with chili cheese fries!
- Finally, they make the ultimate side to these baked chicken drumsticks or whole chicken in the Instant Pot!
Expert Tips and Recipe FAQ’s
Yes, you can easily make vegan chili cheese fries. You’ll want to find vegan canned chili without beans, or you can make this homemade vegan chili instead of homemade beef chili. There are tons of plant-based cheeses available at the grocery store nowadays, and of course, you’ll want to use only vegan-approved toppings. As always, be sure to check all of your ingredients over to ensure that they are truly vegan!
Assuming that you followed the recipe exactly, this most likely happened because your chili is too watery. If this is the case, use a thicker chili or serve the chili and toppings separately alongside the fries.
On the other hand, you may have cooked the fries at too low of a temperature, resulting in soggy, oily French fries. Try to maintain a frying oil temperature of 325ºF at all times, and don’t forget to drain the oil out of the pan after the fries have fully cooked.
I don’t recommend making this recipe ahead of time. For the best results, chili cheese fries are best served immediately, or else they will become soggy after a while.
If you’re using homemade chili, you can make the chili ahead of time and store it in an airtight container. Then add the leftover chili and fresh toppings to your French fries when ready. This is a great way to do it if you’re out camping.
If you try this recipe, why not leave a star rating in the recipe card right below and/or a review in the comment section further down the page? I always appreciate your feedback. You can also follow me on Pinterest, Facebook, Instagram, and YouTube. And subscribe to my email list too!
Chili Cheese Fries

Loaded chili cheese fries with crispy French fries and canned chili. Easy Game Day appetizer that you can make in 30 minutes or less!
- Campfire Grill
- Large Cast Iron Skillet
- Paring Knife
- Chef's Knife
- Large Mixing Bowl
- Wooden Spoon
- Camping Shovel
- 1 Qt Dutch oven
- Paper Towels
- 3 Russet potatoes
- 1 teaspoon sea salt
- 1 teaspoon black pepper
- 1 tablespoon olive oil
- 15 oz. canned chili (no beans)
- 1/2 cup cheddar cheese (shredded)
- 3 green onions (chopped)
How to Make Chili Cheese Fries on the Stovetop
Start by pouring about 1/4 inch of oil in a cast iron skillet and heat it over a medium-high flame on the stovetop. Again, you want the oil to reach right about 325ºF before adding the potatoes.
While you're waiting on your cast iron skillet to heat up, wash the potatoes and use a small paring knife to cut out any bad spots.
Next, cut use a large chef's knife to cut your washed potatoes lengthwise into 1/4" wide strips.
Then cut each strip into uniformly-sized 1/4" matchsticks.
Toss your French fries with the salt, pepper and about 1 tablespoon of olive oil in a large bowl.
Once your oil has reached 325ºF, drop the seasoned potato slices into the cast iron skillet, and cook them over a medium-high heat until crispy and tender, about 15-25 minutes. Keep them stirred with a wooden spoon, and adjust the heat as necessary to keep that temperature right around 325ºF.
While the French fries are cooking, heat the chili up in a microwave-safe bowl on high setting in the microwave for a few minutes, until hot and bubbly. Alternatively, you can also heat it in a medium saucepan over a medium heat on the stovetop.
Once your French fries are crisp and tender, remove the skillet from the heat and drain out as much oil as possible. I like to hold the French fries to the side of the skillet with a paper towel while tipping the pan over to the opposite side and letting the grease flow right on out.*
Finally, go ahead and pour the hot chili over the fries. Generously sprinkle the shredded cheese and green onions over top of chili, as well as any other toppings you may use.
Serve and enjoy with a big dollop of sour cream!
How to Make Chili Cheese Fries Over the Campfire
Start by getting your fire going. You'll want to let it burn down to hot coals before you cook your French fries.
Once your coals are ready to go, pour about 1/4 inch of oil in your skillet and set it on your campfire grill over top of the coals to pre-heat.* You want to get your oil up to about 325ºF.
Wash, slice, season and cook the potatoes exactly as described in the stovetop chili cheese fries instructions above.
While the French fries are cooking, pour your chili into a the small Dutch oven and place it on top of the campfire grill to heat up, until hot and bubbly.
Once your French fries are crisp and tender, remove them from the heat and drain out the oil. Then pour on the hot chili, shredded cheese and toppings as described above.
*NEVER drain your grease anywhere near a fire. This will create a grease fire. It’s always best to take the skillet away from the fire and drain the oil responsibly.
*If you are making chili cheese fries over the fire, it may be necessary to move the coals off to the side to keep your skillet from getting too hot. If you do this, be sure to rotate the skillet 90º every so often to promote even heating as everything cooks.
How do you store chili cheese fries?
I don’t recommend making this recipe ahead of time. Chili cheese fries are best served immediately, or else they will become soggy after a while.