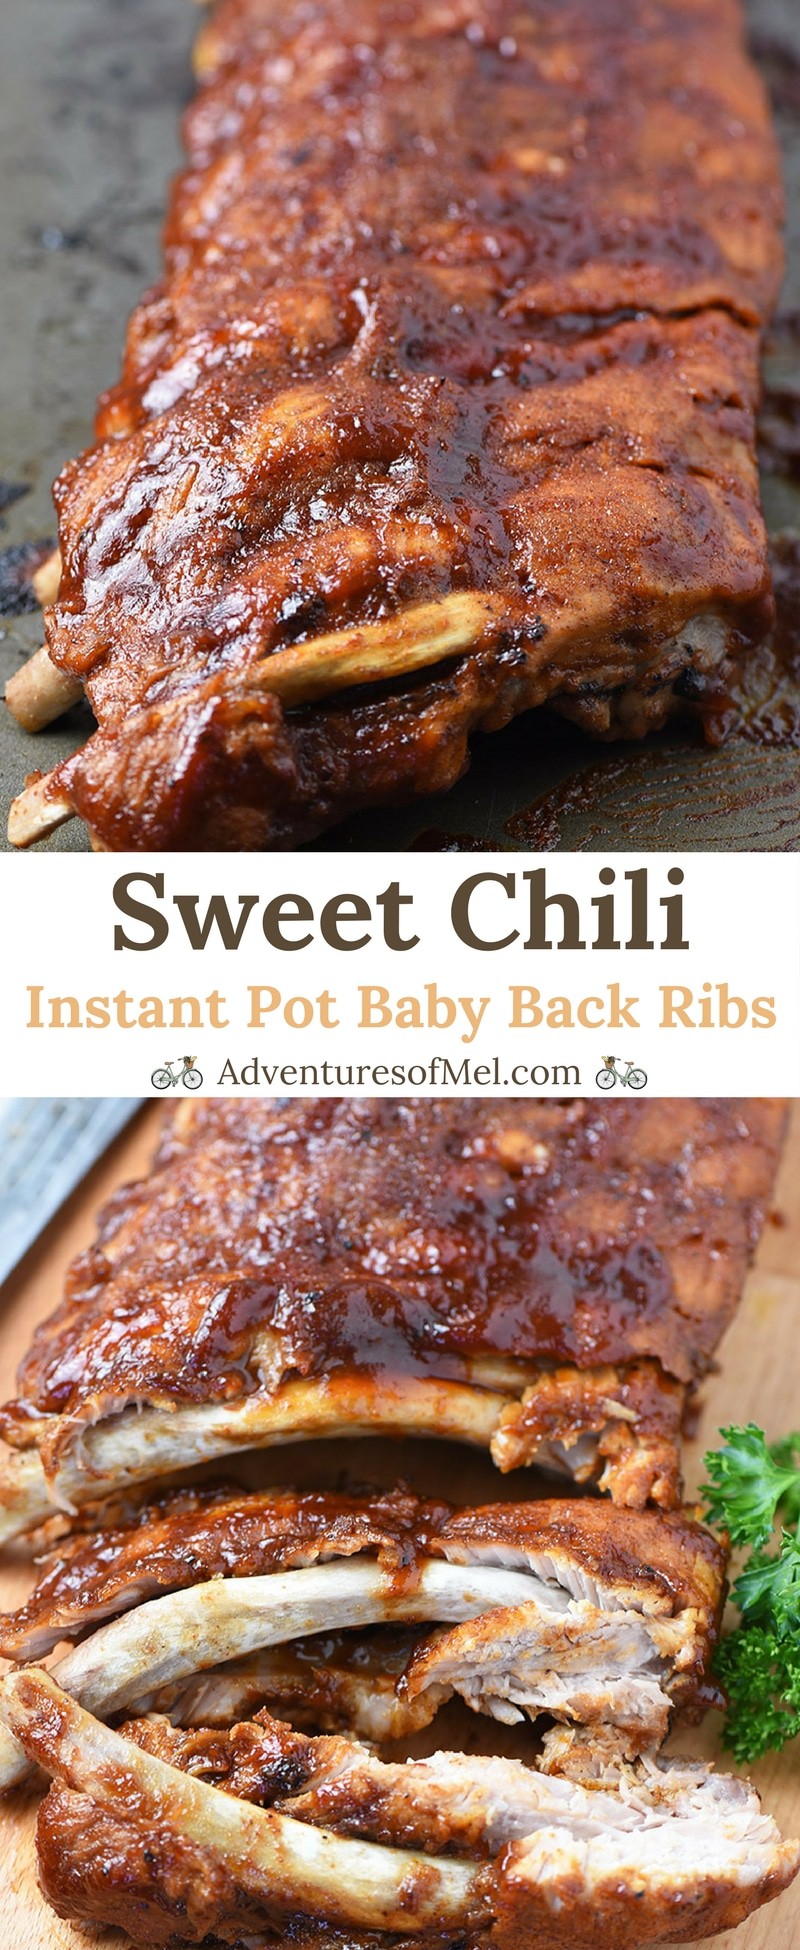
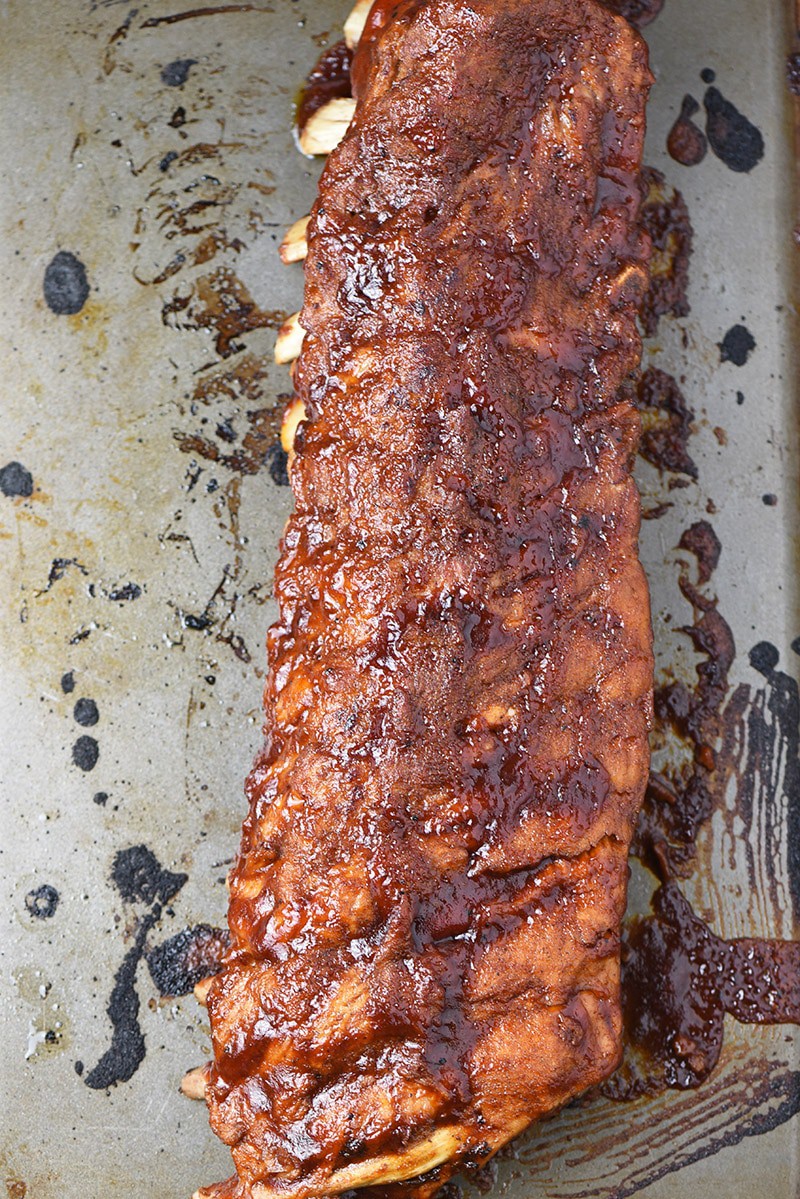
Sweet Chili Instant Pot Baby Back Ribs – So easy to make. How to cook baby back ribs using a sweet chili dry rub that gives them a wonderful flavor. They’re fall off the bone delicious!
Last week one of our cooking show viewers requested that we cook ribs in the Instant Pot. We decided that was a great idea and came up with this Sweet Chili Instant Pot Baby Back Ribs recipe.

It’s a recipe that takes delicious to a whole new level. And I’ll let you in on a little secret… I’d never made ribs before this recipe. I’m not sure why because it was so, so easy!
Dan came up with a baby back rib rub that gives the ribs so much wonderful flavor. They don’t even need any salt; that’s how good they taste.
It’s a simple recipe with simple ingredients. And it also doesn’t take a ton of time to make. If you have an Instant Pot, you’re in business.
If you love pork recipes, you may also enjoy our roasted pork tenderloin and oven roasted pork roast recipe.
Tips for how to cook baby back ribs in your Instant Pot:
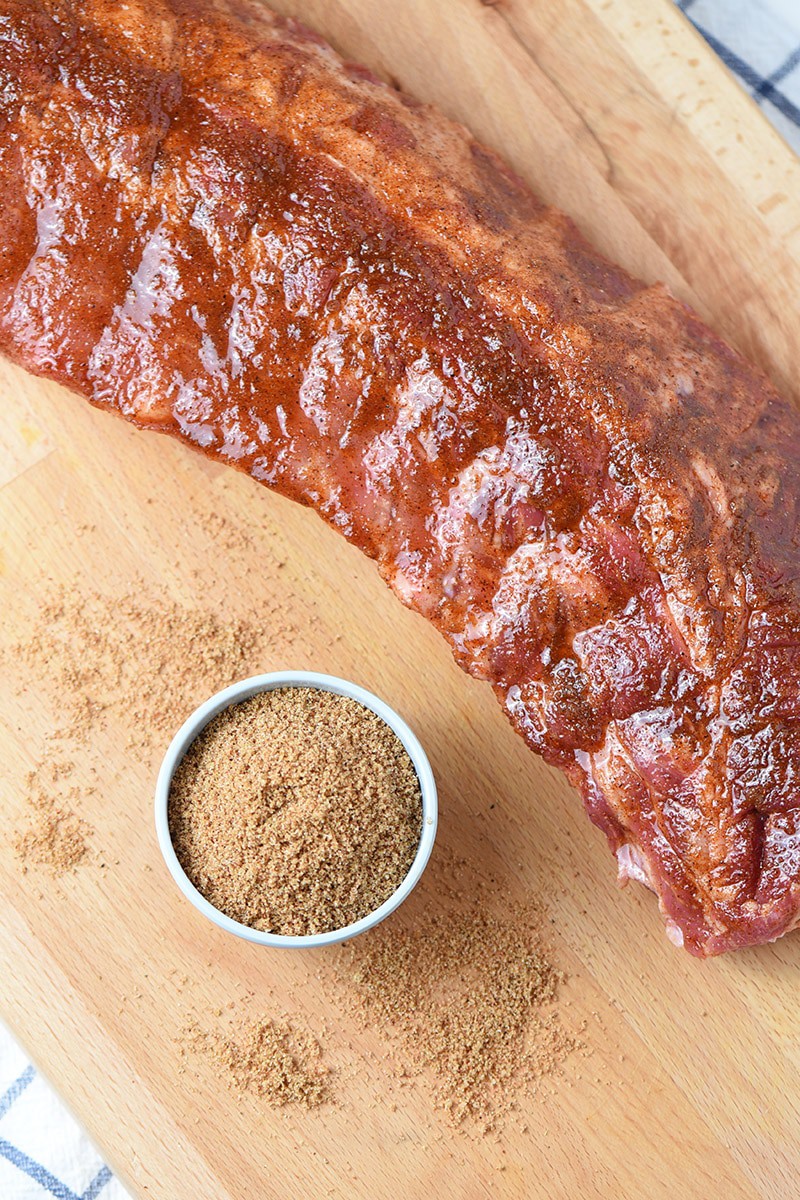
First of all, gather your ingredients… You will need light brown sugar, onion powder, cumin, chili powder, ground black pepper, water, apple cider vinegar, baby back ribs, and BBQ sauce.
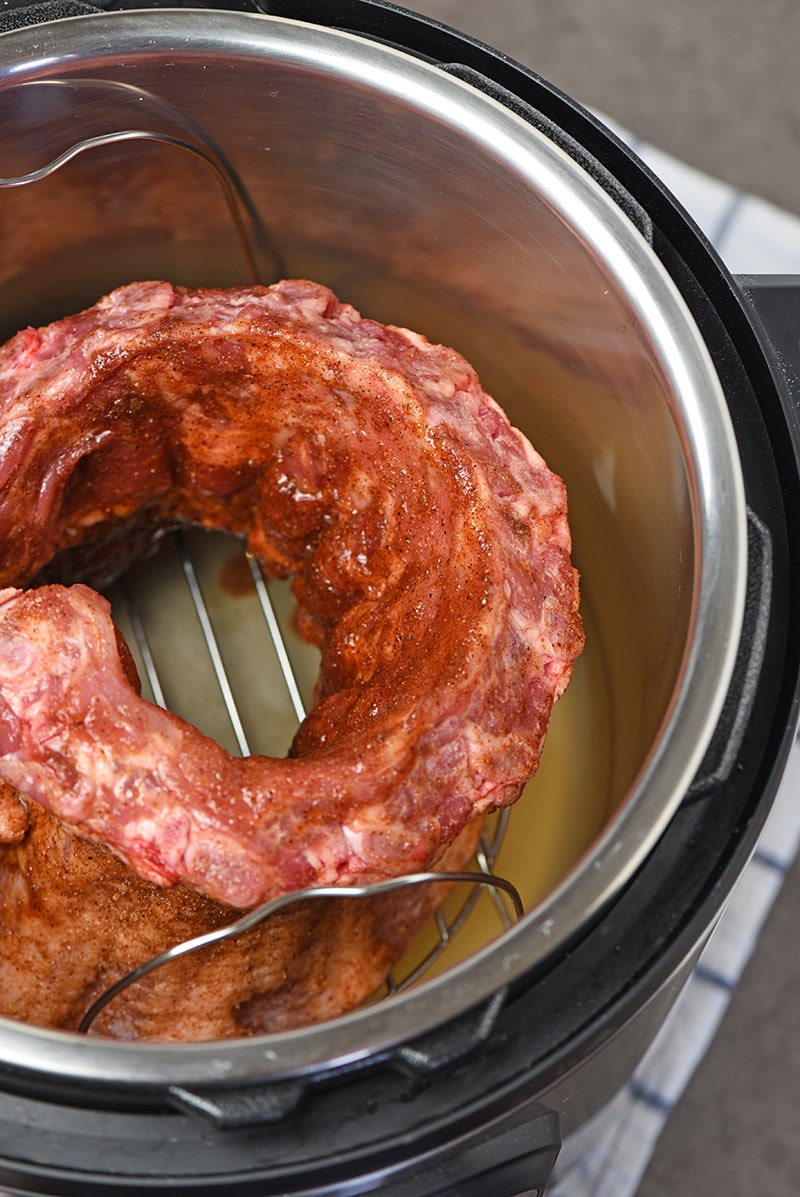
- Add the water and apple cider vinegar to your Instant Pot.
- Place a trivet down inside your Instant Pot (we used our 8-quart Instant Pot for this recipe).
- Now mix together the ingredients for your dry rub: brown sugar, onion powder, cumin, chili powder, and ground black pepper.
- Rinse the ribs and pat dry.
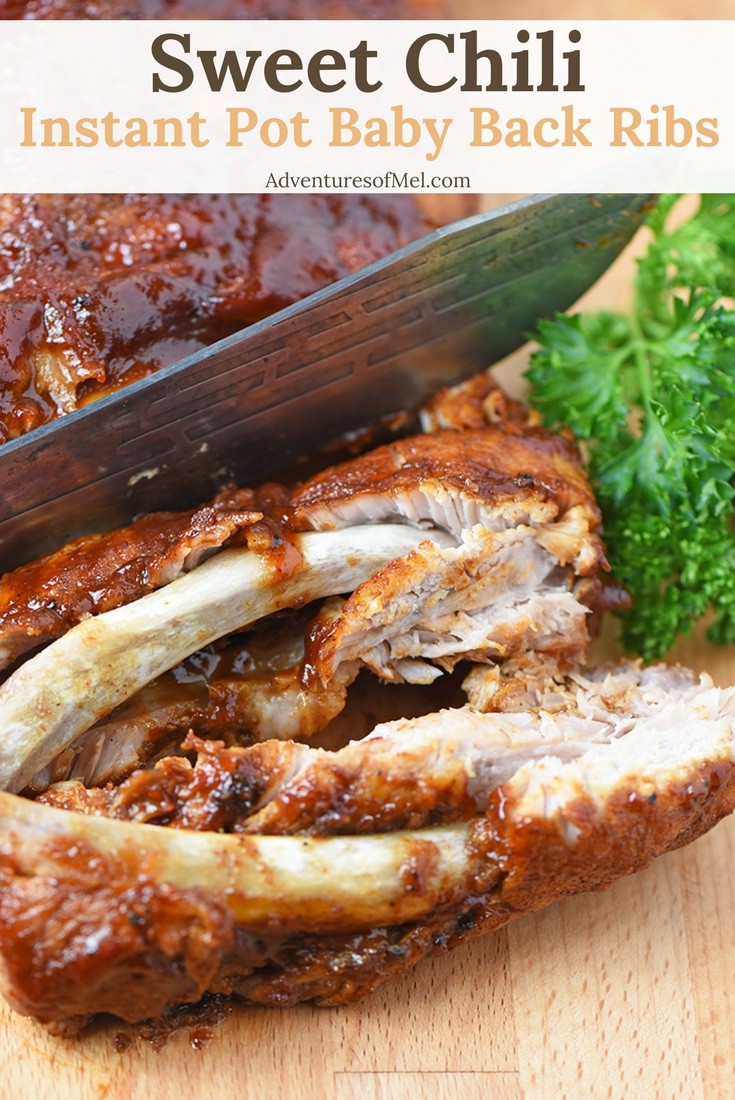
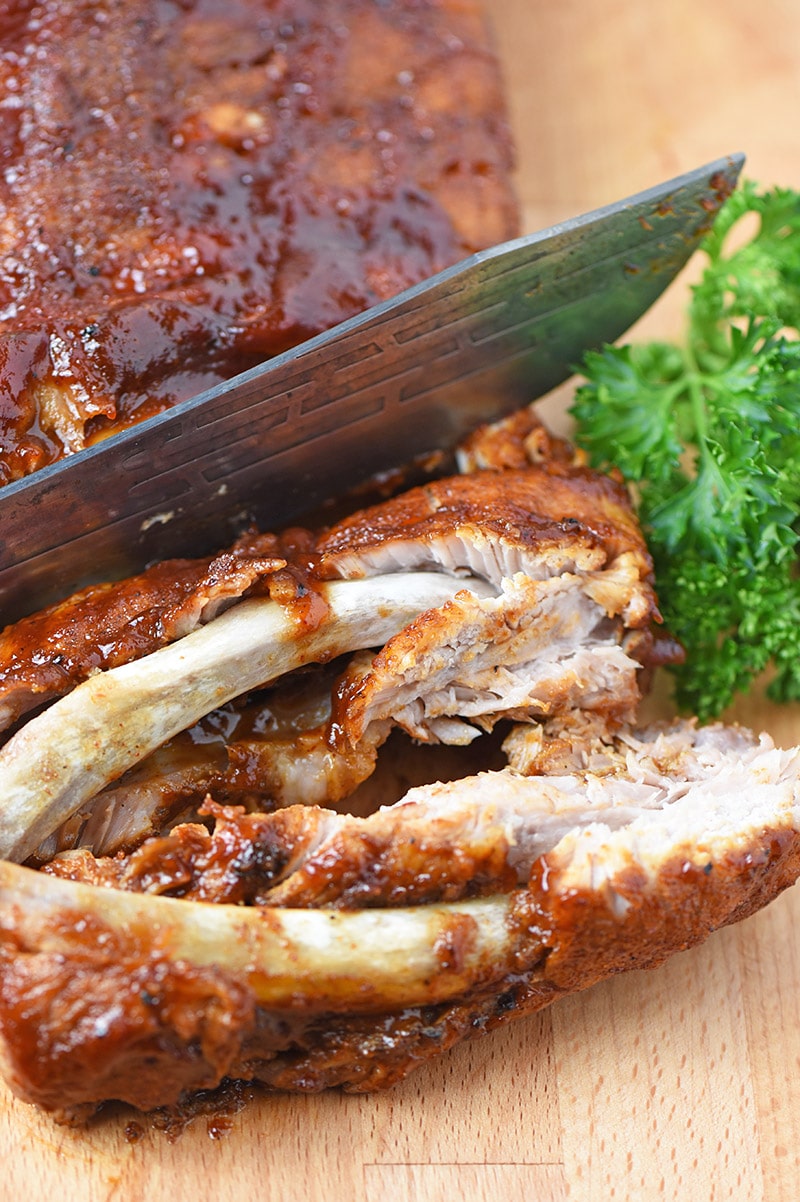
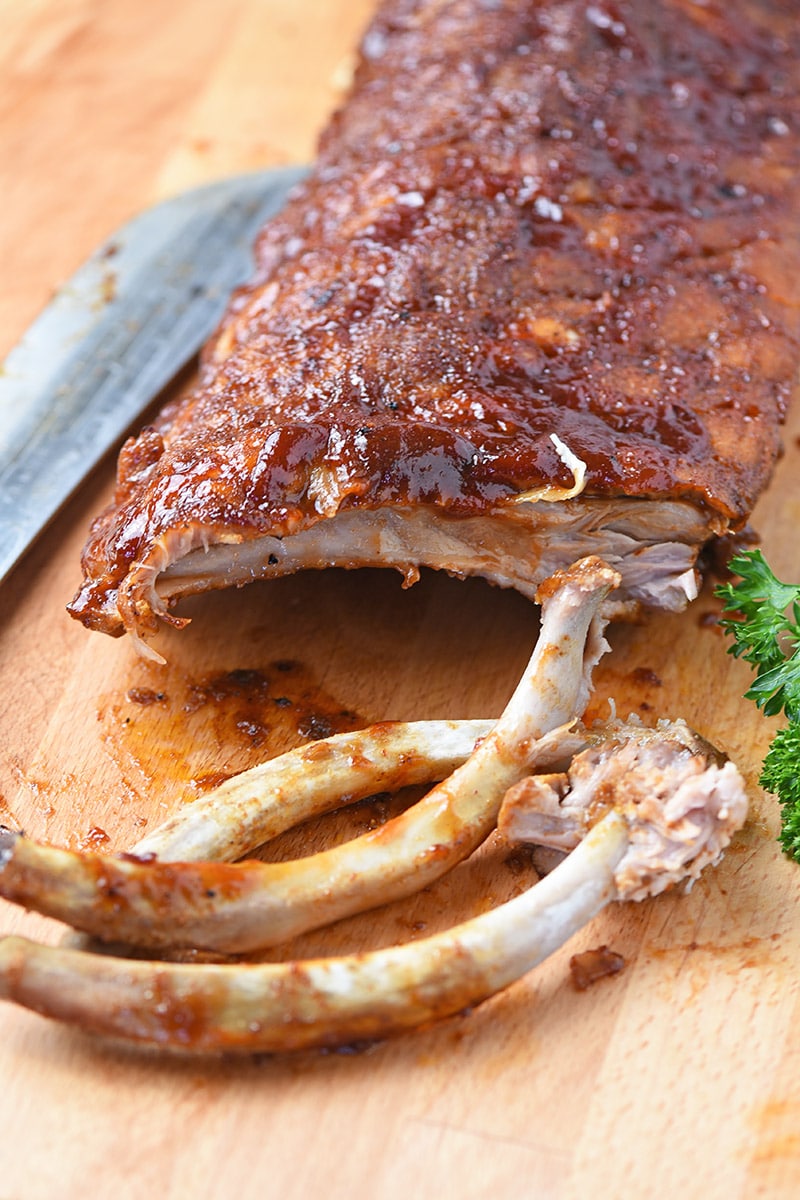
- Remove the membrane from the back of the ribs; you can do this by using a knife to scrape up the edge, grab it with a paper towel, and pull it back.
- Sprinkle and rub the rib rub all over both sides of the ribs, making sure every inch is covered with flavor.
- Slightly fold the ribs and place them in a semi-circle on top of the trivet inside the Instant Pot.
- Place the lid on your pressure cooker, and make sure the vent is sealed.
- Press ‘Pressure Cook’ and set for 25 minutes.
- Once the Instant Pot is done cooking, allow it to naturally release before opening it up.
- Pre-heat the broiler on your oven to ‘High’.
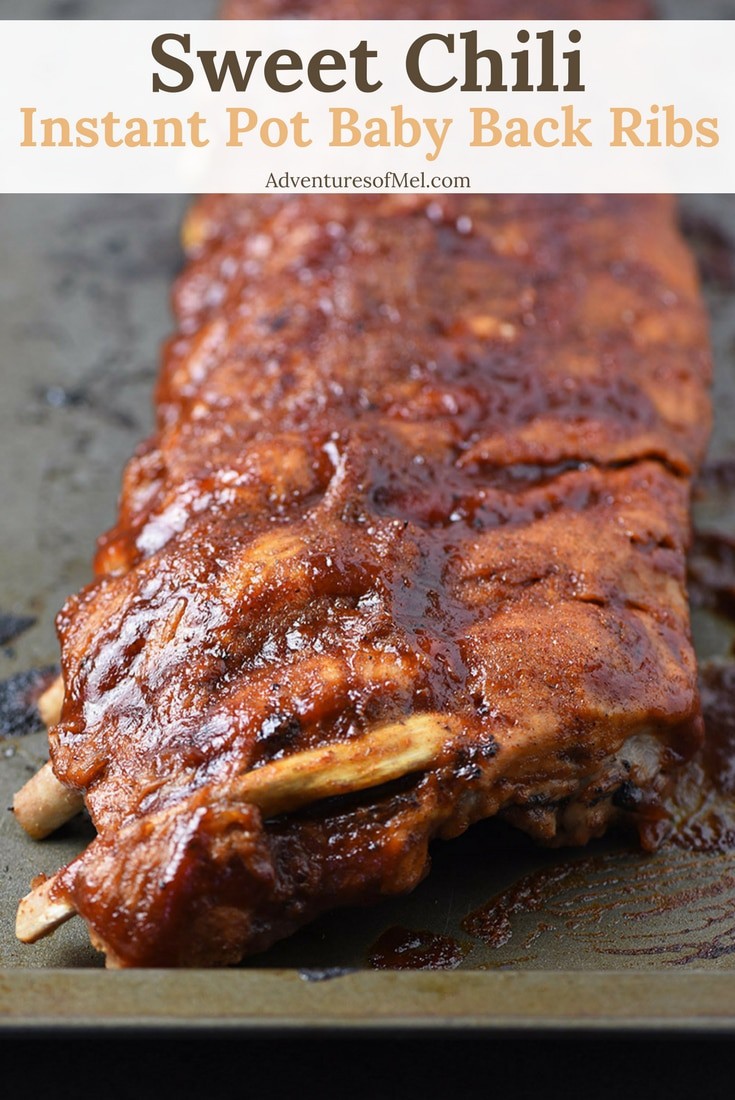
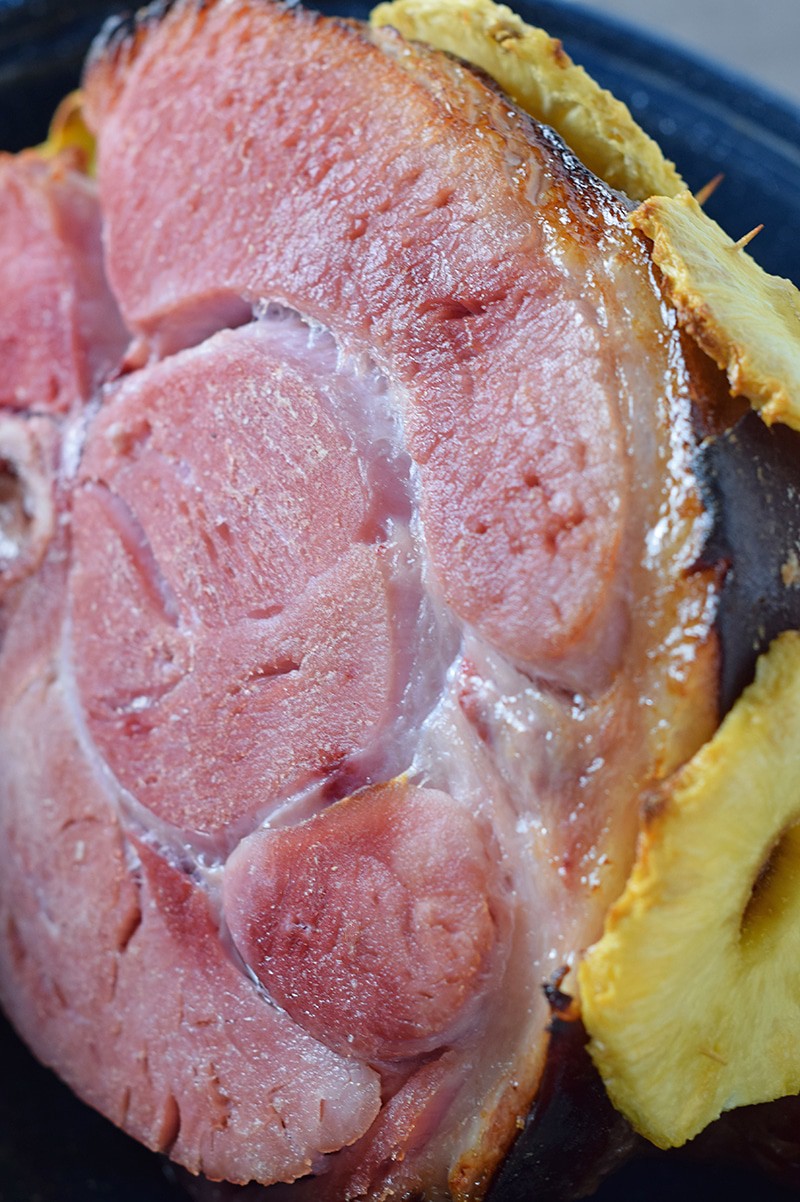
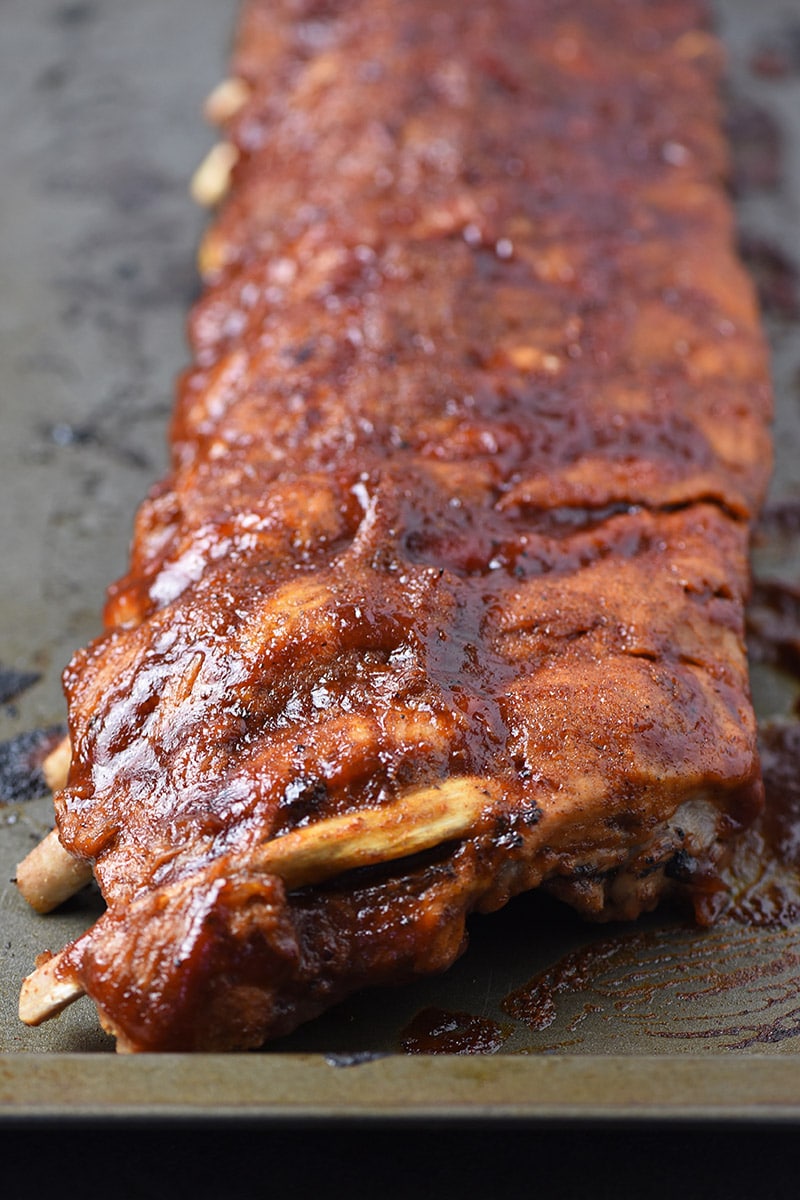
- When the ribs are completely cooked, carefully remove them from the Instant Pot and place them on a cookie sheet.
- Brush BBQ sauce all over the ribs, on both sides.
- Place in the oven to broil for 3 to 5 minutes.
- Remove from the oven and serve immediately. Sometimes I top mine off with my favorite mango peach salsa!
More Instant Pot recipes you may enjoy:
- Instant Pot Whole Chicken Recipe
- Taco Chicken
- Instant Pot Baked Potatoes
- Cauliflower, Sausage, and Chicken Casserole
- Southern Green Beans
- Instant Pot smoked sausage and rice
Learn how to quickly use your Instant Pot with our Instant Pot Quick Start Guide, filled with practical tips, Instant Pot recipes, accessory ideas, and more!
More recipes fellow meat lovers will love:
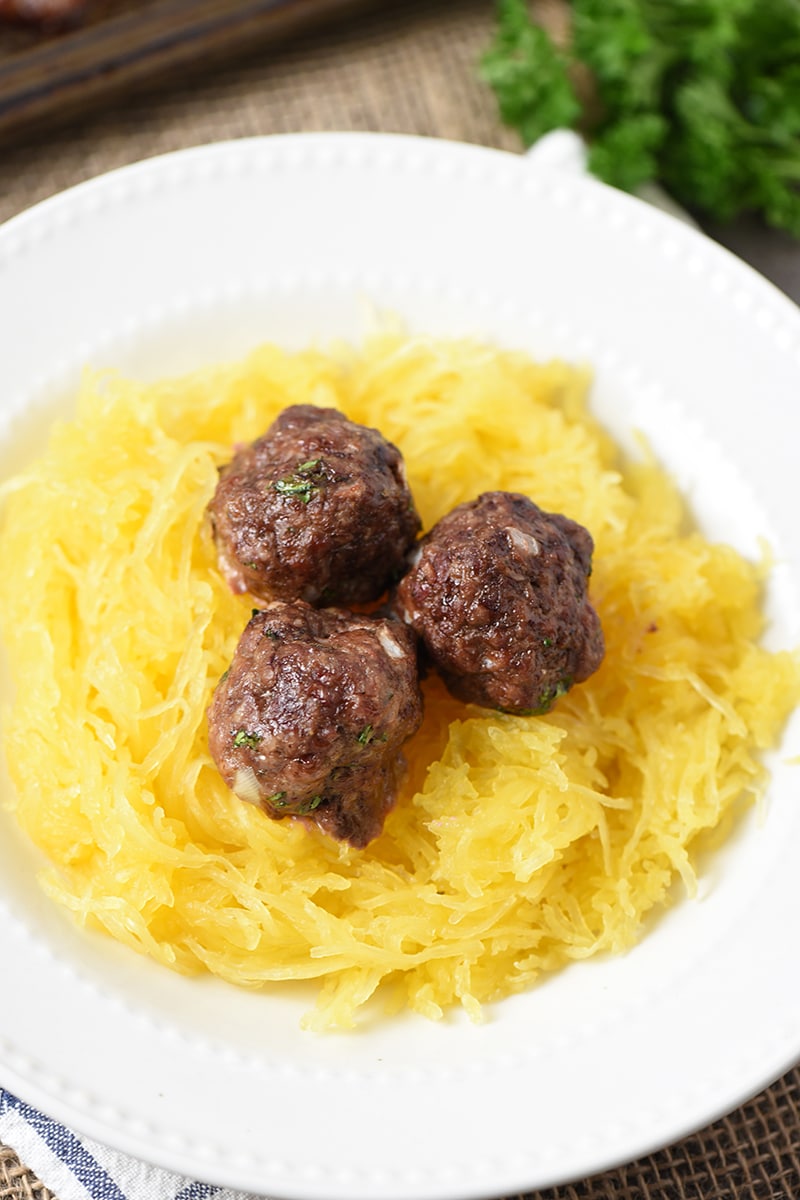
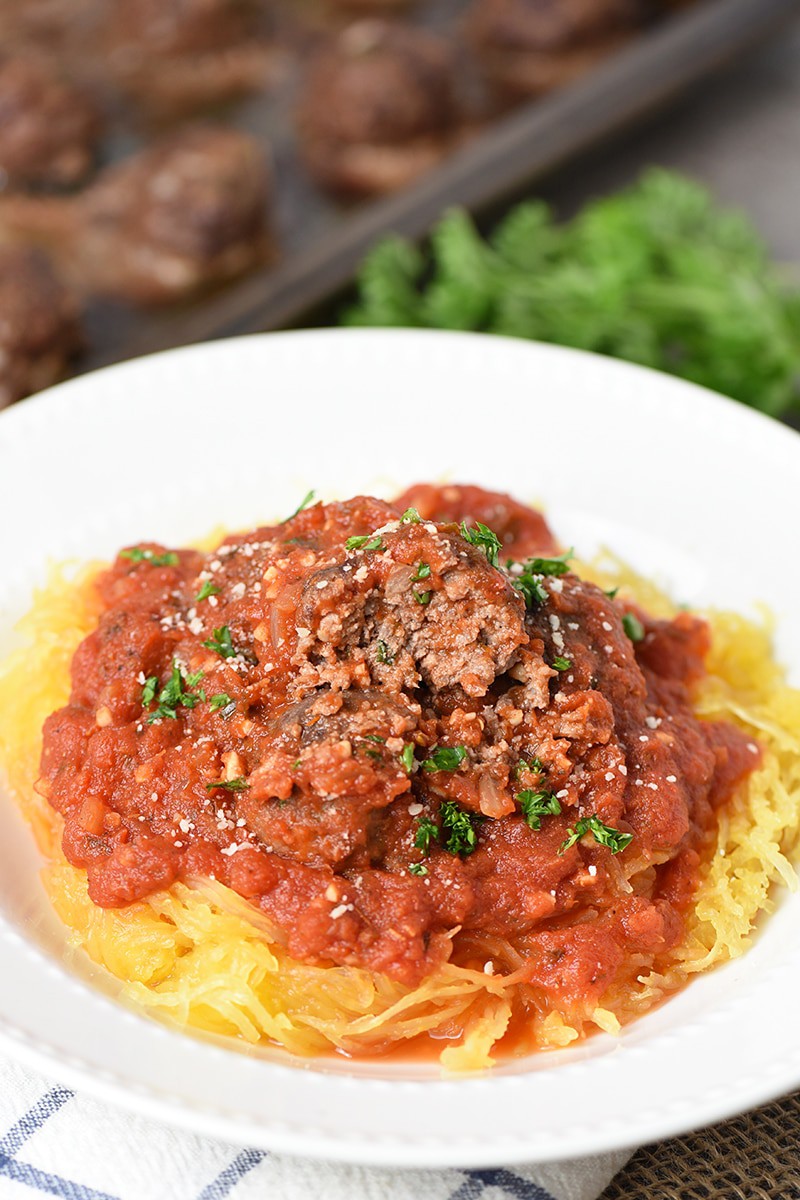
Baked Italian Cauliflower Meatballs
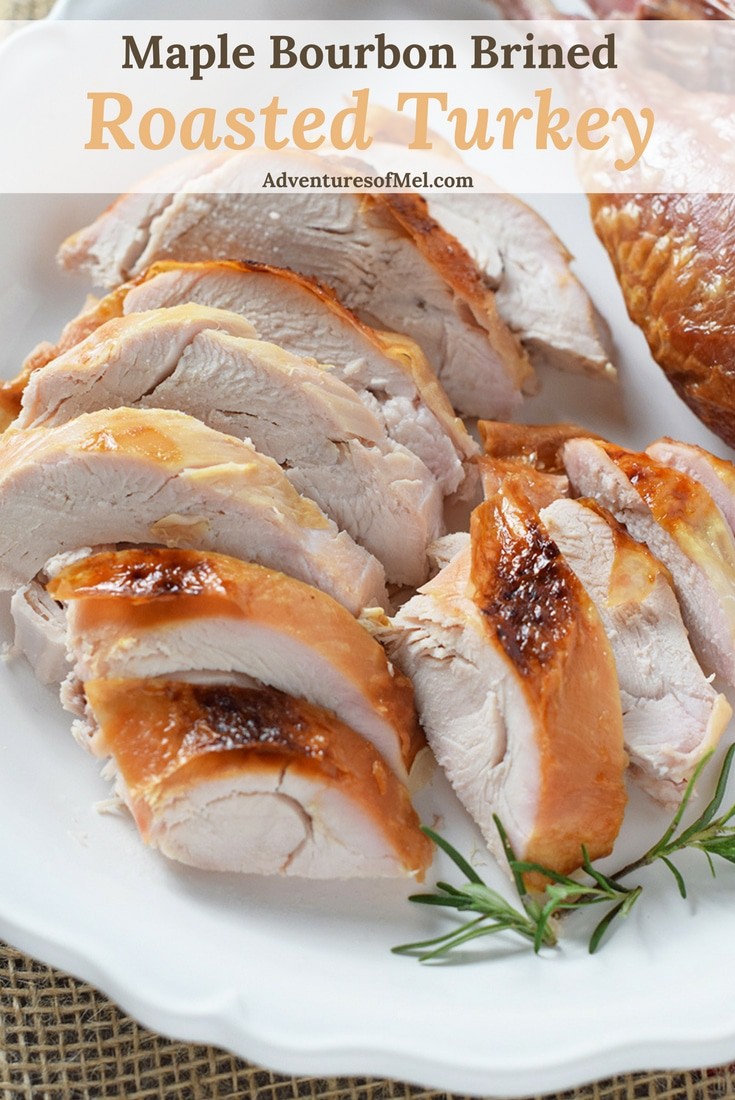
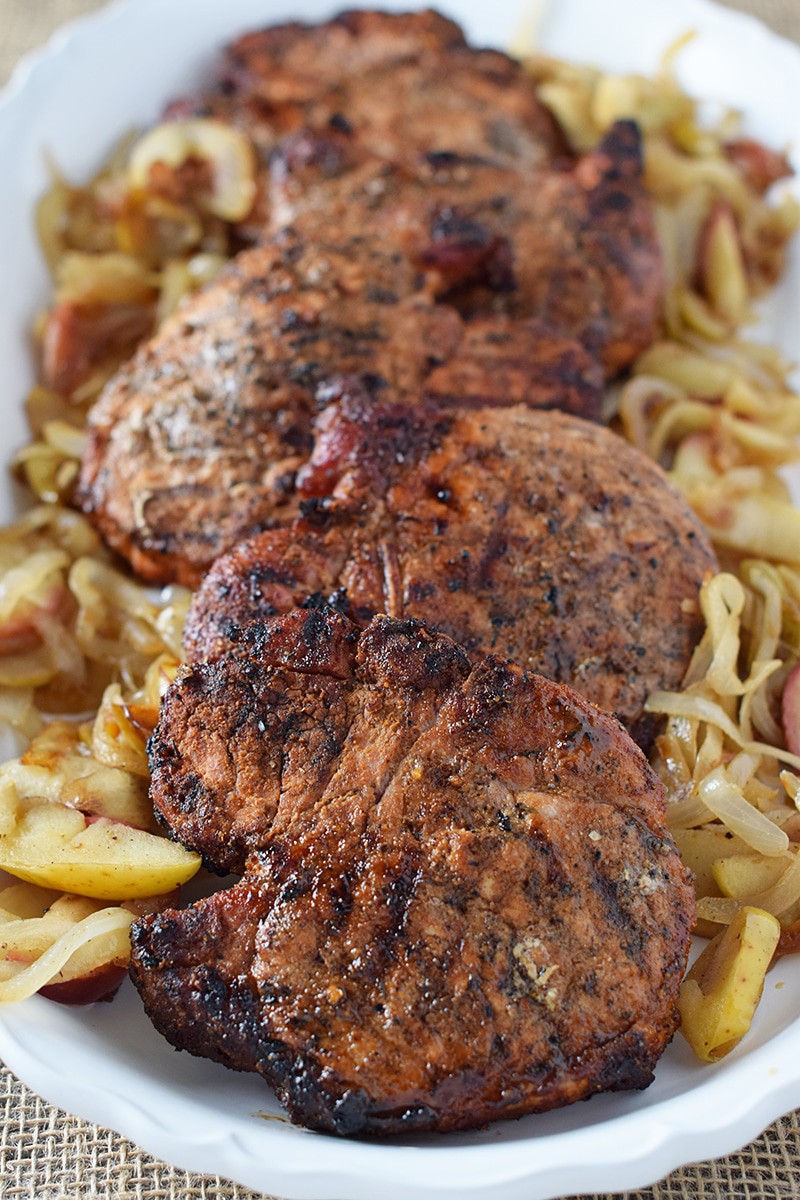
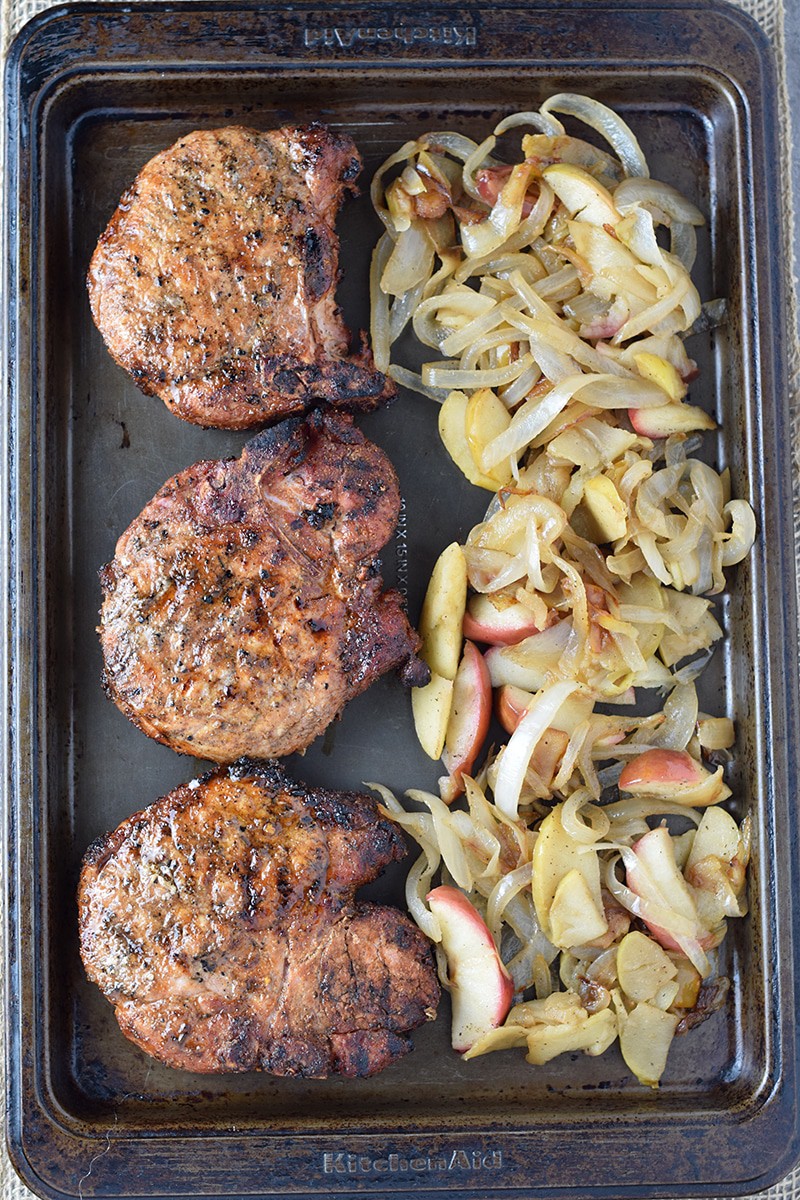
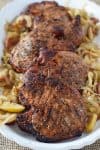
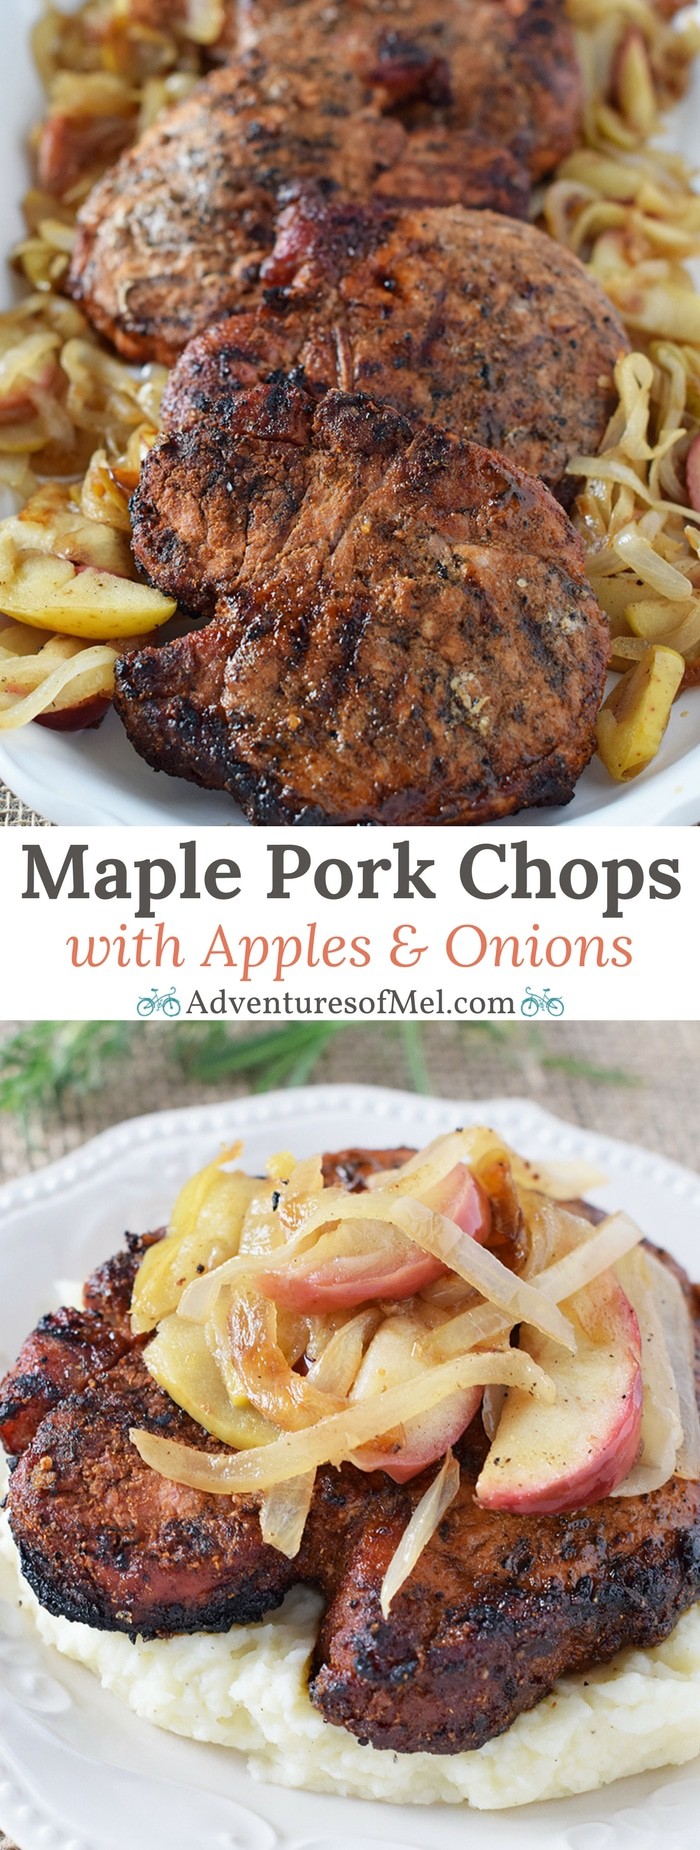
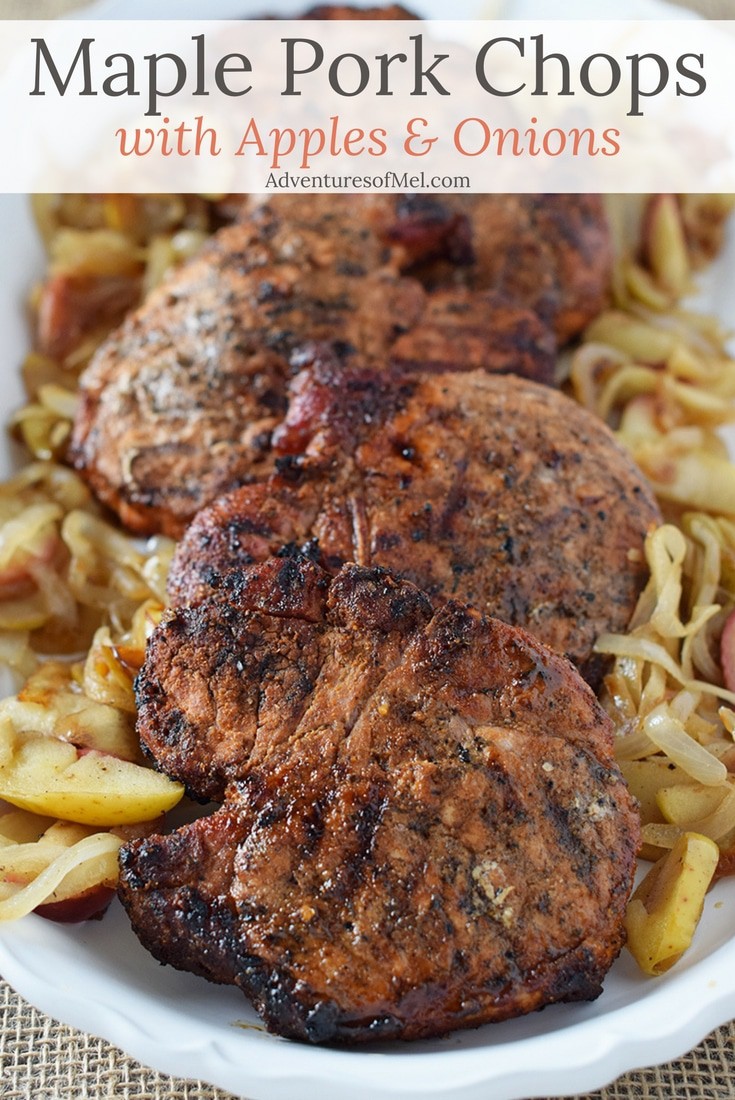
Maple Pork Chops with Apples and Onions
Kitchen tools you may need to make this baby back ribs recipe:
Instant Pot – You’ll need an Instant Pot to make these ribs.
Steamer Rack Trivet – You’ll need to set the ribs up on the trivet so they’re not soaking in the liquid the entire time they cook.
Cutting Board and Knife – We use our cutting boards with just about every recipe. They’re good for prepping, and (after washing) cutting and serving.
Basting and Pastry Brush – to brush on the BBQ sauce.
Cookie Sheet – This will allow you to quickly broil the ribs after cooking.
Print the recipe for Sweet Chili Instant Pot Baby Back Ribs
Sweet Chili Instant Pot Baby Back Ribs
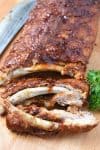
Sweet Chili Instant Pot Baby Back Ribs are so easy to make. How to cook baby back ribs using a sweet chili dry rub that gives them a wonderful flavor. They’re fall off the bone delicious!
- 1 cup water
- 1/2 cup apple cider vinegar
- 1/2 cup light brown sugar
- 2 teaspoons onion powder
- 2 teaspoons cumin
- 2 teaspoons chili powder
- 1/2 teaspoon ground black pepper
- 1 set baby back ribs
- 1 cup BBQ sauce
- Add the water and apple cider vinegar to your Instant Pot.
- Place a trivet down inside your Instant Pot (we used our 8-quart Instant Pot for this recipe).
- Now mix together the ingredients for your dry rub: brown sugar, onion powder, cumin, chili powder, and ground black pepper.
- Rinse the ribs and pat dry.
- Remove the membrane from the back of the ribs; you can do this by using a knife to scrape up the edge, grab it with a paper towel, and pull it back.
- Sprinkle and rub the rib rub all over both sides of the ribs, making sure every inch is covered with flavor.
- Slightly fold the ribs and place them in a semi-circle on top of the trivet inside the Instant Pot.
- Place the lid on your pressure cooker, and make sure the vent is sealed.
- Press ‘Pressure Cook’ and set for 25 minutes.
- Once the Instant Pot is done cooking, allow it to naturally release before opening it up.
- Pre-heat the broiler on your oven to ‘High’.
- When the ribs are completely cooked, carefully remove them from the Instant Pot and place them on a cookie sheet.
- Brush BBQ sauce all over the ribs, on both sides.
- Place in the oven to broil for 3 to 5 minutes.
- Remove from the oven and serve immediately.
Pin this recipe to save all the deliciousness for later!