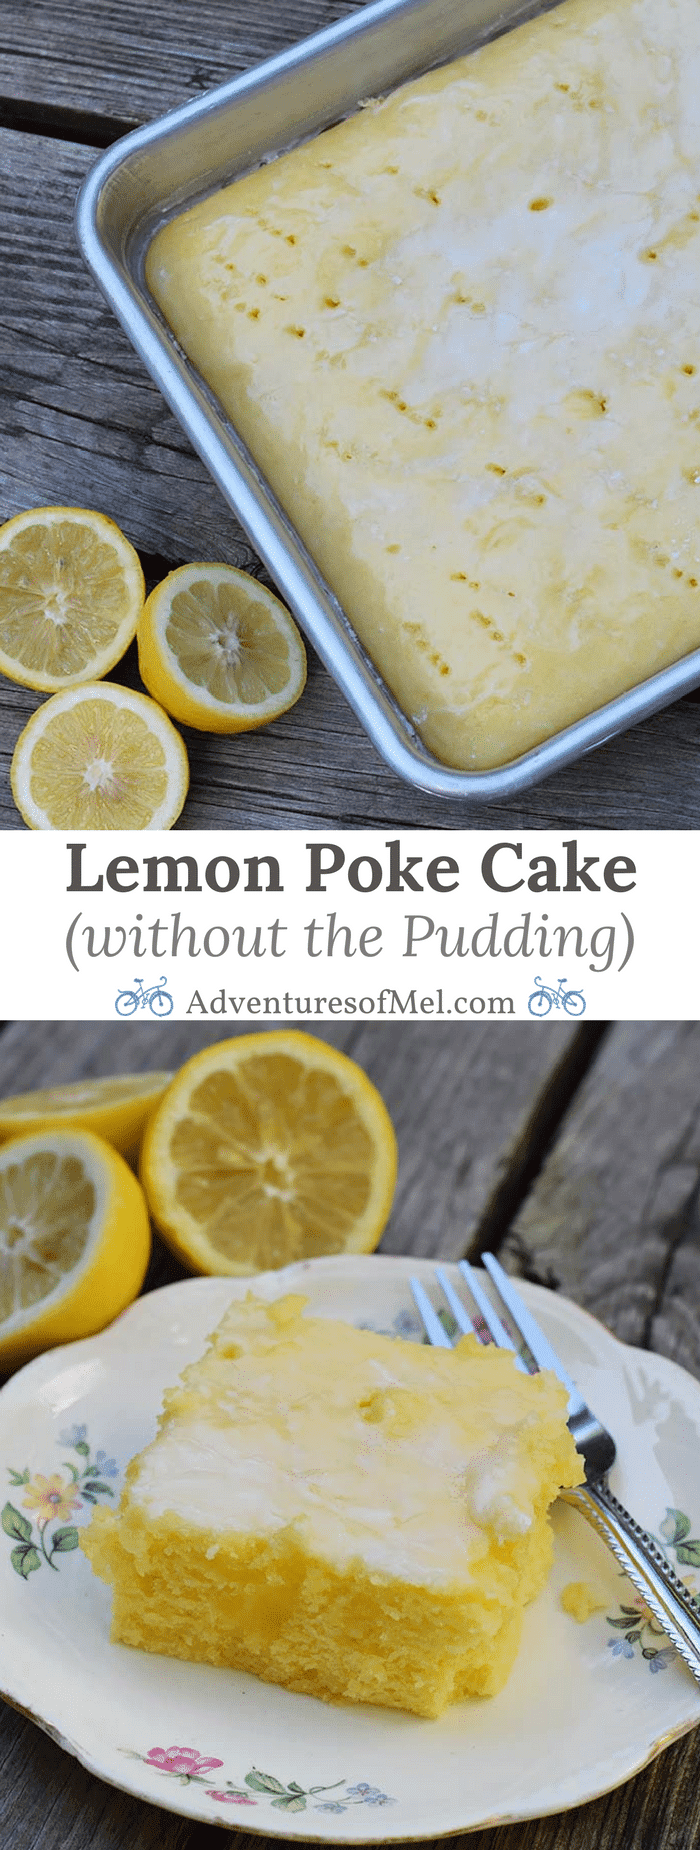
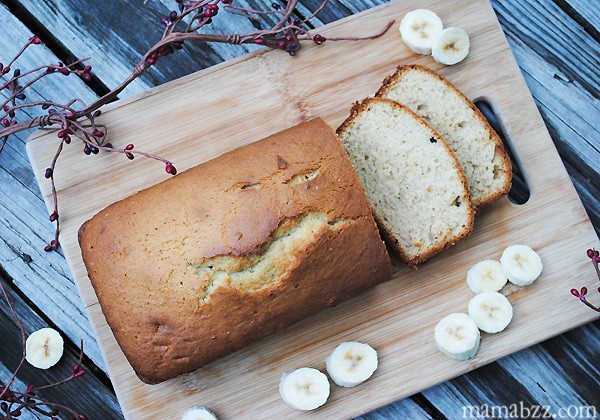
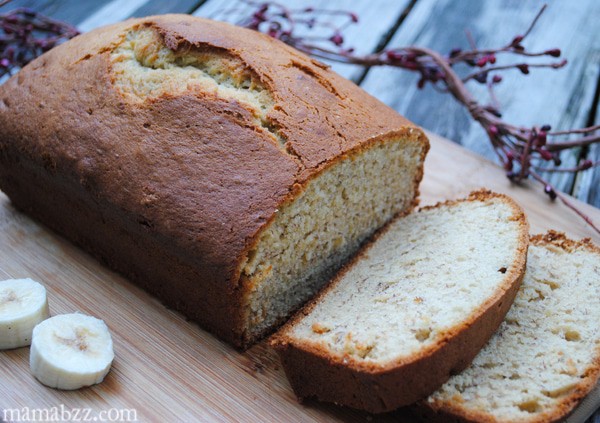
It’s funny, creating this recipe kinda happened by accident. I was actually making my grandma’s lemon poke cake recipe, and I thought I had all the right ingredients. I’d even remembered to pick up the cake mix, which is usually the one thing I forget.
Not so. This time I forgot to get a lemon pudding mix. Not to be deterred, I decided to make it anyway, only in a slightly different way. My guys ended up loving this lemon poke cake, claiming it’s one of the best cakes I’ve made in awhile.

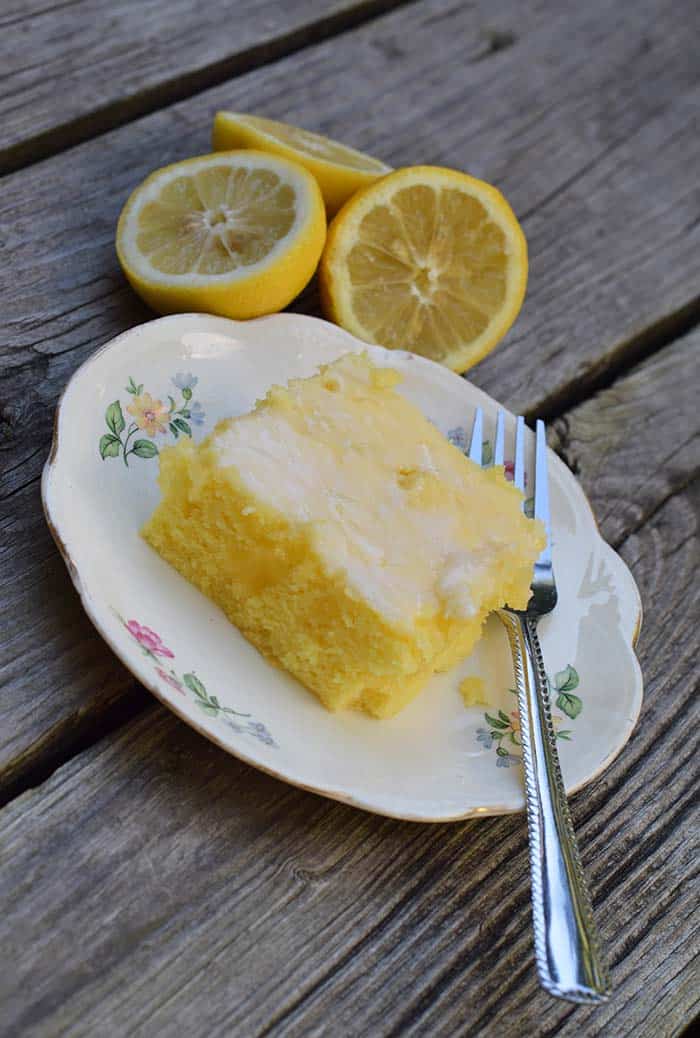
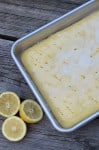
Ok, so I’ll be honest. Any lemon cake, especially this lemon cake, is even better the next day. Aging an extra day suits a good lemon cake. So, if you can hold out, I recommend making it the night before and enjoying the next day. Just my two cents.
Instead of an instant pudding mix and water, I decided to substitute lemon juice and a lemon extract we had on hand. Now, here I could have kicked myself again because if I’d been thinking clearly, I would have used my Lemon essential oil. But I wasn’t, so extract it was. Hey, it still turned out to be a very scrumptious cake.

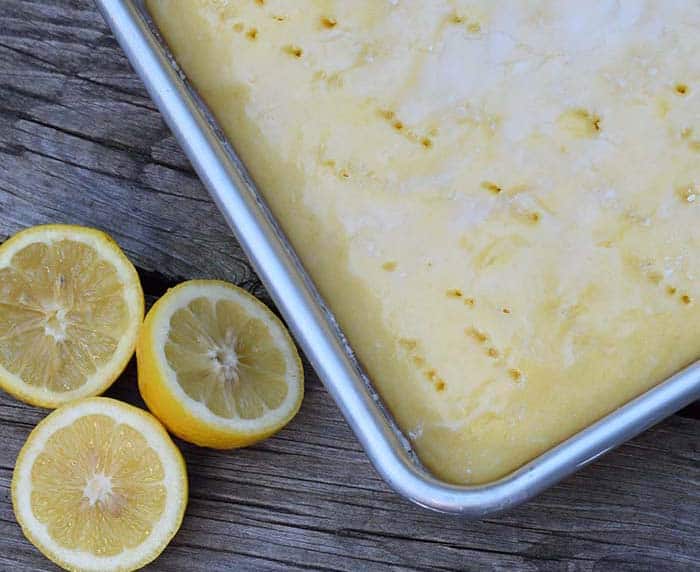
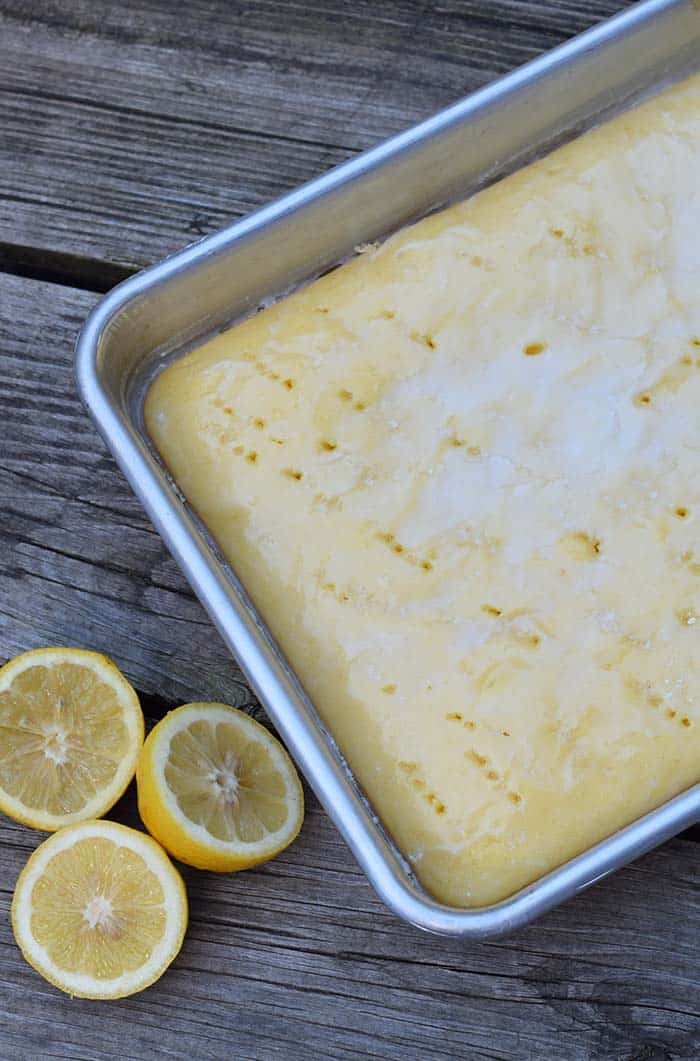
It is a bit of a heavier cake, so a small slice will do. I could have almost made this in a bundt pan, as the texture really reminded me of a pound cake. A regular 13×9 pan will do, though.
Grab the printable recipe, start mixing, and enjoy!
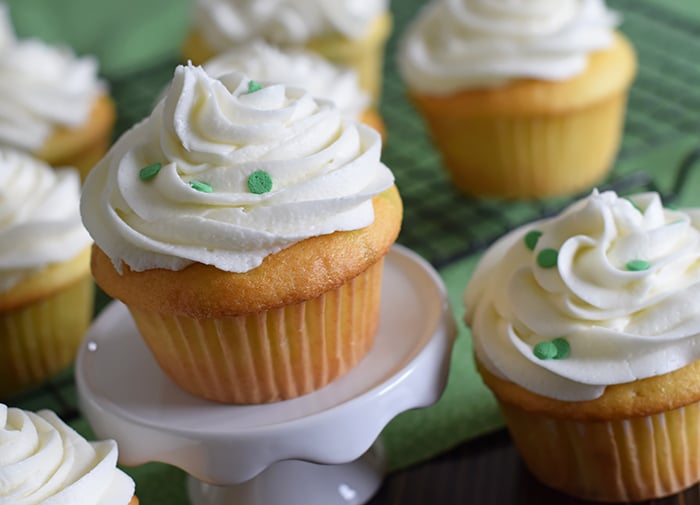
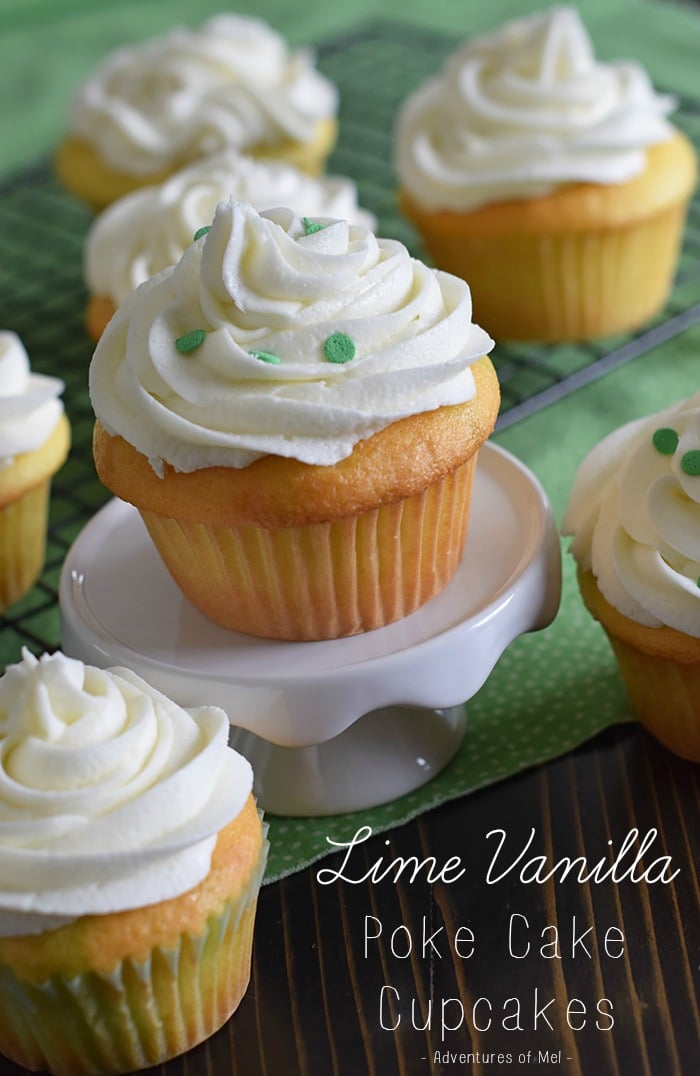
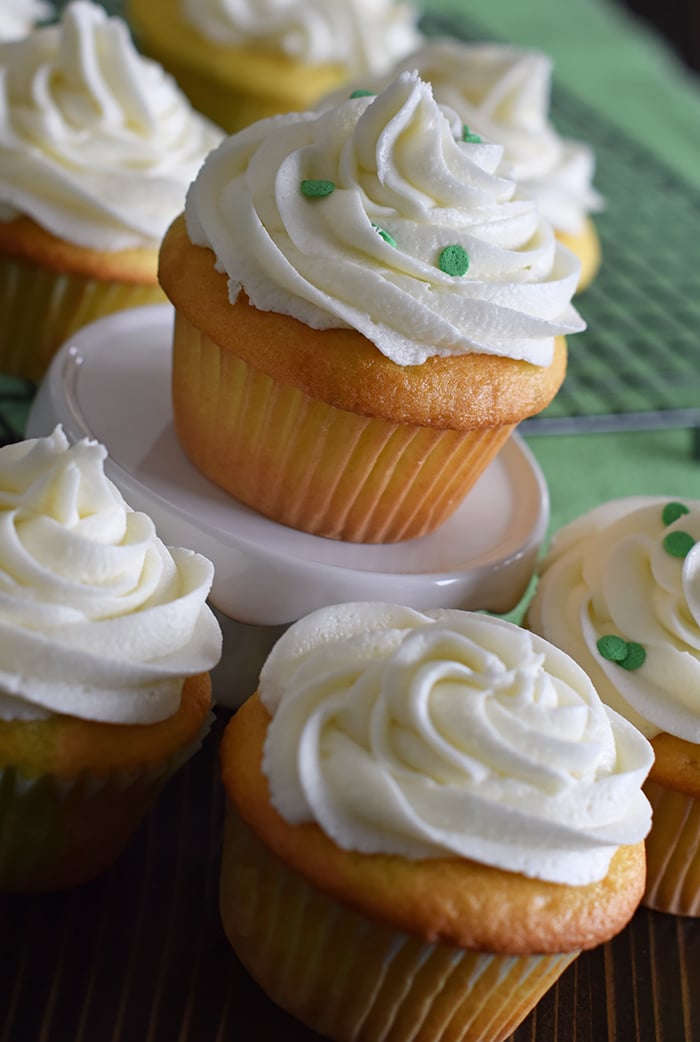
Lemon Poke Cake (without the Pudding)
Grab the recipe for a lemon poke cake without any pudding mix. Cake mix recipe inspired by Grandma’s lemon cake. So scrumptious!
Cake:
- 1 yellow cake mix
- 4 eggs
- 3/4 cup lemon juice
- 3/4 cup canola oil
- 1 tbsp. lemon extract (or you can substitute a smaller amount of Lemon essential oil)
Icing:
- 2 cups powdered sugar
- Juice of 2 lemons (or about 6 tbsp. lemon juice)
- Mix cake mix, eggs, and lemon juice, beating for 2 minutes. Add canola oil and lemon extract, and beat for another 2 minutes.
- Bake at 350° for about 30-40 minutes in loaf, bundt, or cake pan (I used a 13×9 pan).
- While cake is baking, mix up icing.
- When cake is done and while still hot, prick with fork all over.
- Spoon on icing, spreading over entire cake.
- Serve and enjoy!
Can’t make it just yet? Pin it for later!
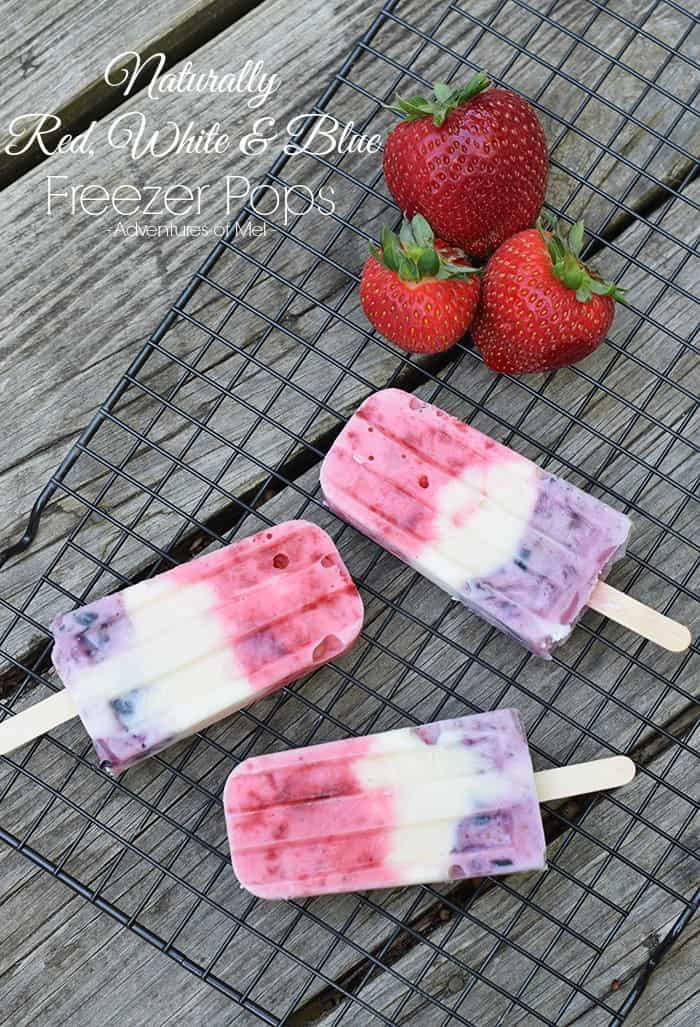
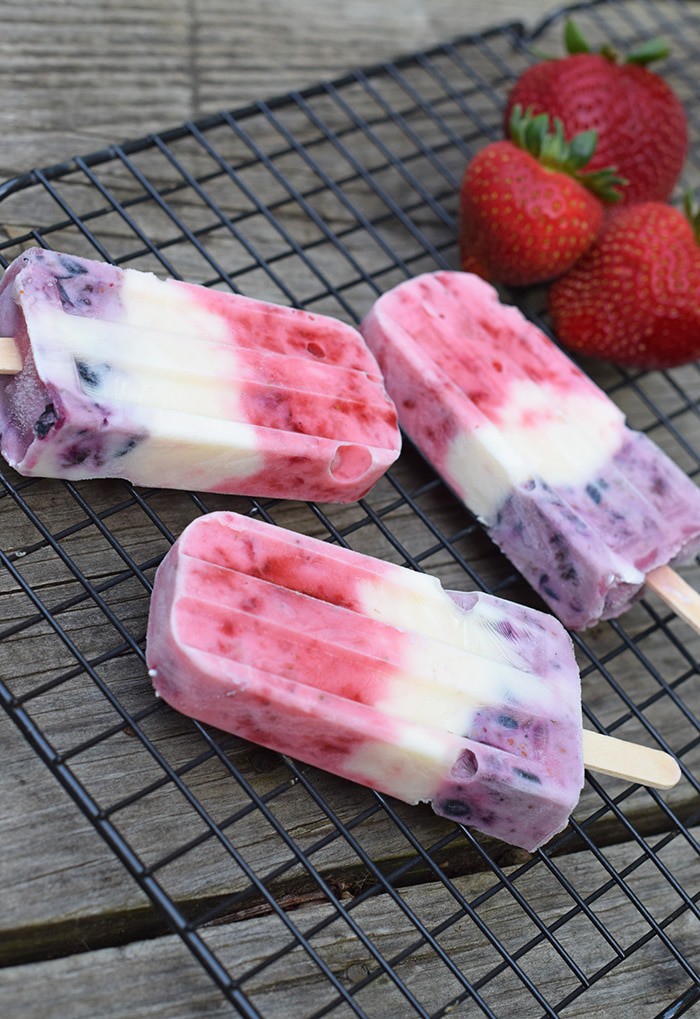
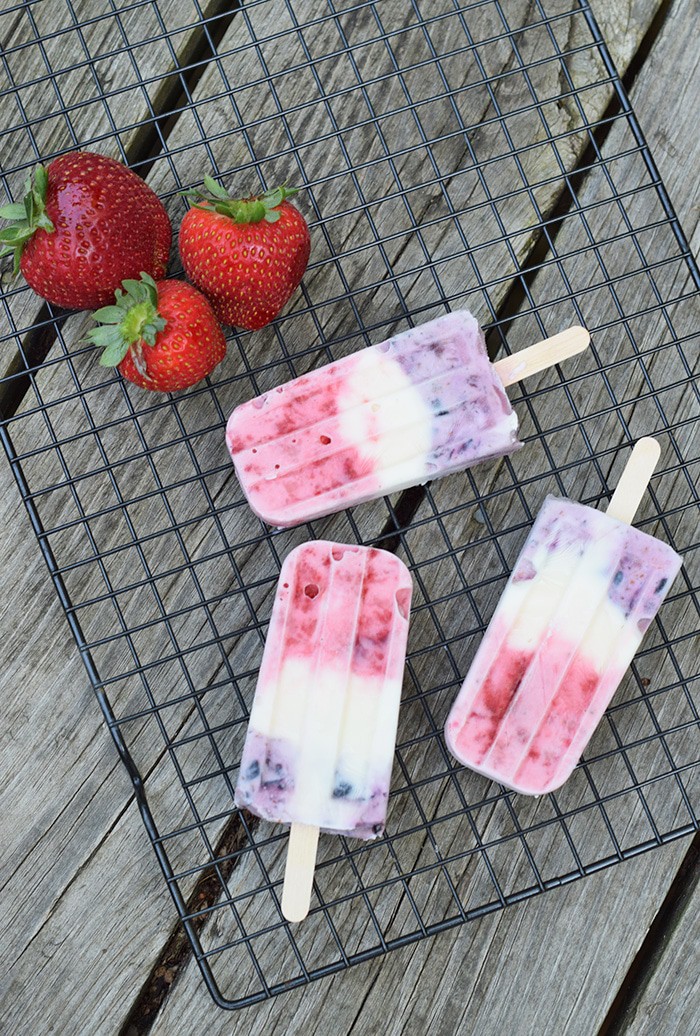


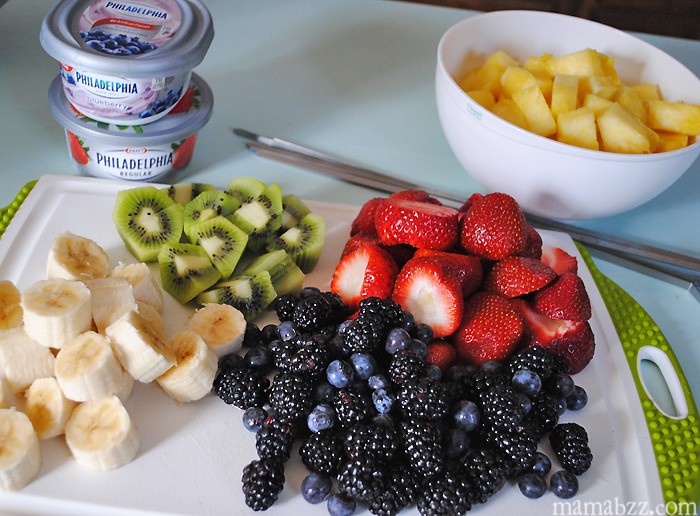


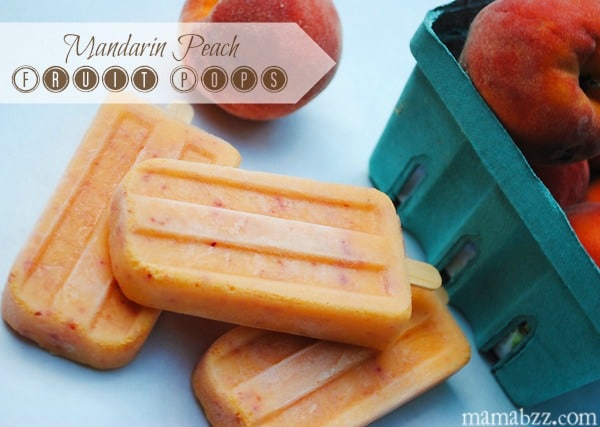
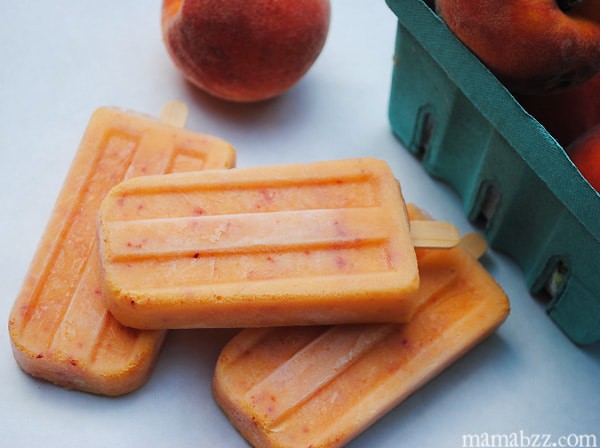
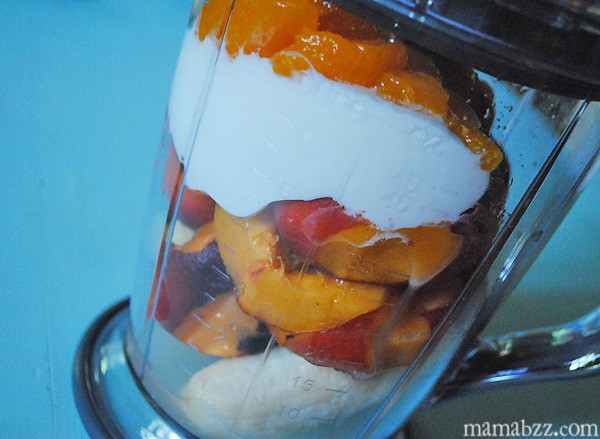 I added a banana, peaches, a fruit cup of mandarin oranges, about 1/2 cup of Greek Yogurt, and 1-2 tsp of sugar. I kept the peeling on the peaches, so we locked all those awesome nutrients into these ice pops. Blend everything together, making it into a nice liquidy mixture. Then pour into popsicle molds. I highly recommend
 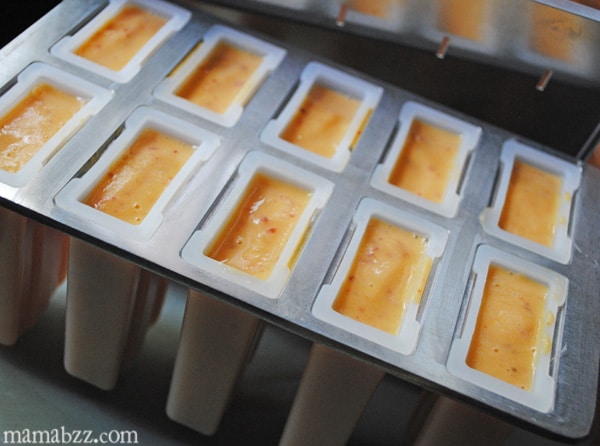 Set your popsicles in the freezer, and leave for however long they need, usually a few hours. Then remove pops from the freezer, and enjoy.
 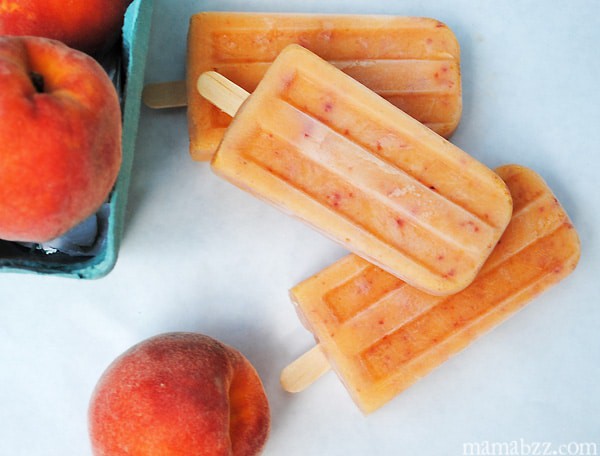 These have been delicious, and my kids are still enjoying them.
 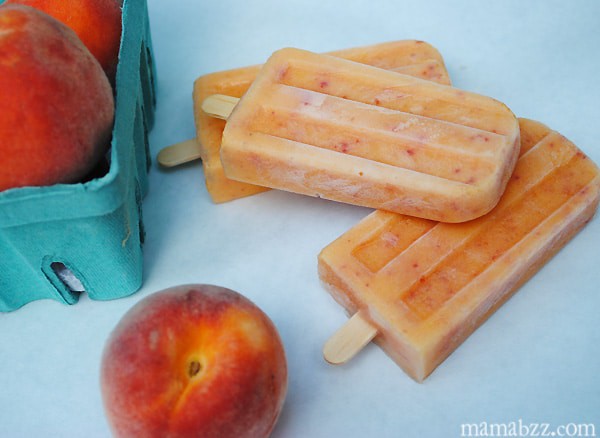 More recipes and experiments with homemade popsicles to come!