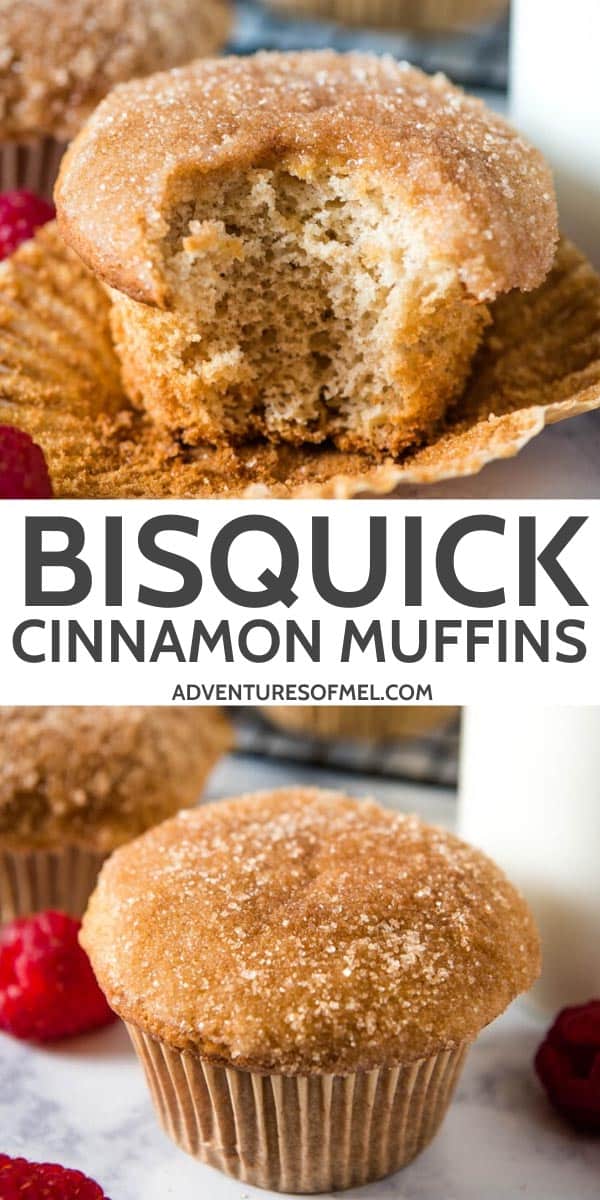
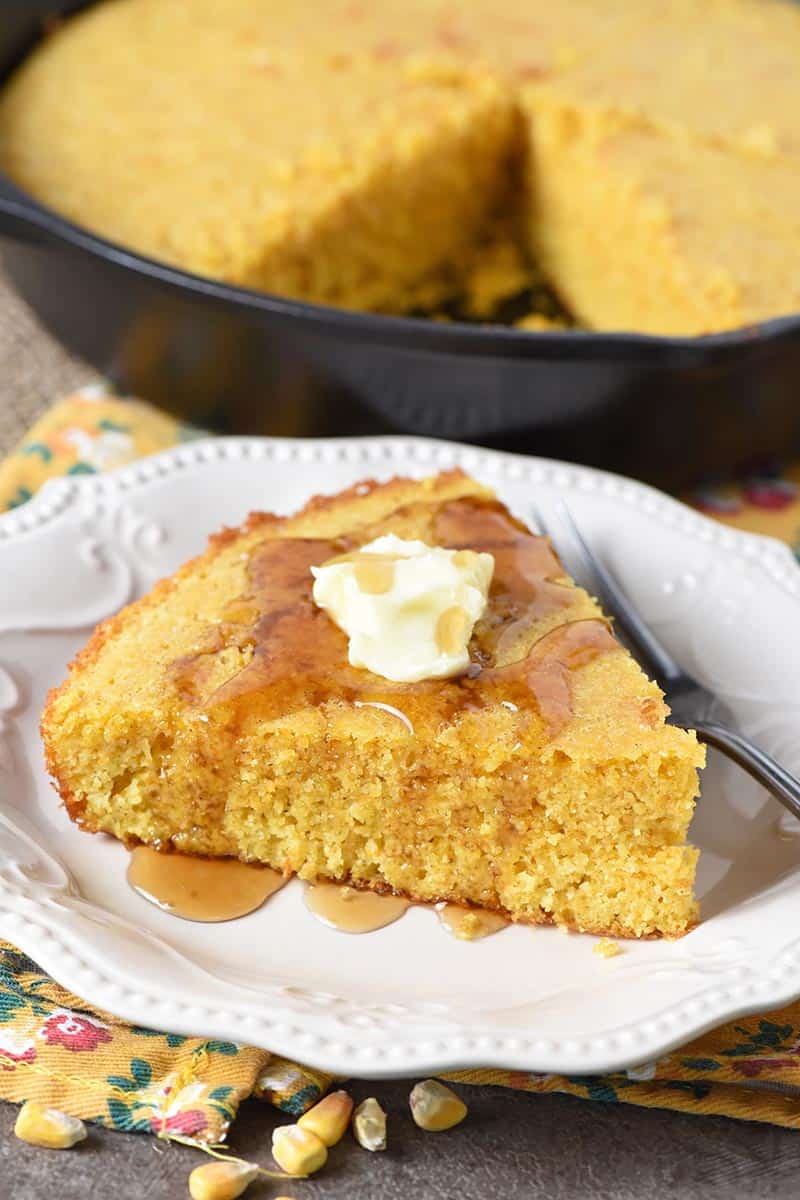
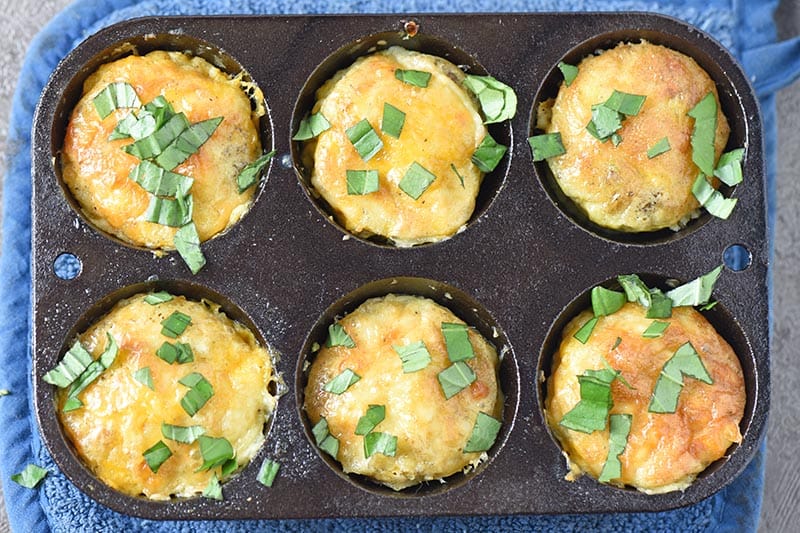
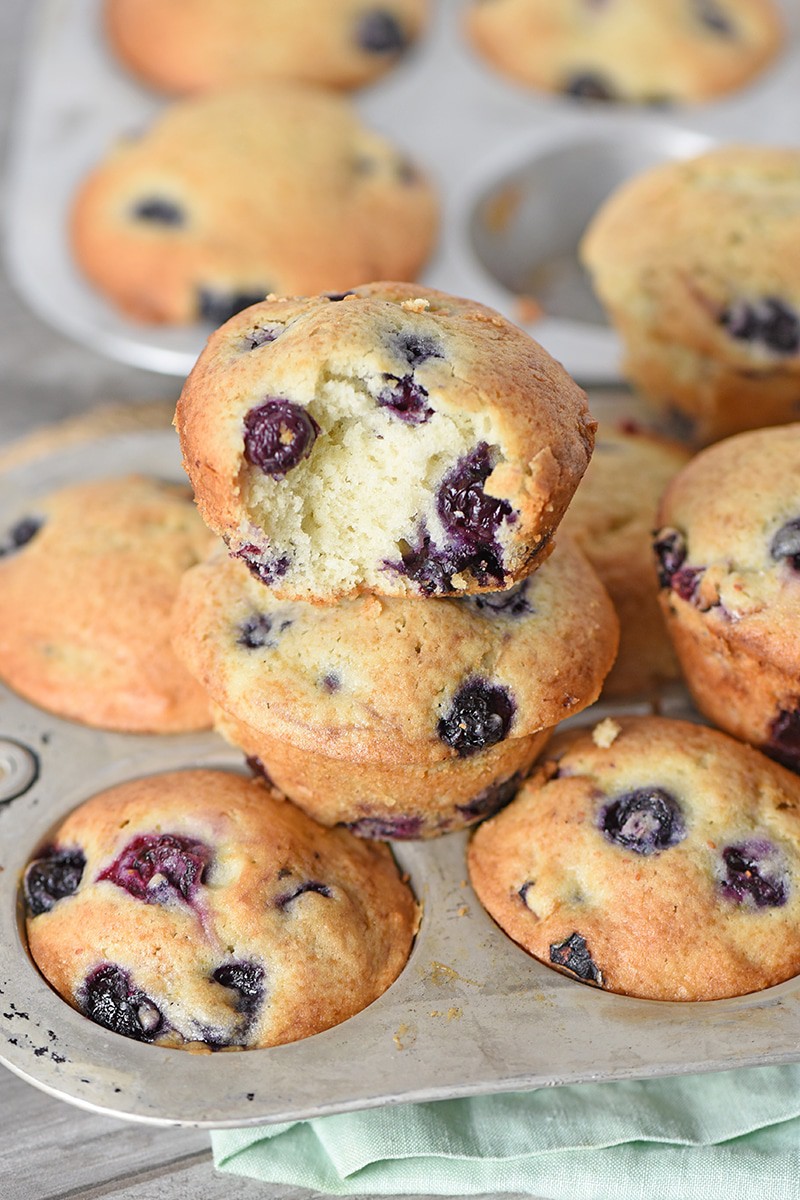
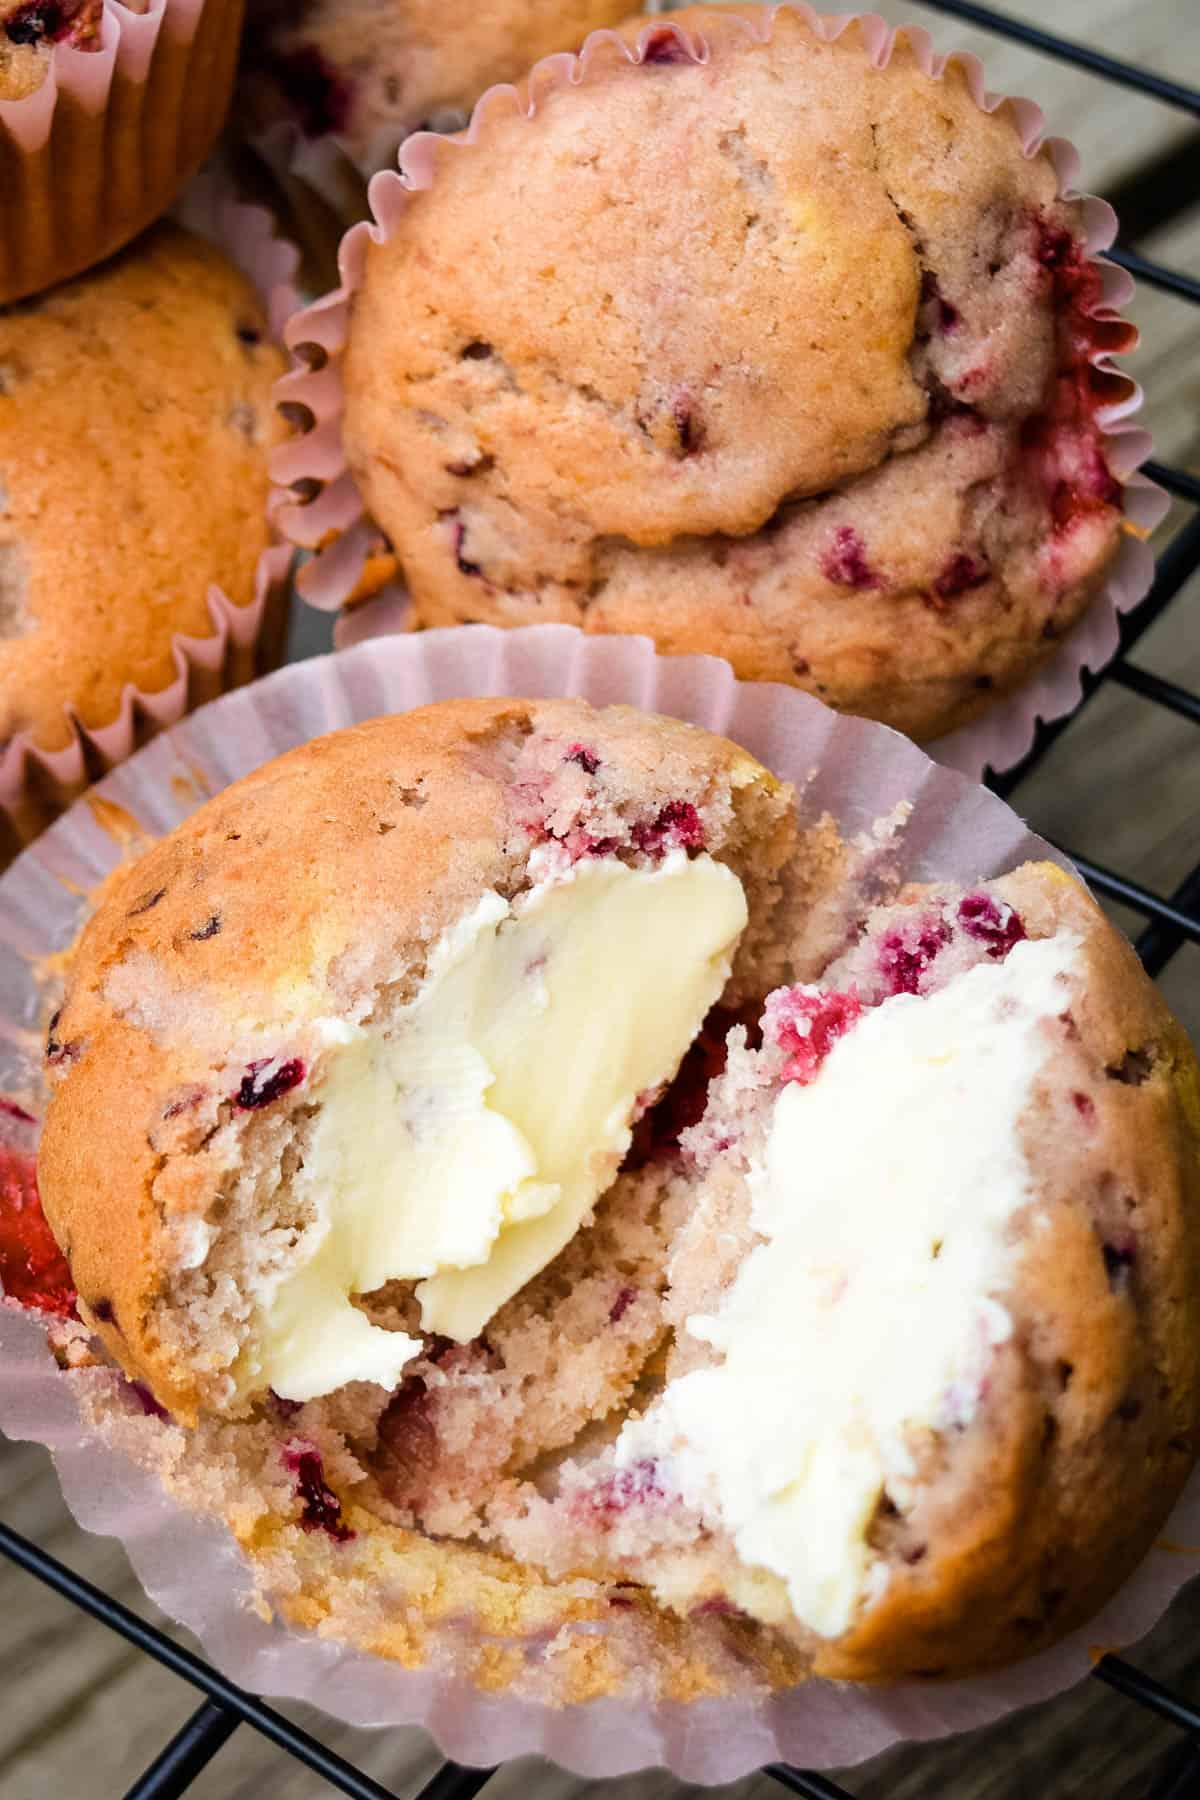
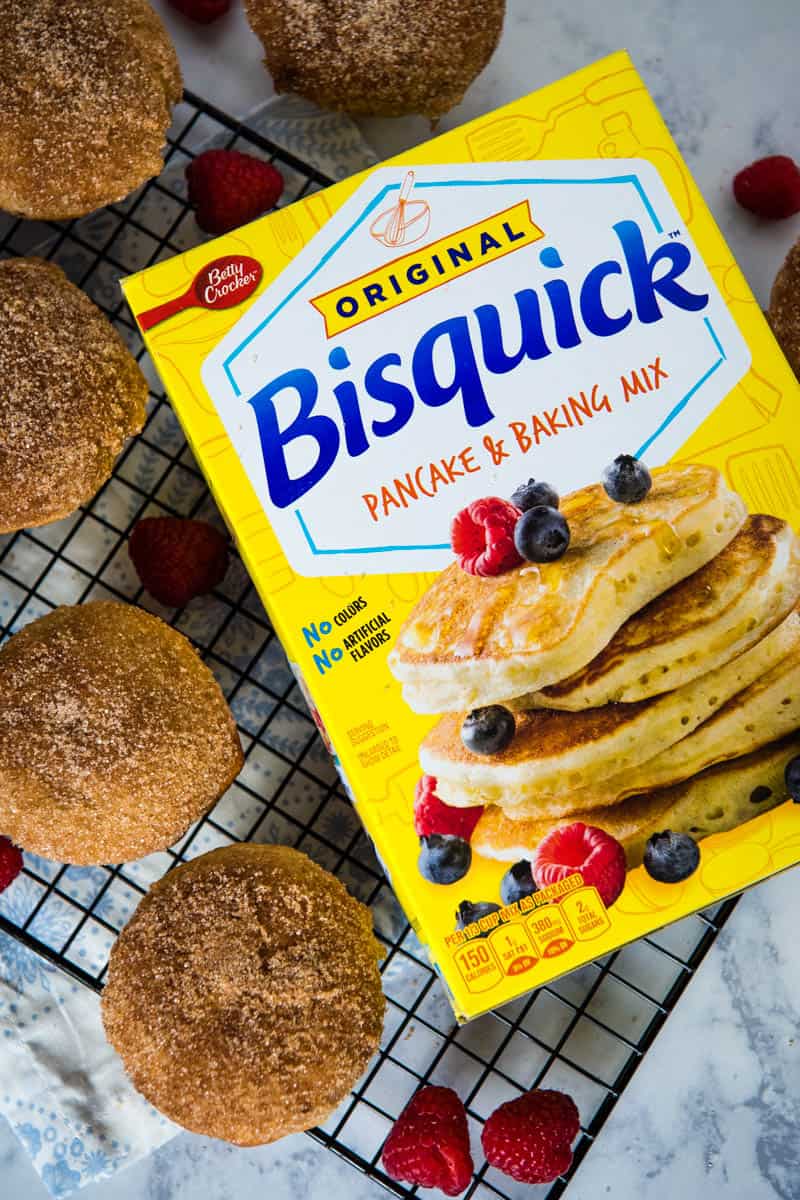
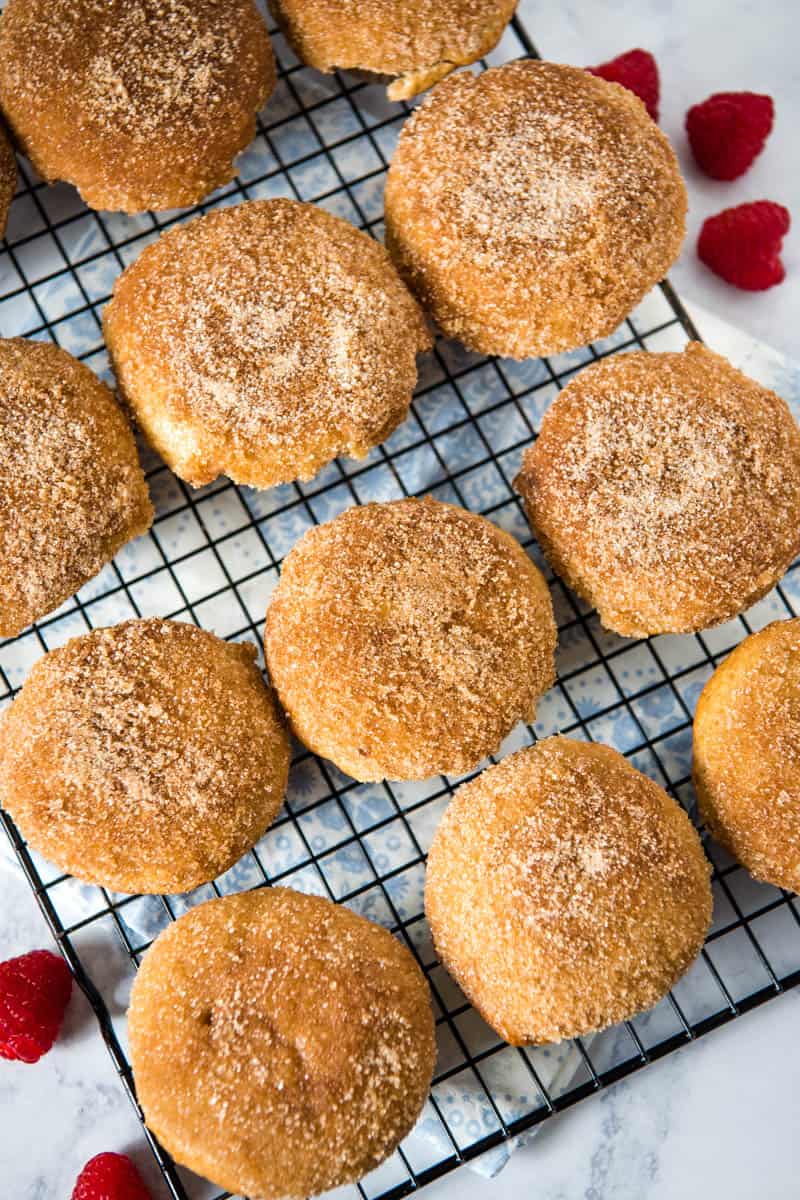
Mix up a quick batch of Bisquick cinnamon muffins, dipped in butter and cinnamon sugar. Simple, easy, melt-in-your-mouth, breakfast and brunch recipe perfect for a quick grab and go breakfast or a holiday brunch!
I really thought there was nothing quite as yummy as my favorite Bisquick cinnamon biscuits. But I’ll tell ya, these Bisquick cinnamon sugar muffins give my biscuits a run for their money.

Why I Love Making Bisquick Muffins and You Will Too
- The batter’s made with Bisquick biscuit mix, along with 5 other ingredients. Meaning it’s super easy to mix up.
- In addition to easy, this recipe makes a quick breakfast.
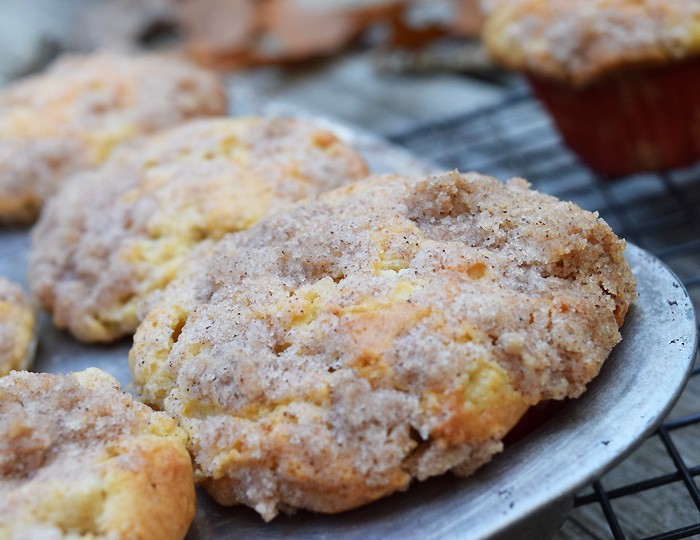
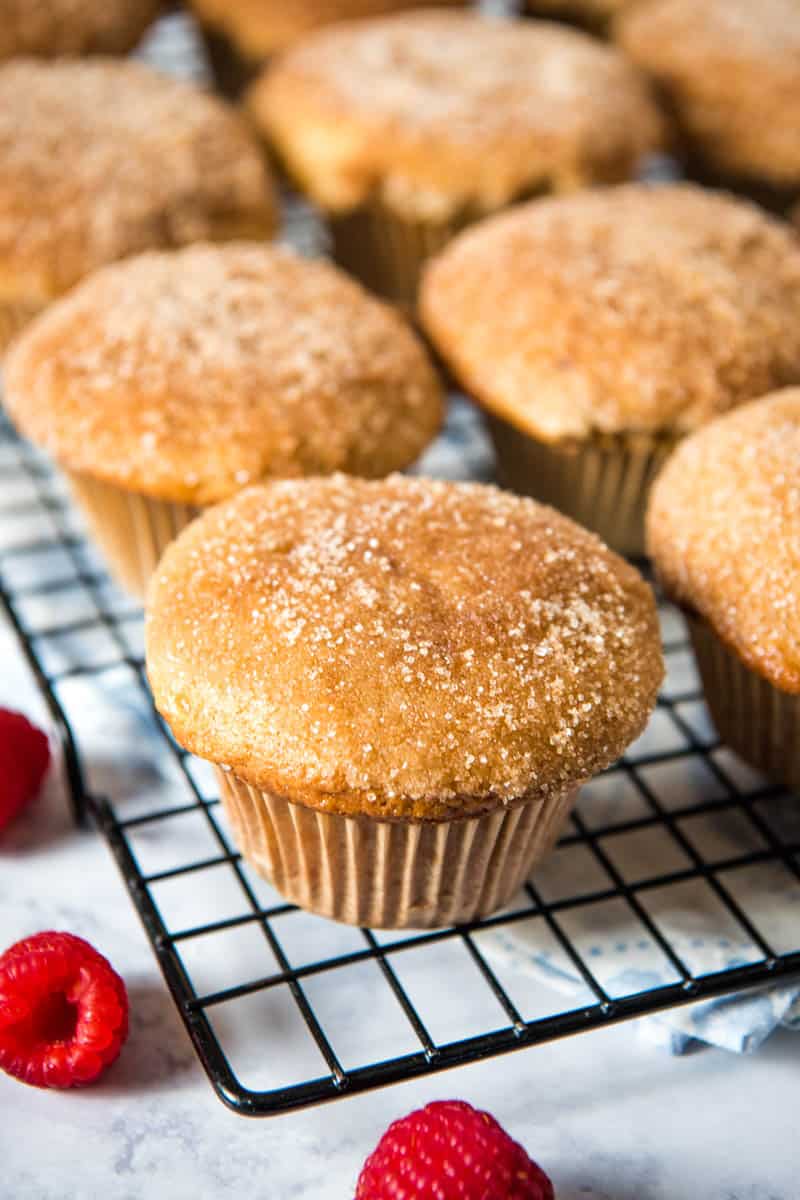
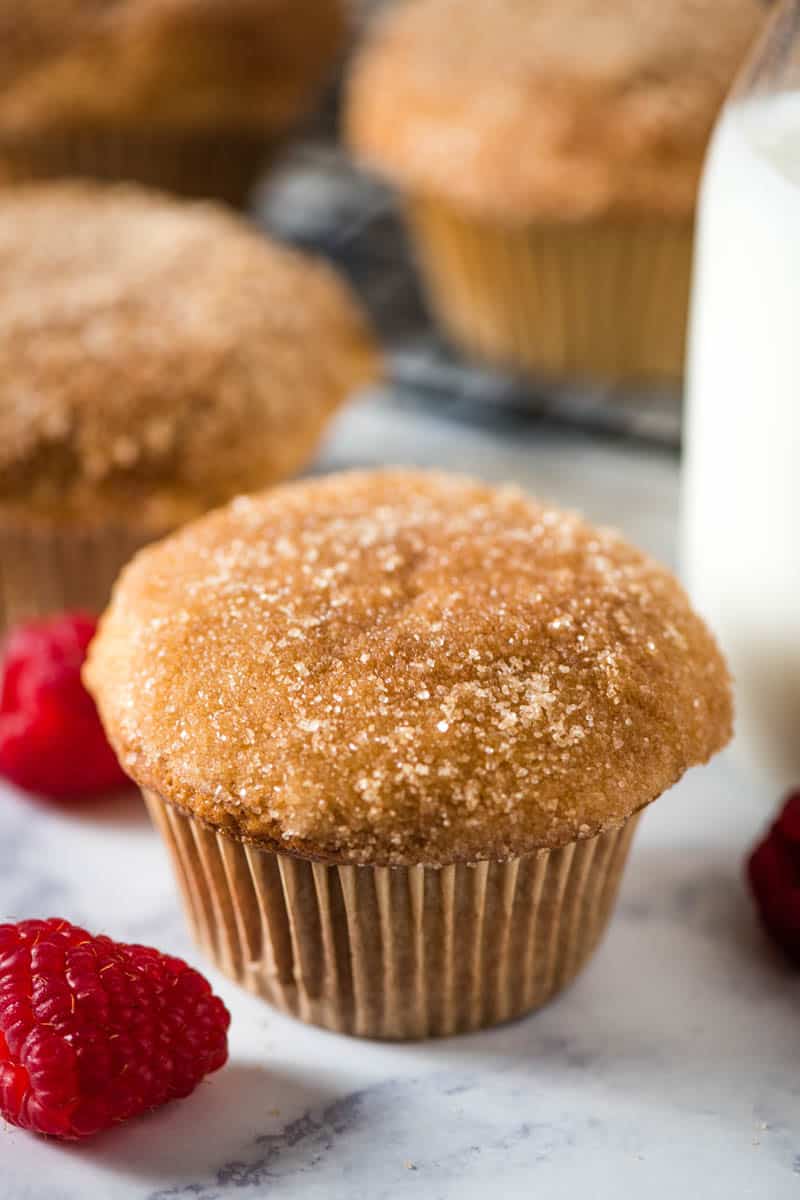
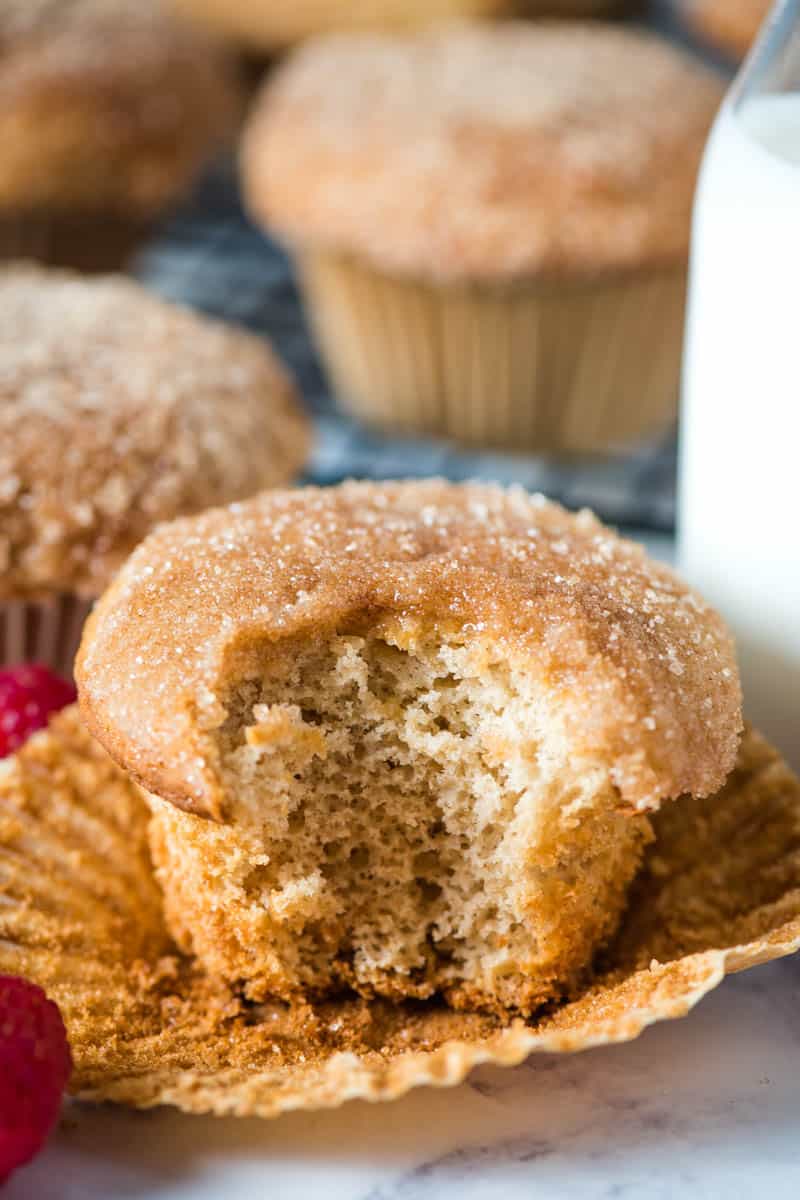
- My original intention was to add a crumb topping to these Bisquick muffins. But I decided for this recipe, I really wanted to emphasize the cinnamon with a buttery cinnamon sugar topping. Once the muffins have baked, they’re dipped in melted butter, and then in cinnamon sugar. This gives them a slightly crispy, melt-in-your-mouth topping that is oh so scrumptious.
- Even my self-professed “bread snob” of an oldest child loves these Bisquick sweet muffins. And let me tell you, that right there means something.
- This is a great recipe for an everyday breakfast, a special occasion, or a holiday brunch.
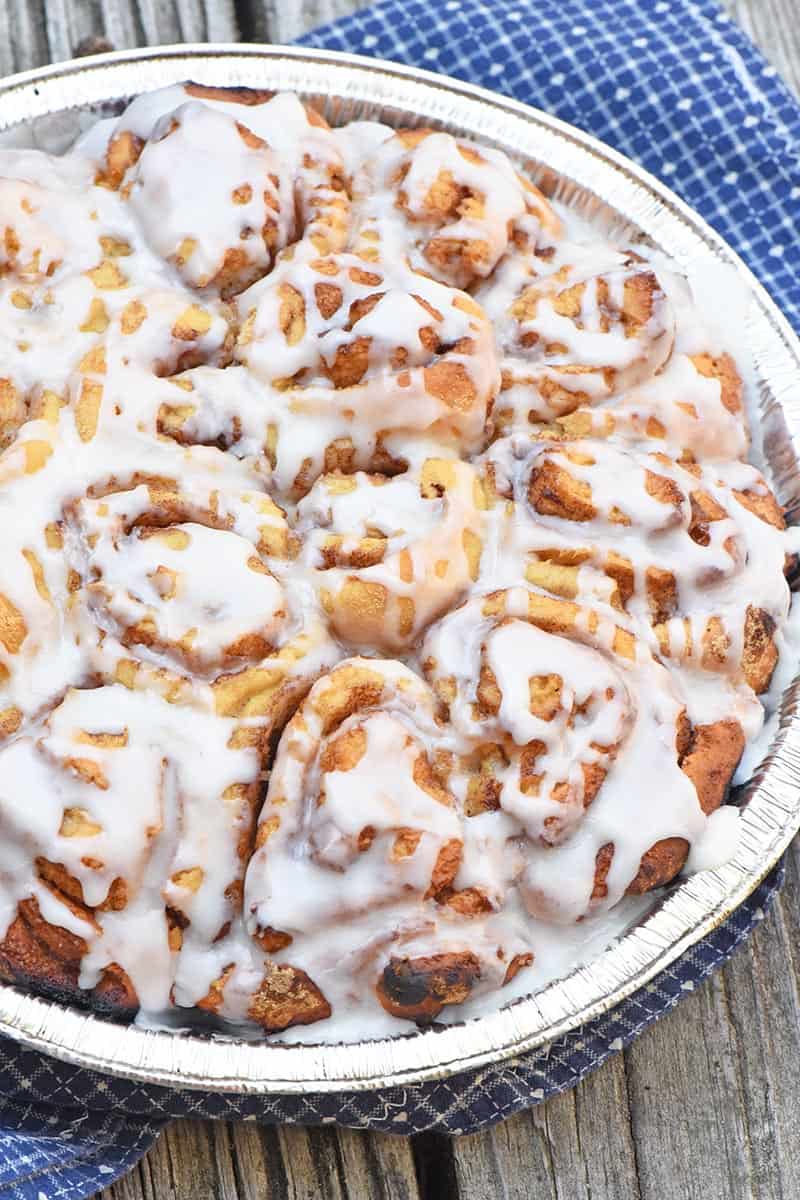
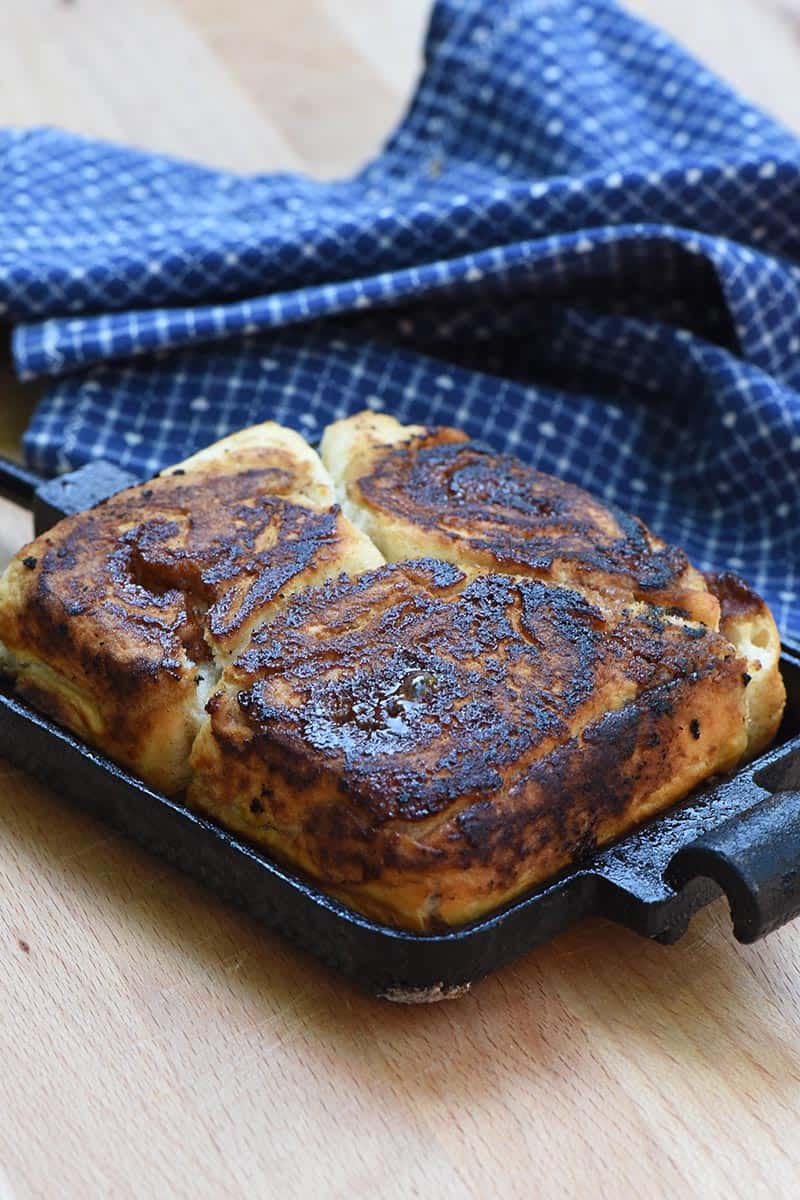
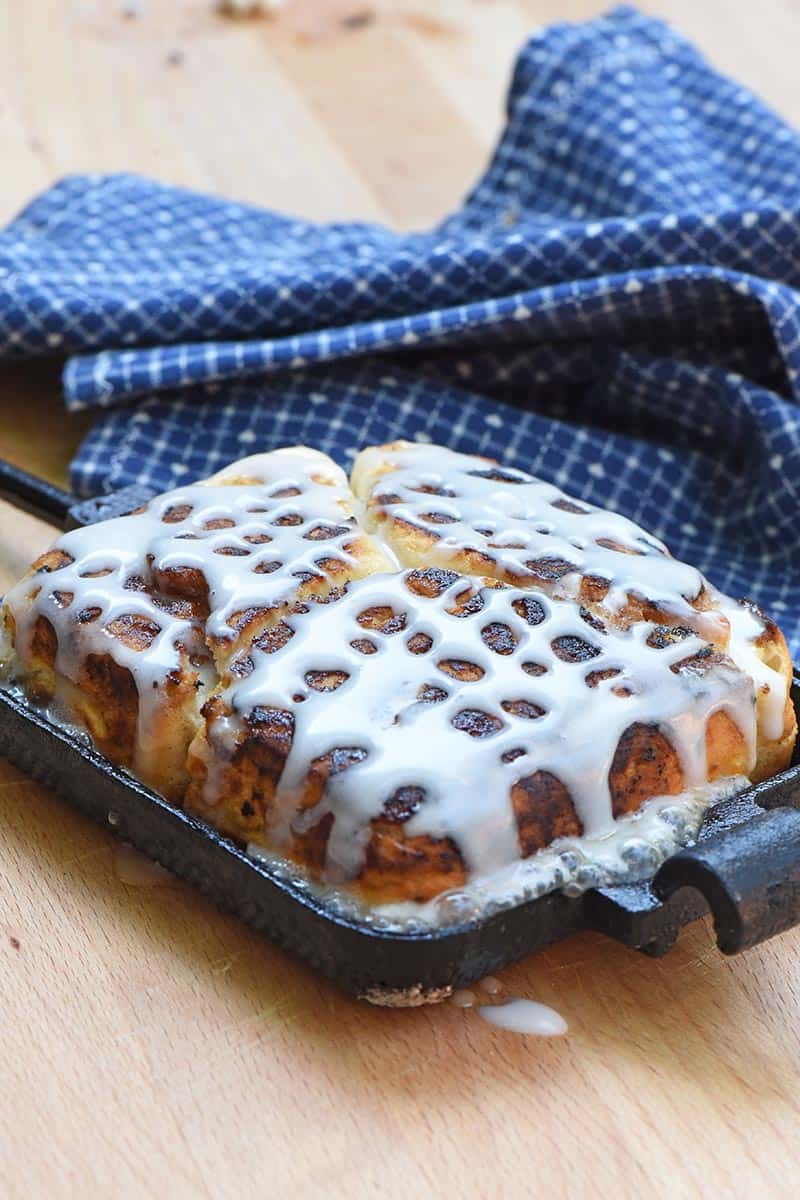
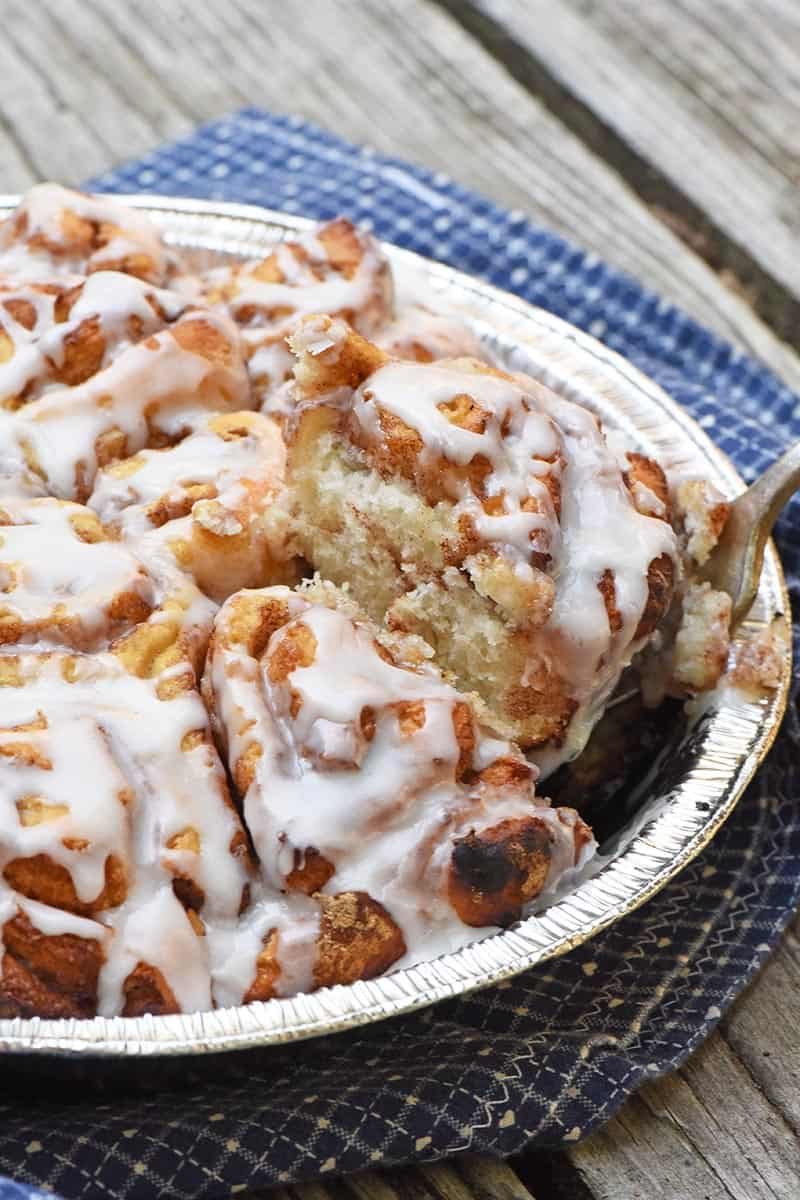
Of course, we love other Bisquick recipes like Bisquick cinnamon rolls and Bisquick cinnamon scones too. And when we don’t feel like making muffins, cinnamon streusel coffee cake is quick and easy to make. Apparently, we have a thing for cinnamon.
Ingredients and Substitutions Notes
- Cane Sugar – You can also use granulated sugar. It might even be interesting to try a half cane sugar, half brown sugar mix for these muffins, which would ultimately lead to a slightly moister crumb.
- Ground Cinnamon
- Large Eggs – You could probably substitute applesauce for the eggs; it’s usually 1/4 cup per egg.
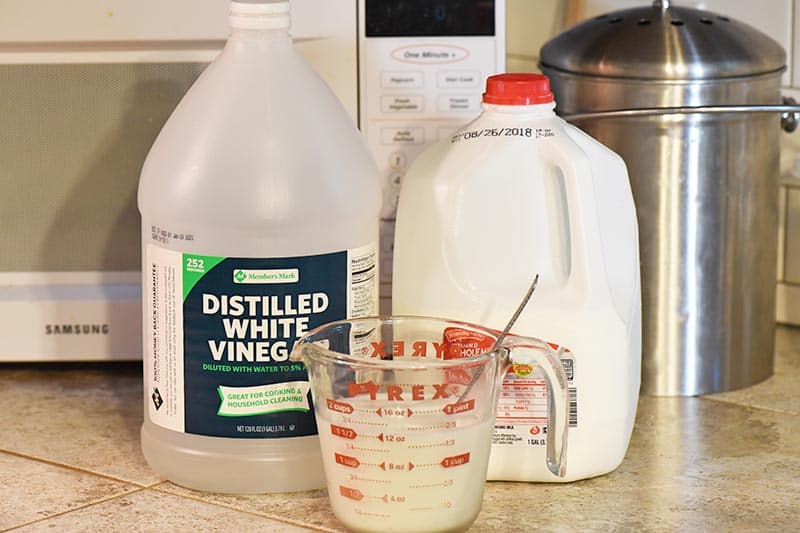
- Whole Milk – You can use skim milk or low-fat milk like 2%, as well. I prefer full fat. In fact, you can use buttermilk for an even lighter, more fluffy muffin. If you need to accommodate allergies, you can also use almond milk, oat milk, etc.
- Vanilla Extract
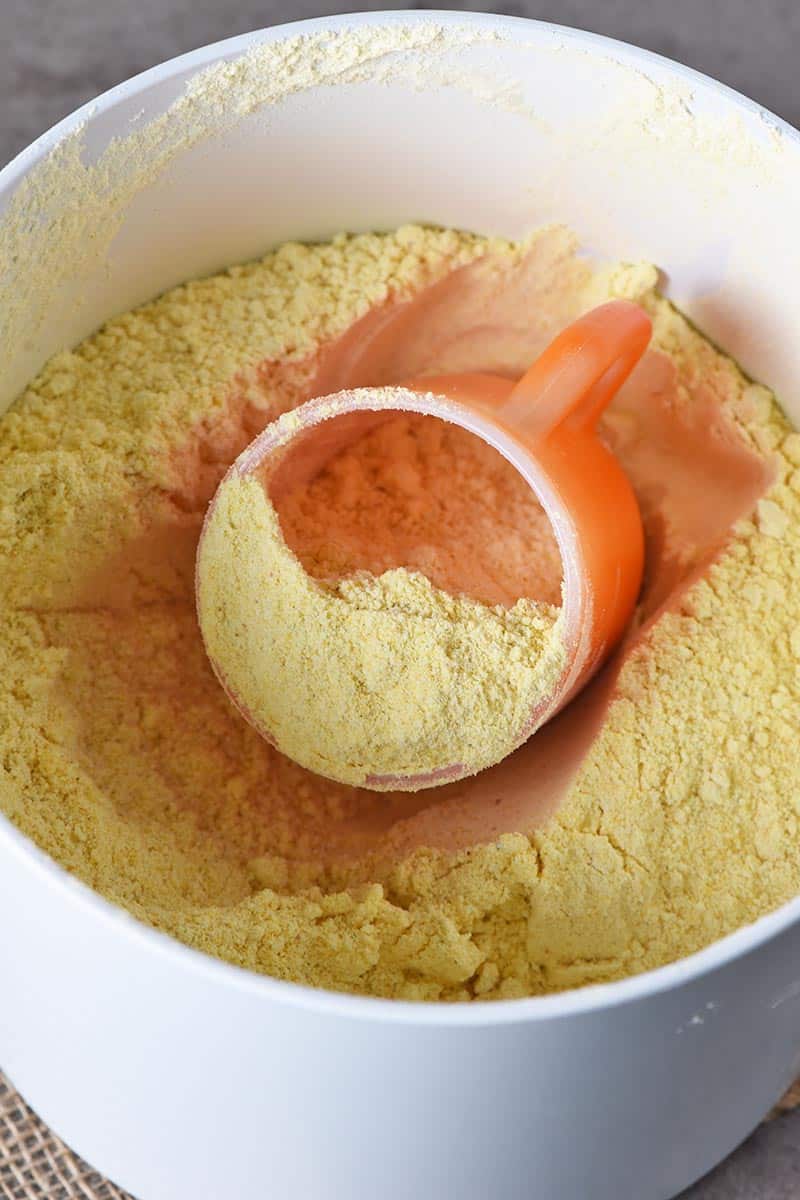
- Bisquick Mix – I’ve made these muffins with both original Bisquick mix and gluten-free Bisquick mix, so either/or will work just fine.
- Salted Butter
How to Make Bisquick Cinnamon Muffins
Mixing up the muffin batter is really easy and requires only a few steps. Before you start, you’ll need to either spray your muffin tins with cooking spray or line them with cupcake liners. Also, pre-heat oven to 350° F.
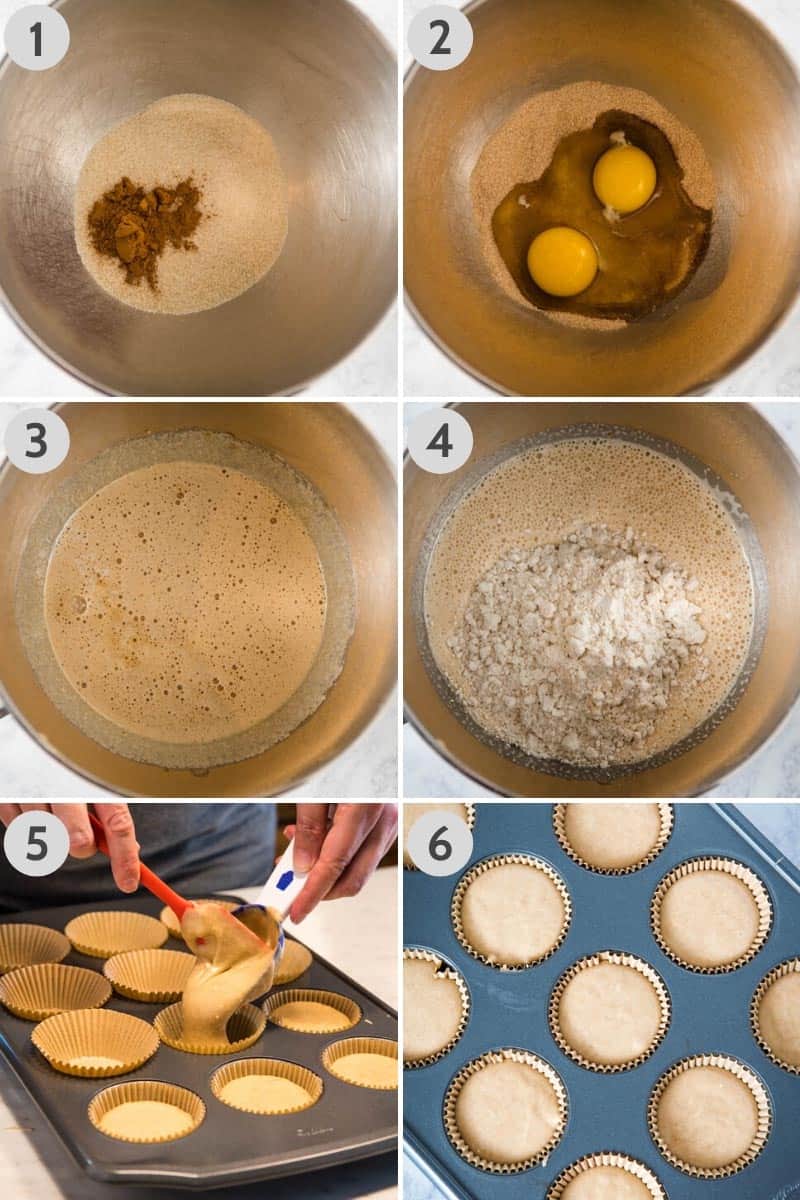
Mix the Muffin Batter and Bake
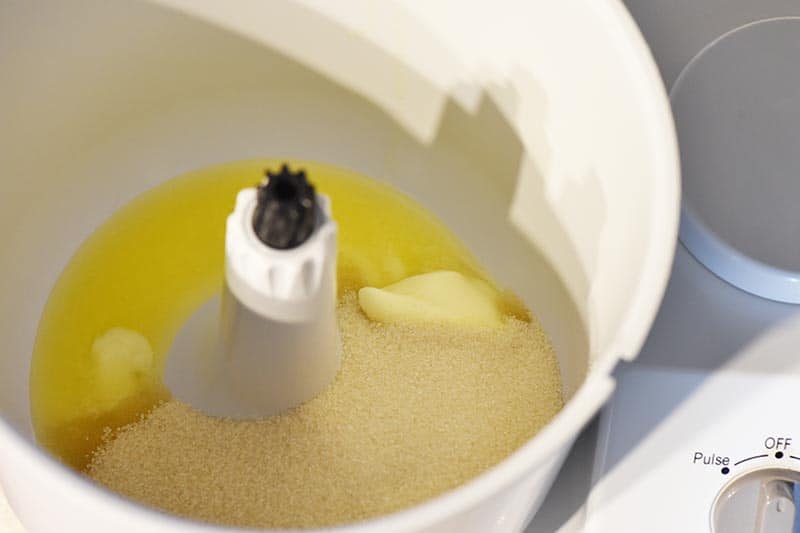
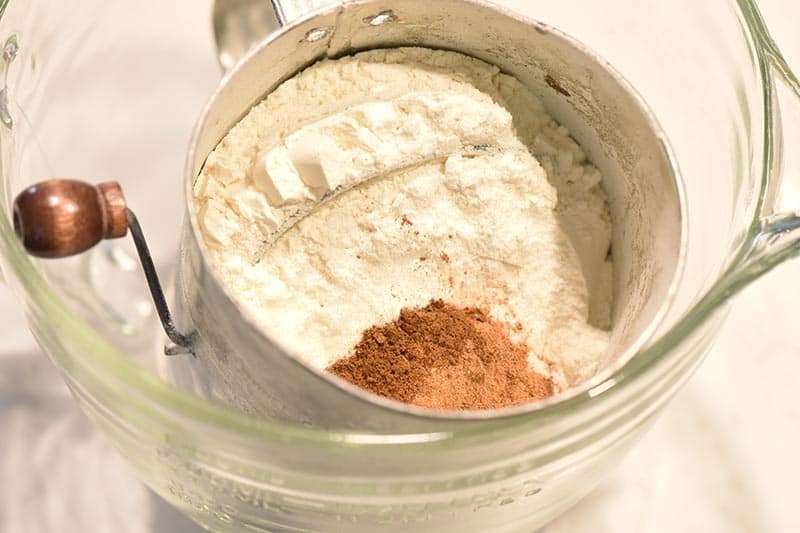
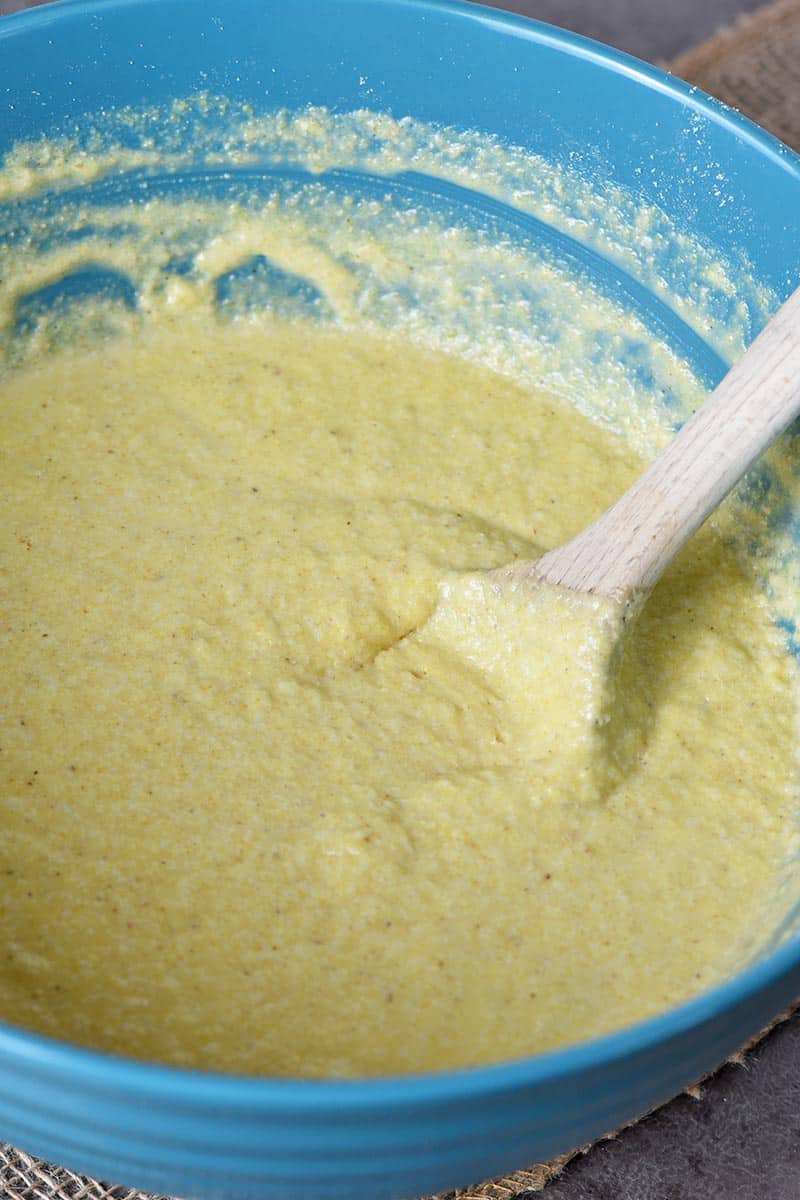
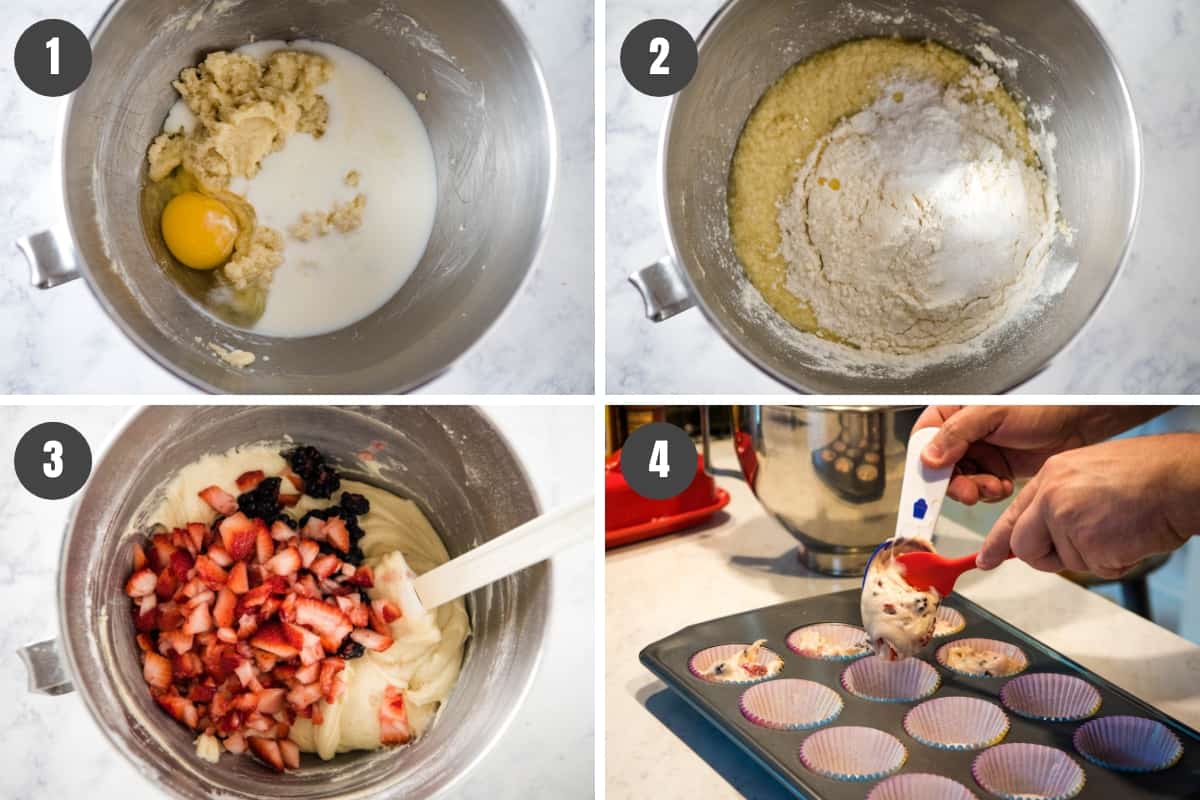
- In a large bowl, mix together the butter, sugar, and cinnamon.
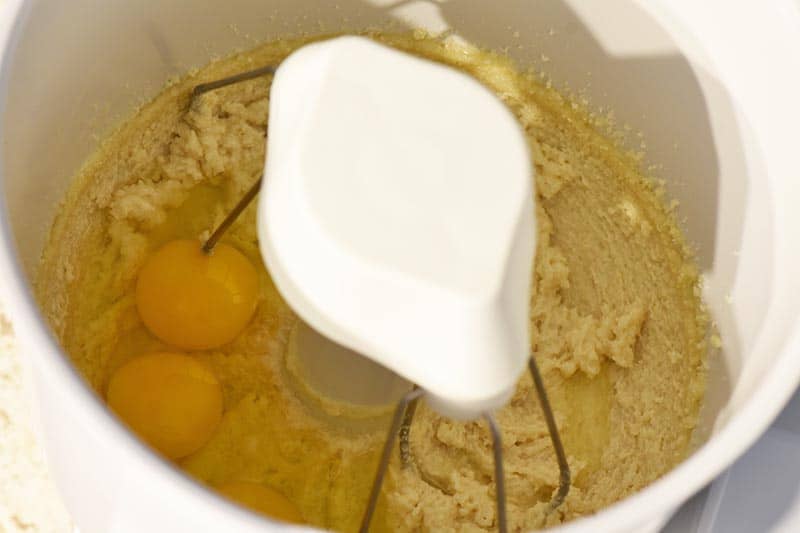
- Add the eggs to the cinnamon sugar mixture, and mix well.
- Next add in the milk and vanilla extract, continuing to mix well.
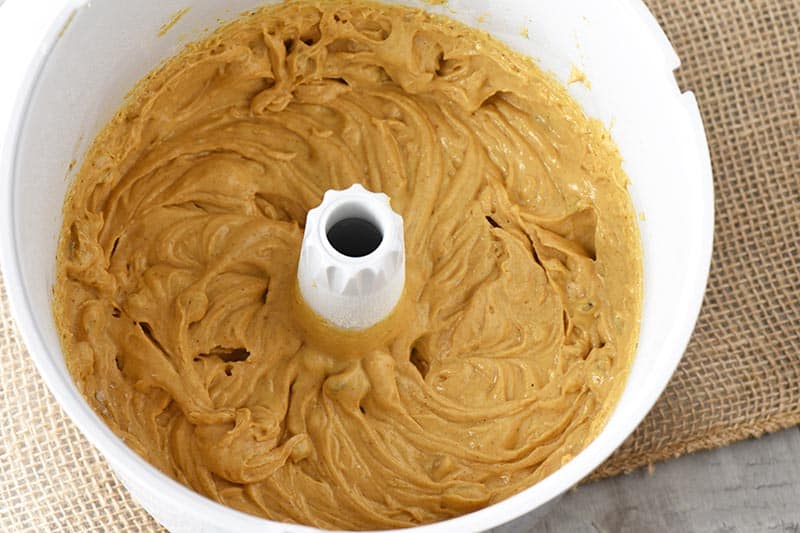
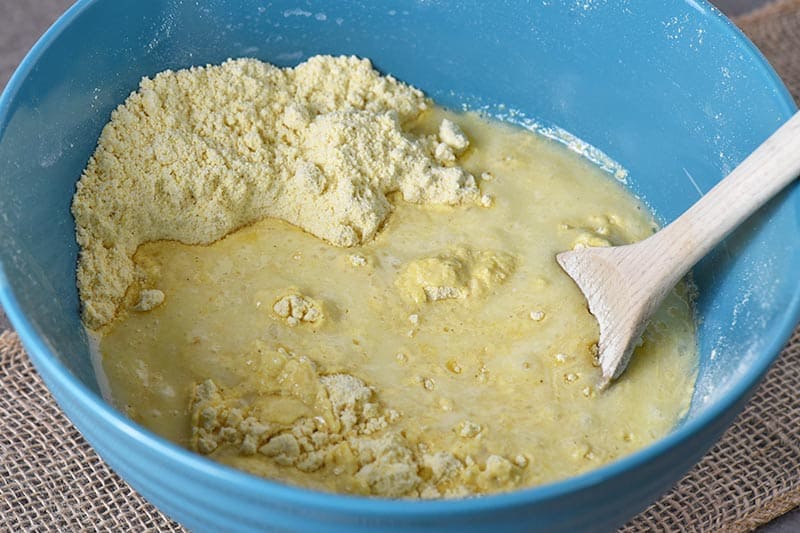
- Finally, add in the Bisquick mix, and mix everything together just until blended.
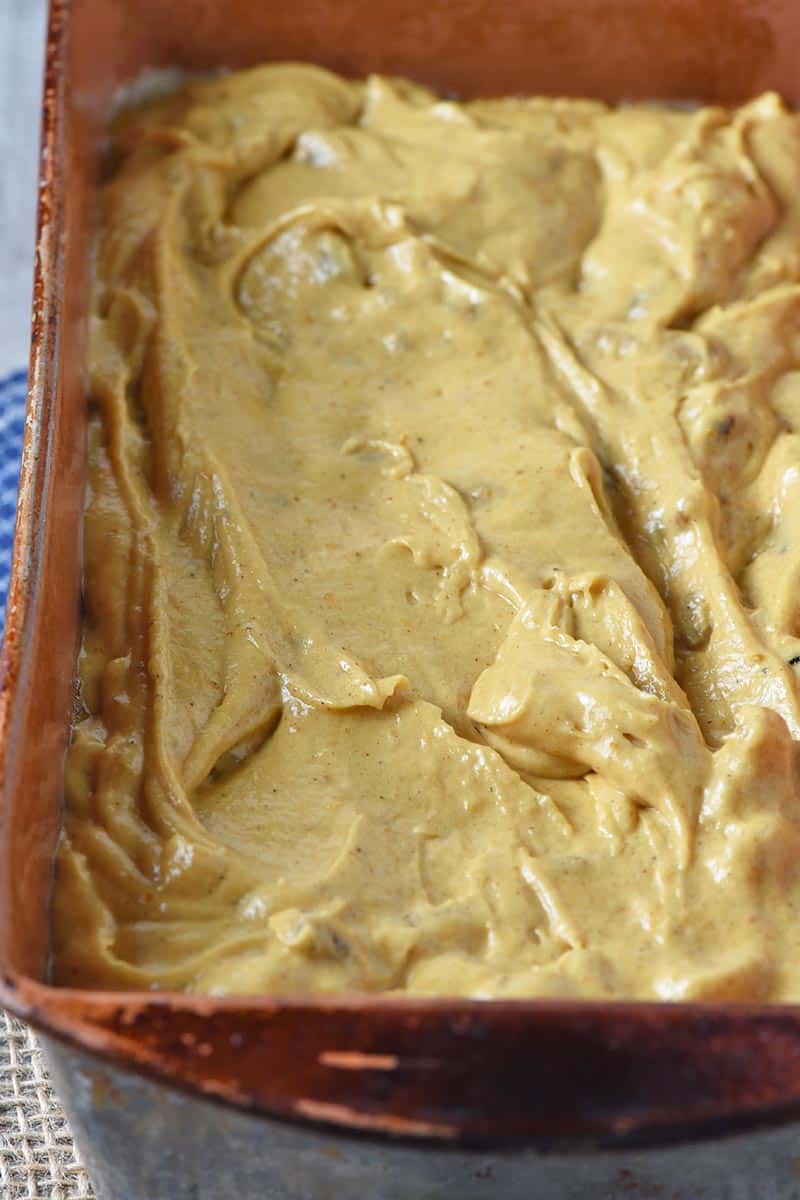
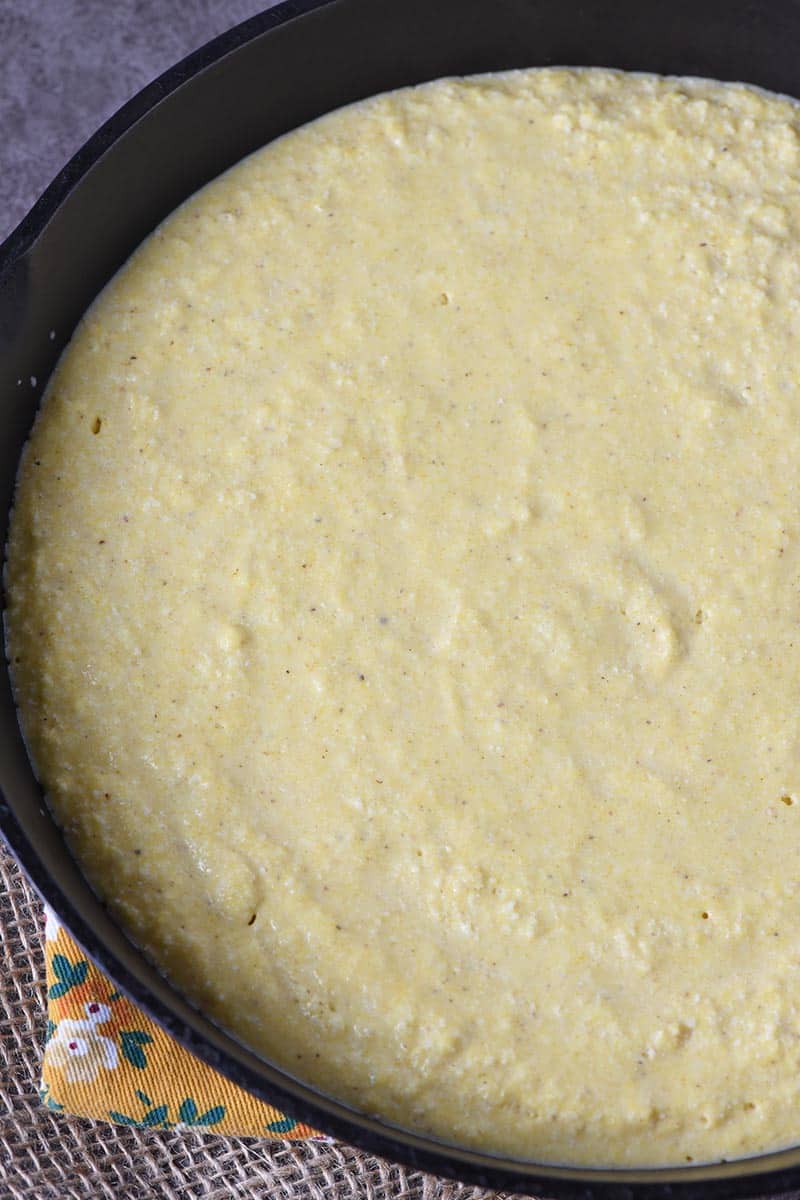
- Then just fill each of the regular-size muffin cups 1/2 to 2/3 of the way full with muffin batter.
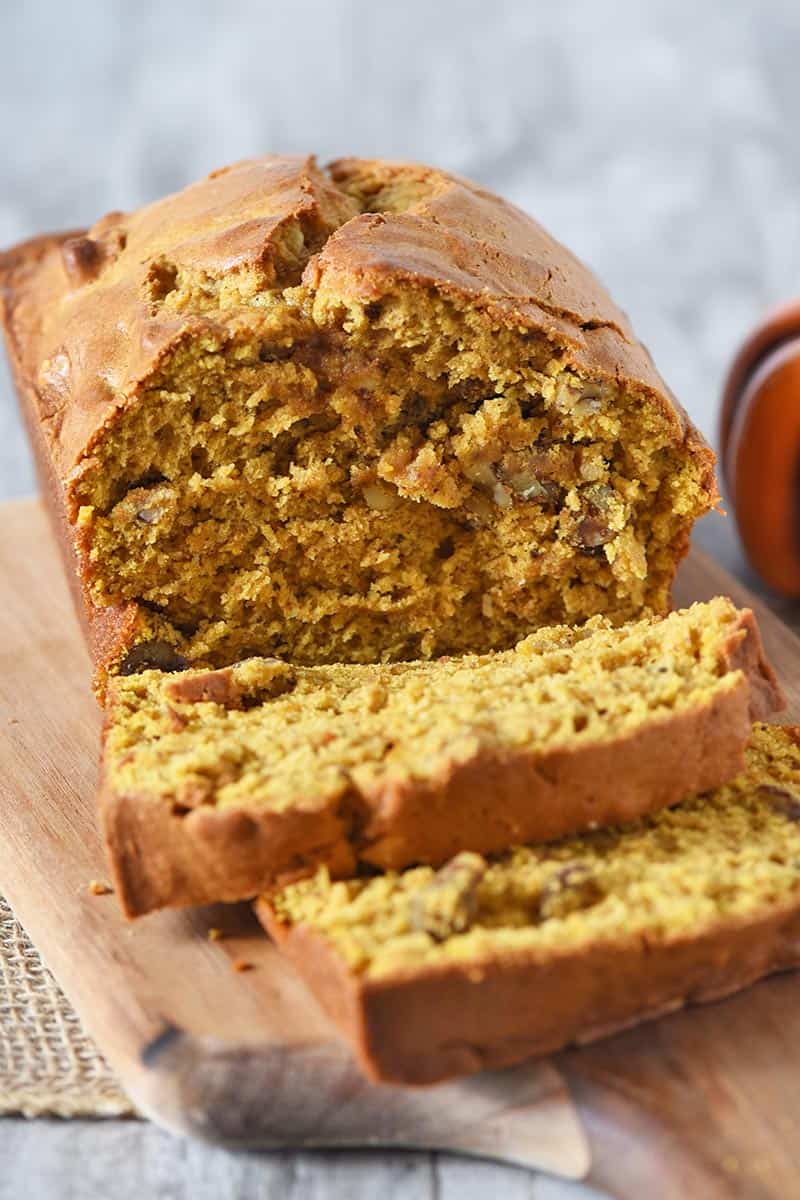
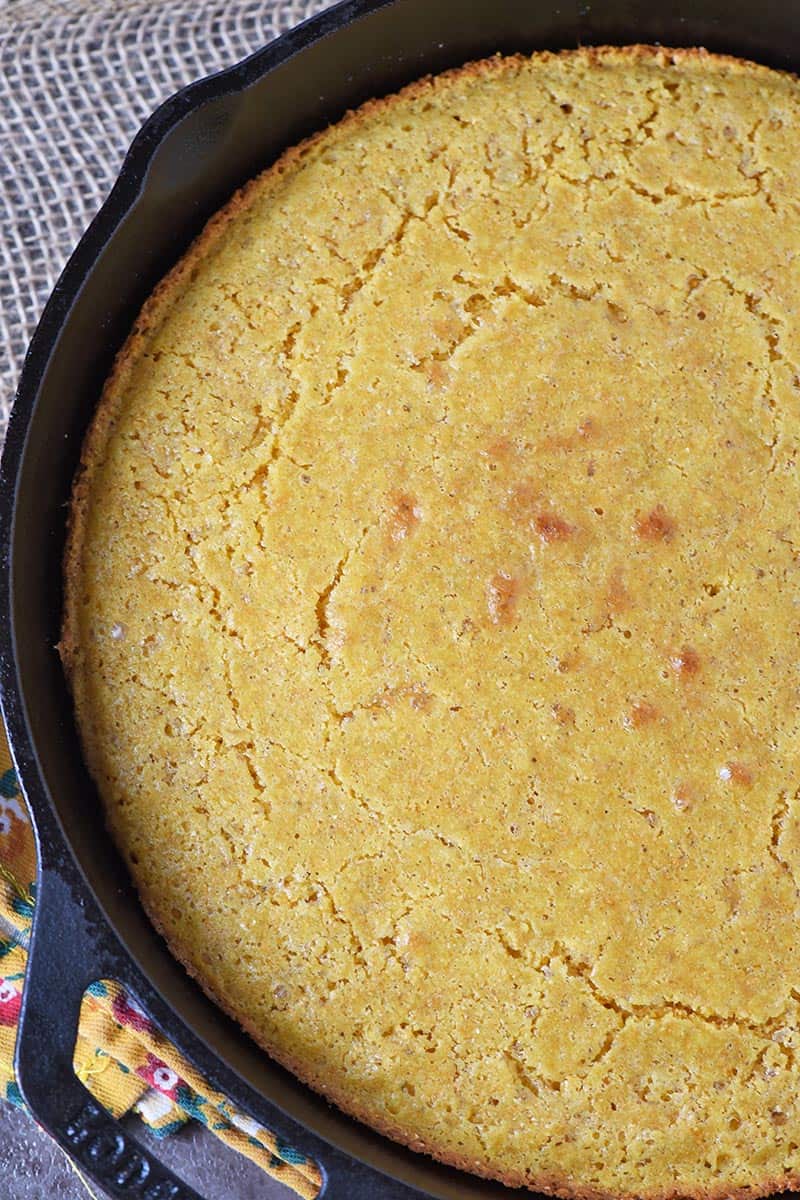
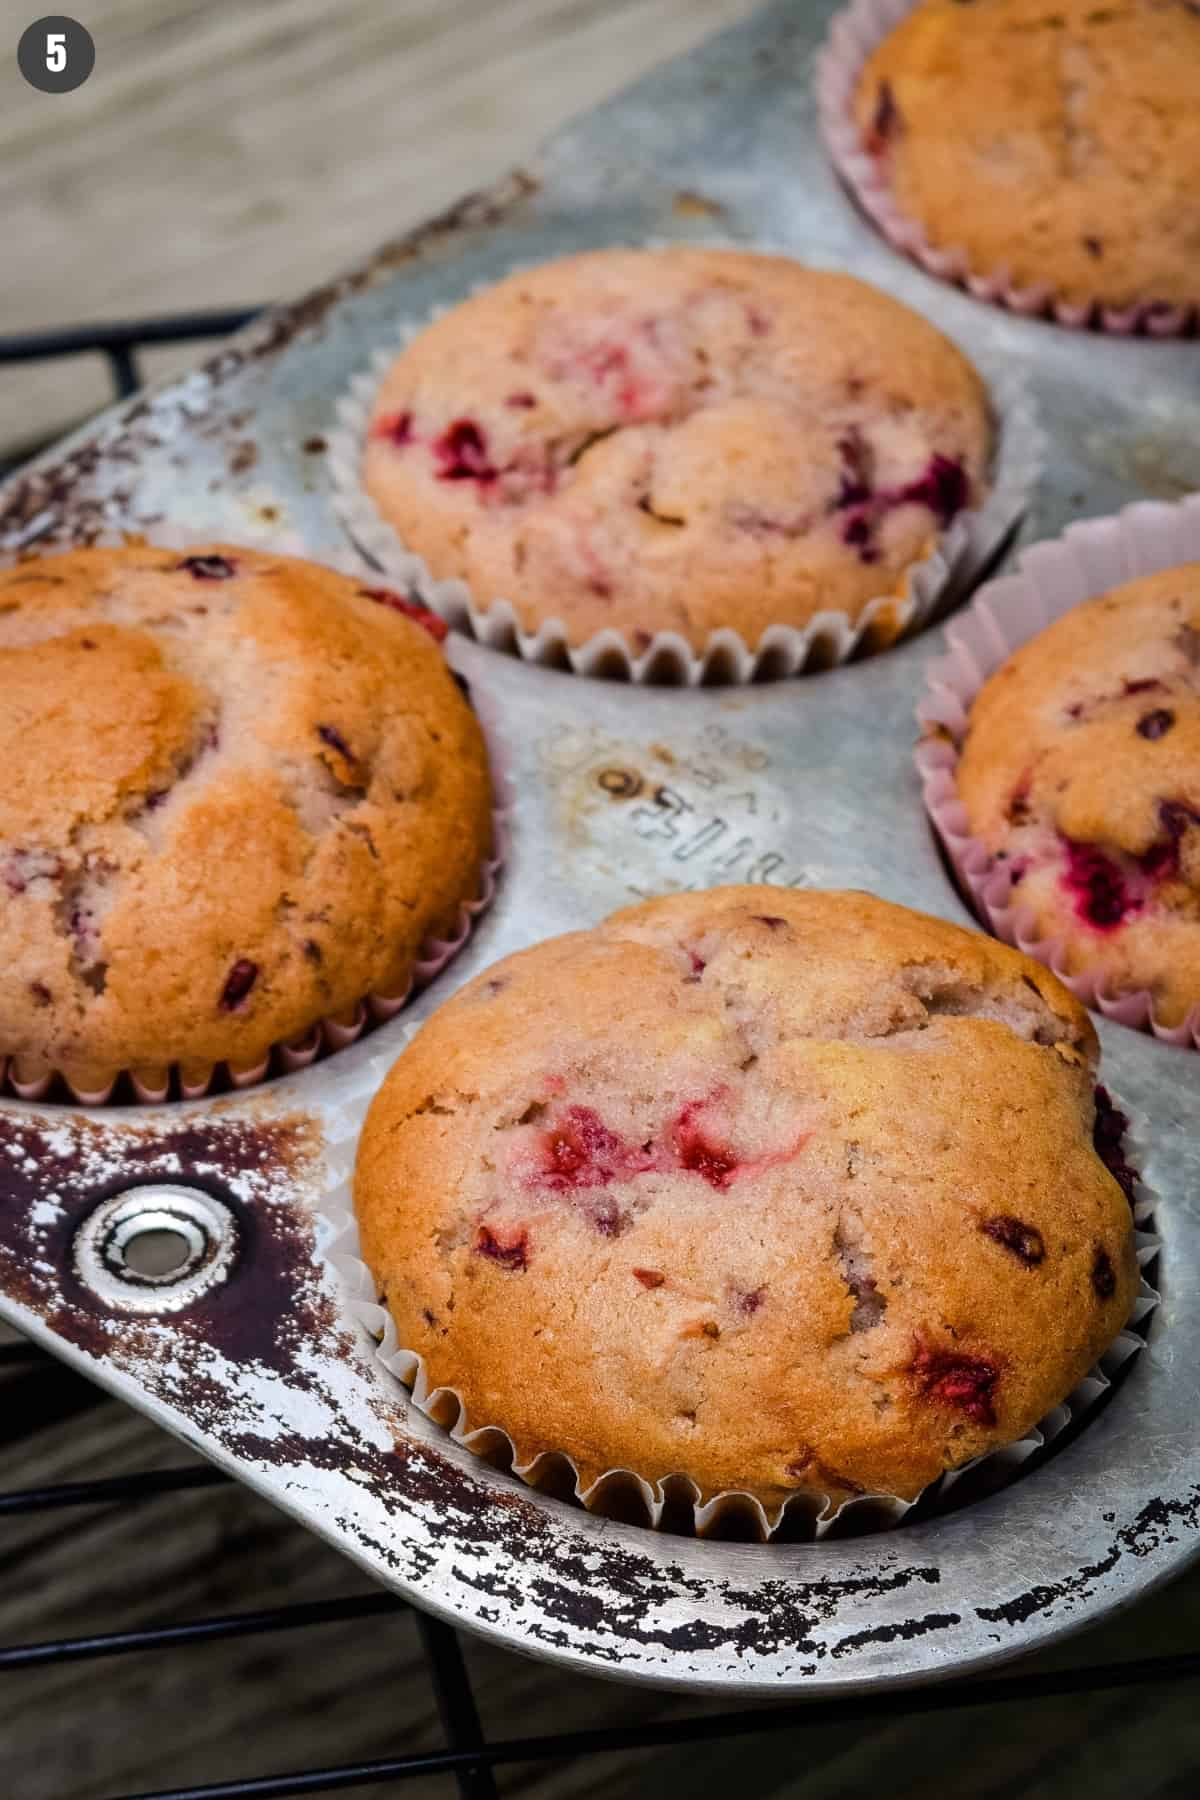
- Bake at 350° F for about 25 to 30 minutes, or until the muffins are golden brown and a toothpick or cake tester inserted in the center comes out clean.
Allow the muffins to cool in the pan for about 5 minutes; then take a knife, run it around the edge of each muffin, and pop them out for dipping.
How to Dip Bisquick Muffins in Cinnamon Sugar
First of all, you’ll need to melt the butter in one bowl. And then in a separate bowl, mix the cinnamon and sugar.
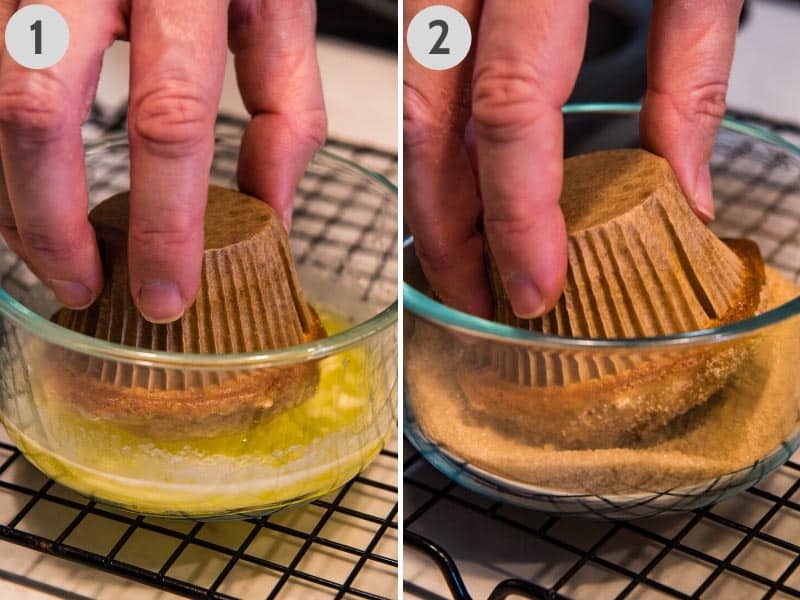
Then you’re ready for dipping…
- Dip the warm muffin tops in the melted butter first.
- Then dip every muffin in the cinnamon sugar mixture, rolling the tops around to make sure they’re covered with the slightly crispy cinnamon sugar topping.
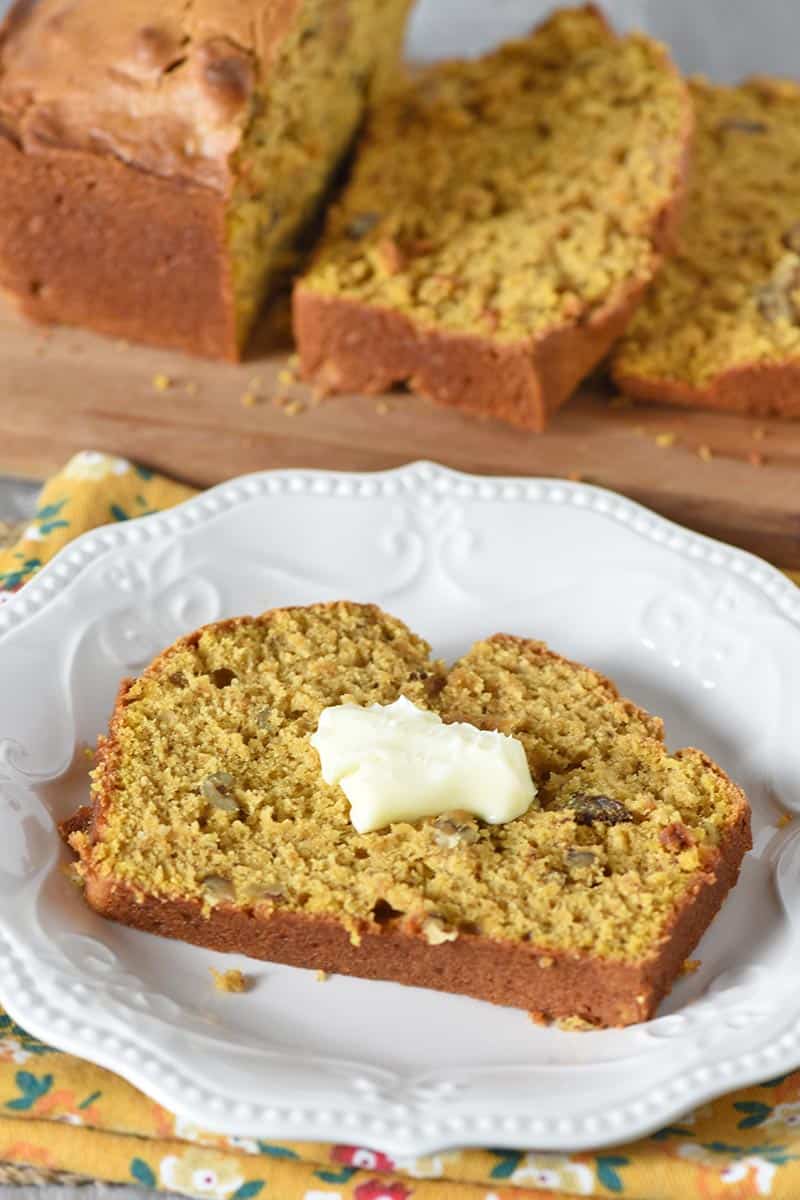
- Then place the muffins on a wire rack or cooling rack to finish cooling. Or better yet, serve them while still warm.
Ways to Customize Your Muffins
You can add just about anything you want. But keep in mind, certain things will change the texture of your muffins.
That said, there are so many awesome add-ins for Bisquick muffins…
- Toss a pinch of homemade apple pie spice into the batter!
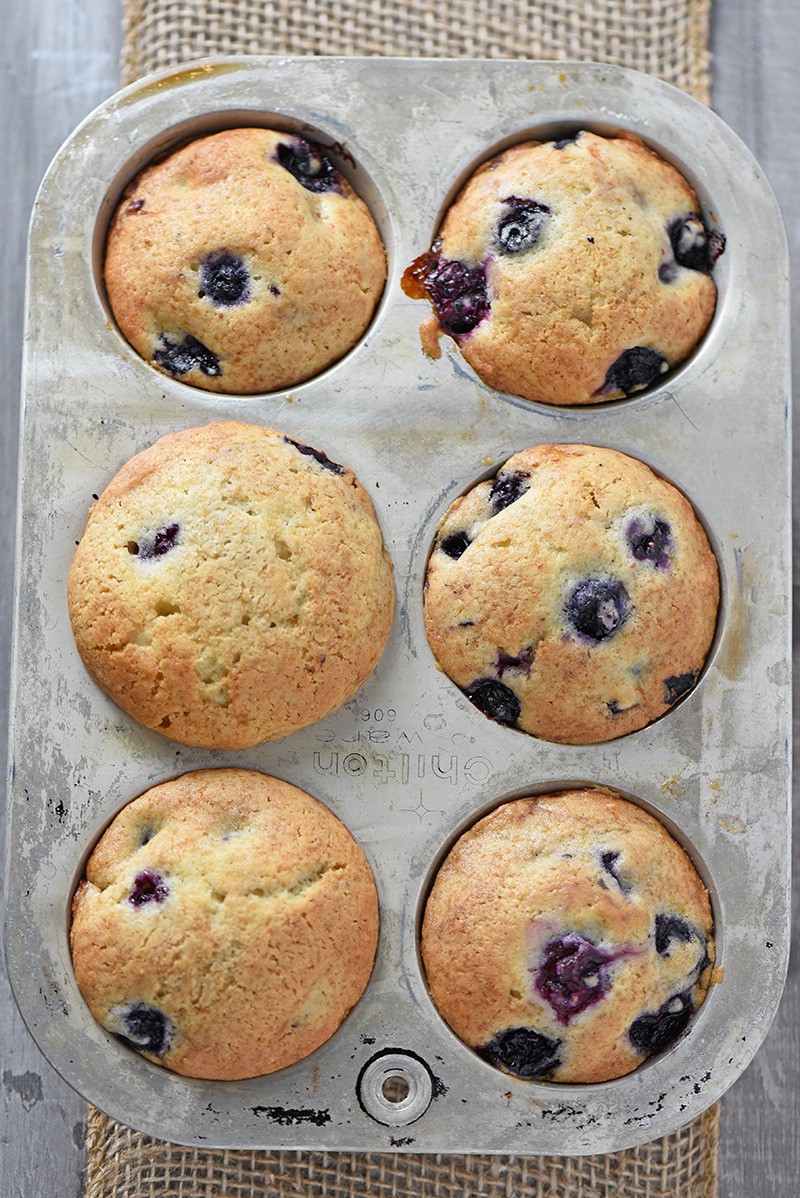
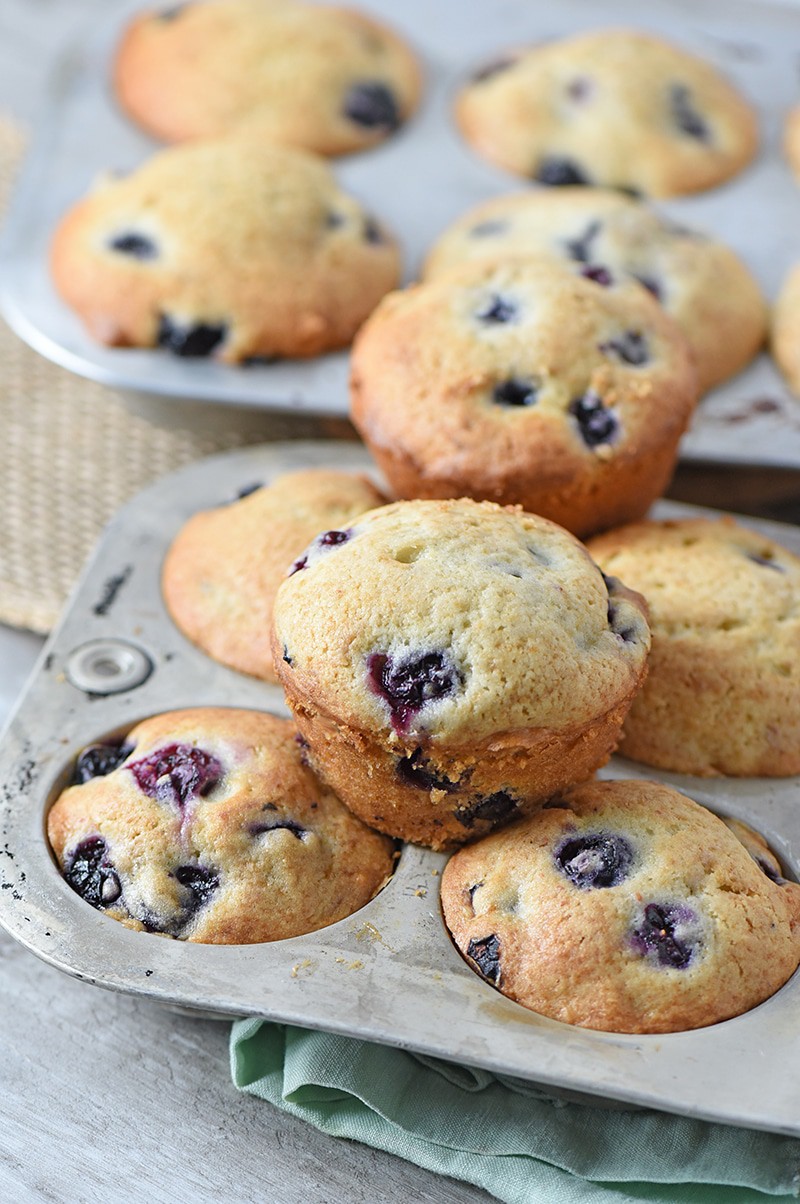
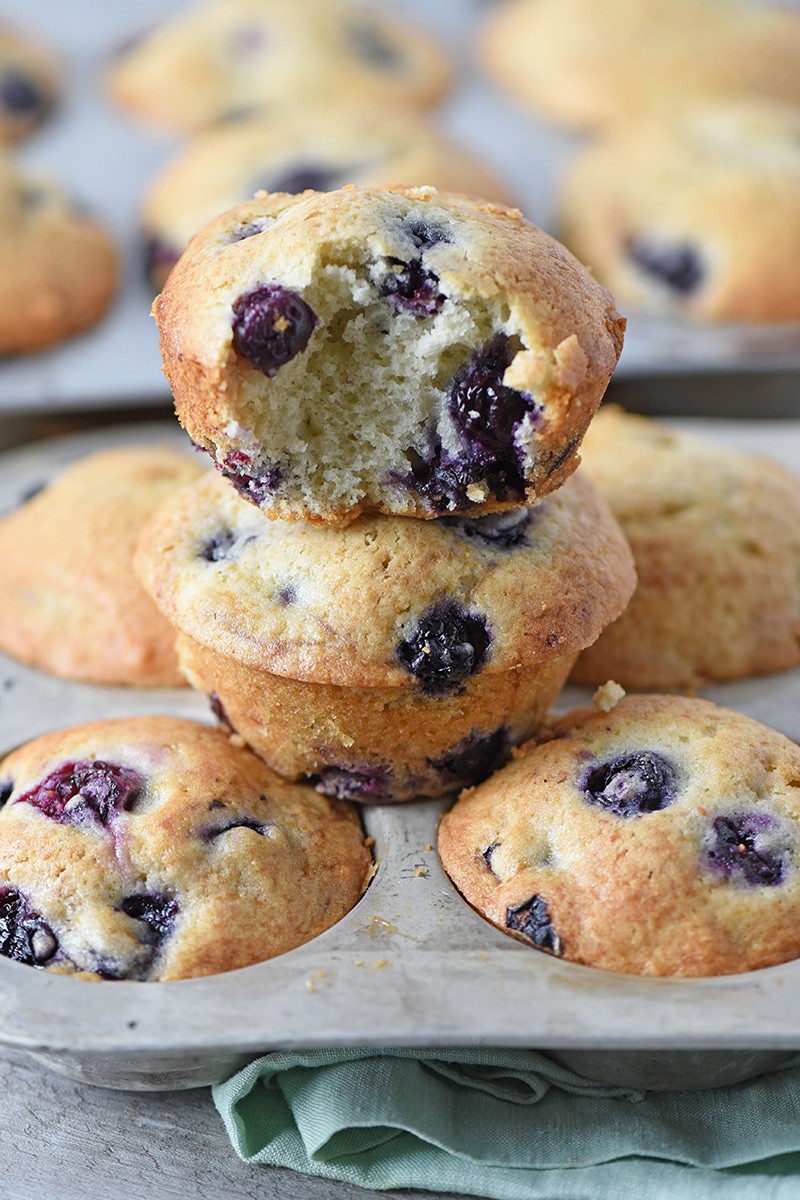
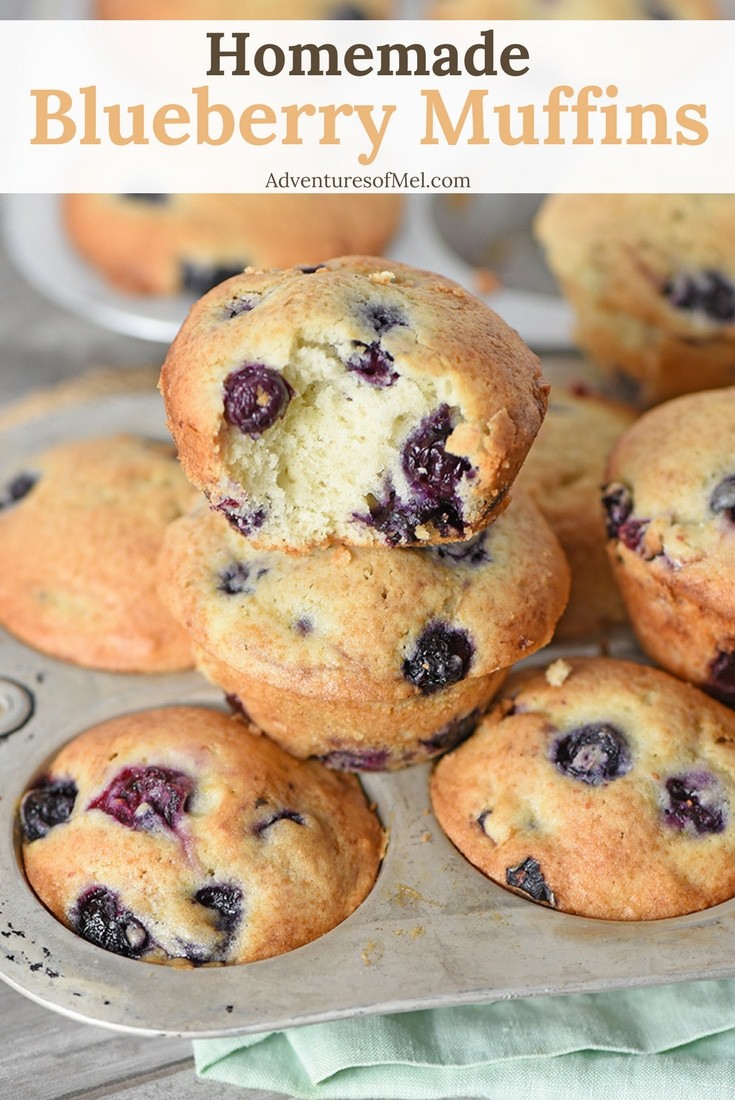
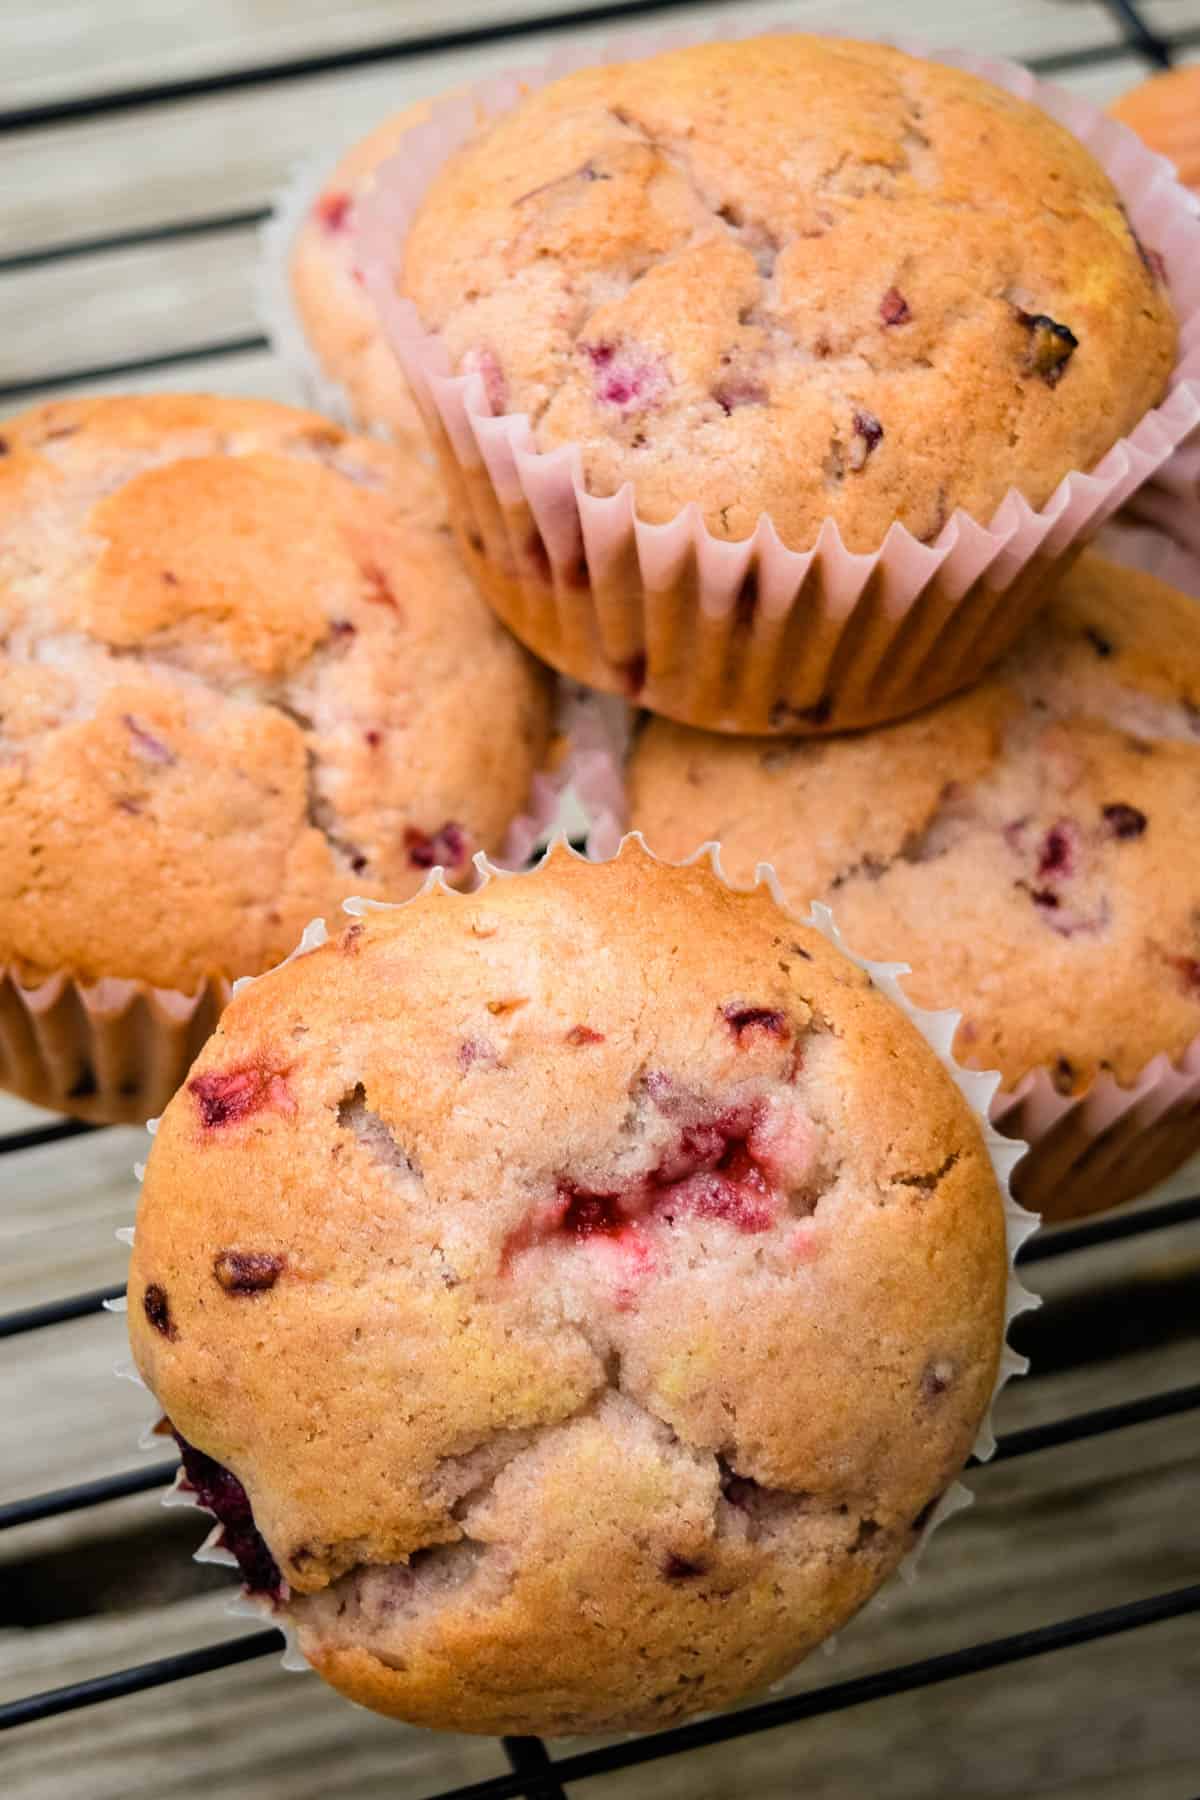
- Fresh or frozen fruit – Blueberries, strawberries, blackberries, or raspberries.
- Nuts – Pecans, walnuts, black walnuts, or almonds.
- Chocolate chips or white chocolate chips
- Add a spoonful of fruit jam, Nutella, or cookie butter to the center of each muffin.
- Raisins
- Cinnamon Chips – You can easily transform these muffins into a cinnamon chip muffins recipe.
Expert Tips and Recipe FAQ’s
Yes, you can. In fact, Bisquick has a Gluten-Free Bisquick Mix. How awesome is that? I do suggest having a little xanthan gum available to add to your biscuit batter when mixing. I usually add about a teaspoon for every 2 cups of flour, so with this recipe, I’d likely add a somewhat heaping teaspoon.
You don’t want to over-mix muffin batter, because this will remove the air from the batter and lead to a much less fluffy muffin. In fact, you may end up with dense muffins, and nobody wants dense muffins. So carefully blend just ’til the flour is blended in, and then be done. This is also why we add the dry ingredients last, so everything else is already mixed into the batter.
This is partially answered in the question above about not over-mixing the batter. Using buttermilk in place of regular milk will also lead to moist muffins.
It’s important to store muffins in a muffin container, airtight container, or sealed plastic bag. And you’ll probably want to eat them within the first 2 or 3 days, so they’re still nice and soft.
Yes, you can. But be sure to allow at least an hour to thaw before serving. To re-heat the muffins, just place them in the microwave for 10-15 seconds each. Be sure when freezing them, though, that you again store them in an airtight container or freezer bag.
More Scrumptious Muffin Recipes:
If you love Bisquick cinnamon muffins as much as I do, you’ll love these recipes too…
If you try this recipe, why not leave a star rating in the recipe card right below and/or a review in the comment section further down the page? I always appreciate your feedback. You can also follow me on Pinterest, Facebook, Instagram, and YouTube. And subscribe to my email list too!
Bisquick Cinnamon Muffins
Mix up a quick batch of Bisquick cinnamon muffins, dipped in butter and cinnamon sugar. Simple, easy, melt-in-your-mouth, breakfast and brunch recipe!
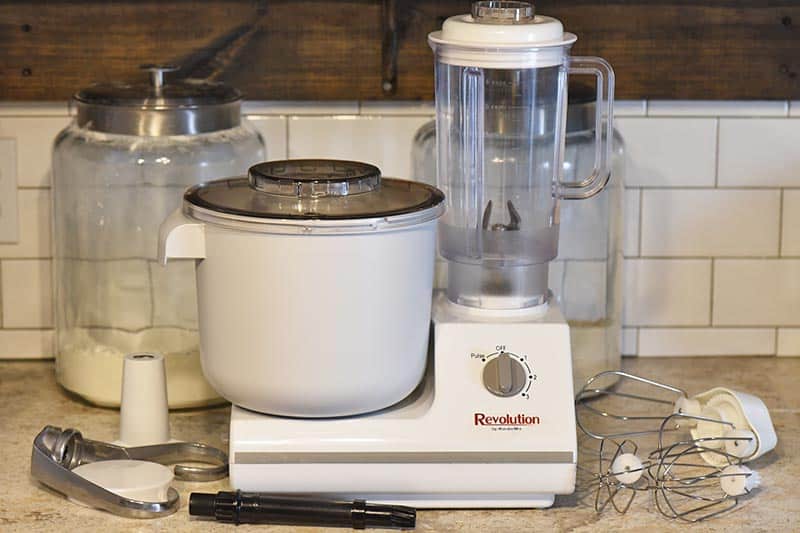
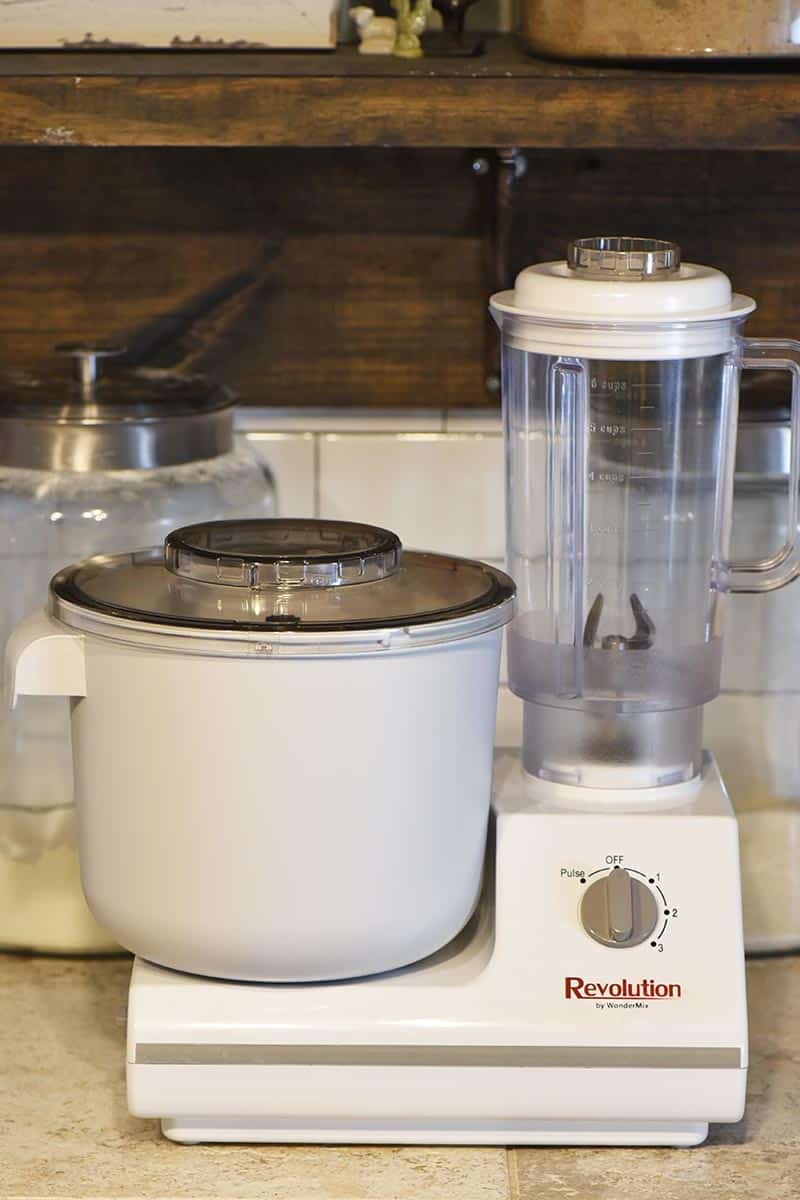
- Stand Mixer
- Batter Spoons
- Muffin Tin
- Wire Rack
- 3 tablespoons salted butter (softened)
- 1/2 cup cane sugar
- 2 teaspoons ground cinnamon
- 2 large eggs
- 1/2 cup whole milk
- 1 teaspoon vanilla extract
- 2 1/2 cups Bisquick Mix
Cinnamon Sugar Topping:
- 2/3 cup cane sugar
- 2 teaspoons ground cinnamon
- 1/4 cup salted butter (melted)
Pre-heat the oven to 350° F, and grease muffin tins or line them with cupcake liners.
In a large bowl, mix together the butter, sugar, and cinnamon.
Add the eggs to the cinnamon sugar mixture, and mix well.
Next add in the milk and vanilla extract, continuing to mix well.
Finally, add in the Bisquick mix, and mix everything together just until blended.
Fill each of the greased or lined muffin cups about 1/2 to 2/3 full with muffin batter.
Bake at 350° F for about 25 to 30 minutes, or until the muffins are golden brown and a toothpick or cake tester inserted in the center comes out clean.
Allow them to cool in the muffin tin for about 5 minutes; then take a knife, run it around the edge of each muffin, and pop them out onto a wire rack for dipping.
In a small bowl, mix the sugar and cinnamon together.
Dip the warm muffin tops in the melted butter.
- Then dip every muffin in the cinnamon sugar mixture, rolling the top around to make sure it’s covered with the slightly crispy cinnamon sugar topping.
Place the muffins back on the wire rack to finish cooling, or serve them while warm.
*Bisquick has a Gluten-Free Bisquick Mix, as well. I do suggest having a little xanthan gum available to add to your biscuit batter when mixing. I usually add about a teaspoon for every 2 cups of flour, so with this recipe, I’d likely add a somewhat heaping teaspoon.
It’s important to store muffins in a muffin container, airtight container, or sealed plastic bag. And you’ll probably want to eat them within the first 2 or 3 days, so they’re still nice and soft.
To re-heat Bisquick muffins, just place them in the microwave for 10-15 seconds each.