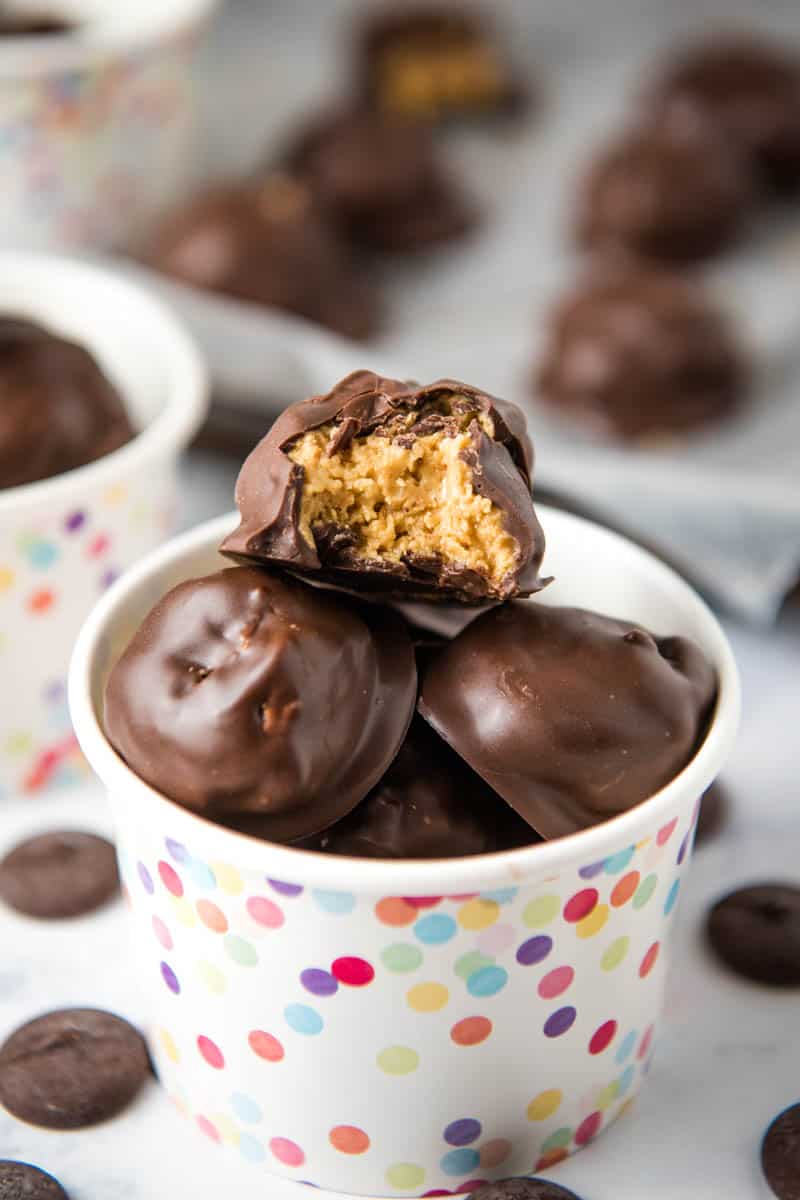
Whip up a batch of buckeye bars in minutes. This quick and easy, no bake, chocolate peanut butter dessert is perfect for the holidays.
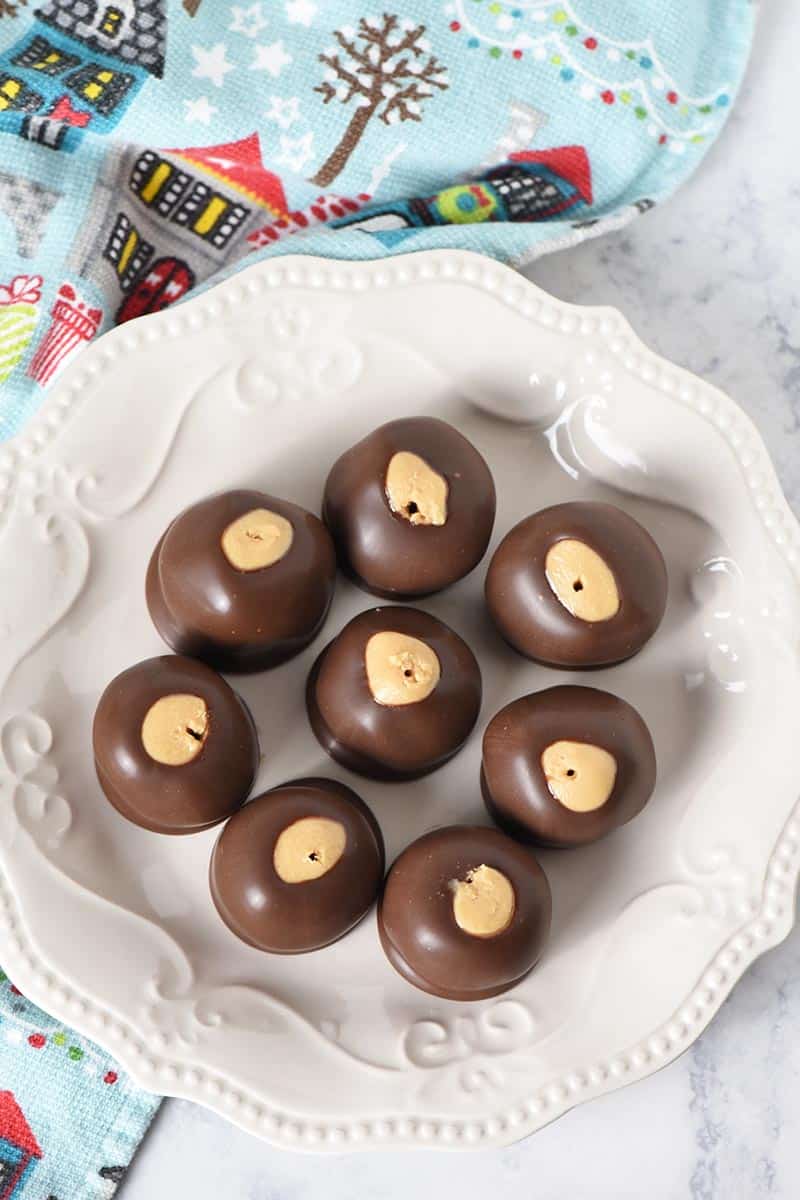
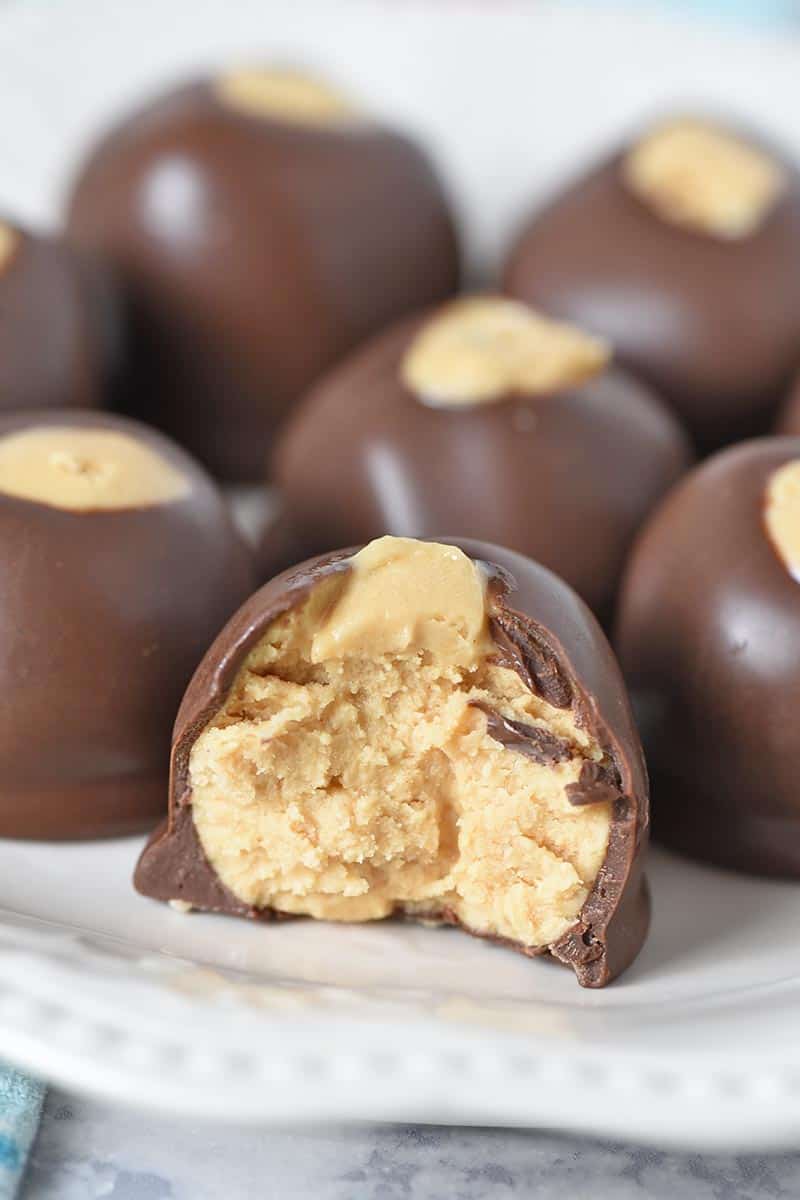
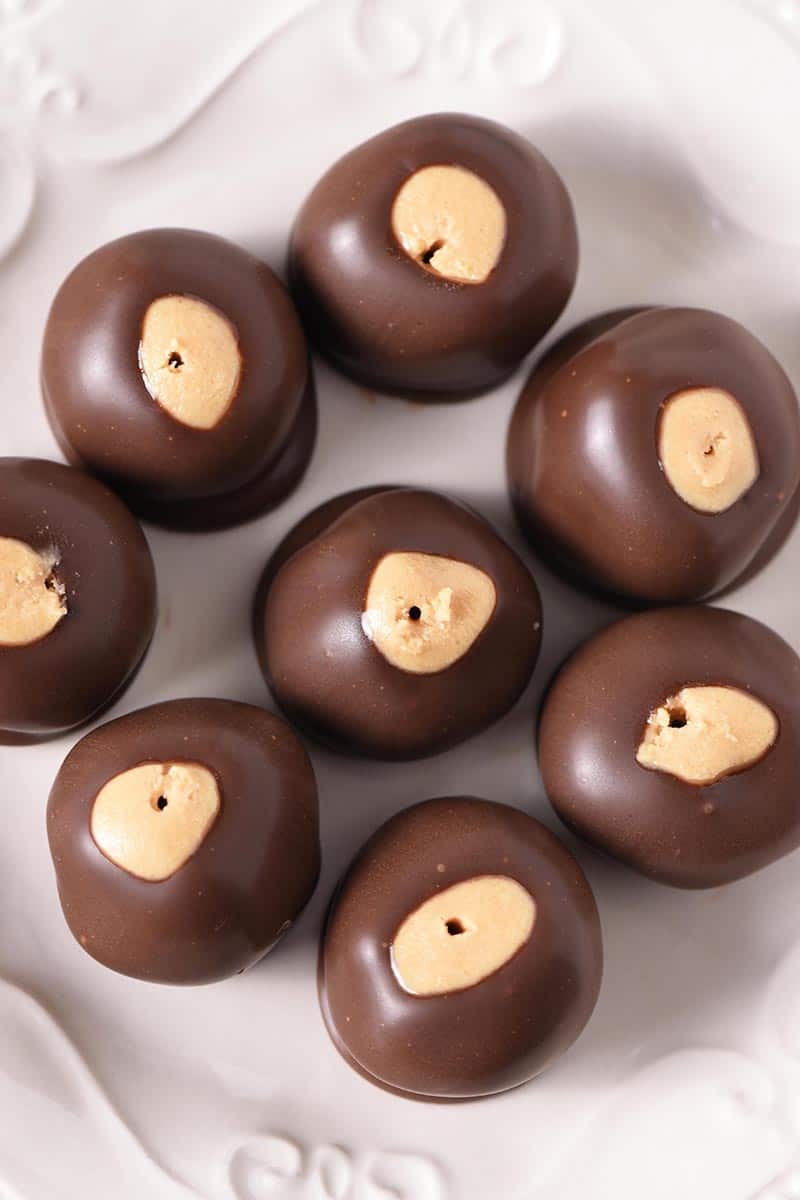
My family has enjoyed making buckeye peanut butter balls every Christmas for as long as I can remember. This year I decided to make easy buckeye bars instead.
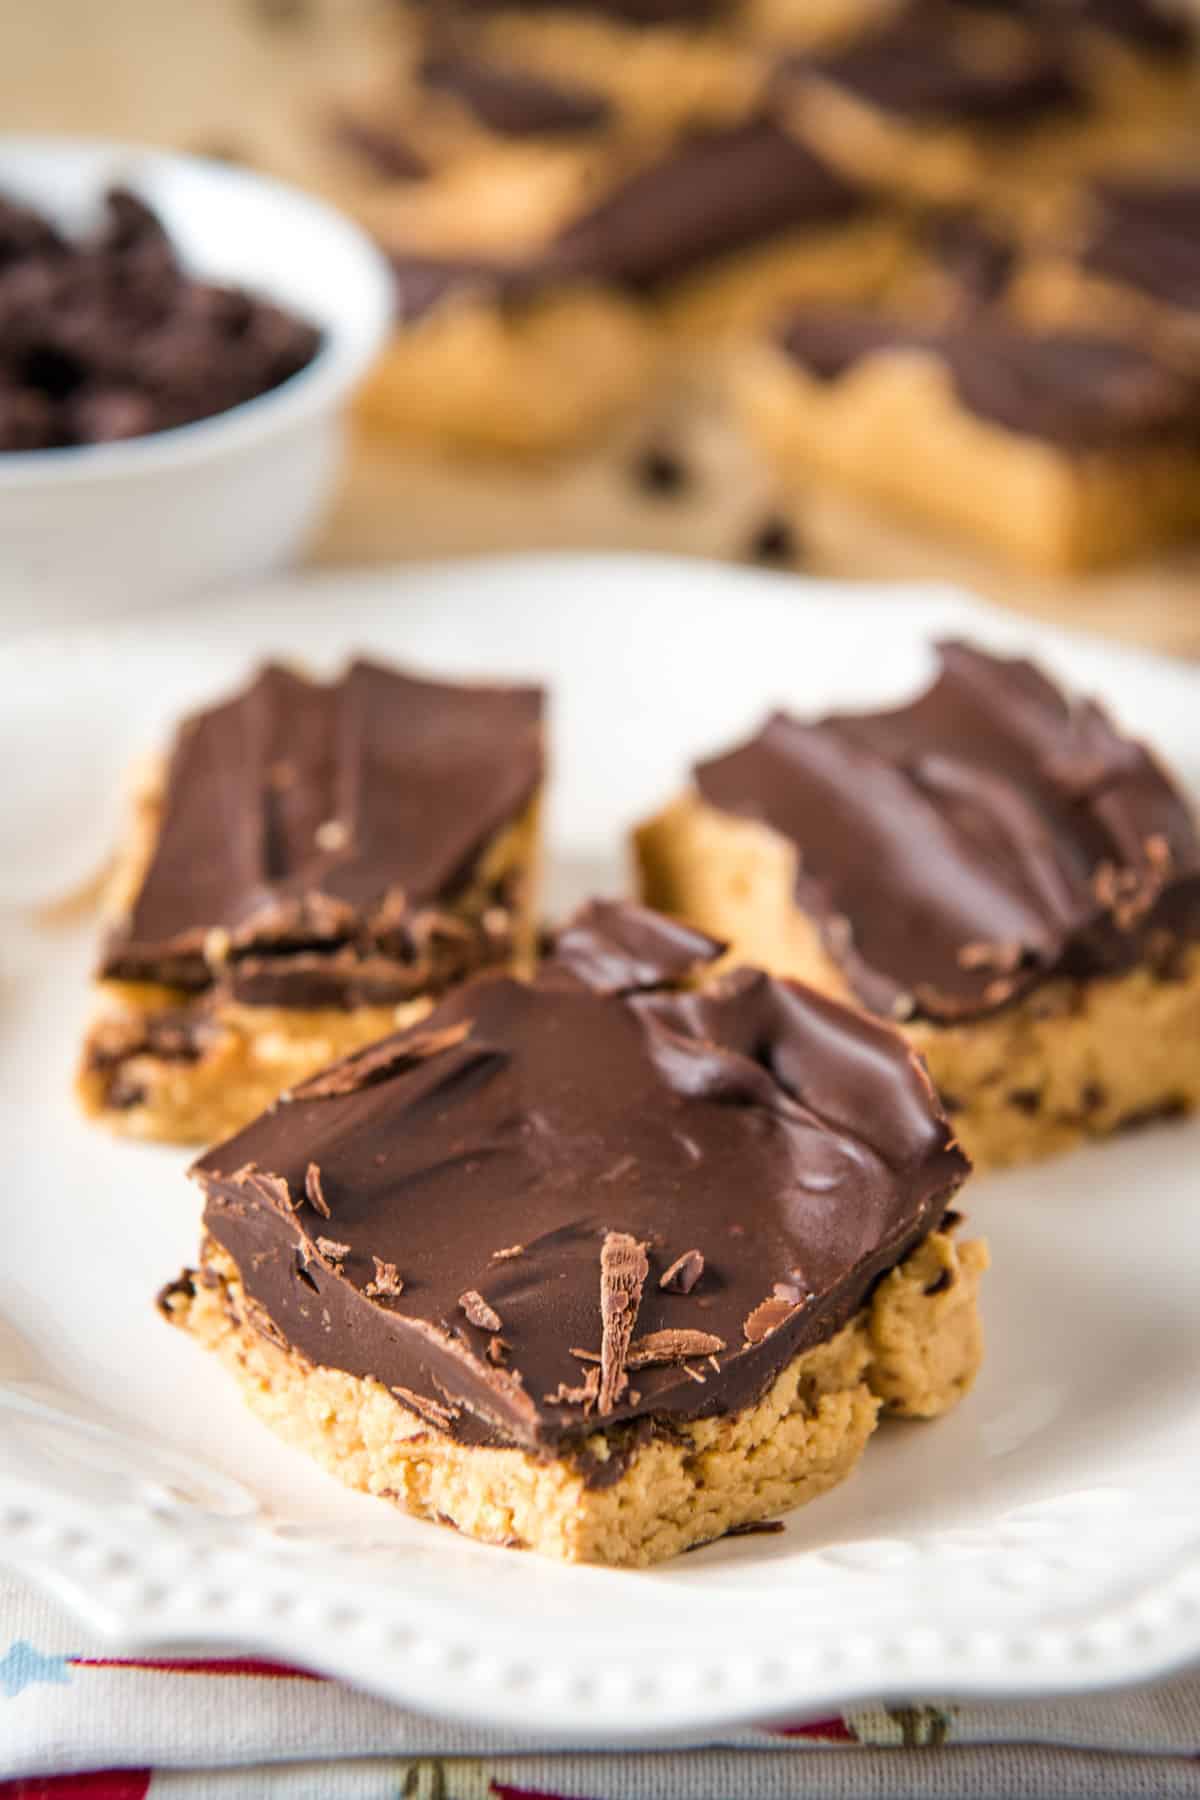
And that’s exactly what these chocolate peanut butter bars are all about… They’re so easy to make. And dare I say they’re just as good? Yeah, they definitely are.
Why You’re Going to Love This Recipe
- They’re quicker and easier because there’s no rolling of balls or dipping in chocolate involved. Just layer the peanut butter mixture, then cover with melted chocolate and let set.
- It takes a minimal amount of ingredients to make them, 6 actually.
- You can make them gluten-free if you want, by using gluten-free graham crackers (and checking your other ingredient labels to make sure they’re truly gluten-free).
- They’re budget-friendly. It should cost less than $10 to make these amazing treats.
Ingredient Notes
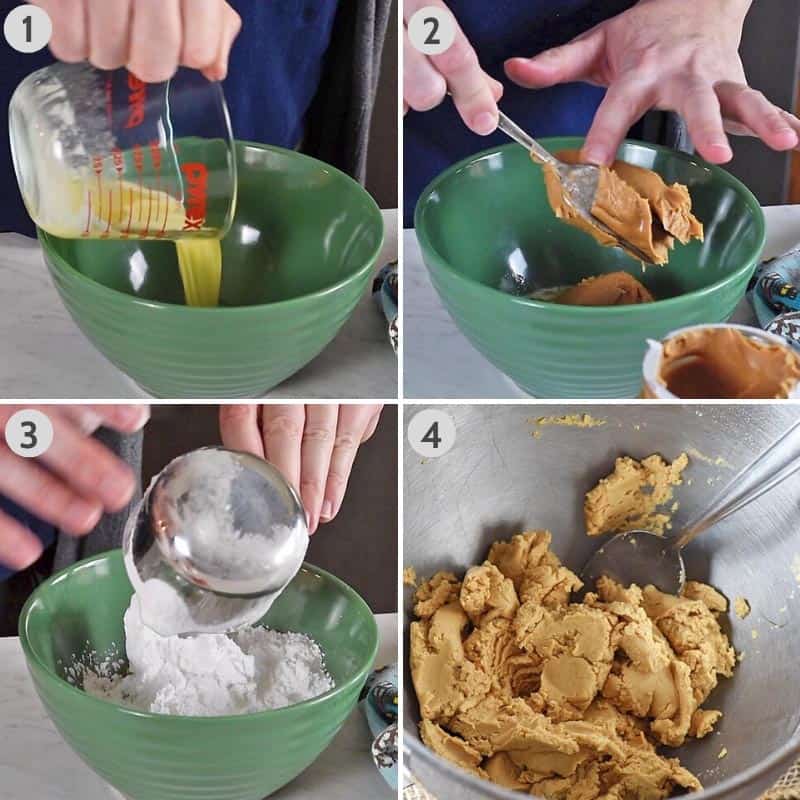
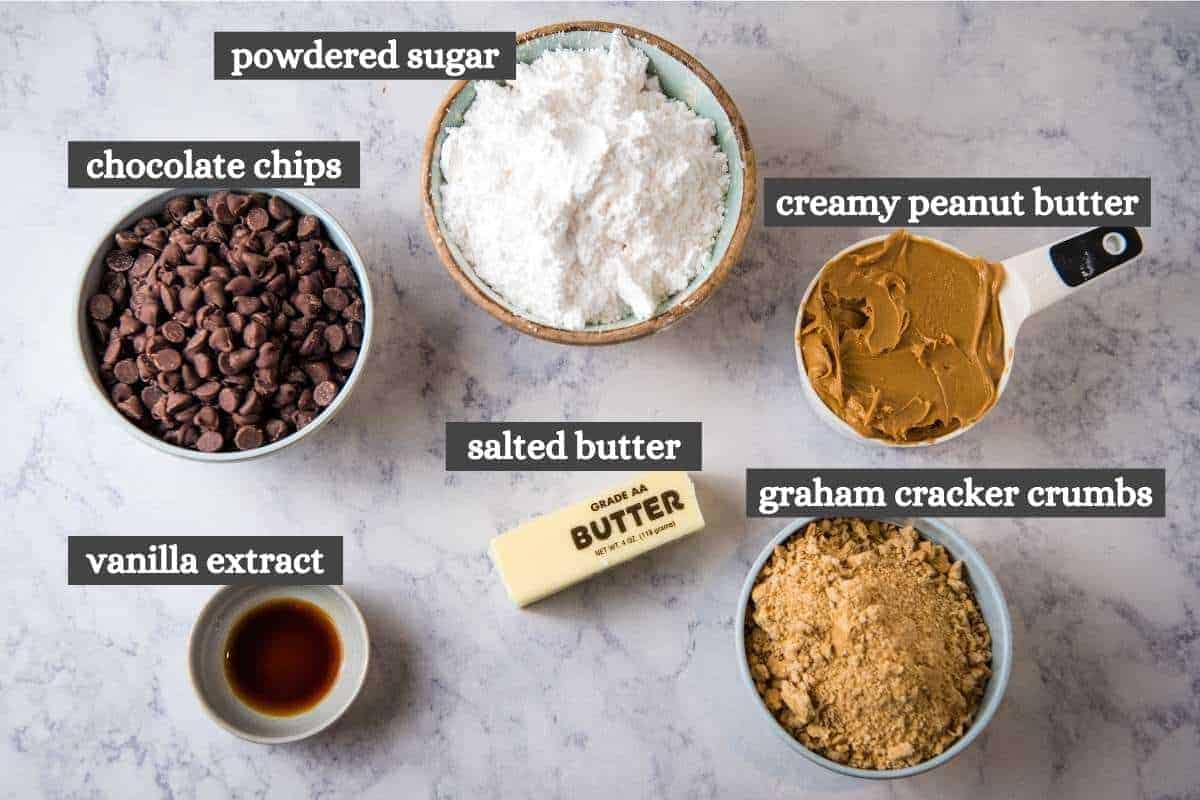
- Salted Butter – Use real butter, not margarine. And use salted butter so you get that extra boost of flavor from the salt.
- Creamy Peanut Butter – You can use crunchy peanut butter, but try to avoid all natural peanut butters. All natural peanut butter is more oily, and it will mess up the set and the texture of your finished bars.
- Graham Cracker Crumbs – Just crush graham crackers in a blender or Ziploc bag (use a rolling pin).
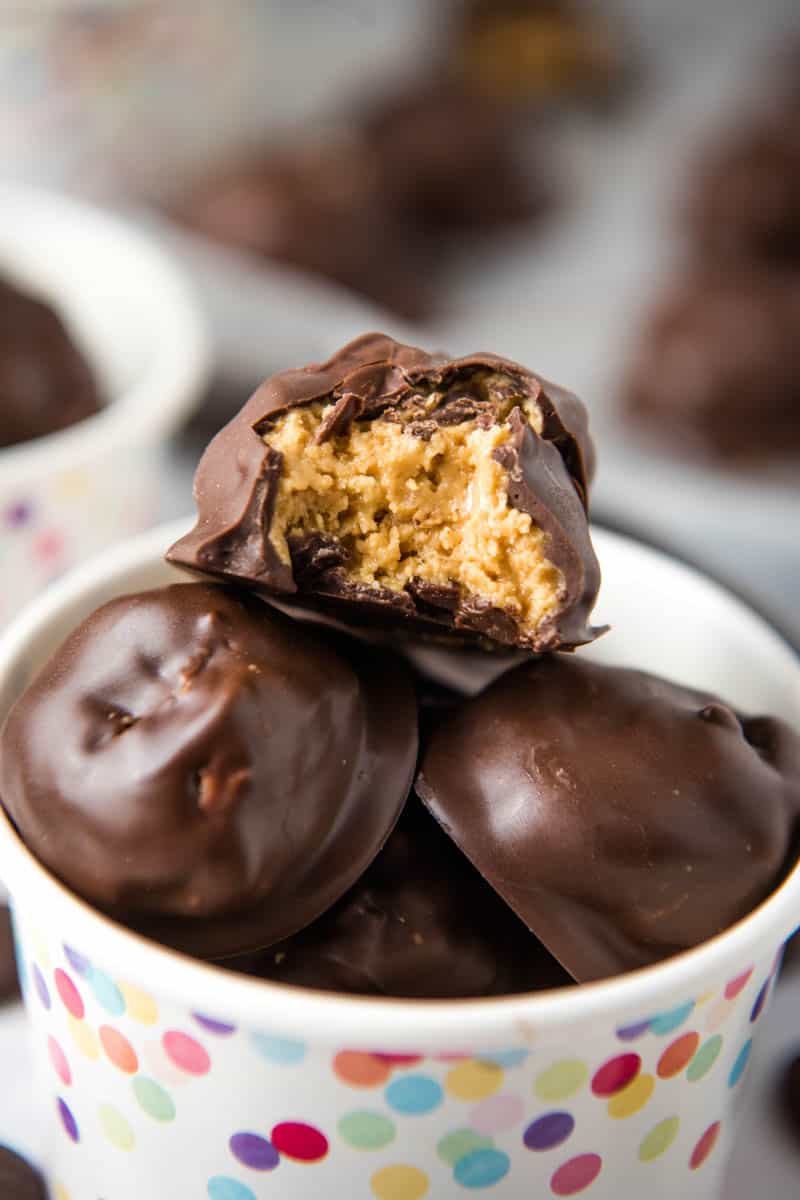
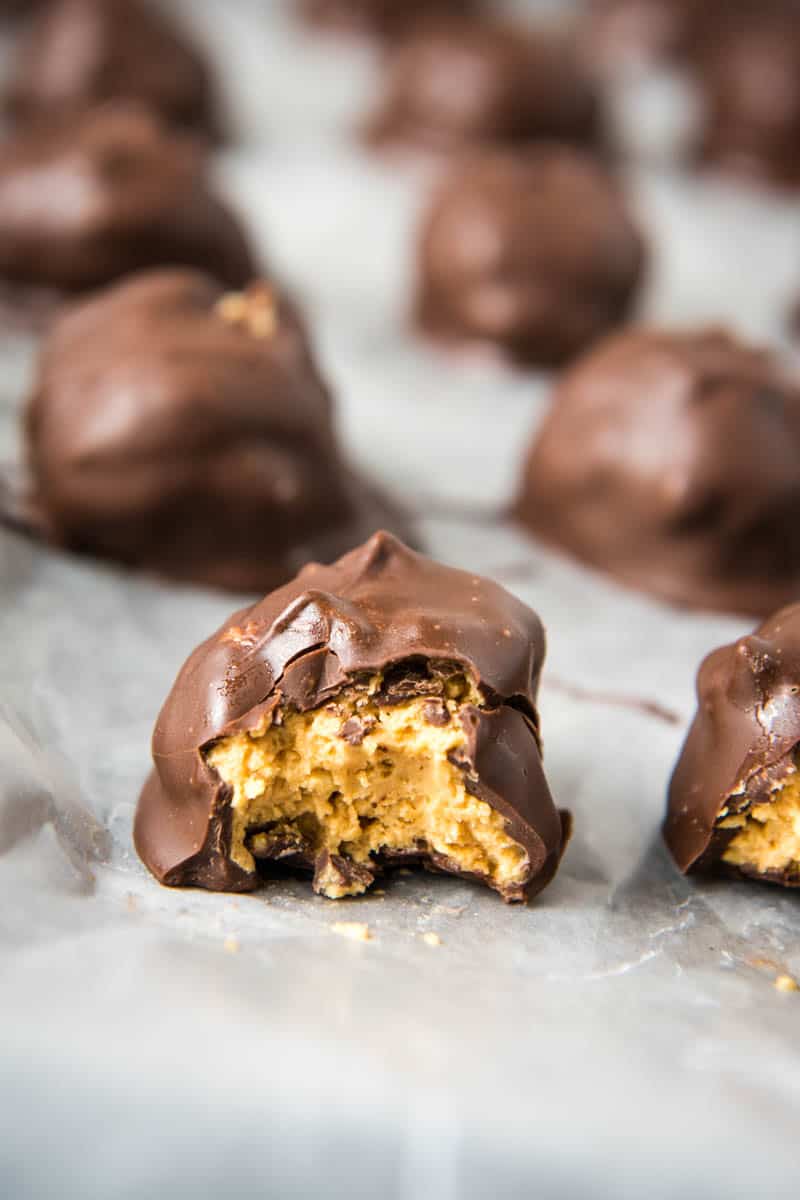
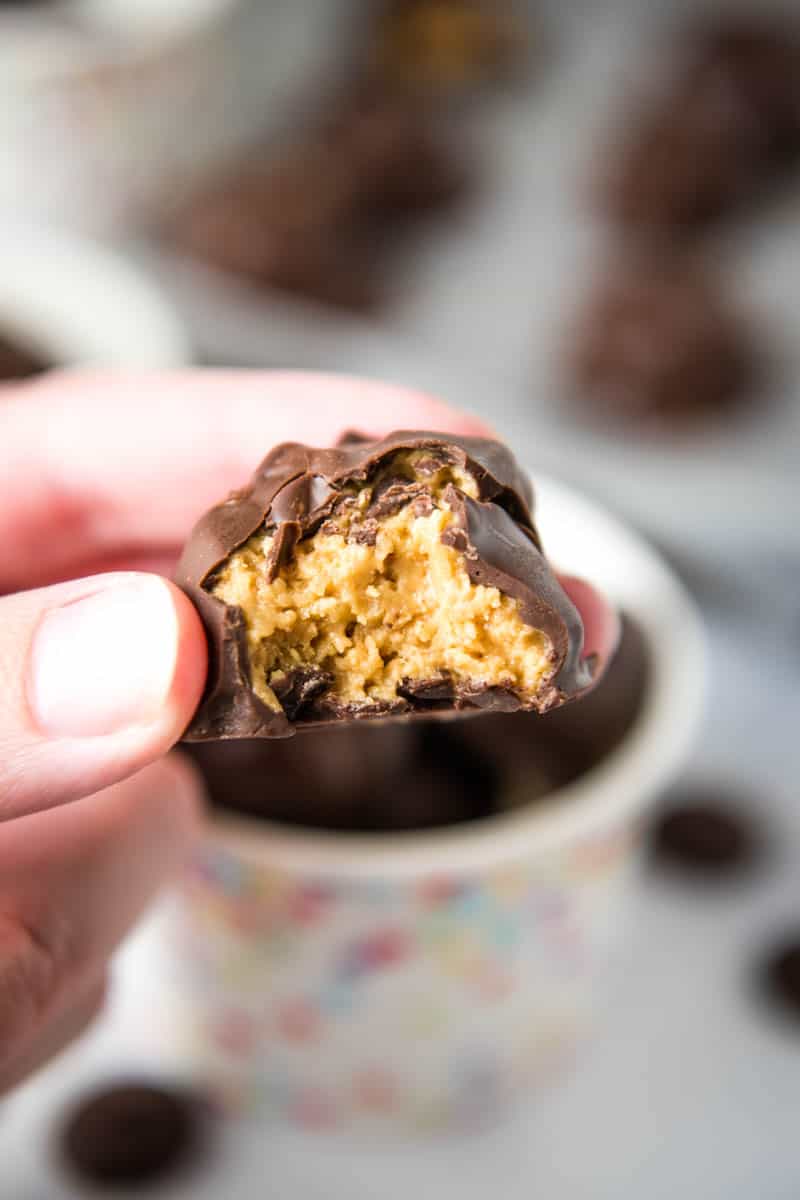
- Semi-Sweet Chocolate Chips – I prefer the flavor of semi-sweet chocolate, but you are more than welcome to use milk chocolate, white chocolate, etc. I do recommend using a good quality chocolate chip, like Nestle Toll House or Ghirardelli.
Optional Variations You May Want to Try
- While the chocolate is still melty, you could lightly sprinkle flaky sea salt on top for more of a sweet and salty flavor.
- Again while the chocolate is still setting, top the bars with Reese’s Pieces or M&M’s. Festive candies add even more holiday fun.
- Sprinkle nuts on top, maybe chopped pecans or almonds or peanuts.
How to Make Buckeye Bars
Before you get started making this peanut butter chocolate bars recipe, go ahead and line an 8×8 or 9×9 baking dish with parchment paper, overlapping the sides of the pan. Then set it aside ’til you’re ready for it; that way it’s ready to go.
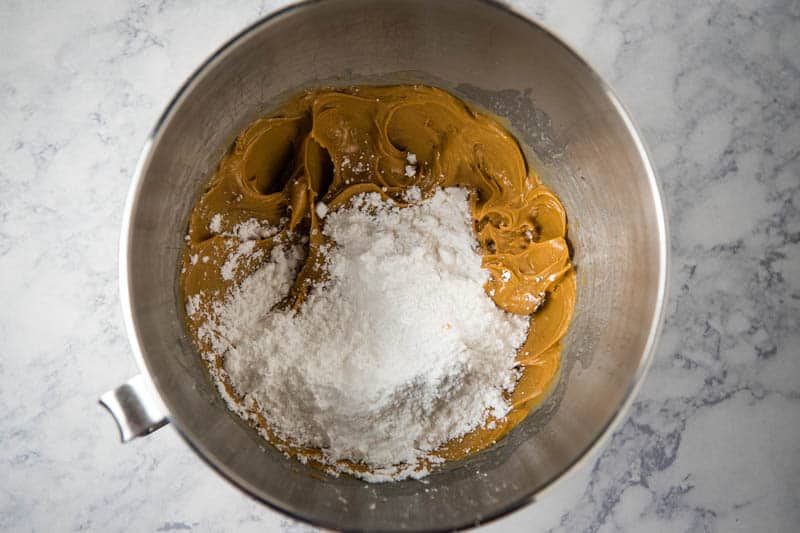
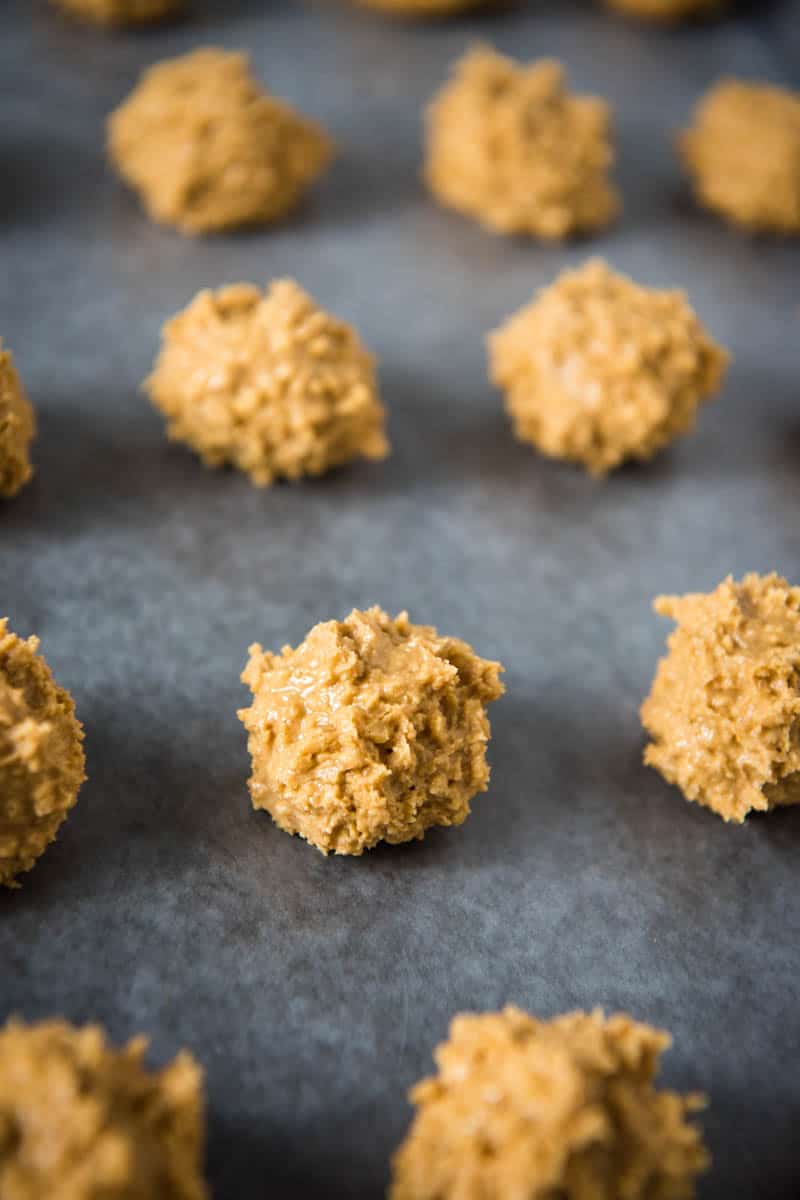
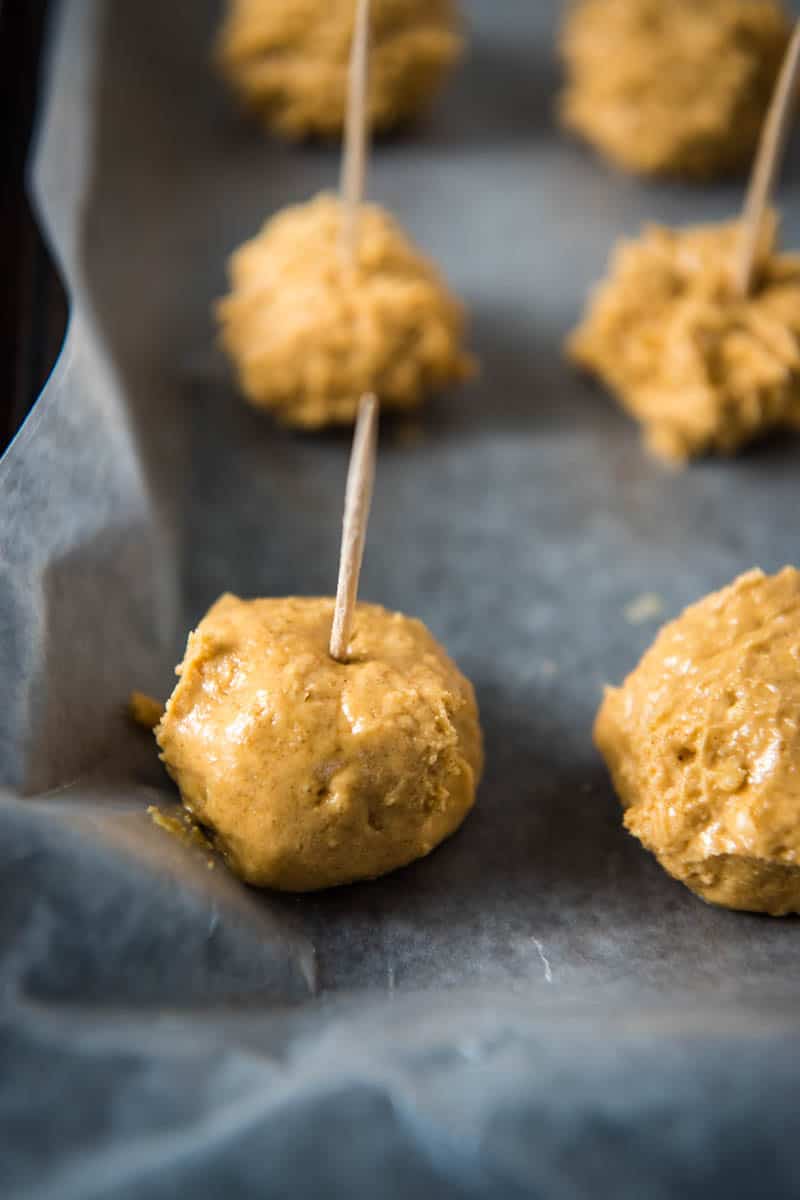
- In a large mixing bowl or using a mixer, mix together the butter, vanilla extract, peanut butter, and powdered sugar.
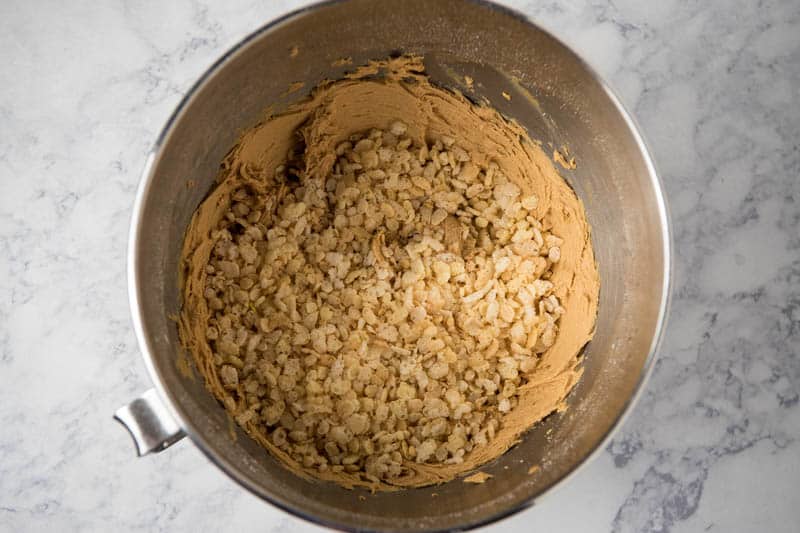
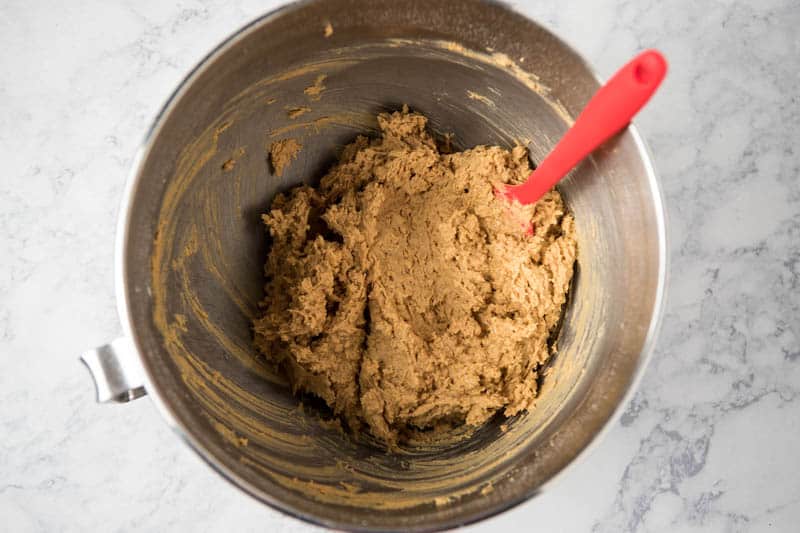
- Add in the graham cracker crumbs, and mix well.
- Spread the peanut butter mixture into the paper lined baking dish, and press it into a fairly smooth and even layer.
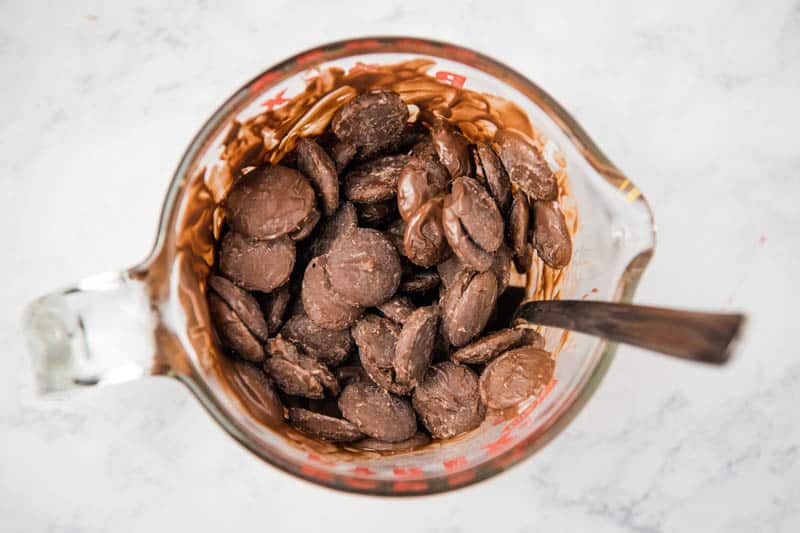
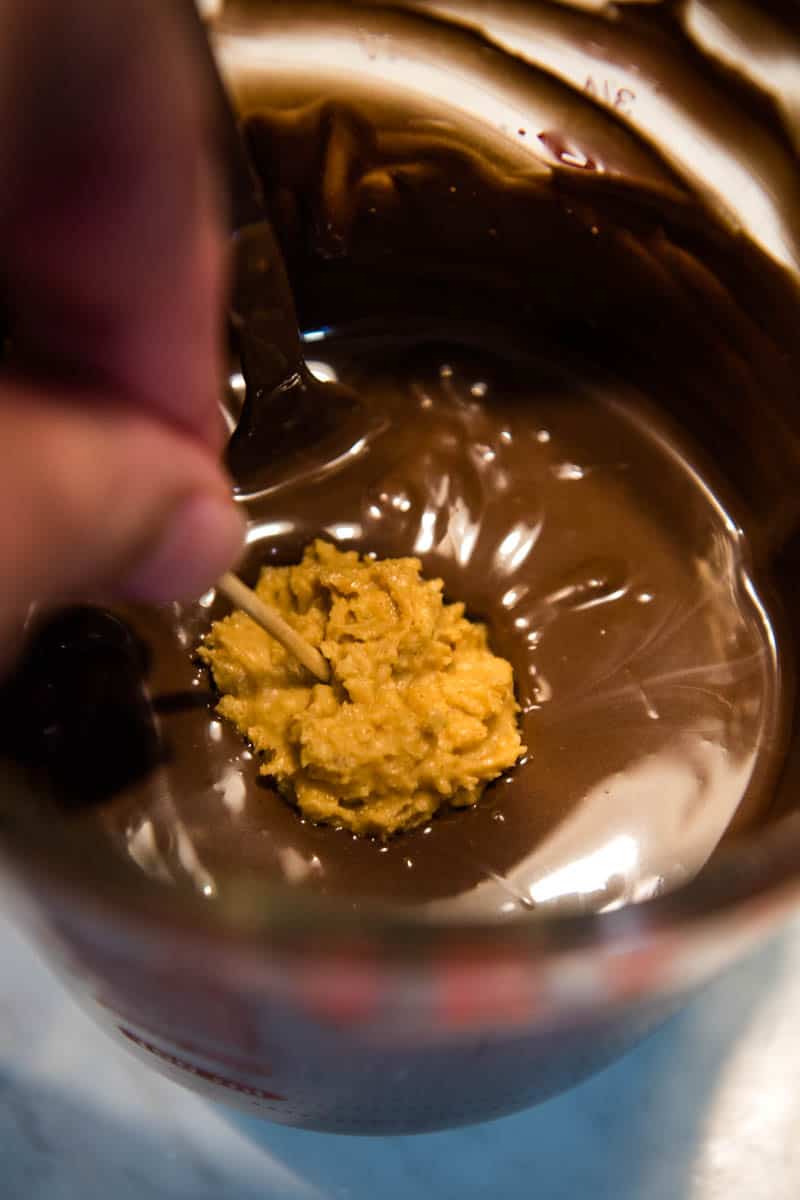
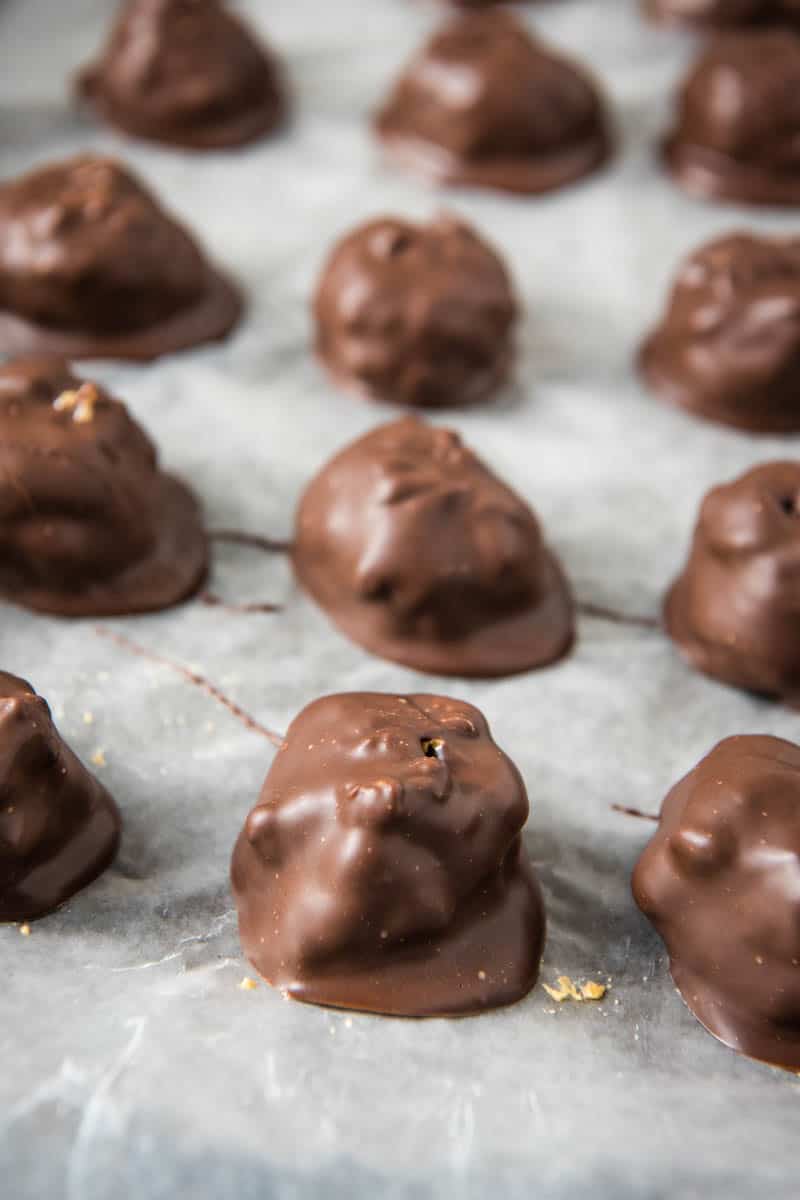
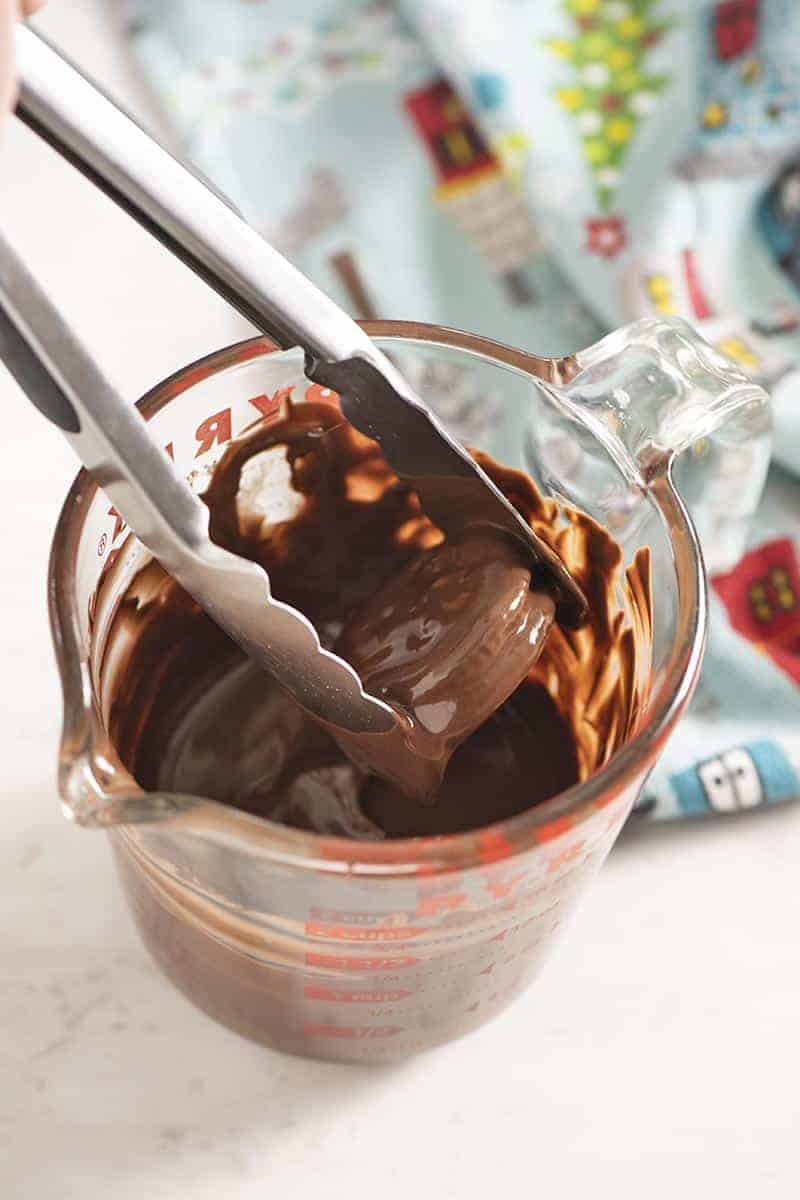
- Add the chocolate chips to a microwave-safe measuring cup or bowl and melt, starting at 30 seconds, then stirring every 15-20 seconds, ’til melted and smooth. Spread the melted chocolate mixture over the peanut butter layer.

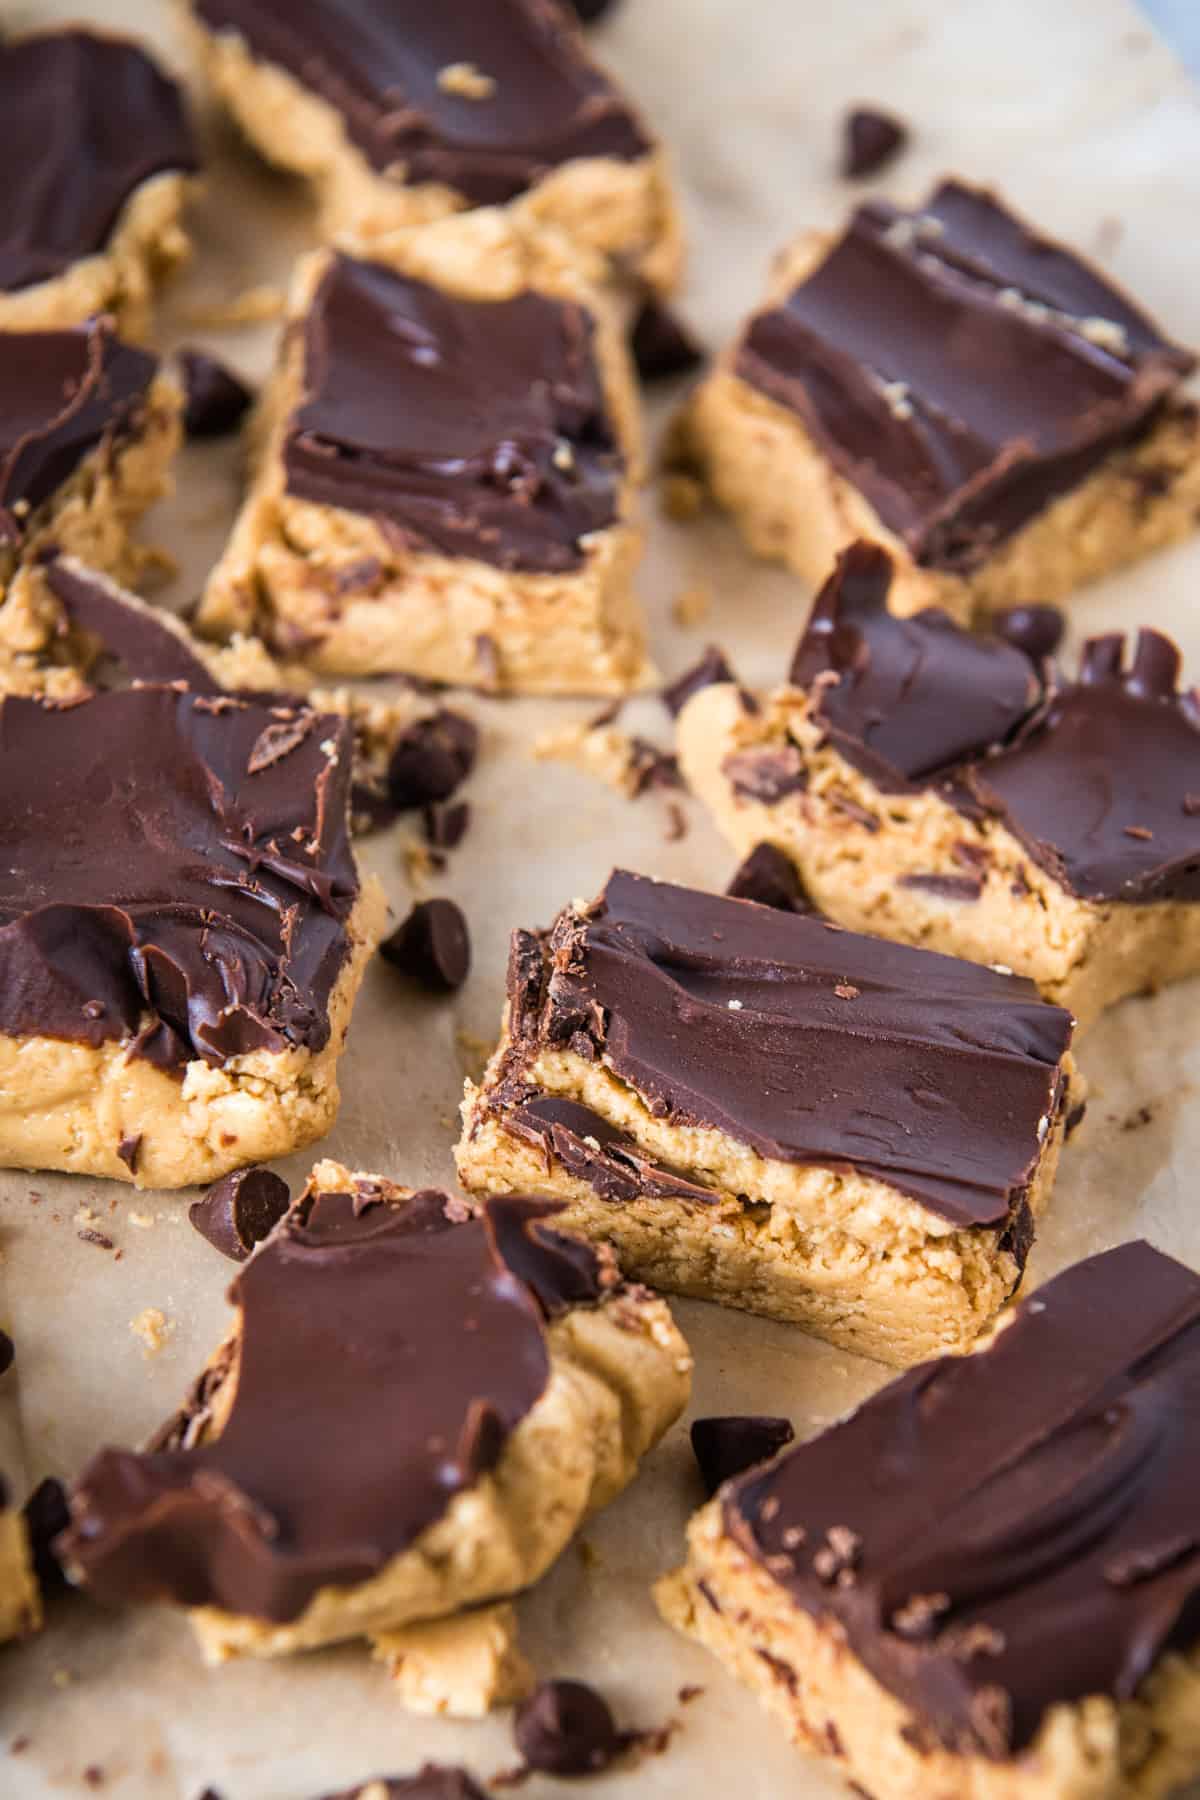
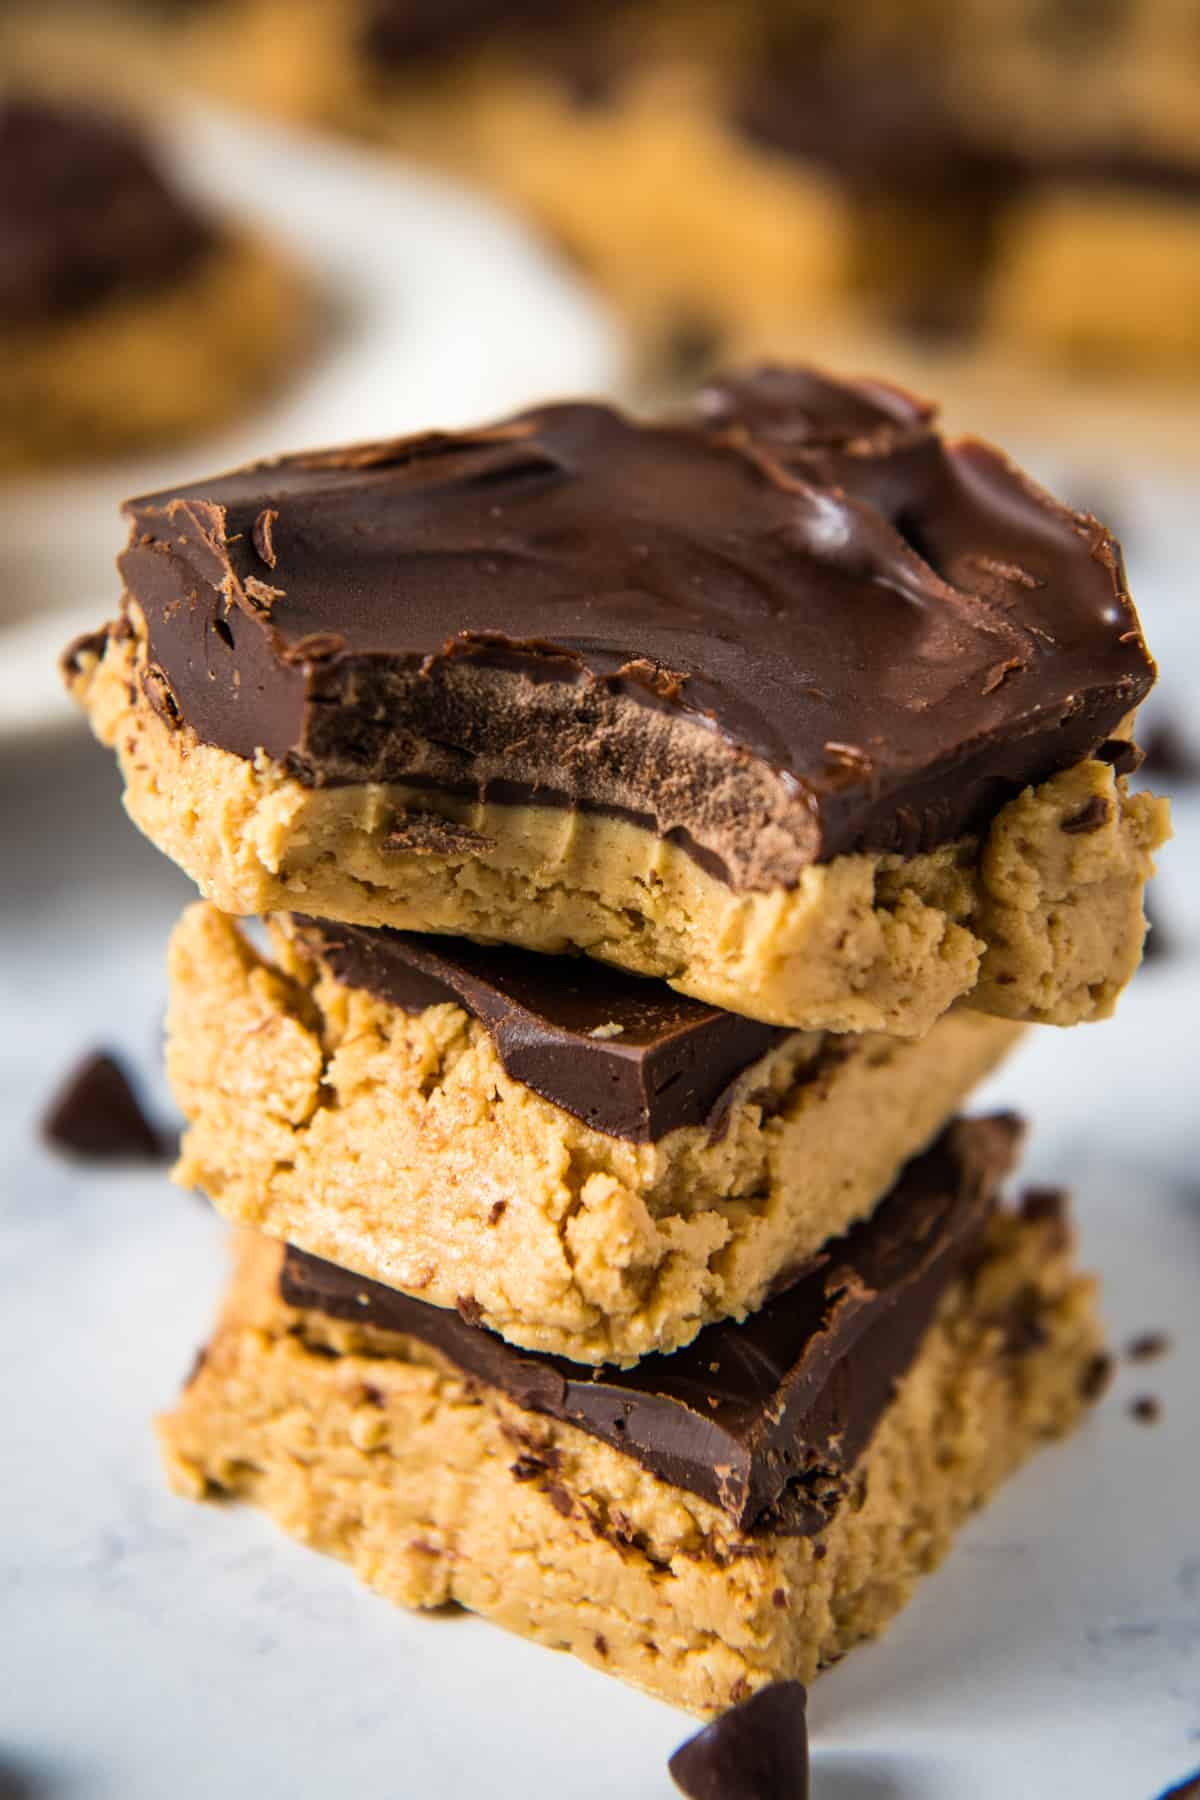
At this point, you can immediately chill in the fridge for at least 2 hours or until the bars are firm; or you can wait until the chocolate has just about set at room temperature, and cut into bars before chilling.
When you are ready to serve your no bake chocolate peanut butter bars, just lift them out of the pan by the paper, peel it back, slice the bars, and serve.
Expert Tips and Recipe FAQ’s
You can use Rice Krispies. Or you can leave out the graham crackers altogether, and cut the butter down by at least half.
I mentioned this above, but in order to keep it from chipping off or cracking, don’t chill the bars until you’ve sliced them. You’ll want to wait until the chocolate has just about set; then cut into bars.
I definitely recommend keeping them in a cold place, like the fridge or an un-heated room. When I was growing up, we kept our Christmas candy in the stairwell leading up to my room because it wasn’t insulated or heated. They should last for 1-2 weeks.
Yes, you can. Just be sure to store it in an airtight container so it doesn’t get freezer burn. It should keep for at least 2-3 months.
More Peanut Butter Recipes
If you love chocolate peanut butter bars, you’ll love these chocolate peanut butter treats too…
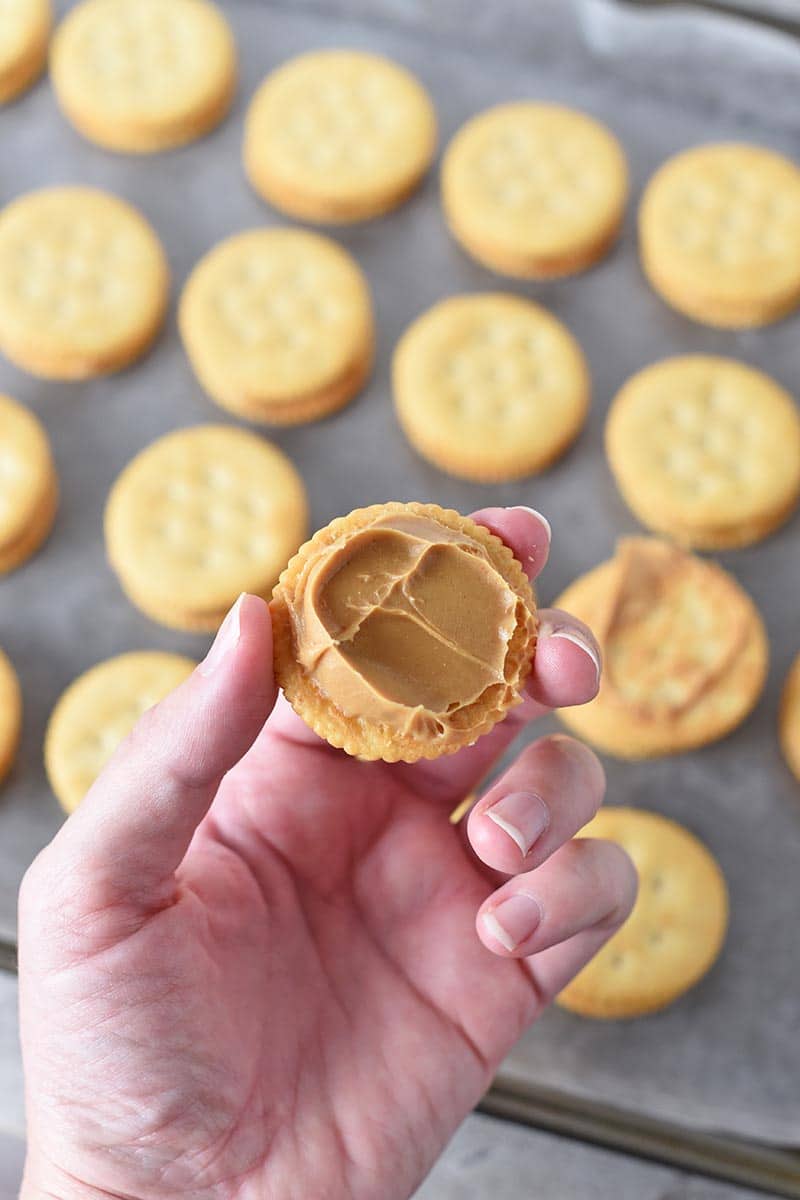
- Ritz chocolate peanut butter cups
- Crispy chocolate peanut butter balls
- Chocolate peanut butter hearts
- Chocolate peanut butter fingers
- Soft monster cookies
If you try this recipe, why not leave a star rating in the recipe card right below and/or a review in the comment section further down the page? I always appreciate your feedback. You can also follow me on Pinterest, Facebook, Instagram, and YouTube. And subscribe to my email list too!
Buckeye Bars

Whip up a batch of buckeye bars in minutes. Quick and easy no bake chocolate peanut butter dessert recipe, perfect for the holidays.
- Mixer
- Parchment Paper
- 9×9-Inch Baking Dish
- Glass Measuring Cup
- 6 tablespoons salted butter (melted)
- 1/2 teaspoon vanilla extract
- 1 cup creamy peanut butter
- 2 cups powdered sugar
- 1 1/4 cups graham cracker crumbs
- 12 ounces semi-sweet chocolate chips
Line an 8×8 or 9×9-inch baking dish with parchment paper, overlapping the sides of the pan. Then set aside.
In a large mixing bowl, mix together the butter, vanilla extract, peanut butter, and powdered sugar.
Add in the graham cracker crumbs, and mix well.
Spread the peanut butter mixture into the paper lined baking dish, and press it into a fairly smooth and even layer.
Add the chocolate chips to a microwave-safe measuring cup or bowl and melt, starting at 30 seconds, then stirring every 15-20 seconds, 'til melted and smooth.
Spread the melted chocolate over the peanut butter layer.
At this point, you can immediately chill in the fridge for at least 2 hours or until the bars are firm; or you can wait until the chocolate has just about set at room temperature, and cut into bars before chilling. When you're ready to serve them, just lift them out of the pan by the paper, peel it back, slice the bars (if you didn't already slice them), and serve.
*You can make the bars gluten-free if you want, by using gluten-free graham crackers (and checking your other ingredient labels to make sure they’re truly gluten-free).
How do I keep the chocolate from cracking?
I mentioned this above, but in order to keep it from chipping off or cracking, don’t chill the bars until you’ve sliced them. You’ll want to wait until the chocolate has just about set; then cut into bars.
How should I store them?
I definitely recommend keeping them in a cold place, like the fridge or an un-heated room. They should last for 1-2 weeks.