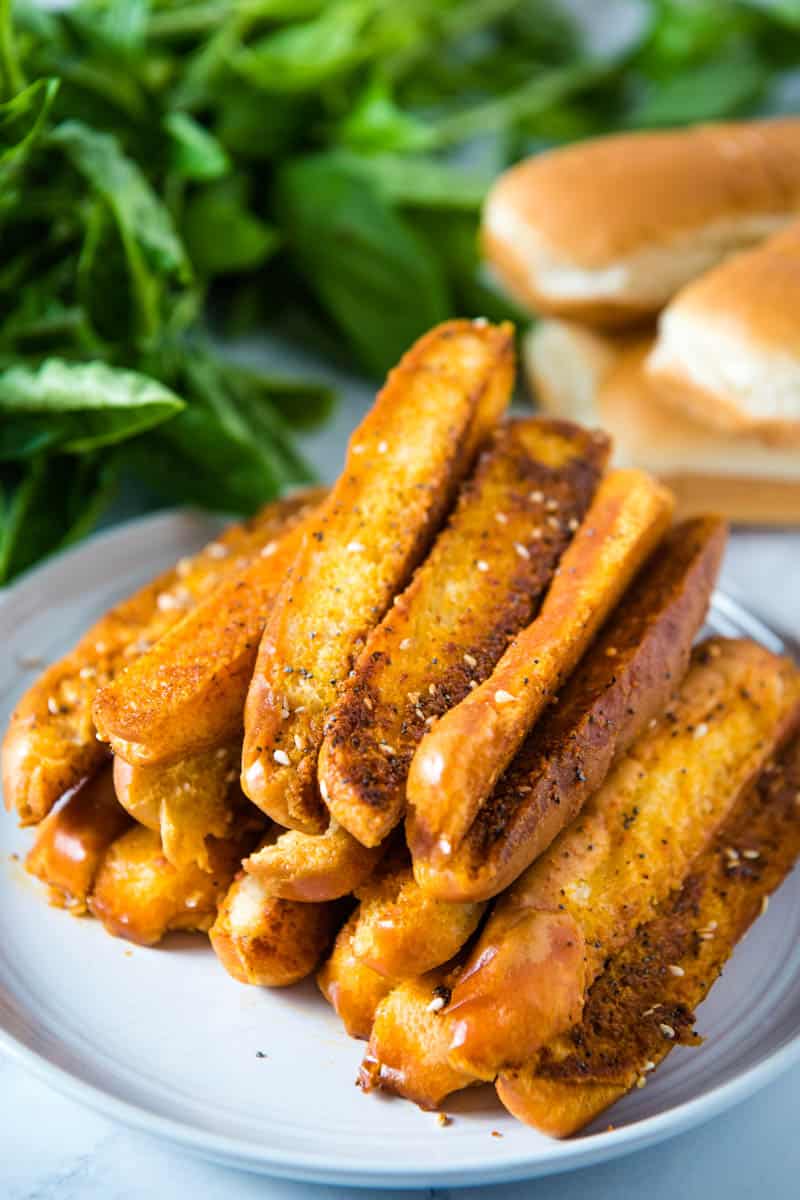
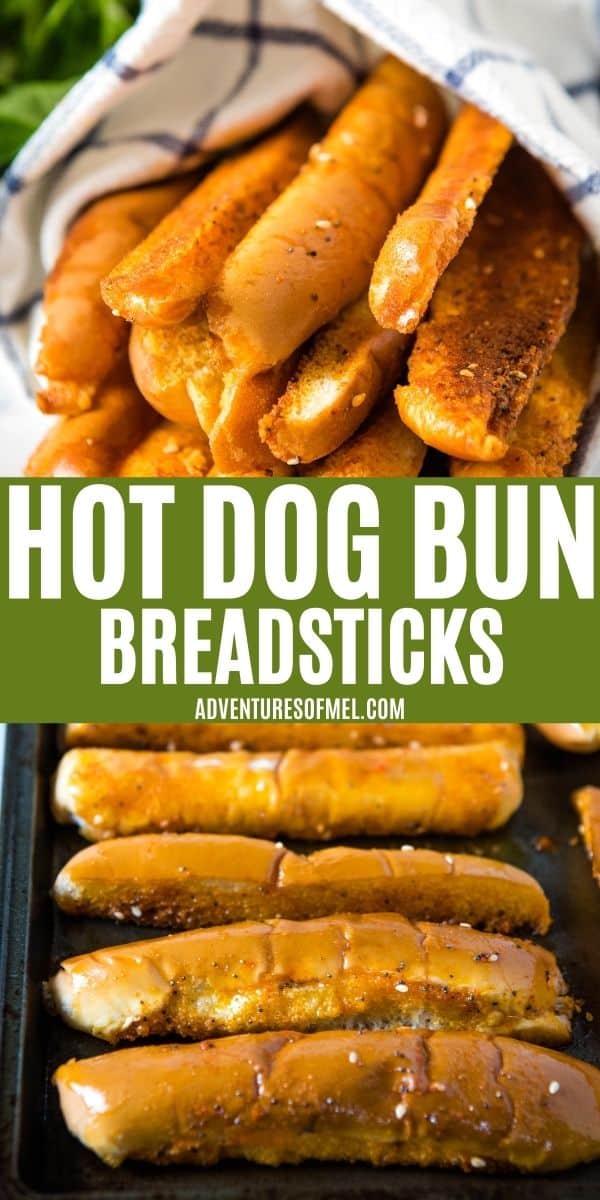
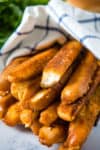
How to make soft and fluffy hot dog bun breadsticks with just 3 simple ingredients. Quick and easy recipe you can serve with dinner tonight!
Thumbing through Grandma’s recipe box some time ago, I noticed a card that had the words, “Good, Good, Good” written across the top. If Grandma said these quick garlic breadsticks were good, I knew they were going to be delicious.
I don’t know how I hadn’t seen this recipe before, especially considering our love for anything bread-related, especially breadsticks. You can make these with leftover hot dog buns.

Hot dog bun bread sticks are super easy to make, including only 3 ingredients and maybe 5 to 10 minutes of prep time.
You can serve these Salad Supreme breadsticks with your favorite Italian dinner or traditional meal of meat and potatoes. I’ll give you a few ideas below of meals that pair really well with these delicious bread sticks.
McCormick Salad Supreme Seasoning has flavors from ingredients like paprika, black pepper, red pepper, Romano cheese, garlic, and cheddar cheese. Since we’re seasoning our breadsticks with this blend of spices and cheese, we get a very flavorful breadstick that just flies off the table.
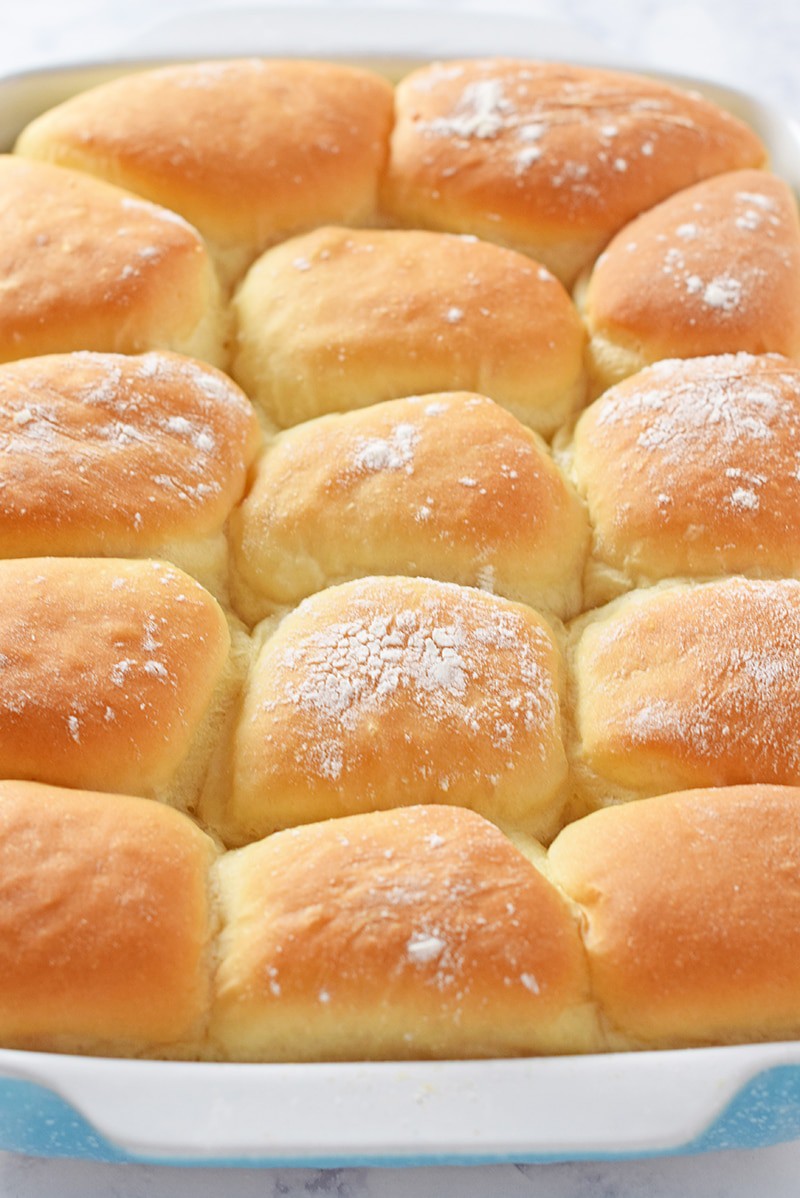
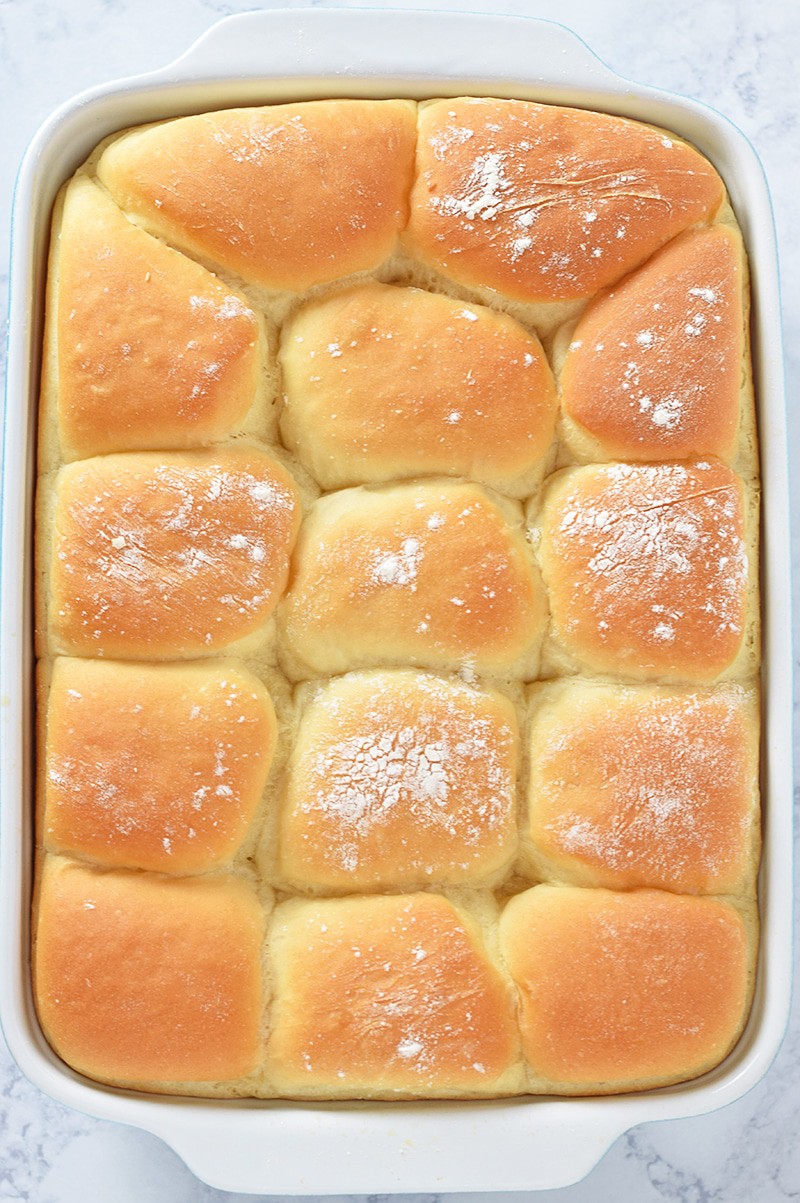
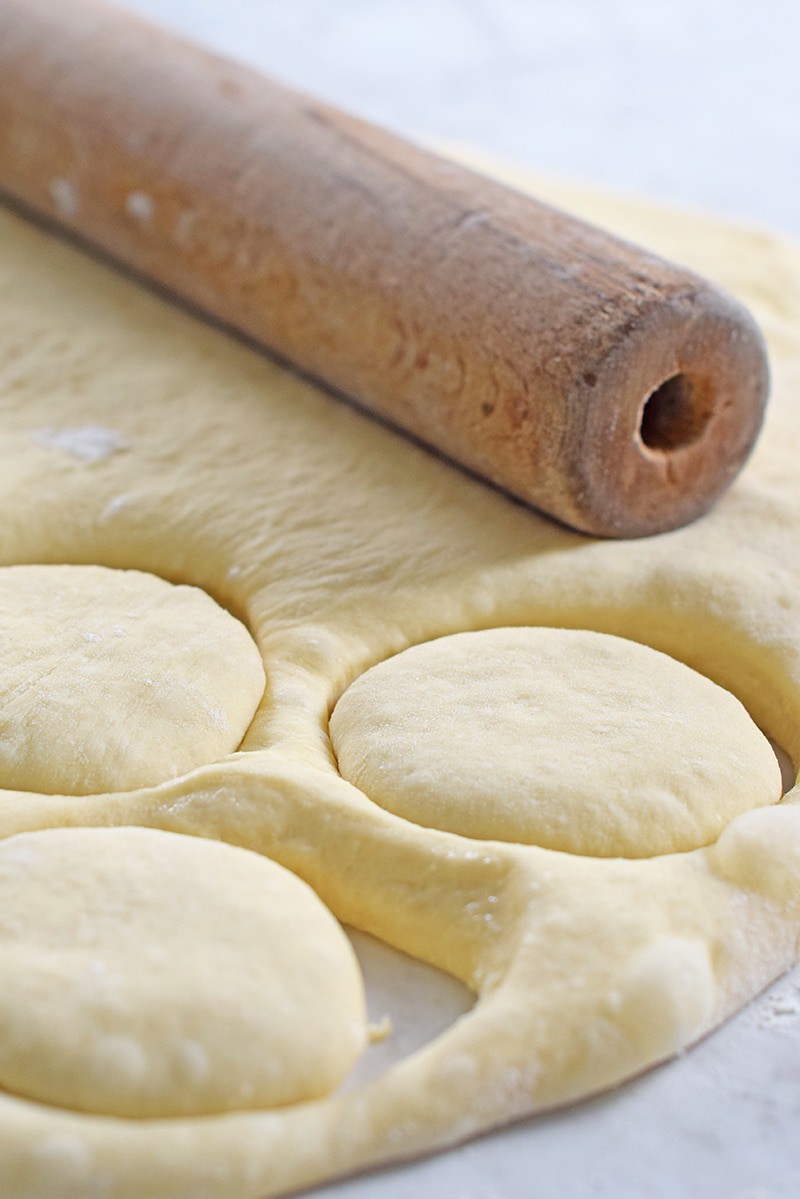
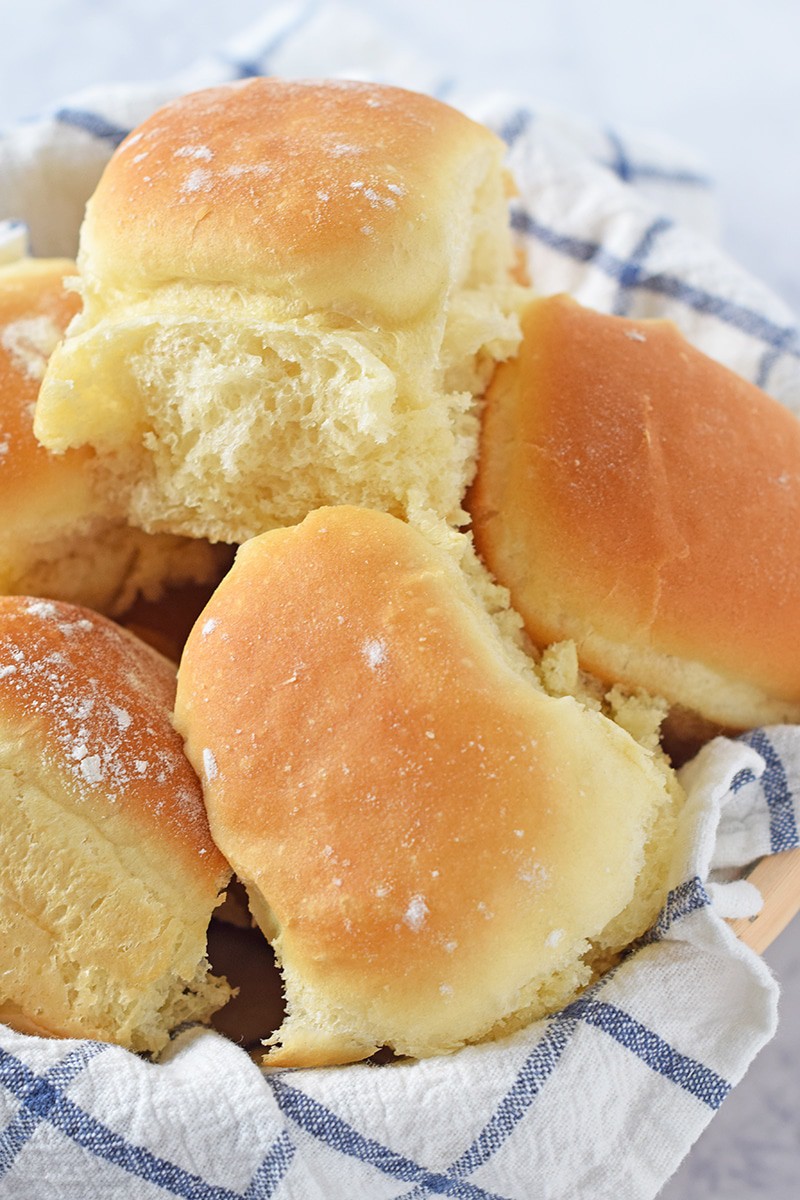
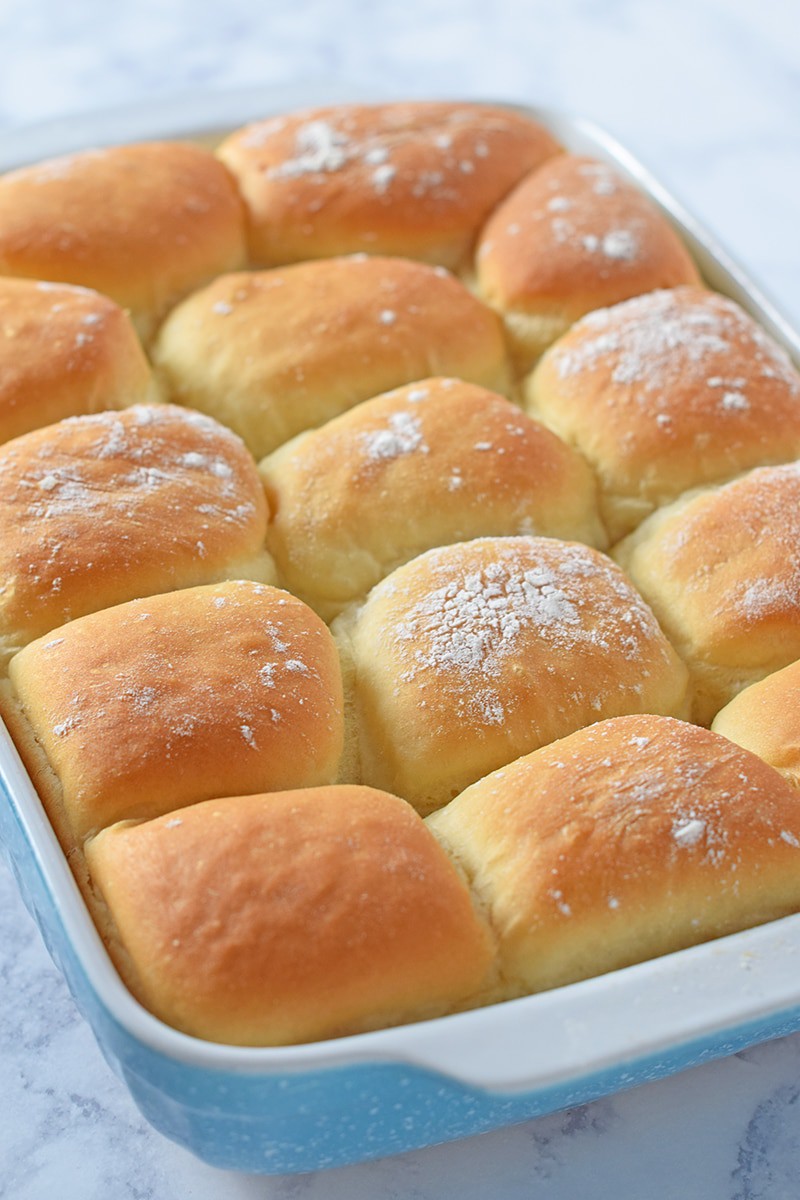
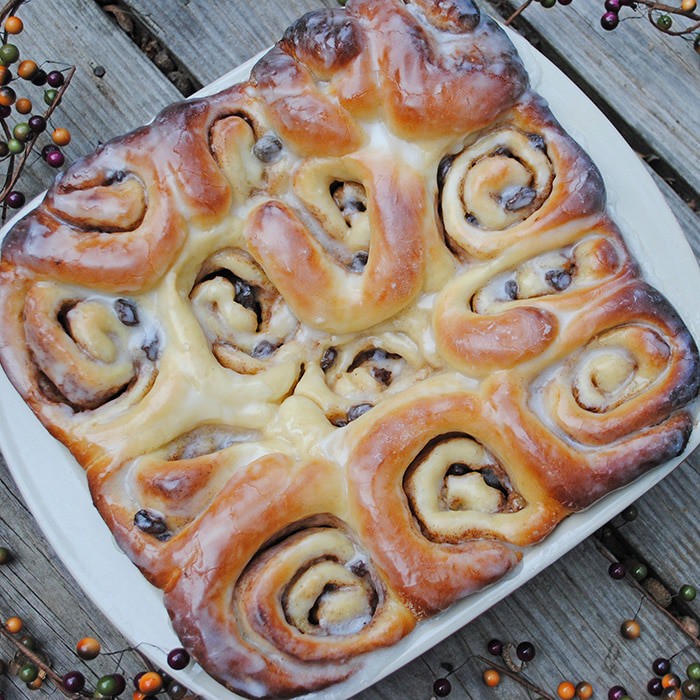
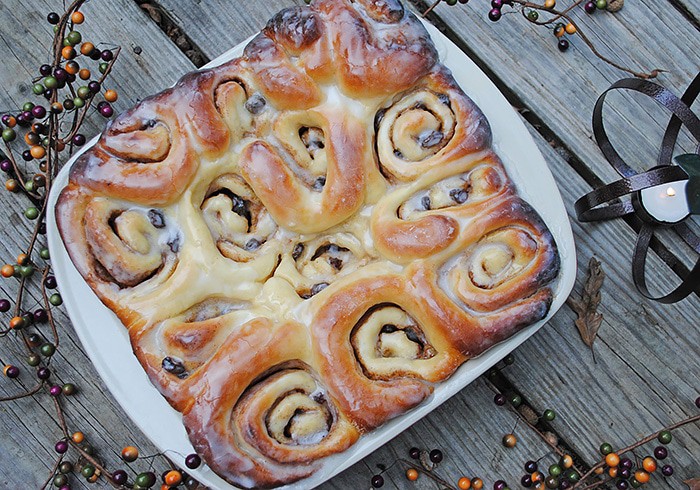
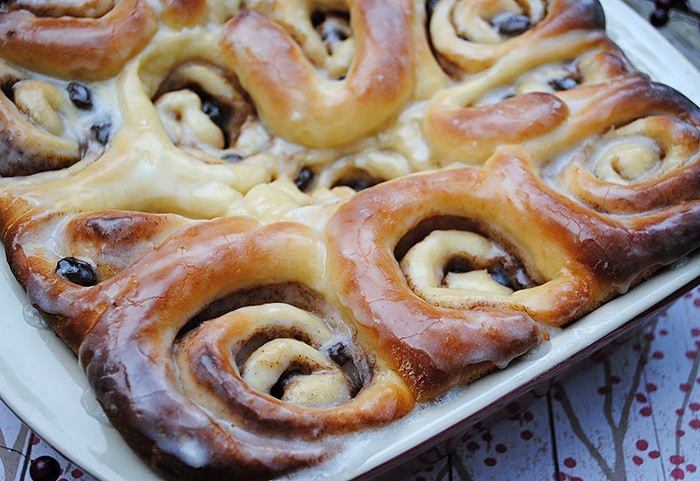
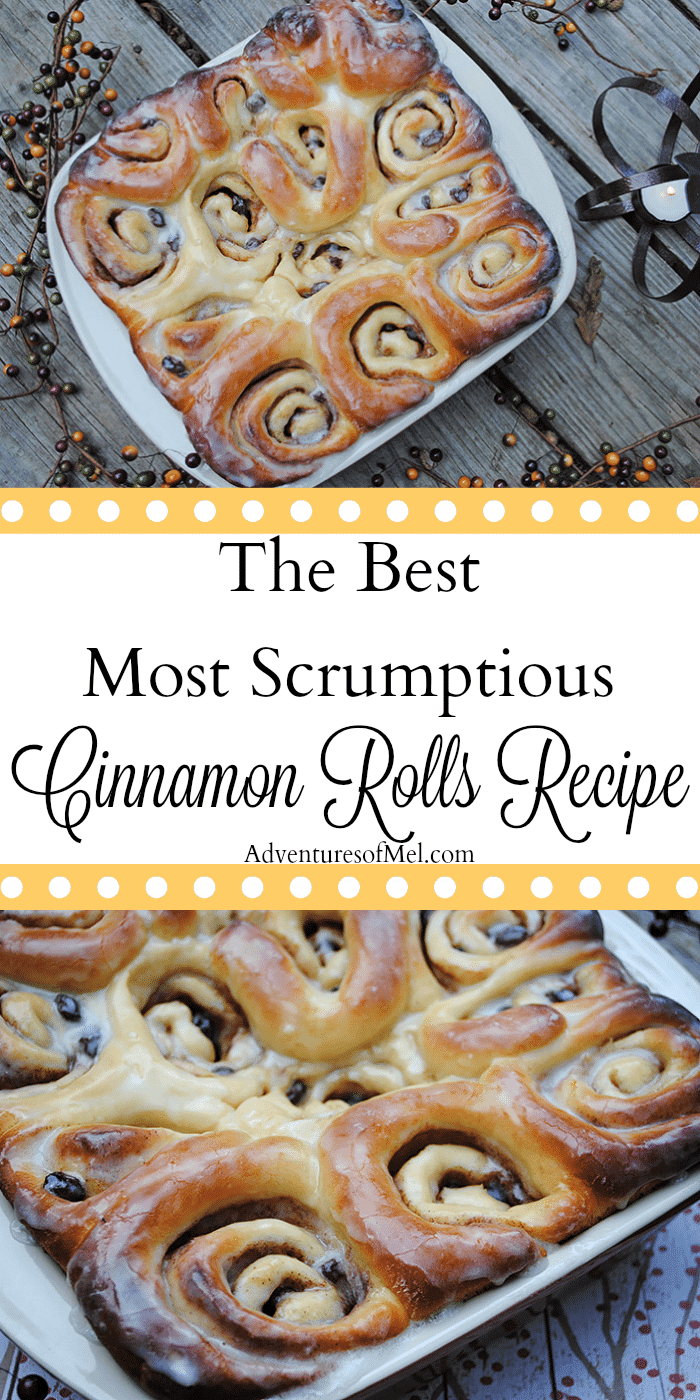
Now if you’d rather spend a little more time in the kitchen, Grandma’s bread rolls are a very delicious alternative, especially during the holidays.
WHERE CAN I FIND THE ACTUAL RECIPE CARD?
If you’d rather skip all of my cooking tips, important info for this recipe, and similar recipe ideas – and get straight to the breadsticks recipe – just scroll down to the bottom, where you’ll find a printable recipe card.
INGREDIENTS YOU’LL NEED FOR QUICK GARLIC BREADSTICKS:
- Salted butter, melted
- Salad Supreme seasoning – They also make a gluten-free version.
- Hot dog buns
Keep in mind, all of the ingredient amounts you’ll need are in the printable recipe card below.
KITCHEN TOOLS AND EQUIPMENT YOU’LL NEED:
Pyrex Measuring Cup or Mixing Bowl
Cutting Board and Knife or Pizza Cutter
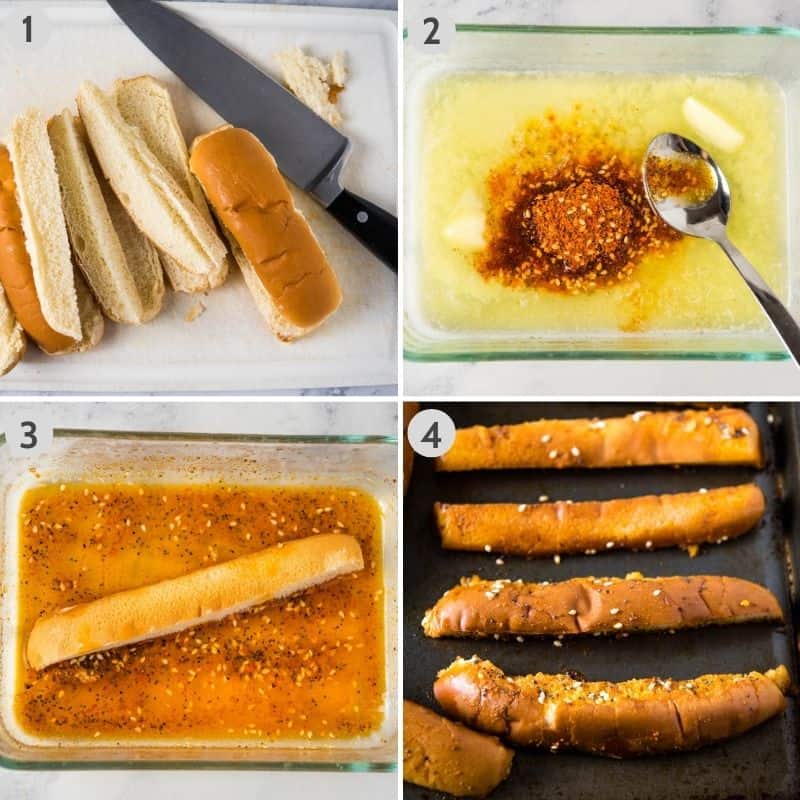
HOW TO MAKE EASY HOT DOG BUN BREADSTICKS
Making quick and easy breadsticks from hot dog buns is a super easy process.
- First slice the hot dog buns into length-wise quarters on a cutting board.
- In a measuring cup or mixing bowl, mix together the melted butter and Salad Supreme seasoning.
- You can either spread the butter mixture on the sliced hot dog buns with a brush, or do like me and just dip each breadstick into the mixture.
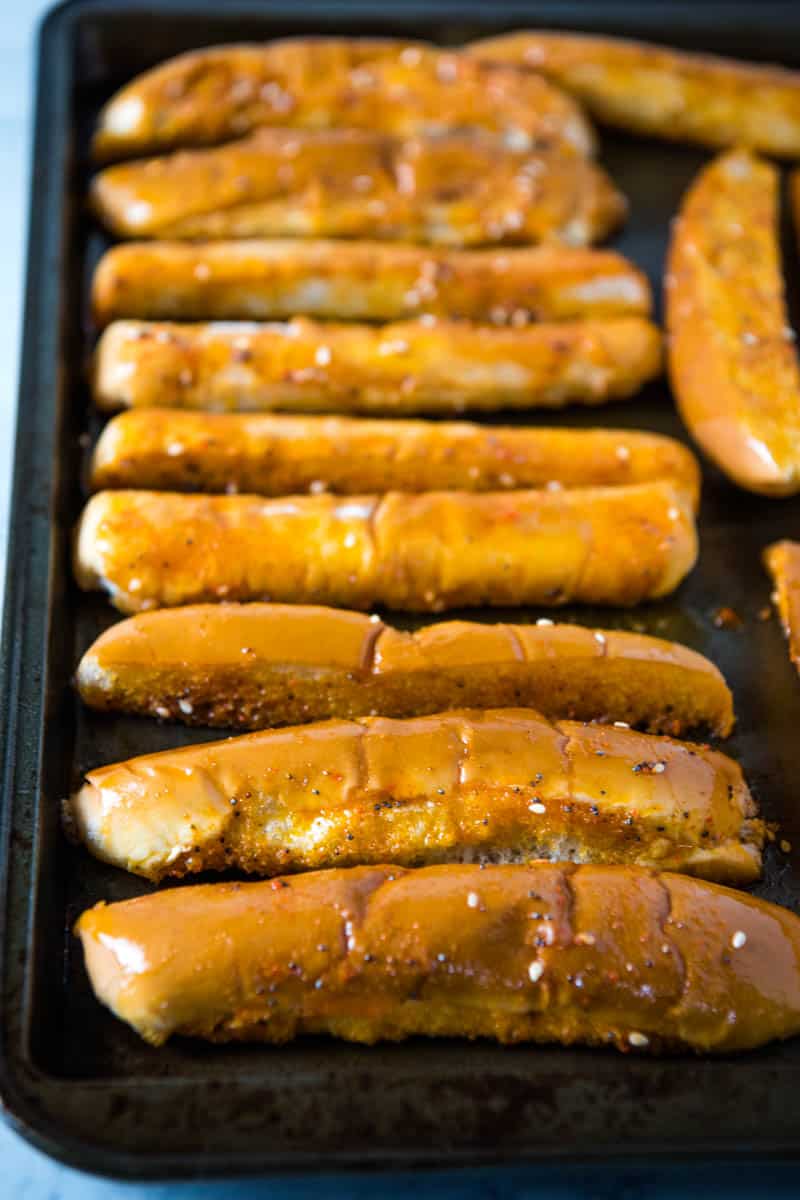
- Place each breadstick on a baking sheet, and bake at 300° F for about 20 minutes, or to your desired crispness. You can go longer if needed.
CAN I DOUBLE OR TRIPLE THE RECIPE?
Yes, you can double the recipe; in fact, if your family is like mine, you may want to double this recipe! These bread sticks are so good that they’re typically devoured.
Although do note that you will already get 16 breadsticks out of 4 quartered hot dug buns. That being said, simply use more hot dug buns and adjust the other ingredients as necessary.
CAN I ADD OTHER SEASONINGS?
Yes, the choices for seasoning breadsticks are endless.
- Some of our favorite breadstick seasonings and herbs include garlic powder, oregano, basil, parsley, and even rosemary.
- You can lightly sprinkle parmesan cheese on the breadsticks before they bake, giving it plenty of time to blend with the other ingredients!
- You can even omit the garlic seasoning and go for an entirely different flavor, such as everything bagel or sour cream ‘n’ onion breadsticks!
Don’t be afraid to get creative when it comes to flavoring your homemade breadsticks.
CAN I MAKE A GLUTEN-FREE VERSION?
Making hot dog bun bread sticks gluten-free is especially easy to do. You can simply use gluten-free hot dug buns, and there is an equally delicious gluten-free version of the Salad Supreme Seasoning.
Just be sure to always check all of your ingredient labels to ensure that they are gluten-free!
WHAT TO SERVE WITH BREADSTICKS
- Spaghetti and Meatballs
- Hawaiian Pizza
- 30-Minute Pasta Salad
- Spaghetti Squash Chicken Alfredo
- Chicken and Gnocchi Soup
CAN I FREEZE LEFTOVER BREADSTICKS?
Yes, you can simply bag the leftovers and place them in the freezer for a later date. Be sure to put them in a freezer bag or sealed container.
You can also tightly wrap them in plastic wrap and aluminum foil if you don’t have any bags or containers.
MORE BREAD RECIPES YOU’LL LOVE:
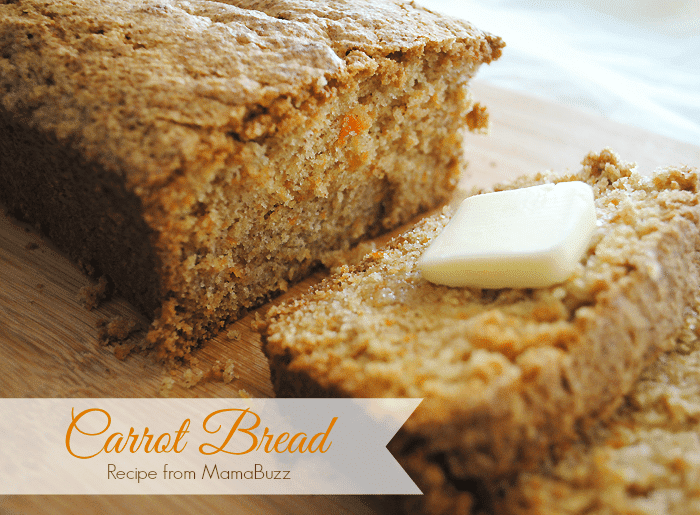
Homemade bread is the best, and butterhorn rolls are no exception; they’re absolutely delicious topped with butter and honey.
My grandma’s biscuits from scratch are a tried and true family favorite!
GET THE PRINTABLE RECIPE
If you love this quick and easy breadsticks recipe as much as I do, please write a 5 star review, and help me share the recipe on Facebook and Pinterest!
CRAVING MORE DELICIOUS RECIPES? Subscribe to my newsletter, and follow along on Pinterest, Facebook, YouTube, and Instagram for all the latest updates!
Quick and Easy Hot Dog Bun Breadsticks
How to make soft and fluffy hot dog bun breadsticks with just 3 simple ingredients. Quick and easy recipe you can serve with dinner tonight!
- Pyrex Glass Measuring Cup Set (3-Piece, Microwave and Oven Safe),Clear
- McCormick Salad Supreme Seasoning, 8.25 OZ (Pack of 1)
- Checkered Chef Pizza Cutter Sharp Rocker Blade With Cover | Heavy Duty Stainless Steel
- Pyrex Glass Mixing Bowl Set (3-Piece Set, Nesting, Microwave and Dishwasher Safe)
- Basting Brush Silicone, Pastry Brushes Set Heat Resistant Spread Oil Butter Sauce Marinades Set of 5
- Wildone Baking Sheet & Rack Set Size 16 x 12 x 1 Inch, Non Toxic & Heavy Duty & Easy Clean
- 8 tablespoons salted butter (melted)
- 4 teaspoons Salad Supreme Seasoning
- 4 hot dog buns
- First slice the hot dog buns into length-wise quarters on a cutting board.
- In a measuring cup or mixing bowl, mix together the melted butter and Salad Supreme seasoning.
- You can either spread the butter mixture on the sliced hot dog buns with a brush, or do like me and just dip each breadsticks into the mixture.
- Place each breadstick on a baking sheet, and bake at 300° F for about 20 minutes, or to your desired crispness. You can go longer if needed.
CAN I DOUBLE OR TRIPLE THE RECIPE?
Yes, you can double the recipe; in fact, if your family is like mine, you may want to double this recipe! These bread sticks are so good that they’re typically devoured. Although do note that you will already get 16 breadsticks out of 4 quartered hot dug buns. That being said, simply use more hot dug buns and adjust the other ingredients as necessary.
CAN I MAKE A GLUTEN-FREE VERSION?
Making hot dog bun bread sticks gluten-free is especially easy to do. You can simply use gluten-free hot dug buns, and there is an equally delicious gluten-free version of the Salad Supreme Seasoning. Just be sure to always check all of your ingredient labels to ensure that they are gluten-free!
CAN I ADD OTHER SEASONINGS?
Yes, the choices for seasoning breadsticks are endless.
- Some of our favorite breadstick seasonings and herbs include garlic powder, oregano, basil, parsley, and even rosemary.
- You can lightly sprinkle parmesan cheese on these breadsticks before they bake, giving it plenty of time to blend with the other ingredients!
- You can even omit the garlic seasoning and go for an entirely different flavor, such as everything bagel or sour cream ‘n’ onion breadsticks!
Don’t be afraid to get creative when it comes to flavoring your homemade breadsticks.
CAN I FREEZE LEFTOVER BREADSTICKS?
Yes, you can simply bag the leftovers and place them in the freezer for a later date. Be sure to put them in a freezer bag or sealed container. You can also tightly wrap them in plastic wrap and aluminum foil if you don’t have any bags or containers.