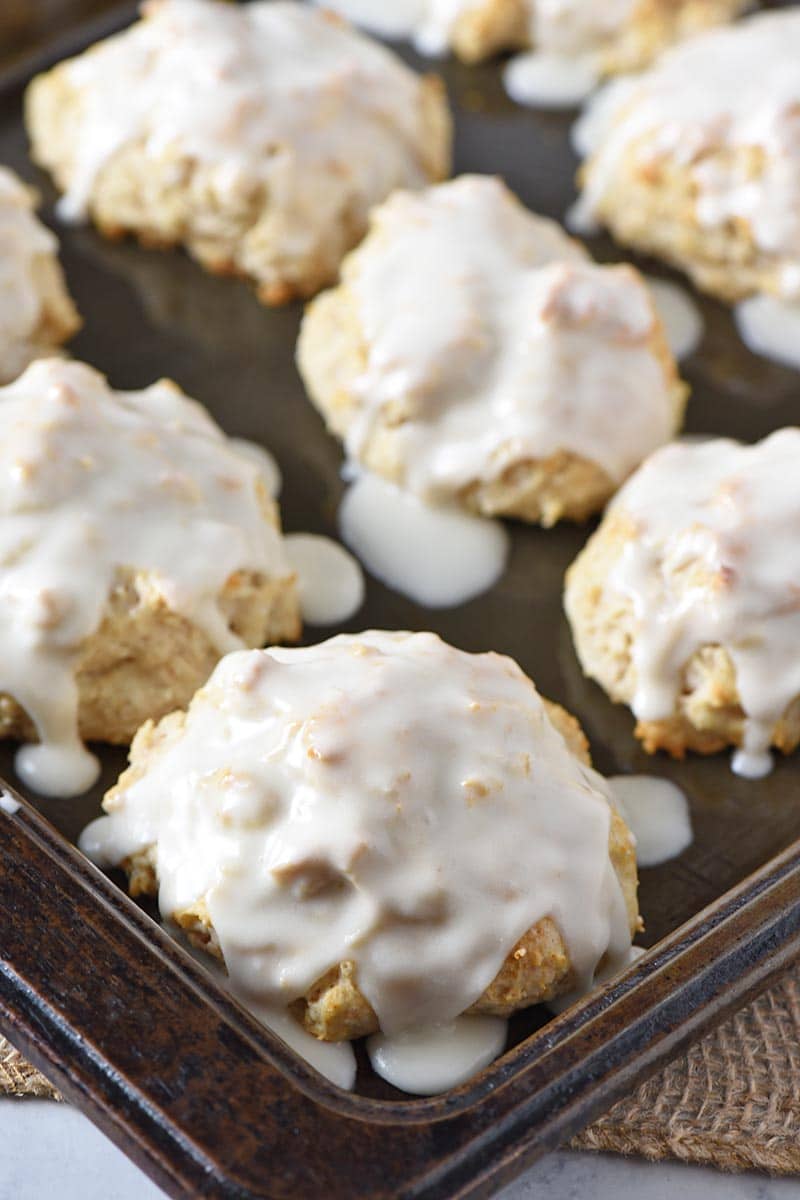
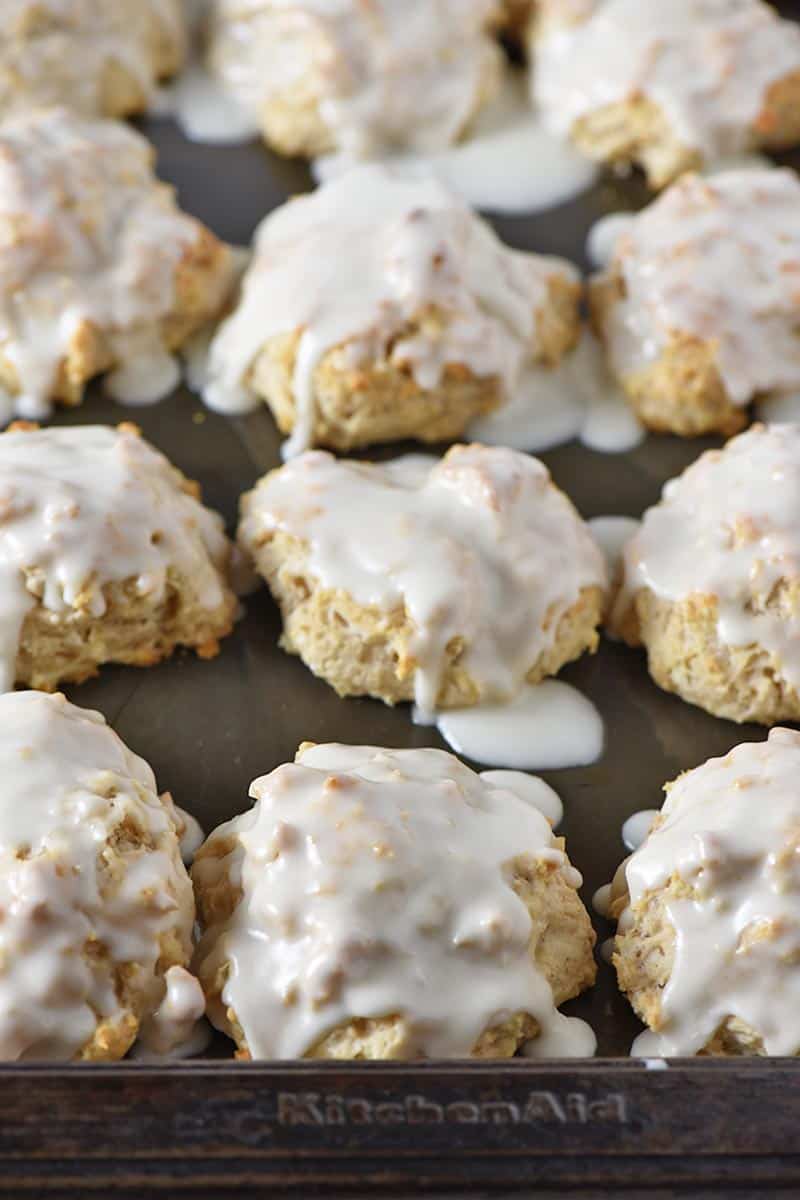
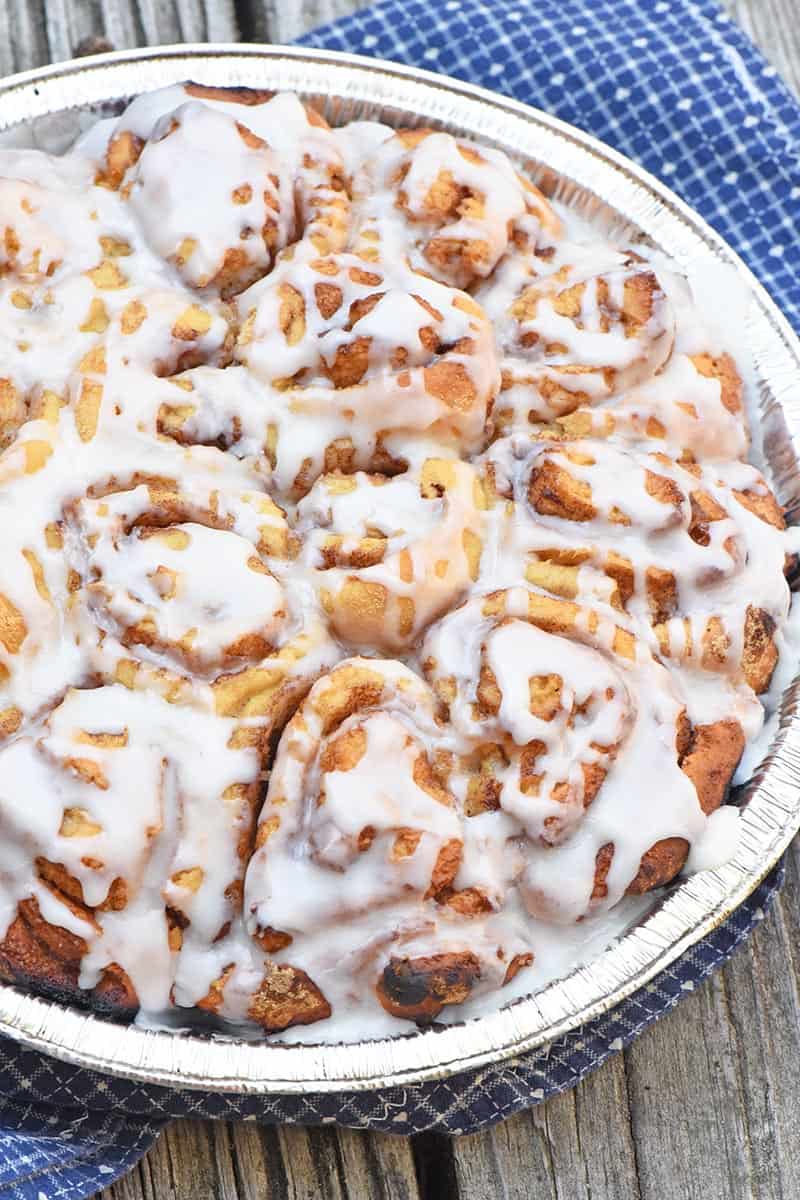
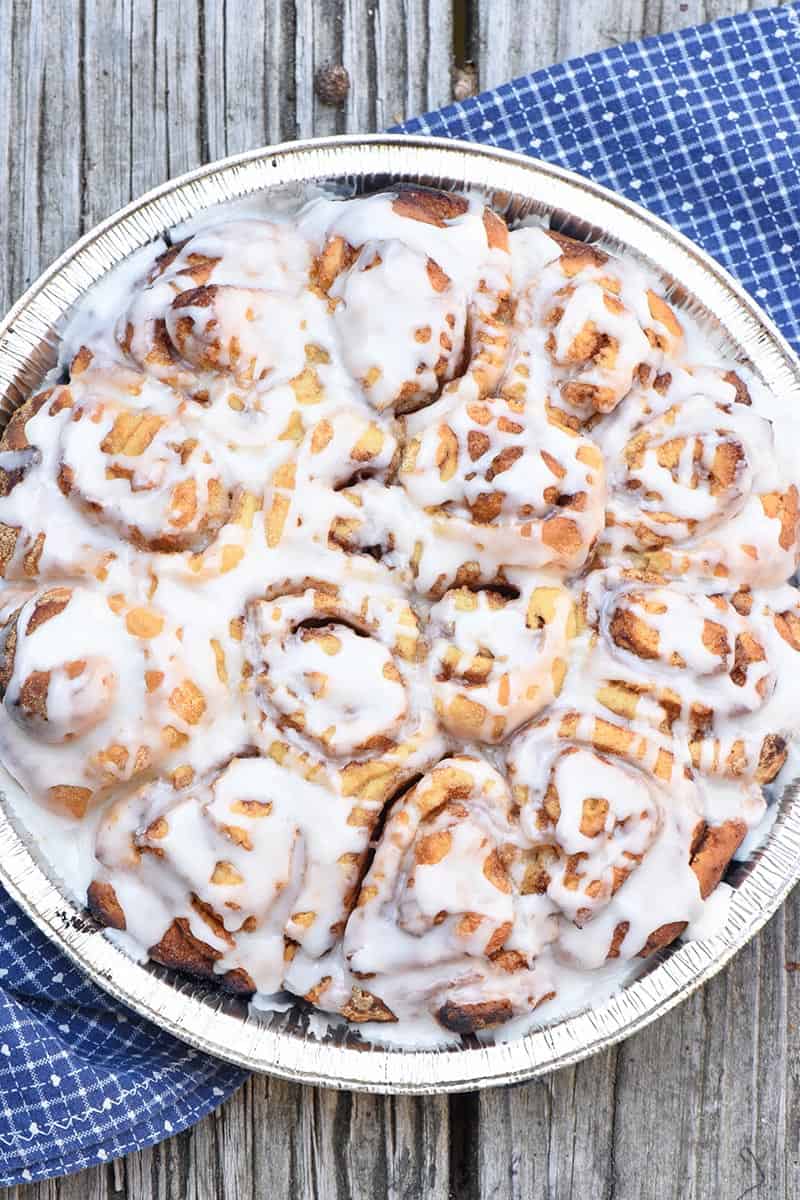
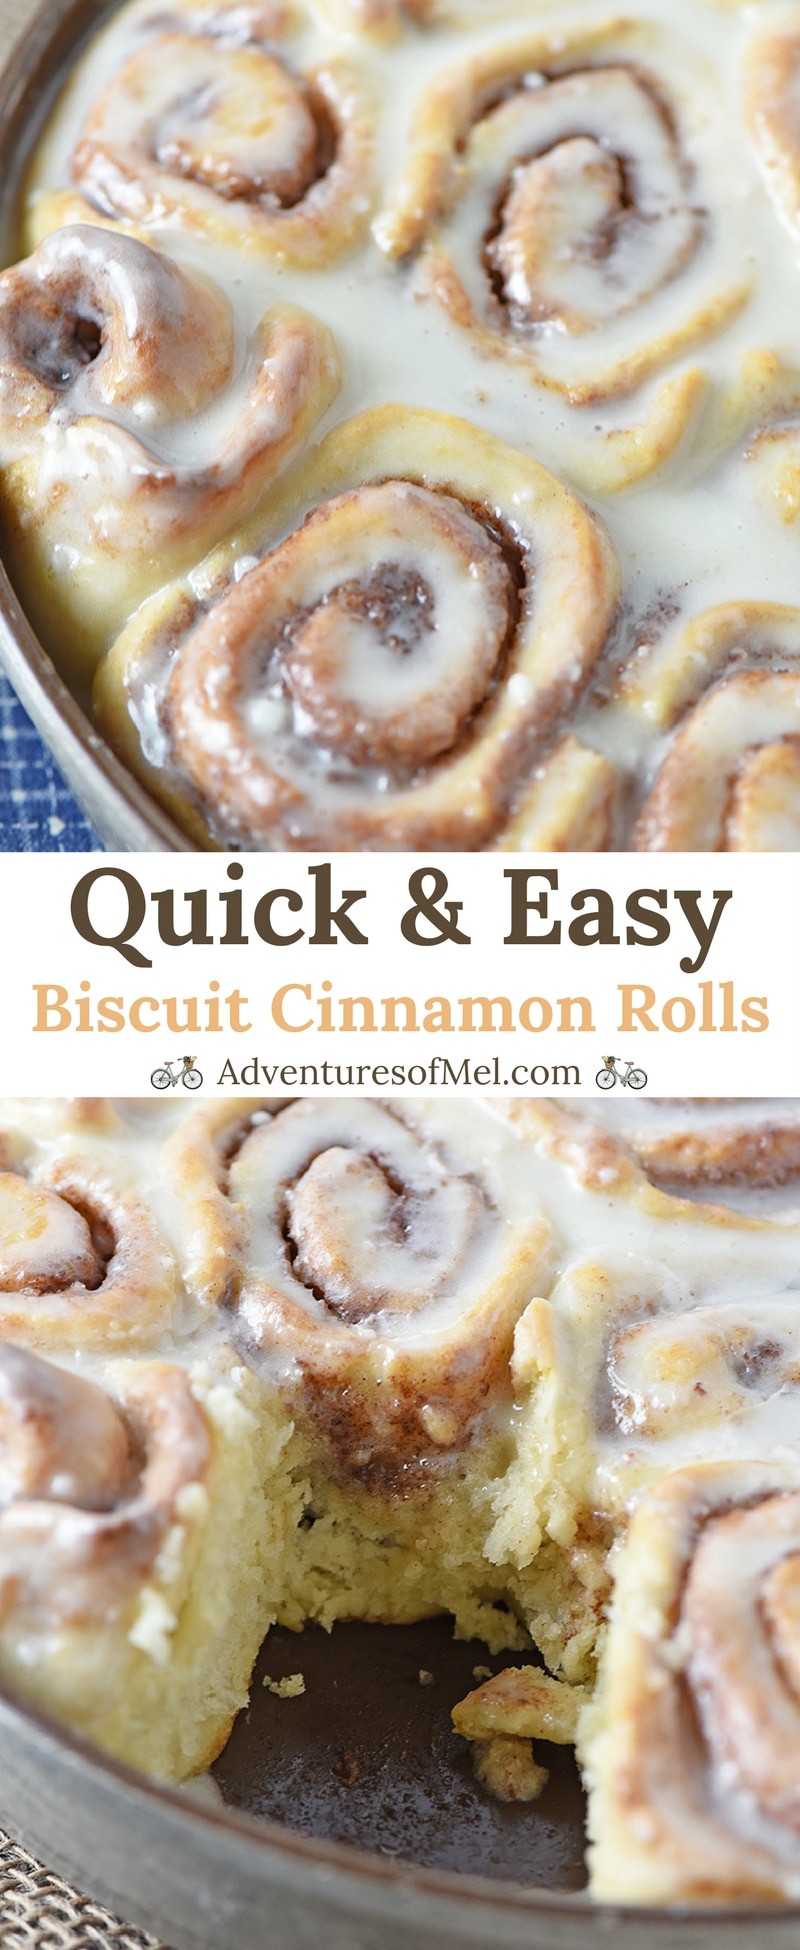
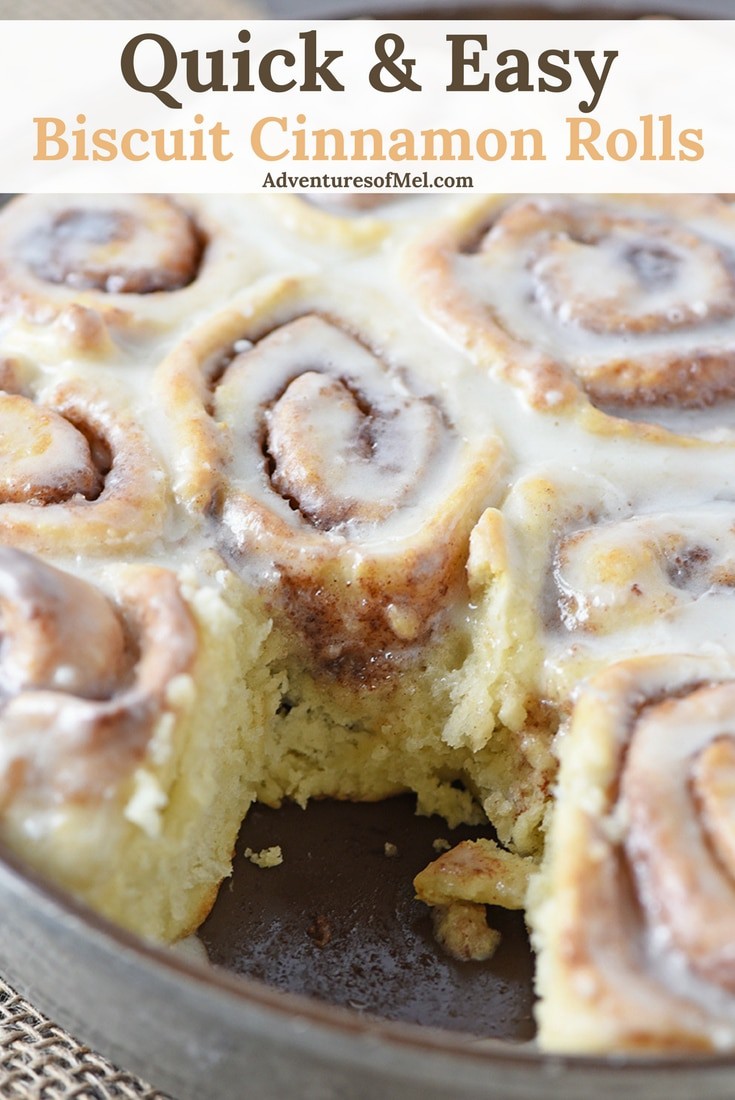
How to make wonderful Bisquick cinnamon scones, brushed with buttermilk and sprinkled with sweet cinnamon sugar. Easy breakfast recipe!
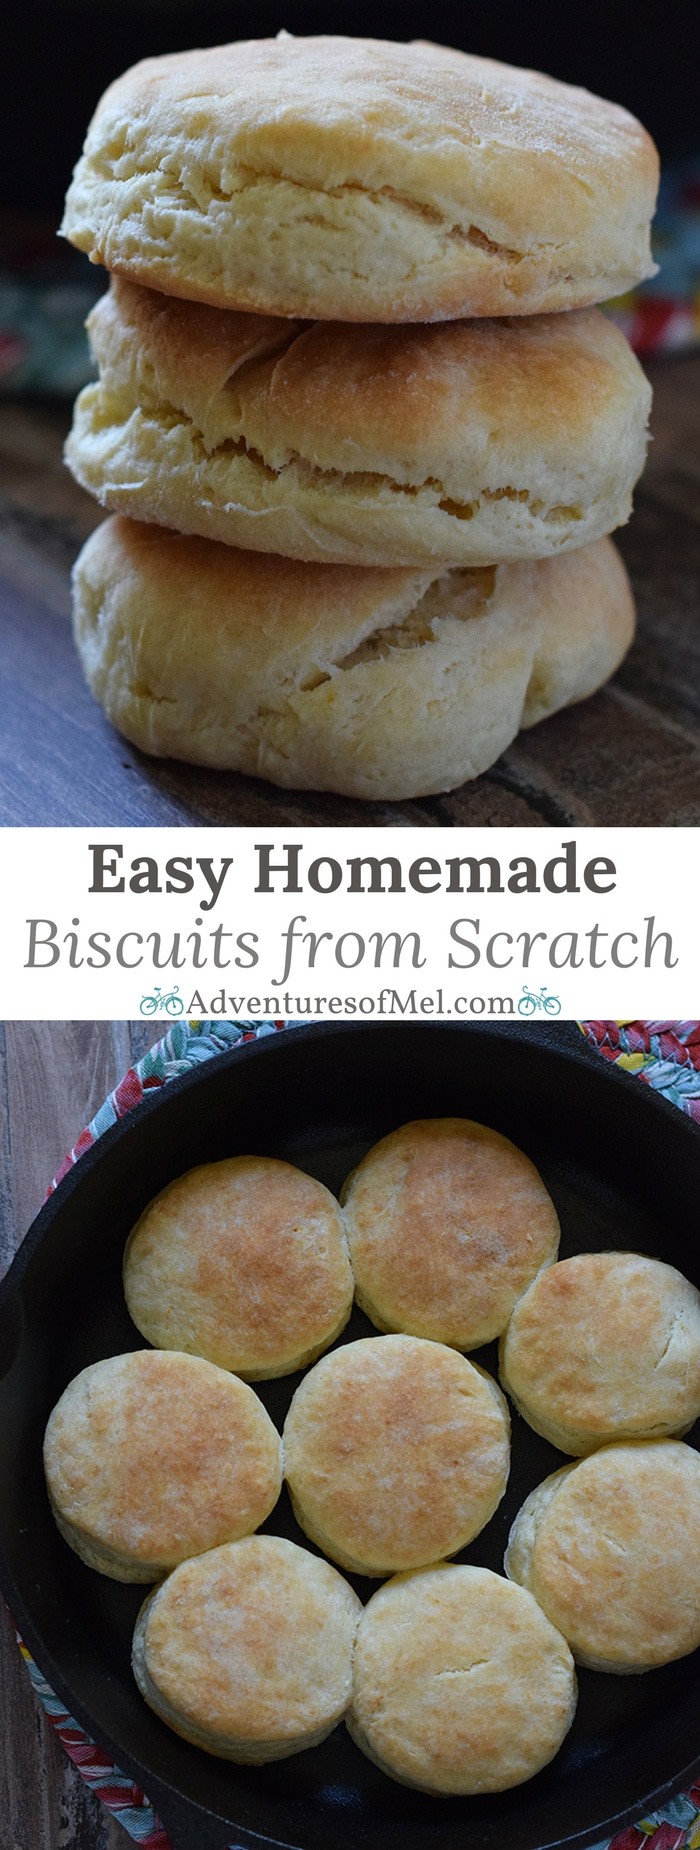
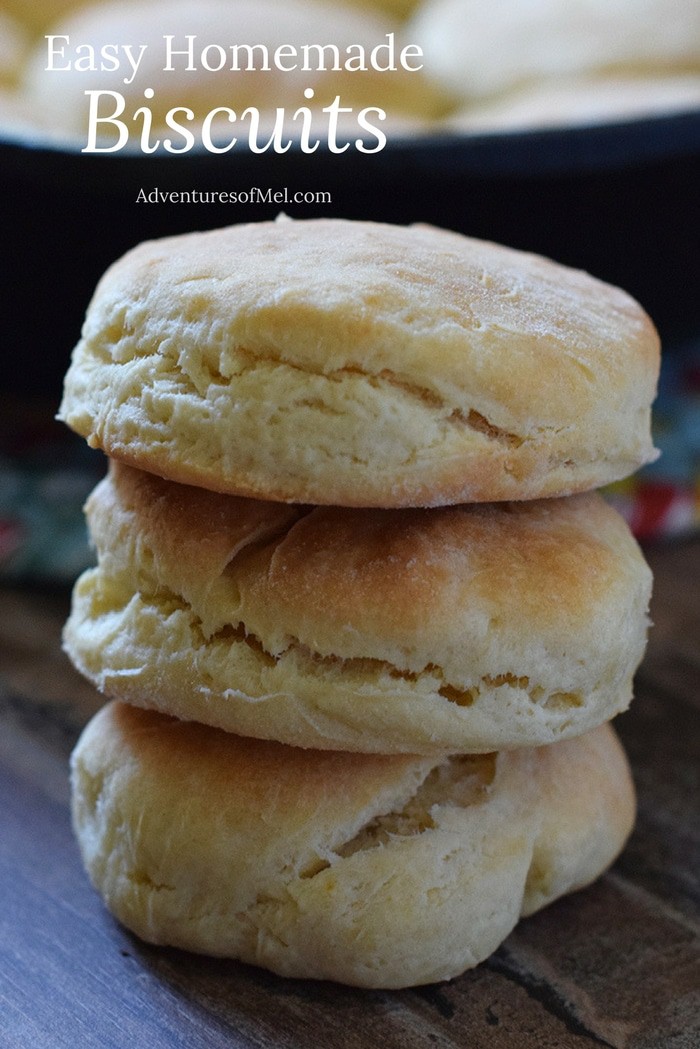
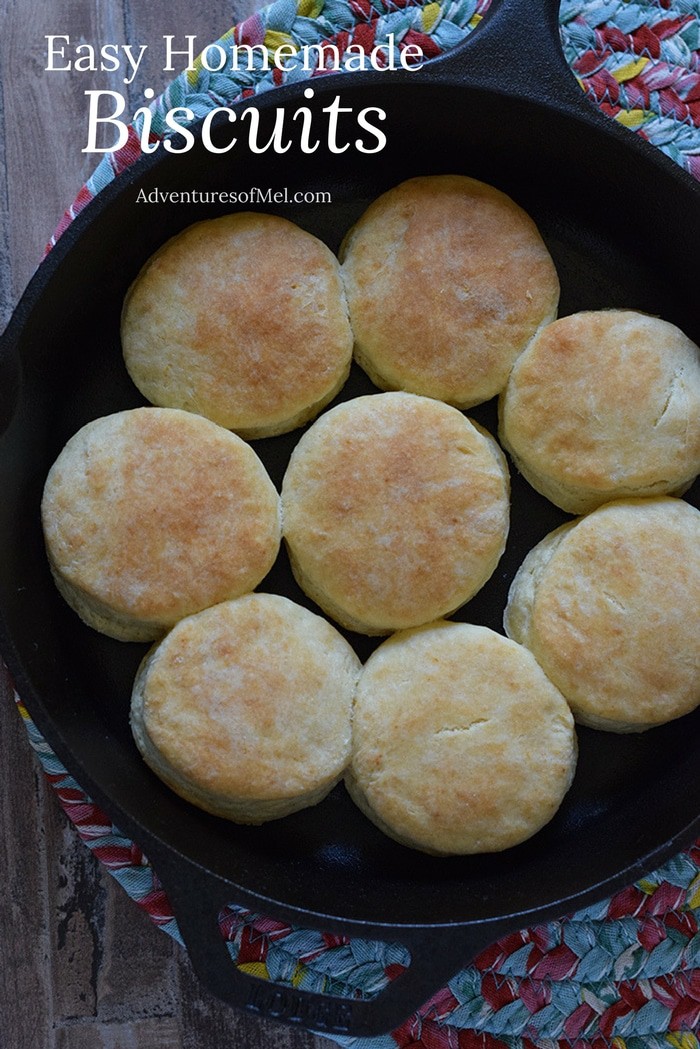
My Bisquick cinnamon biscuits recipe is a much-loved recipe, and I love making them. So much so, I thought it’d be fun to make Bisquick drop scones and add them to my Bisquick recipe files.
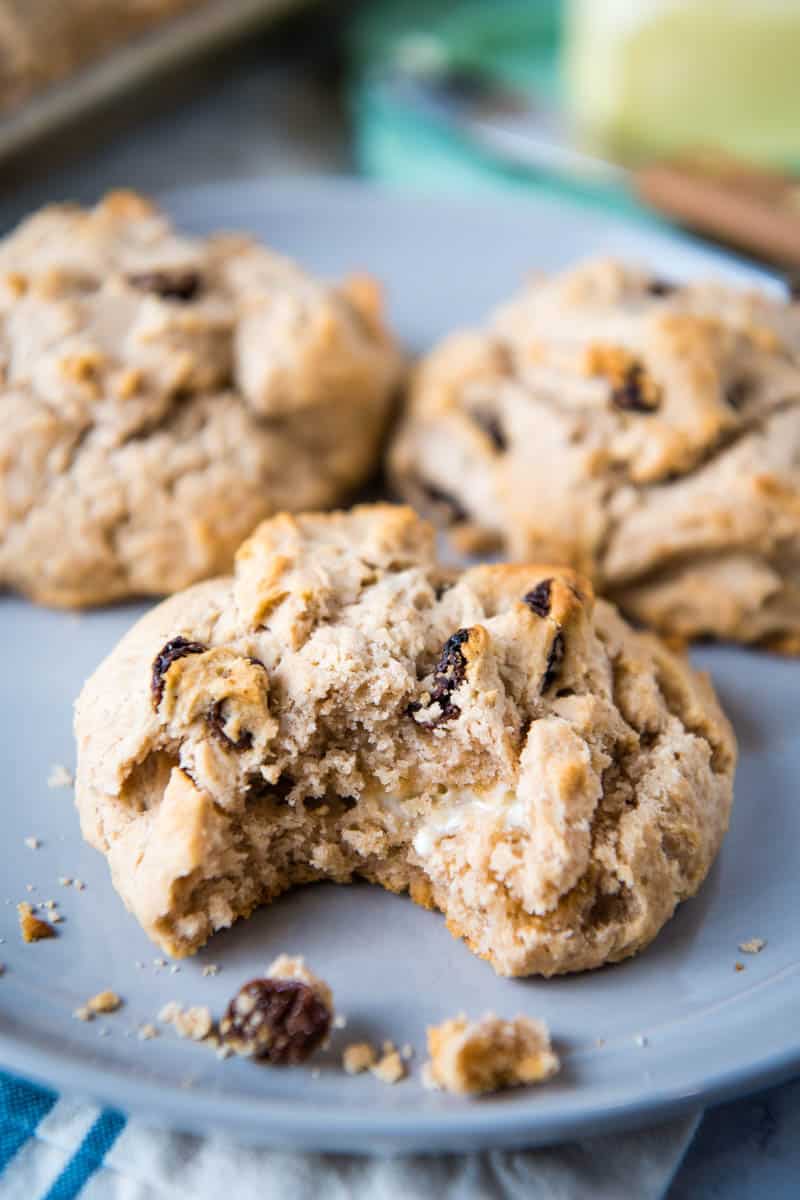
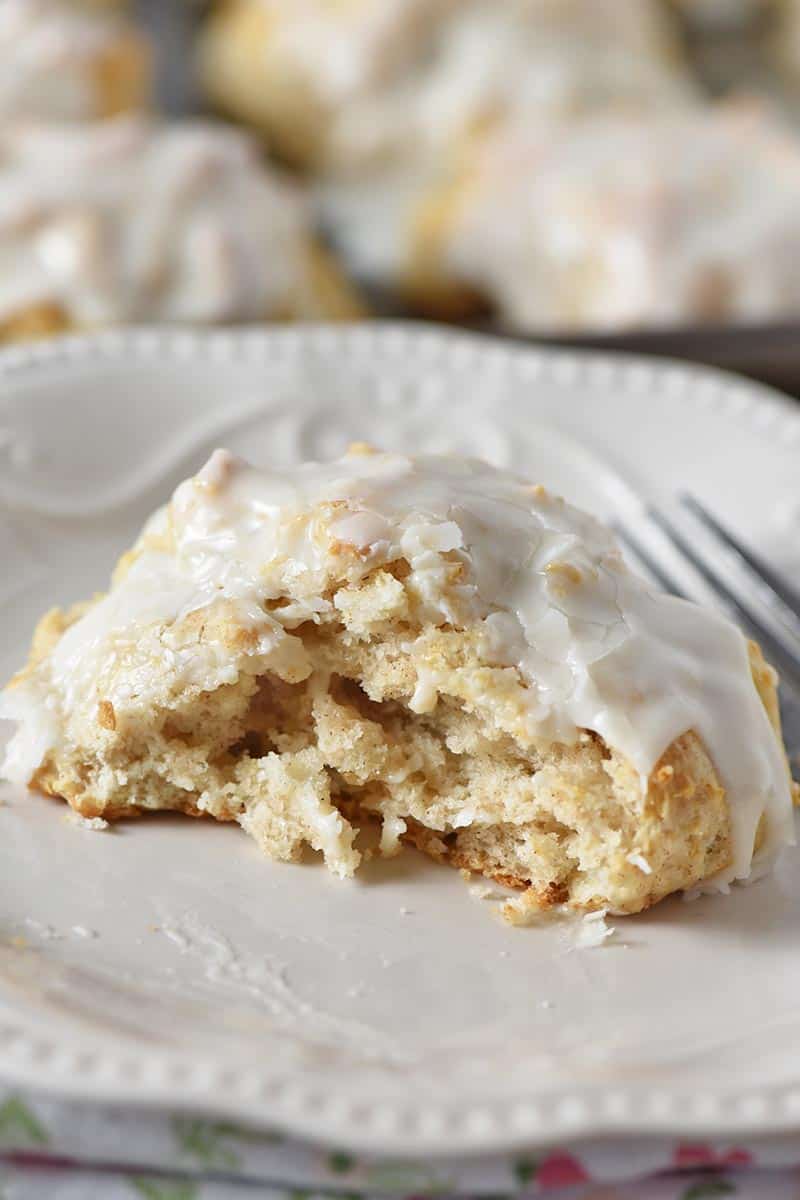
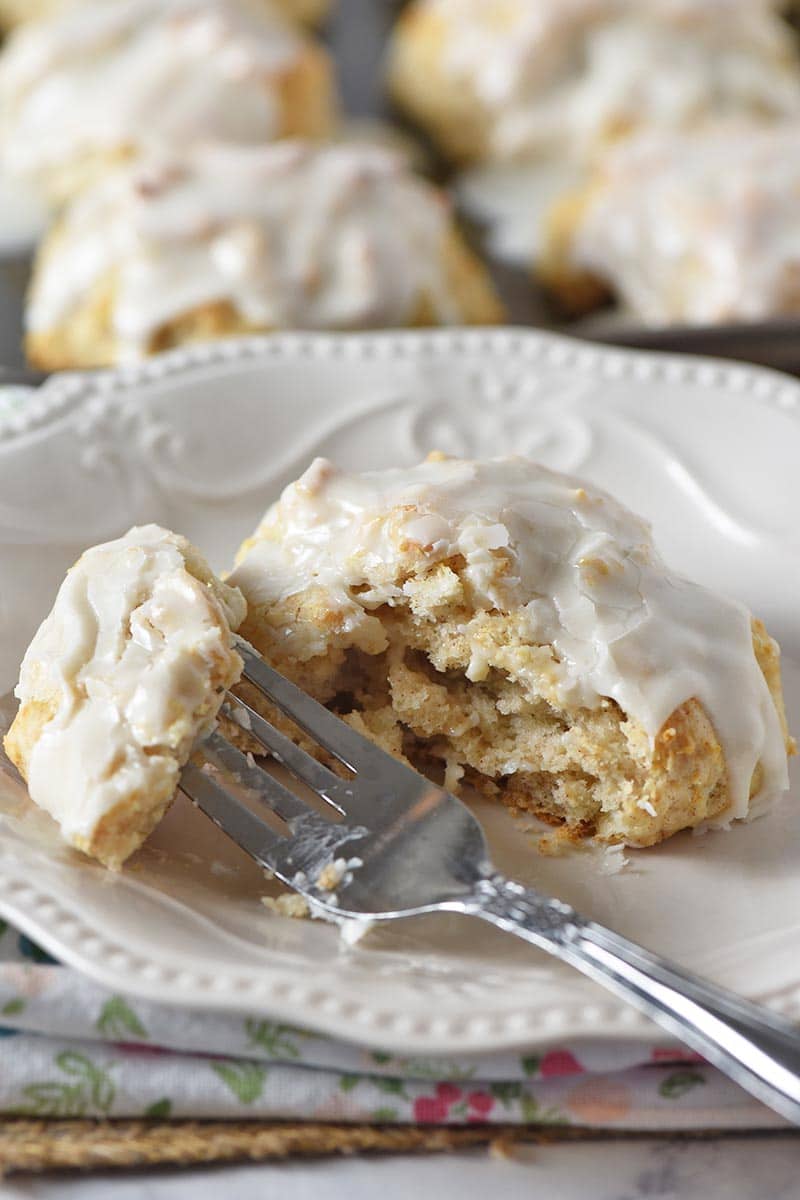
Instead of just biscuit mix and water, I make these similar to my Irish soda scones. Ingredients like butter, egg, vanilla extract, and buttermilk give a flavor and texture that’s hard to beat.

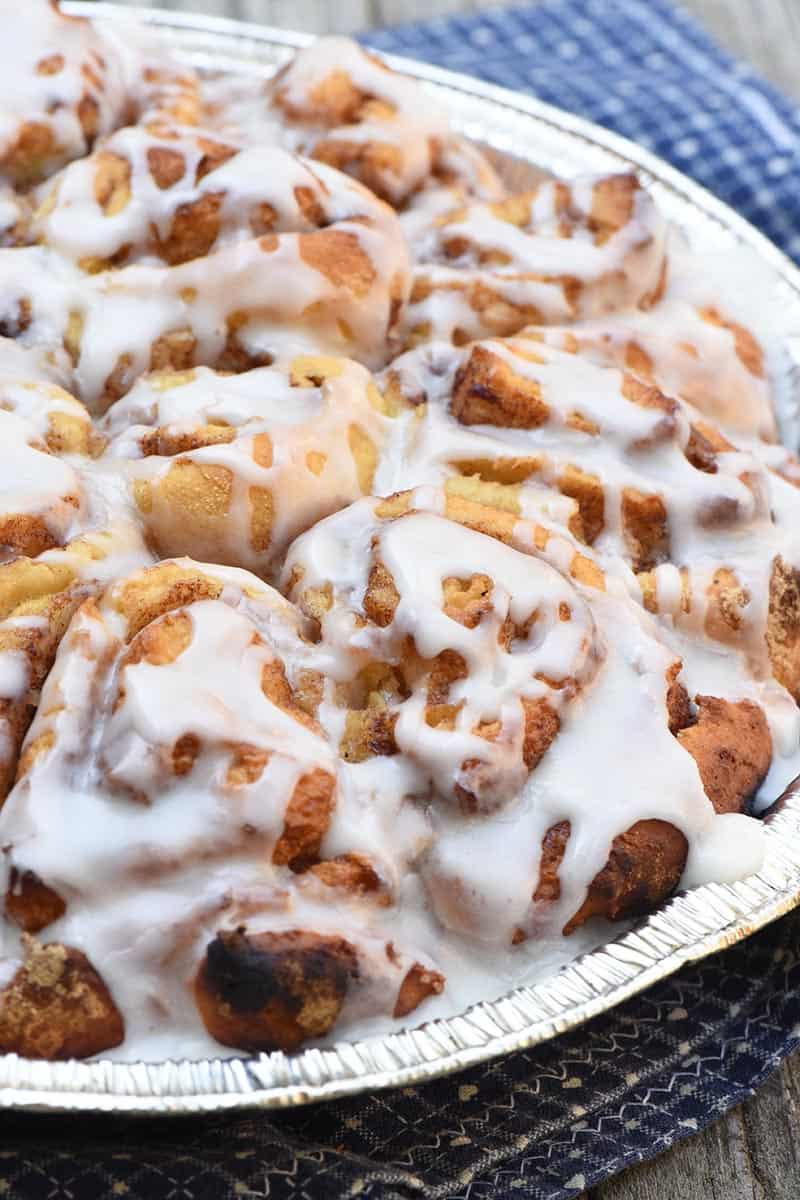
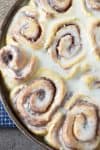
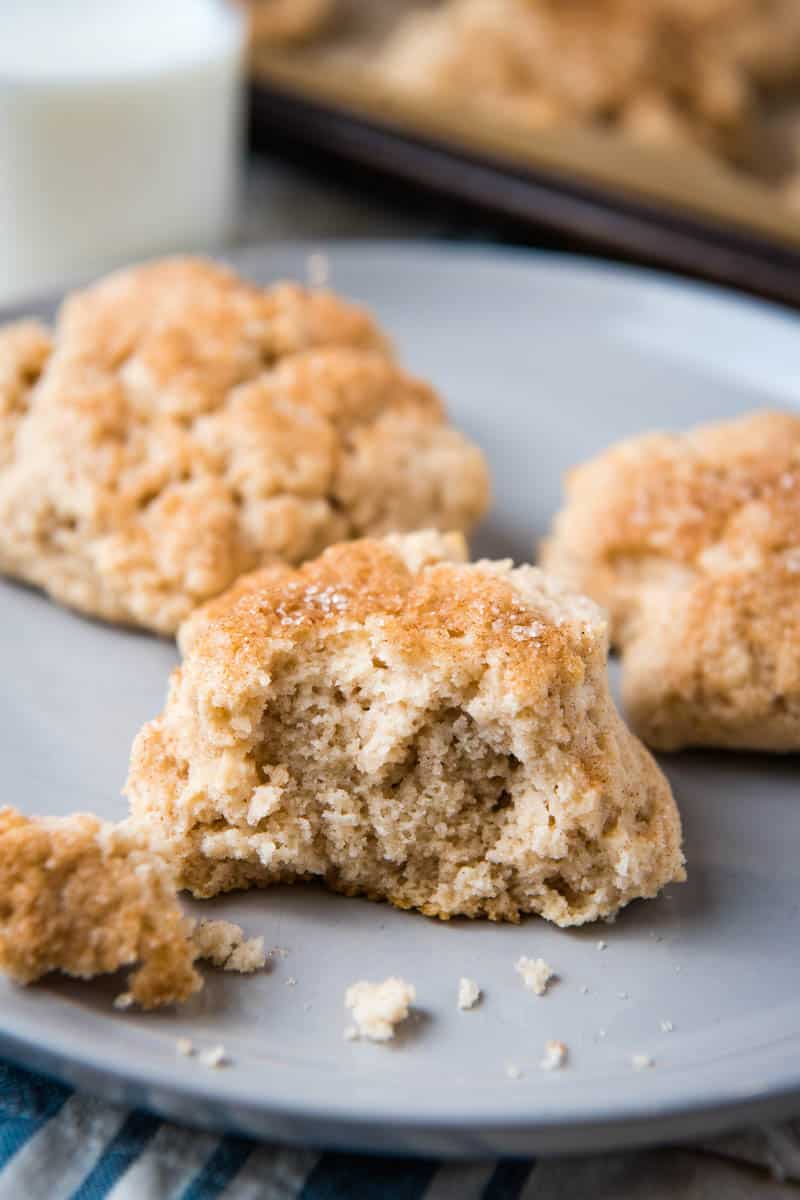
Oh and the crispy cinnamon sugar topping… Brush these babies with a little dab of buttermilk, sprinkle a little cinnamon sugar, and you’ve got a soft biscuit with a sweet, crispy top. Soooo good!!!
Now let’s say you’re just not that into Bisquick. That’s ok, because my friend Kelly over at The Scone Blog (it’s all scones!) makes a delicious cinnamon scones recipe without biscuit mix.
If, however, you are into Bisquick as much as I am, read on, my friend. Let’s make some sweet breakfast treats, shall we?
WHERE CAN I FIND THE ACTUAL RECIPE CARD?
If you’d rather skip all of my scone baking tips, important info for this recipe, and similar recipe ideas – and get straight to the cinnamon Bisquick scone recipe – just scroll down to the bottom, where you’ll find a printable recipe card.
LET’S TALK ABOUT THE INGREDIENTS:
The right ingredients are the secret to making good Bisquick scones.

Bisquick Baking Mix: While I prefer to use Bisquick, you can use any baking mix you prefer; just keep in mind, I can’t guarantee how other mixes may change the texture, fluffiness, etc.
Unsalted Butter: I use unsalted butter because I want a little more control over how salty my scones are.
Egg: The egg helps to bind the ingredients together. It helps make scones more fluffy and gives a richer flavor to them too.
Buttermilk: I use this buttermilk mix to make buttermilk. But if you don’t have either buttermilk or a mix, you can make your own with about 1 tablespoon of vinegar for every cup of milk you use. Just let the mixture sit for a few minutes before adding to your scone mixture.
Cinnamon Chips: While I don’t use cinnamon chips, they are an optional add-in for even more cinnamon flavor.
Keep in mind, all of the ingredients and ingredient amounts you’ll need are in the printable recipe card below.
KITCHEN TOOLS AND EQUIPMENT YOU’LL NEED:
Large Mixing Bowl – I love my handled mixing bowls; the handle makes them easy to use.
Pastry Blender – This enables you to cut the cold butter into the dry ingredients. Although I’ve watched my grandma use a table knife in the past to do the same thing.
Baking Sheet with Parchment Paper
Pastry Brush – for brushing buttermilk on top of your scones.
HOW TO MAKE BISQUICK CINNAMON SCONES
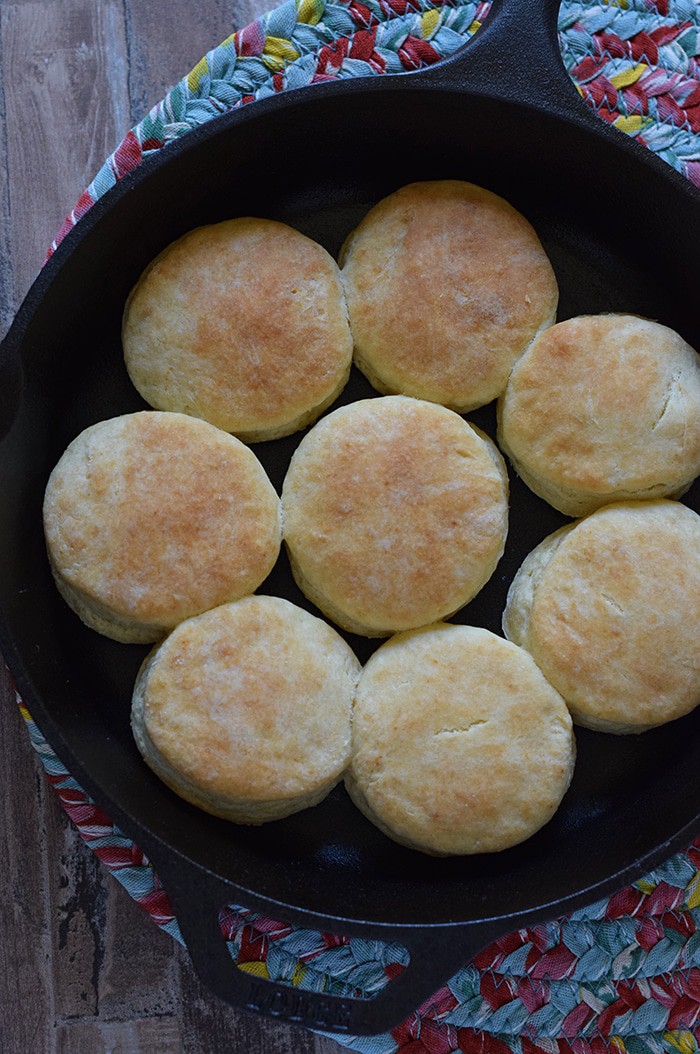
Before you get started mixing up your scone batter, be sure to pre-heat your oven to 400° F, and either grease a baking sheet, or add parchment paper to it. I prefer to use parchment paper because the scones just slide right off of it after baking.
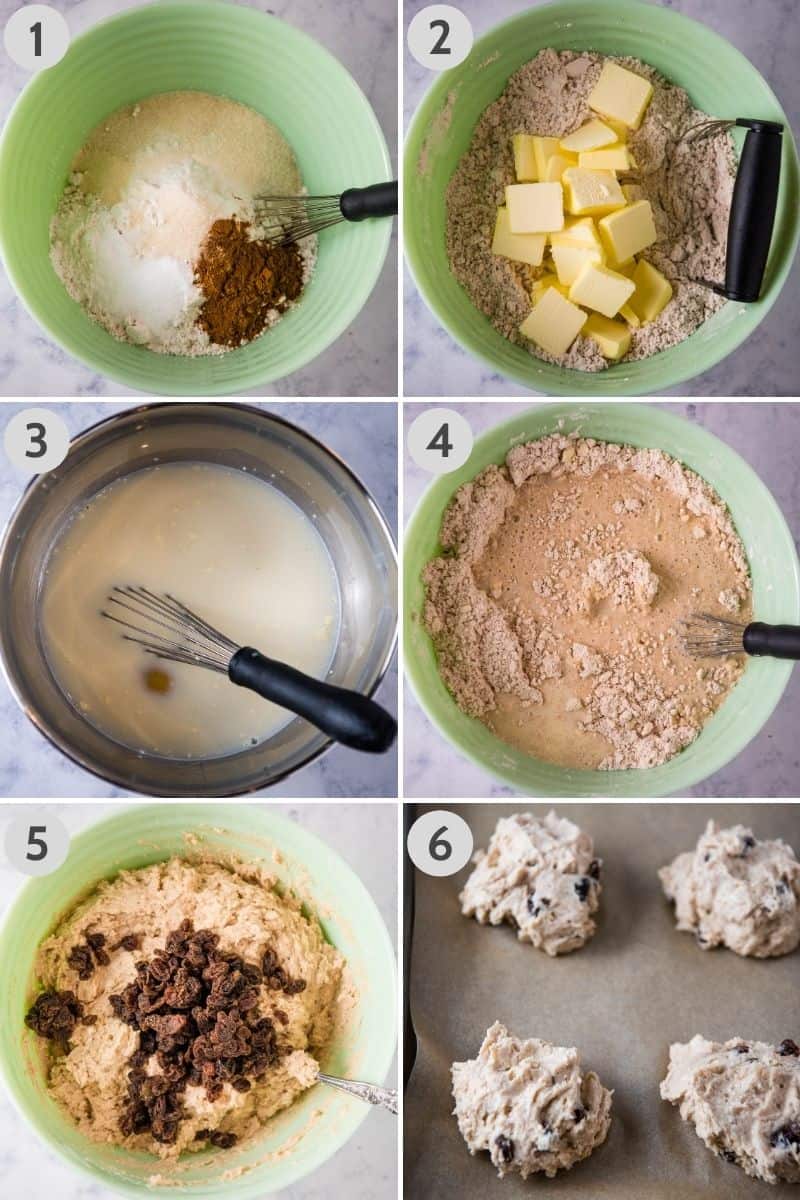
MIX UP YOUR BATTER…
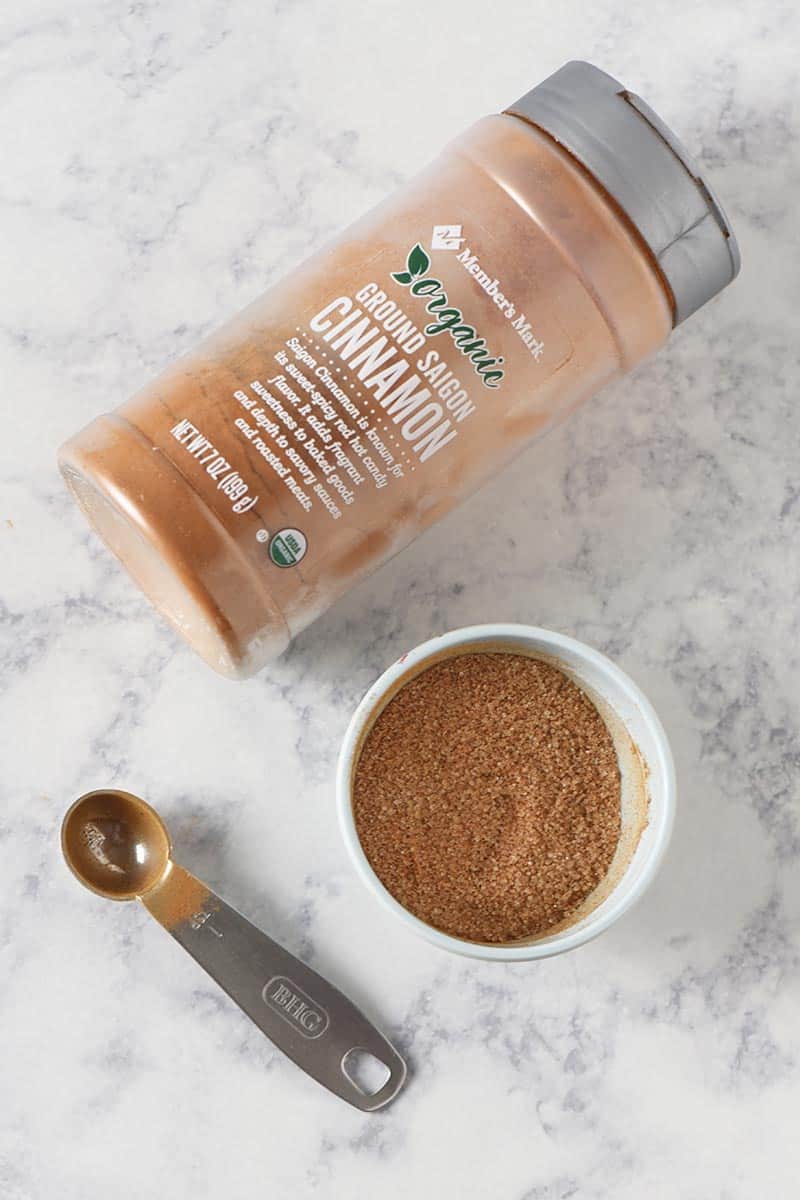
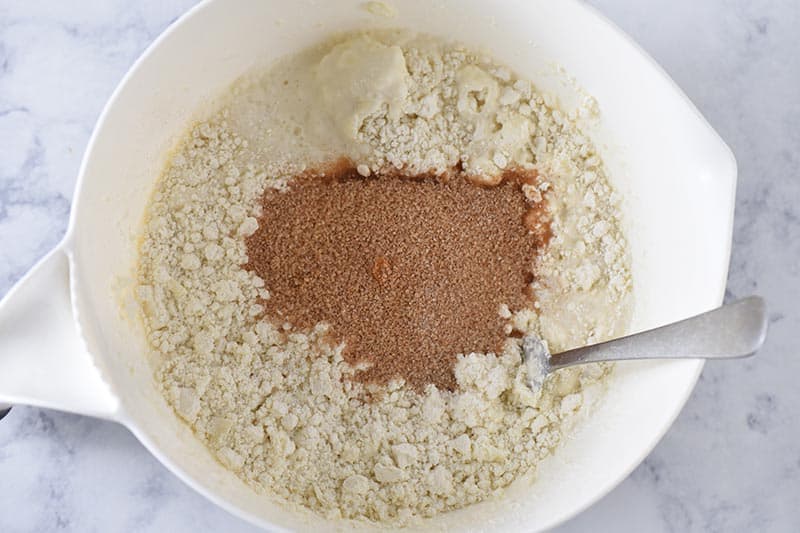
- Whisk Bisquick baking mix, sugar, and cinnamon together in a large mixing bowl.
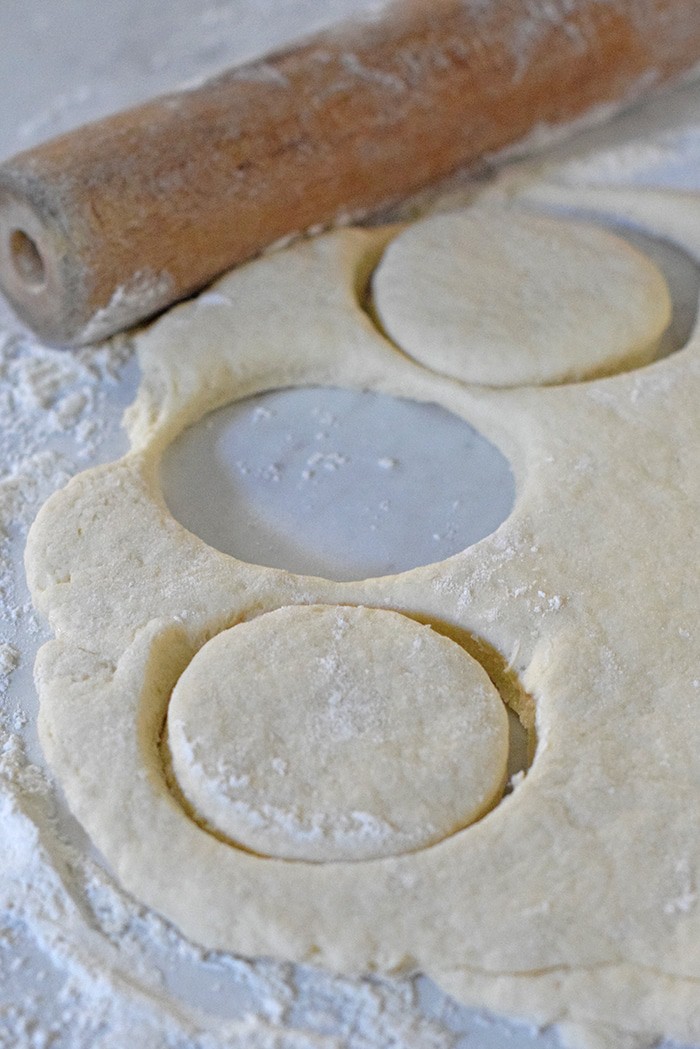
- Using a pastry blender (or table knife), cut the cold, sliced butter into the dry ingredients until the mixture consists of fine crumbles.
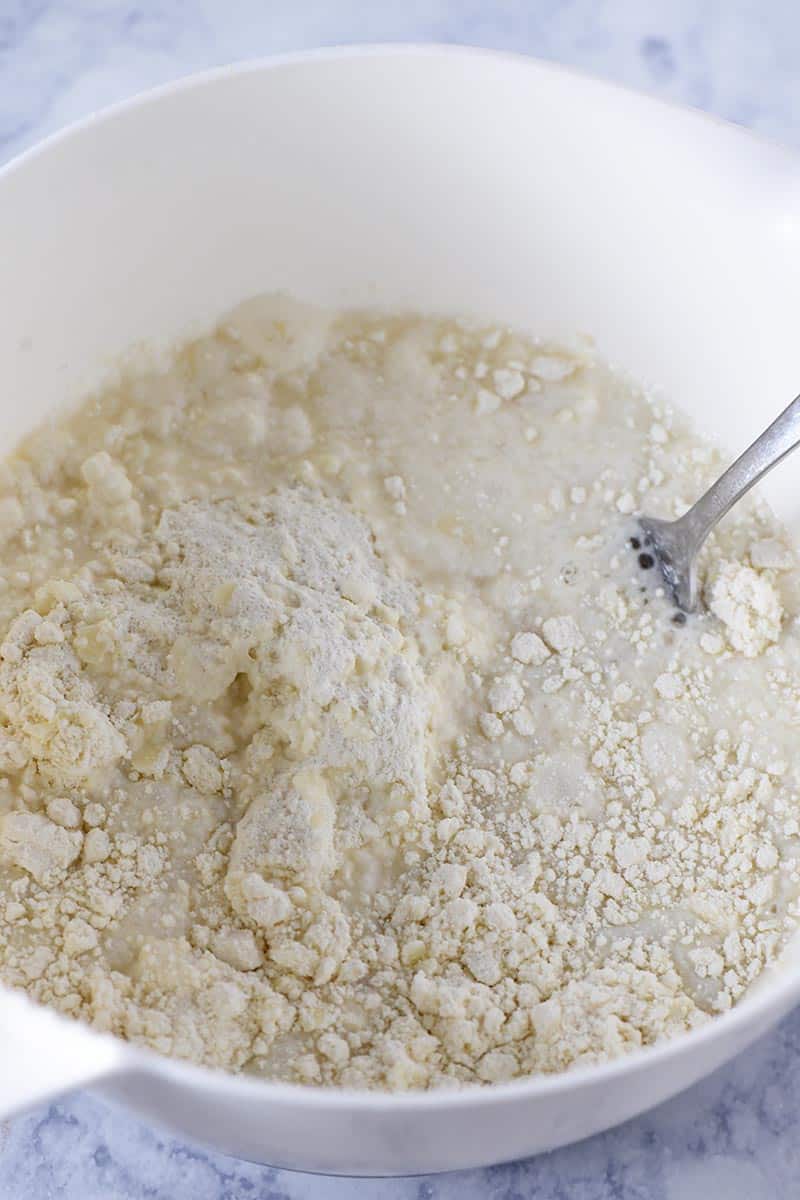
- In a separate measuring cup or bowl, beat the egg, vanilla extract, and buttermilk together; and add to the dry ingredients.
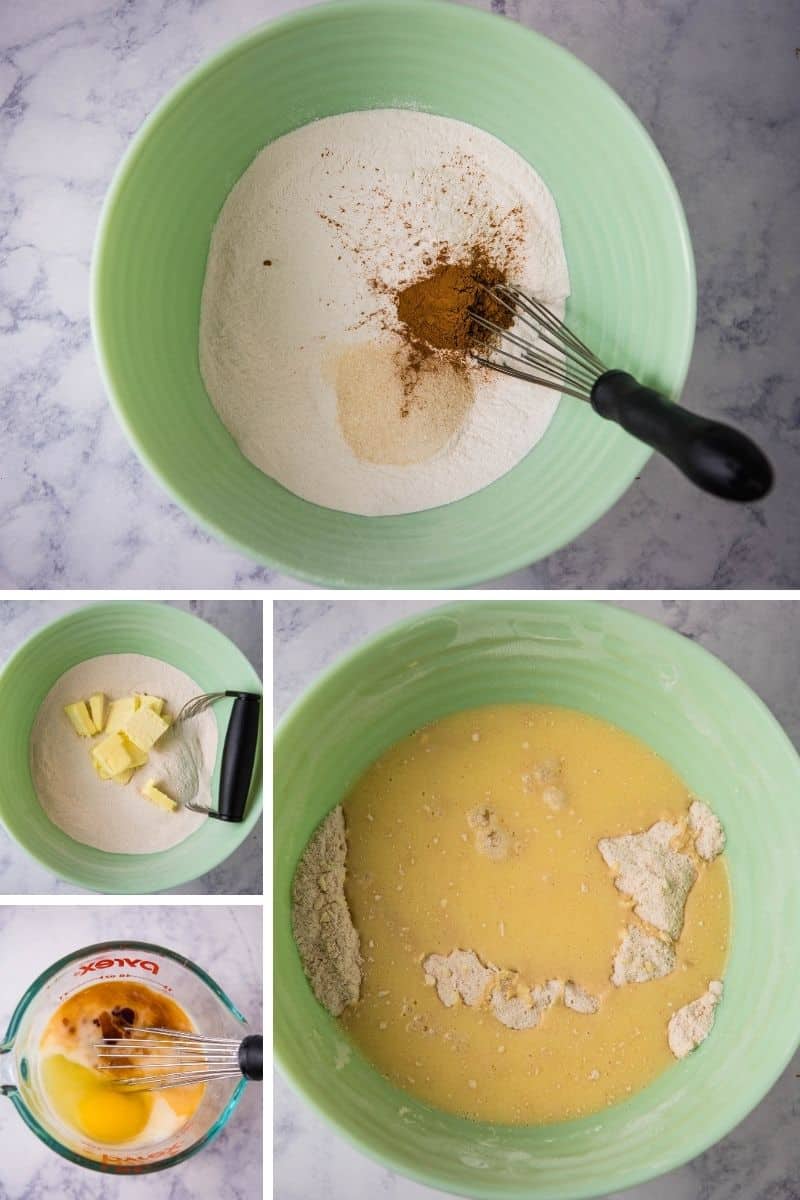
- Mix the egg mixture into the dry ingredients, just ’til blended. Be careful not to overmix.
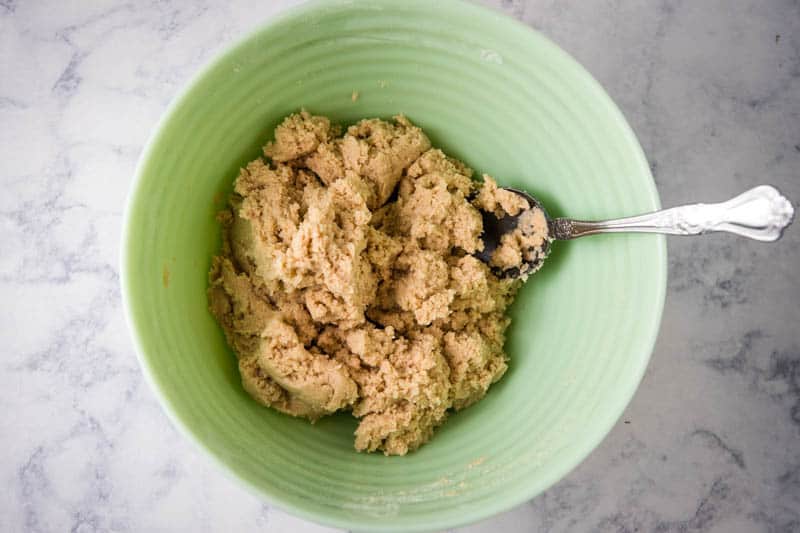
An optional step here would be to fold the cinnamon chips into the dough if you want. By fold, I mean to gently stir them into the dough.
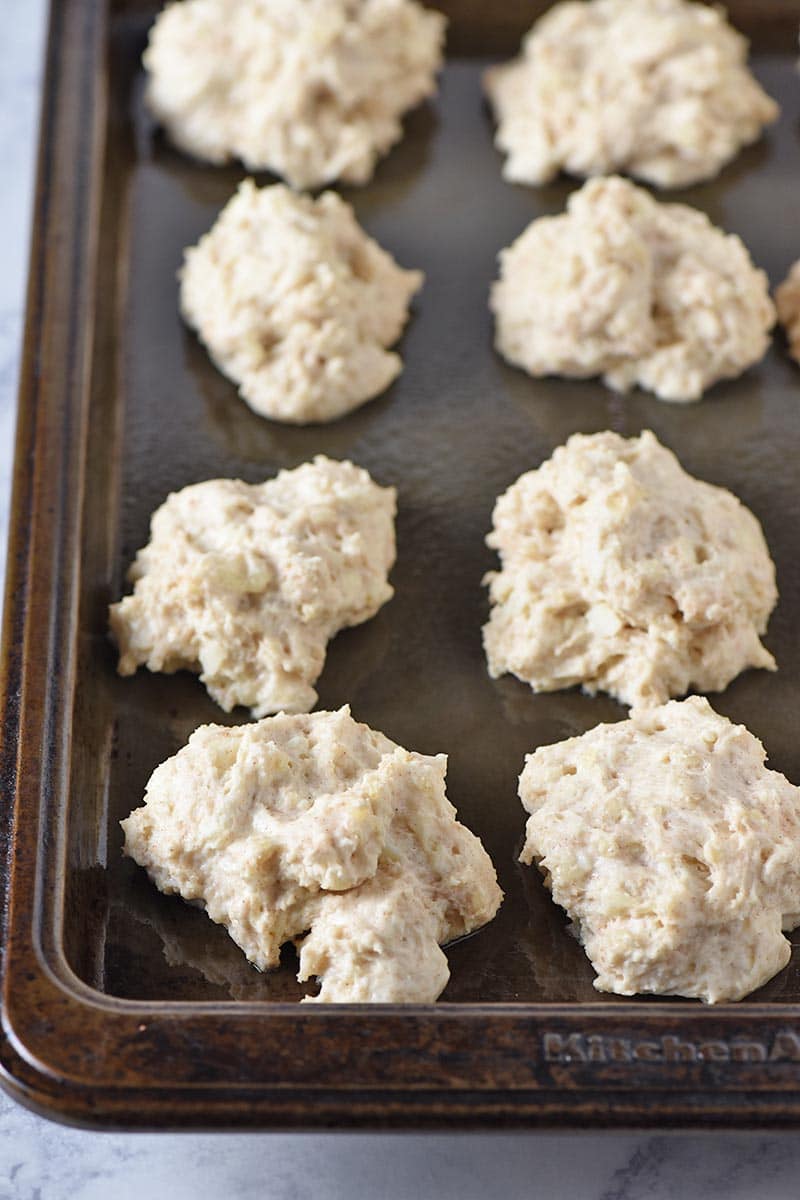
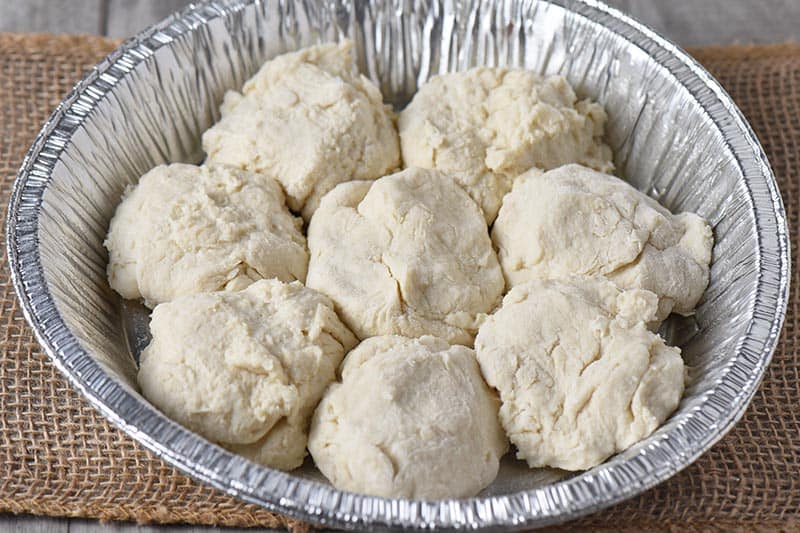
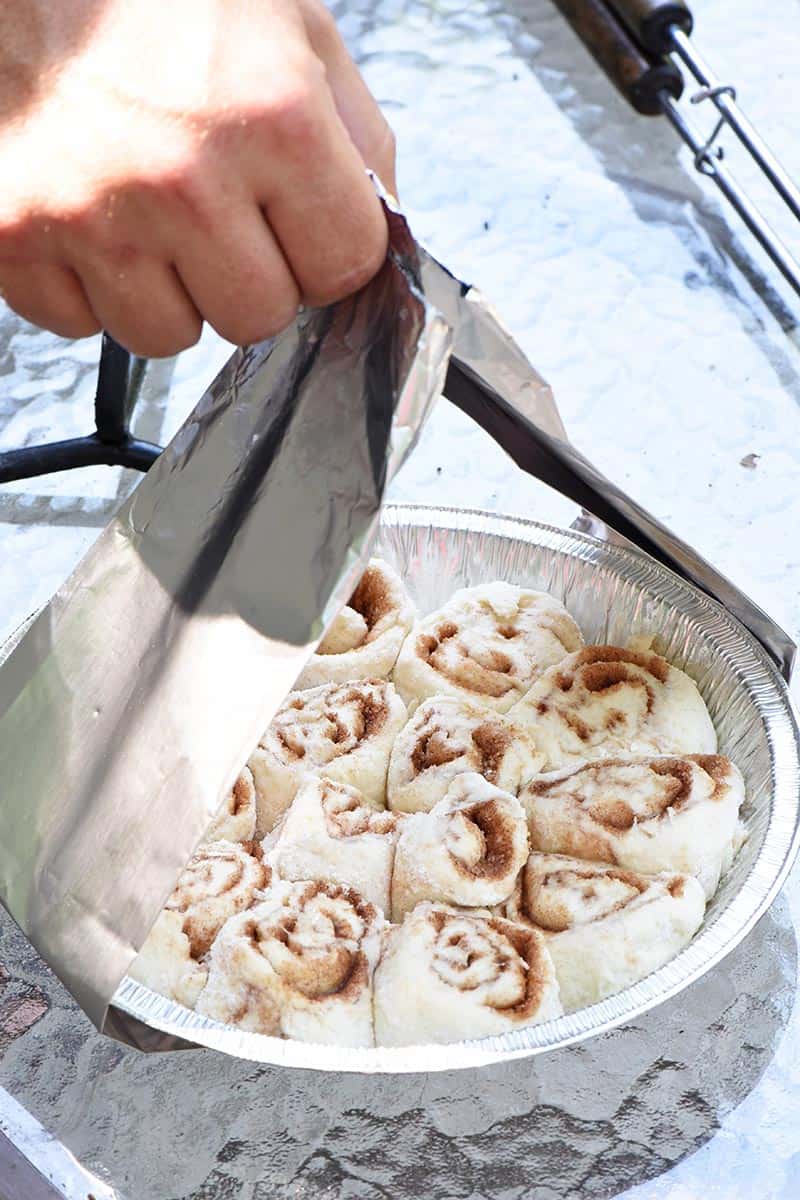
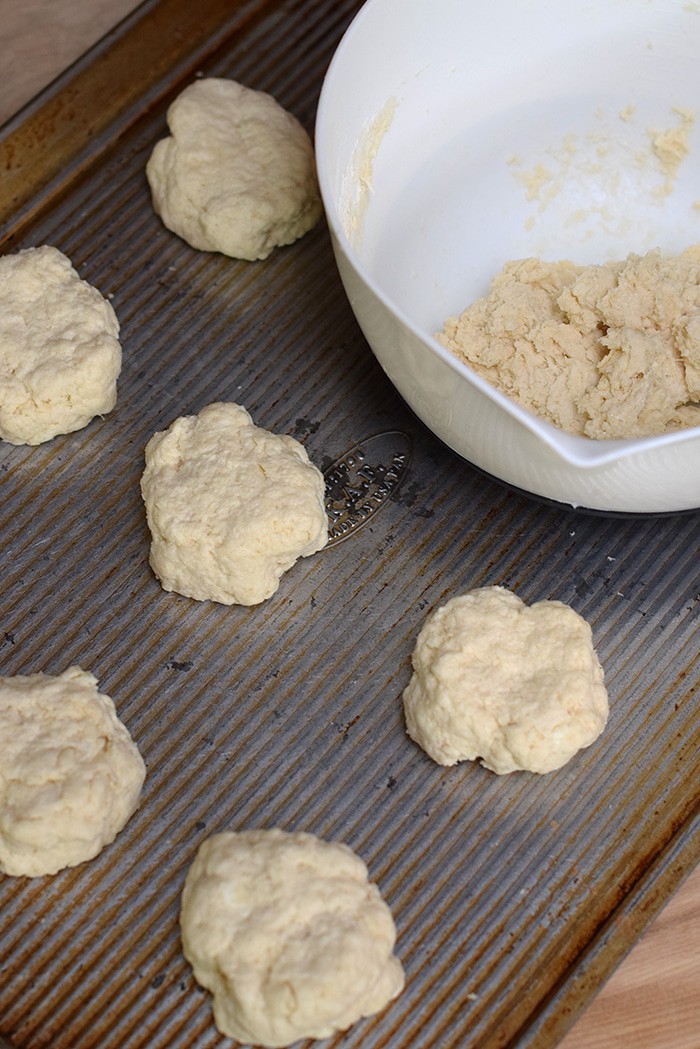
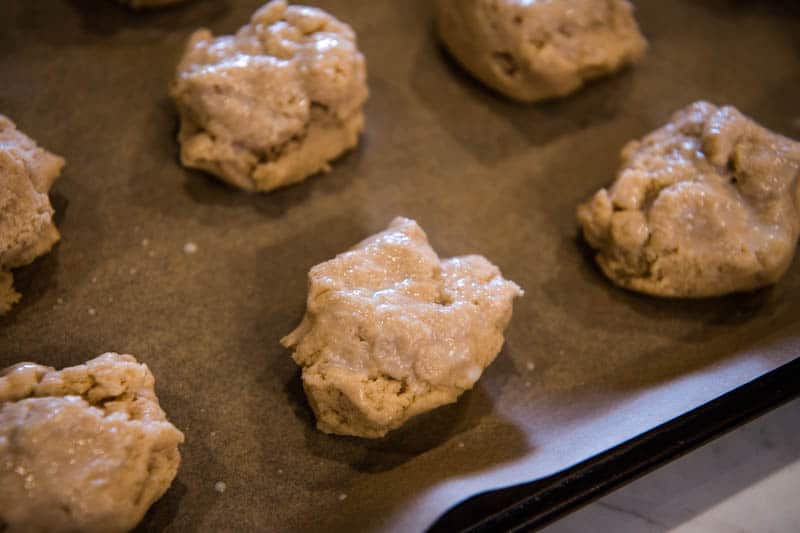
- Drop the dough, by spoonfuls, onto your parchment paper covered baking sheet.
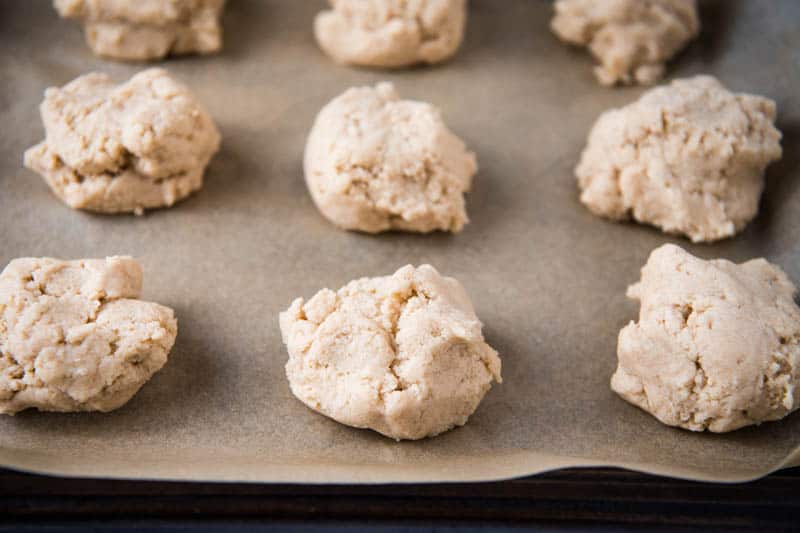
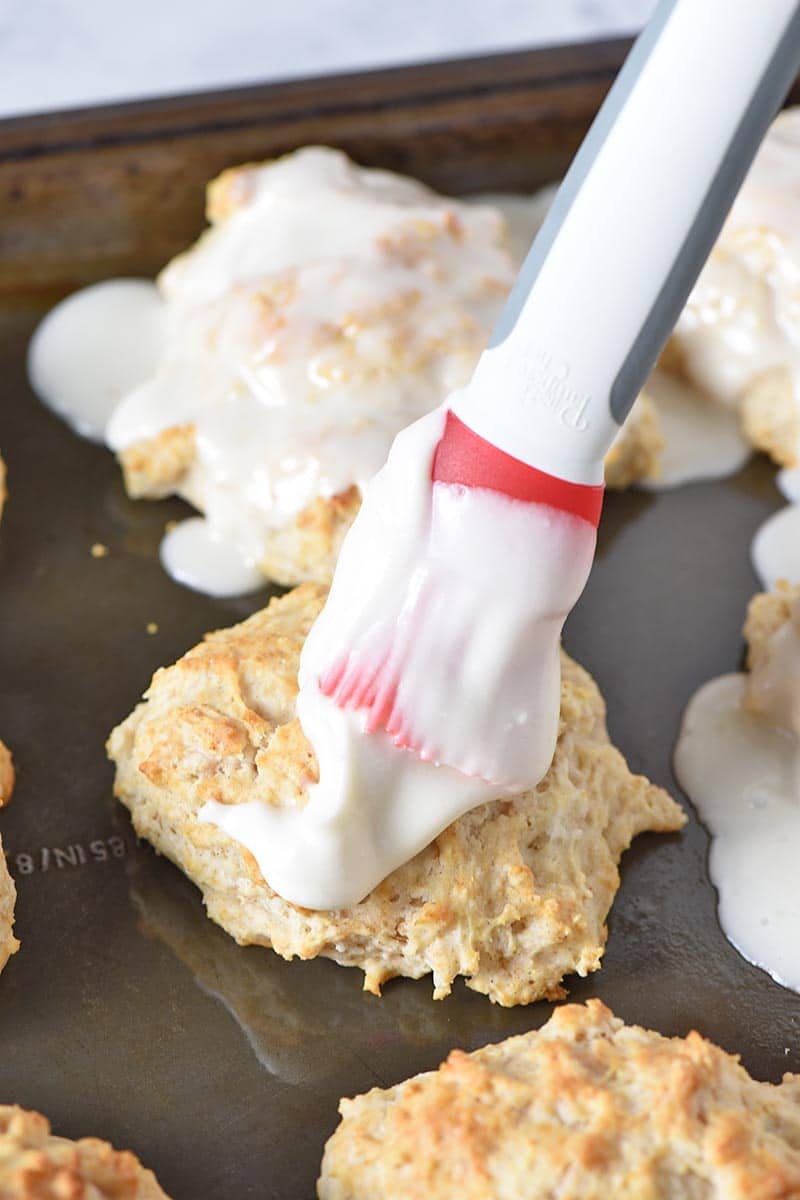
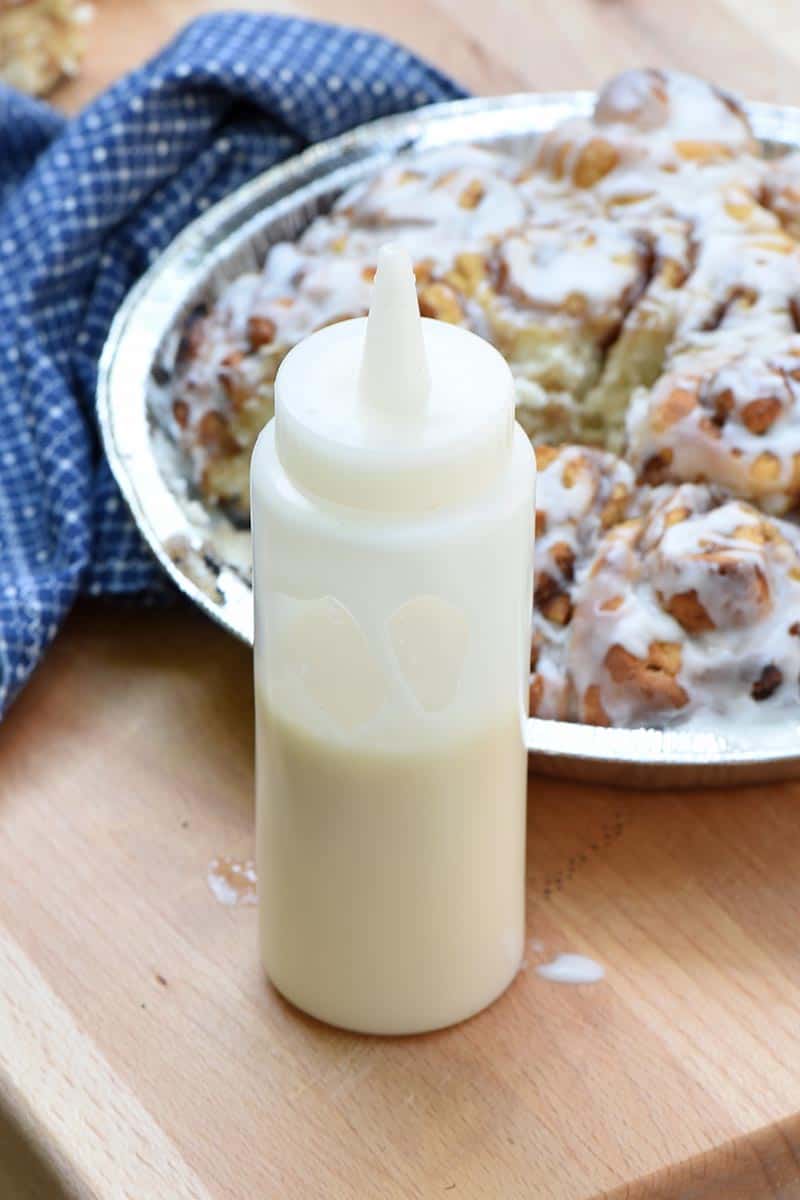
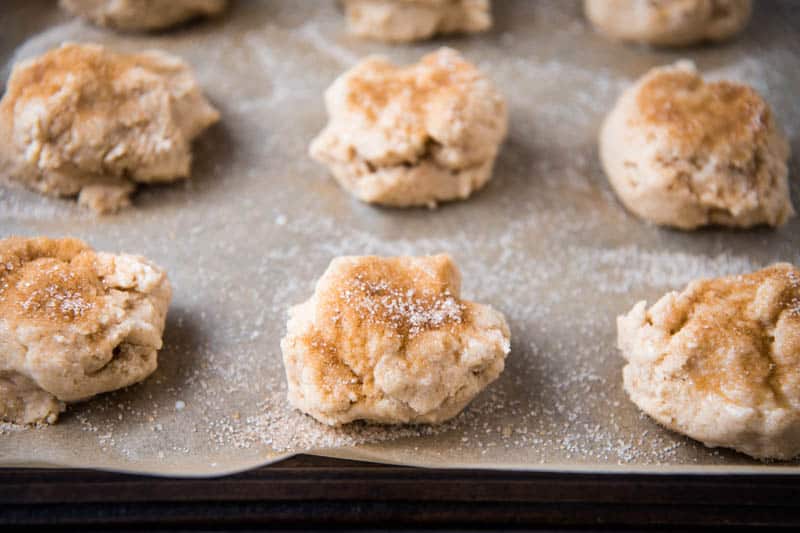
- Brush the top of each scone with buttermilk.
- Then sprinkle a little cinnamon sugar on top of each scone.
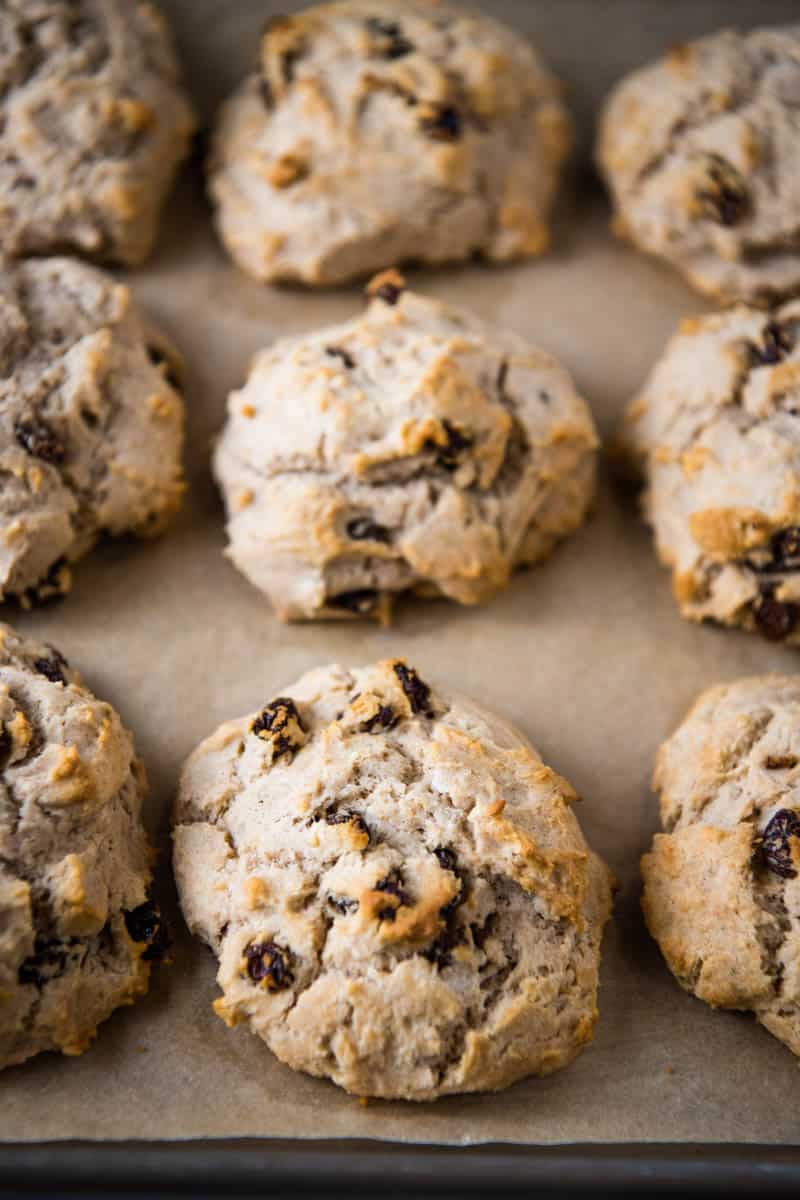
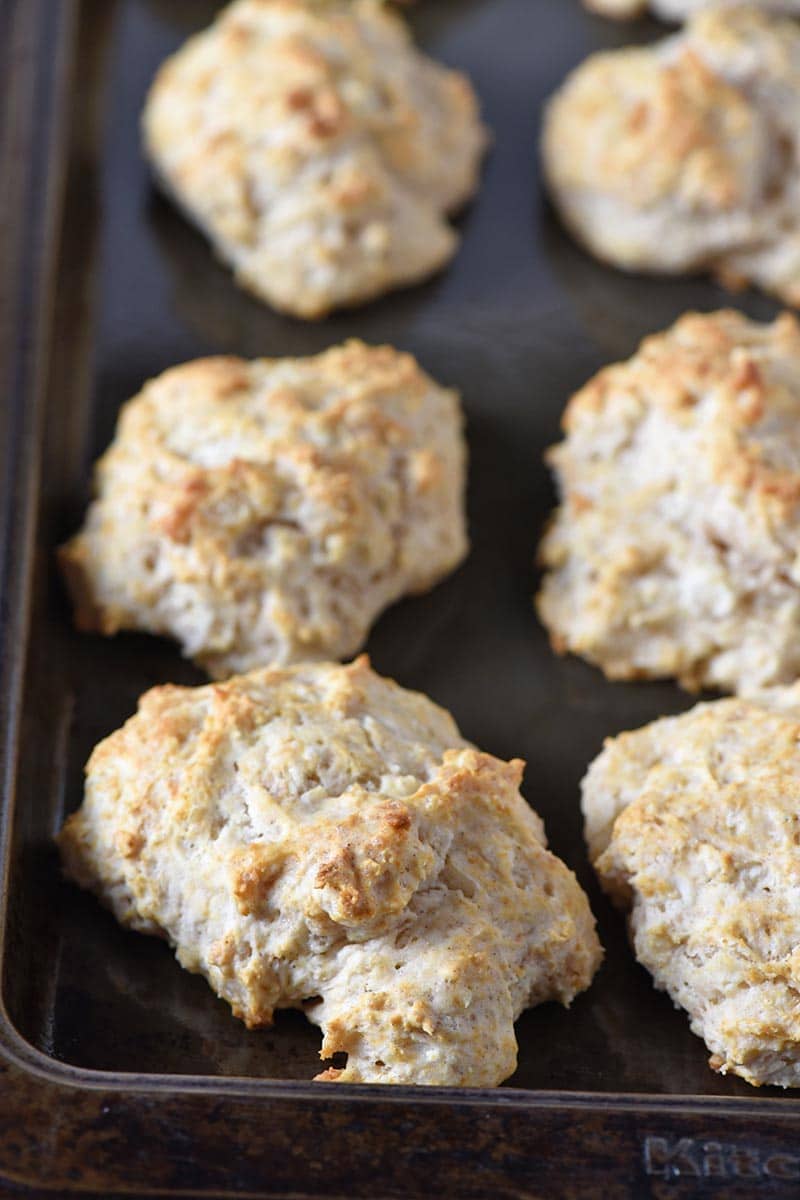
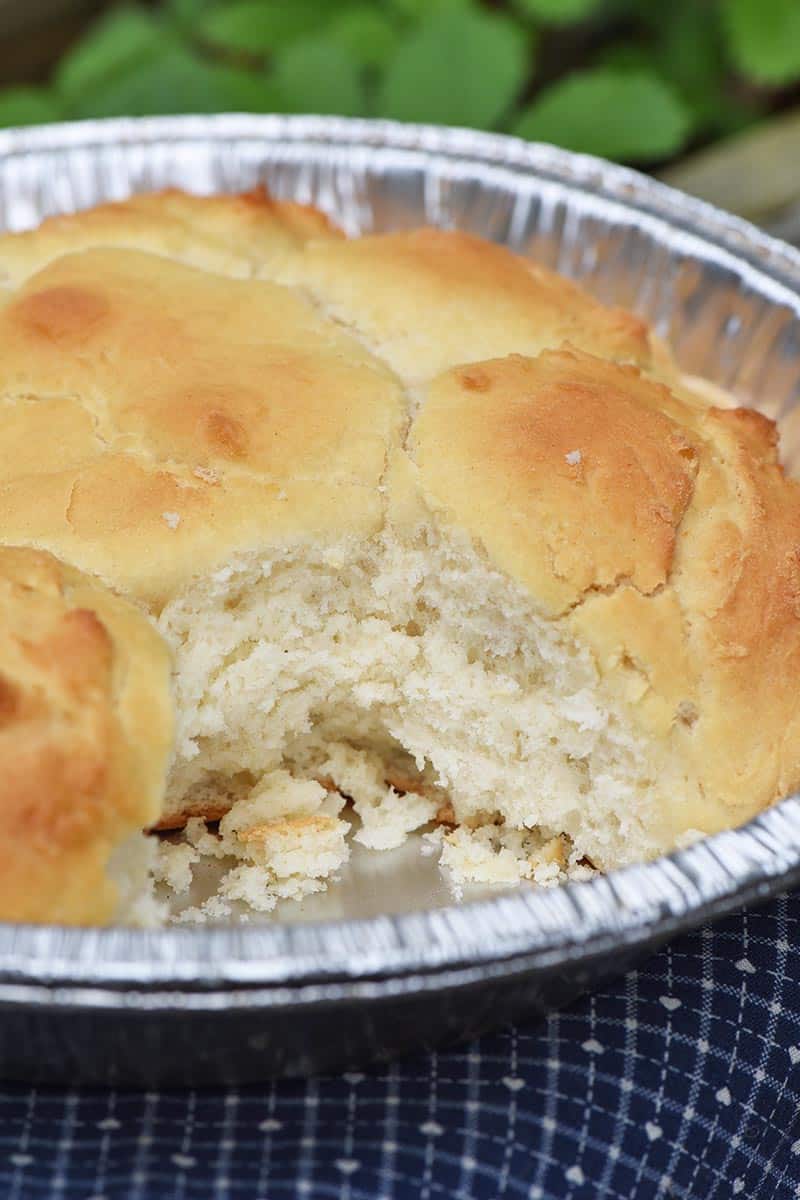
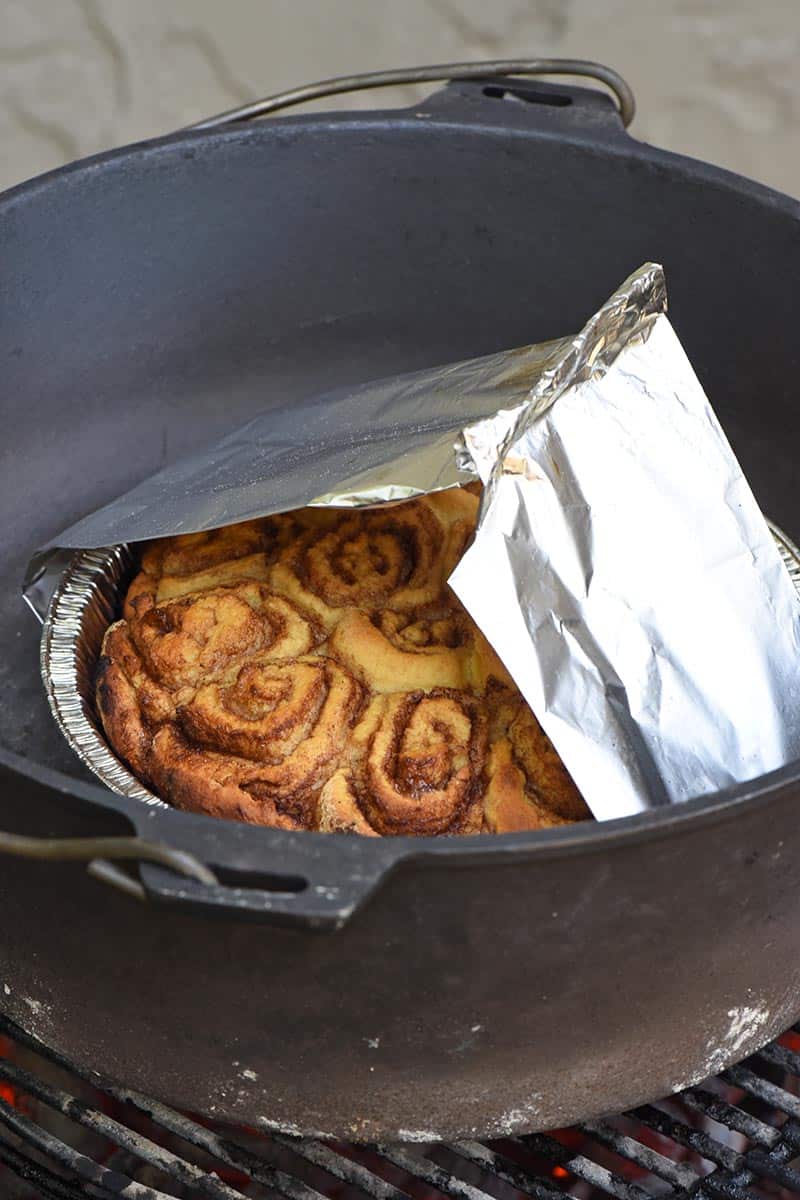
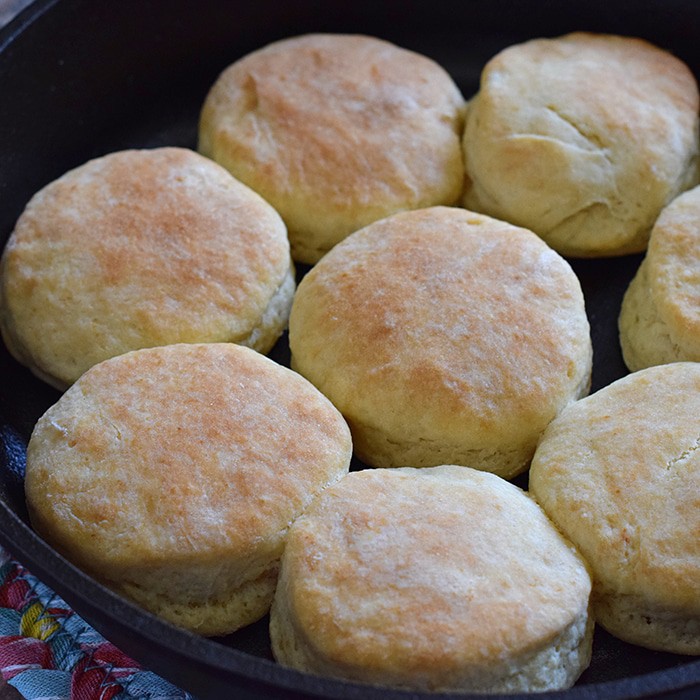
Then you’ll just bake your scones at 400° F for 12 to 15 minutes, or ’til they turn a nice golden brown. They’re best served while warm with butter, apple butter, etc.
FAQ:
Buttermilk gives scones a lighter, fluffier texture. While I have not attempted to make these dairy-free, you could try making them with almond milk, rice milk, or coconut milk. You can also substitute a non-dairy butter, though keep in mind this will likely change the texture and density of the finished scone.
Yes, you can. I actually make these with gluten-free Bisquick, and they turn out great. Just know that gluten-free ingredients have a tendency to change the texture in baked goods, though these scones turn out very moist and fluffy. One last note… Be sure to check all ingredient labels to make sure everything you’re using is truly gluten-free.
Ingredients play a huge role in rise. The egg and buttermilk, as well as ingredients in the biscuit mix, all work together to give these scones both a rise and a fluffiness. I’ve also read that placing them so they’re slightly touching on the baking sheet can help with lift while baking; while I don’t do this, it is worth a try.
Not adding enough buttermilk and over mixing can cause scones to be harder and more crumbly. Be sure to follow the recipe to a t.
Make sure they’ve cooled completely; then store them in a covered airtight container.
You can freeze scones for up to 3 months. While you can freeze them unbaked or baked, it’s better to freeze them unbaked. To do so, place all your scones on a parchment paper covered baking sheet; place the baking sheet in the freezer ’til the scones are good and frozen. Then remove them from the freezer, place the unbaked scones in an airtight container or freezer bag, and put them back in the freezer ’til you’re ready to bake them.
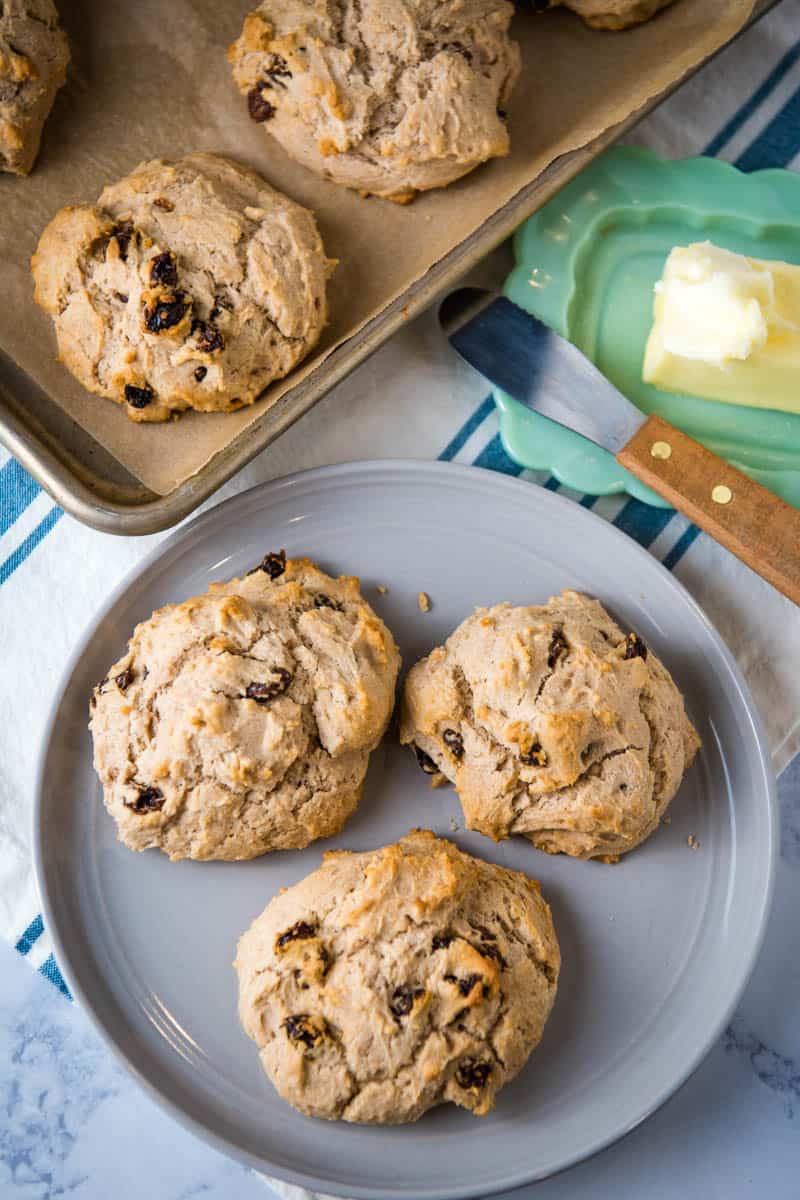
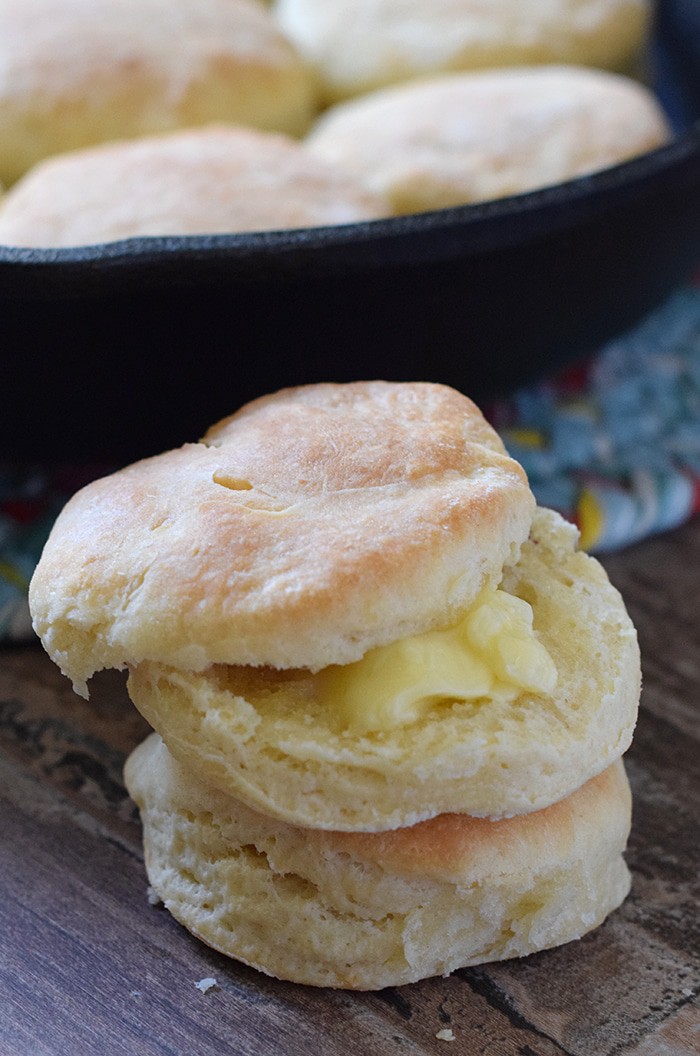
HOW TO SERVE BISQUICK SCONES
I prefer to enjoy mine with a little pat of butter. I also sometimes like to sprinkle a little cinnamon sugar on the melted butter, or add a dollop of homemade apple butter.
MORE BISQUICK RECIPES:
GET THE PRINTABLE RECIPE
If you love these Bisquick cinnamon scones as much as I do, please write a 5 star review, and help me share the recipe on Facebook and Pinterest!
CRAVING MORE DELICIOUS RECIPES? Subscribe to my newsletter, and follow along on Pinterest, Facebook, YouTube, and Instagram for all the latest updates!
Bisquick Cinnamon Scones with Crisp Sugar Topping
How to make wonderful Bisquick cinnamon scones, brushed with buttermilk and sprinkled with sweet cinnamon sugar. Easy breakfast recipe!
- Baking Sheet
- 2 cups Bisquick baking mix
- 1 1/2 tablespoons sugar
- 1/2 tablespoon cinnamon
- 6 tablespoons unsalted butter (cold)
- 1 large egg
- 1 tsp vanilla extract
- 1 cup buttermilk*
Topping:
- 1 tablespoon buttermilk
- 1-2 tablespoons cinnamon sugar
Pre-heat your oven to 400° F, and either grease a baking sheet, or add parchment paper to it. I prefer to use parchment paper because the scones just slide right off of it after baking.
Whisk Bisquick baking mix, sugar, and cinnamon together in a large mixing bowl.
Using a pastry blender (or table knife), cut the cold, sliced butter into the dry ingredients until the mixture consists of fine crumbles.
- In a separate measuring cup or bowl, beat the egg, vanilla extract, and buttermilk together.
- Mix the egg mixture into the dry ingredients, just ’til blended. Be careful not to overmix.
- Drop the dough, by spoonfuls, onto your parchment paper covered baking sheet.
- Brush the top of each scone with buttermilk.
- Then sprinkle a little cinnamon sugar on top of each scone.
Bake your scones at 400° F for 12 to 15 minutes, or 'til they turn a nice golden brown. They're best served while warm with butter, apple butter, etc.
*I use this buttermilk mix to make buttermilk. But if you don’t have either buttermilk or a mix, you can make your own with about 1 tablespoon of vinegar for every cup of milk you use. Just let the mixture sit for a few minutes before adding to your scone mixture.
Can I make these using gluten-free Bisquick?
Yes, you can. I actually make these with gluten-free Bisquick, and they turn out great. Just know that gluten-free ingredients have a tendency to change the texture in baked goods, though these scones turn out very moist and fluffy. One last note… Be sure to check all ingredient labels to make sure everything you’re using is truly gluten-free.