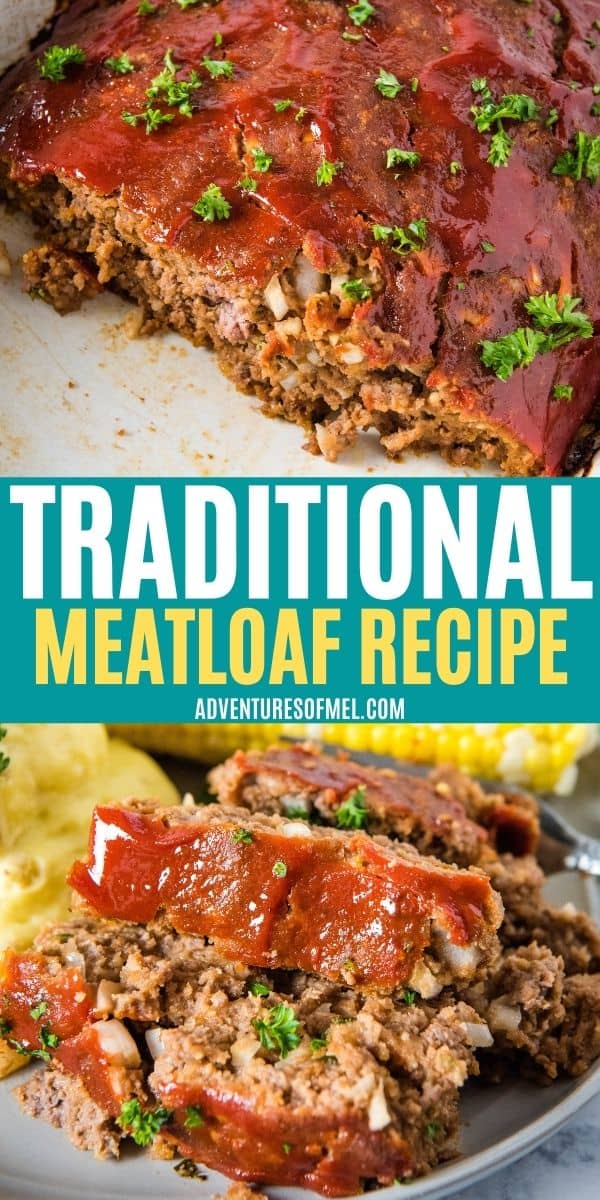
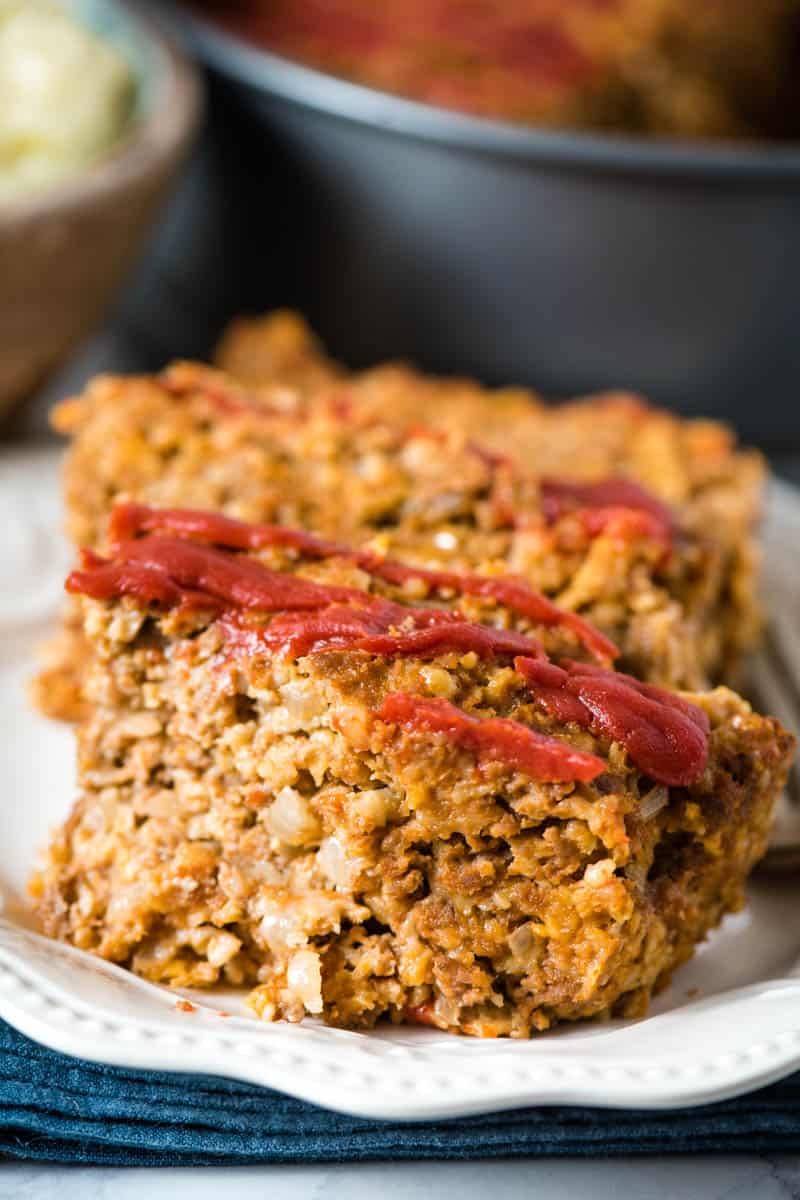
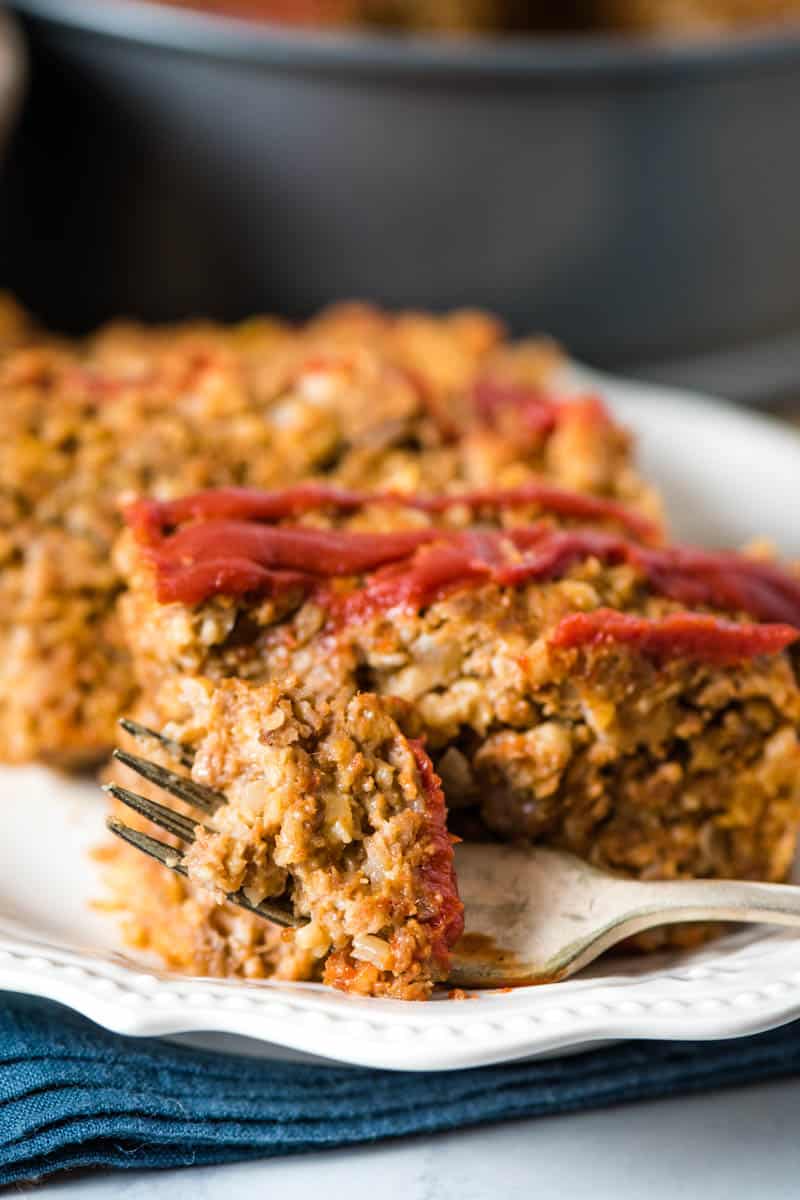
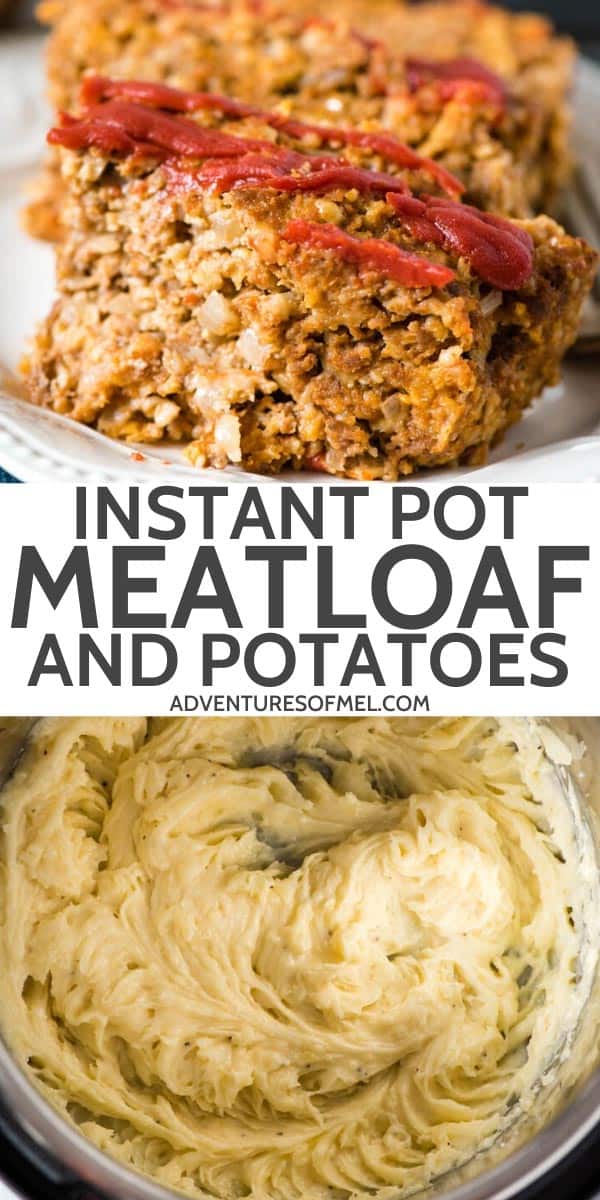
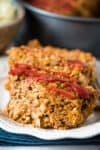
How to make quick and easy meatloaf muffins from scratch using old fashioned oatmeal in 30 minutes or less. Fun, bite sized twist on this classic dinnertime staple that the whole family will love! This recipe also makes a great appetizer for parties, potlucks or any other large gathering.
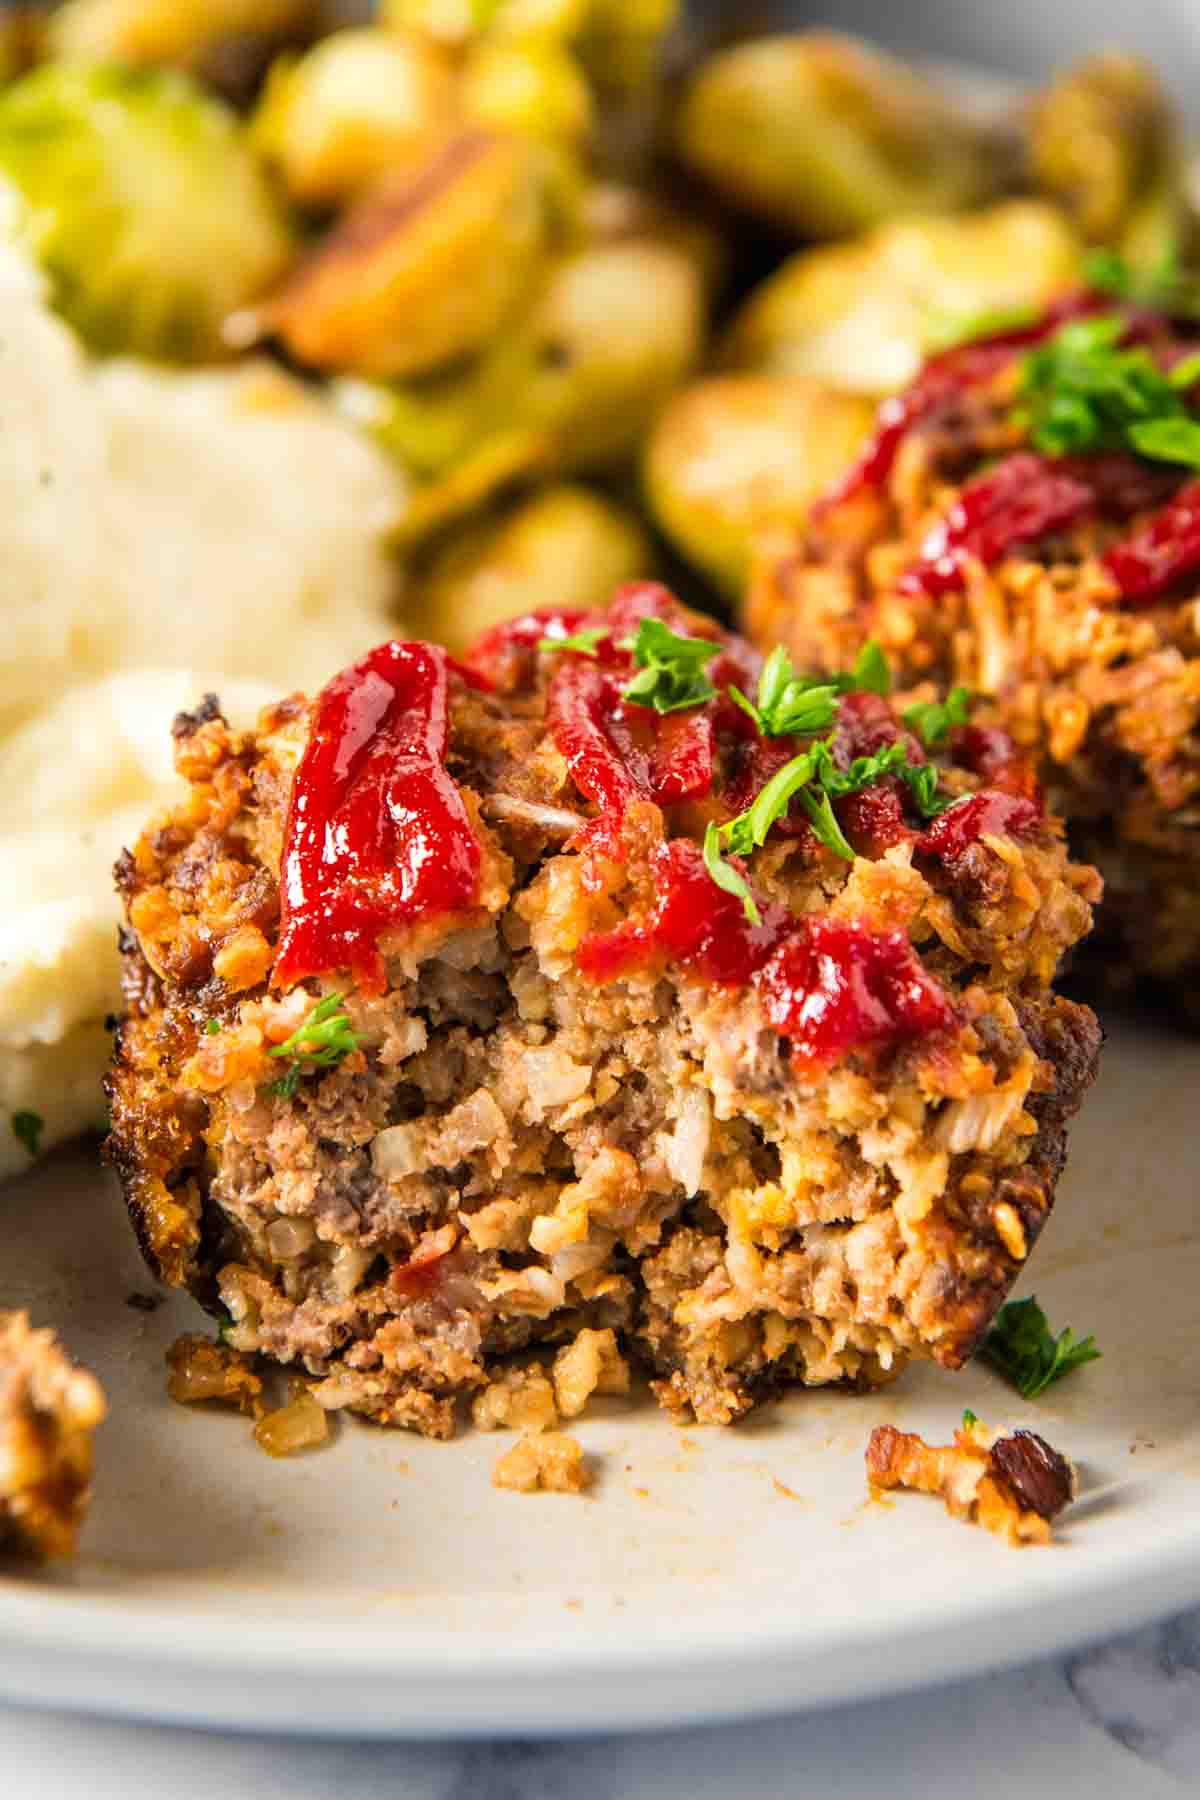
I’ve been making meatloaf with oatmeal for a long time. My mom used to make the best traditional meatloaf recipe with bread crumbs, but I’ve come to prefer the lighter, fluffier texture that oats provide. But I’ll confess that lately I’ve been a little bored with regular meatloaf, and so I’ve started baking these mini meatloaf muffins in muffin tins instead. And boy am I glad I did!
These bite sized meatloaf muffins are easy to make ahead of time for busy weeknights, and kids tend to like them better because they’re easier to eat. I can sneak just about any veggie into the meat mixture, and they’ll never notice! They also make a fun party appetizer or snack, and you can serve them up at potlucks or any other large gathering with all the fixin’s!
Ingredients & Substitutions Notes
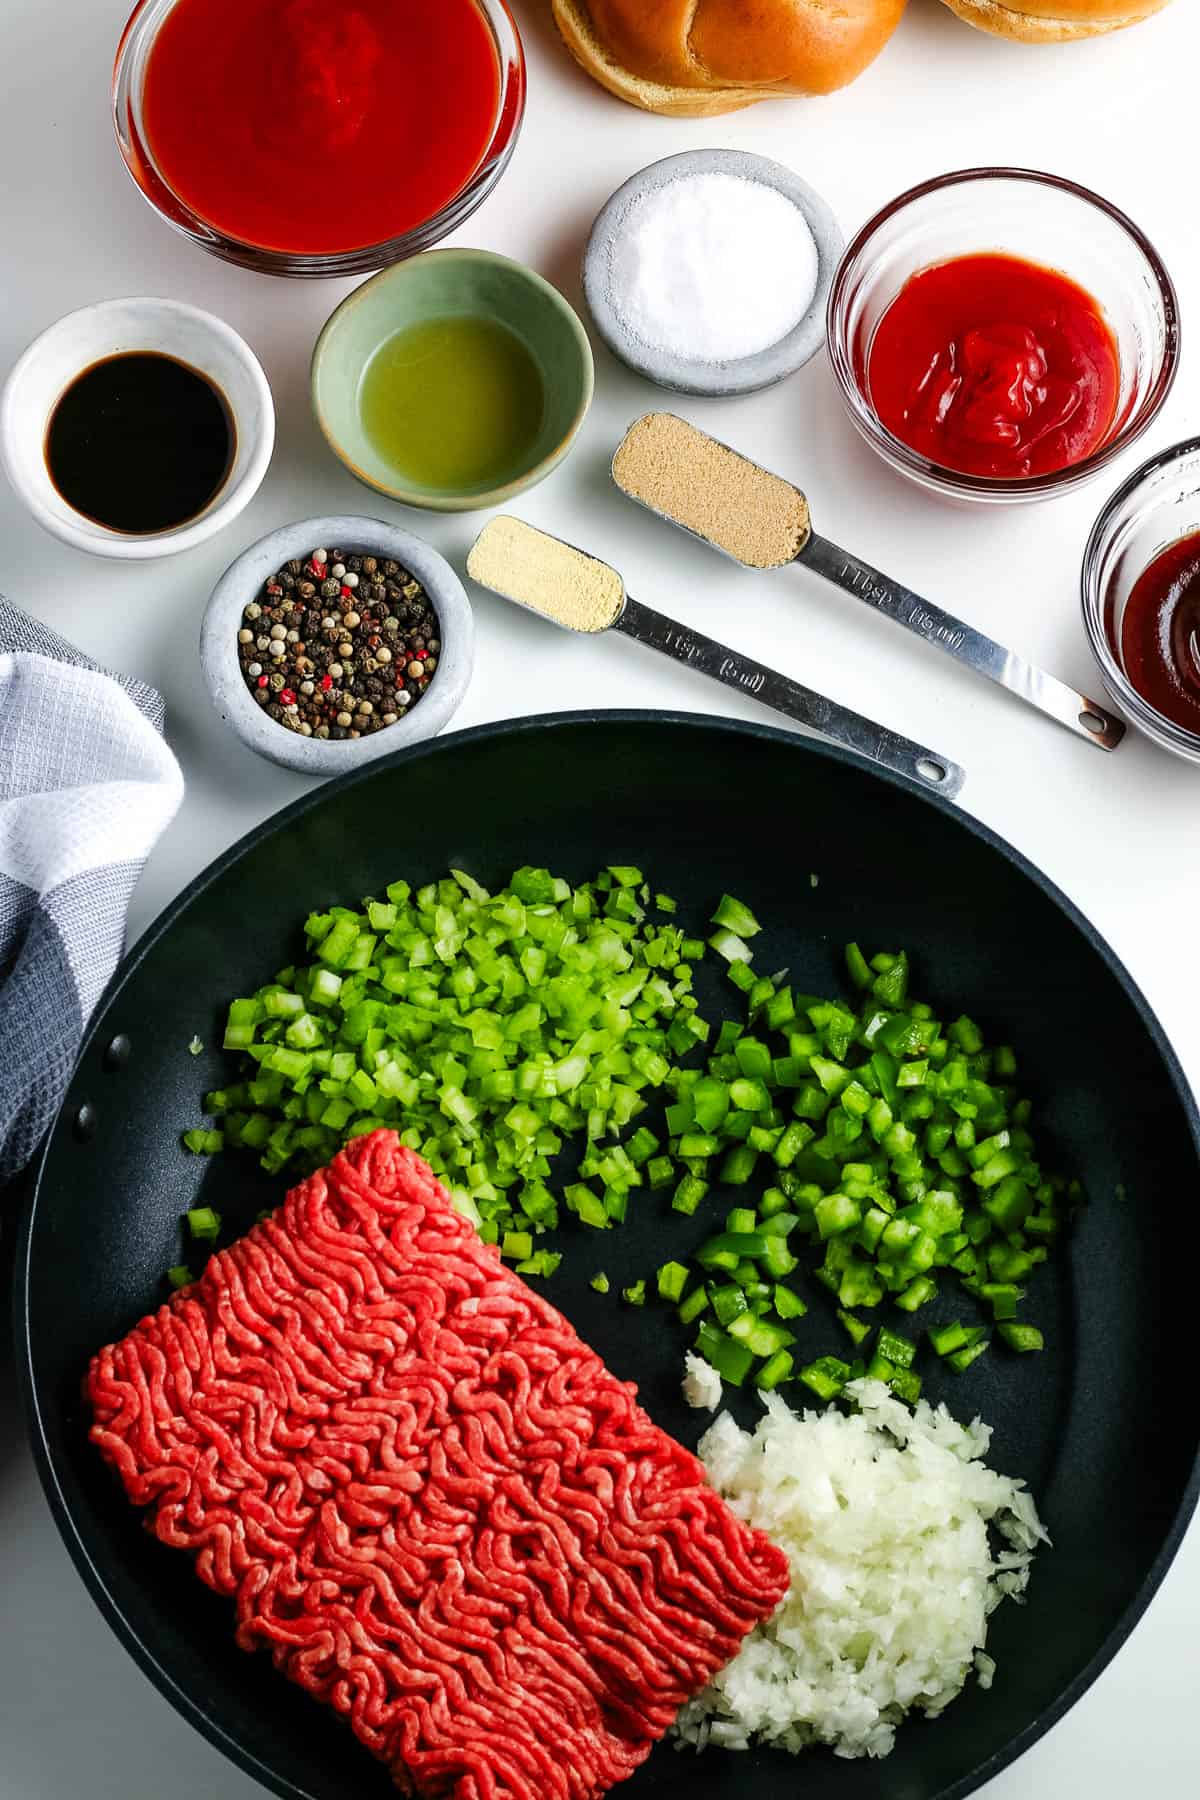
- Ground Beef – I like to use a leaner ground beef, something like a 90/10 or 85/15 when mixing up my meatloaf. Not only will this contribute to less grease around the edges of your meatloaf muffins, but it also cuts some calories! You can also use ground turkey or ground pork for this recipe, but it will change both the flavor and texture of your meatloaf. If that’s what you prefer, then go on ahead!
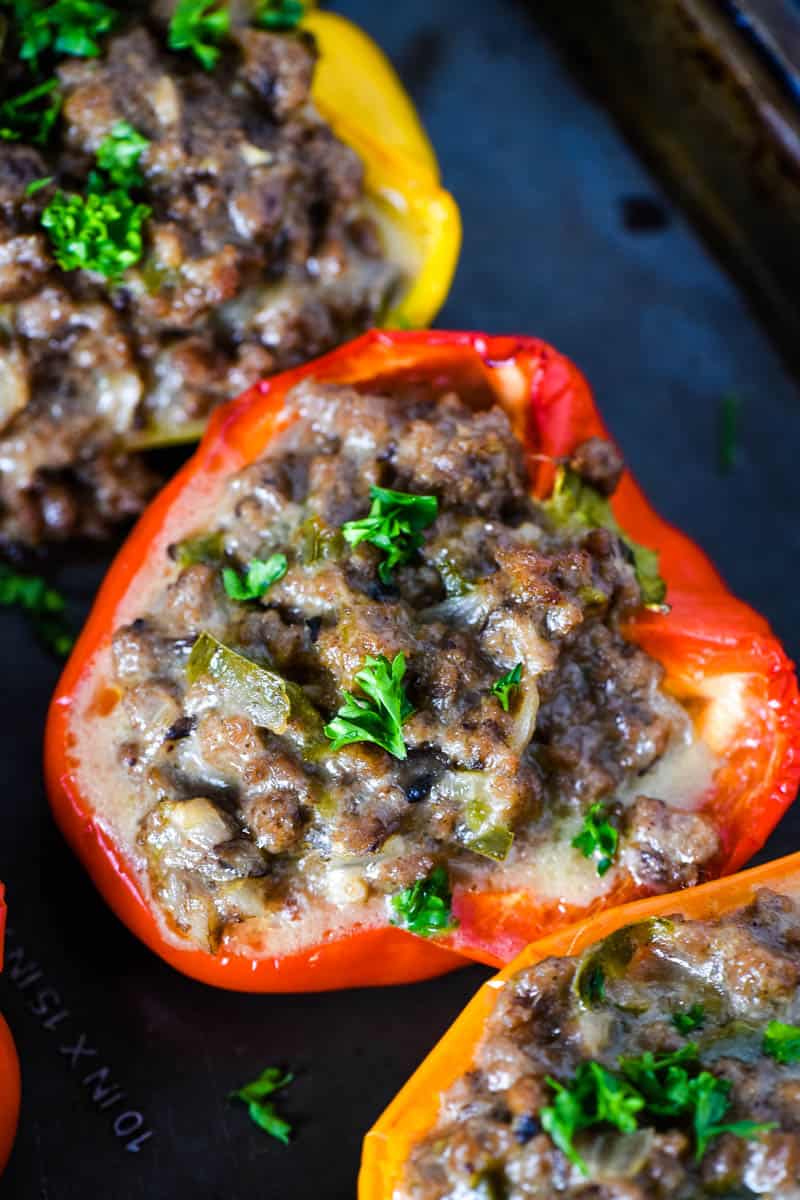
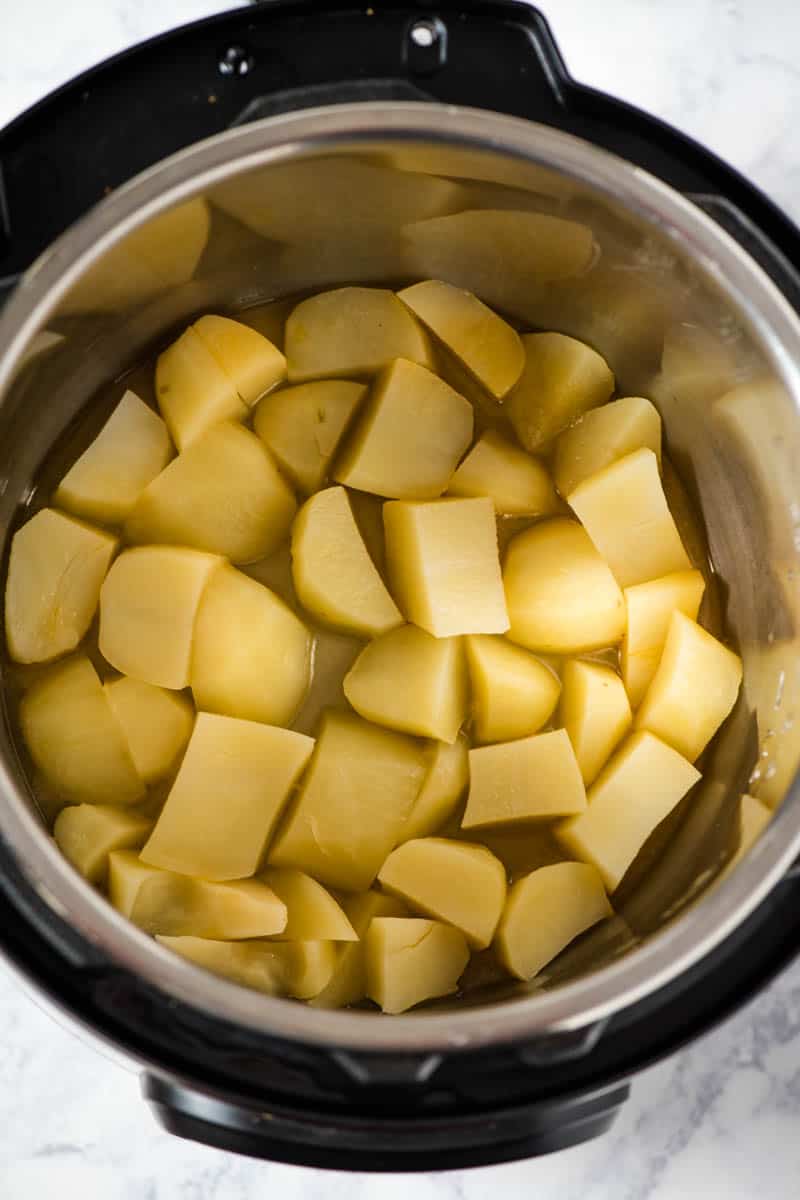
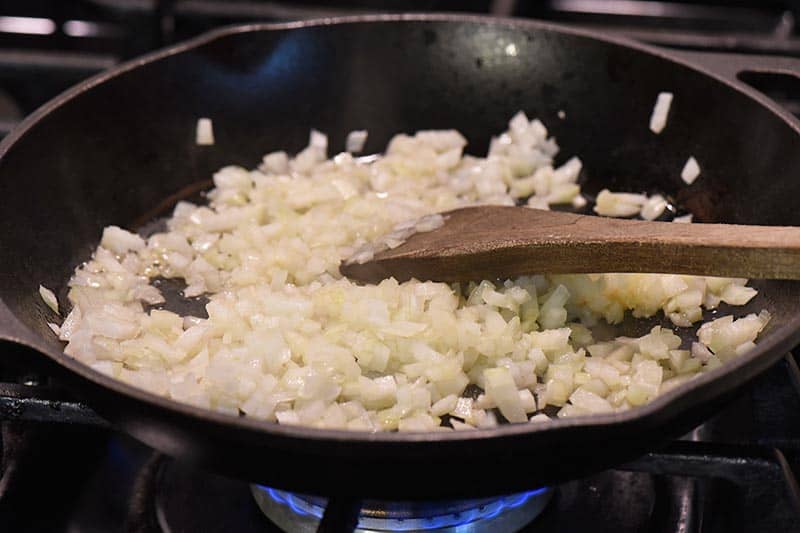
- Veggies – I always add a yellow onion to mine, but you can add just about anything. Minced bell peppers, carrots, zucchini, celery, garlic, potatoes, lentil beans, or even cauliflower all go good in meat loaf muffins. Although not technically considered vegetables, both minced mushrooms and rice make fantastic additions to any meatloaf recipe.
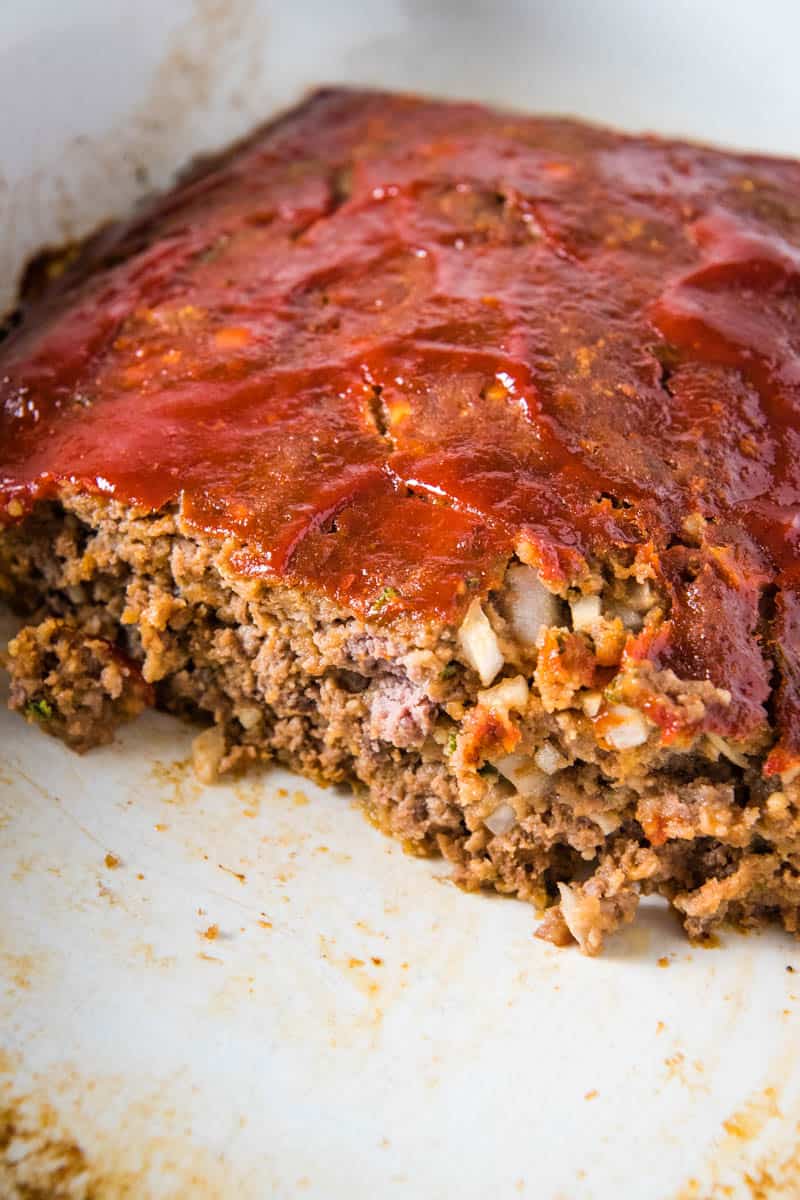
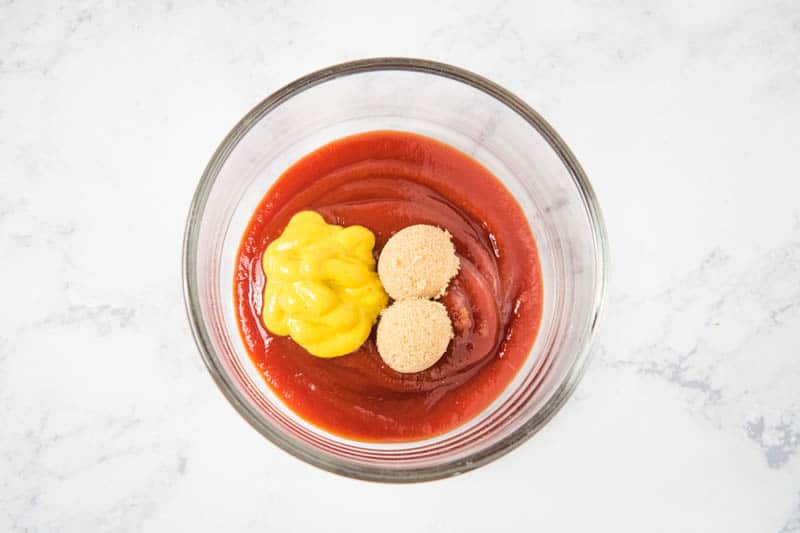
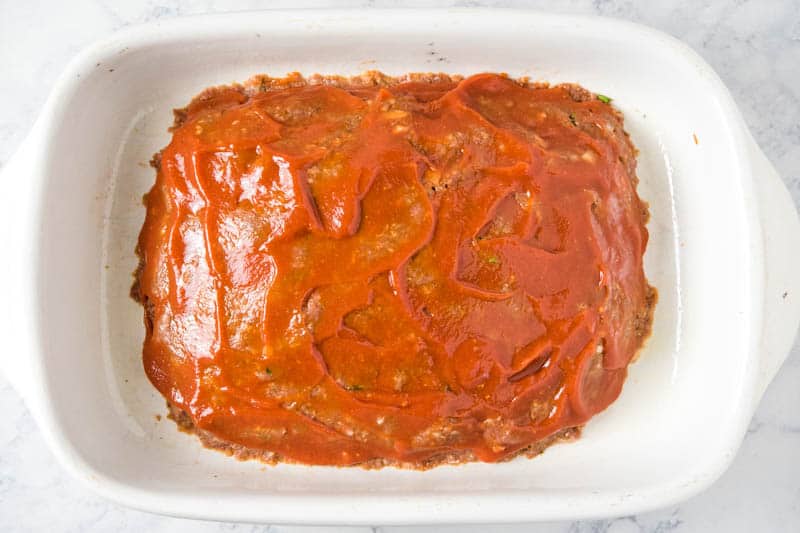
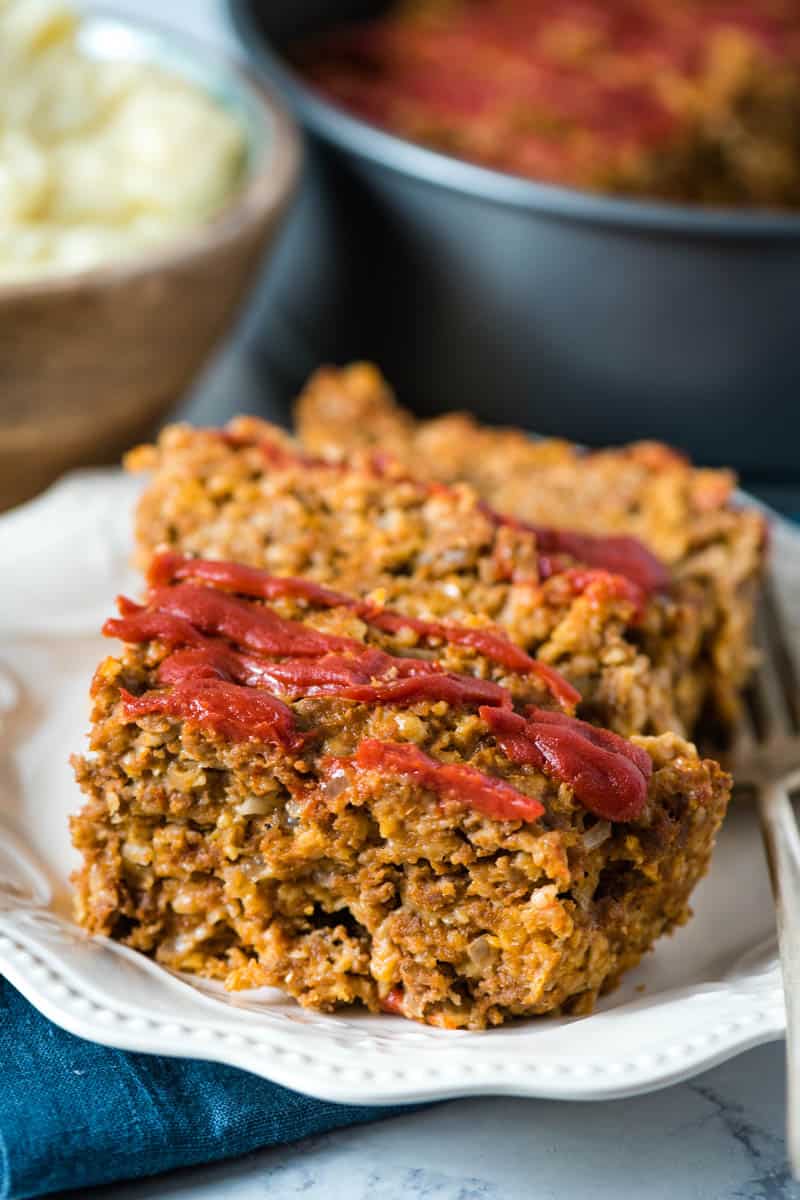
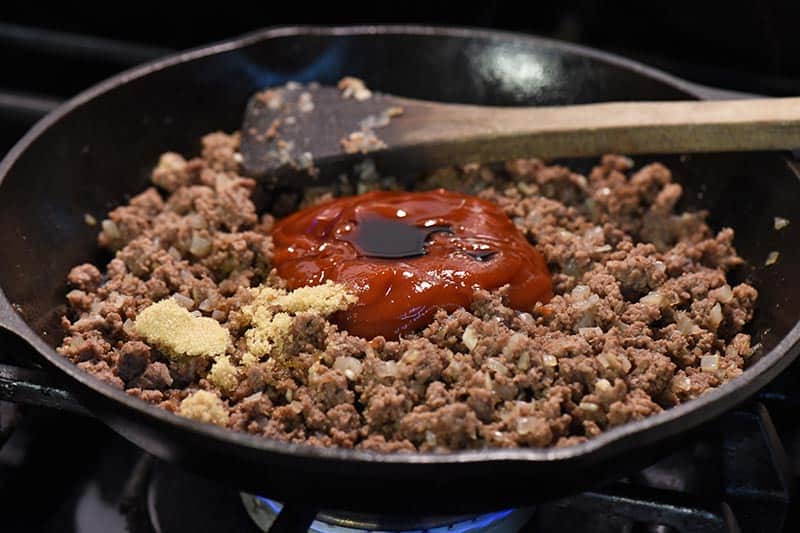
- Ketchup, BBQ & Worcestershire Sauce – I always add a little bit of ketchup, barbecue sauce and a splash of Worcestershire sauce to my meatloaf recipes. In fact, the secret to making the best meatloaf muffins is to glaze the top with ketchup before baking!
- Rolled Oats – Although most meatloaf recipes call for bread crumbs or cracker crumbs, I like to use old fashioned rolled oats instead. Not only is this healthier, but it promotes a lighter, fluffier texture without drying the meat mixture out too much. Not to mention, rolled oats are usually gluten free!
- Seasonings – For the sake of ease, I just add a big pinch of seasoned salt to the meat mixture and some fresh parsley as a garnish on top. You can also add other seasonings for more flavor; garlic powder, onion powder, paprika pepper, chili powder, black pepper, dried mustard, basil, thyme and oregano all come to mind. You can also add your favorite Italian seasoning, taco seasoning or some sort of barbecue seasoning instead. Be creative!
How to Make Easy Meatloaf Muffins Recipe
Before getting started, preheat your oven to 350ºF and grease up your muffin tin with nonstick cooking spray. If you don’t want to use a muffin tin, you can use these silicone muffin cups lined out on a large baking sheet instead!
Mixing the Meatloaf
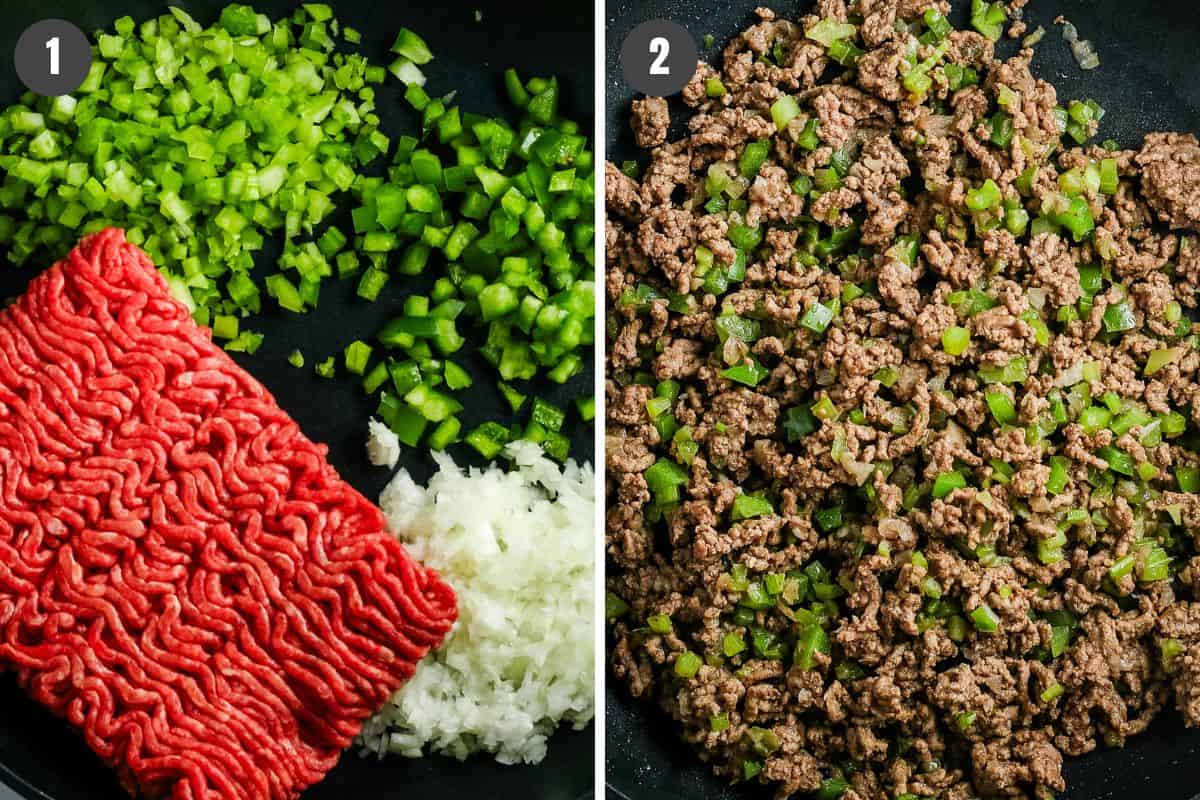
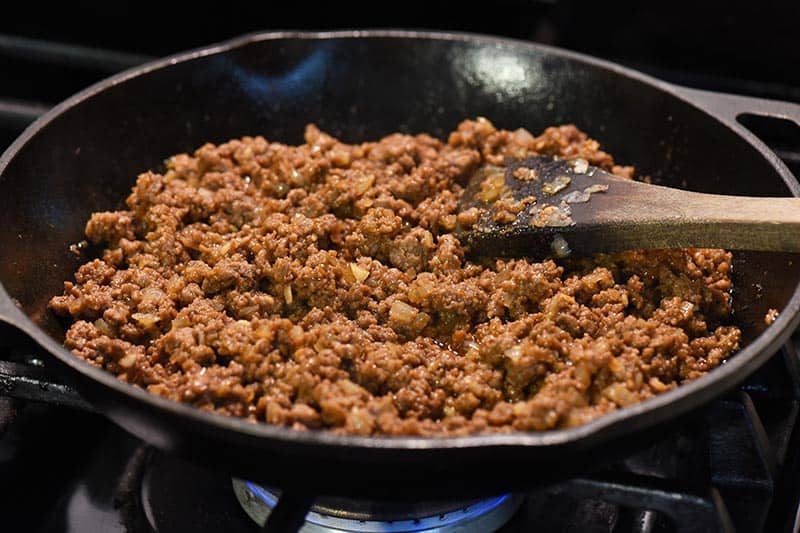
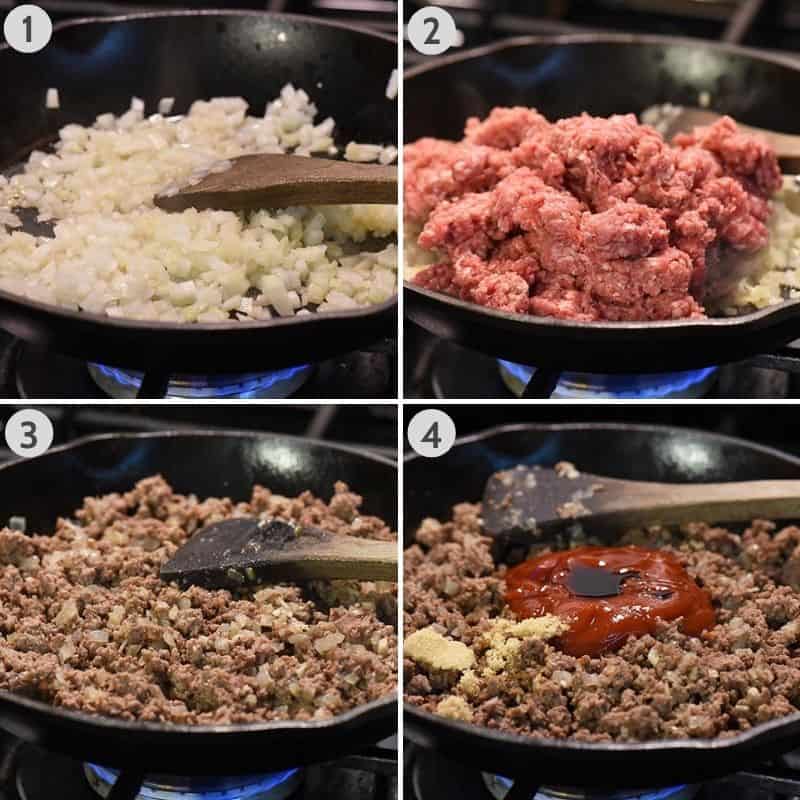
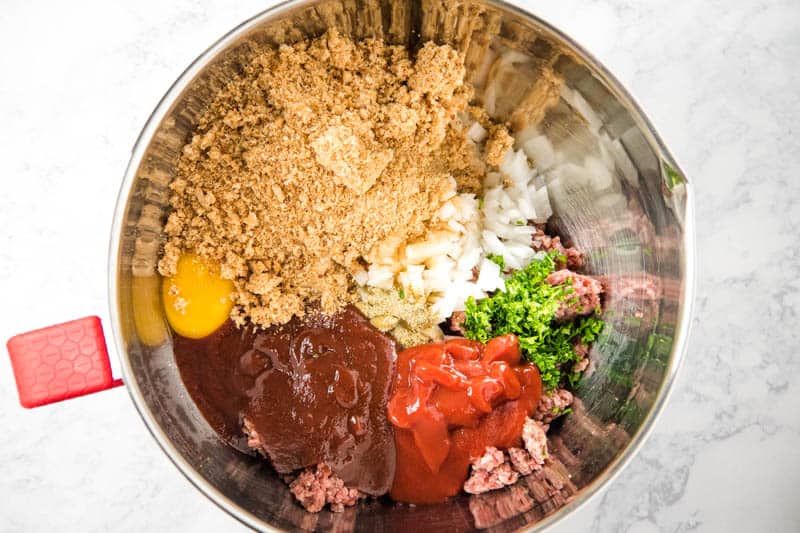
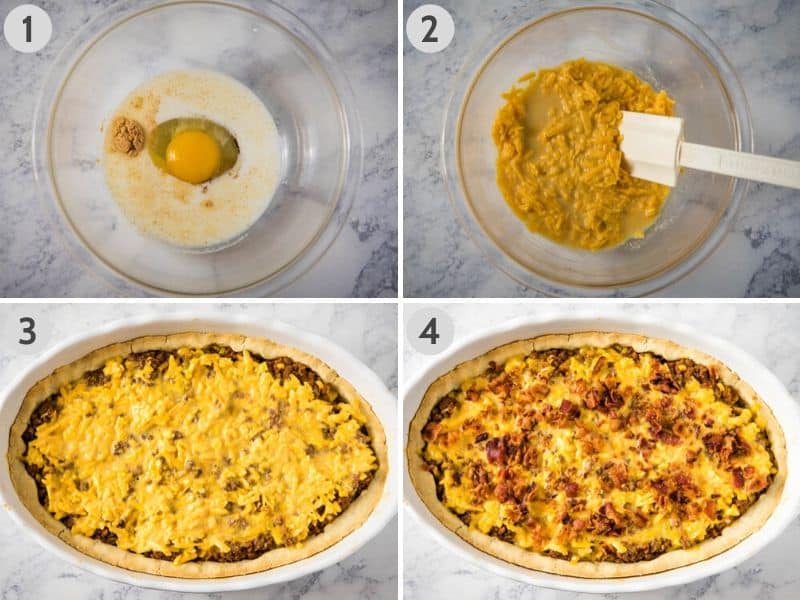
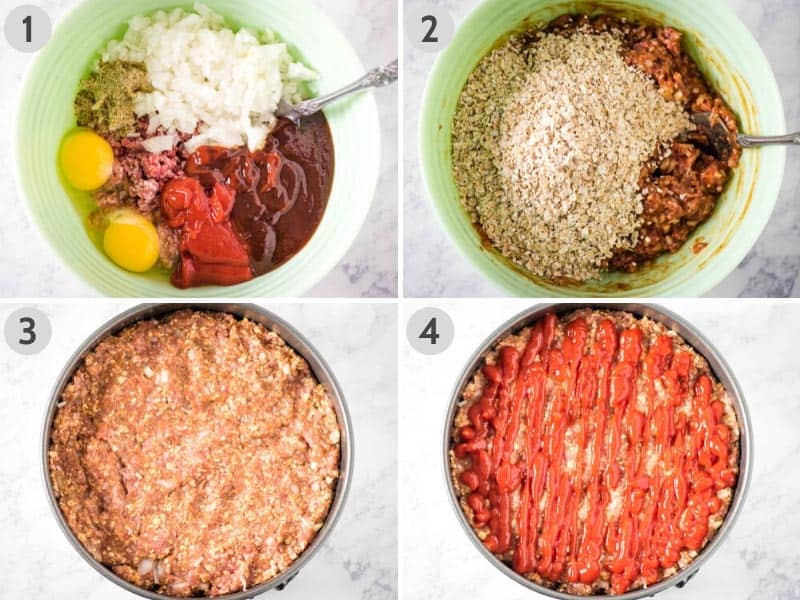
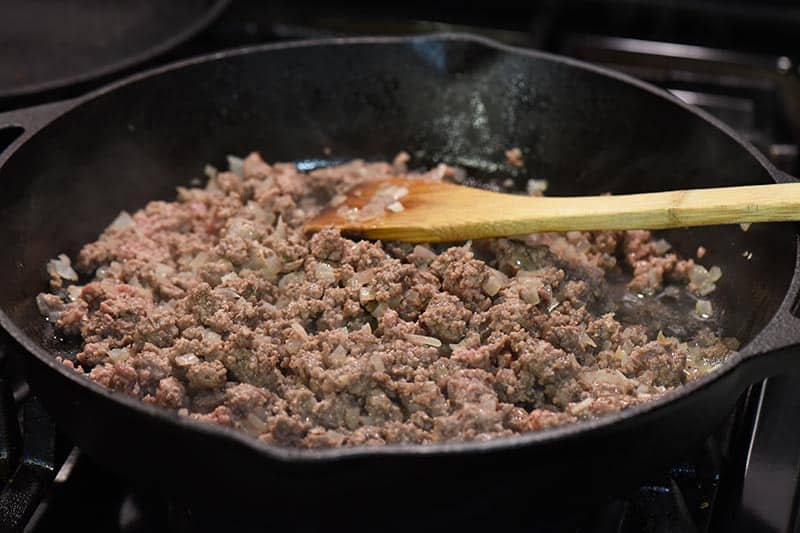
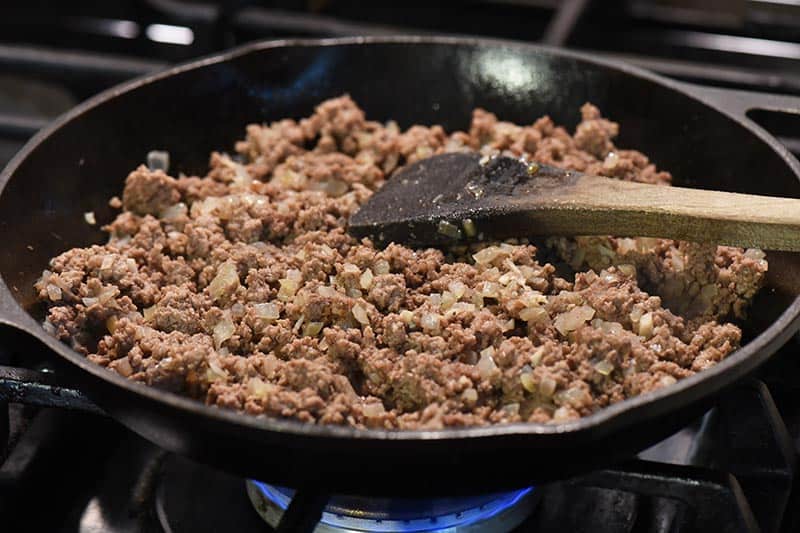
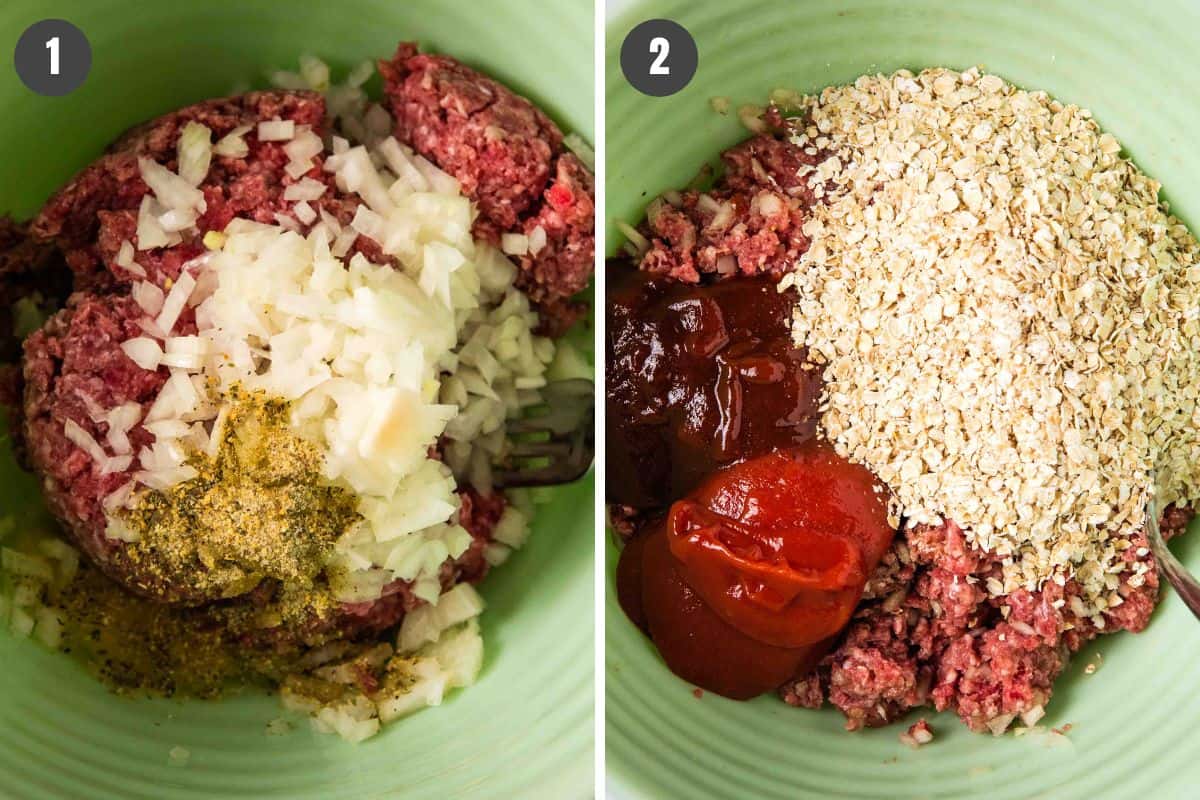
- Start by adding the ground beef, egg, onion and seasoned salt to a large mixing bowl, and mix with a large wooden spoon ’til well combined.
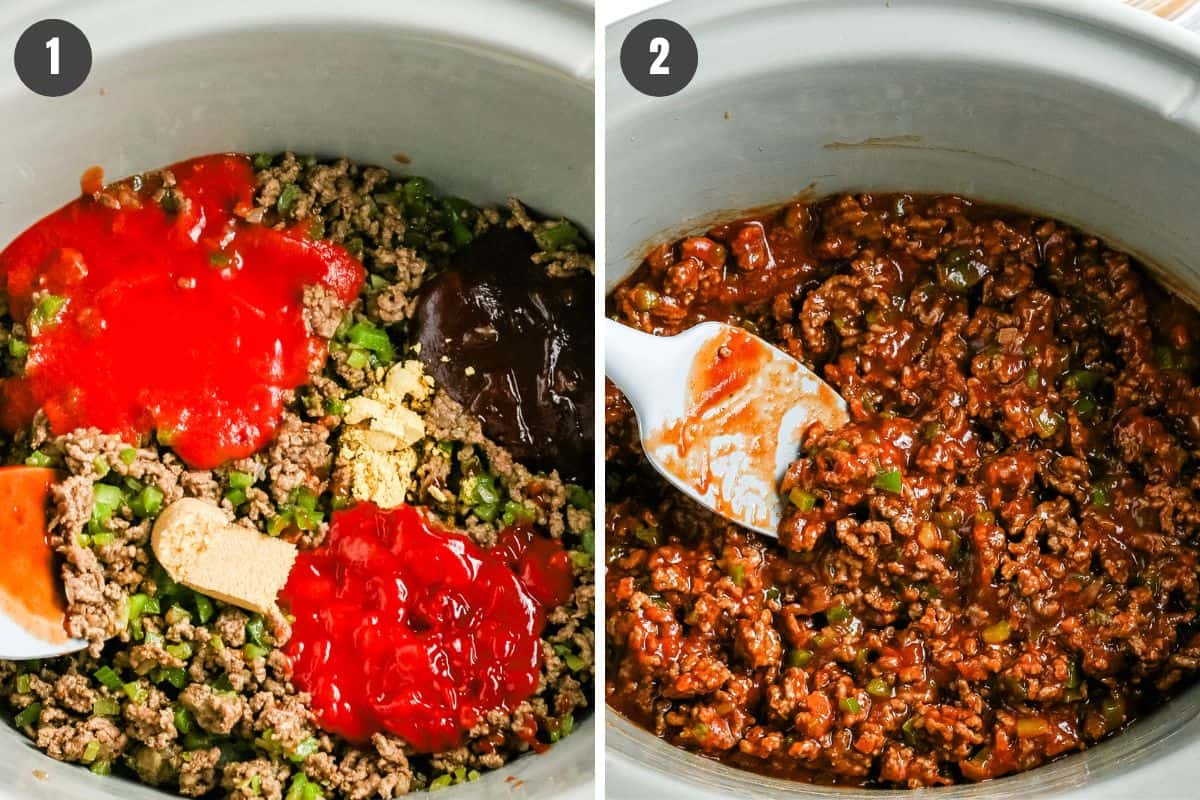
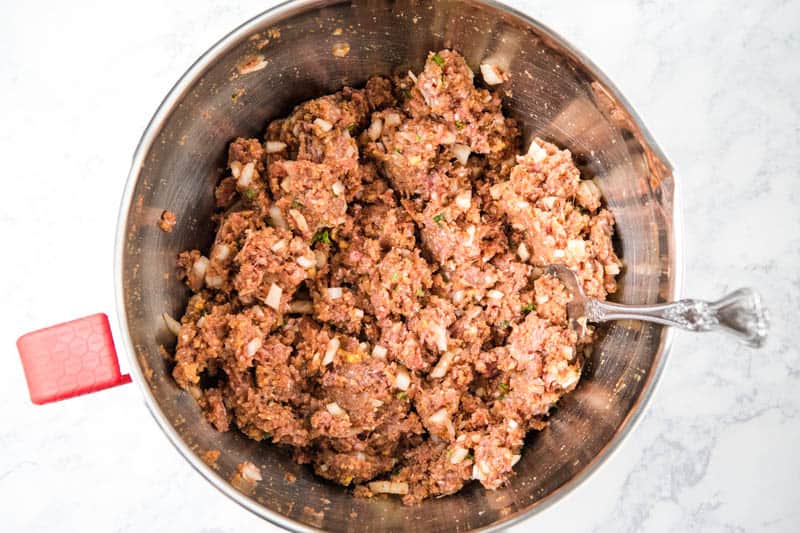
- Add the Worcestershire sauce, ketchup, barbecue sauce and oatmeal to the large bowl, mixing ’til evenly dispersed throughout the meat mixture.
How to Cook Meatloaf Muffins
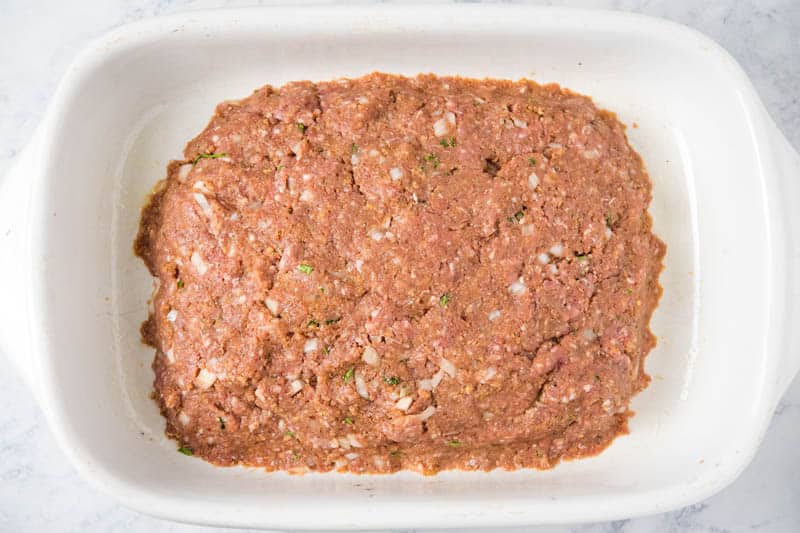
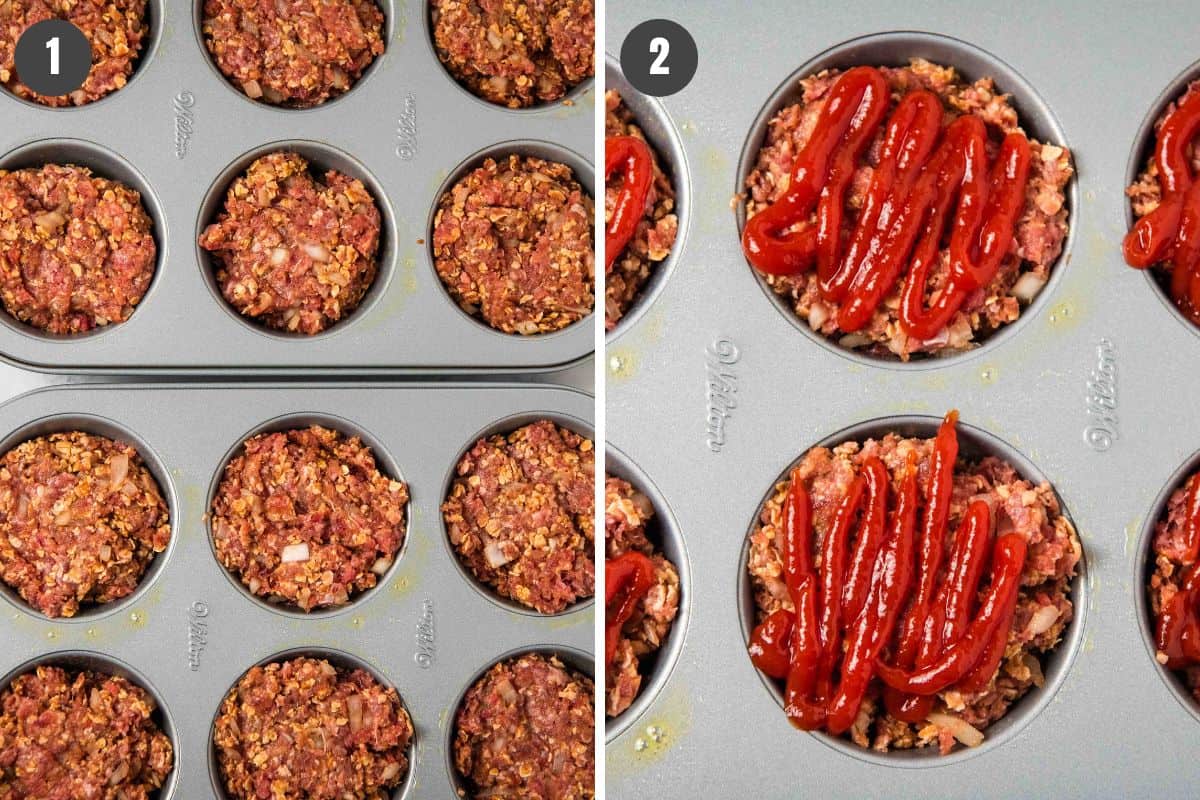
- Use a spoon to scoop your meatloaf mixture into the greased muffin cups.
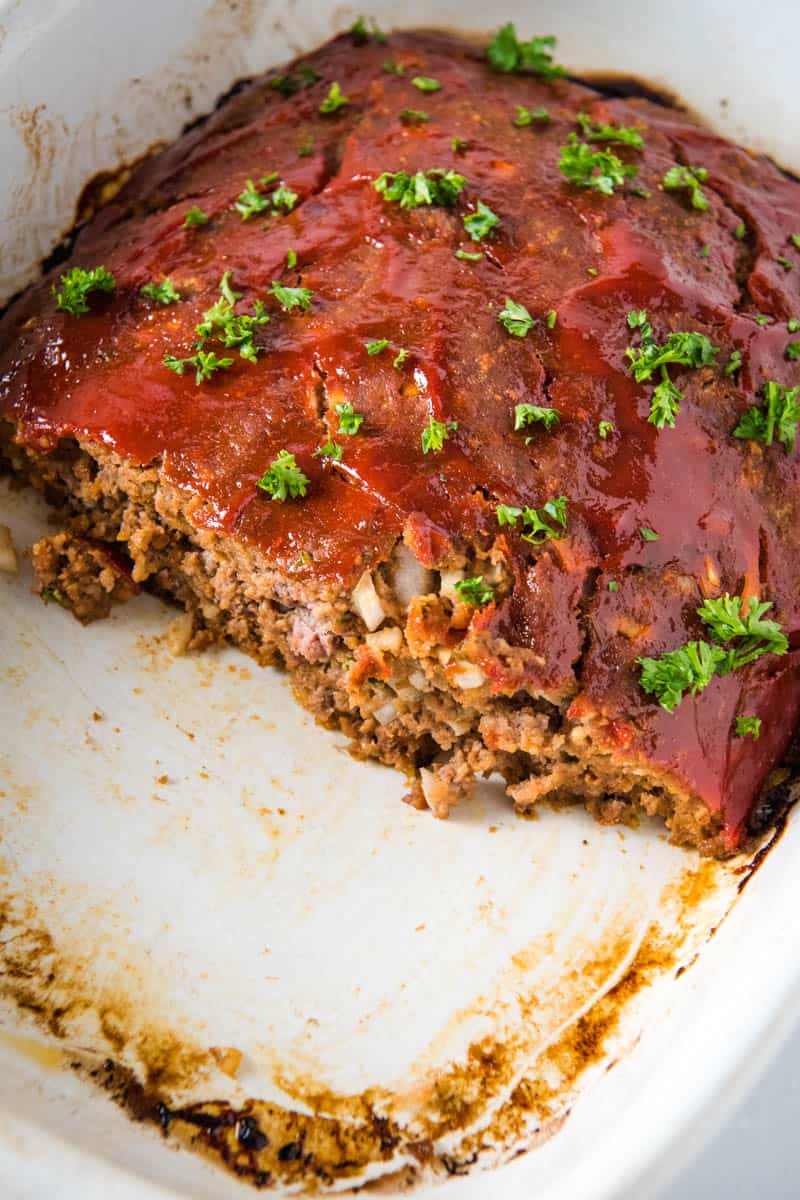
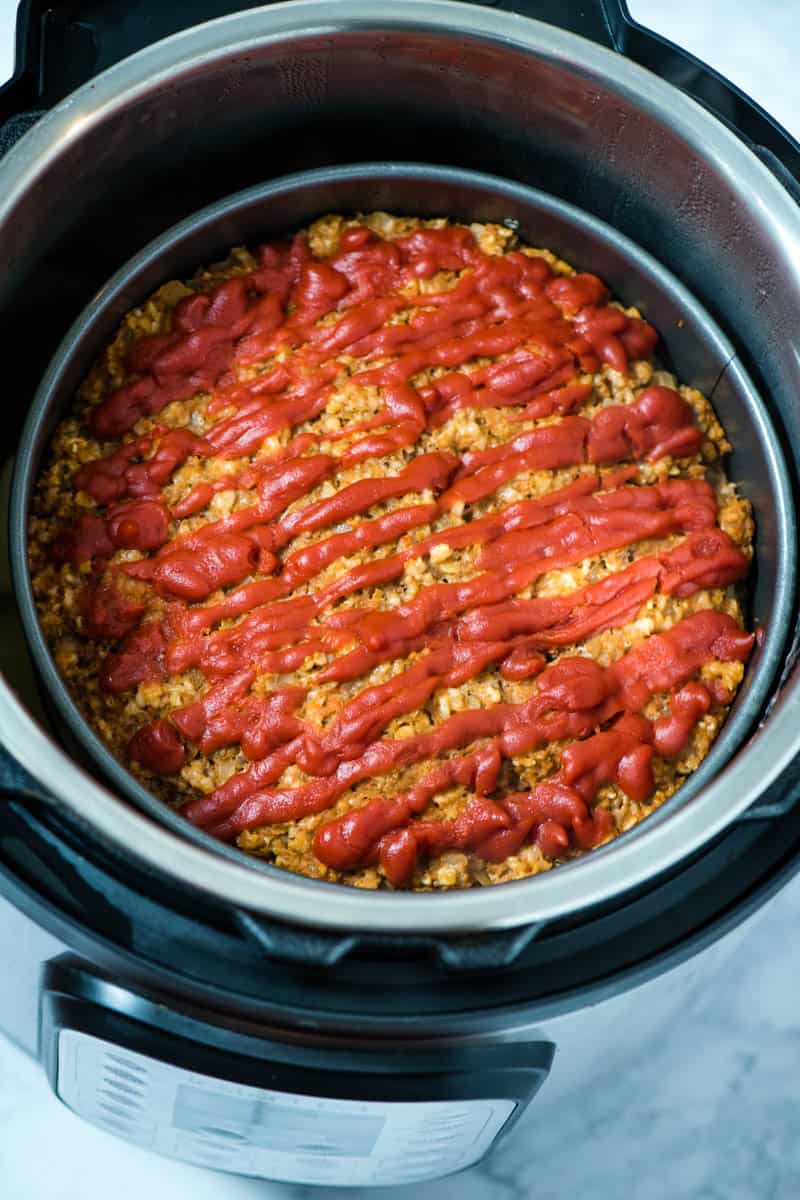
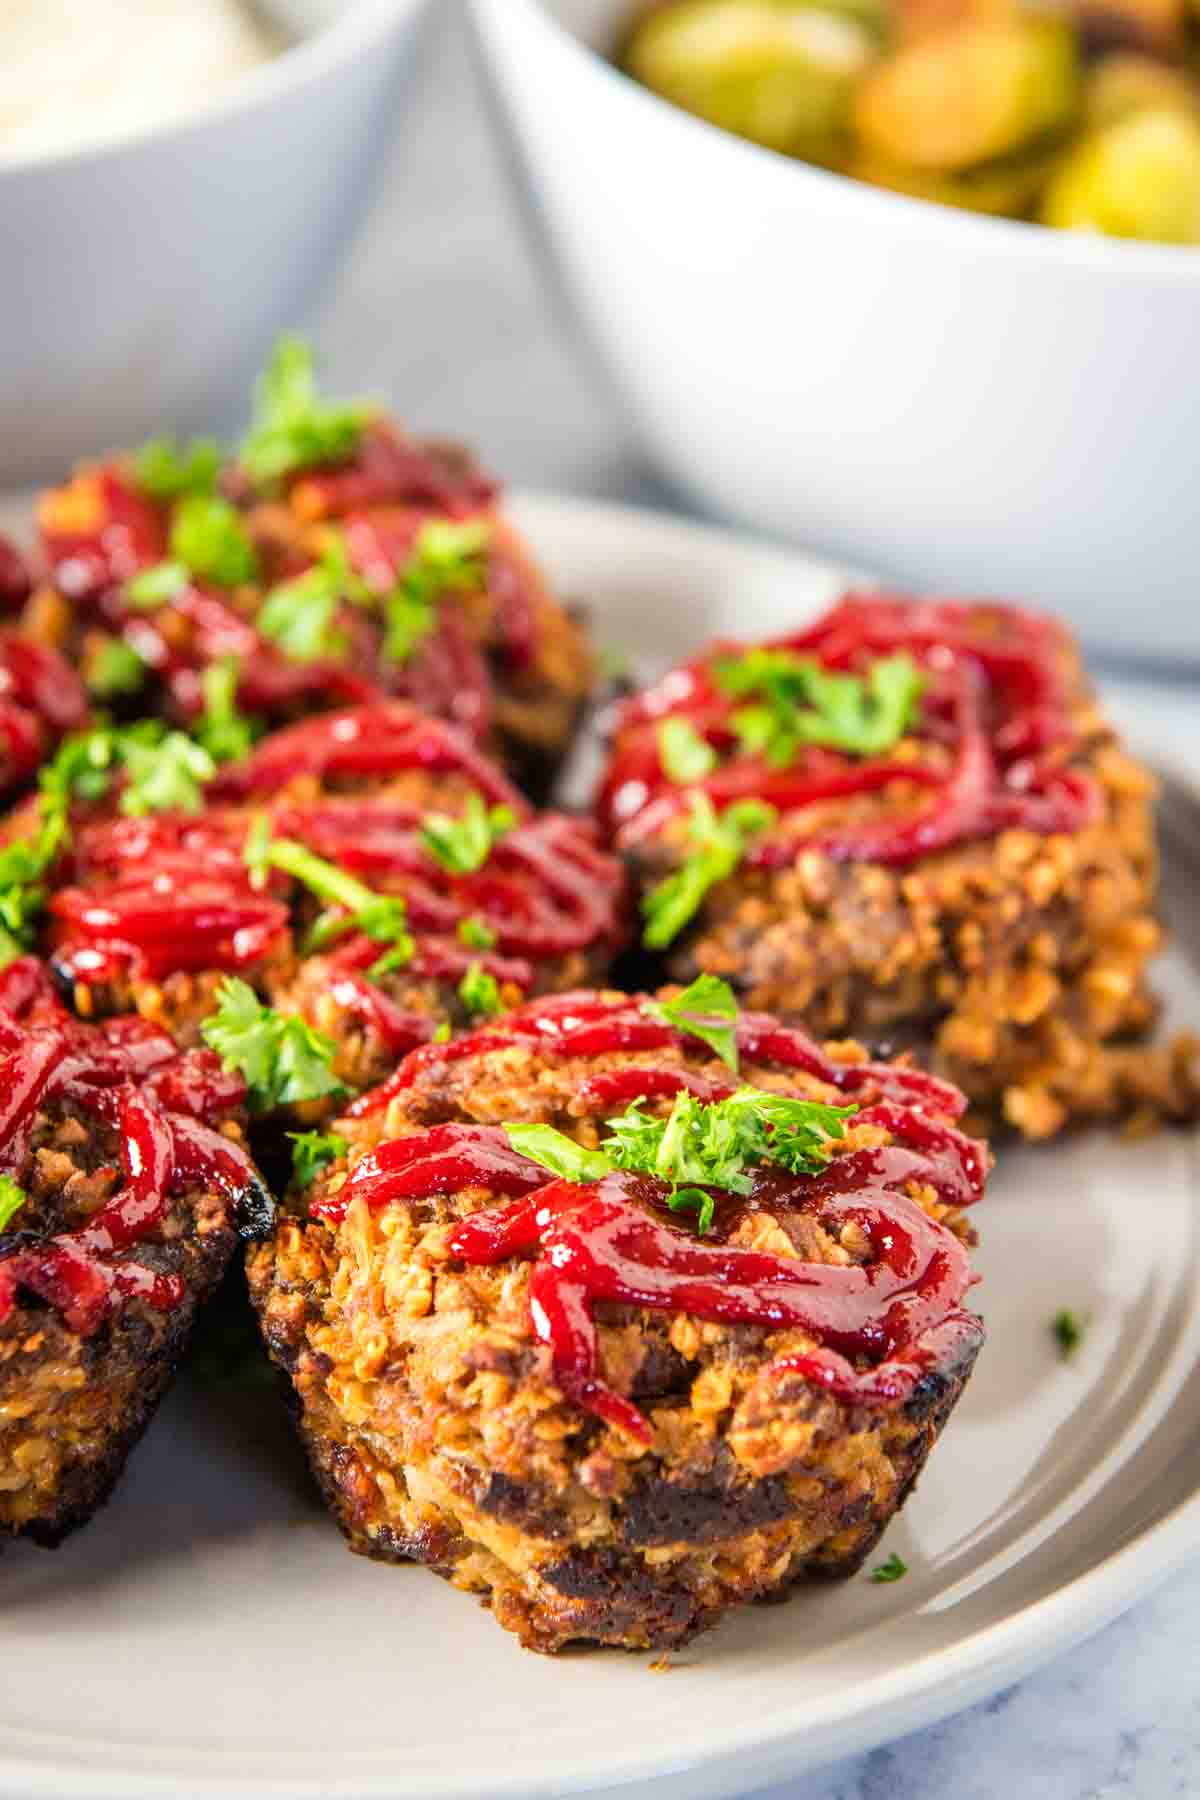
- Squirt ketchup all over the tops of each muffin and bake at 350ºF for 20-25 minutes, or until the internal temperature reads at least 165ºF with a meat thermometer.
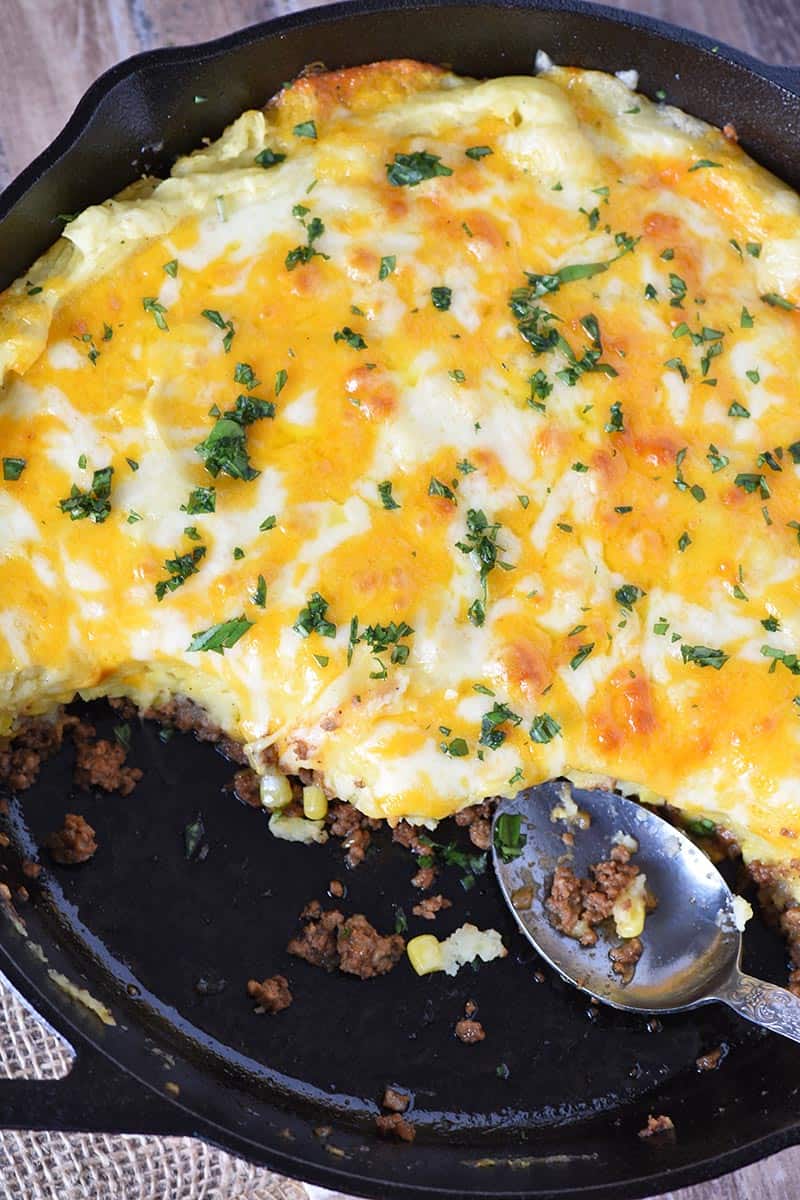
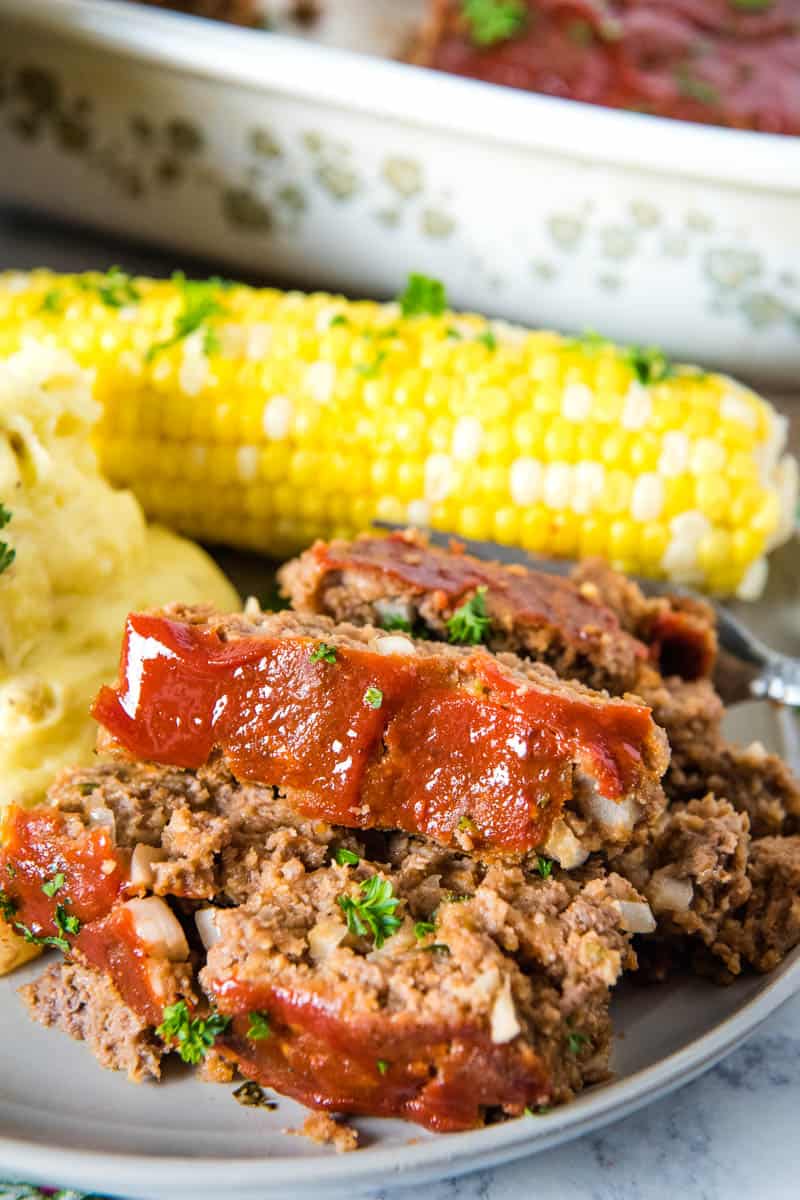
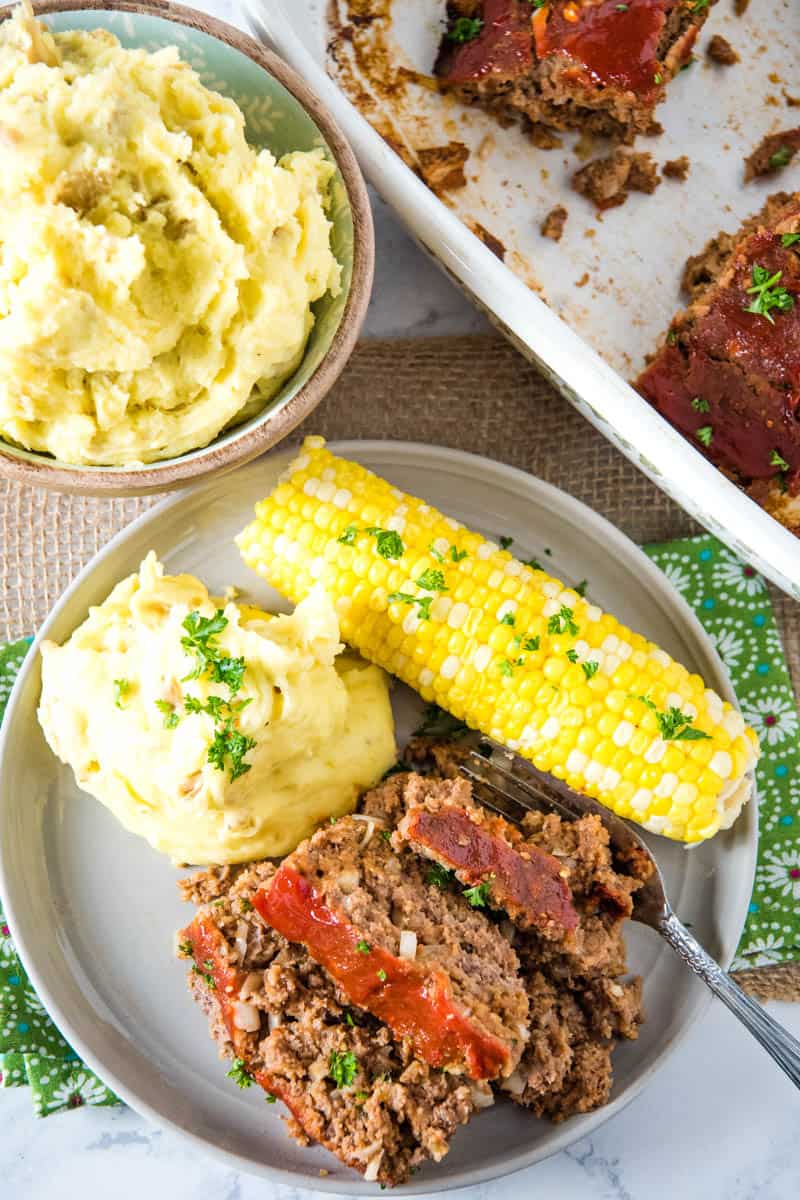
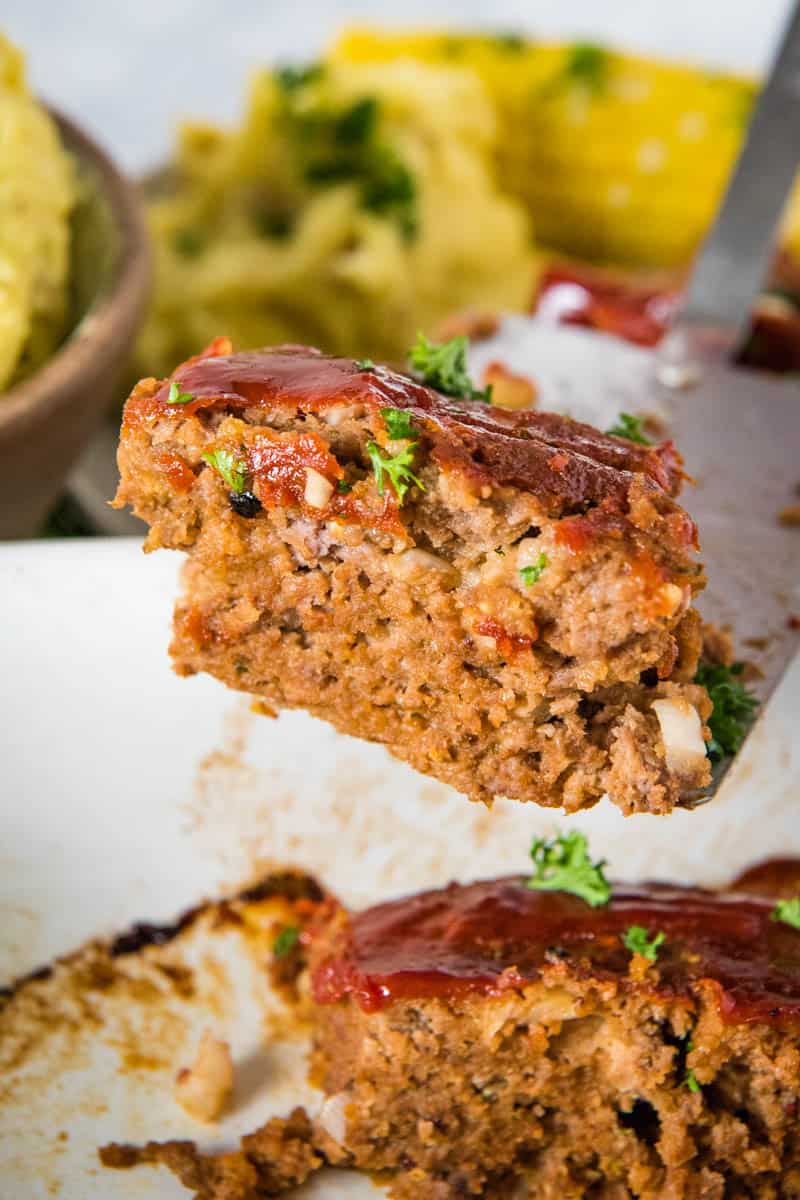
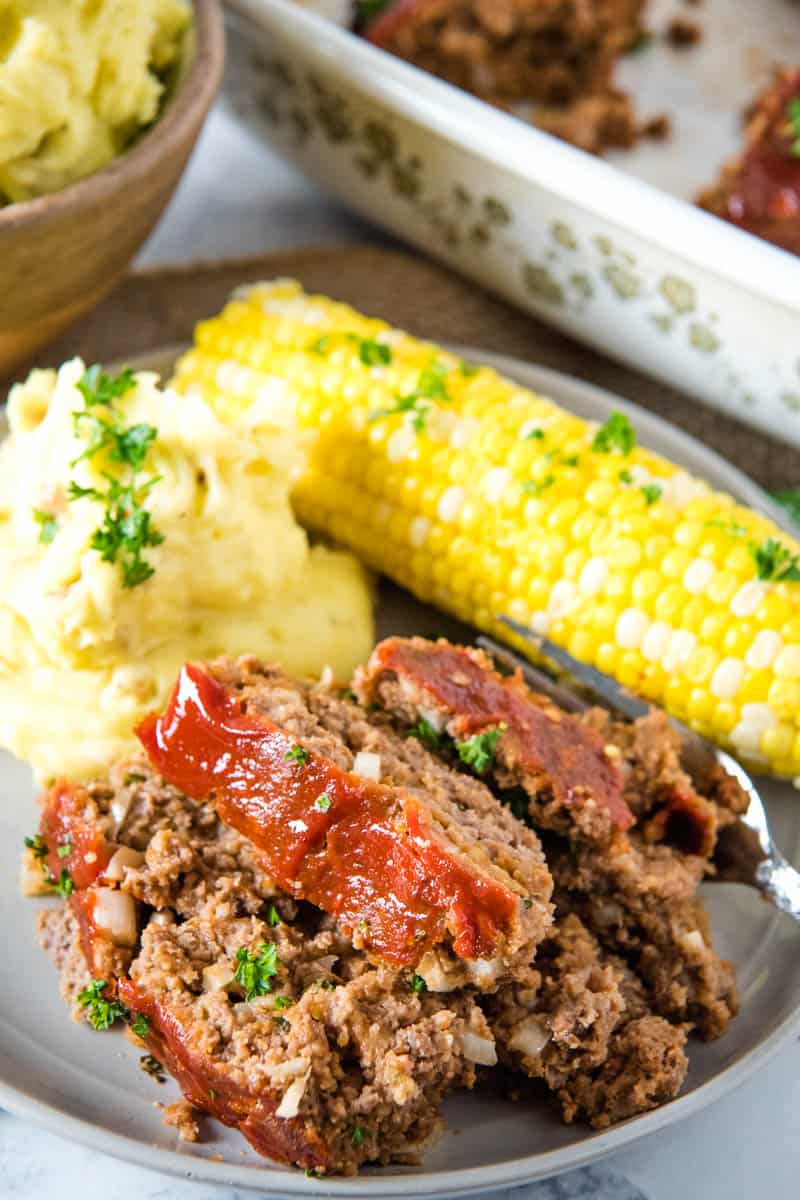
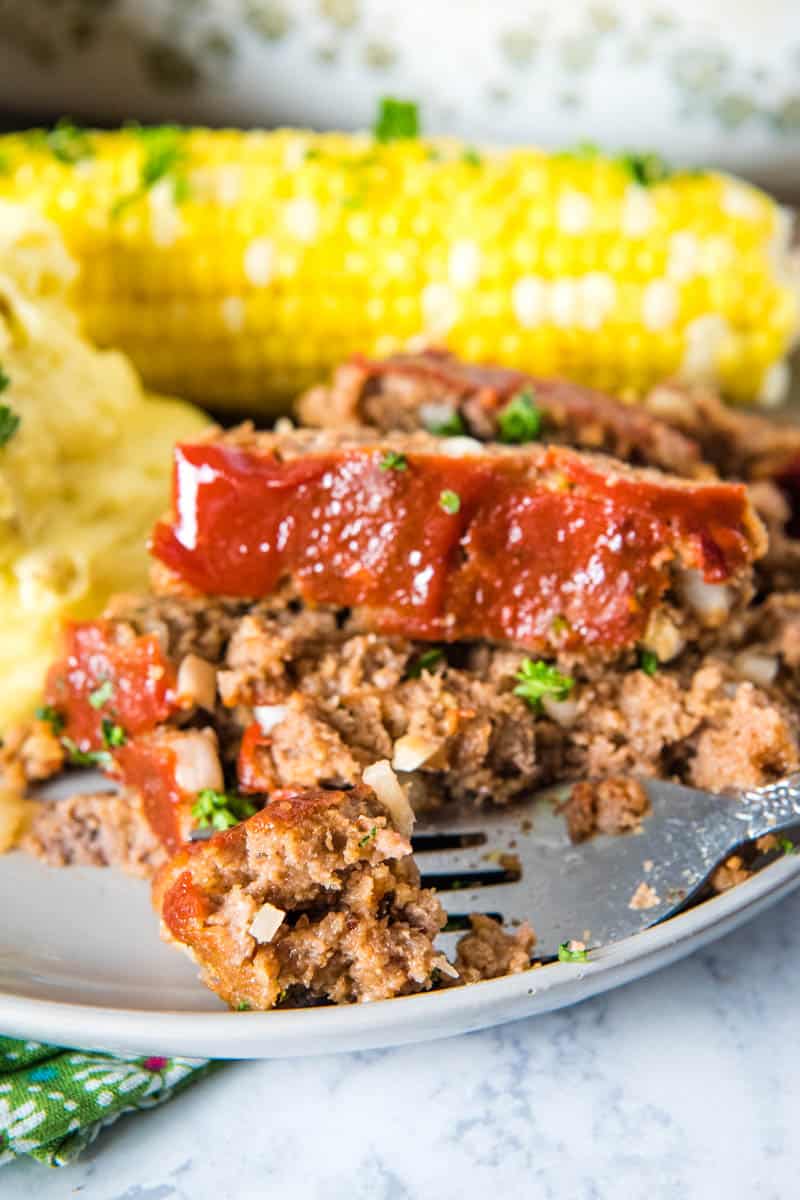
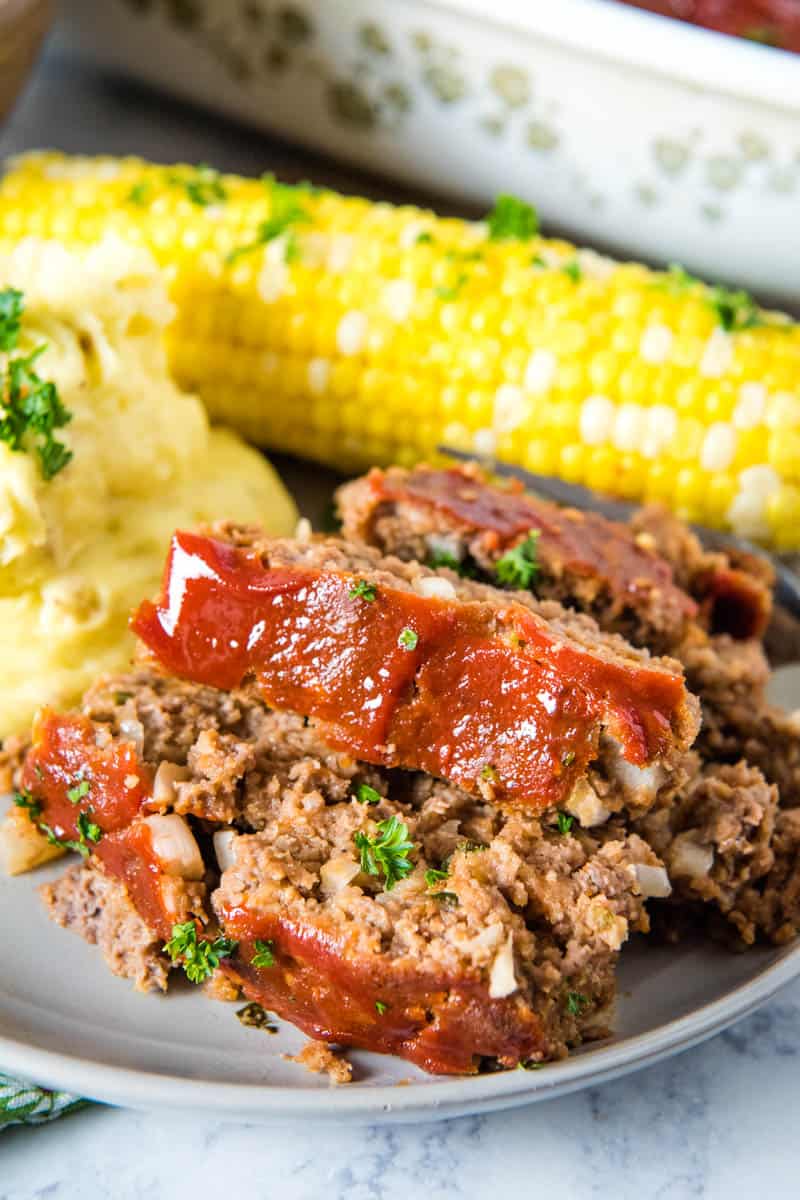
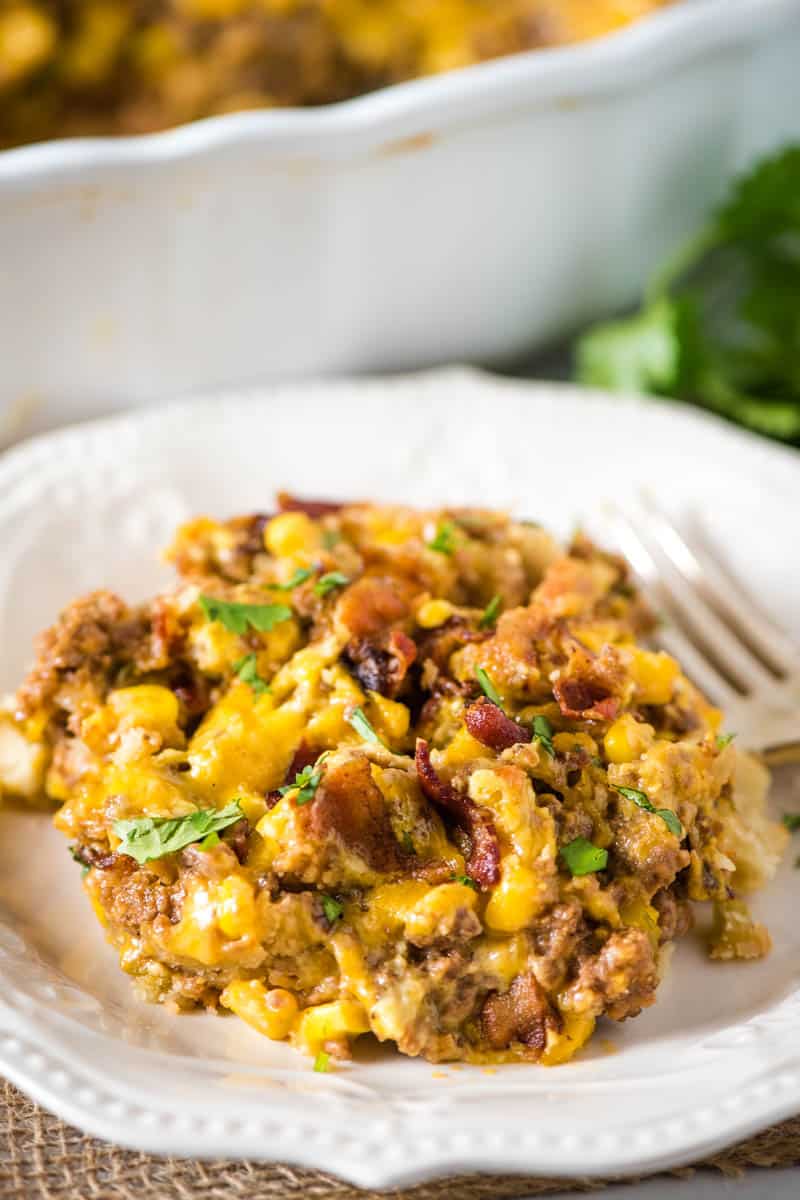
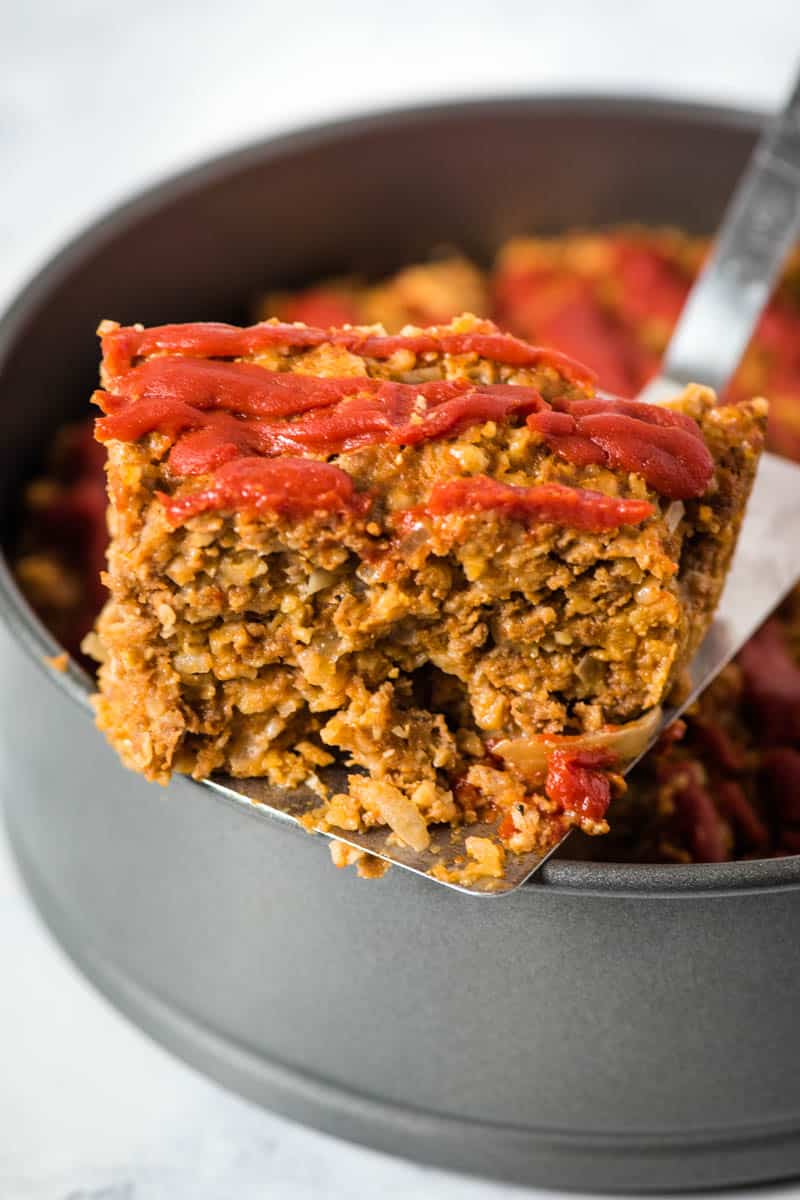
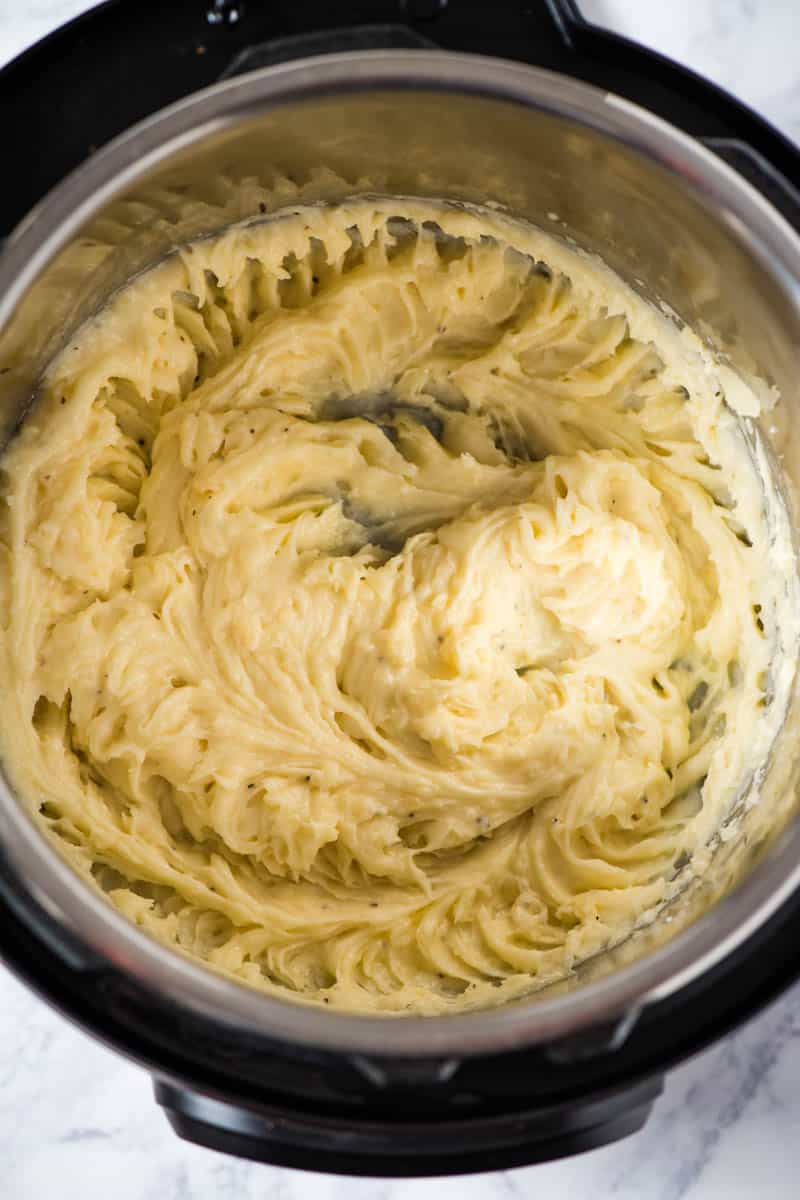
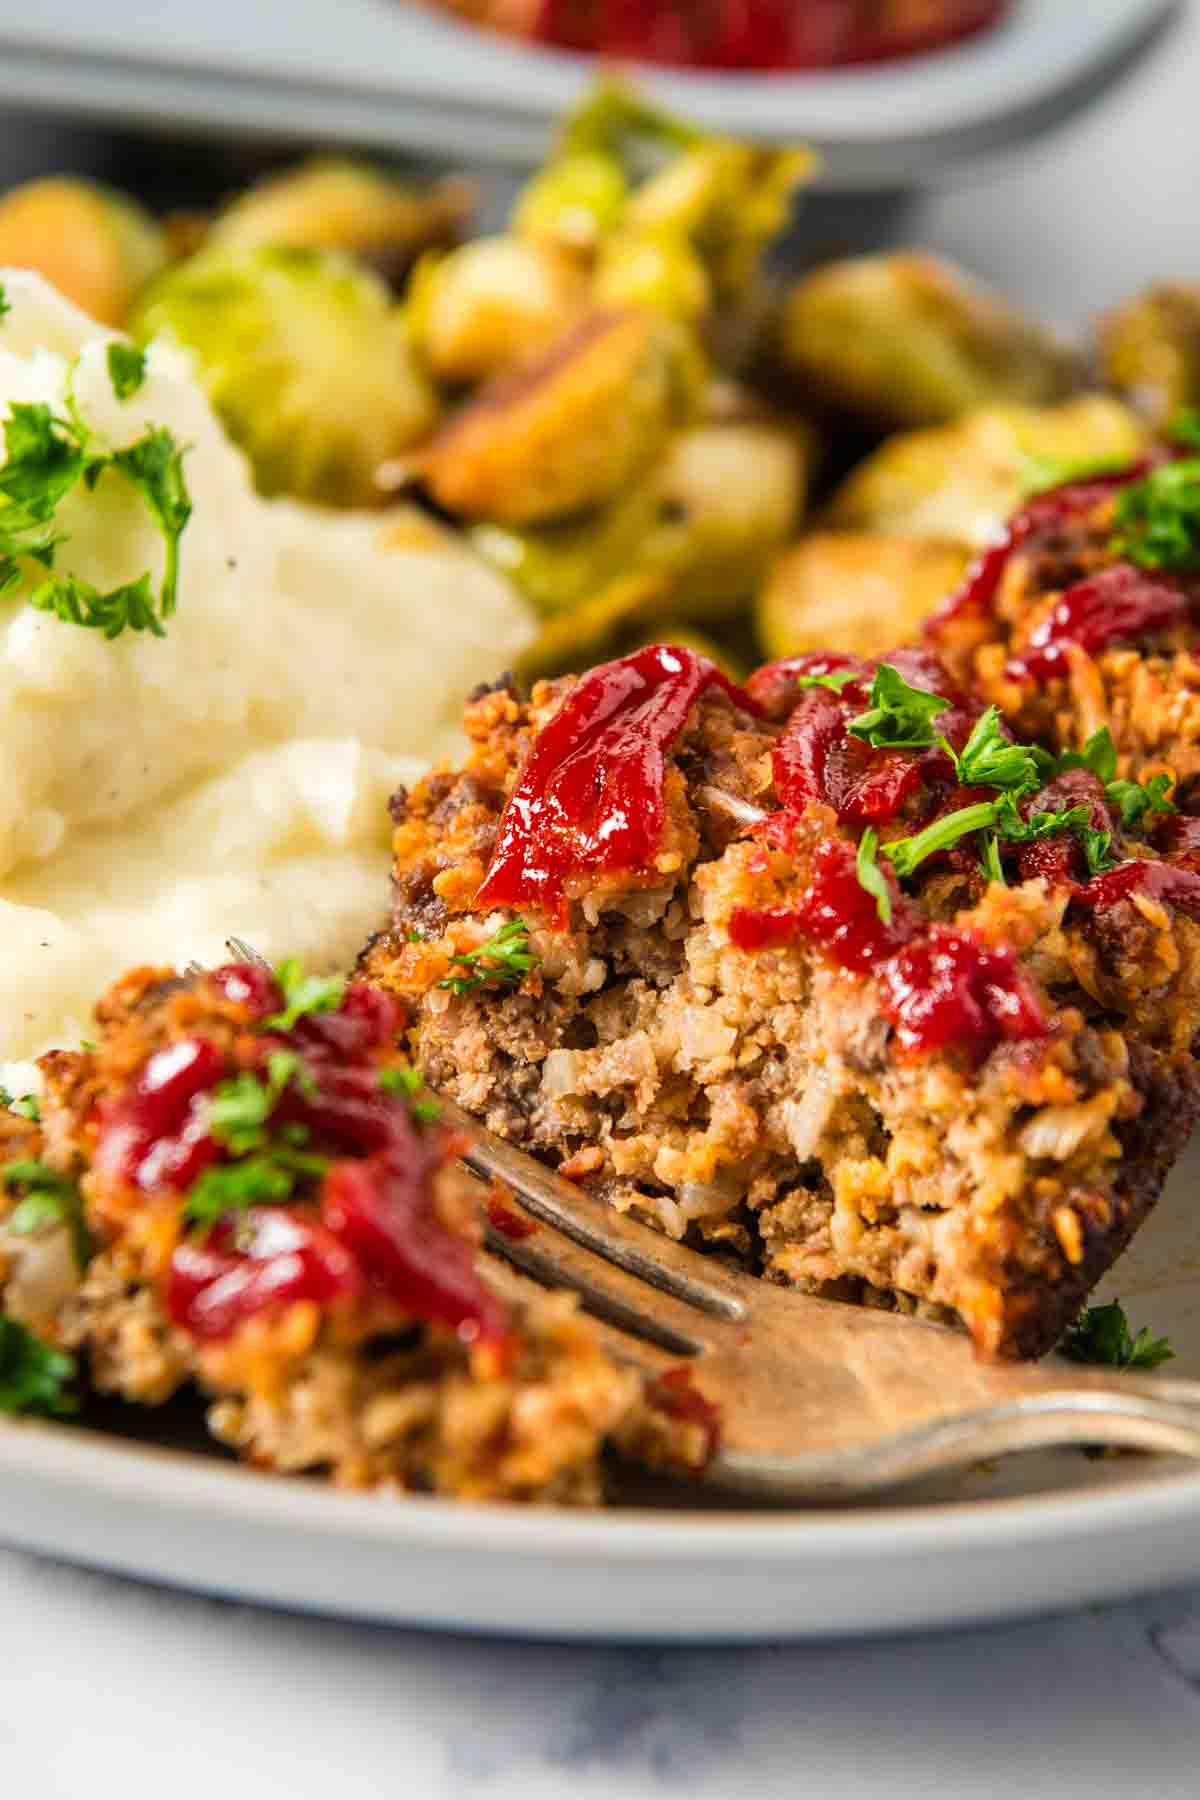
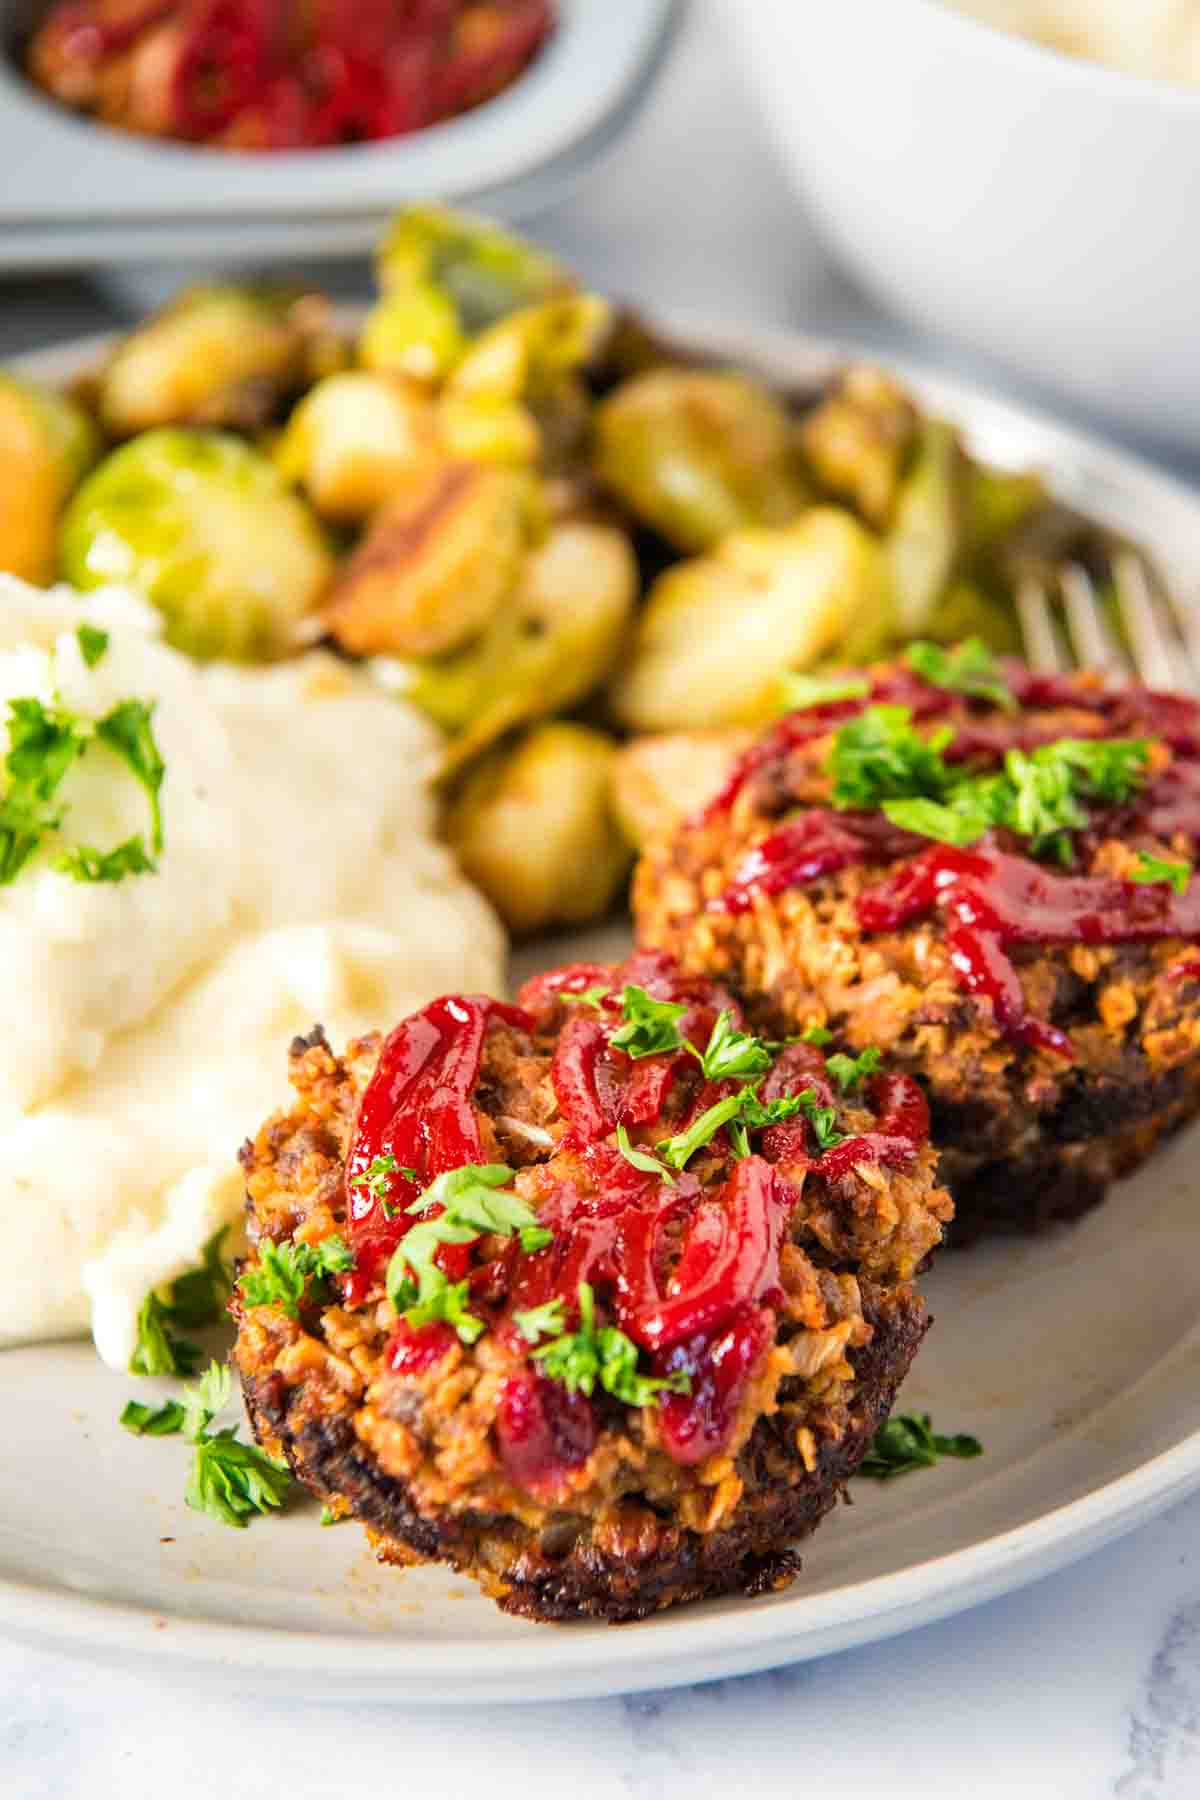
That’s it! Serve and enjoy these cute little mini meatloaf muffins with your favorite side dishes, like mashed potatoes, sweet corn and honey glazed carrots!
What to Serve With Meatloaf Muffins
- Serve them up with your favorite side dishes for an easy weeknight dinner. Green bean casserole, baked potatoes or sweet potatoes, hash brown casserole, corn casserole and baked beans all come to mind.
- Pack them with your favorite salad for an easy picnic lunch or dinner! We like pasta salad, broccoli salad, dill veggie finger salad, or this yummy layered salad.
- Meat loaf muffins also make the best party appetizer. Serve them up alongside other snacks and appetizers, like deviled eggs, crispy Pringles chicken, taco bites, Asian chicken salad wonton cups, apple cheese and crackers snacks, dill pickle ham roll ups, bacon wrapped apples, chicken fried rice spring rolls, maple sausage stuffed pastry bites, or chicken dip pinwheels.
- If you’re feeding a crowd, try putting together a mashed potato bar or baked potato bar to go with the meatloaf muffins!
- They also go really well with garlic parmesan chicken skewers, salmon patties, steak fries or loaded chili cheese fries. The sky is the limit!
Expert Tips and Recipe FAQ’s
Thankfully all of the ingredients in this recipe are usually gluten free. That said, I always recommend checking all of the ingredient labels over just to make sure!
Yes, you can make meatloaf muffins ahead of time. Leftover meatloaf muffins will last up to 3-4 days if stored in an airtight container in the refrigerator. You can also mix up the meat mixture, scoop it into your muffins tins, cover with plastic wrap and transfer those to the refrigerator to bake at a later date. Stored in the refrigerator, they should last up to 3-4 days before going bad.
Yes, meatloaf muffins freeze well! Leftovers can be placed into an airtight container or freezer bag and into the freezer for up to 3 months. If you prefer not to bake the muffins until you’re ready to eat, scoop the meatloaf mixture into the muffin tins, cover with plastic wrap, and freeze for the about the same length of time.
You can reheat refrigerated leftovers in the oven at 350ºF for about 10-15 minutes, or ’til heated through. Keep in mind that you may need to add another 5-10 minutes when reheating from frozen. You can also reheat them in the microwave on high for 2-3 minutes in a pinch, but this can sometimes cause them to become soggy. If baking raw meatloaf muffins that you prepped and stored ahead of time, follow the instructions given in the recipe card below.
Recipe Variations
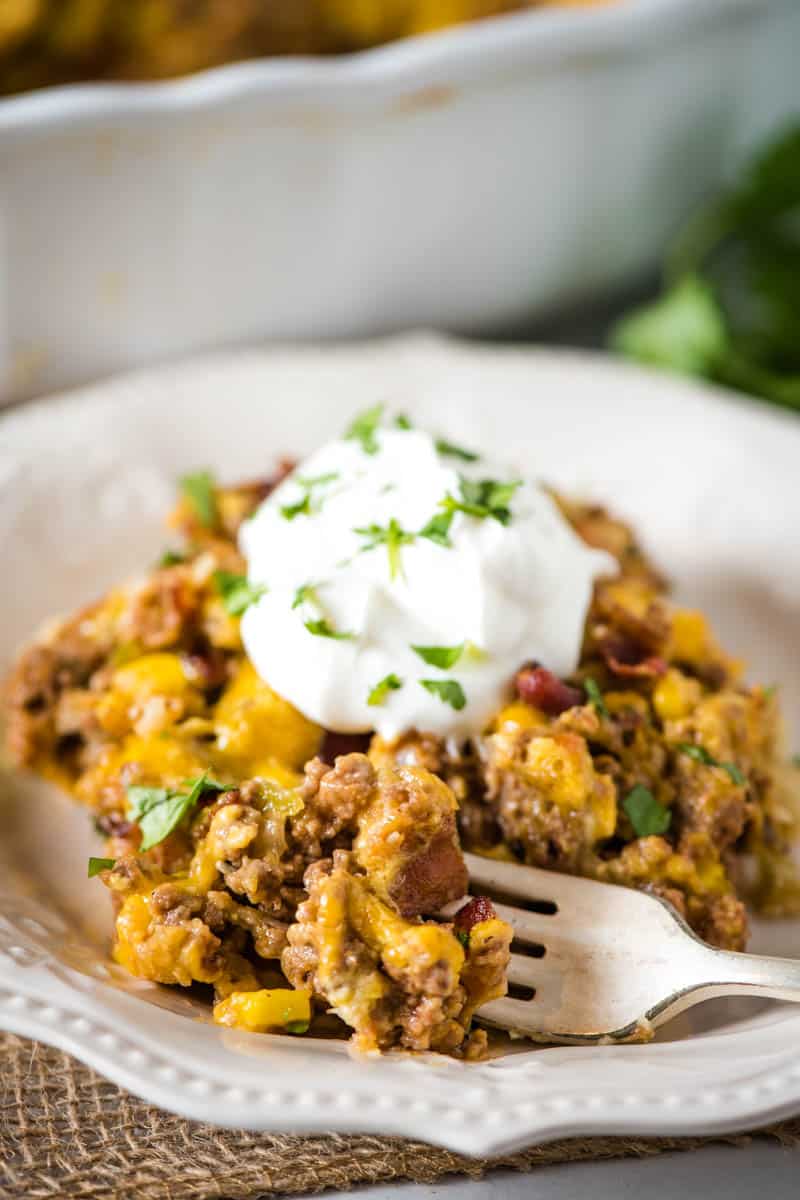
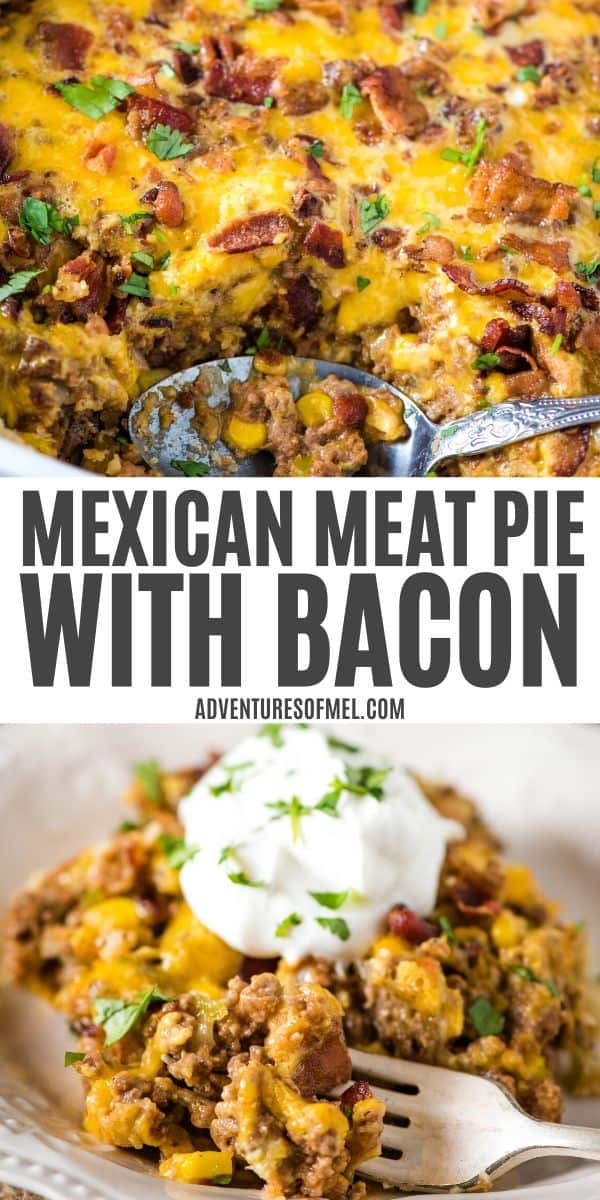
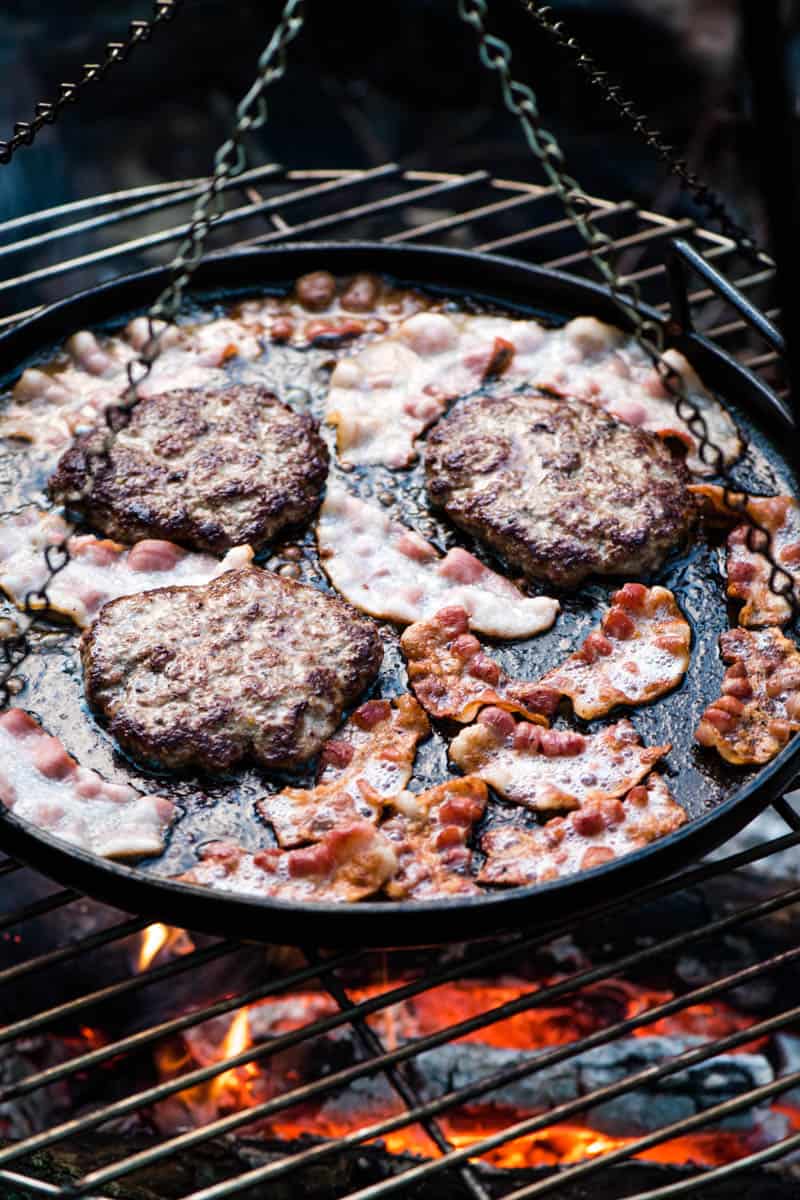
- Try adding different toppings. My mom always laid whole bacon strips across the top of her meatloaf before baking. You can also swap out the ketchup topping with barbecue sauce or a mixture of the two!
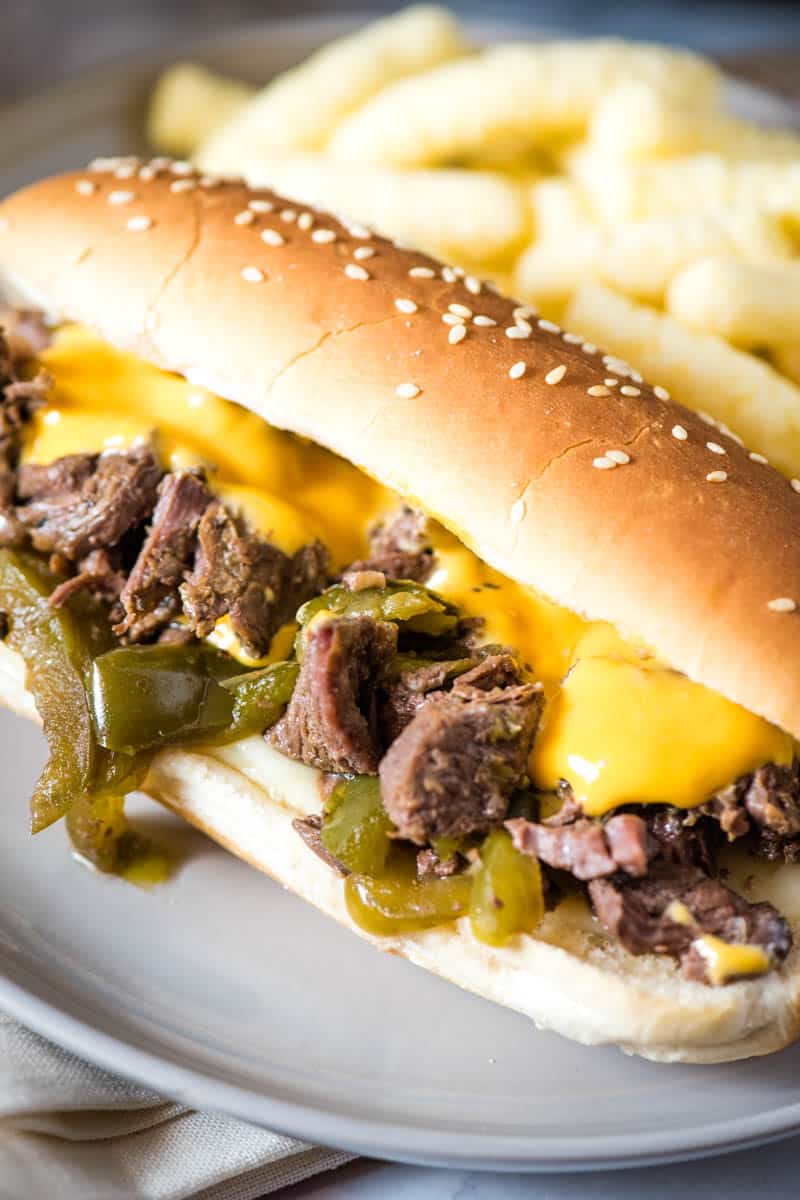
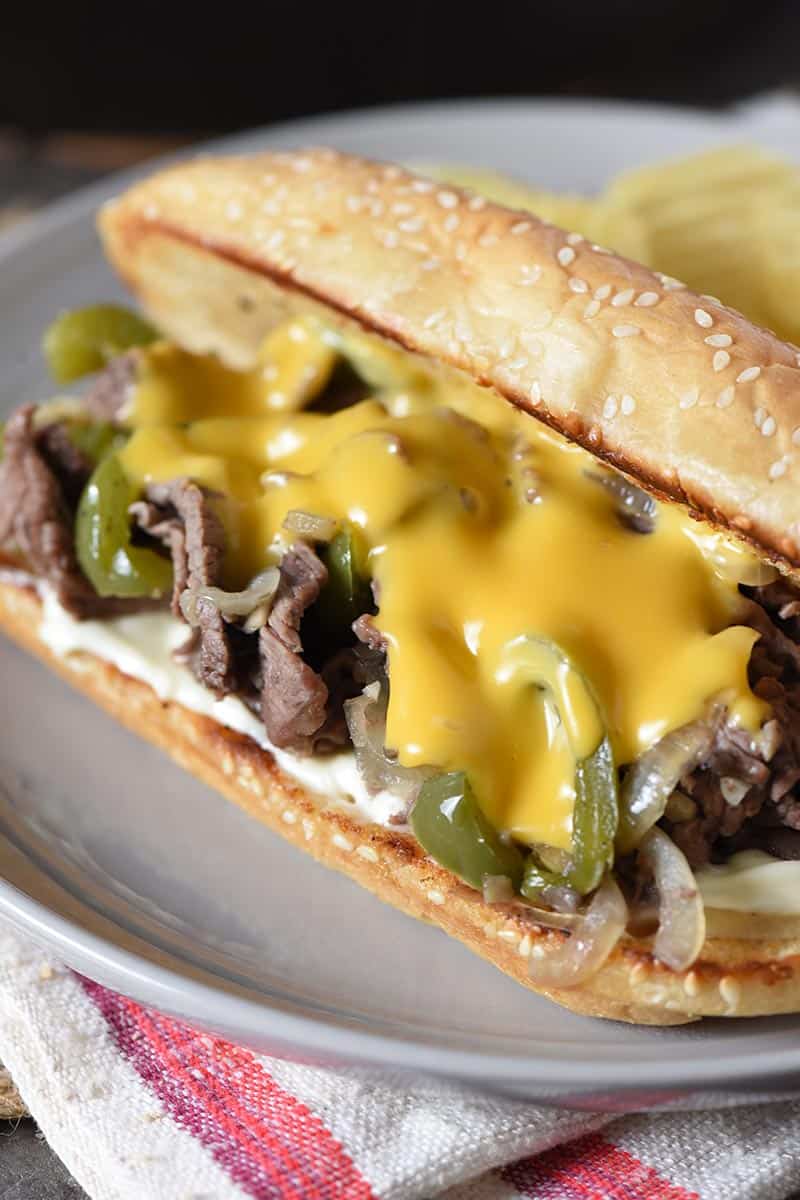
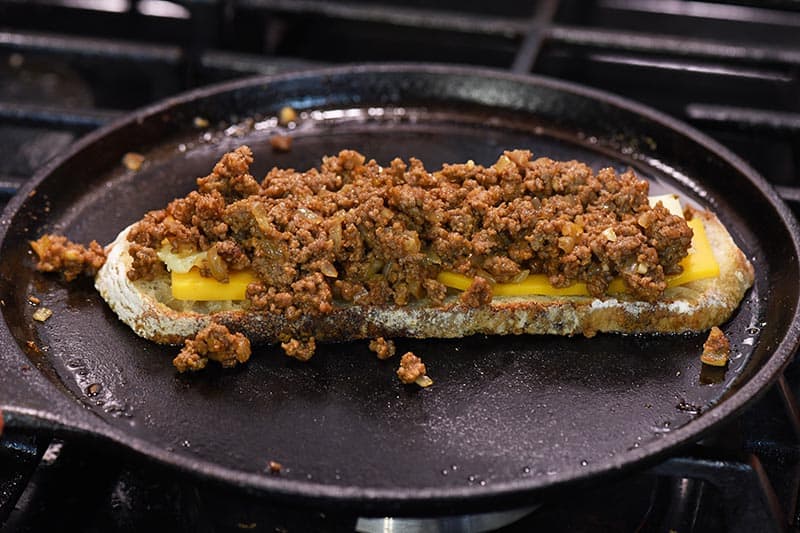
- Use these mini meatloaf muffins to make the ultimate meatloaf sliders, sort of like my family’s favorite Philly cheesesteak sliders!
- Looking for a keto meatloaf muffins recipe? Try using the meat mixture from this low carb meatloaf recipe to make low carb meatloaf muffins!
If you try this recipe, why not leave a star rating in the recipe card right below and/or a review in the comment section further down the page? I always appreciate your feedback. You can also follow me on Pinterest, Facebook, Instagram, and YouTube. And subscribe to my email list too!
Meatloaf Muffins

Easy meatloaf muffins from scratch in 30 minutes or less. Bite sized twist on this classic dinnertime staple that the whole family will love!
- Muffin Tins
- Large Mixing Bowl
- Large Wooden Spoon
- Meat Thermometer
- 1 pound Ground Beef
- 1 Large Egg
- 1/2 Yellow Onion (minced)
- 1 teaspoon Seasoned Salt
- 1/2 tablespoon Worcestershire Sauce
- 1/4 cup Ketchup
- 1/4 cup Barbecue Sauce
- 1 cup Old-Fashioned Oats
For the Topping
- 1/4 cup Ketchup
- 2 tablespoons Parsley
Before getting started, preheat your oven to 350ºF, and grease up your muffin tin with nonstick cooking spray.
Start by adding the ground beef, egg, onion and seasoned salt to a large mixing bowl, and mix with a large wooden spoon 'til well combined.
Add the Worcestershire sauce, 1/4 cup of ketchup, barbecue sauce and oatmeal to the large bowl, mixing 'til evenly dispersed throughout the meat mixture.
Use a spoon to scoop your meatloaf mixture into the greased muffin cups.
Squirt an additional 1/4 cup ketchup all over the tops of each muffin and bake at 350ºF for 20-25 minutes, or until the internal temperature reads at least 165ºF with a meat thermometer.
That's it! Garnish with fresh parsley, serve and enjoy!
How do you store leftover meatloaf muffins?
I recommend storing your meatloaf muffins in an airtight container or freezer bag in the refrigerator for up to 3-4 days.